DennisL
-
Posts
8 -
Joined
-
Last visited
Recent Profile Visitors


-
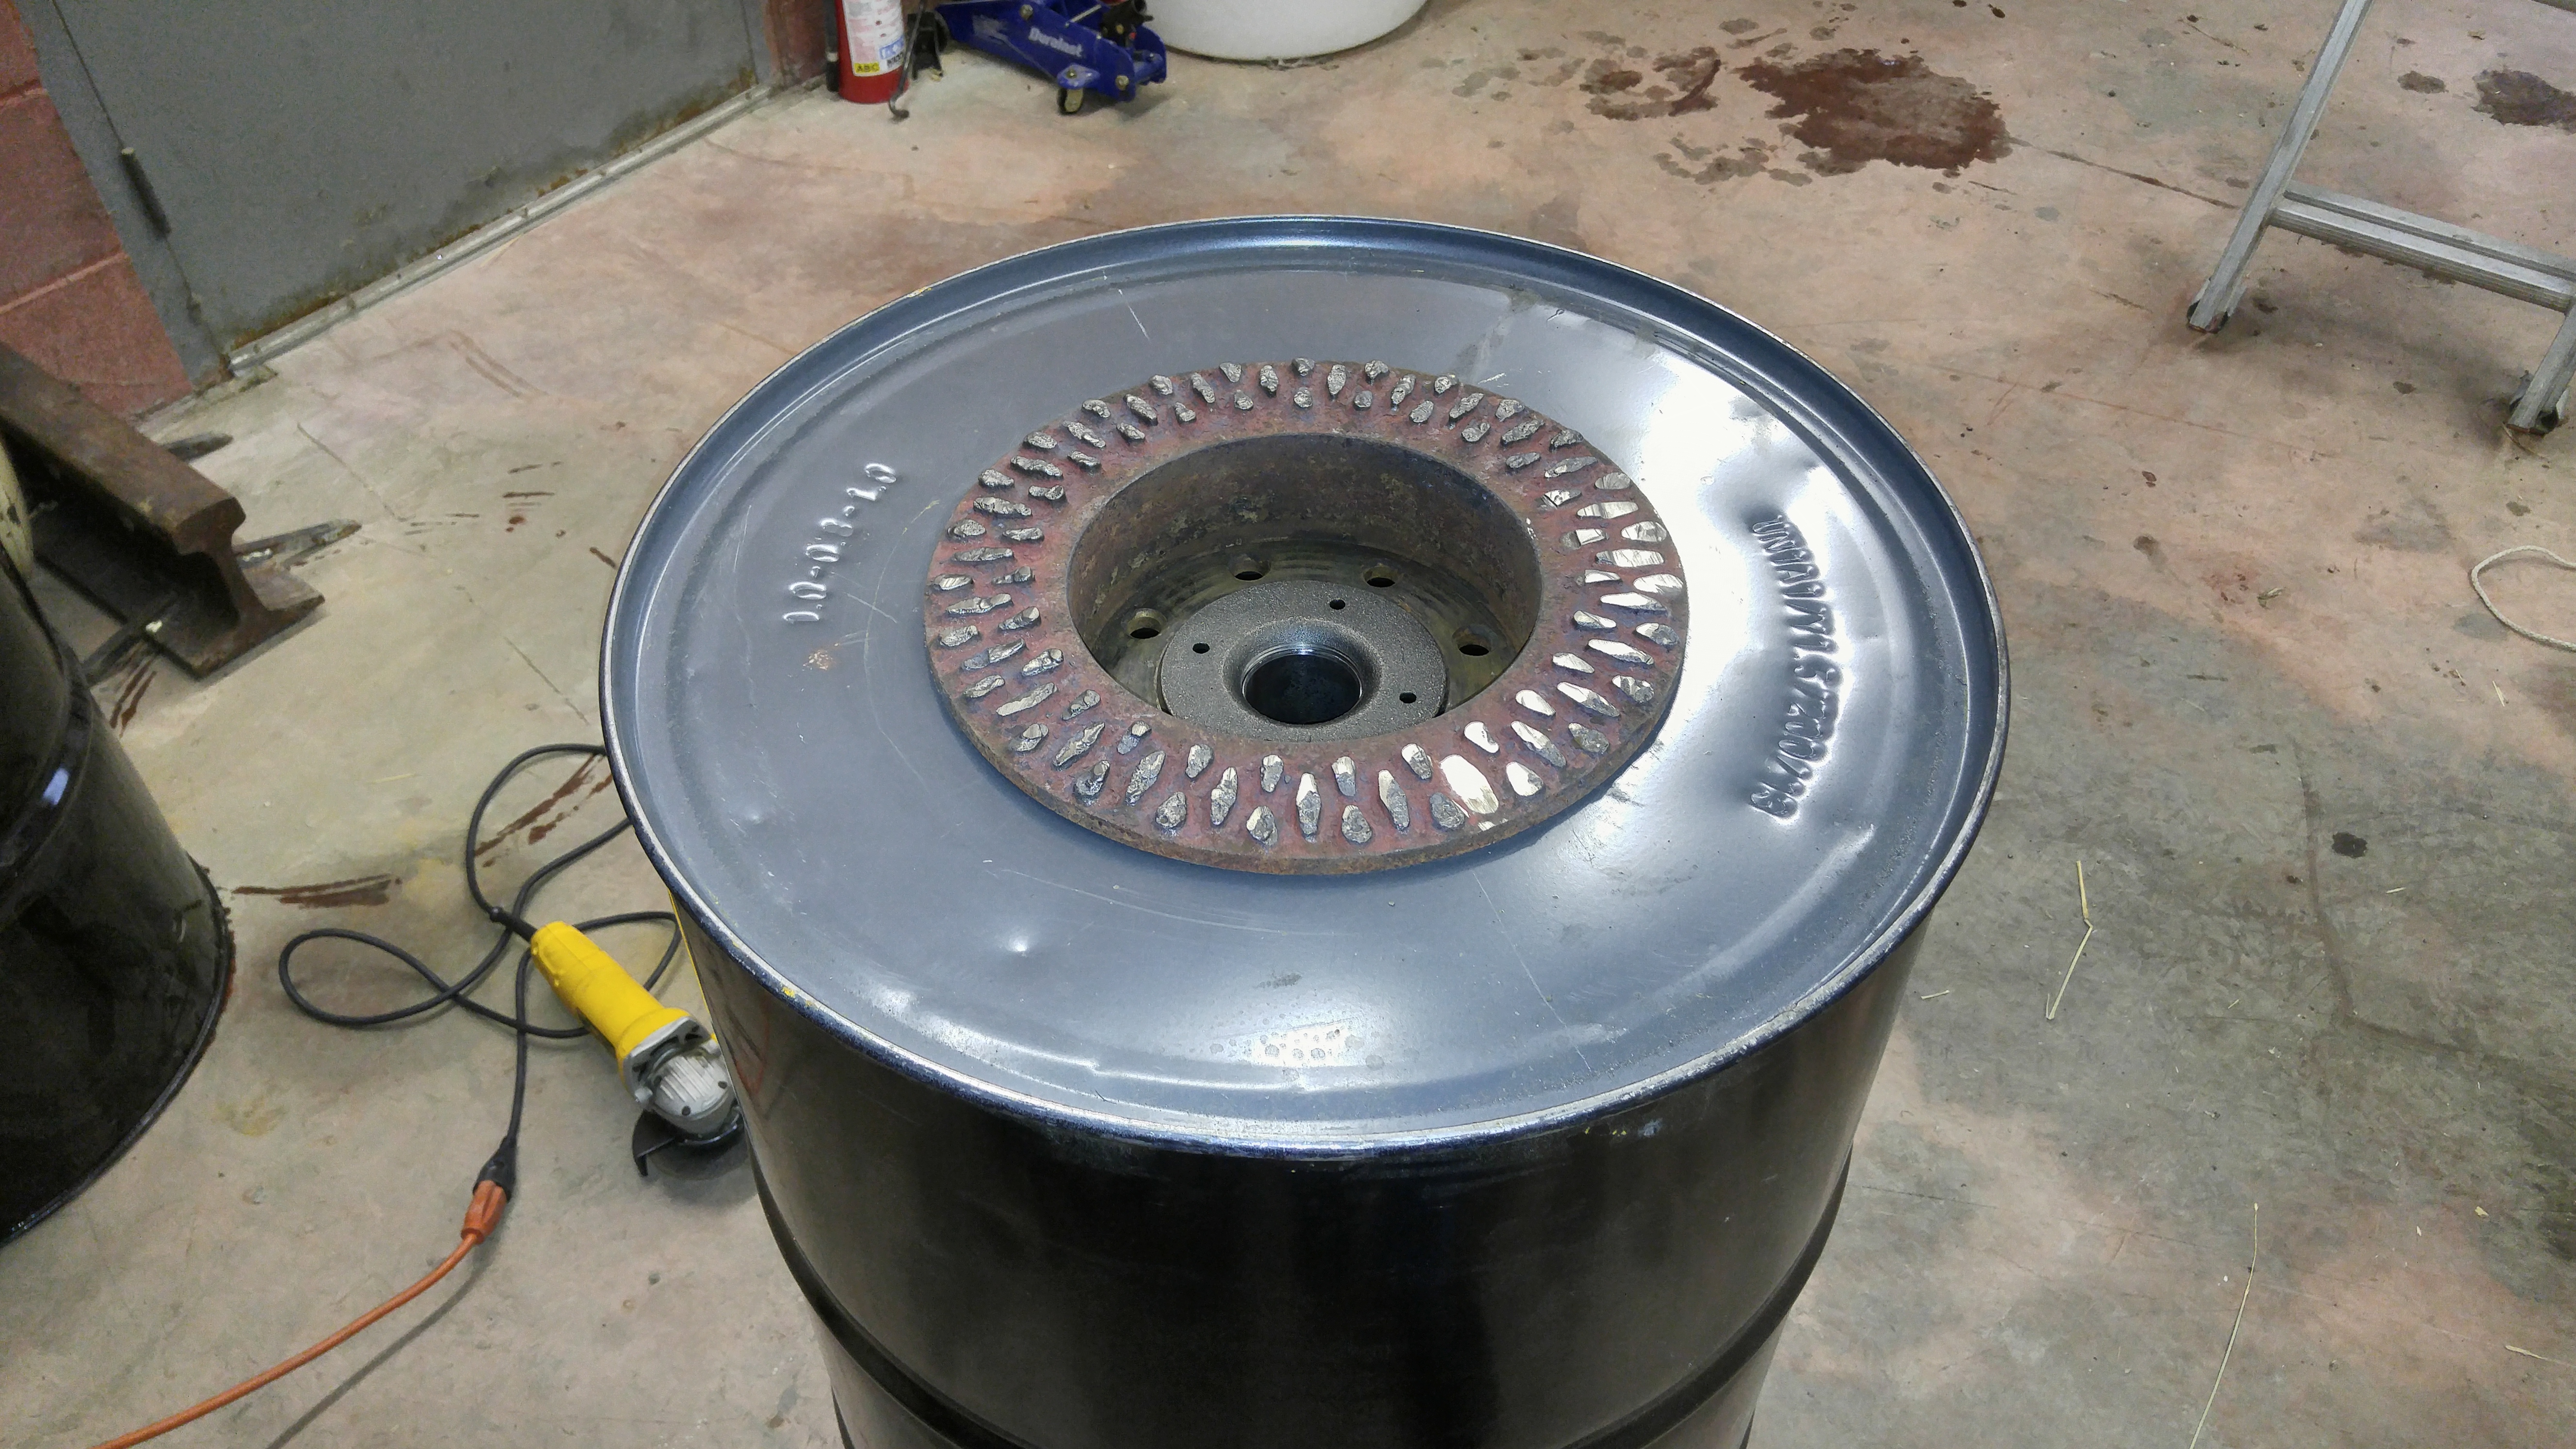
Glenn, I had an idea... Have you ever tried dropping in the rotor with the rotor vents still in place (not butchering them like I did), and welding an additional "doughnut" of steel (say, the lid cut off another drum) from the top outside edge of the rotor extending to the drum edge. You weld the whole mess solid so you have effectively created a double layer drum top with a gap the depth of your rotor. Then you put your forced air inlet directly into the space you created, which will blow on the coal through the rotor vents... Think 360 degree side blast with the center hole in the rotor for ash and clinker only... Thoughts?
-
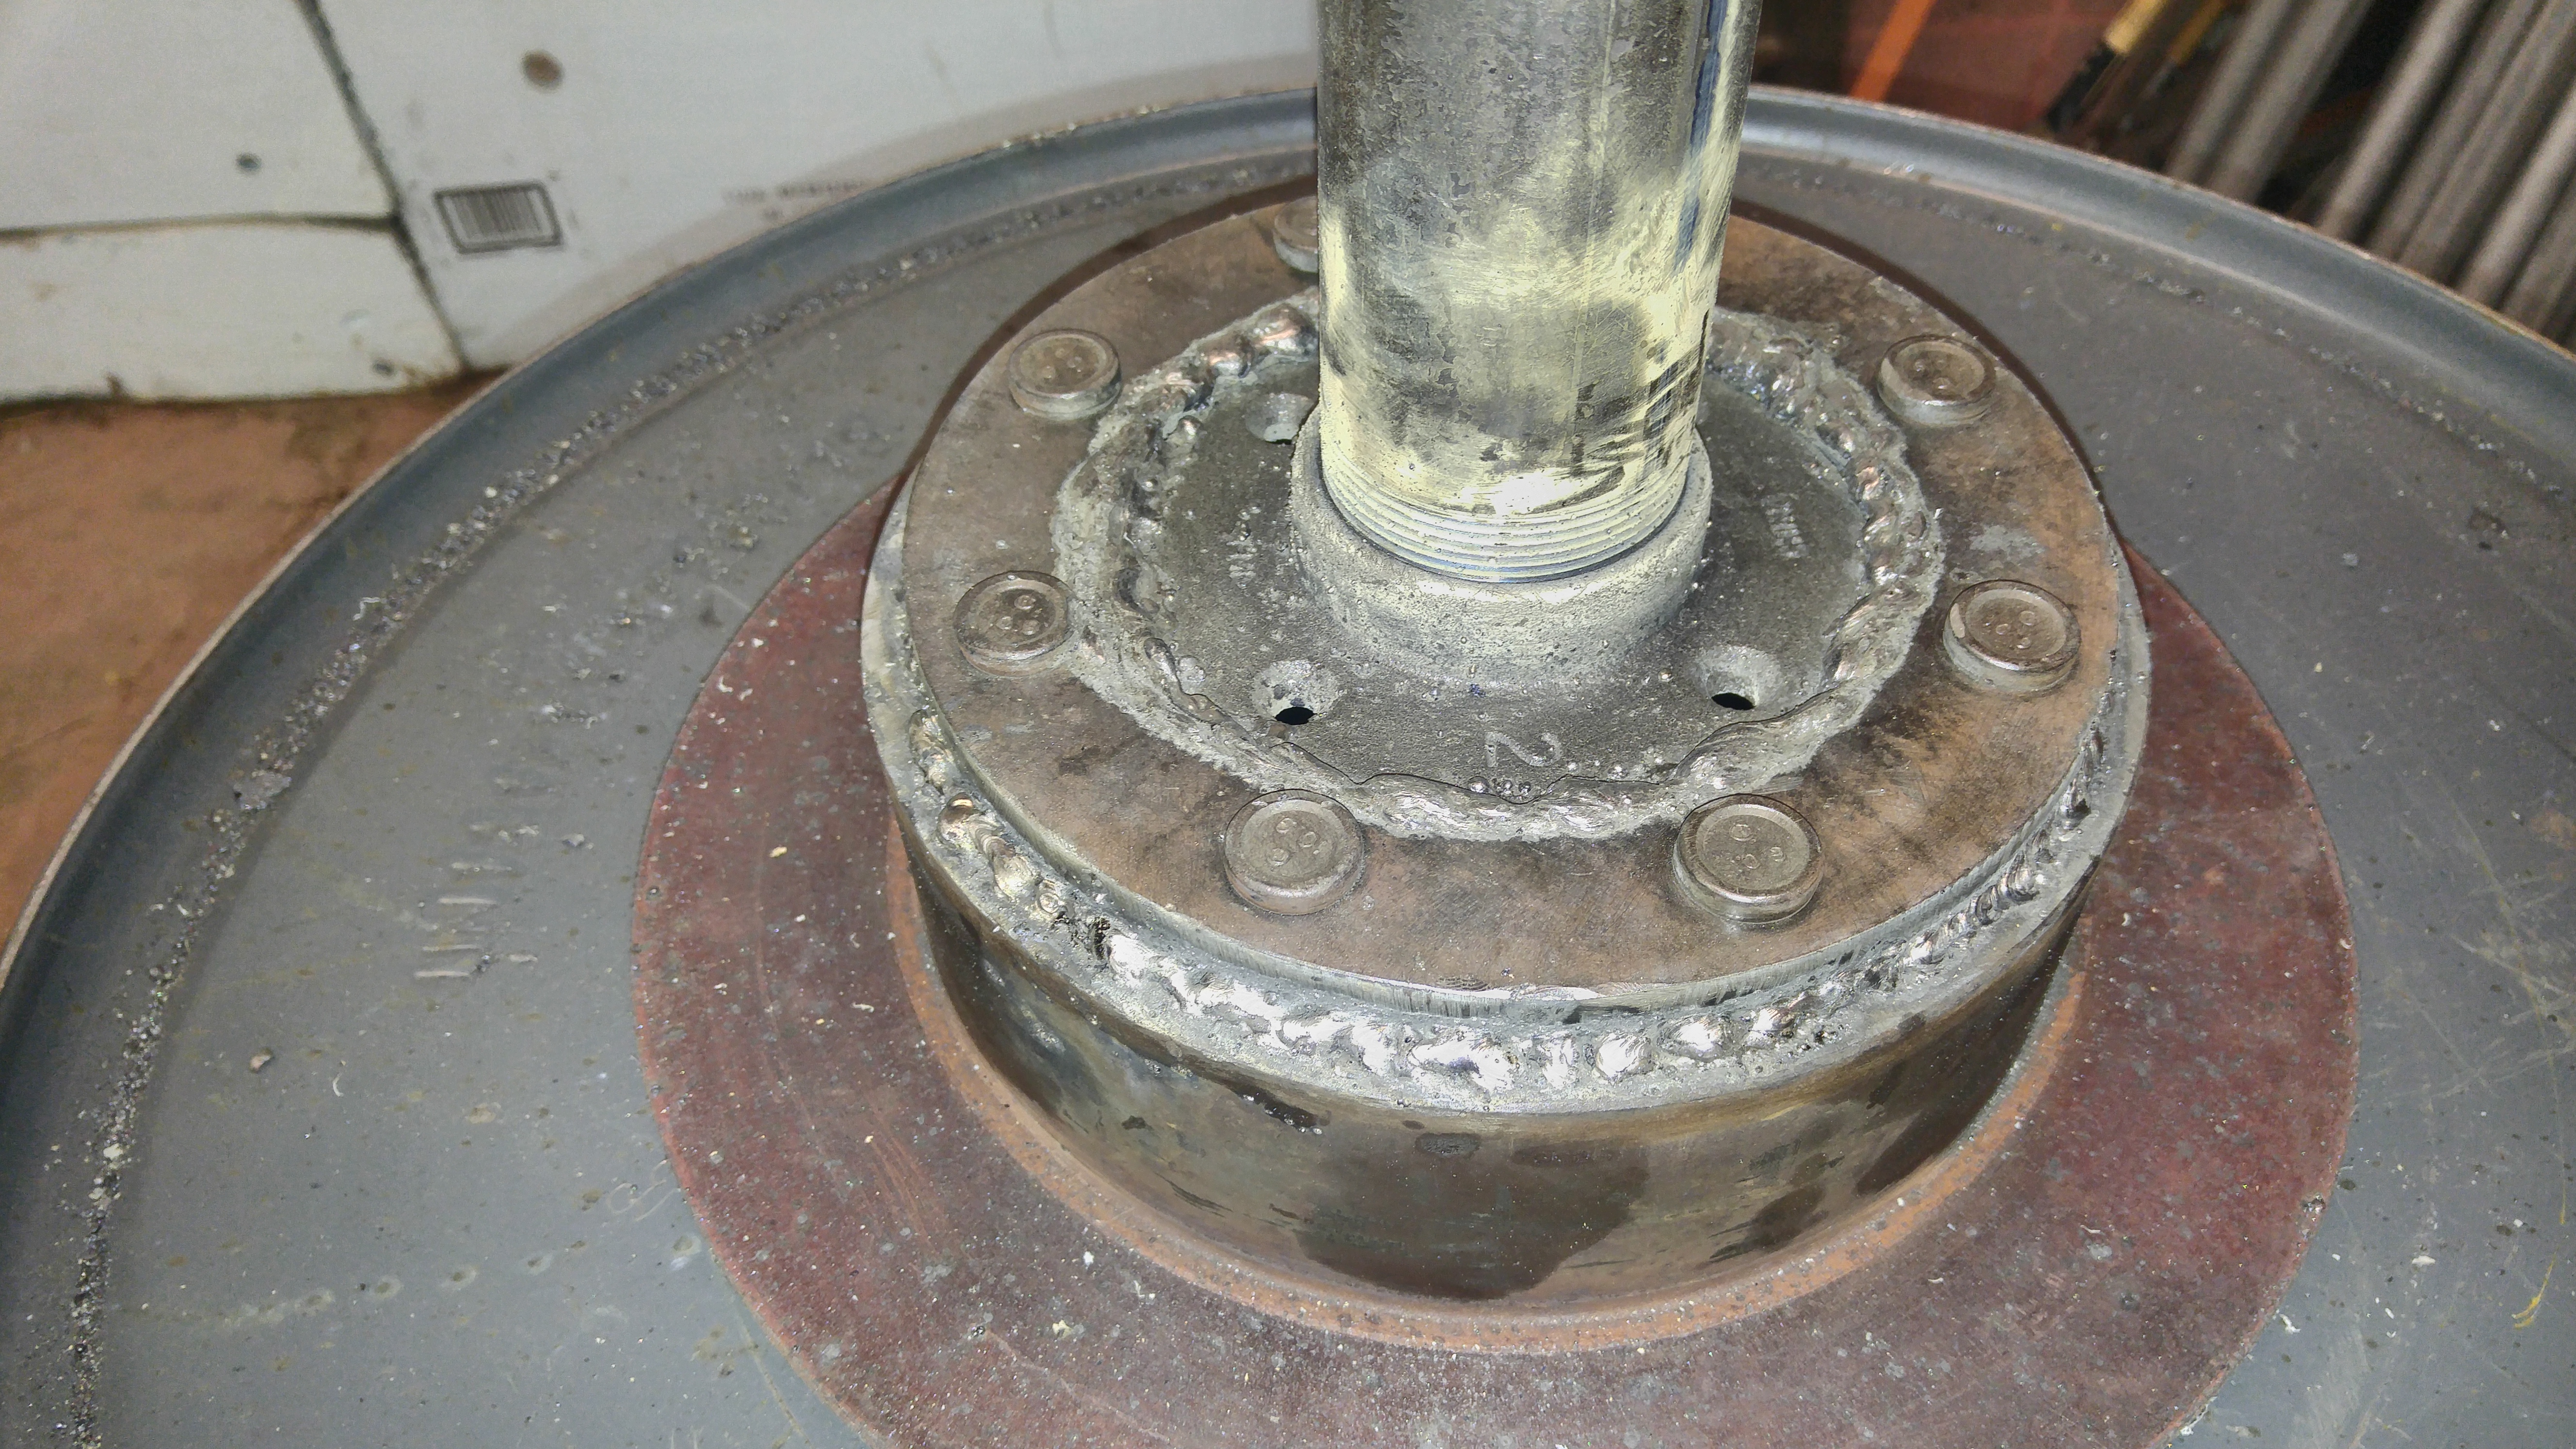
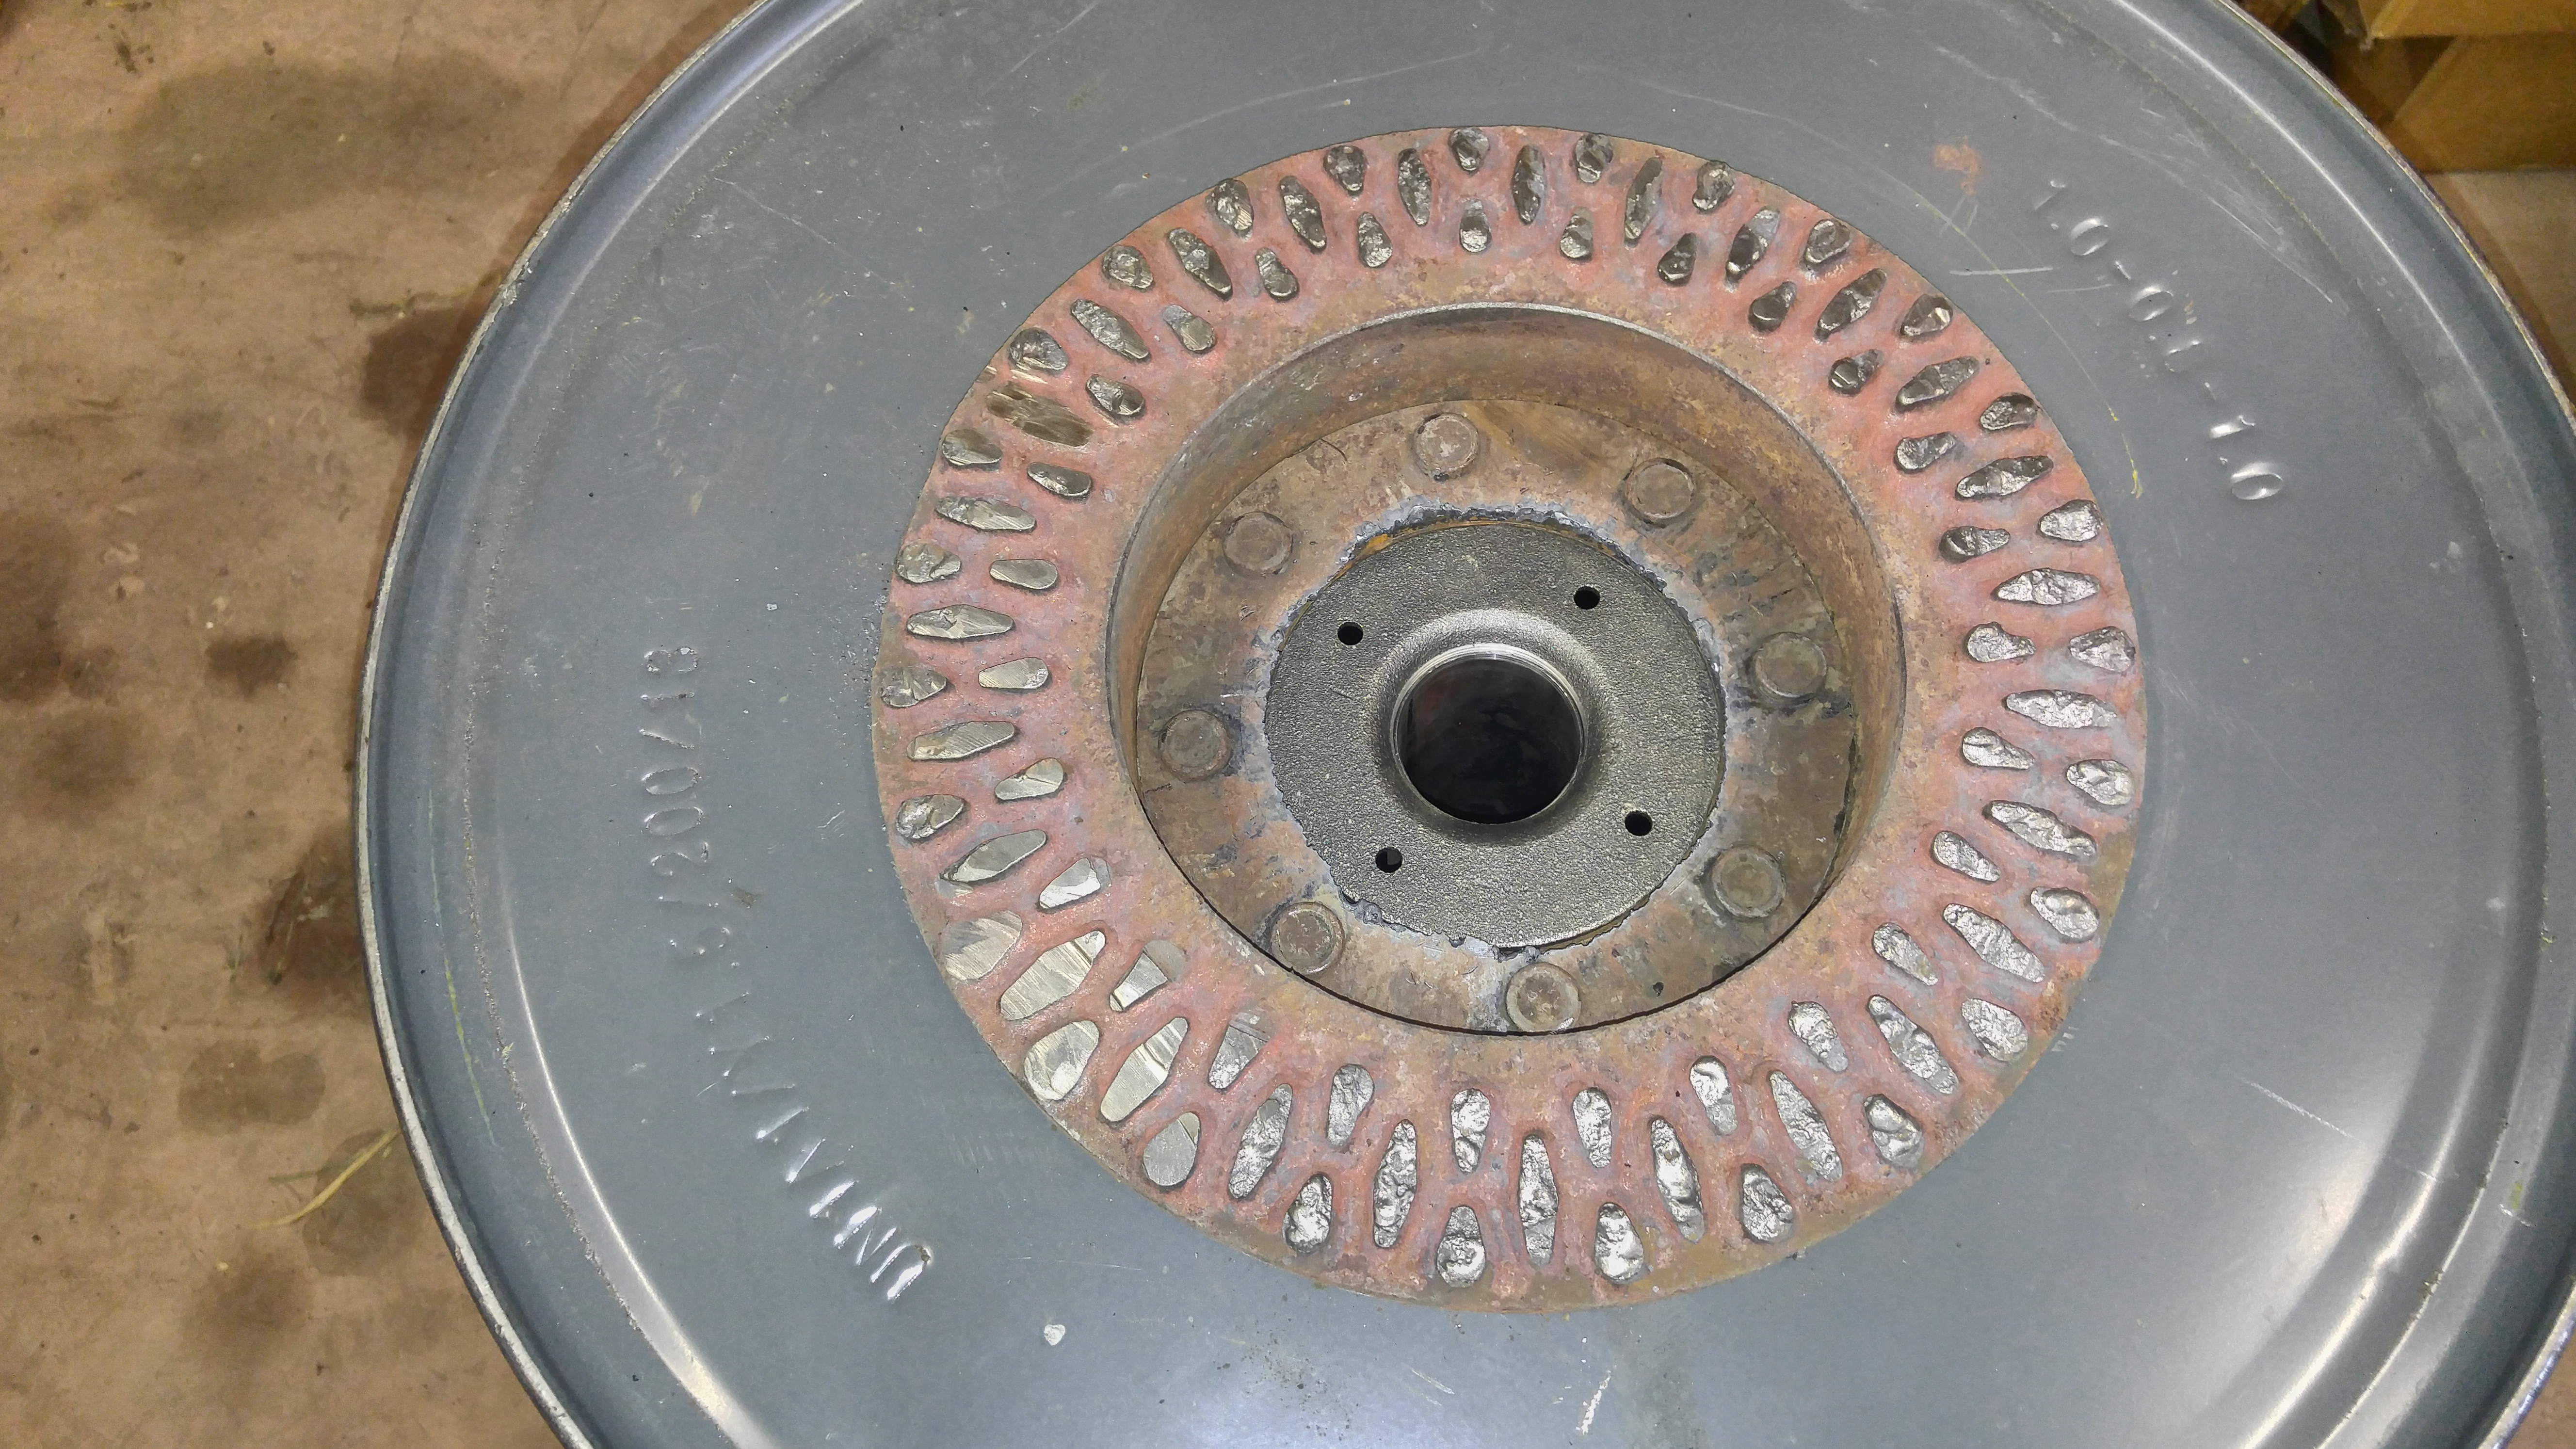
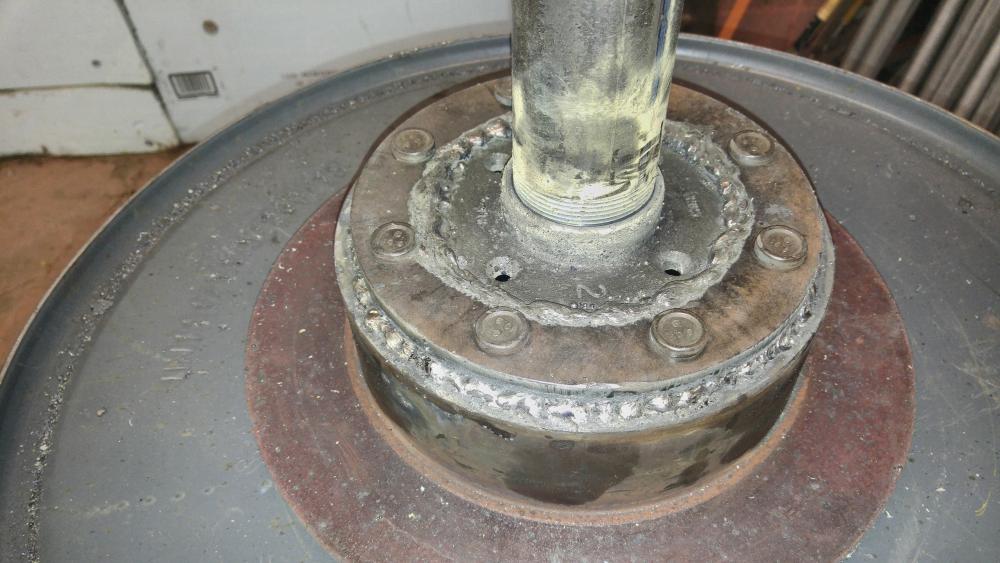
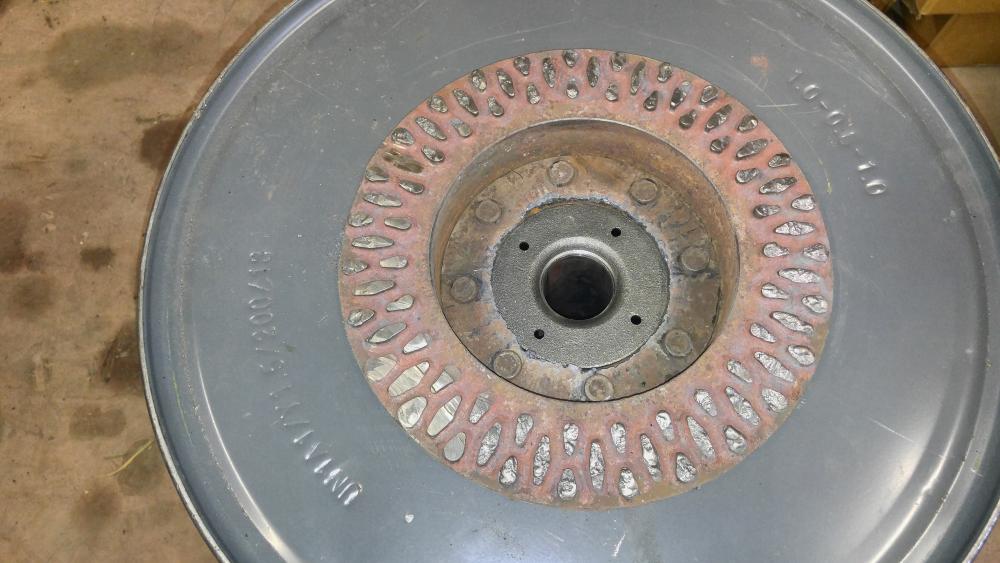
An oxy/act torch and a six pack of your favorite beer. I started with my 4 1/2" grinder with a cutting wheel but it wouldn't reach the middle with the guard on and was taking forever anyway. I also torched the ring off the hub that had the lug bolts. I then placed my black iron flange on the bottom of the rotor, put the ring in place, welded it to the rotor and laid a butt load of weld on the inside of the hub ring, thereby sandwitching the flange in place and filling the holes in the rotor all at once! Attached is a picture of the backside of the rotor. (Please cut me some slack on the "hammered owl xxxx" welds as I haven't picked up a welder since high school! It will hold, that's all I care about.)
-
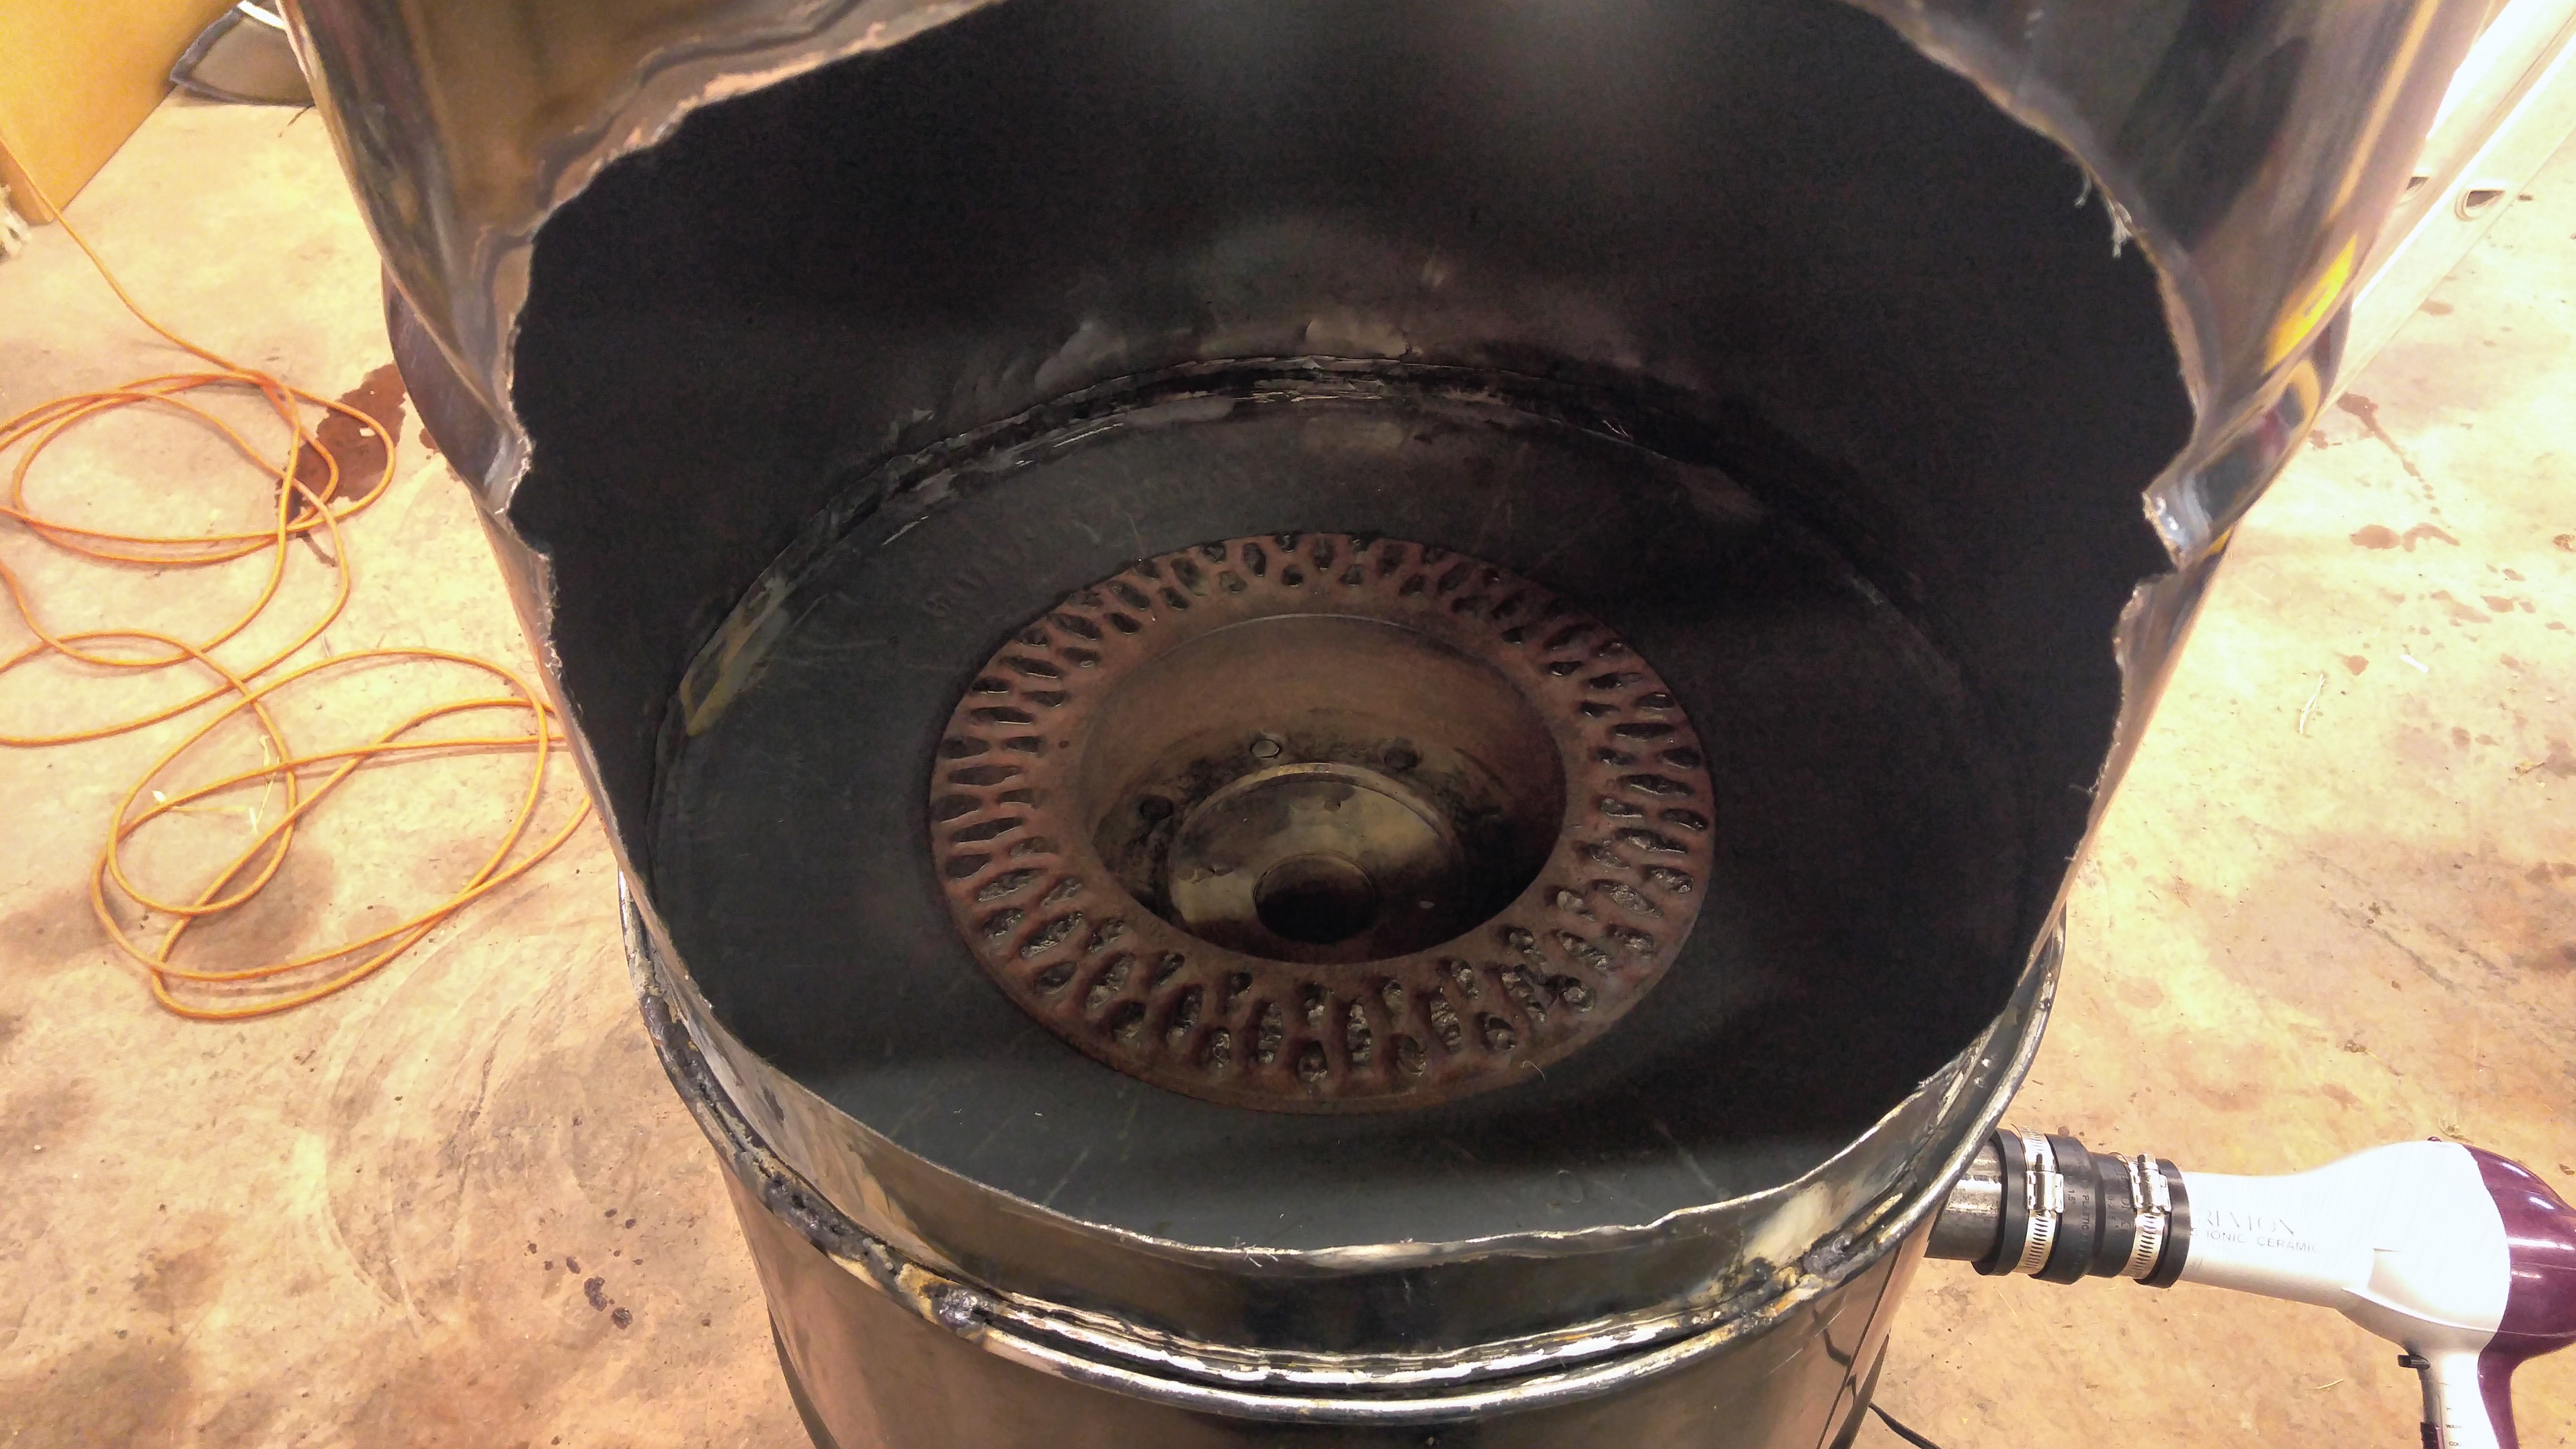
That is the plan eventually. I also thought I read somewhere on this forum that I should pack some clay into the space between the rotor and the outside edge of the barrel. It would only be about 1/2" deep with clay... Not sure what the reason is for doing that though?
-
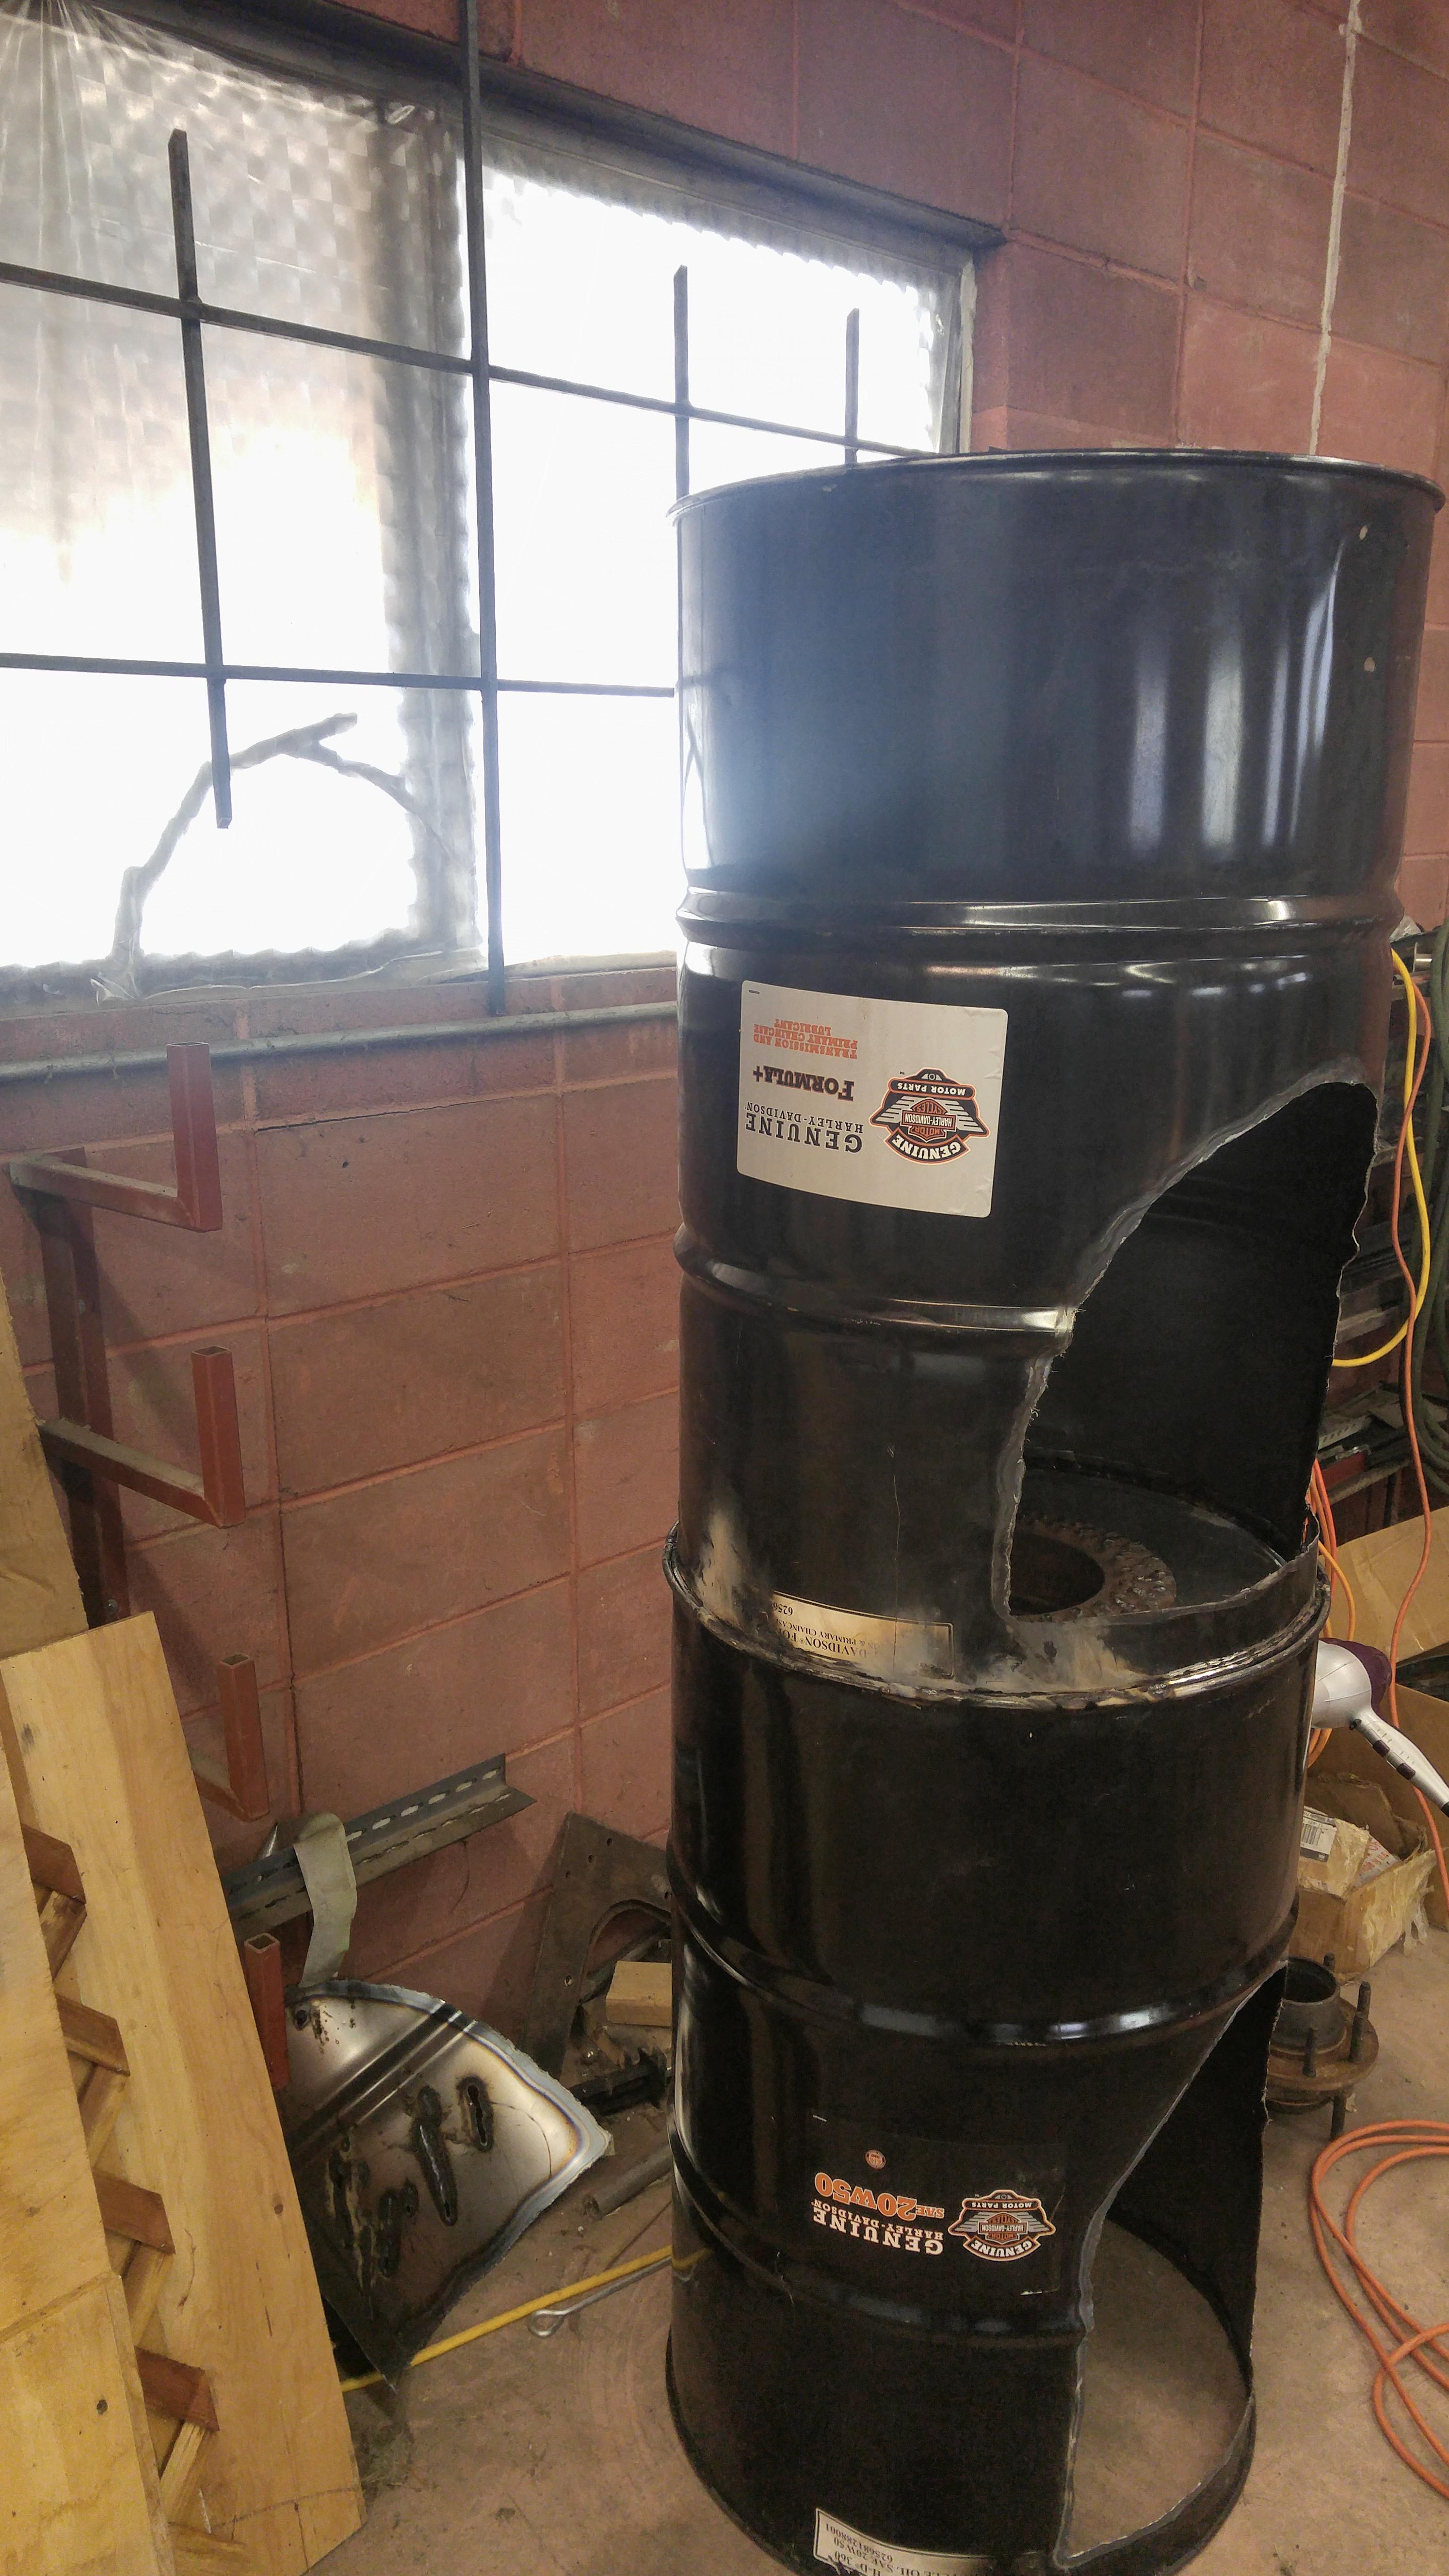
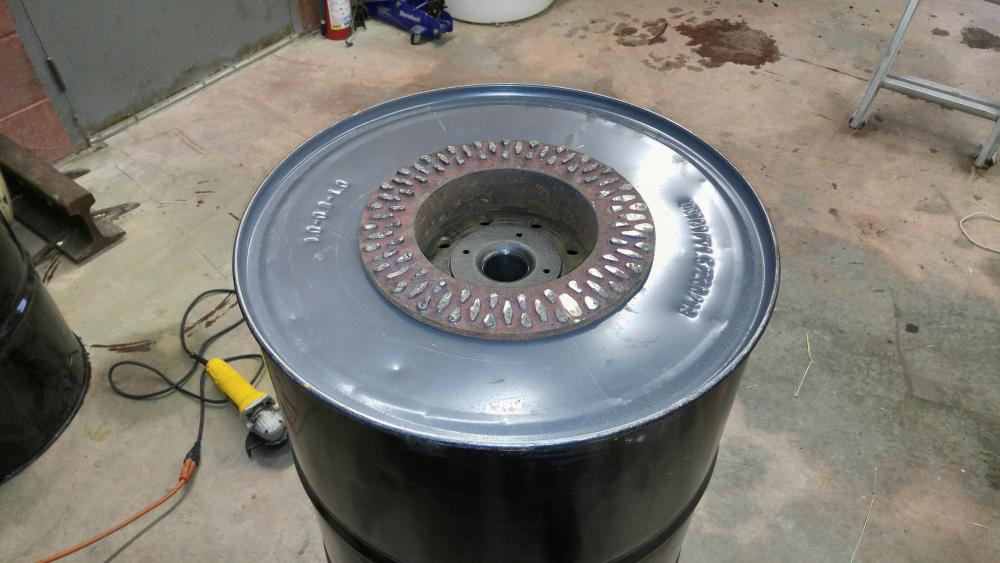
Almost done! All that is left is to plumb in the ventilation. You can see from the second photo the height of the hood next to the window I'm going to vent it out of. I'm thinking about just cutting a 12" hole just below the top of the hood and running the pipe out the window far enough out to clear the eve of the roof, then going up about 12'. I have a metal rack that I can put against the building and tie the pipe to, thereby making it temporary and eliminating any need to meet code, all the while NOT tieing into my existing duct work for my heater, violating every building code and potentially burning my shop down! Thanks for the advise guys. Tell me your thoughts please.


-
Okay, so I made it back over to my shop today. I haven't mounted my railroad rail to anything yet but it's my understanding that it's supposed to be right at knuckle height. The top of my 55 is just slightly above that (like an inch), so I'm scratching the idea of cutting it down for now. I've got another 55 that I've cut the top off of. I'm going to invert it, cut an arch into it, leaving 2" or so on the bottom, which I will then stack onto my forge and weld at the seem. I'm going to move the whole mess over next to my shop WINDOW where I can run ventilation out and up without issue. I'm thinking I'll just punch a 12" hole in the side of the hood right next to the top. I can then run the pipe at a slight declining angle out the window, put a drain hole in it right where I'll tie it into two 45 degree angles, then straight up the back of the shop and a few feet passed the top of the roof. Okay... So... Will this work? (Fingers crossed...)
-
As far as height, I was going to torch the drum off at the height I want, spilt the edges of the bottom section in a few spots and collar the top with the forge back on and down to the bottom section. I figure that will add to the structural integrity of the entire setup. I have another 55 drum that I am going to cut a large arch out of the front of and stack on to what is pictured as a hood/flu, which up until now was going to be tied in to existing ventilation. What about piping it out a window? Is there no good way to have a coal forge inside without having to run all new, independent ventilation? I'm new at this and am not real keen on punching holes in my roof for a hobby I haven't ever tried out! I'm in Wyoming where it is freezing with strong winds over half the year, so putting the forge outside is not really appealing...? I'm about to scratch the whole top ventilation and just crack the door open!
-
-
Is it a bad idea to tie my ventilation system for my 55 coal forge into the pre-existing ventilation I have in my shop for my gas heater? I am almost done with the forge and am going to follow up with an additional 55 drum stacked on top with a large arch cut into the face and notches in the back for longer pieces. The location of my forge is almost directly under one of the two gas furnace heaters I have in my shop, which uses a 6" pipe. I'm going to run 6" off the top off the forge and tee into furnace exhaust. Everything I've read says to use 10 to 12", but that is not an option. I am going to put an electric inline blower fan just after the tee but before the pipe goes into the roof, as well as two dampers on each inlet (one on the forge exhaust pipe, one on the heater pipe) so I can open the dampener for which ever component I'm using and close what I'm not. Any thoughts or suggestions on this matter would be much appreciated.
-
Howdy everyone!
I've spent many, many hours pouring over the posts on this forum and figured it was about time I bit the bullet and signed up.
I'm just starting out in the craft. I've had a book for years called "Back To Basics" which I've all but memorized. I must credit it with planting the seed of Blacksmithing in my mind long ago. I have since acquired several books on blacksmithing which I read often. I've been toying around with giving it a try for a long time and recently decided to take the plunge!
I've worked at a motorcycle shop my whole life and I have a small fortune in my tool box. That being said, I don't have many that fit this craft, which is the best part... I get to make my own tools, rather than paying for the tool guy's kids to go to college!
I'm starting off low key... I've got a bounty of 55 gallon drums, a set of rotors off my shop truck and an old shop vac to make my forge and I got an old piece of railroad tie for an anvil. If all things go as planned, I'll build up from there. I hope to eventually make a set up that requires ZERO electricity... Call it the prepper in me!
Thanks for all the great info you have all already posted and thanks in advance for the help. I try to research the xxxx out of everything I take on and will do my best to keep my posts thoughtful and questions to a minimum. My apologies in advance if a dumb ass comment or question slips in here!
-

Good Morning,
Welcome to our land of understanding. You will use the Tools you own, but not for their intended purpose. You will see different ways!! Don't paint yourself into a corner thinking only Coal, Propane is readily available and sometime it is a better choice for the Heat Source. I have multiple configurations from a 9 brick Forge to a commercial style Forge or two.
It is easy to cut a large hole in the side of a 45 gallon drum, in the upper half. The lower half can be used for your quench tank or Propane tank Heat Sink. Take a piece of Large expanded Metal to make a top in a frame. Sit this on top of the drum, make a Brick floor. Lay Bricks on their side to form a trough, with more fire-bricks across the top to make a Forge. Use a Barrel Dolly under your drum. Poof.....You have a portable Forge. Use any kind of Propane Burner, even a Tiger Torch in one end. You have Heat. No pile of dirty Coal, No dirty Coal smoke to annoy your Neighbours.
Get a container of Play-Doh from Wal-Mart for $1.00. Whatever you can make with Play-Doh, you can make with Steel. It works exactly the same manouvers.
Enjoy the Journey, there is no Final Destination. Join a Local Blacksmith Association and you will be on your way to a new way of Thinking and Looking.
Neil
-