
C-1ToolSteel
-
Posts
1,193 -
Joined
-
Last visited
Content Type
Profiles
Forums
Articles
Gallery
Downloads
Events
Posts posted by C-1ToolSteel
-
-
-
May have been somewhat of an exaggeration, but If I quit after thirty minutes, I feel like I have just started. That was my point.
-
Personally, I wouldn't bother even lighting a solid fuel forge unless I had at least two hours total. Now, there is the exception of every now and then when I need to make one little piece for something, but I can't enjoy myself if I'm in a rush. 30 minutes is about how long it takes to get your act together and get a good fire going!
-
Welcome aboard!
There is a TON of knowledge on this forum, so read, read, read! Sound's like you're off to a great start having a neighbor that wants to teach you (BIG plus). Incorporating wood into blacksmithing projects is really beautiful to see when it is done with excellence. I'd love to see more of it on this forum.
-
The best first project advise that I could give is "don't try a project first". Like JHCC said, go do a taper. Practice basic techniques until you are familiar with the way steel moves. The first thing I ever threw in a forge was a truck coil spring, and I quickly learned that I didn't even know how steel heats! You will find the most satisfaction if you start with mostly "I cans" instead of the "I can'ts" that most of us get started with.
-
Well, I couldn't tell you if I would have pulled the trigger or not, because I don't know how much you paid. ...but DUDE, that's a stinkin' gold mine! Don't worry about the rust. That's why they make wire brushes.
-
JHCC, yes it is.
That's why I was suprised to see it on a non-farrier's style anvil.
-
Nice anvil!!
Think one of those pritchel holes was drilled more recently? Surprises me to see that on a regular smith's pattern.
-
Aww! So cute!
-
Thanks, y'all!!
Frosty, I was thinking about twisting the strands. I'll have to try that when I get a chance! Pineapple twist?... That would be pretty wacky!
-
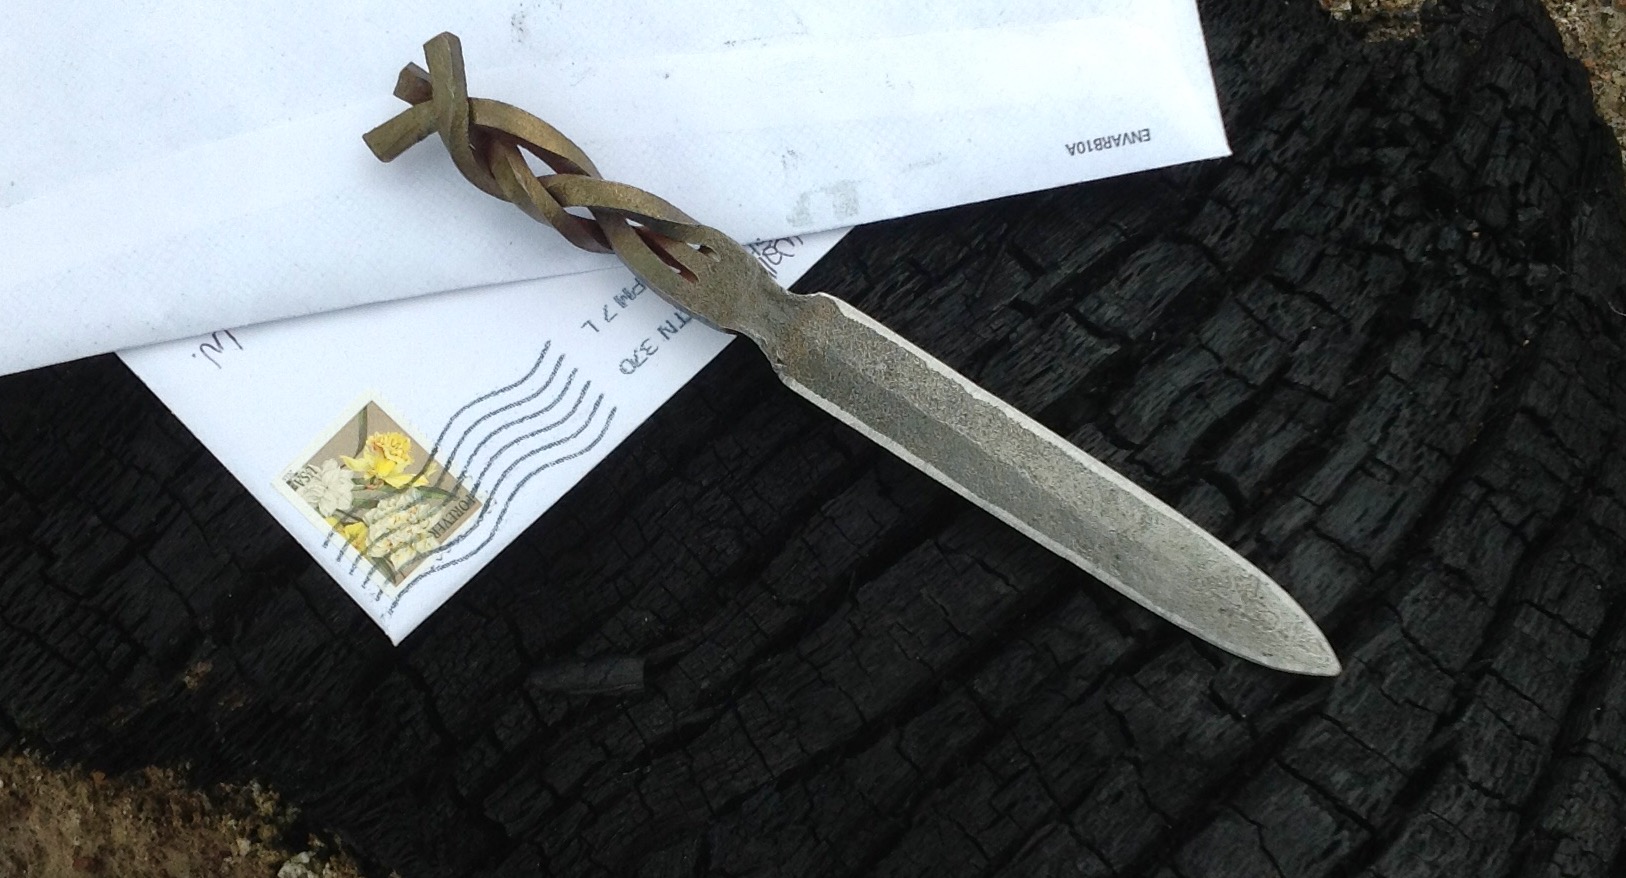
Took it out of the vinegar and wire brushed with steel, Then did the brass brush. I figured out that thinking "diagonal" rather than "vertical" helps a lot with braiding steel! That, and using a torch...

I may use a torch and angle grinder, but I'm not cheating, as long as I'm the one making the rules!
-
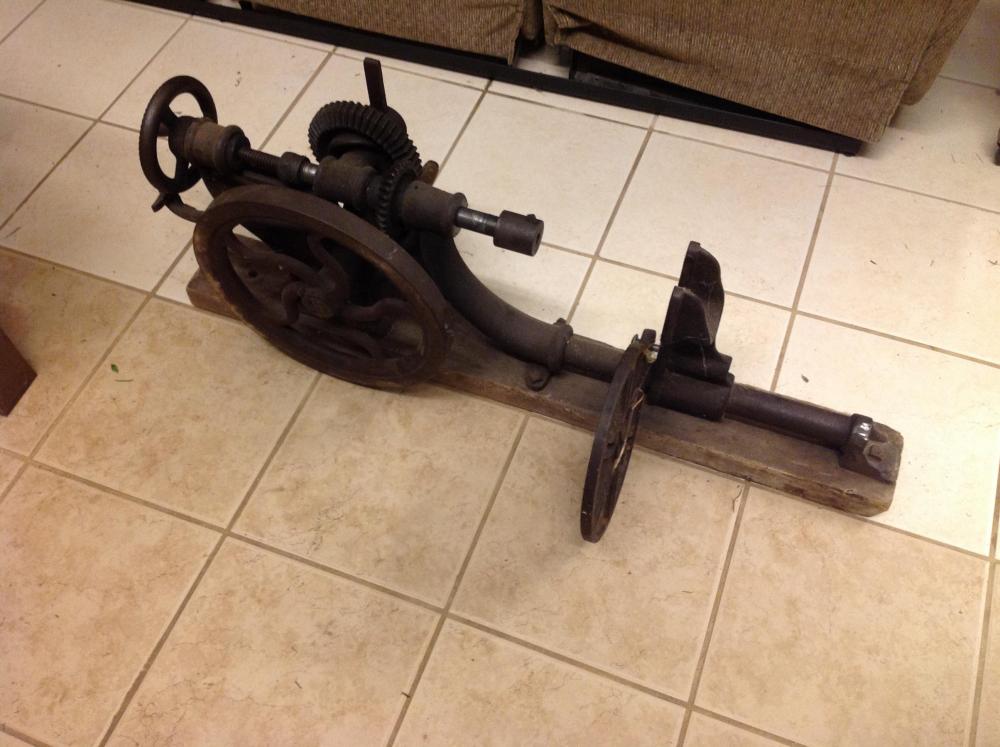
Tubalcain2 gave (yeah, GAVE) me this post drill. THANKS BRO!!!
-
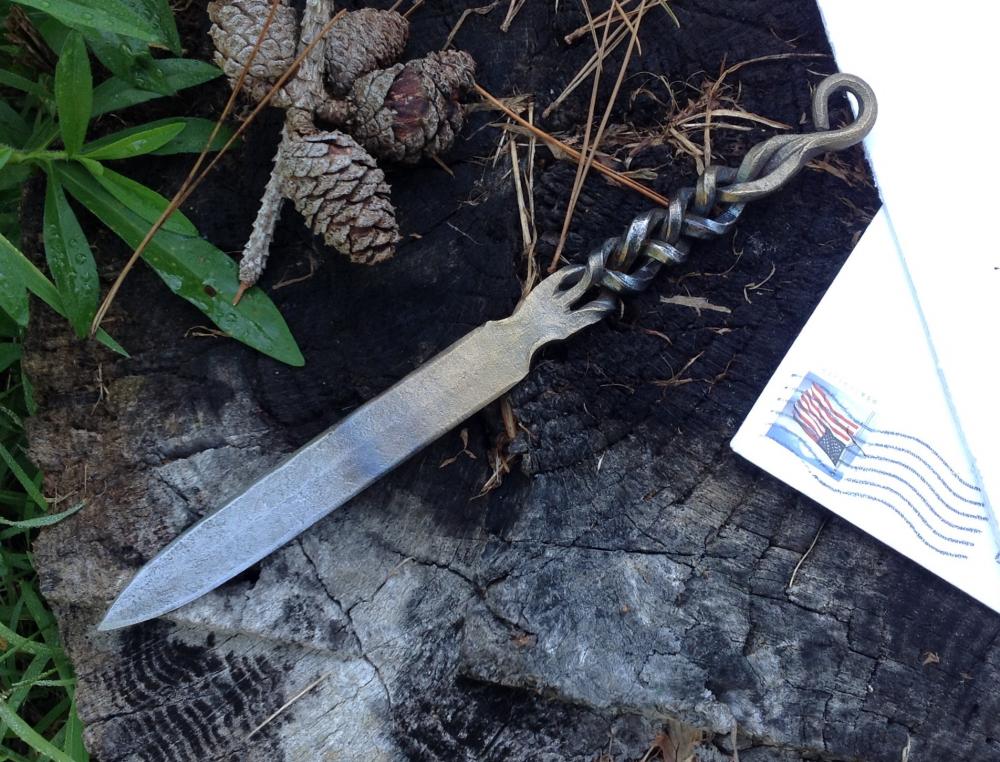
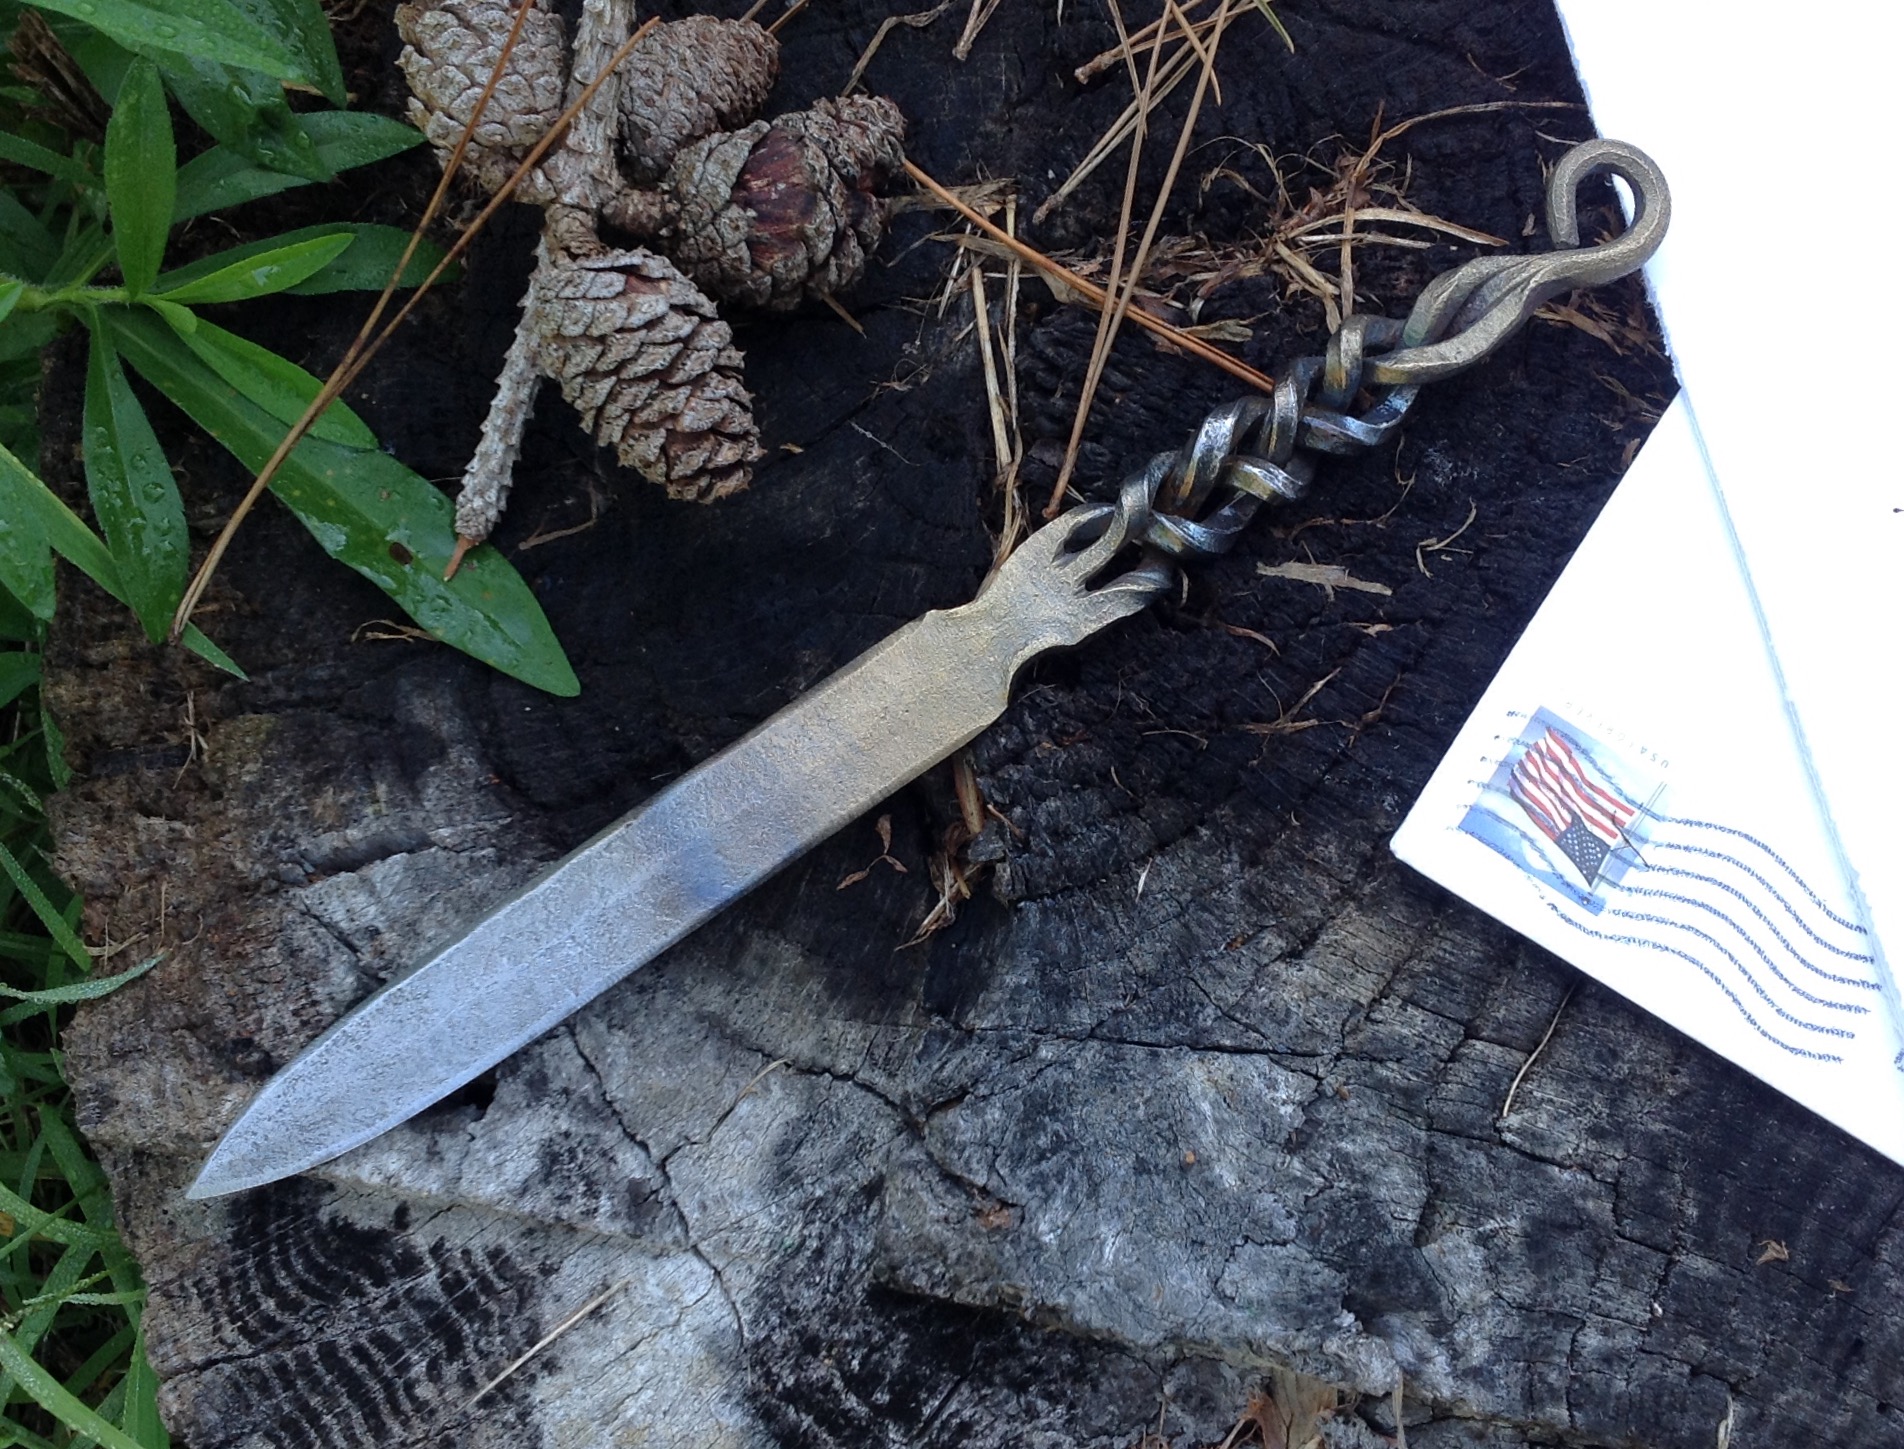
Nice letter opener! The blade is well shaped and symmetrical. I like the braiding idea ... what was your starting stock? I'll guess at 19mm x 6mm.
Thanks! That would be a great size to start with, but I actually started with 1/2" round due to lack of options... I made a new one today starting with 3/8" square which was a better choice.
next time try to split the ends with a hut cut instead of a cut off wheel.
")
Life's too short, bro!

@C-1ToolSteel, if you put a very slight bevel on all the edges of each strand before you braid them (either with a file or with the hammer), that would both look and feel better. Those ends do look like they're going to snag on something, so you could either round the very ends (if you want to keep them sticking out) or tap them towards each other so they don't stick out. If you really wanted to get fancy, you could forge weld them back together!
That's a good Idea. I actually did take a hammer to the corners of the one I made today, and I like the way it turned out. As for rounding the ends, I actually rounded them very slightly, but you can't really see it in the picture. As for the forge welding idea, I was thinking the same thing. I decided to go ahead and accept the challenge... I'll post a pic tomorow, after I take it out of the vinegar and add the final touches!
-
Thanks, Frosty. I thought about doing that, but at the time, I thought it would look cooler this way. Hopefully, I can try out a few more soon, and do some variations. I have some more silly ideas floating around...
-
Thanks.
")
Actually, It's the customer who gets to decide if it looks good, not the experts!
-
Oh, I forgot to add...
If you ever need any other anvils dated, Just ask C-1!
-
Congratulations! Praying that the two of you will have a very blessed marriage and stick together your whole life.
-
7 hours ago, Pupmaster said:
Just don't try to beat the size of Tc2's letter opener... it can't be done. ;-) Nice work.
Oh, You should've seen the letteropenosaurus I made when I was starting out!
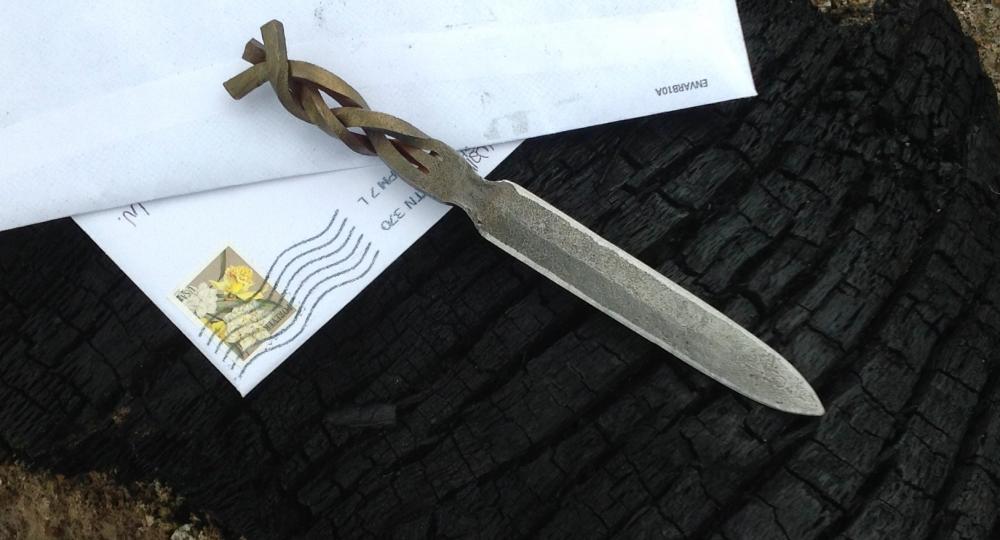
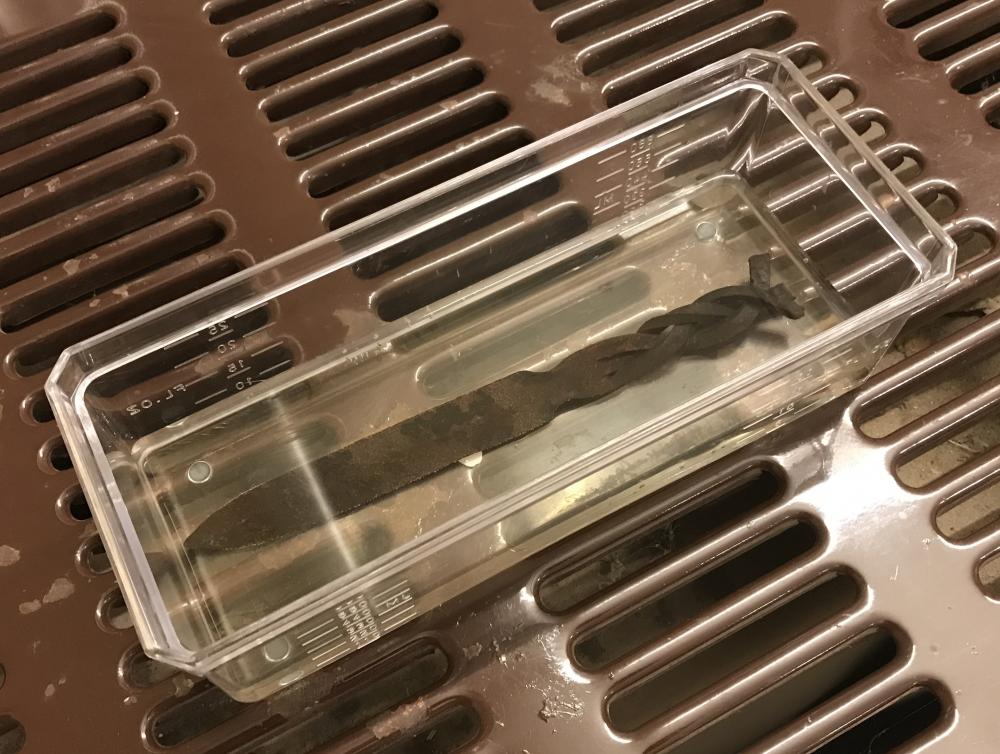
Update: I took it out of the vinegar and wire brushed it. Man, I will be doing this again fore sure! Thunbs up for the vinegar if you want to make small things "real nice and shiny like".
I did go ahead and take a torch to the handle and give it a bass brushing.
I'm trying to figure out where this fall's between artistic and sloppy. Sloptisic??
It'll definitely be fun to play around with a few more of these.
-
1914 (I just saved you sixty bucks...
 )
)
-
20 minutes ago, Tubalcain2 said:
I like the handle on that letter opener, Chris. the braid could be a tad tighter, but hey, who cares.
Yeah, I just hope it doesn't fray...
-
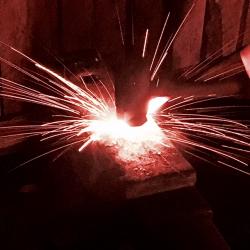
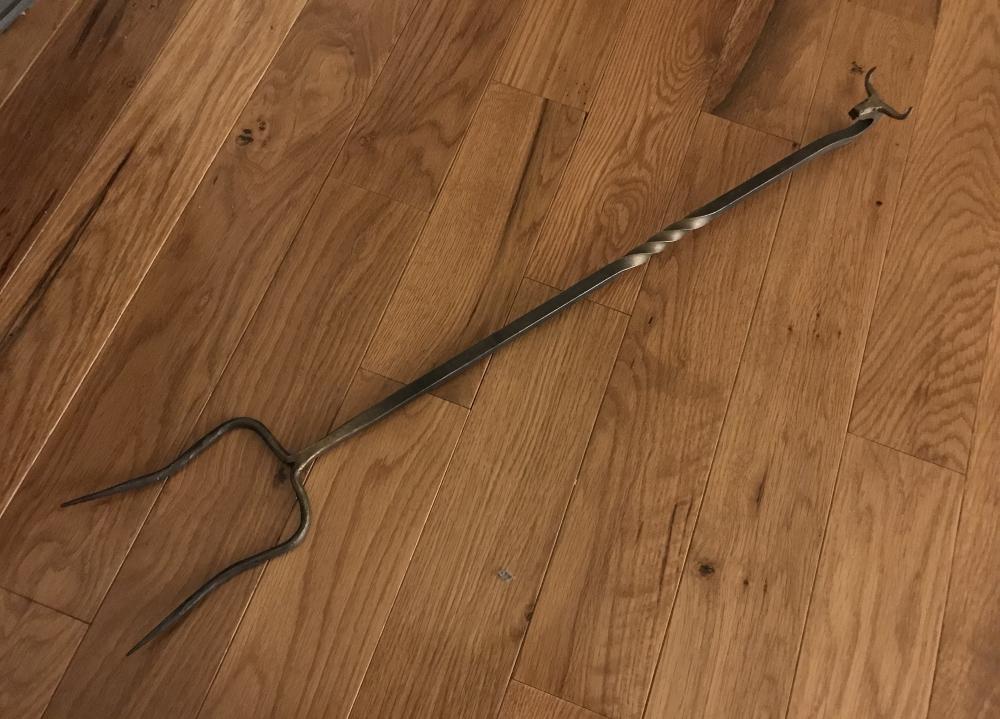
I finally got a little shop time in today. Made one of them "moo cow" forks as a thank you to my neighbor who gave me a bunch of free posts. After that, I couldn't just make one thing, so I made a letter opener. I'm gonna try soaking in vinegar instead of the usual wire brushing to see if I can get it "real nice and shiny like".
") Stay tuned on how that goes!
Stay tuned on how that goes!
-
As always... Woah!!
I think it is really cool to find a hidden detail or a little touch that you don't see right off the bat. It's like the etching on an old pocket watch movement.
-
What medium you use to quench will not affect the tempering colors. The colors are an indication of how hot you are tempering and how much hardness is being removed versus how hard the steel is. Sometimes, you will do an edge quench and get a slightly darker color on the edge, because the edge is thinner. This means that a little bit more hardness has been tempered out of the edge that the rest of the blade. However, the edge is still harder than the spine, because it started way harder prior to tempering.
-
Yep, total steal for 50 bucks! It's a pre 1908 Hay Budden with a faceplate. In sweet shape, too!


Anvil for a *very* junior member (pic heavy)
in Member Projects
Posted
Check and see if it has the "best scrap" logo!