TFT
Members
-
Joined
-
Last visited
-
Maybe my mental image of a clock is off but the "4 o'clock" angle would be impinging on the tender walls more.... but im just "people". And yea i dont have hundreds of years of forge building under my belt but i know what a clock looks like
-
Put your burner right on your "4in" height line... parallel to the floor
-
Emotionally invested? More like financially invested. And yes i said heavier and i dont have a stand(yet) and want to get forging asap so im not gonna wait to make a stand. And sorry but noone said a vertical forge was a mistake untill now . Unless youre still hung up on the plaster... which noone has pointed out a reason not to use it how i have... under kitty litter under kastolite under insboard and under the major heat. Ill just make my forge quietly then
-
Hey the only reason i went with the plaster is for the weight of it and heck i would of used gold if only it was cheaper........
-
I wasnt saying it was dons motive just that its A benefit
-
One benefit of the vertical format is your burner(s) wont suck exaust gasses... i assume since they should be below the exaust ports
-
-
Adding the wool to the floor should help alot. As its making the chamber smaller... maybe make it a D shape....just a suggestion
-
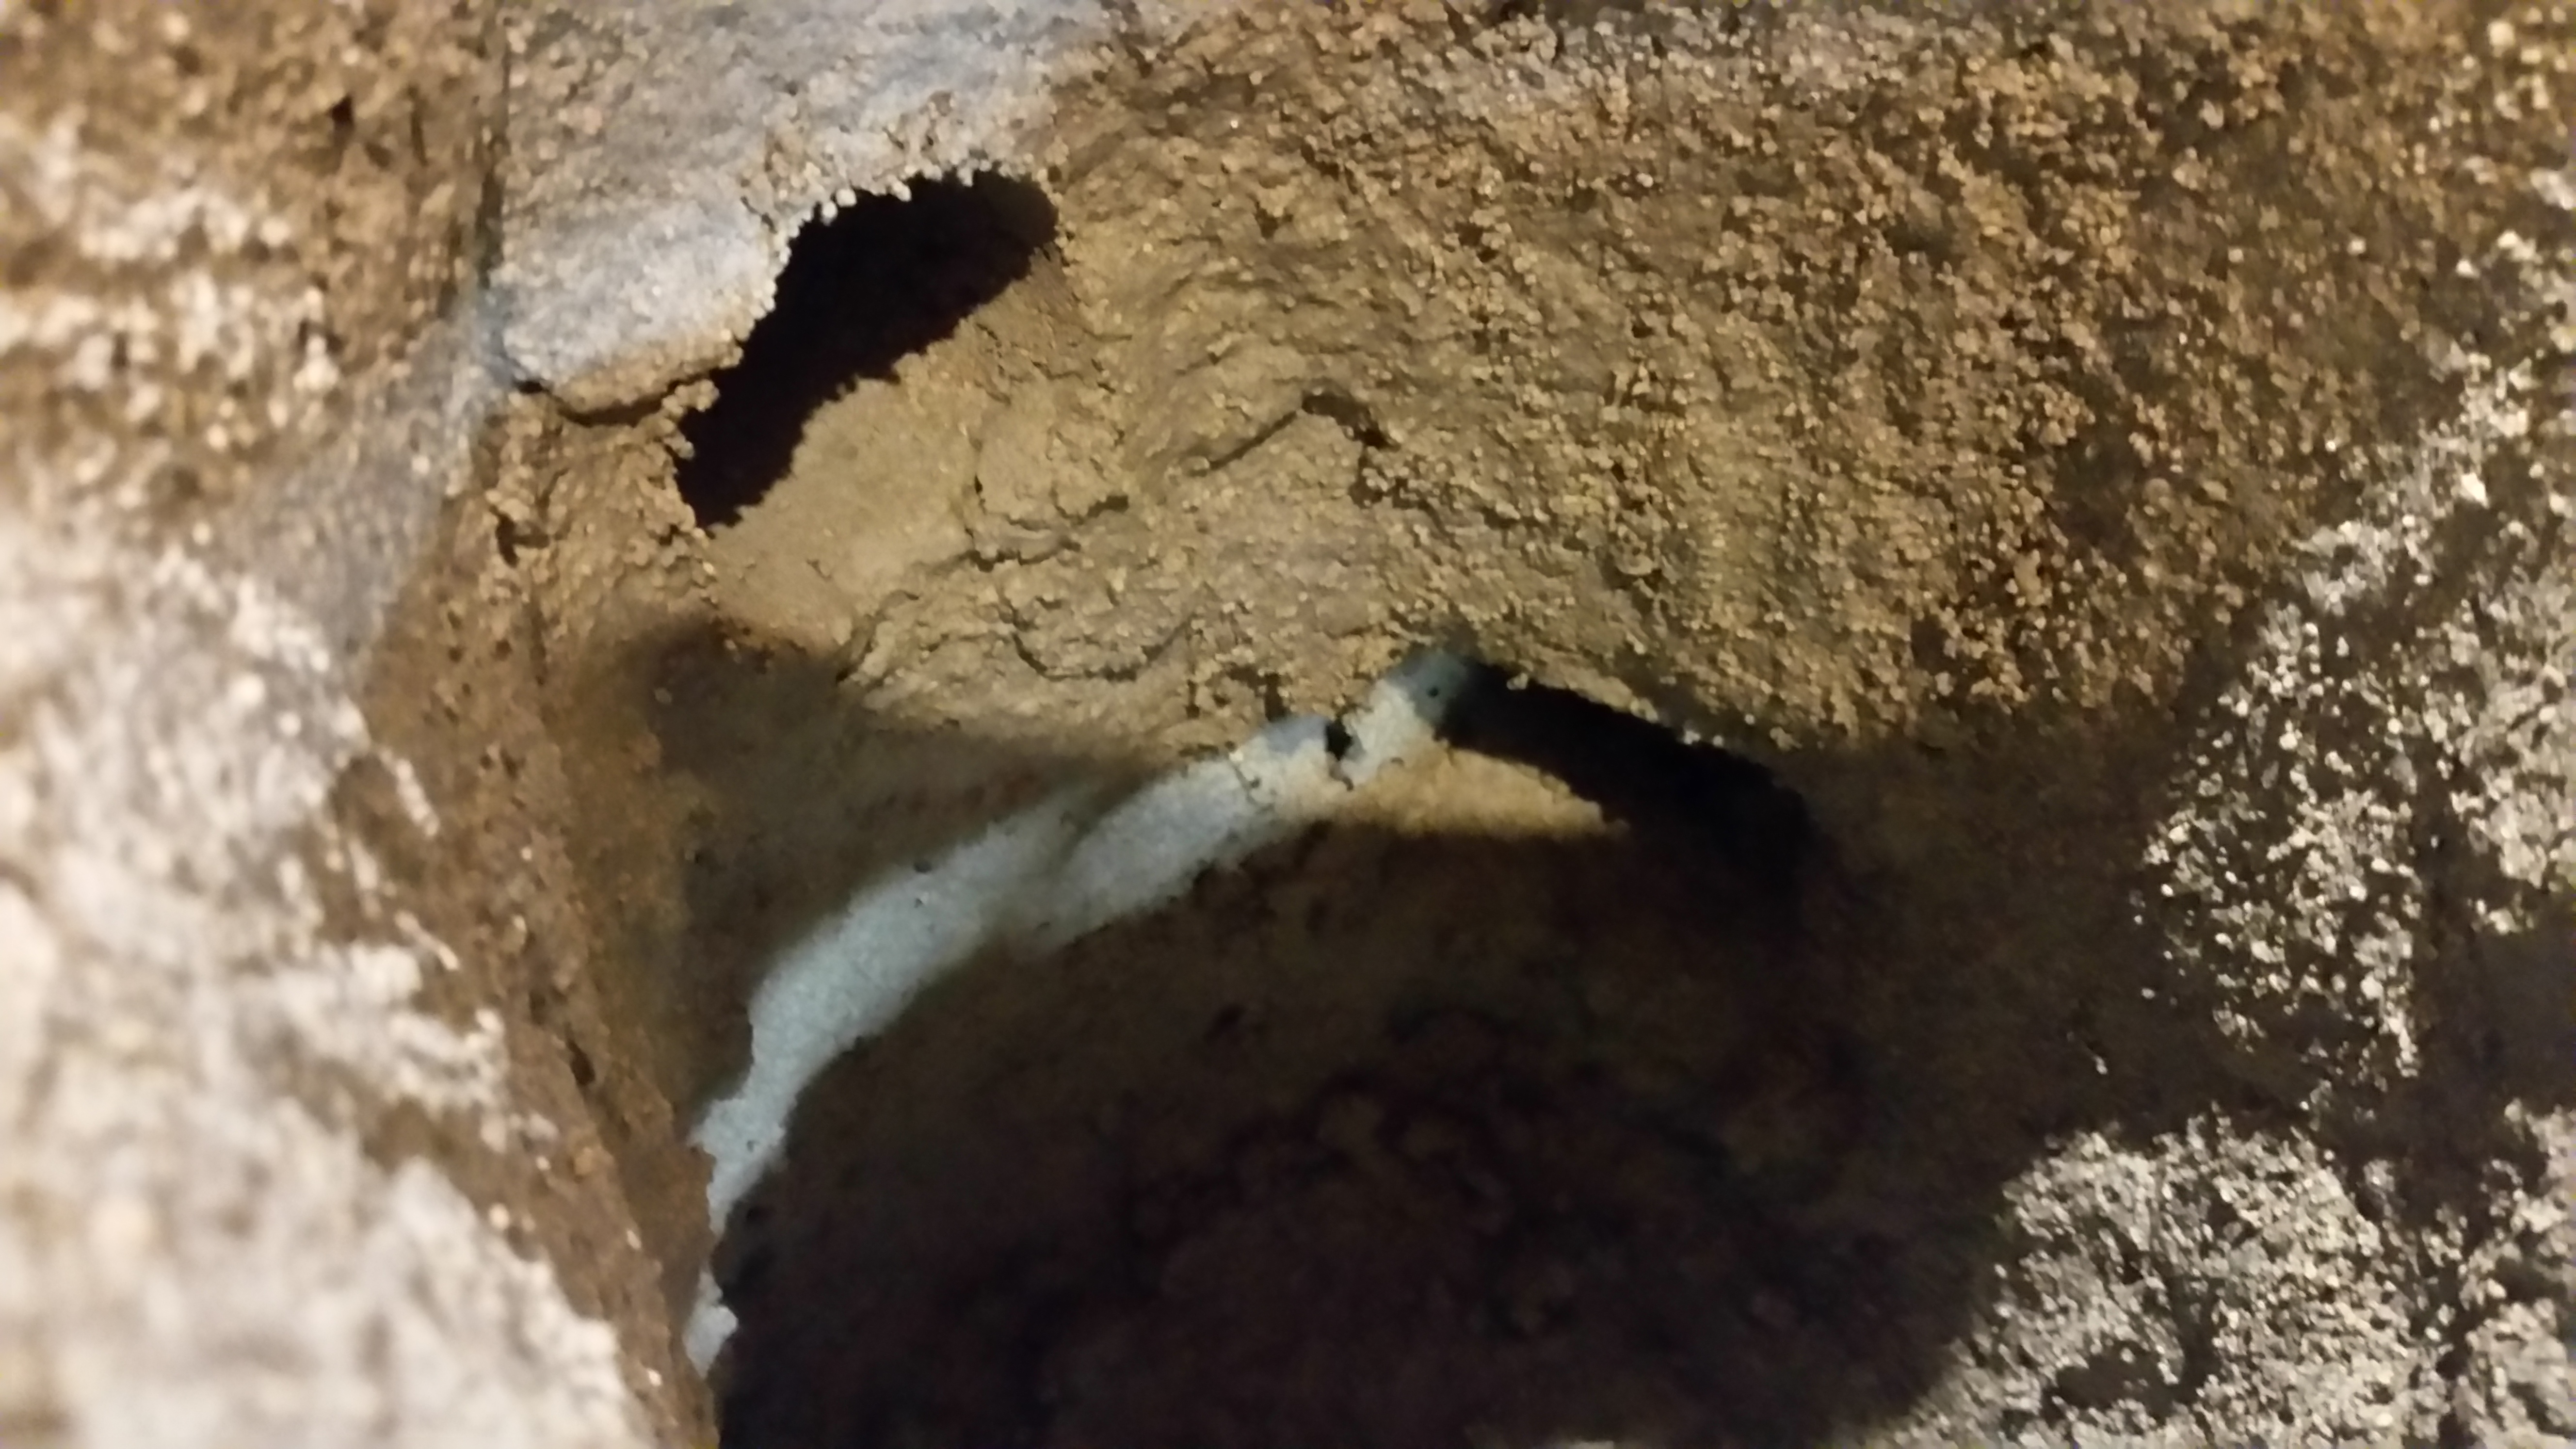
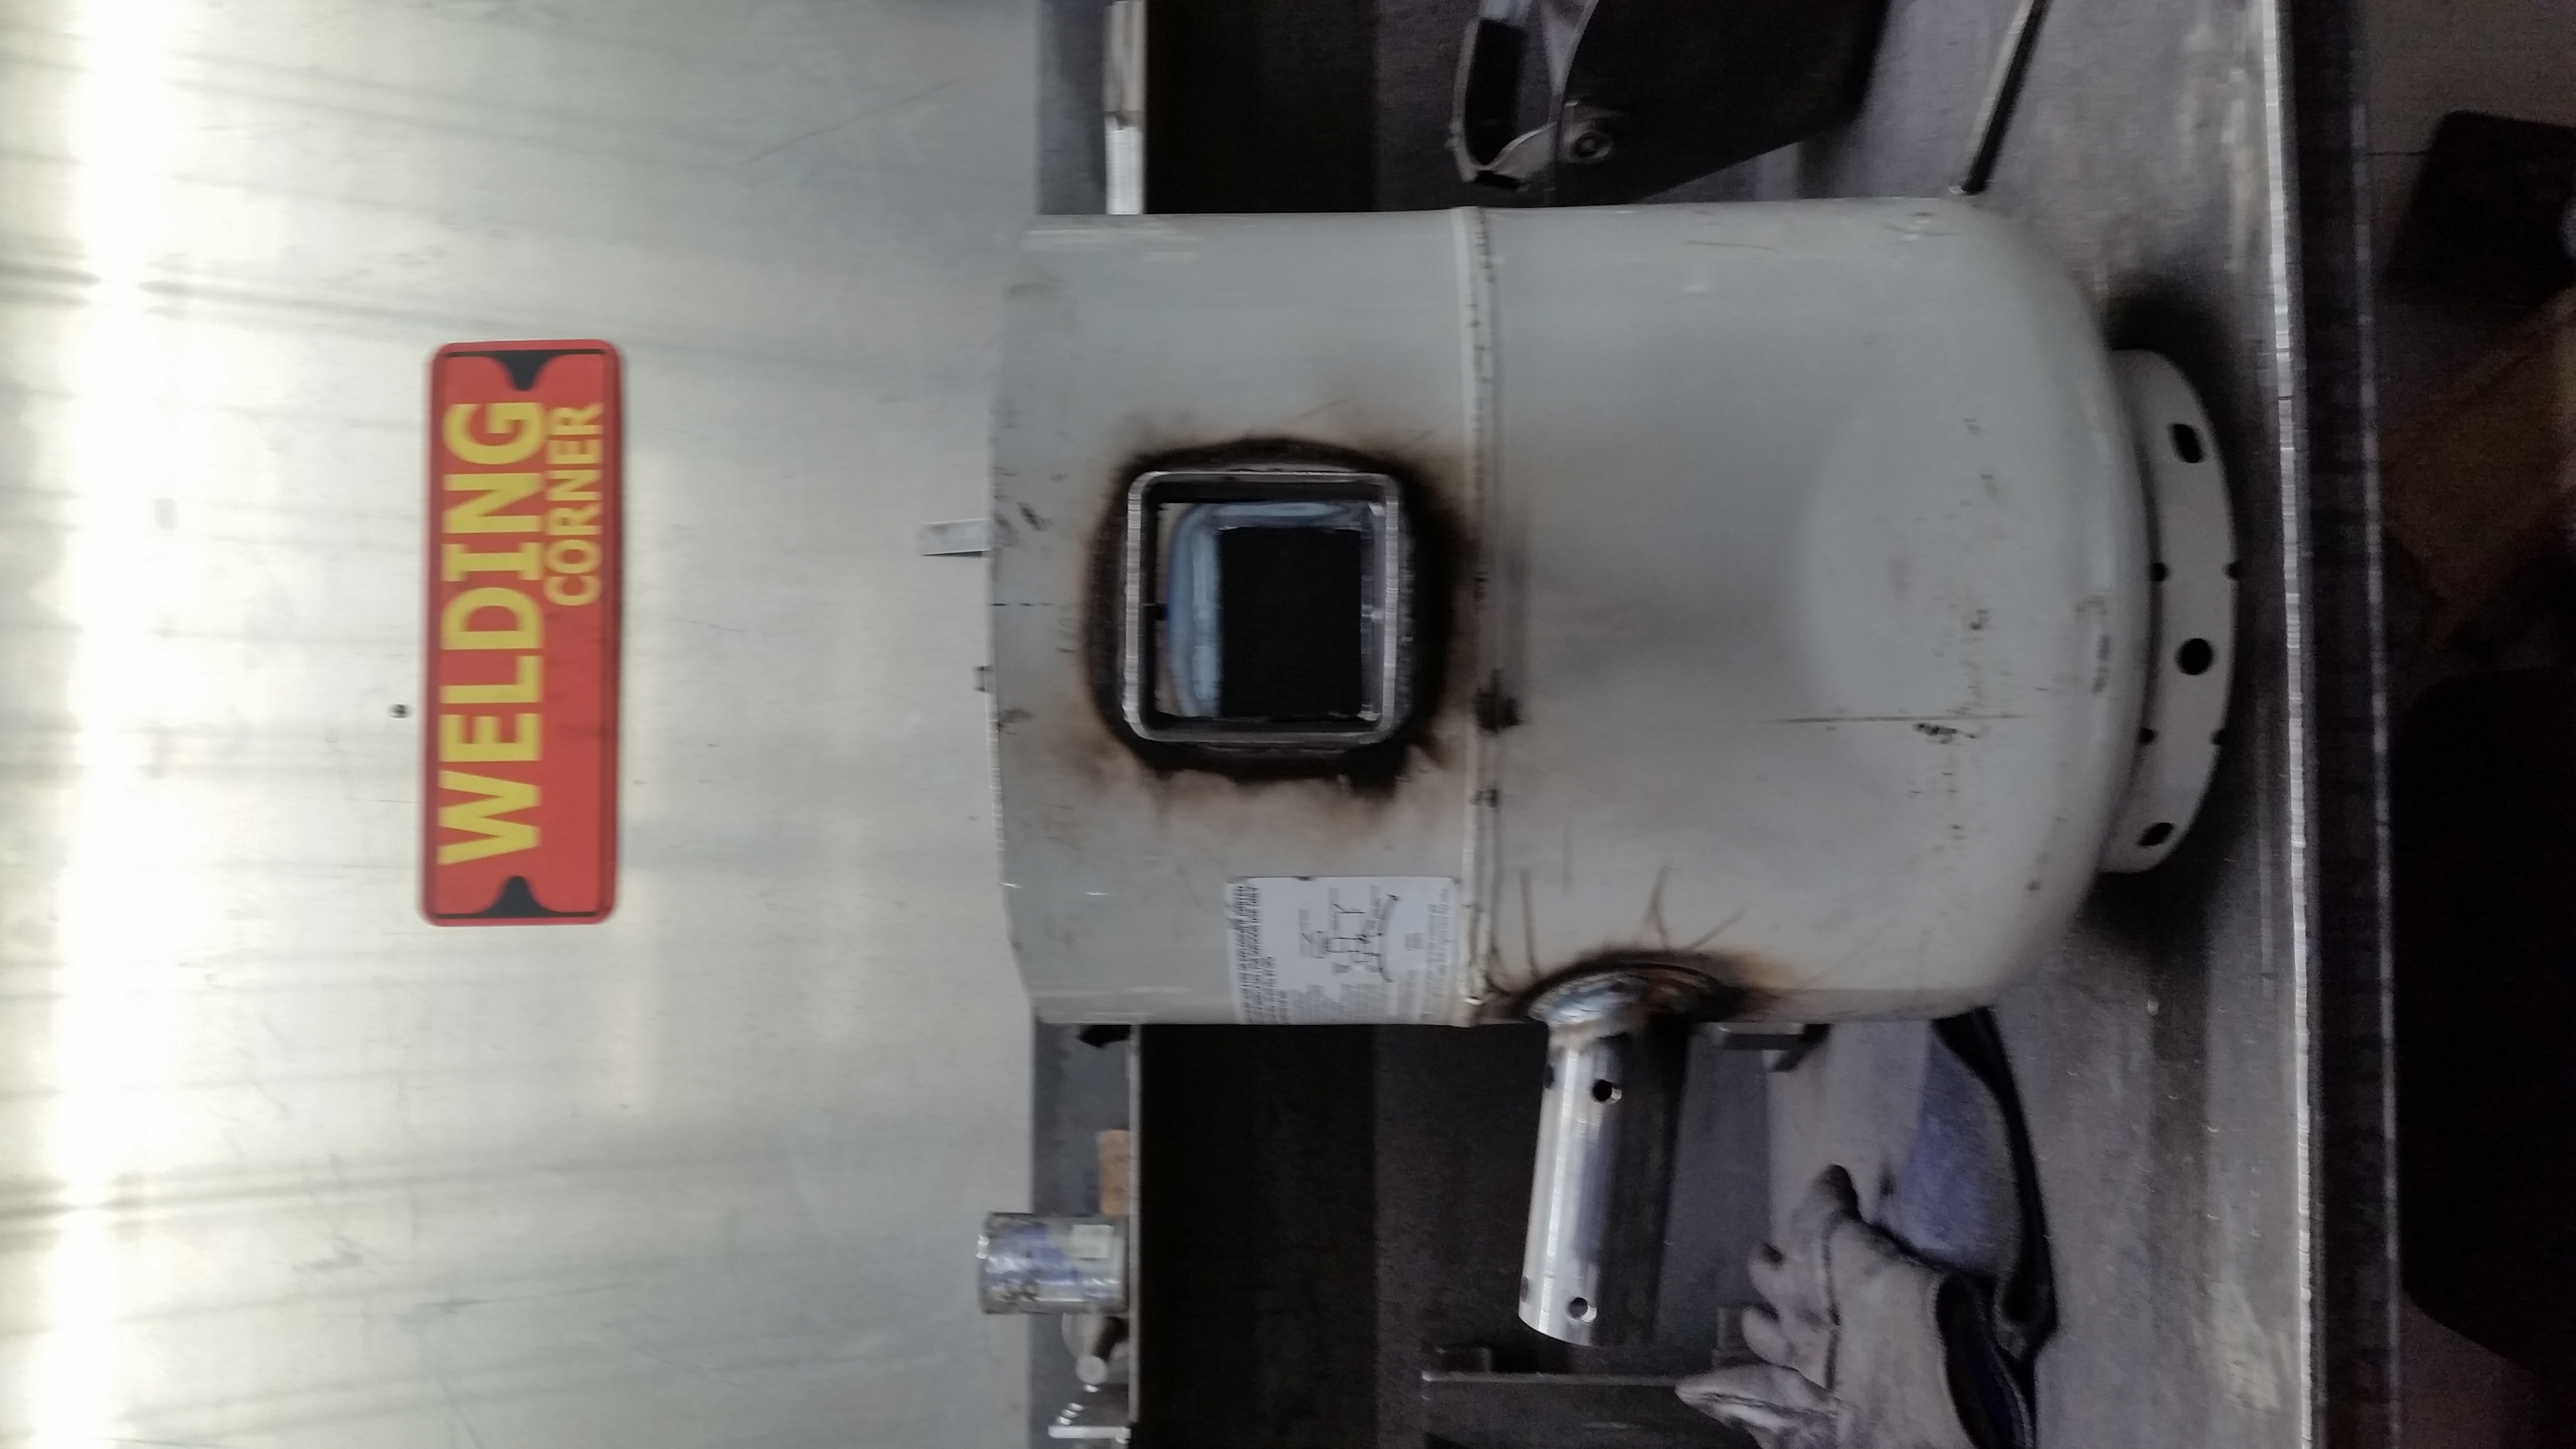
UPDATE: ridigized the kaowool(curred by attaching a hair dryer to the burner port)( not pictured... sorry), added kastolite layer to the chamber walls, floor, back exaust port (modified my construction plan beacuse it turns out kastolite doesnt like hanging upside down) main exaust port floor.

-
-
Read the forges 101 thread... lots of info like for one i would add a layer of hard refractory to resist flux but a kiln shelf floor works too(ive heard)
-
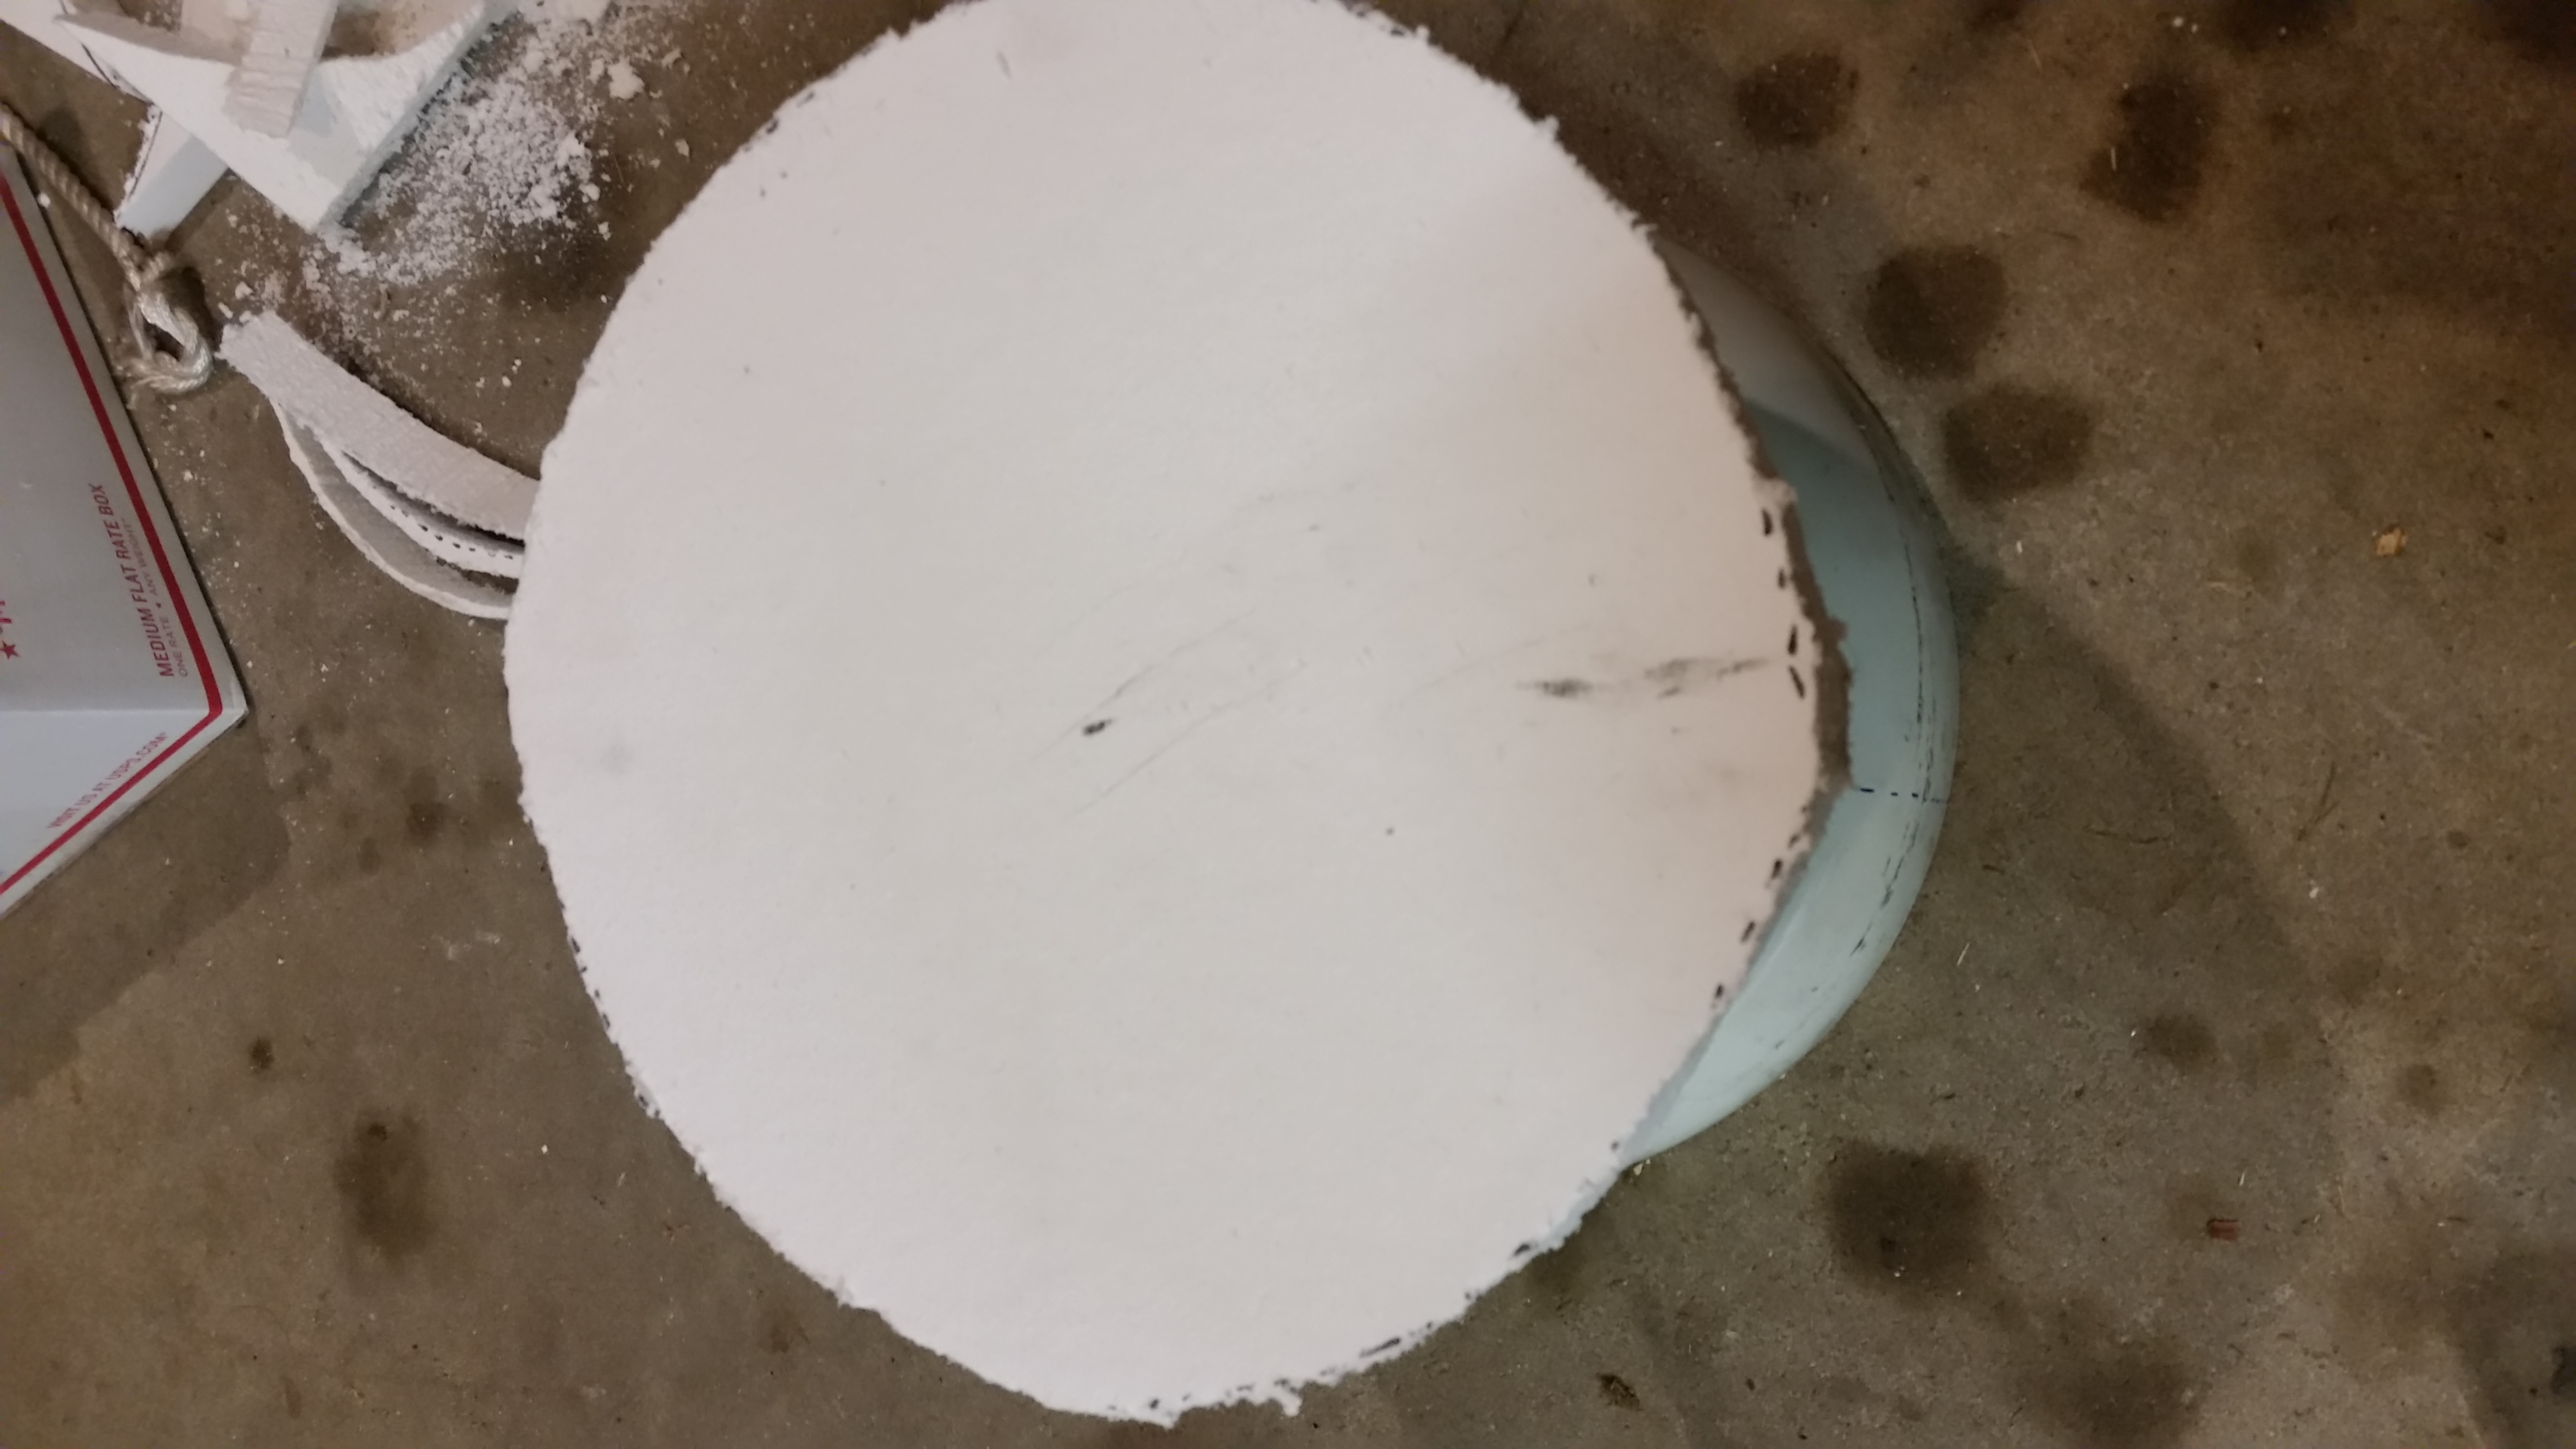
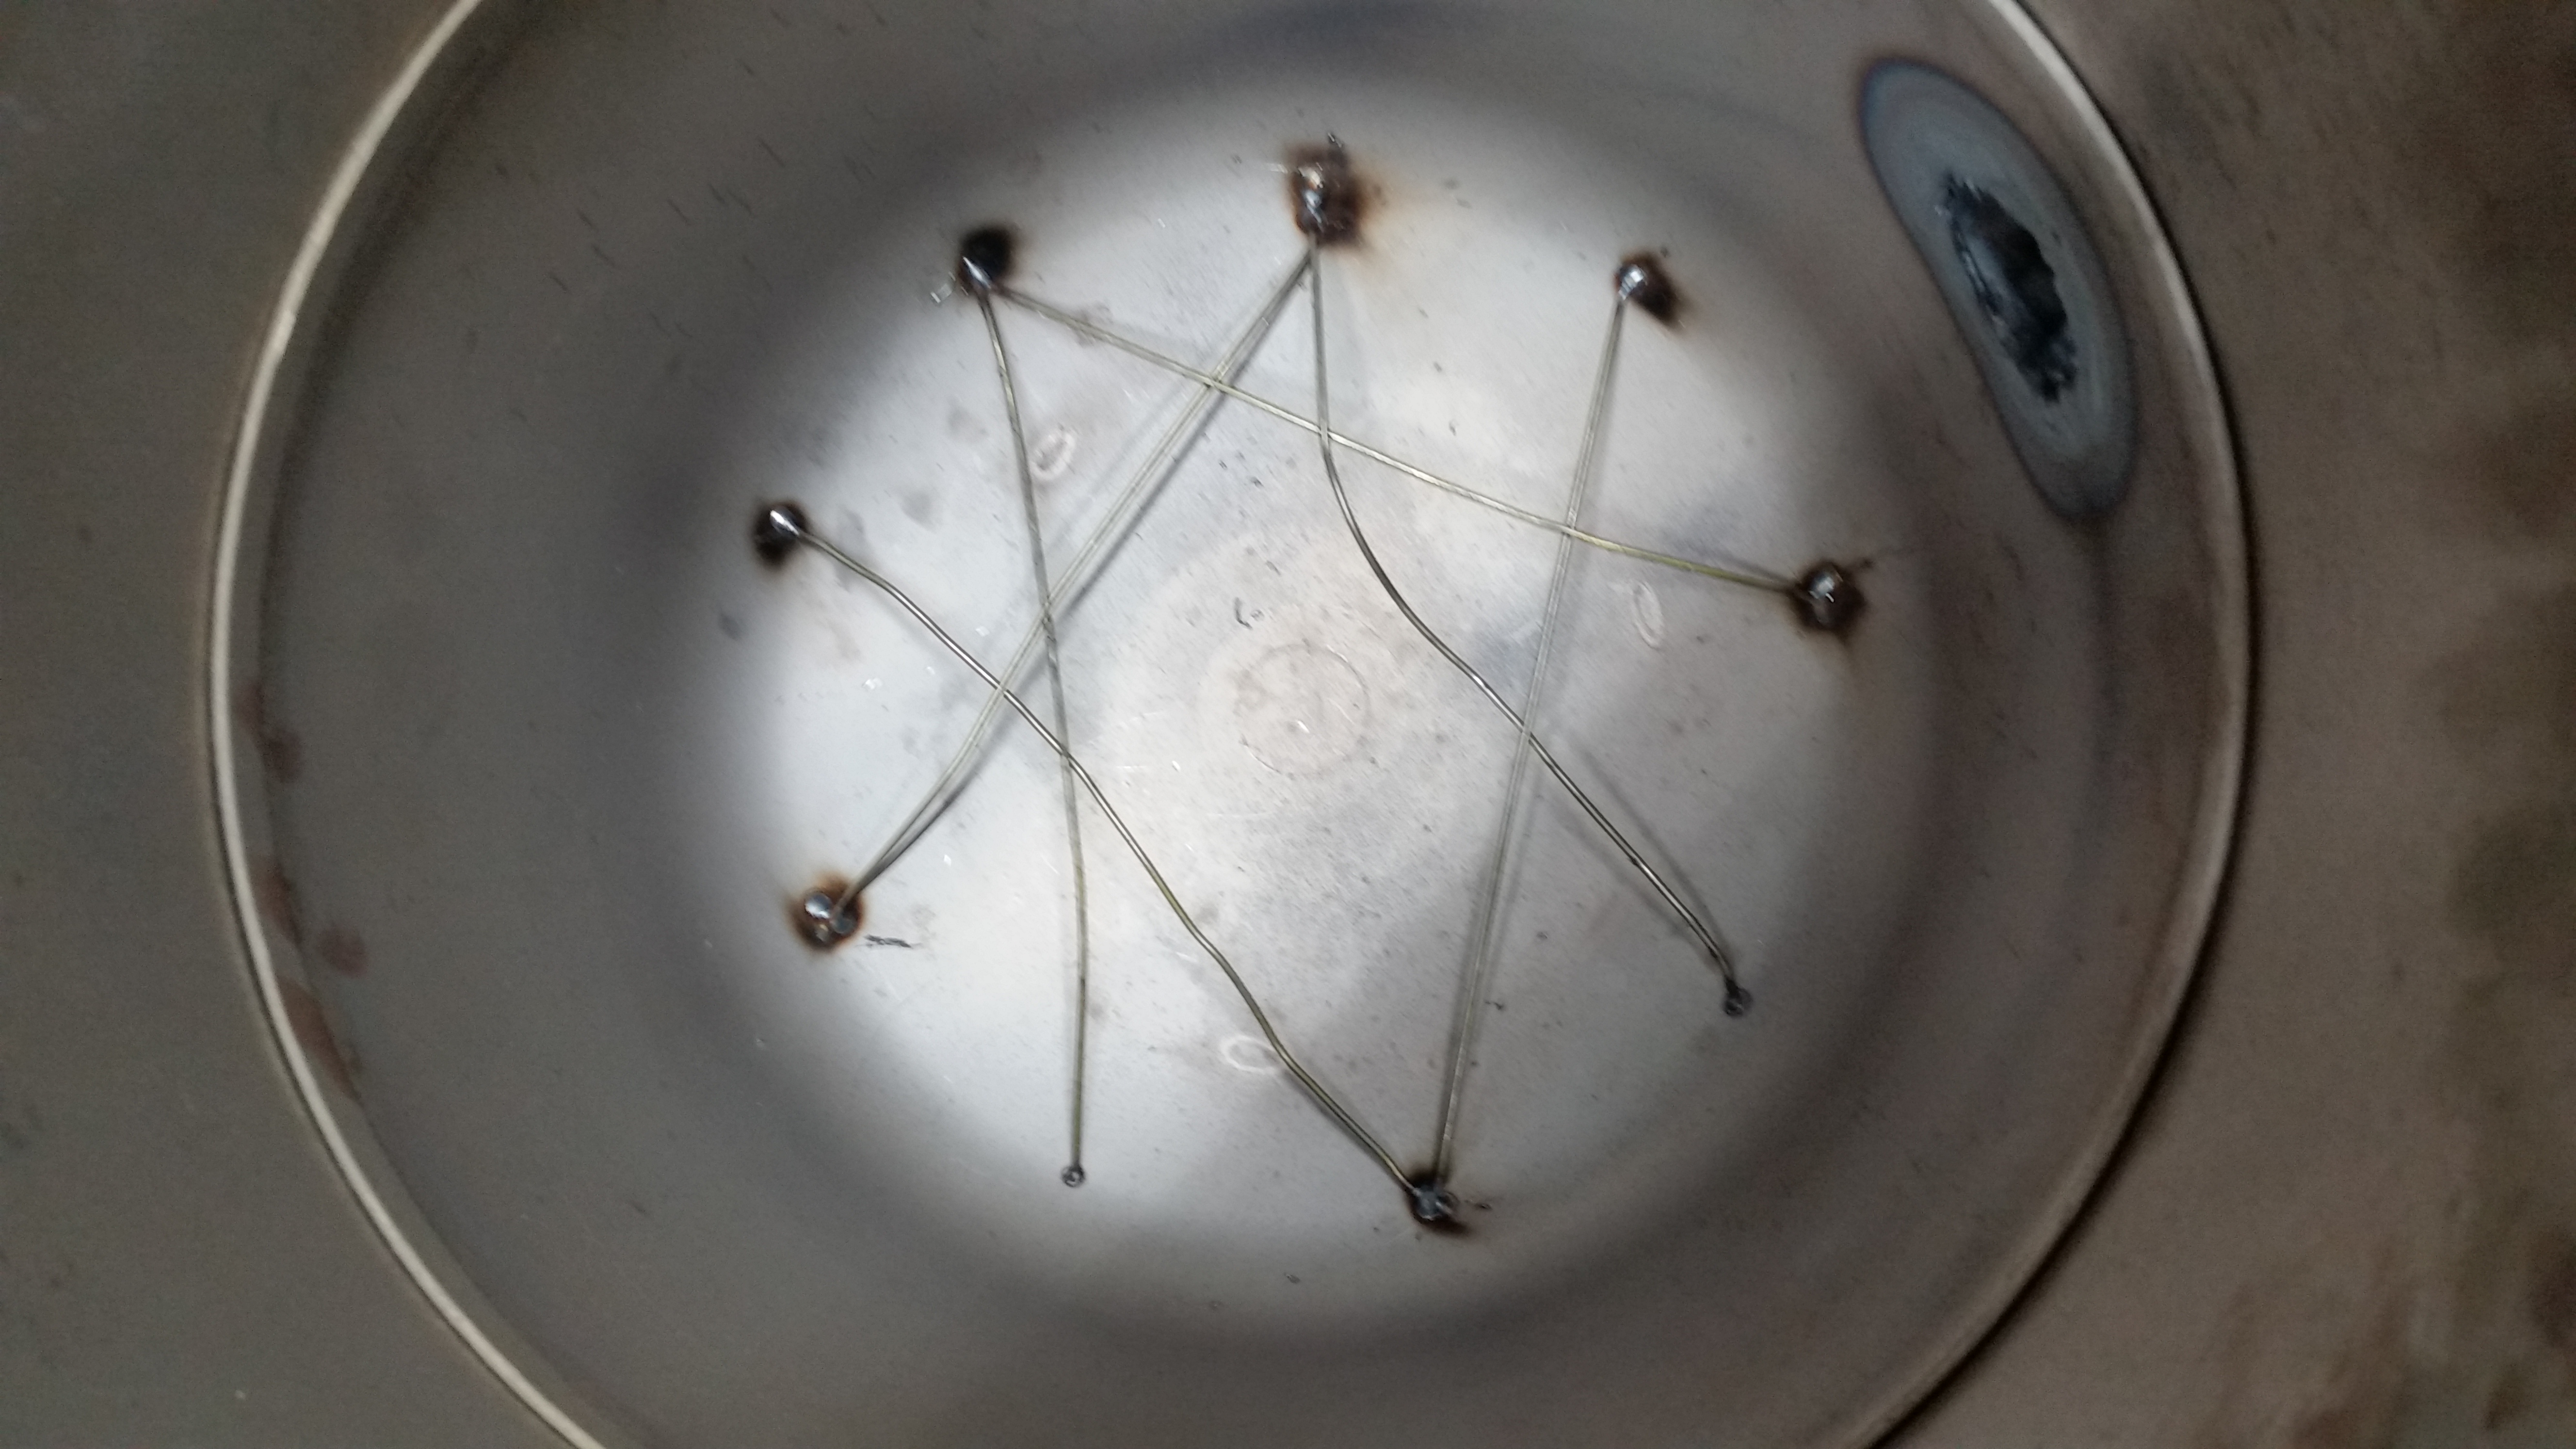
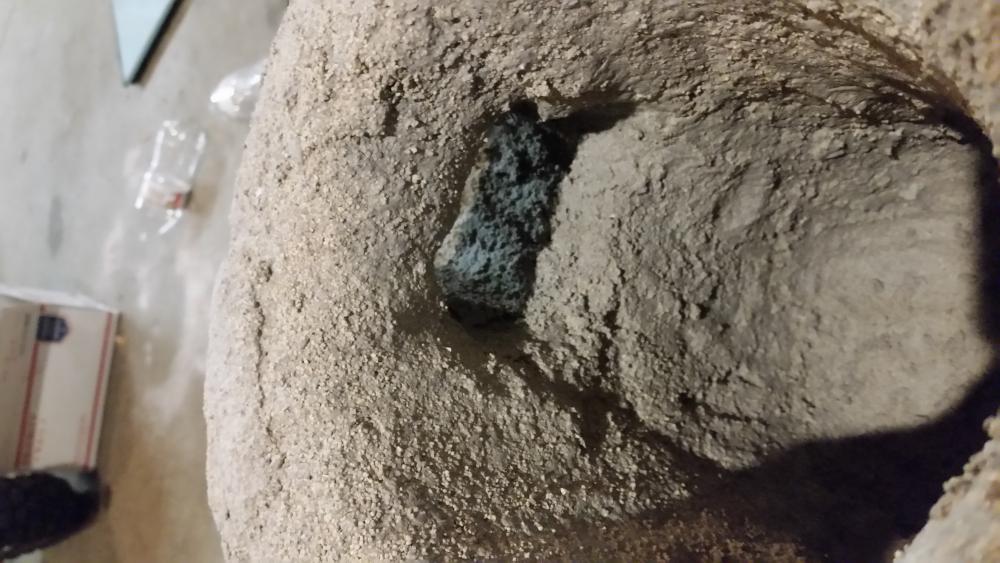
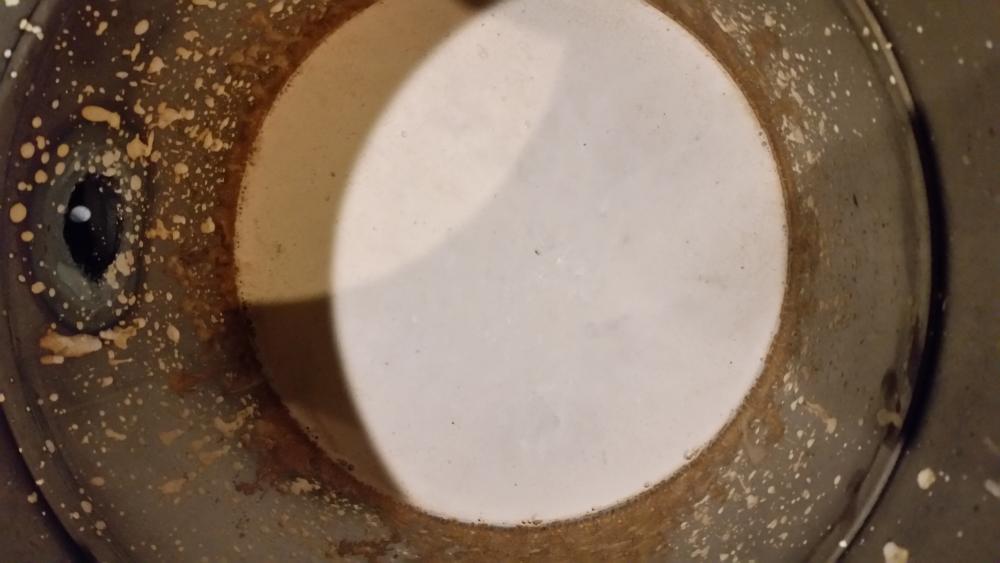
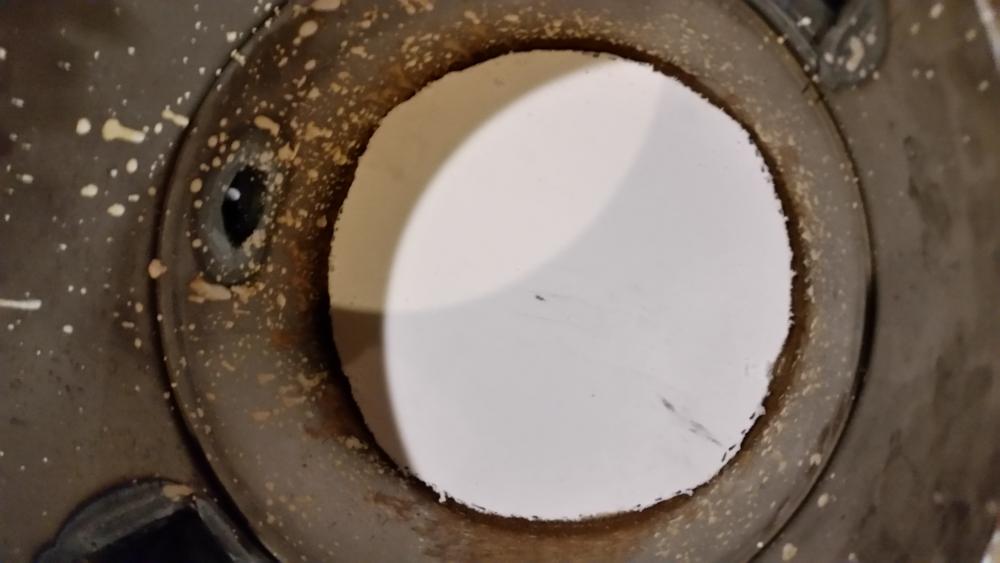
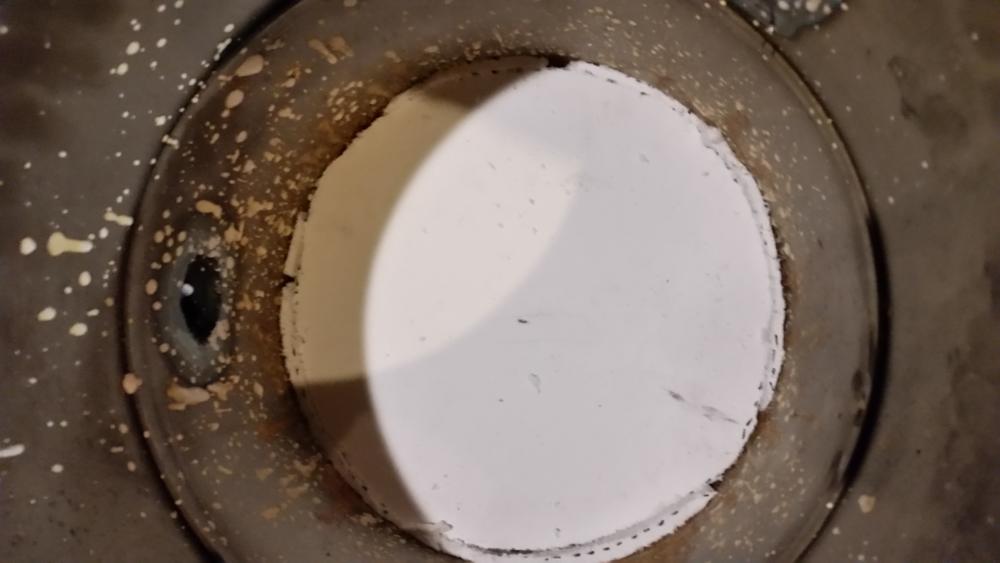
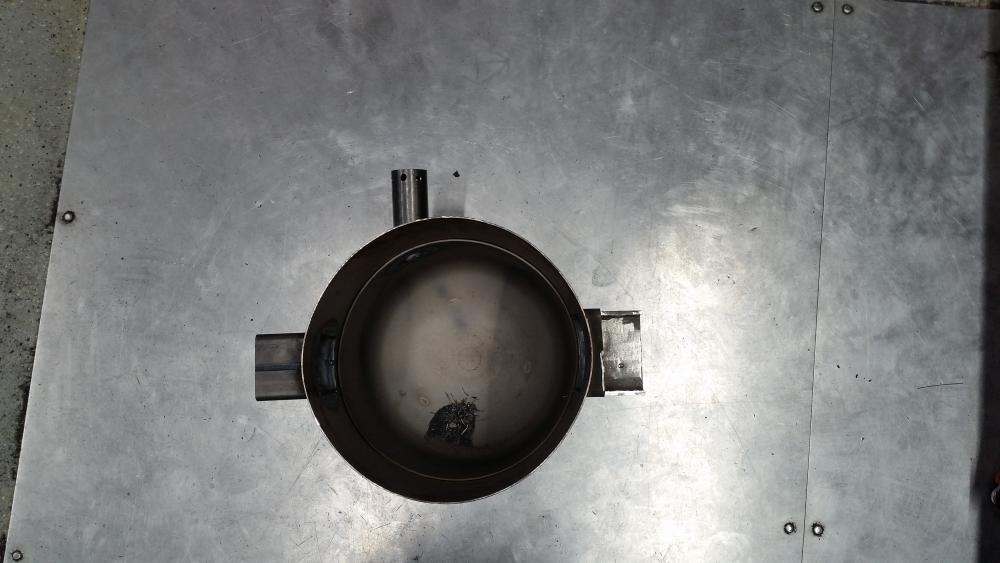
UPDATE: poured PoP, let dry for a few hours, cut the insboard... a few times(ended up working out, read on for details), put the insboard disc into the shell then put the pieces from the second cuts around the insboard disc(had to cut smaller because of the seam in the tank). PoP Insboard disc Insboard disc in the forge Insboard disc with "shims" in place The chambers current depth 12 1/2" deep... exactly what i was going for. I LOVE IT WHEN A PLAN COMES TOGETHER! But thats all folks (for today)

-
-
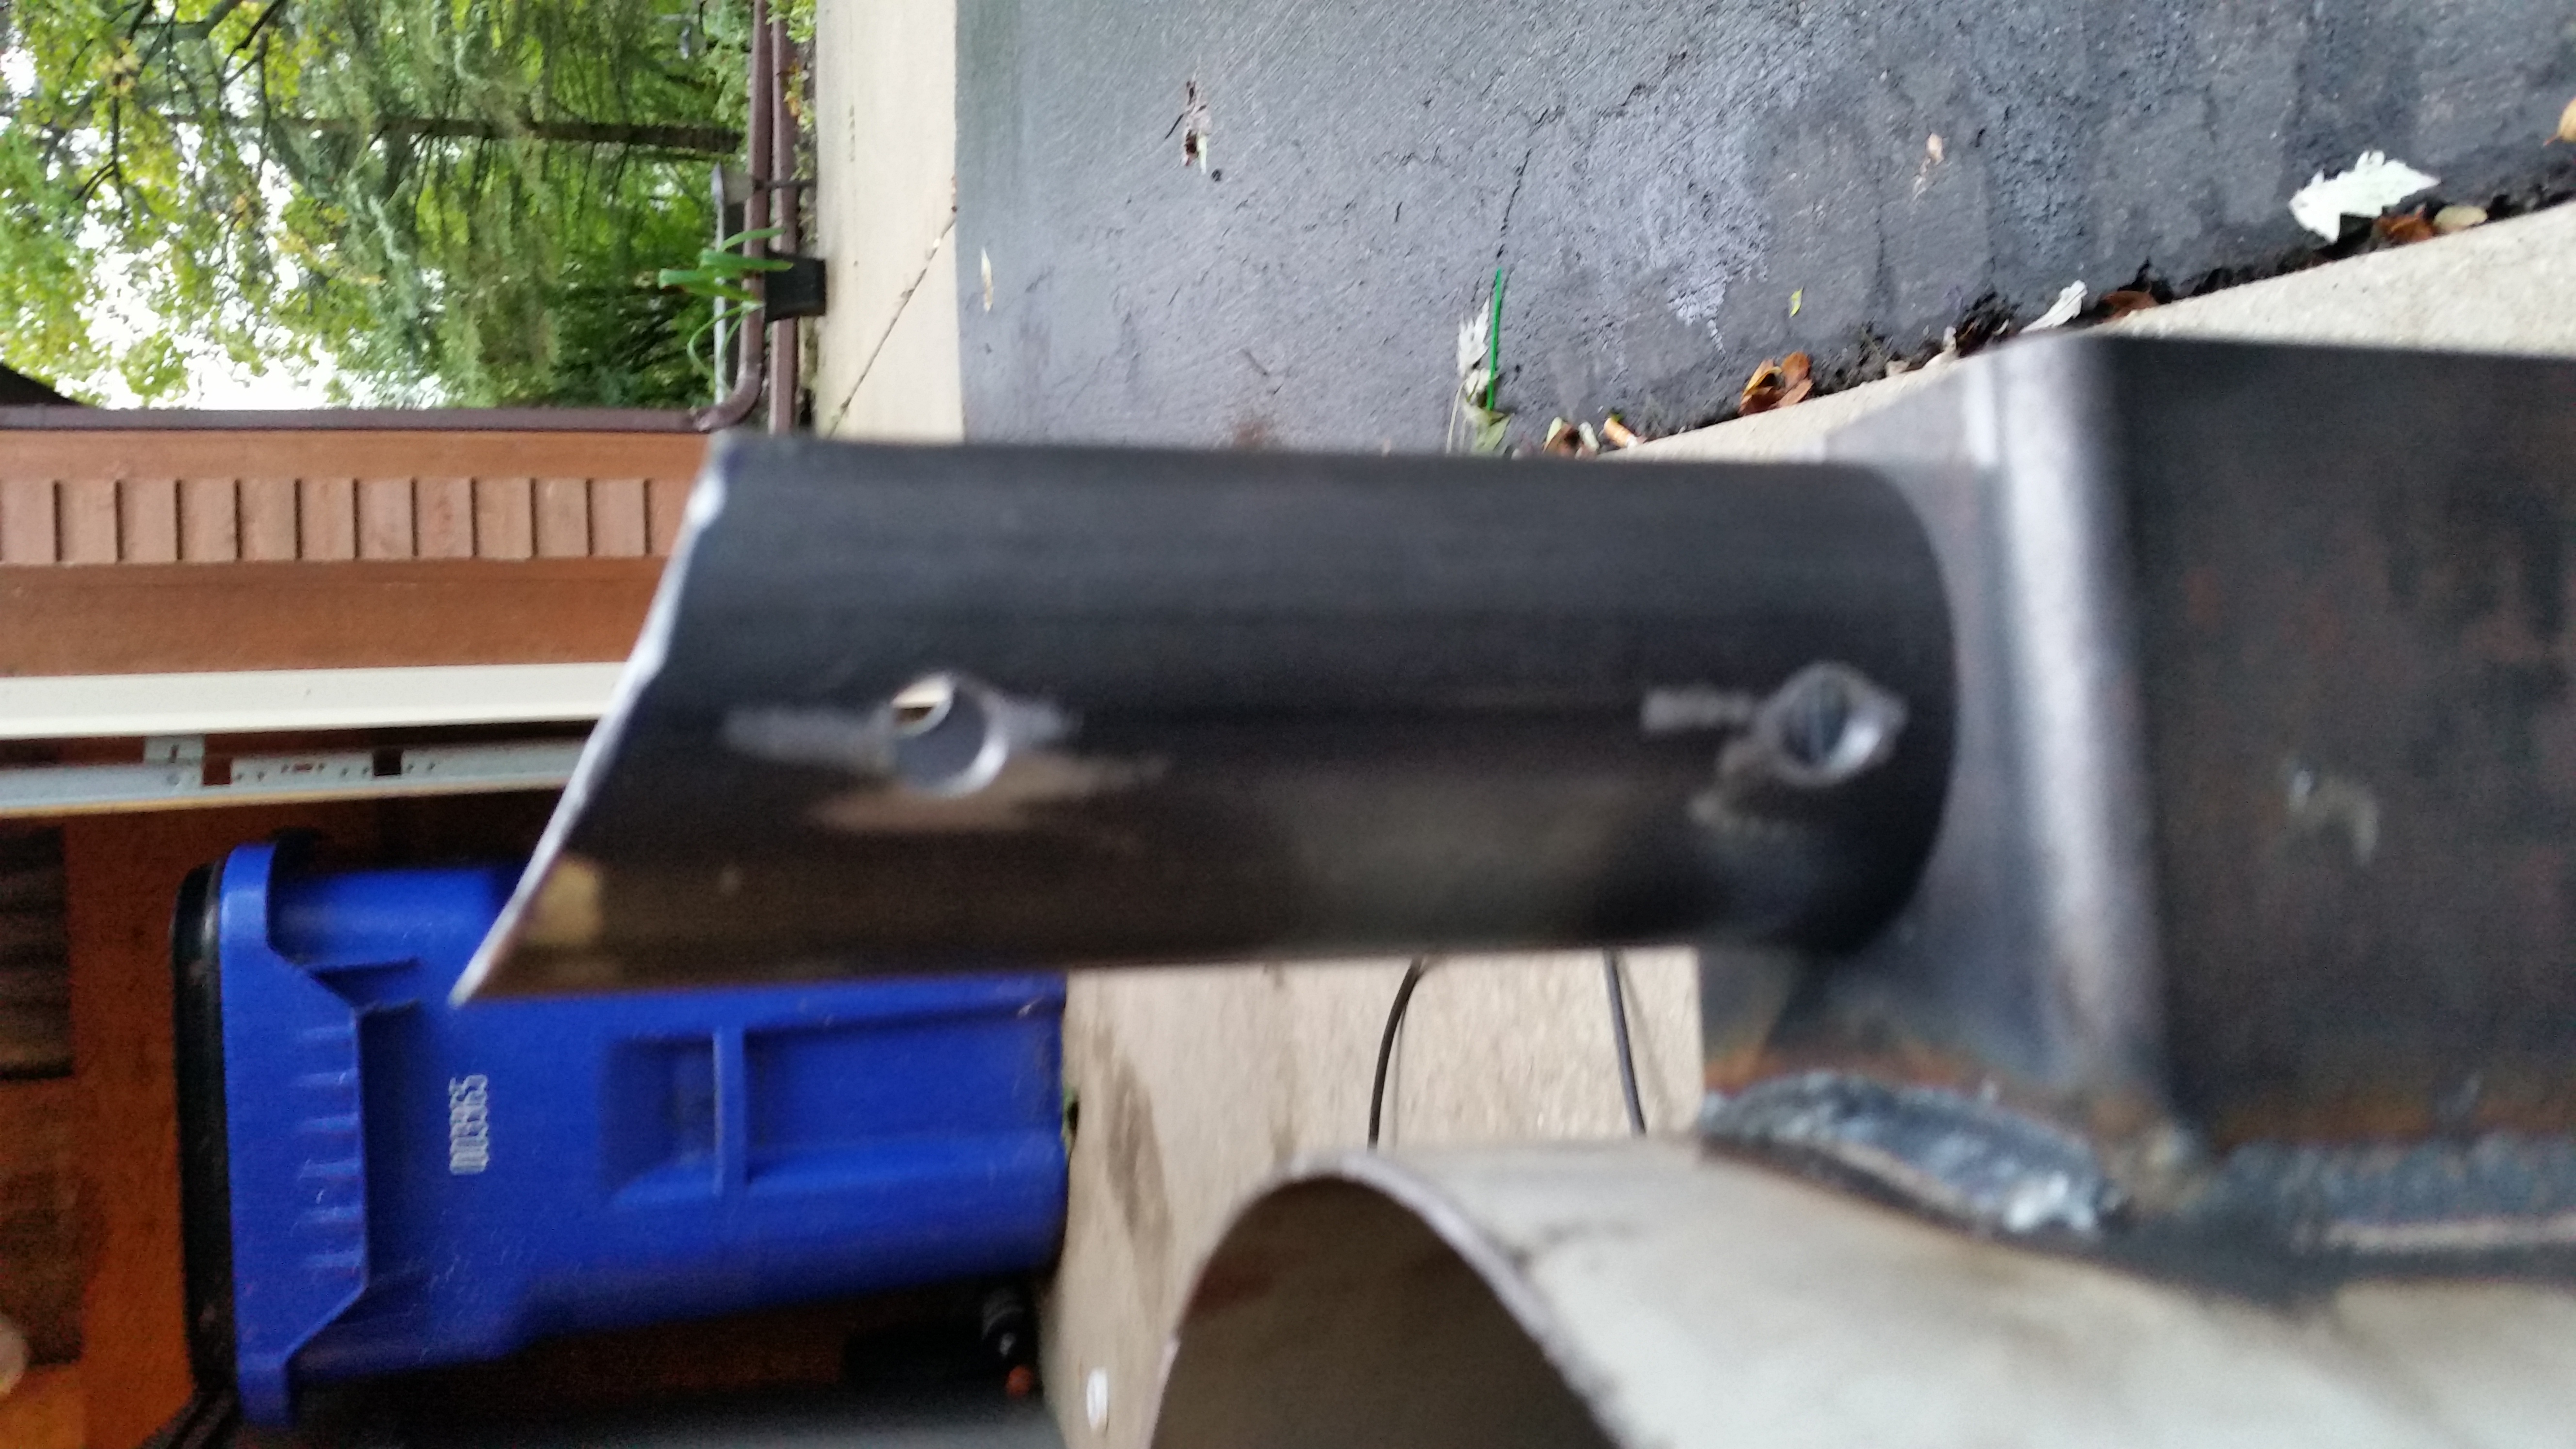
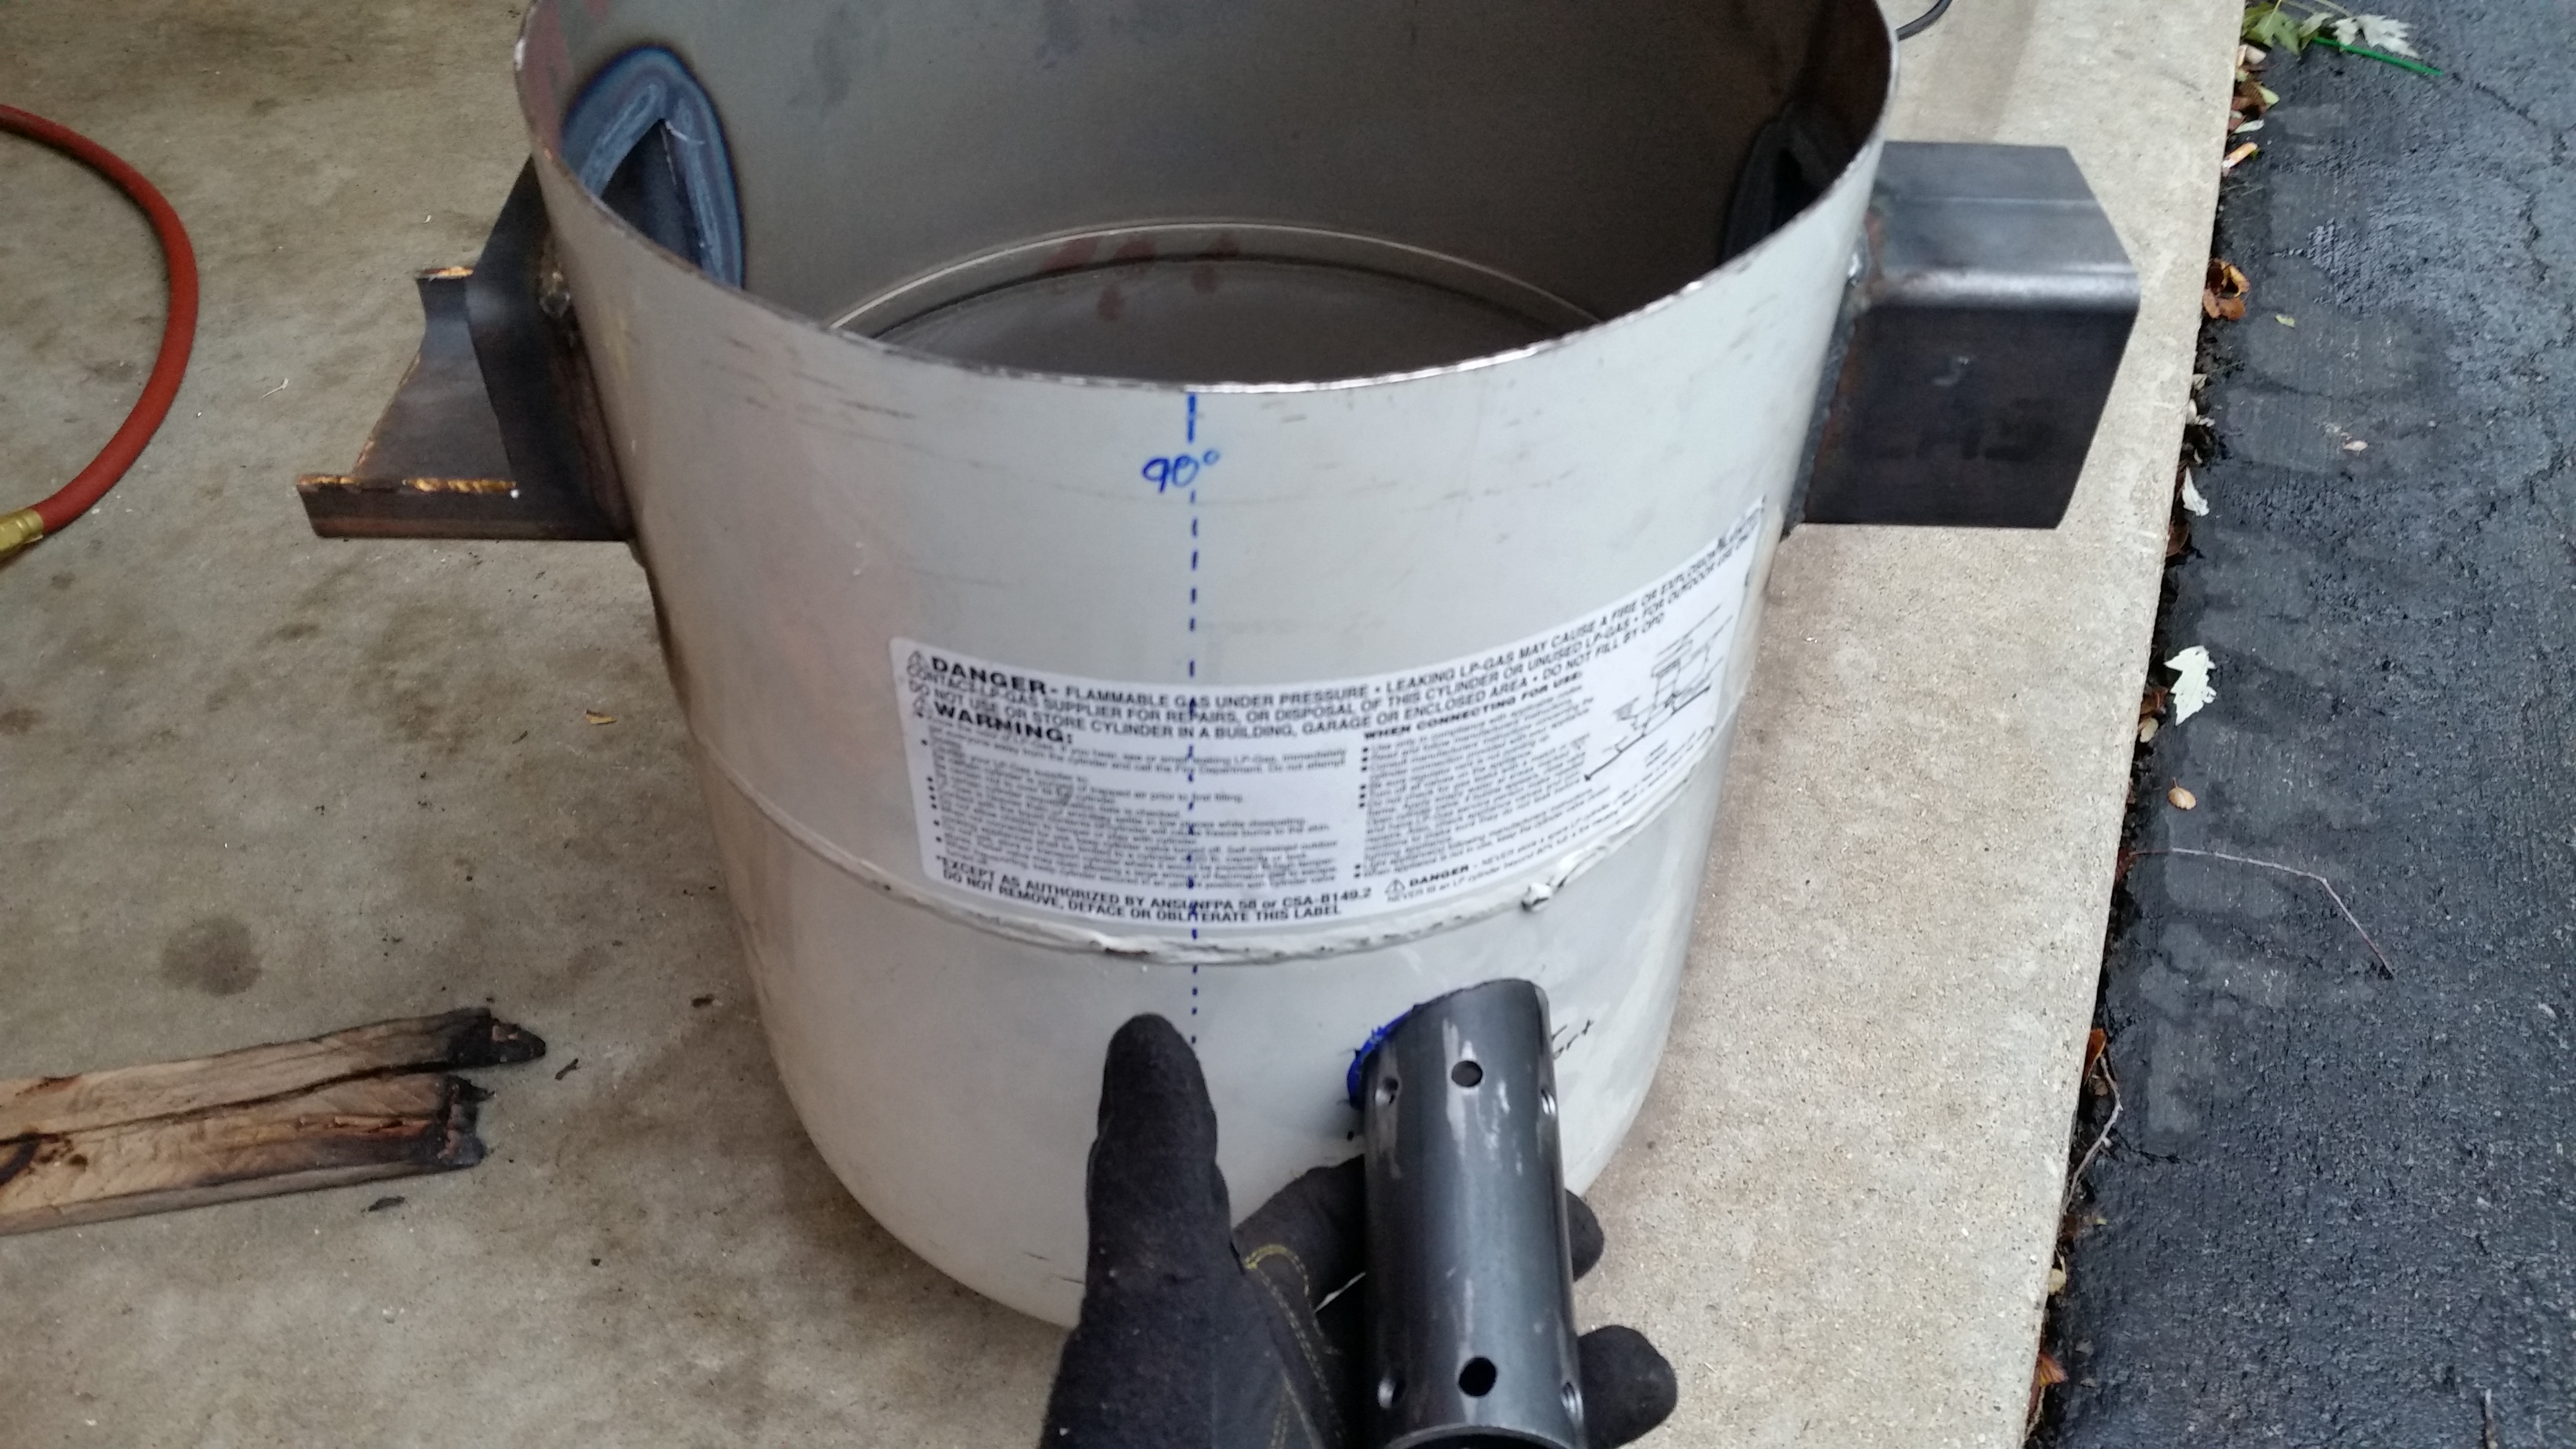
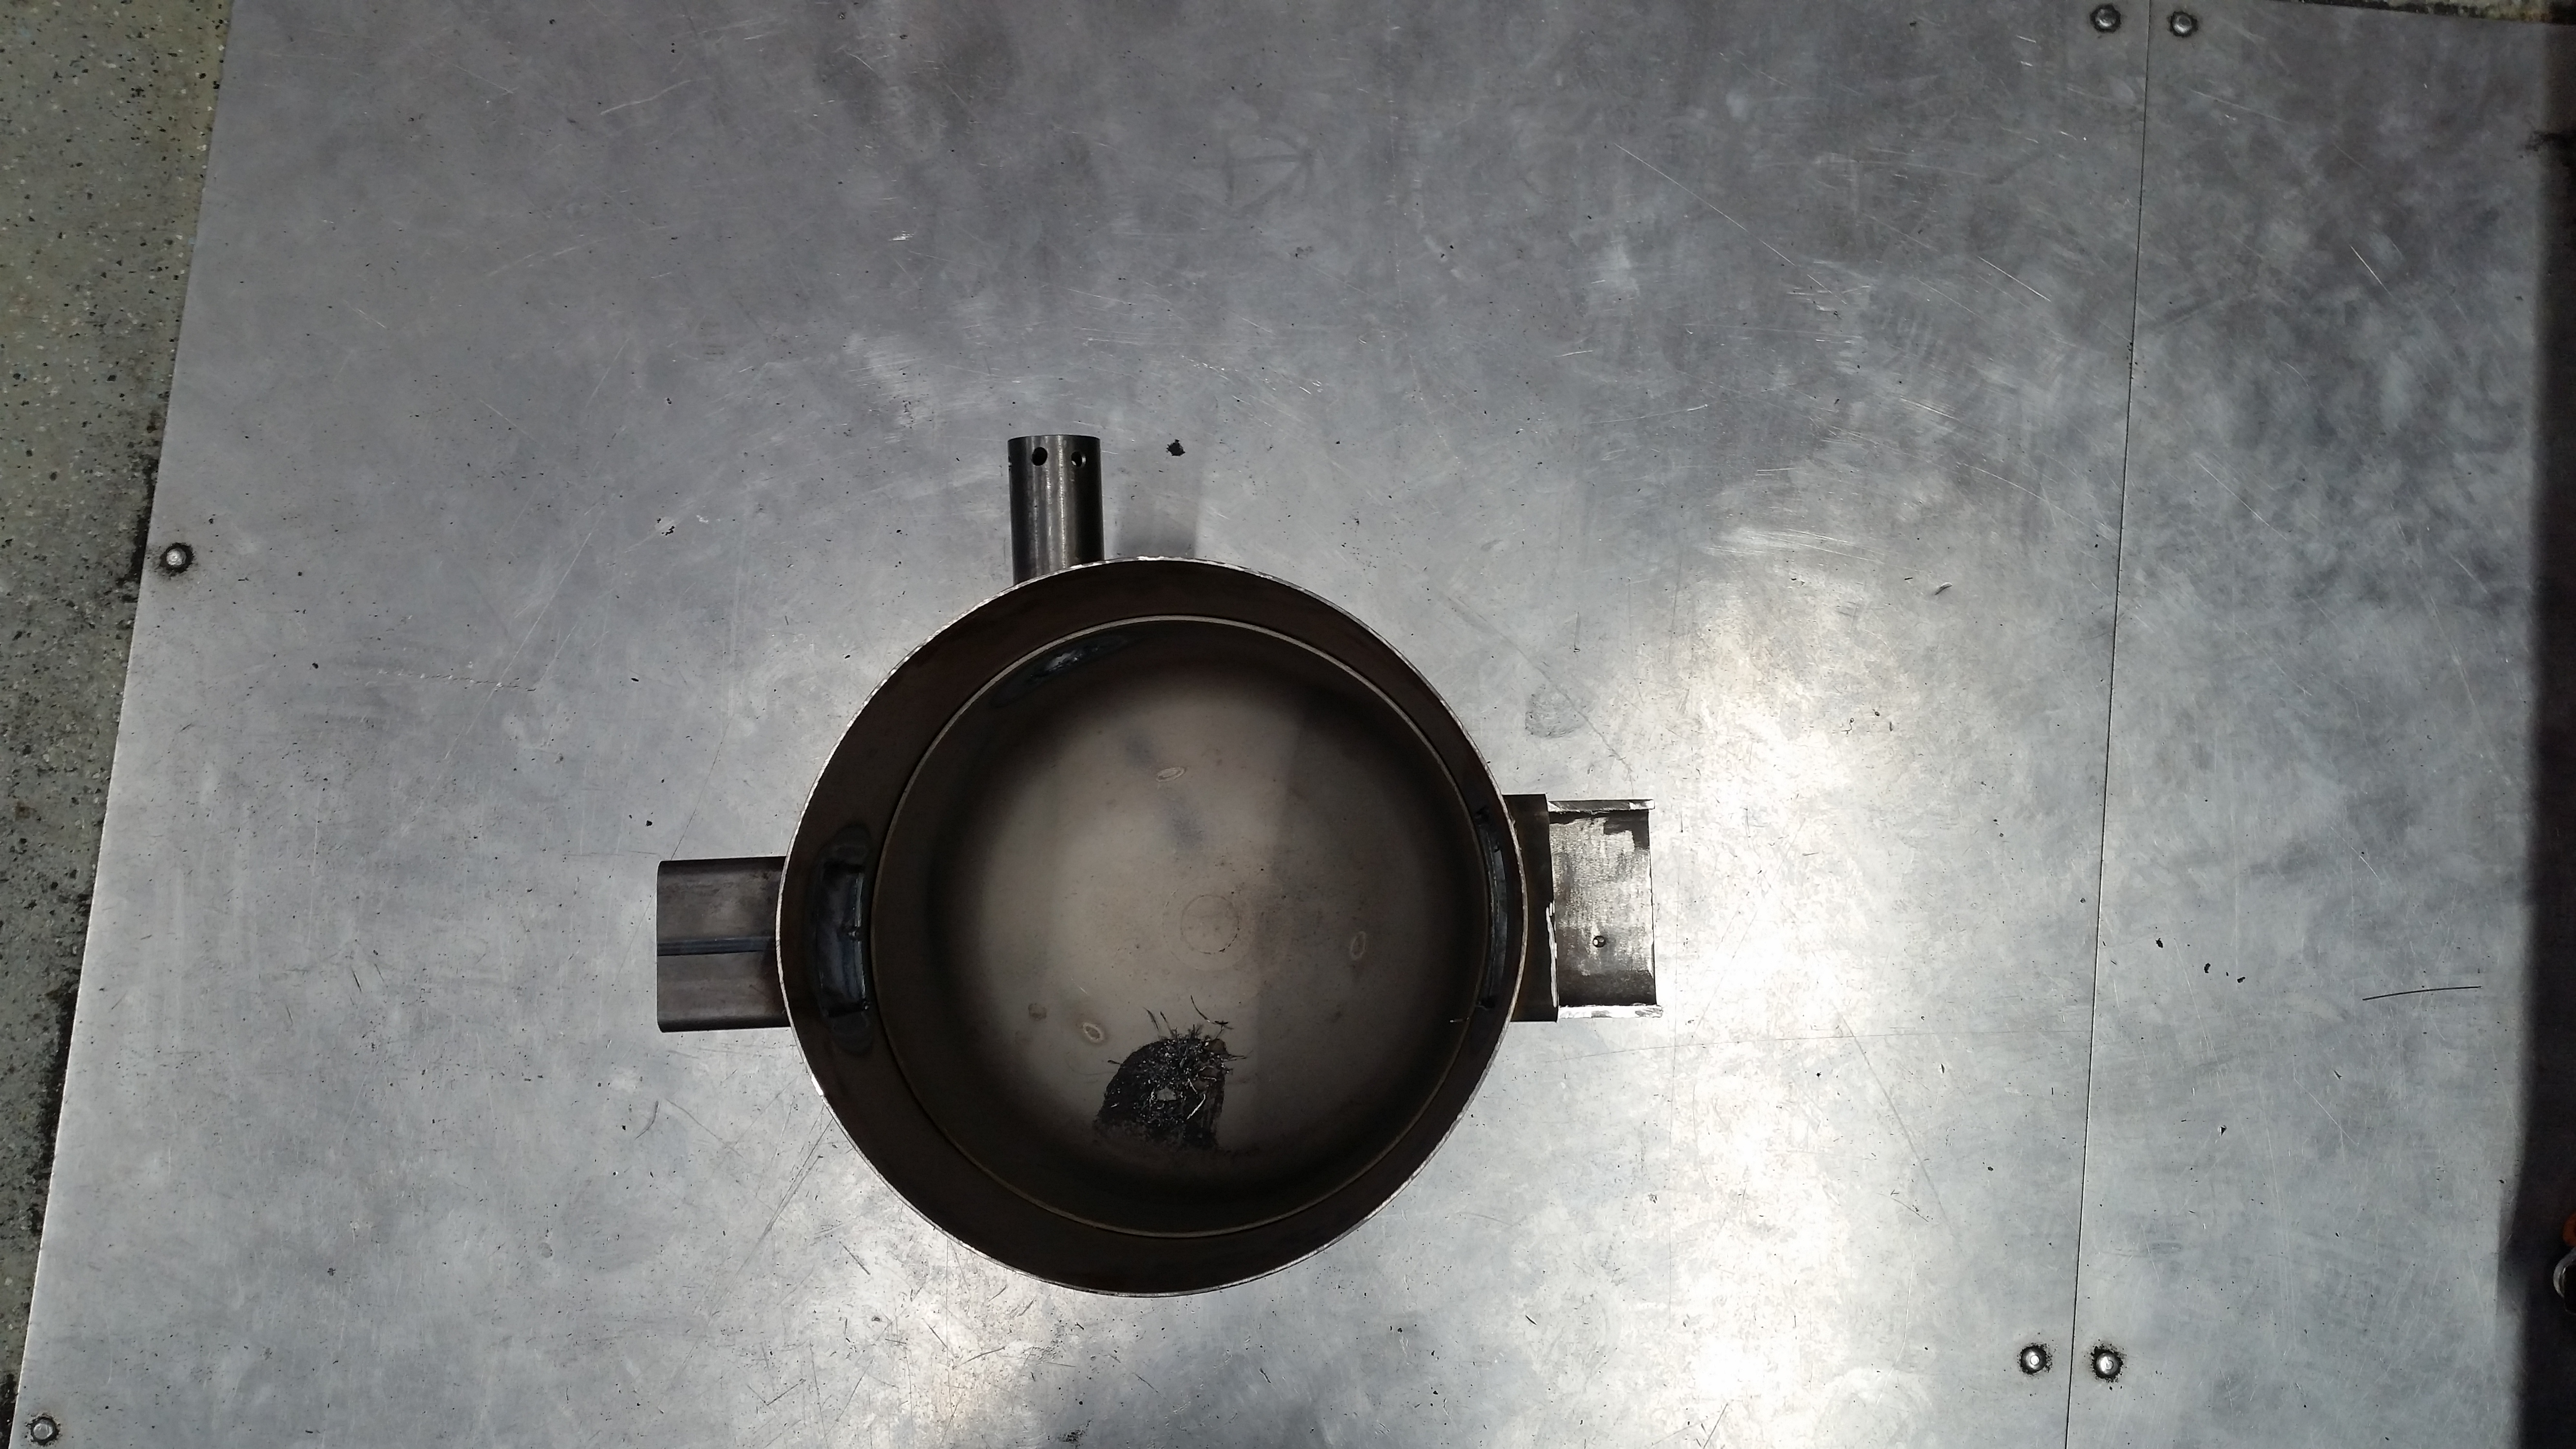
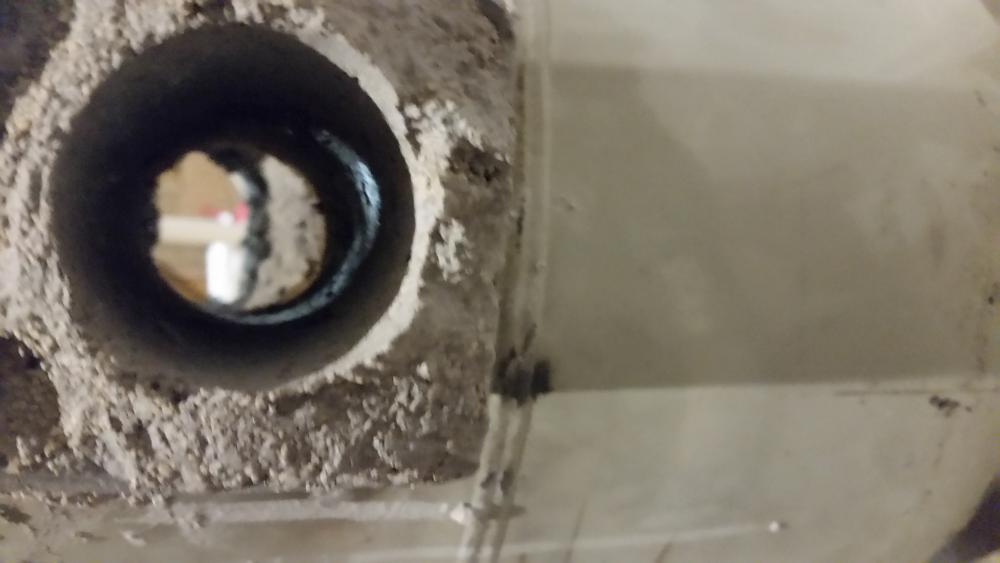
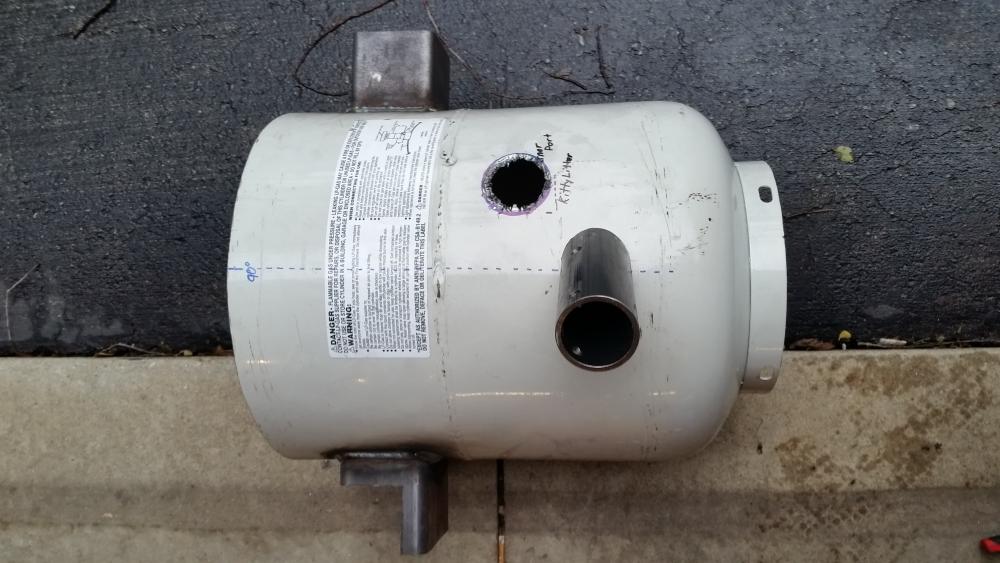
UPDATE: Cut and profiled burner port, finished the burner port hole(in the shell), cut down exaust port(front) At the shop now about to weld it up... and by the way these welds arent the best i got(burning though paint and in an unfavorable position, flat and straight vertical) but they will hold I tried to angle the burner downward by rotating it... i hope i didnt make it too extreme


-
Yea im thinking im gonna to some experimenting