

jlpservicesinc
-
Posts
5,761 -
Joined
-
Last visited
Content Type
Profiles
Forums
Articles
Gallery
Downloads
Events
Posts posted by jlpservicesinc
-
-
Thanks Larry.. Your feedback is much appreciated.. And your welcome.
It did go wonky and it would not track or stay locked on target.. I sent footage to the company and hope they get it resolved.. I bought the cameras for doing live streams..
The trailer is very cool maybe 55F that day.. it is possible though that the cameras themselves getting hot from use can be the problem.
Somewhere around the time of the first fade off, the camera took on a mind of it's own much quicker.. I gave up after 4 corrections..
Was having the reheat times in the video a good thing? I've left them out previously because I thought no one wanted to see me standing there.. The reheat times don't warrant a song and dance intermission.. -
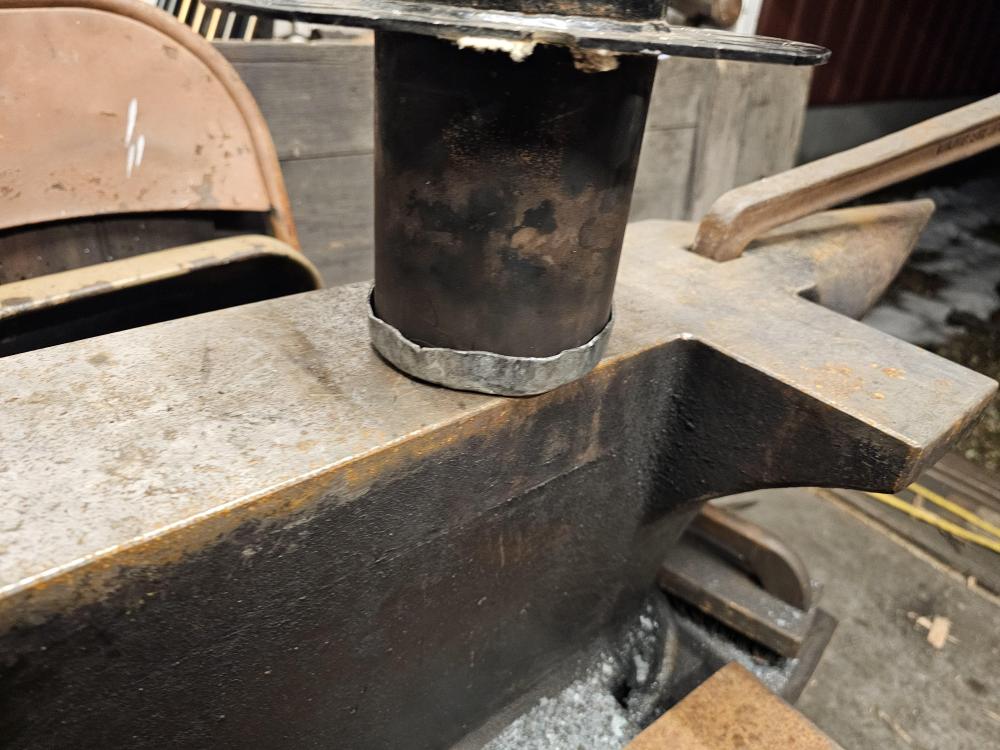
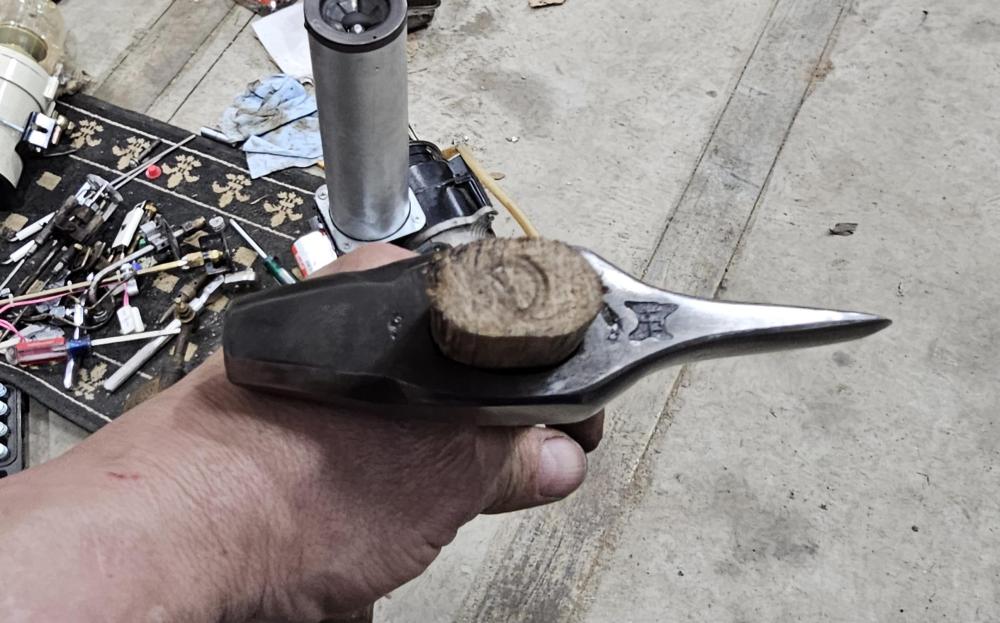
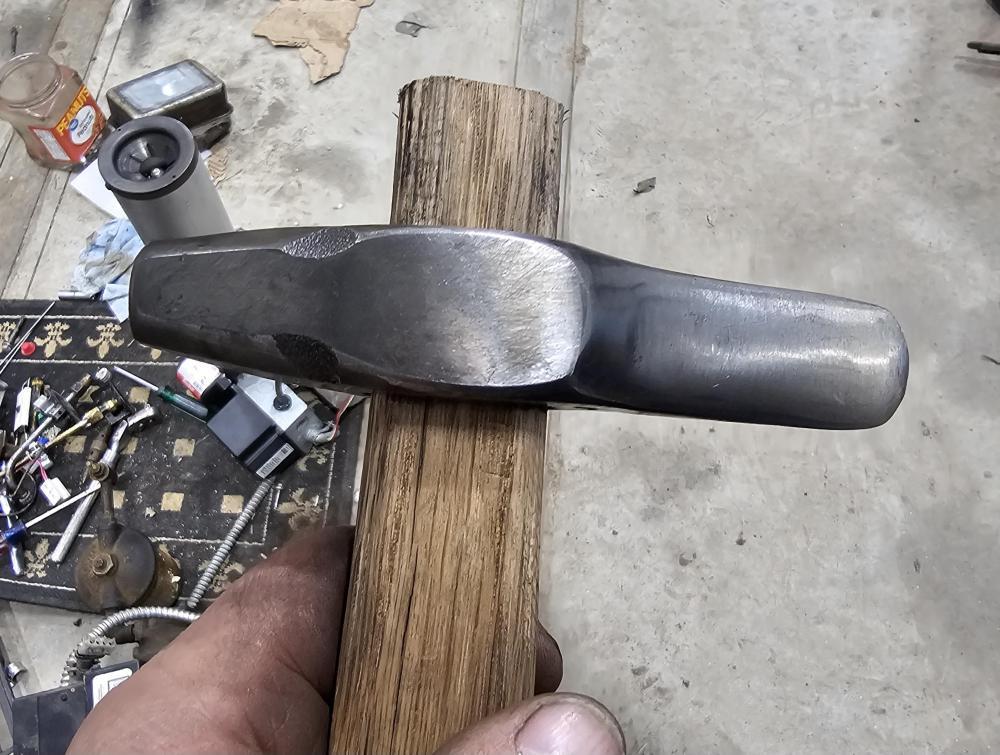
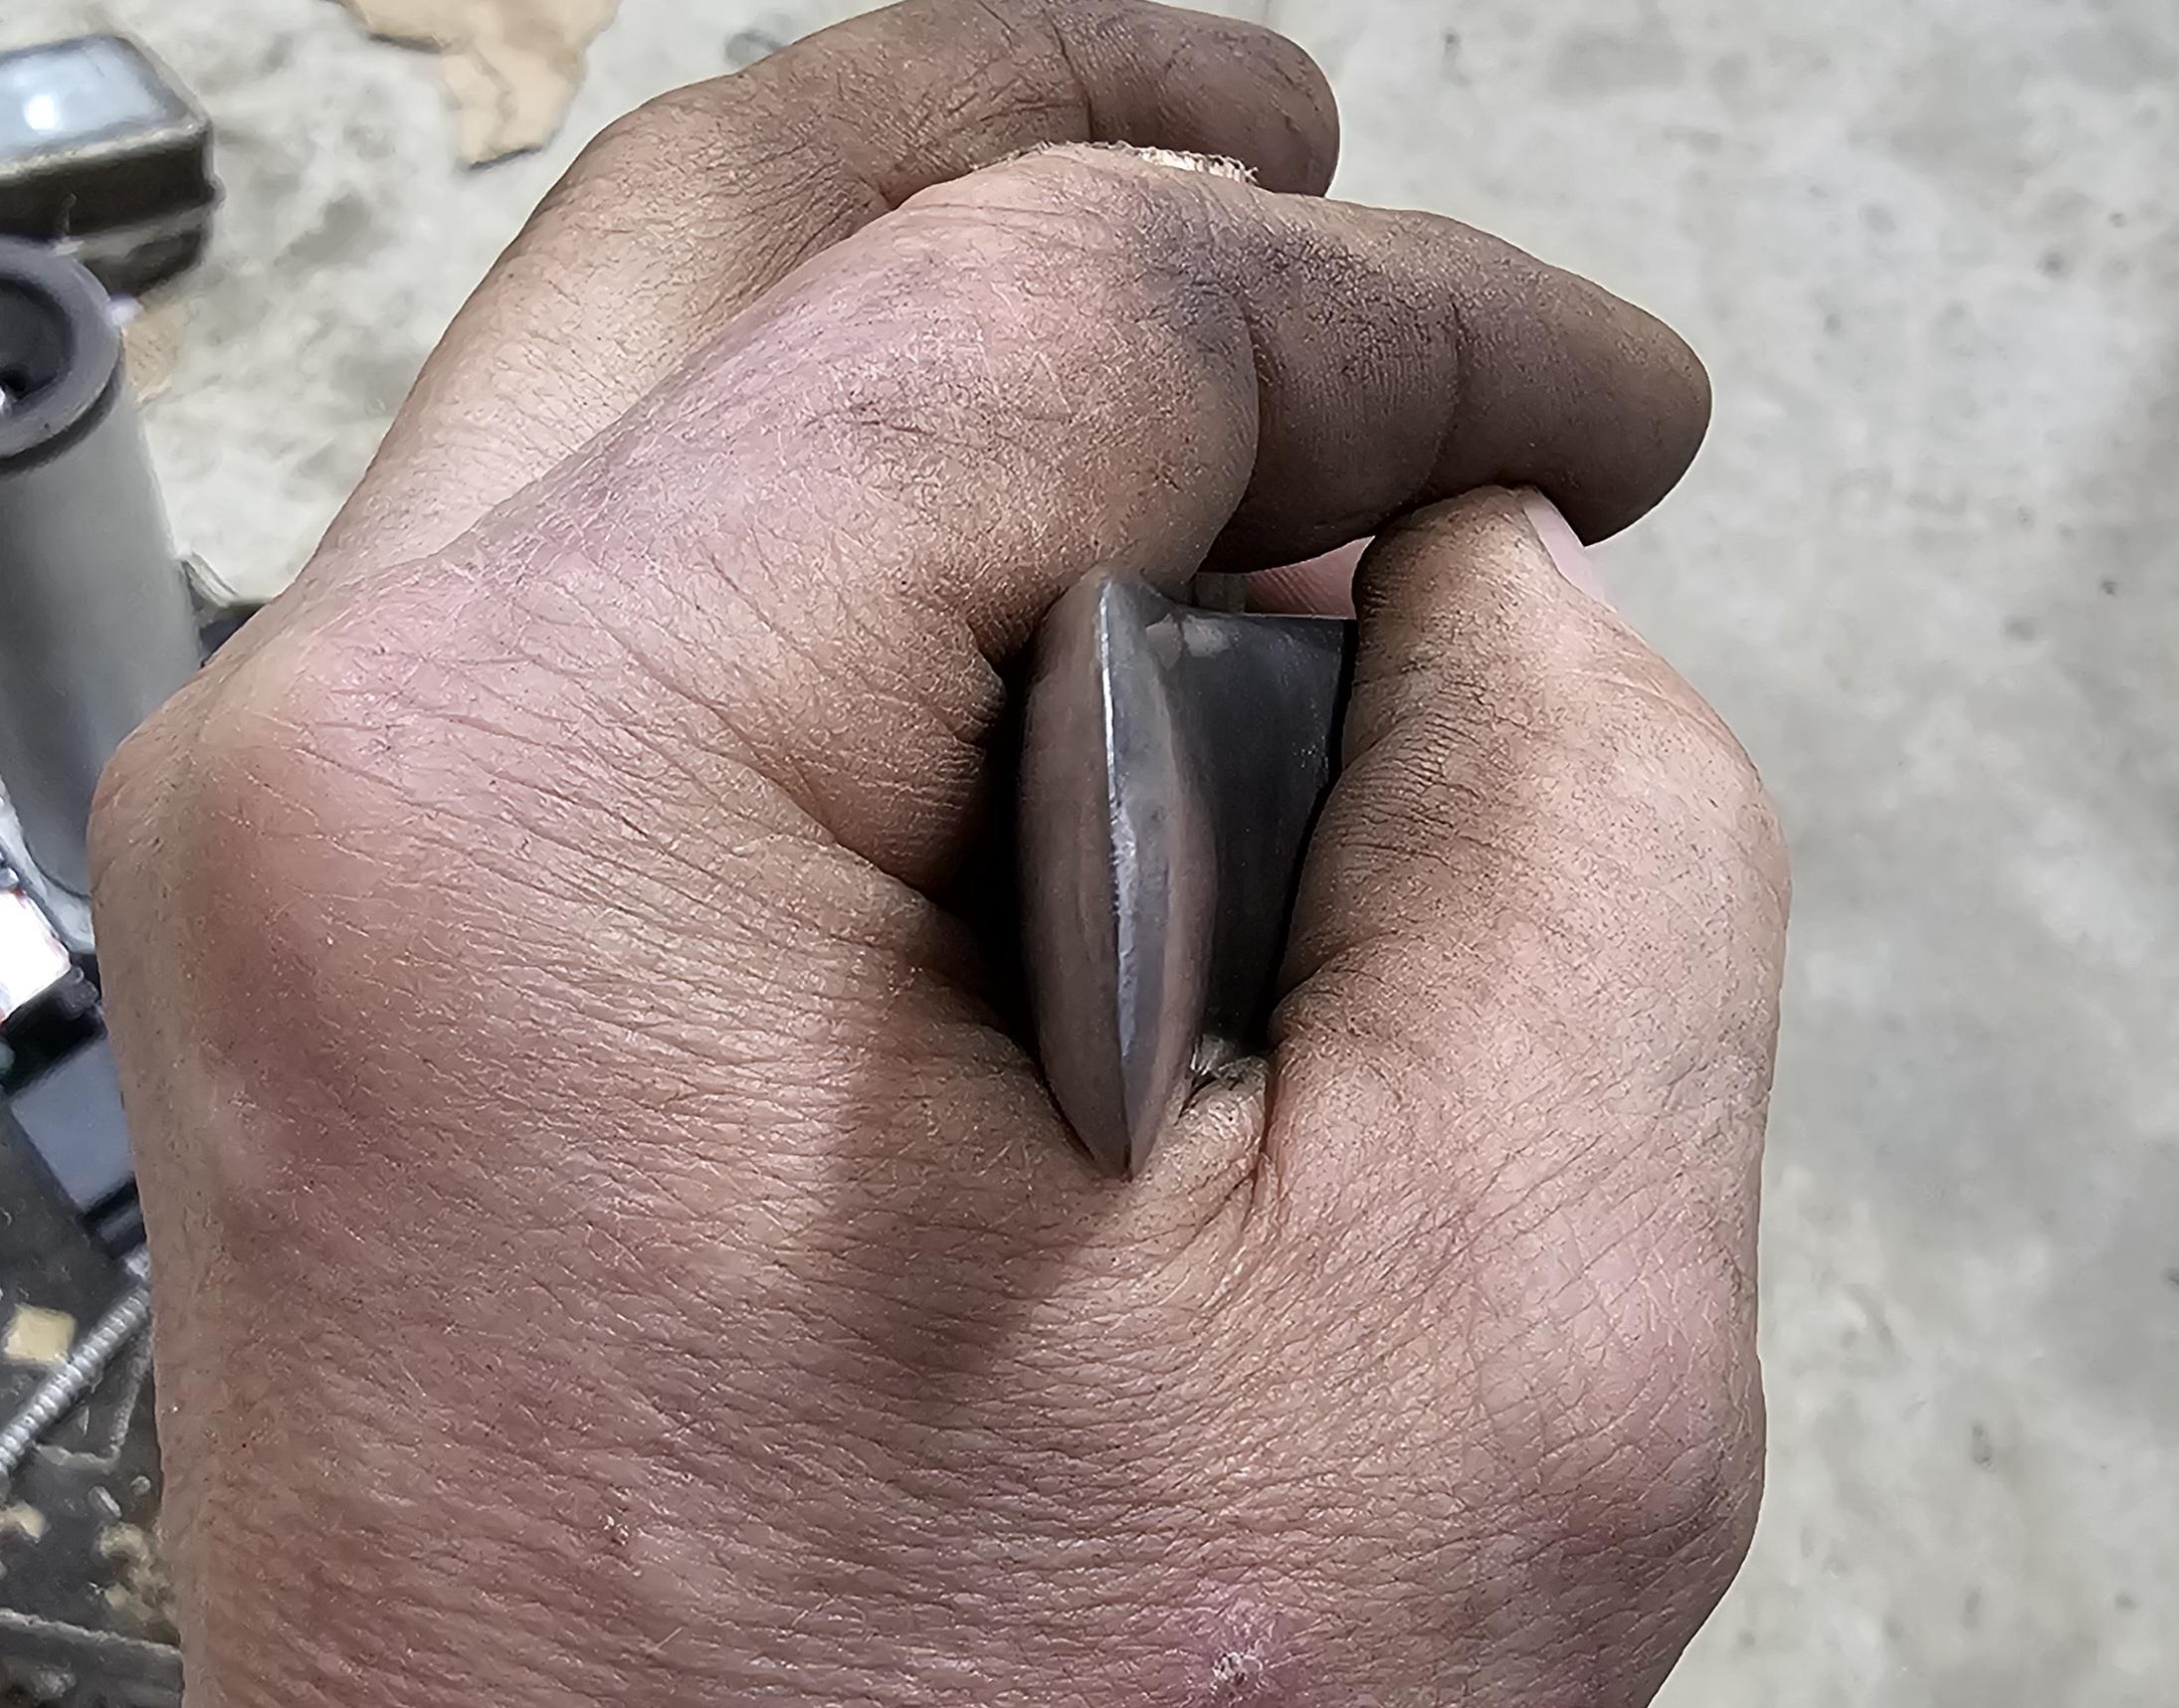
Well I needed a new cold set. Been getting ready with a group of smiths for the upcoming ABANA group forging competition and wanted to bring my tool design to the table. This is more or less the design I like.. I like a blade with a very narrow cross section and a () profile.
.. Not my best video job but trying something new with an AI tracking camera and instead of wasting the footage figured I'd put the video together.
I did not watch the video in it's entirety so if someone finds a glitch please let me know. Yup, I"m a slacker.
-
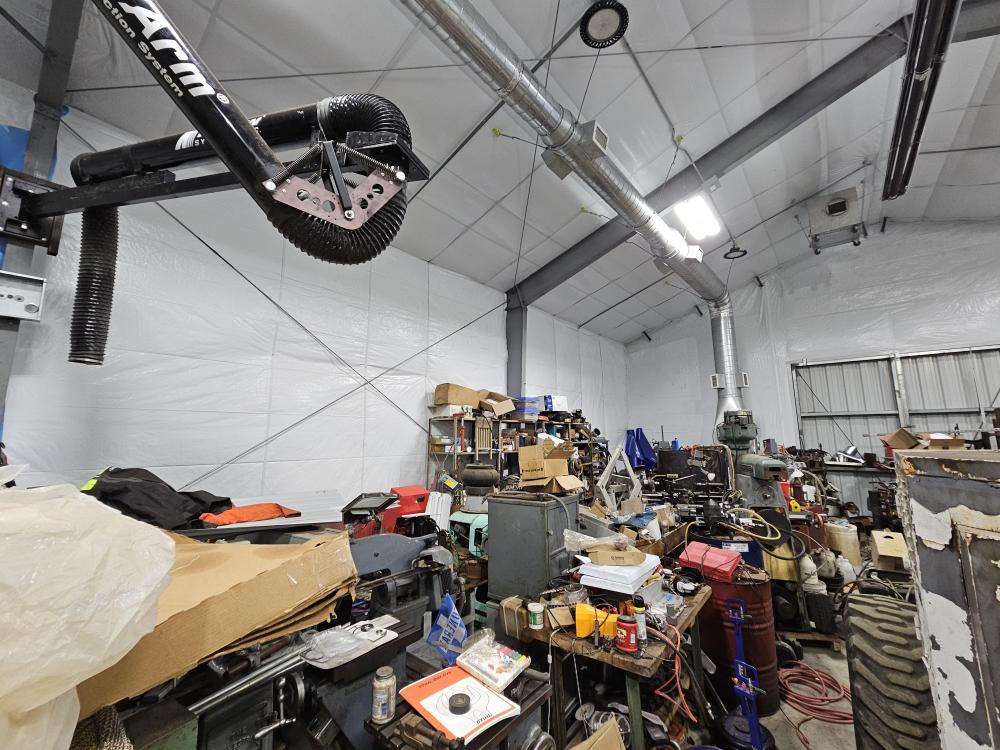
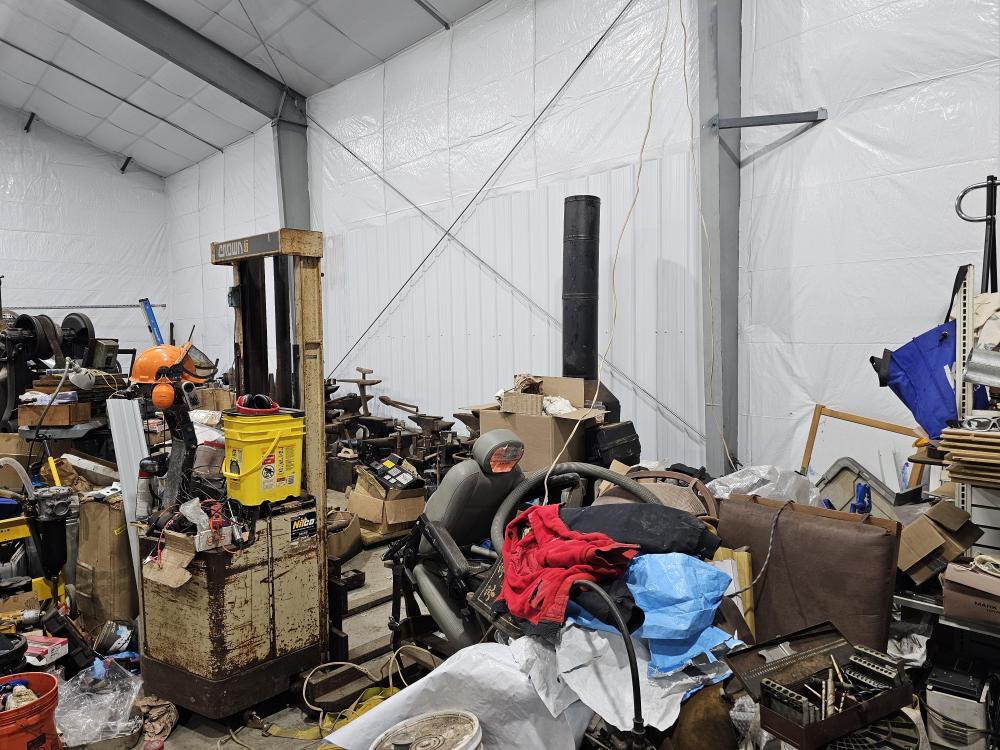
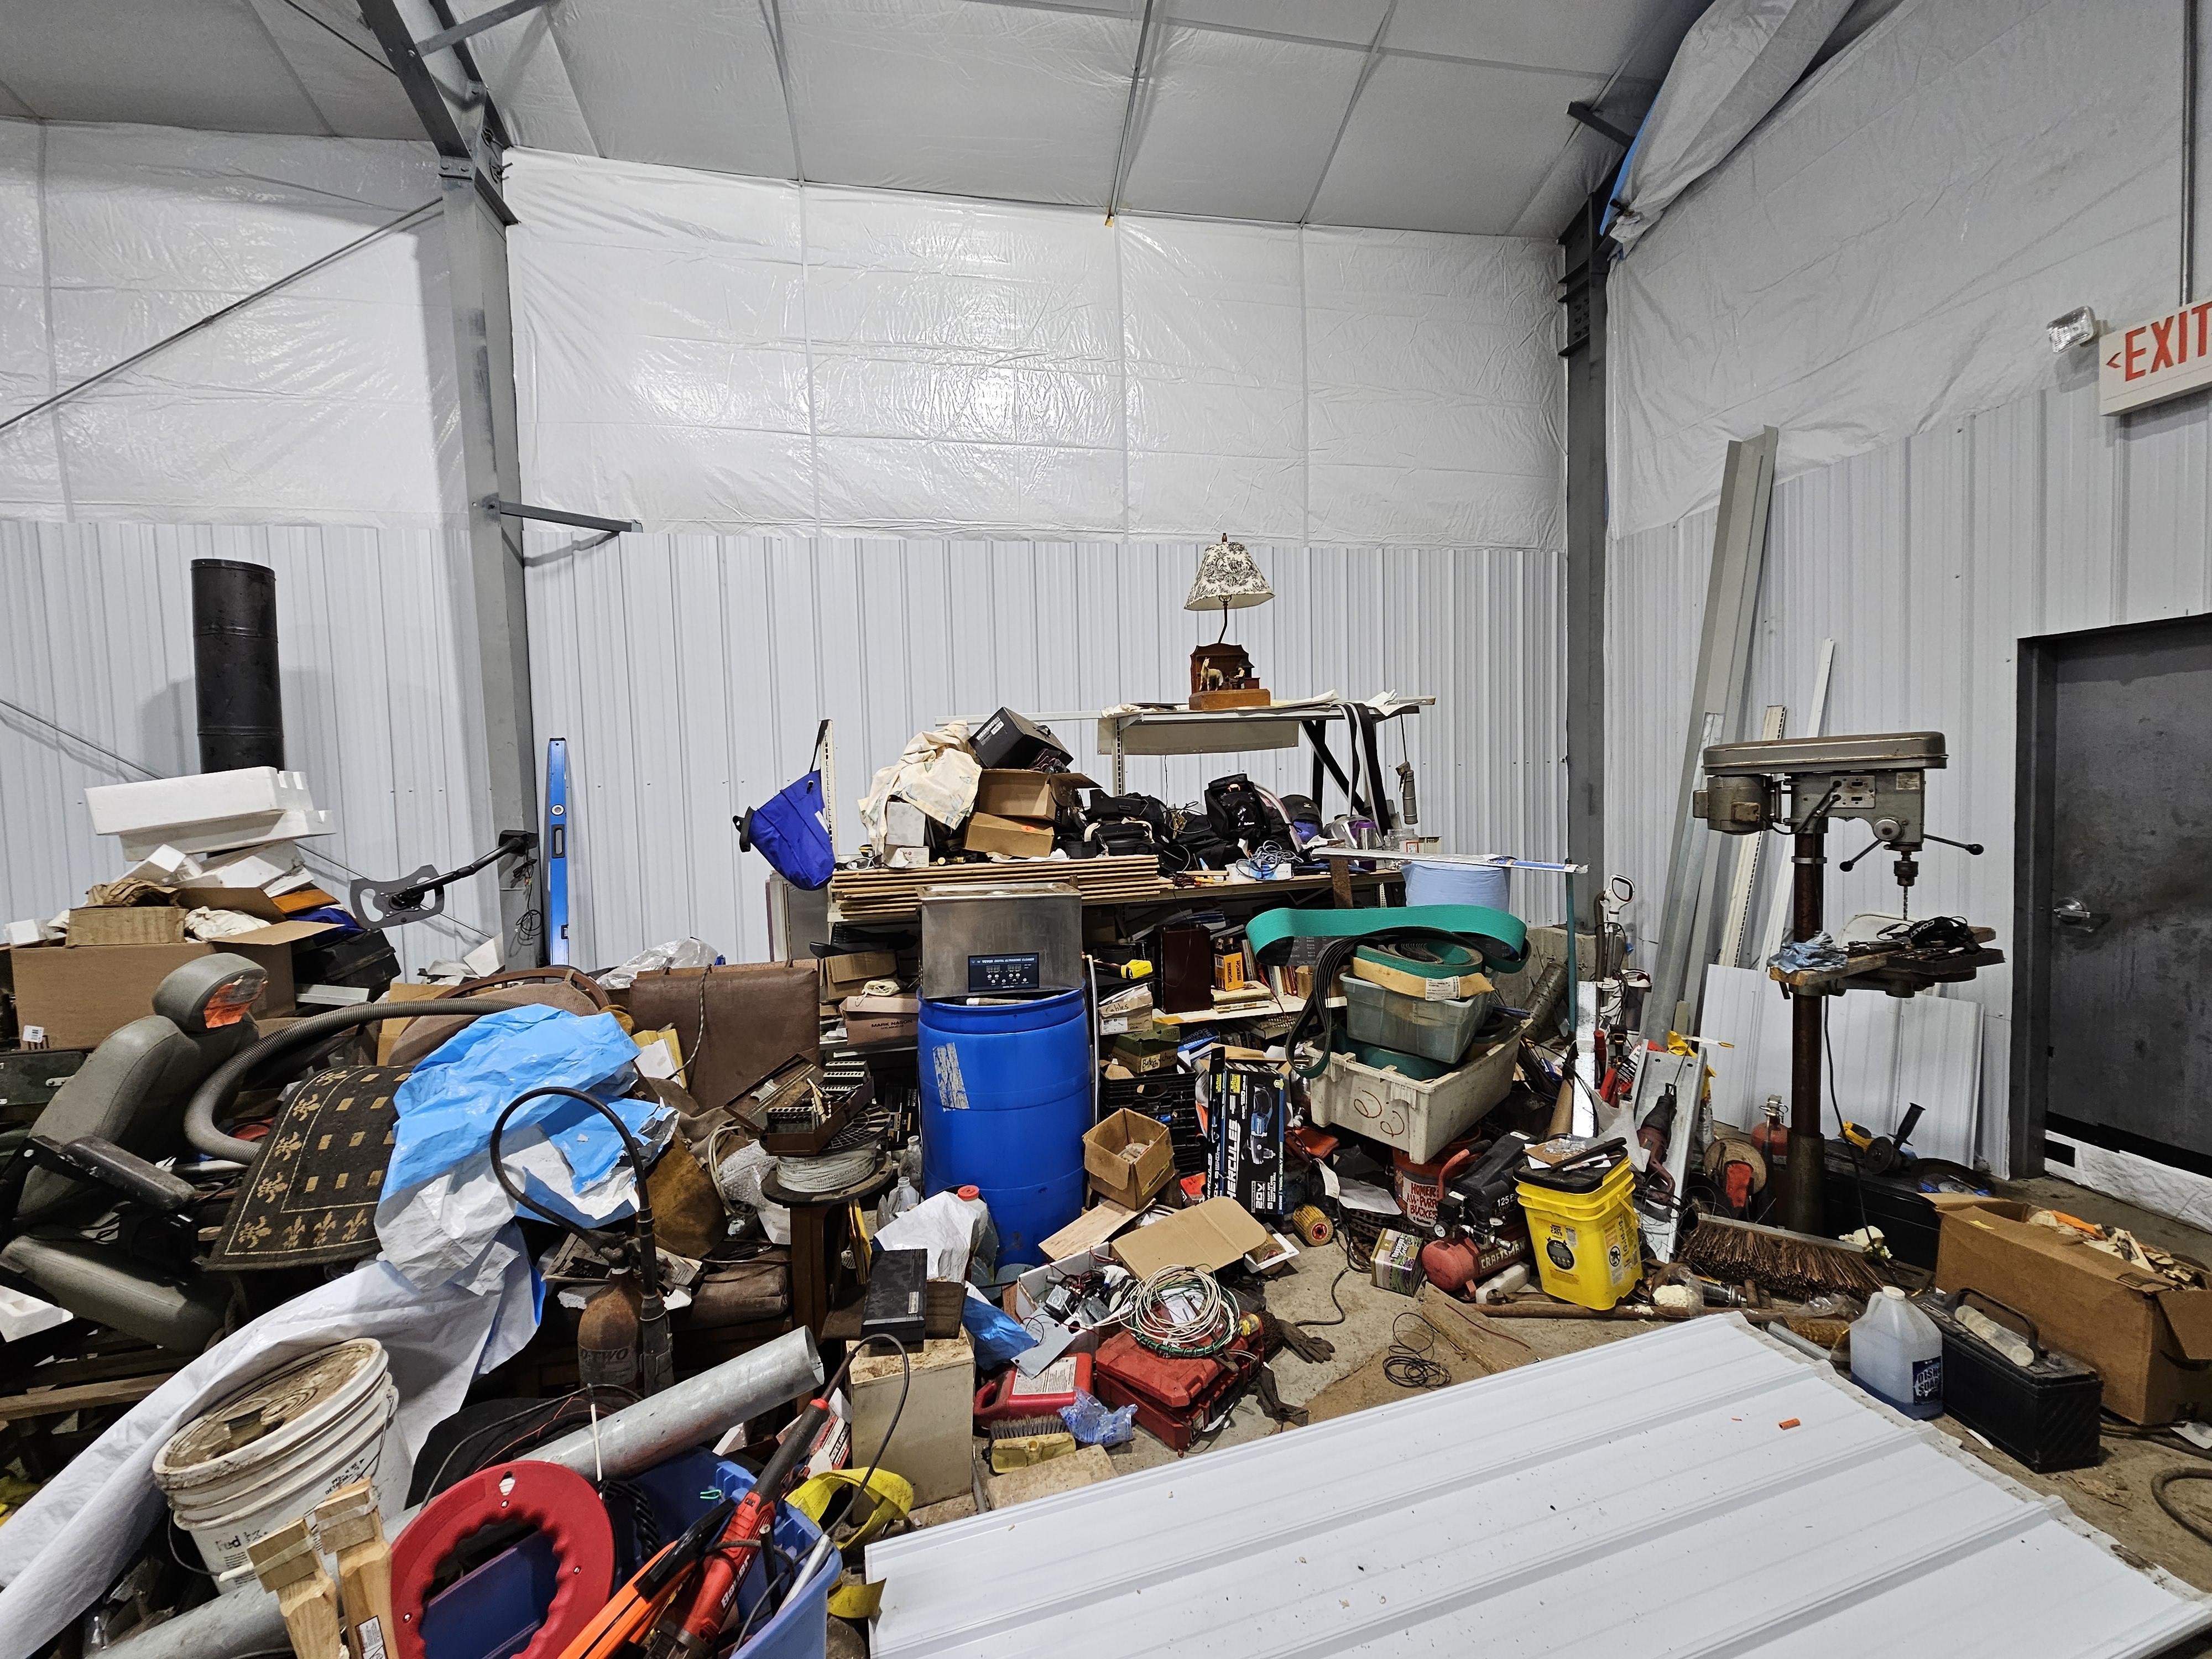
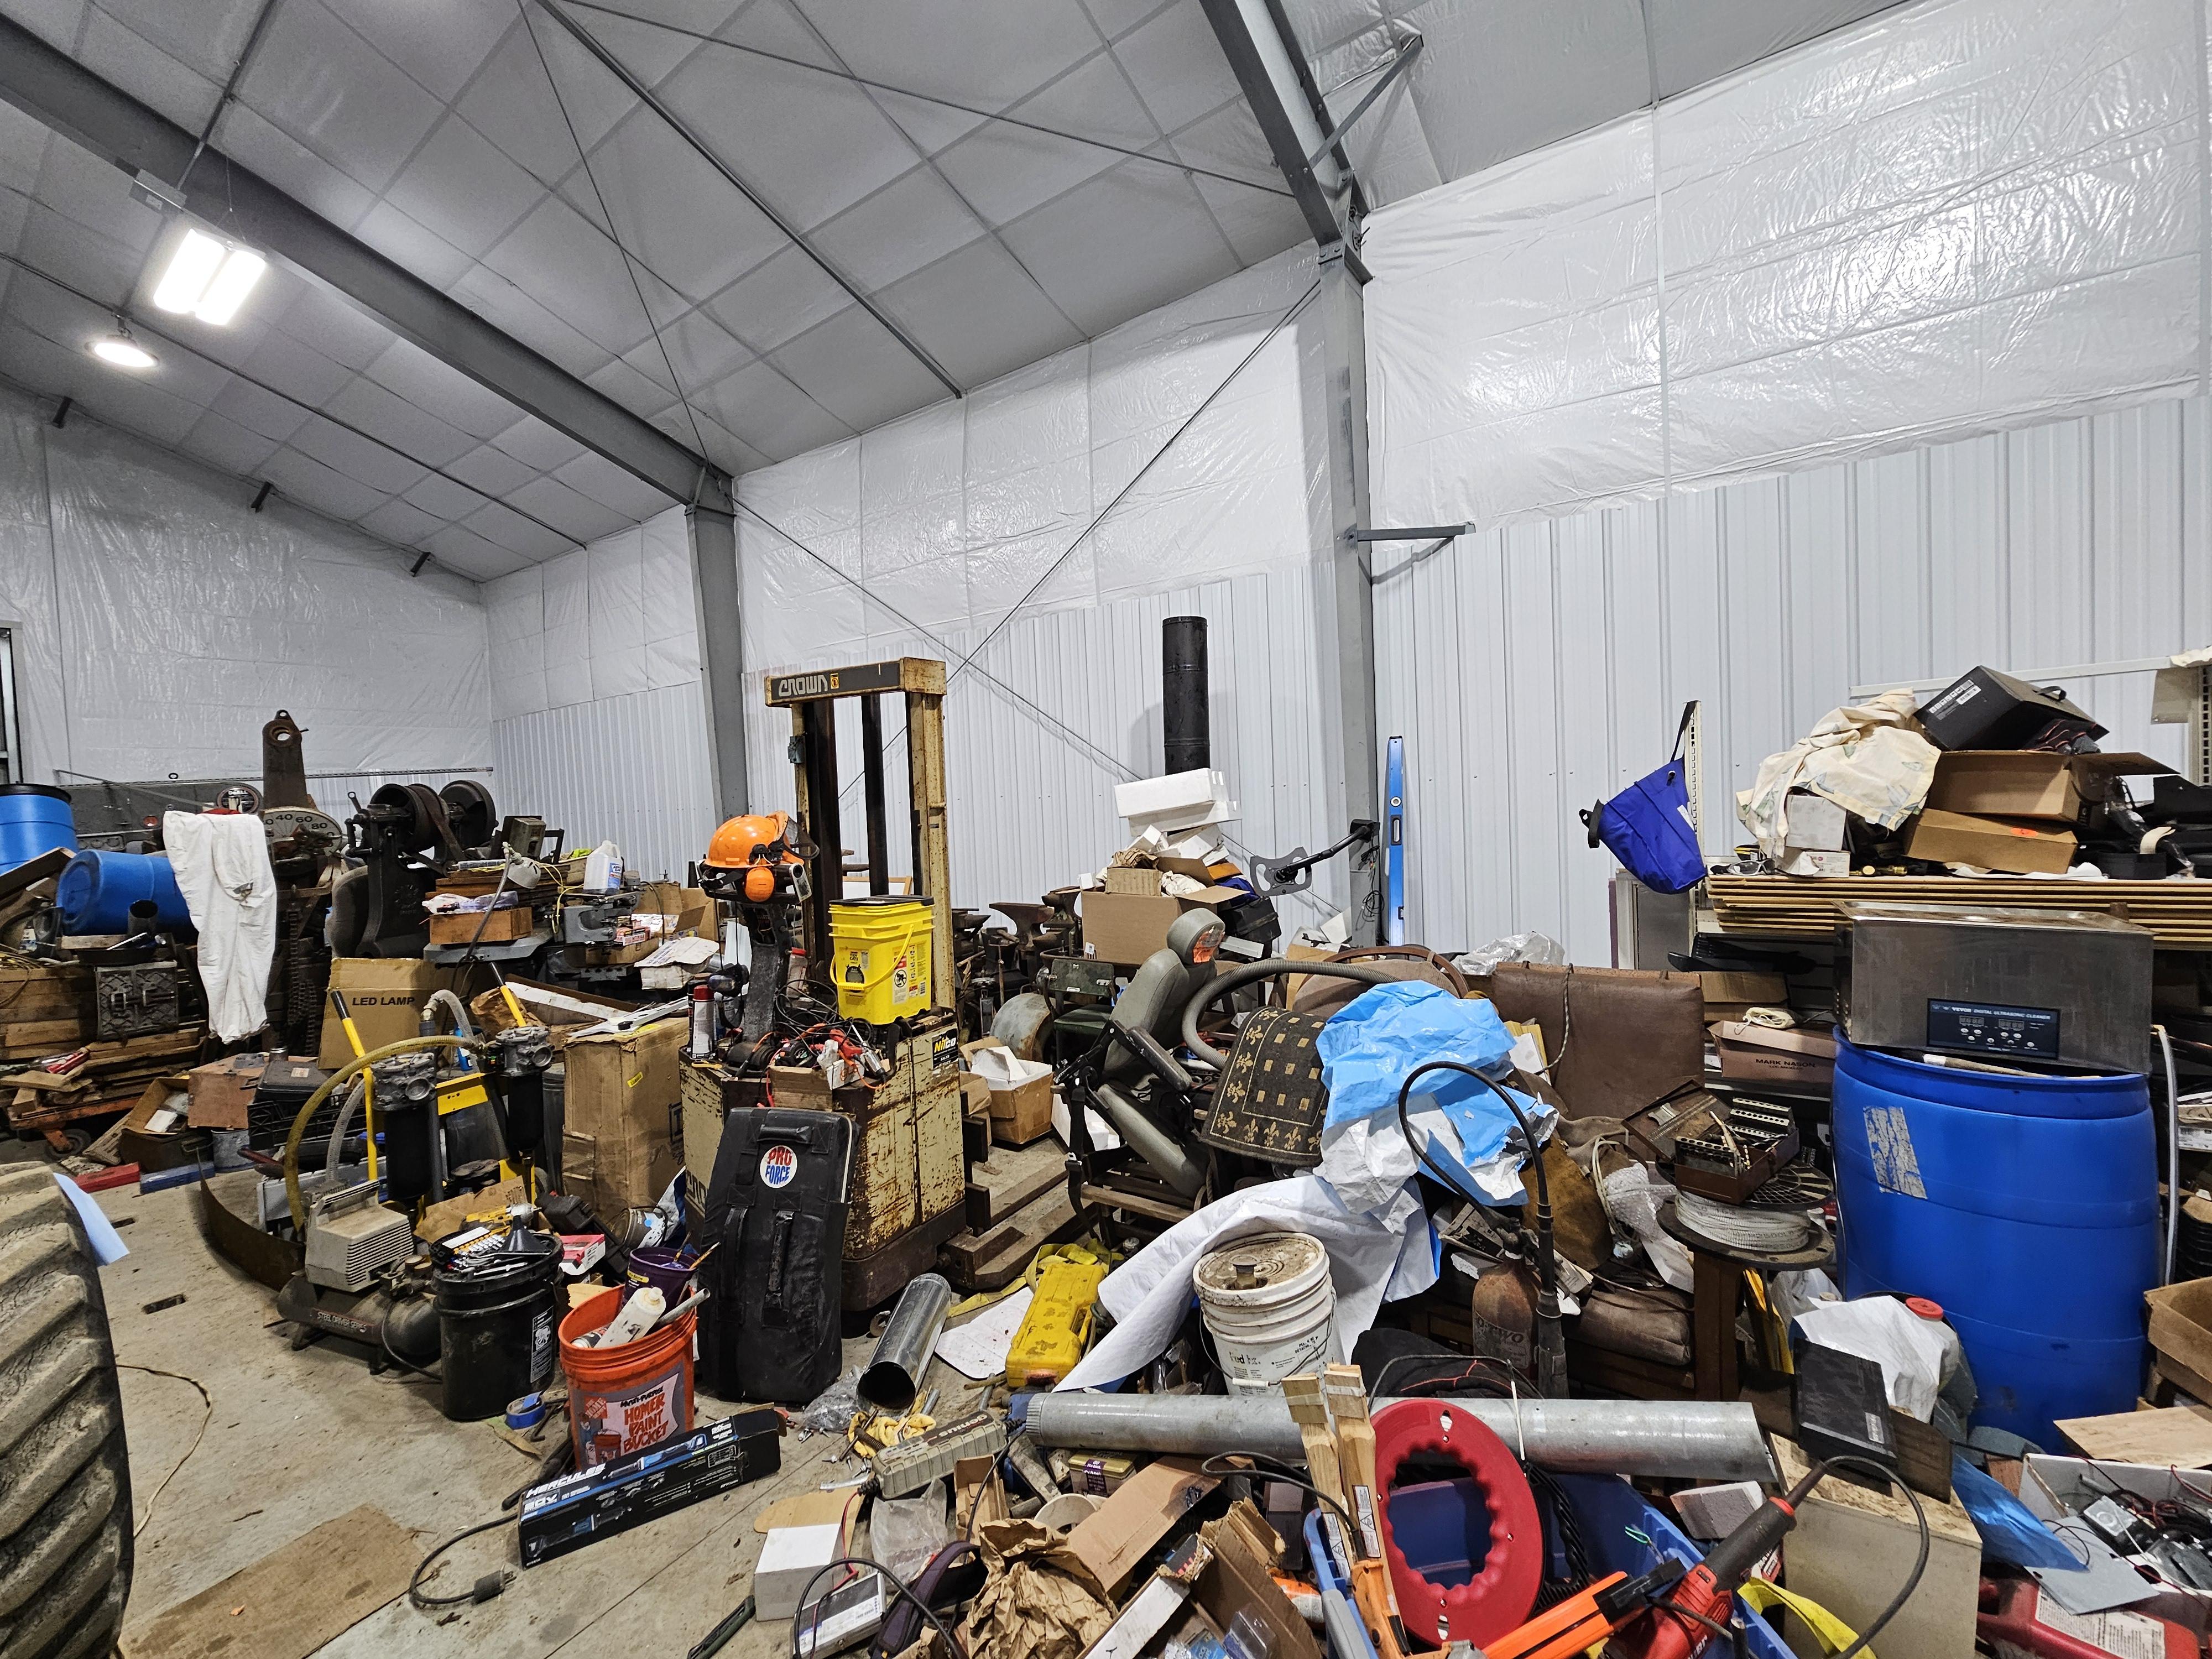
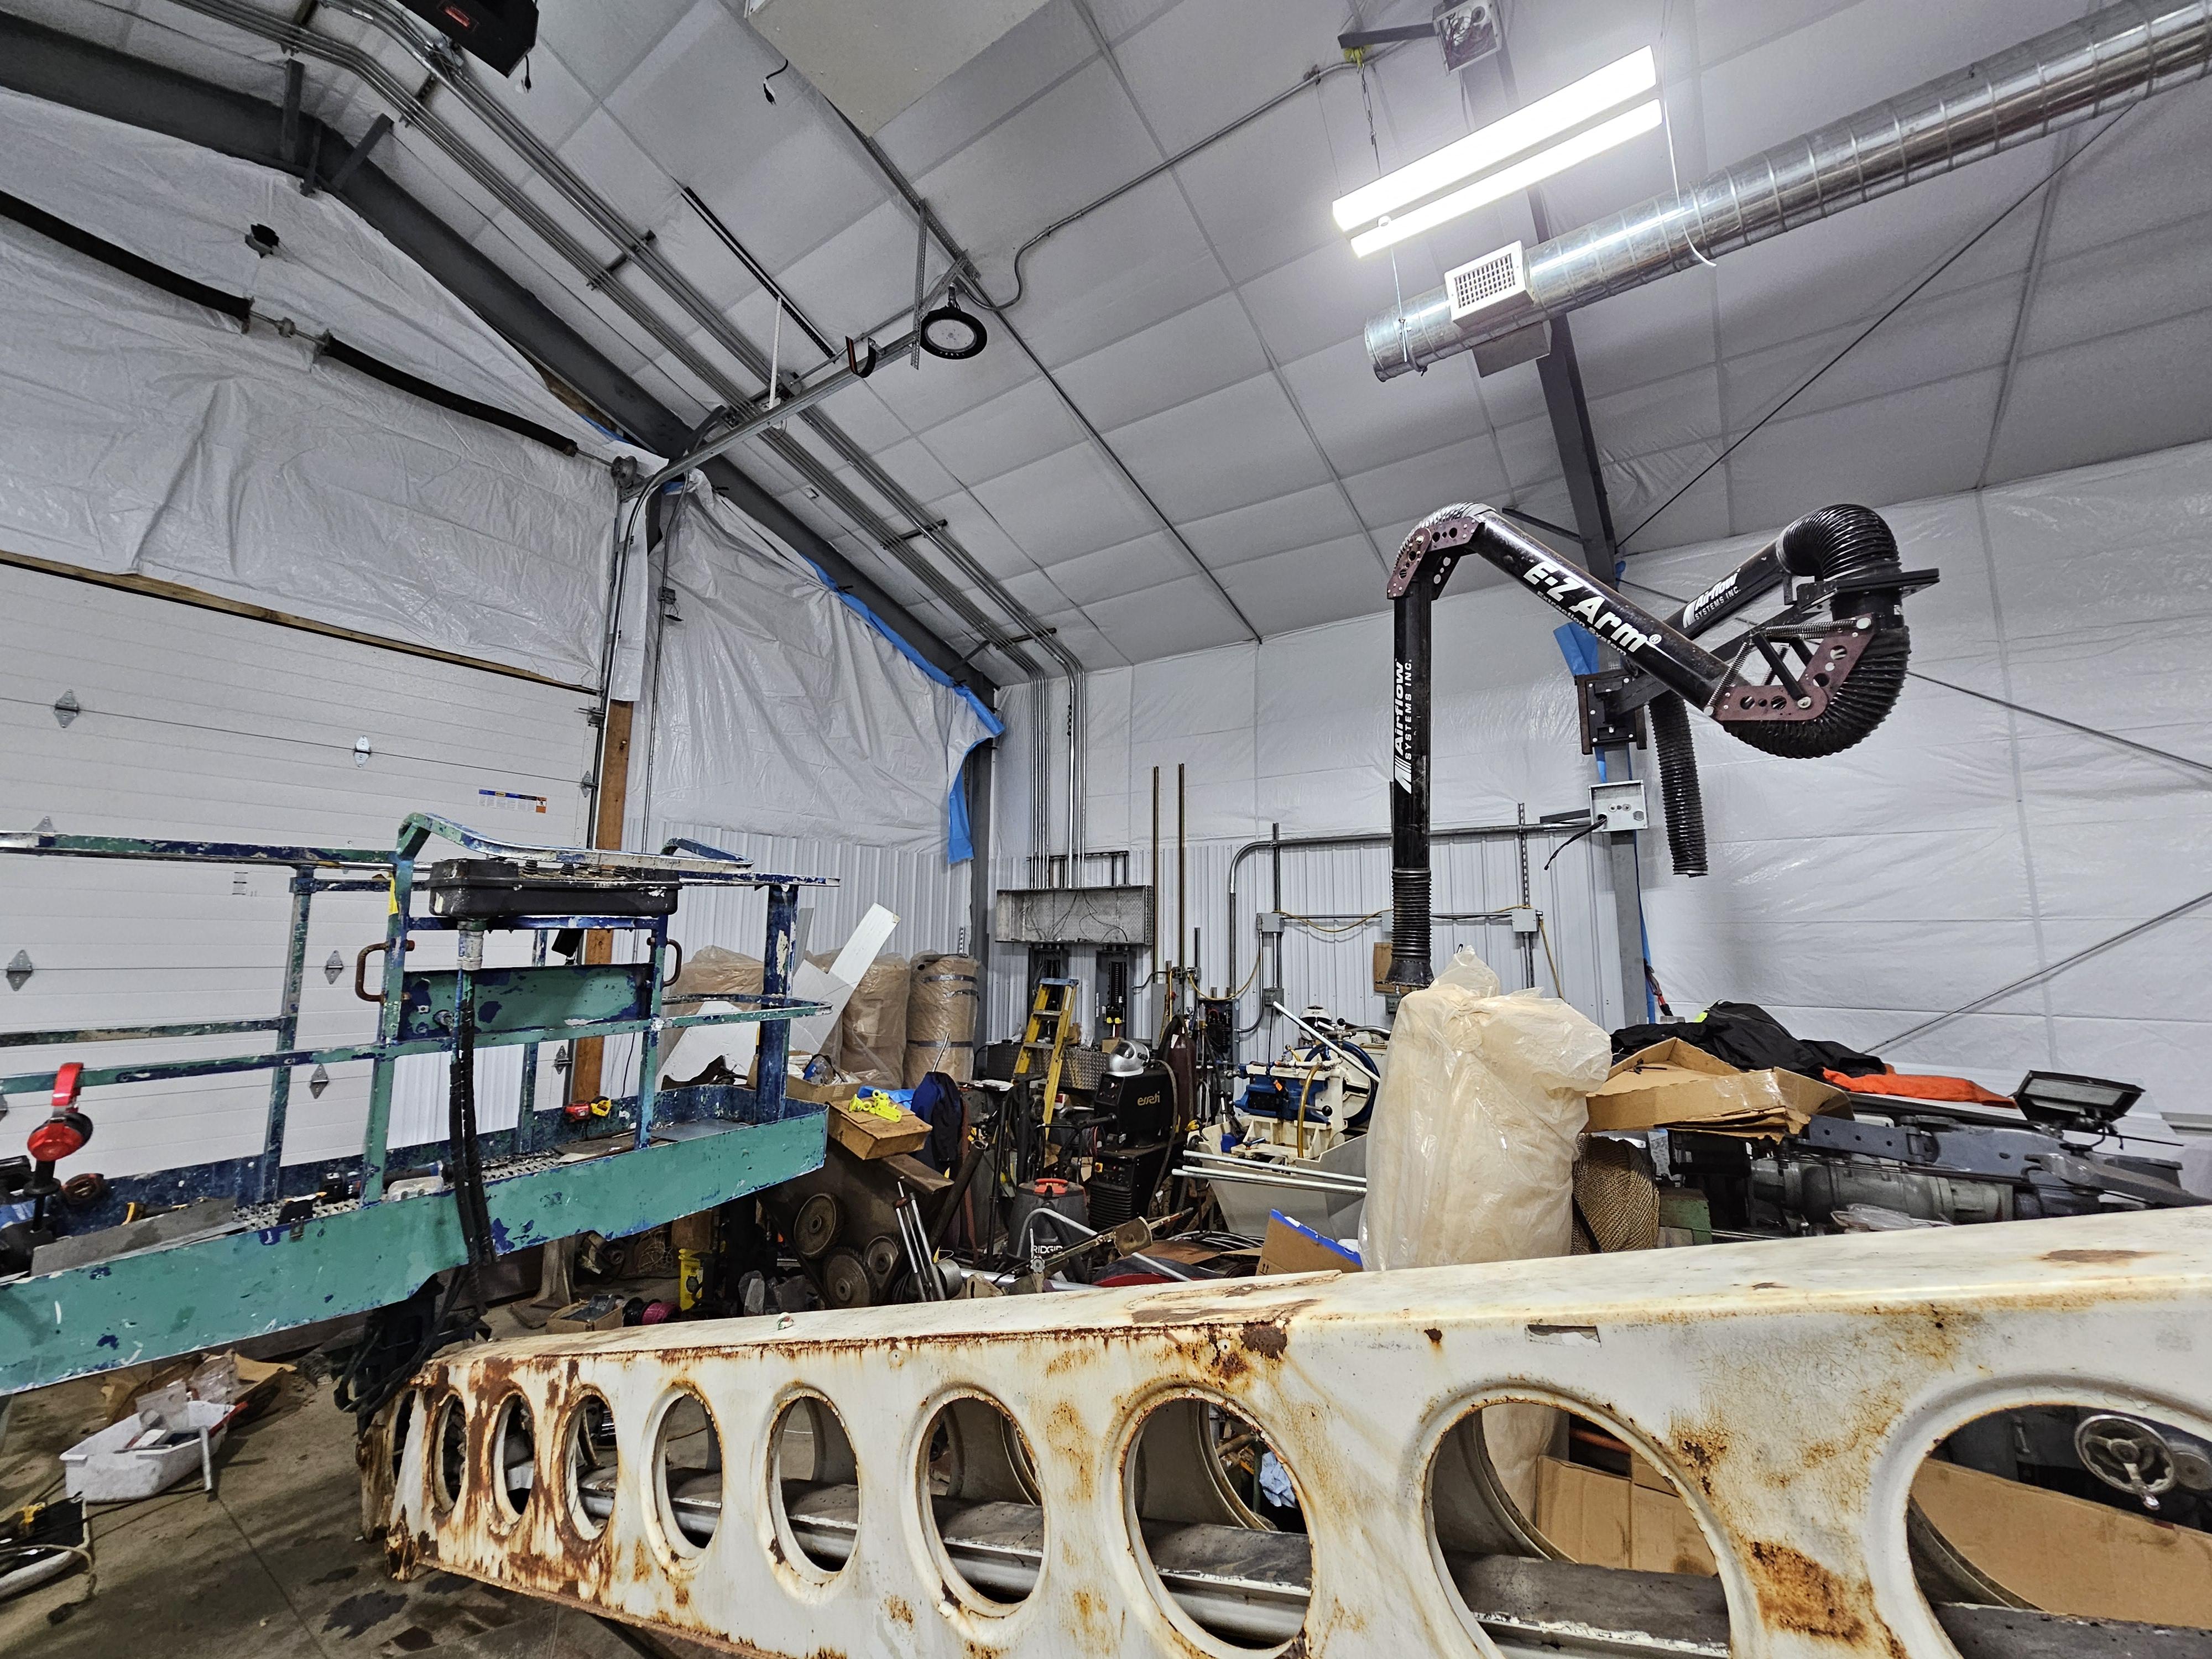
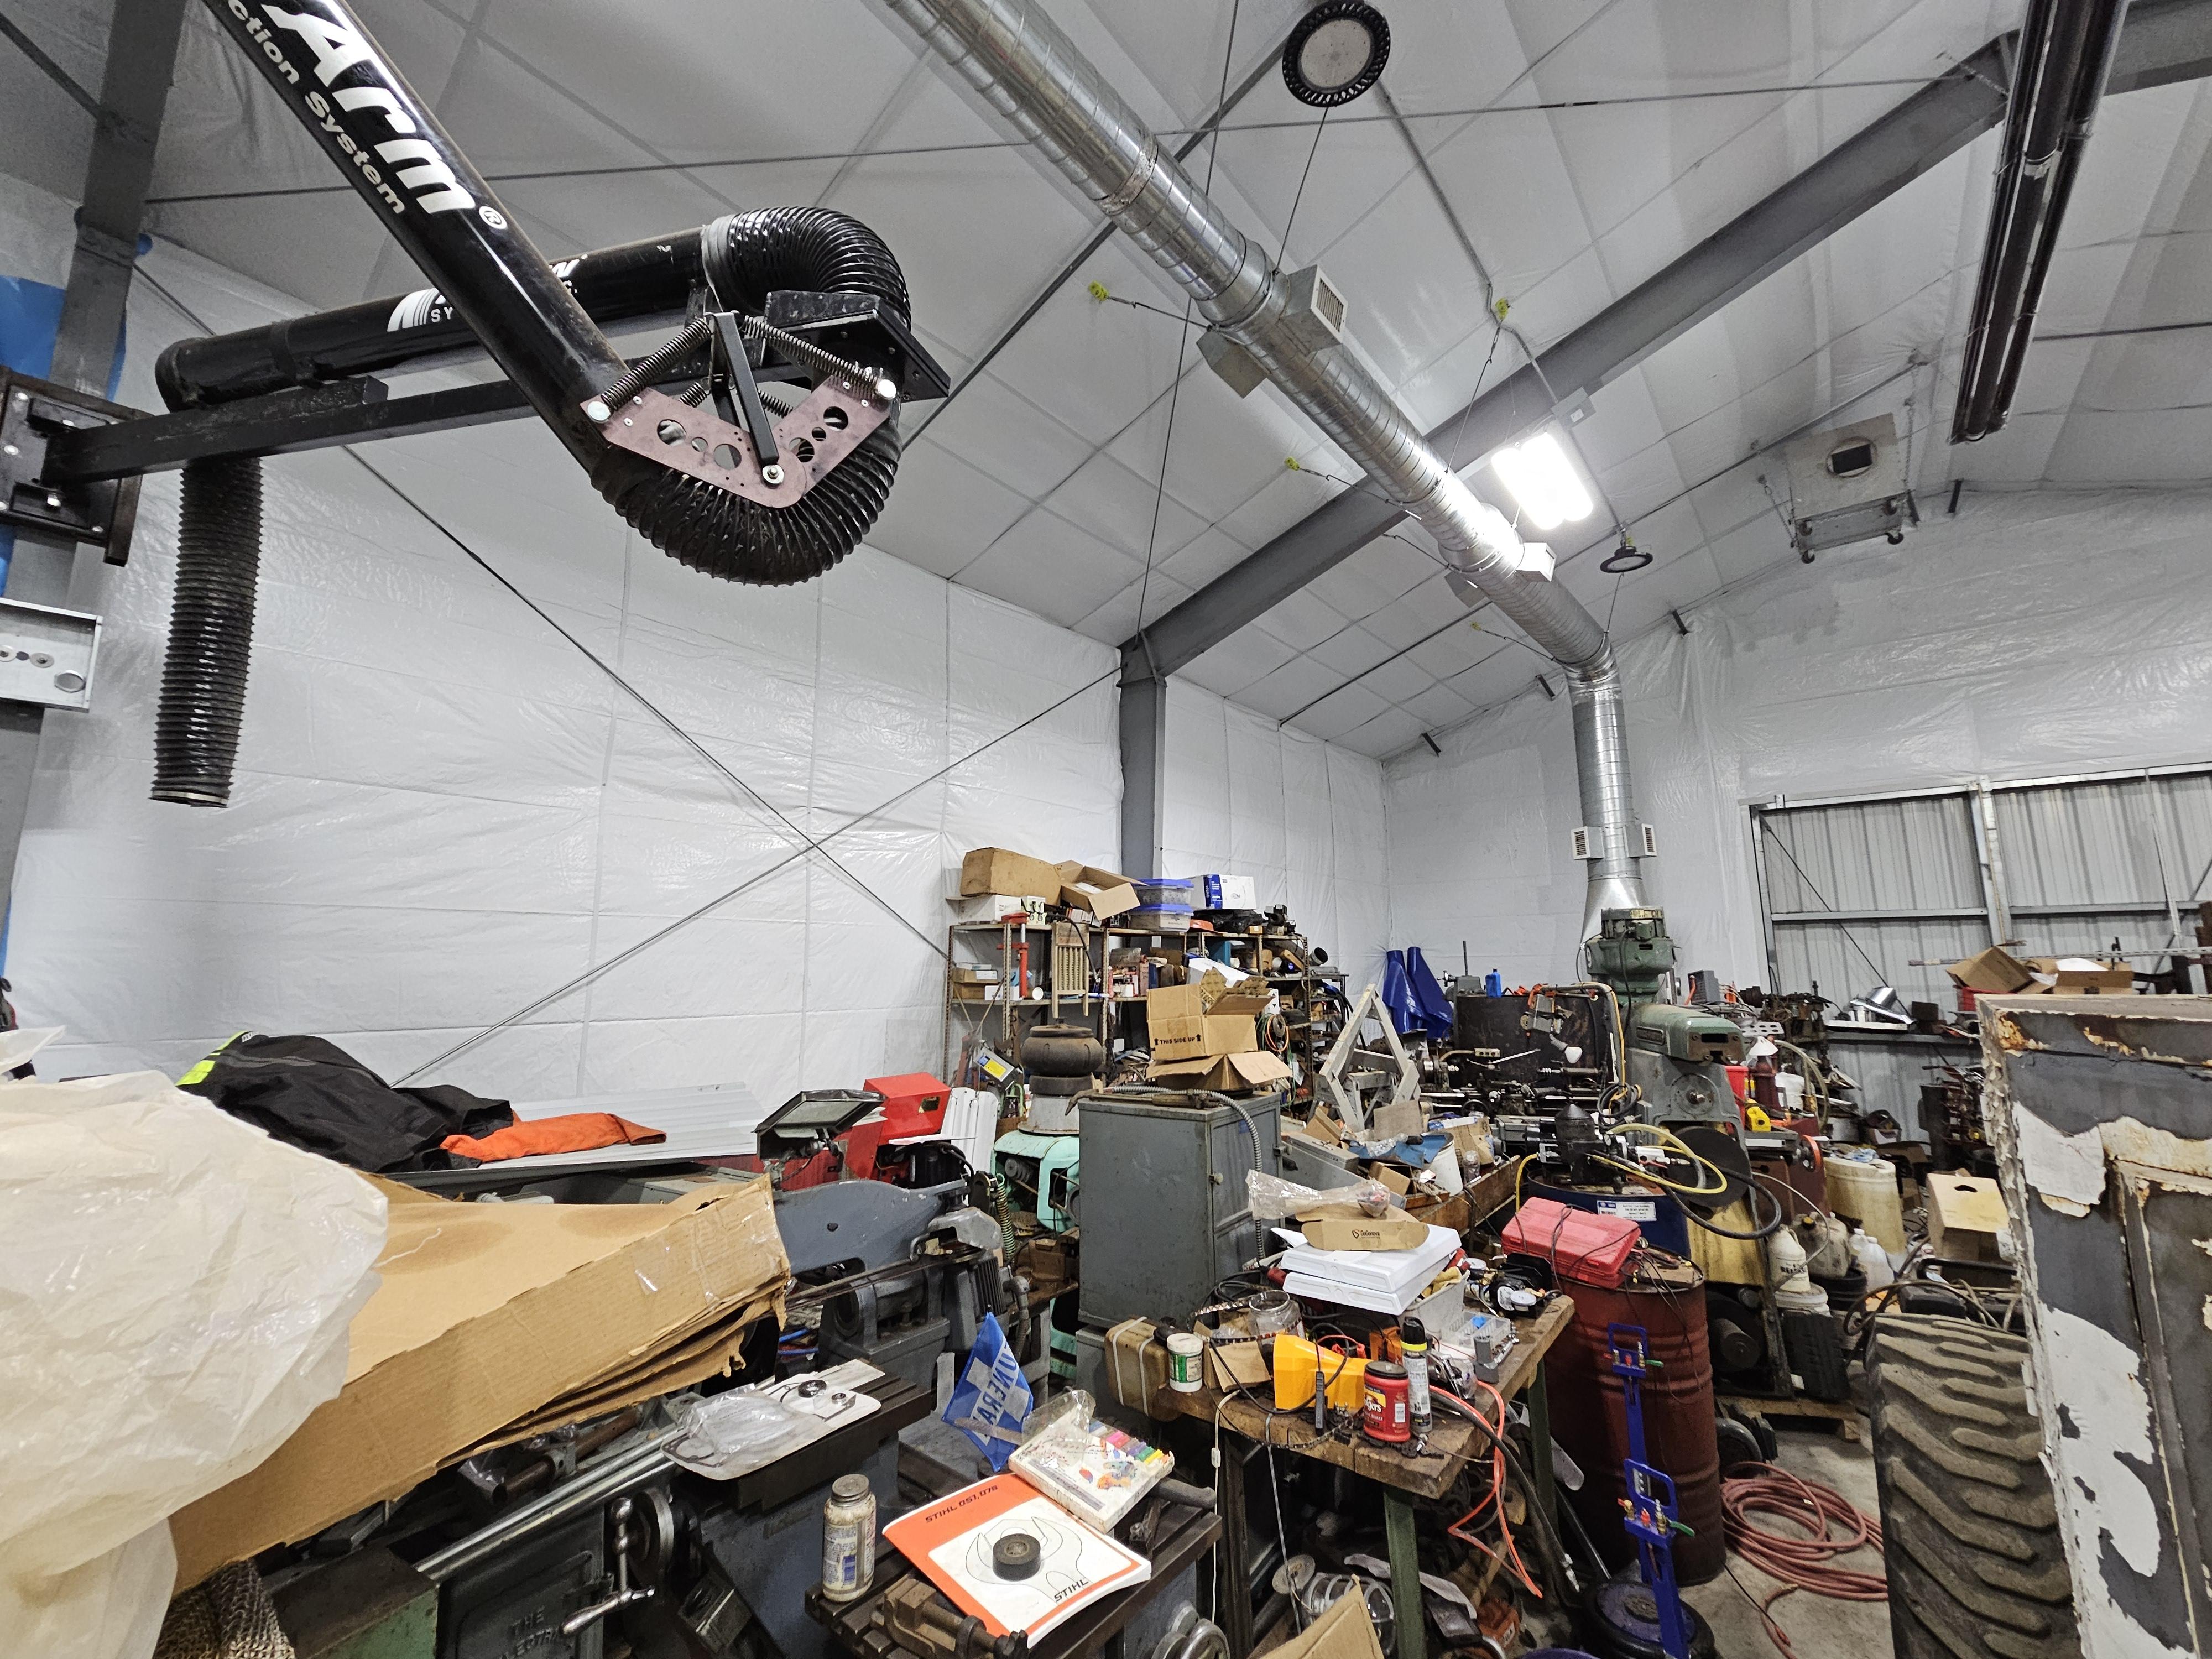
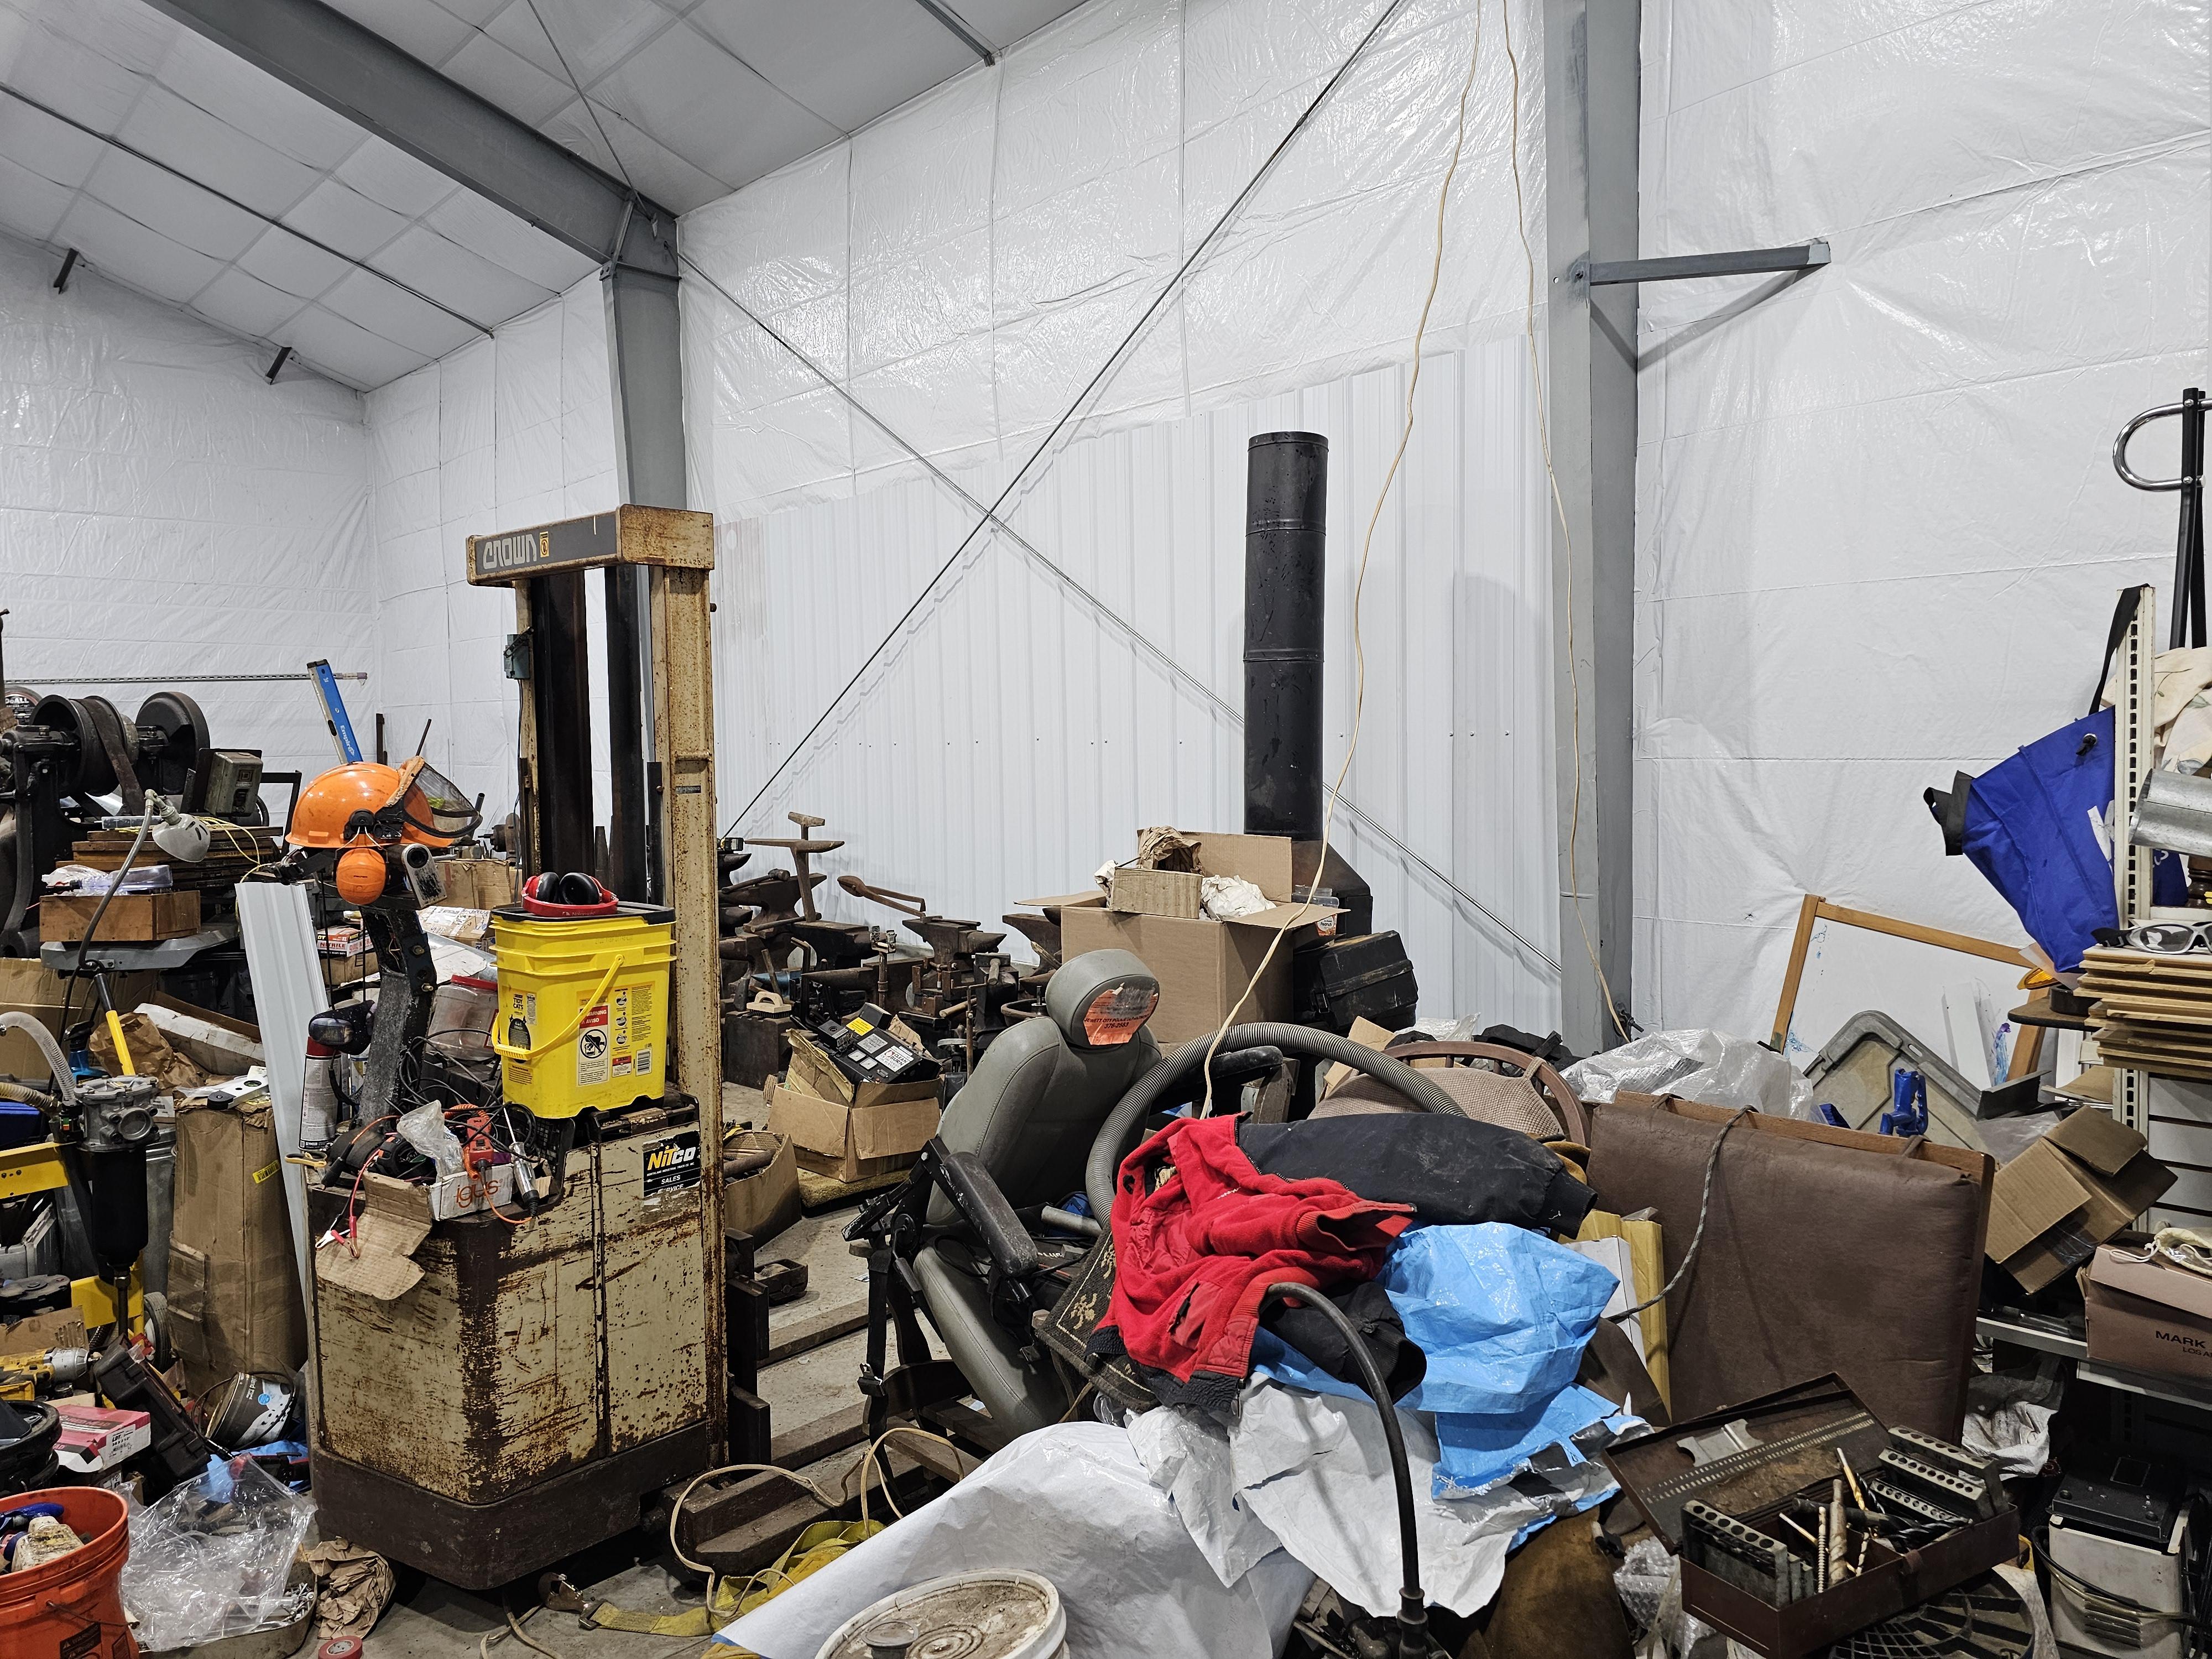
Frosty and gang.. when the building was being built the front shed areas foundation and spacing were setup for walls to seamlessly match the main building..
So can add 20ft when the time comes..
As for time and finished.. I think so.. I mean I do think there will come a time when the inside is finished and items are in their organized areas..
Because of the extent of "trades" Foundry, machining, blacksmithing/bladesmithing/ wheelwright. I'm still not sure how to store the items that are not in use..
I have an idea to stack the machines on pallet racks at the end of the building and pull them down for use...
But again these are just ideas.. The hardest part is coming up with installing the smoke stacks and is the last major hurdle.
While the photos make it look extremely cluttered most of it is just camera flash.. Meaning only seeing what is in the forefront of the photo.. There is a lot of empty space behind everything.
The smoke stacks will mean having to move the manlift outside and machines into their working areas..
So the simple answer is "yes" it will be completed sometime and soonish.. Time goes by so quickly now. -
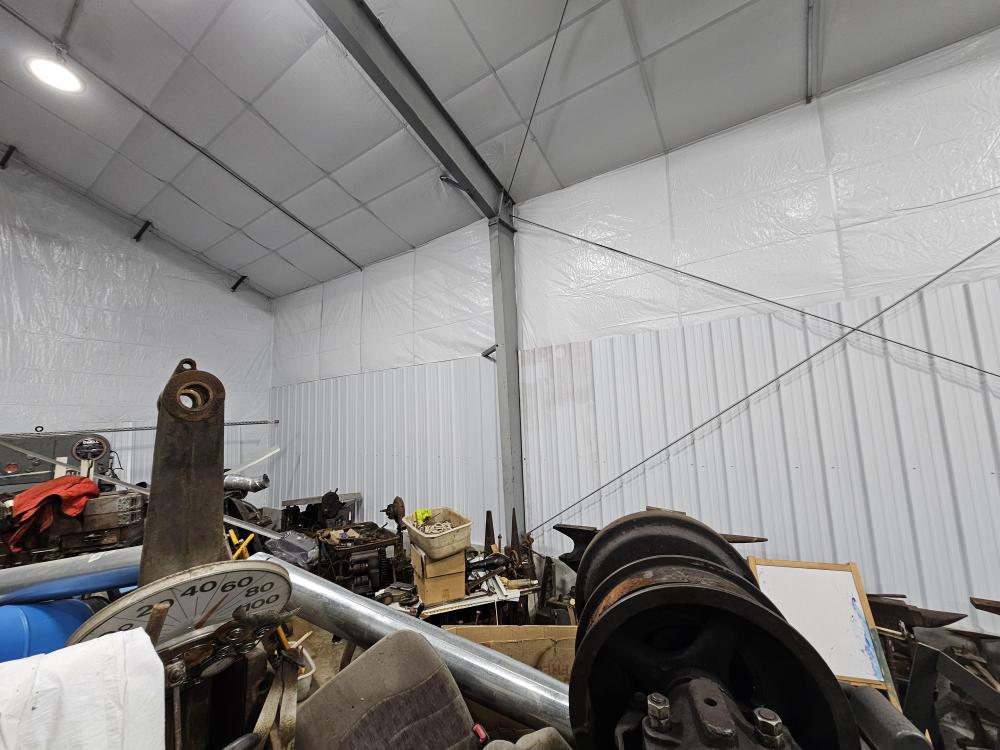
David, Steve it's hard to believe july 15 2019 is when the site prep started.
That's a lot of years to add equipment that were to good of a deal to pass up on in the hopes of potential use.
In some places you need to be mountain goat for sure.
I keep telling myself it will be ok...
I do so many things to support what I do, oil burner tech, auto technician, machinist, lumberjack, plumber, etc, etc. And nearly all the tools that go along with that trade.
It makes for a lot of stuff.
If I just did blacksmithing/bladesmithing it would be so simple.
-
got another bay of siding up. These only leaves 4 bays left. The 2 on the side walls on the left side. and 2 at the end wall.
The end walls are 1.5" thinner in the centers so they need to be shimmed to the full outer which you guessed it is the level steel framing..
Who would design a building that you have to put 1.5" shimms in the middle of a wall to make it level with the perimeter?
2 weeks from today my buddy Eric is coming down and we are going to start with organizing and sorting..
I see a couple of scrap runs in my future.
Also some equipment sales..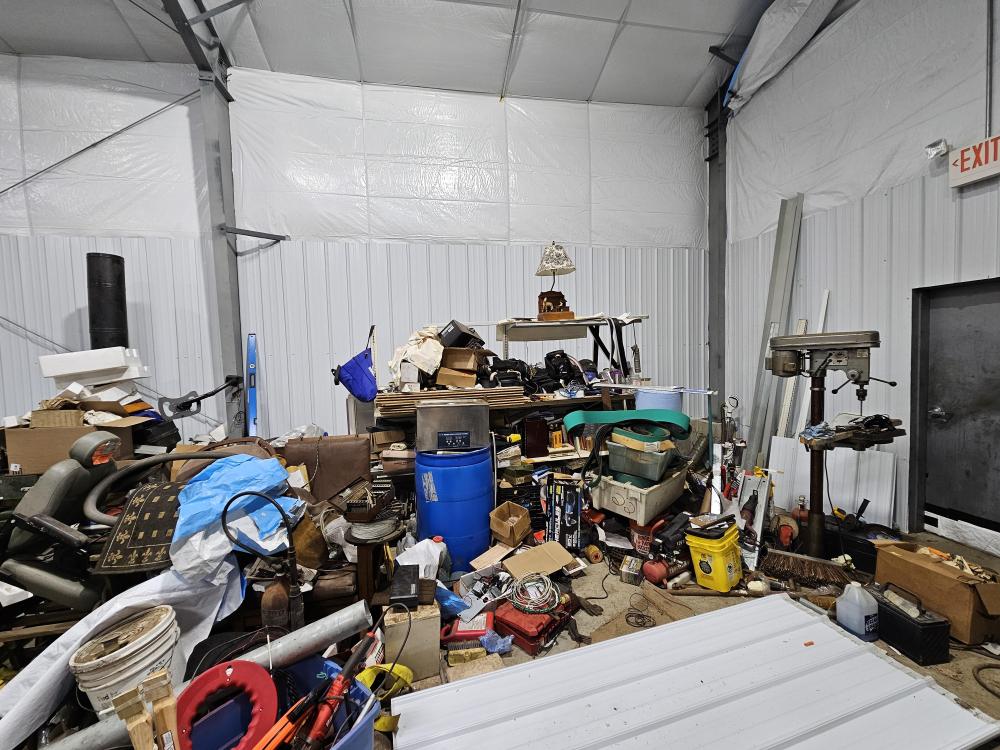


-
VoldemarDemid that is a very nice shop.. The new anvil looks very much at home and love the stand as well..
-
Billy 60Hrc where? edge of face, center of face?
John, your getting better.. Nice seeing steady improvements.
-
great job.
the alignment issues you speak of are normal and the reason why I mentioned slowly tightening the bolts..
If the upright venturi or stack blower is centered in the hole you might be able to angle it some towards the blower with a spacer at the tuyere elbow on the firepot. this would give you the needed 1/2" or close.
And yes on the spacers behind the blower.. Firms up the connection between the blower and housing.
I"m not really sure how they got away with such misalignments at the factory.. I guess that is why these downdraft units had to be special ordered. -
My friend Eric called a few weeks back offering a hand and a visit so things came together and he came down yesterday for a wonderful day.. What a huge help.
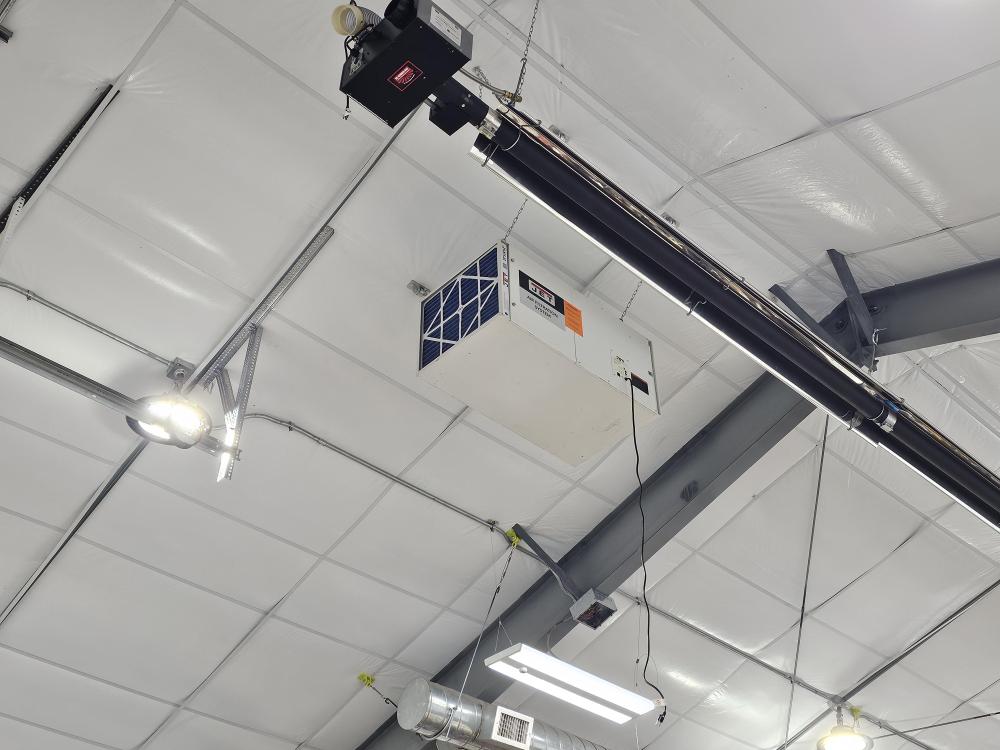
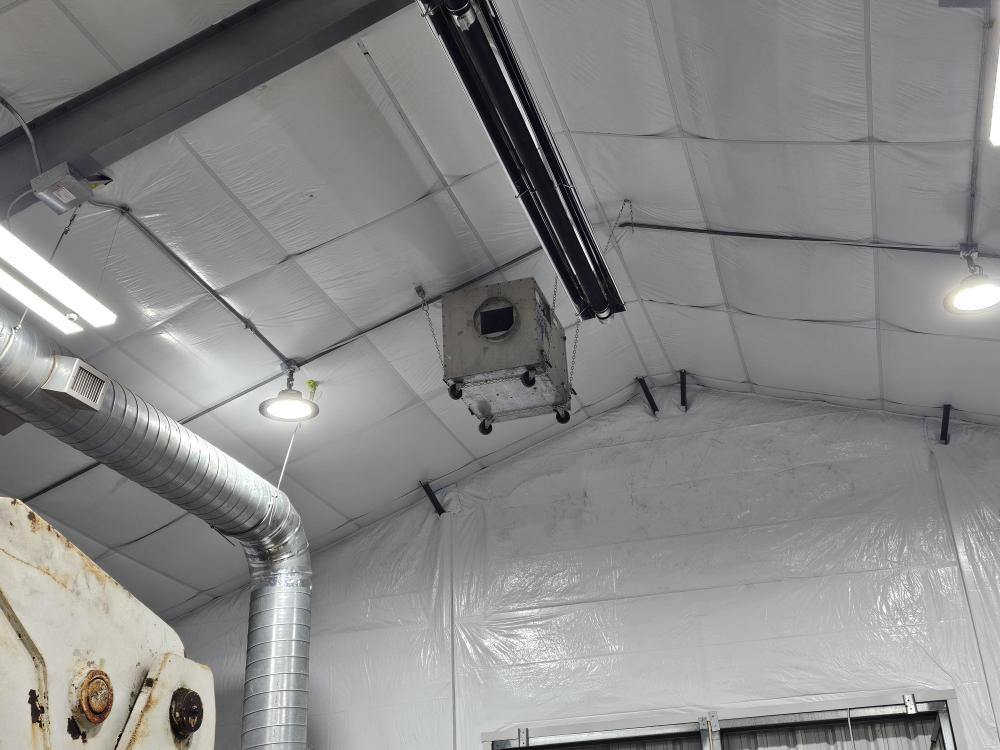
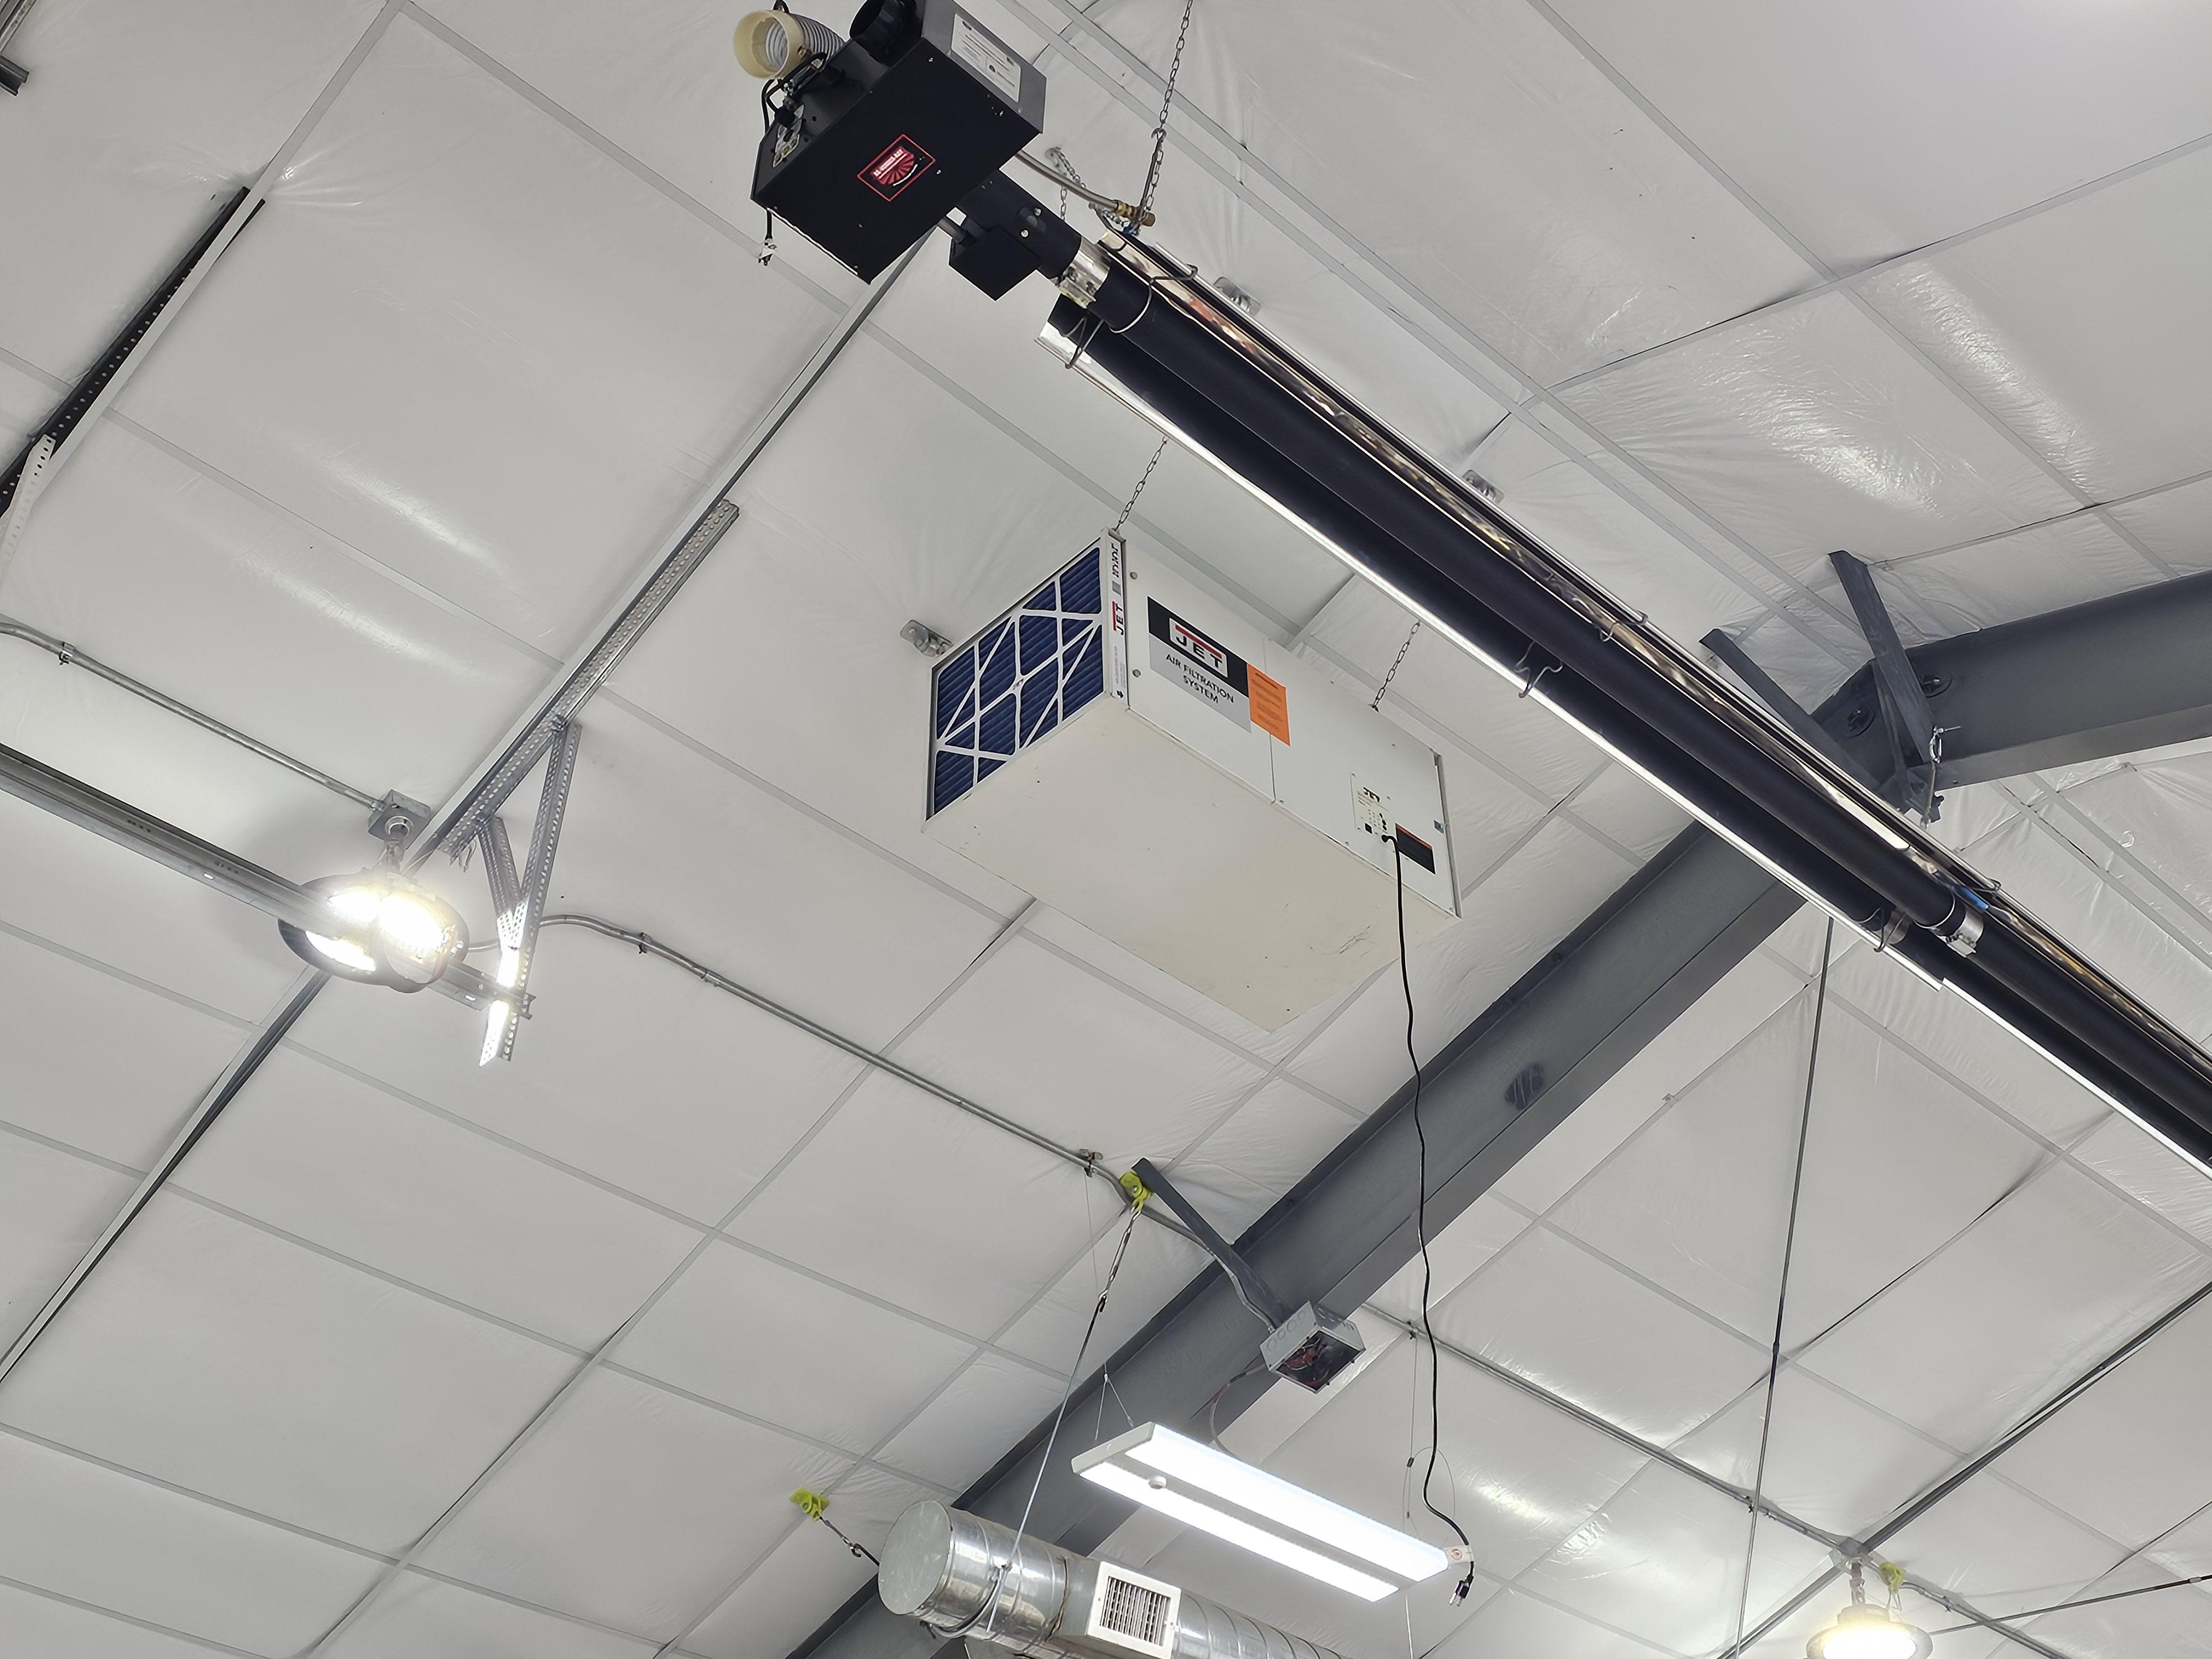
We were able to get the air handlers hung and one space sided. Was a good pace.. Was tired last night and can feel it today..
-
The lead based putty is a no go. That stuff was amazing.
Use it to stuff all the long flat joints. The system uses vacuum and then all the gases are pressurized.
Any gap spews smoke. Looking to seal up every crack, seam or hole possible.
-
Well that is very generous.. Thank you..
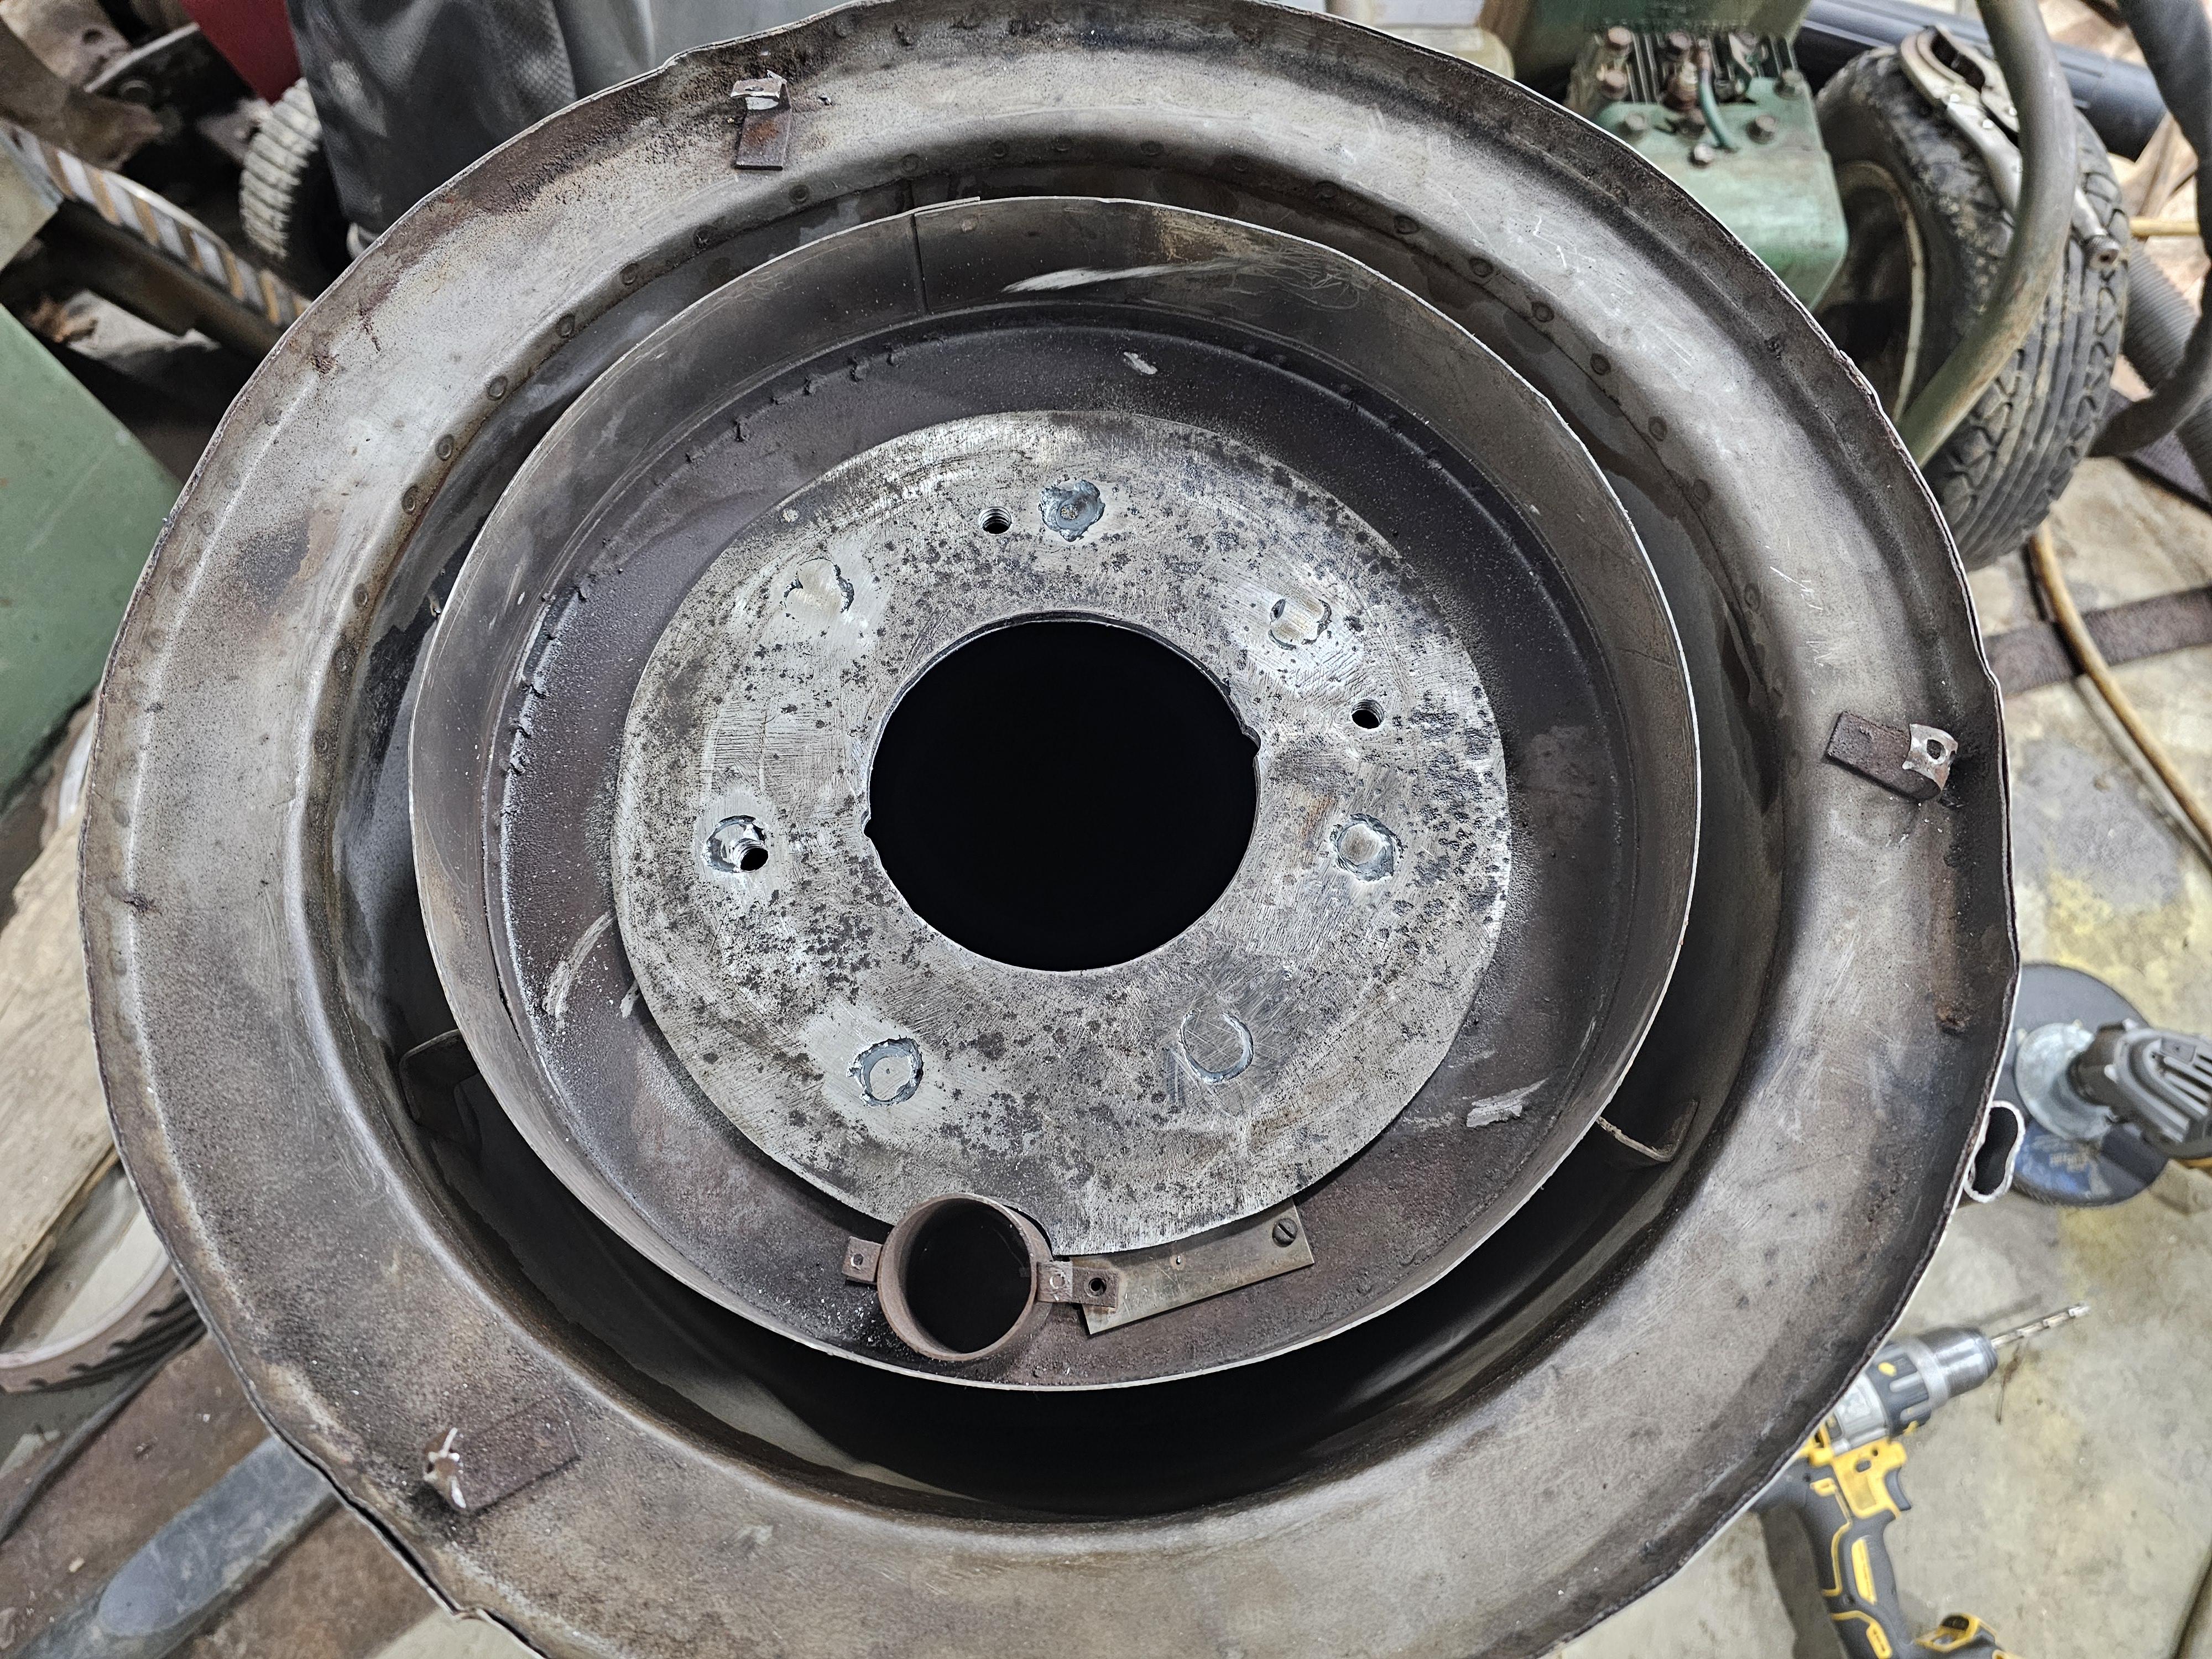
Something to keep in mind.. These forges were put together without the fine tolerances we think of today.. Basically some parts were drilled while held in place or in jigs that were lack luster..
So just be careful when putting it back together.
The person who fixed the forge before I got it put the firepot in backwards.. Why?? Not sure.. I watched how things aligned and did the round and round as I tightened fastners checking for binding.
In the way back they used a lead putty that would stick together with pressure from the flanges..
When I did my trial run there was smoke pouring out from every hole I missed..
Do you have a recommended RTV for flat seams? -
Wow thats awesome.
I'm not sure what those 2 extra holes are for either.. -
You did a great job to boot..
Sounds like one of your fan blades is hitting the inside of the blower..
Very nice forge..
-
It makes me wonder what those extra holes were for?
Your forge looks like it lived a good life.. These forges often times end up living outside or in a barn with the roof falling in.
Here is the post of the forge I have.
Posting all the photos here might have been more useful..
-
-
Wow, thank you very much.. That is great.. Now I can make up the parts I need..
On my unit there are bolt holes on the bottom as well.. Does your back wall have the extra bolt holes?The gloss black will turn matt over time..
")
Looking really sharp though.. I like the gloss.
-
Nah, the paint looks great.. Paint is excellent for keeping rust at bay.. In the old days, the paint was great stuff and they slathered it on.. Often times it looked like creosote dip..
There would be puddles of dried paint and large runs.
I was told by a guy who painted tractors and heavy equipment that runs don't rust..
Your photos did not come thru originally.. I can see them now..
Nice looking forge. If you are making gaskets commercially I'd buy a set.. A lot of the seams need to be plugged with calking. do you have some idea of what you will use?
When you put it back together be sure and install all the bolts and pieces together loosly.. Then start tightening the bolts in a "round loosy" kinda deal.
Some photos of those pieces would be fantastic.. When you have time.. -
No worries on age of this thread..
What hood series do you have a 660 or a 6660?
I'm still looking for some photos of the upper shutters and the air diverter that is supposed to sit just under the upsidedown V -
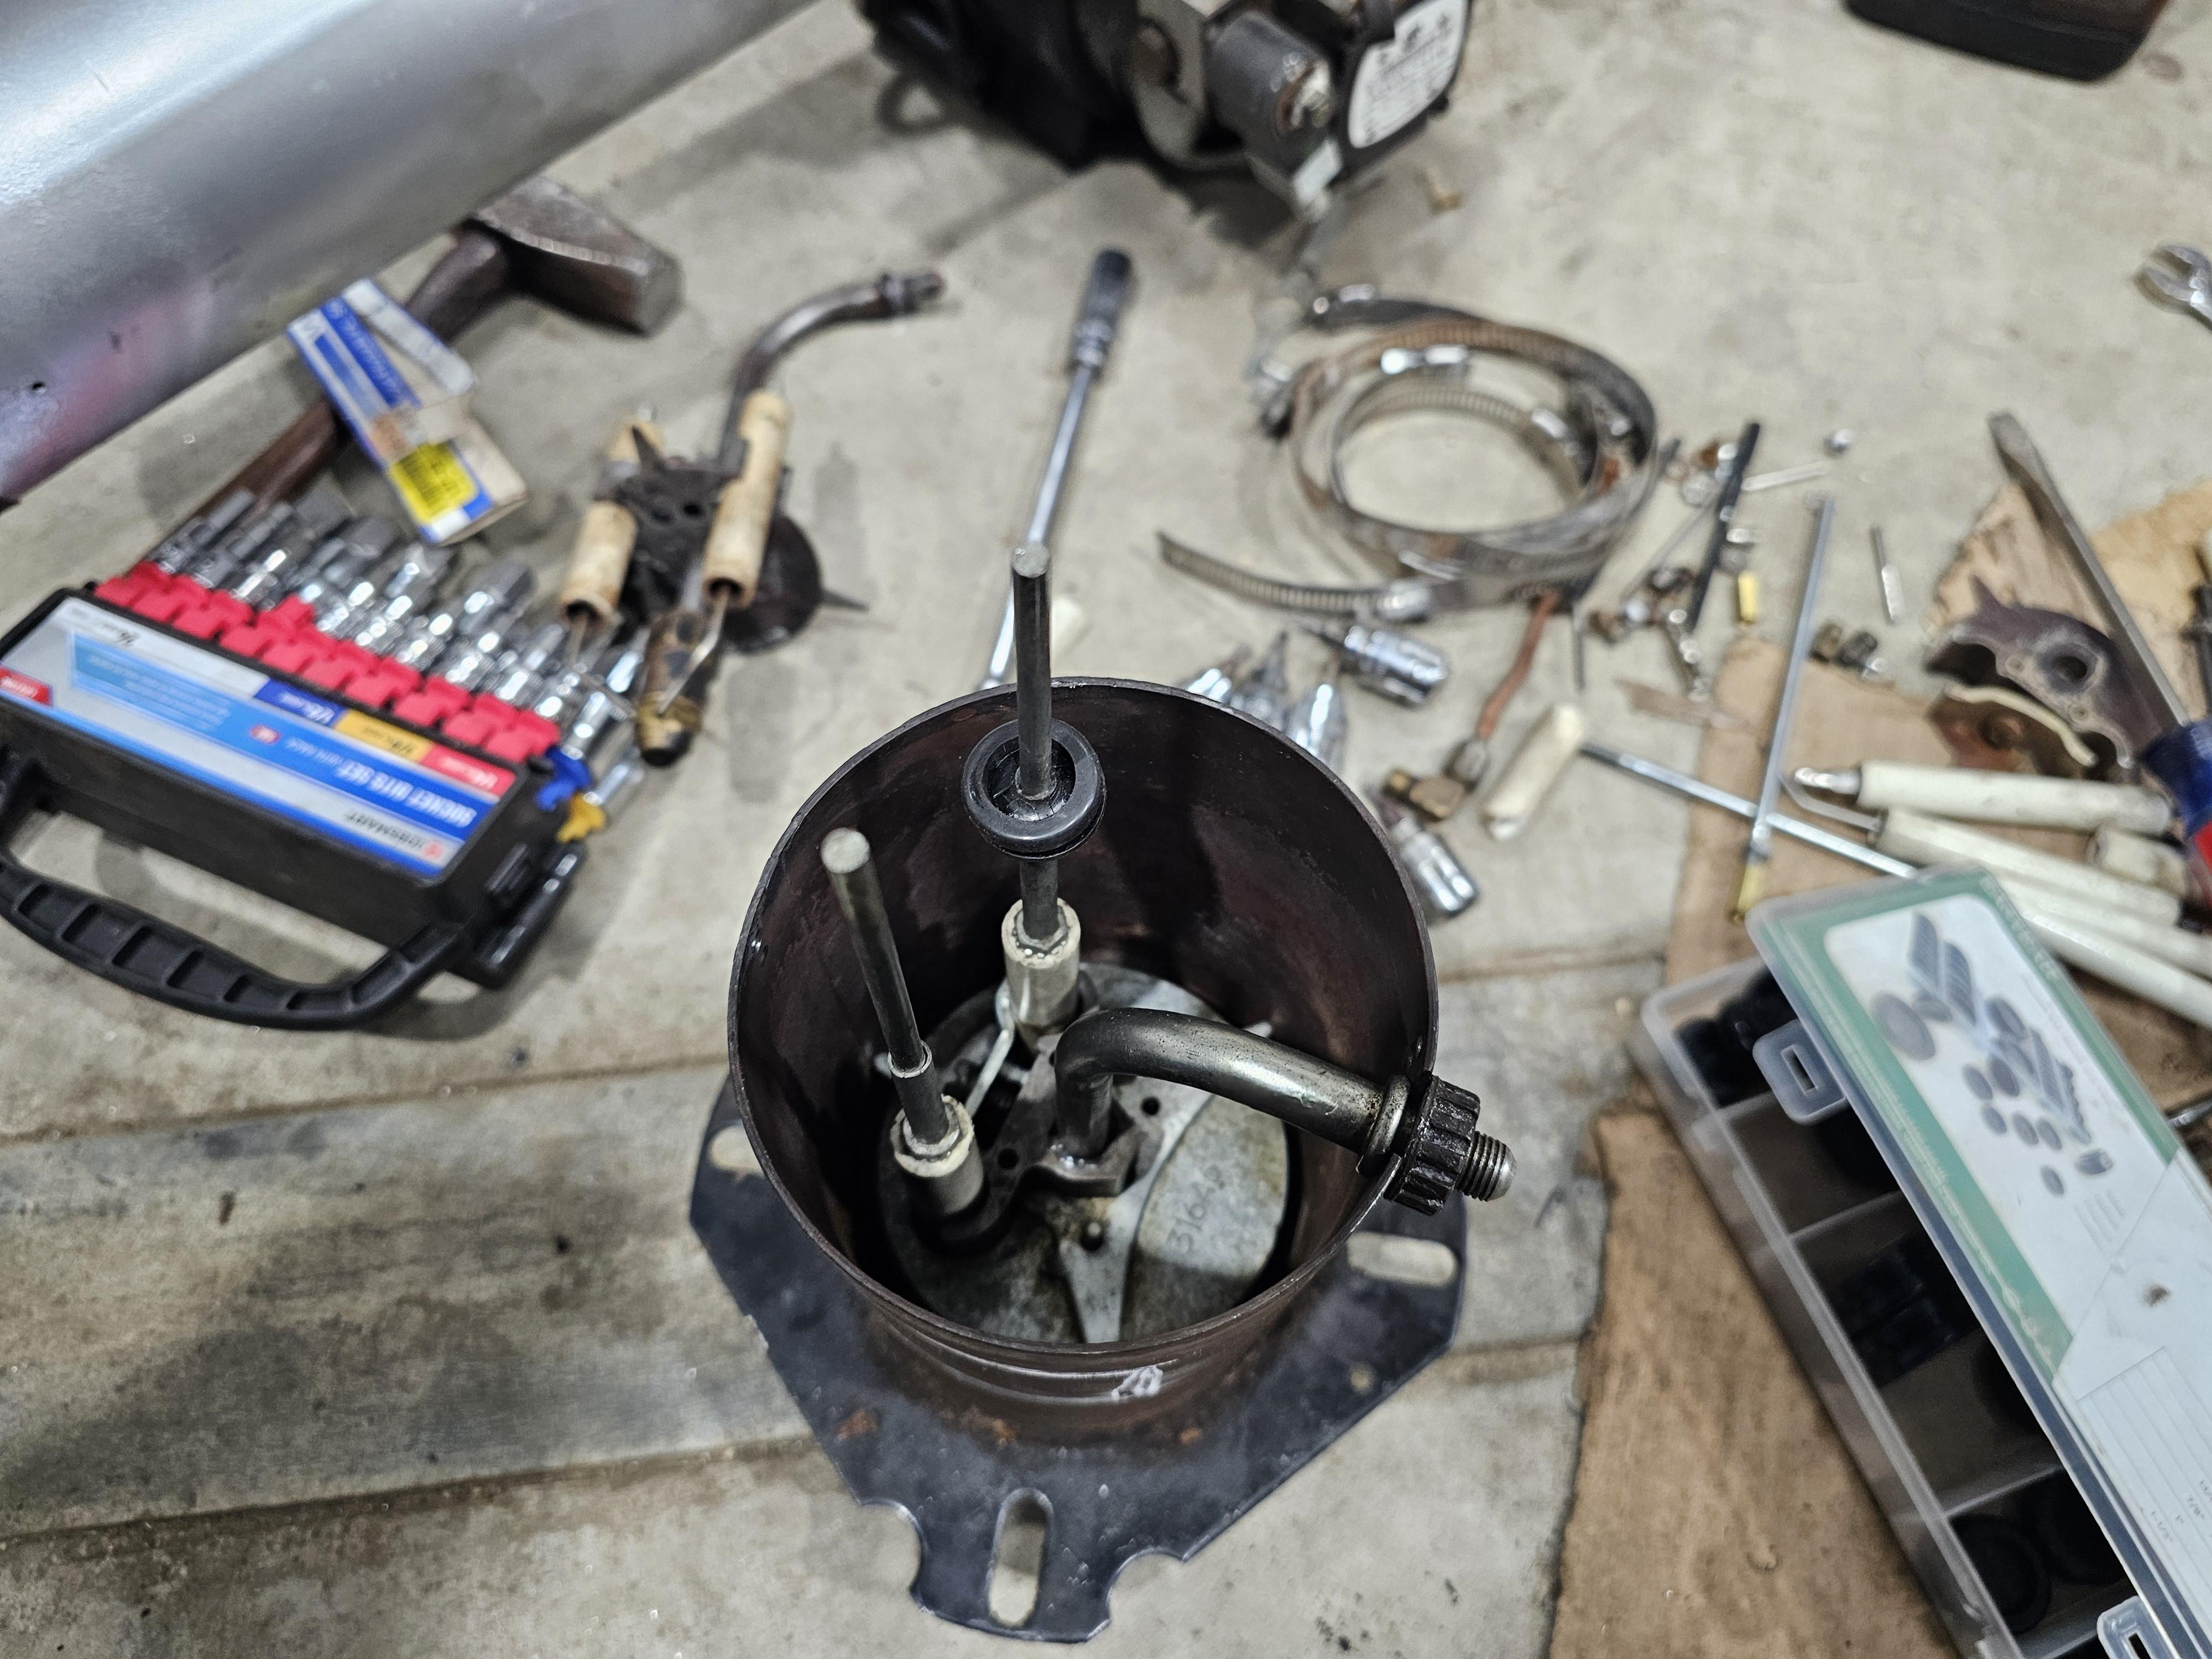
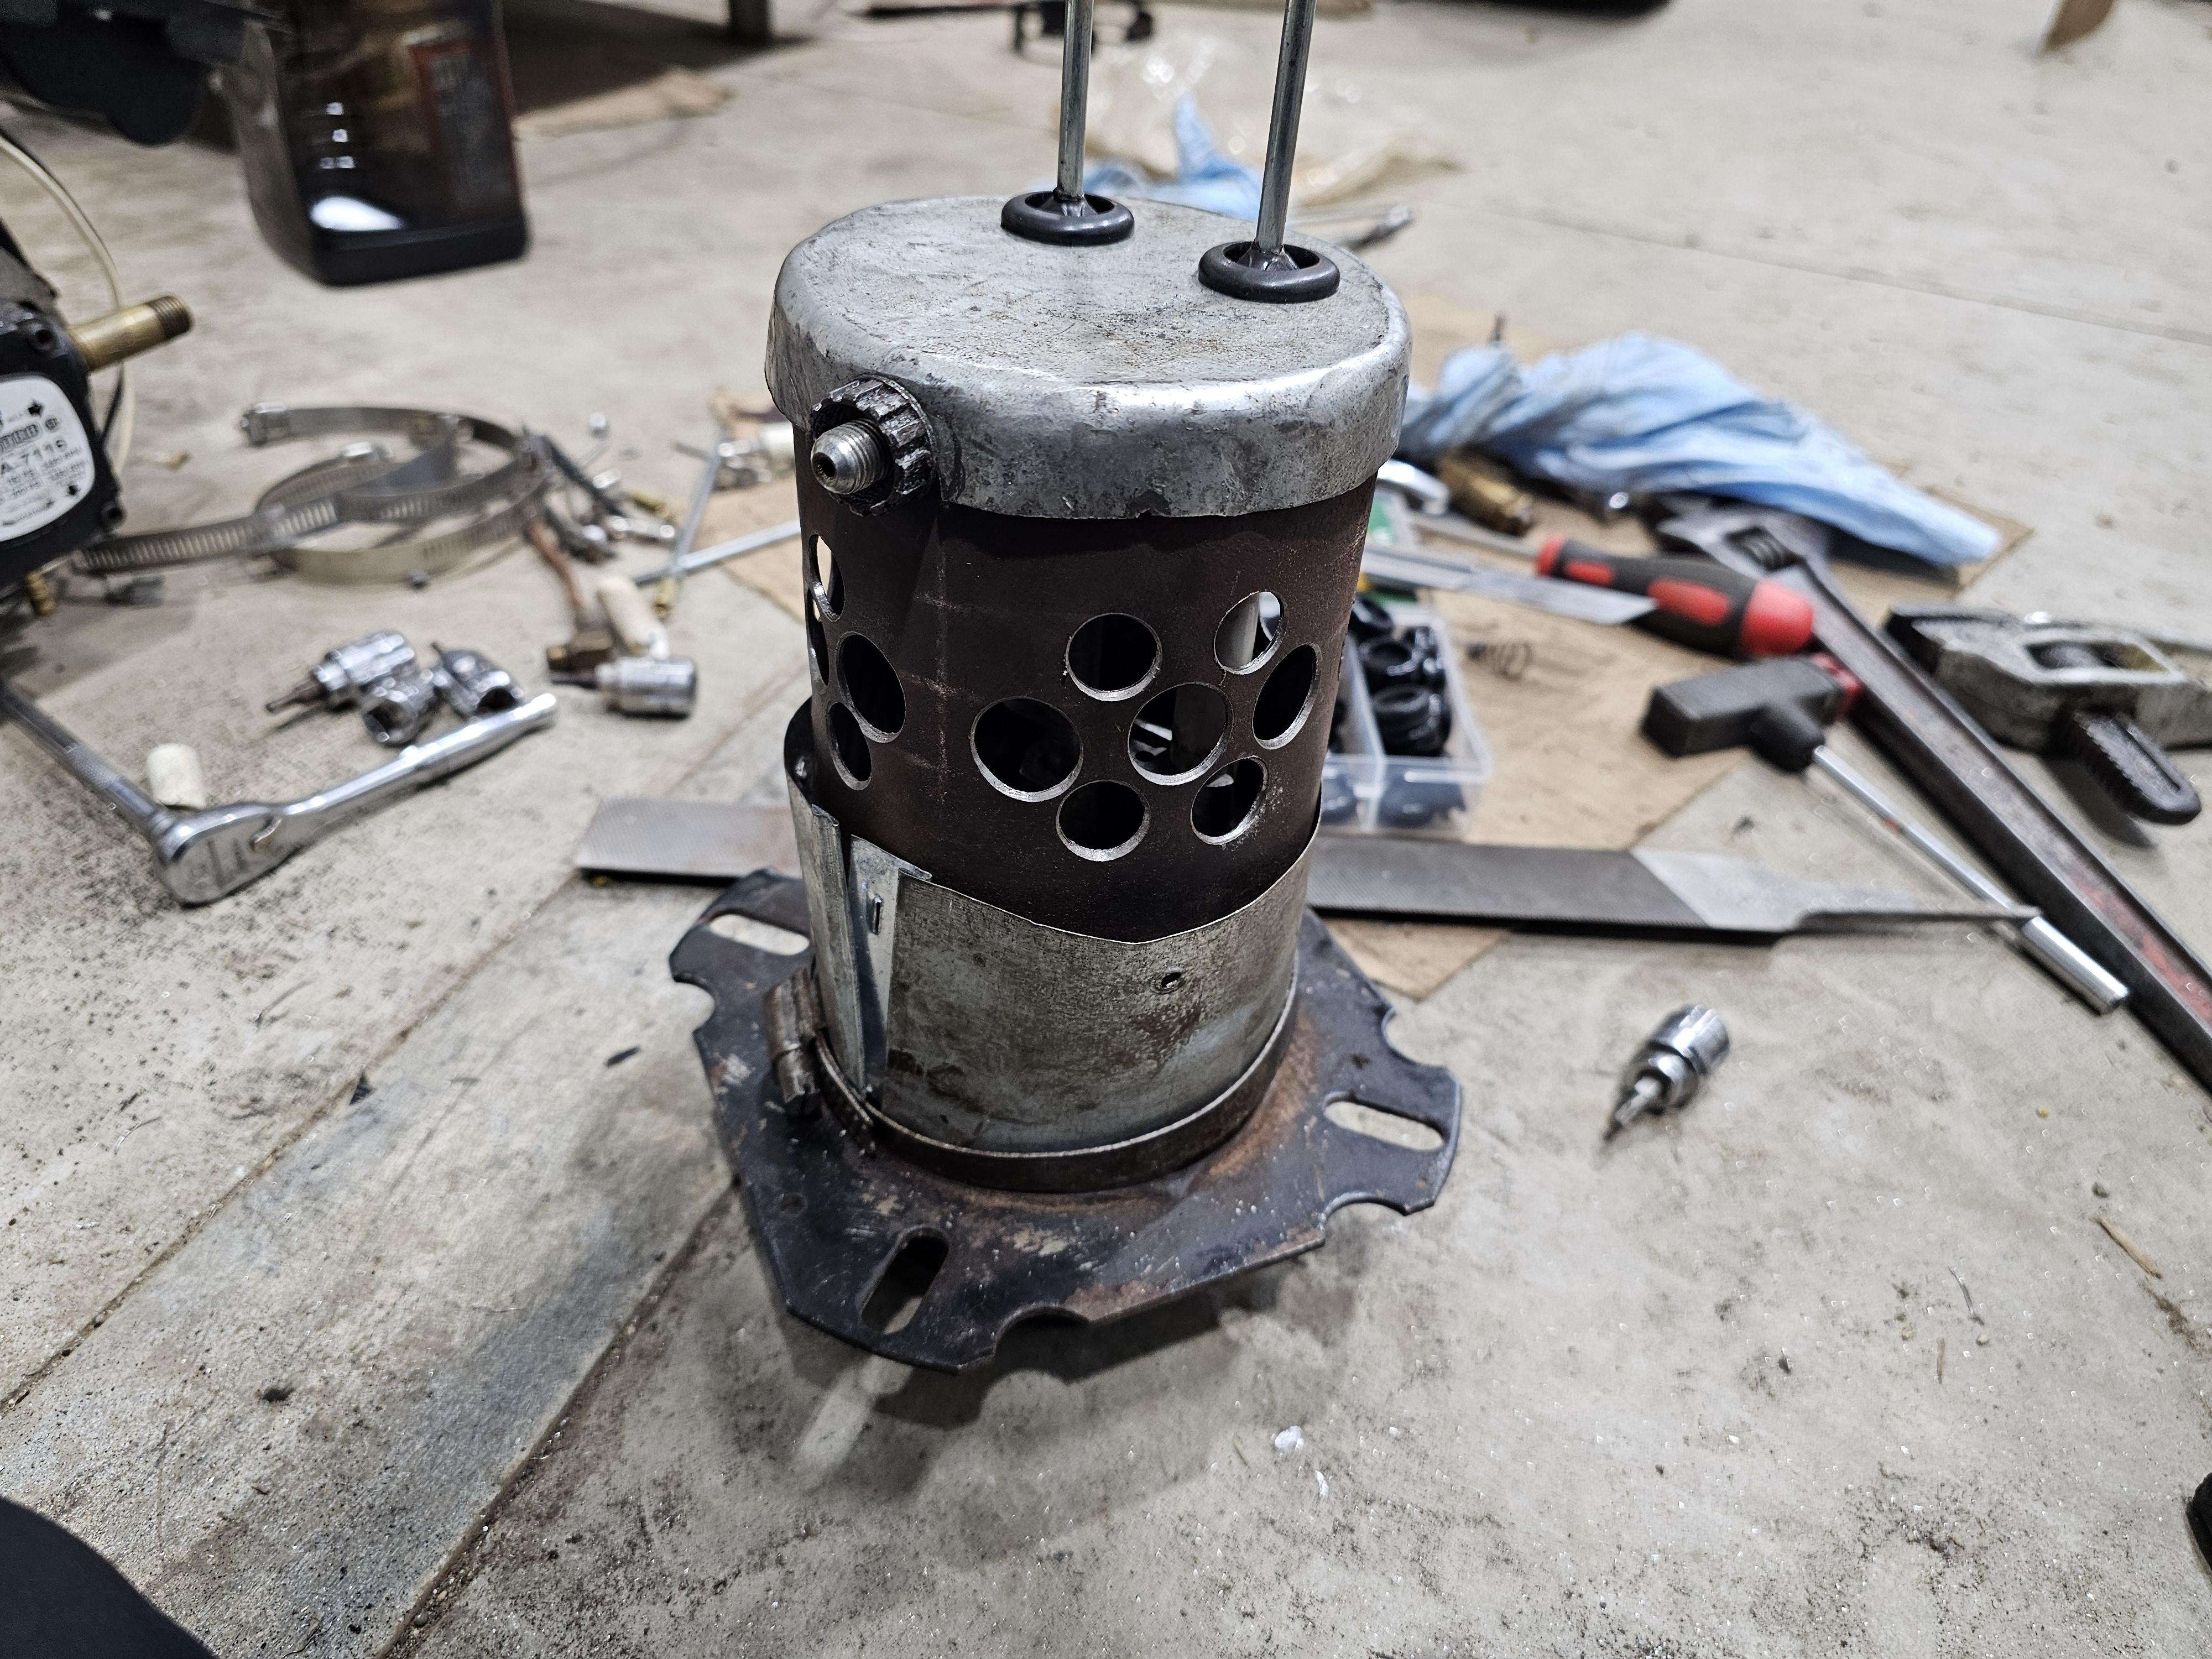
Frosty, I guess working on the portable heater paid off.. It's been mid 40's here.. Today was 50F..
I am making progress and will go as the 200K heater.. Not an exact copy but close enough for my work using nearly off the shelf parts.
The tin around the barrel is for setting air into the burner. It will be held via hose clamp.
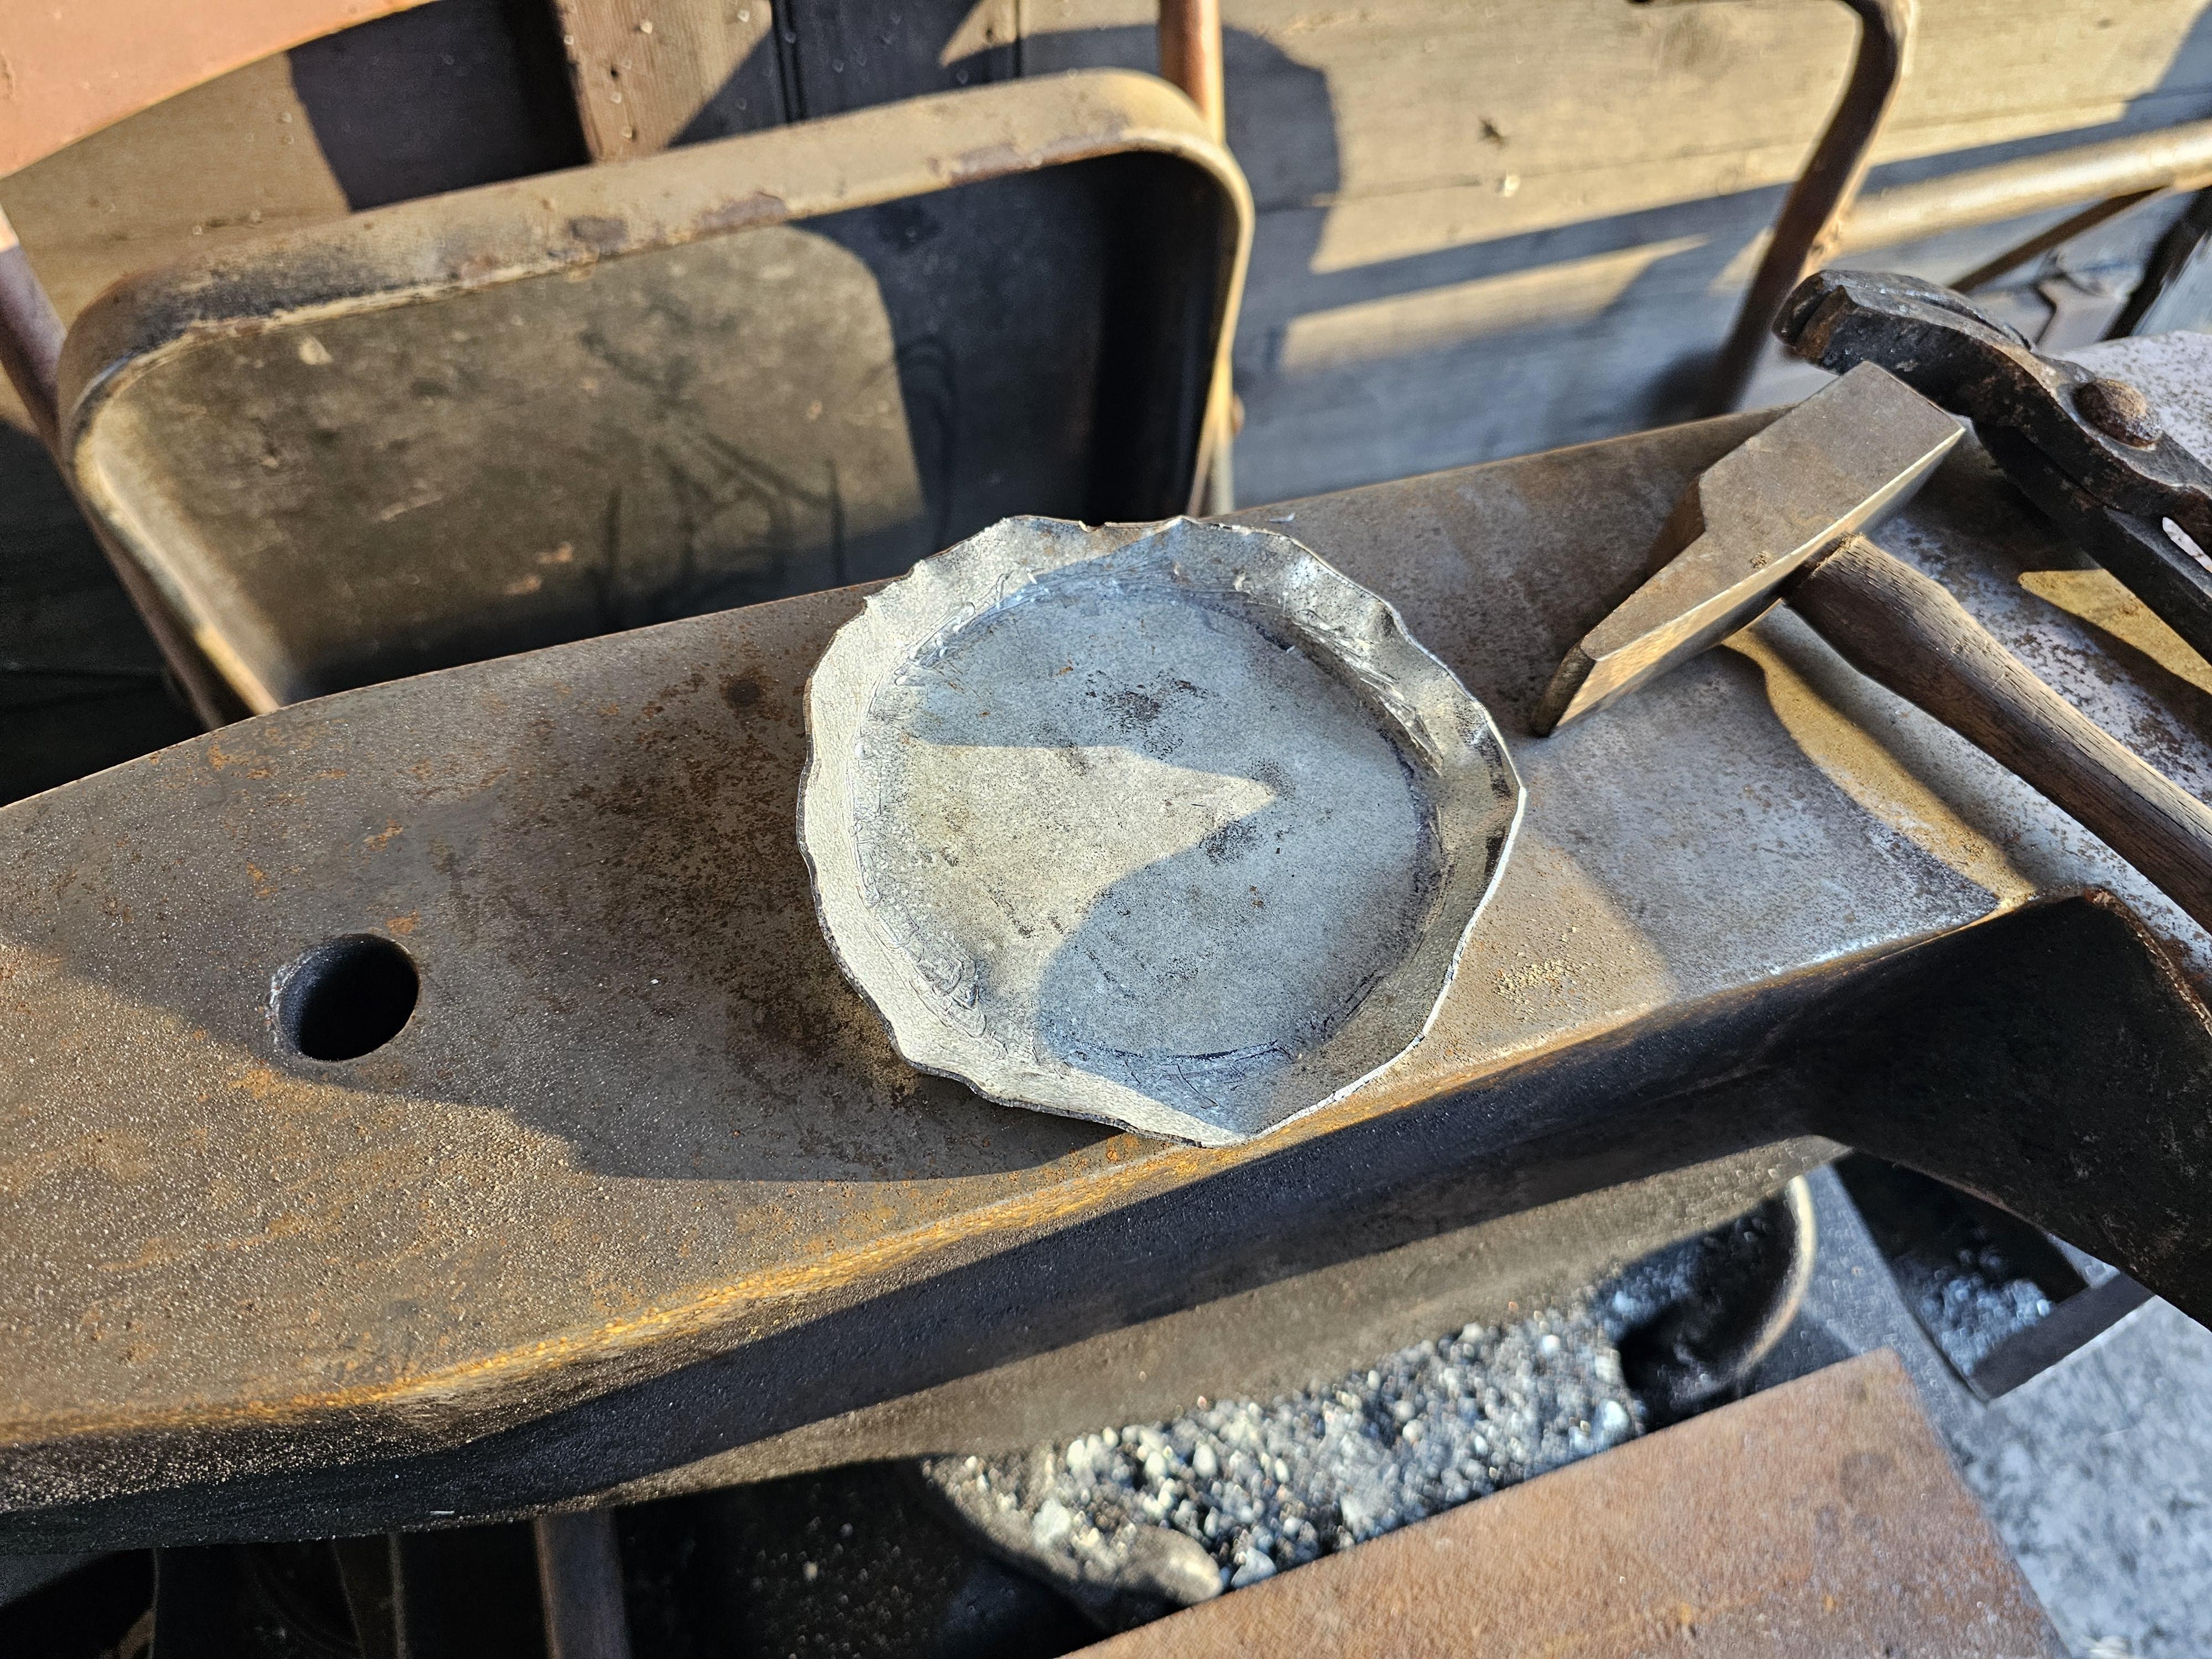
I need to finish off the rear cap (make it a little smoother) drill the holes for the screws and connect the electrode nipple..


Added a KA75 hammer to the school too..
-
Billy, your work has gotten so clean over the last few years.. So great to see.. That candle holder is gorgeous. Very classic style.
-
Well said and explained John..
We in America have moved away from the "hot set"/"cold set" lingo in favor of Handled cold chisel or handled hot chisel..
There are a lot of things definitions wise having fallen to the way side since the boom of blacksmithing.
Interestingly.. A "Set hammer" used to be just called a "Top set"... And the matching bottom tool was a " Bottom set"..
There is also a "shear set" both in top and bottom tools.. and a "Side set".. also a "shear side set".. or offset shear set..
Again, much of the lingo has changed..
40 years ago I picked up a book on "Chisels and their uses"... It was a great book based on "Chisels" as the the only cutting tool.. Well a chisel and hammer.
In this one book there were 1000's of chisels and they showed how they were used with all the names..
At this point. I'm starting to forget, more than I remember.. -
JHCC, wow 5 years ago. That was a cold day. You were such a trooper. Fun to boot.
I forged a new handled cold set.
I like my blade thin,thin and shaped like ()..
Most would mistake it for a handled hot set.

-
The red is rusted metal bleed thru. At least that been my experience.
clean rust free metal even with hot rolled steel does not do this.. -
1 hour ago, bluerooster said:
1 in 10 is not bad. So far I'm going 2 for 2.
 But I'll get on another in the very near future. I'll be using what I learned from the past two, and mabe the next one will come out better.
At one point I was forging 2 a day.. So that really made a difference dialing them in..
Always Sunobe. by the way I just looked up the meaning of sunobe to make sure we are on the same page..
A sunobe as I'm referencing is the sword billet before its edge geometry is forged in.
This unit in its pure form has all the finished measurements and thicknesses built-in..
To finish all that is needed is to forge the ends spine, sides and edge are forged.. But the sunobe dictates thickness, overall shape from the very beginning.
I found that going this way gives very consistent results especially once, one sees how this raw sword blank transforms seamlessly into the final shape.
Nothing worse than having a bleb that needs to be fixed because of an error and then having to forge this out raw.
If I'm preaching to the choir just let me know and I'll stop..


Cold set AKA (handled cold chisel) video
in Hot Cuts, Anvil devils, metal cutting on the anvil.
Posted
That's great feedback right there.. Thanks.. I have a tough time judging and not sure what people would want to see.
I'm not exactly sure how Obsbot does it.. I do know they have something mounted in the side of the lens and it has to be open.. So a filter has to have an open section so as not to block it.
What I was doing was turning on the upper camera.. The front camera is mounted nearly on the ceiling at the corner..
My anvil is mounted lower than knuckle height so I do not have to hold the bar up with a bent arm.. Basically, my arm is nearly straight, and just have to hold onto it. 31" is my anvil height.