

BeaverNZ
-
Posts
353 -
Joined
-
Last visited
Content Type
Profiles
Forums
Articles
Gallery
Downloads
Events
Posts posted by BeaverNZ
-
-
I know from personal experience that one of the most difficult things of working for yourself is making the break from a steady and secure job and becoming responsible for your own destiny and standing or falling own your own merits. All I can say is if you really want to do it go ahead as others have said you are not taking the decistion lightly , I always say to someone here to put aside about 25 to 30 percent of your gross income for the first year for tax as most businesses fail in the second year due to tax payments. So go for it if thats your passtion and dont wait until you are old and in a rest home wishing you had whats the wost that can happen. What Glen and Thomas said is very true as well be carfull of over comitment as well. Hope this helps Chears Beaver
-
Andrew
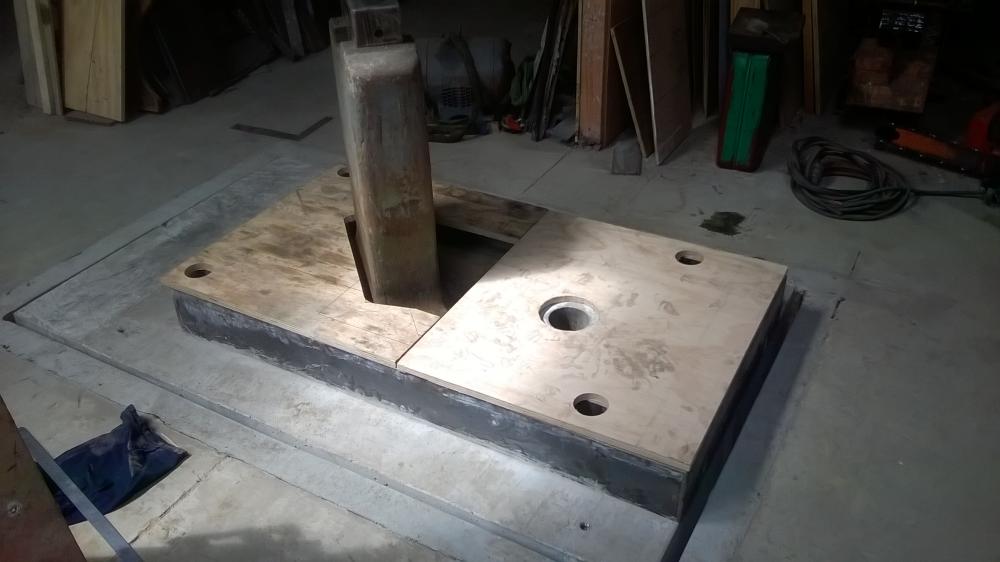
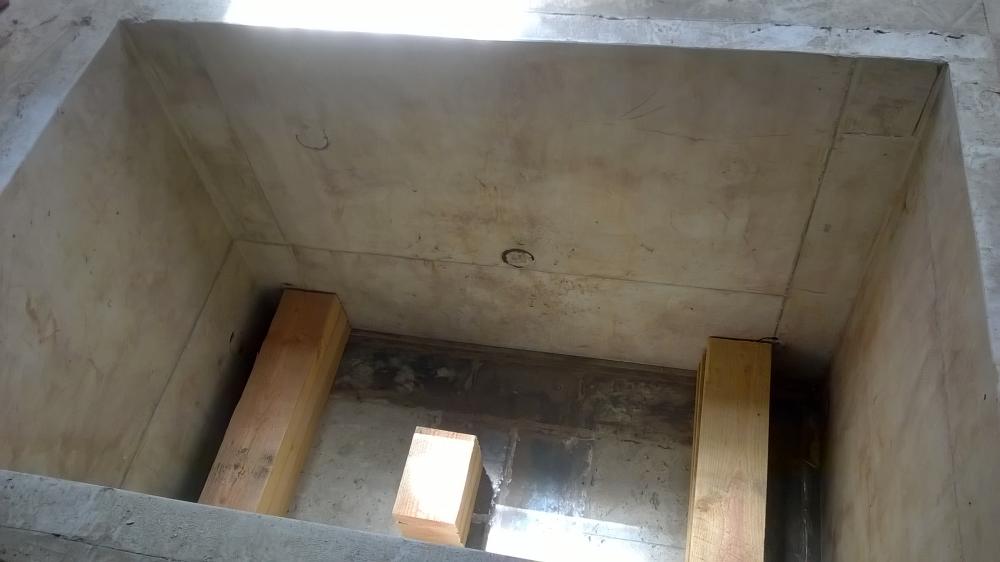
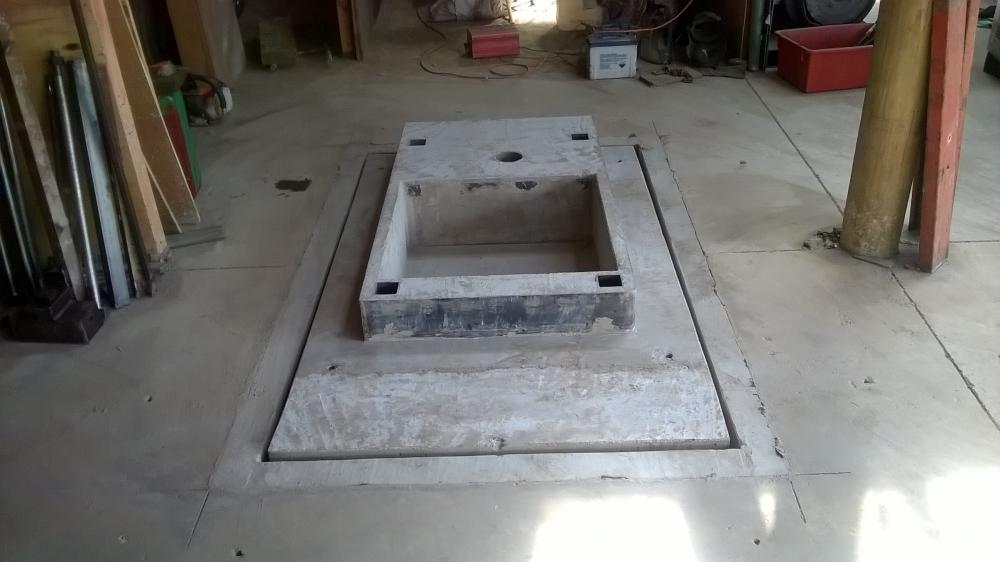
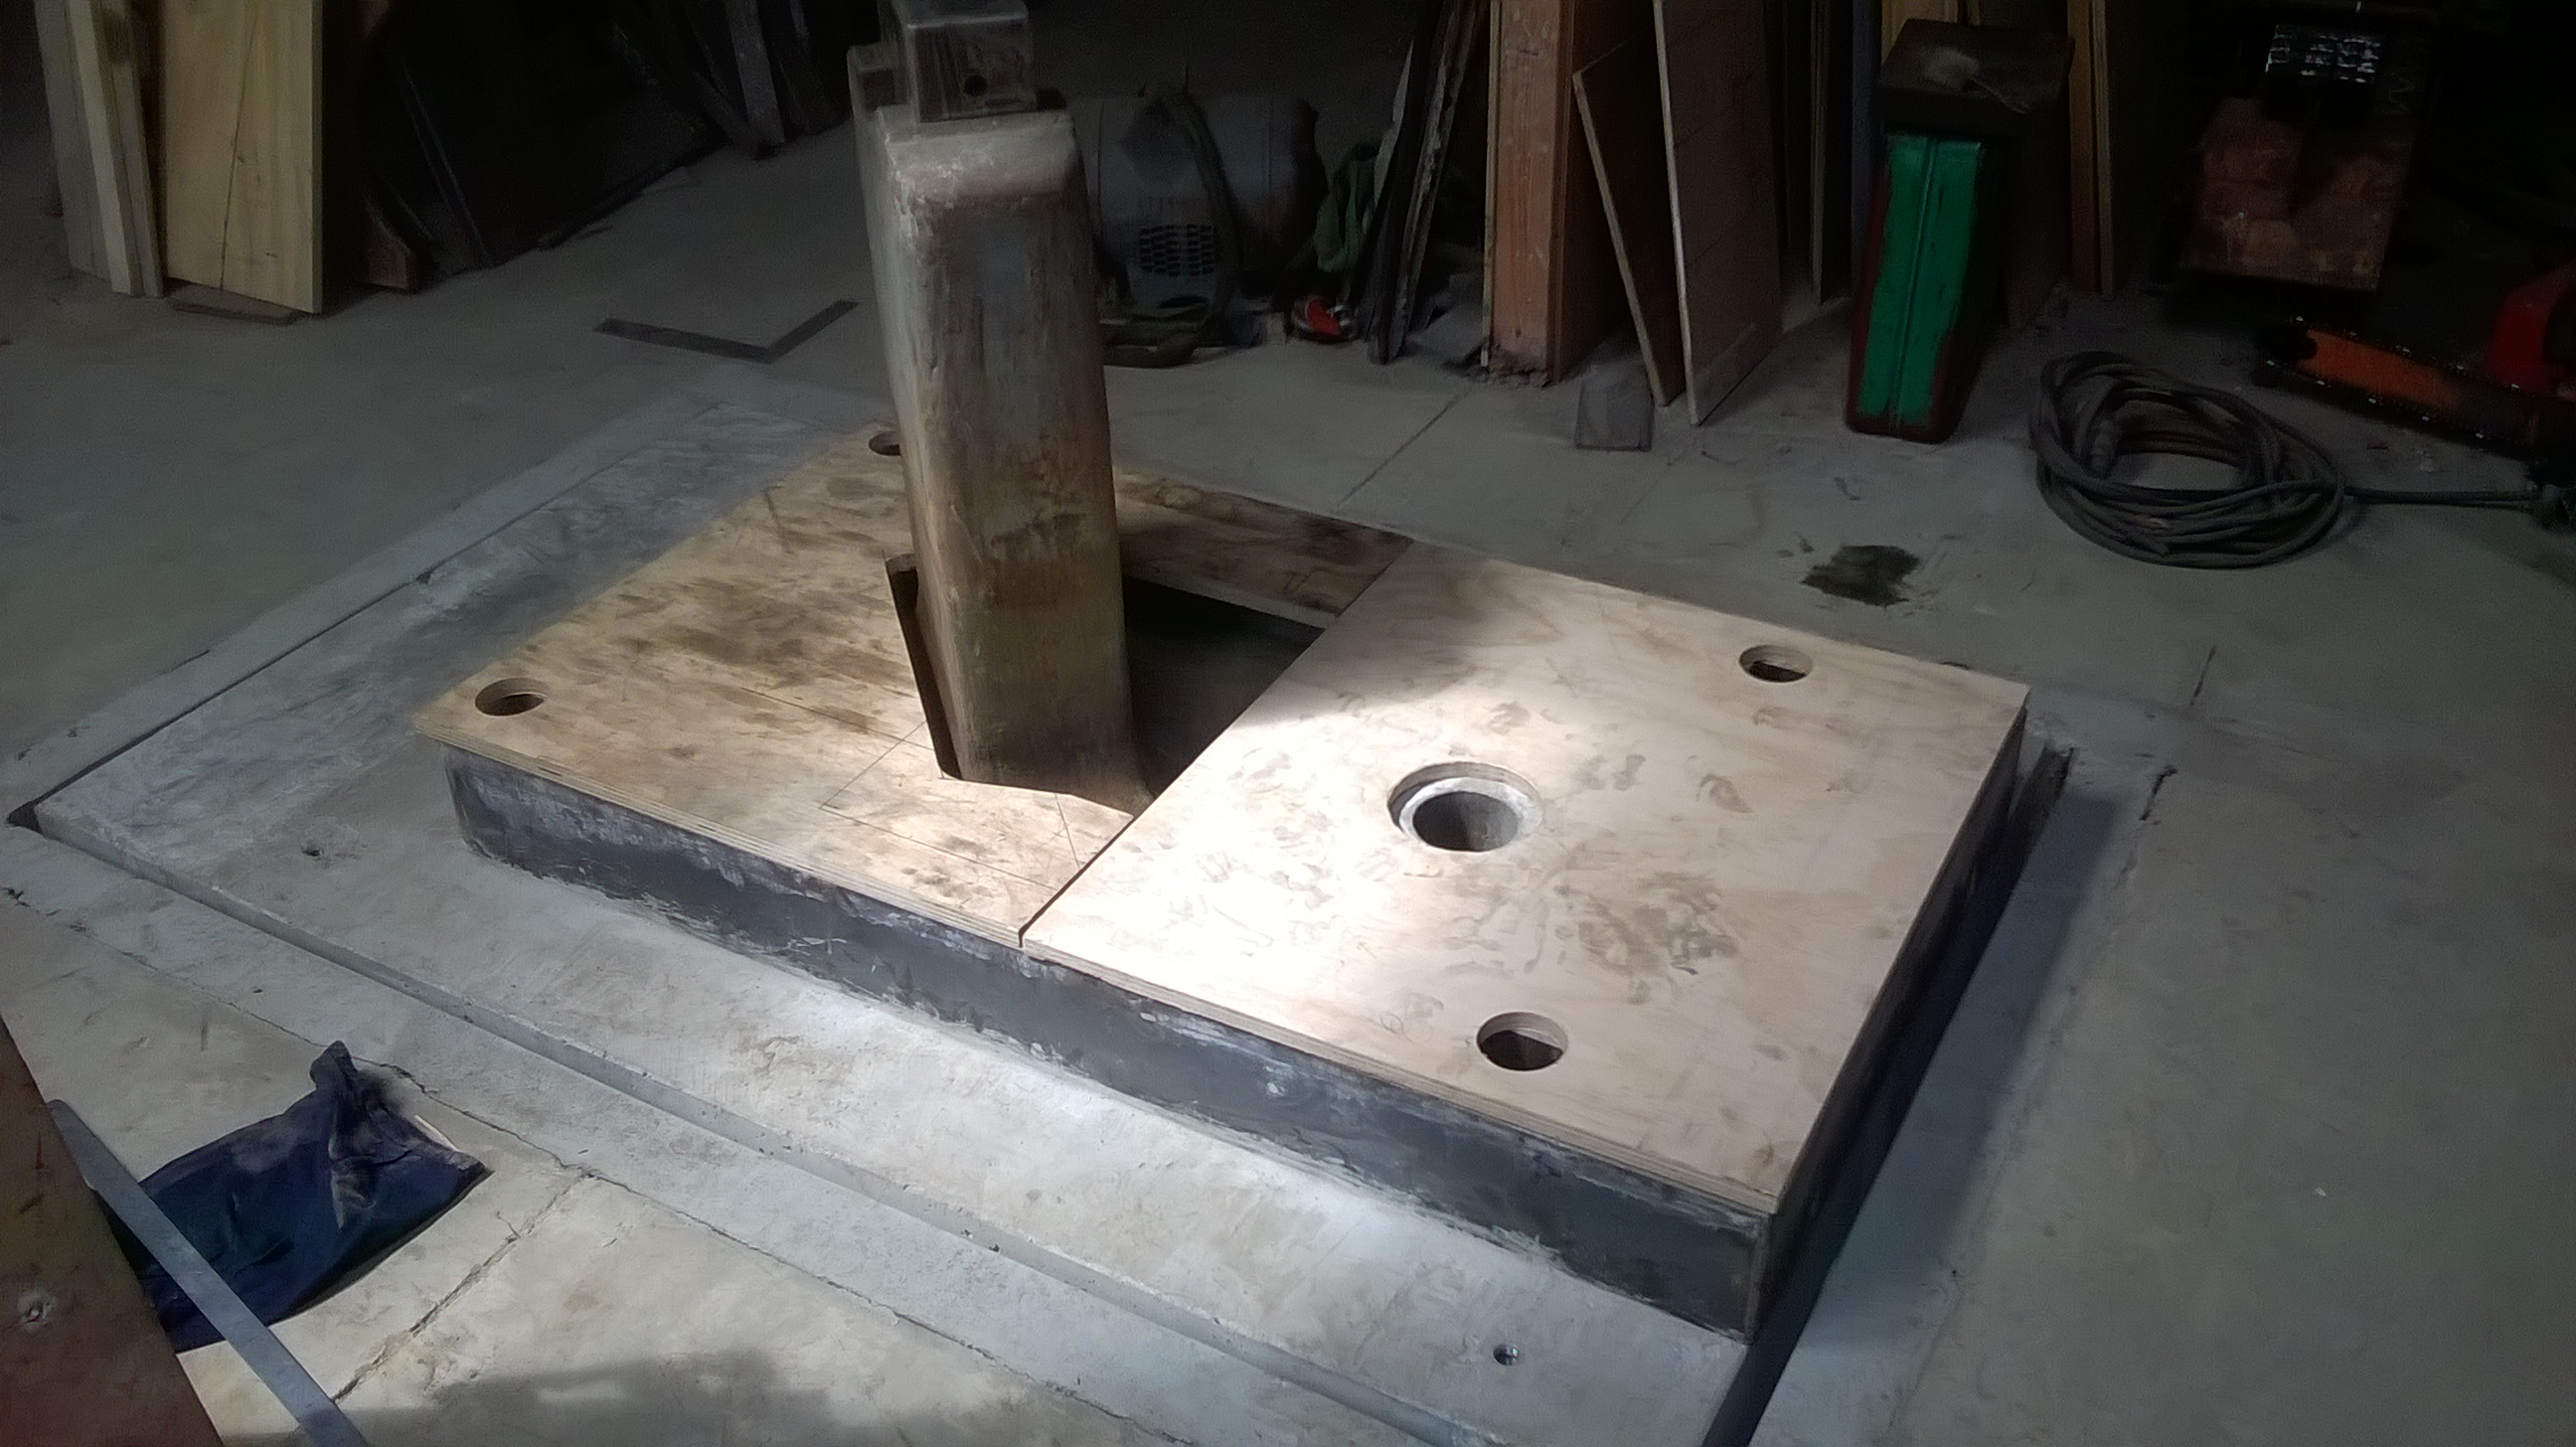
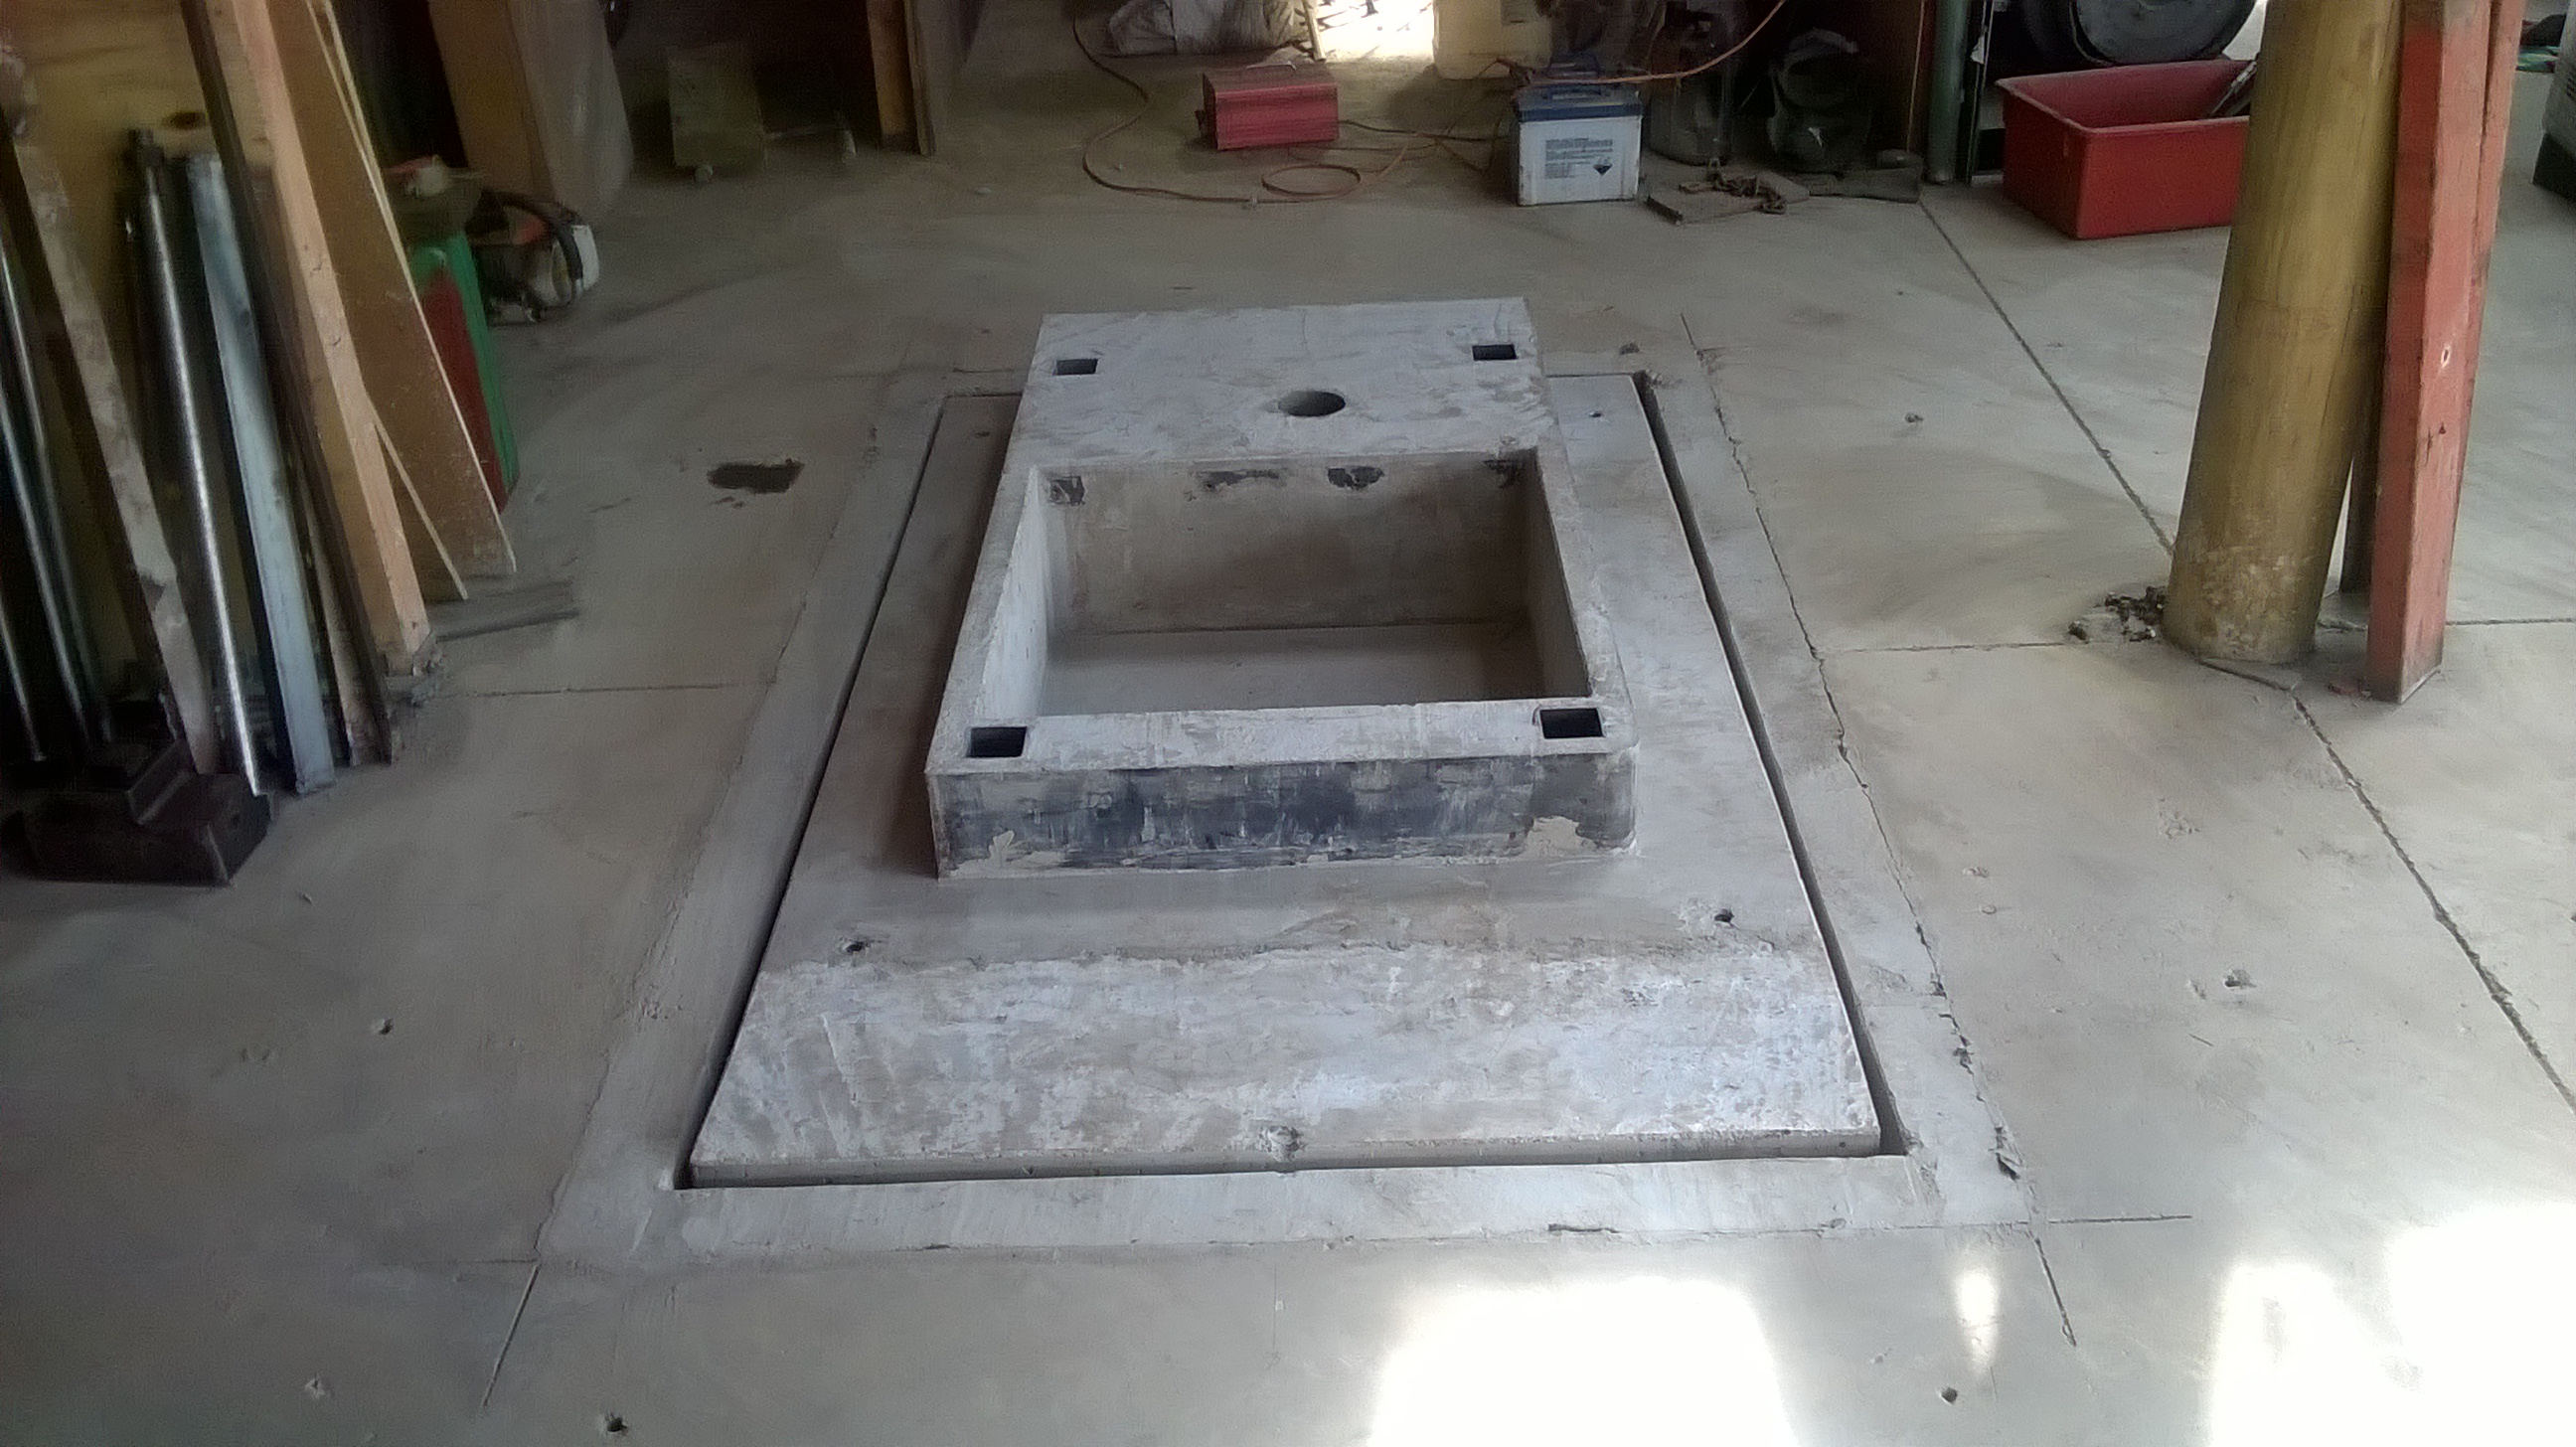
The round hole is just a pipe cast through to the bottom as a just in case I get water in the pit and I can drop a small pump down the hole. Can anyone tell me if I need to manually pump the cylinder oil or is the pump just a primer, or after priming will the hammer draw its own oil.
-
https://www.youtube.com/watch?v=t4sl2vJzo8s
The hammer sounds like it may need either the big or small end bearing looked at as one of them is quite knocky
-
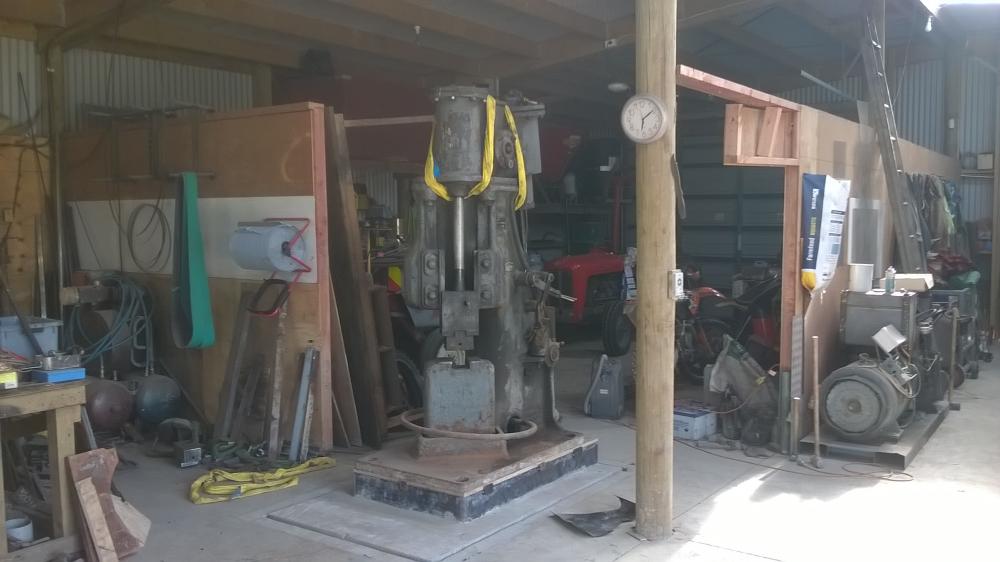
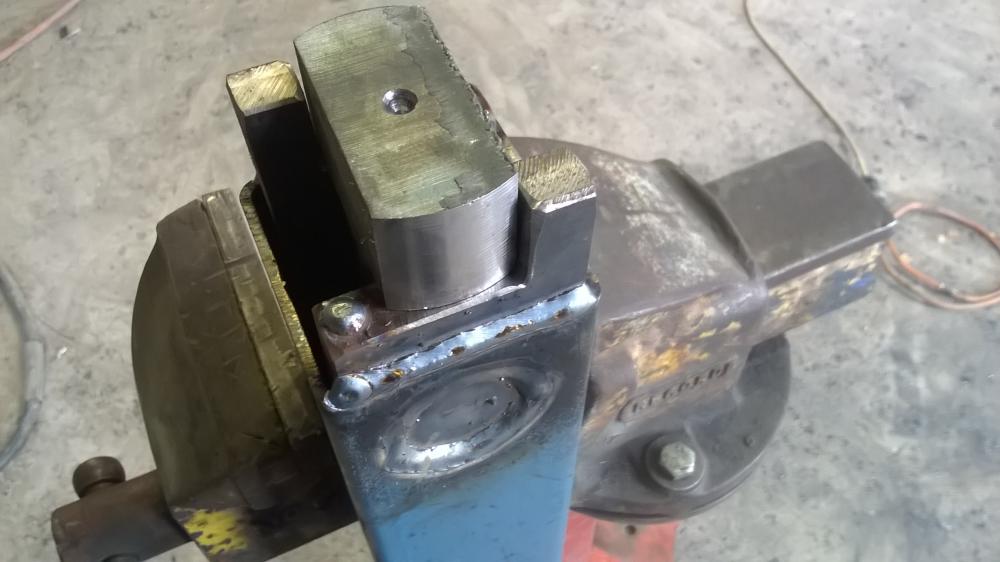
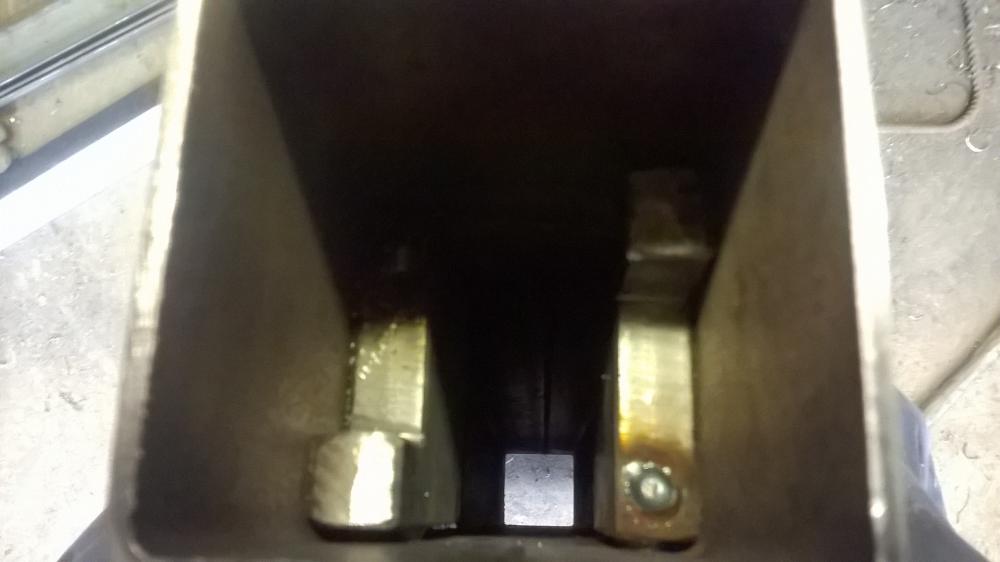
Its alive Im as happy as a dog with two spigots, I just need to fit the guarding put some paint on the motor mount and fix up the dodgy wiring and get a wedge made to hold the bottom anvil block in place that was the only piece I couldnt find when I brought it
-
Alan
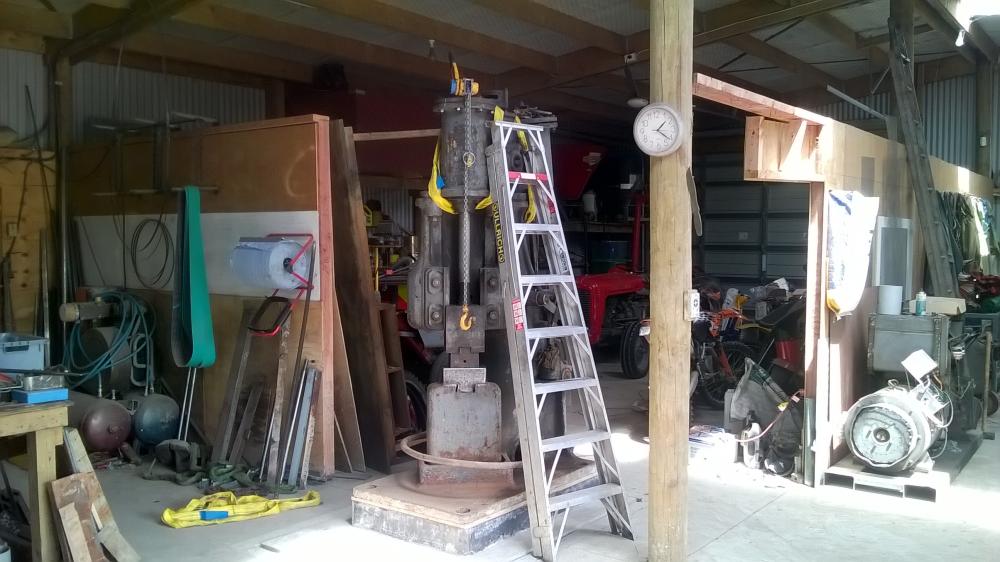
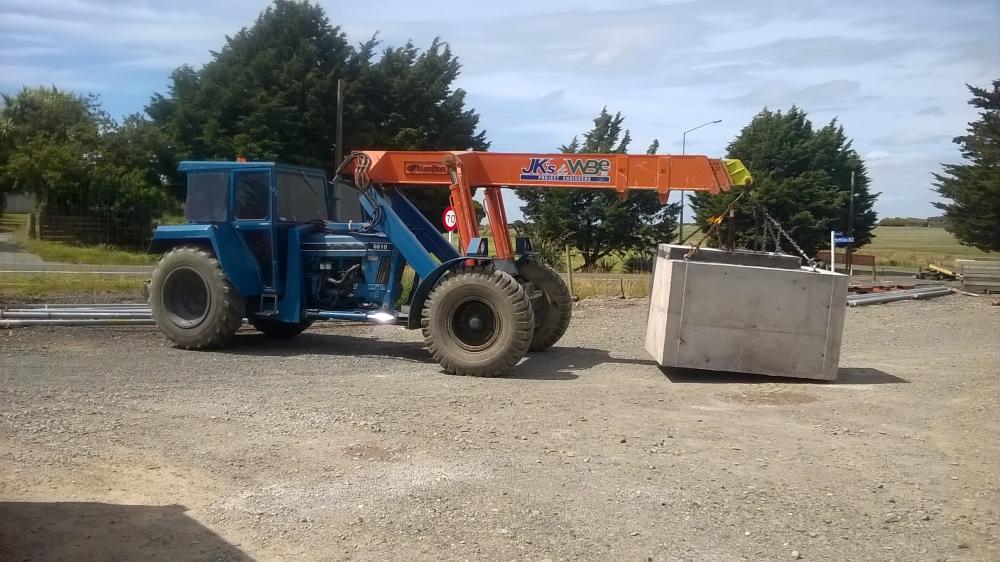
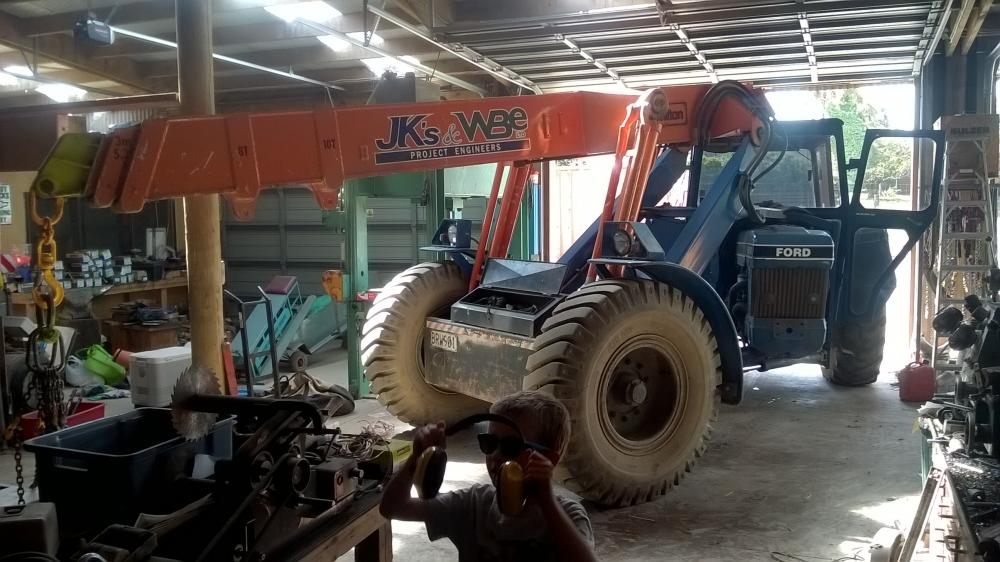
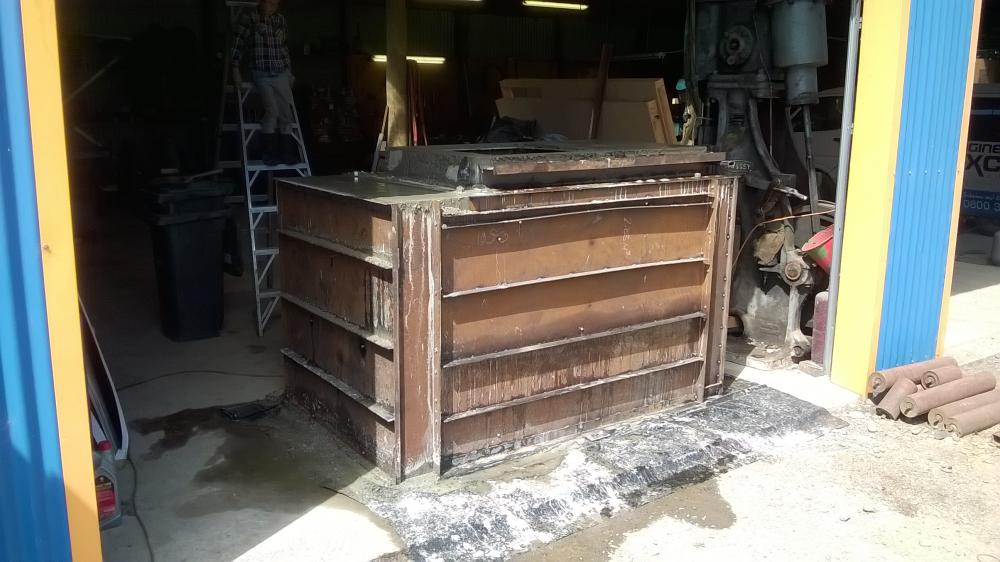
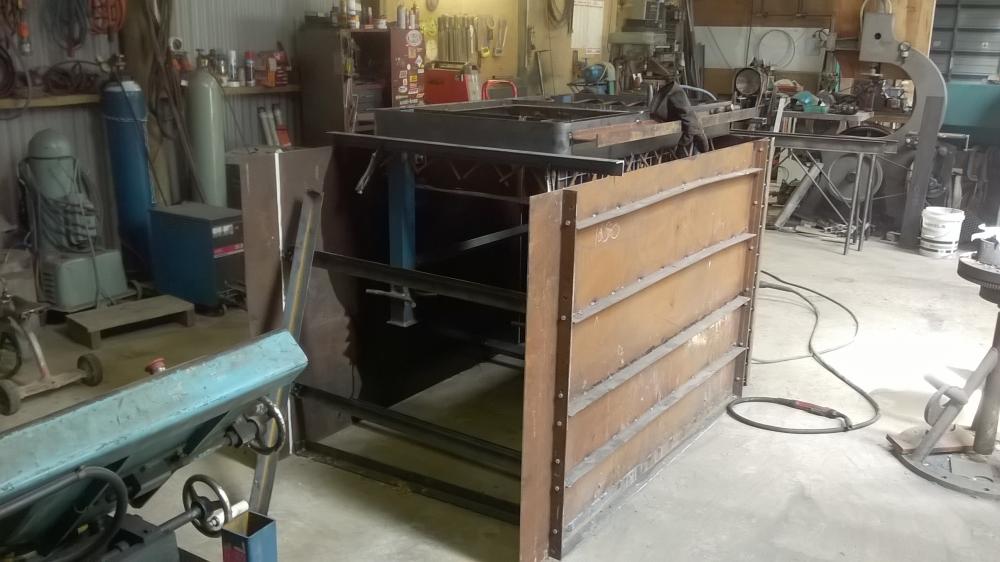
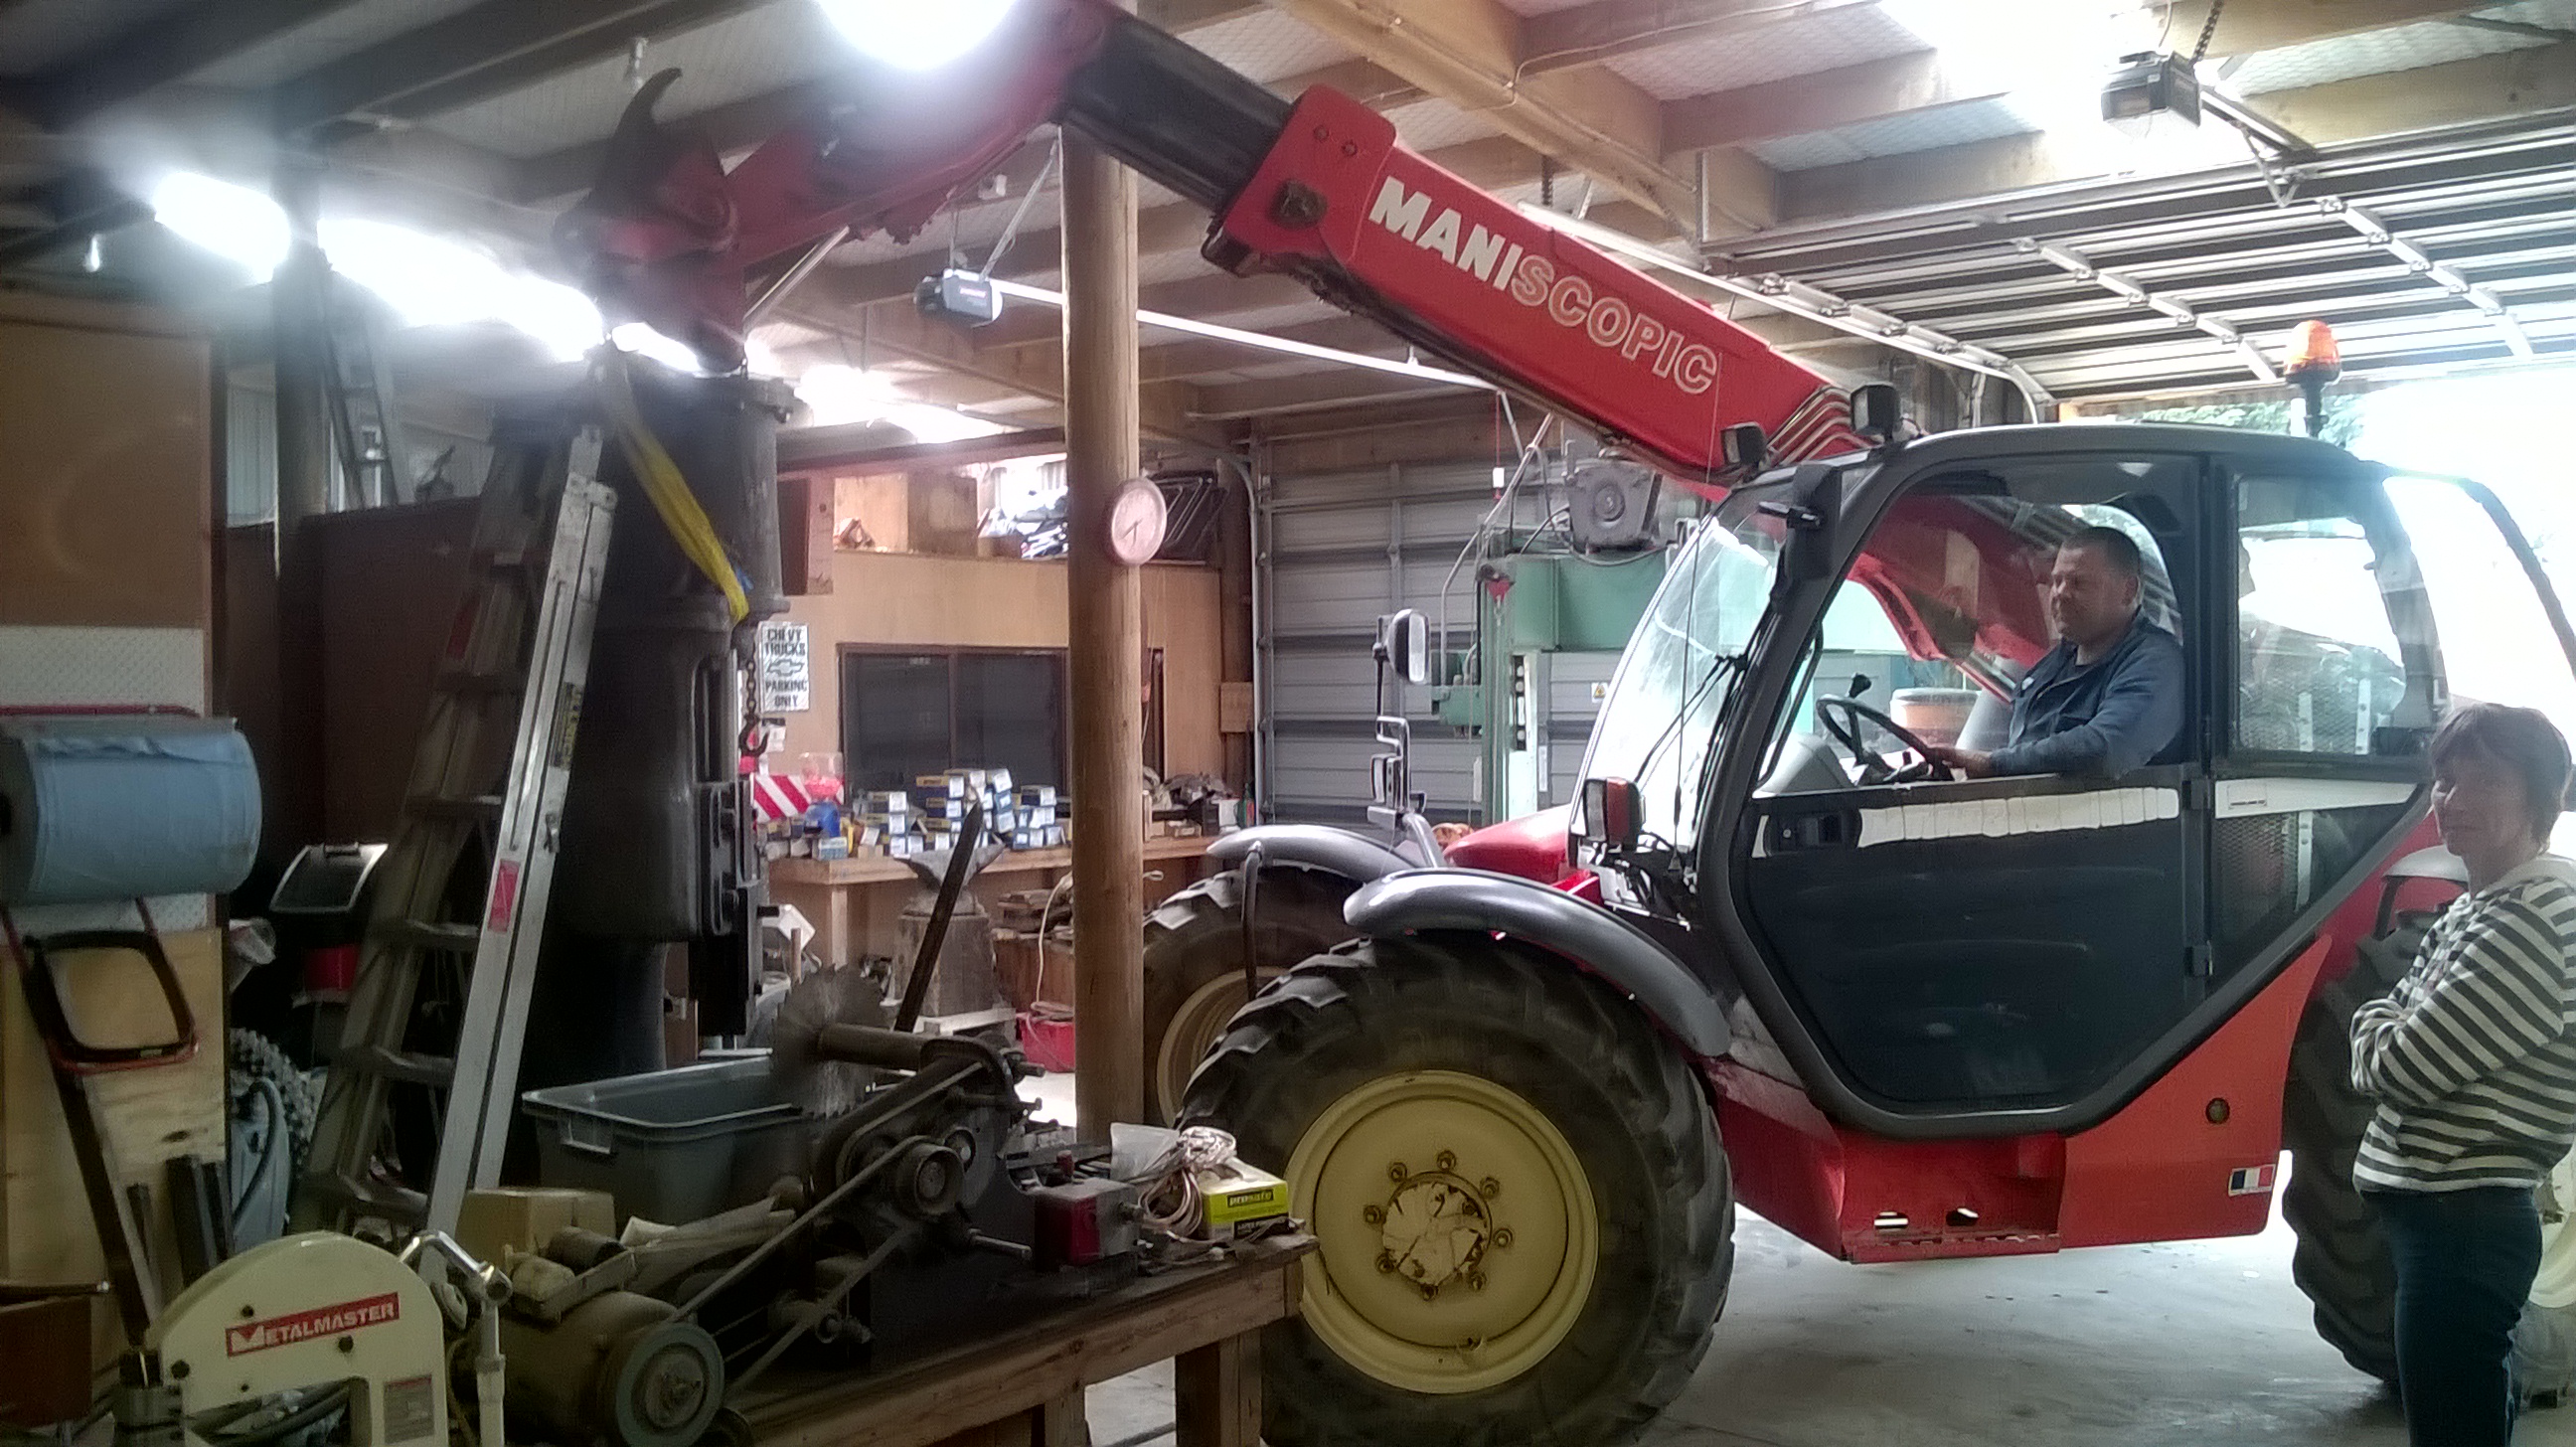
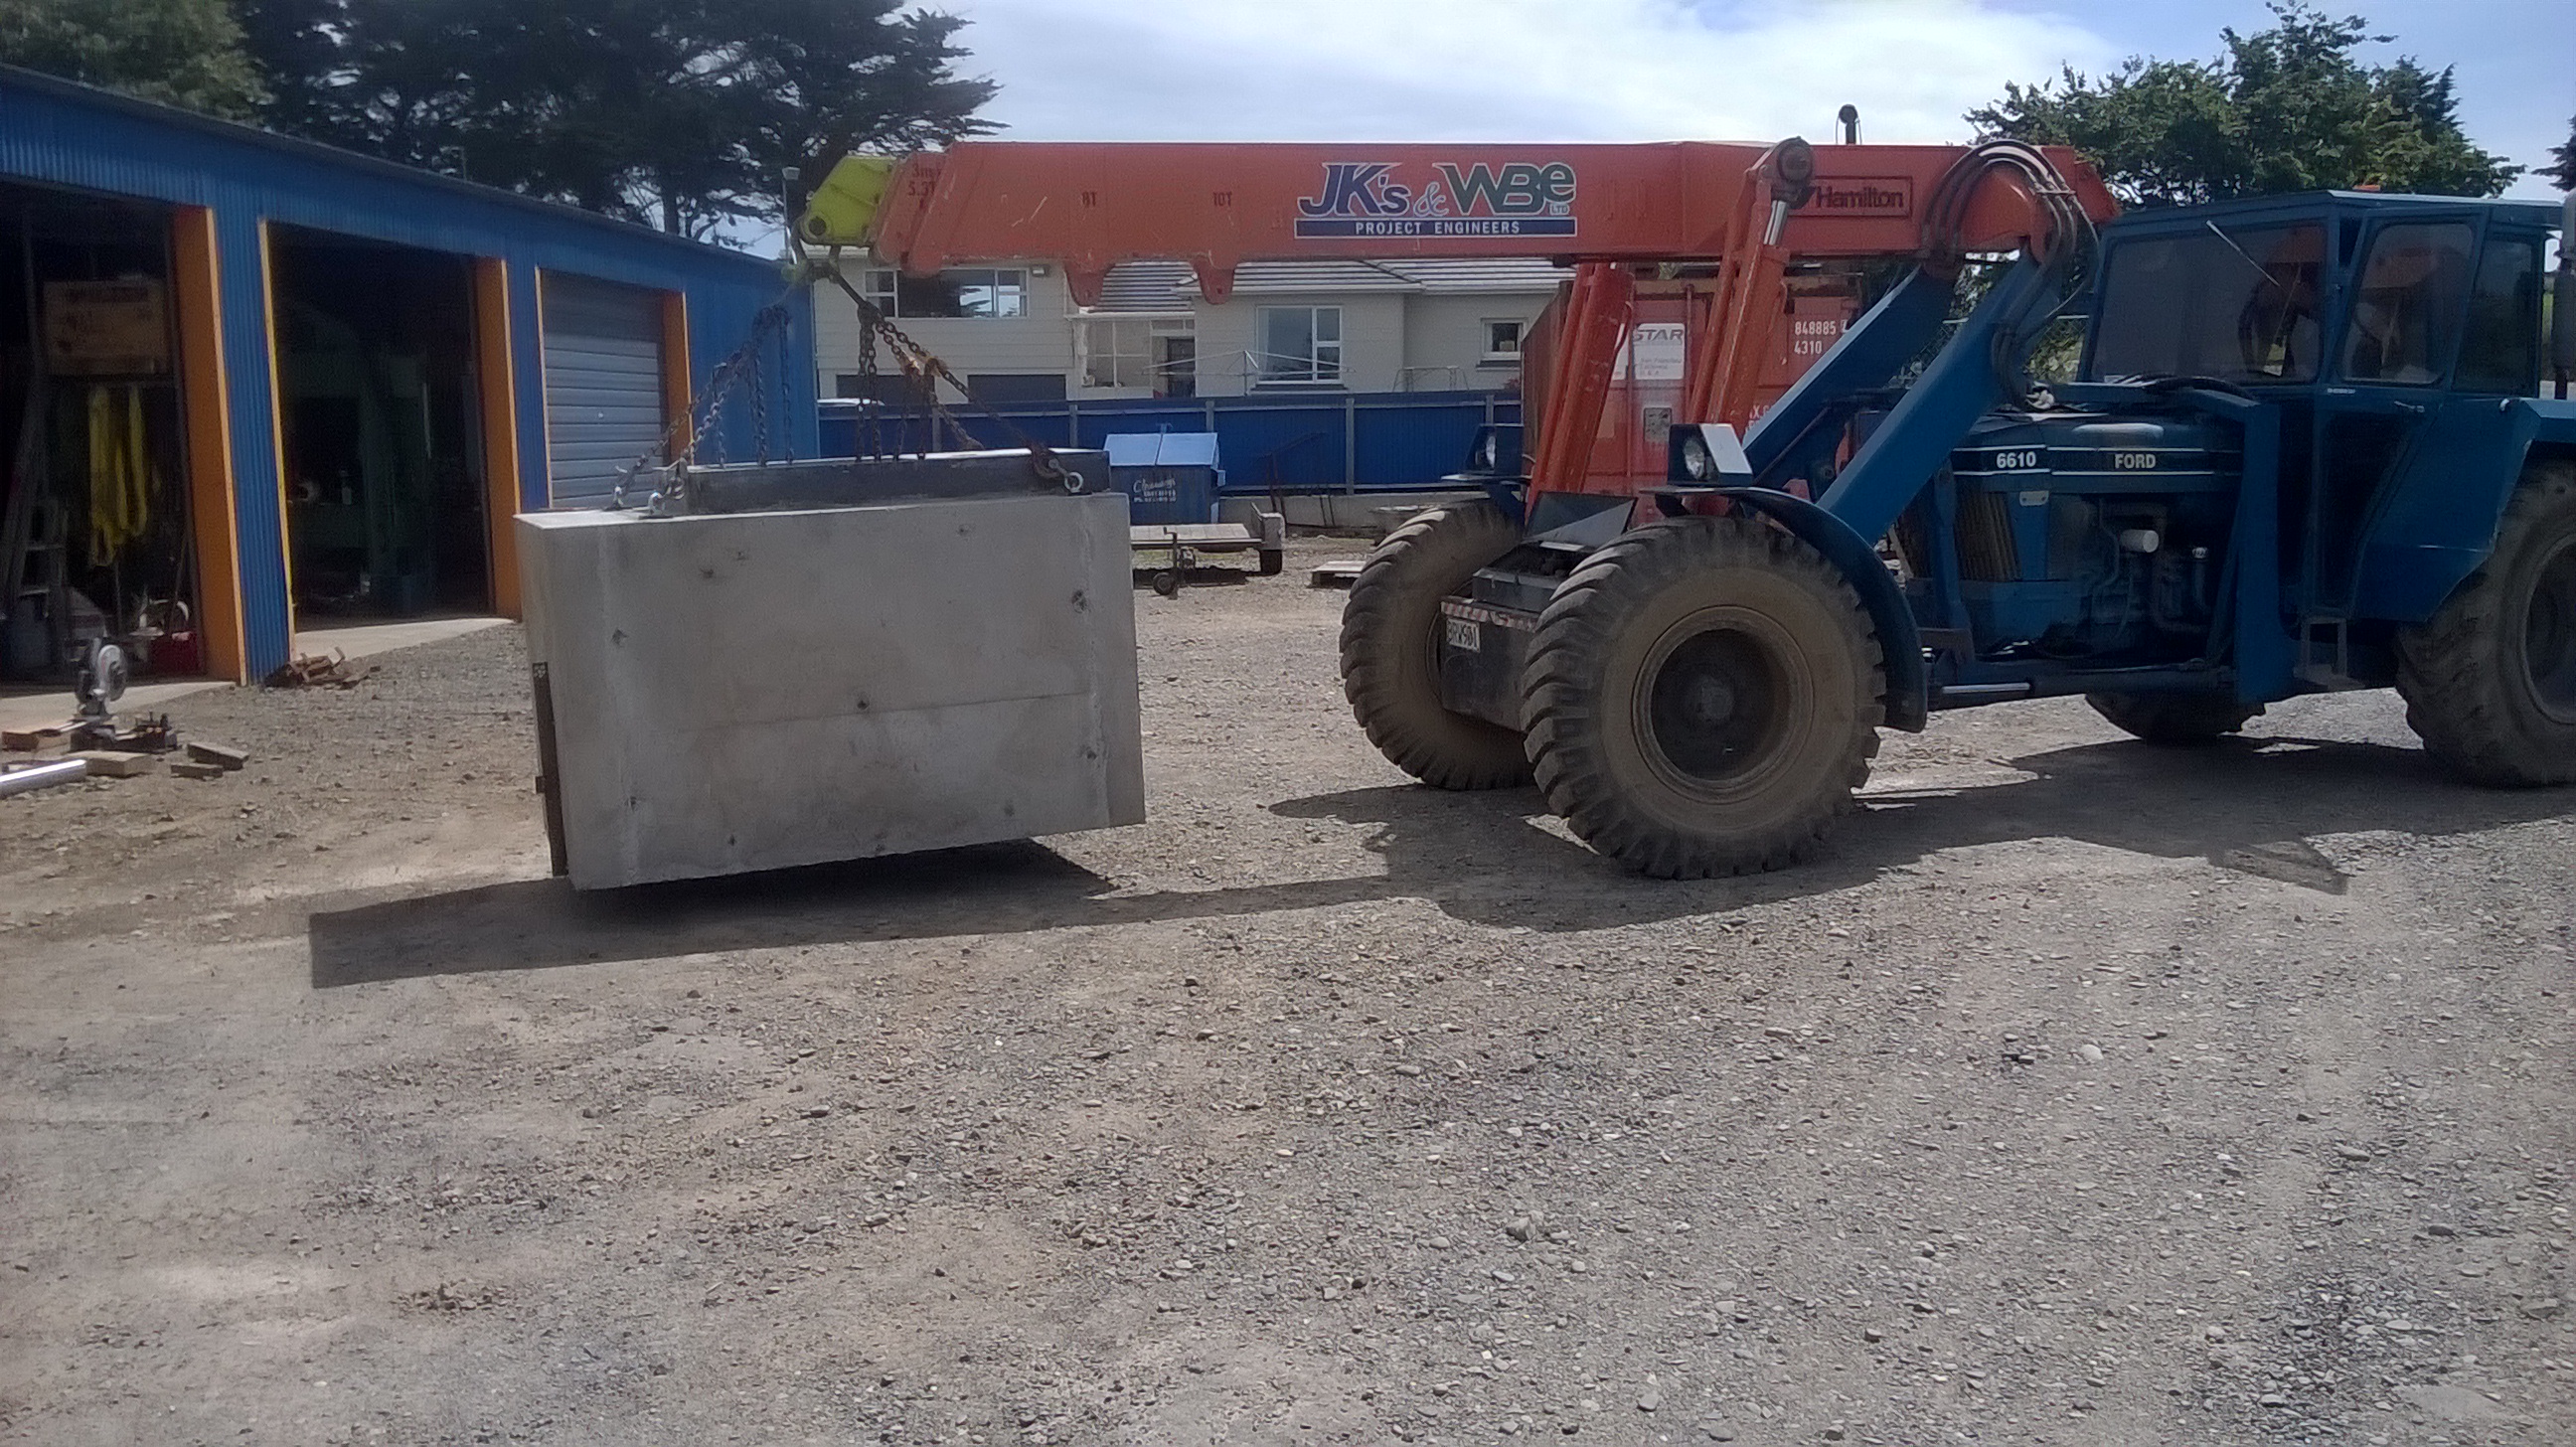
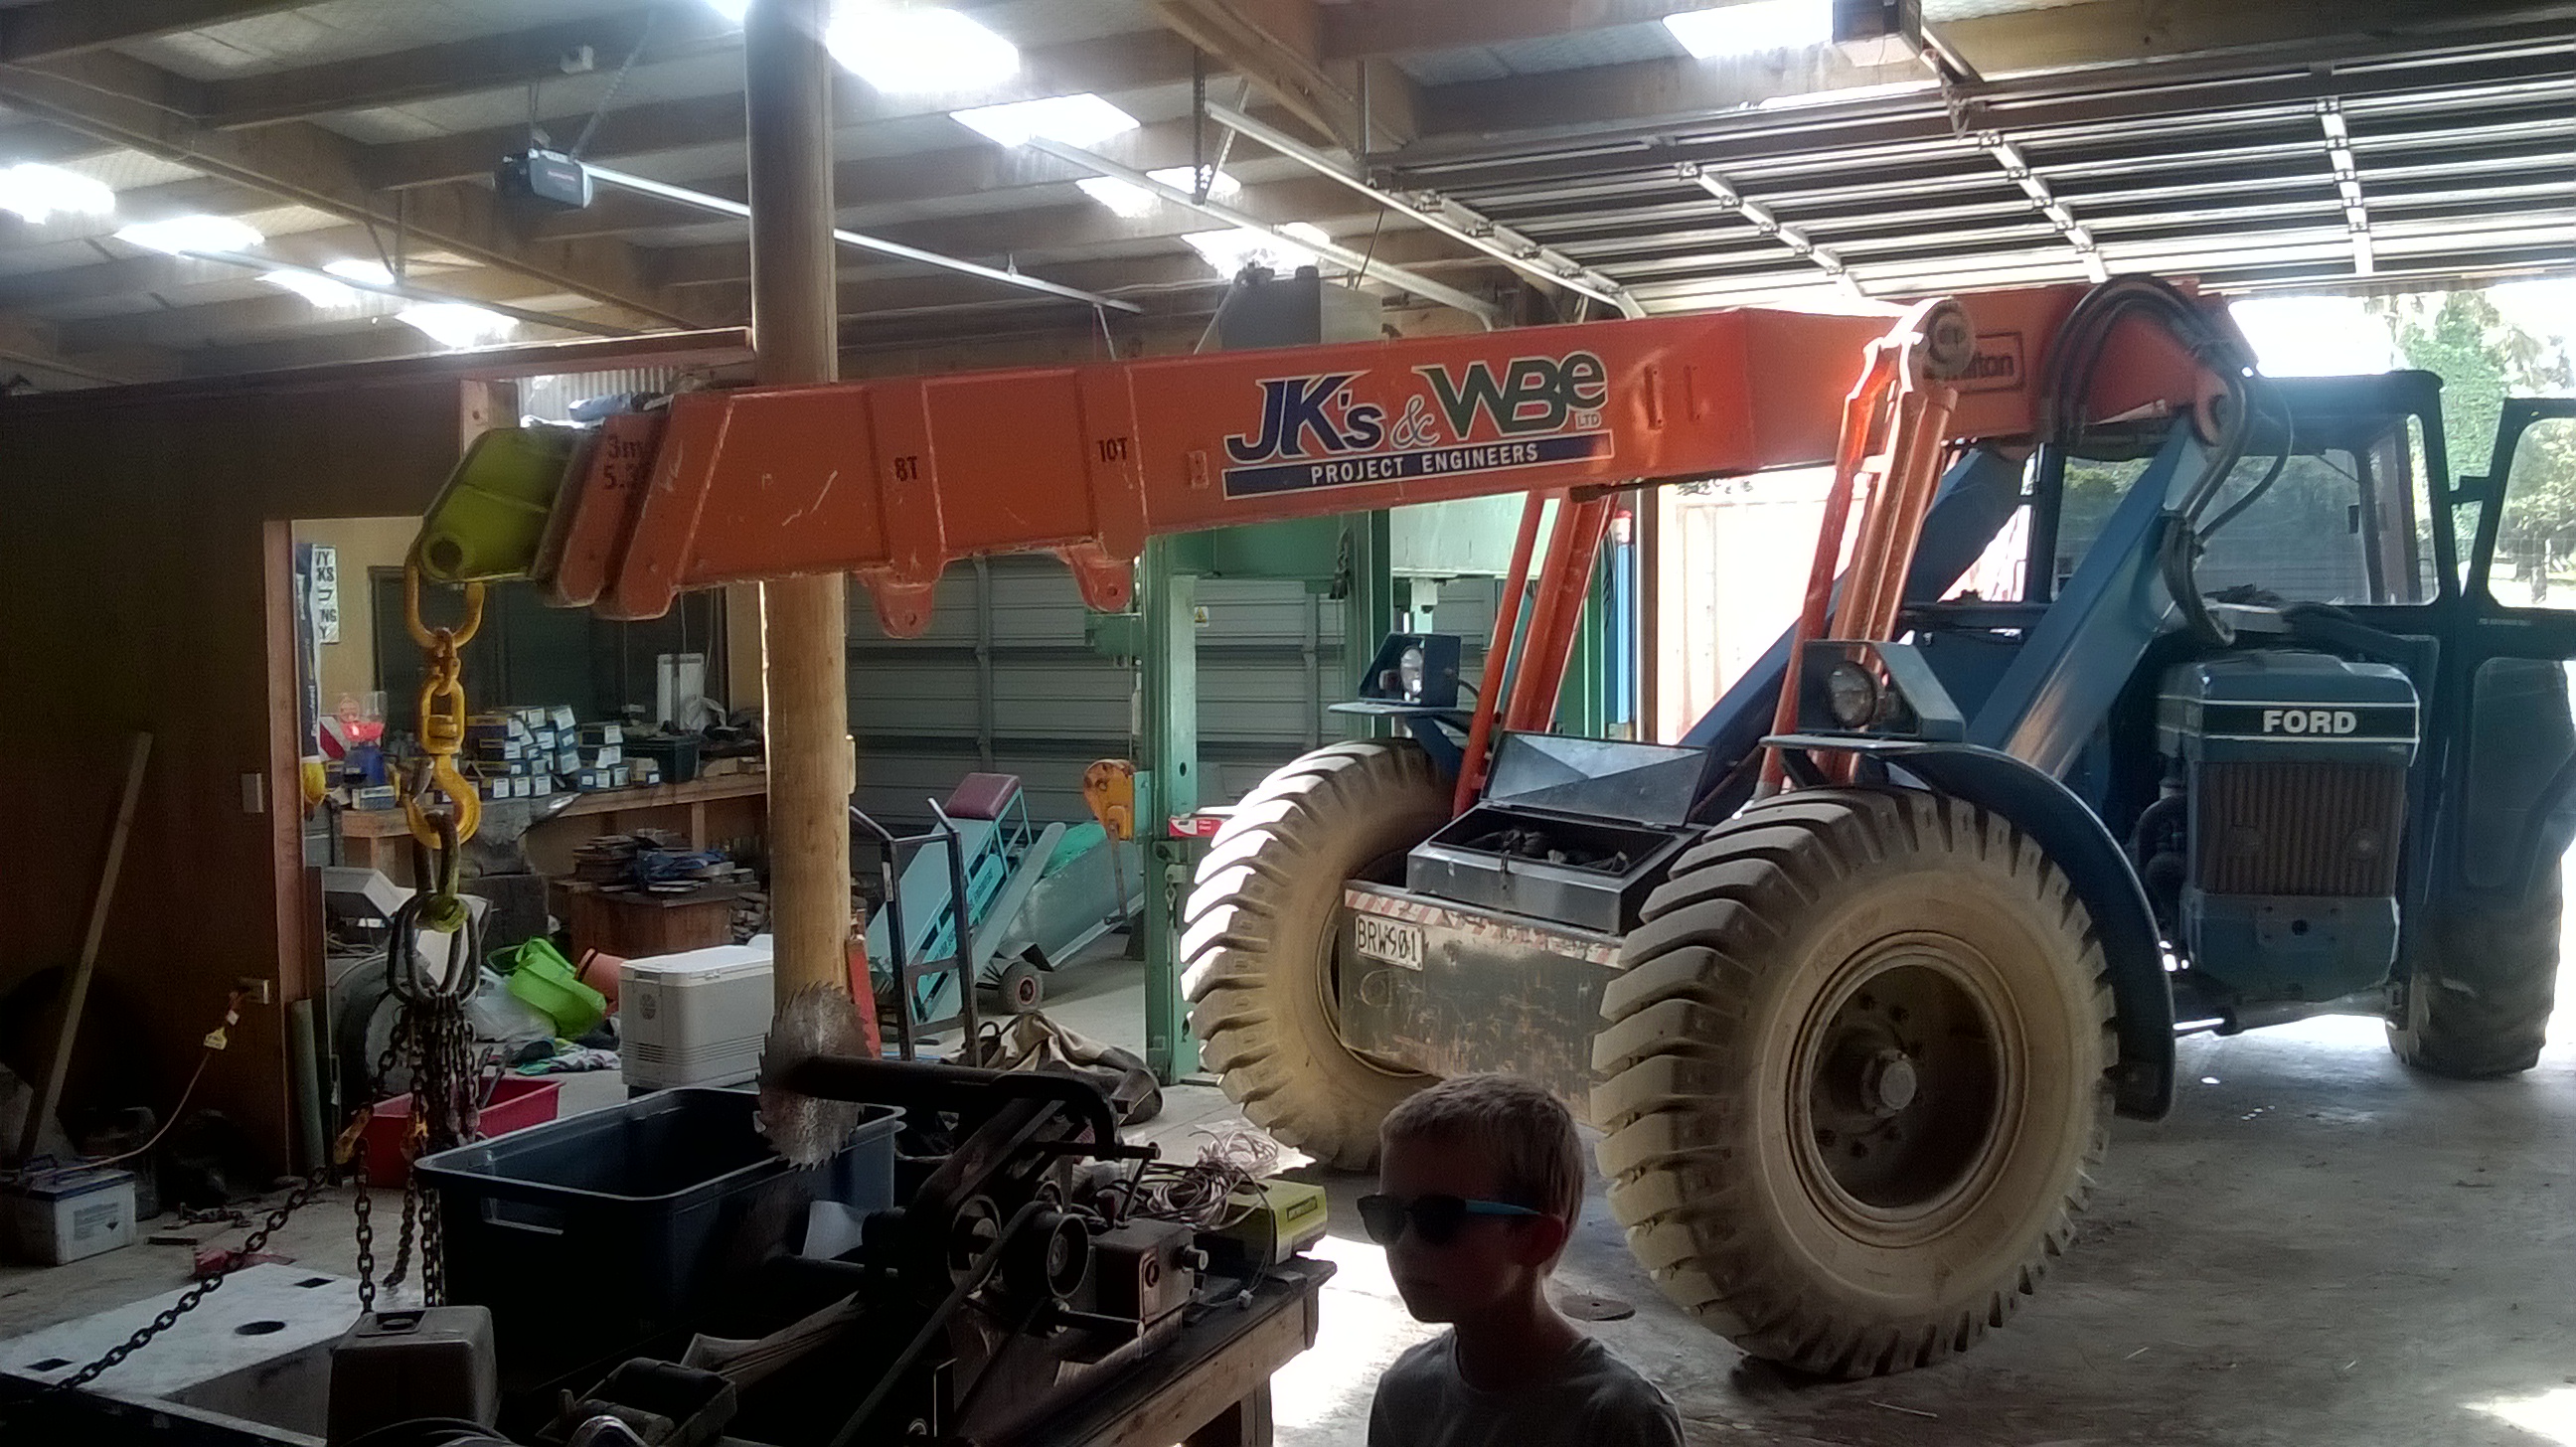
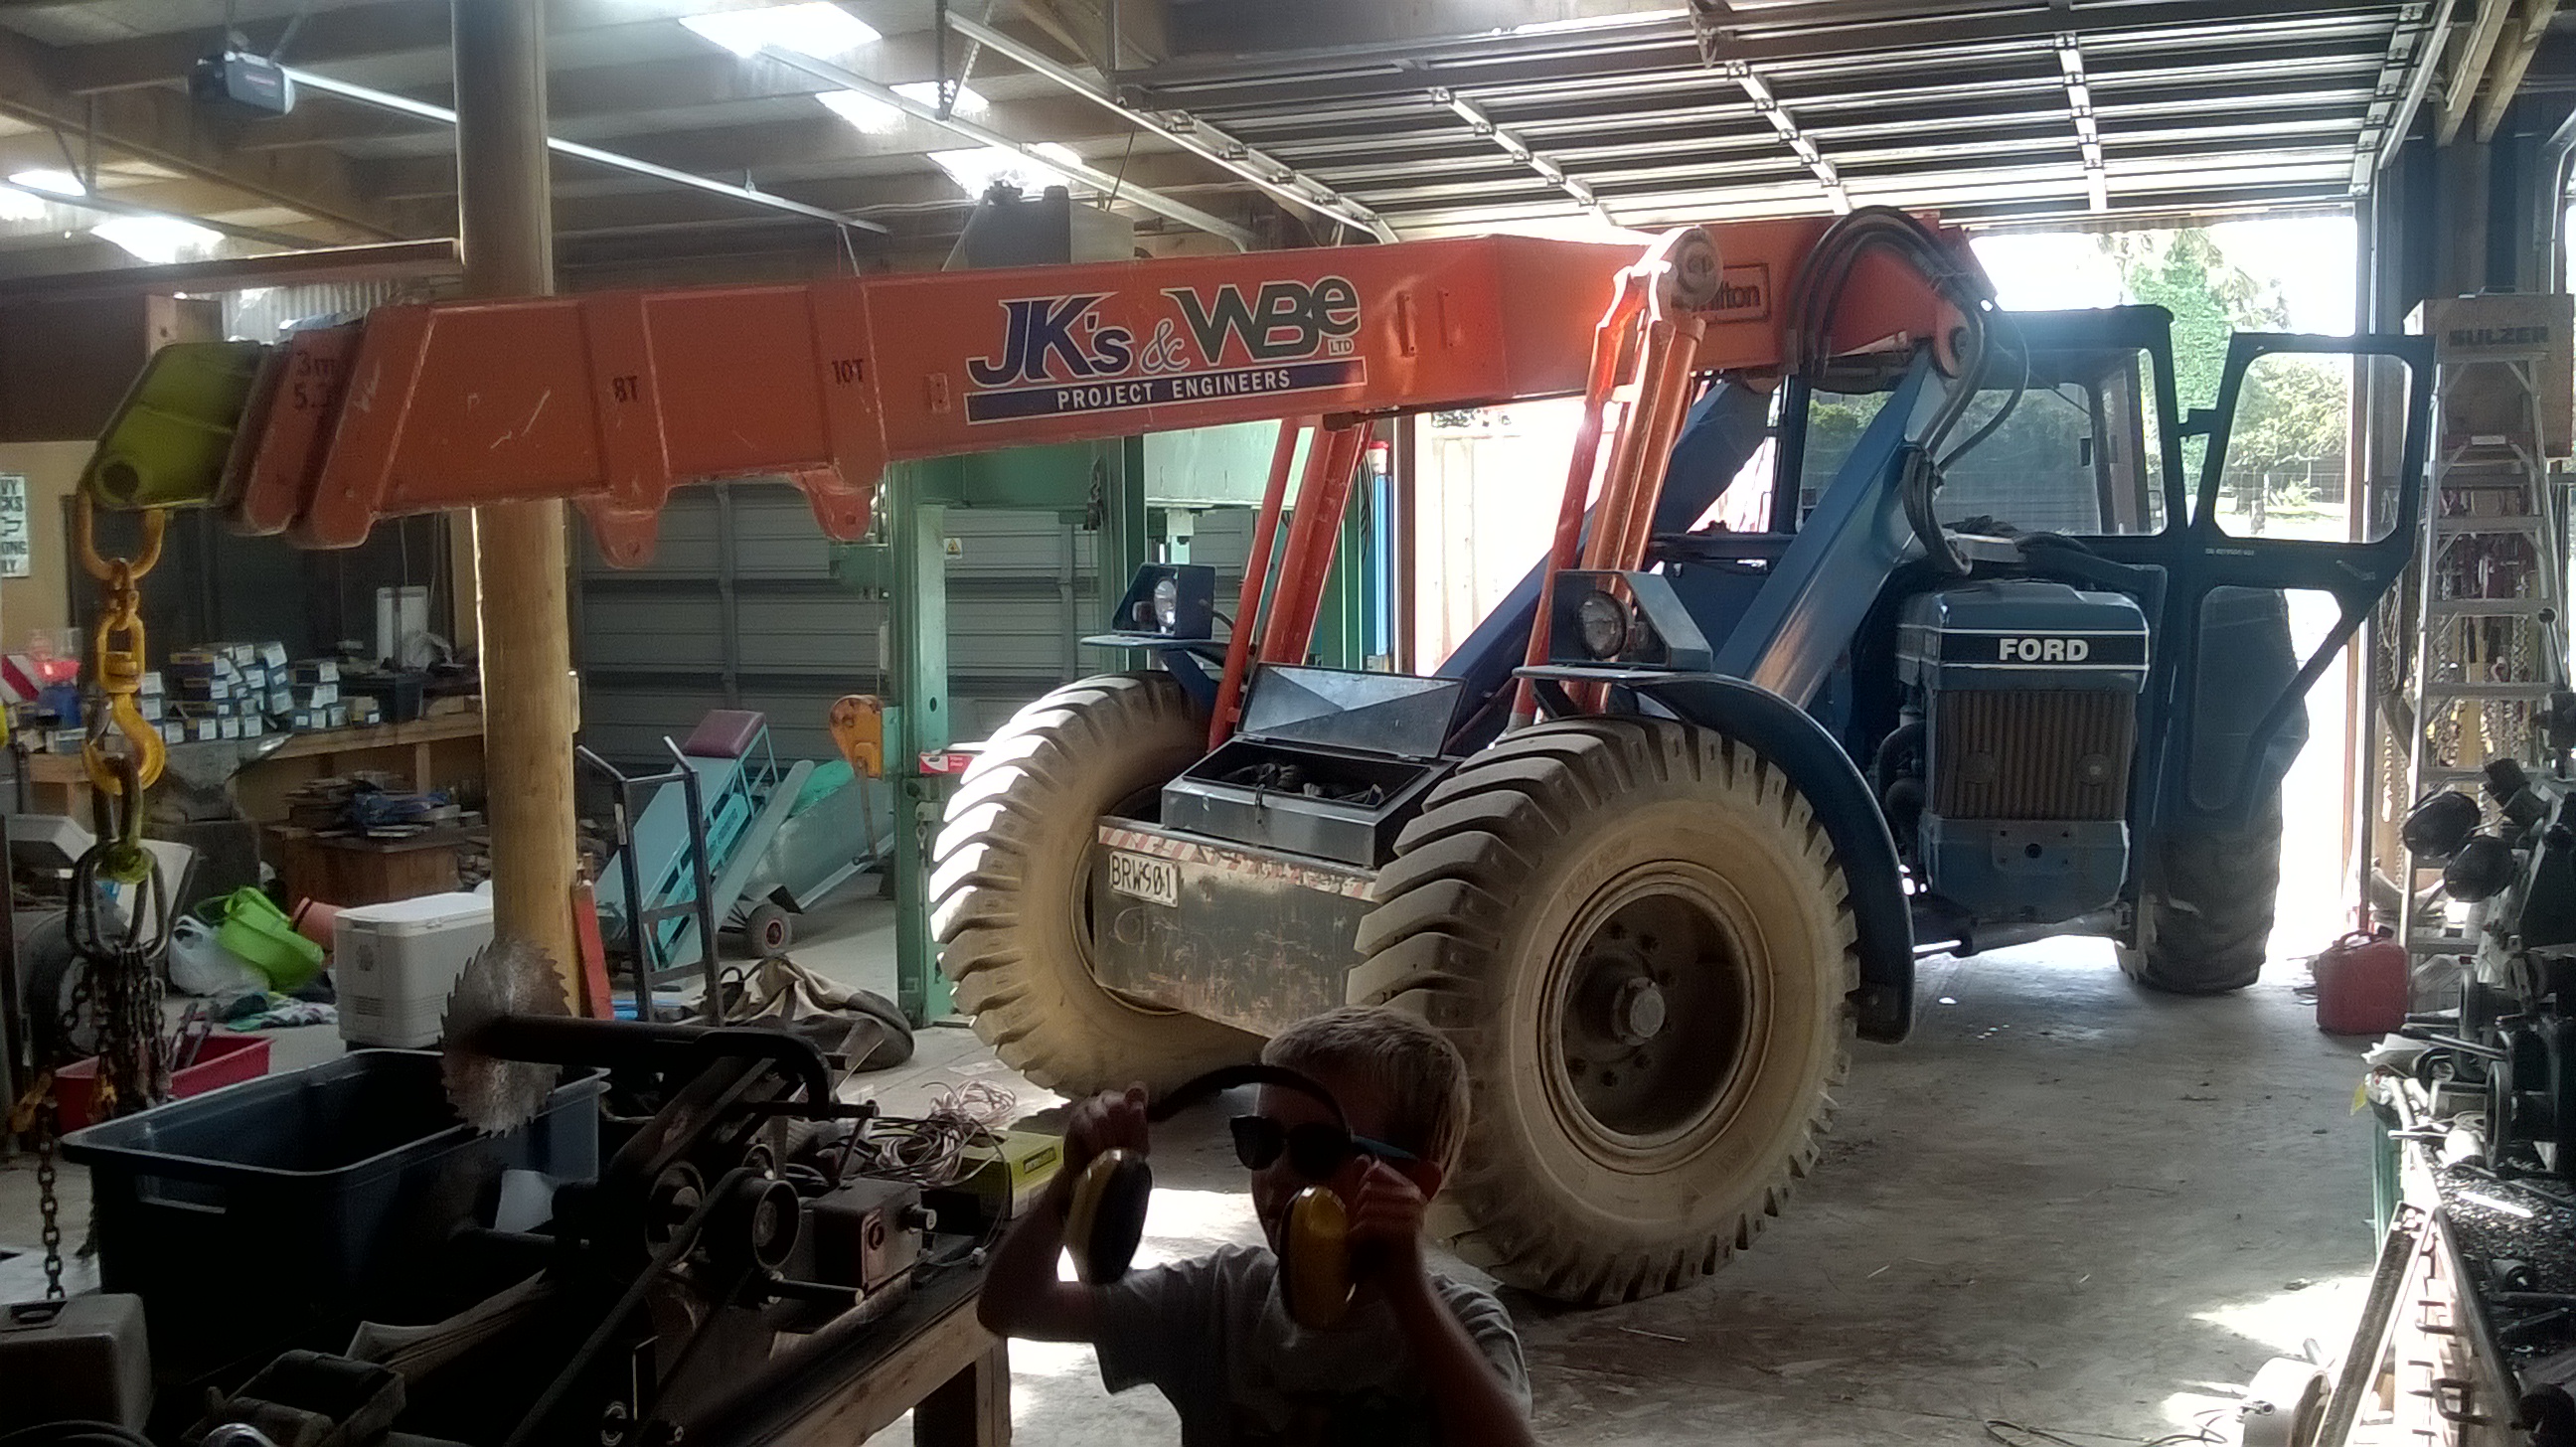
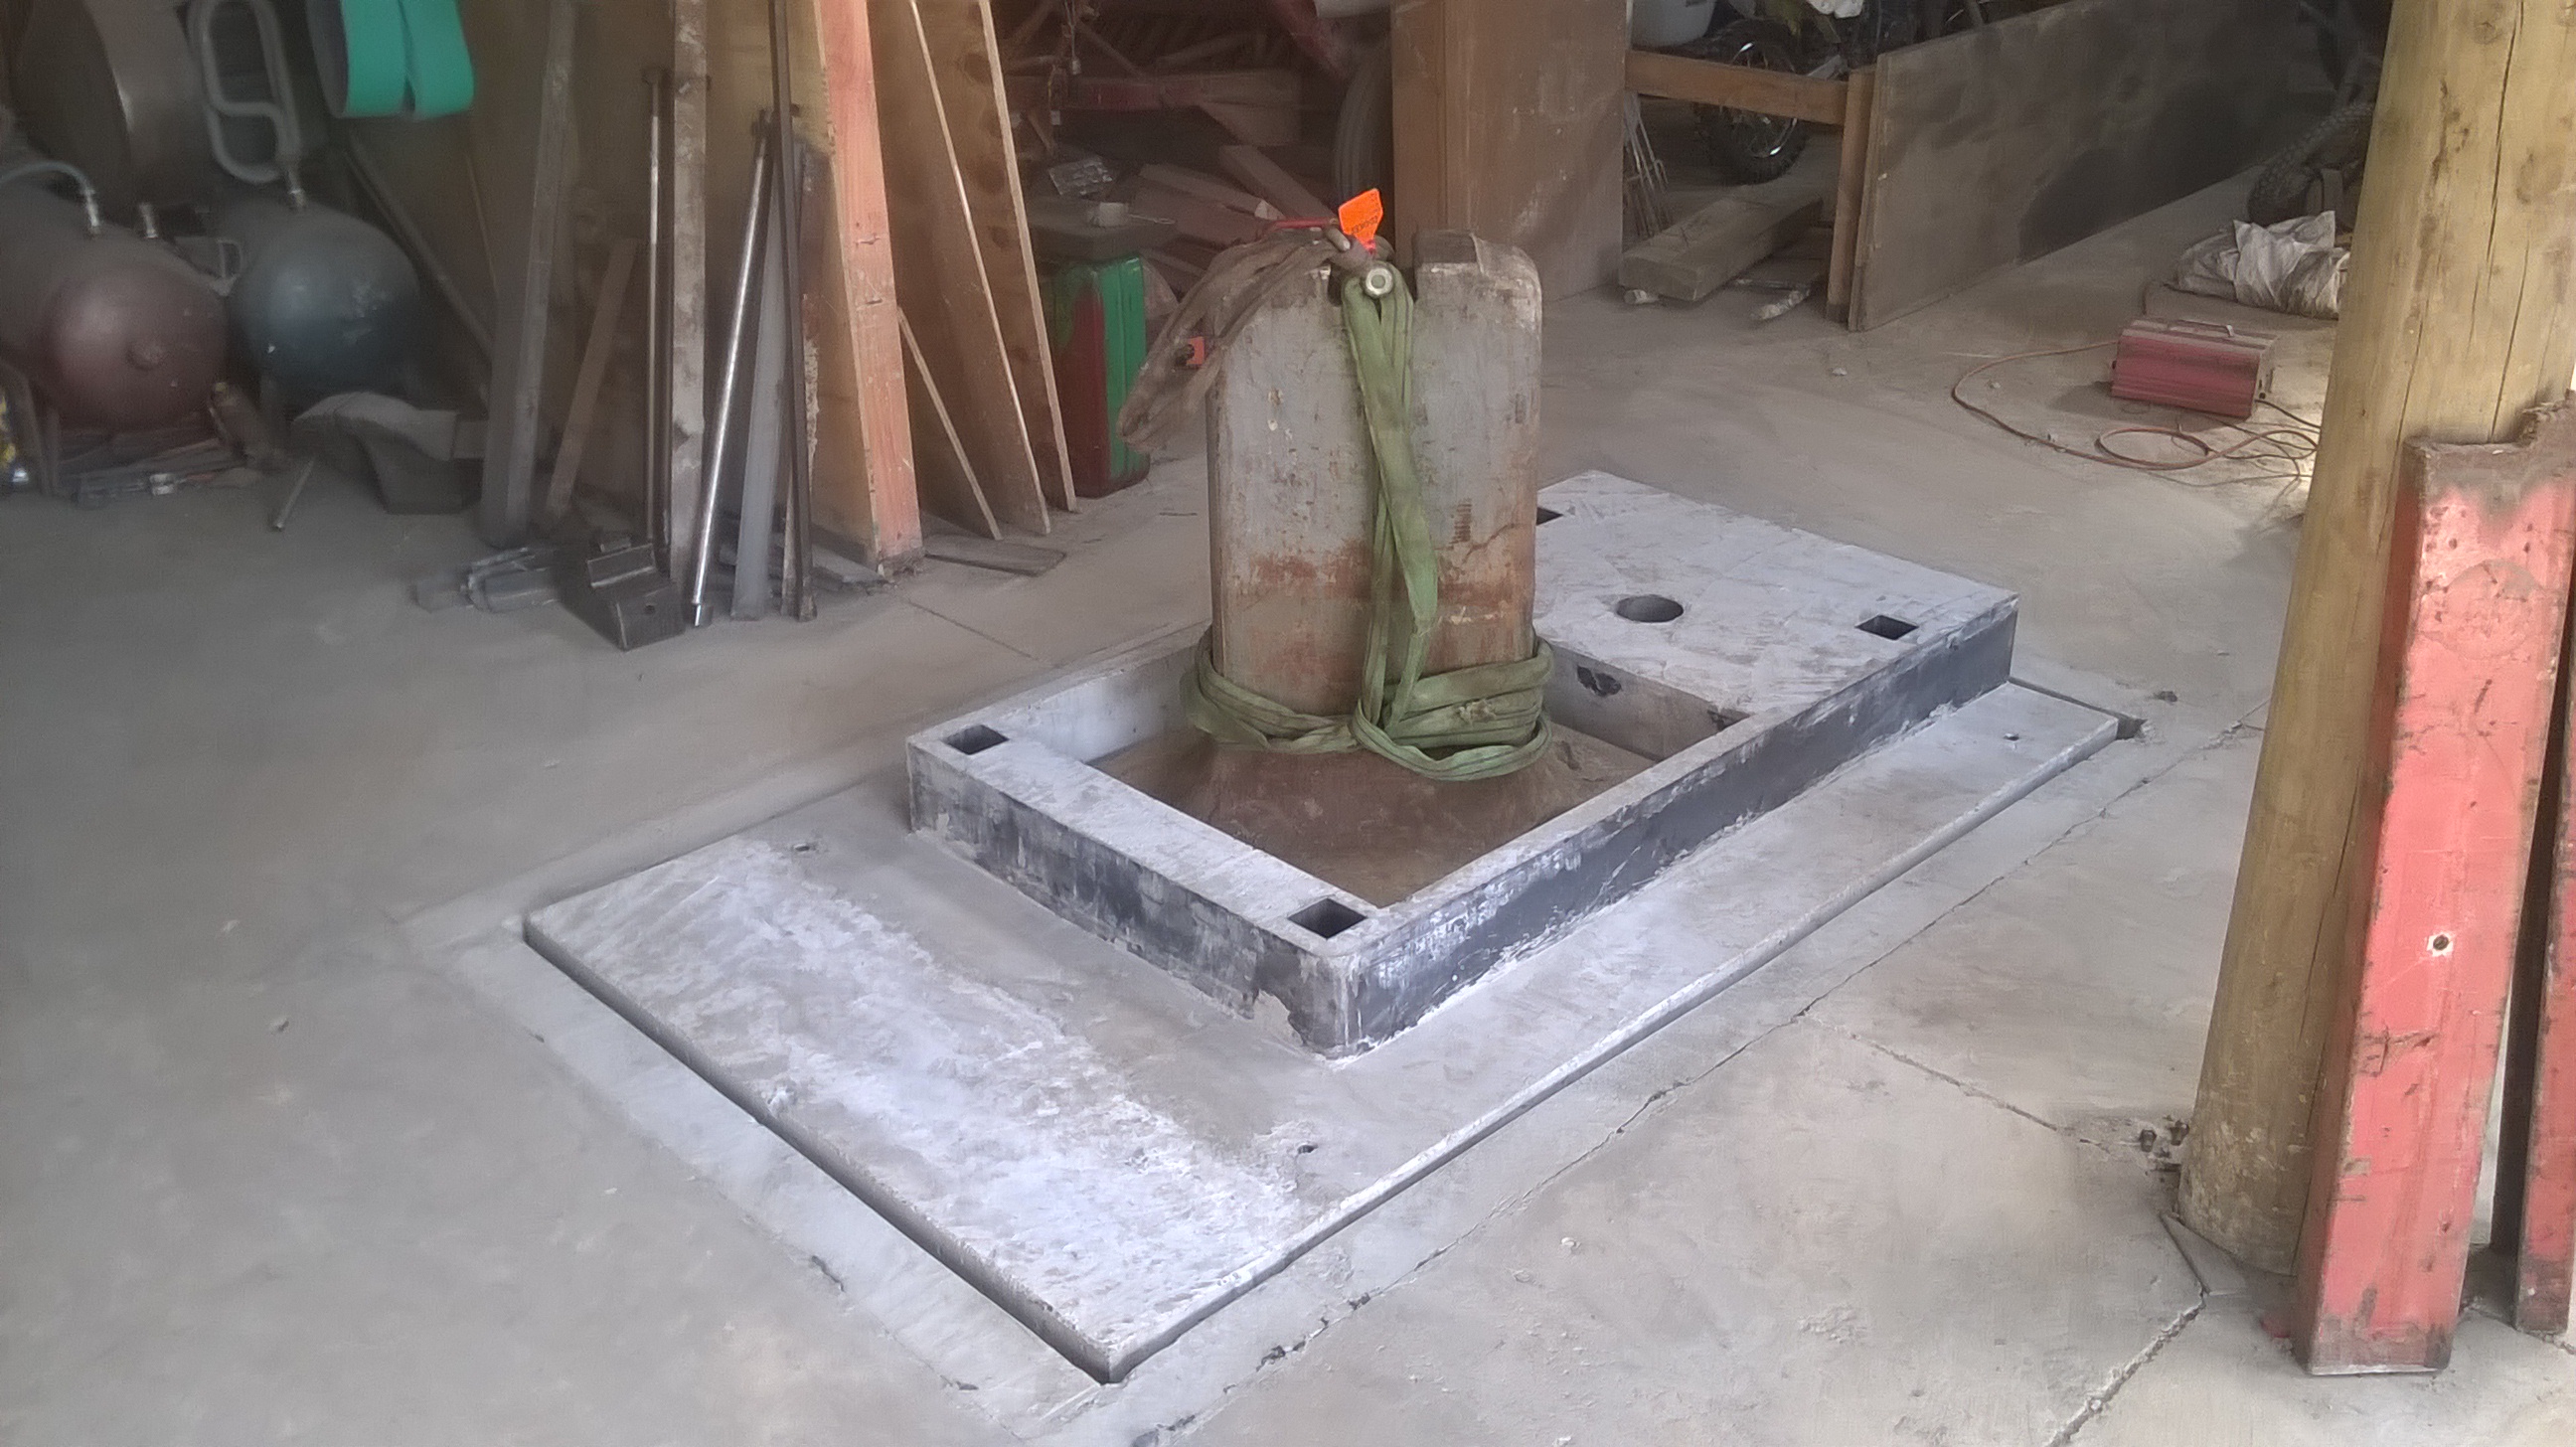
When we were lifting the hammer over the anvil there was about 20mm of room spare, Actually broke off the heat sensor for the alarm system. I got someone with the Manitou because it was close and avilable and cost me a twin carb plate for a weiand 6 71 blower that I was unlikely to ever use but made it a bit tricky because of the goose neck in the boom.
-
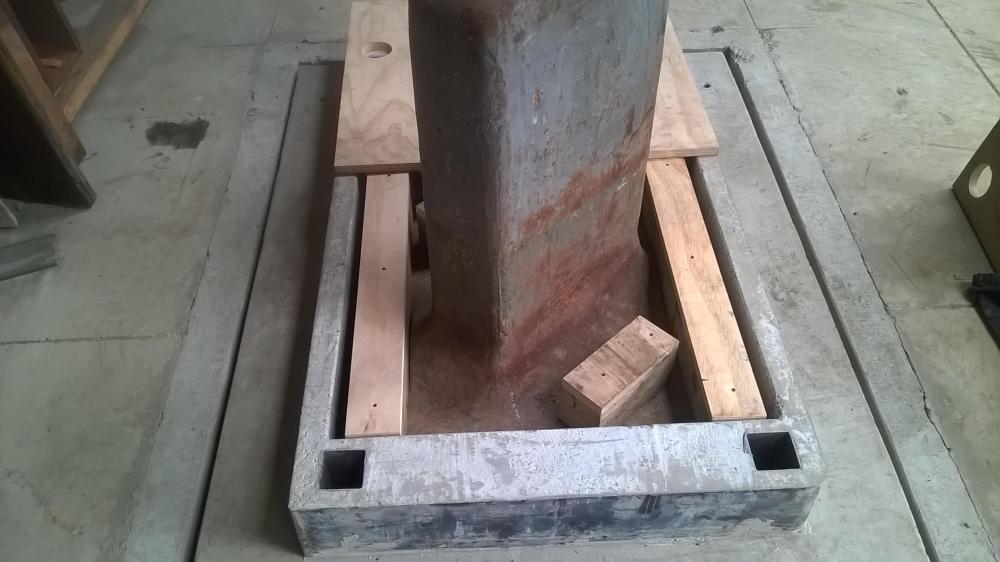
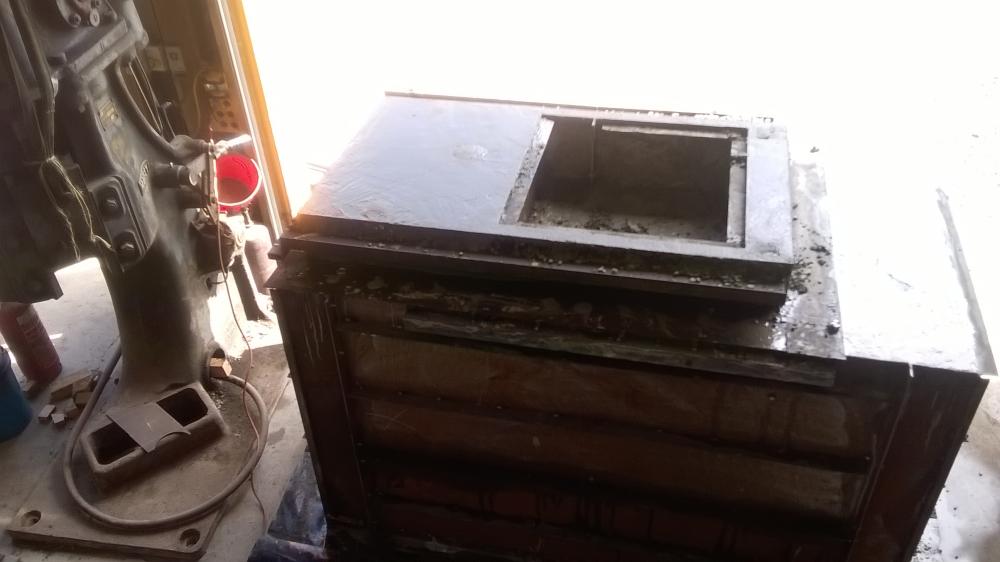
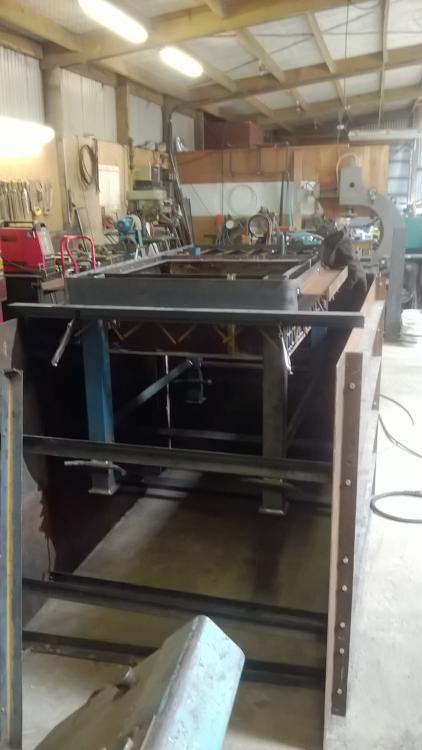
Andrew there is 3 8x3 oregon timber blocks at each end so they are 240mm thick in total. The hammer is finally placed permanantlly YIPPIE all thats left to do is mount the motor I am going to remount that and mount it abit more elegantly than what came with the machine. Getting excited its going to be a struggle to do any paying work this week

-
I use a linisher alot in my work and have found that Zirconiated belts last and cut the best. these are made for stainless steel and I have found that a 60 grit is a good all round general purpose belt
-
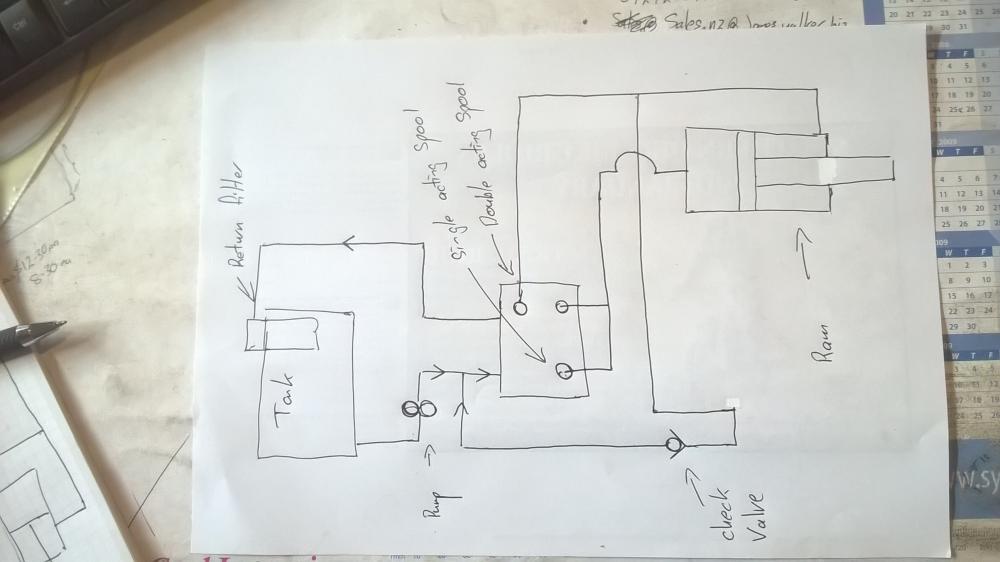
Here is the hydrulic circut basicly how the fast speed is achieved is by using the single acting spool which feeds oil to the base of the ram which then forces oil out the head side through the check valve and back into the the inlet side of the valve block so it just displaces the ram spear. I have also used steel tubing for my press so there is little give in the system, hydrulic hose always grows a bit, as I wanted to have fine control as i straighten alot of items and the fine control is a great advantage. Cheers Beaver
-
The best thing about the mechanical iron workers is their speed way faster than any hydrulic one though the hydrulic ones are more forgiving as you can stop the action at any part of the stroke. I used to use a machine a lot like that one and a 90 ton russian machanical punch/cropping machine as well. At the place where I did my apprenticship thousands of years ago they had both types the hydrulic one was called a Scotchman and was around 60 ton if I remember correctly. When punching mild steel never exceed in thickness the dia of the punch ie 12mm plate 12mm hole and as the strength of the steel increases the thickness must decrease or the punch WILL explode. The punch should also have 0.7mm of clearance up to about 25mm punches then the clearance should increase as they get bigger.
-
All going well I hope to put the hammer in place over the week end
-
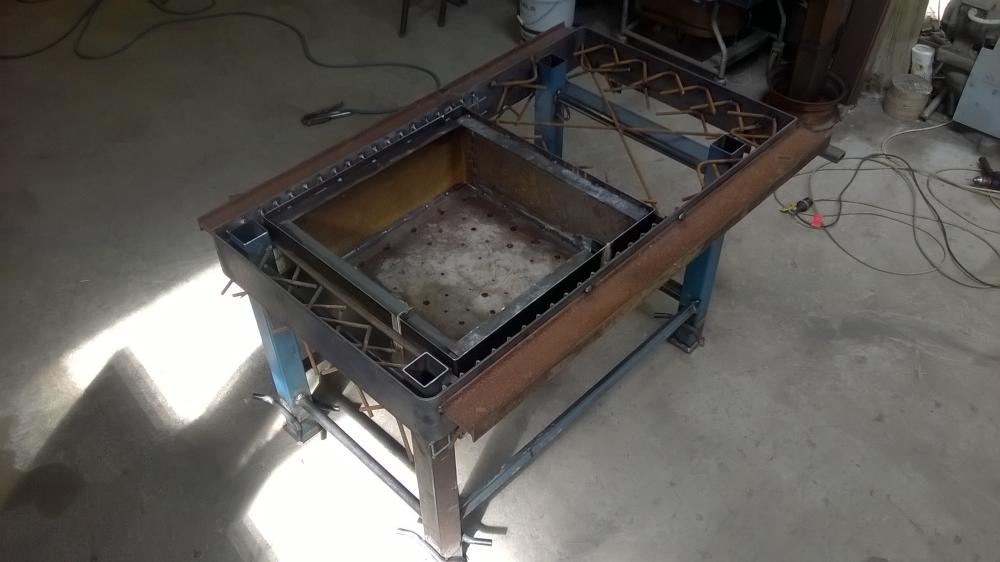
Im Very pleased I have got the ineria block placed in the hole. Its sitting on 240 mm of oregon timber which should be a good sound/shock deadener


-
Ive read this with great interest thankyou for the premeptive info cheers
-
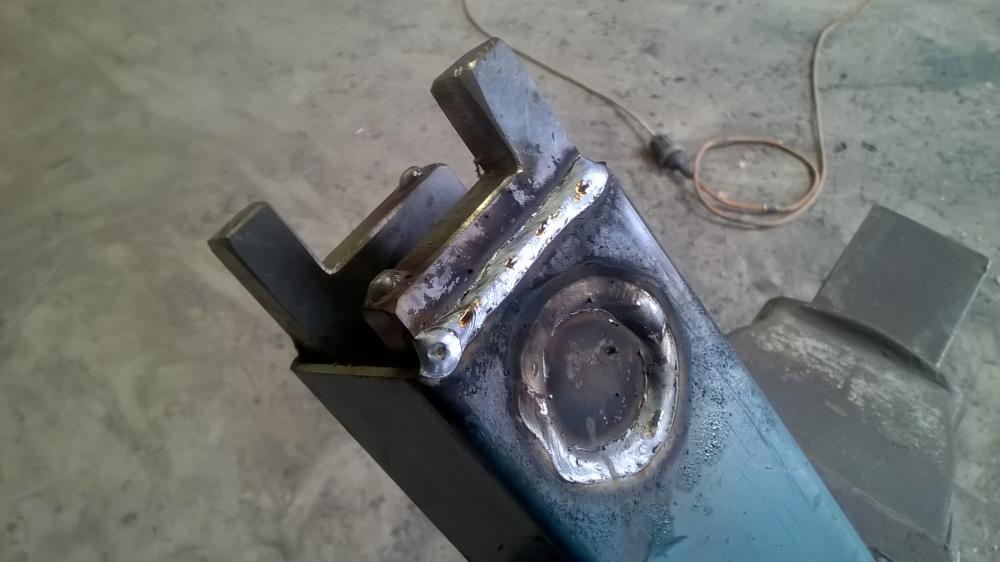
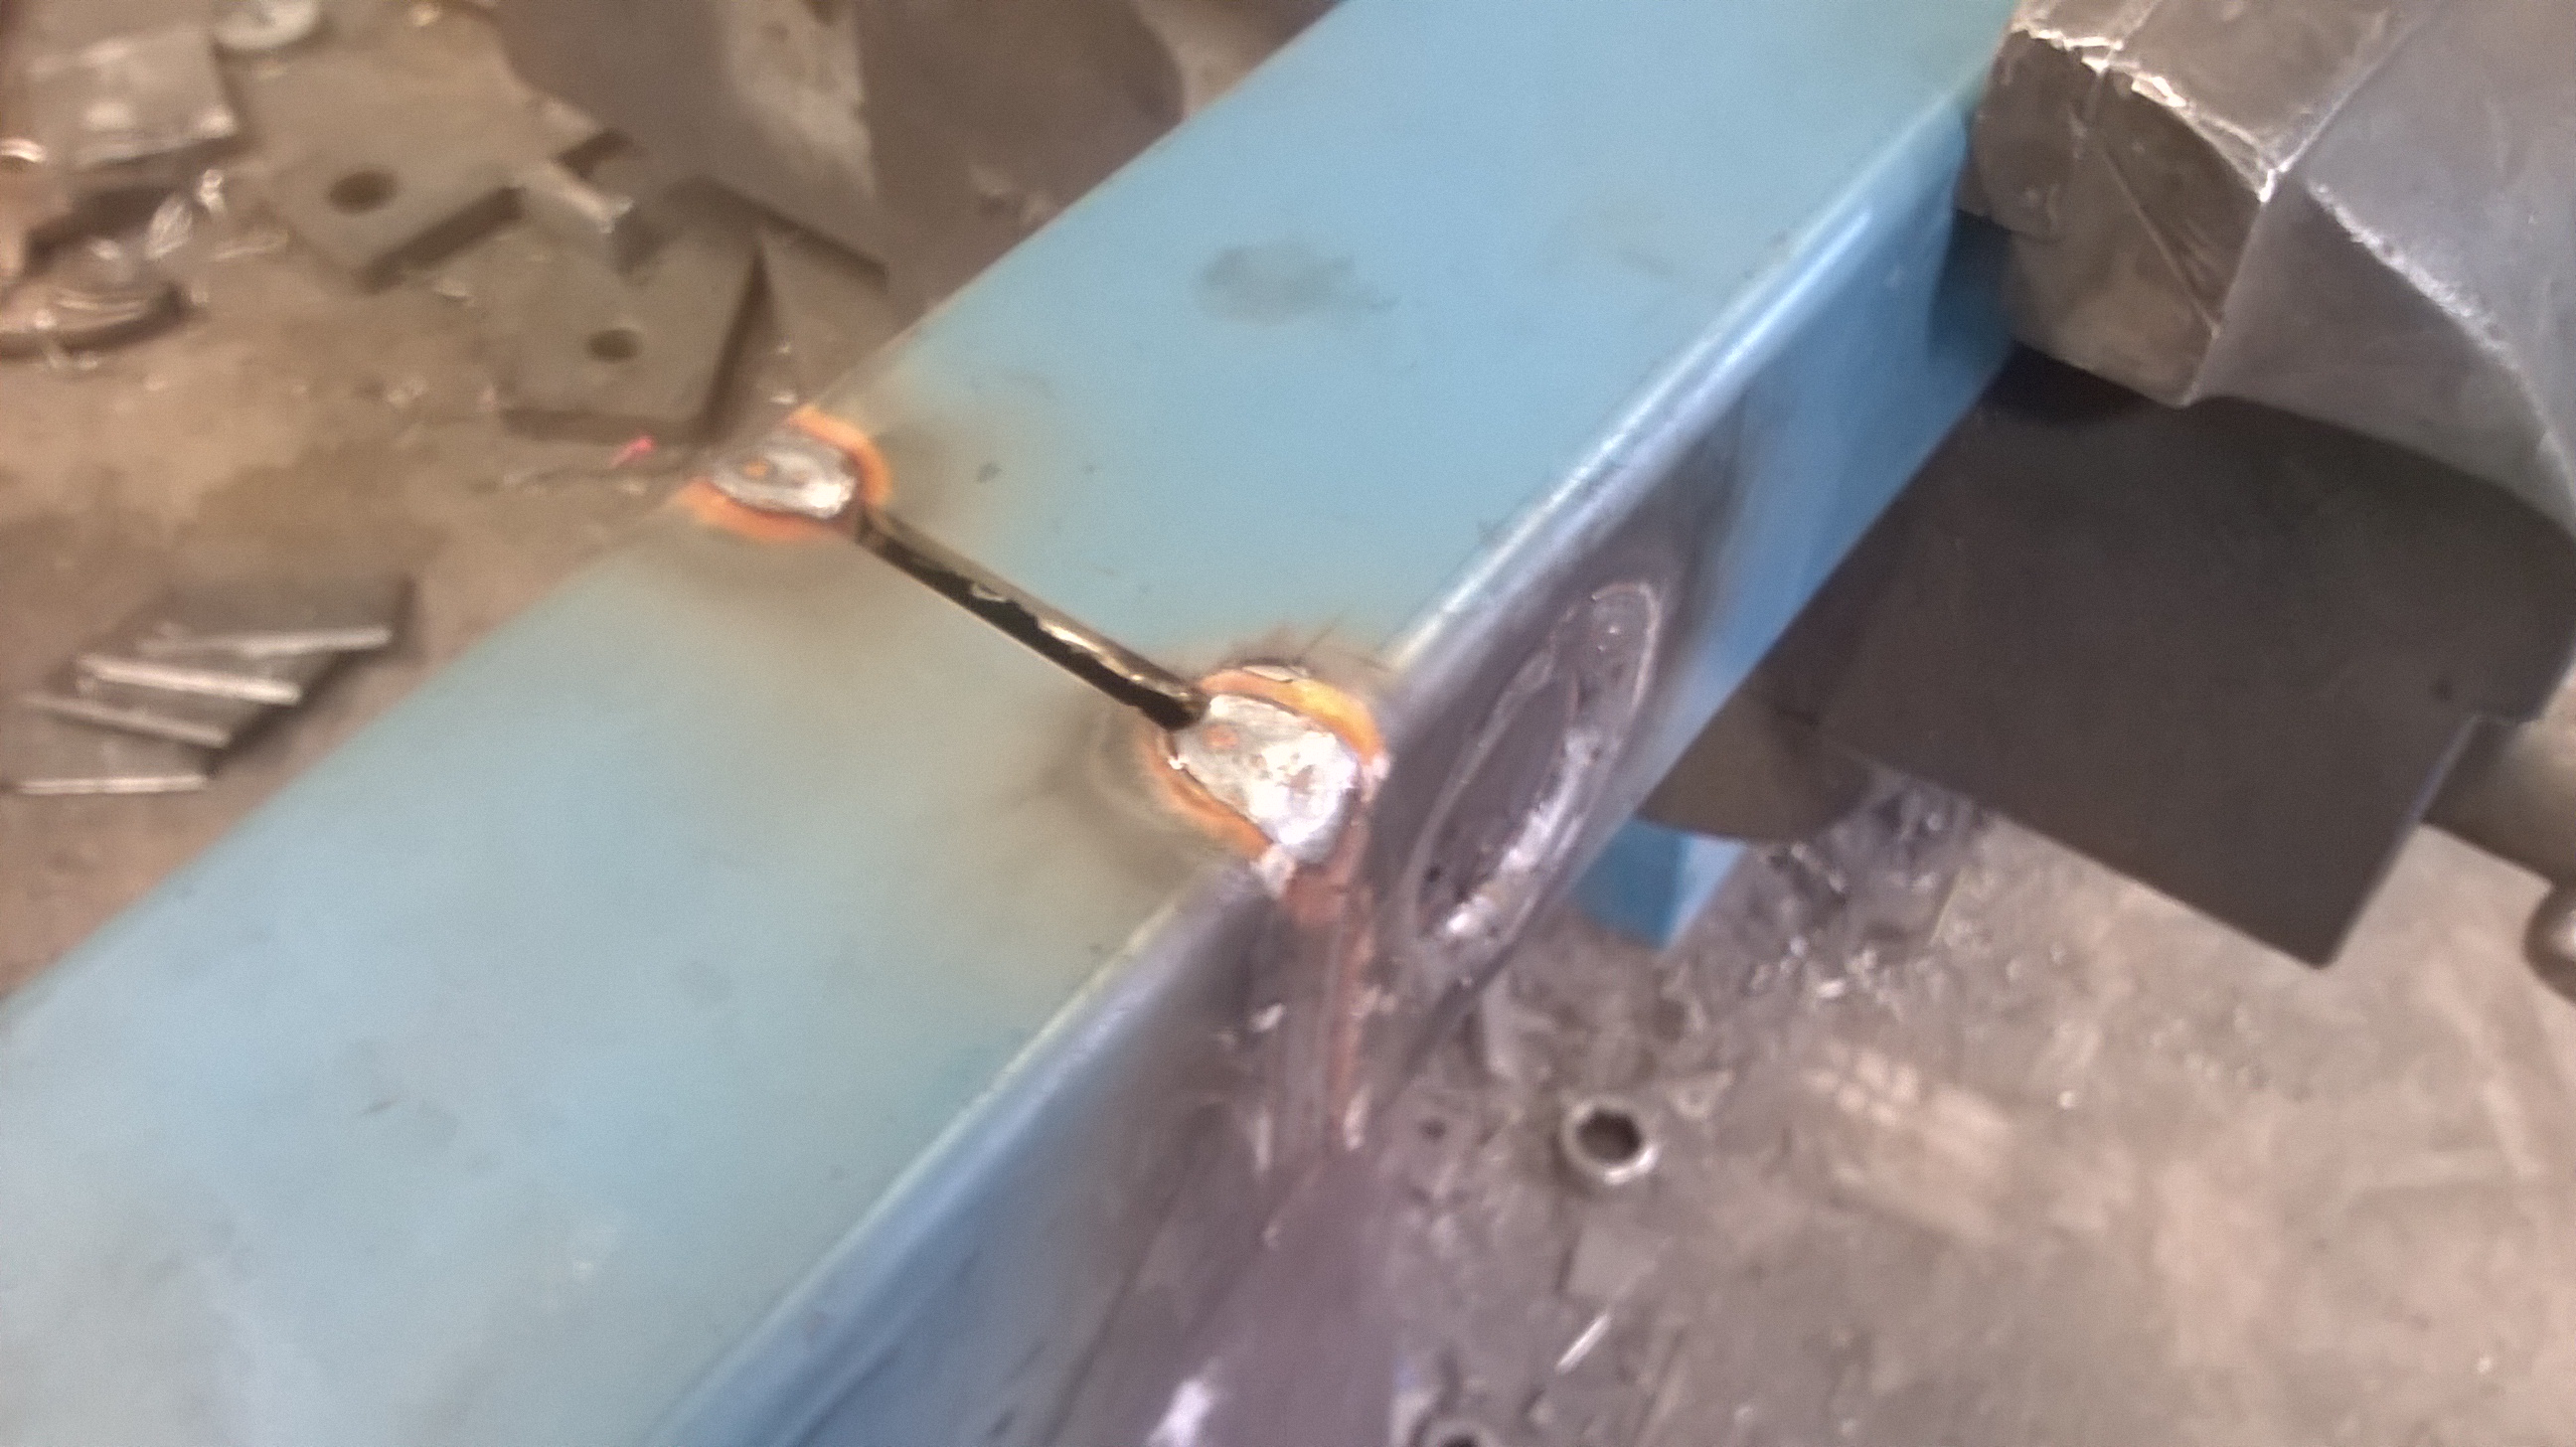
Yes John Stick out and arc length are differnt things arc length is related to arc voltage or in the case of a wire fed welder the wire speed, looking at the weld in hindsight it is probably the self shielded stuff. I much prefer the CO2 sheilded flux cored wire myself, much tougher weld i have always found the self shielded stuff brittle. The polarity of the self shielded stuff is often electrode neg as well Better not hijack his thread too much Cheers Beaver
-
Yes I would just use it till it breaks and if I was going to repair it I would take the chill of it grind or carbon arc out the weld prep and use flux cored weld to weld it up. It should succesfully as it should be a low carbon steel or wrought which should weld ok with that process Cheers Beaver
-
Looks good Just a constructive comment I would say by looking at the welds your arc length is too long, The end of the rod should be almost or touching the work. I would recommend using low hydrogen rods especailly if you have an inverter or DC welder run the rods electrode positive though low hydrogen rod s are harder to restart if you chip the flux off the end by pushing sideways with the palm of your glove makes a huge difference in the restart as not so much flux chips off as just banging the end on the work piece. Low hdrogen rods make a much stronger weld and is less likely to crack when welding high strength steels Cheers Beaver
Rough rule of thumb 3.2mm 105 to 110
4mm 140 to 160 amps
-
Marc1 Yes I have done some forging with it though its a bit slow and work piece looses heat to fast into ram spear and base. I am an engineer by trade been doing it for about 30 years I have been having a big thrash installing a power hammer and its almost operational, early next year I cant wait. The press is set up to have a two speed stroke I made the hydrulic system so the ram can be made to just displace the ram spear so its like a single acting ram and this gives me 33 ton the spear is 110mm dia and at the higher tonage the ram is used as a double acting cylinder which is 200mm dia hyd pressure is 4300 psi. I will put up the hydrulic circut when I can rember how to draw up the symbols for every thing Cheers Beaver
-
-
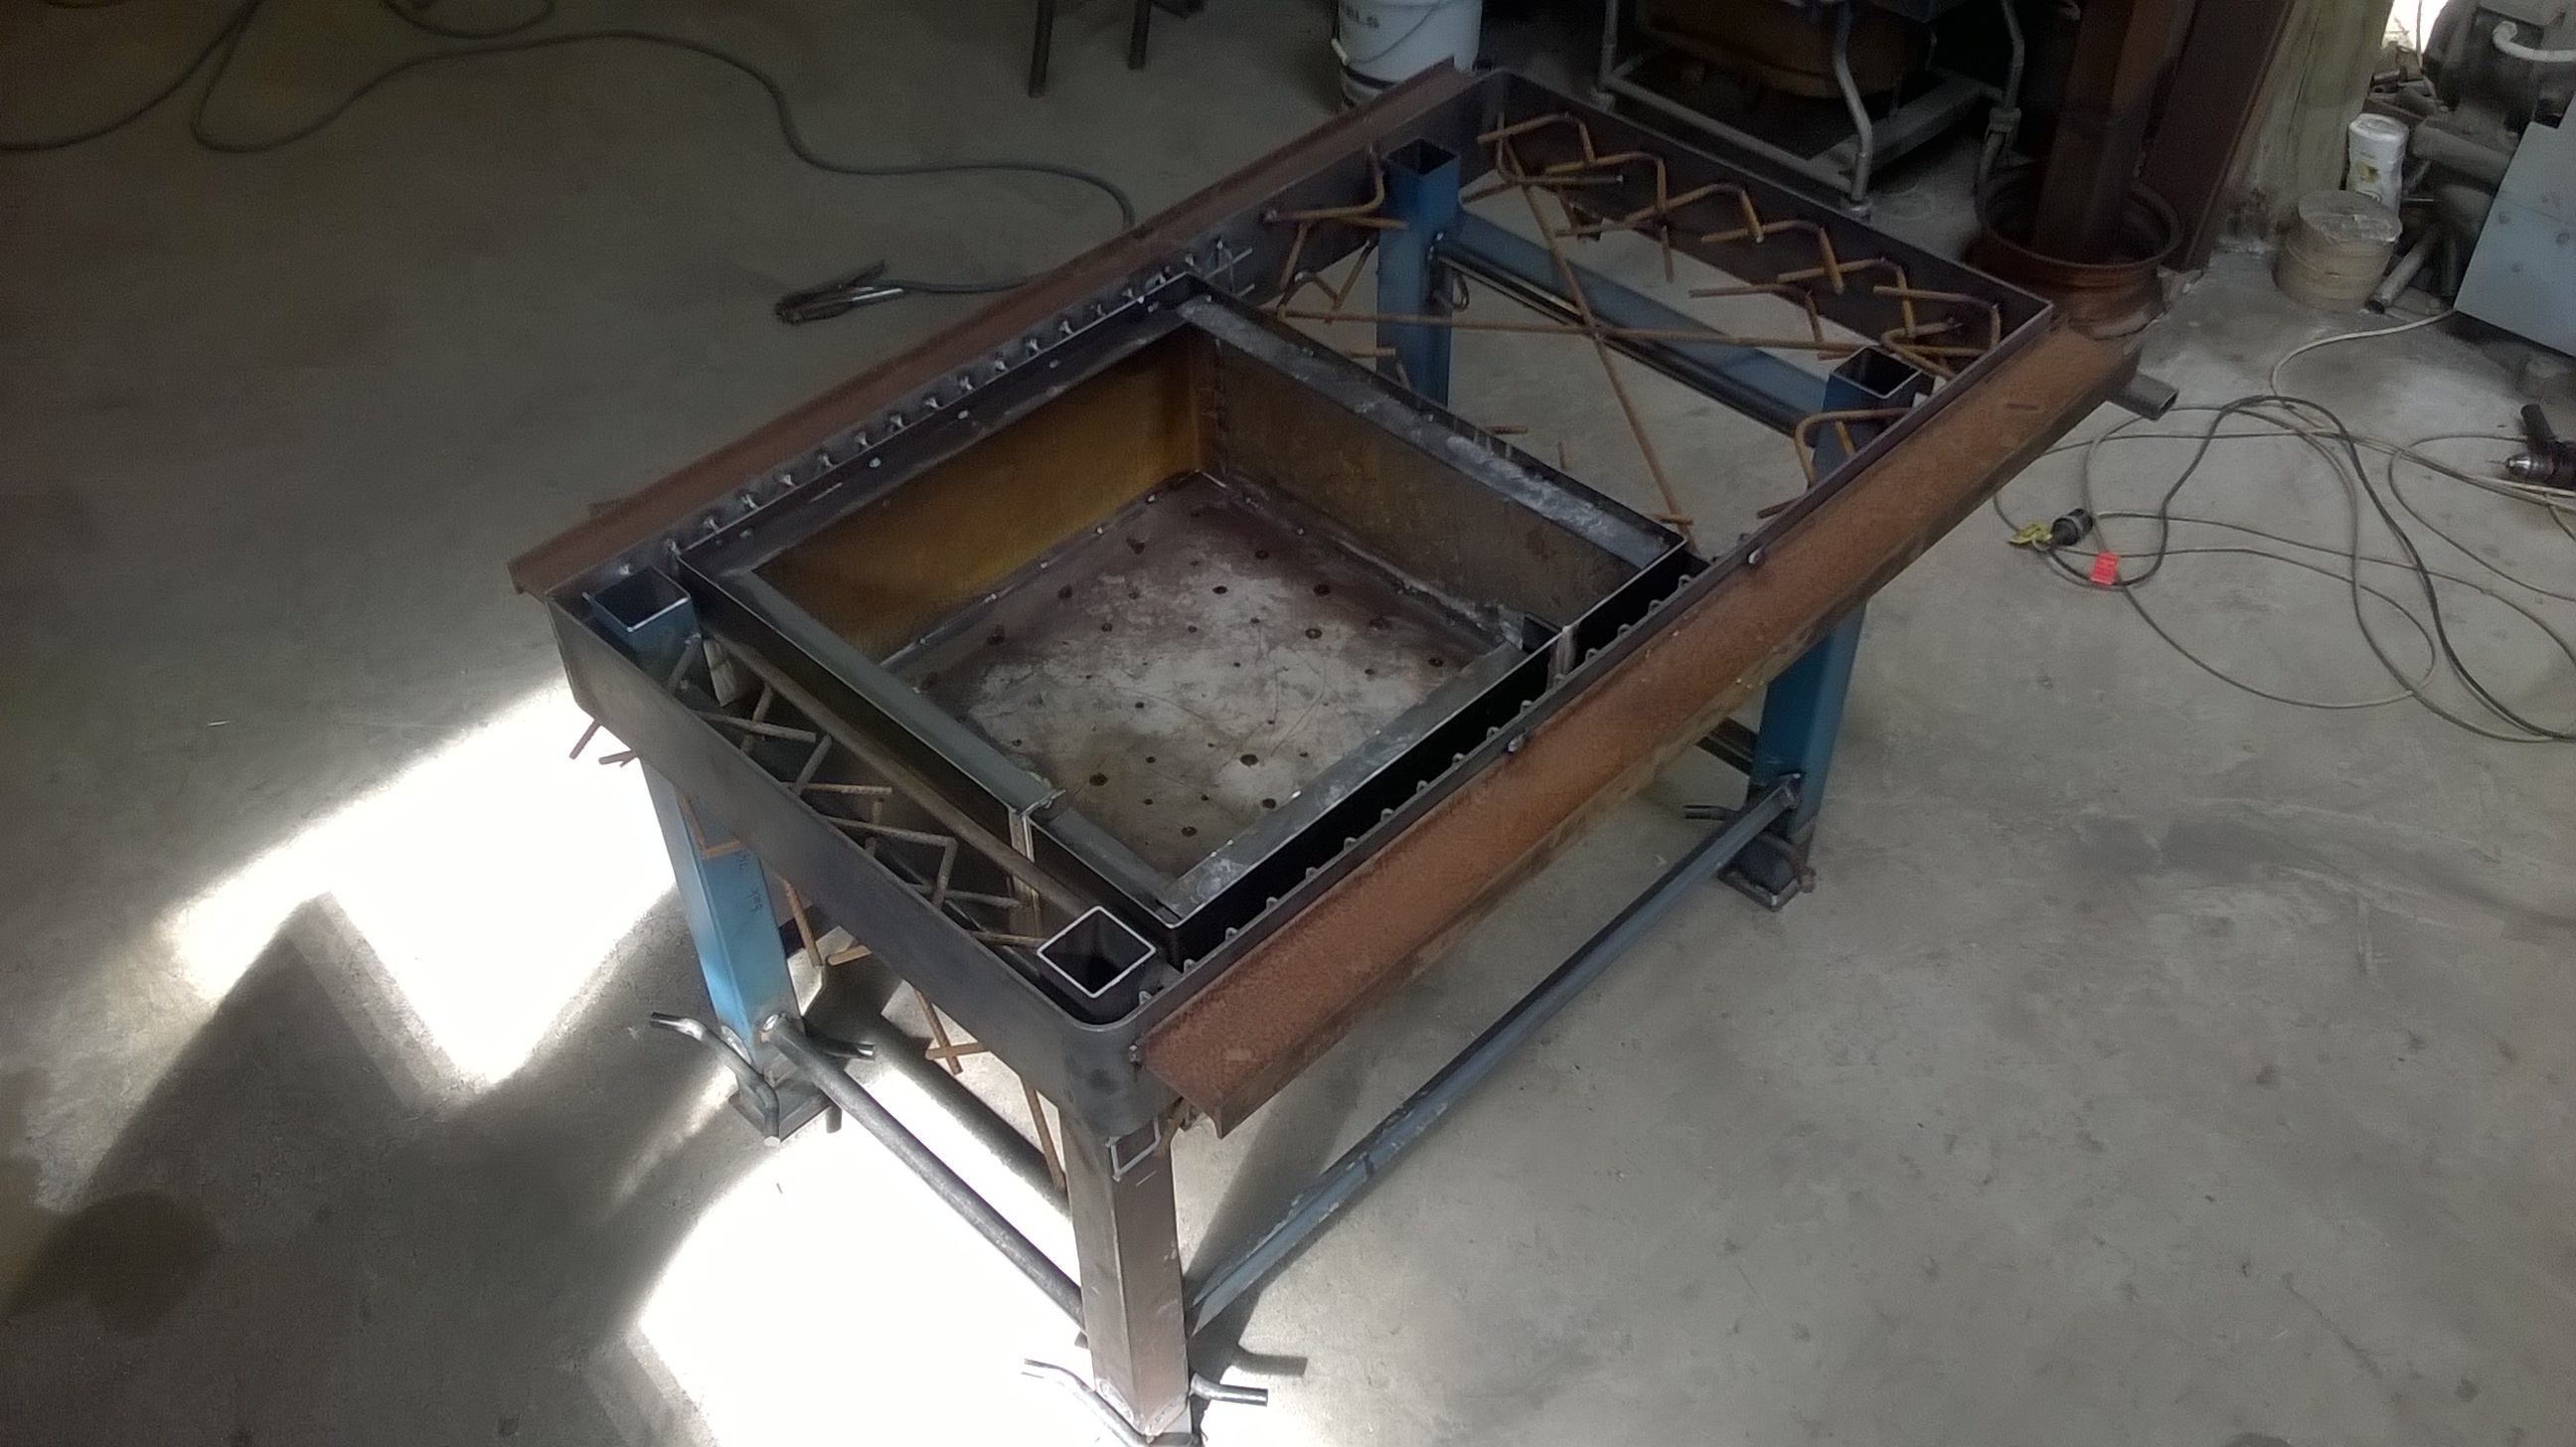
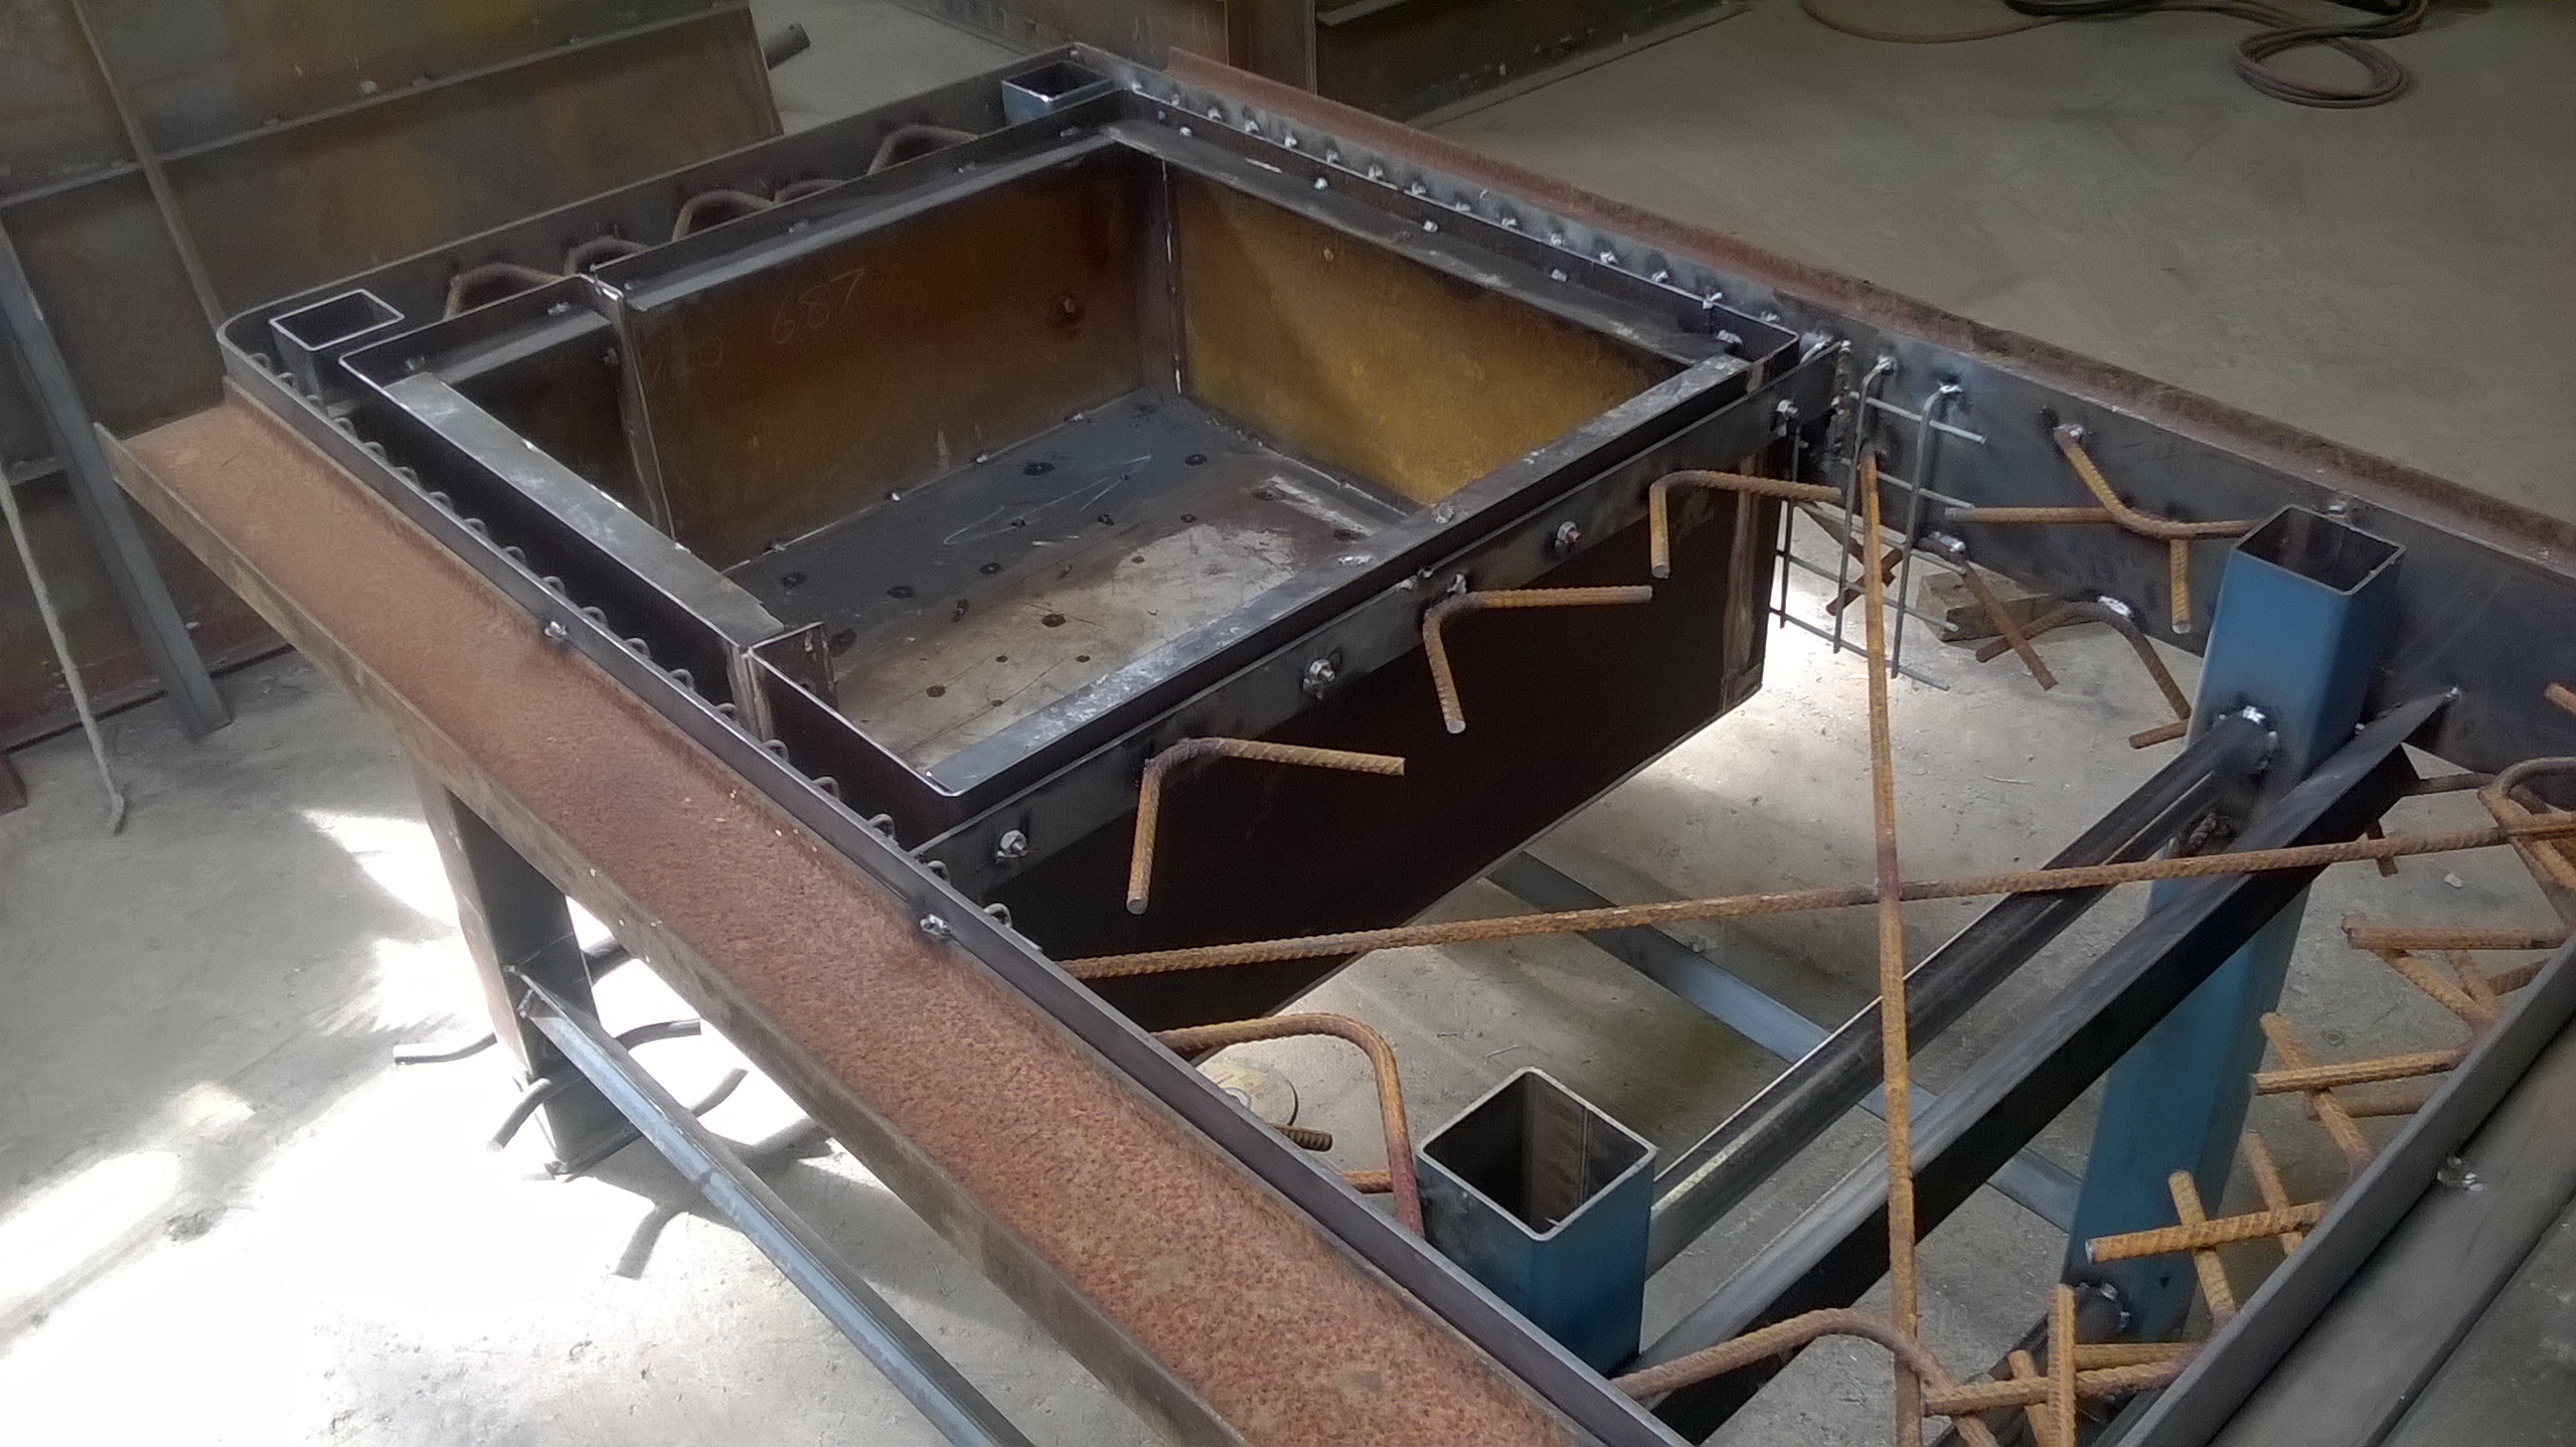
Well it was amature concreter hour here this morning, Starting to get excited though it will still be about a month until Green button day. It can cure over the xmas break and also poured a 1800x1500 concrete pad around the back of the workshop and the old 50 Cu/Ft air compressor is being evicted from the work shop to a steel garden shed.
-
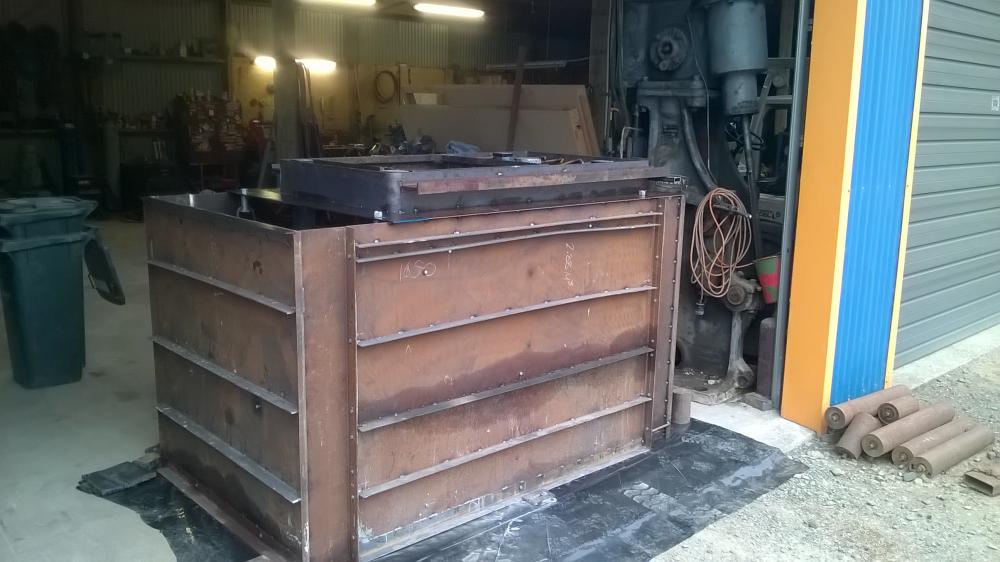
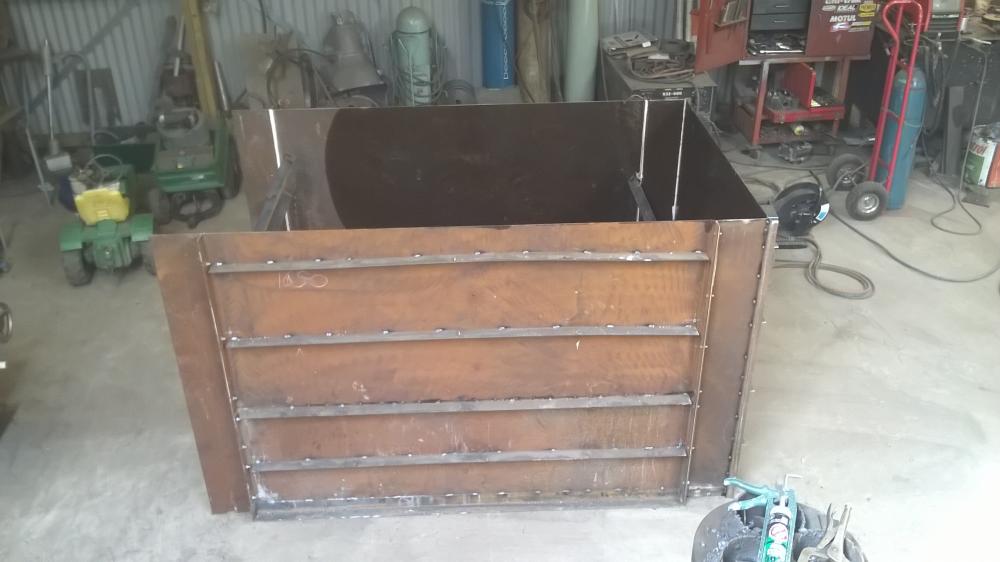
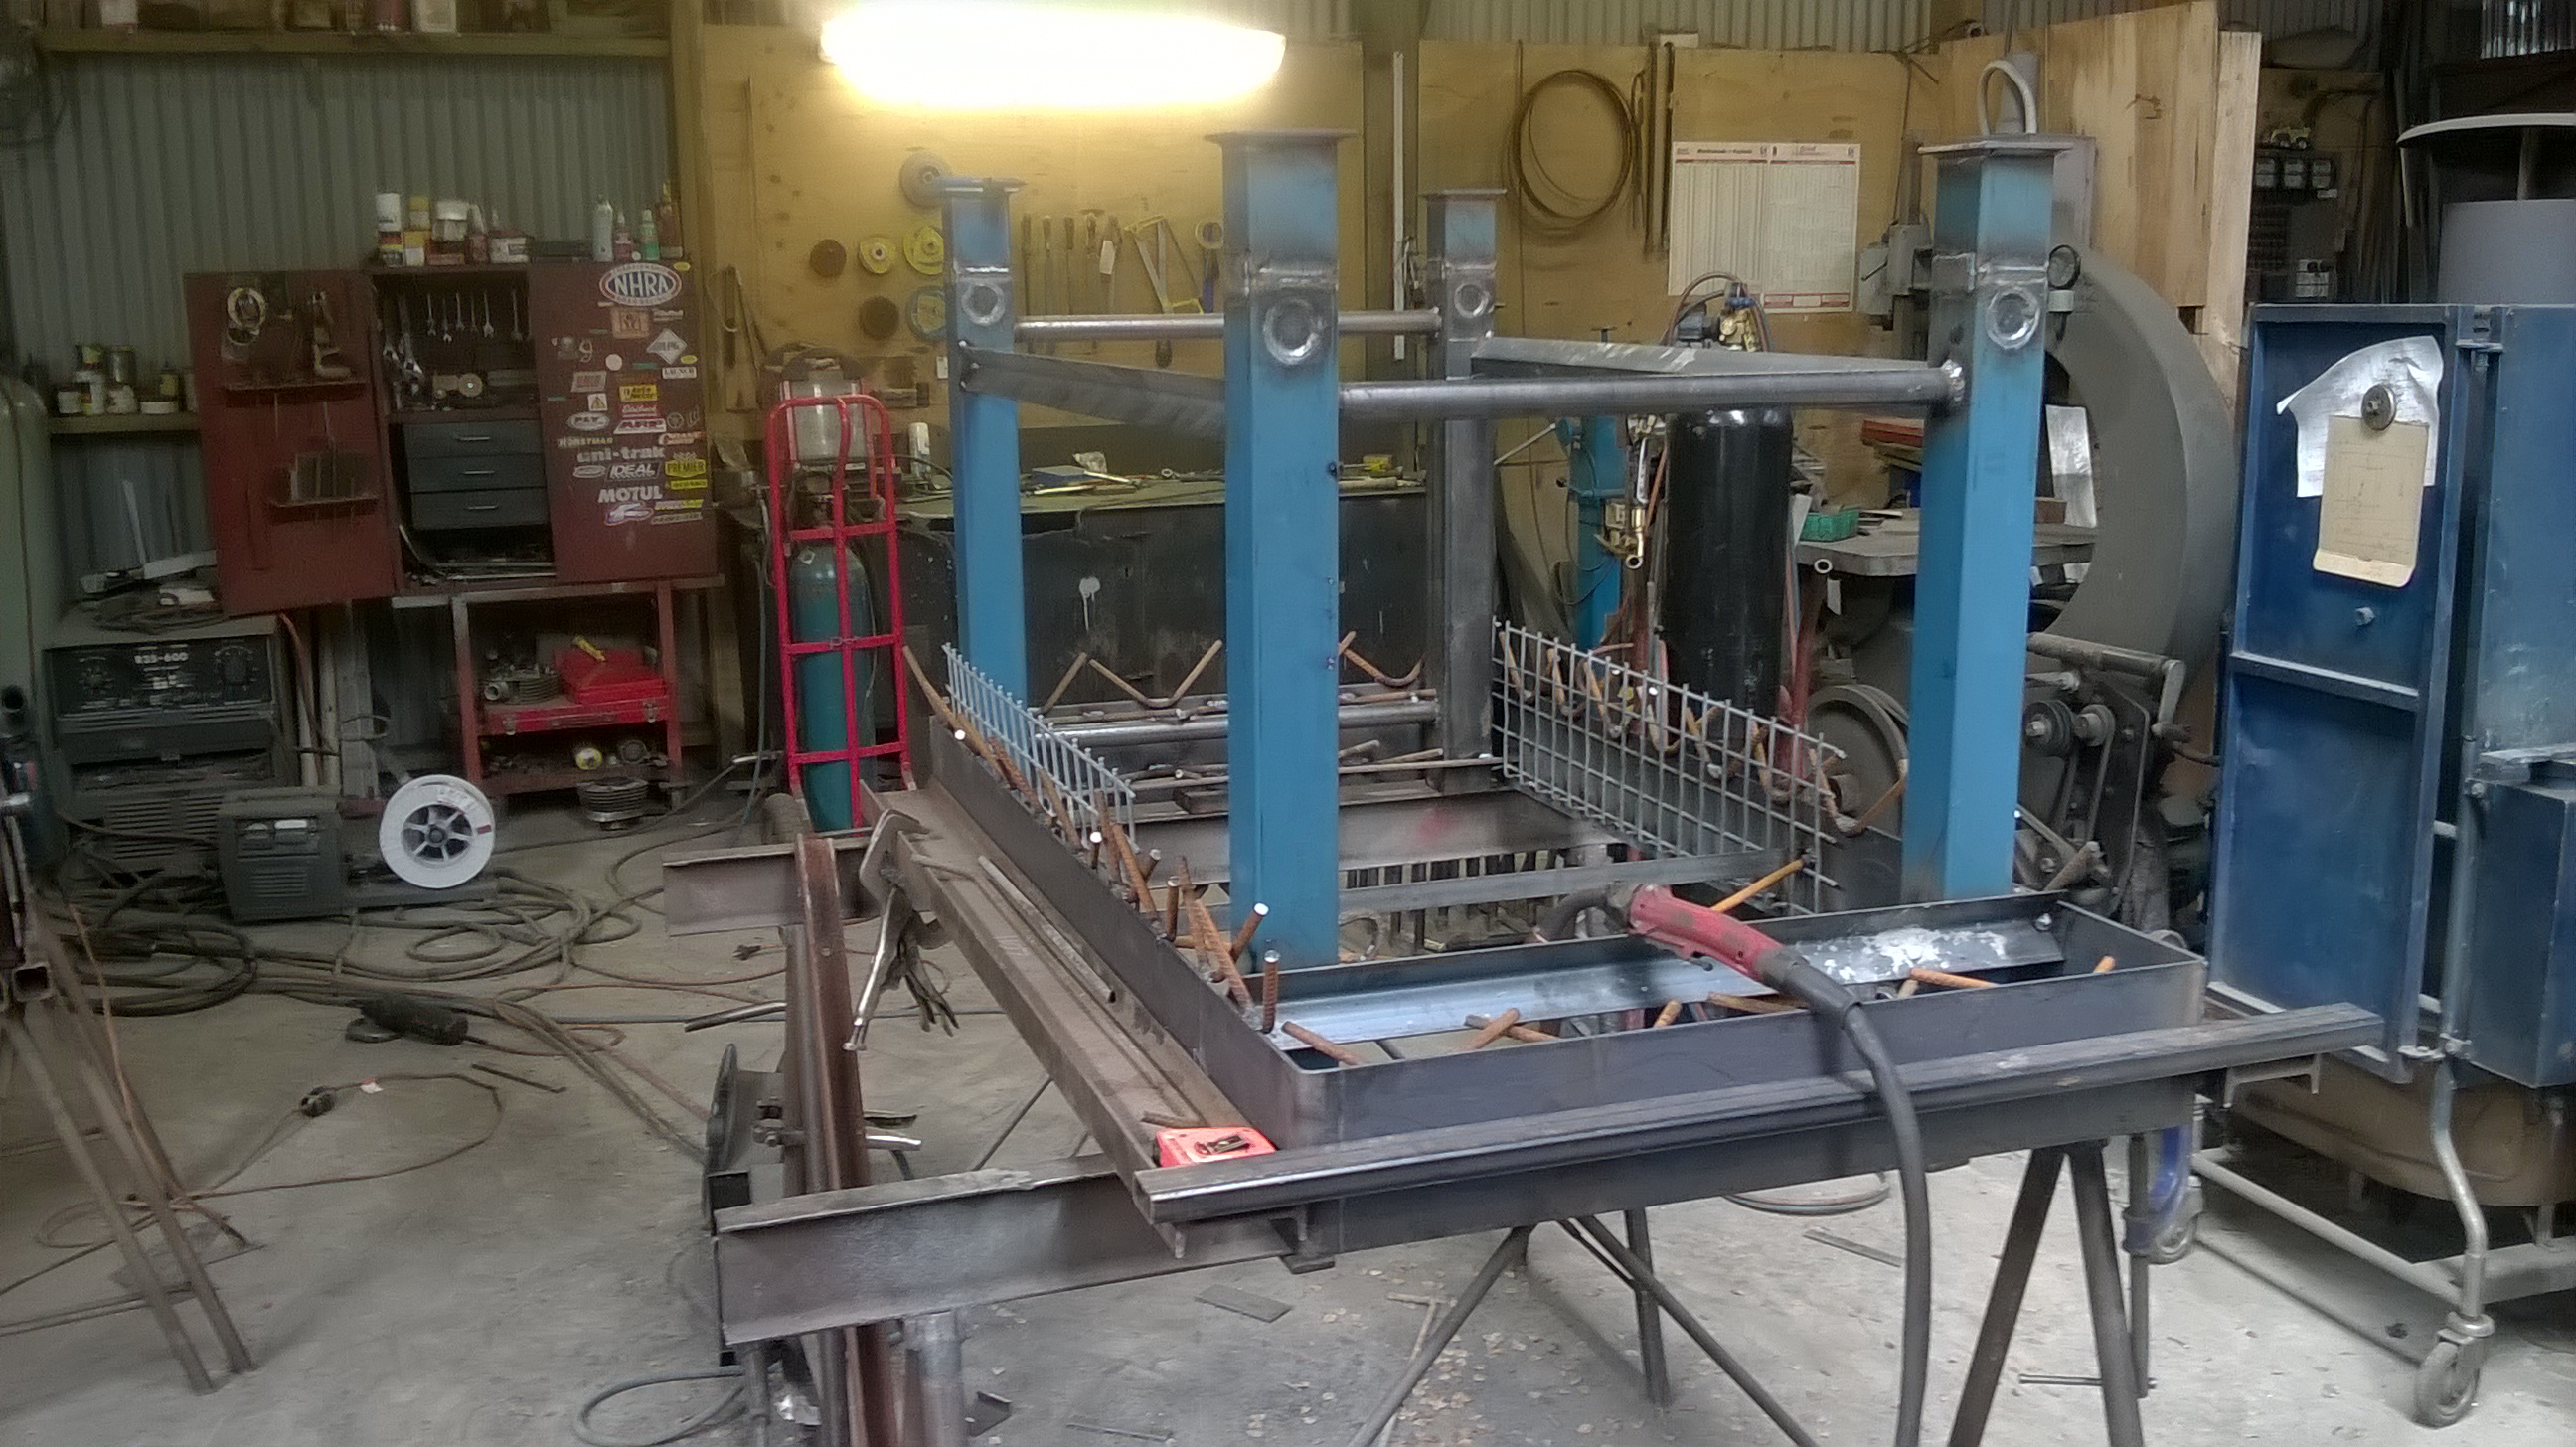
More progress the boxing is almost all done Another big step closer to green button day, though I have been side tracked this week abit by the Burt Munro speed week of the Worlds fastest indian Movie fame . Motor bikes or dirt bikes are my main passion


-
If you are going to use the same motor with a bigger dia ram and expect the same tonnage the speed will be the same as you will be pumping more oil at a lower pressure, if you stick with the bigger ram and same motor and use a smaller pump to pump less oil at a higher pressure equals more tonnage and less speed its mechanical advantage like gearing in your car. Sorry only way for speed and tonnage is HP Cheers Beaver
-
Hi Phil
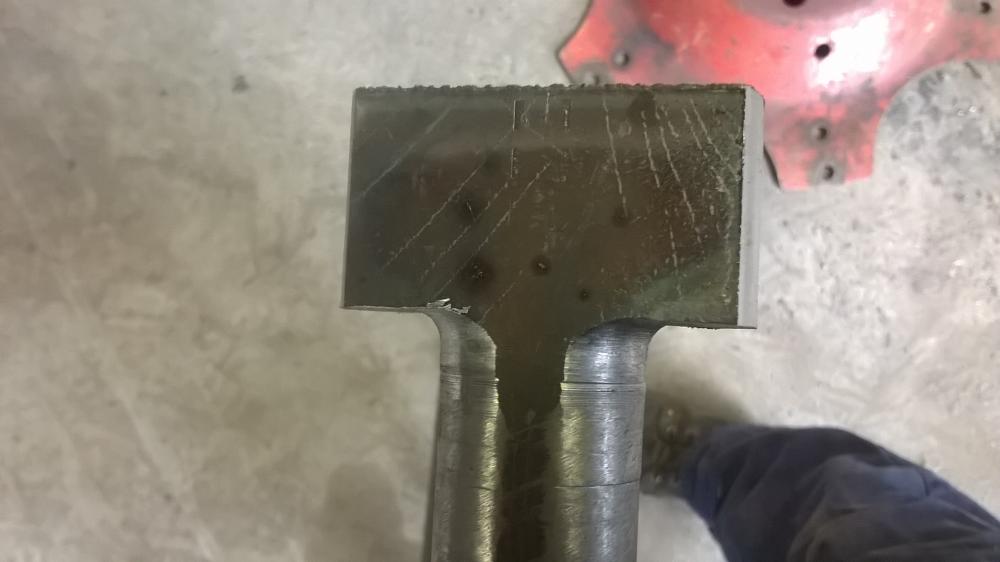
Yes fair comment and there is enough room for a head section to drop down just in case but I think the probable failure point will be at the threaded end but time will tell.
Any suggestions for improvement are all noted I am making the boxing for the ineria block now and will be lifting the foot of the hammer by 150mm or 6 inches for a better working height. Thank you Cheers Beaver
-
Thank you for that I have sacreficed a tree from the amazon and printed it all off Cheers
-
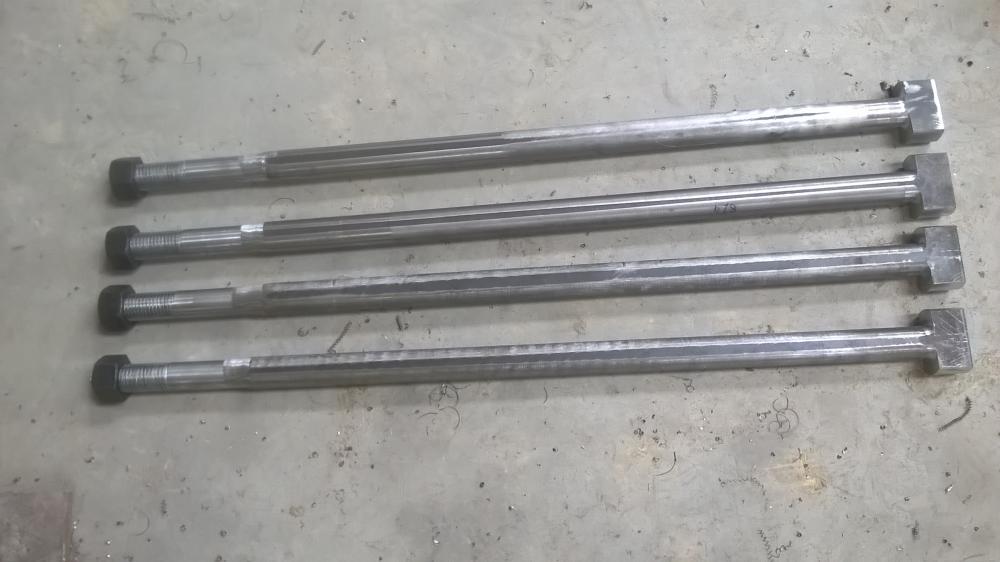
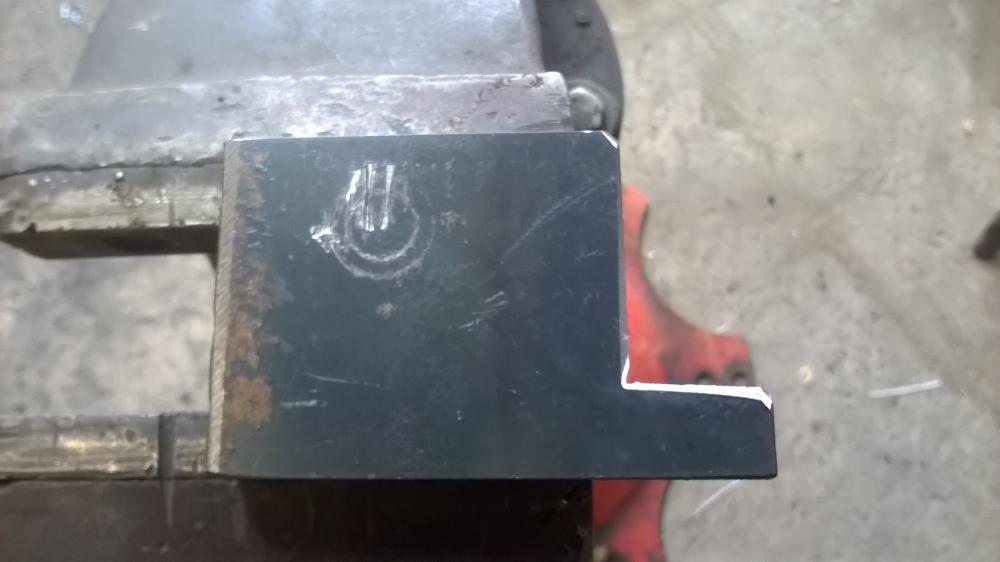
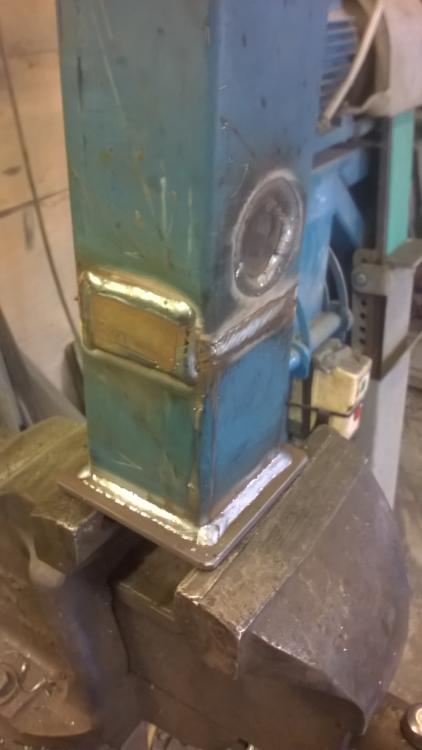
The Tee bolts are finished and so are the Tee bolt mounting tube, Next is the form work or boxing assembly which should be less work than the last time but still quite a bit of work. This hammer had better work as i have never seen it go but i cant see why it wont as I believe it hasnt done alot of work as it has little wear. Thanks John for the complement as I said I will be abit mifft if there any major problems

-
Yes what came first the chicken or the egg or in this case the the tee bolt or the hammer, The tee bolt will have a 5/16 or 8mm thread tapped into the end so I can hold up the tee bolt to put the nut on the end and if required I can use this to hold a locking washer onto the retaining nut. Next part of the project i suppose is the RHS sockets for the tee bolts to go in and make up the boxing for the ineria block, roll on green button day Cheers Beaver


2 CWT Massey power hammer foundations started
in Power Hammers, Treadle Hammers, Olivers
Posted
Phil
Excellent thanks for that I pulled out the pump piston today to fix the bearing clearances thats a good tip about the small end bush though the small end is sort of pressure feed from the air pressure and oil mist . The big end bearing had about 2.5mm clearance and the small end about 1mm so I am resizing the bottom and making a new bush for the small end, the rod seal leaks fairlybadly as well what can you suggest for that, it looks like a graphite impregnated rope seal probably asbestos so will have to be careful removing it I was wondering about a teflon seal in its place.