Adam R
Members
-
Joined
-
Last visited
Everything posted by Adam R
-
Thanks for the info!
-
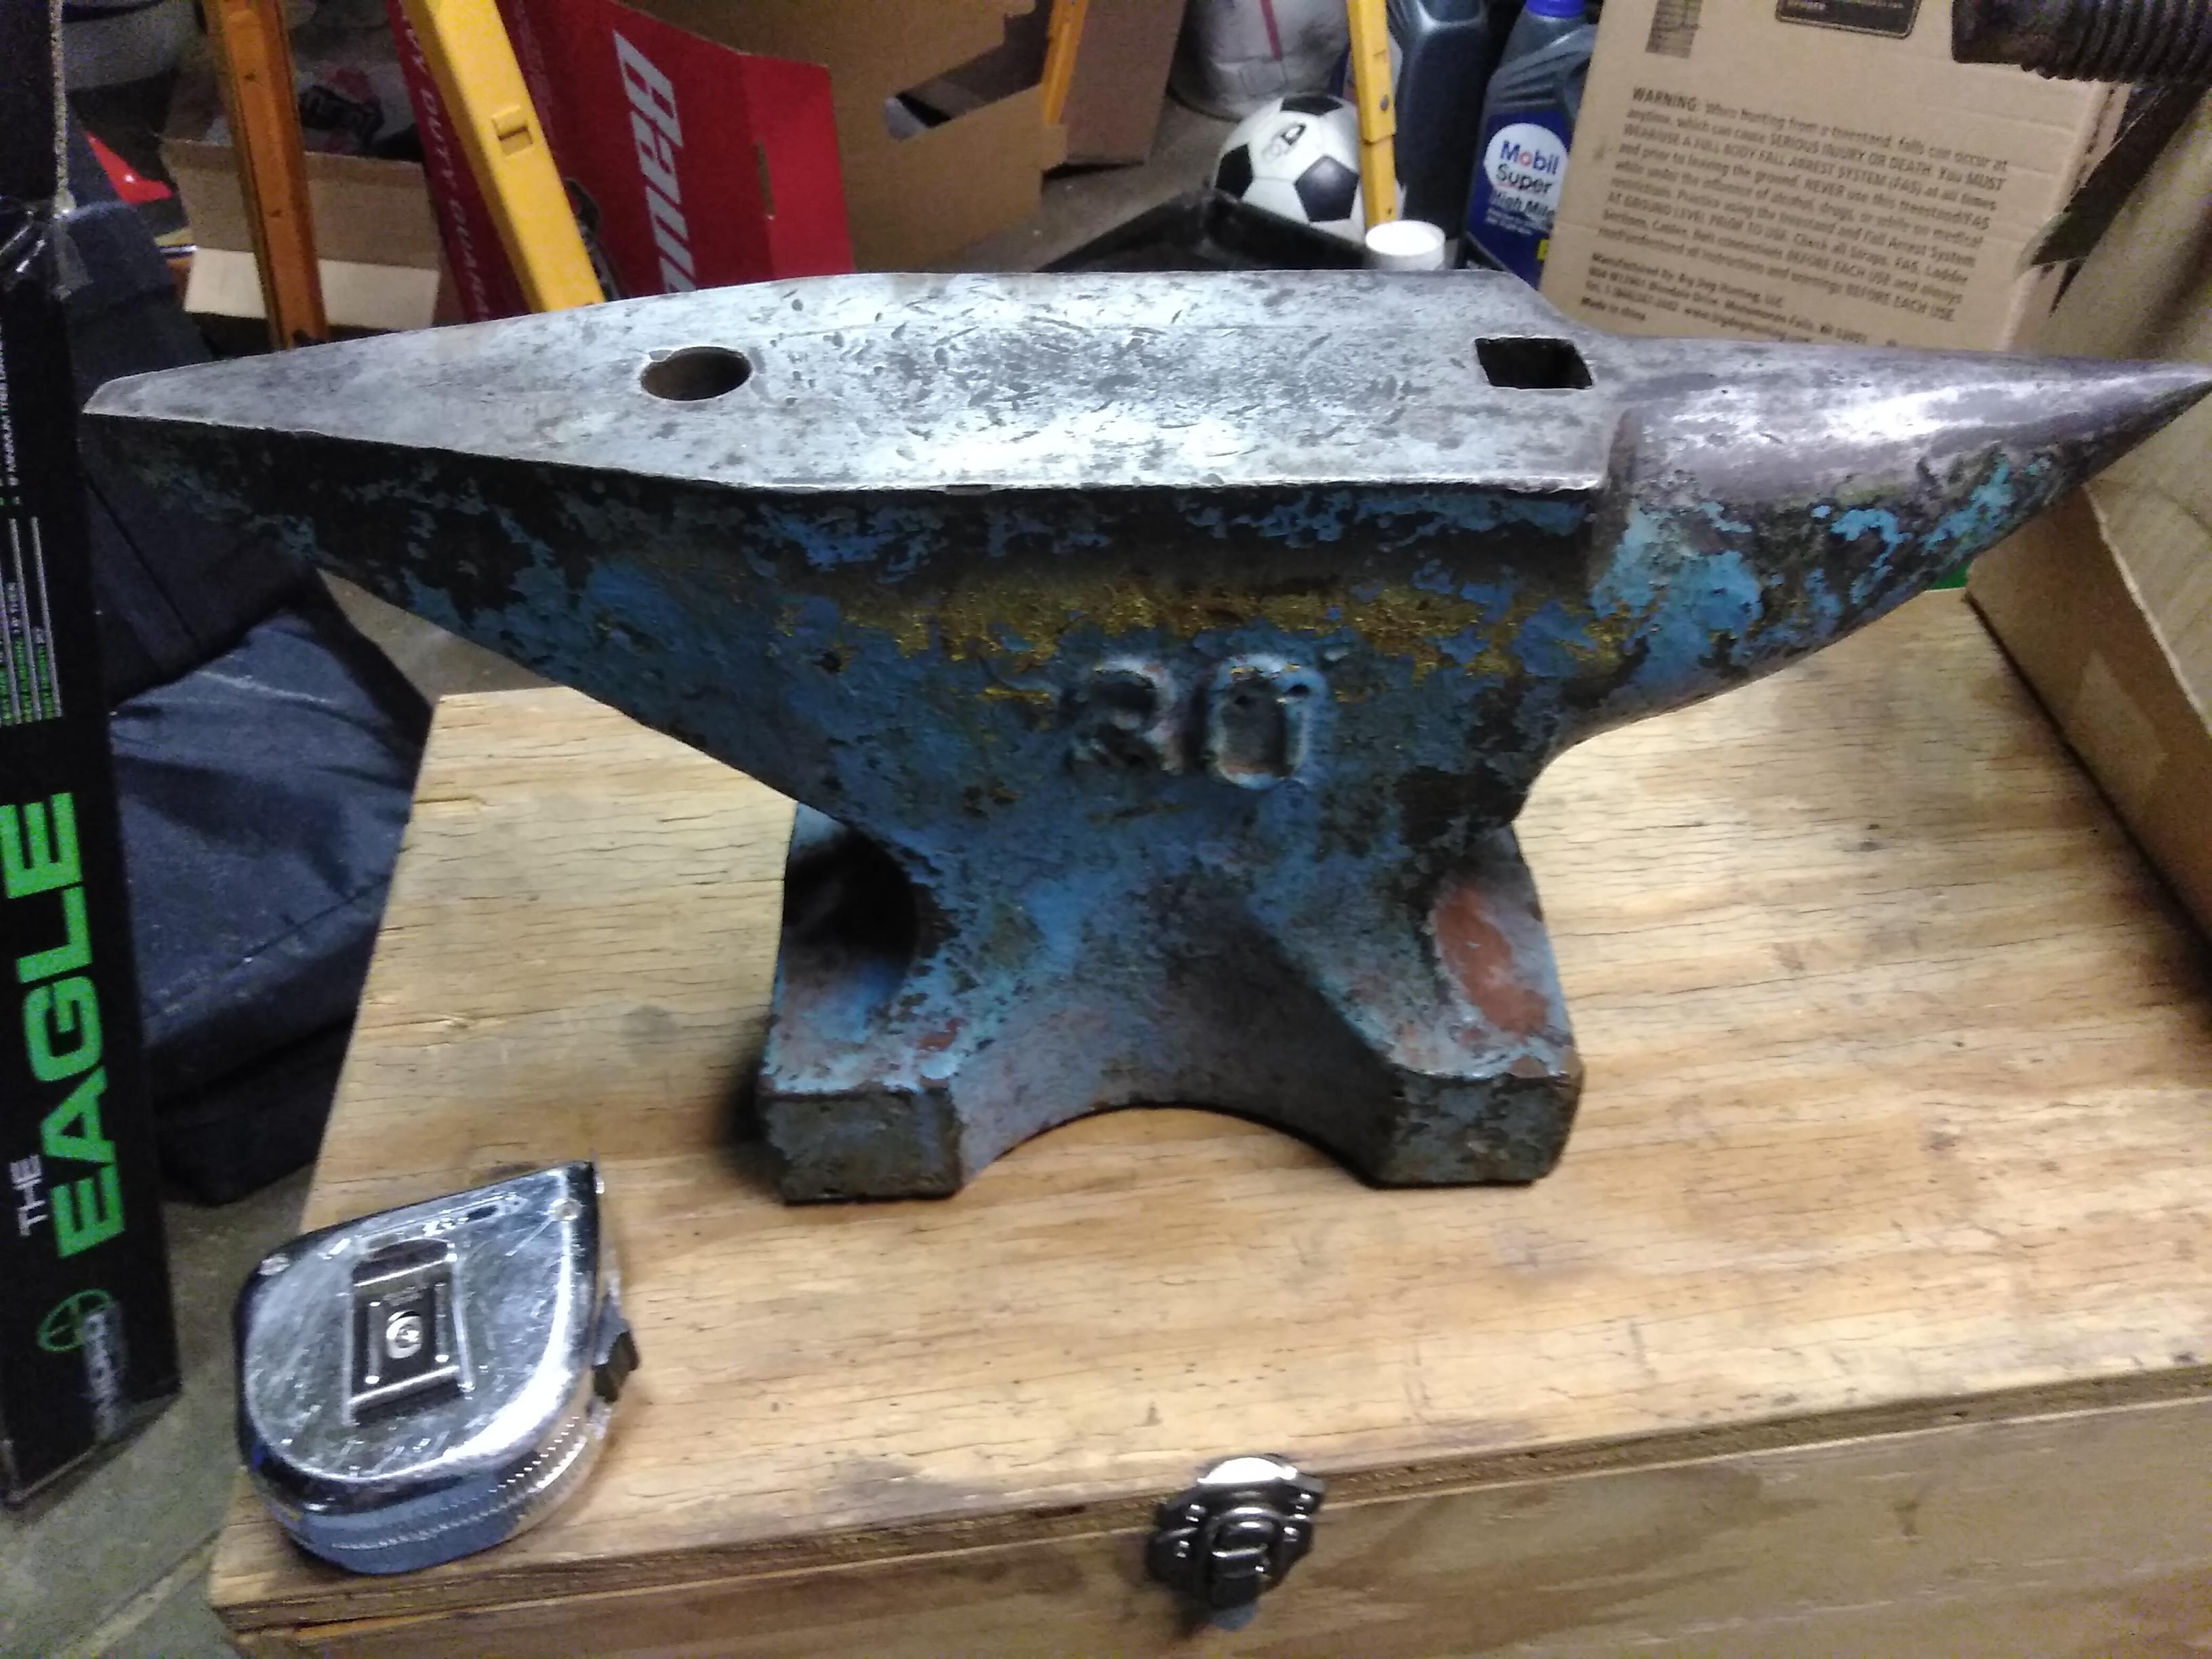
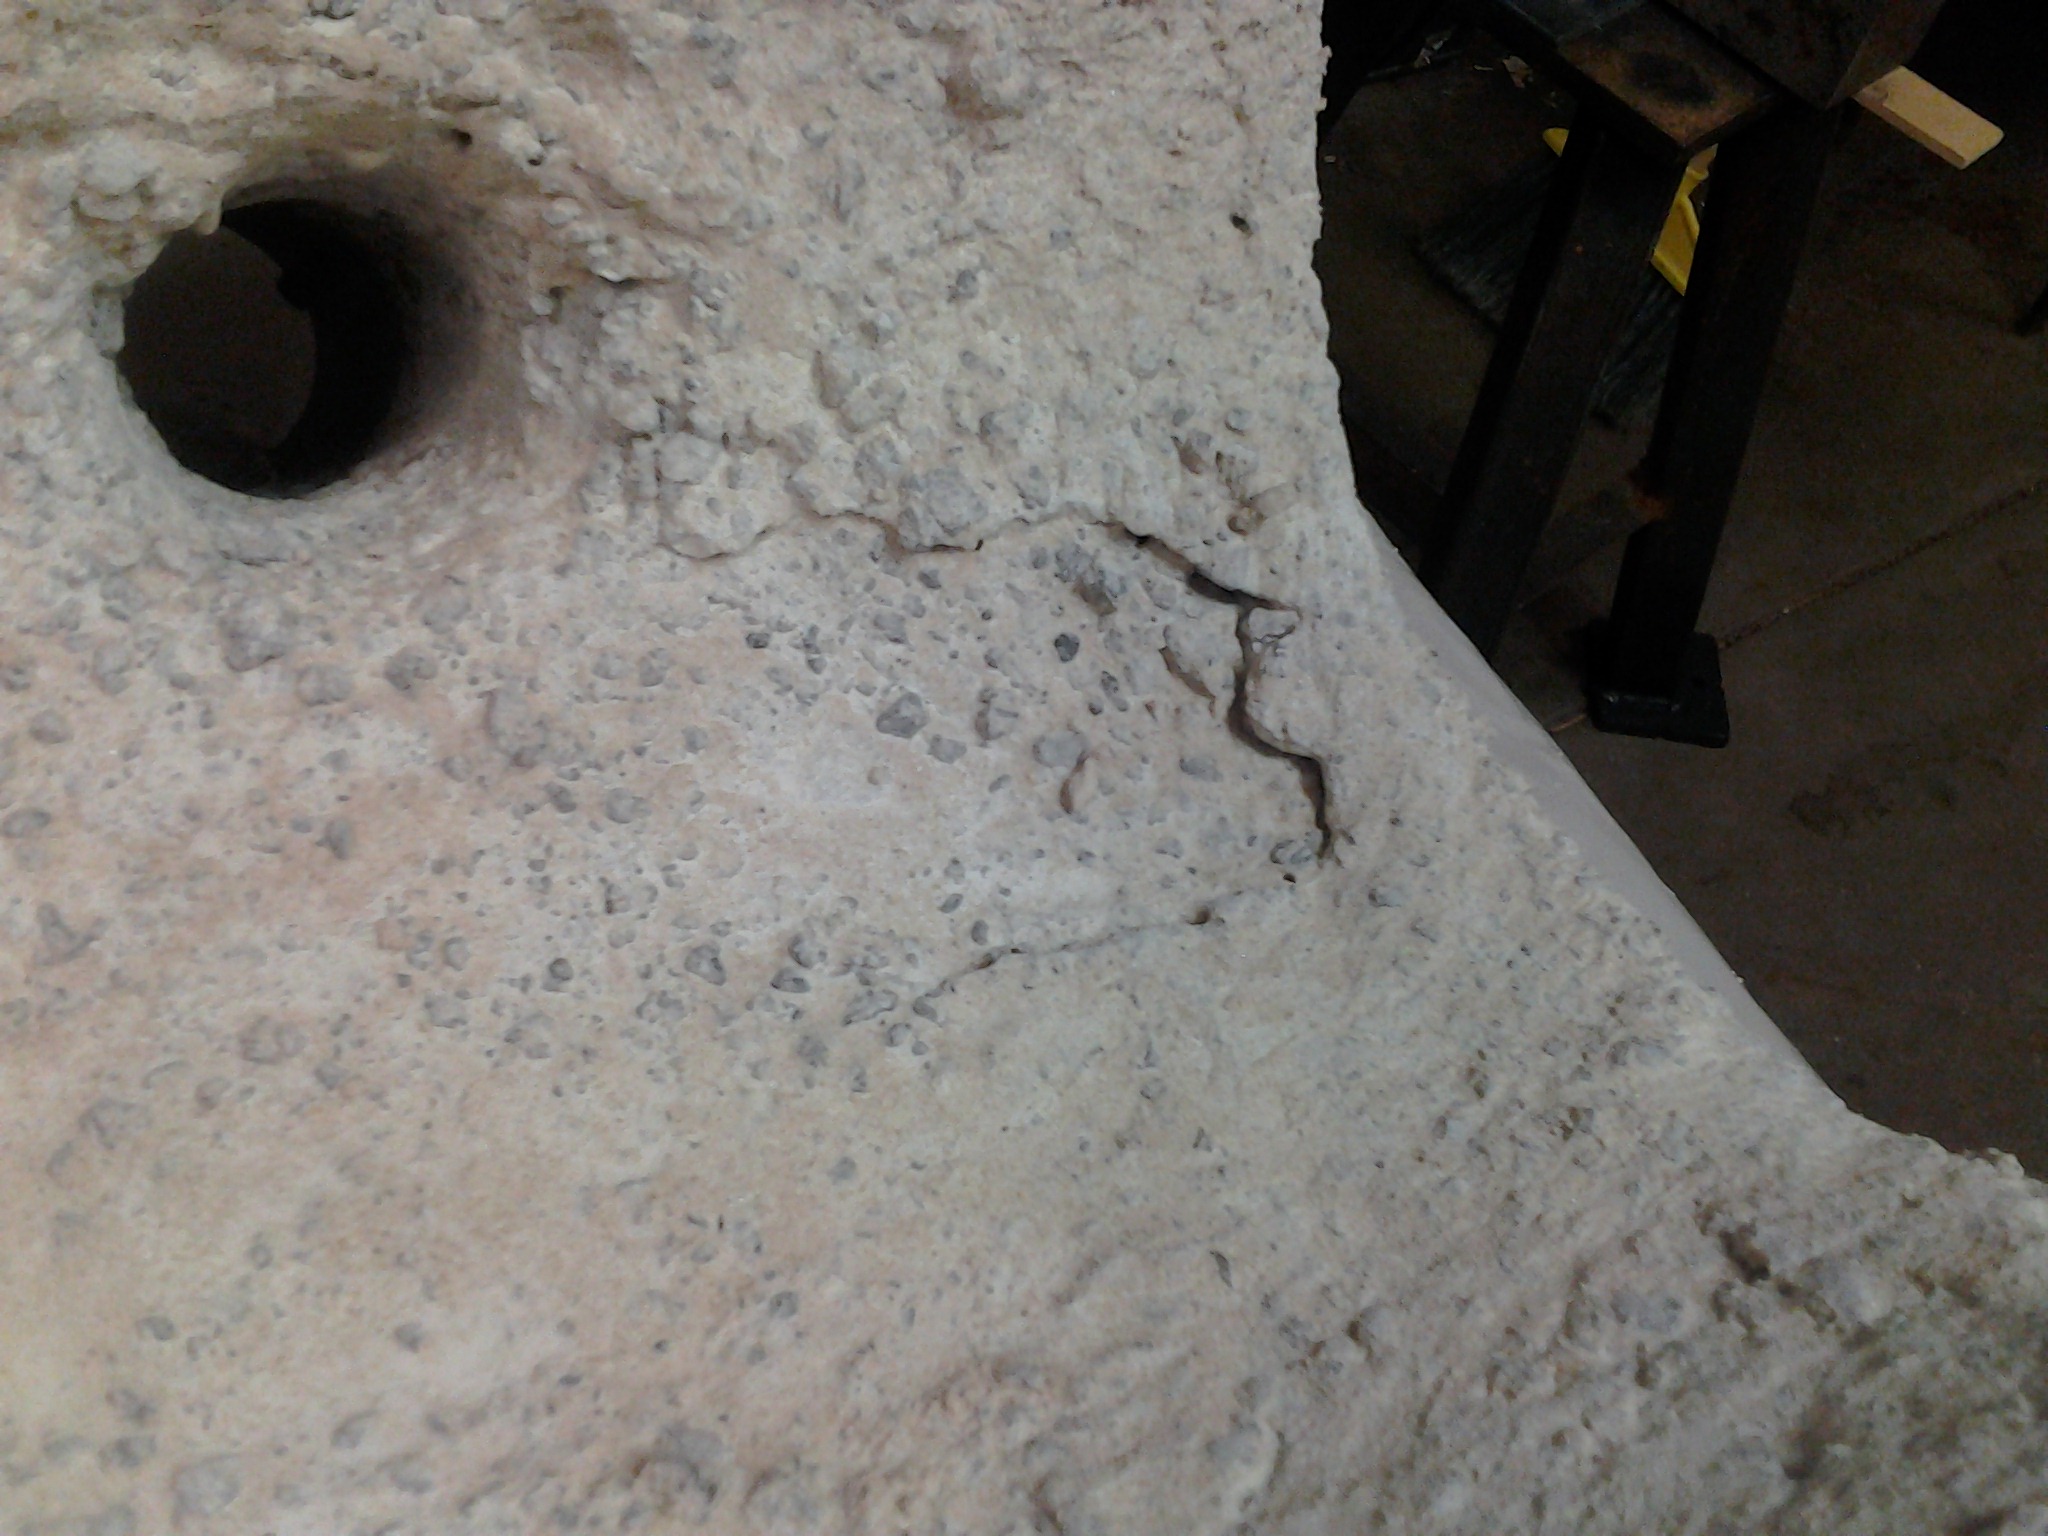
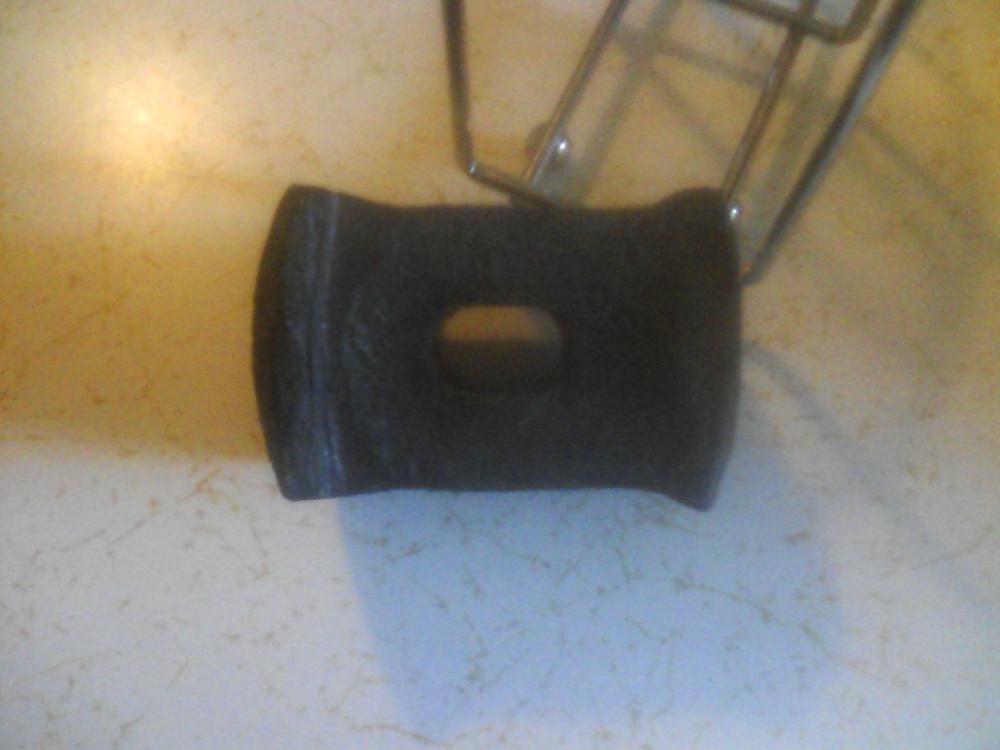
I bought this anvil on Saturday and can't find much info. It weighs 66 pounds which confirms my thought that the 30 meant kg. There is a square hole on the underside. There is a series of numbers under the rounded horn 463 9. I can't see any other marks with the paint still on it, but I thought the color might help someone identify it. The edges are almost new and far too sharp for most of my forgings, but dont worry I won't go crazy rounding them all. I know sharp is handy for some things. It measures 17 1/2" long, 8" tall, 3 1/2" wide on the face, and the base is roughly 5 1/2" x 8". The hardy hole is 7/8" and so is the round hole. Is it still a pritchel hole at that size? It rings very loudly when struck on either horn. A small ball bearing dropped from 6 inches bounced back up to over 5 1/2 (the distance I could see with my phone propped to record it). Any advice is appreciated. Thanks for checking it out.

-
It has come to my attention that another Smith uses a variation on Legal Forgery on different social media outlets than I had checked and as part of their business. As such I will definitely not be using it. I don't want to step on any toes. The thought process for what I will use continues.
-
These are some great point to ponder. Being a transplant to MN hadn't sent me down the local/regional name thought process. My thoughts with geographical context were to the US side of things with "forge" tacked onto the end. I agree with the word being overused. I love the different perspectives on this site. Thanks for sharing with us beginners.
-
A check mark would be an easy touchmark, but I am pretty sure people will think it's a "like" though. Maybe I will keep thinking about it. I am doing a couple demo shifts at the county fair next week. I will run it by some strangers, and see how they react with little coaching.
-
Glenn- thanks for the comment. I didn't want to hijack the other threads. They helped me eliminate some names that might turn clients away, etc. All of my friends have chuckled a bit at the name, and said they liked it. I just wanted to check with a wider audience.
-
I have been considering what to name my shop/business. Primarily I will be making decorative forged item and tools. I have been racking my brain for names that I could use and bouncing them off friends and family. My own name was considered, but as my children have started to bemoan, "Daddy why can't people say our name right?" That is probably not the one. One of my coworkers suggested "Legal Forgery", since that is what I am doing. I have received many funny looks, when I have said that I am going to forge something later. Then when I explain that I am a blacksmith people understand. So I wanted to ask the IF folks if "Legal Forgery" sounds like a decent name. It is a little quirky, but I have been called that before. The name has the benefit of not already being used on Etsy, or a search of the Internet. It may be too dumb a name for anyone else, but that's why I am asking you for your opinions.
-
If your wife is watching you from inside the house, forging on the patio in the snow, and says to herself, "That's too cold he better put that back in the fire."
-
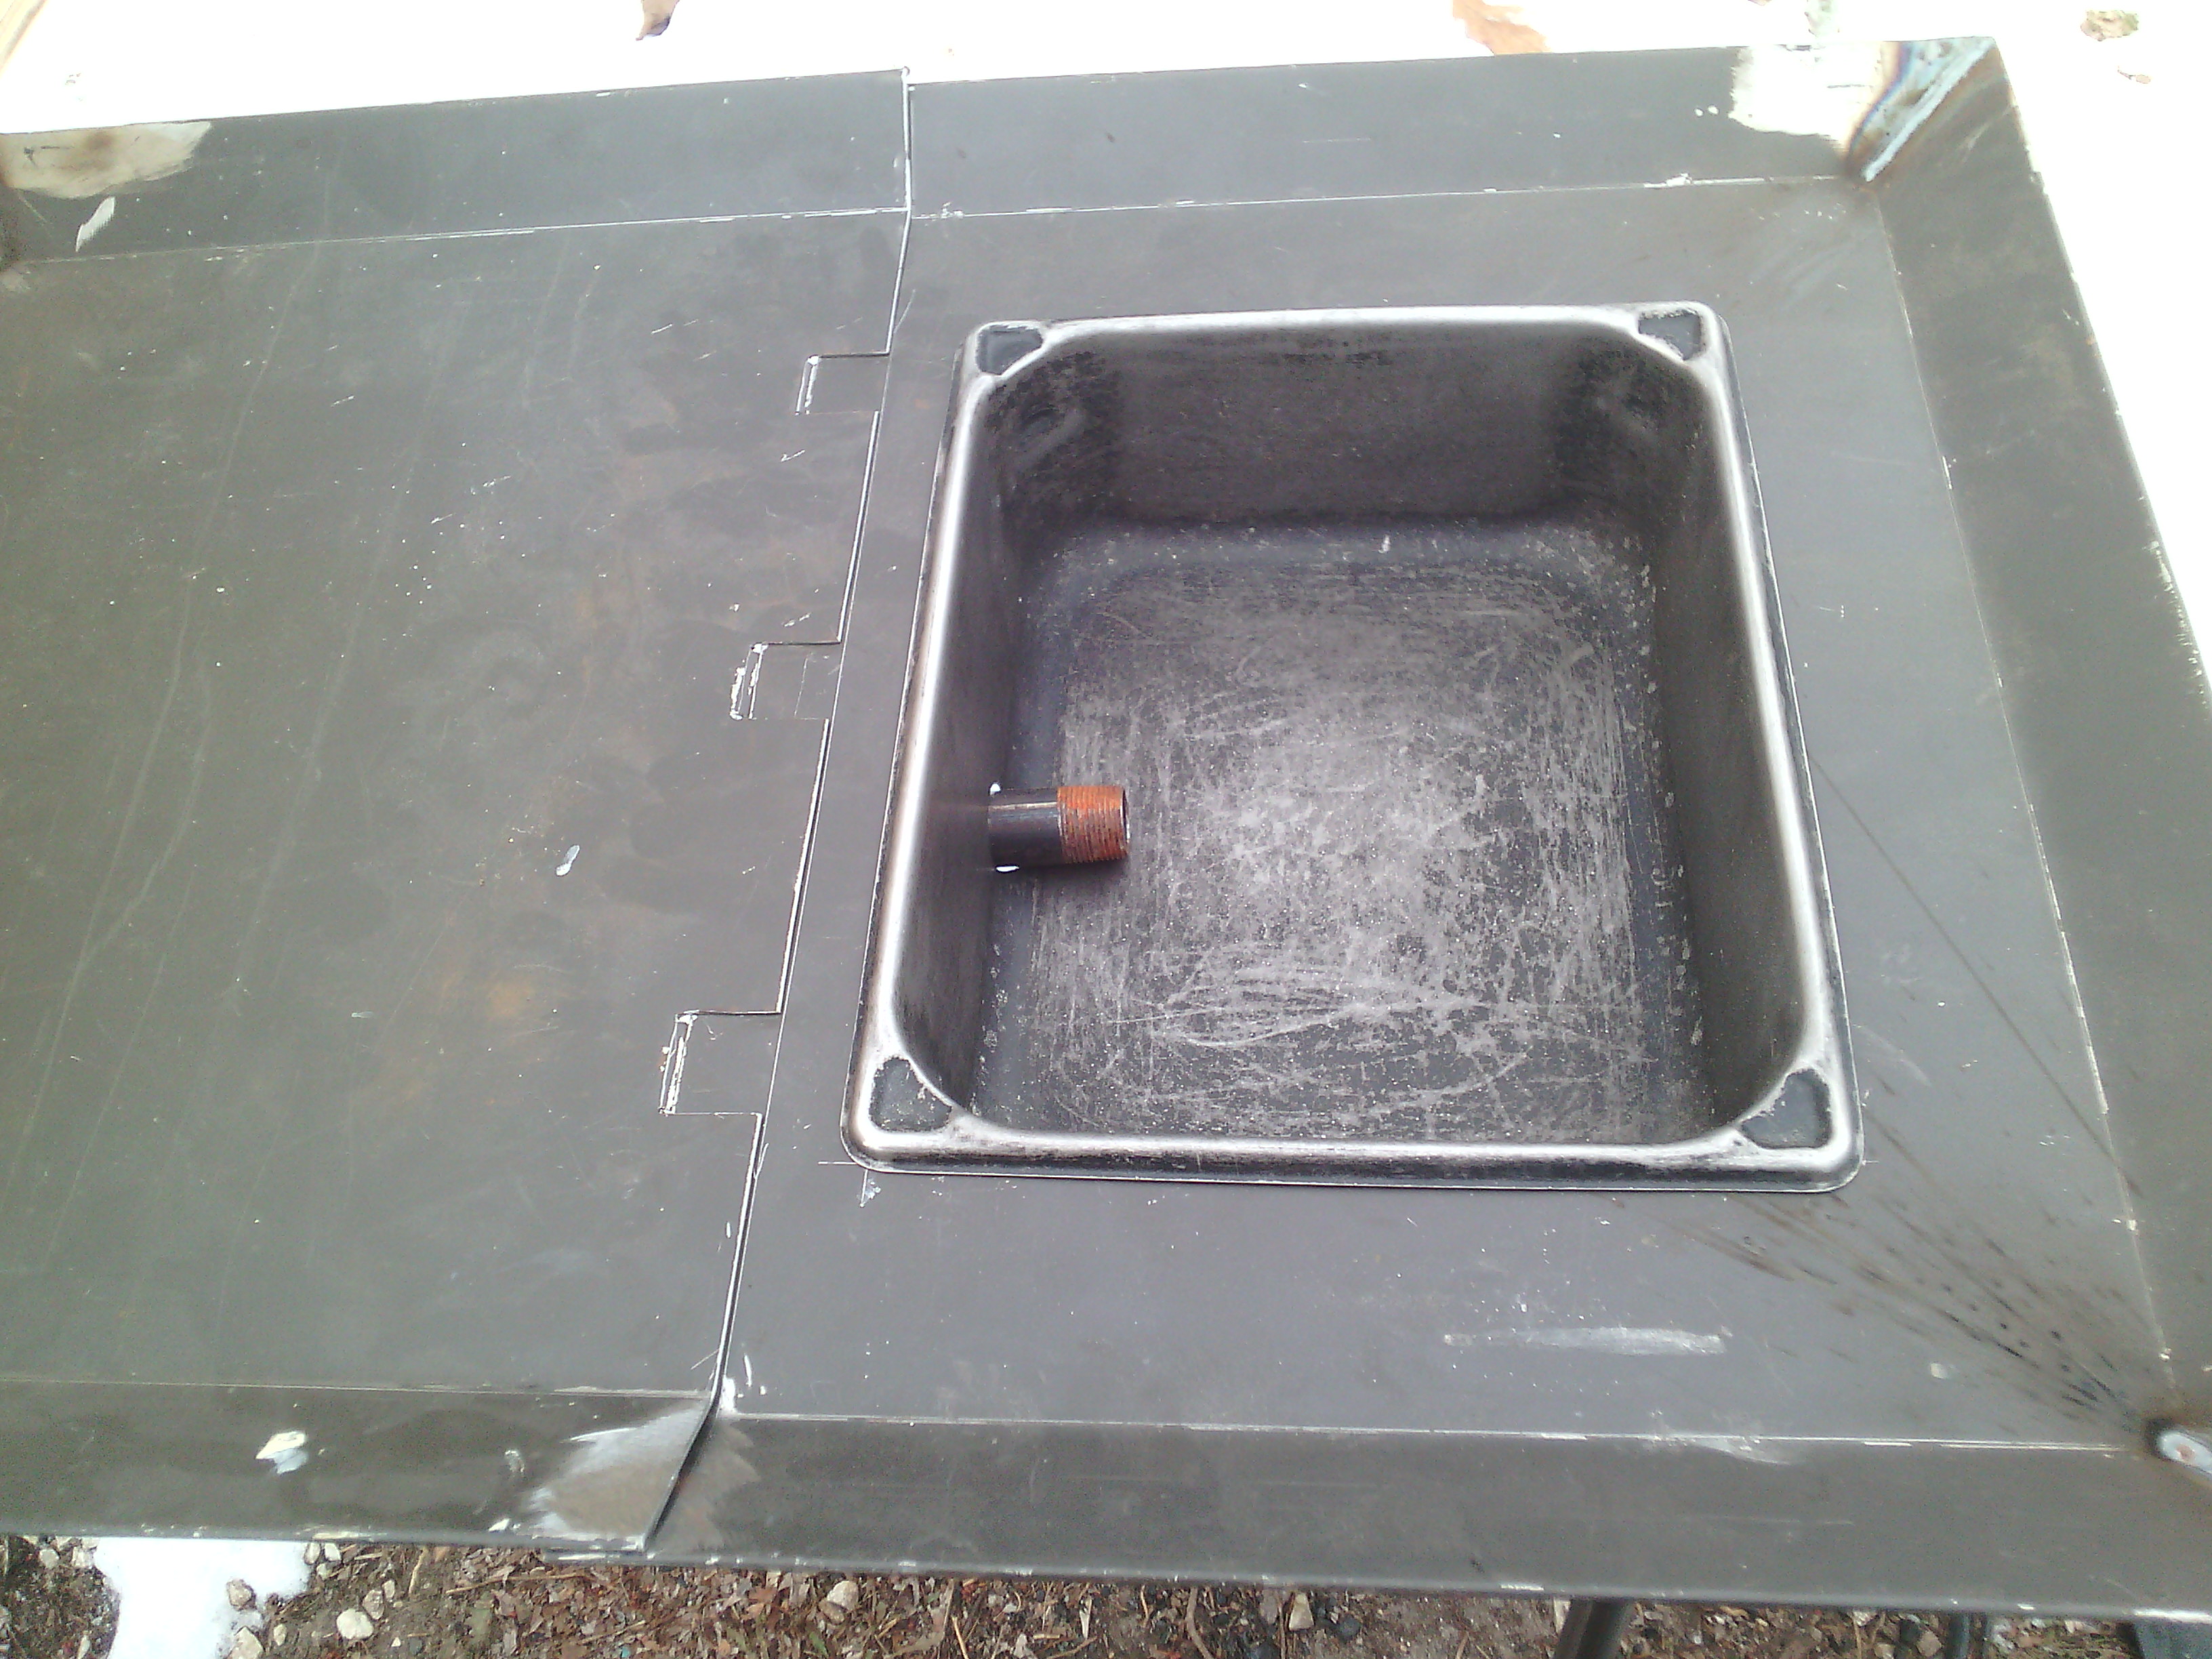
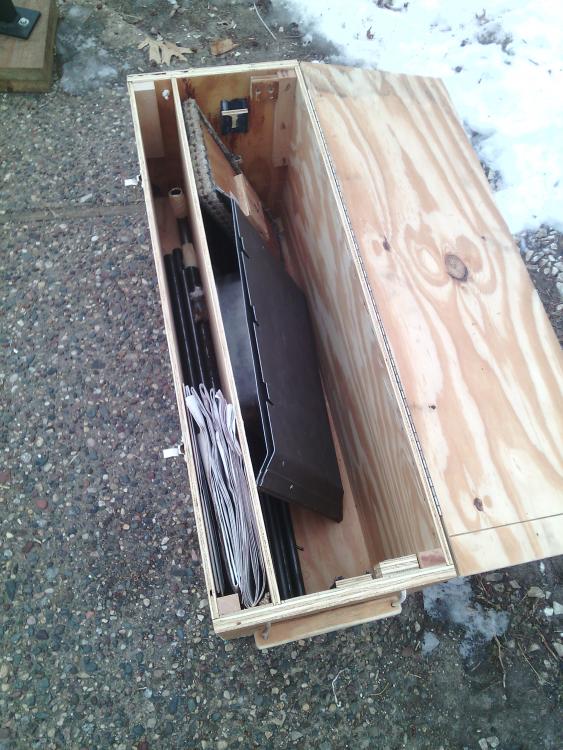
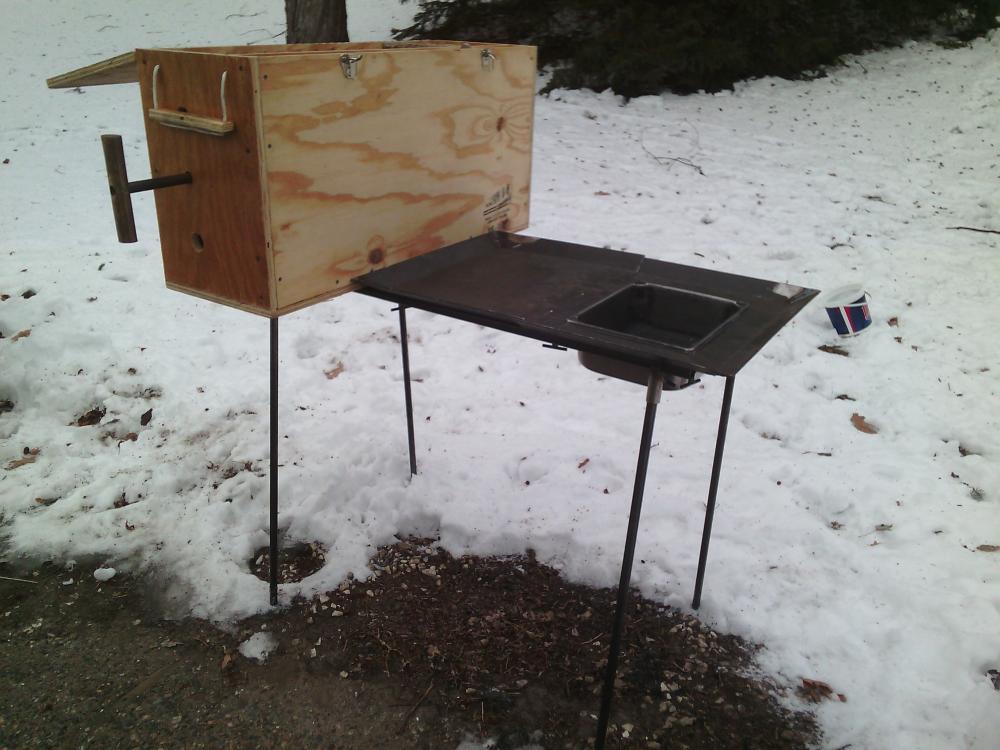
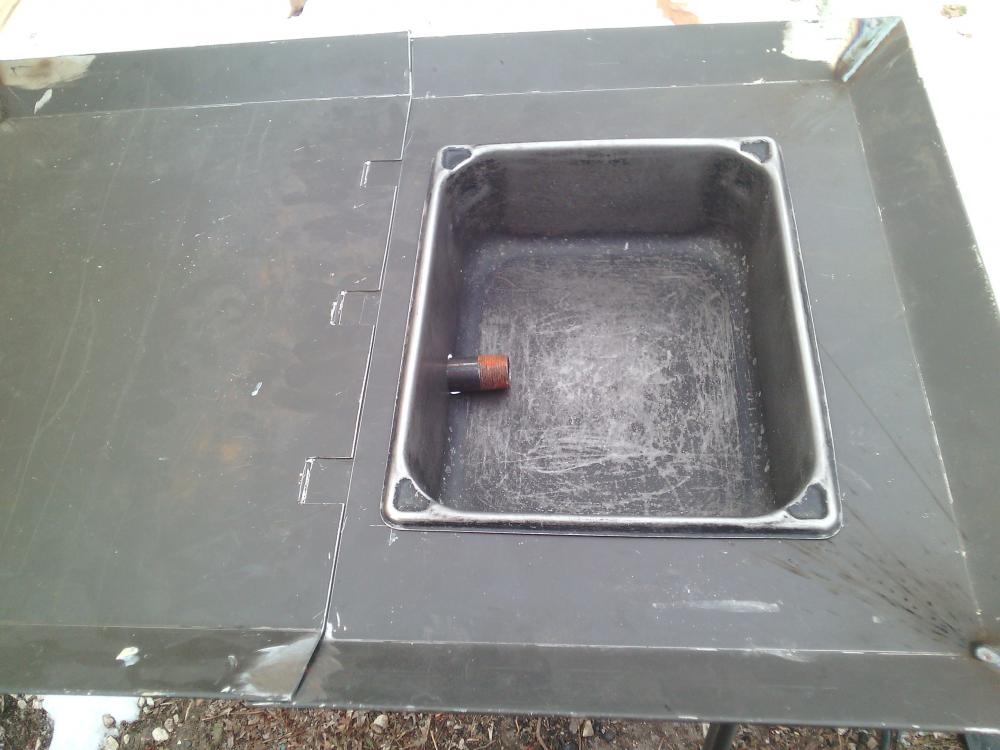
Sorry for the late update. I have been fairly busy working on my project amid Christmas activities. The first picture shows the inside of the bellows with the forge broken down. The top, bottom, and ends are 3/4" plywood. The sides and center divider are 3/8" to lower the weight. I used rabbits/dadoes for joinery. I reinforced the corners with some maple blocking and screws. The side with the valve box is only attached with screws. The the overall size is about 18" tall, 12" wide, and 36" long. the bellow chamber is just over 8" wide inside. I used a 3/4" thick piece of plywood for the piston with an added block for greater stability. I used a piece of the frame tubing for the handle. It is attached by drilling two holes through, spaced to go on either side of the piston. A masonry nail with a flat ground on the head secures the handle on both sides, and allows it to turn as pushed/pulled. I stapled a strip of an old rug around the outside of the piston to make a reasonable seal. I will use cardboard, or maybe just some of the starter newspaper to protect the inside of the blower chamber. The holes for the air valves are 1 3/8" two on each end for intakes, and one one each end in the valve box. I tried using pieces of rubber as valves, but that didn't work. Probably not flexible or heavy enough. Thinking back to what I had seen on YouTube, I stapled some upholstery fabric scraps around a 2" square of the 3/8" plywood with an attachment flap left on one edge. When those were installed they worked great. A piano hinge and some box latches helped to keep everything aligned, and fairly sealed. I could add some weather stripping for a better seal, but I'm not sure if it is worth the effort. The air exits the valve box on the bottom. I used a pre-bent piece of tubing from an old chair to turn the corner. Built up layers of masking tape make the seal into the valve box. A piece of 3/4" black pipe is used for the tyure. The table top is made of two pieces of sheet metal with tabs to keep them aligned. I bent the edges up to help keep the fuel in place. I ran out of time to make pass through drop downs, but I will take care of that next week when I am back at work. The frame is at about 35" tall overall. That worked very well for me this afternoon. The legs just fit into the box. The handle for the piston was at a very comfortable height for me. Taking Thomas Powers advice, I built a fire in our fire pit to make the charcoal then transferred it to the forge. That went very well. I was able to use the other side of the top to stage the extra charcoal, and snow to cool it down. This seemed to work, but if someone with more charcoal forging experience (first time for me) has any suggestions I would be happy to hear them. As the fire got wider than I wanted, I sprinkled some snow around the outside like I was taught with a coal fire (while adding air). I added some dirt to the pan sides to shapes the fire. My hot spot seemed to be just over the tyure and about an inch in front of it. Is that normal for a side blast (first time with that too)? I will move the pipe farther into the pan next time. Charcoal produced more sparking than coal, but I was expecting that. I'm not sure I would want the sparks without the snow, but I can get coal from my guilds supply at reasonable prices. I will use a different pan/tyure height for coal. I was quite pleased with my success today. I managed to make some coat hooks, more charcoal than I used, gain some knowledge, and have some fun. Thanks to everyone for your input. If you want to see pictures of anything else, let me know.
-
That was the original idea, but I was considering the other suggestions. I spent the day working on the table top, and frame. However, my favorite steel yard was closed today for weekend holiday replacement I assume. I should have thought of that. I tried another place that was open, and was reminded why I like the one I do. Fortunately there was some stock that I could replace and usable scrap at work. After I get the littles in bed, I will try to post some pics.
-
BigThe pans that I could use for this are damaged beyond food service use. I am saving the good ones for when we make sausage. Skipping that step makes things easier. I found a video of a guy making a single bellows like you are describing. He used wire hoops, and leather for the fabric. Your inner tube suggestion reminded me of some old tubes from the landscaping equipment at work (ATV size). Some ceiling grid wire hoops with small rubber strips/contact adhesive to hold them in place (maybe skip the hoop all together?). He used a box valve system, but I figure you could push up the bottom chamber to fill the top through the box in he middle. Is that what you are describing? Since I need a box to hold it all, I will probably turn the box into a bellows while I'm at it. I'll make sure to use screws for the valve chamber so I could change it to vertical when it won't sit in the snow. If I used inner tube scrap or rubber roof material for the valves it probably wouldn't matter if I stood it on end. You guys have me curious enough I may just make both. I am off work next week.
-
So I am sold on the side blast idea. In reading Charles sticky about the box of dirt simple side blast I realized I have most of the supplies needed in my garage. I have some old steam table stainless steel pans that were being thrown out of the cafeteria at work. There are three sizes 5w x 9l x 6d, 5w x 11l x 6d, and I think the winner at 9w x 11l x 4d I could use for the fire pot. I realize that it is probably too shallow without building up sides of dirt or bricks. However, I have more than one. If I cut out the bottom of one, and straighten the flange of another, I could wind up with an adjustable pan close to 9" deep using some sheet metal screws. I could drill a hole in the side of the lower pan for the tyure and adjust the depth of the box until I found what works best for the project. Would I need a brick on the floor of a metal pan to protect it from the heat? Possibly a scrap of 3/8" steel plate? If I inset the above pan into the sheet metal top from my original post there would be some air circulation around it. One of the big reasons I like the pan idea is you wouldn't need much dirt. You do however still need a box to hold everything. If I used a tear drop bellows how big would it need to be? I never really considered that type. I am also intrigued by the constintina style bellows, but I am not finding much info on how to build one. I have not given up on the box bellows, but the alternatives are intriguing.
-
Thanks for the input. I will definitely look at side blasts. It is amazing how simple a forge can be. I came up with the idea after seeing some military forges. I will do some more research, and post some pictures of what I come up with.
-
I thought that might be a problem. Yes I am thinking about packing parts in the box. A solution could be to line the sides, top, and bottom with scrap plastic laminate. This would provide a smooth, durable surface even if I don't pack anything inside the chamber. Laying the plunger (?) with handle removed down on the floor, and strategic packing could also help. I was also thinking that I would build the box as a complete cube instead of the short side chamber that I have mostly seen. There would of course be the chamber for directing the air, but I could use the extra space above to house some of the sharper pieces. Outside of packing in the air chamber, do the basics of the rest of my design sound reasonable? Does a box bellow work well in a coal fueled bottom blast forge? All input is greatly appreciated. Even if I get talked out of this idea, I will have learned something, and possibly given someone else an idea (maybe what not to do).
-
I want to start by saying this may be a crazy idea. I have a Propane forge, but there are times when it would be nice to use coal. There are some Demo/class opportunities that I have seen where you need to bring your own forge. Transporting a hot gas forge, propane tanks, etc home in a car are not a good idea (possibly illegal?) in my opinion. A truck is not an option at this point. I have taken/helped teach classes with coal forges that have a welded fire pot, with a hand crank blower. The tables have been steel or cast iron, but not really all that much larger than the fire pot. I do not have a hand crank blower, but I do have plywood, and know how to build a box (cabinetmaker in the past). The thought is to make a frame of light round tubing that fit into sockets with t-bolts (think a ladder ball goal). Make a two piece sheet metal table one side of which would have a hole for a welded fire pot. and make the frame large enough that I could set the box bellow on the opposite end from the fire pot. There would need to be some cross-bracing on the legs, and obvious attachment details to work out. However, with some engineering, I could fit all of that into the box. I would think that a welded fire pot would cool down quicker than a well insulated gas forge, and coal can be thrown in water to cool it off. Yes I know that it will need to have the sides and bottom replaced over time. I have seen people complain about rivet forges that do not have dips on the side to allow a piece to pass flat through the fire. I was planning to add that to the design considerations. I am thinking that a box bellow that is in the 32-36" long and 18" tall would accommodate the frame, table pieces, fire pot (with detachable bottom blast plumbing). I am not opposed to a side blast, I just don't have any experience with them. So the questions are, Is this a stupid/dangerous idea? What are the flaws that I am not seeing? Would a box bellow even work with coal? Thanks in advance for any advice. Sorry for the somewhat rambling idea.
-
Thomas- We always enjoy the tumbleweed snowmen when we are in Albuquerque visiting the relatives.
-
Steve- Sorry for the somewhat rambling OP. I wasn't sure if I would get questions about the number of heating cycles or how it was forged. I was thinking my problems may have been more related to the steel I was using. I had looked at all of the 4140 cracking/problem posts that I could find. I looked at more of the general HT discussions as suggested and see the points about the annealing process. I had read the HT pins some time ago, and obviously should have read them again. I didn't find a pinned topic that included the brine info, but I will keep looking. There was one post that was a round up of good beginner articles with broken links. Thanks for being patient with another newbie. Thomas- The crack goes through to the eye on the rounded end. I may try to salvage the flat end, and turn it into a wire handled flatter. I need something like that anyway. Would you suggest Normalizing before cutting through the eye to remove the damaged section, then forging it?
-
I have been working on a hammer head while I try out my new gas forge. The material is 4142 1 1/2" square stock. I started with a 2lb. piece with 2 offset holes drilled to help guide the punch. My wife held the stock and punch while I swung the sledgehammer. The hole punched well, but I didn't have a hardy hole. My current anvil is a 3x8x13" piece of S7 with a couple different radii cut and shaped on the ends similar to Brian Brazeal. If you're wondering why the odd alloys, there was a crazy sale I got in on with our local group. I took it to a class I was helping with, and worked on drifting it during the lunch break. The anvils were too high to get a good swing at, so I didn't get very far. I decided a striking anvil would be helpful for all the normal reasons but especially the finished price of under $75 for supplies. Drifting the hammer eye proved fairly easy with this. The faces of the hammer were upset slightly then shaped into a rounding hammer similar to a Nathan Robertson (no fullering). This is the style that the MN Guild teaches in a class I took. After final drifting and shaping. I normalized it three times with the last time leaving it in the forge after shutdown to cool. I ground the faces to 220 grit before hardening. Finished weight was 1lb. 13oz. I heated the head up slowly from a cold forge turning it over for even heating. Then quenched it in used fryer oil, moving it constantly until it was cool enough to handle. I tried testing it with a file to check for hardness, and it didn't seem very hard. The file didn't take much effort to scratch the metal not just take off the black color. I had read conflicting reports about oil vs. water quench with 4140/42 (most documents say the two steels can be used almost interchangeably). I reheated the piece and quenched in water. Which seemed to harden much better. About this time my wife was getting home, and my little guy woke up from his nap. I was doing some quick clean up, and the hammer head fell on the concrete patio. After I helped with a couple things and ate lunch, I started to wire brush the piece before a cleanup grind to show temper colors, and noticed a fine crack through the rounded end. There are some pretty obvious things that I would do differently, (slow down, don't drop it, and don't wait to temper for more time than it takes to get a shiny enough surface to see colors) but I have another 4'+ of the stock, and don't want to repeat this learning experience. I have done more research here and online including spec sheets, and don't think I did any forging outside of the appropriate temp ranges. The crack is a nice clean gray color not black as I have heard might be a sign of forging outside proper temps. I have seen some people say on IF that 4140 doesn't really oil harden very much past what you would get with tempering it to a straw color anyway. So I am wondering if I got as good as I can with a not quite awesome oil quench. Along the same line, did I really do the wrong thing with the water quench. This is only my second time quenching anything in oil. I have read in Mark Aspery's first book that he recommends using 4140 for most punches/chisels and using a localized water quench using residual heat from the bar for immediate tempering. I know hammers and punches have very different dimensions, but I am wanting to make both at present so I thought I would throw it into the discussion. If he covers this in his other books, let me know. I am getting those for Christmas (SSSHHH!!! don't tell anyone I know). Sorry for the long post, but you all tend to want as many details as possible for the best advice, which has been greatly appreciated.
-
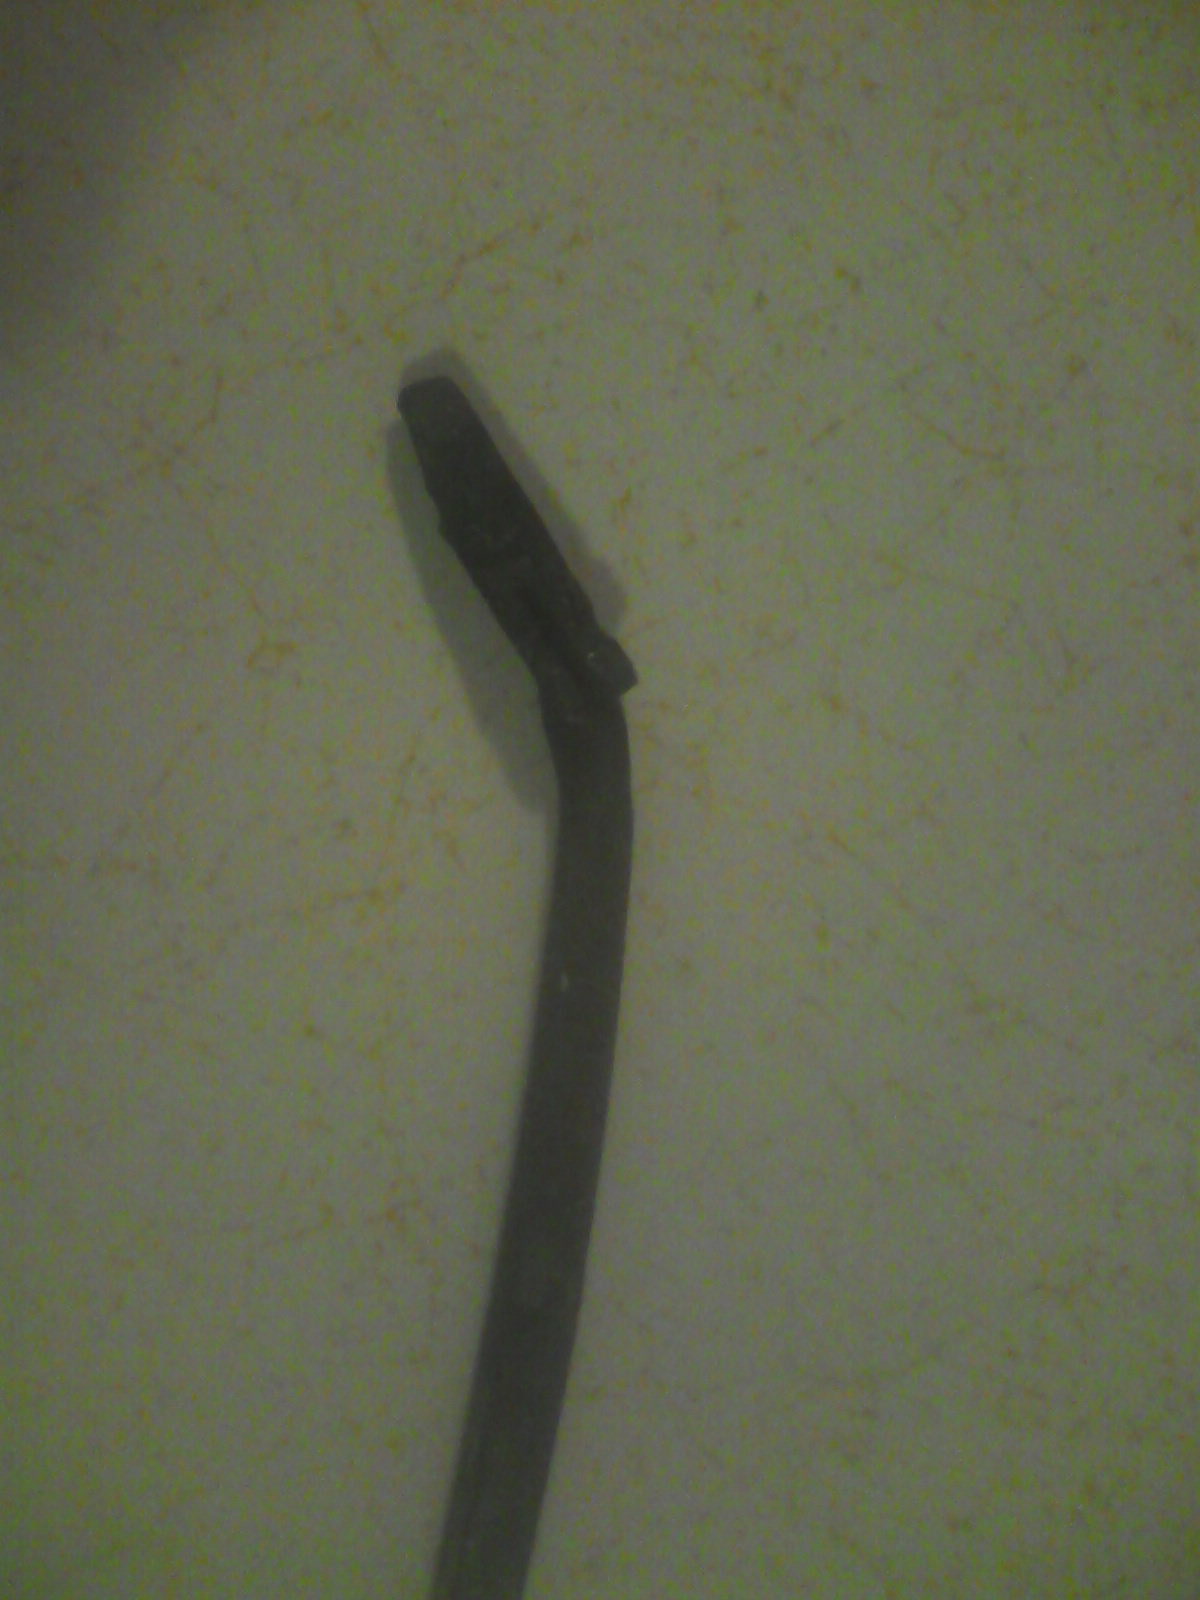
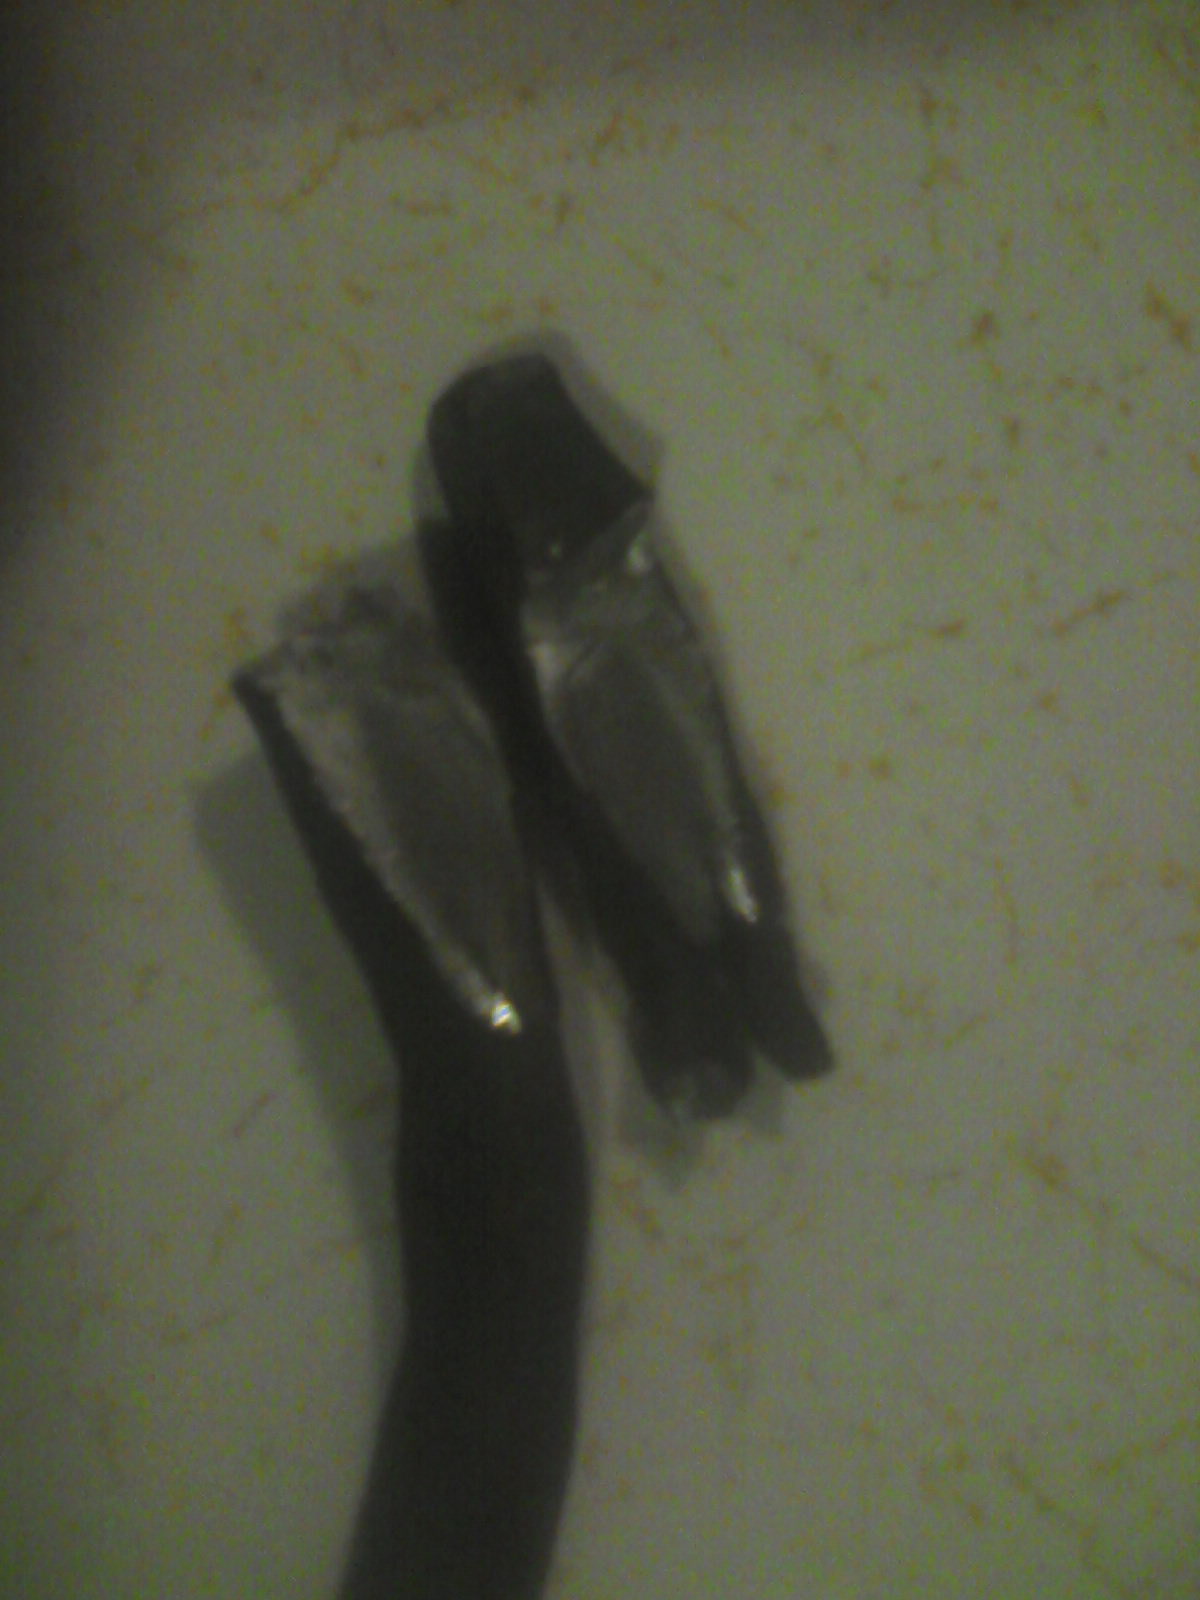
This will probably be the last update, but I was able to get a successful forge weld! I was practicing making a rams head, and decided to give it a try. My wife has given me Mark Aspery's first book, which had gas forge welding instructions. I didn't clean the joint terribly well before bending it over, but brushed as well as I could, got it hot, applied a little borax, heated until bubbling, hit it 4 times lightly, then repeated as recommended. After I had finished the rams head, I thought destructive testing would be a good idea. As you can see, the 3/8" bar bent pretty far before joint failure. I am very new to forge welding (maybe my 3rd one), so if anyone has any suggestions they would be greatly received.


-
Frosty - a picture says a lot. What I am thinking is that I have way to much copper tubing. As long as I have it where there is a close proximity to the forge/flame I can just use a propane rated hose to the tank. Does that sound right?
-
The puffing has not happened again, so hopefully that issue is solved. I developed a kink in my copper tubing. I cut it and re-flared it for a new connection. Frosty - is there a picture of your manifold somewhere here? The forge is heating up well, and retaining it too. While forging on the hammer I turned it off so I wouldn't burn up the smaller pieces. They were ready to forge after I relit to warm up the hammer. The heat battery is charging. I have tried a couple configuratios for bricks covering the ends. What worked well last night was to set two pieces of fire brick to the sides of one end and put a hard fire brick on top. This gave me around a 6x1" opening that I could lay several bars in to work on in series. The other end I closed with one brick that I moved to put the hammer head in/out. For a pass through for straightening my post vice leg I just stood two bricks up, and gapped them as needed. The leg 3/4" heated up in 5 minutes or less to orange. Rather than laying it on the forge floors, I set it on more fb chunks. Those broken pieces from the brick pile aren't going to waste. The hammer head forged and shaped great then failed in heat treat. I am planning to write it up in another thread to try to figure out what not to do next time.
-
Frosty- I have a 10' piece of 1/4" flexible copper that isolates my burner from the propane hose and regulator. However in my current shop situation (patio) I need to take my burner out and put it away after every session. I have been trying to flex it as little as possible during setup/tear down, but I have started to get a couple kinks in the line. I don't think it would be a flow issue given the orifice size, but I am wondering if there is a better solution to the flex copper for my situation. Alternately, is this just a consumable that I need to plan to replace at intervals?
-
Frosty- Thanks for the input. I have issues with wind since I am working outside. That particular night was pretty dead. Thinking about the wind issues, I did try to cover one side of the T at a time which has corrected the issue in the past. It didn't make a difference. I also thought about too much opening restriction. The tests there were inconclusive as well. Since the flame is not being drawn up into the burner, I don't think it is a safety issue. I will keep using it. If it persists, I will make a video, and try to figure out how to post it. I thought I was the only one that thought it was the spiders that caused my problems. I think about spiders every time I crack a high pressure tank before hooking up the regulator. Funny how some of those things stick with you 20 years later. bigb- Glad I can help. I hope including more information might fill in a gap in someones knowledge. The side where the fingers cracked it was a little tight to the base. I think I should have slowed down, and concentrated my pressure on the edge that was built up. Maybe I can be an example of what not to do.
-
Fired the forge up again Friday night. I was able to bring a 2 lb. chunk of 1 1/2" 4140 to forging temp in about 20 minutes from start up. I enlisted my wife as the director for punching the eye. We did a test punch on a piece of 1/2" mild steel then worked on the hammer head. The MN Guild teaches a class on this style of rounding hammer that starts with the billet having two offset hole to guide the punch then upset the ends to shape. Since this was the first time she had ever done anything with hot metal, I was pretty impressed with how well she did in the dark no less. It is great making tools in my own backyard with other tools I made. I was also able to use the hammer head as an example of a practical use of upsetting when I was demonstrating the technique on 1/2" bar at a basic blacksmithing class yesterday. One thing I noticed while forging was some quiet puffing with little puffs of flame coming out around the hole where the burner is inserted. I tried adjusting the burner depth both ways, and adjusting the bricks covering the openings. Neither seemed to do much. I do have a thread protector on the end of the burner tube as a flare, but don't know if that would matter. The puffing occurred after the forge was warmed up very well. I will try removing the thread protector next time I fire it up. During heats on the hammer head I had no problem getting 1/2" MS to a nice yellow color, and thought I might get hot enough to melt a small piece if left in during a punching cycle. A leaf I was forging heated up in about 30 second toward the end of the 2 hrs the forge was on. Most of the forging on the hammer was done Friday night, but I worked on drifting the eye on the lunch break of the class yesterday. I am using a Brazeal style shape anvil I made, and am lacking a hardy hole. A striking anvil is next on the tool list.
-
I tried the trick with saran wrap. That works well. I assembled the two pieces on Saturday, and fired the burner very low to start curing everything slowly. Sunday I worked on warming it up a little more every 45 minutes to and hour. On my second warming cycle Sunday afternoon I put the kiln shelf in to protect the floor from direct flames. after about two minutes there was a small pop, and I had a silicon carbide puzzle. I pushed the peices back together again, and kept going with the process. I am guessing the piece that I was using needed less direct heat or a longer warm up time. During the curing process I occasionally got some quiet rice krispy like crackles periodically. My thought is these were small air bubbles in the surface of the refractory cement. The forge retained heat well between firings, and on my last cycle I got it up to a nice uniform orange color throughout after a few minutes. I never really turned the burner very high. I have been using the hard fire bricks from my brick pile forge as "doors". Last night I took the halves apart to apply the Zirconium wash, and wound up developing a crack where my fingers were. I am not sure if I should patch it with refractory or just apply the wash, and let it be. I am not able to get the pieces out because of how they are broken. Would this be dangerous with rigidized Ceramic fibers? One build detail that I forgot, is that after I had applied the rigidizer to the insulation about half way, my spray bottle clogged. After I got a heavier duty sprayer, I wet down the insulation and trimmed the layers even about 3/8" from the edge of the shell to allow for some thickness/structure to the outer surface. I did apply the wash to the inside of the forge, and to one face of the fire bricks. I didn't know if it would help a lot on the bricks, but thought it couldn't hurt having some IR reflection on my "doors".