zadvorney
-
Posts
71 -
Joined
-
Last visited
Content Type
Profiles
Forums
Articles
Gallery
Downloads
Events
Everything posted by zadvorney
-
Started Building a Ray Clontz Tire Hammer
zadvorney replied to zadvorney's topic in Power Hammers, Treadle Hammers, Olivers
I DID IT!!! Got the spring tonight and installed it on the arms. I made a few adjustments and bing bam boom away we went. Works like a charm. I'll post a video, to close this out, about the ins and out of the build at a later time. My power is out due to a wind storm so I'm on generator power so I'm done for the day. -
Started Building a Ray Clontz Tire Hammer
zadvorney replied to zadvorney's topic in Power Hammers, Treadle Hammers, Olivers
6 hours 10 hours 8 hours The last few posts I forgot to put these in. How in the world do I paint this thing? -
Started Building a Ray Clontz Tire Hammer
zadvorney replied to zadvorney's topic in Power Hammers, Treadle Hammers, Olivers
ALMOST DONE!!! A switch and a spring. I would have been done today if I remembered to order these things a week ago. Oops. -
Started Building a Ray Clontz Tire Hammer
zadvorney replied to zadvorney's topic in Power Hammers, Treadle Hammers, Olivers
A somewhat confusing explanation of how to lay out the arm nut. I did just as I explained in the video and as the nut is just slightly smaller than the space between I drilled a hole on the side that had a gap and did a plug weld. All was good but one of the nuts distorted just a tad so I re tapped the hole. All is good. I can't believe how well everything lined up. I'm not patting myself on the back but the directions say to square everything up and that helped a ton. -
show me your DIY dies
zadvorney replied to c.baum's topic in Power Hammers, Treadle Hammers, Olivers
Congratulation on the new addition to the family. -
Started Building a Ray Clontz Tire Hammer
zadvorney replied to zadvorney's topic in Power Hammers, Treadle Hammers, Olivers
Put in 4 hours today. The upper armatures were the correct length but would not fit into the pillow block assembly. A quick mod and all was good. Then I found the ends of the arms that hold the bushings are all too big by at least 3/32. UGG! good thing I LOVE filing these...again....No idea on that one. Followed the plans but some how it doesn't fit up. I did have some fun and cut the big circle out of the 1/4" sheet. A friend gave me a tire of proper size so I finished up that part. The home built circle scribe worked better than I expected. Following the success of that I fired up the forge and got to melting some lead. Mask on and exhaust fan cranked, 50# got distributed into the hammer tube and the counter weight on the tire crank assembly. The plans say to make a jig to cast the metal. I used a piece of plywood and sheet metal for the sides. DUMB! molten lead acts like mercury and flies out the first hole it finds. Some more tin and high temp caulk fixed that. I sunk the mold in water(dangerous) and it worked out fine. three hours later the hammer tube was still hot. This week I should get the remainder of the need parts to finish. -
Started Building a Ray Clontz Tire Hammer
zadvorney replied to zadvorney's topic in Power Hammers, Treadle Hammers, Olivers
Five hours last night. I spent most of it making big bar clamps. I did attach the treadle to the base. Not much to see there but it looks good. Just waiting on parts. I'm venturing out today and looking for a spare tire. -
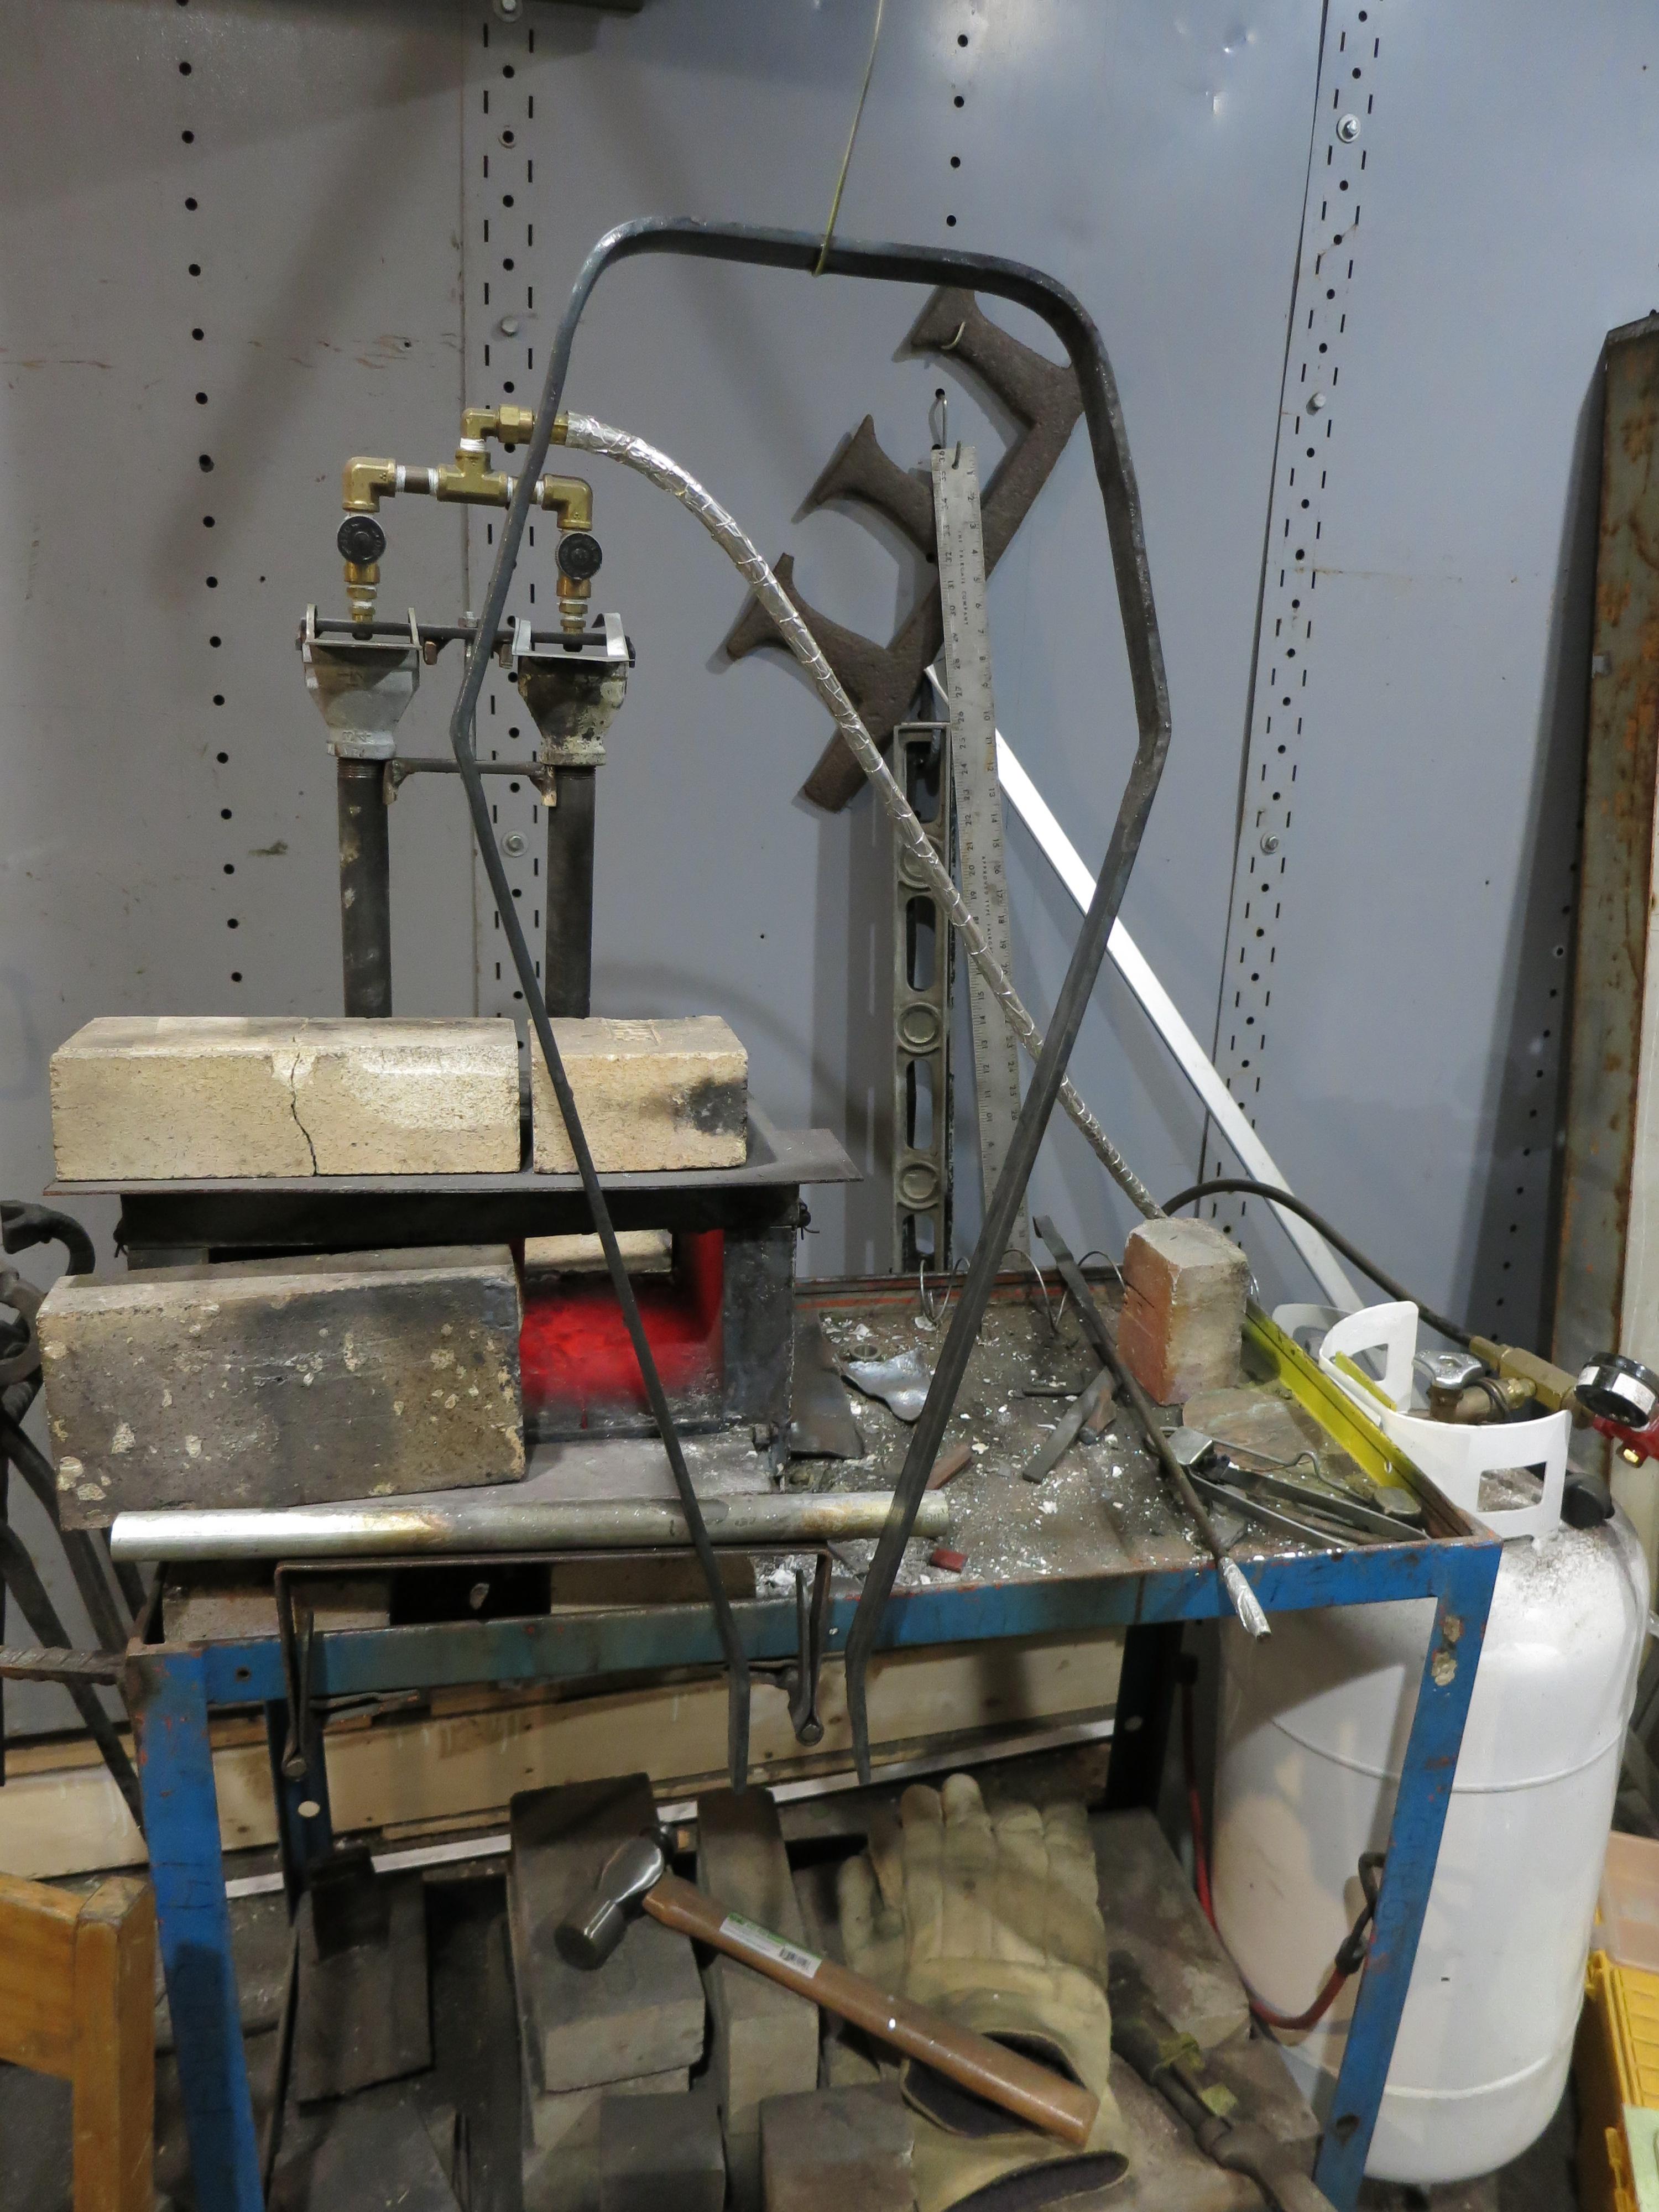
I am building a tire hammer and am in need of a large clamp to hold the parts in place while I work. I had some 1" tube around so I welded up these. I still have to weld on the ACME nut and install the ACME screw. They are due to arrive in the mail soon. I'll update the post when they do.
-
Started Building a Ray Clontz Tire Hammer
zadvorney replied to zadvorney's topic in Power Hammers, Treadle Hammers, Olivers
-
Started Building a Ray Clontz Tire Hammer
zadvorney replied to zadvorney's topic in Power Hammers, Treadle Hammers, Olivers
I put in three hours the other night and five last night. I can't believe how fast time goes when I'm working on this. Either that or I'm really slow. LOL. I have some real dumb moves so far. Don't back into the heater and light yourself on fire. Don't tack things together on the drill table as the bit fused to the work and threw the chuck off the quill when I started up the drill press. Measure EVERY BLESSED THING TWICE... I don't have a mill or lathe so some of the squaring of the work is done old school. A square and a file to parallel ends of parts is time consuming but it works well and saves me on farming out the work. A portable bandsaw is a great tool on this project. I have a HF model that is ready to give up the ghost but it will limp through this project. It is easier to cut the parts out using the saw than it is a plasma cutter. A metal shear would pinch and bend the ends of the thin stock. I had a few sheared off for me at the Metal Supermarket and it kind of ruined the piece. A metal chopsaw would be ideal but not in my budget. A chopsaw with a grinding cut off wheel might work but is not precise enough. Have a good welder. Mig is great for tacking things in place and laying down the beads with ease. As long as you can push the amps great. If not a stick is awesome as well. Have a big enough machine to do the job. These are large pieces of metal that are going together and you don't want them flying off at the wrong time. I'm glad I waited to do this project until I was confident in welding. Get some good lighting in the shop. Mine is still lacking and it isn't fun squinting at the most inopportune time. I'm enjoying this project a bunch. There isn't a time limit on the end date but it should be done by spring. The costs are a bit staggering. I'm at $1300 so far and I need the motor and a few more nuts and bolts. If the cost stays south of $1700 I'll be happy. This is with all new parts and steel purchased at a retail outlet. Your mileage may vary. -
Started Building a Ray Clontz Tire Hammer
zadvorney replied to zadvorney's topic in Power Hammers, Treadle Hammers, Olivers
Tonight I was itching to get the mast and anvil in place. I got things prepped and welded the mast up. I put some struts in to keep it plumb. Next was the anvil. A quick calculation puts the anvil at 480#. WAY too heavy to lift by hand so I set up a come along and some tow straps and ratcheted it in place. Funny thing is I never trued up the bottom! IDIOT!!! I called a friend and we safely put it back on the ground. Thirty minutes of grinding later it was raised back into place and was nice and plumb. Tack- tack-weld-weld. I ran out of gas for the mig and the rod I have is too small so as it is safely in place I'll take a break until I can get more supplies. -
Started Building a Ray Clontz Tire Hammer
zadvorney replied to zadvorney's topic in Power Hammers, Treadle Hammers, Olivers
Got the treadle done. Now that I have the pipe I can fit up the pivot arm and hinge. MVI_3717.MOV Three hours last night The movie is me being an idiot for not marking my bends properly. I punched a dot at each area but a soap stone mark over the punch hole shows up better. I'll remember this for the next time.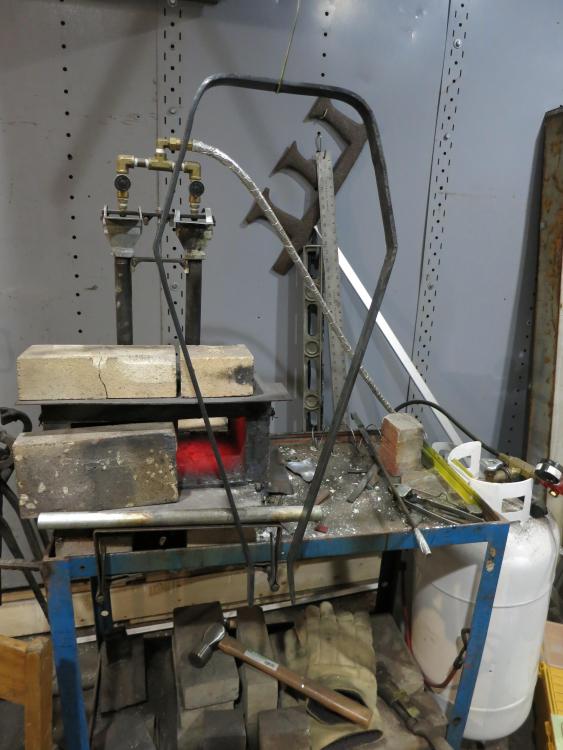
-
Started Building a Ray Clontz Tire Hammer
zadvorney replied to zadvorney's topic in Power Hammers, Treadle Hammers, Olivers
Got the last piece of the anvil prepped for welding. I'll do that tomorrow. Holy Cow is it heavy! If I have time I'll start on the armatures of the hammer. -
Started Building a Ray Clontz Tire Hammer
zadvorney replied to zadvorney's topic in Power Hammers, Treadle Hammers, Olivers
I have to get a bunch of black pipe before I start making the armatures for the hammer. As most of the black pipe pieces are only a few inches or less in length I figure I'll cut them with the band saw and file to parallel. I'm getting a quote for some W1 3/4" rod and 4104 1 1/2 x 2" x 3 1/2" at my local Metal Supermarket. The bushings, pillow block and clevis pins I'm ordering from MSC Direct. So with that I'm on hold with the assemblies. Tonight and tomorrow I will prep the plate 1" x 8" x 36" pieces for welding. The 6 of those will combine to make the anvil. I've groved them lengthwise about 3/8" back all along the 36" length. I don't know if I should do three at a time and put them together as a pair. They are heavy as heck! Pre heat them or tack and weld. I'm thinking some sort of pre heat but how and how hot. Three hours tonight. -
Started Building a Ray Clontz Tire Hammer
zadvorney replied to zadvorney's topic in Power Hammers, Treadle Hammers, Olivers
Thanks Beav. I back cut the weld area and have cleaned the areas of all mill scale before starting. The mig is large enough machine but the operator is not well versed in it's use... I tend to go over board on the covering passes. The main frame for the hammer will get tacked together with the mig and finished with the stick if I think the penetration is an issue. I ran some test billets on beam sections and the mig is as good as the stick. I learned with stick and now have a machine that can do both. Either way I want to do quality work that reflects how I feel about the project. Thank you for the input. I can use all that is available. -
I've been toying with the idea for some time and finally pulled the trigger on the build. I thought of going the scrap rout but the scrap yard I use charges prices for scrap at nearly the same cost as new. So I'm going all new stock and parts. I have to say the plans I purchased are most helpful. It's like a giant erector set. I've made a cut sheet so I could figure out how much stock to buy. Then got back to my shop and cut and numbered each piece. I do recommend this step as I just go to my bin and select the next pats to assemble. I'm going to keep track of my time and cost so It will give anyone who wants to tackle this project some perspective. I've posted the build so far on YouTube. I'll link it here. Thanks to everyone on here who has given me the inspiration to take this build on. It took two hours to cut up the stock I've purchased so far. 1/4, 1/2 and 3/4 bar stock in various widths and lengths. I used a porta-band saw for some and a plasma cutter for others. The saw gives me better control. The plasma gives me fits! It works like a hot knife...when it works. Ahh the learning curve. Three hours the first night and four hours tonight has rendered me a few components and a healthy perspective on the time it will take to complete this. It isn't overly complicated really. The plans are written and laid out for the average guy like me to understand. I'll keep plugging away and I'll be done before long. Good fun. Here is the next video.
-
Tire hammer finished at last
zadvorney replied to Havoc91's topic in Power Hammers, Treadle Hammers, Olivers
Super nice build! -
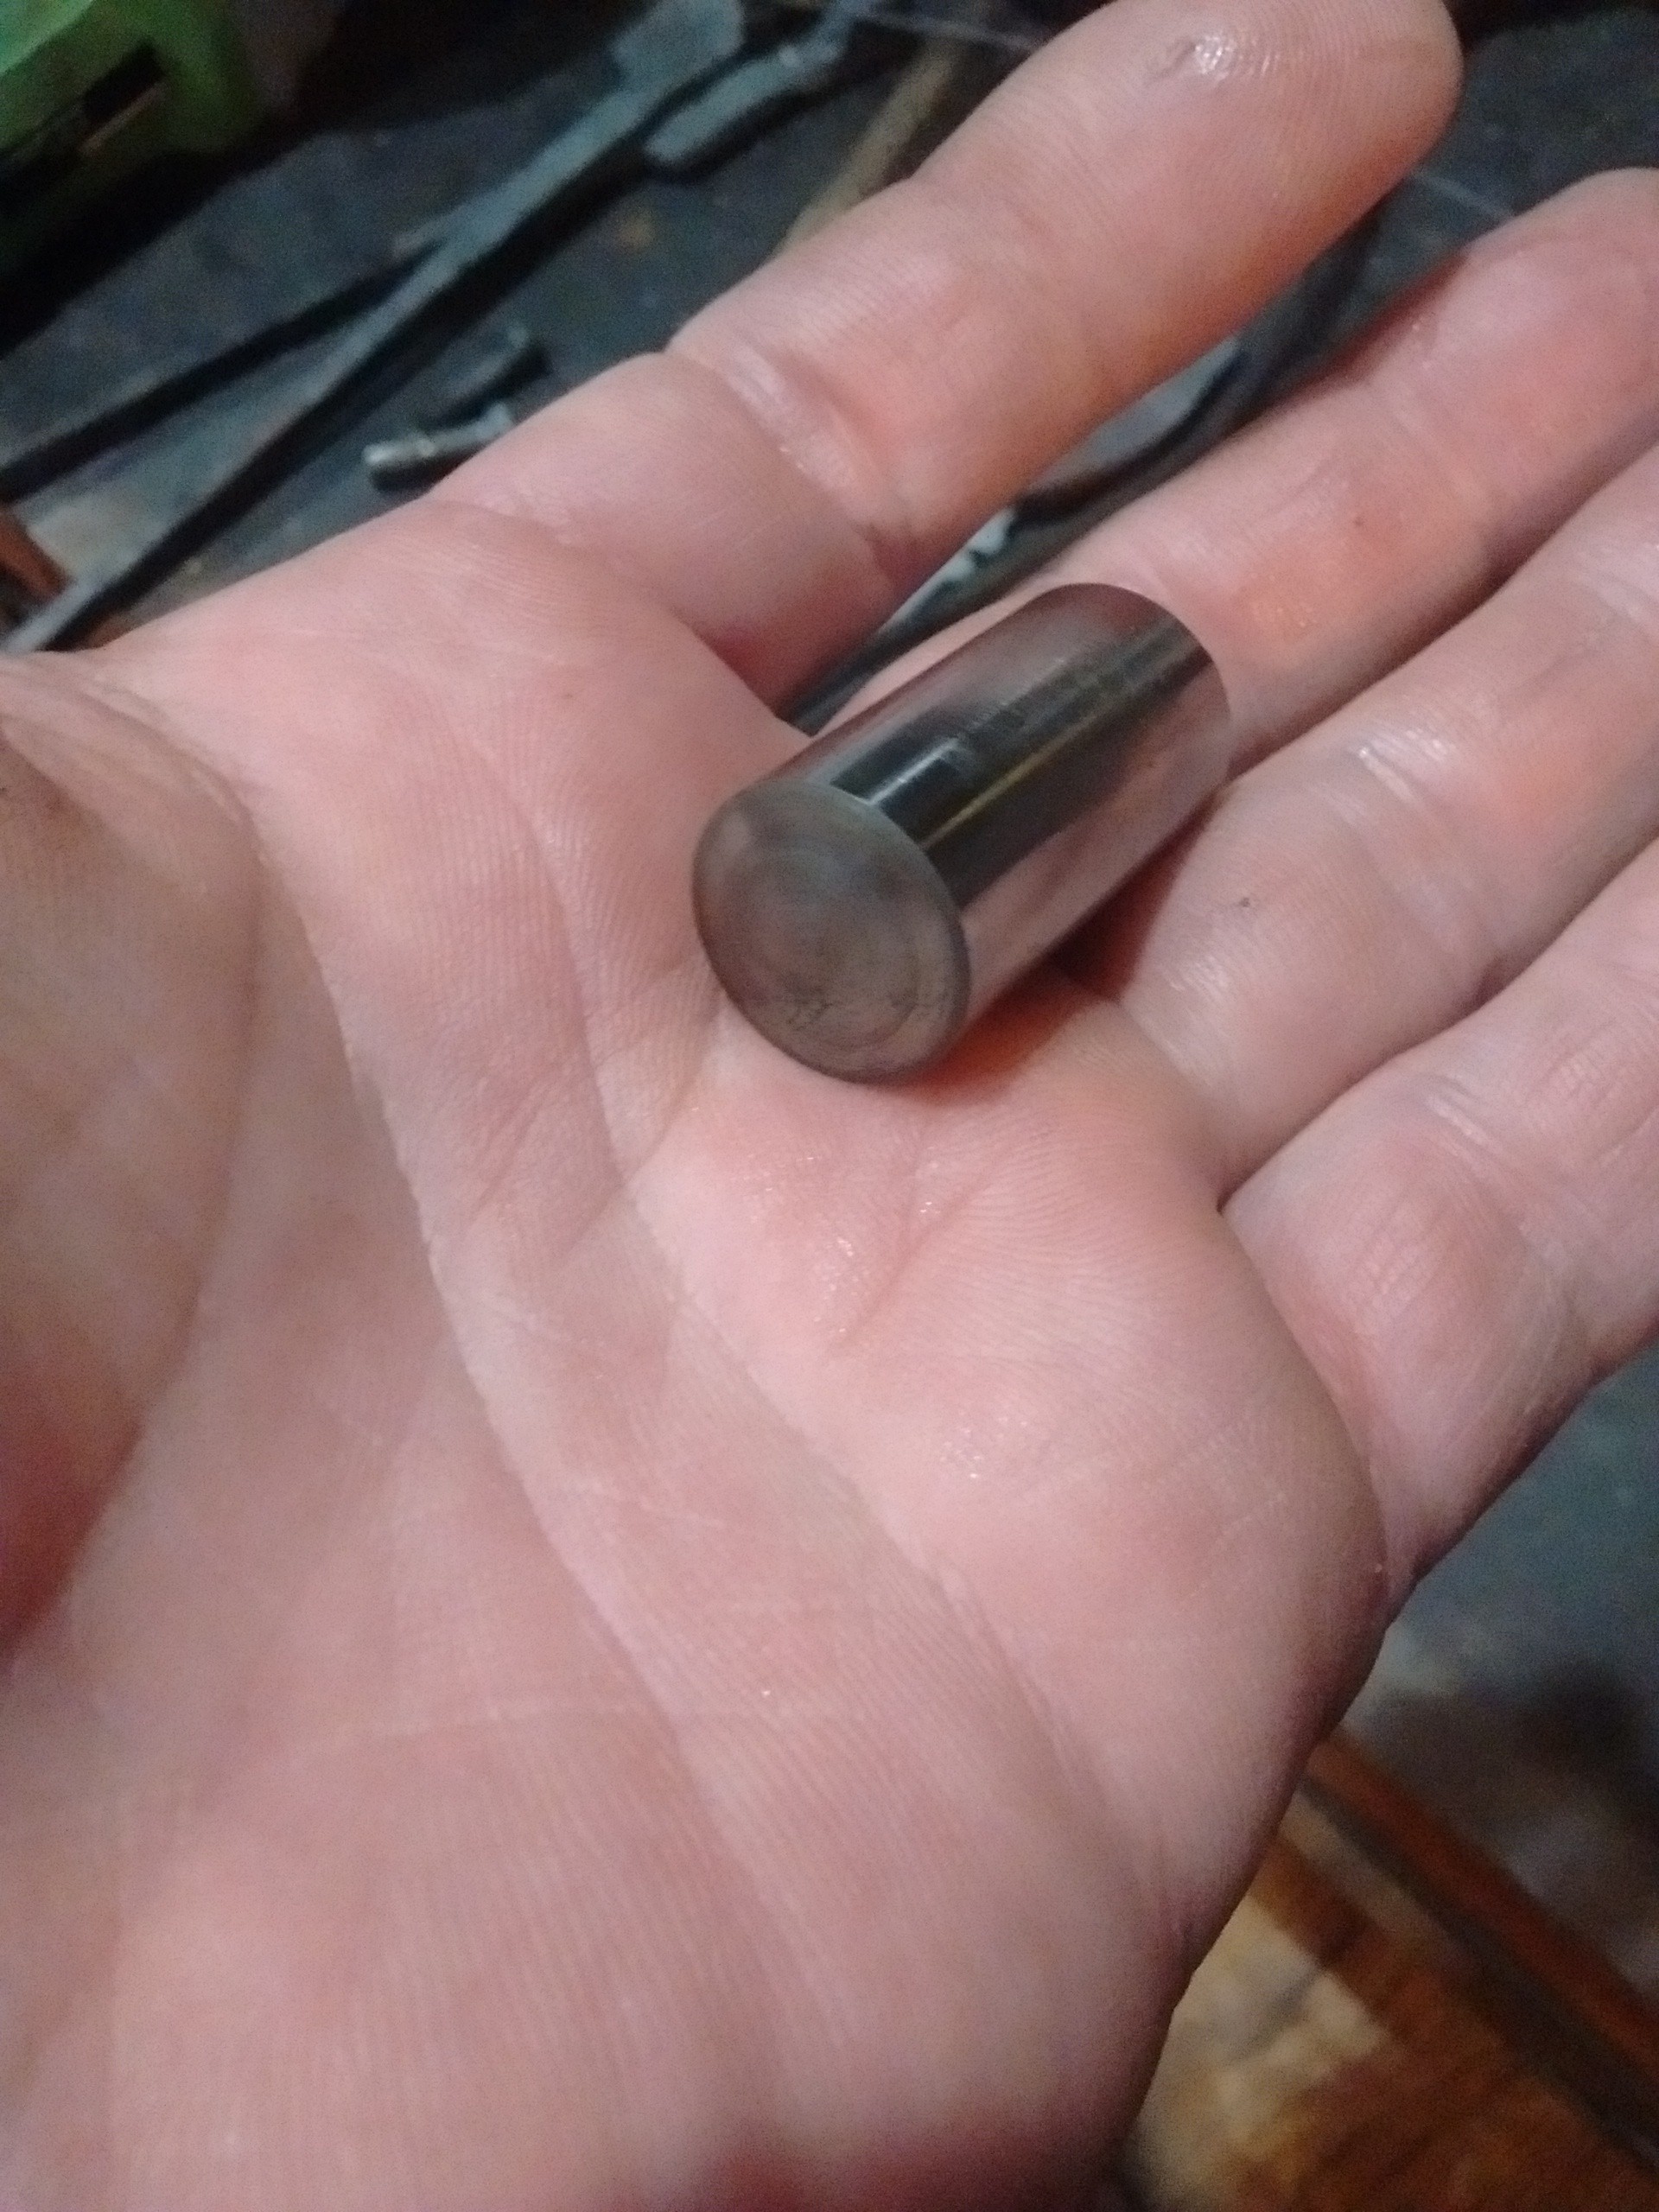
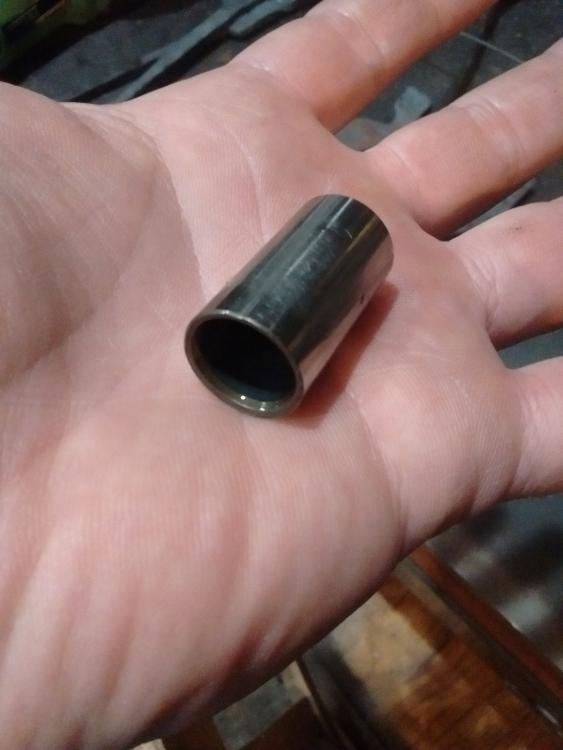
I recently changed out the drive pistons in my lawnmowers hydo-drive. They are 1 1/4" long and 5/8" across. Straight walled and thimble shaped. The wall thickness 1.5 mm thick. Hard as a rock! Any ideas what I could make from them. I welded one to a piece of stock and it works as a nice round touch mark. Don't get me wrong, this would be great if my last name ended in "O" or I was a ghost but... I thought of some uses for wood working. Gouges and round chisels and the like.

-
Super nice Joel. I like how it looks like its steel in the wings, the body transitions into life-like and the head and feet are life-like. Good stuff.
-
How was it done? What did you start with?
-
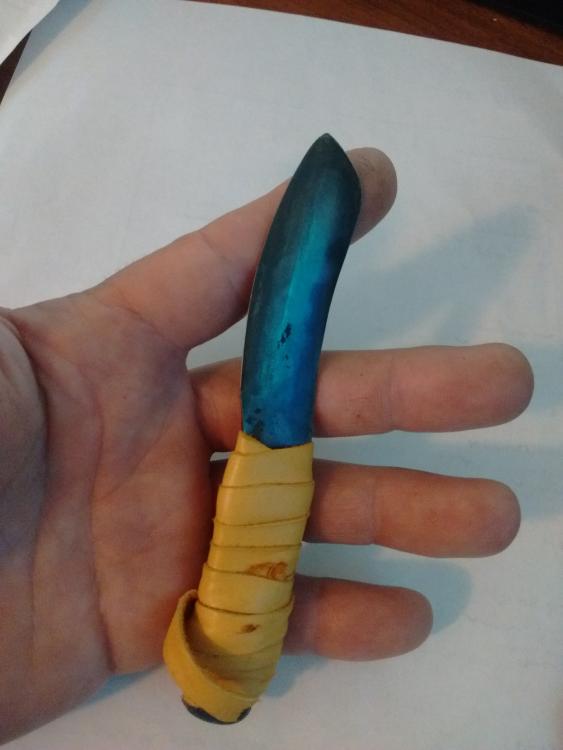
I used sulfuric acid to etch it. I could see the layers. Then I put blueing compound on it and it turned all black and you can''t see the layers. When I put a final edge on it the layers will show through there.
-
Again, thanks so much. I tried forging in the gas forge. I had an old bandsaw blade and snapped it into 3" pieces. Welded them together on one end. Put it in the fire and it actually stuck together when I struck it! WOW! I said well heck, I'll make something out of it. So I made a little pocket knife. Thanks guys. I appreciate all the help.
-
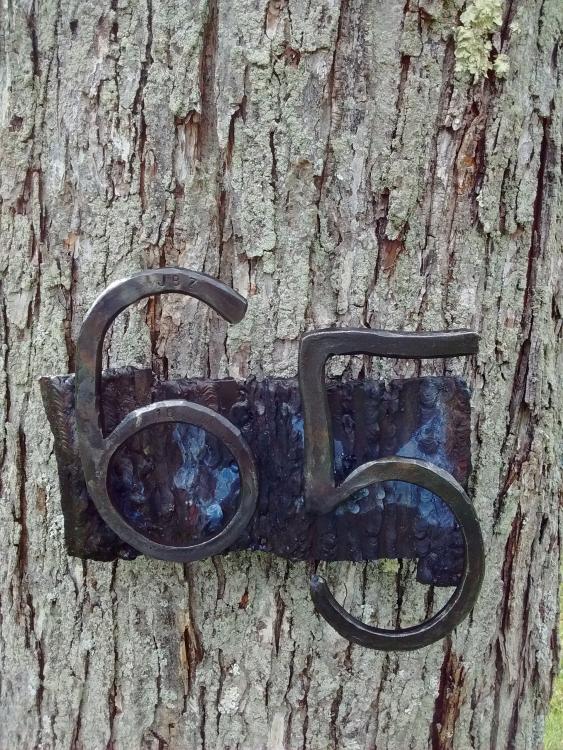
I put them together today. I had been practicing root welds and a sheet of attempts that looked just like the bark on the tree in my front yard. Silver maple. I drilled two 3/8" holes through the sheet and attached some rod to the back of the numbers. A few tacks later I have house numbers.
-
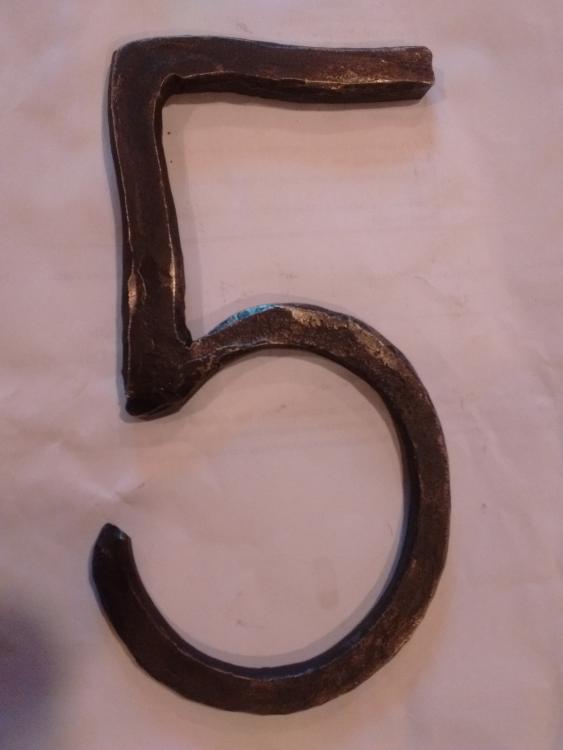
Thank you for the pointers. One thing though, I like algebra. Will that effect the my welding abilities? Seriously, thank you. I forged a 5 today. I did the layout a bit off so the 5 is bigger than the 6. I added an inch of stock for the space in the 5.....duuuuuh. I should have subtracted an inch. It came out ok. same basic layout and process. I made a set of offset jaw tongs to hold the ring stock. Meh...The best thing is the process. Four hours went by in a flash. This time I didn't leave enough stock at the joint. THIN... The right angle was easier than I thought it was going to be. I left extra stock in the area of the angle when I fullered the top section.
-
i haven't figured out how to forge weld yet so there are limitations to my work. I use a gas forge and just can't get it hot enough. When I've tried in coal, I burn things. That is what I like about smithing. Every time is a learning opportunity.