Zengineer
-
Posts
50 -
Joined
-
Last visited
Recent Profile Visitors
1,691 profile views

-

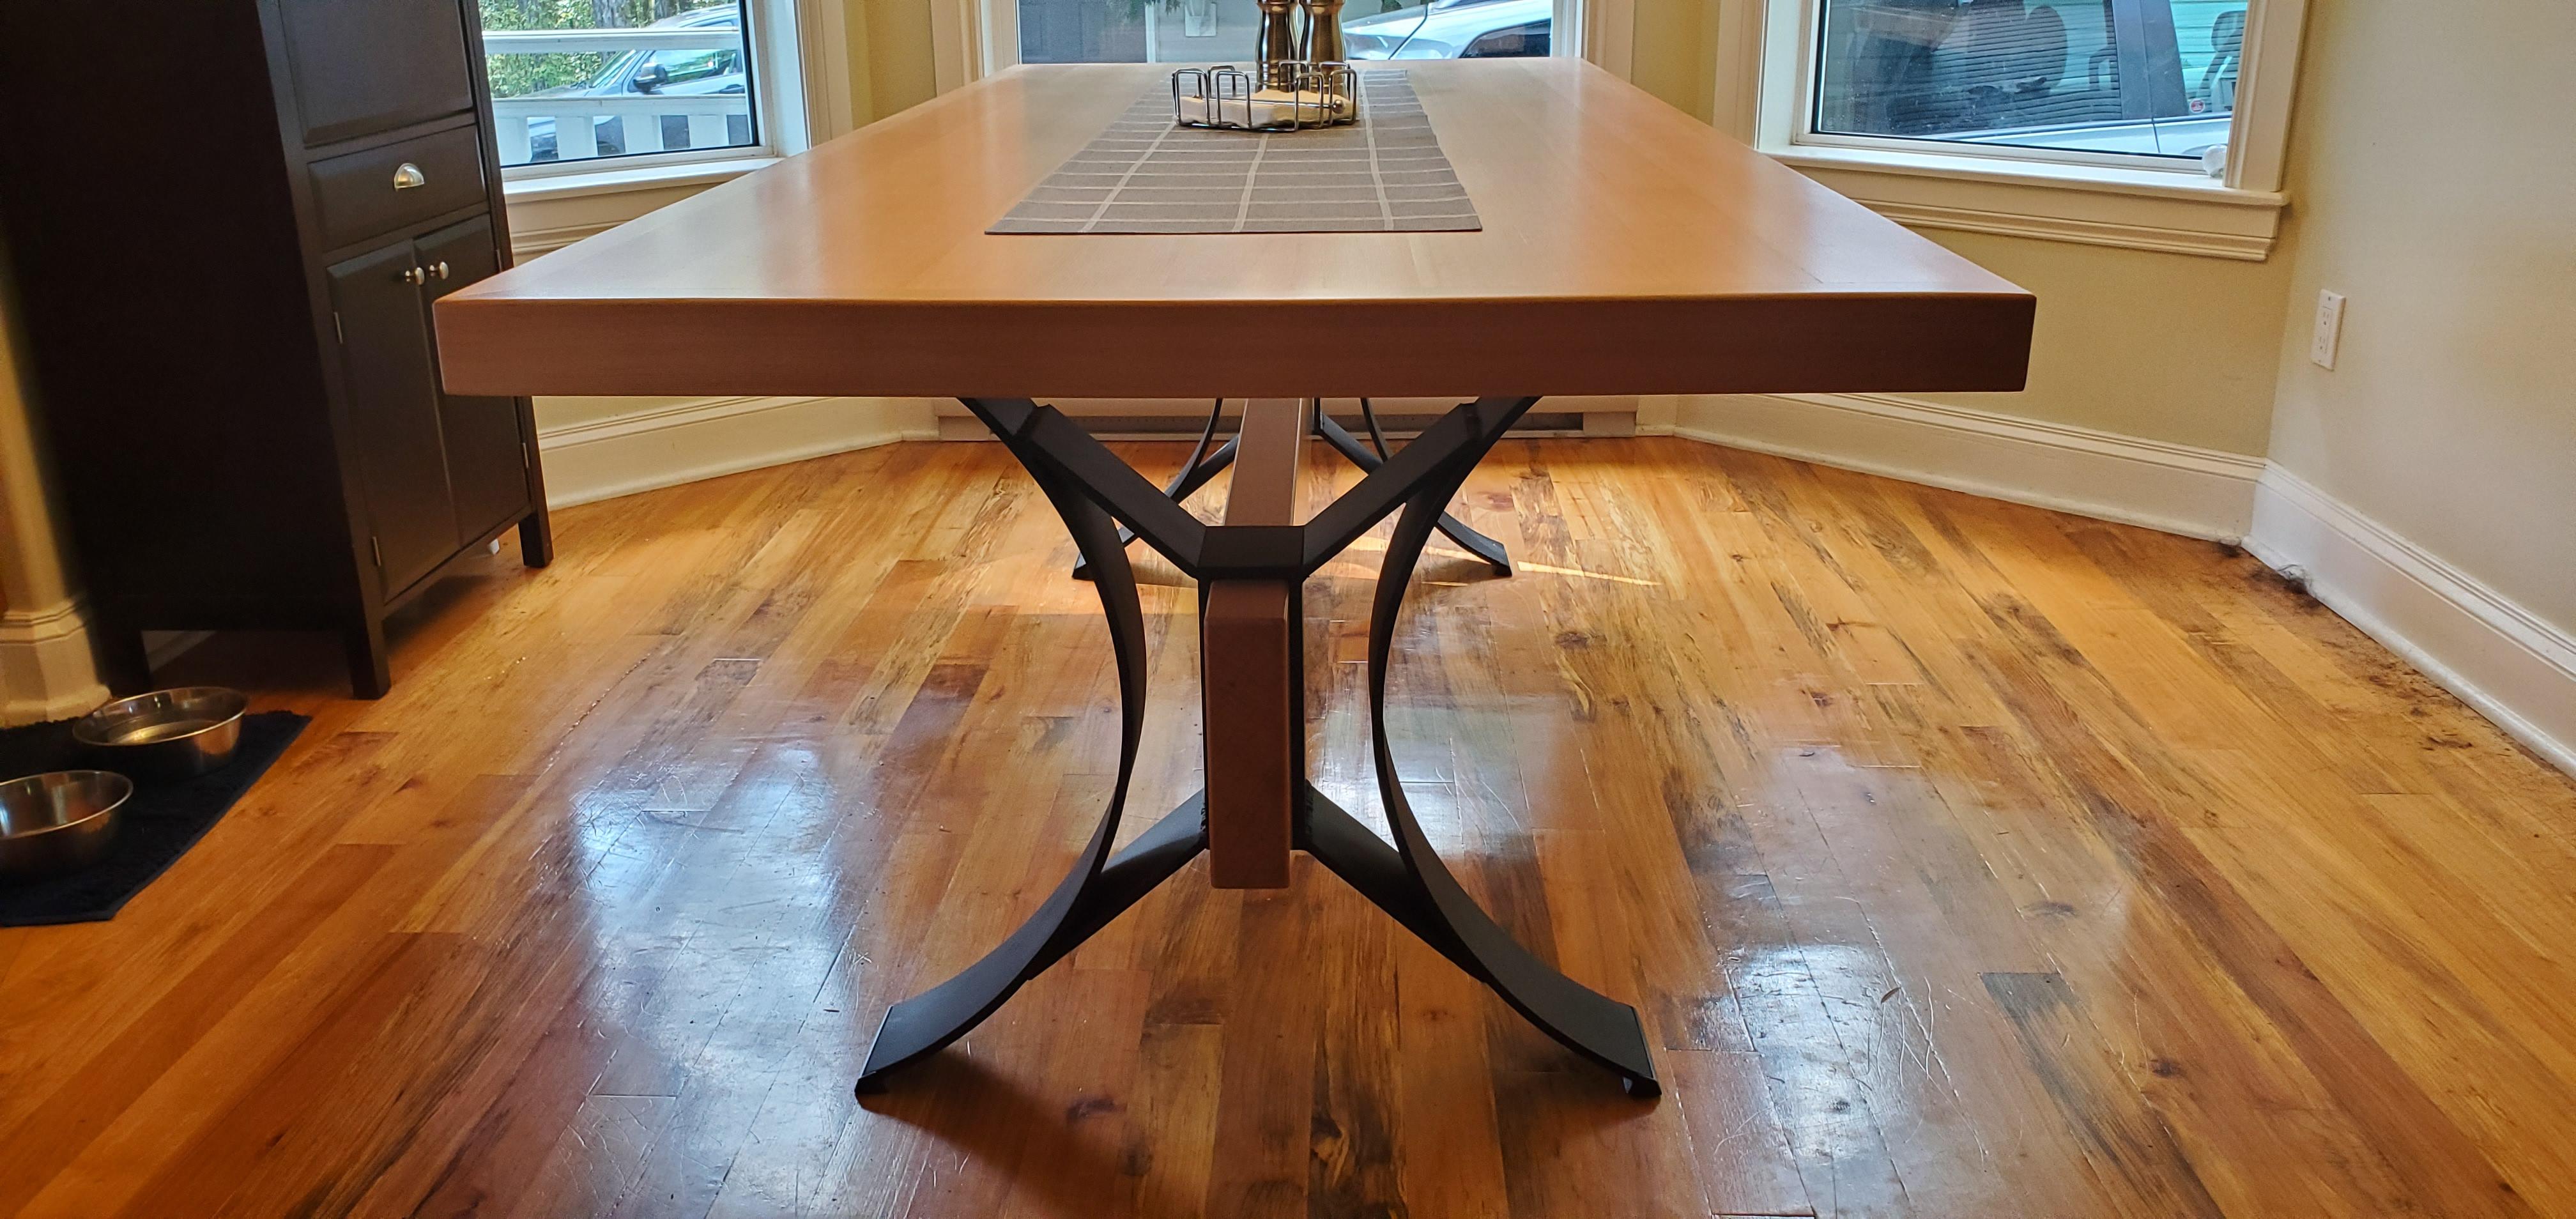
Building a 350lb Dining Table
Zengineer replied to Zengineer's topic in Welding/Fab General Discussion
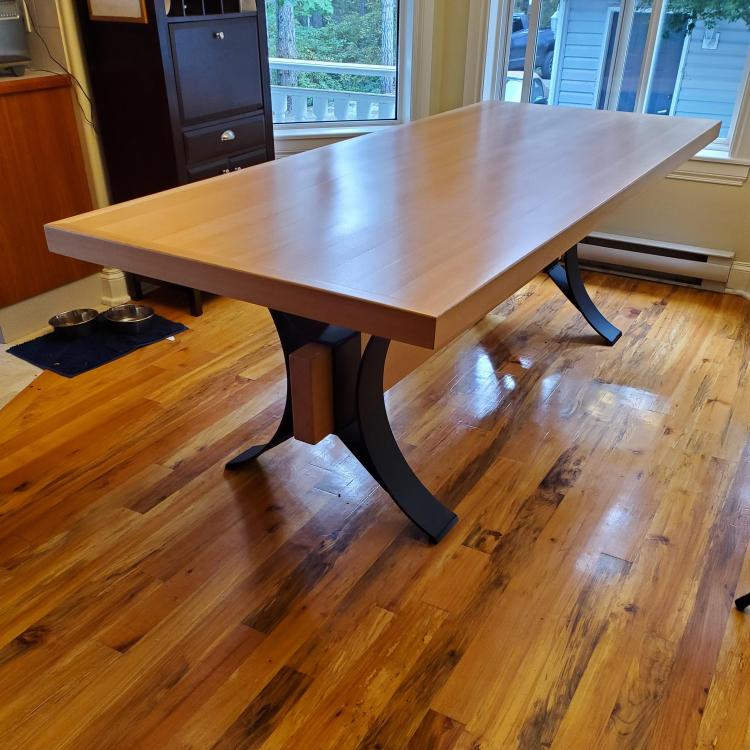
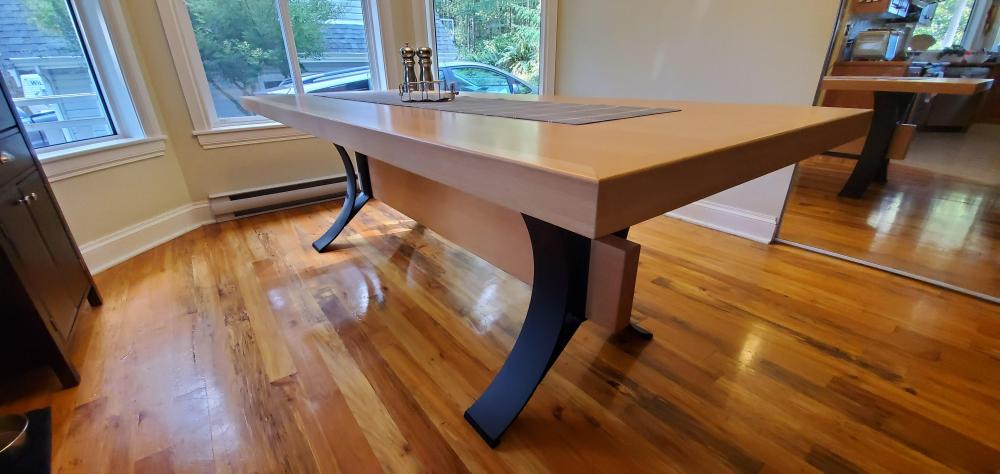
Thanks guys. The top is tight grain Douglas Fir (prevalent in my area, I'm surrounded by it), and the cross beam is old growth Douglas Fir that was the mantle piece in my wife's childhood home. The wood is finished with a sprayed on clear lacquer, no tinting or staining. I go in more detail in the video linked above, but essentially I used a plywood sheet for stability, and attached to it unfinished engineered fir flooring, then trimmed it with a 2"x3" band of solid fir. Makes for the illusion of being 3" thick of solid fir, but it has the dimensional stability of engineered wood. -
Well it took me nearly 2 years, but I finally finished my dining room table build. A combination of 3D printing, woodwork and metalwork were used to create a piece that I am incredibly proud of. The metalwork portion isn't blacksmithing, just straight metal fabrication. I did all the work on this table with the only exception being the rolling of the 3/8" x 5" flat bar... I nearly built myself a roller for that, but realized that a roller that beefy would be overkill for just about anything else I ever did, haha. Probably should have built it anyway! Build Video here: https://youtu.be/pI-xOpuqnLU Please come by and check out my video. And if you like these kinds of videos please subscribe to the channel, I'm aiming to make new videos every week.

-
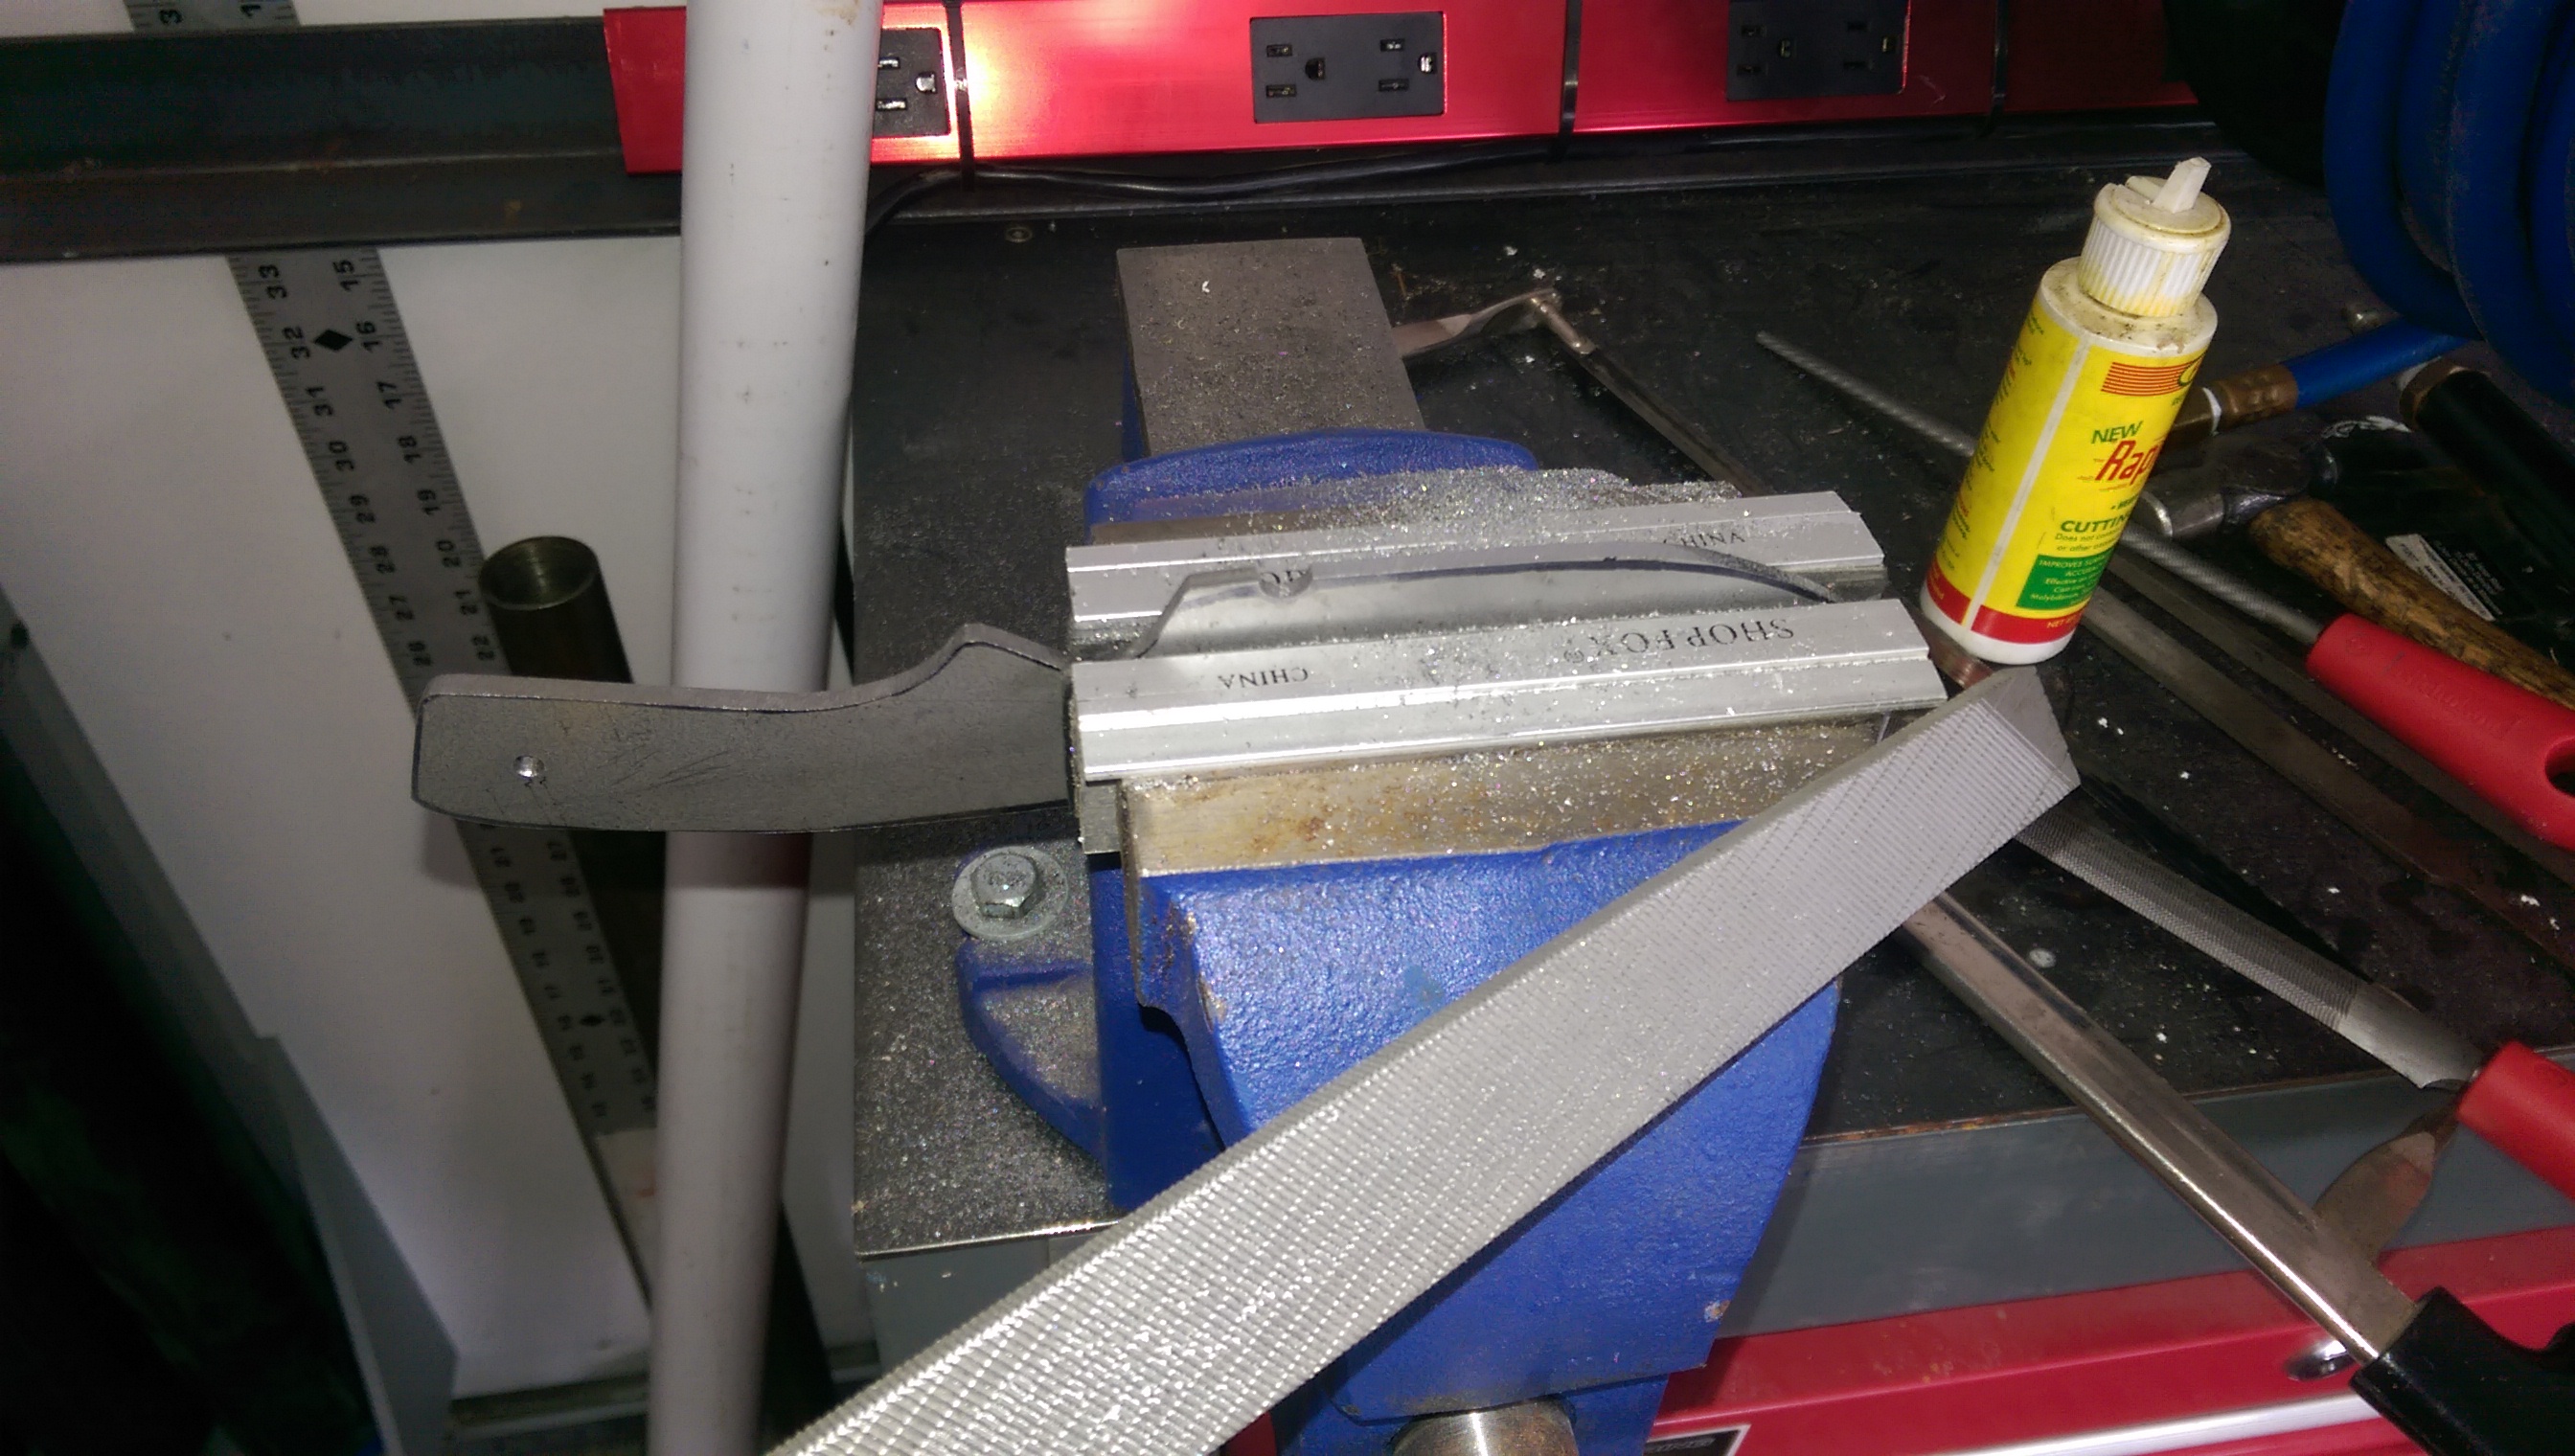
Well, have started on the beveling process. Going pretty slow and careful. It's certainly difficult to keep things even from side to side, and from front to back. The photo below shows early on how I was doing it, tips welcome. I'm actually quite far along, to the point where I'm pondering using my jig to make sure things are even from side to side. All in all, a lot has been learned so far. Went to a local wood supply store looking for material for scales... managed to get my hands on some fretboard ebony rejects... 1/4" thick with superficial flaws from my perspective. So ebony it is for scales... and will have enough material for a few more knives in the future as well. The ebony should pop with the brass pins!

-
Thanks for the feedback, glad to see most of it was constructive. Agree with the scribed line comment, that was my plan. The layout scribe pictured looks good, might be just the ticket as I do seem to like making tools... TJ I like the comment regarding starting with the draw filing and using the jig just for the final finishing. I think that will give me the peace of mind that I'm looking for... a bit trepedatious about the beveling step, as I think it's going to be the hardest part for me to do to the quality I want.
-
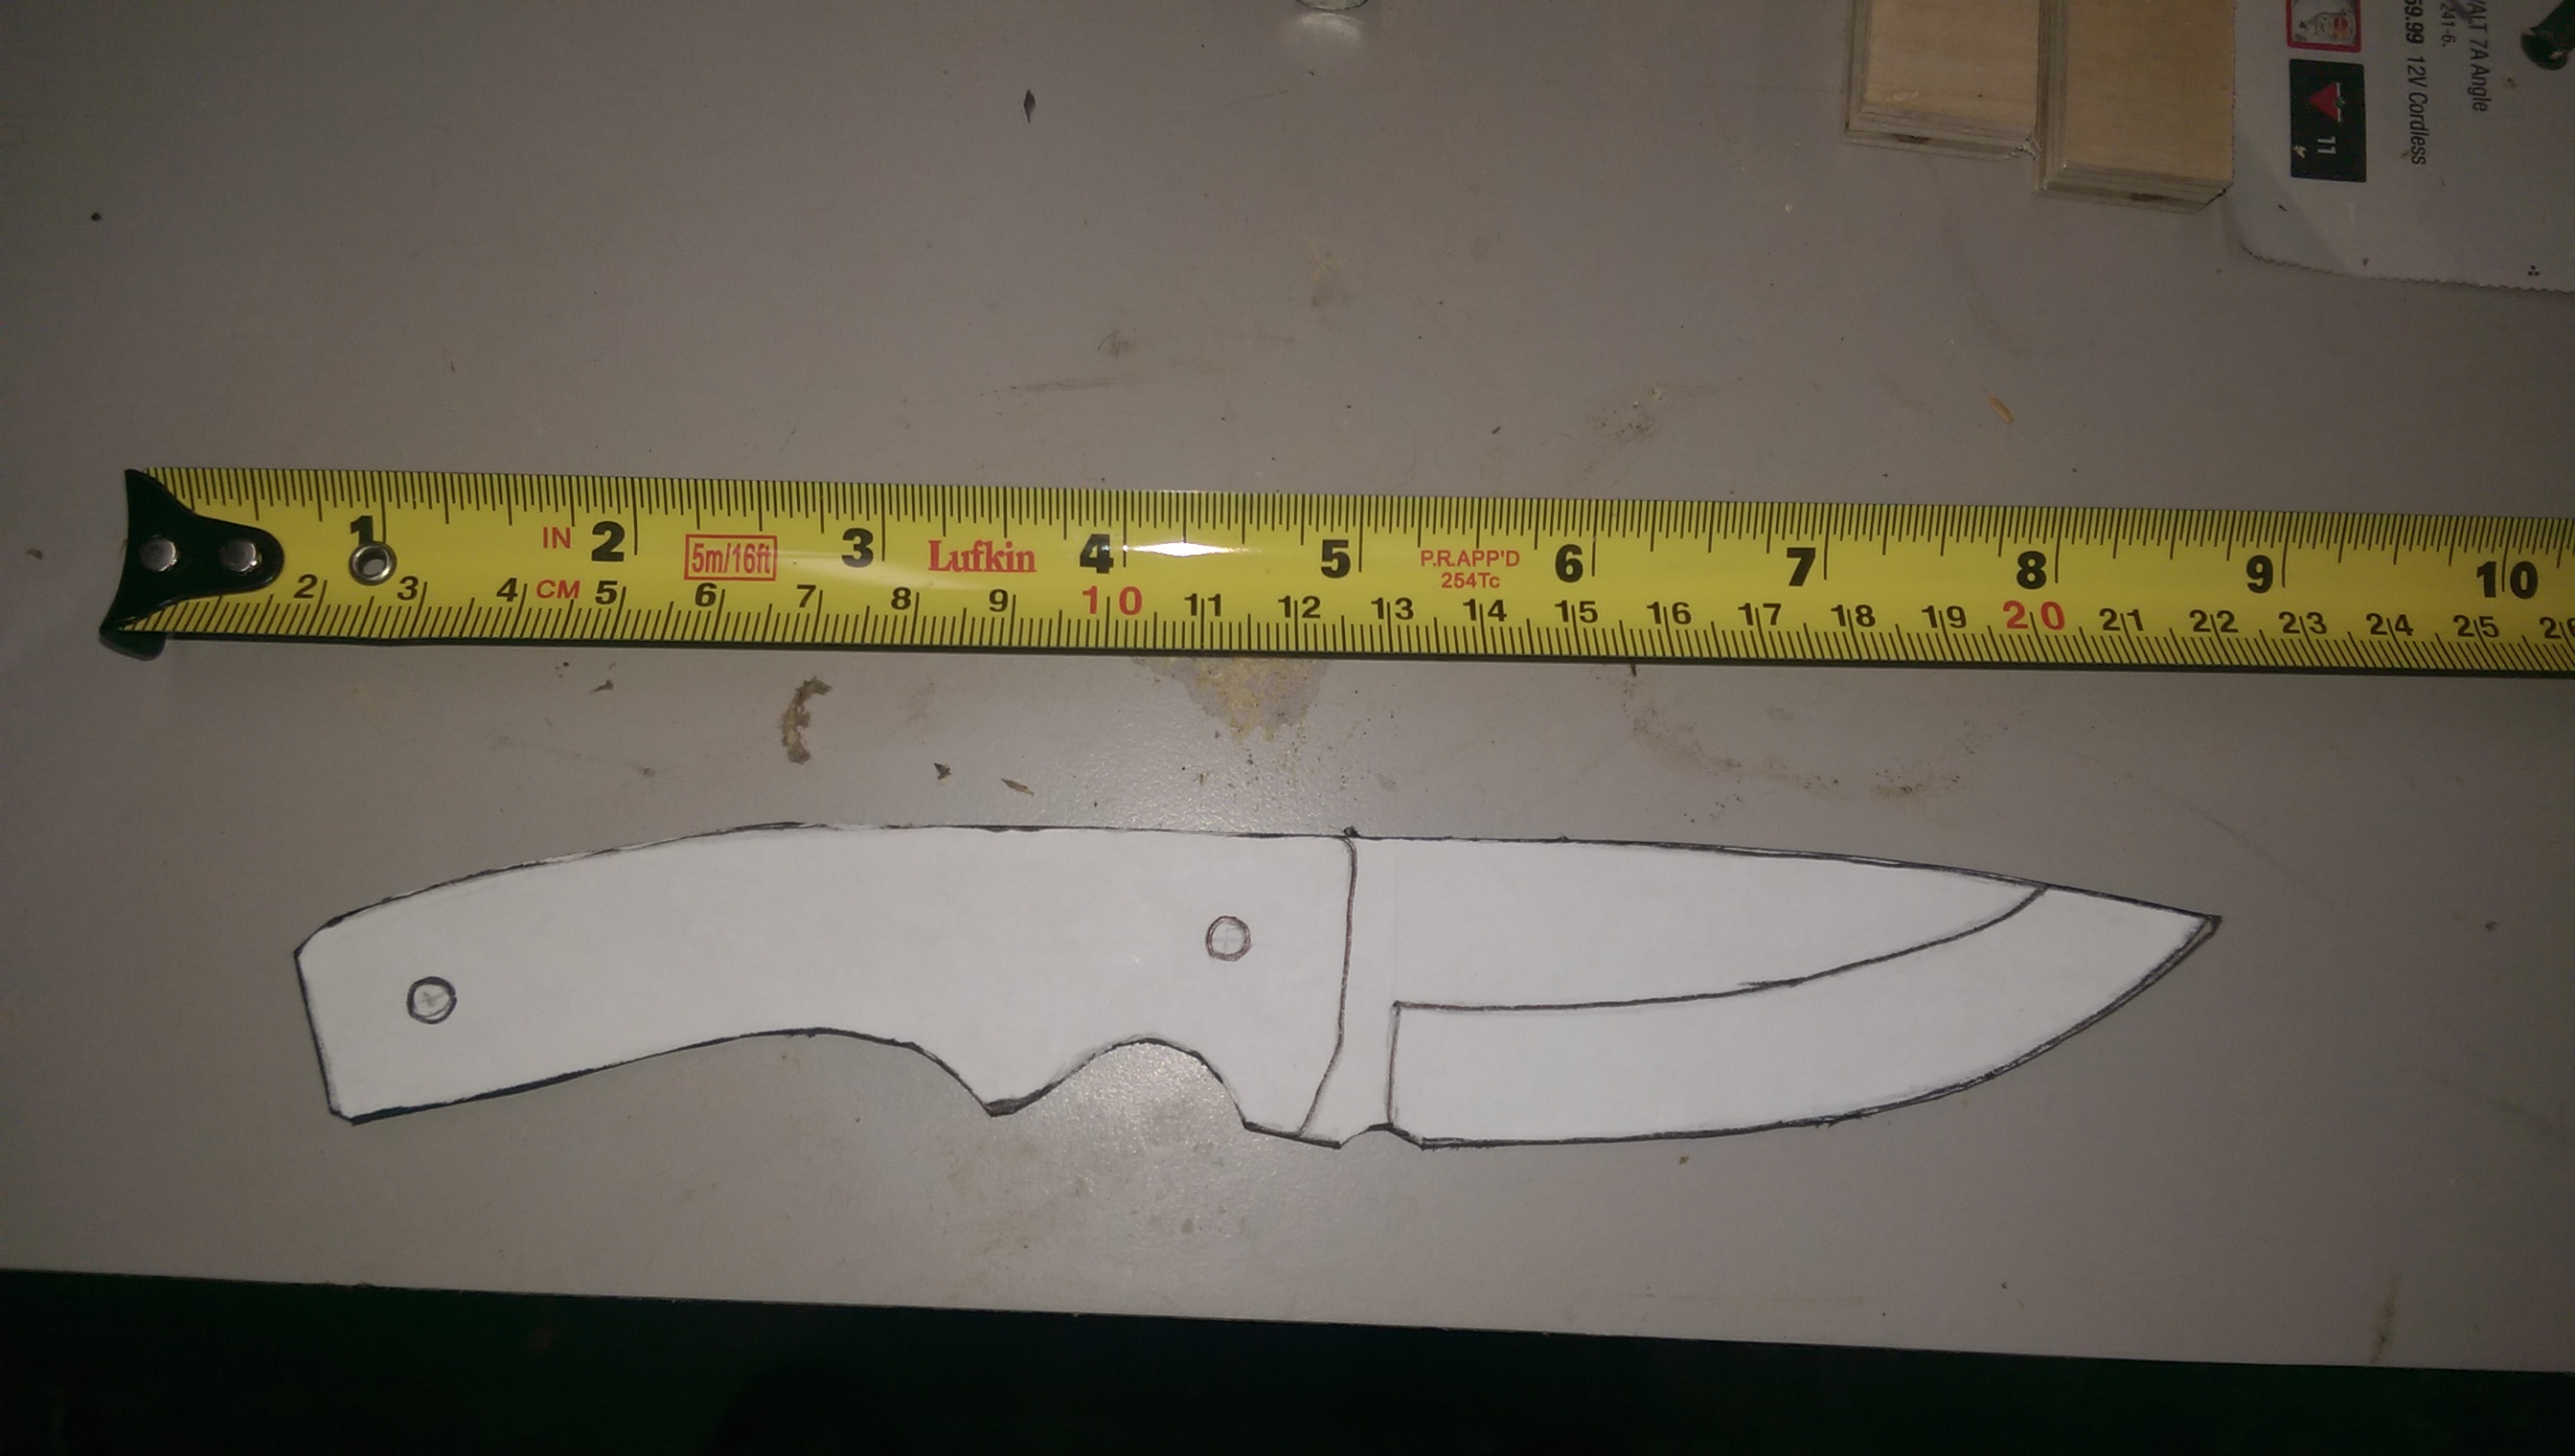
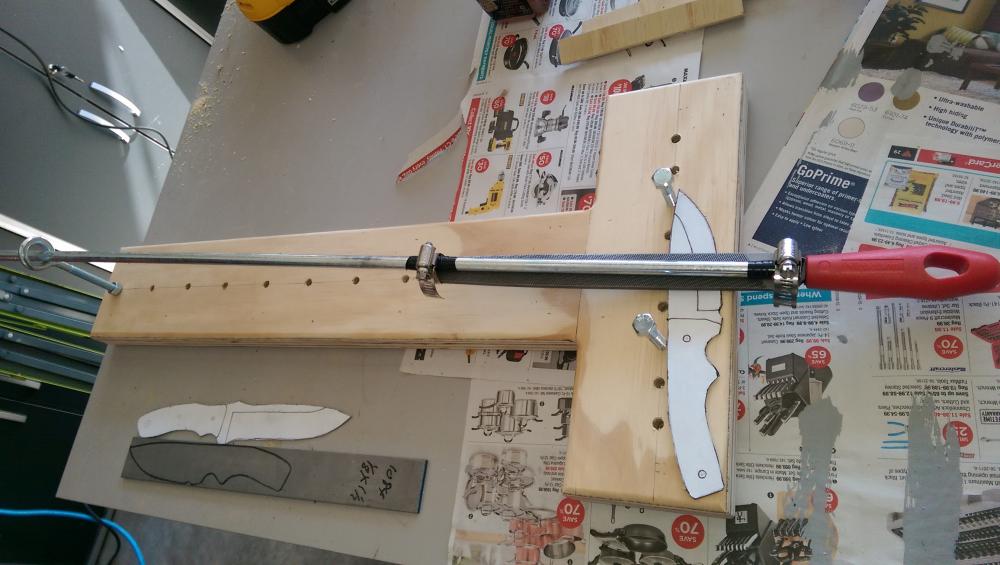
Well I consider this my first knife anyway. Many years ago I made a few knife shaped objects out of old files, but they never saw heat, and really weren't much more than decorative (albeit ugly) pieced. These are the steps I took to get to this point: Draw out my shape on some paper, transfer it to card stock so that if I liked what I made, I could make it again. To be honest, I'm finding the shaping on paper tougher than with the metal itself. There were some things on the paper layout I didn't love (front finger grip, and the nub separating it from the rest of the fingers for instance), that were hard to refine on paper. Much happier with the metal blank results in those areas. I did some web searching, grabbed things I liked about a bunch of different knives I saw, then drew my own. Trace onto a piece of 1.5"x 1/8" 1084 steel. I chose 1084 because most everything I know about it says its very beginner friendly to heat treat, while still being a good choice for knives. It will rust however if left exposed. Hacksaw and file baby! All in all this took probably 2 hours or so at most... which I split up over multiple visits to the garage. And where we sit now. Much happier with the front finger grip and nub on this. Amazing what having a half round file does. The blade is wide for sure, in retrospect it would probably be prettier with a thinner profile, but this knife is all about utility so I wanted it to be a bit beefy for what it was. The handle is quite comfortable even without scales. Have done this all by hand except for the 2 holes being drilled. I figure though it's going to take me a lot longer, I will learn nuances that I would quickly miss if I was using a belt sander, grinder, etc. Next up, a bit of sanding on the spine just to assure myself I'm done there with the file, and onto profiling the edge... I built myself this as well... Saw a video about this, it seemed like a good idea to try given the initial investment was 2 hose clamps, some scrap wood, hardware and some tape. Knowing me, I will spend as much time making the tools to do the job easily, as I will doing the job... so this might get another iteration depending what I learn through it's use. Ignore the lower left profile on the table, that's perhaps a future knife. Constructive feedback welcome and appreciated. More to come!


-
Something to be very proud of!
-
That is true of some brake cleaners.
-
Unreal. Possibly the best work I've seen on IFI to date!
-
Question on running wires along steel
Zengineer replied to Lodestone25's topic in Blacksmithing, General Discussion
Weld some short pieces of tubing, hidden as well as you can, and run the wire through the short section of tubing to hold it. -
Love it!
-
First fire grate.
Zengineer replied to oldanvilyoungsmith's topic in Blacksmithing, General Discussion
I like the little details you added. Nice work! -
300 lb Hay Budden Robb Gunter Restoration
Zengineer replied to Beebs's topic in Anvils, Swage Blocks, and Mandrels
Great write up and a great job. Thanks for sharing! -
I have a West, but my logo is different. Light blue paint (really faded) on mine, not sure if its factory paint or not. I've attached some pics of my 200lbs west, does yours look similar?
-
Please post up some photos of the West. I have what I think is one, but have not found enough info from others that have one to be sure.
-
Wow, really impressive work. Looks fantastic. How do you achieve hollow grinding the blade with so much uniformity?