JRigoni
Members
-
Joined
-
Last visited
Everything posted by JRigoni
-
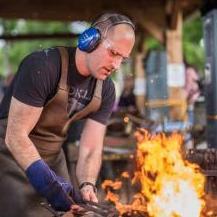
Hello again, I've finished the tooling for this build and thought I'd share. I saw Roberto Giordani's soapstone holder/pointer in Belgium and had to make something in a similar fashion. Here is a video of the process:
-
Thanks everyone, more videos in the future.
-
Thanks everyone, the starting stock was 1 1/8" x 1 3/8" of annealed H13. The kiss blocks are mild steel I machined to the correct thickness. They have held up really well so far, so long as you stop forging after hitting them.
-
New video up on my youtube channel:
-
I needed tongs recently to hold flat bar, 1/4"x2" and thought I'd show the process here: Starting stock for both was 1"x4" square bar.
-
If you are looking for ironwork, Absolutely go to Rouen in France. It is fairly close to where you're headed, I'll probably see you at the conference. In Rouen there is an old church they've converted to hold an ironwork collection that is the best in the world. Here it is on trip advisor: https://www.tripadvisor.com/LocationPhotoDirectLink-g187191-d219327-i45569396-Musee_Secq_des_Tournelles-Rouen_Seine_Maritime_Haute_Normandie_Normandy.html If you only have time for one place, this is it. If you have more time/days for travel I can point you to other spots. A couple years ago I went around Europe for a month checking out ironwork and museums.
-
Thanks I'm happy how the forgings came out. I have had a number of positive responses on my double calipers. My plan is to both make a video of the forging process and have a few sets available on my website in the next few months. I'm most current on instagram (rigoni_ironworks) for those interested. I will post there.
-
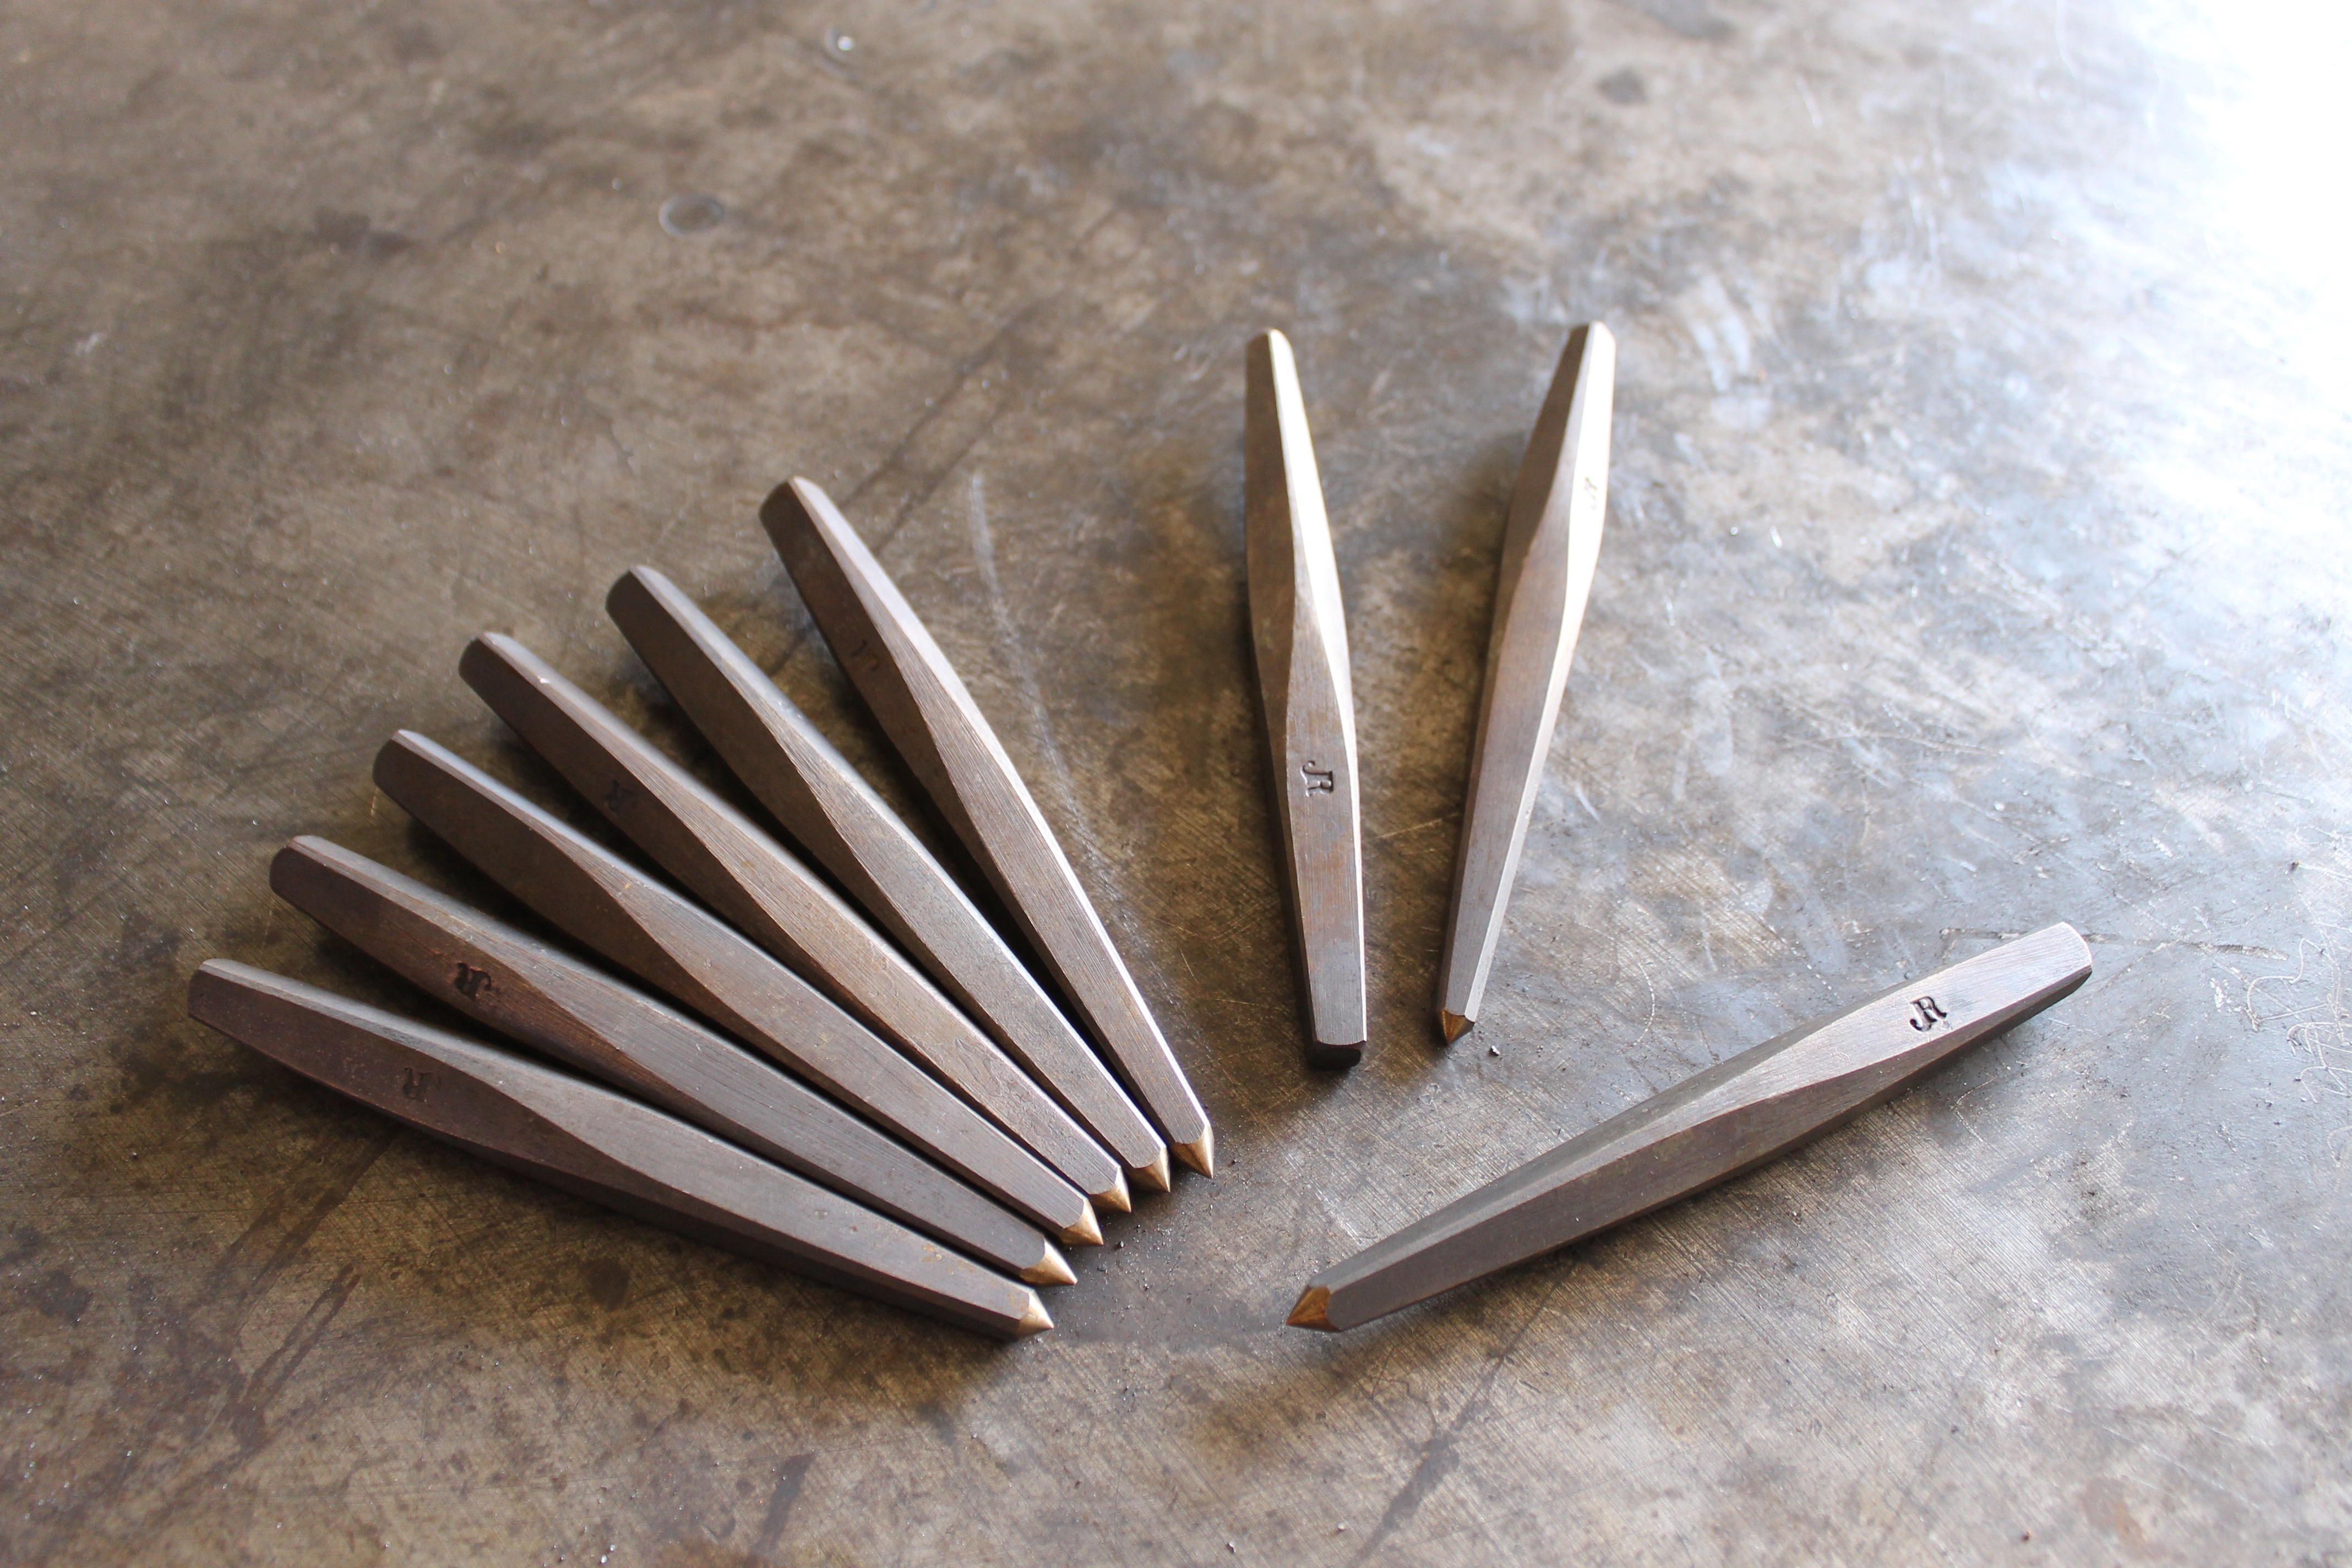
I have a video of the process, but I forge Iron keeps shutting it down. Look up: forging a center punch on you tube.


-
Here is my take on forging a center punch. I wanted to play with the visuals of an offset taper. One of my first projects as a journeyman smith was in Wales in Andy Rowe's shop. He had me forging long, offset tapers on big stock under the power hammer. I haven't seen that form in a center punch yet, so I thought I would give it a go.
-
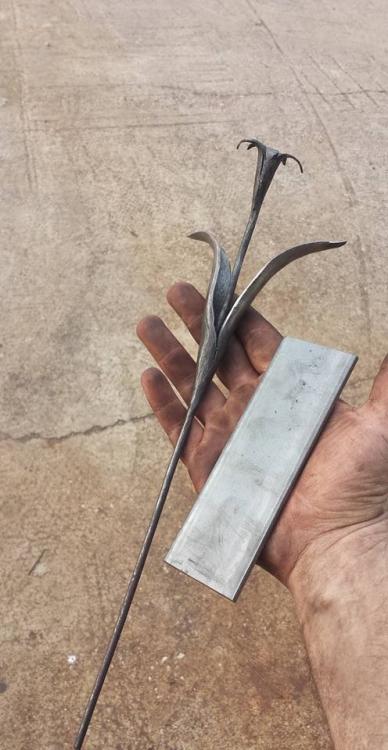
Trying to load this photo again, I cut the stem back afterwords. Thanks everyone, Forging Carver I just coated the handle with linseed oil after making it, maybe two weeks ago. It is dark from use. It will eventually gloss over like my older Hofi hammer with repeated use.
-
Another view
-
A small, but complicated project I thought I'd share. The forging technique comes from Angelo Bartolucci. The starting stock I used was 5" of 3/16"x2" flat bar. The preform was hot cut/sawn out, then each part was forged. I'd like to try this again and clean up the parts a little better. Ok... now I can't rotate the image upright. I swear this site has more issues with photo editing. Anyone have an idea how to rotate an image on here?
-
Thanks everybody. Yep, if you are in the Houston area this Saturday, I will be forging this axe at the mini conference at Steephollow forgeworks in Bryan, Tx. See the HABA website for details.
-
-
You can adjust the length of the blade by how much of a wedge bit you put in there as well.
-
Here are the dimensions: 1/2"x2"x11" flat bar. The divisions are 3" on each side for the blade, 2" for the cheeks, leaving 1" for the poll. I use a small round file to set my marks on each side. You can use the edge of the anvil to make your starting depressions. On my website I show one being forged using just the anvil and similar progression photos. Hope this helps.
-
This is my take on forging a colonial axe using bowtie construction. One of the benefits of this is shape is when you want to use wrought iron for the body of the axe. The high carbon bit is 1075. Many thanks to Peter Ross for the starting dimensions. Anyhow, here is my video:
-
Thanks! It was a good deal of work but it goes towards an important event.
-
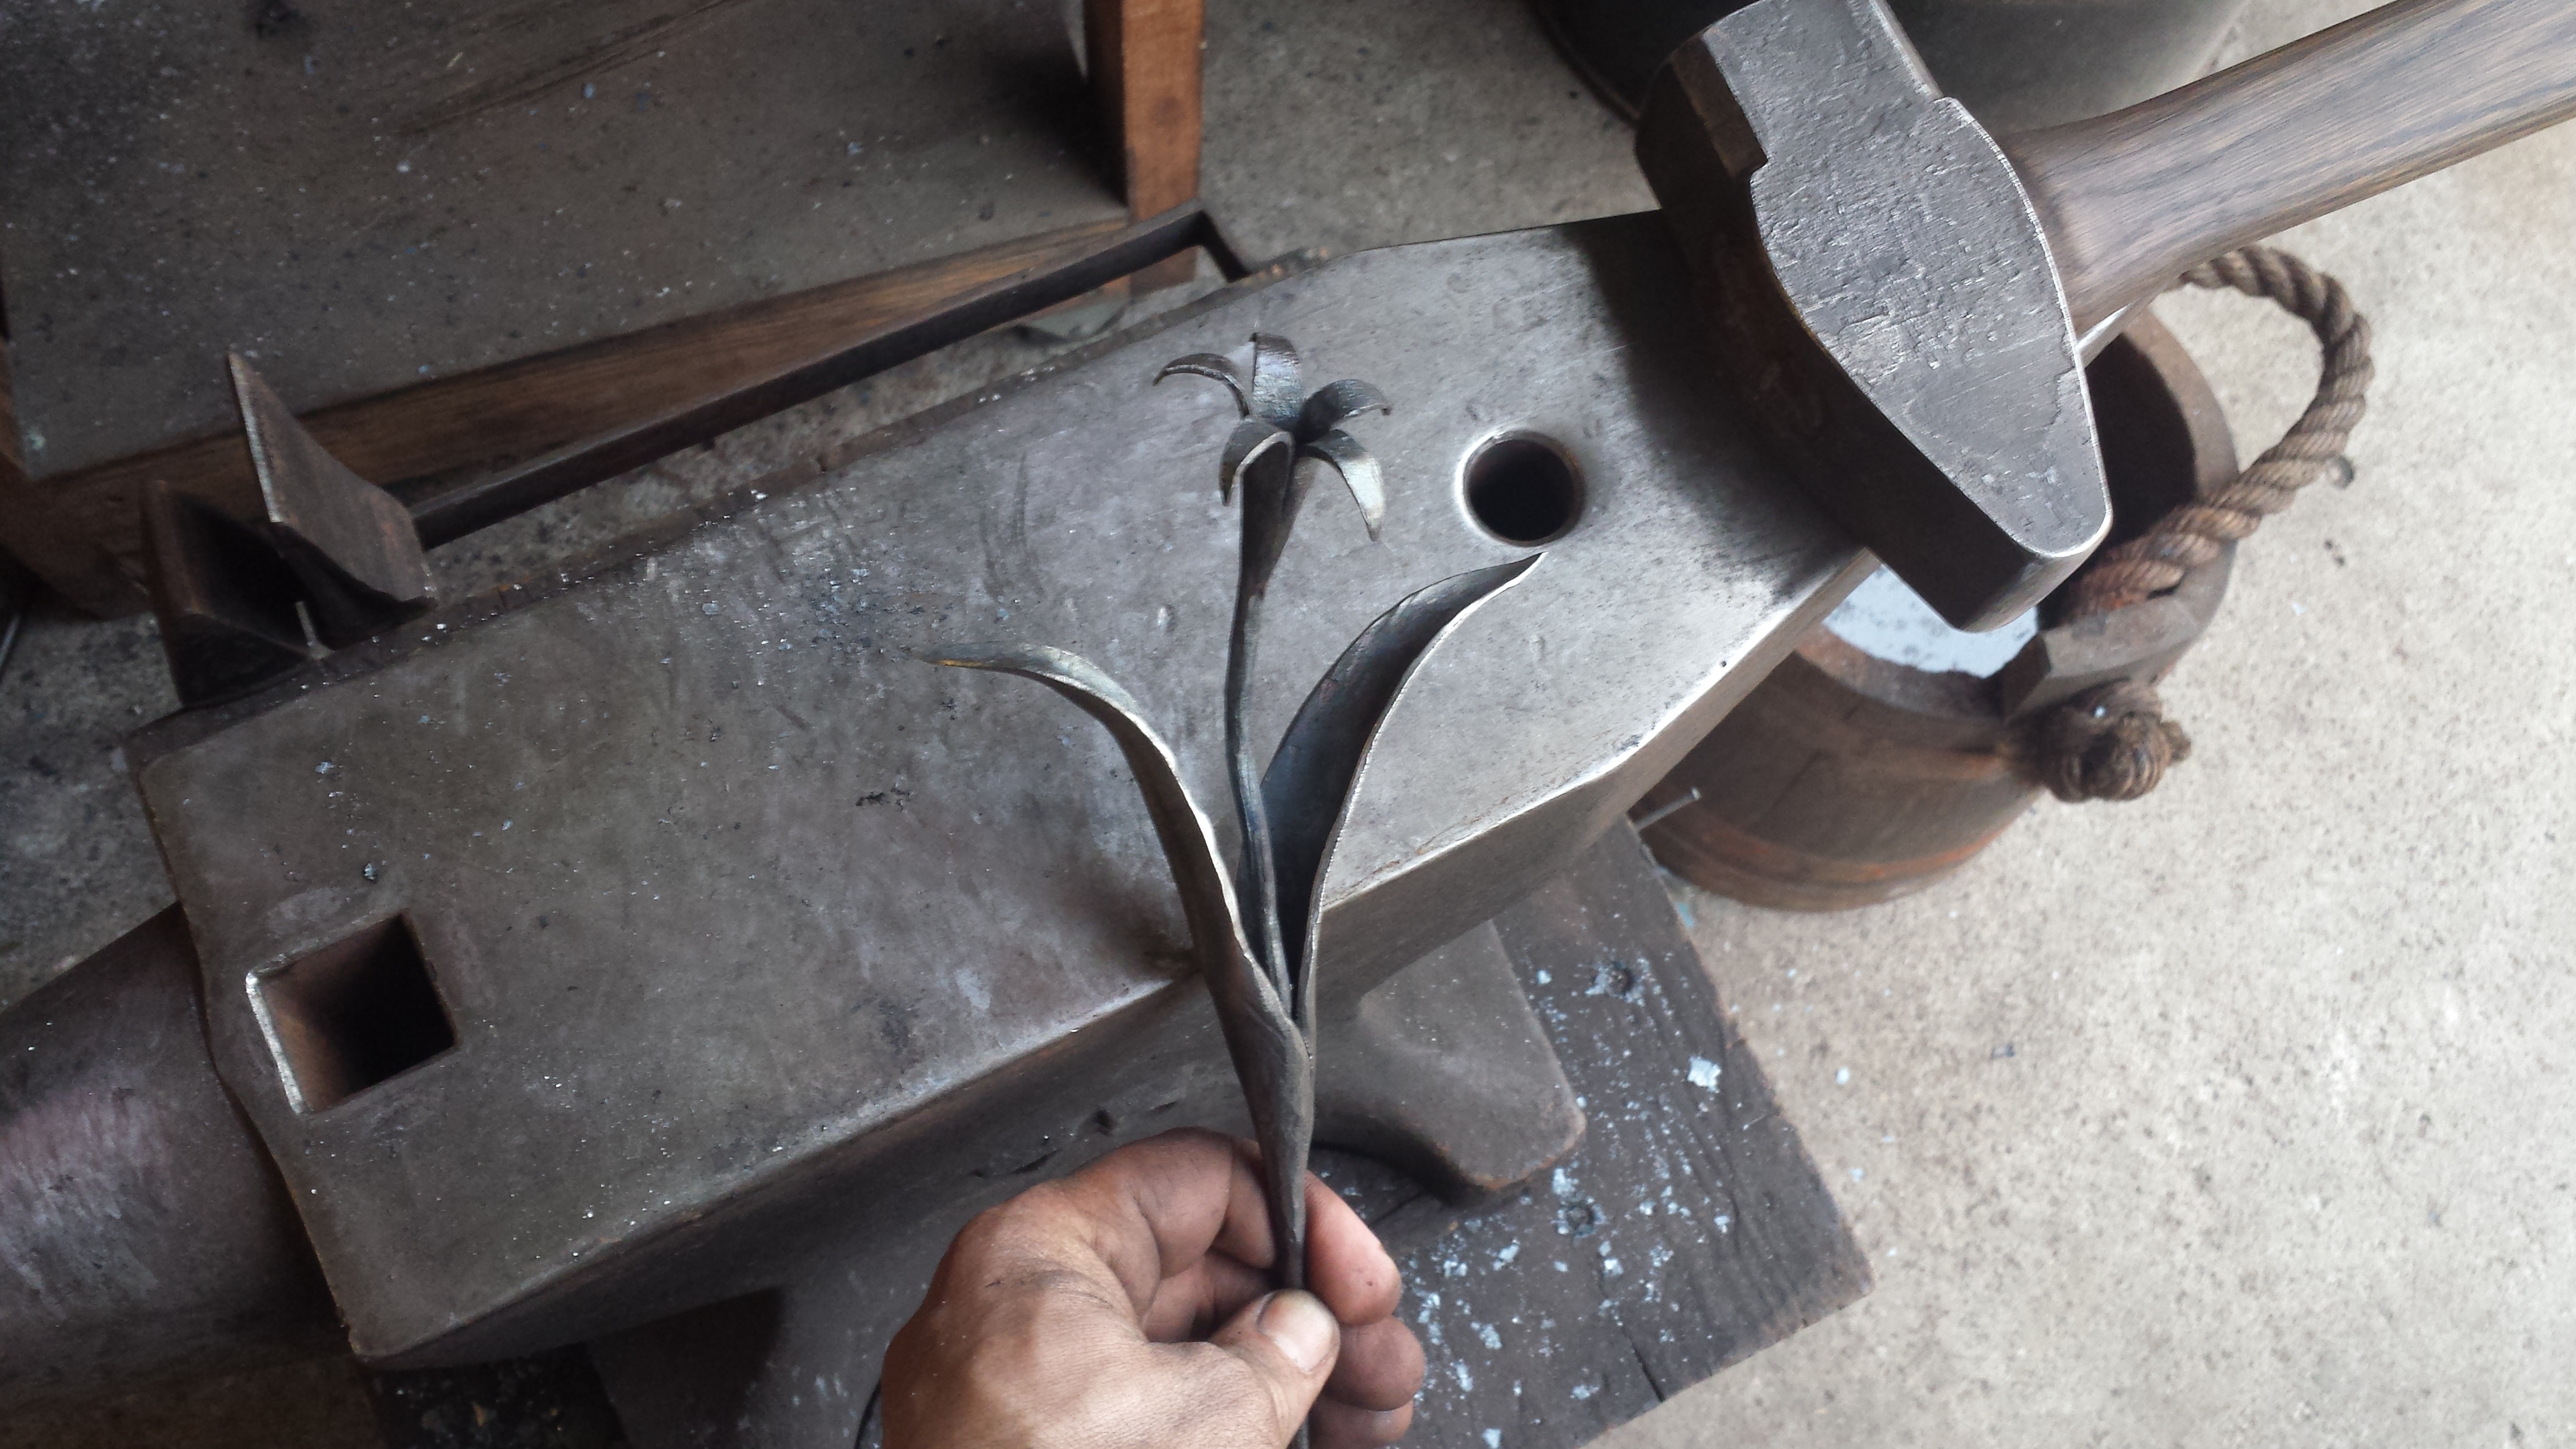
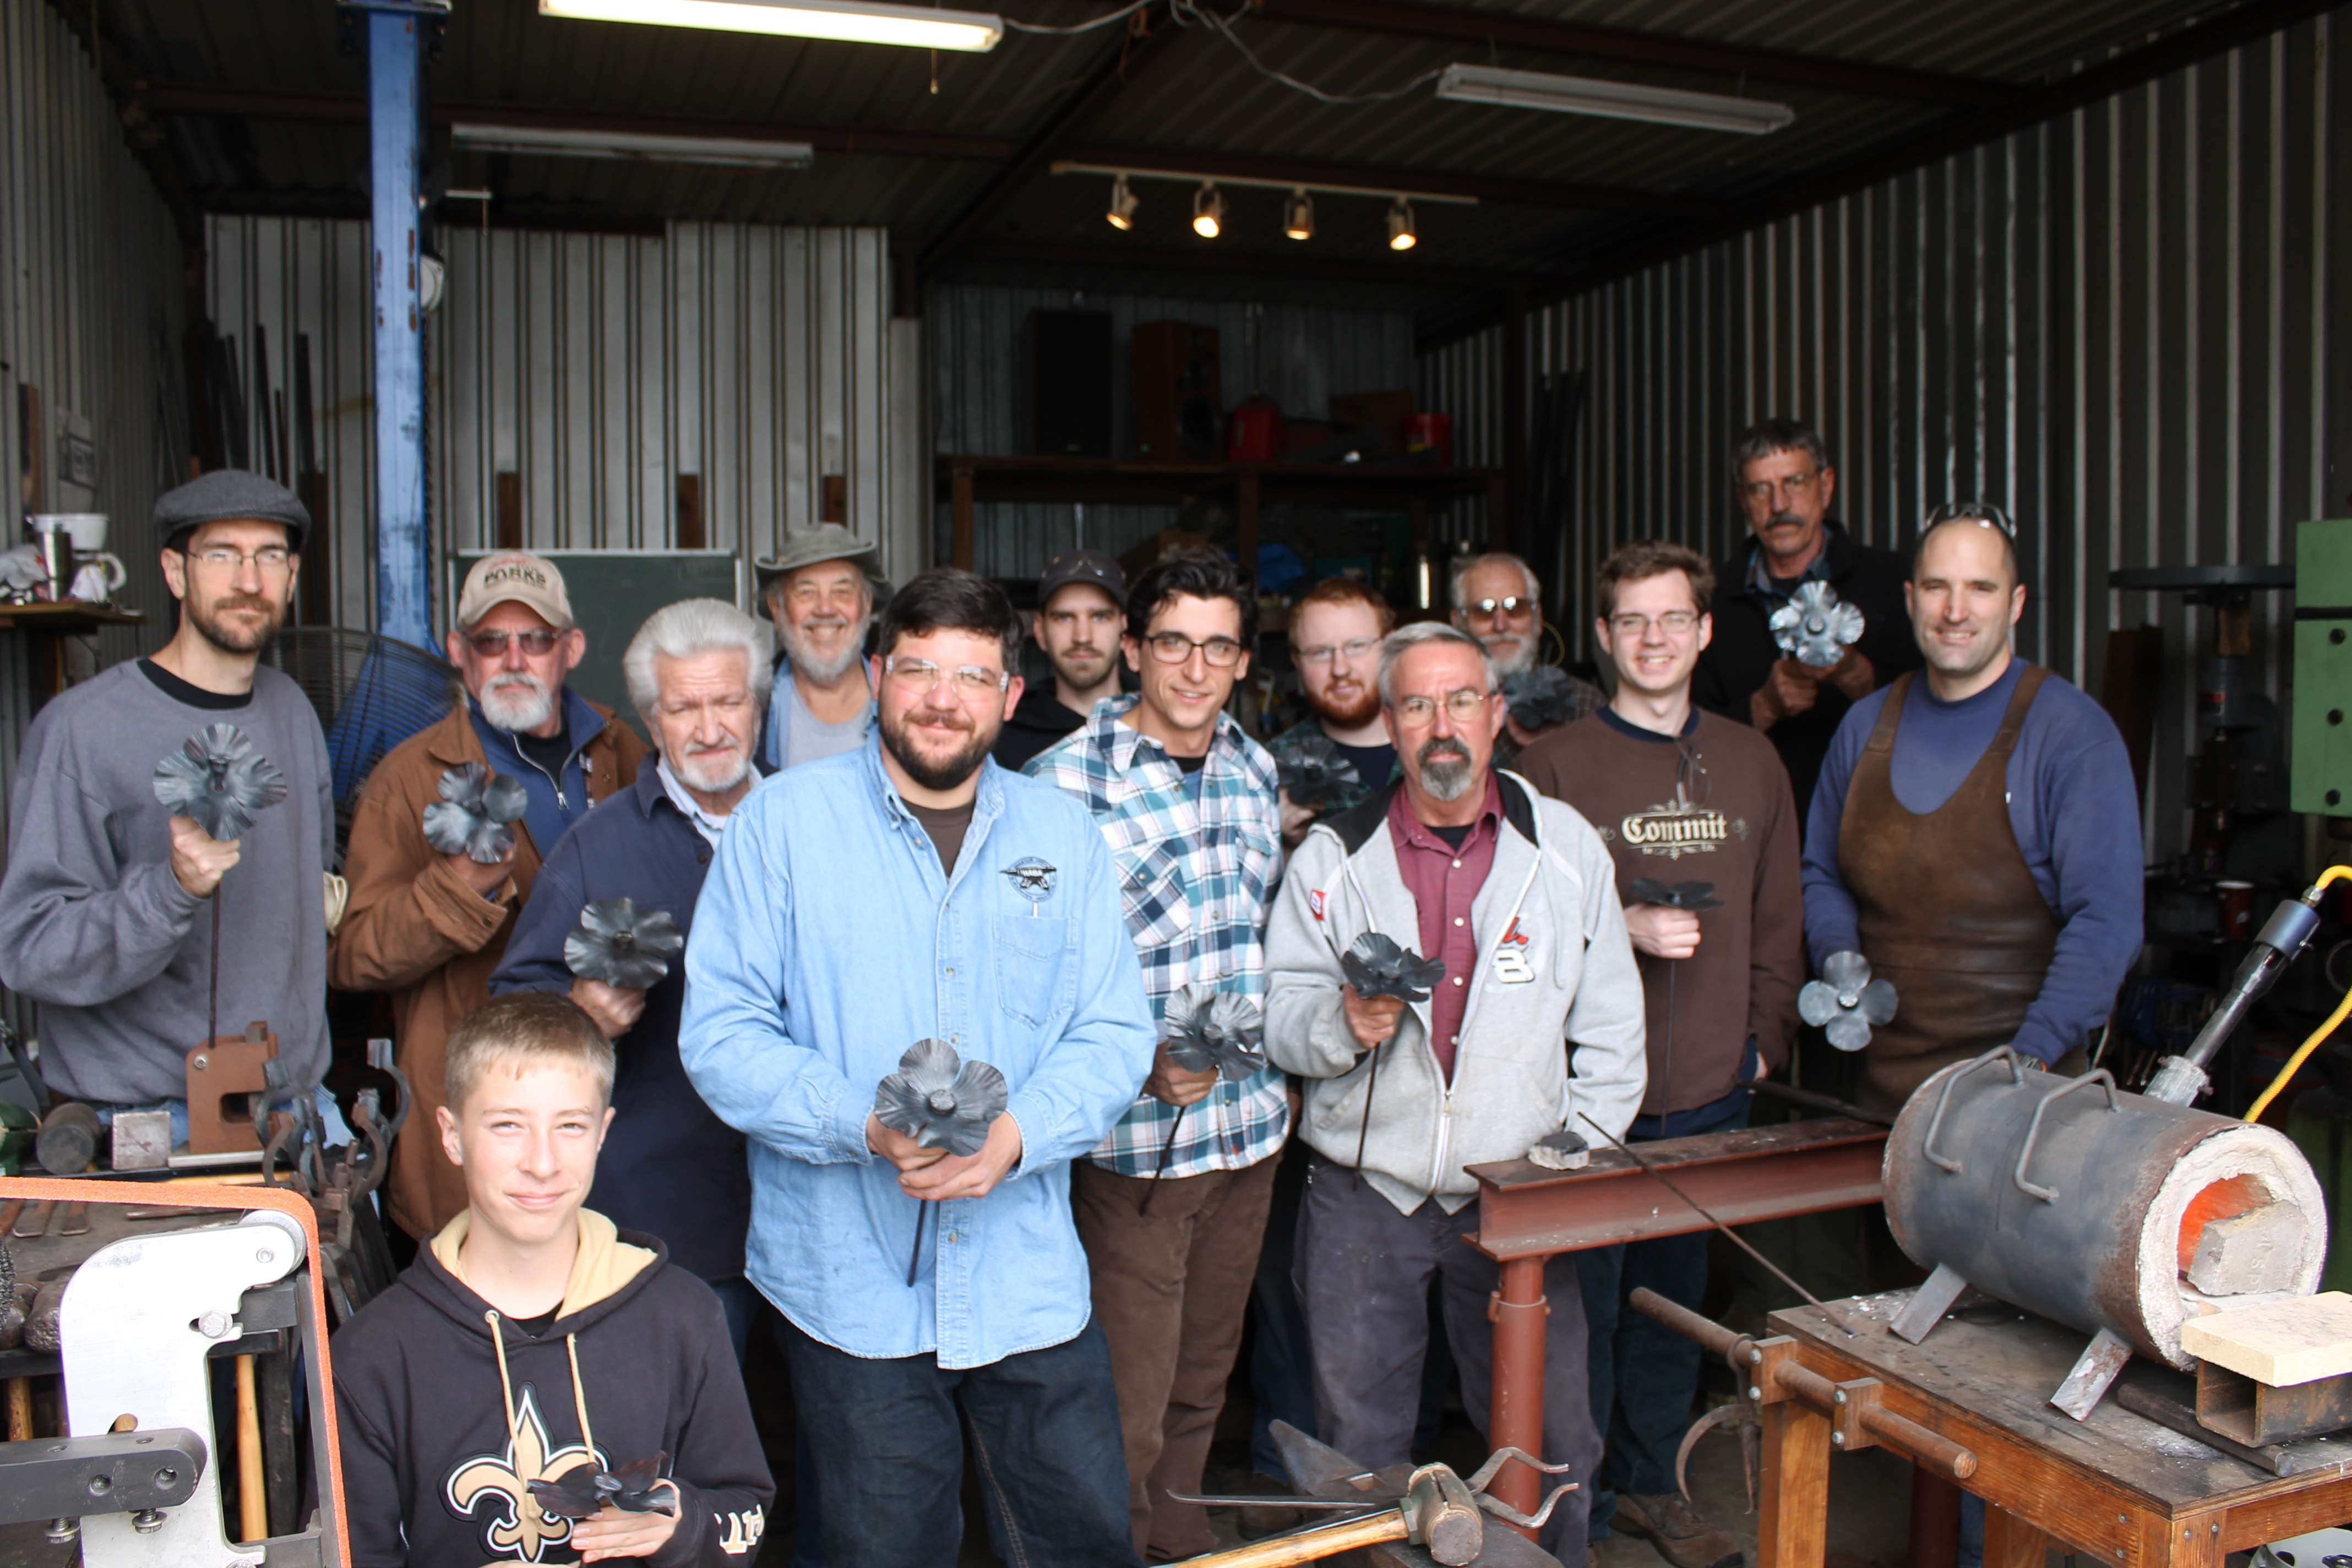
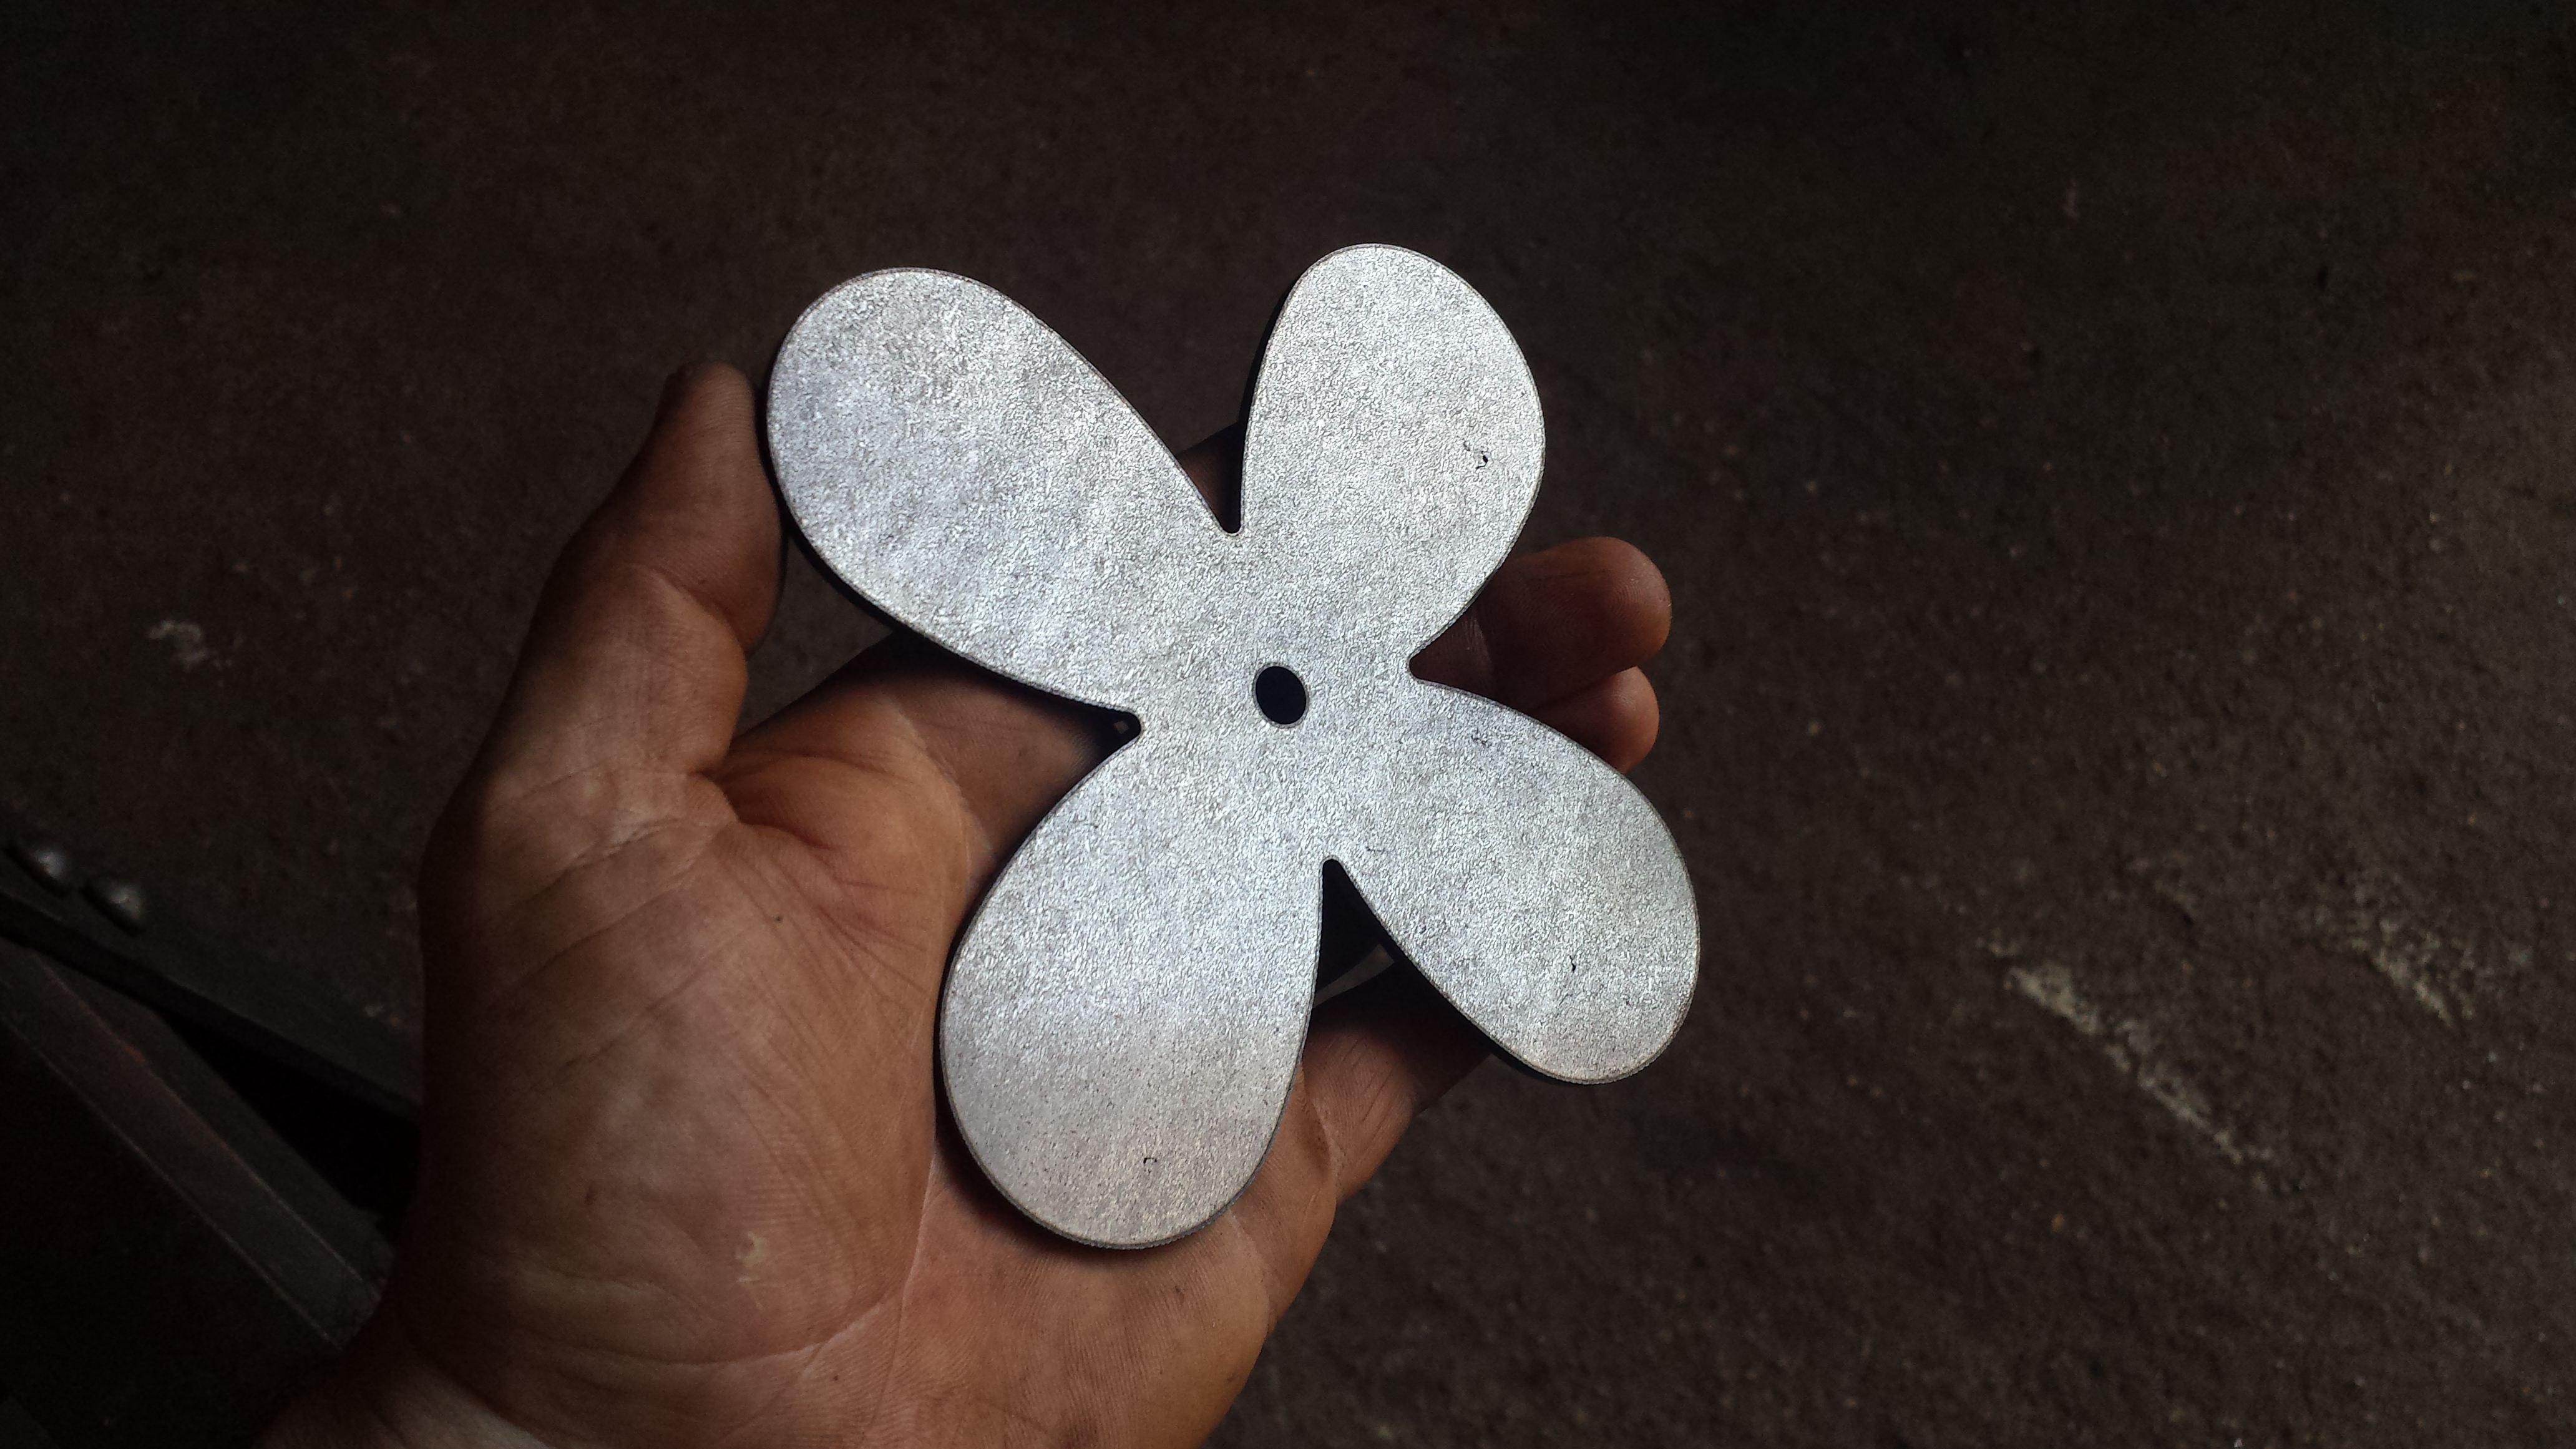
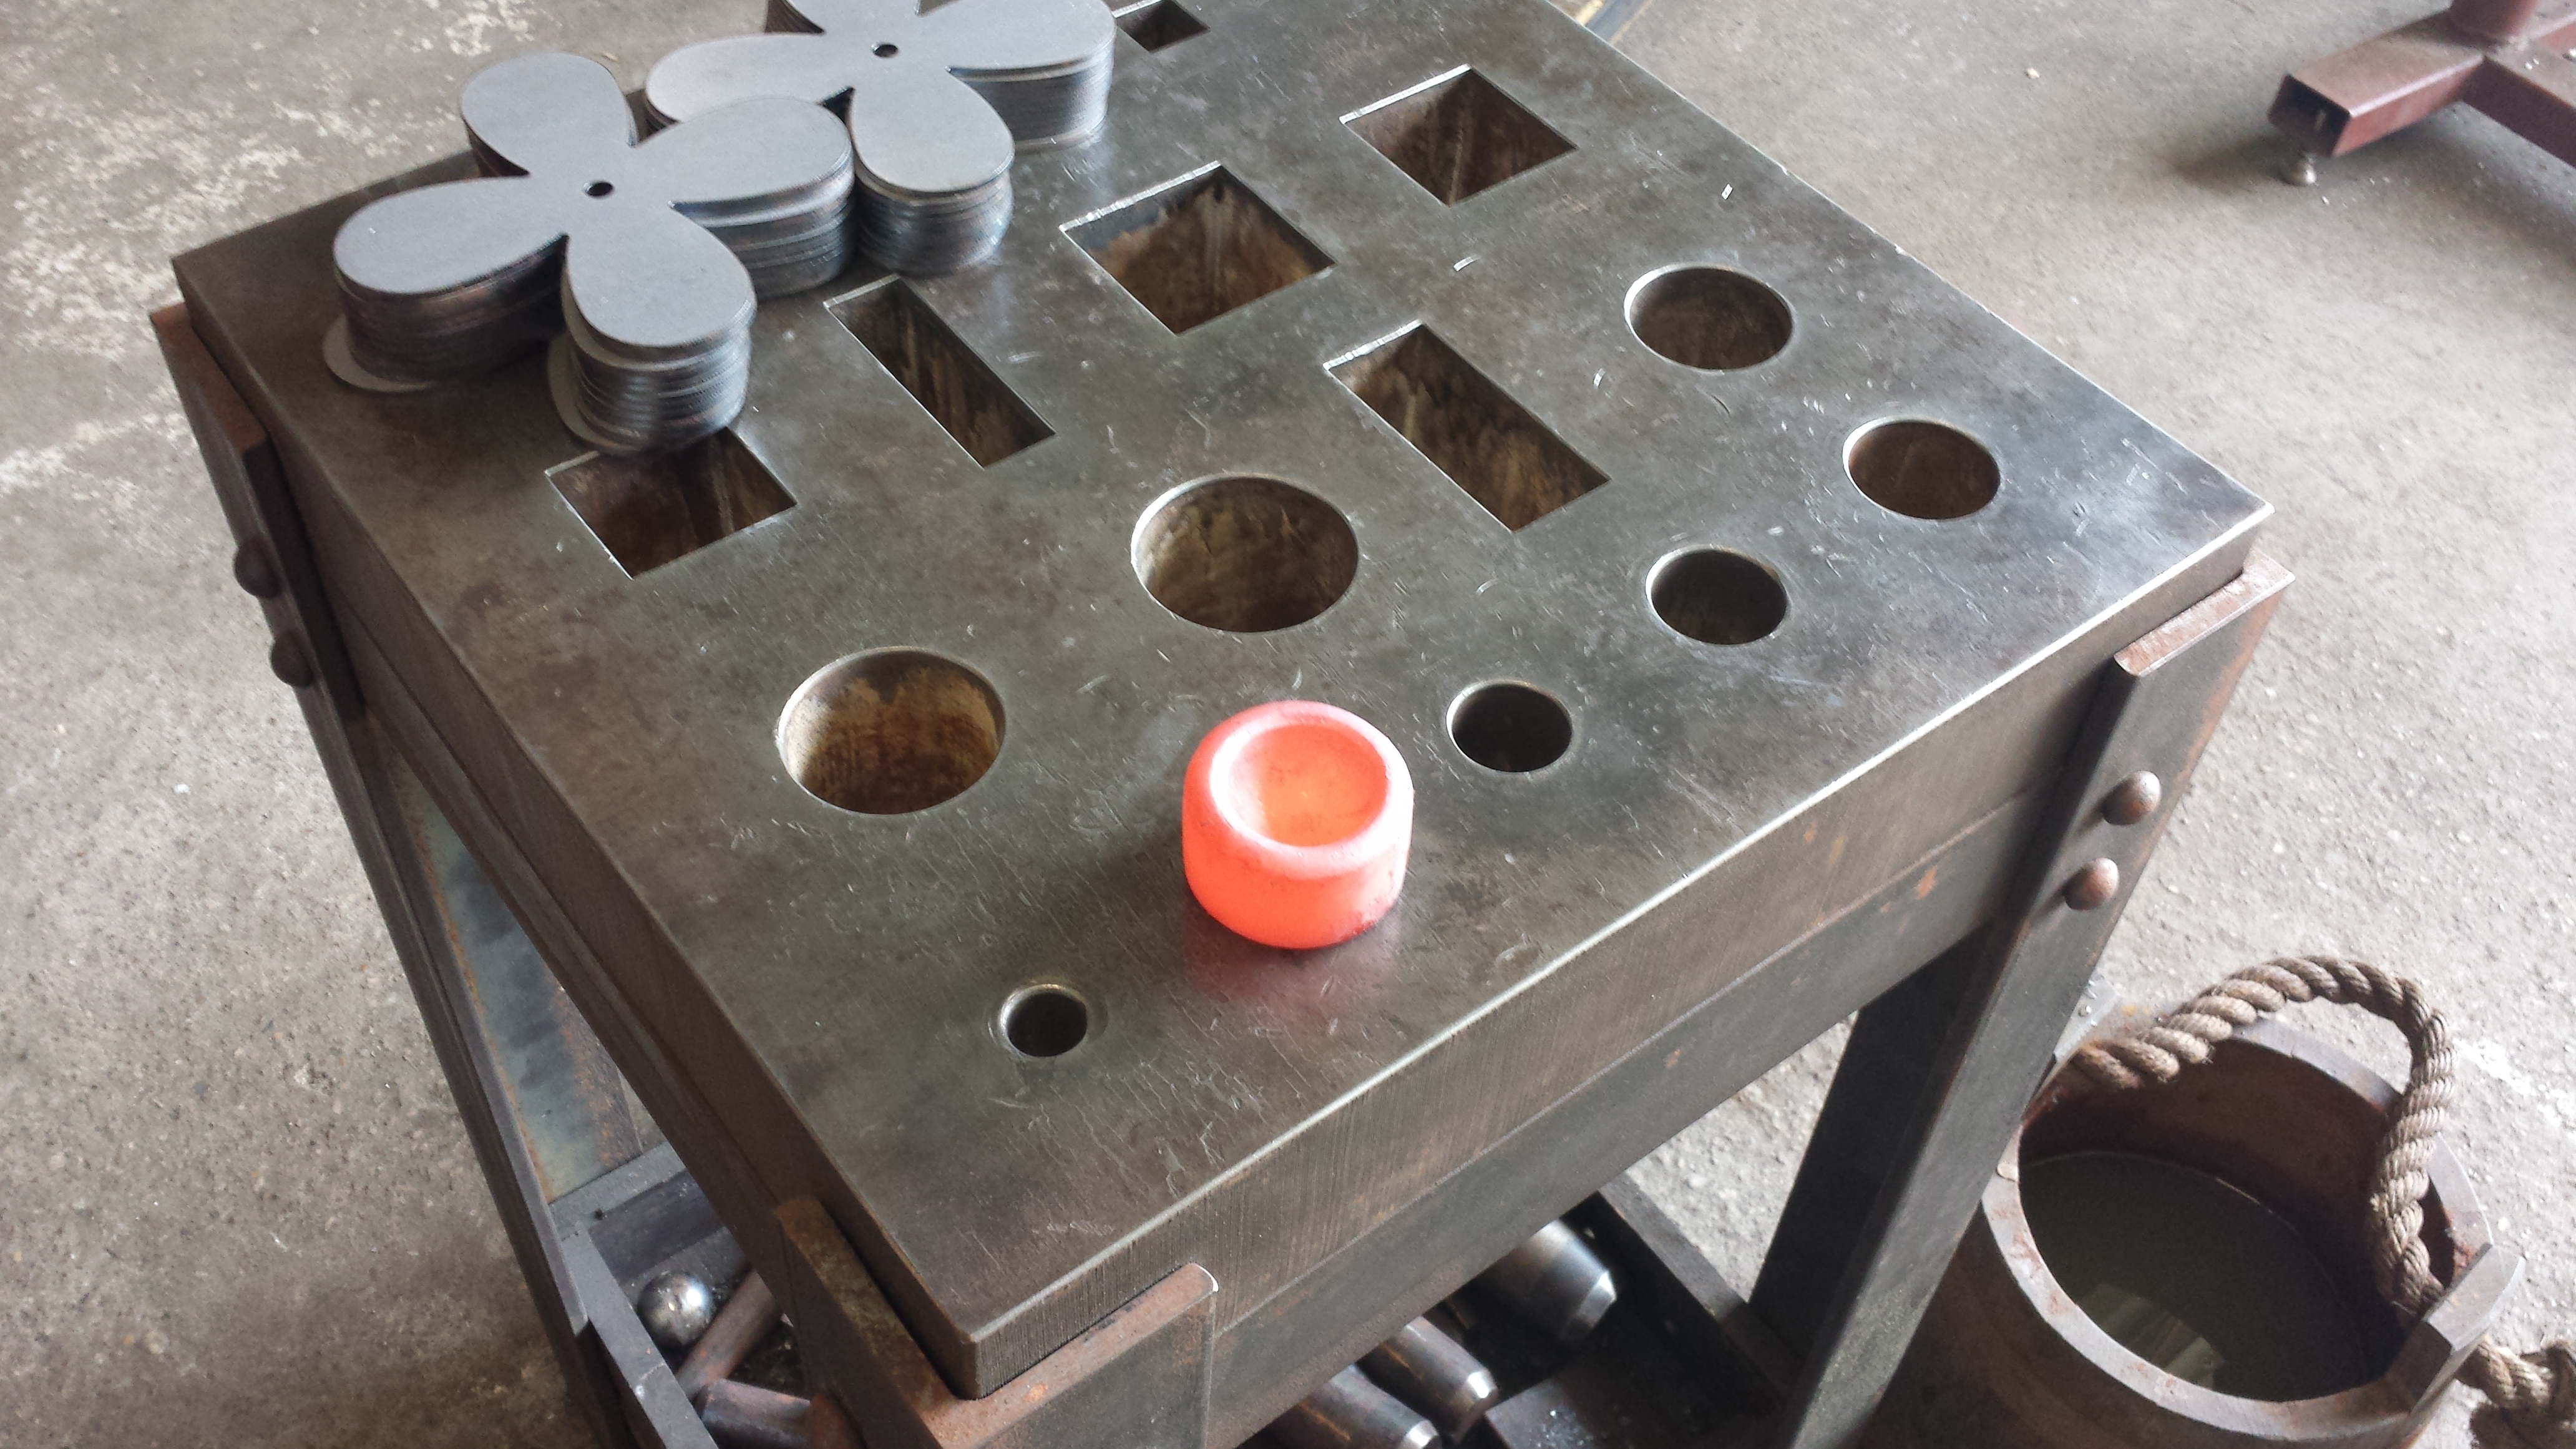
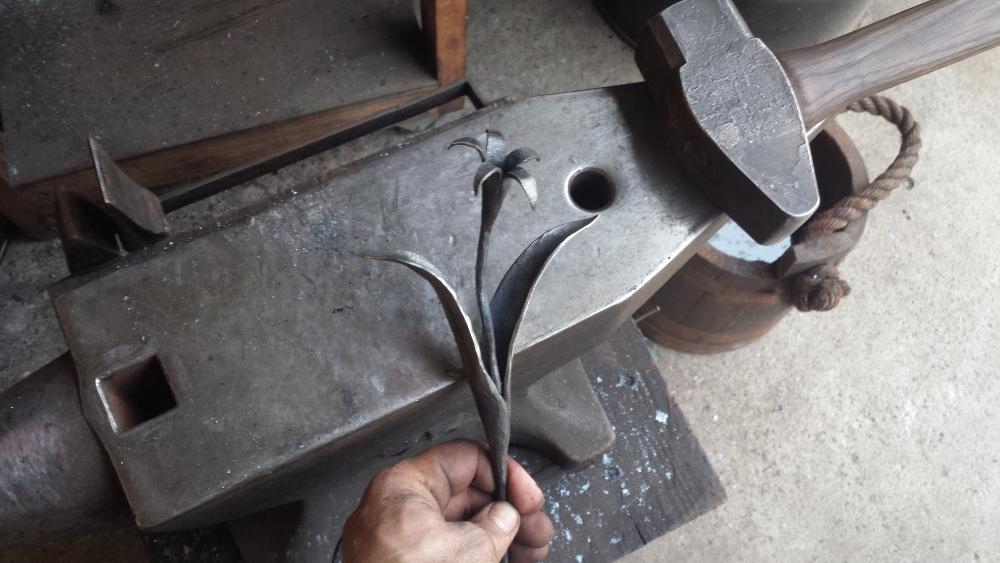
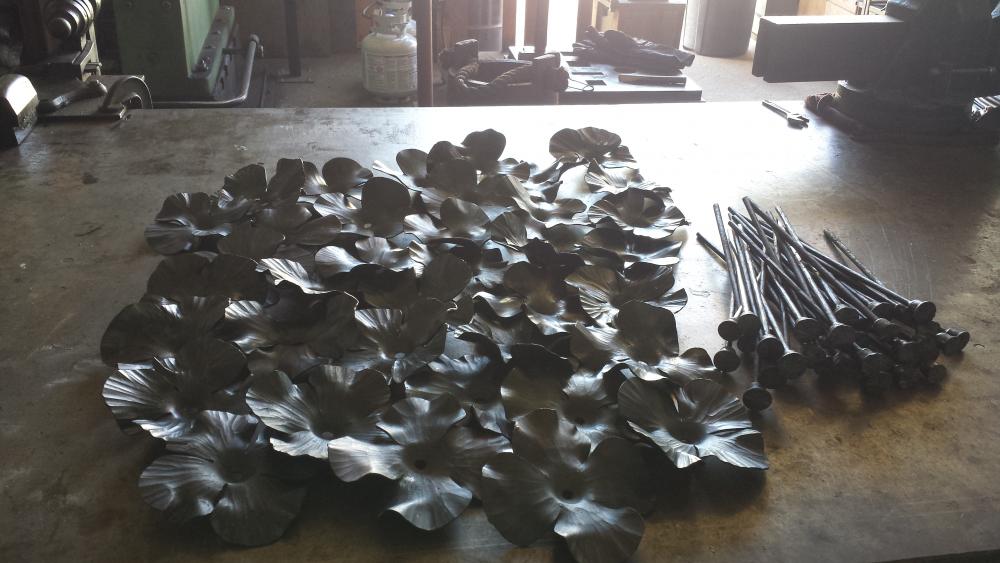
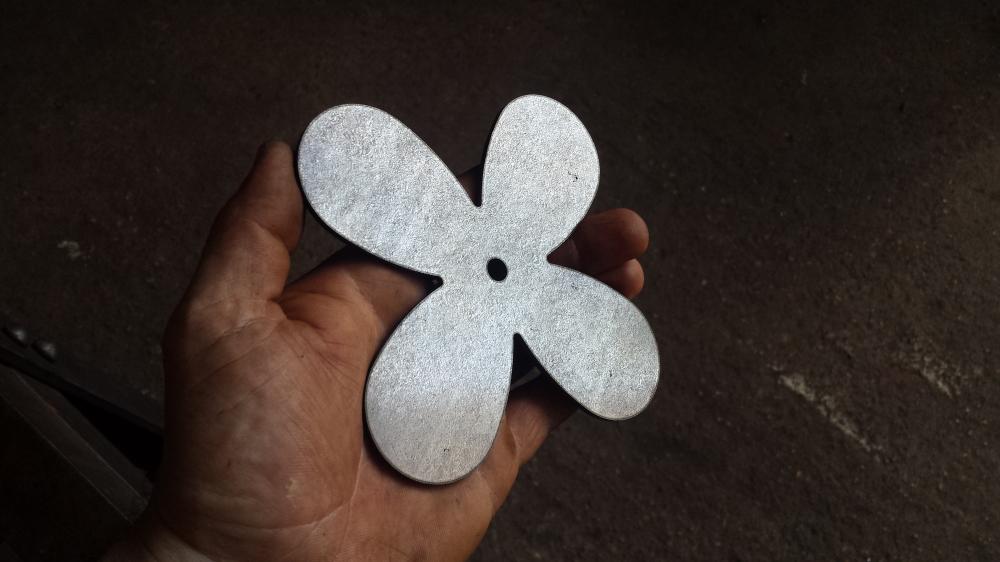
A productive day this Saturday as HABA members came over to help with the forging of the flowers and stems, with around 40 completed. Good times, these will be shipped out this week

-
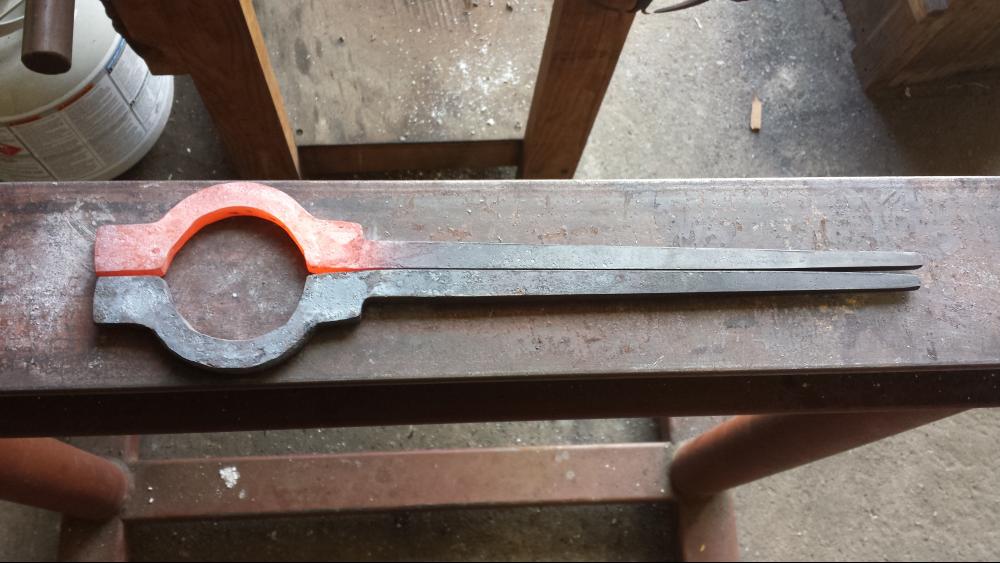
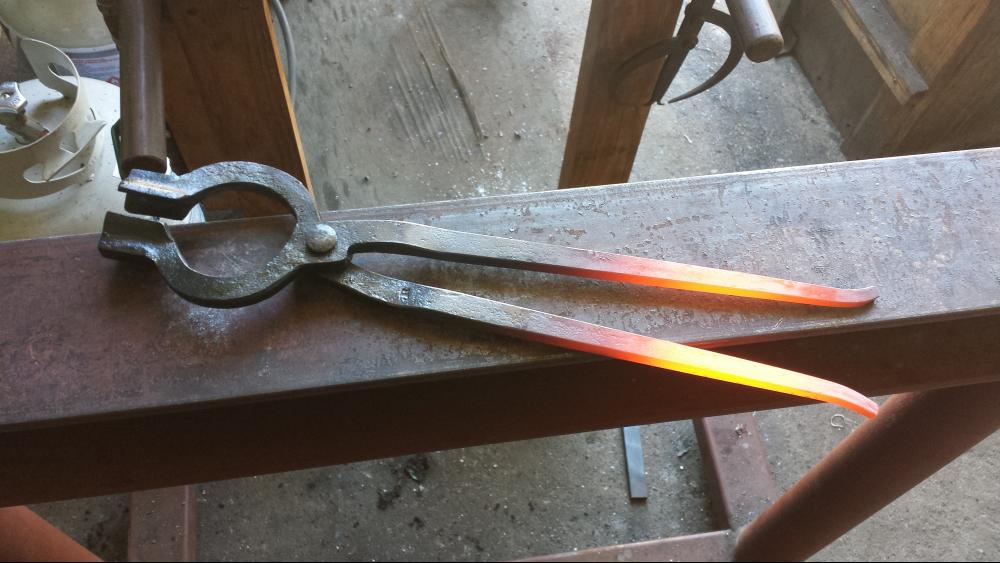
Small project today. Bolt tongs mostly using Sam Salvati's measurements, thought I'd try one. Will hold 1/2" stock.

-
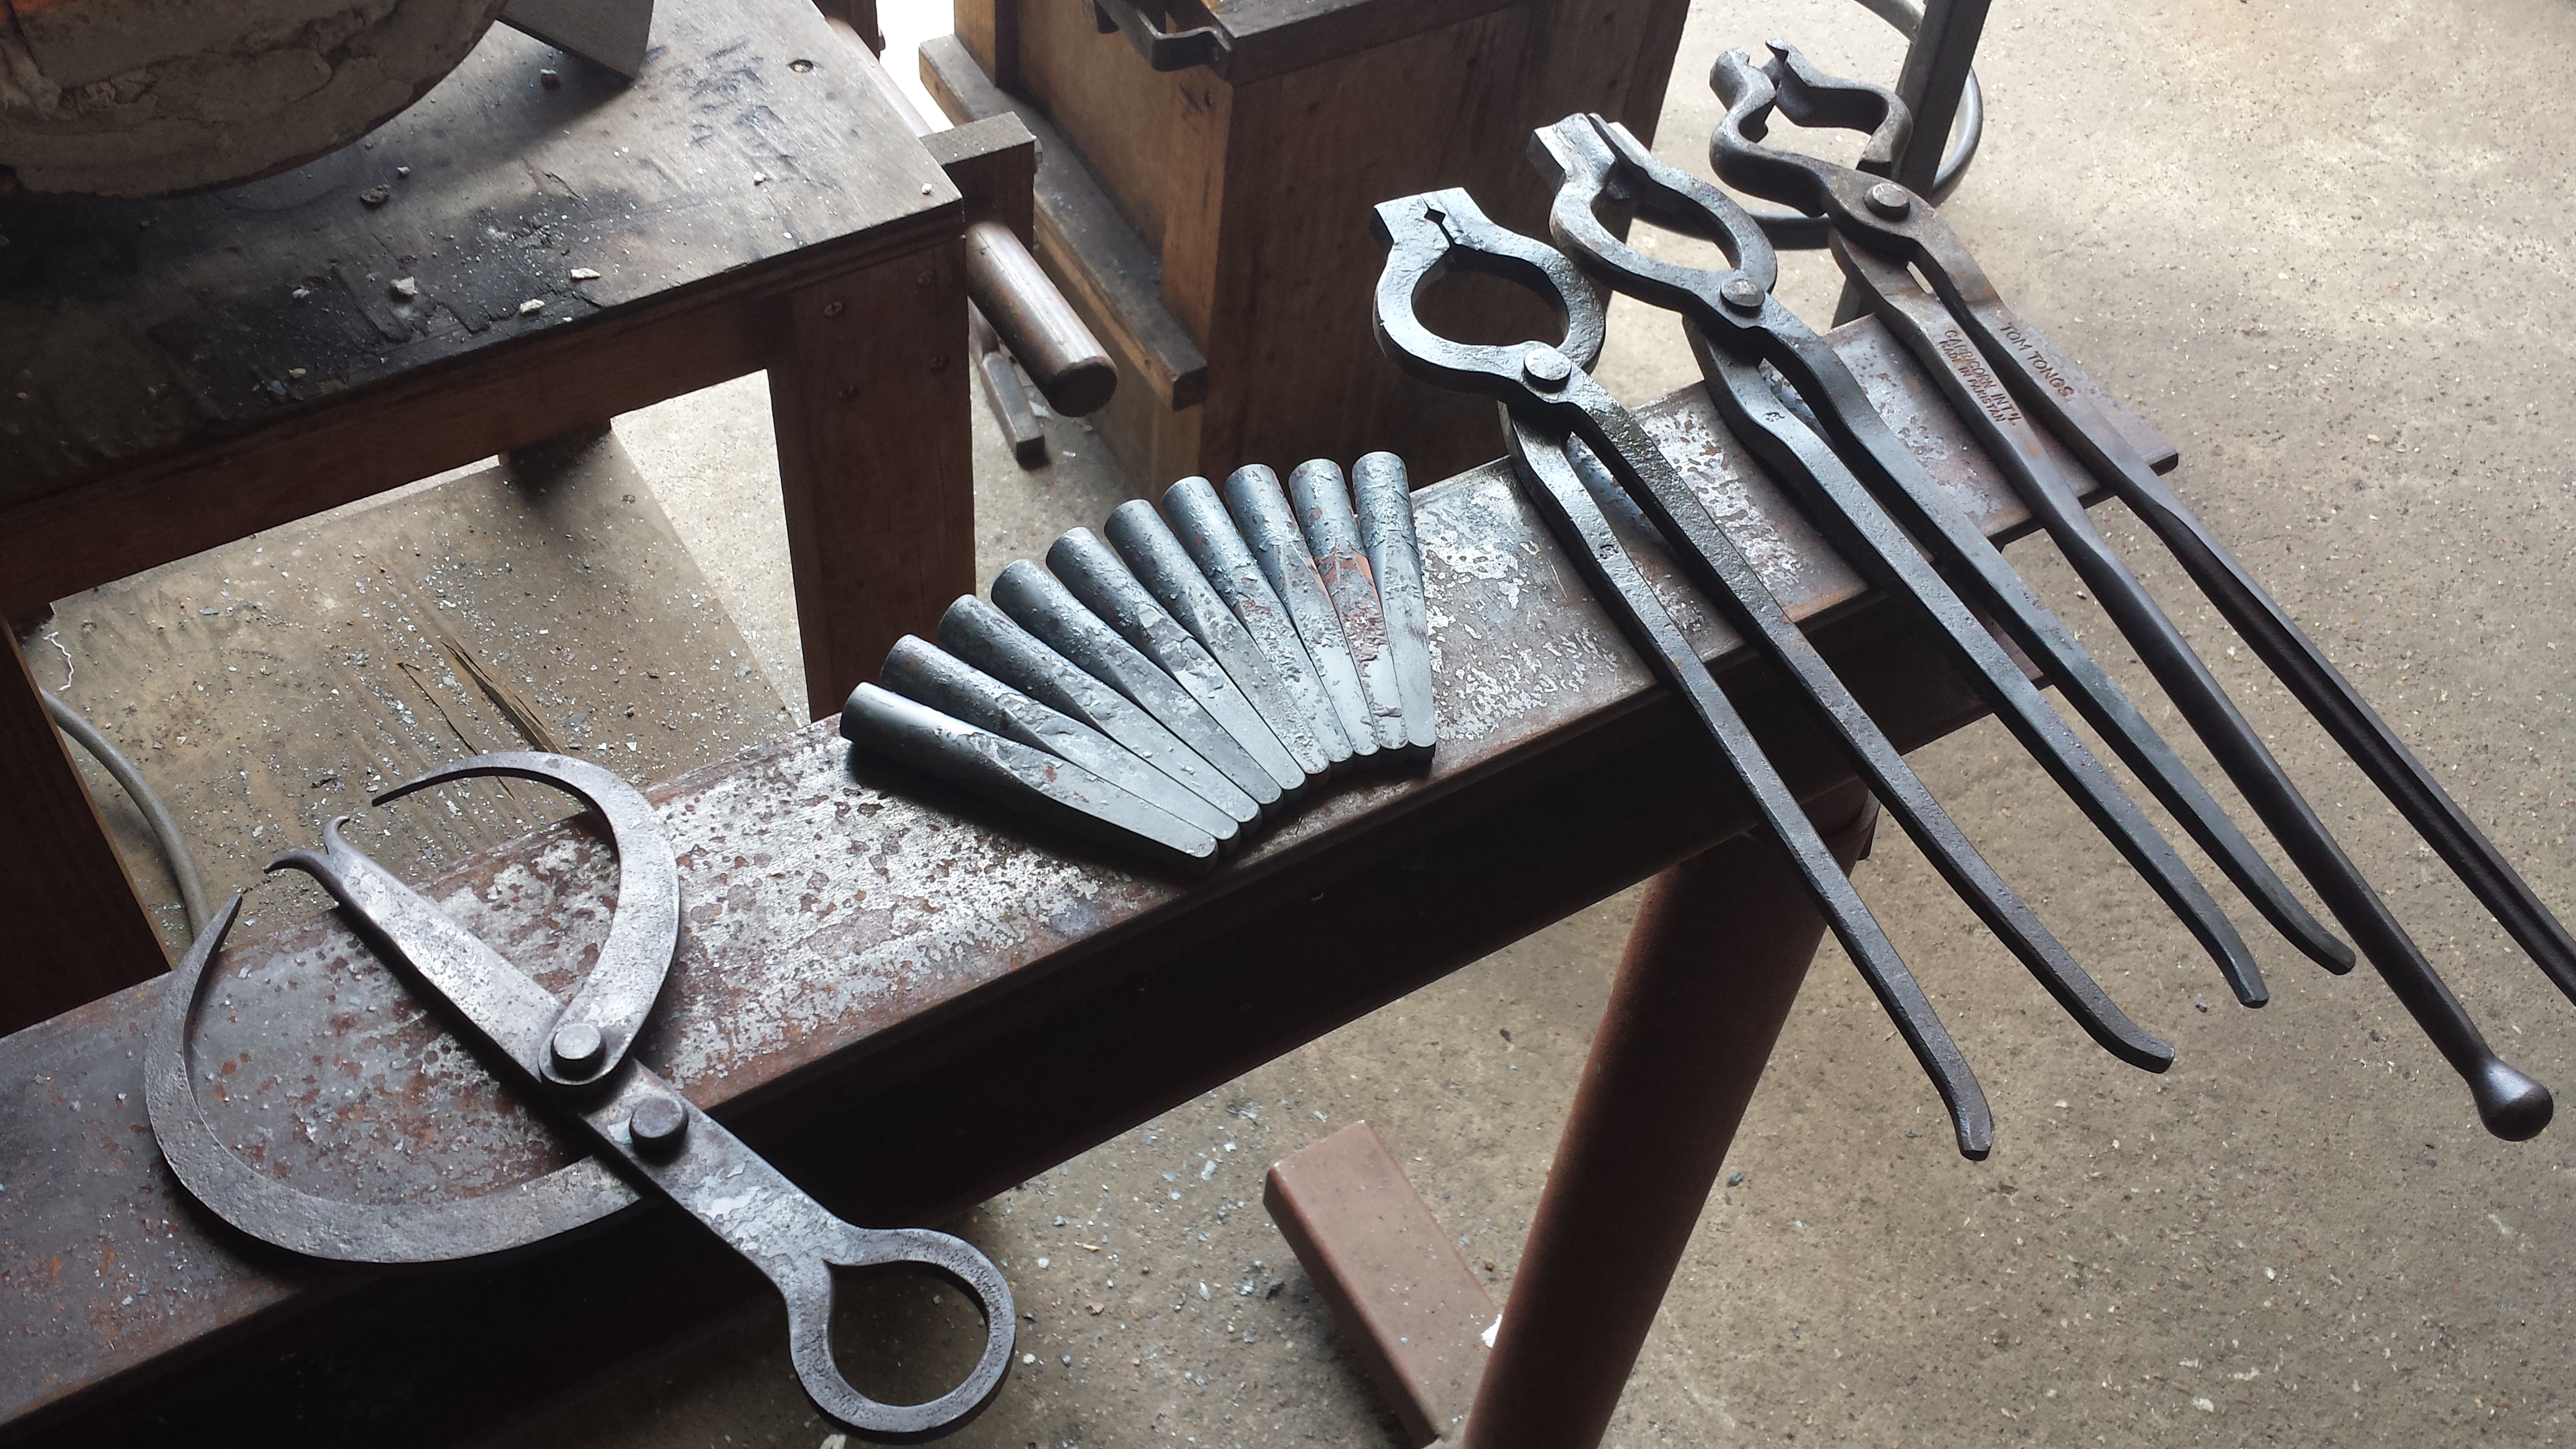
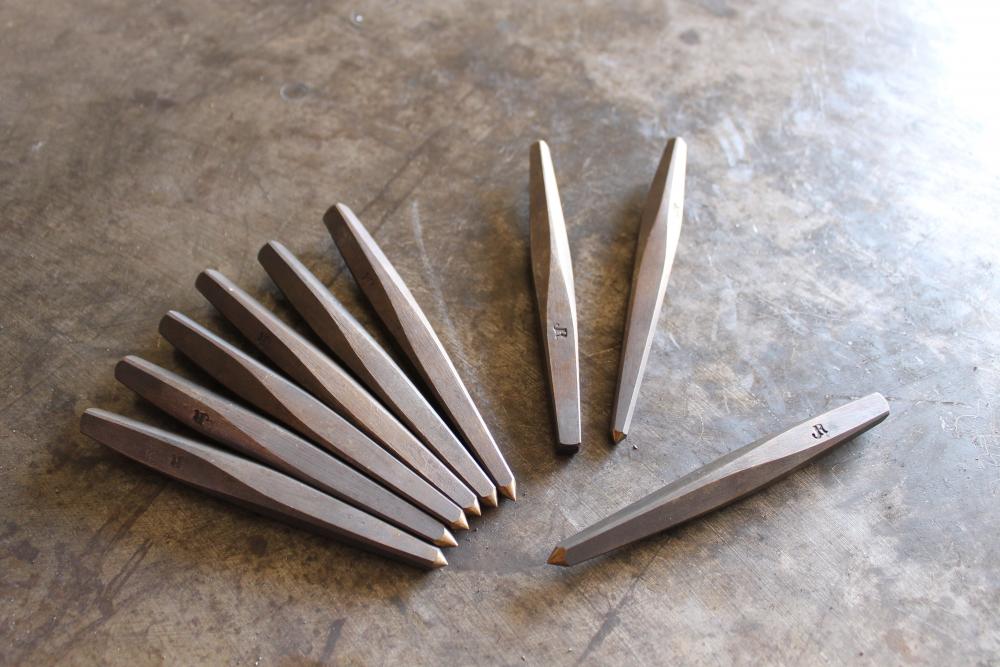
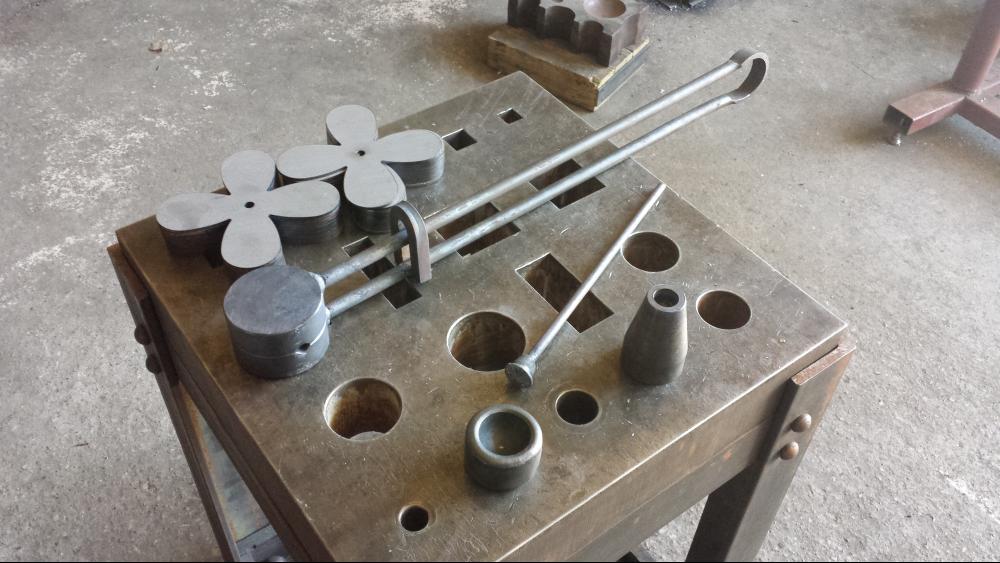
All tooling complete. Some of the dies are made from mild steel and are case hardened. They should hold up for this project. Almost set for the Houston, HABA workshop. I still need to make a few tongs and possibly some hammers if I have time.
-
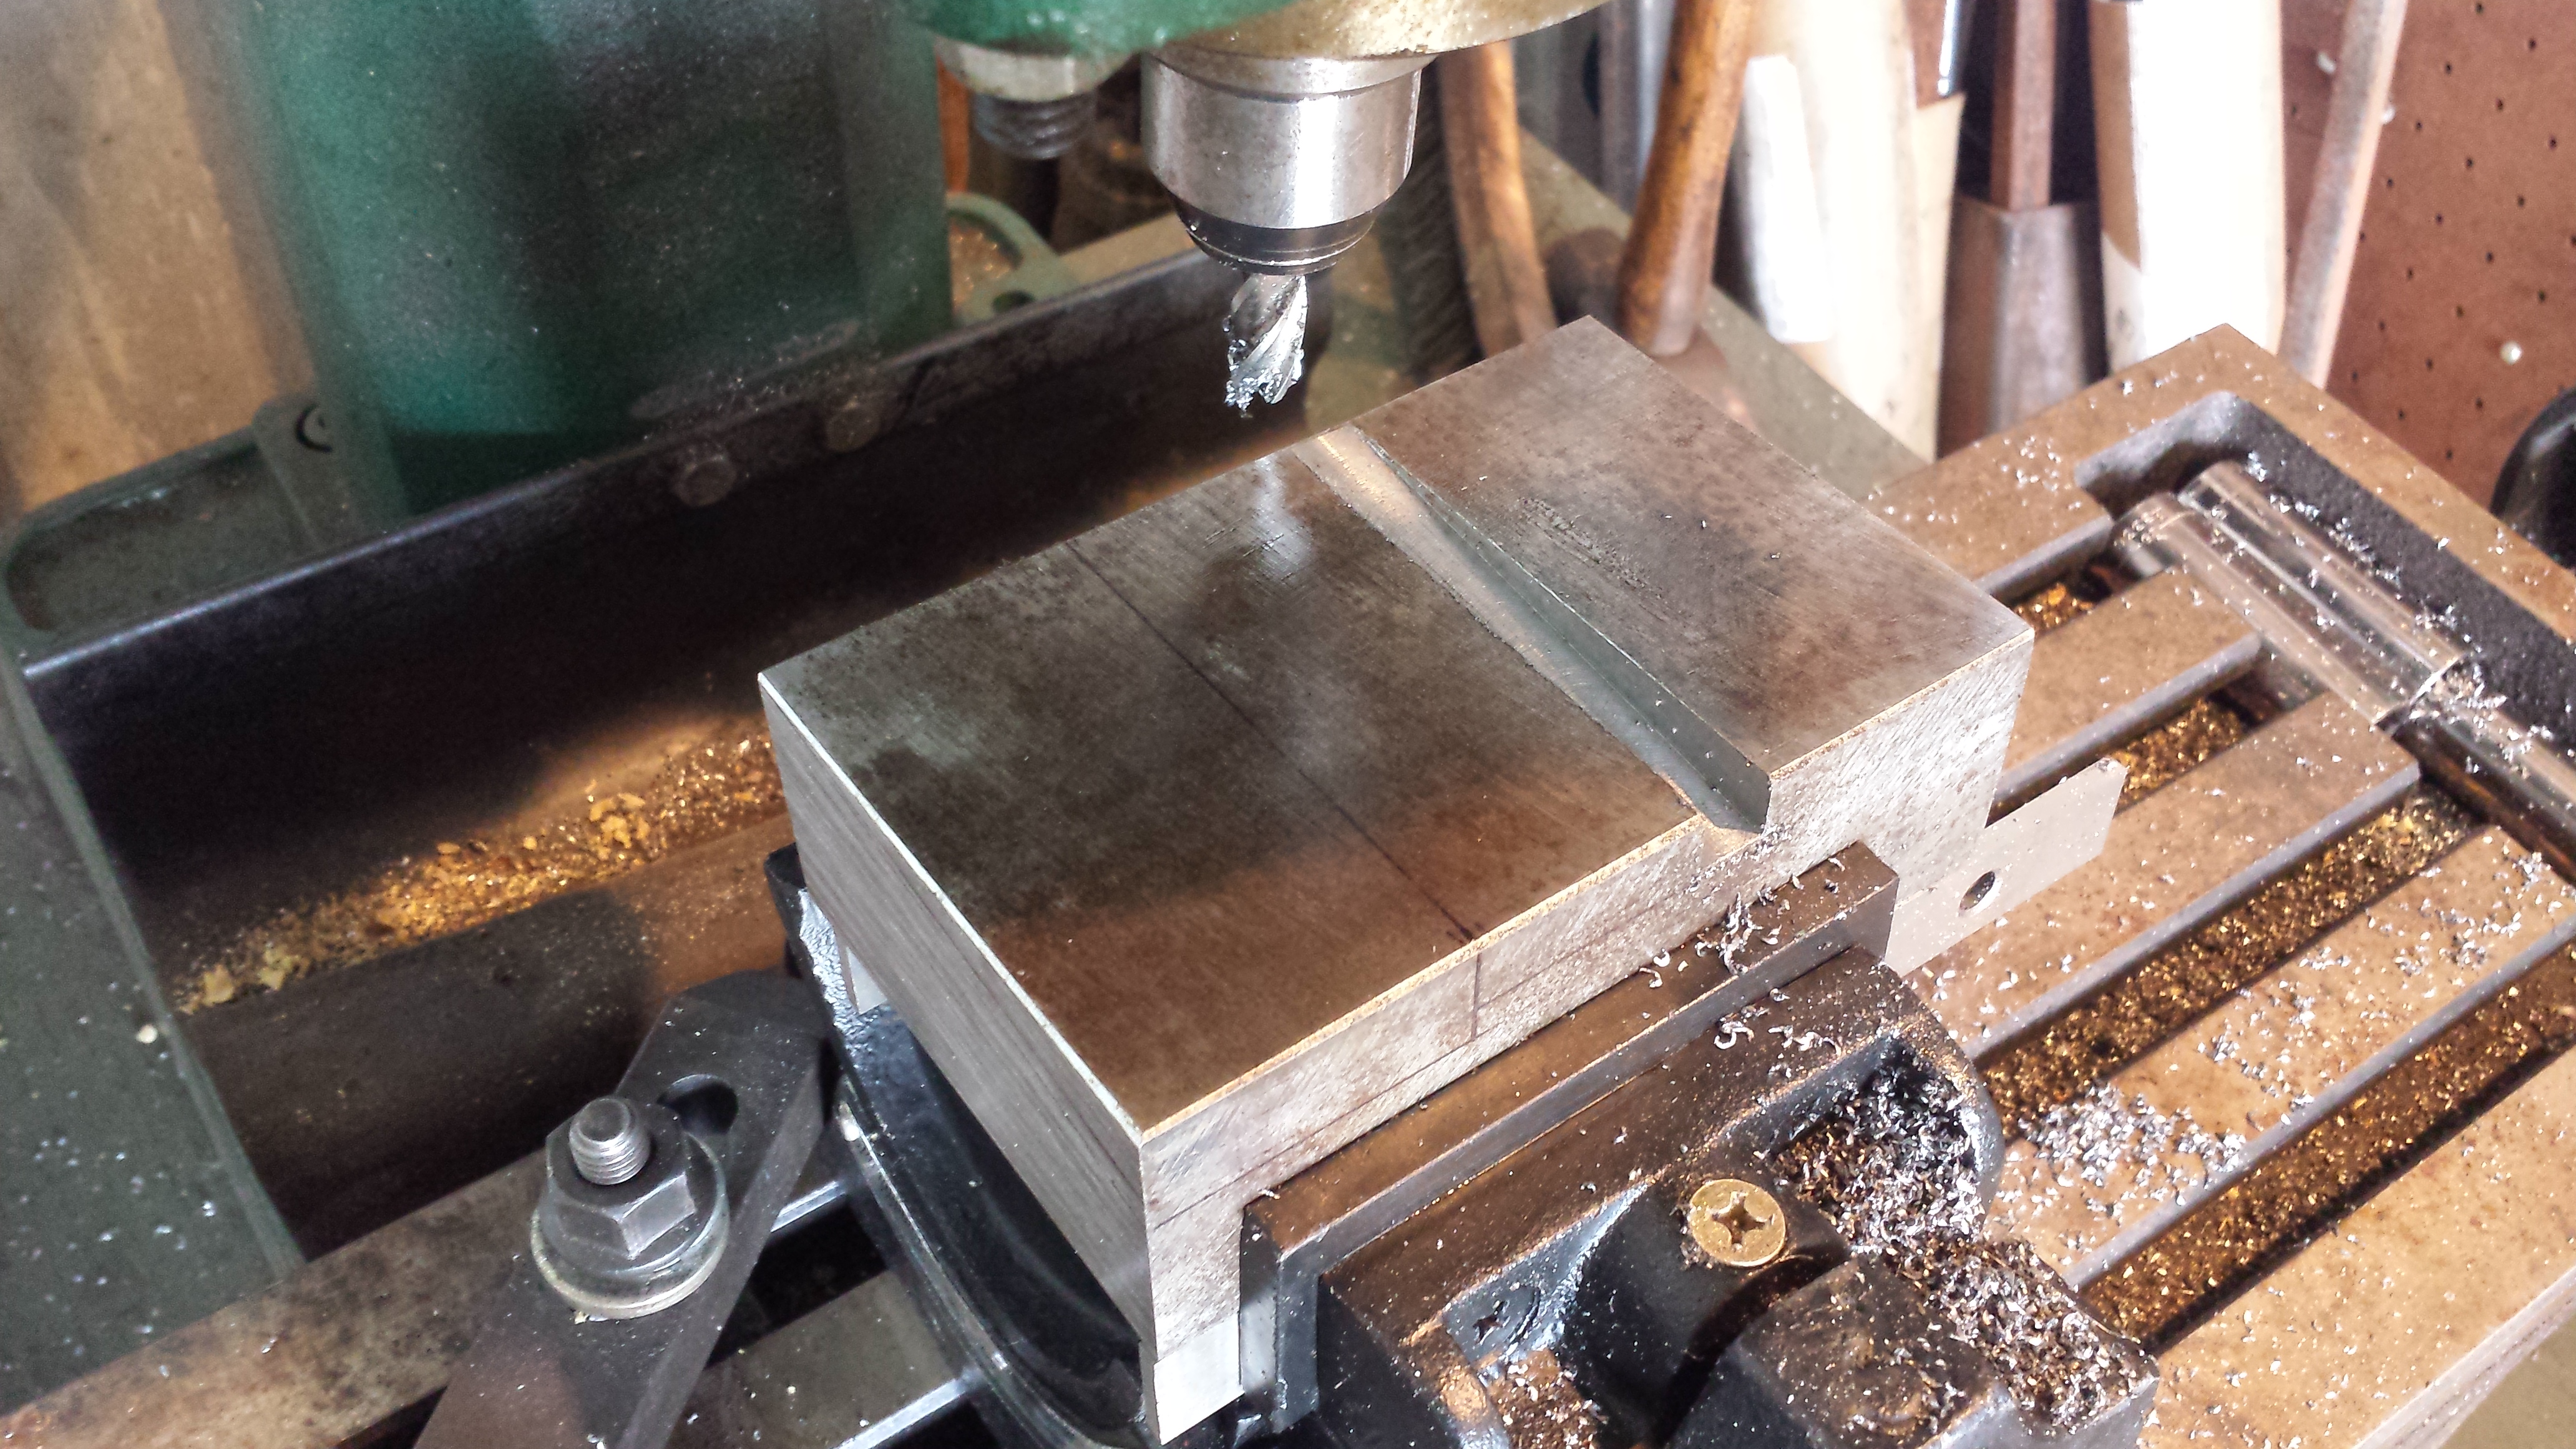
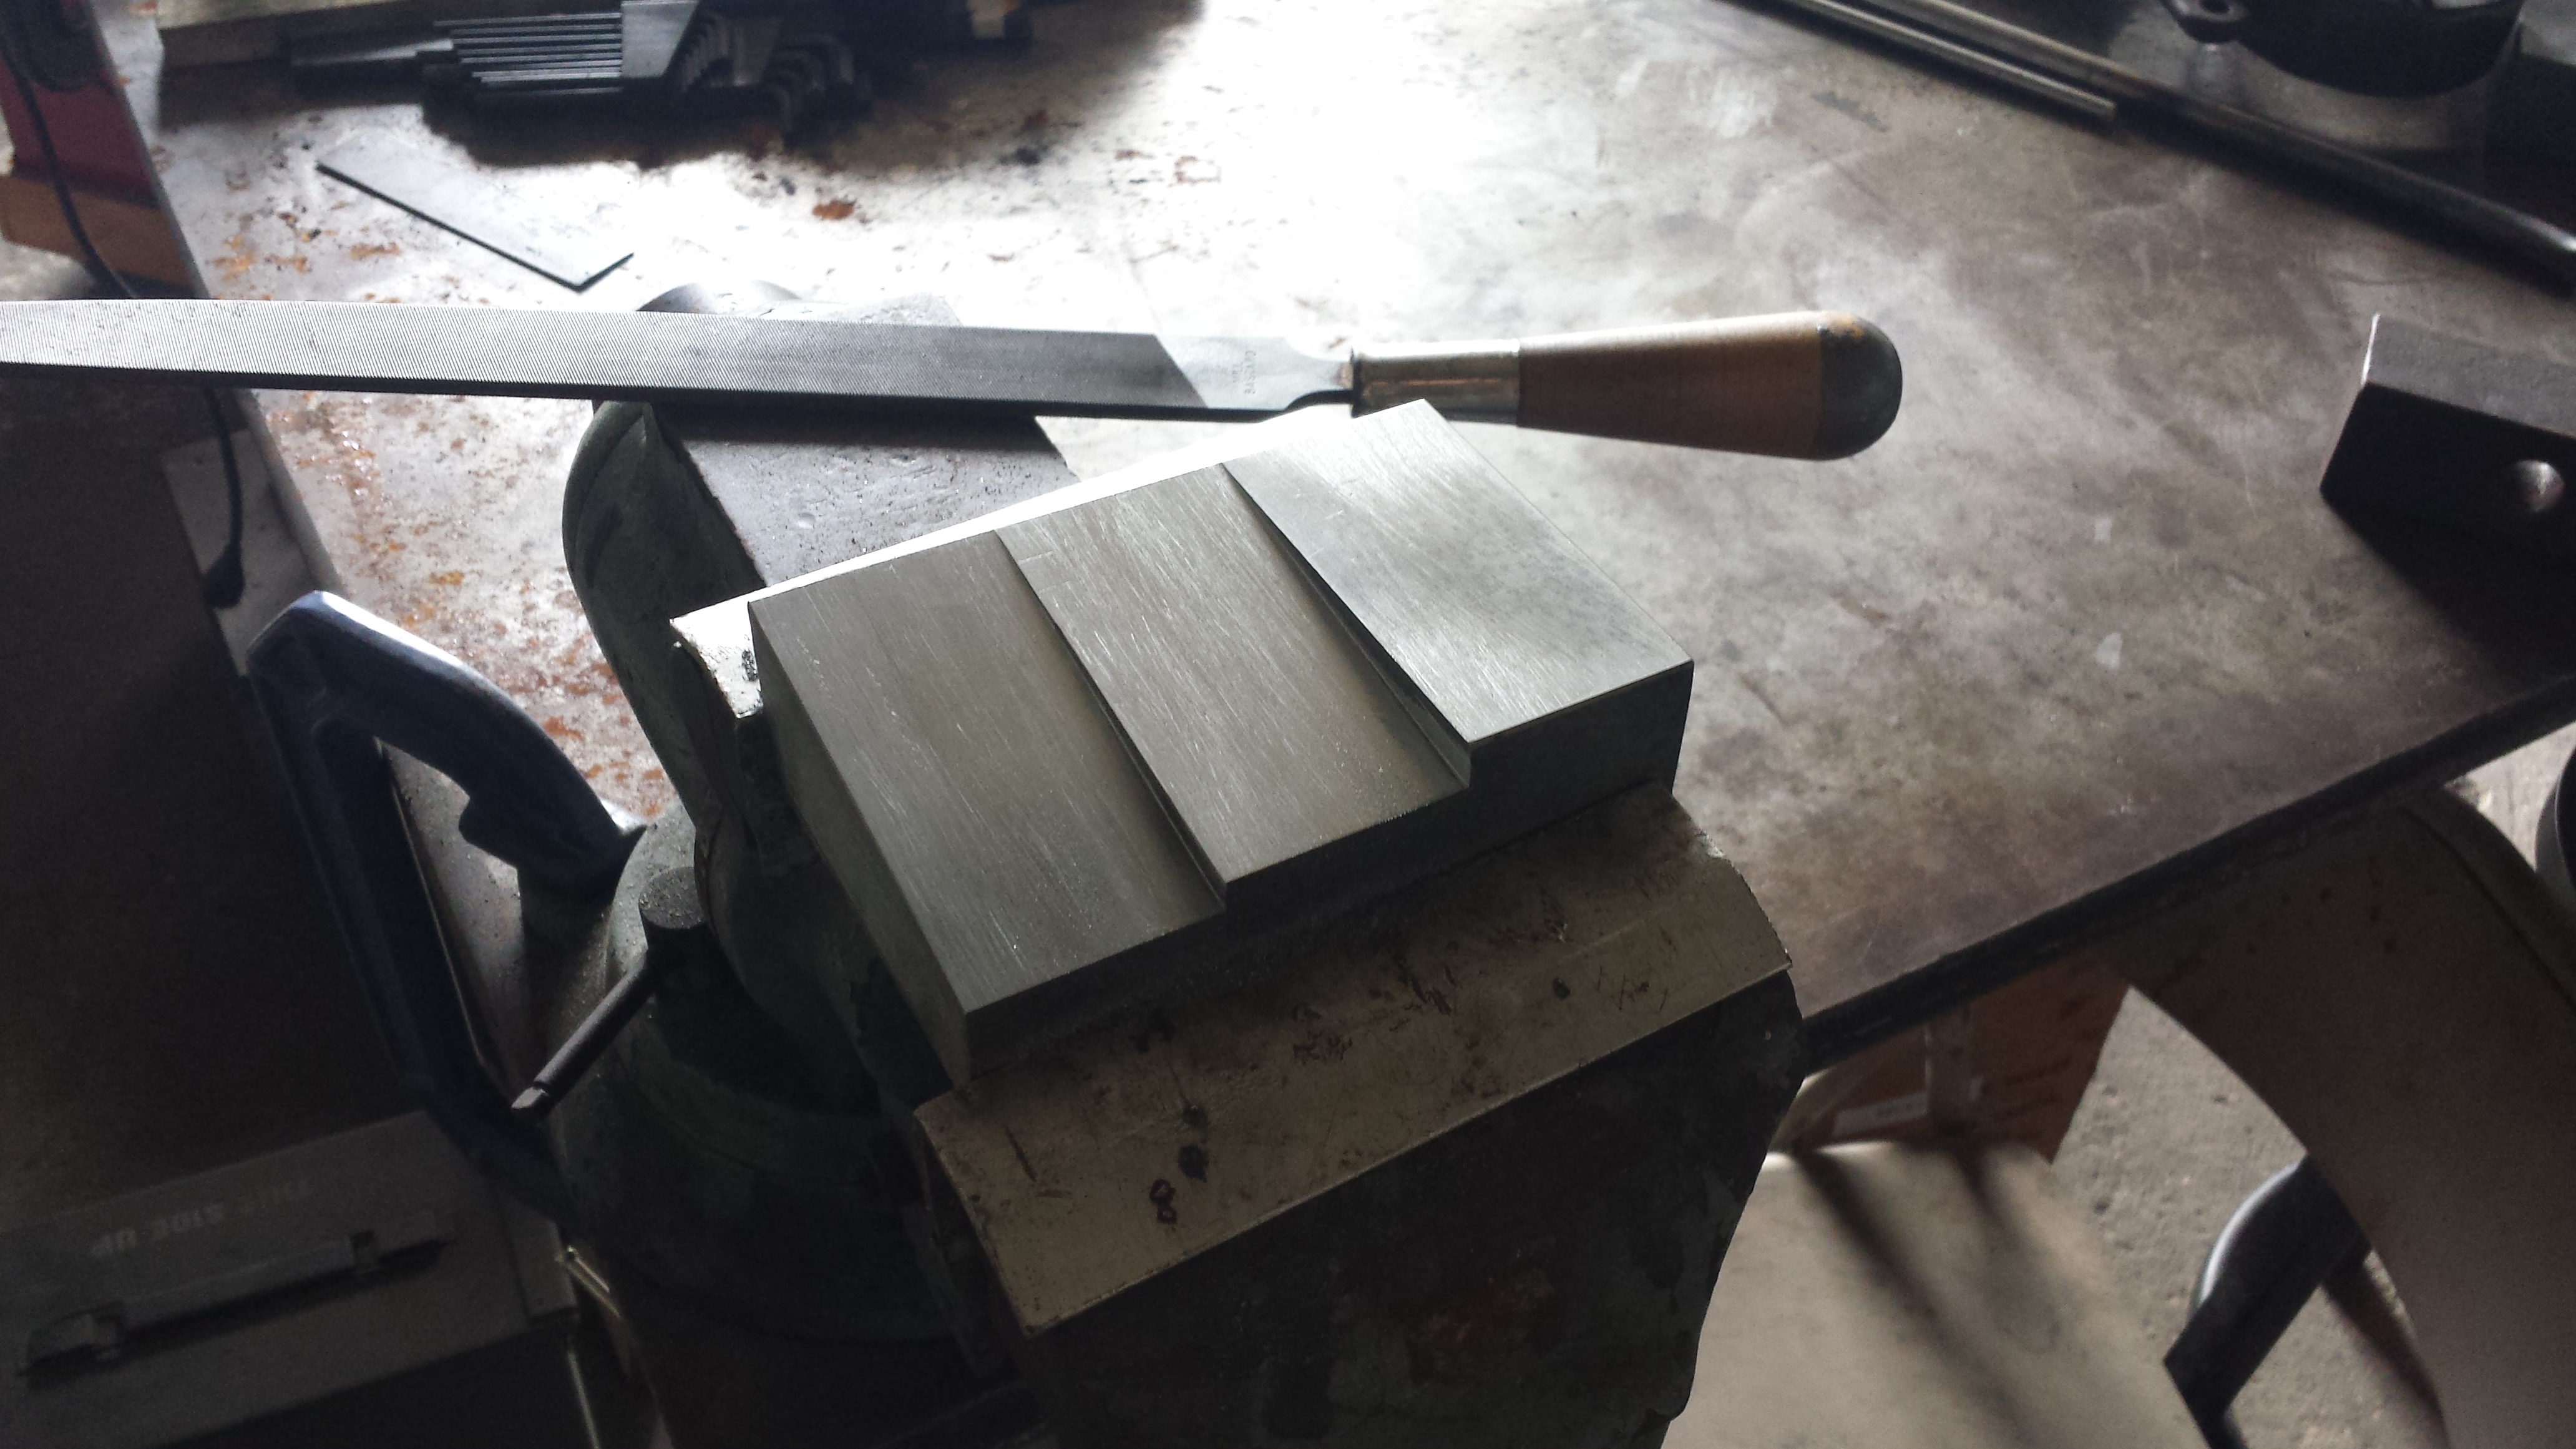
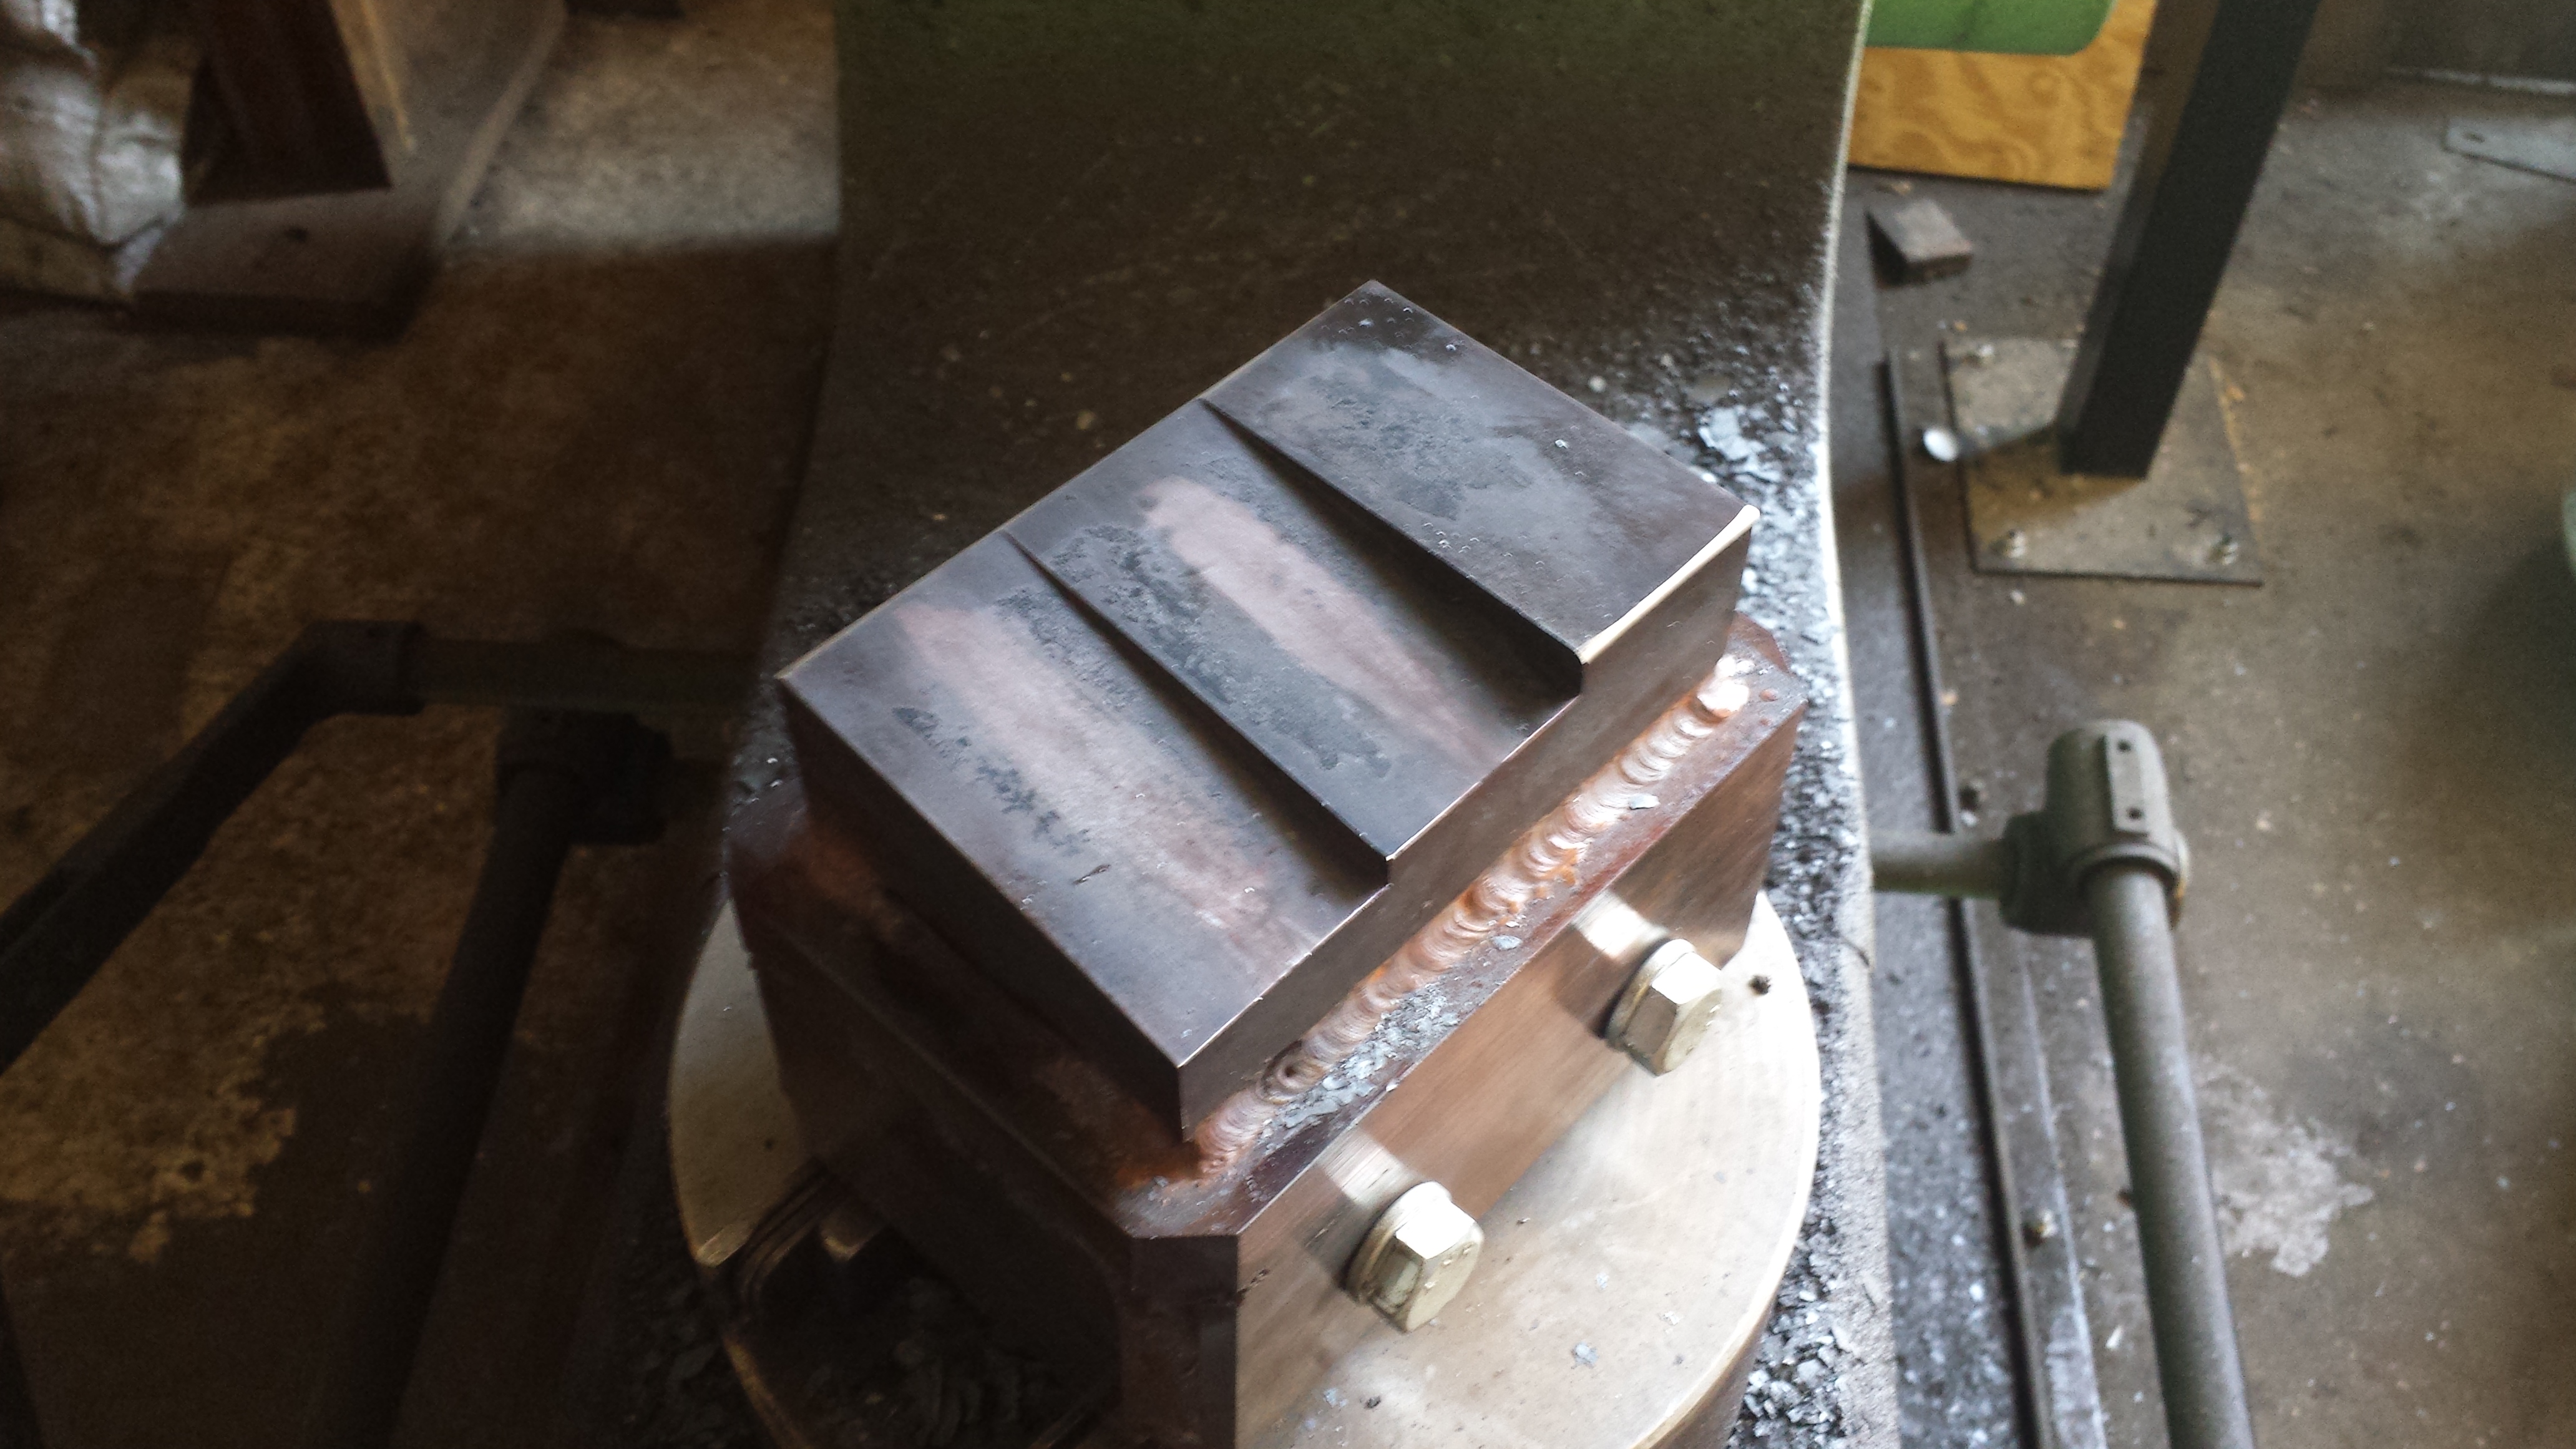
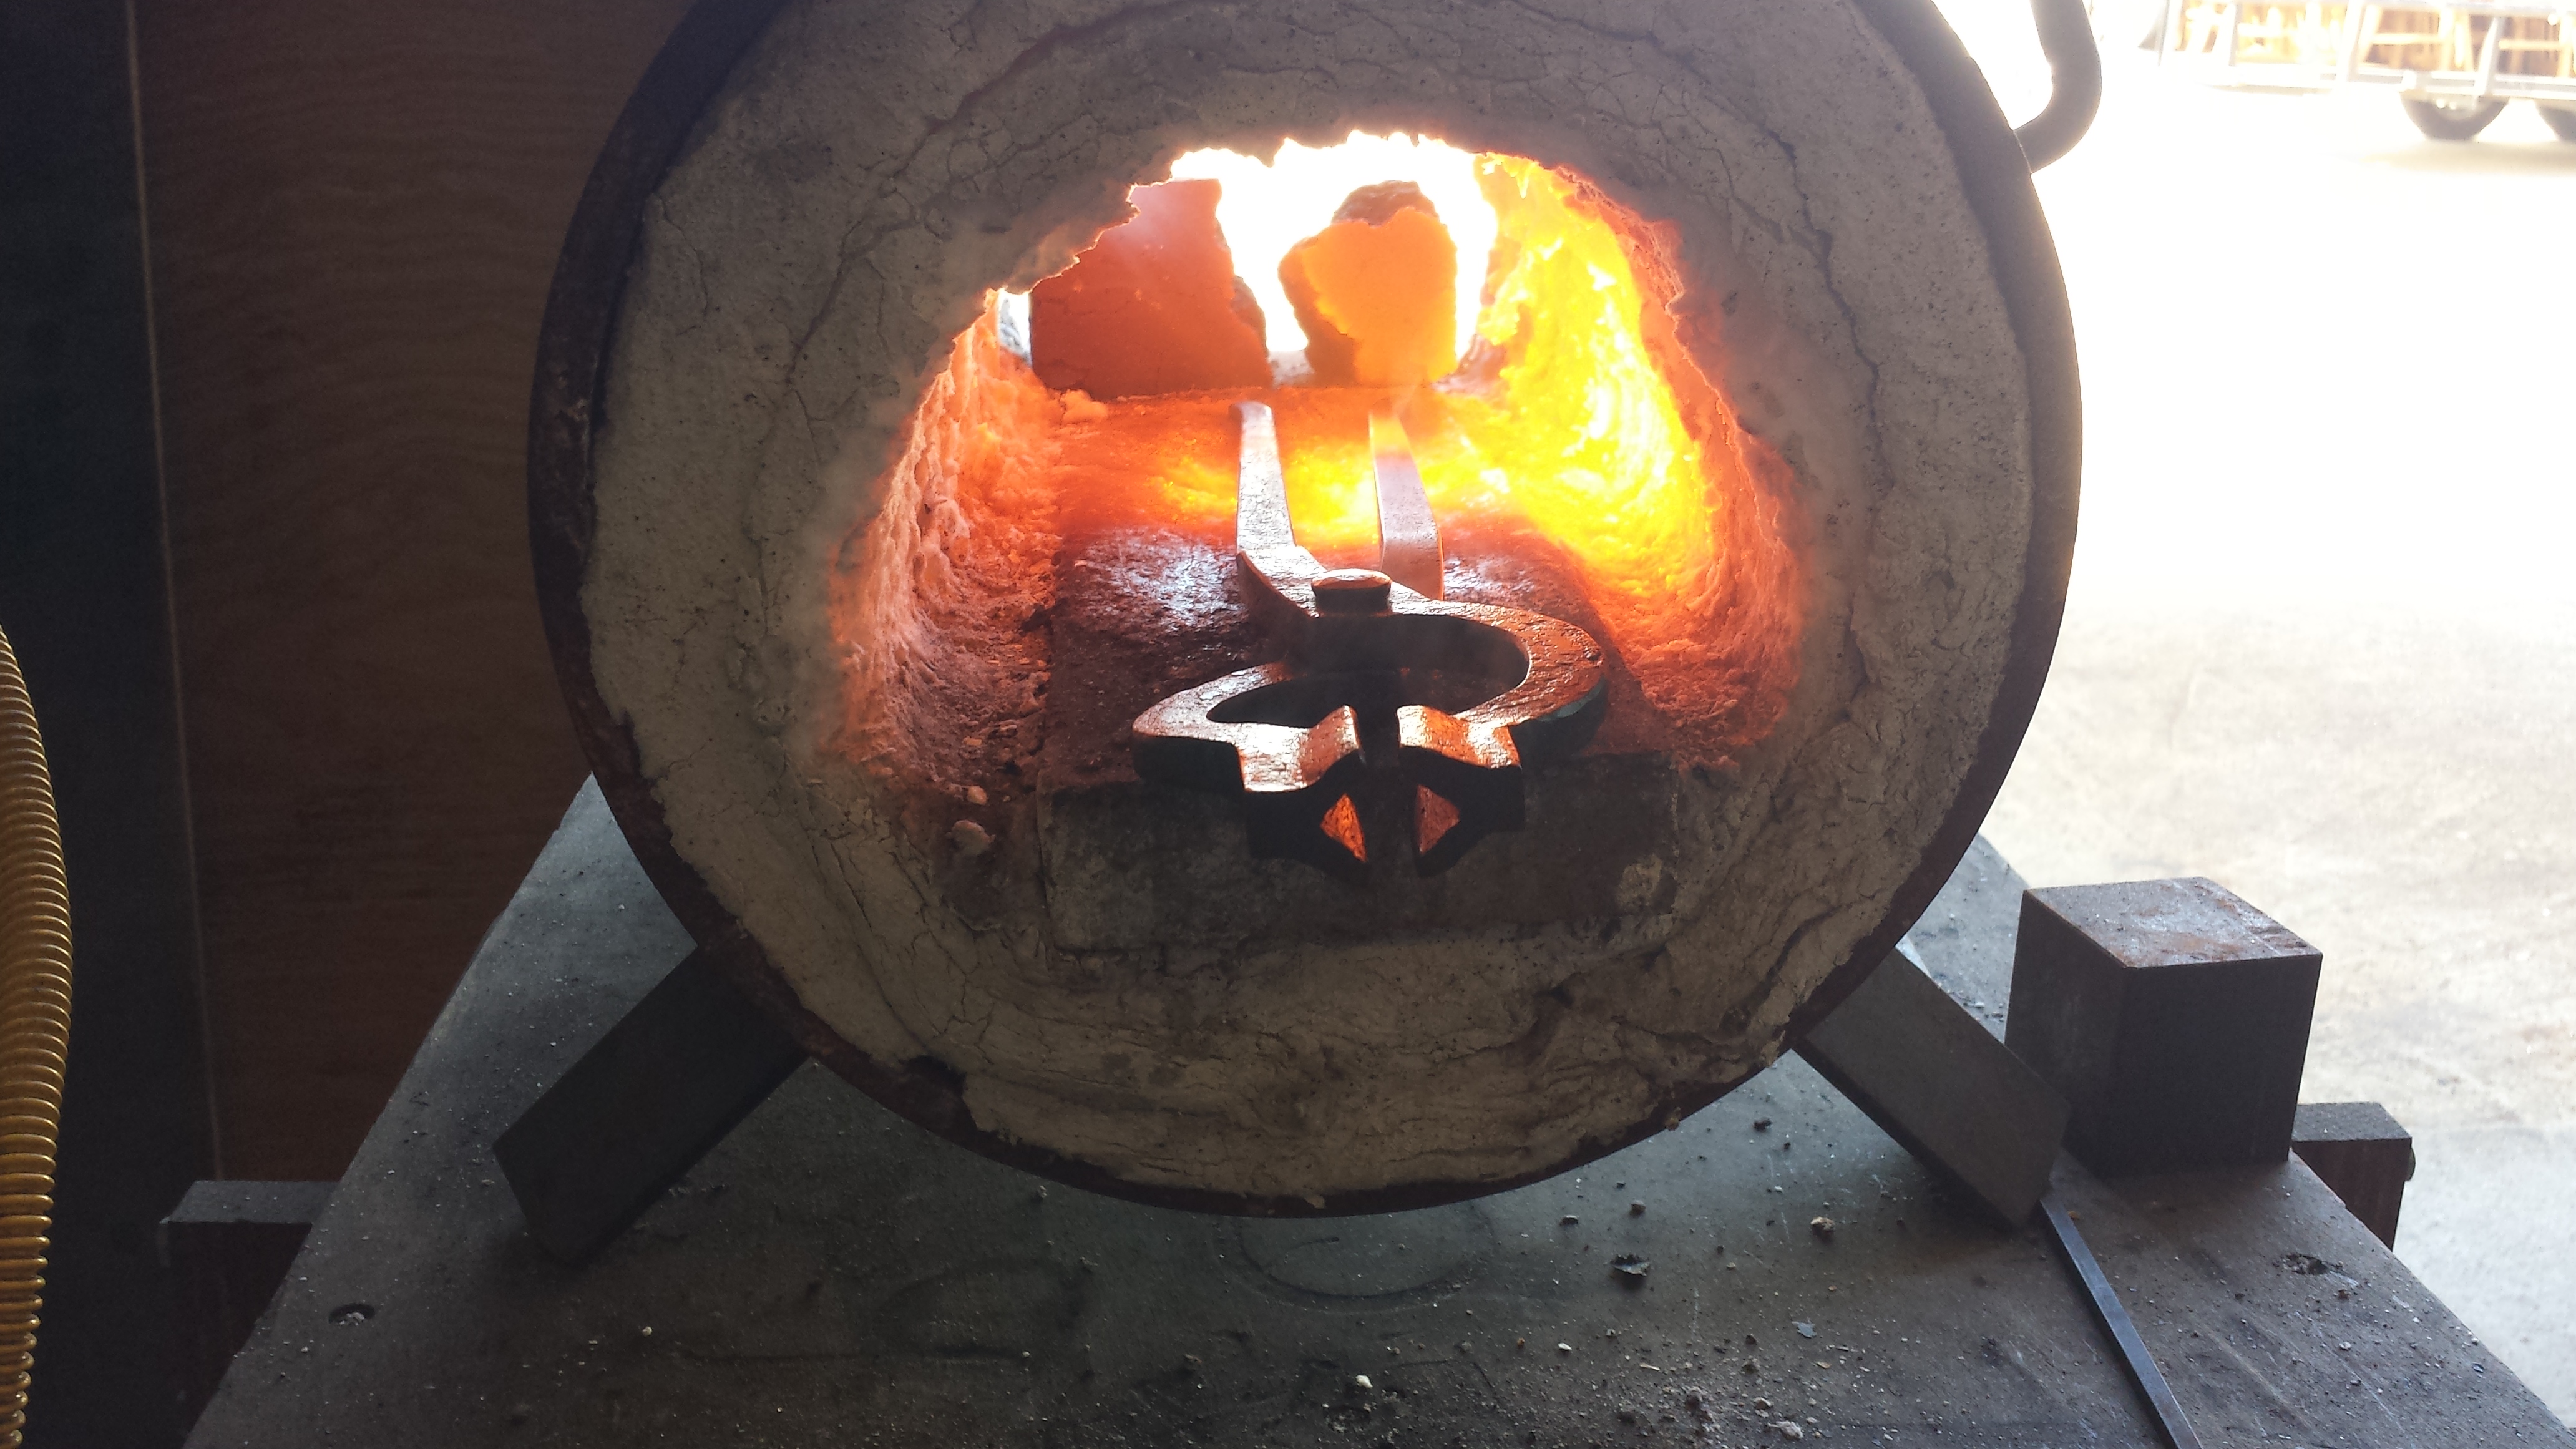
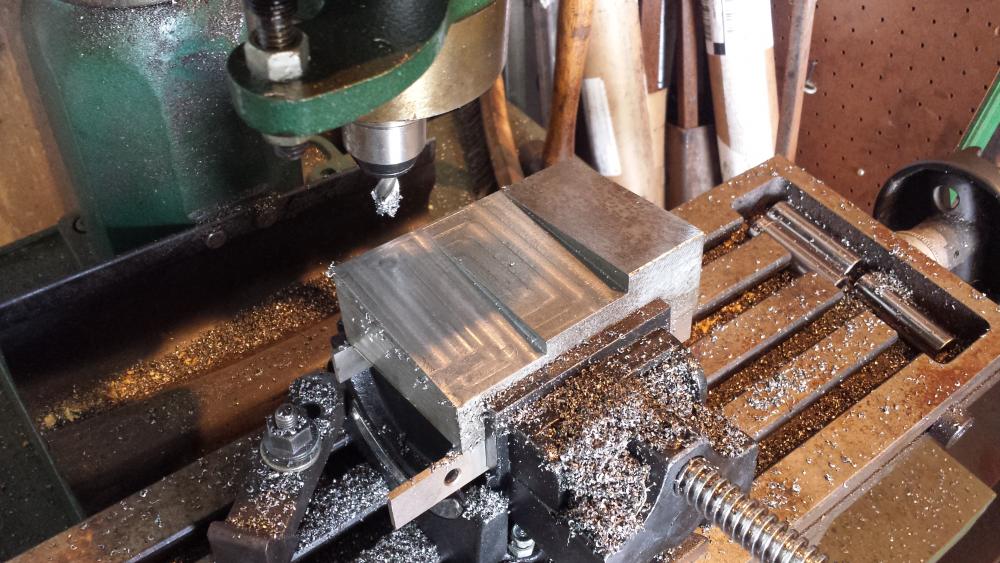
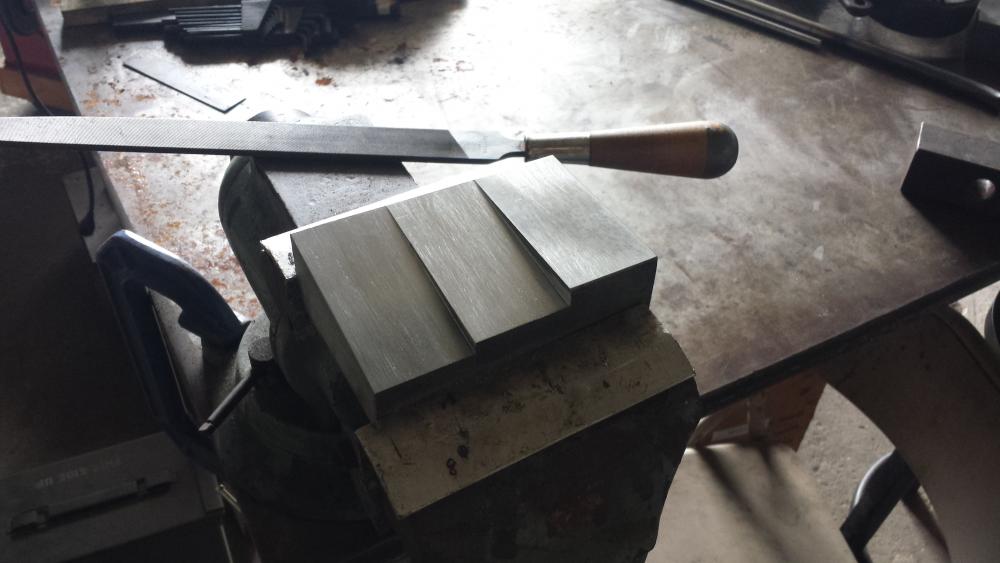
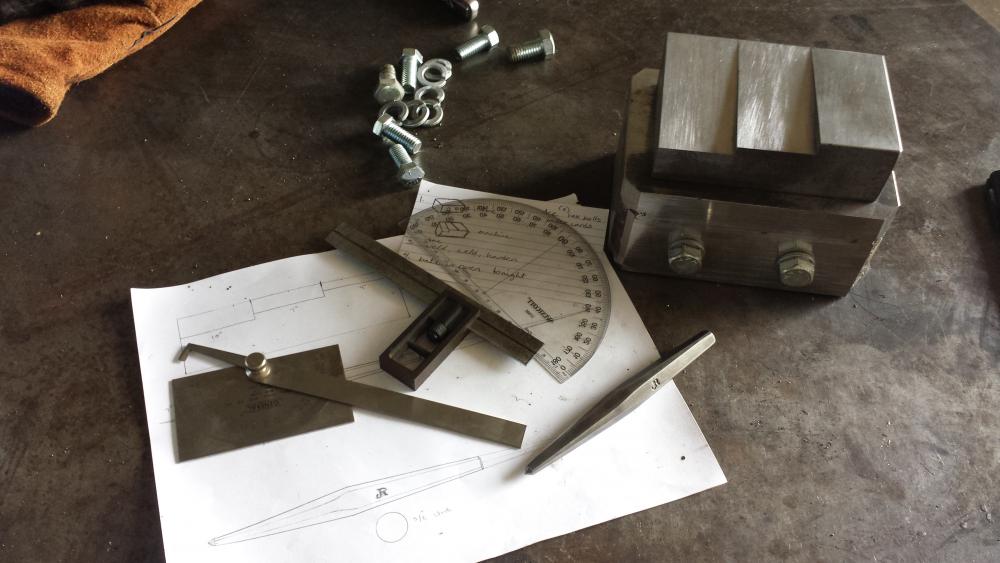
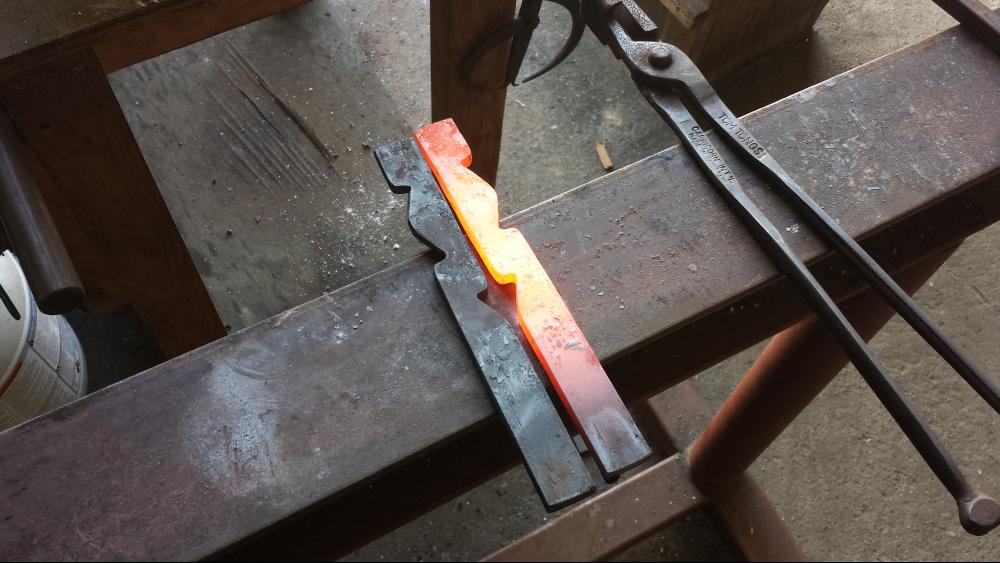
Once Terry posted his video on youtube https://www.youtube.com/watch?v=tL2gup_BuFI I had to answer the call. I now have a stack of petal blanks ready, it's time to build the tooling for the project. The first step is making the swage tooling for the center. This block of 4140 was machined and then forged to shape.

-
ThomasPowers: I would like to try different styles from the book in the future, probably a longer set for serving, or maybe one of the spoons. I'm glad you picked the book up, it is a treasure trove for sure.
-
The cost of waterjet cutting was around $1,450. Total cost: $1,800.
-
A few people have been asking for the file to make one of these blocks. I'm happy to share my design, and have posted it on my site here: http://www.rigoniironworks.com/building-an-industrial-swage-block