JRigoni
-
Posts
105 -
Joined
-
Last visited
Content Type
Profiles
Forums
Articles
Gallery
Downloads
Events
Everything posted by JRigoni
-
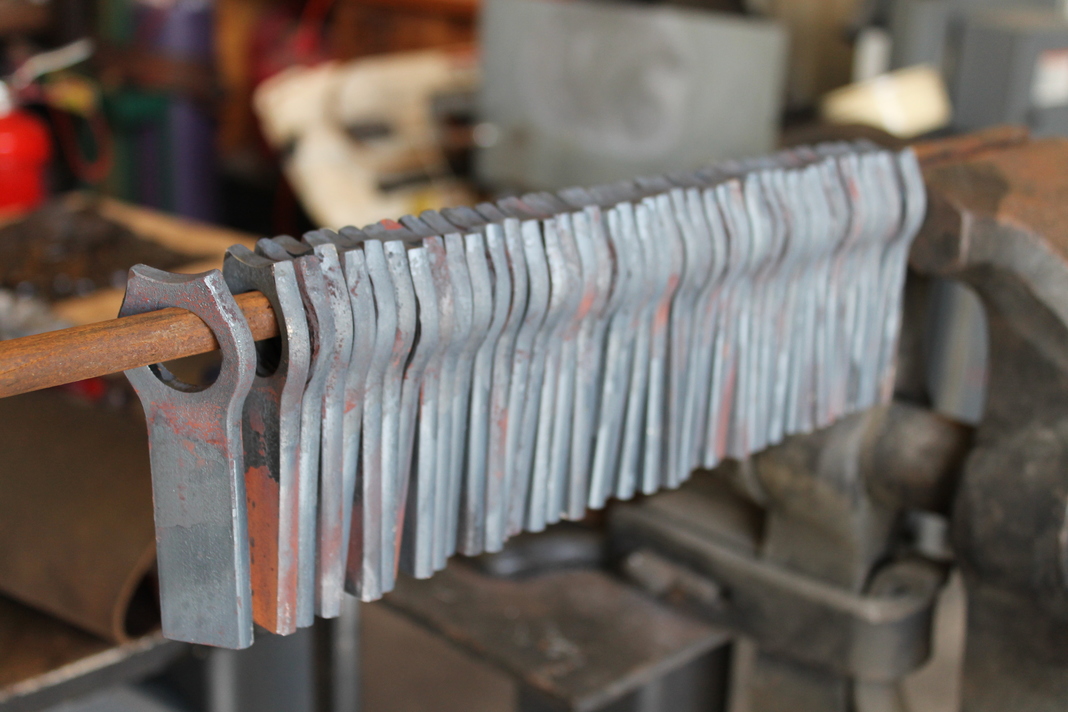
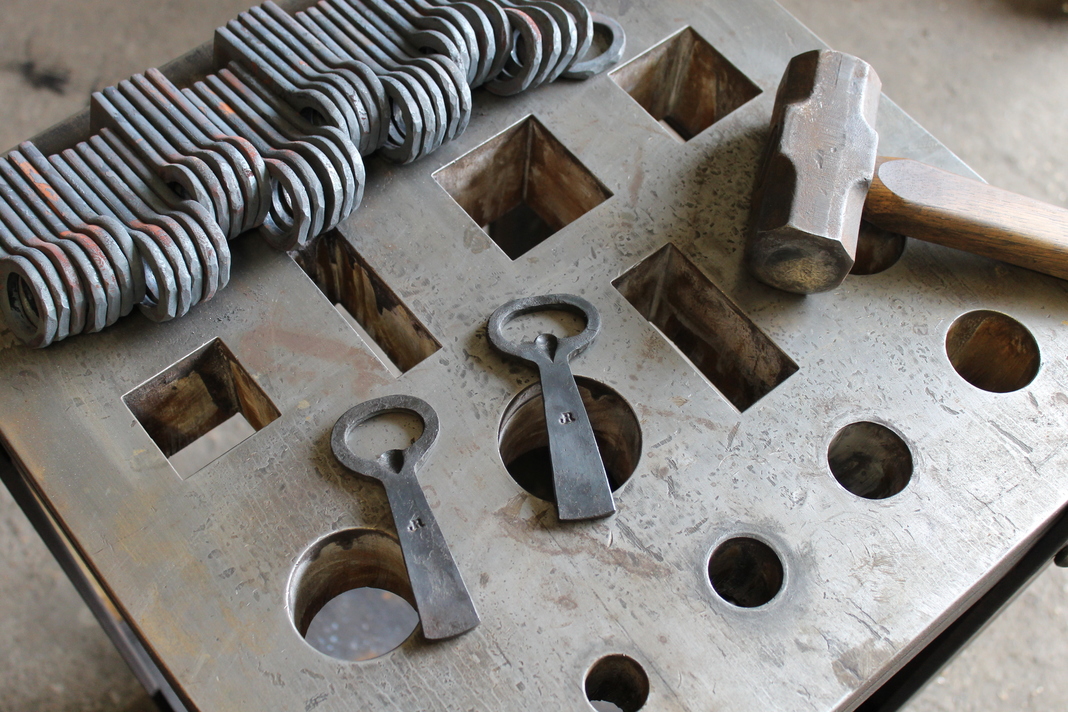
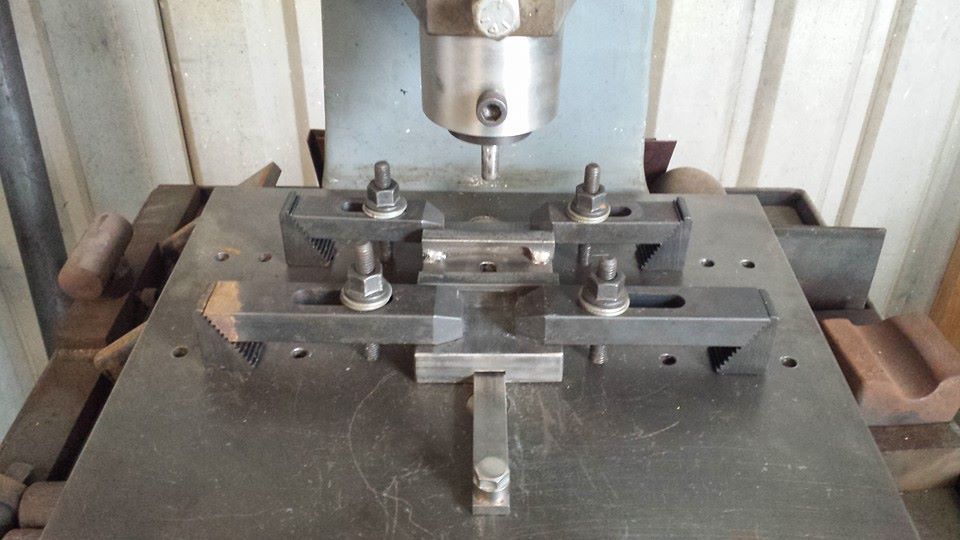
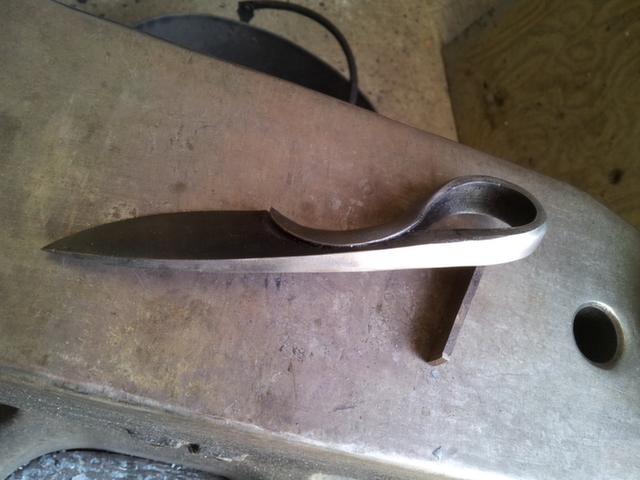
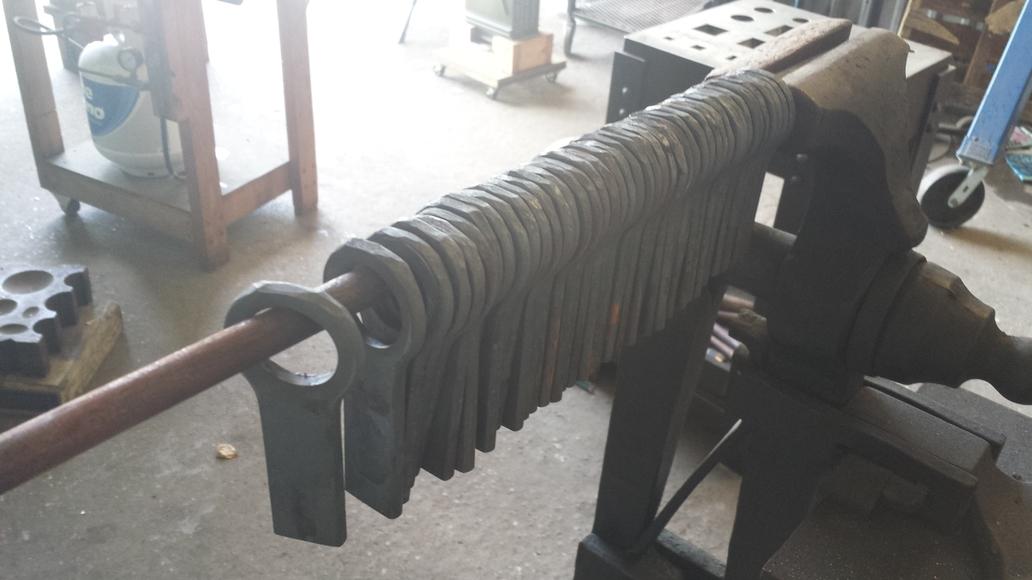
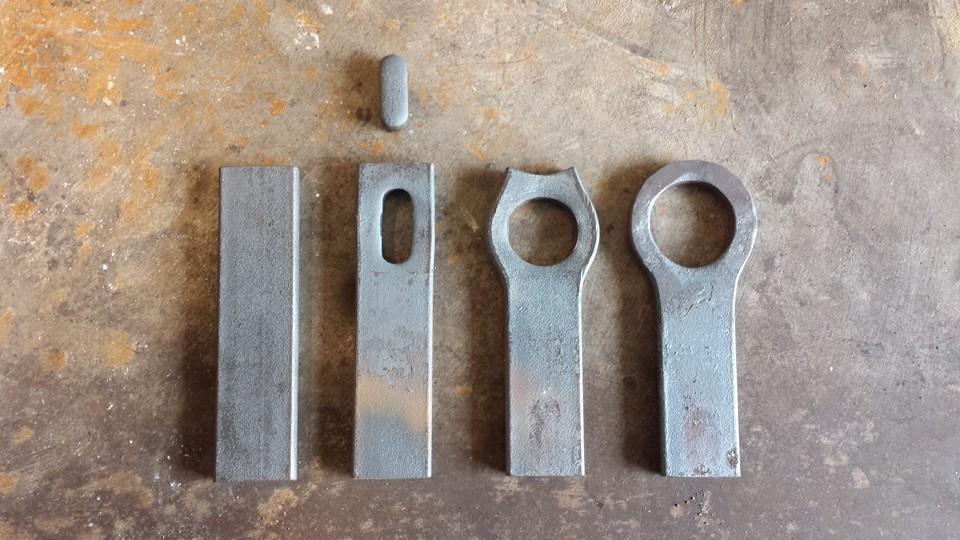
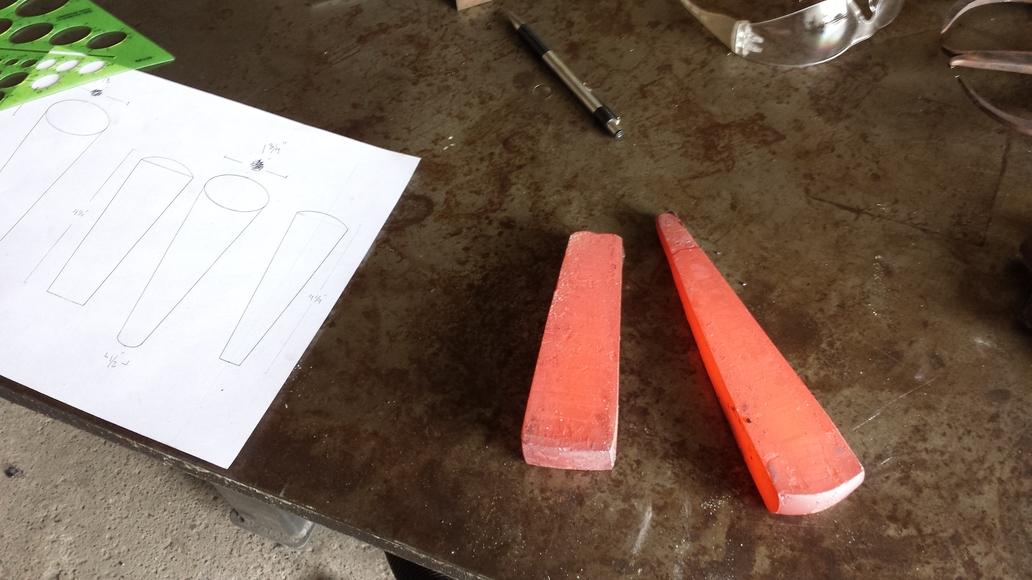
I homebrew. I am a blacksmith. This project was bound to happen. Forged from 1/4" mild steel, here is my stab at the bottle opener idea. The fly press tooling punches out a 1/4" slug in one heat. I need to build tooling for the taper and then I'll post more.


-
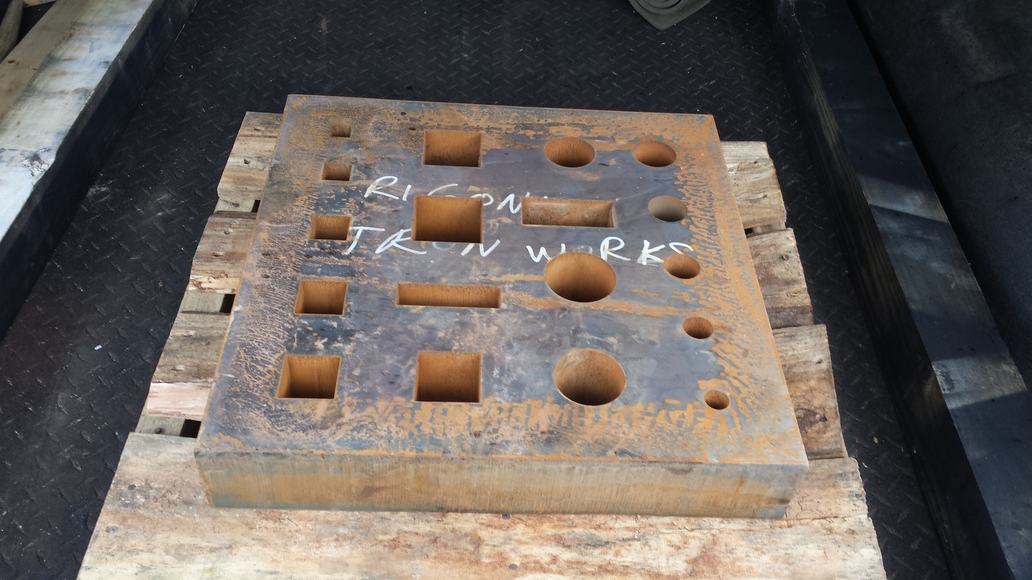
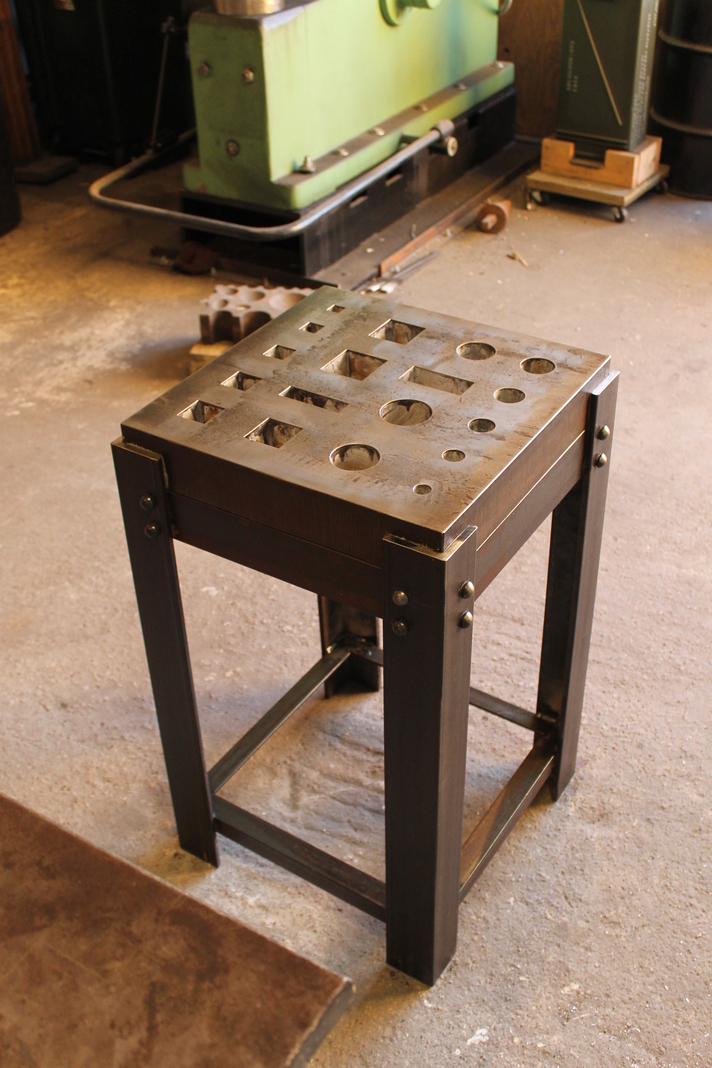
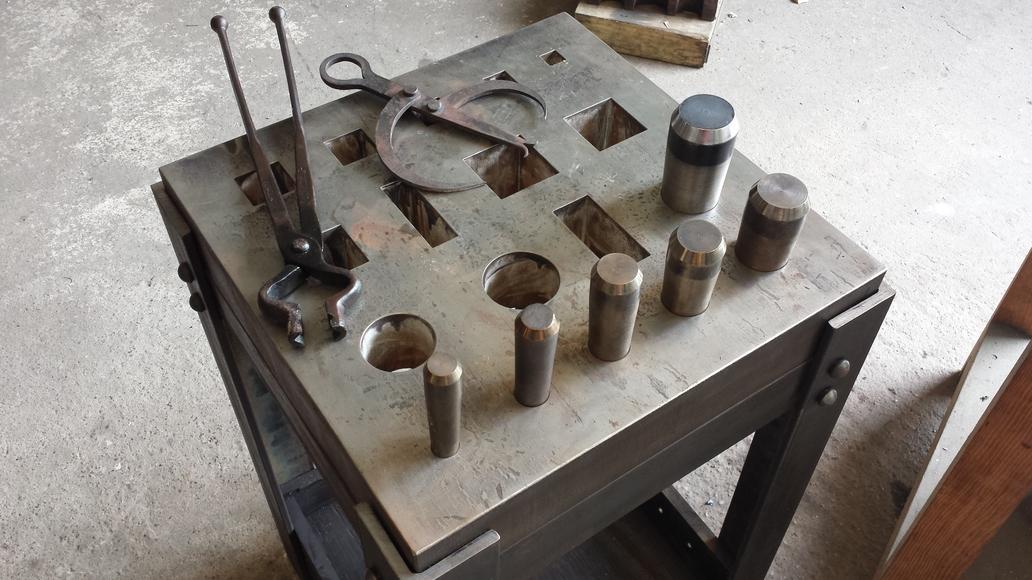
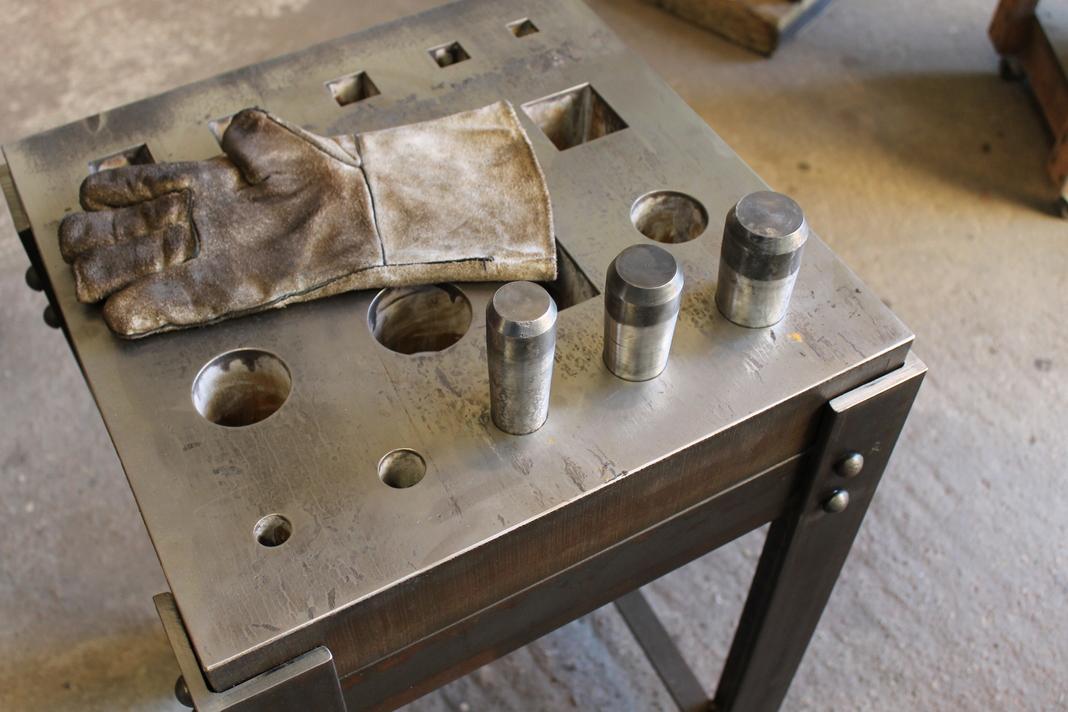
Thank you, the holes start at 3/4" and go up 1/4" increments to 2 1/2" for both square and round. The waterjet isn't perfect. The holes are accurate on the top, but wash out at the bottom. It isn't an issue, so long as the block is used only on one side. The calipers I had to re-make. If each arm has a rivet, then each can be tightened independently.
-
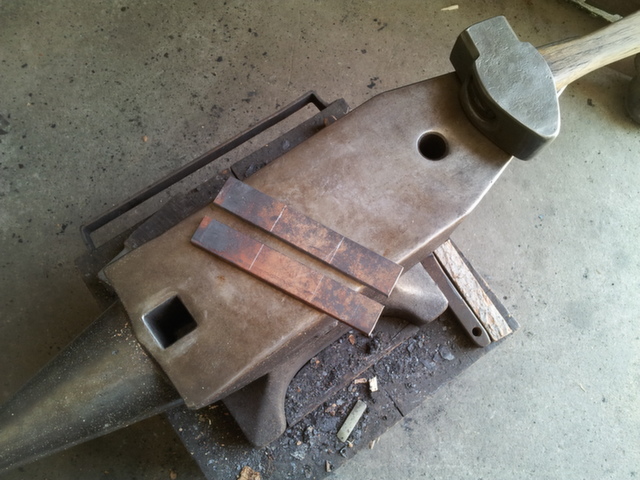
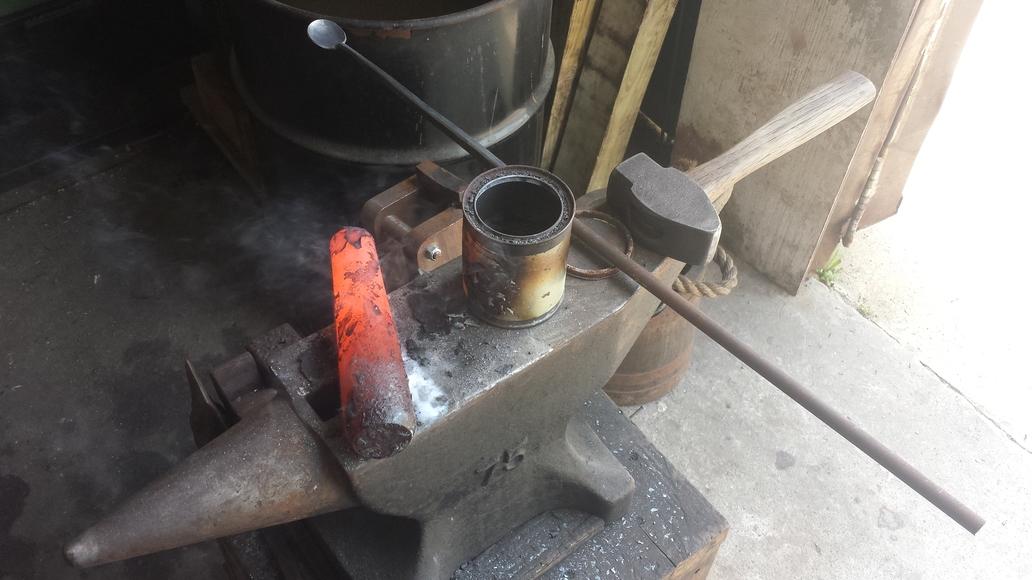
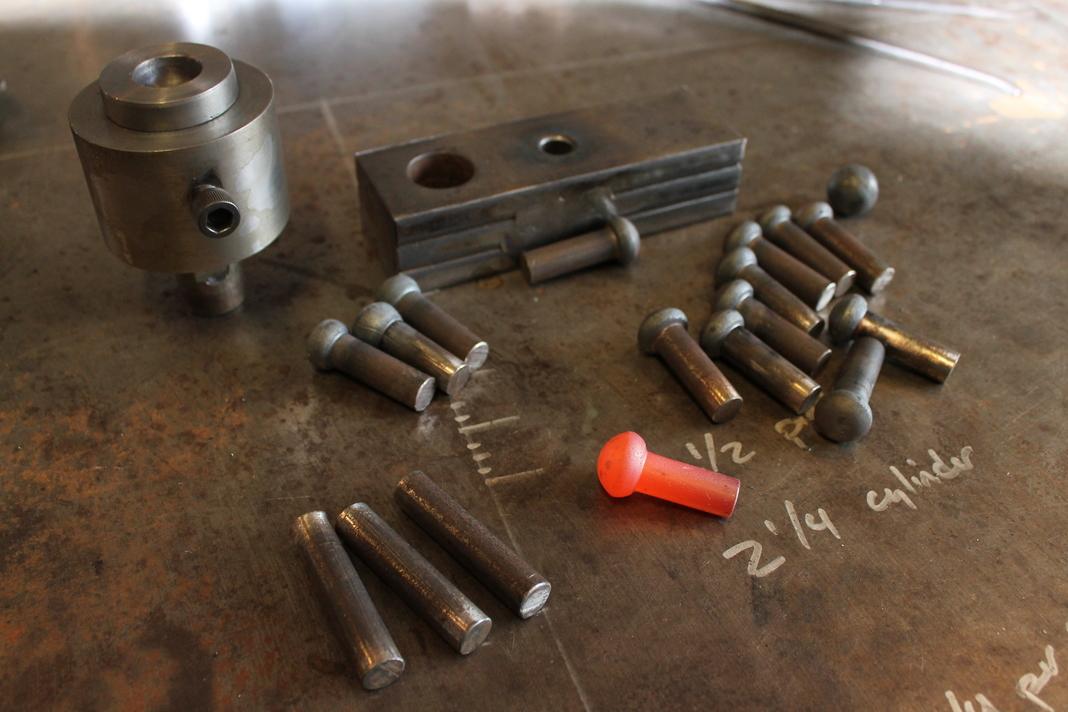
thanks, I might buy a taper attachment in the future, but this will have to do for now. The largest drift was made of some type of hardening tool steel. I heated it up in the forge and slowly cooled to anneal, and it still ruined two of my large files, gouged in the teeth. Even when I turned it down, it left a rainbow sheen on the surface. I ended up using the compound at and angle and worked 3" at a time to get the rest cut. I'm working on forging oval drifts this week.

-
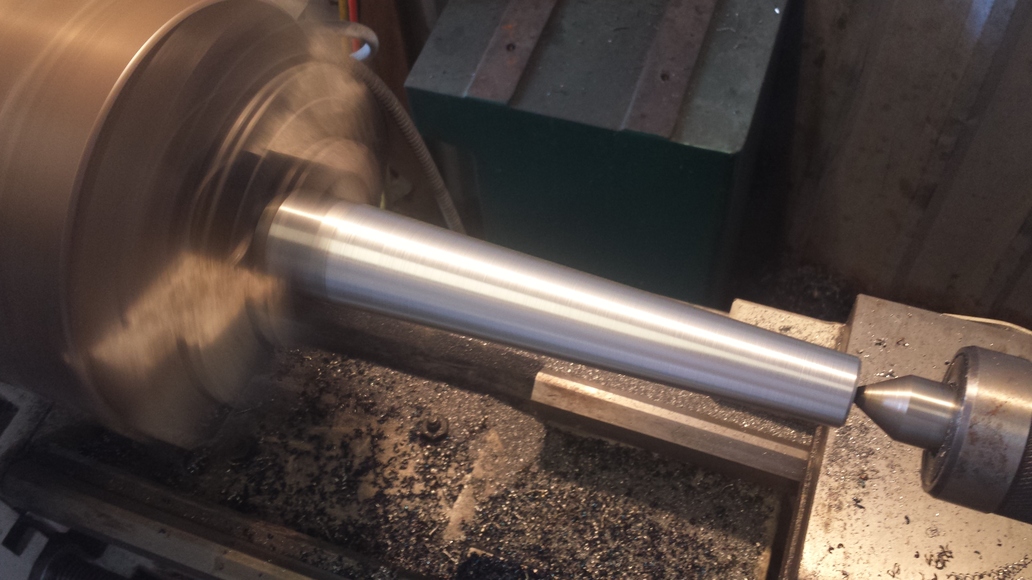
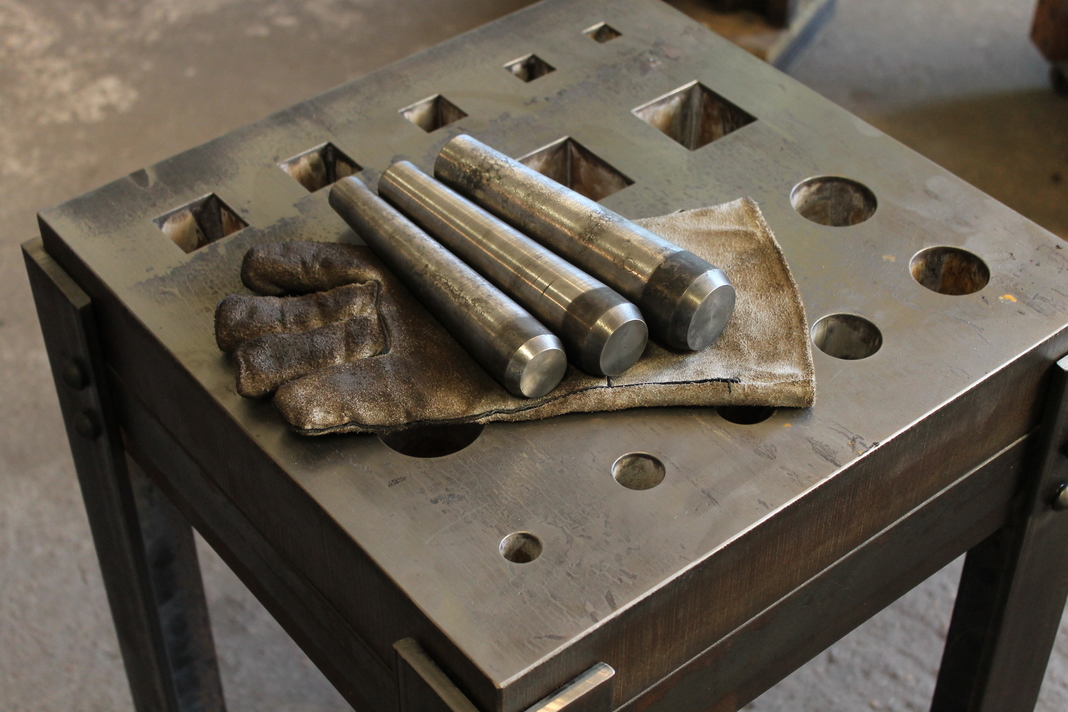
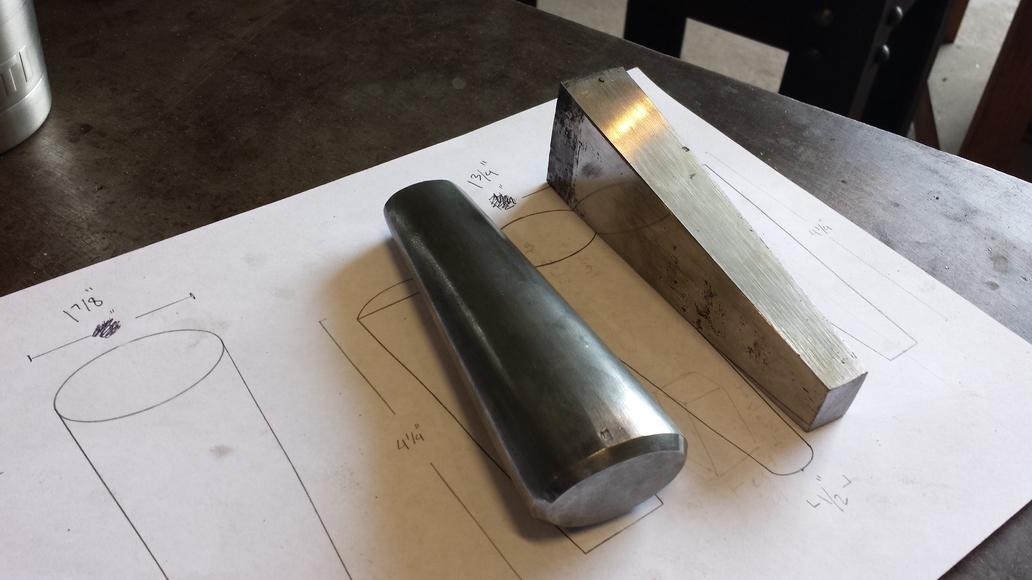
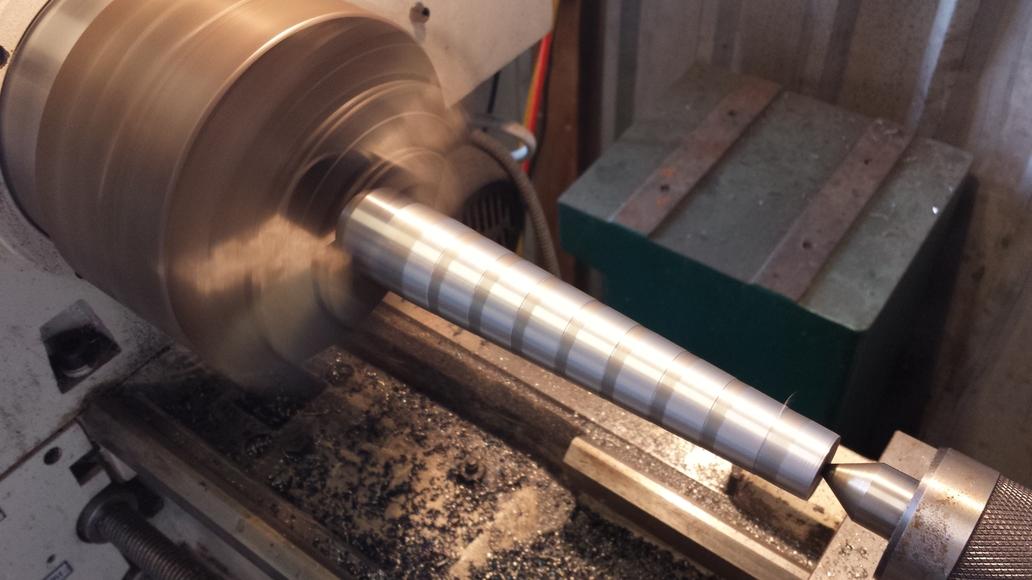
Thanks everybody, I took your suggestion and reinforced the underside with welds but nothing visible from the outside. I thought I'd share some drifts I've made for the block. I turned them on the lathe, filed to round and case hardened two of them. The middle one is 4140, which was a pain to machine and file.


-
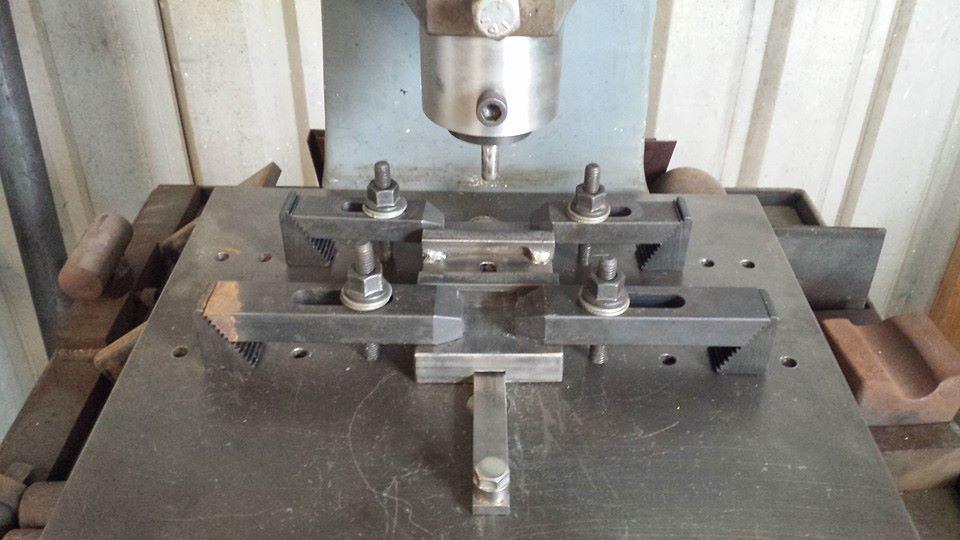
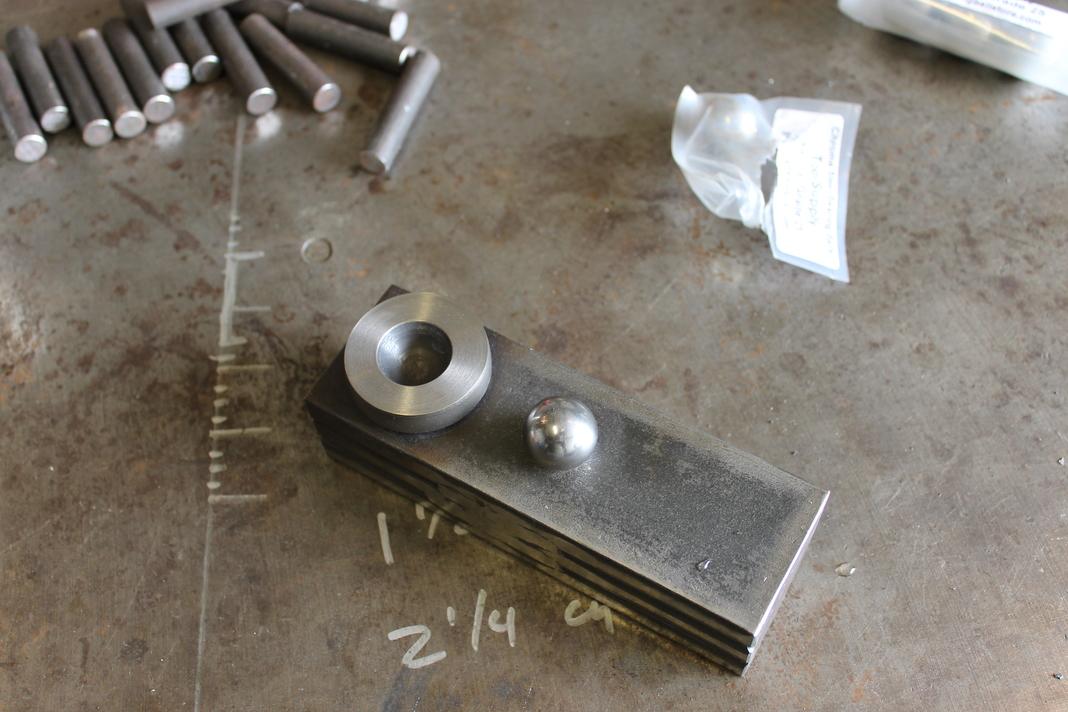
Thanks everybody! Hmm, I used 1/2" rivets, so 8" total of holding material. I'll run a weld underneath just in case of shearing. The die for the rivets was turned from a large hex bolt. I then heated up the face and smashed a 7/8" ball bearing into it. Chucked it back into the lathe to turn it down to the proper depth. I can use the ball bearing to align it under the fly press.
-
Not sure how to change the order of the photos, sorry about that.
-
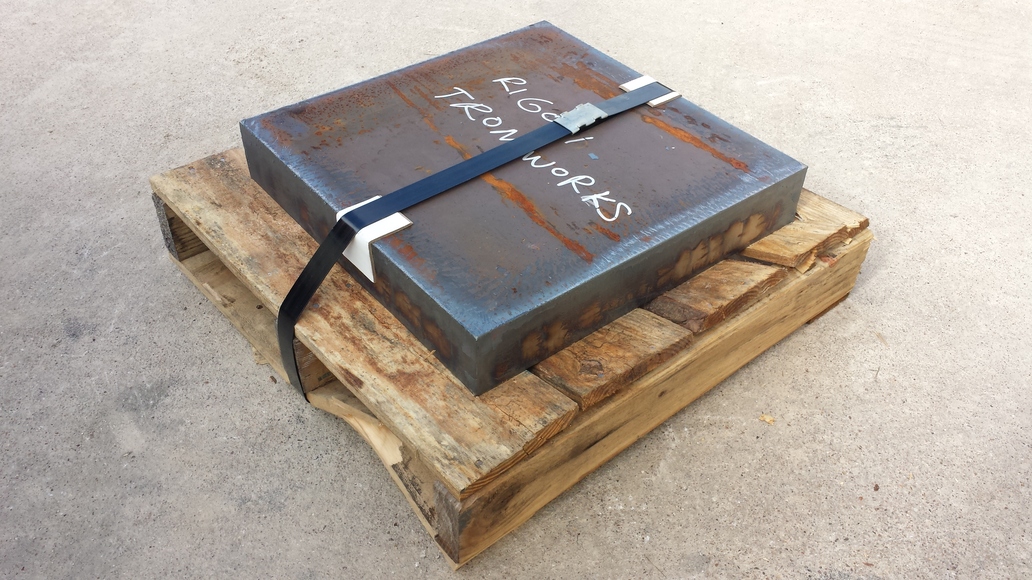
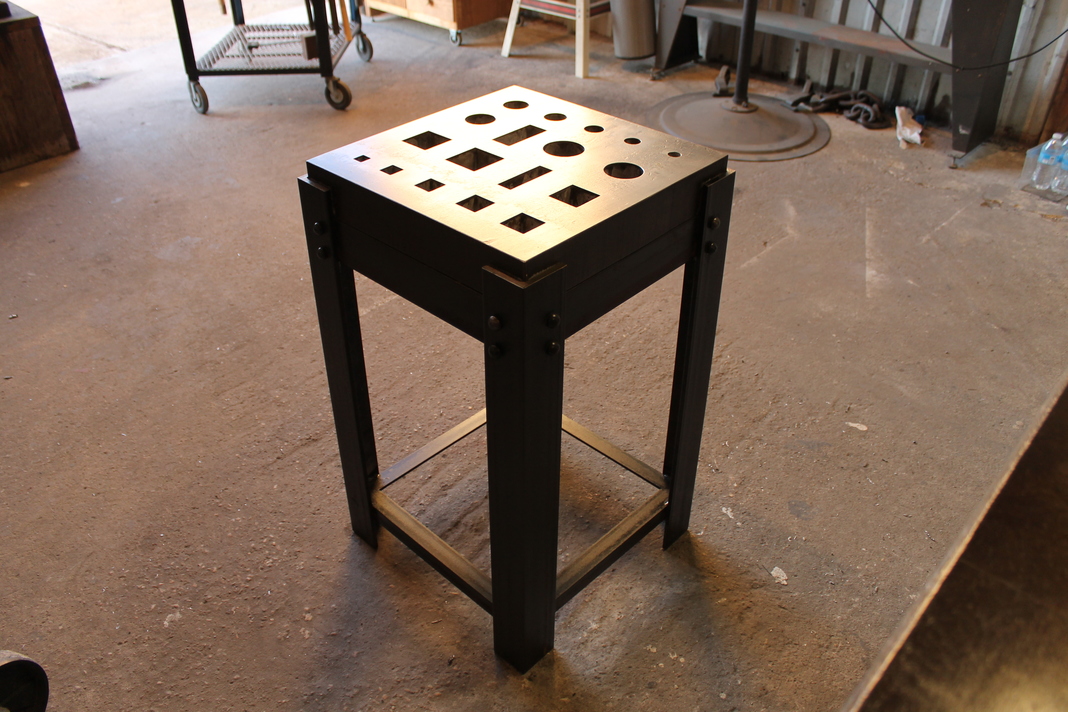
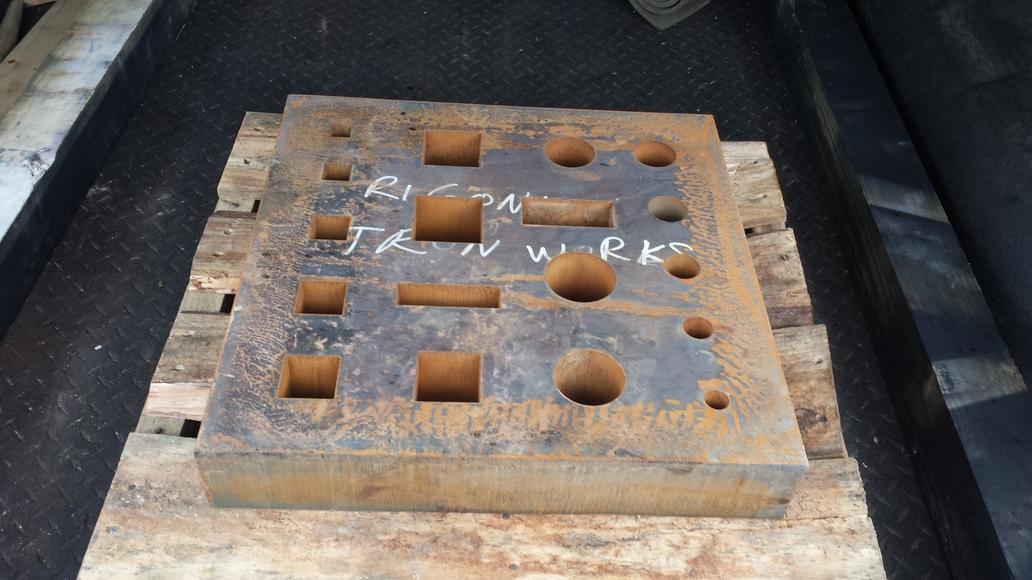
For a couple years I've wanted a large industrial swage block. Having no luck finding a good quality block with the shapes that I want, I went down the path of building one from scratch. I drew up plans for a block 18"x18"x4" A36 mild steel. The benefits of a mild steel block are several. I can repair it easier. I can weld to the block and it also will be stronger than the cast iron blocks 100 yrs. ago. I kept my block square to help with sledgehammer work, (moving and striking around the block). I did a little research in the Houston area for routes to go about cutting out the 18 shapes. Here are the stats: 1. 18x18x4" wire EDM. $12,000 2. 18x18x4" waterjet. $2,800 3. 18x18x2 3/4" waterjet. $2,280 4. 18x18x2"(two plates that I would weld together making 4") $1,525 each. I reduced the thickness to 3" to both save on cost and improve accuracy. I ended up using waterjet cutting which ended up being the only way to cut the shapes cleanly. Both oxy-fuel and plasma cutting shops were not able to accurately cut objects that small and thru that thick of a plate. The outside, yes, but not the interior. I also contacted shops to drill/mill out the objects and they also turned the job down due to high cost. I was referred to a local smith, Lee Lanford in Austin who could cut the block on the waterjet. After picking up the block, it looked great. The profiles of each hole were accurate (on the top) and clean. The waterjet washes out a little on the underside, which can be cleaned with files. I fabricated the base with 3/8" angle iron and forged the rivets from 1/2." Now this beast is ready for some sledgehammer work


-
Sorry, somehow I can't change the order of the photos
-
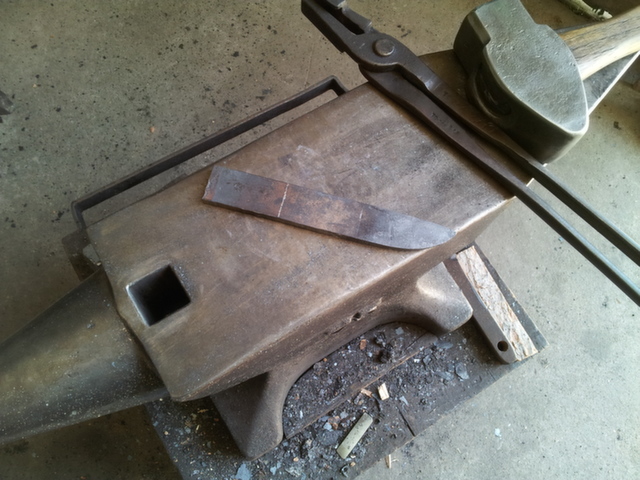
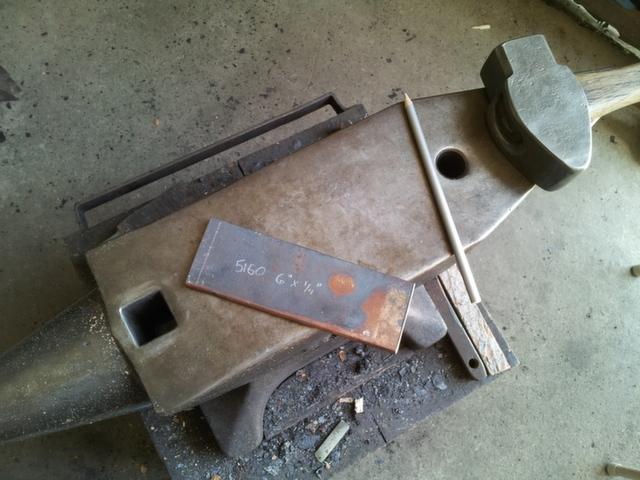
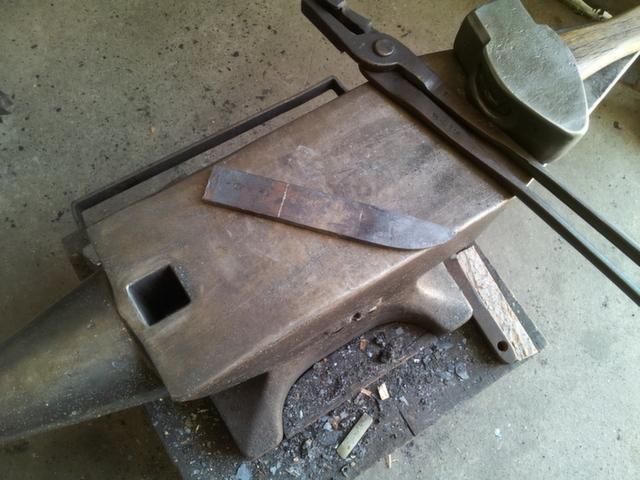
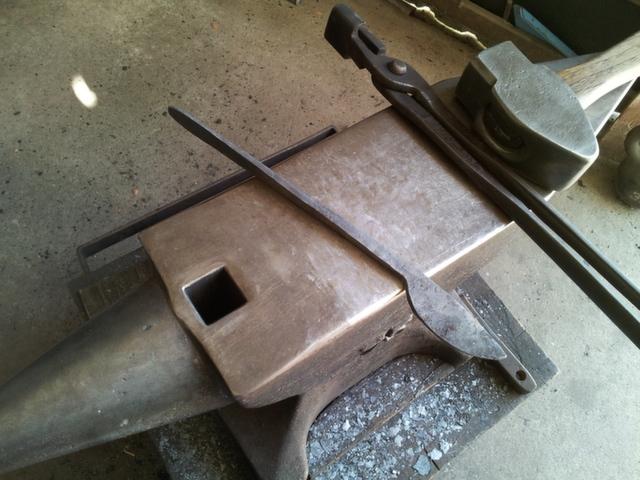
I made this for a buddy of mine and thought I'd share the build with you guys. Material is a vehicle leaf spring, probably 5160.


-
Nicely done!
-
well, I would show the rest of the project if only the photos would load, instead of fail.
-
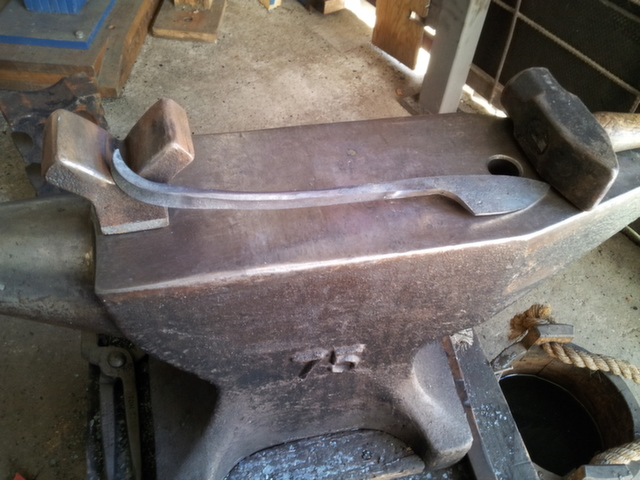
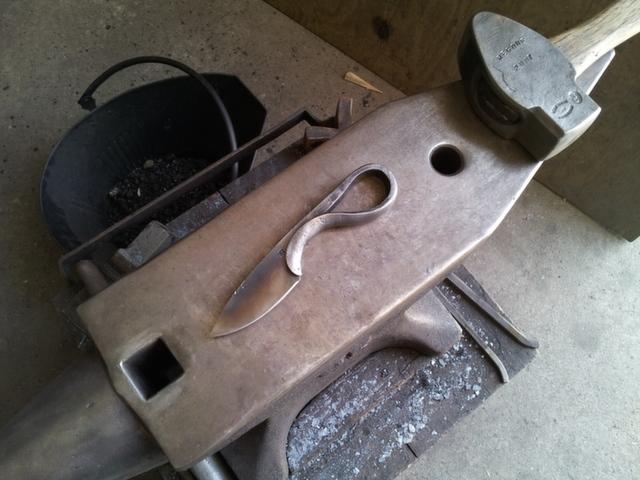
Been awhile since I posted anything with a cutting edge. Anyhow, I was surfing youtube and came across this awesome youtube video: From the bouncing lower die, to large production san mai construction, it was awesome. There are some naysayers out there, but it was a testament to the anyang hammers, look at all the layers built up to reach proper anvil height! When he forges the tang out, cutting and bending outwards, that was pretty awesome. I had to try my hand at this. My attempt is not san mai, but from a solid piece of leaf spring. The handle I turned from ash. To secure the handle, I welded a 5/16" threaded rod to the end and made an aluminum nut that tightened down on the handle. The nut was recessed 1" and a disk of ash was glued to cover over the opening. Cutting edge is 8" with an overall length of 13 1/2."
-
In Peter Parkinson's book: 'The Artist Blacksmith' there is a great image (p.67) where this Master Smith takes a piece of plate and forges a stem, two leaves and three flowers from it. Internet searches only bring up this photo and two others. It would be great to find more photos or information on his past works. He did a demo in the U.S. back in 2000, but I can't find anything more about what he made.
-
I posted one of these earlier, but thought I would take photos of the process. These are two commissions in a similar style coming from the same "Pattern Book of Tools and Household Goods." Each one took around 35 hours, so not exactly quick work, but I tend to ruin projects if I rush. I had to forge an oversized pair of bolt tongs to protect the turnings while forging, fairly nerve racking, but the fly press helped.
-
very cool idea, keep us posted on upgraded bits!
-
Ok, all done. Needs a little paint, plan on grinding down the bolts sticking out from the plate today. The table sits a little high on account of the added 1/2" plate and leveling feet, but I plan on making a small platform if I need to be higher on some projects. I'm pretty happy how it came out.
-
Ok, welded the 1/2" plates on the bottom and cleaned up the ugly welds on the frame (I suck at vertical stick welding). I've been using 6011 1/8" rods for this project and don't really like them too much. The underside of the top and the frame has primer, waiting on the last coat before assembling.
-
Thanks, I think I will tune up my cut-off saw after this project is done. Small update: I went with Mcmaster-Carr and bought both leveling feet and eye bolts. The feet combined can hold 7.5 tons and the eyes can lift 2700lbs each. I tried to drill out the holes by hand. The pilot holes went fine but the larger 27/64 drill kept grabbing, breaking all three of my drills. I rented a mag drill and 15 minutes later, 6 clean holes, I need to save up and buy one of these things, it was beat up, but still worked really well. I flipped the plate easily with the eyebolts, was worried at first but the crane pulled through no problem :) Drilled and tapped both the plate and the feet for 1/2" Tomorrow I'll clean up all the welds on the frame and weld the feet, pretty excited as it's almost done.
-
I'll be going that route with the leveling feet. I ordered 1/2" swivel leveling mounts rated at 3700lbs each. I'm going to pick up some half inch plate today at the steel yard and have it cut to 4 1/2" which would give me 1/4" of room sticking out from the legs for welding. I can then dill and tap the plate. The table would be able to hold around 7 tons, which is more than enough for any future projects :)
-
OK, I've finished the framework and am now ready to weld the tabs that will hold the 1/2" bolts. I plan on lifting the plate to flip over using 2 eye bolts. Not sure if I should just buy larger 3/4 or 1" bolts to be safe, the plate is 1,000lbs.
-
a small update: I just finished cutting the parts to size and after a month or two of saving, bought myself a 15,000 watt generator to run my Lincoln buzz box stick welder.
-
Right, I want this thing to be absolutely flat so I'll be drilling countersunk holes thru the plate to screw into angle on the inside of the frame. That way I can dissasemble it and there is no risk of warping from welds
-
I have used heavy tables when I worked in shops in Europe and had to make myself one. I originally thought about using 1/2 inch for the table, but opted for a massive 1" top. I plan on fabricating this over the next two months using 4" square tubing with 1/4" walls. Any suggestions on my design? Here are some photos of the pieces, just unloaded it today. I wanted a table to weld on without warping or when using a torch and its massive enough anything bolted to it would make it a good anchor. I want to weld 1/4" angle to the undersides and countersink some holes in the top so that it can come apart when I move out of my shop. Anyone have a good design as far as making this a quasi platen table? Round or square holes? drilled and tapped holes? Suggestions? Top is 6'x4' and it will weigh 1,371 lbs when done. I was thinking of making this at the height of my anvil roughly 2 1/2 ft off the ground to ease fabrication projects.
-
Had to share. My sister wanted a candle snuffer so here's my attempt. I got my inspiration from "A Pattern Book of Tools and Household goods" which is a reproduction of an ad book from the 1700's/ early 1800's. I turned the decorative end on the lathe and forged the taper and also forged the bell from a section of pipe. The end I forge welded solid, but it cracked a little after grinding to fit. Also this was the first project that I could use my new maker's mark. John Rigoni