JRigoni
-
Posts
105 -
Joined
-
Last visited
Content Type
Profiles
Forums
Articles
Gallery
Downloads
Events
Everything posted by JRigoni
-
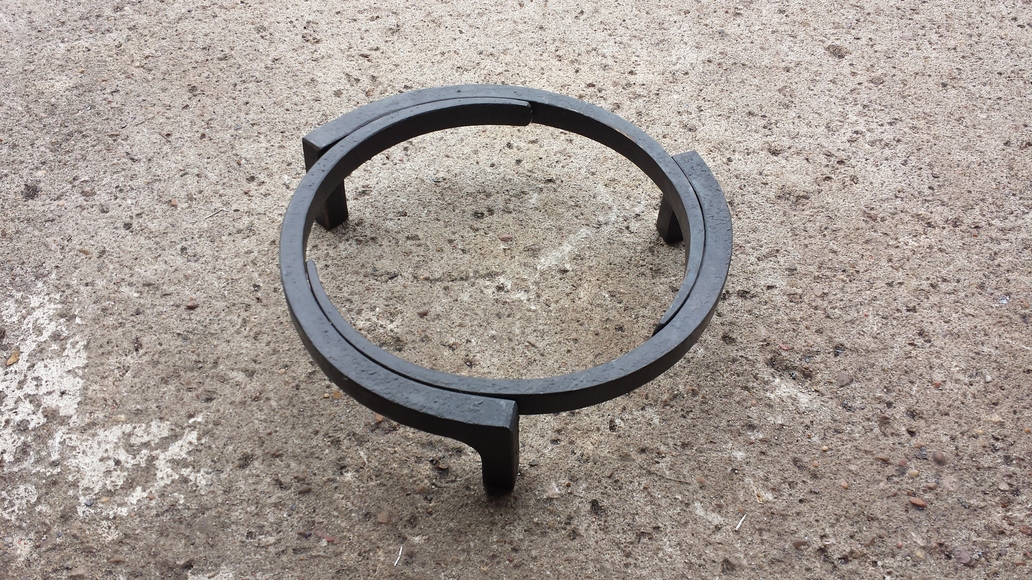
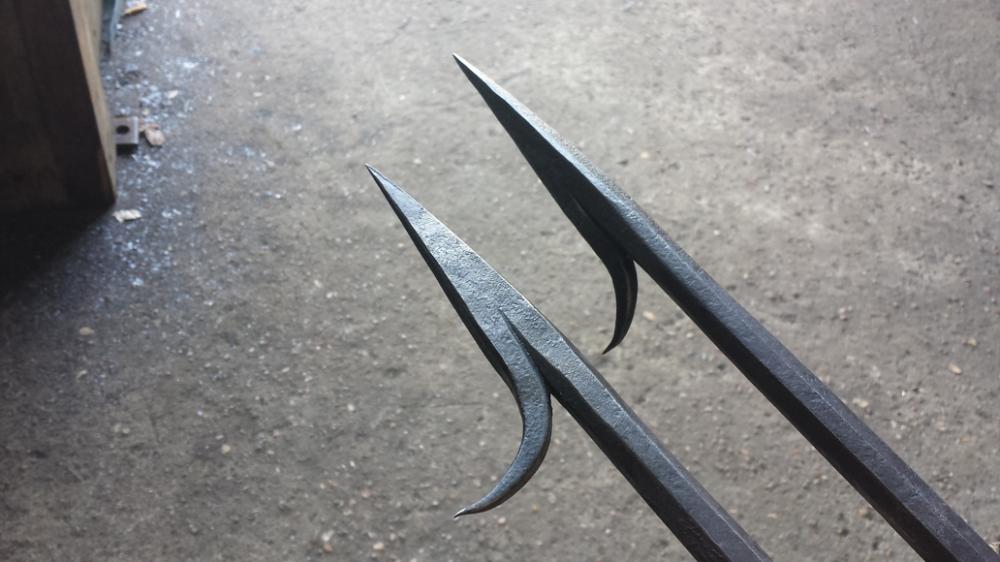
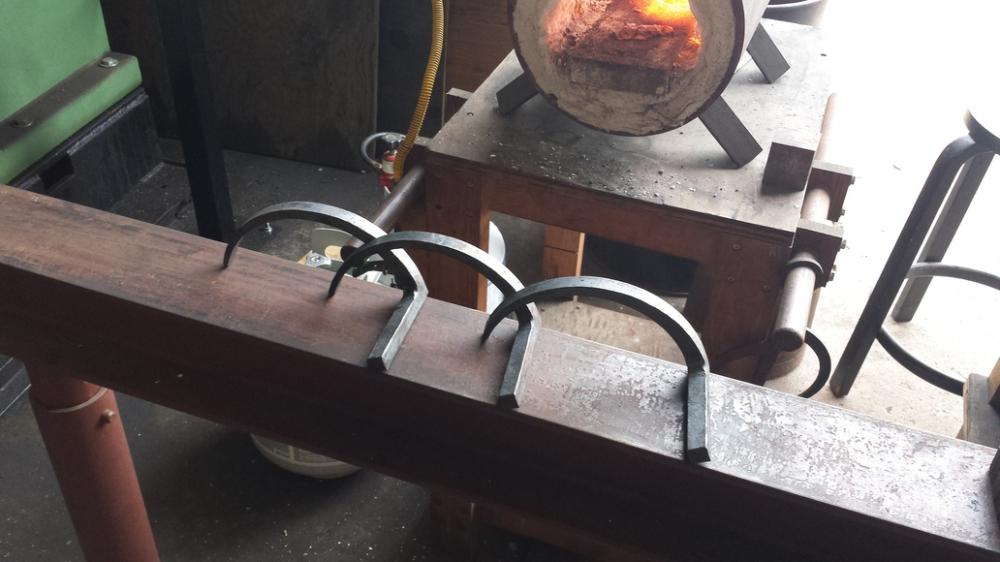
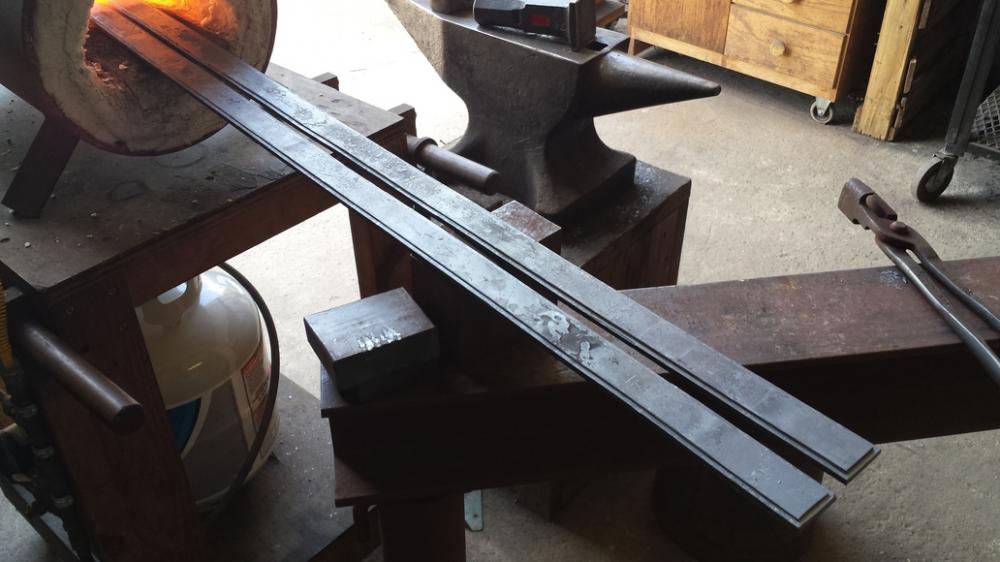
Thanks, FlyingXS: the curves were achieved with a simple, heavy wall pipe. Forge each taper to the same length and bend around the same pipe and it should get you close.
-
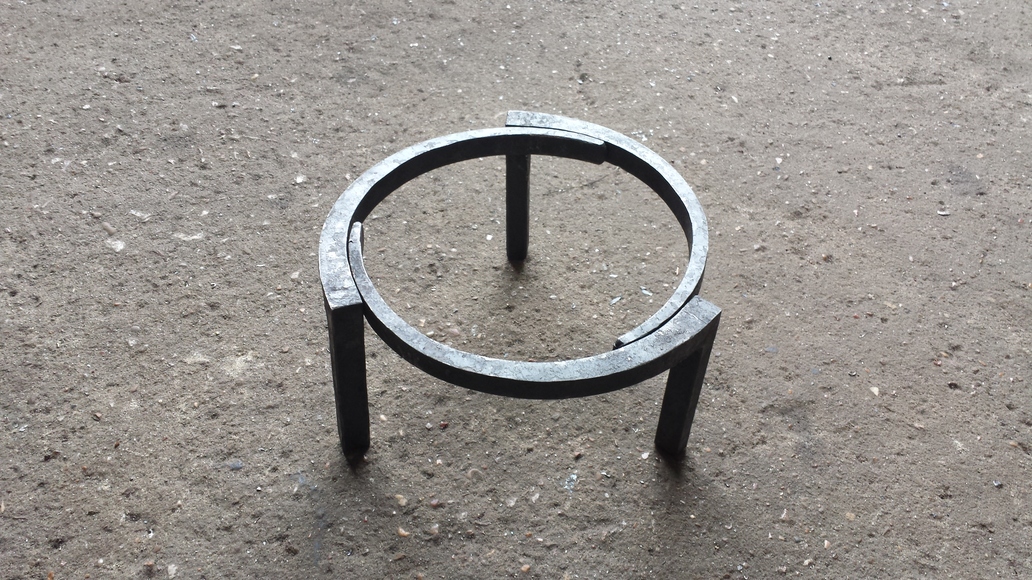
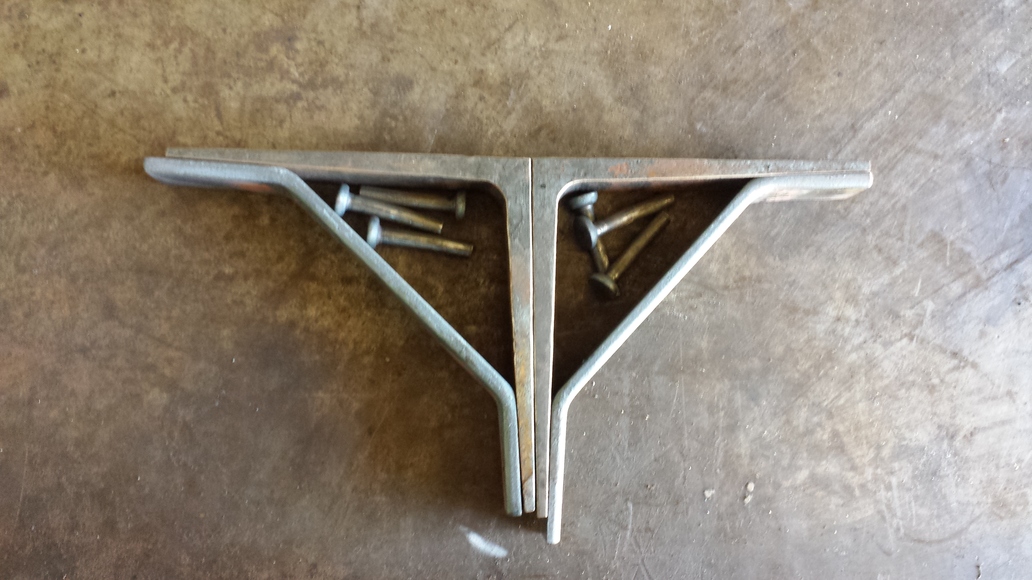
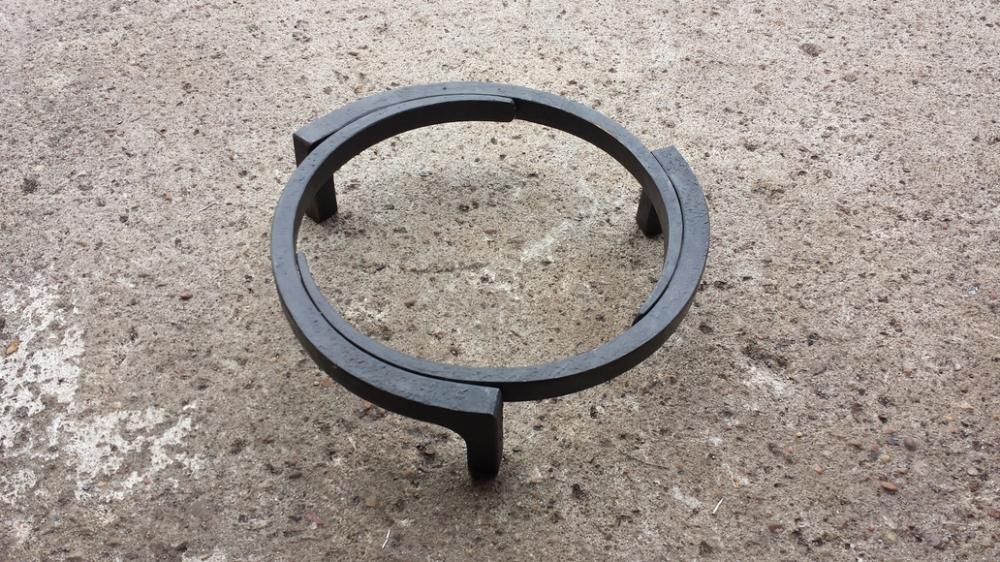
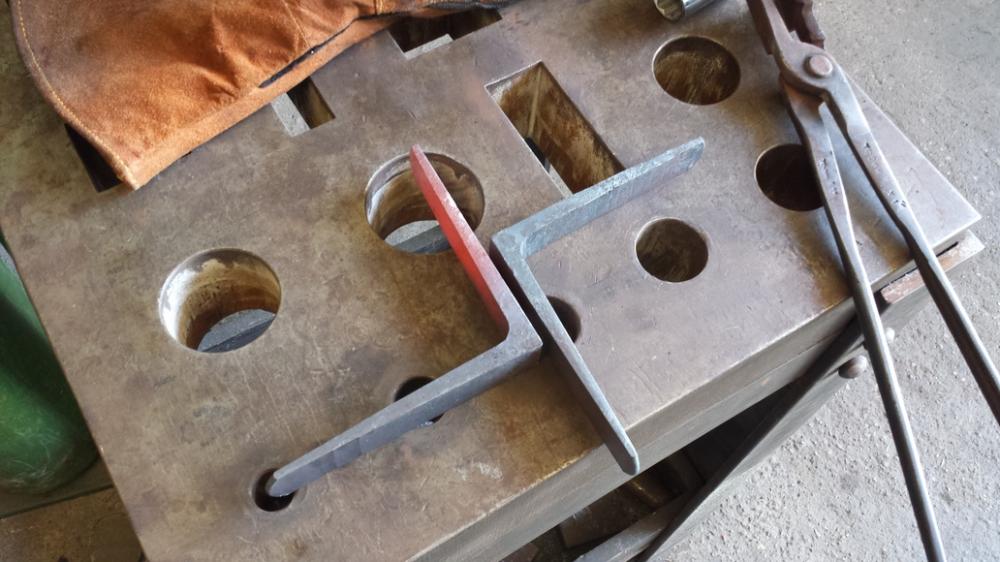
Arkie: it is though. Using slices of angle iron saves the step of forging a square corner. Forge a taper along one length and cut back one side and this is what I got.
-
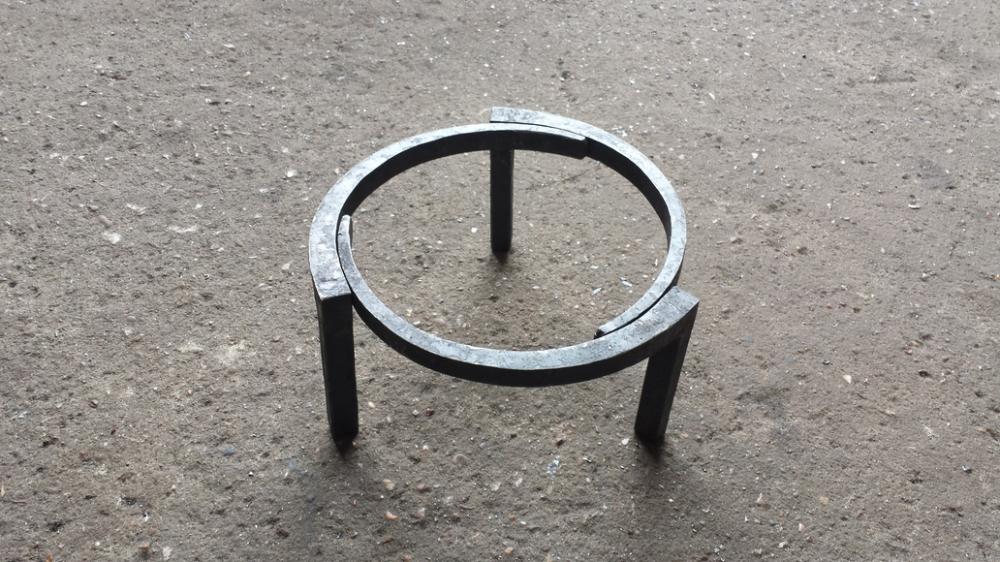
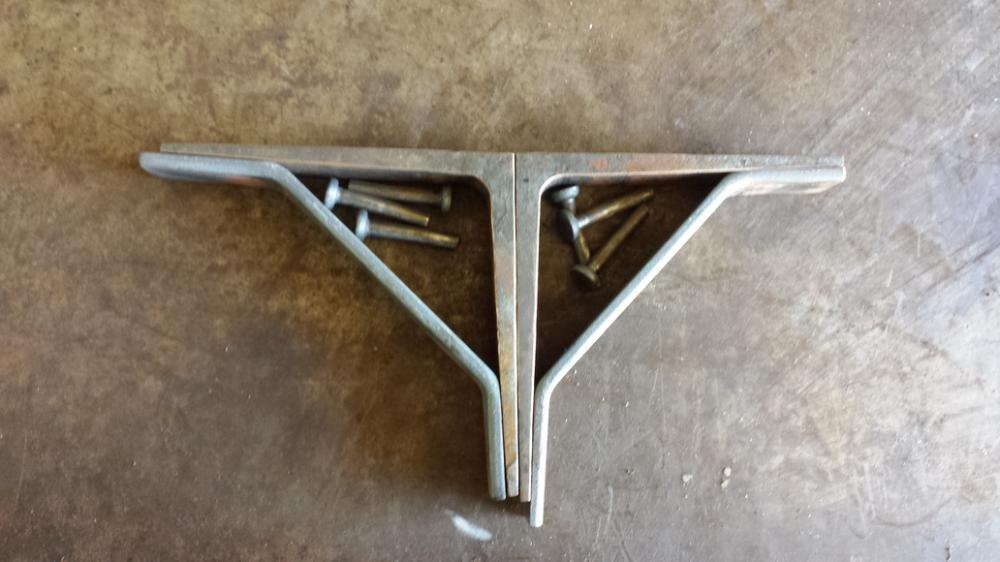
Another try with this idea, shortening the legs and using a longer section of angle iron.
-
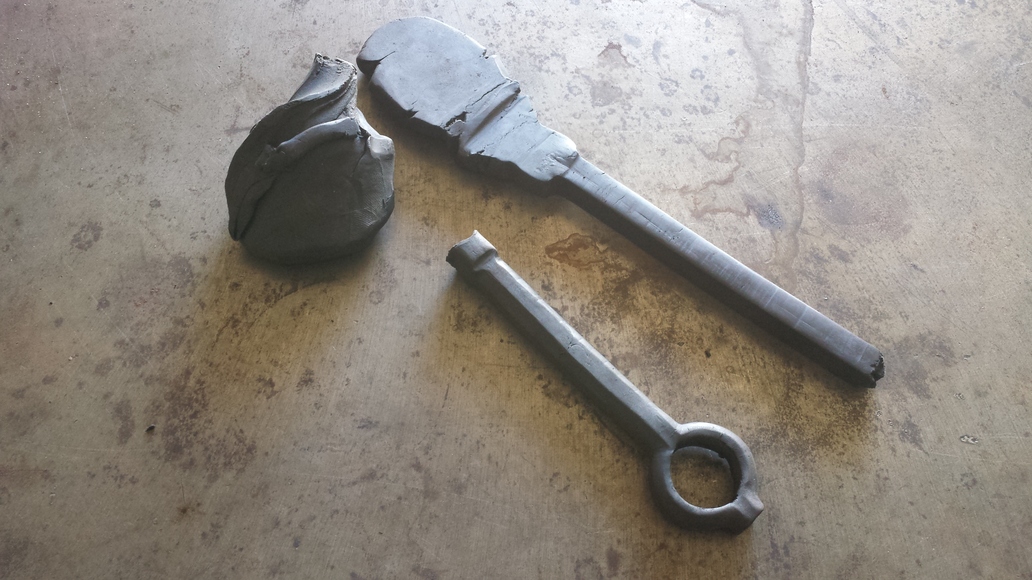
I use modeling clay under the power hammer to work out dimensions/shapes.
-
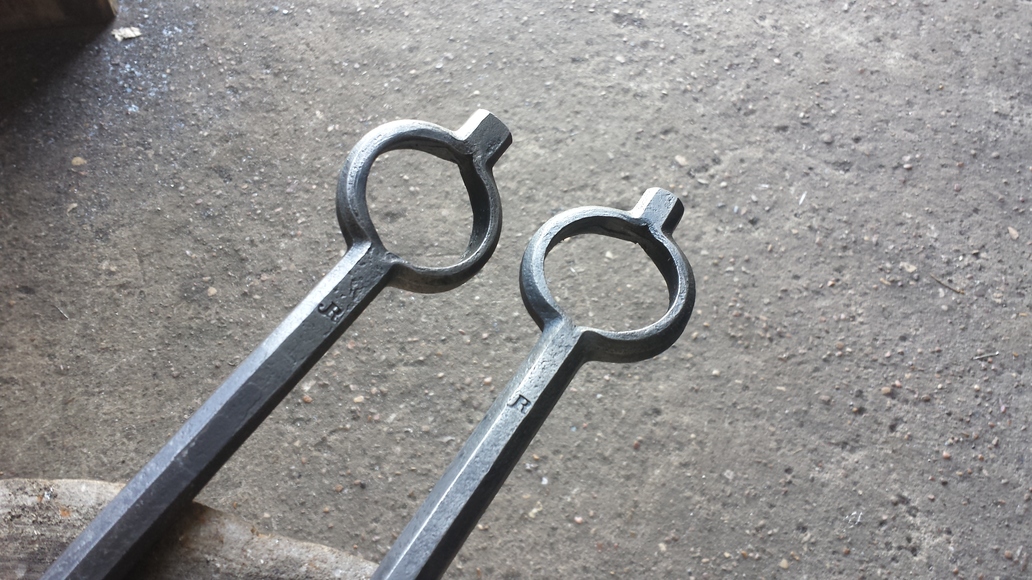
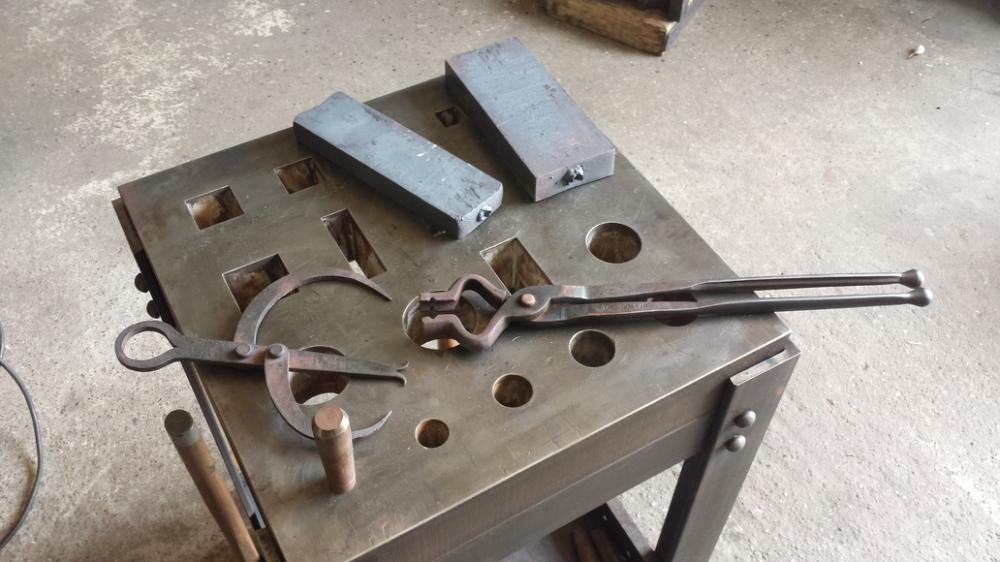
Nope, no anvil horn. I use my swage block that I had made. It has a series of holes from 3/4"-2". I use drifts for each hole so I can open to dimension without stretching or marring the octagonal sides.
-
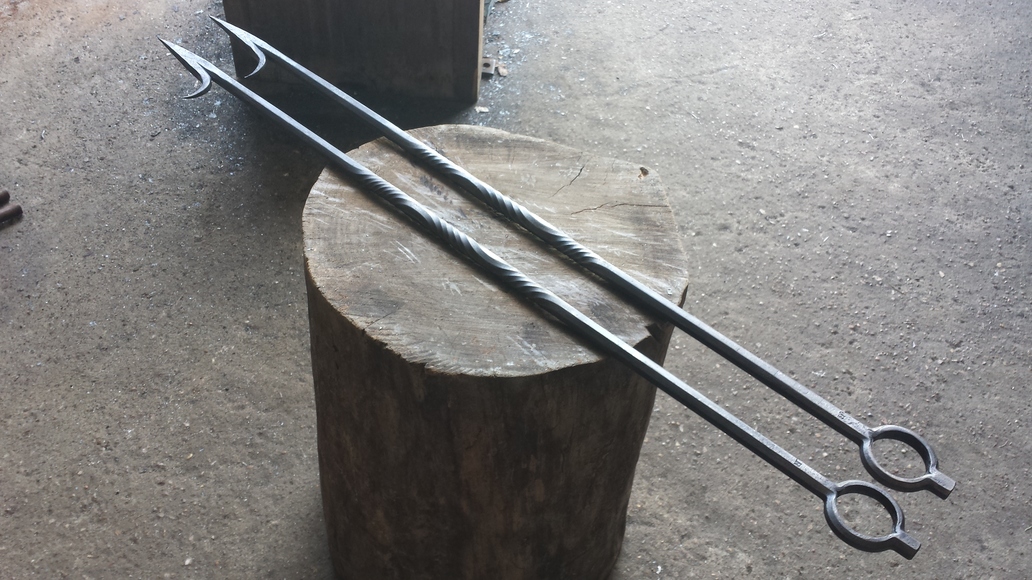
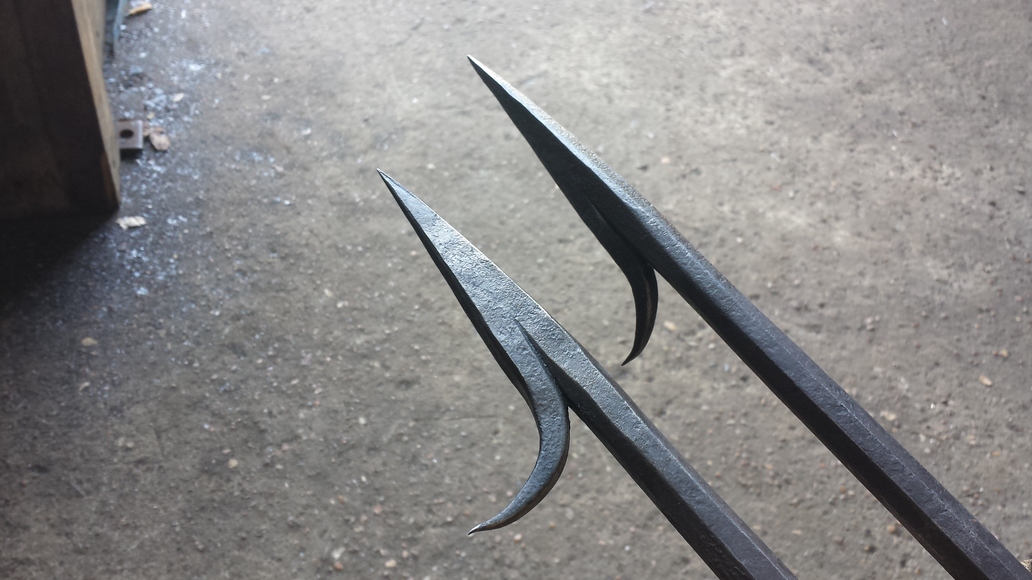
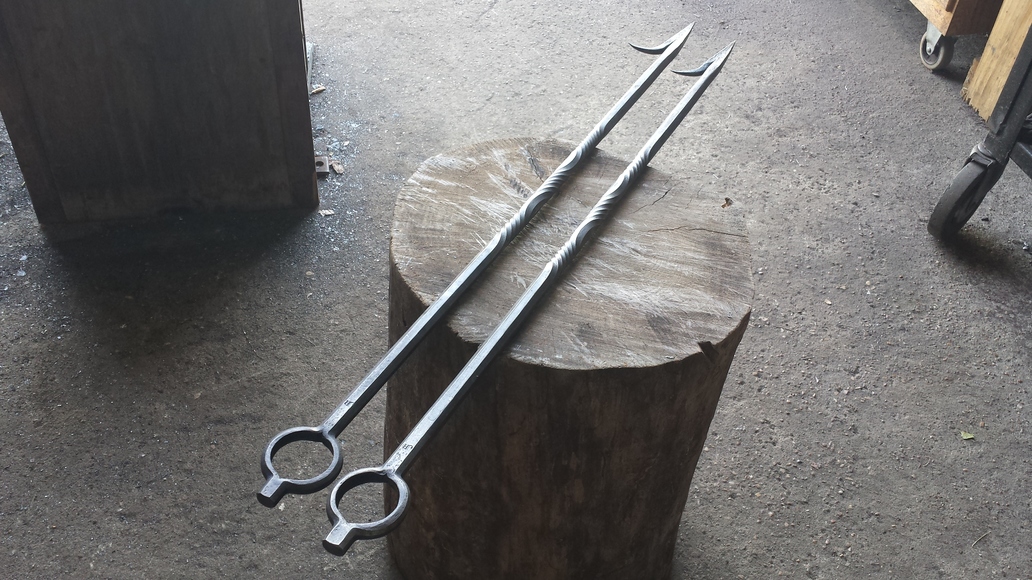
One last commission before Christmas. These started out as 1/2" square bar, forged octagonal and have drifted handles, twisted centers and forge welded points. About 31" long.


-
Thanks Alan, Good hearing from you! I appreciate the insight. I tried using collars yesterday and it wasn't working visually. I think I will stick with a clean arc weld underneath so not to alter the sides. Are you headed to Ypres next year? I'm going to try and make it over for the 2016 conference.
-
Dsw: yep, these were cut 1/2 square. I might try the hidden rivet approach on the next one.
-
JME: if it was 2 prongs, I would have forged them out. With three, I wanted them to be exact, so I marked out what needed to be removed and cut most out on the bandsaw. The rest was on the belt sander and small files.
-
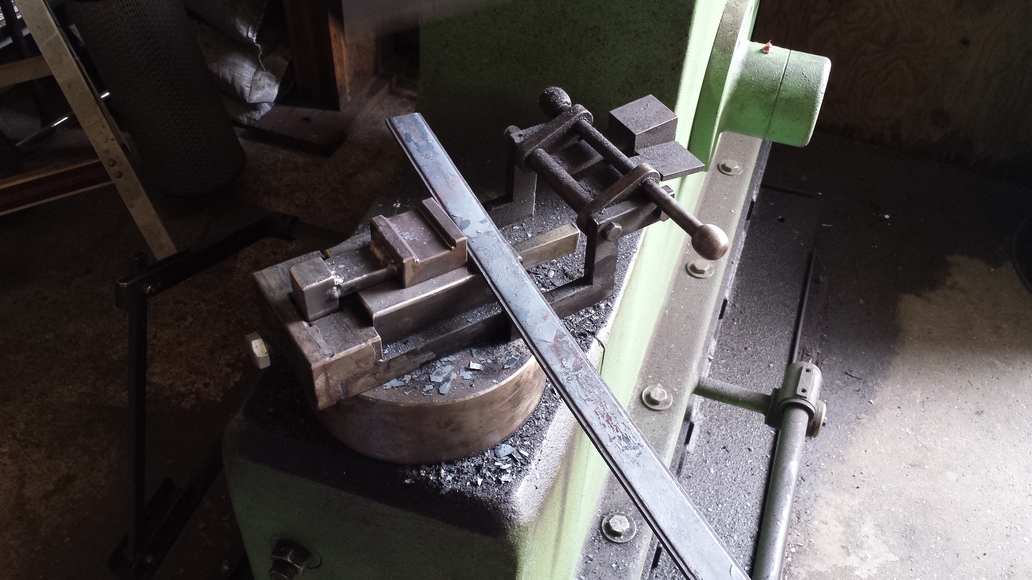
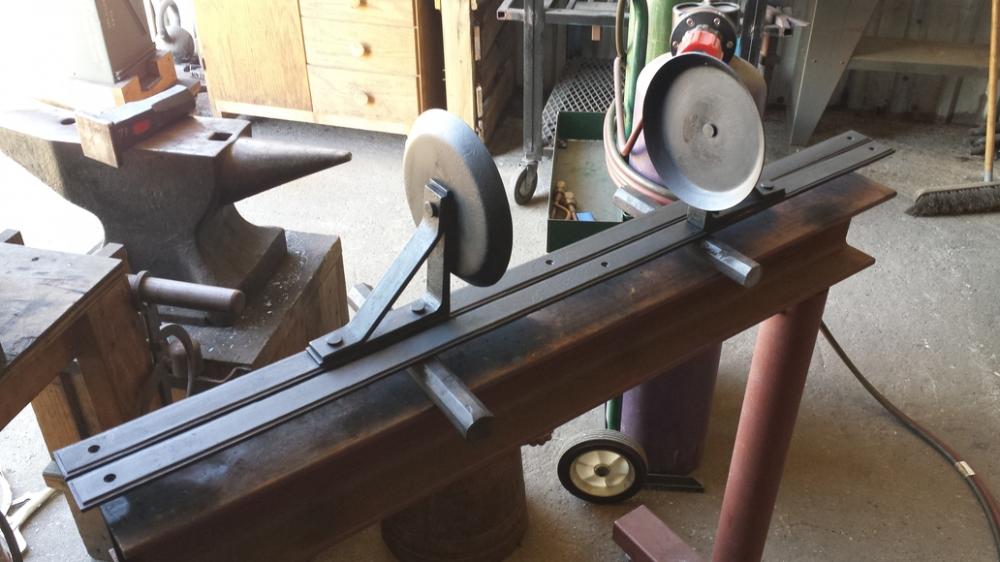
Testing out some angle iron forms today before the rain hits. I'm still not sure how best to join these, whether with bands, welds or rivets.
-
Thanks! Ianinsa: the forging and shaping took a few days. The long part was coming up with a design I liked similar to the period.
-
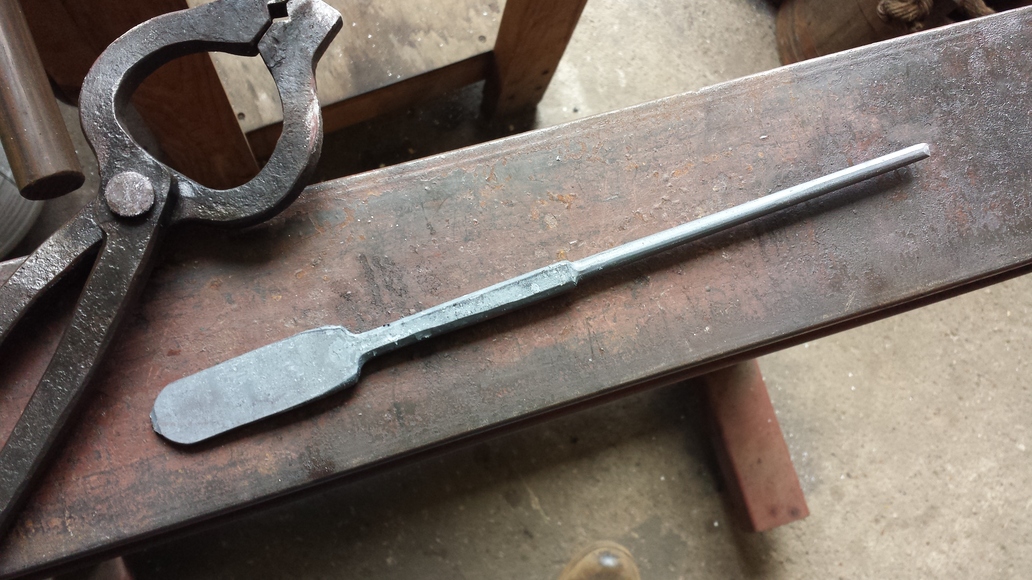
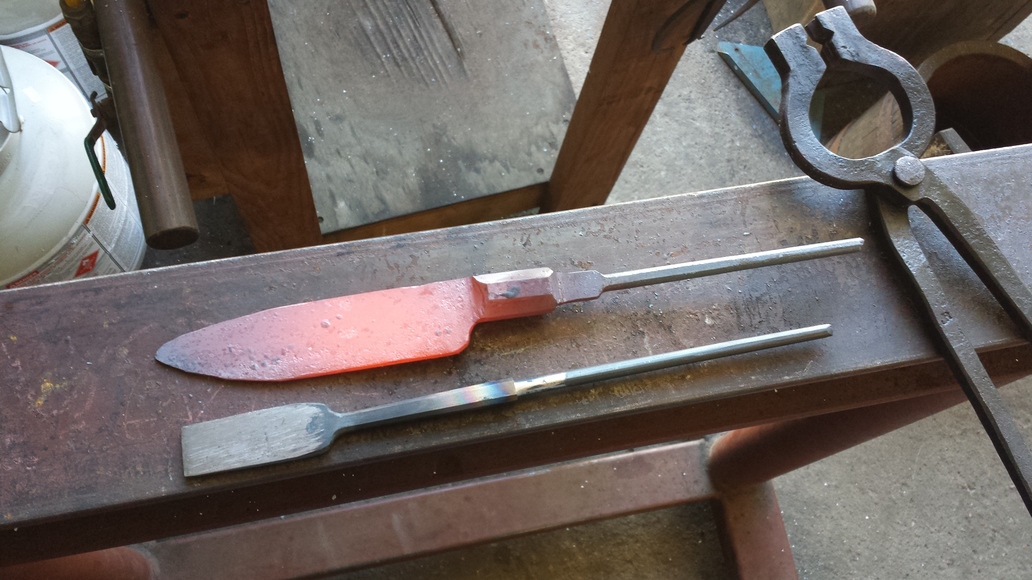
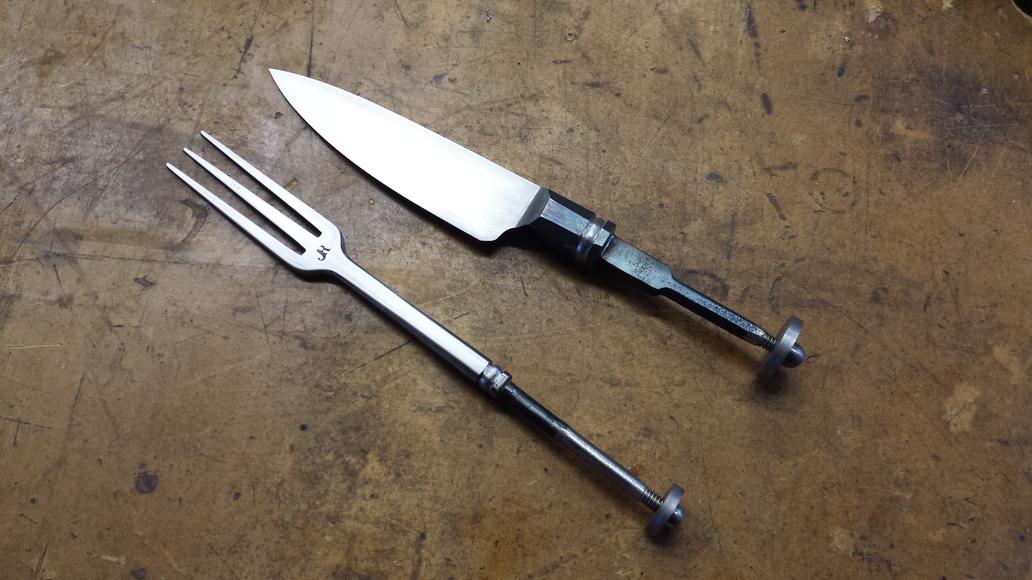
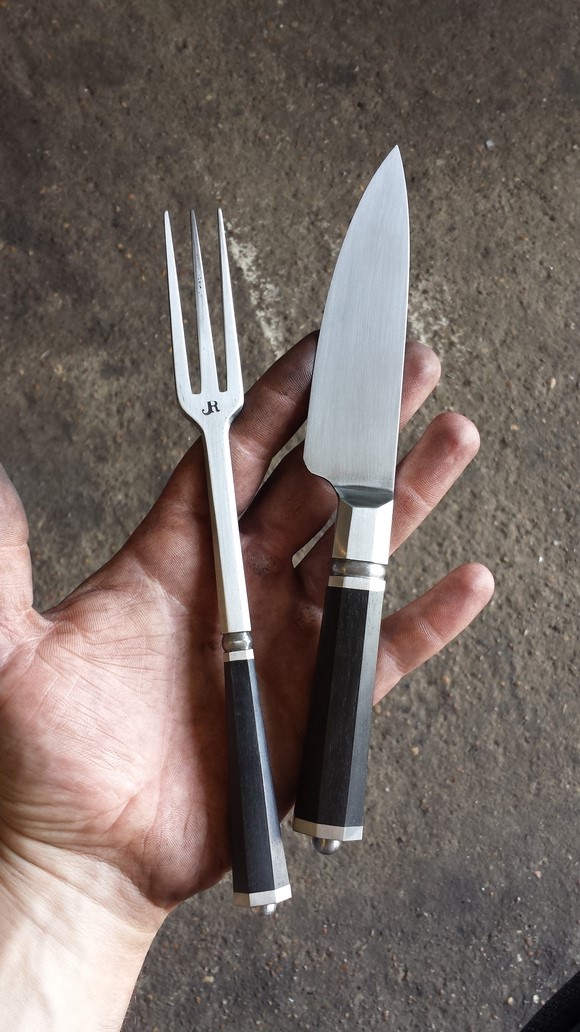
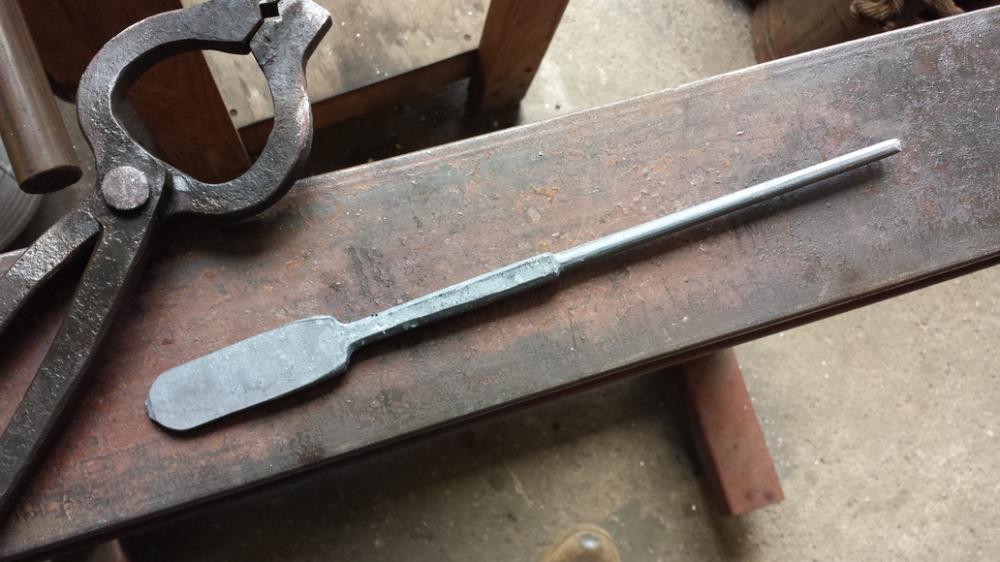
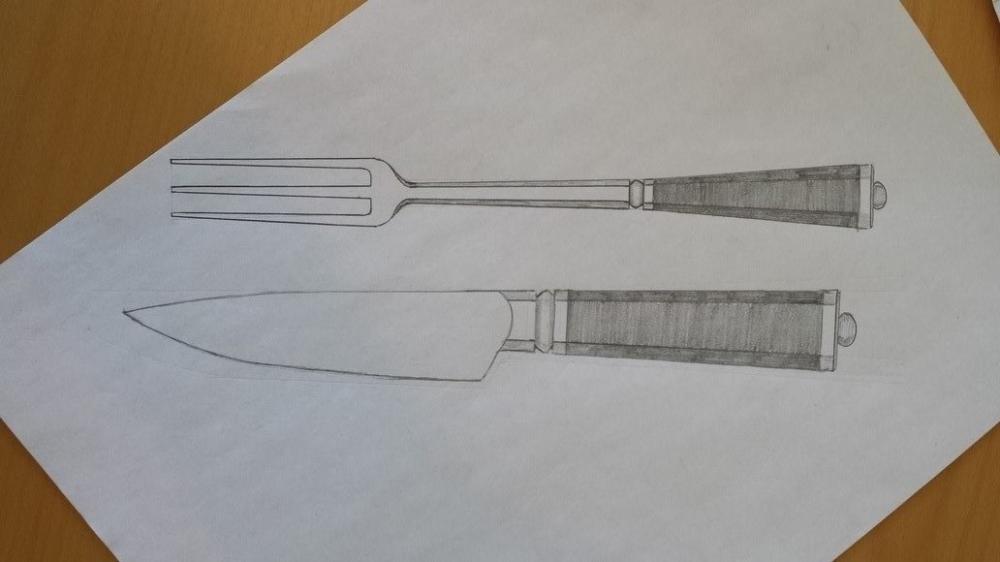
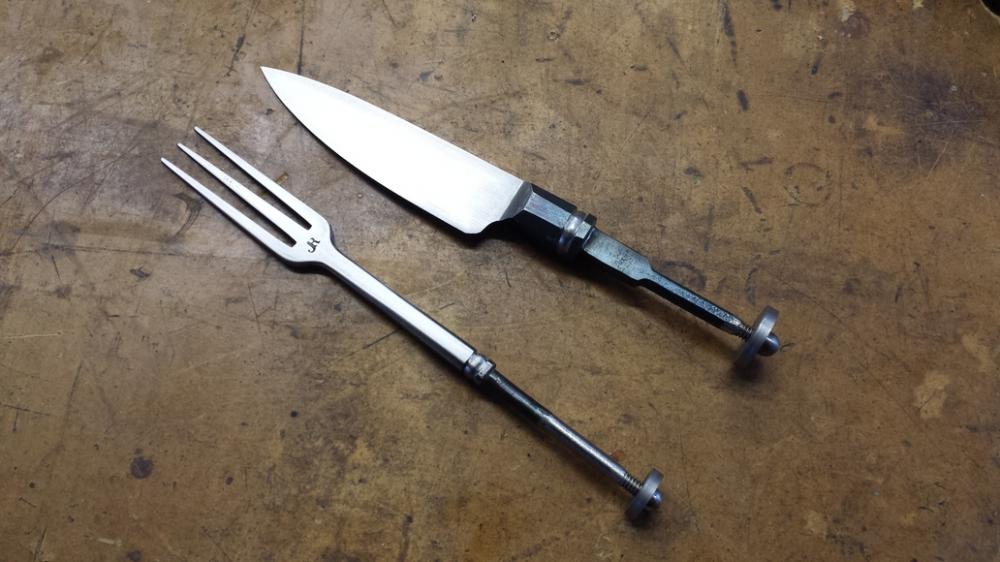
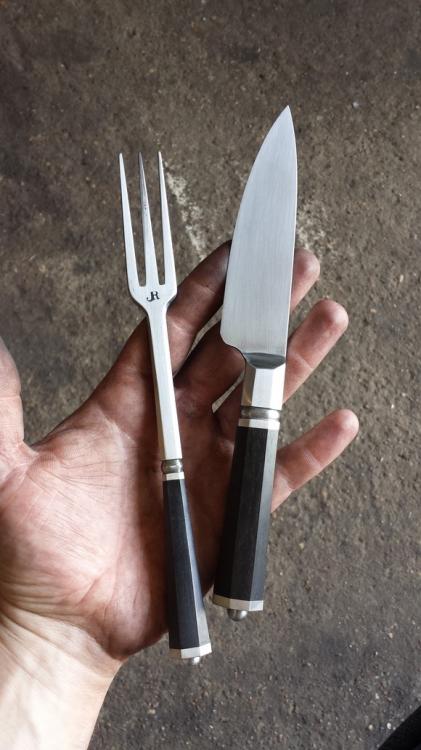
I haven't posted anything in awhile and I've wanted to do this project for a few years but never got around to starting it. Inspiration comes from the book: Historische Bestecke (Historic Cutlery) by Jochen Amme. This book is phenomenal if you get a chance to see it. Examples of cutlery from the stone age to modern day. Anyhow, here goes in the build. Fork is forged from a section of coil spring (5160). This is the design I came up with, seemed in keeping with many of the German and Dutch originals of the time. Knife pre-form is forged to shape. I had a 1" bar of O-1 in the shop, so this is from that. Some Whitework today. Drawfiling to final shape and cutting threads in the tangs. I machined the end caps/pommels from mild steel, and had a bear of a time cutting the internal threads, since they were so small. I ended up using three 1/4"x20 taps, standard, bottoming tap and one ground down to flush. All finished. Fork is forged from 5160 and knife from 0-1 steel. The handles are ebony.

-
Show me your Bottle Openers!
JRigoni replied to Arbalist's topic in Blacksmithing, General Discussion
Here is my take on making one: https://www.youtube.com/watch?v=K-Zg1-fR9kU -
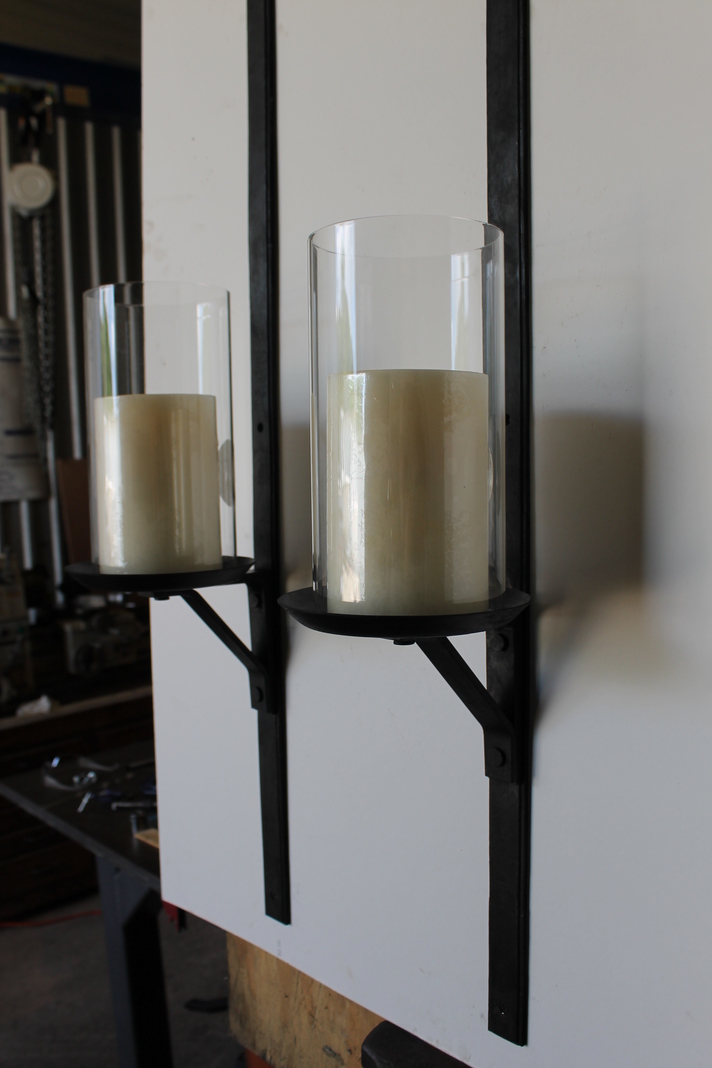
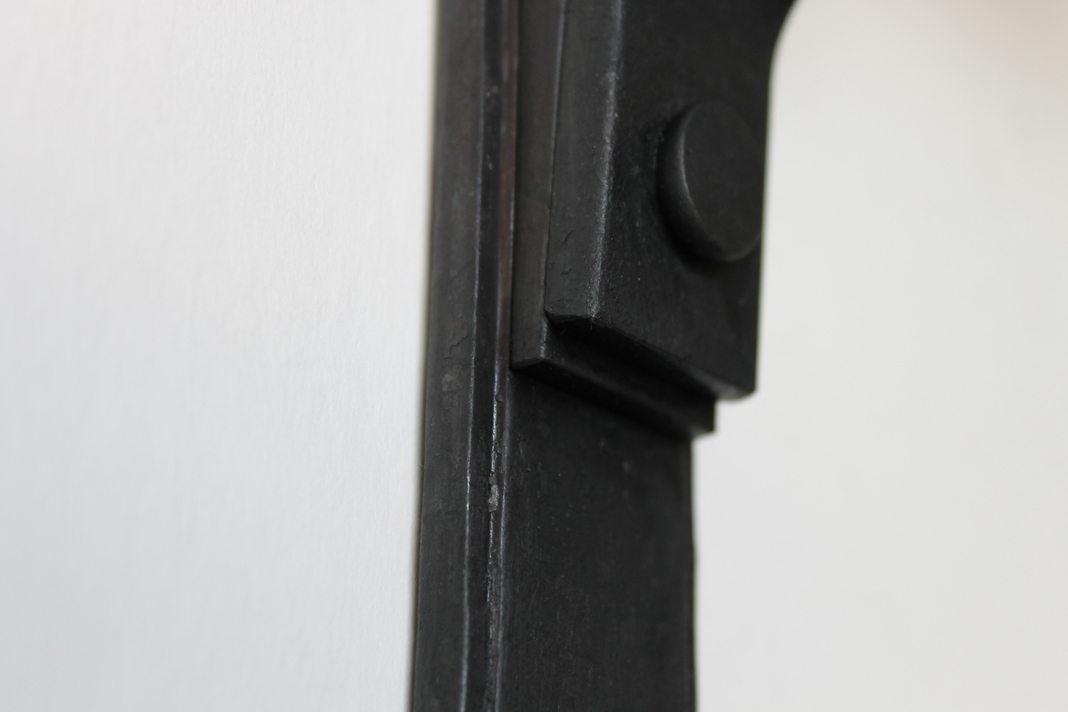
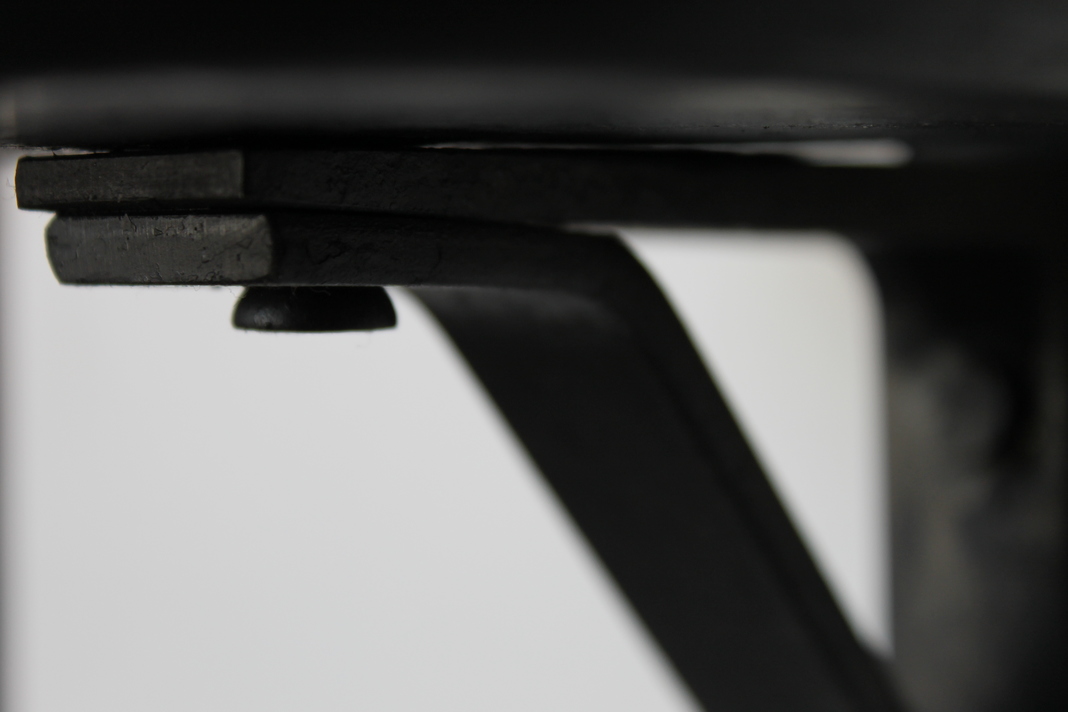
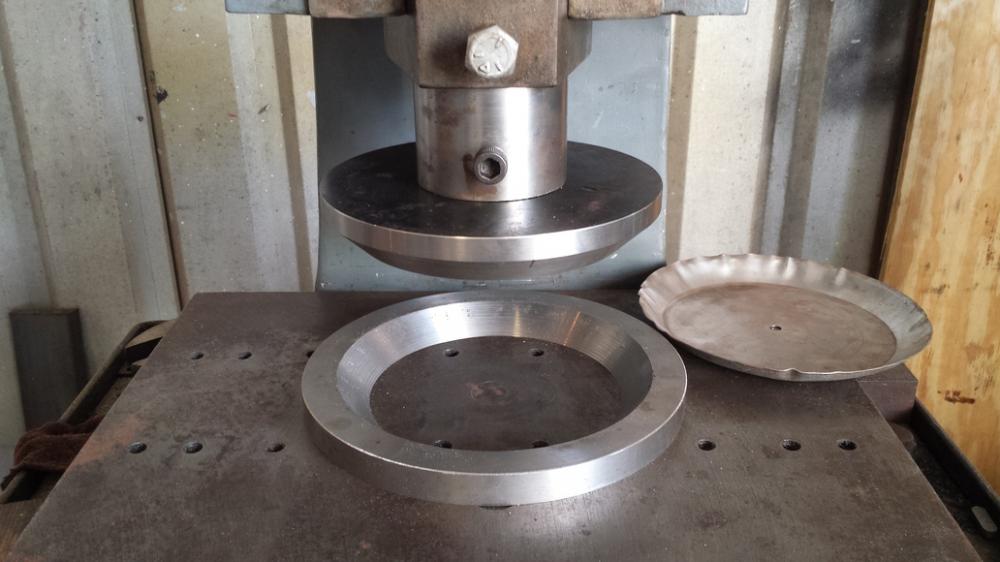
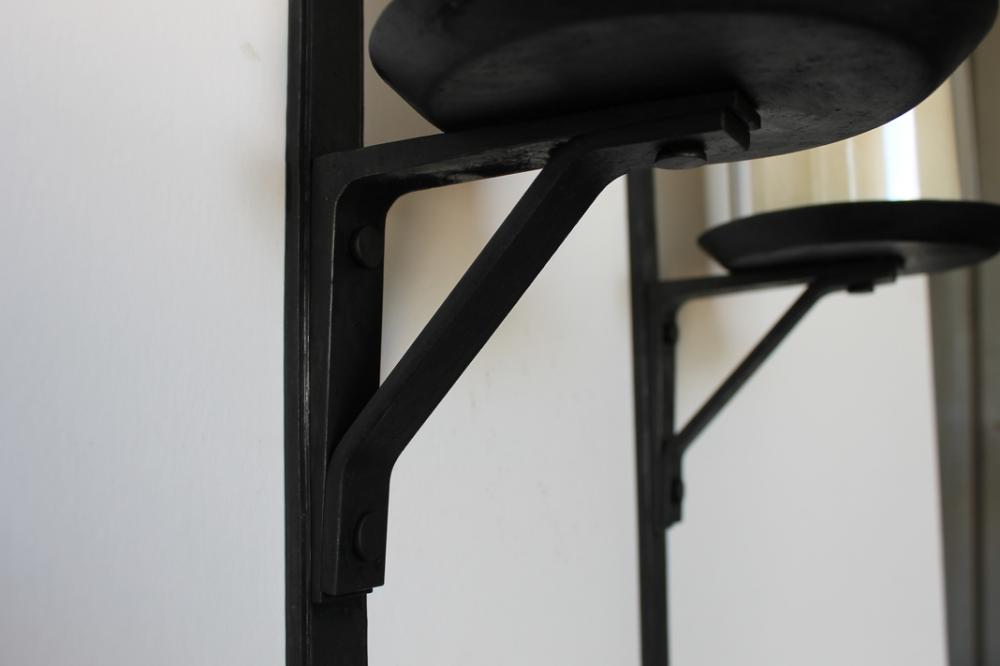
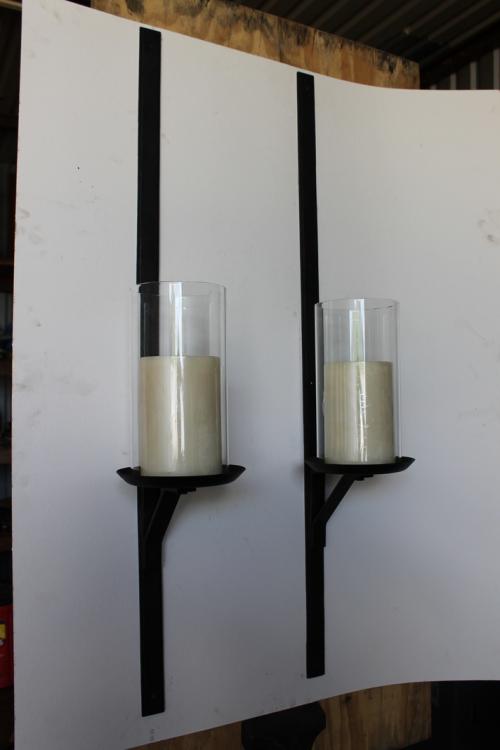
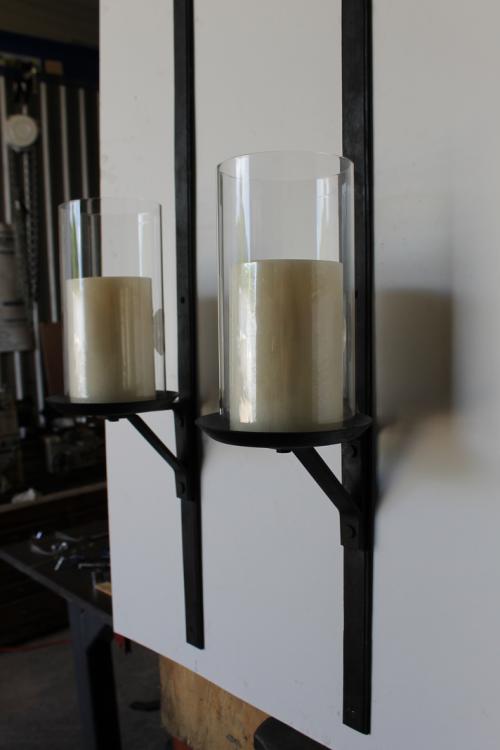
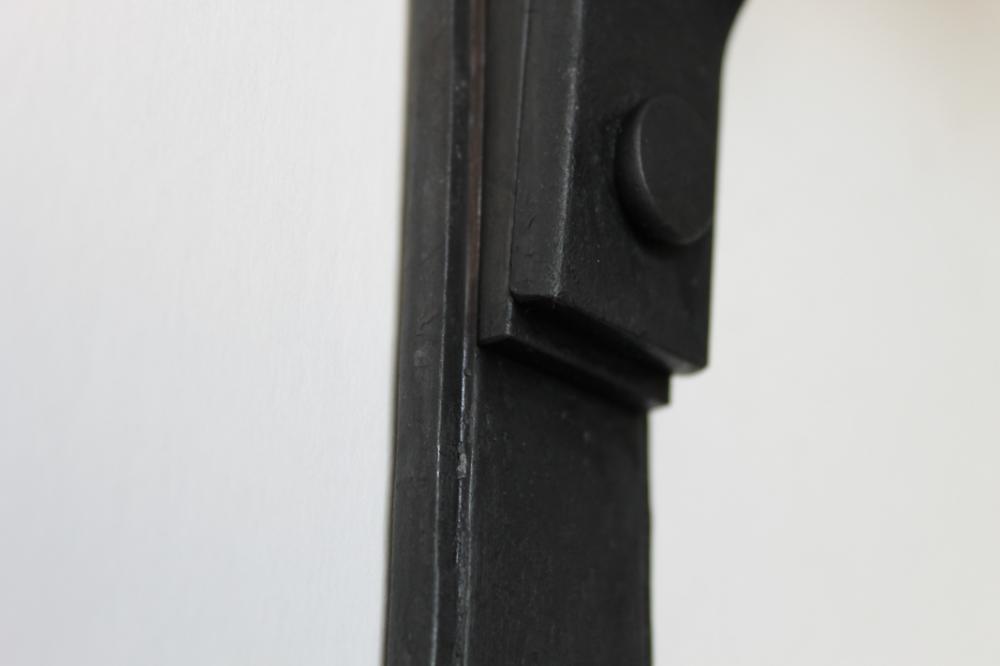
The client wanted an industrial themed set of candle wall sconces. She also wanted it to be slightly angular. I kept the corners sharp and made a die to give the border more texture. The support mimics the border slightly. Height is 3ft and holds a 4"x6" candle.

-
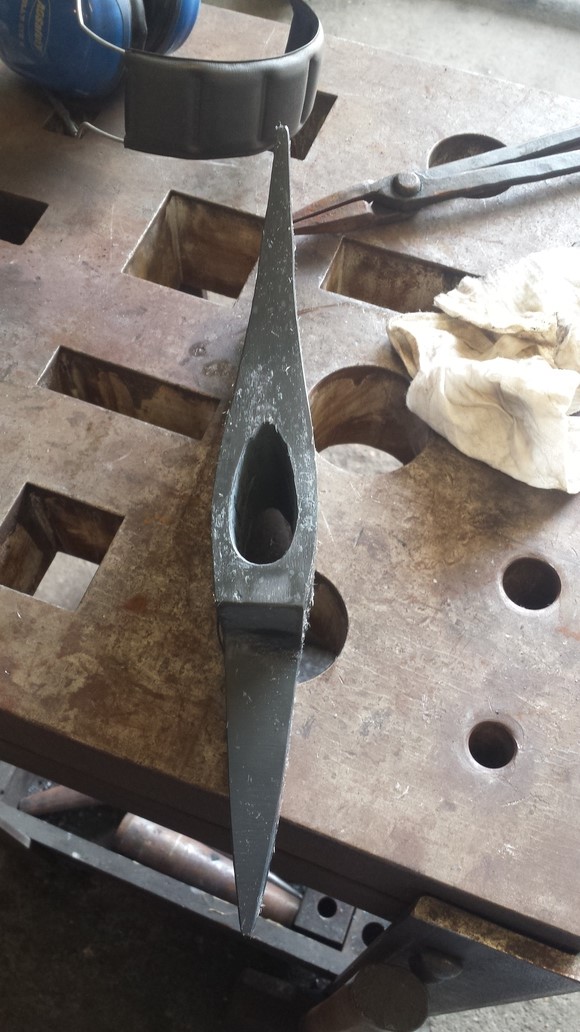
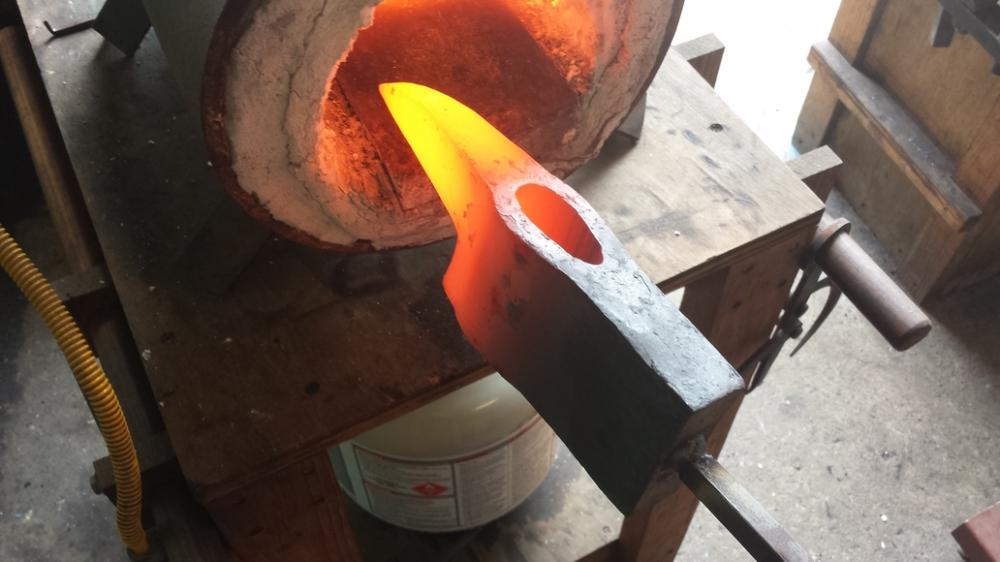
Thank you After three separate attempts (failures) it worked out just fine. If I make another, I will make a series of power hammer drifts to relieve the stress of hand forging the eye like this one.
-
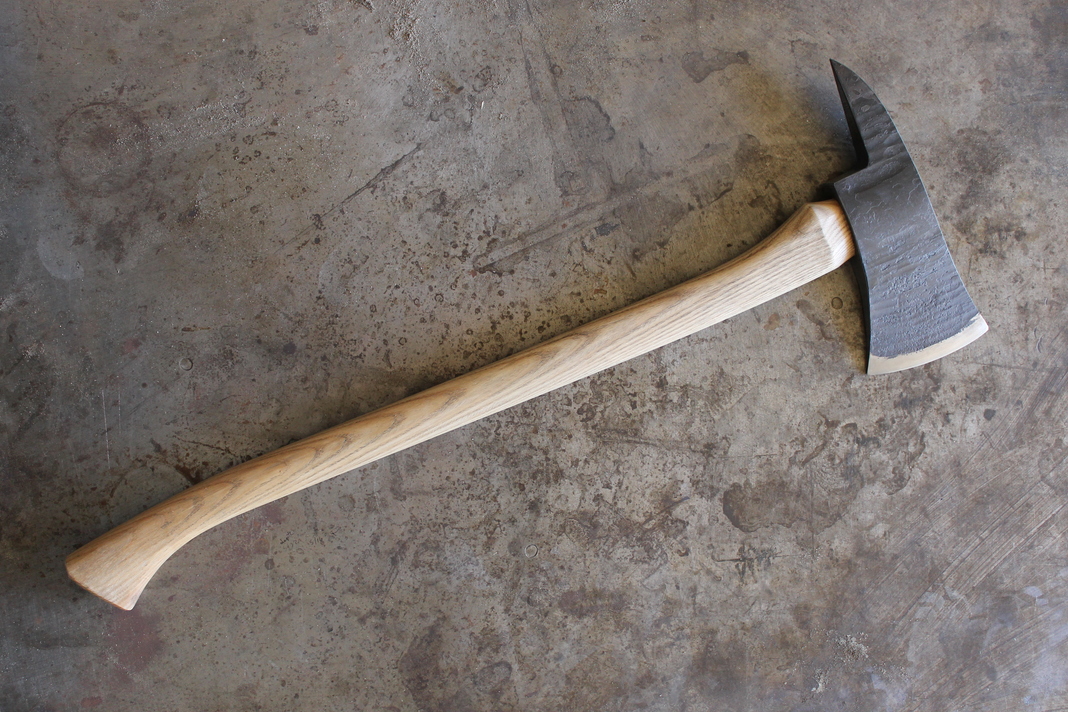
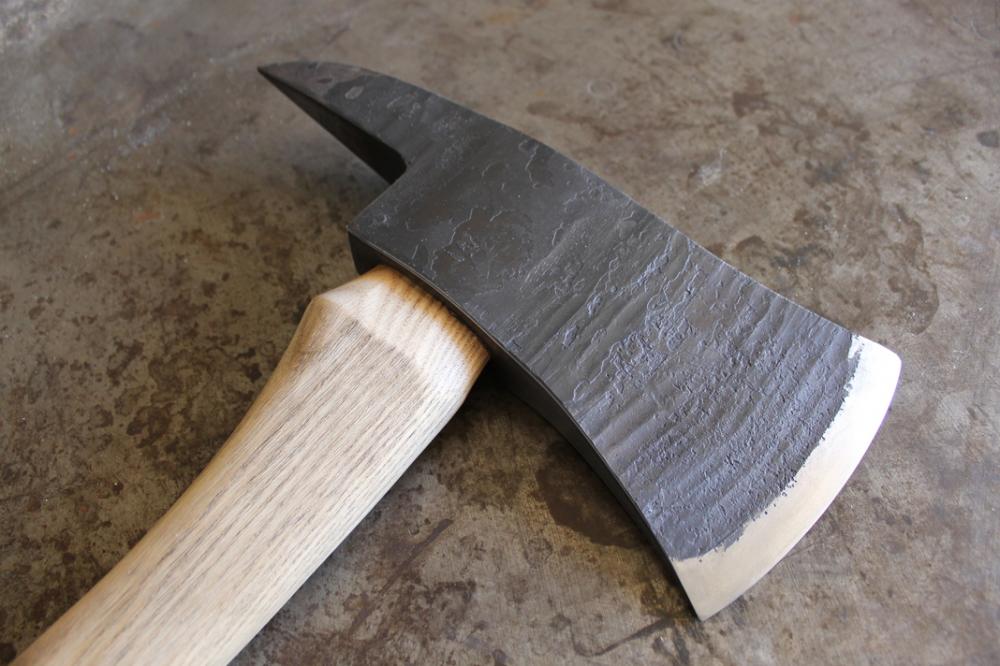
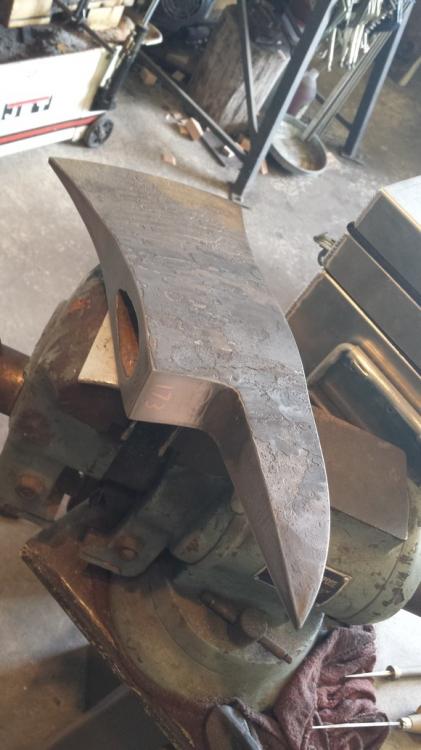
Firefighter axe project is finished. The finished weight is 7lb. Axe head is 4140, with the cutting faces hardened, ready for the house fires Definitely the largest blade/tool I've made so far.

-
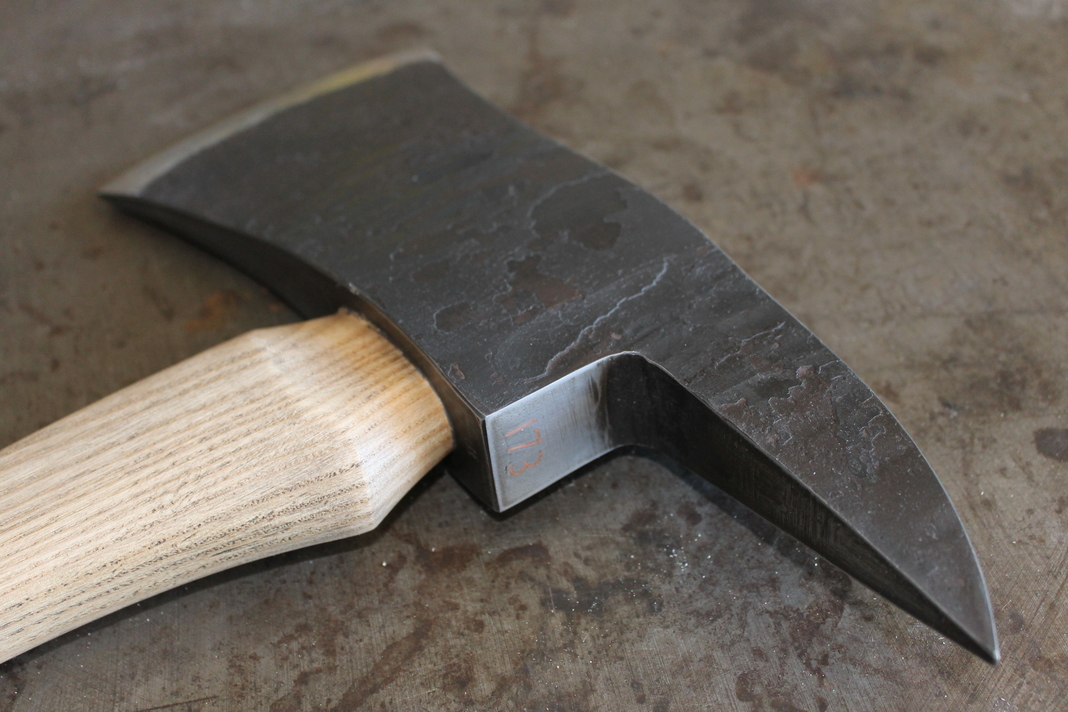
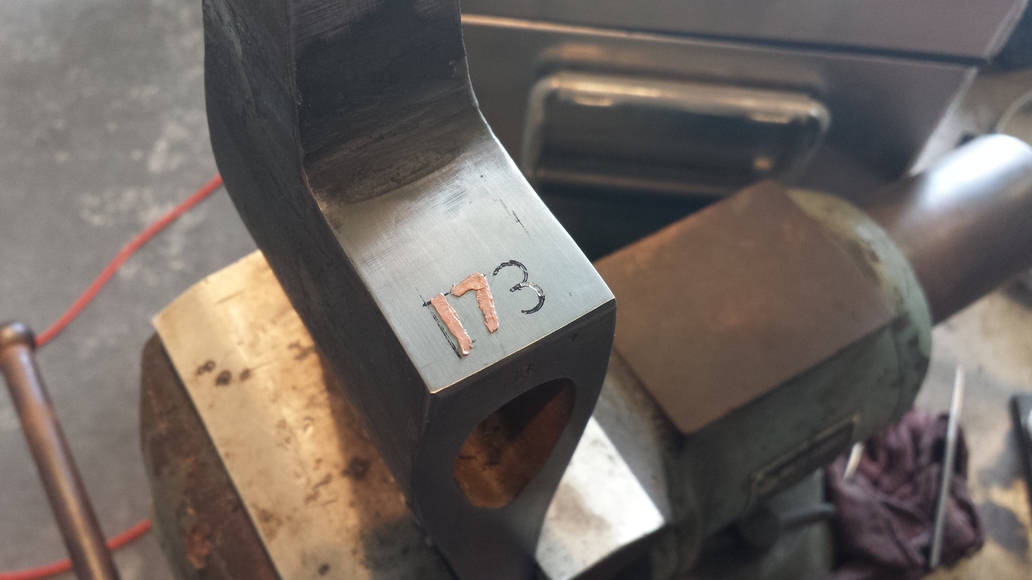
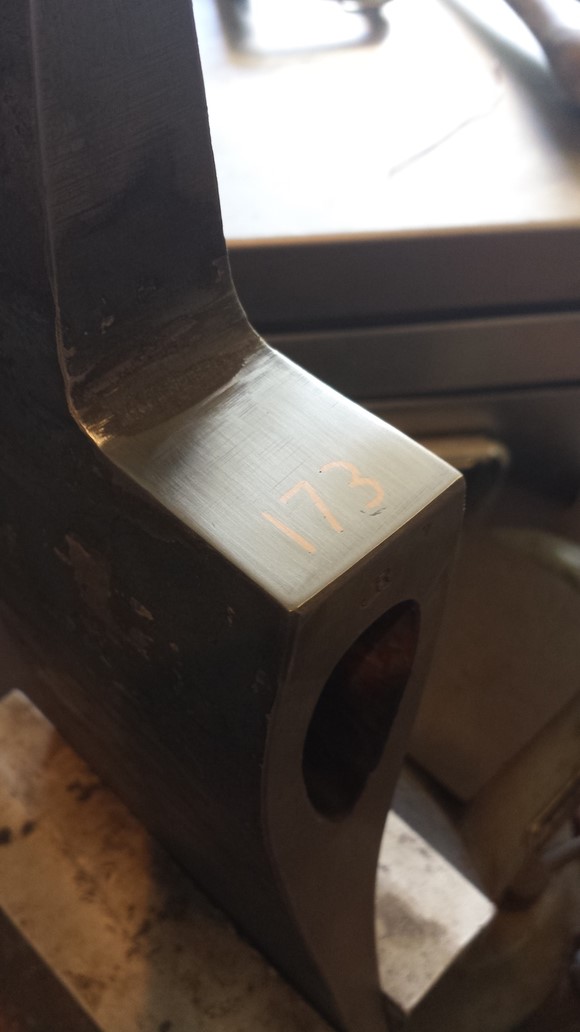
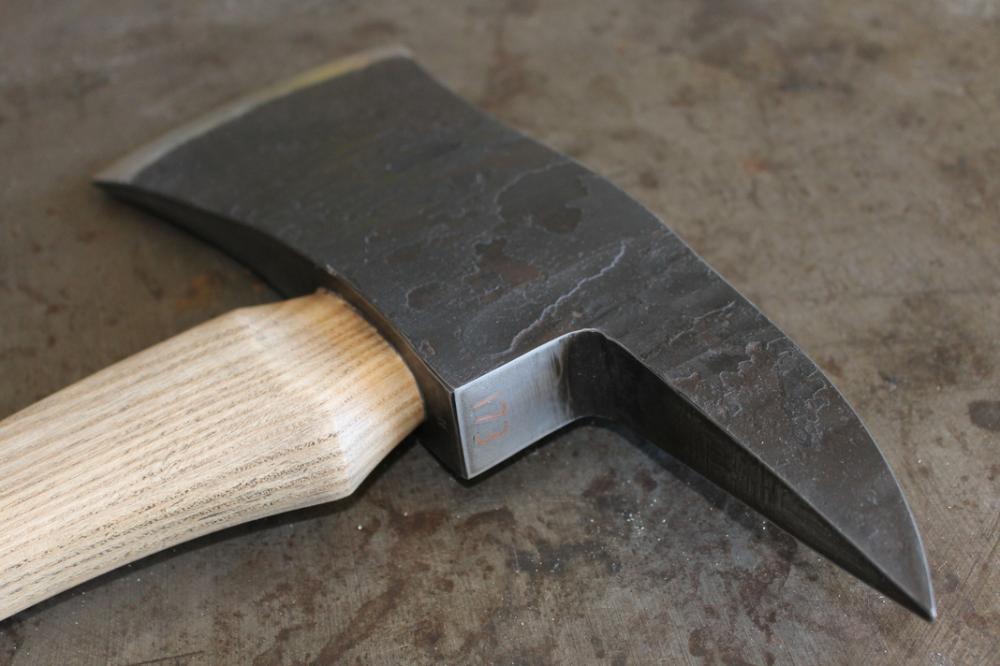
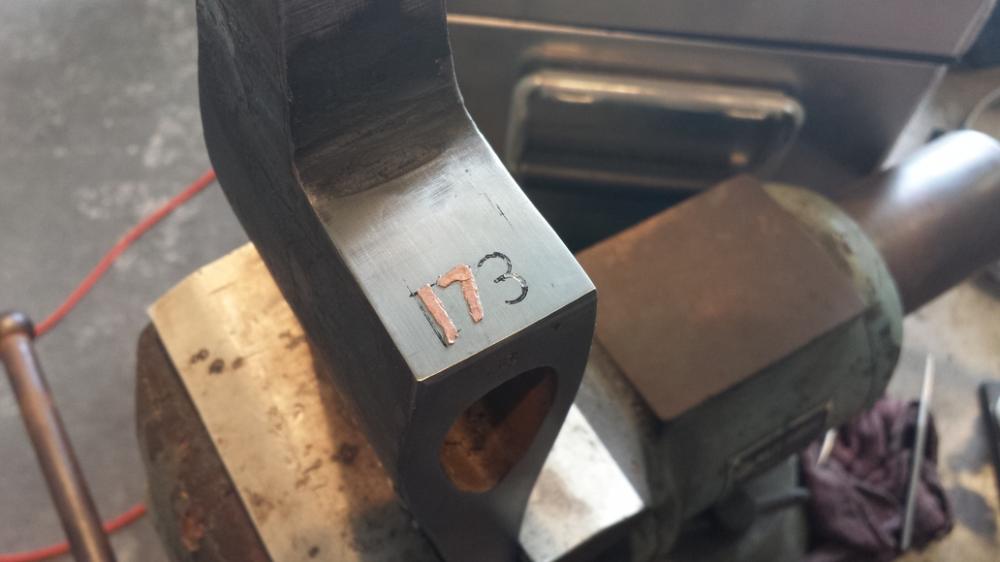
Thanks for the inlay, I used a no.6 flat graver and copper wire from home depot, annealed. Undercut the grooves and hammer in with a small punch. I hardened the working edges and tempered in the oven at 400 for a few hours.
-
Thanks, and no. No halligan forging in the near future. Too large a forging for this small shop.
-
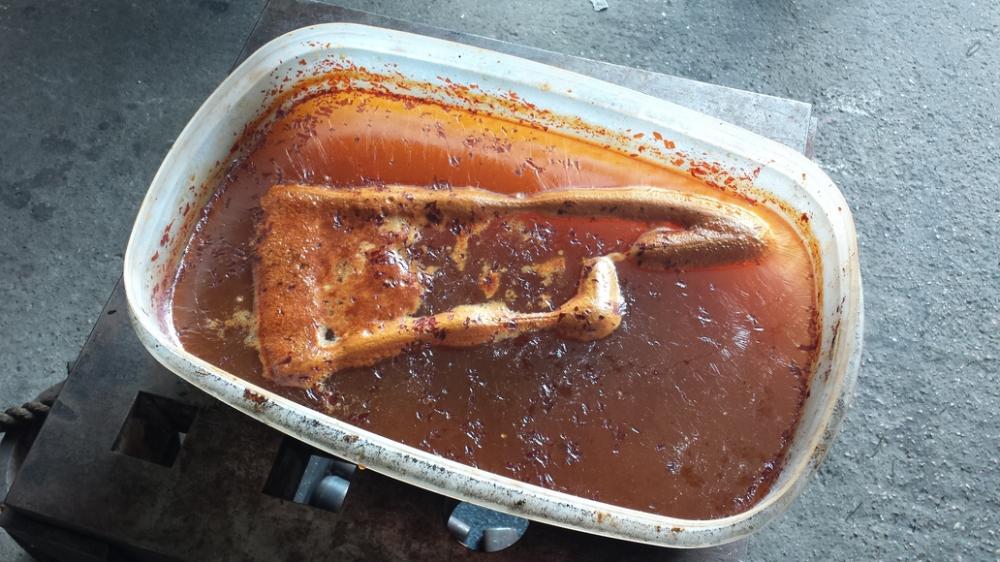
Today's work: Overnight soak in vinegar to pop the forge scale off, grind down the cheeks, and wire inlay his badge number in copper. Almost finished.


-
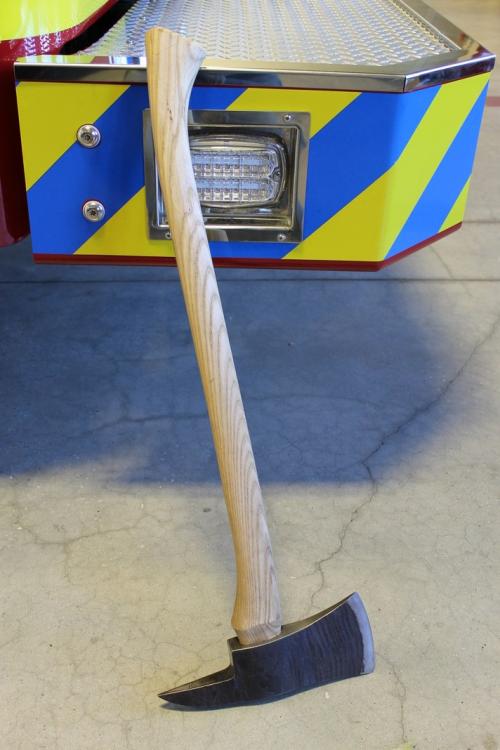
The handle will be cut from ash, not sure which wood to use for the wedge though.
-
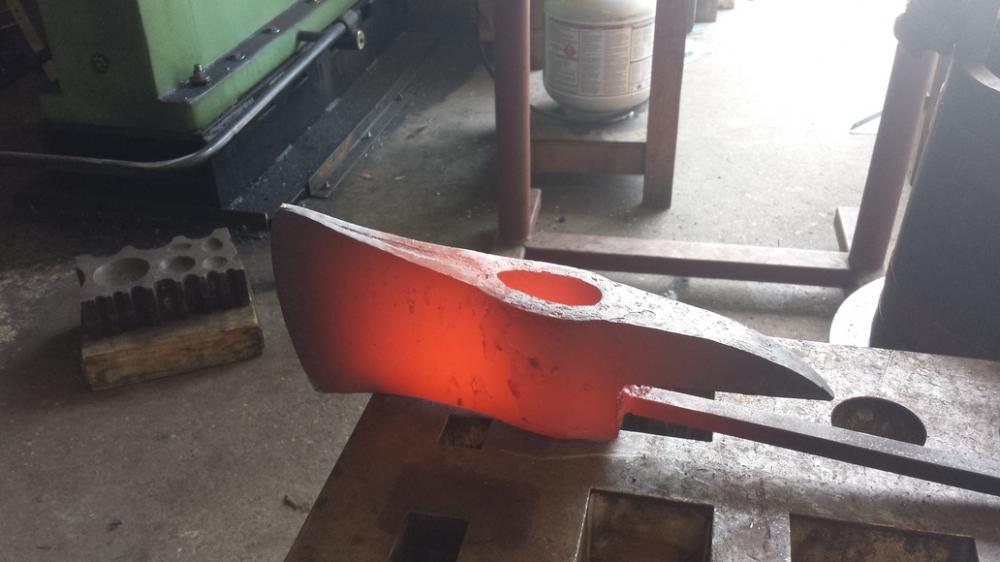
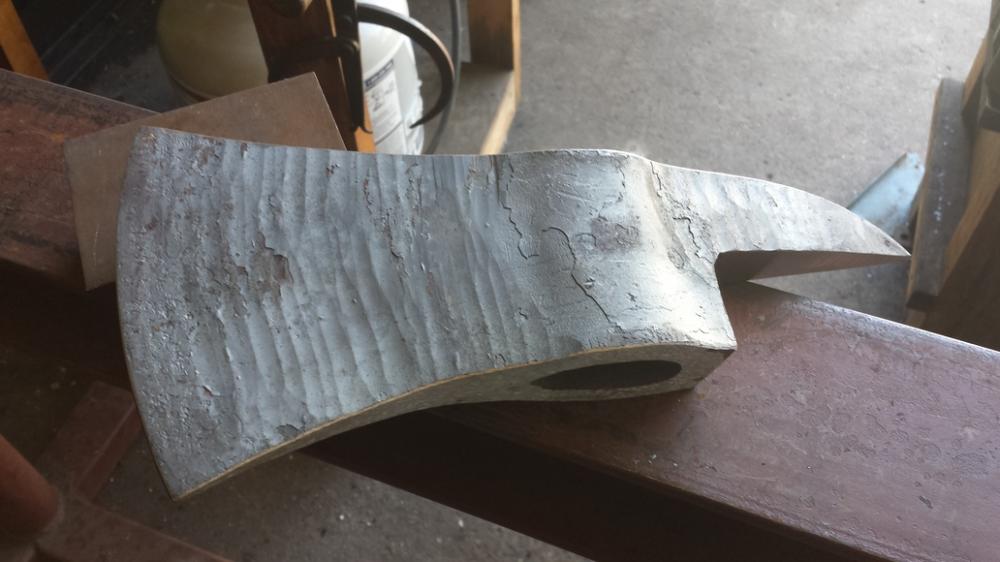
A guy at work wants a pick head axe, so here we go. The first two attempts were disasters. The chisel kept wanting to walk to either side under the power hammer when drifting the eye, and trying to forge down a corner for the pick head axe part, kicked a yellow hot 10lb chunk of metal into my chest and hand. Finally, on attempt block#3, I drilled/filed a 3/8" groove into another blank and it worked. I also cut out a square of material from the blank to help make the forging process go easier. So far so good. None of my drifts would fit under the power hammer, (having 8" clearance) so most of the work was slowly done by hand with sledges. The block started out as 1.5"x3.5"x8". The axe is pretty much forged, and now it's up to the client to either have me smooth the sides or leave it as forged. I'll profile the handle tomorrow. Axe is now 7.5lbs, solid 4140. John Rigoni Rigoni Ironworks From the first failed attempt I made this drift for the next block. Eye is drifted. Spike is finished, woot! More handwork since the taper was too extreme for a taper attachment on the power hammer. Rough forging is finished, time to straighten the blade and begin the outer profile. Here is the axe so far. 7.5lbs, fought me most of the way, but so far so good. The texture from the forging was achieved using crowning dies on my Sahinler. Next step is the handle and inlay.


-
Short video of my process making bottle openers
JRigoni replied to JRigoni's topic in Blacksmithing, General Discussion
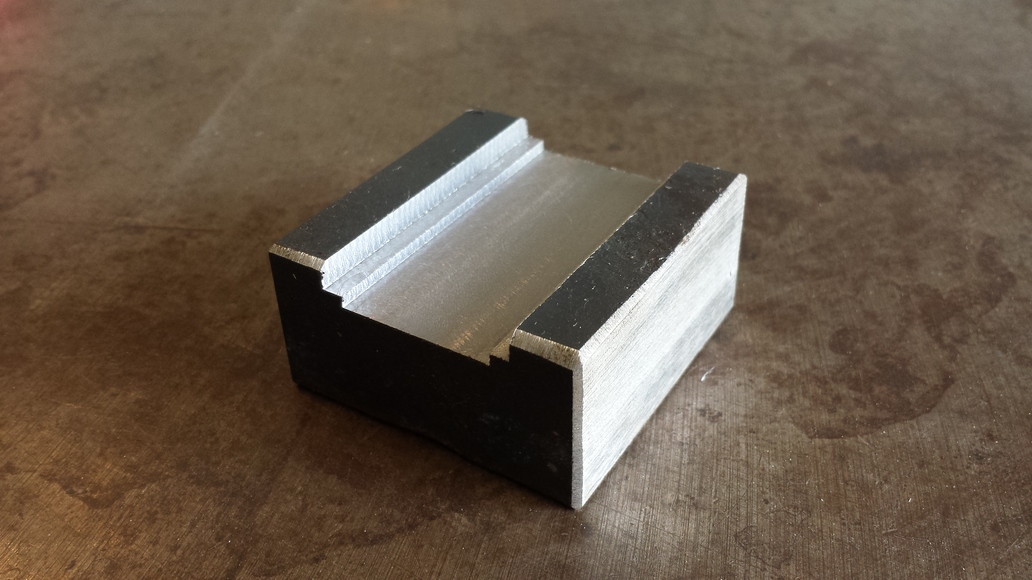
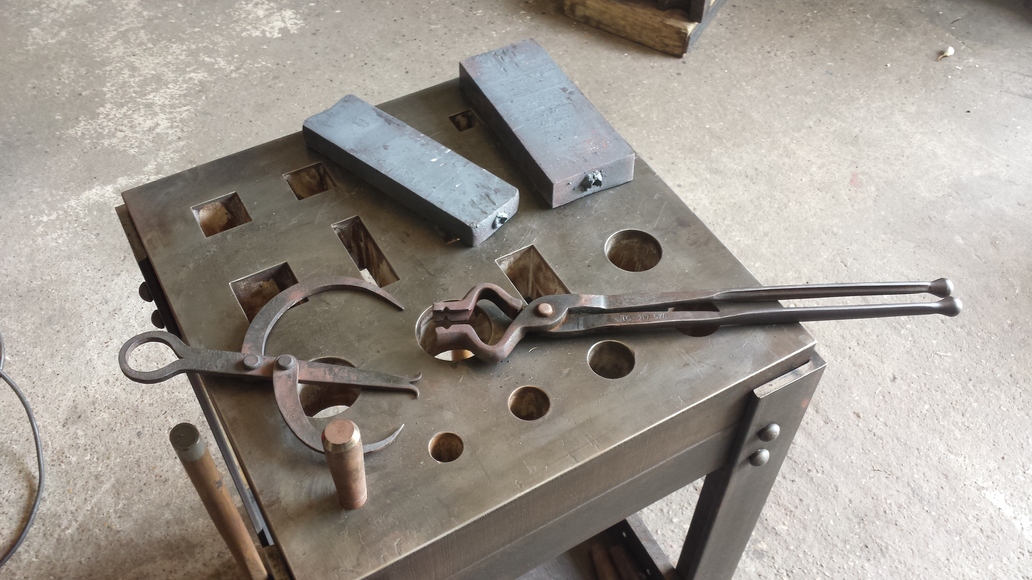
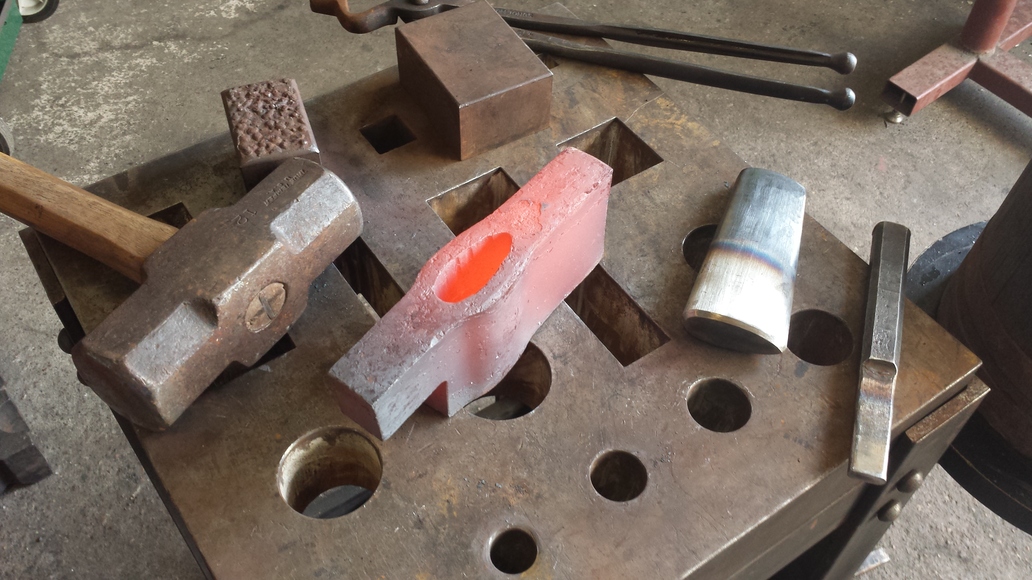
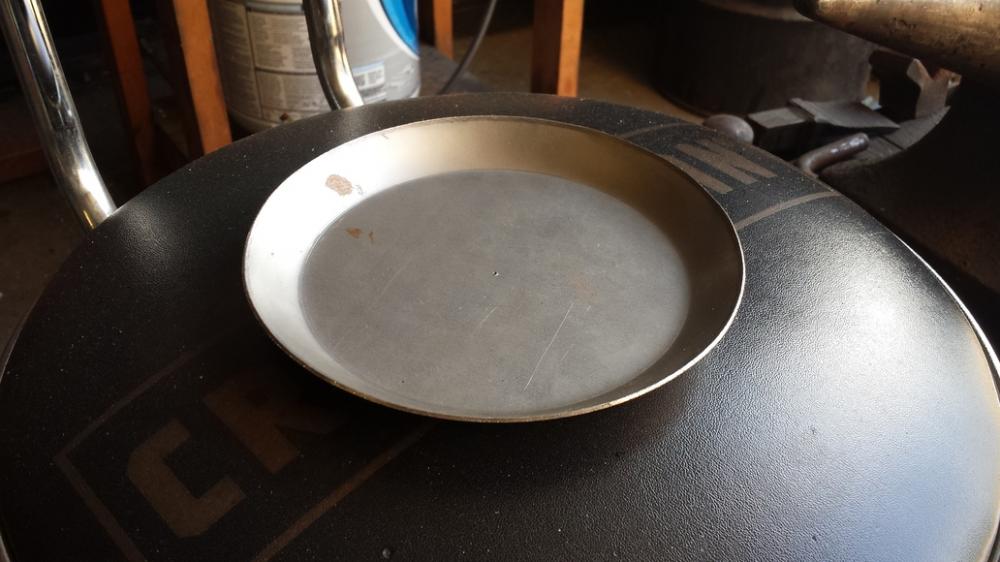
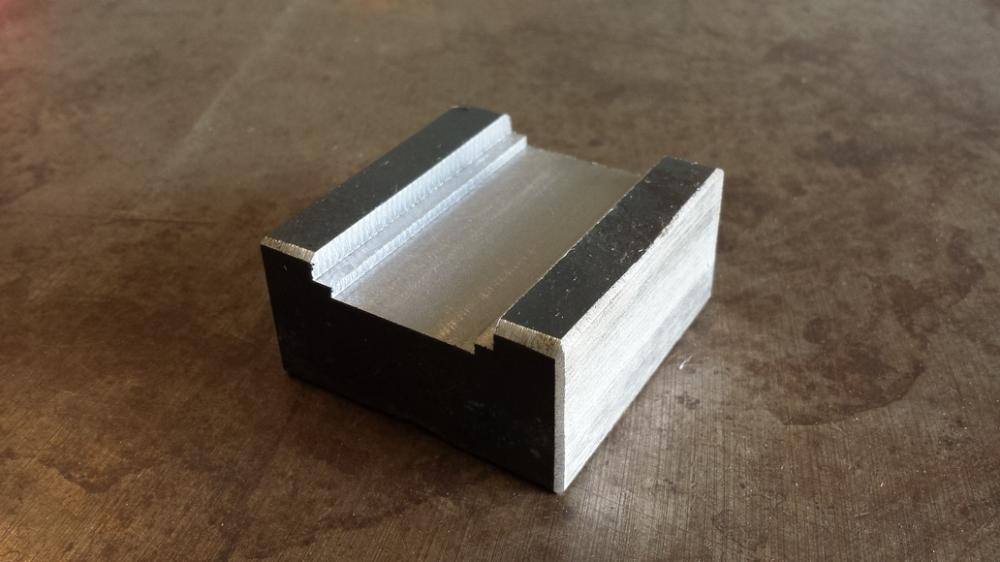
JWS, the slot punch tooling makes a centered 3/8 hole, shearing out a 1/4" thick slug. I have a no.5 flypress for this. The front clamps I adjust so there is a bit of play cold so the bar doesn't get stuck. The piece swells slightly after punching. The punch is machined from 4140 and drives down flush with the roof of the cavity underneath. The cavity/channel is slightly taller than 1/4" to account for the flashing. The horizontal bars keep the piece from getting stuck to the punch. The jig is mild steel that I case hardened. Hope this helps. -
Short video of my process making bottle openers
JRigoni replied to JRigoni's topic in Blacksmithing, General Discussion
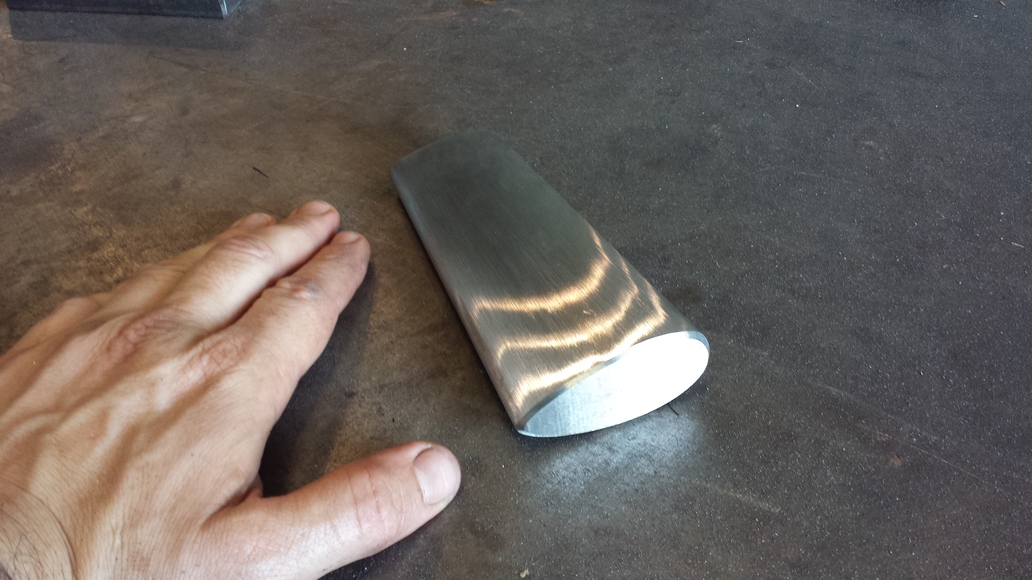
Thanks! spankysmith: The taper when finished looks very smooth, almost machined, and needs texture, so I sprinkle scale on the top. Scale is harder than the steel and dents in, creating texture. -
Short video of my process making bottle openers
JRigoni replied to JRigoni's topic in Blacksmithing, General Discussion
Thanks, I want a few different items that with tooling won't take a long time to make and will still be profitable. I started doing these by hand, but with tooling it is much faster when doing batches. -
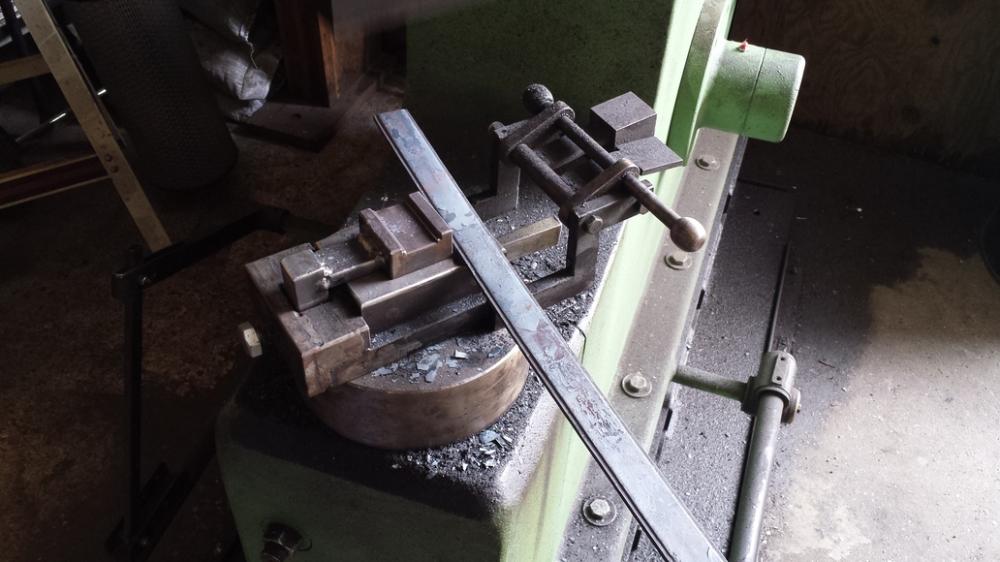
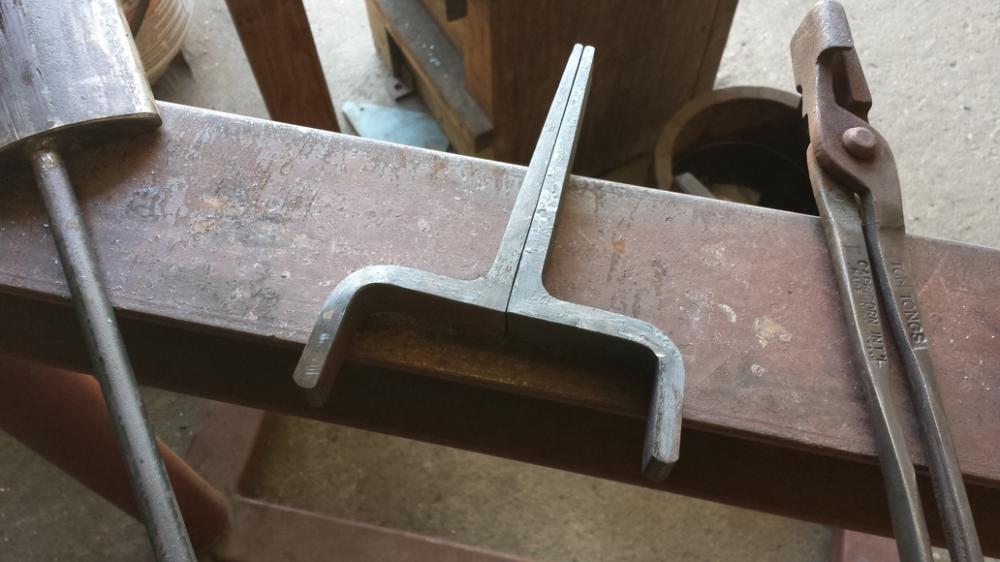
I keep getting inquiries on how my tooling is set up to make these bottle openers. I'm making a large batch now, so I put together this video of the process. It was a good deal of work to figure out/fabricate the tooling, but it results in a bottle opener with no hammer marks. Anyhow, thought I'd share and thanks for reading John Rigoni Rigoni Ironworks https://www.youtube.com/watch?v=K-Zg1-fR9kU