IForgeIron Blueprints
Copyright 2002 - 2007 IFORGEIRON, All rights reserved
BP0299 Toaster for an Open Fire
by Duck and the Mouses
You need two pieces of stock.
One piece is 1”x1/2” 16”long and will be used for the foot and handle. The other piece is 1”x1/4 12”long and will be used for the toast holder
Start with the12” piece, find center and mark with a punch for a 1/8 hole.
Now on each side of this hole mark holes one inch apart for ¼” holes .
Then drill your holes, the center hole is 1/8", and the two outside holes are 1/4" in diameter.
Using your center scribe mark a center line from each ¼” hole to the outside ends .
Next, using ¼” spring or guillotine fullers, fuller the sides next to the 1/4 “holes about a ¼” in deep.
and make your split
Now scarf the ends for welding.
Go back to the straps you made with the splits and over the horn round the straps together and weld the straps to make two separate loops. This gives you two rings tied together with a 1/8” hole in the middle of your tie. Flatten this so it can later be riveted to the foot and handle. While doing this go to the two ¼” holes and round the splits to the holes edges into nice curves. And shape the double rings to a circle. Moving now to the handle and foot, heat one end and round the corners.
Draw out this end into a handle shape but keep it flat and even.
The handle should now be wider and a little thinner than the rest. .
The cross hatching on the handle is next. Using a hot cutter or chisel cut diagonal lines across the handle first one way and then the other
Now take a1” bottom fuller or hardy bick and a soft hammer and round the handle to a comfortable shape. Next put an offset at the end of the crosshatching to the handle and foot. Go to the opposite end of the handle and mark from the end 2 ½”. Center scribe the 2 ½”and make a ¼” hole.
This is to be split and the two sides drawn out pointed and the center rounded to prevent shunts. They should now be about 3” long.
Now make a 1/8” hole ¾” in from the center of the T . This is where the toast holder is to be attached.
The last thing to do is making the third leg about an 1” back from the 1/8” hole make a 90 degree bend remembering that the bend and the handle both should point up. Make a split about 2 ½” long that stops close to the offset in the handle
Taper and point the split to make the third leg. Go now to the front of the handle and round the T down to make the first two legs. These three legs should be adjusted to make it stand on its own.
Finally attach the toast holder to the handle with a rivet through the 1/8” holes making sure the toast can swivel around and not burn. I usually put on a bees wax finish its food safe.
View full article


 Telescoping Top Bar
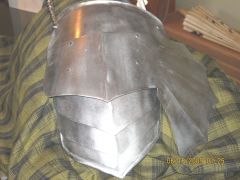 Leftside view, The 3 lames are joined to the centre piece(wing) from the inside with rivets and leather strips. The neck piece is joined by floating rivets
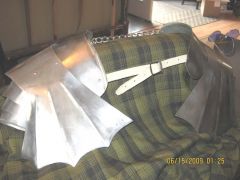 Back view showing wing
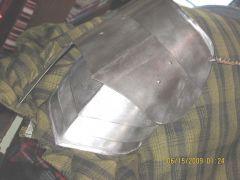 Front view of the right side
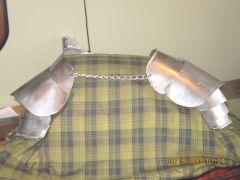 18 gauge steel front view
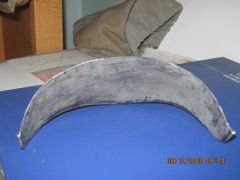 inside view
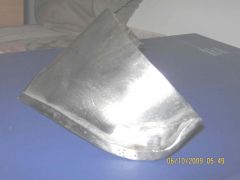 Left side view
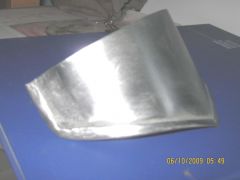 Bottom lame
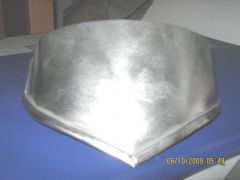 18 gauge with rolled edge
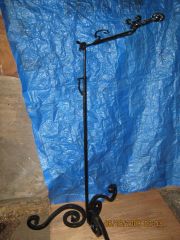
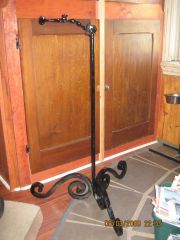 The Stand in the down position
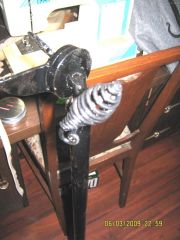 The Hieght adjuster.
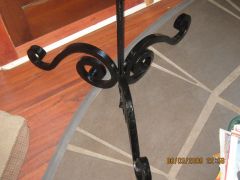 Another angle of the feet.
 The feet or 1 inch sq. scrolls
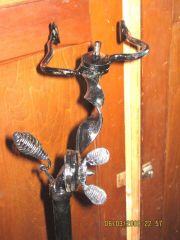 This also shows the Hieght adjuster.
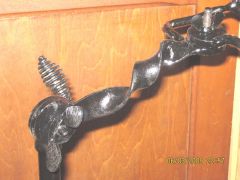 This is the two "Glenns" ...er Wing Nuts and position adjusters.
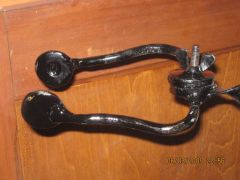 This is the part to hold the head
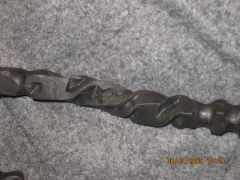 This is a piece of square stock with inverted pyramid hot stamped on all sides then twisted
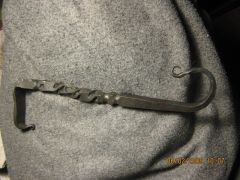
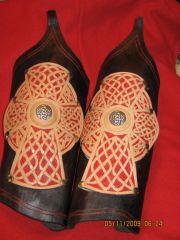 Theses bracers are made of vegitable taned water hardened leather , the keltic cross has a mild steel backer. The cross is my first attempt at tooling leather and is vegitable taned leather also.
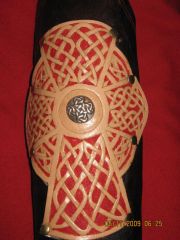 This bracer is made of vegitable taned water hardened leather , the keltic cross has a mild steel backer. The cross is my first attempt at tooling leather and is vegitable taned leather also.
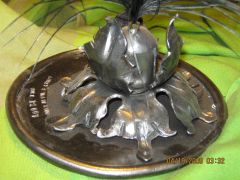 This is a decorative plaque of leaves surrounding a helm that I made to cemmoriate 1 yr of bussiness for a sword shop that sells some of my work.
 This is a decorative plaque of leaves surrounding a helm that I made to cemmoriate 1 yr of bussiness for a sword shop that sells some of my work.