Grundsau
Members
-
Joined
Everything posted by Grundsau
-
Hey MetalMedic, welcome. Check out this notice on PABA's facebook page: https://www.facebook.com/PABlacksmiths/photos/a.189053231192598.39078.140639222700666/804529076311674/?type=1&theater PABA has their Blacksmith Day just north of Wernersville on the Blue Marsh Lake property at the Old Dry Road Farm. http://www.dryroadfarm.net/index.html Numerous forges and anvils will be available for you to get in some hammer time and is also a great time to ask questions. Allen
-
Marcy, if you go with sheet metal I could use my small plasma cutter to burn out a shamrock for you. Not sure where you are, I'm about 25mins west of Reading. Send me a PM if you'd like to give that a try.
-
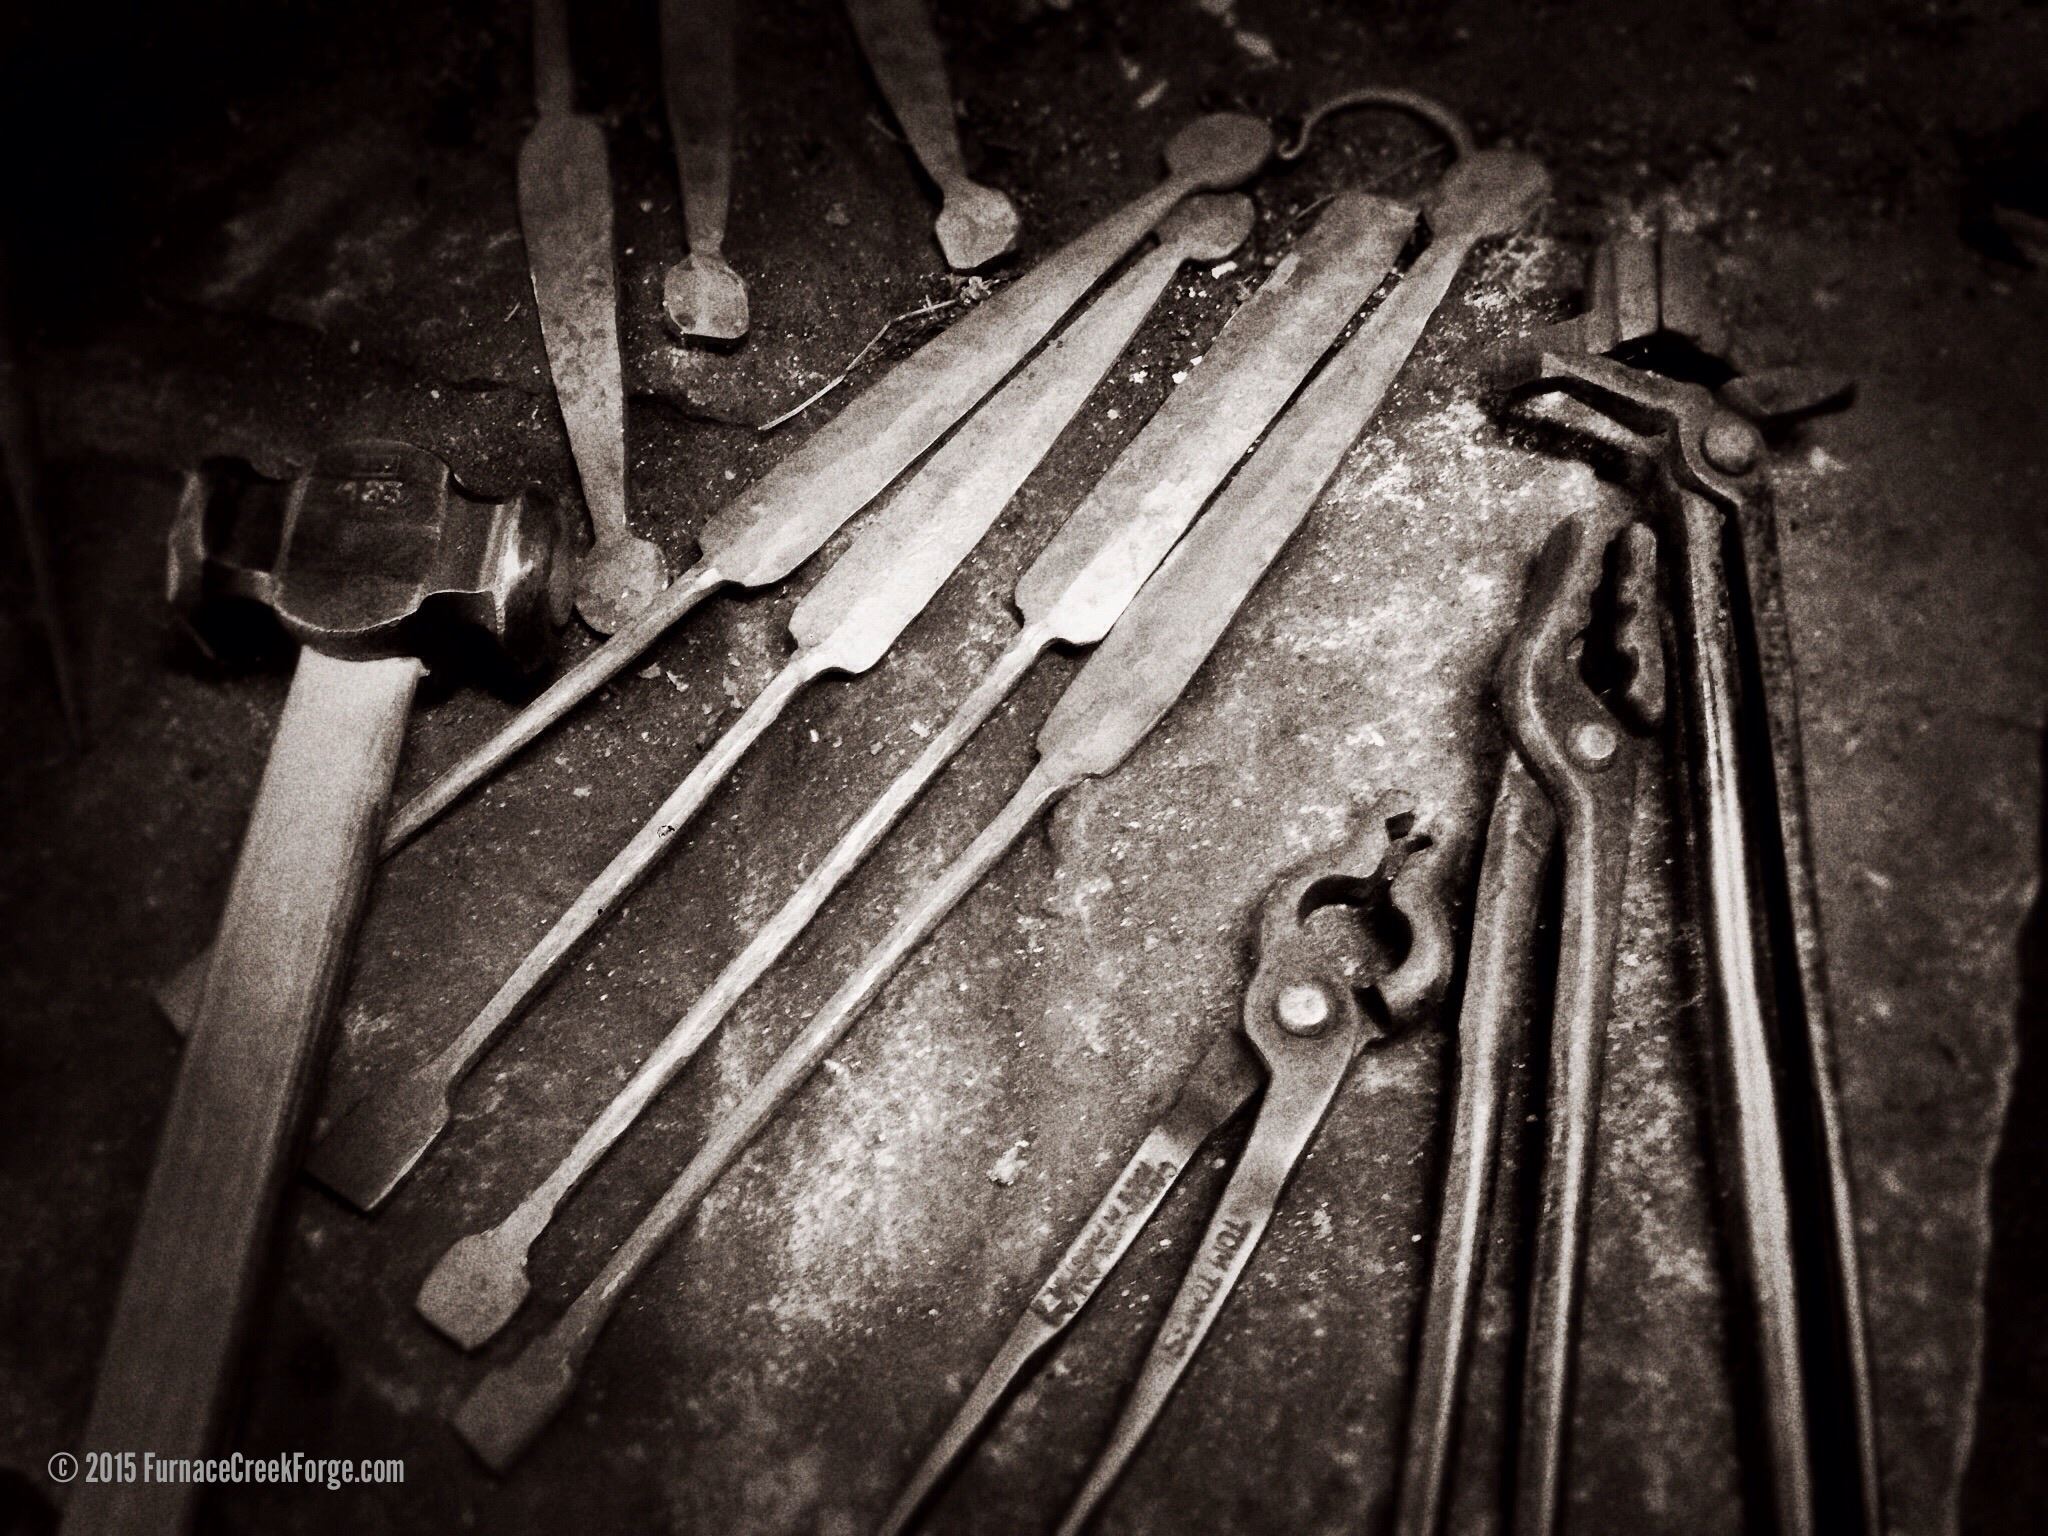
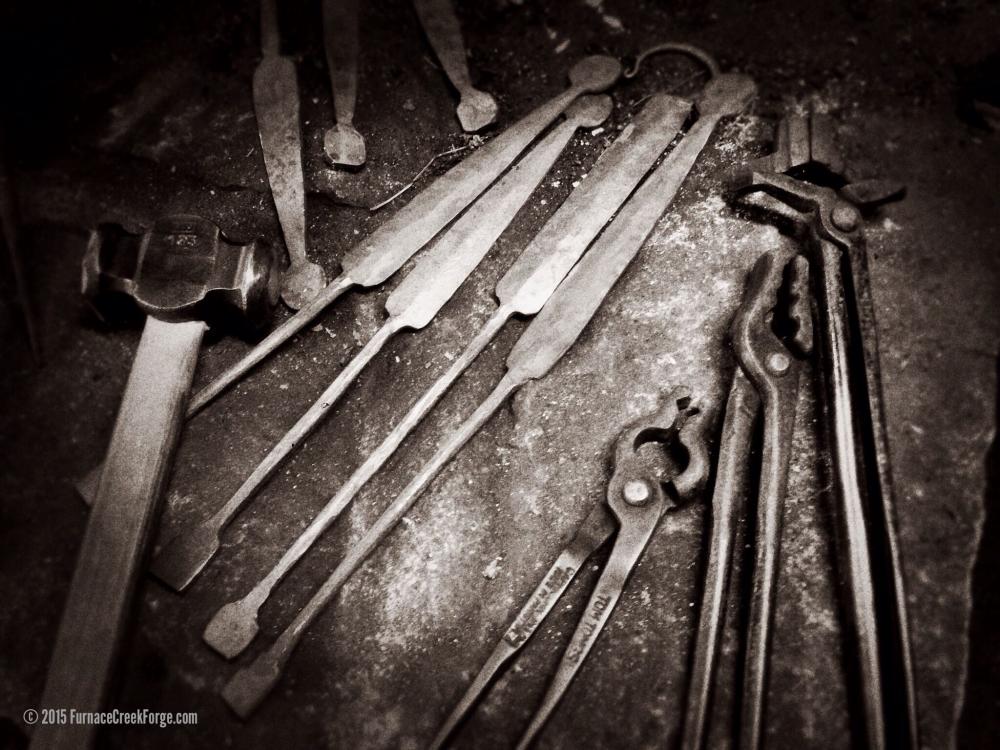
This is good stuff! You wouldn't happen to have a video of the process laying around somewhere? LOL After looking at the tooling photo I can't figure out how the opener is held down when you retract the punch. Do you have overheating issues with your punch? Do you use the flypress to drift the hole to round? Do you use the flypress to set the bottle cap lifter? Thanks
-
Sorry, I missed your question. The motor is a single phase and chainsaw bar oil gets added to the oil bath bearings before each session of using it.
-
Hey, welcome to IFI. I'm a bit north of you in Berks Co. Have you heard of PABA? We have a meeting this coming Saturday in the Quakertown area. There are numerous members that are more than willing to help you with questions, equipment, techniques, etc. On this page is a map link for the meeting. http://www.pabasite.org/event-calendar.html
-
I do have a dream of a 30 x 40 pole building one of these days out in back of the existing structure. It won't have the rustic look but it will at least be weather tight and won't have to worry about tools always rusting. It will turn into a garden shed or something and we won't tear it down. A little background on the building. I live next door to where I grew up in a stone home that belonged to a worker and his family from the old Robesonia Iron Furnace. My mom also grew up in that home and as a little girl she had a horse. My grandfather built her a stable from wood that came from a boxcar. That stable is now my smithy and the original walls are still there. The lean-to was added in the 70's by my dad. Across the front of the building is a horizontal line between the lower and upper windows. That is the old roof line. I added the high pitched roof and enclosed everything in rough cut boards from a local saw mill. The corrugated tin roofing came from a building that was torn down on the property of Carpenter Technology Corporation which is a few miles east of me near Reading. When my dad and I built the stone forge, I used some original stones from the old Roby Furnace. The base for it is a giant piece of sandstone that was at least 24" thick by approx 4' in diameter. We stood the stone up on end with my dad's backhoe. Using the straight peen on a stone hammer, I hammered a line approx down the center of the end. After about a half hour you could hear that big rock start to sound different and it split apart almost perfectly in half. We buried that down in the dirt and it works. It has a 100 amp service out to it.
-
Thanks. I plan to use that image along with some others on a set of note cards I print in-house. Am also doing a set with our honeybees. This is my studio site: www.Studio518.net The man door within a door won't work unfortunately. The shop is on the ground with supports sunk below the frost line. It has a brick floor that has plastic sheets under it. Maybe a taller floating threshold will work rather than a fixed piece that might damage something when the ground heaves. Both of the doors have straps hinges with pintles so they raise up as the ground heaves.
-
The ground has heaved almost two inches here due to the prolonged freezing temps. Which has effectively locked the shop doors. Had to use a post bar to chop the ground away from the man-door and can open it just enough to get inside. The big door is stuck and that isn't moving till the thaw happens. Am going to redo the entrances to the shop this summer so this doesn't happen next winter. But then it would be nice to have a 30 x 40 pole barn and not have these problems.
-
That size shop will be great and also that you know where it has been. My hammer originally went to a dealer in Washington state and ended up back here in Pennsylvania just down the road from me where I bought it from my mentor. Mine runs fine on 8" x 9" white oak timbers bolted together with all thread rod. Not to tell you to stop building the concrete foundation, but having your LG on timbers will make it easier to move it if needed. Once you are in your smithy and working, you may realize that it will be better in another spot.
-
Forgot to add. Take some photos straight on and from different angles so the folks at LG can tell you if anything needs to be replaced, or its worn, etc. The toggle links look like they need tightening before you use it but its hard to tell.
-
Congrats on that hammer. As SoCal Dave and Frosty mentioned, don't be afraid to get some oil on that thing. It may seem like a pain but I like the mystique of maintaining my 50. You'll learn to hear it run the more you use it. This is a lube guide from the LG site: http://www.littlegianthammer.com/resources/oldstyle.pdf Did you call Little Giant?
-
J, after rereading my post, I should have worded that differently. It would have been enjoyable just watching a clip of the press in action. LOL All the extra stuff made it even better.
-
Glad to help. Forgot to add, when you make leaves out of flat stock you can carefully fuller the back part of the leaf where the stem meets it. Its good to know how to do it with just a hammer and edge of the anvil but the Fuller dies can speed things up when making several at a time. If you can, post some shots of which dies you made. I've got an extra blank and wasn't sure which one to make for the next die set.
-
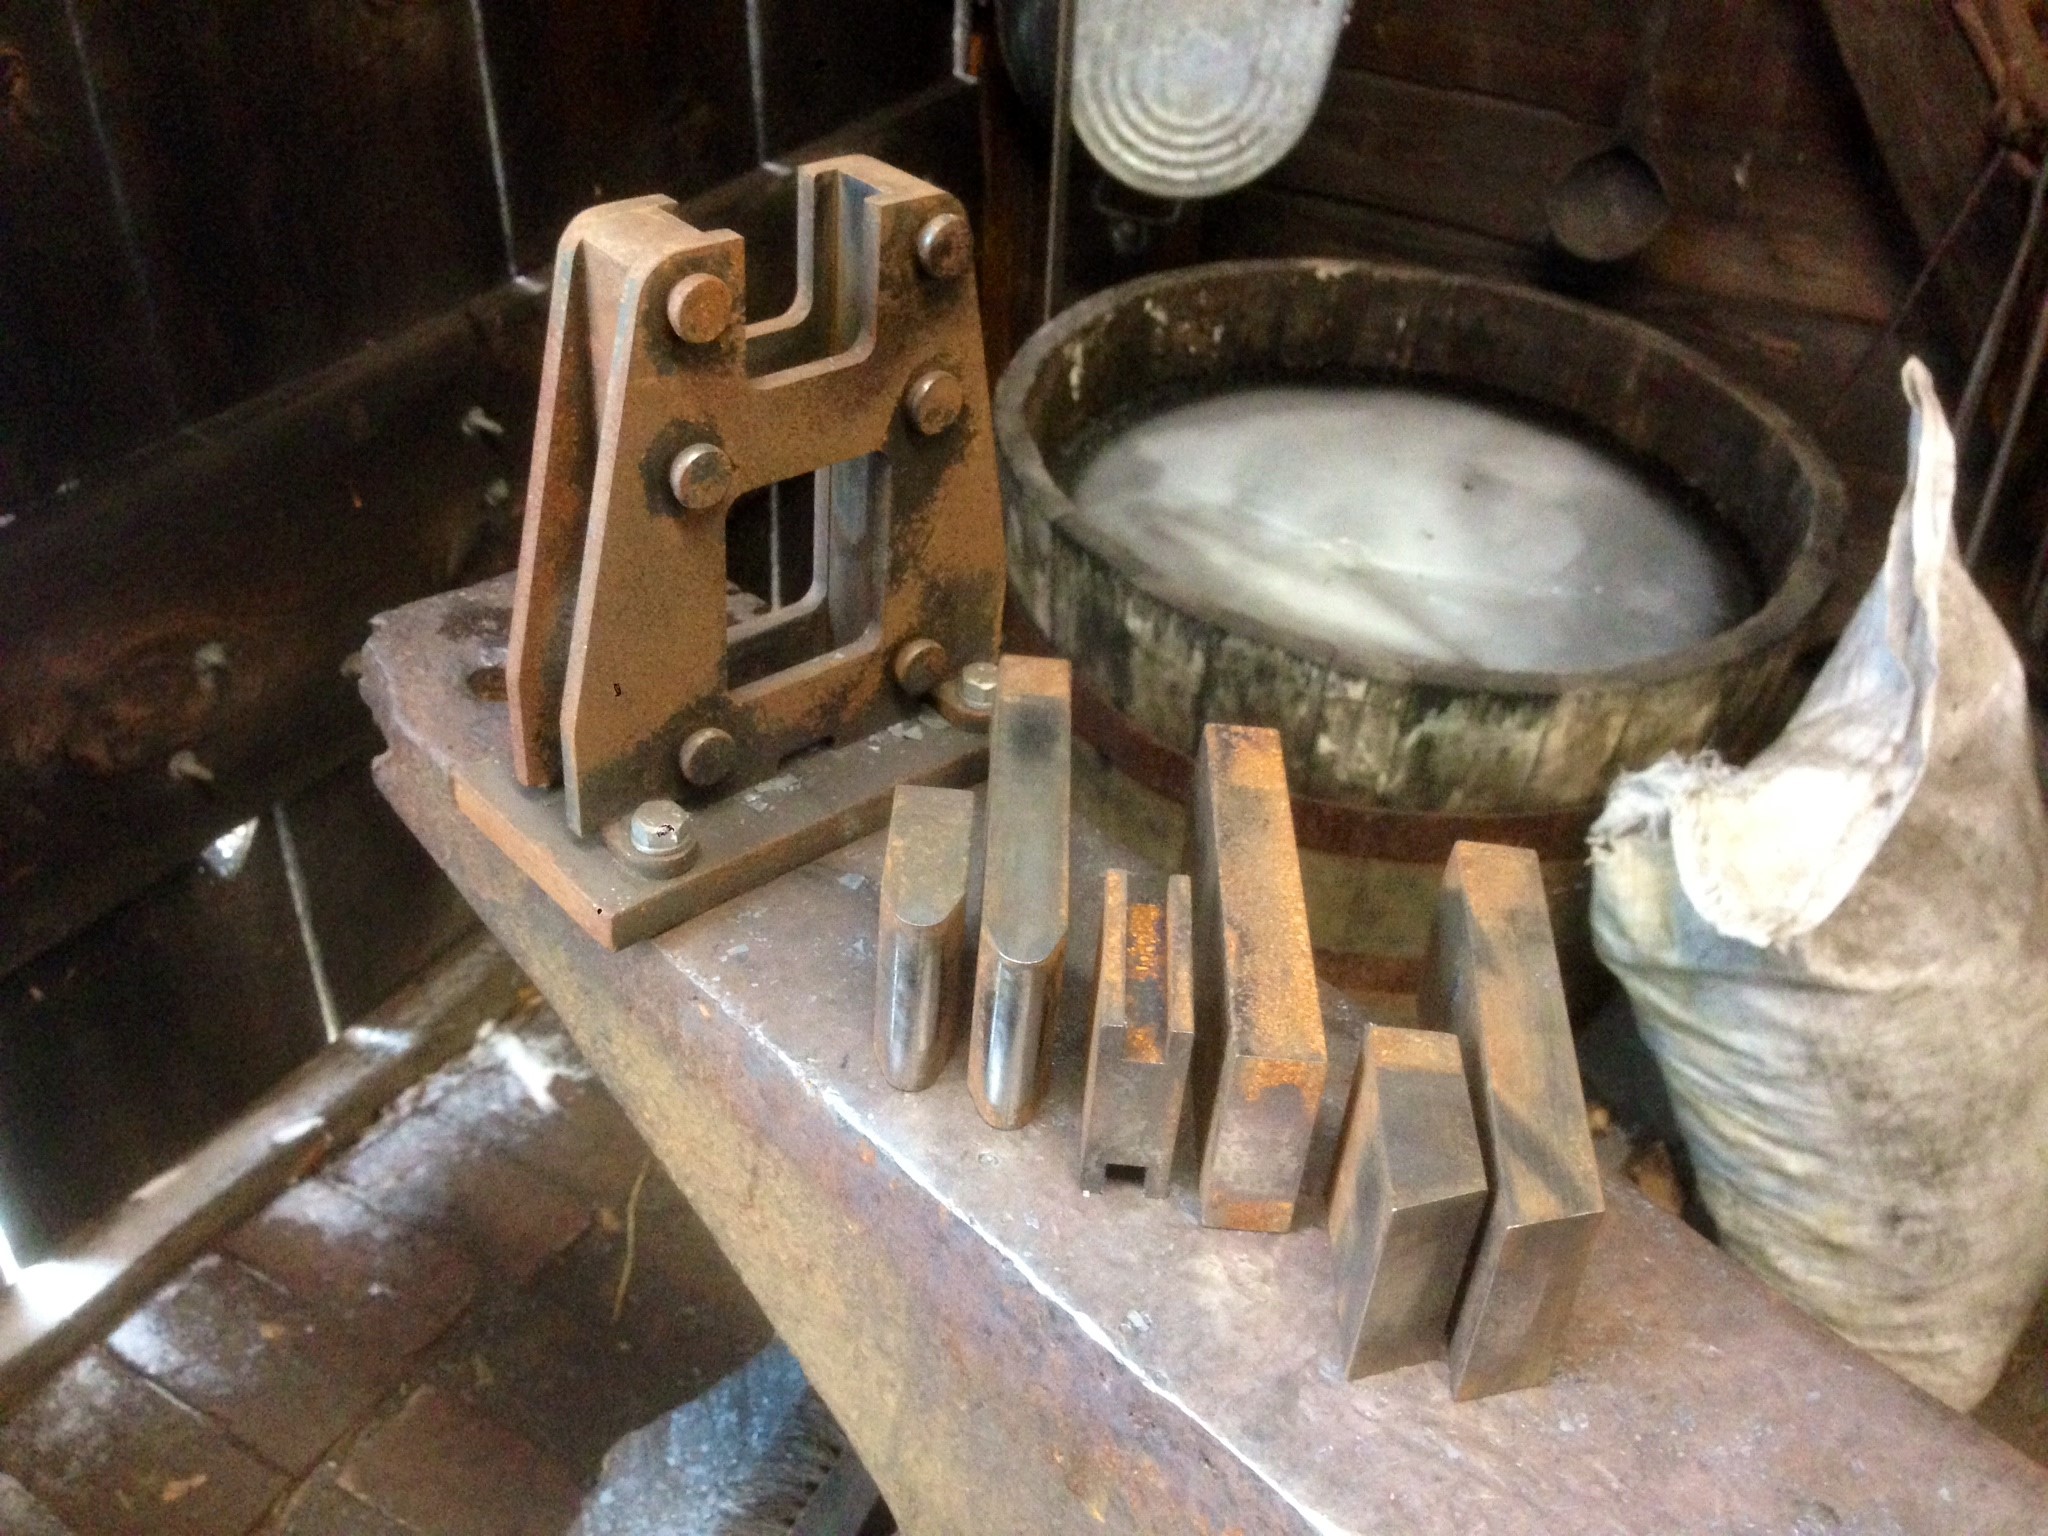
I've been using these basic dies, the Fuller, Butcher and a Sizing die for tenons, etc. I use the Fuller dies most often to set shoulders for strap hinges, meat forks, bottle openers, etc. At this link you can see some shots of how I used the Butcher die and then after drawing the neck down, the Sizing die is used with light hammer blows to clean up the area where the shaft meets the ball end. http://www.iforgeiron.com/topic/41006-how-do-you-forge-a-ball-end-hook/?do=findComment&comment=418889 The handles are for cooking trivets. The bottle openers are from 1/4" x 1" and get fullered down before opening the ring on the horn.


-
Well done! I was expecting a short clip of the press in action but all the other elements you put together made it enjoyable to watch.
-
J, can I check that out sometime? I've started the planning for an H-style also.
-
Thanks Paul, I've seen that good video before. Finally found an image using flat stock with a ball on the end. It does look like one piece from flat stock and the ball has not been forge-welded on. www.cjforge.net/hooks/ball-hook I'll try some 1/4 x 1" and see how it goes. Maybe this is one of our members. They create some nice work.
-
Hey Marcy, I'm located about 15 miles west of Reading. If you and your boyfriend are going to be out my way just let me know. You both are welcome to stop by and see the smithy and even get some forging in if you like.
-
That was a long day yesterday. What should have been a 5 hour round trip from Lancaster County to Finksburg, Md turned into a 11.75 hour run. Had to stop in a bend of the road and couldn't get too far off onto the shoulder due to a steep drop off alongside the road. In some places along I-83 there is just enough room for a truck to stop on the shoulder and that's it. Traffic was so bad at 9am that I couldn't get out of the truck for a short time. I spent a few hours in the woods about 30 yards off the highway away from the truck because of the high probability of my truck getting hit by another truck driver. Every now and then two trucks would go by at the same time and still can't believe nothing additional happened. It took phone calls to three towing companies before one would come out. Alan, I understand it now from the photo and is an interesting way to do it. Peter, looks nice. I'll try welding material back on itself the next time I'm burning coal. thanks for the info, Allen
-
John, just saw your post. Sounds good about the nut. What about a square chunk of steel with a hole drilled in it to match the end of the rod and then forge weld that?
-
While I'm sitting along I-83, 12 miles north of the Baltimore beltway with a disabled truck (I drive tractor trailer parttime) figured I'd go on iForge. Alan, I necked the rod down to about 3/8" and then did the facets. I used a smithin magician with butcher dies first and then flat dies to clean up neck. Then took it down the rest of the way. Do you have any photos of the V tools you described? I can't picture them.
-
Here is a first attempt with 5/8" sq stock but I decided to make a faceted ball rather than round. I'm guessing the material was drawn down to almost 5/16" round. I tried to emulate the end of a water pump handle in miniature by transitioning from square to round. An original would be more rectangular and then transition to round. It is a little rough and the next time I need to flatten the original 4 sides a bit more to remove the puckering from hammering the facets. Also have to define the facets some more. Some of the photos aren't that great but you get the idea.
-
Okie dokie, thanks
-
Jeremy, thanks. I'll look up how to do that. Peter, I thought about welding the material back on itself. I've done that when trying to make spatulas. But, to make a ball on flat stock how would you do it? Faggot weld one or two folds and some upsetting?
-
Hi Peter, for the 1/2" ball on 3/8" shaft, did you upset the end to make the 1/2" ball? Or was the 3/8" shaft forged down from 1/2" stock. thanks, Allen