Njaak
Members
-
Joined
-
Last visited
-
To clarify, the plan was never to cap both ends . For the reasons you indicated. I guess I'm struggling with "how"to get the TC into the baffle in a way that minimizes oxidation. I guess just a hole as small as possible that I can still get the TC through? I could probably make it as an assembly with the TC held into the baffle with refractory cement... That would help. I do have 2 TCs, actually... And I like your idea! Ok, lots to mull over. Many thanks.
-
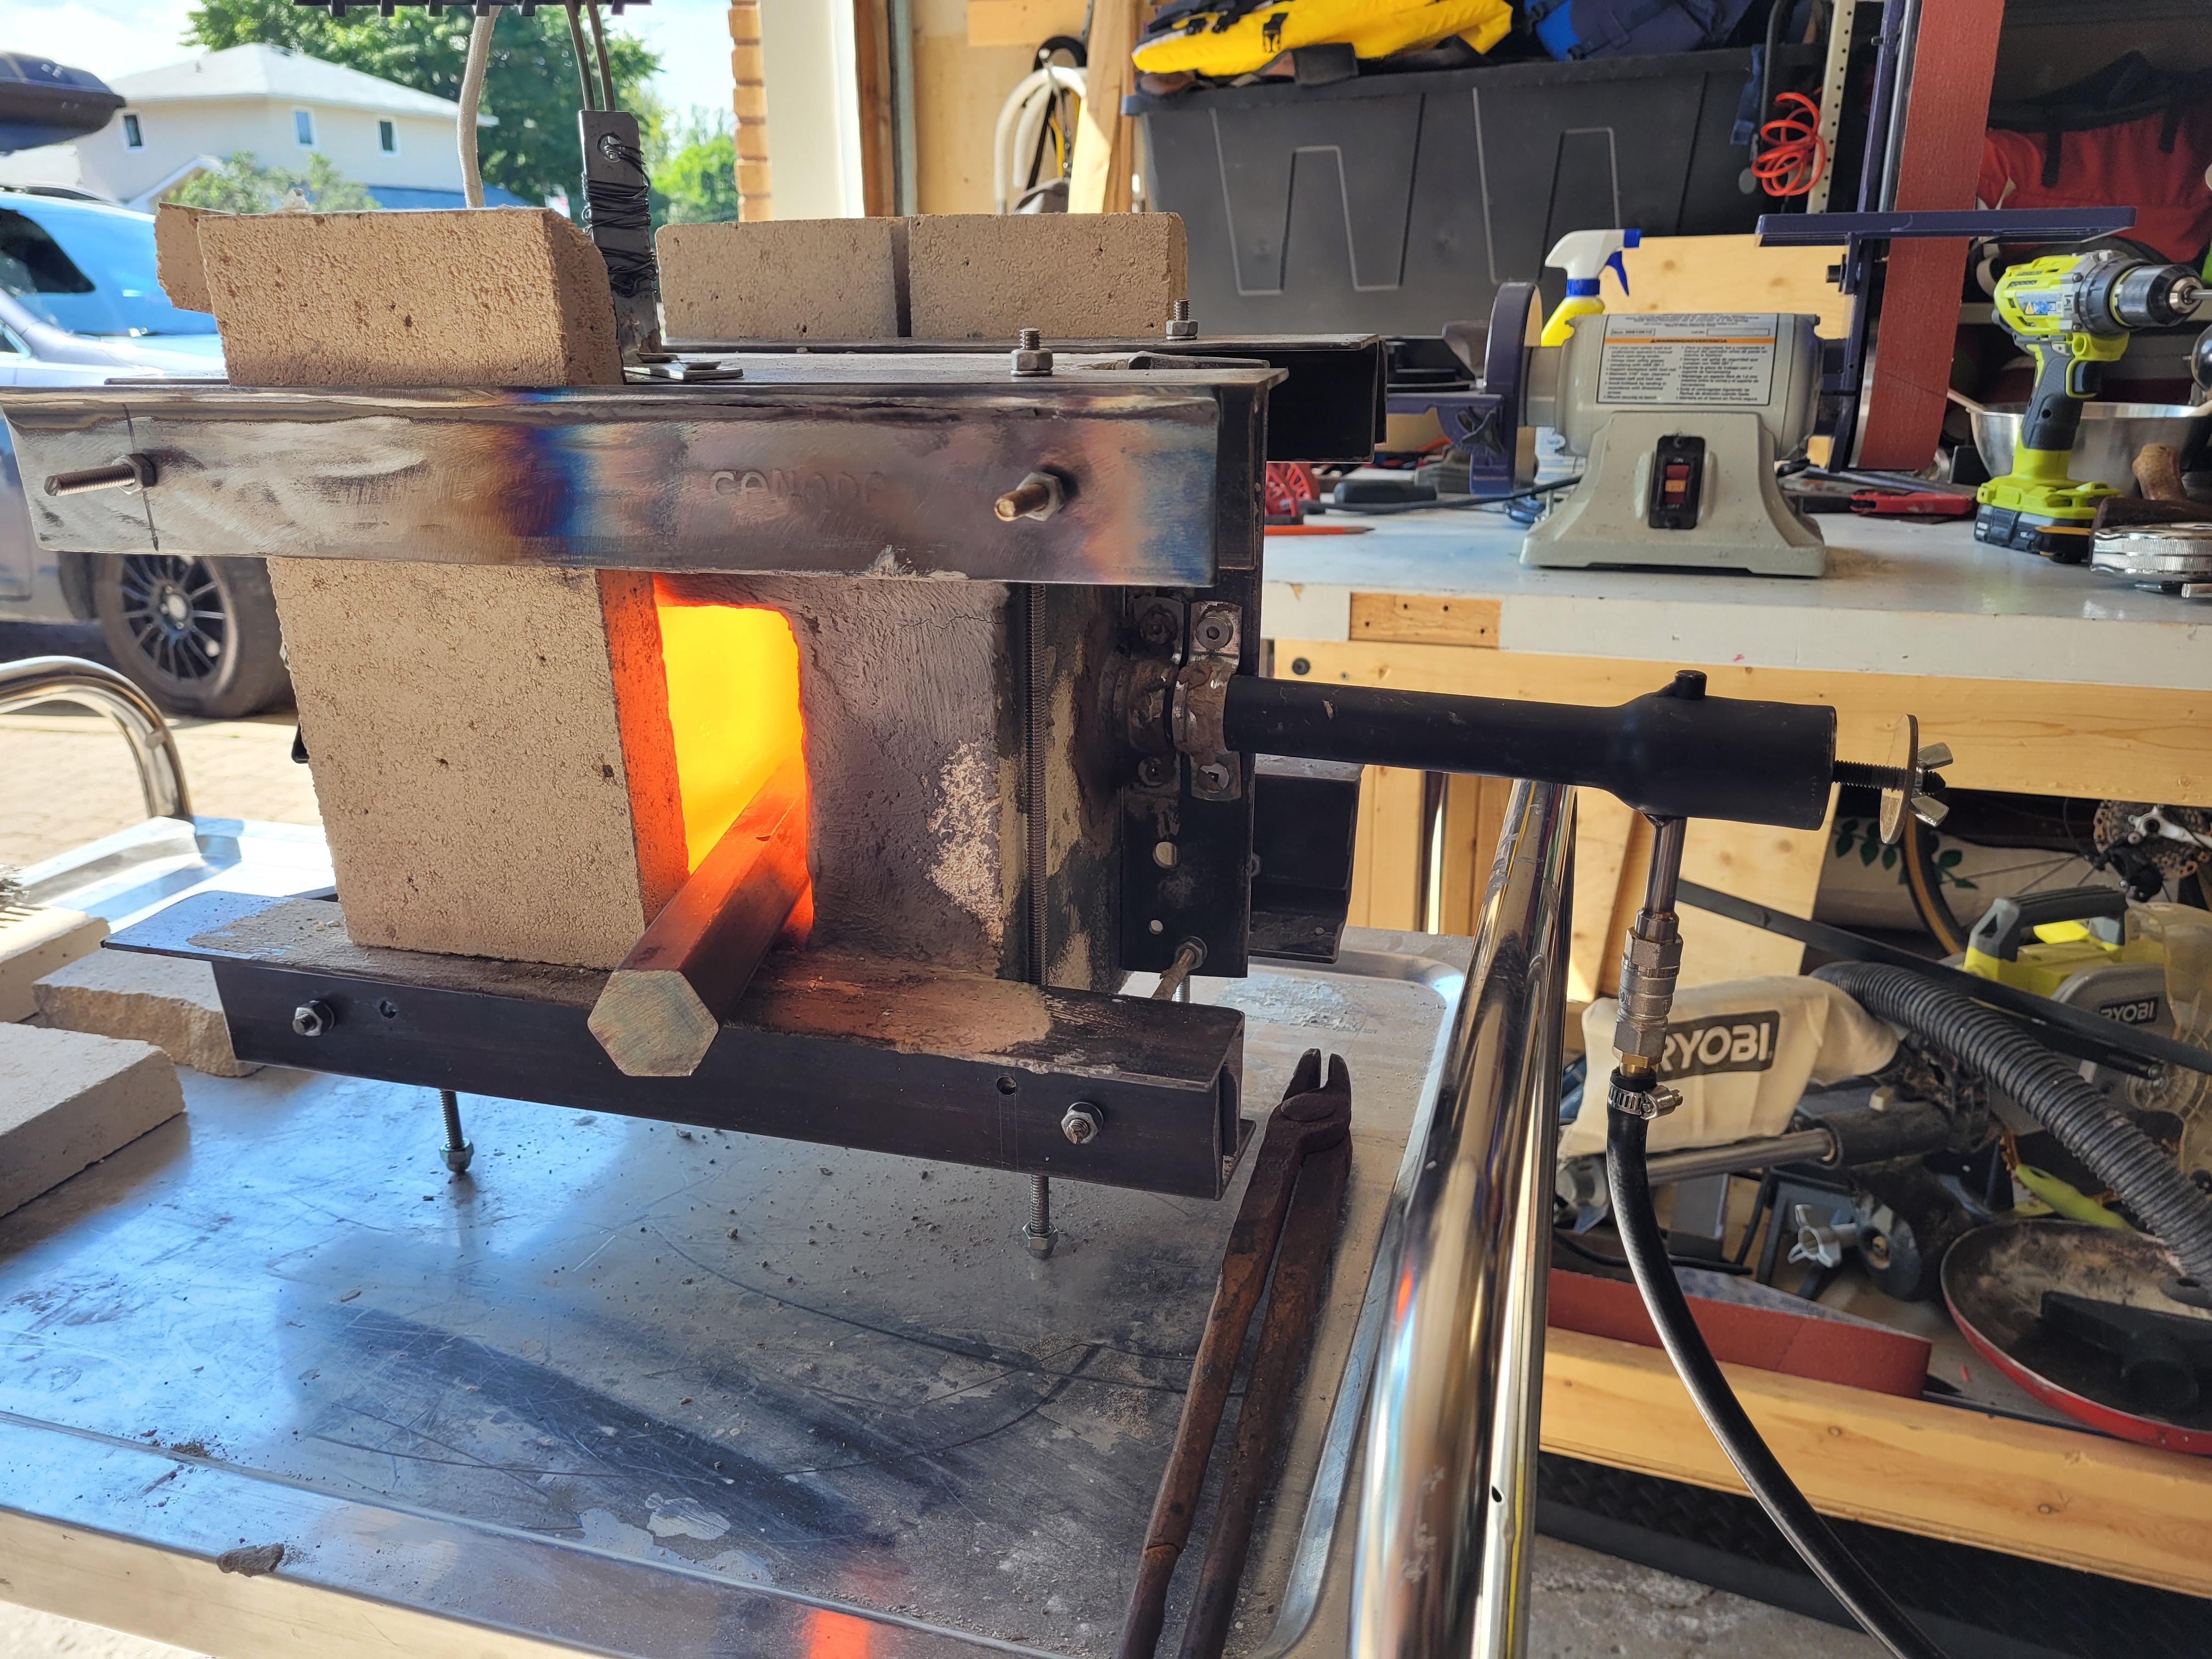
I finally picked up some schedule 40 pipe (2.5") with an end cap to make a baffle for my 2 burner propane forge (15" long). For heat treatment 80CrV2, 1084, 1095 etc. Maybe one day 5160. While I appreciate I should learn to use my eyes to watch for phase transformation, I also have some thermocouples and a pyrometer. I was wondering how best to use these. I was thinking of another sort of half baffle (like c-shaped) in 1/8 steel running over the pipe, with say 1/2" clearance on the top, 1" clearance on the sides, with the TC inserted into the forge mid-way, sideways through the c-chanel baffle up close to the pipe baffle. Would this work? I figure putting a hole in the pipe baffle for a TC would more or less negate it's purpose. Am I wrong about that? FWIW I'm also planning to try a bit of charcoal at the end of the pipe baffle to further reduce oxidation. I think I read that tip on here somewhere. Thanks for any suggestions.
-
But your fires weren't getting that hot most likely. What Frosty was saying is that you stick a blade in there at 1400 and it will glass the sand onto its surface. Or that's how I understood it anyhow. Thick wall tubing... There's an idea! If it's a flat piece, though, what's "thick"? 3/4"? 1"? 2"? Thicker the better I assume...
-
lol. well, I have kaowool and refractory on hand (free, really). I was going to use it for a cylinder forge but after a couple years my pile of bricks is still going strong. I guess I could build a heat treat oven, or buy one... but I was going for "let's start with what I have" since my budget is rather limited and heat treat ovens are prohibitively expensive as it's just a hobby, I don't sell anything. I can either be pragmatic and do this manually with the forge (the reasonable way, probably) or build something new (and who doesn't like to do that). Seems folks aren't concerned about using wood for the box, so maybe this weekend I'll try this and see how it goes. I'm picturing 14" x 14" x 20" lined with 2" (is that enough?) of refractory-coated Kaowool, filled up with vermiculite. I guess my idea for the axe heads to hold heat is less than ideal - needs to be right up against (makes sense). I'll look at picking up a couple blocks of steel to put the blade in between, if this insulation box thing doesn't do the trick.
-
A google search on the same question brought me here, though a couple years later on. I'm looking to anneal ApexUltra and 52100 and was trying to decide between lining a large old metal toolbox with Kaowool, coating it in Satanite, and filling the middle with vermiculite... or just simply filling the thing with vermiculite. So I did a test run on the ApexUltra, just using vermiculite (about 8" deep total, with the blade in the middle)... and it did not anneal properly. Couldn't drill it at all. toolbox is 20" long, 10" wide, 10" deep. Garage is not heated, and it was about 5 C (41 F). Piece was a roughed out kitchen knife, 13" long total, 2" wide at max, and 0.1" thick (no bevel grinding yet). FWIW I put it into the vermiculite straight from the forge after 20 minutes at 1450 F (single burner pile of bricks forge with a thermocouple). I did succeed in another way, by sitting in my garage for an hour, carefully and slowly ramping down the forge temp by 450 F per hour (per Dr. Larrin Thomas) but that's not what I want to be doing. So ... I'm guessing I did not have enough vermiculite depth, and/or needed to add a large chunk of equally hot steel or make other adjustments. So a few questions for this group. 1) would my idea to line the bottom, sides,(and inside top?) of the toolbox with 1" of Kaowool (coated in refractory) add any tangible benefit, or just displace more valuable volume of vermiculite? 2) would the refractory meaningfully reduce risk of airborne fiber (I assume yes but hell, y'all know way more than me). 3) If I just go straight with more vermiculite, I'm assuming I need 12" deep (and to place the blade right in the middle) - is this enough margin of error? Could I get away with less (so I don't need to find a new toolbox)? 4) If I'm adding other steel at forge temp, does it need to be flat bars or could random chunks (old axe heads) work? I have a couple I could put down first before putting the blade in. 5) this one is tricky territory... if I built a box from plywood, coated the inside with refractory, then lined with Kaowool and refractory, filled with vermiculite... would there be a risk of the wood charring / catching fire? I just like the idea of a custom size and a frame material that is not a conductor. Thanks folks!
-
Oh, and yes, was keeping it at 1925 or so. HOT indeed
-
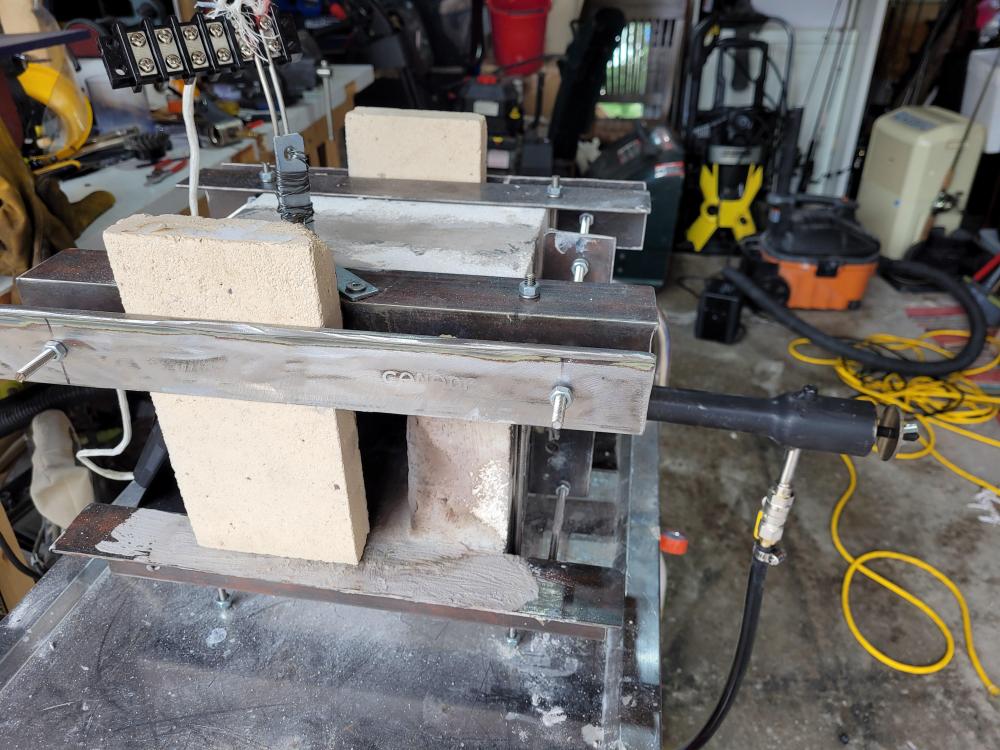
It's actually currently on standoffs the threaded rod has acorn nuts on the bottoms, and raises the base of the forge about 2 inches off of the sheet metal. So far so good
-
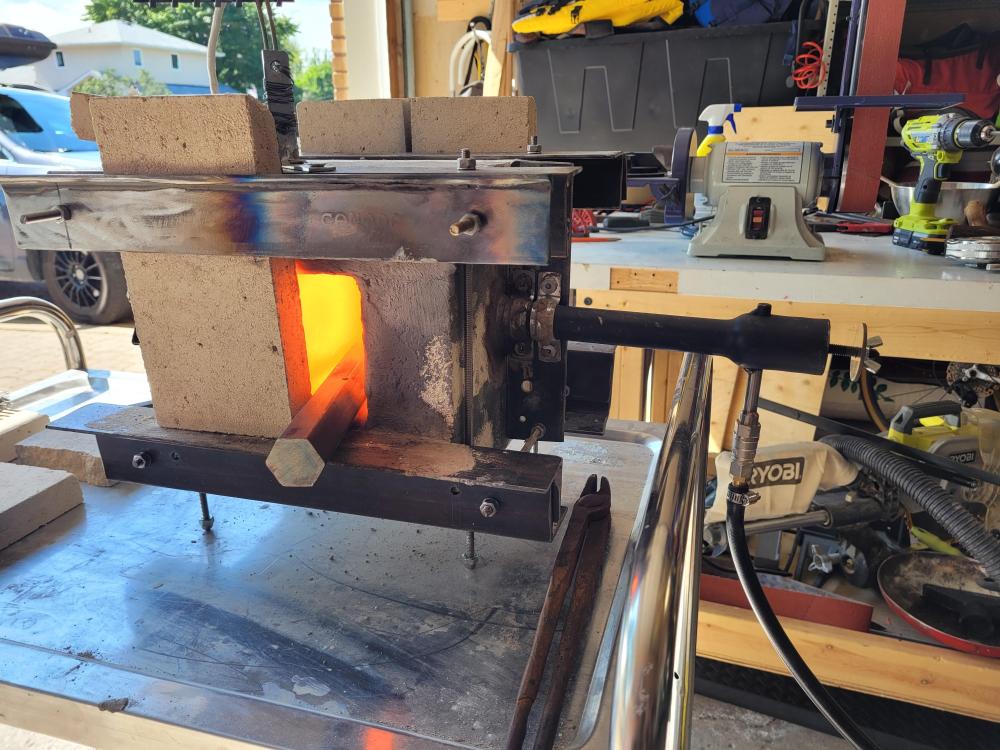
Mikey, I have digital calipers they're essential to custom bicycle work... the only builder hobby I actually got really good at (so far). The pile of bricks forge works like a charm. Here it is with some A33 in the process of becoming a drift. Burner doesn't overheat, and kept the temp super stable. I'm happy Thanks so much Frosty for the picture of that build. It was worth a thousand YouTube videos.
-
I finished the pile of bricks! Flame is stable, thermocouple installed! Ramped up heating slowly over a couple of days. Tonight I'll test it out for real if all goes well
-
-
Frosty, I think now I'm going to build up a pile of bricks like the one in the picture you sent, then sort out if and how to convert the current mess into something for heat treating. To that end, are the bricks forges your club builds using 23 or 26 series bricks? I've read some varying suggestions (insulation value vs strength). My plan is to coat the inside of the chamber with 1/4" of Satanite. I was thinking all 2300 series except the brick opposite the burner which is do with 2600. Thanks.
-
All sounds good. I've got time set aside for mid August for the rebuild attempt. I'll post questions when they arise and pictures as the Frankemforge progresses.
-
Ok, to recap: 1 - feel free to tease, I'm used to it, my kids and wife are pros. 2 - Correct, I only spent about 18 months in a shop as an engineer, mostly on CAD drawings and particle physics for electrostatic precipitation. Then moved to audit functions and then policy... etc. Mostly my diy skills are limited to bicycle mechanics, and home renovation. 3 - I'm starting with few tools. Drill press, 2x42 belt grinder, 8" bench grinder, hand held angle grinder, Dremel rotary tool, tap and die set, and hand tools. Zero machinist tools, nor any real experience with them. 4 - Reason for current length was twofold: (1) I had the tank, and (2) I wanted to heat treat longer pieces... and didn't really know how to do that at home without a kiln or forge of sufficient length. I still don't know how I'd do that... I have a kiln I use for HT in stock removal knife making but it can only handle pieces up to 10" total length. 5 - point taken re: not a precision build and tangential flames. Direct impingement on side wall is fine by me.. but how that induces swirl is hard to sort out. Turbulence, yes. 6 - Frosty, that picture shows a clever use of thread and l angle. I love it! Lots of material I don't have in that build but I'll start accumulating. 7 - I've got 2x1" kaowool already, and plenty of Satanite to work with... So that's what I hope to use rather than scrapping and starting with all new everything :/ Fixes to the current project: 1 - shorten the chamber to 9"? 10"?.. I'd like to keep the cylinder rather than going with bricks, since I have it and have some kaowool, but don't have any bricks. 2 - move to 1 burner, with side direct burner mount (not tangential). 4 - taper starting from OD of mixing tube, not ID of burner. Without tangential placement the amount of flare is even less. Those thread protectors are looking better and better.
-
Appreciate the advice and I do have a stepson who's an electrician so I will get him to sort that out for me.
-
Grinding an offset ellipse onto 2" pipe to within 0.005". That sounds... hard. I might be able to pull it off with my bench grinder (8" wheels) but the OD of the chamber is 9" so much fidgeting. It's a fun challenge and would save a pile of $ though.