

Jobtiel1
-
Posts
521 -
Joined
-
Last visited
Content Type
Profiles
Forums
Articles
Gallery
Downloads
Events
Posts posted by Jobtiel1
-
-
I like somewhat historical ironworks. I'm forging fire strikers and belt buckles in a range of different styles, Viking, Roman, medieval European. I'm in the process of forging an axe now. And have some books from the library on the way on medieval iron items.
~Jobtiel
-
Latticino,
I think I do, I don't think my current set up puts out enough air at the moment.
I've found some air duct and got some clamps to attach it, so the set up should improve once I adapted it. Added benefit is that the blower is easily detachable, meaning I can take it inside when I'm not forging. Saves it from the weather.
~Jobtiel
-
Hi,
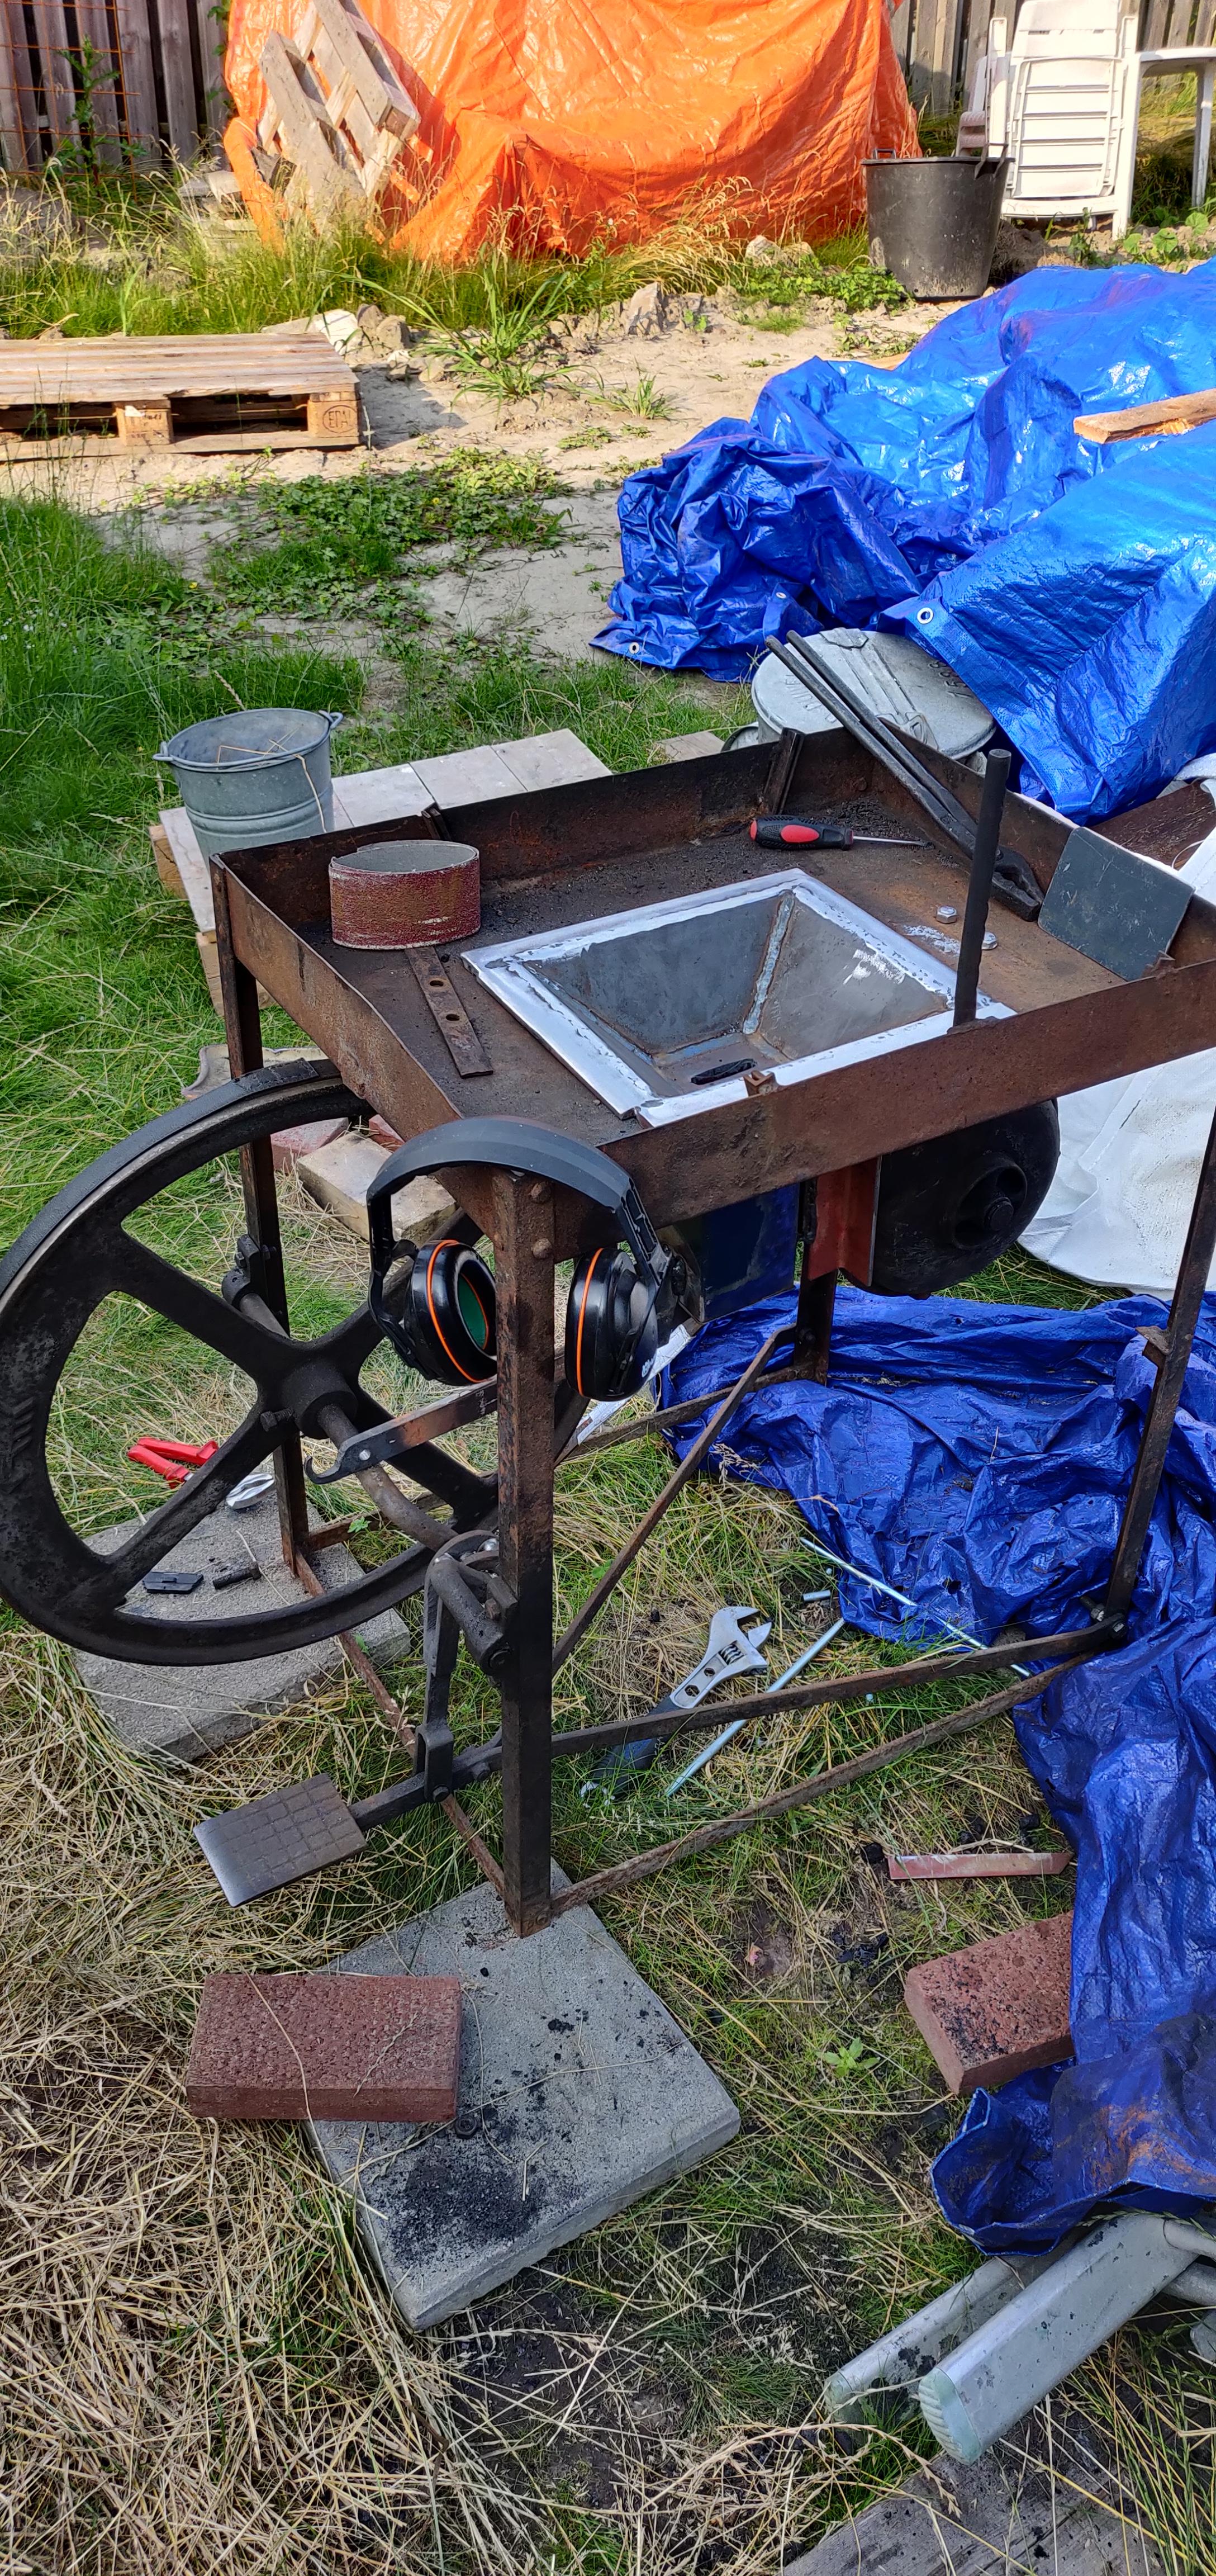
My current set up looks exactly like this, but it is a picture of the old blower.
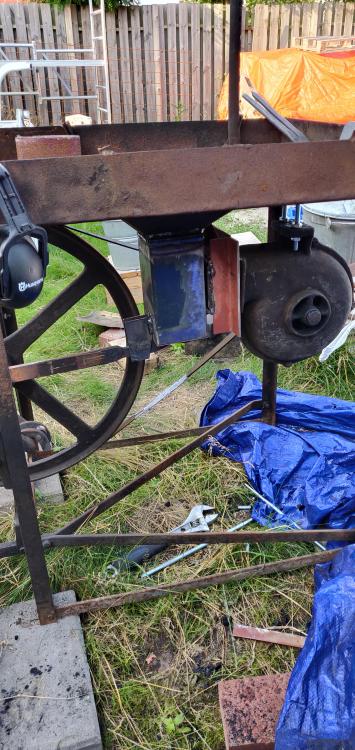
It would seem that this is set up C, the worst one, but just shifted 90 degrees, I guess this means that if the blower is mounted upright, with a bit of air duct, it would work better, right?
~Jobtiel
-
Frazer, I haven't seen that statement, I think I read over it. but that about answers the question I guess, I'll check how the blower is oiled first thing before I turn it on again. but at least the performance shouldn't be impacted by the orientation.
Thanks all!
~Jobtiel
-
Hi all,
I recently acquired a new electric forge blower, and was wondering on how to attach the blower correctly.
On the sales site, a blower is listed with the following advice: " ****This coke/coal forge blower must be mounted upright - feet at the bottom - as pictured***". I don't have the blower that mentions this, but I do have a blower that is of similar design, the snail house looking ones.
Do all of these blowers need to be mounted this way? Or is this just a piece of advice that only works on this specific blower where it is mentioned? I have mine mounted the other way around, and I wonder if this impacts how well the blower works.
Thanks for your replies.
~Jobtiel
-
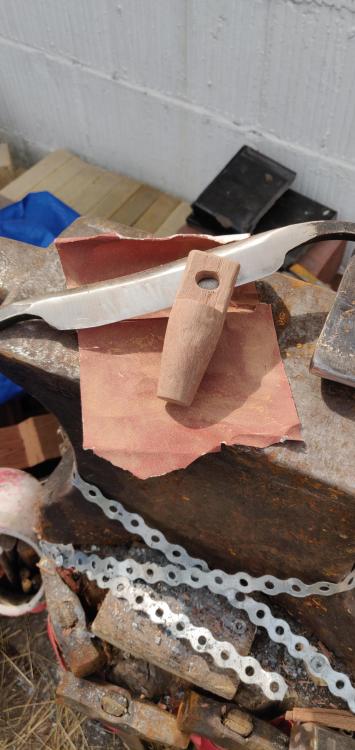
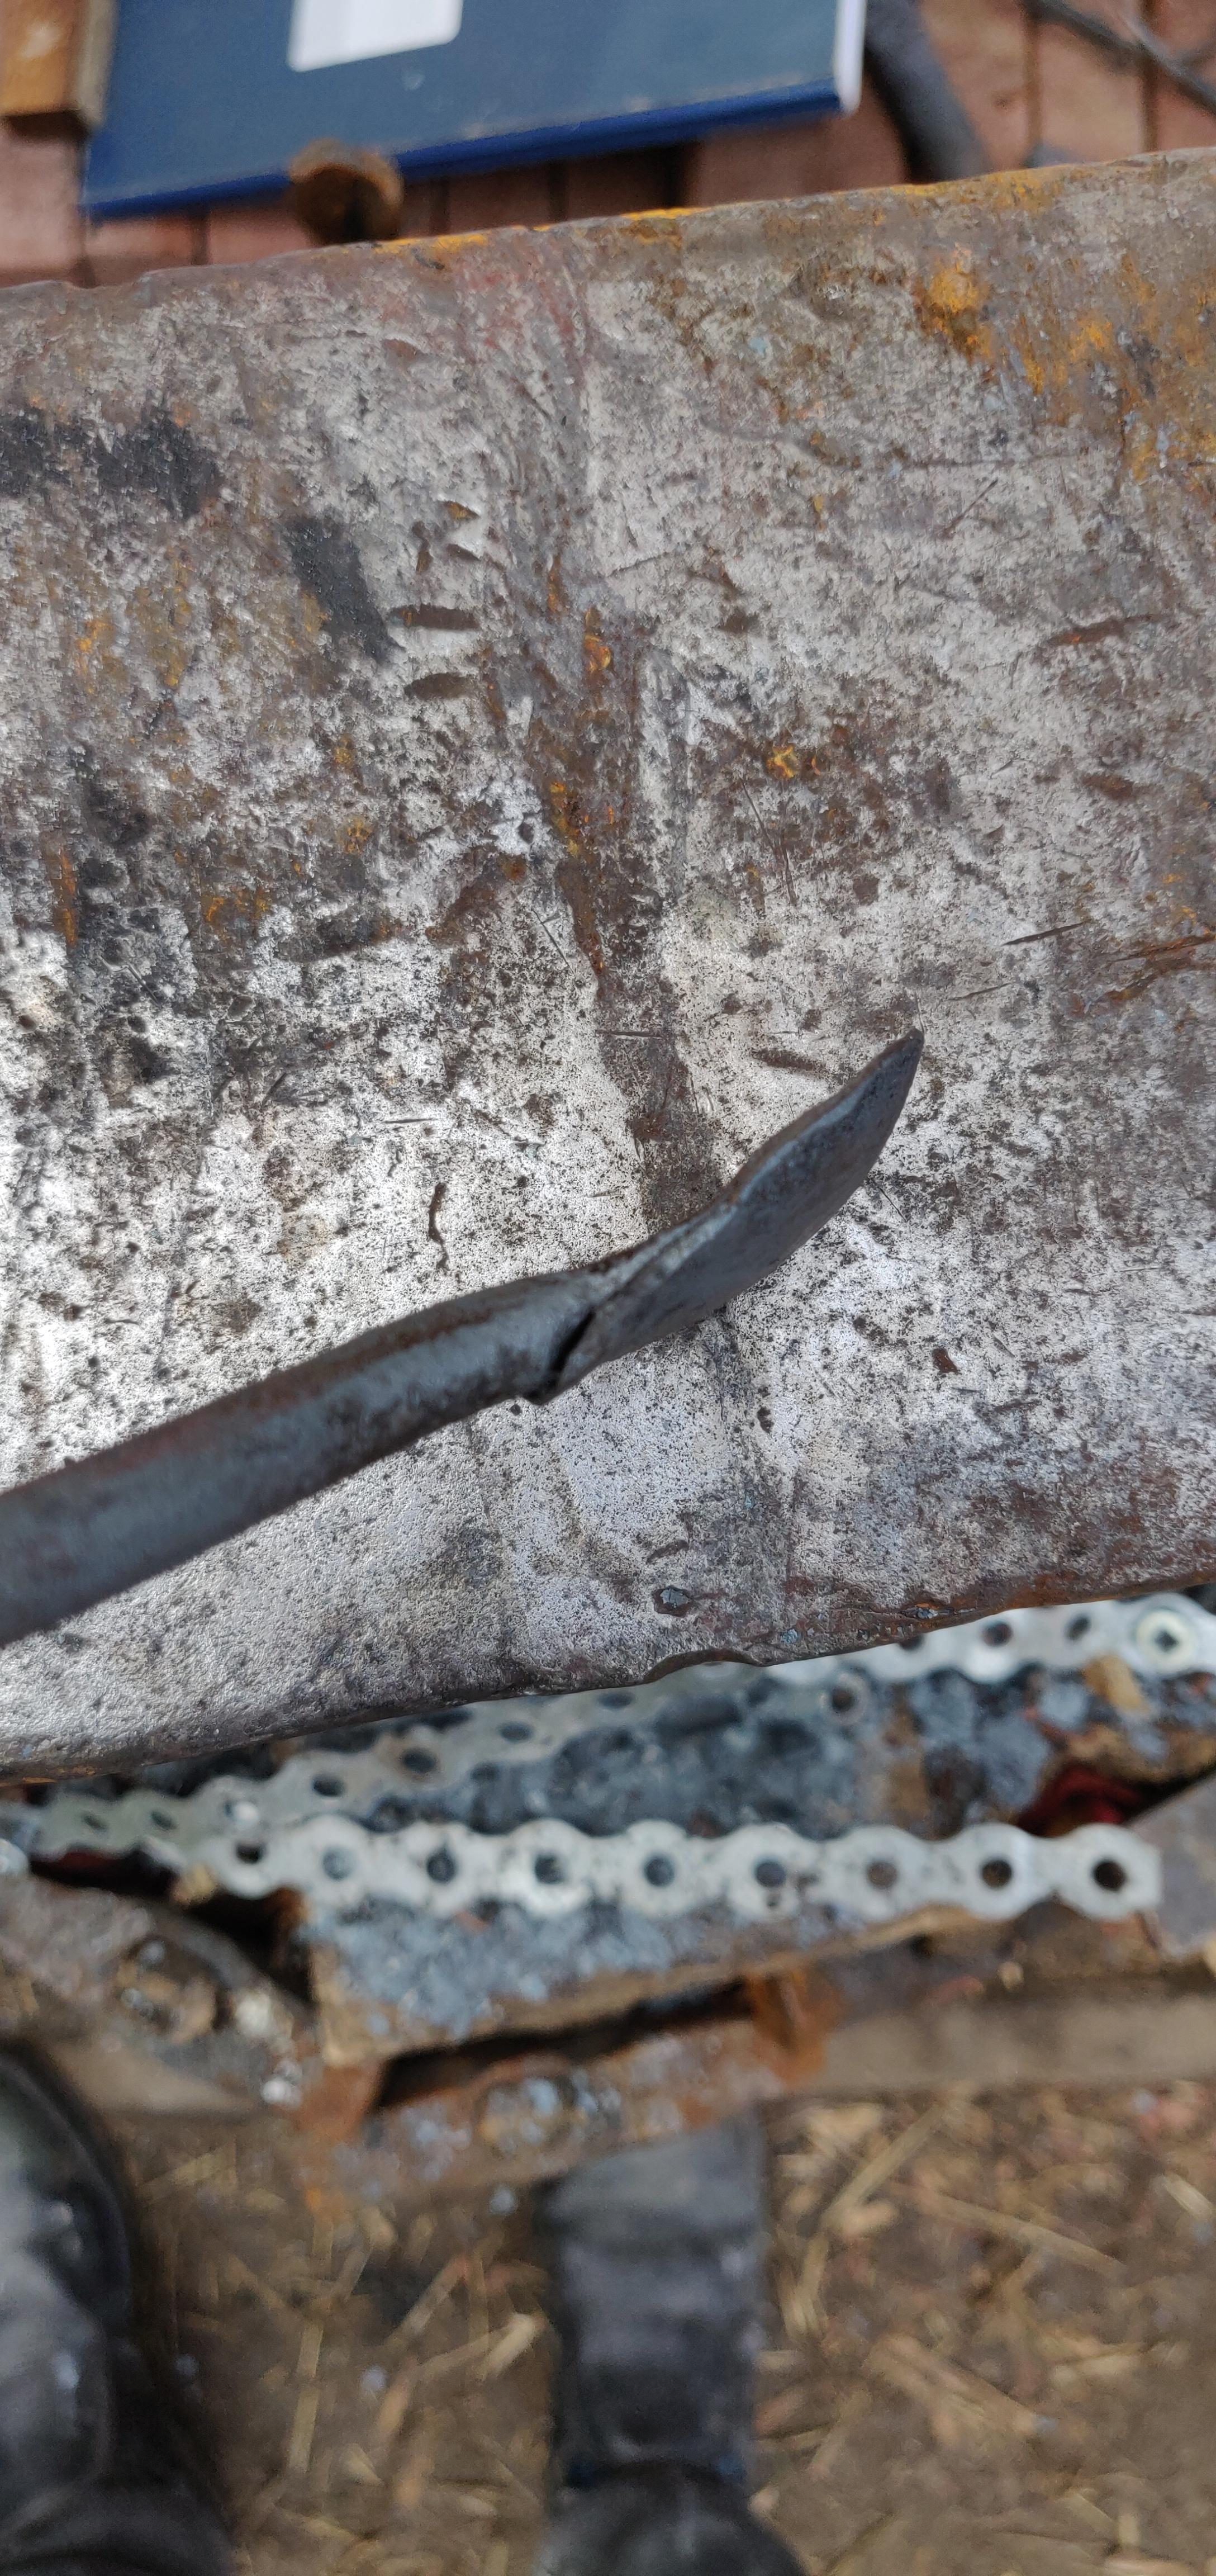
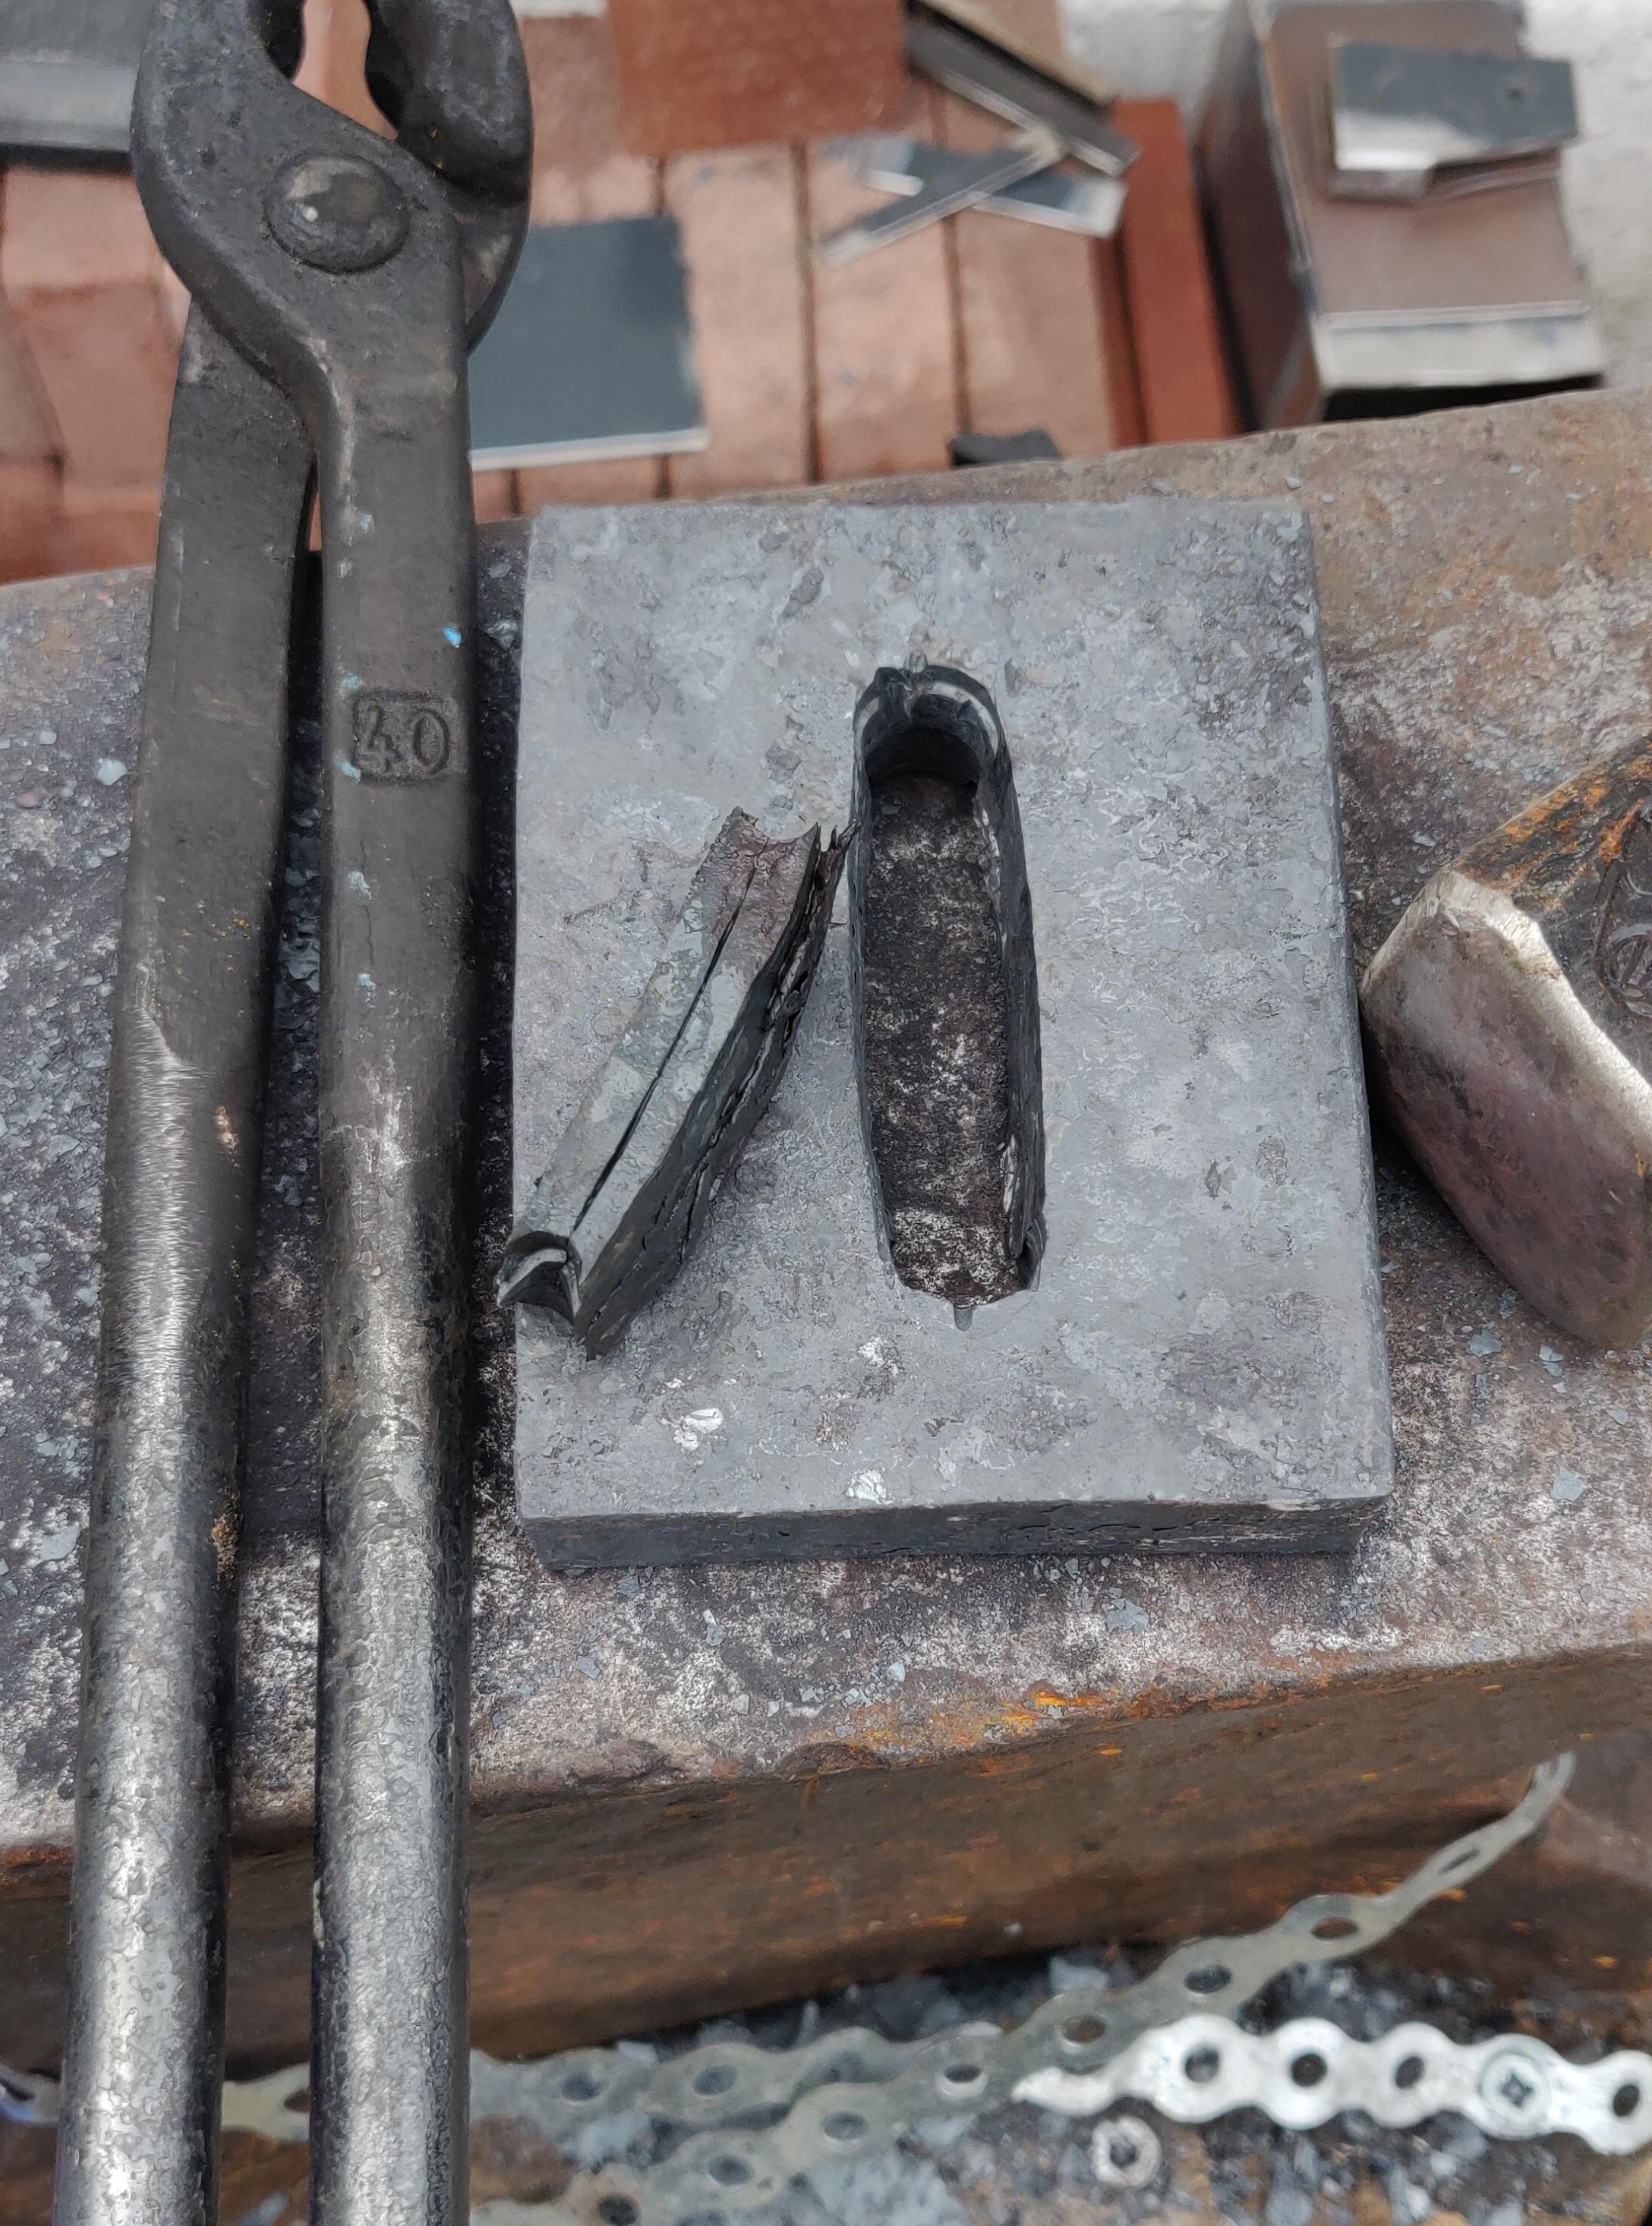
Finished the forging on the little camp axe today. It was quite challenging getting the forge weld for the bit. I welded in a piece of file I had laying around. Wanted coil spring for the bit, but I ended up chiseling the split to deep.
I'm quite proud of the forge weld, even though I burnt the piece a bit, it's my second forge weld ever.
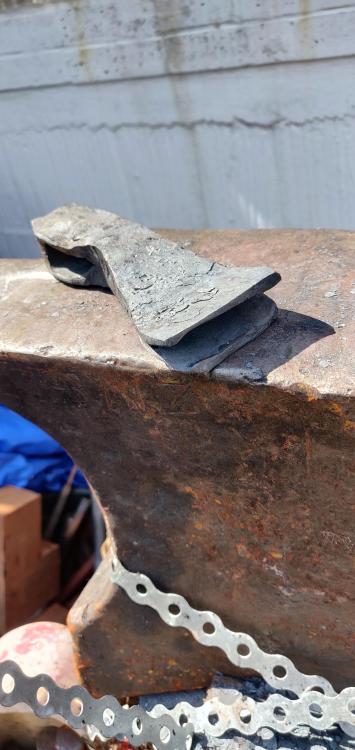
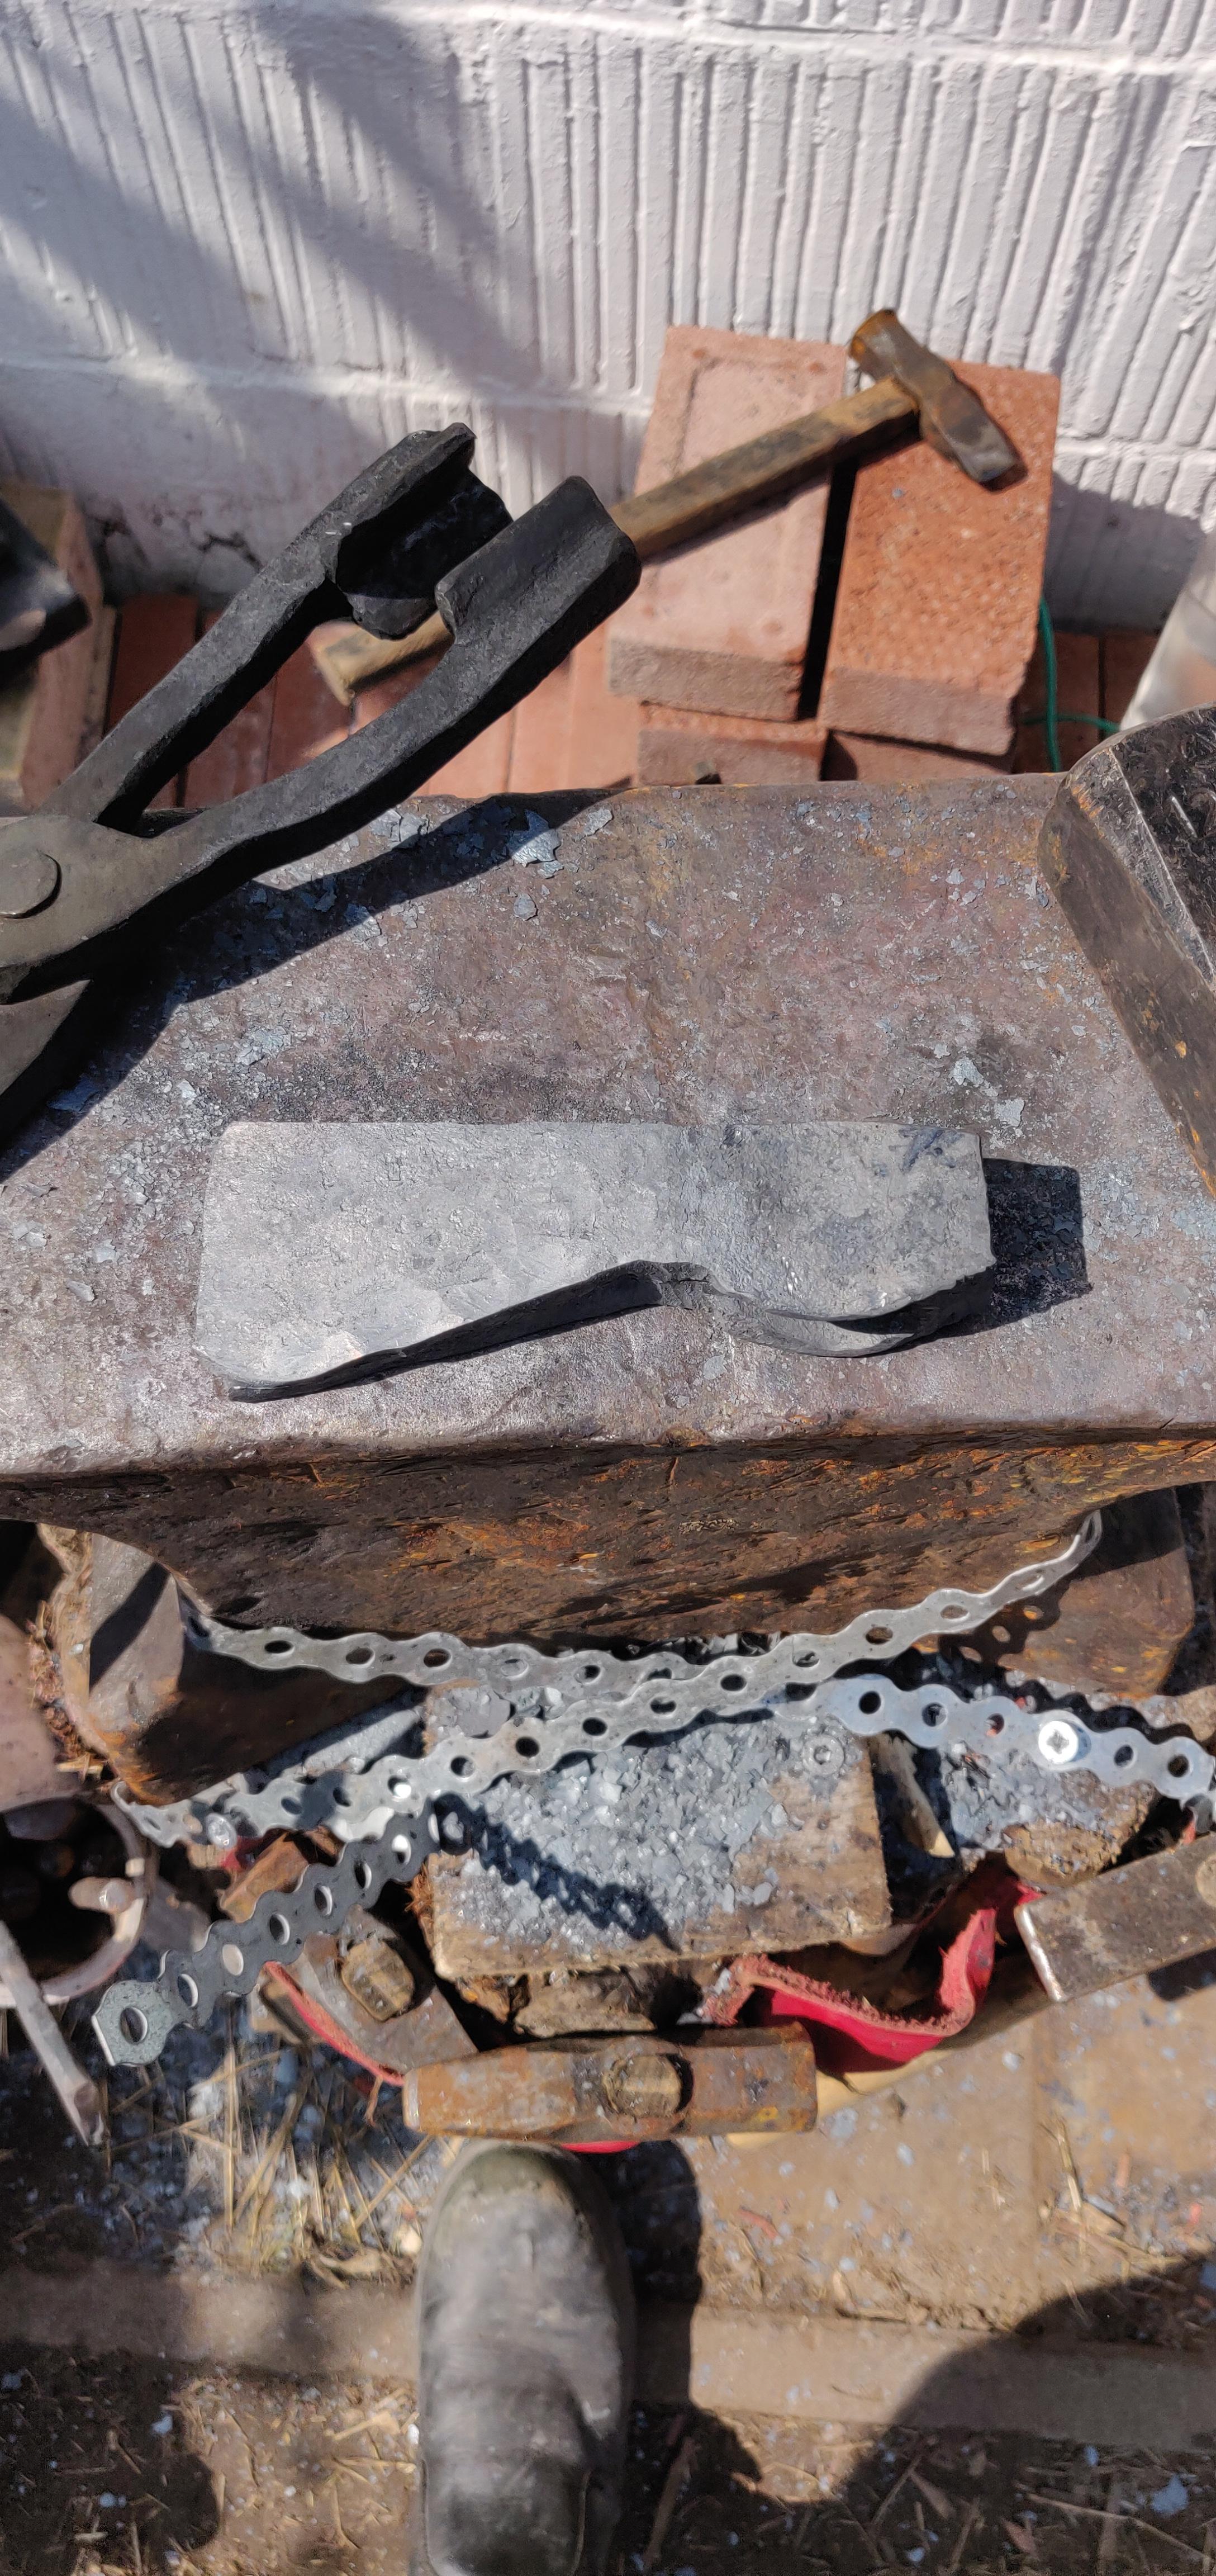
The chisel split and the preform before welding.

the finished forging after forge welding (and burning a piece from the front, and cutting the burnt piece off.)
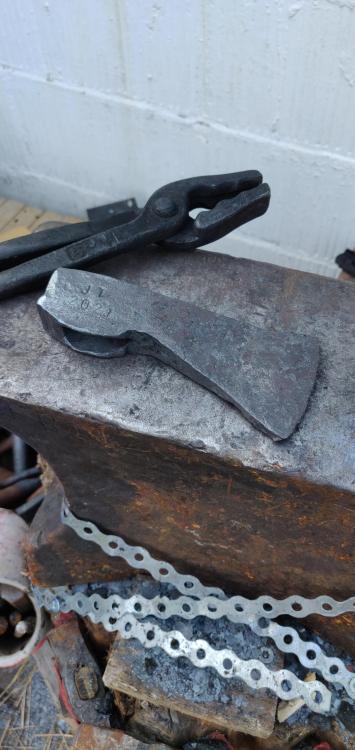
Now it's time for a little file work.
~Jobtiel
-
Made a run to the coal dealer today, luckily I had just enough coal left to finish forging what I wanted to forge today.
The last 75 kg lasted me more than half a year, let's see how long this one lasts with the upgraded forge.
~Jobtiel
-
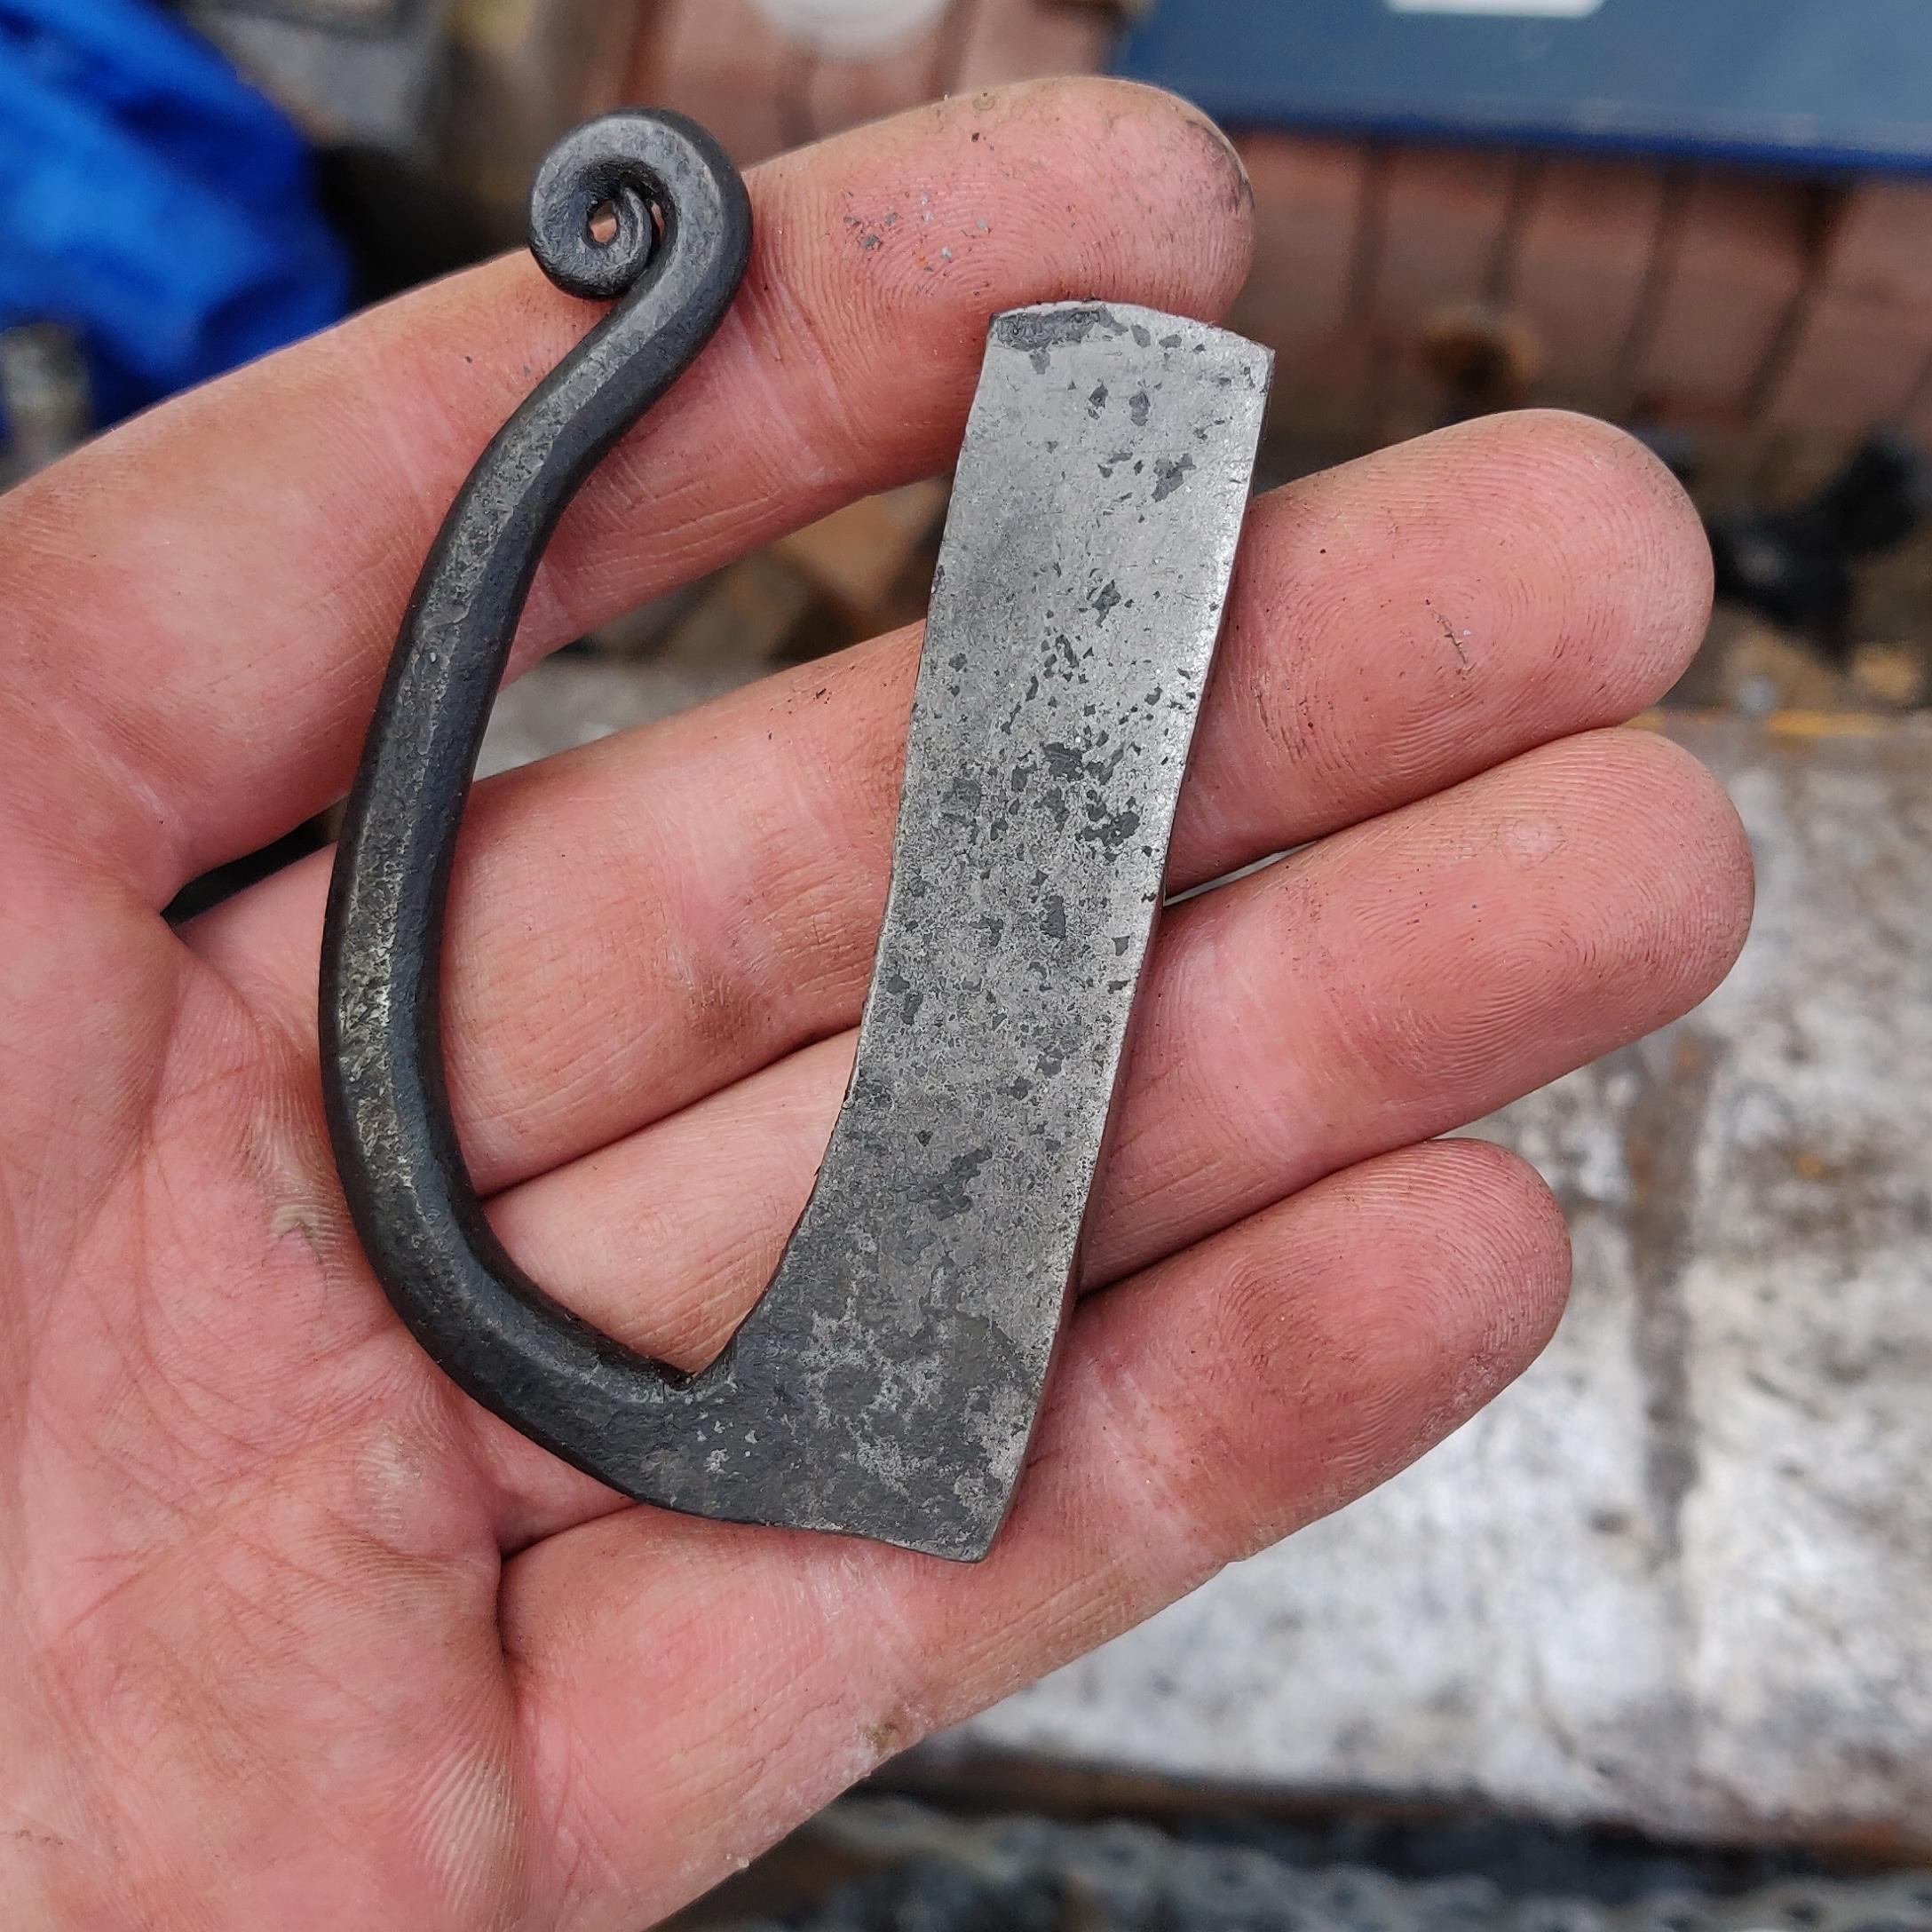
On the topic of short small projects for a demo, a fire striker like this from some coil spring might be cool too:

I think that the part where you upset the rounded part into the body of the striker to make a square corner might be pretty interesting to perform and explain. Show the before and after of some onlookers.
~Jobtiel
-
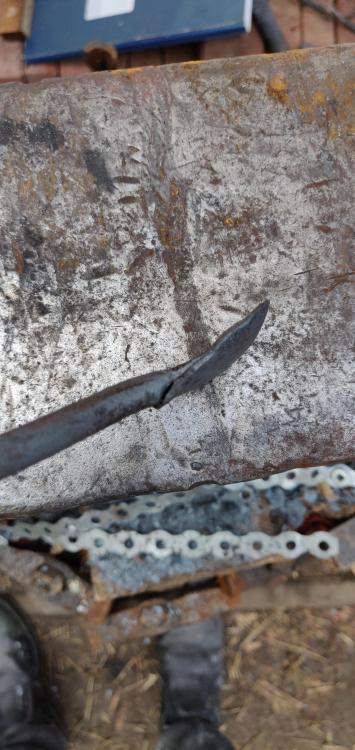
Started work on a small axe today!
Started with forging the slot punch and drift for the eye. However, I quenched the drift in water during drifting the eye, and it was made from leaf spring, now there's a big crack, so I made a new one.
This is what I got so far.
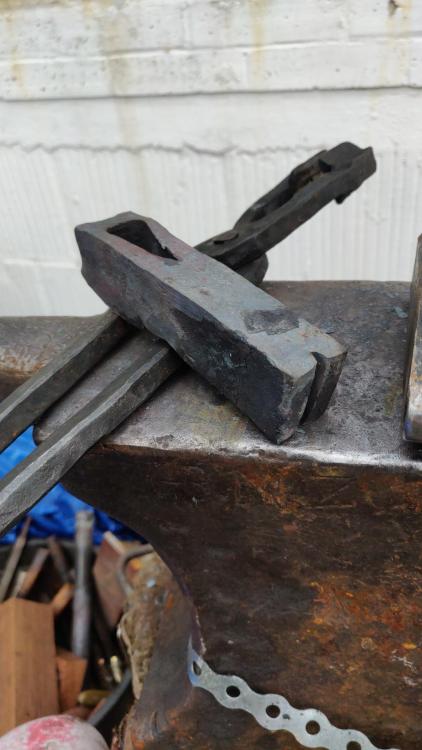
Next time I'll finish chiselling the slit for the steel bit. And start forging the blade.
~Jobtiel
-
Wire brushes on angle grinders can be scary stuff yeah, my wake up moment with that thing was when it grabbed and got stuck in my sweater while working. Managed to turn it off before it ripped through but things like that wake you up on safety.
~Jobtiel
-
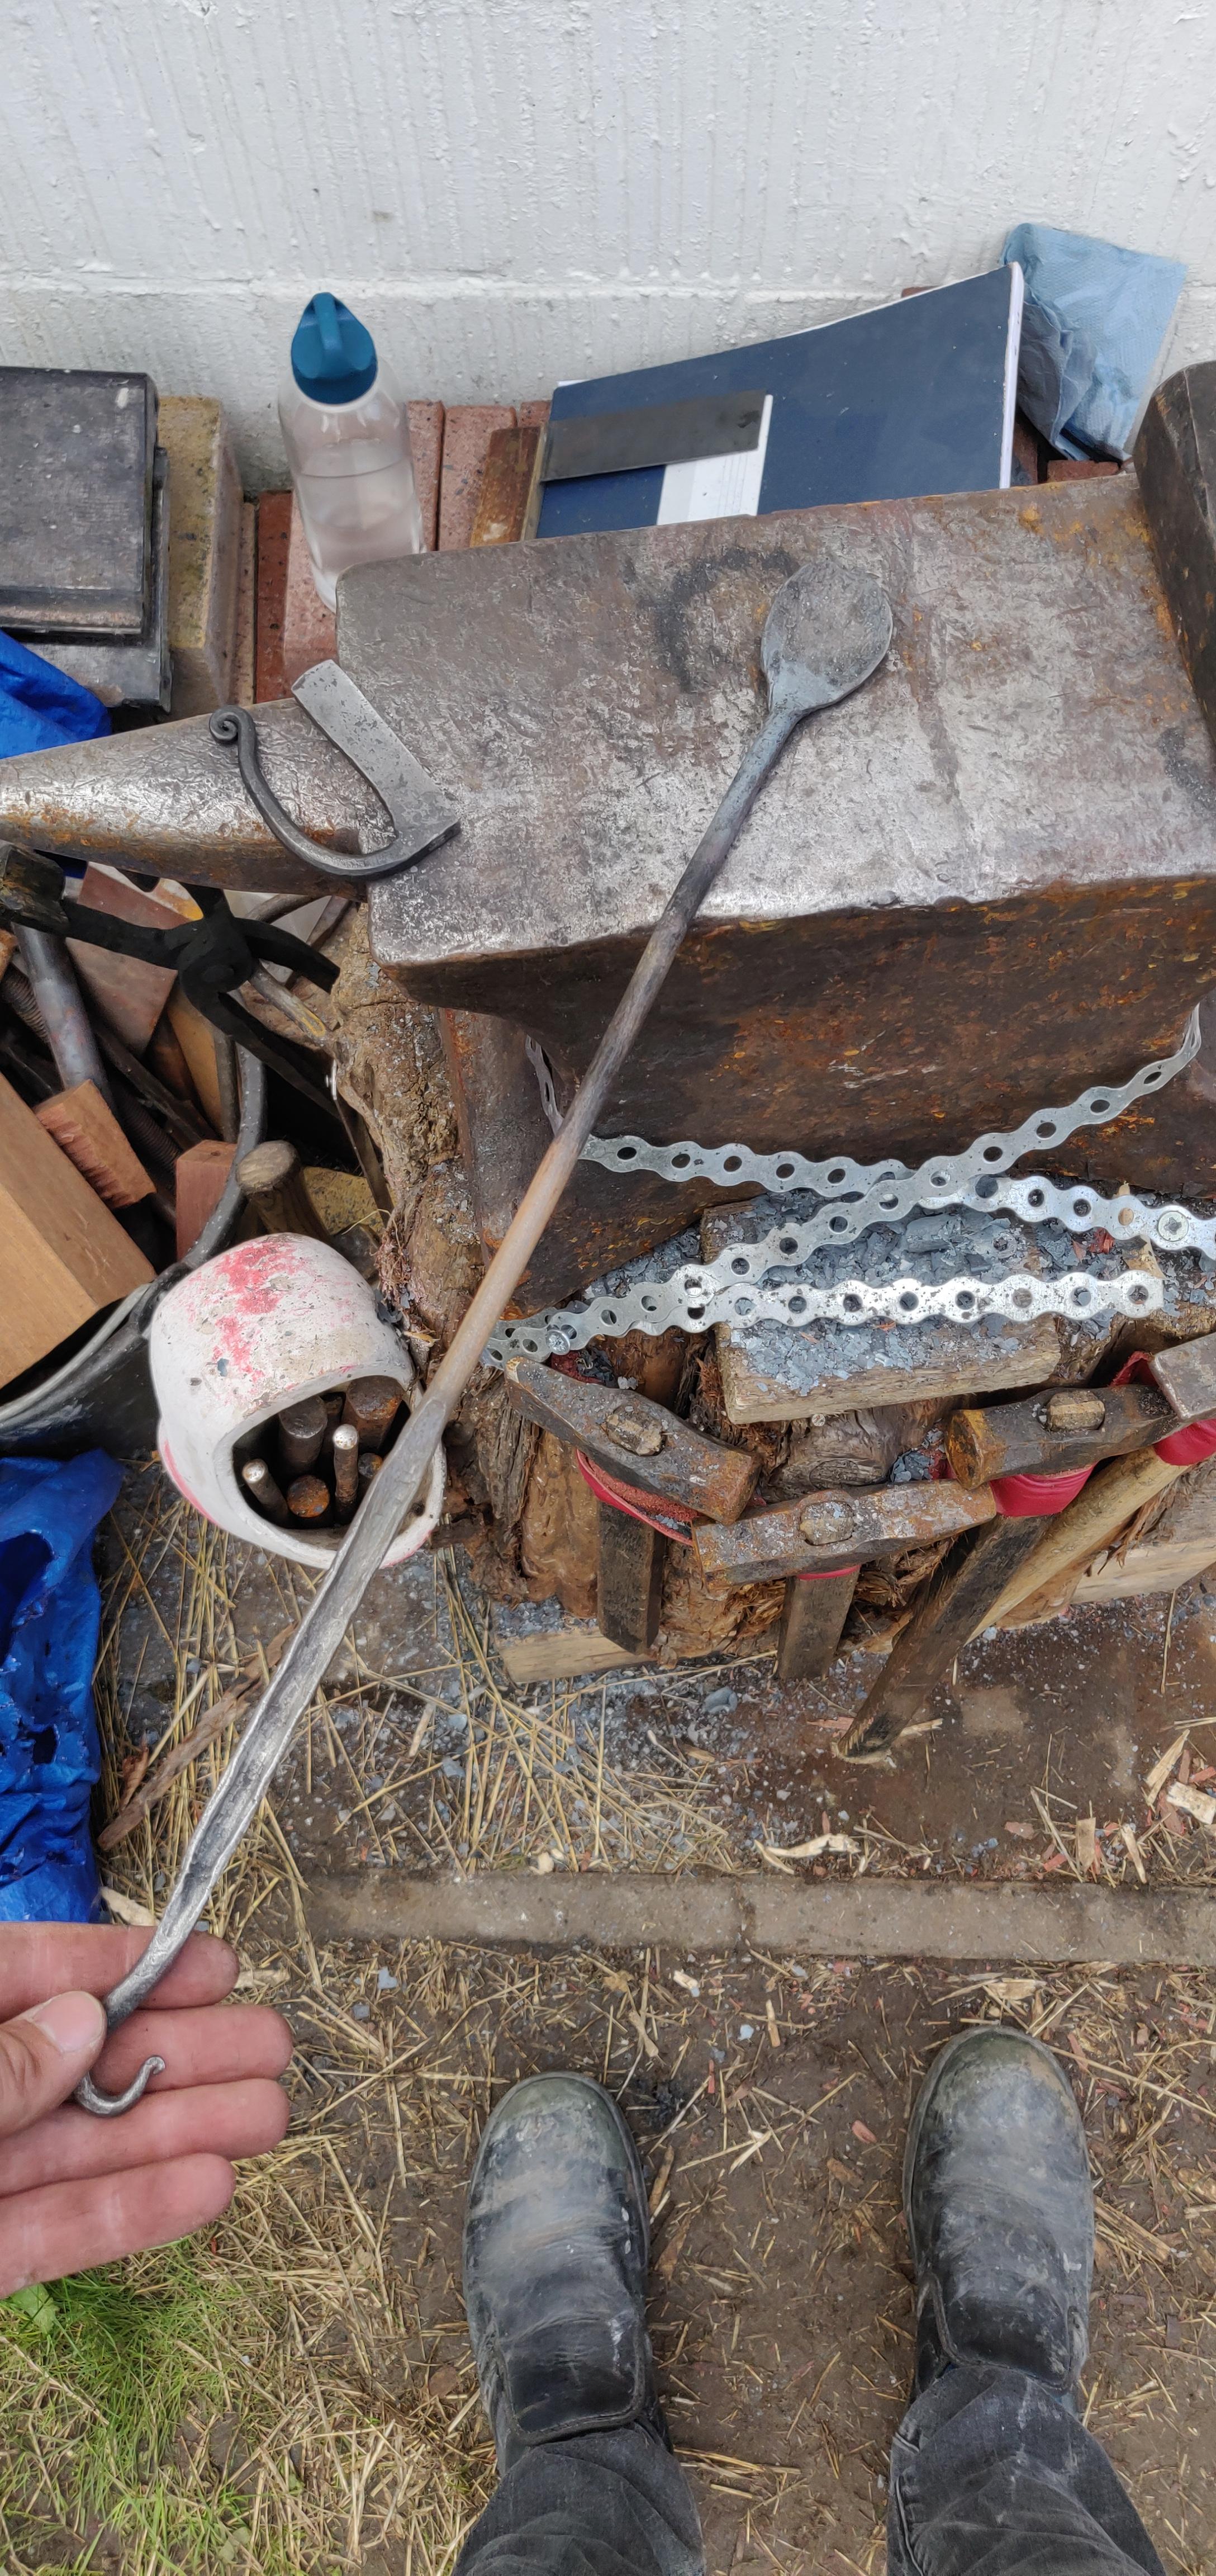
Spend some time forging today after a while of doing other things, and got a good test drive in on the new fire pot and electric blower. And I did my first two forge welds! I wanted to make a flux spoon to use when learning forge welding, so I thought I could use 8 mm round for that. Bend the end over itself twice to create mass for the spoon.
There are big shuts visible, but it works and the welds took, so I'm happy.
Also, I uncoiled some coil springs, and just before dinner, managed to forge another fire striker. Already visible in the first pic

All in all, a good day!
~Jobtiel
-
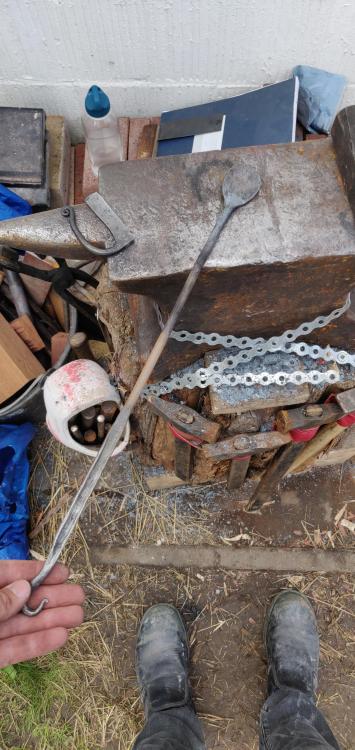
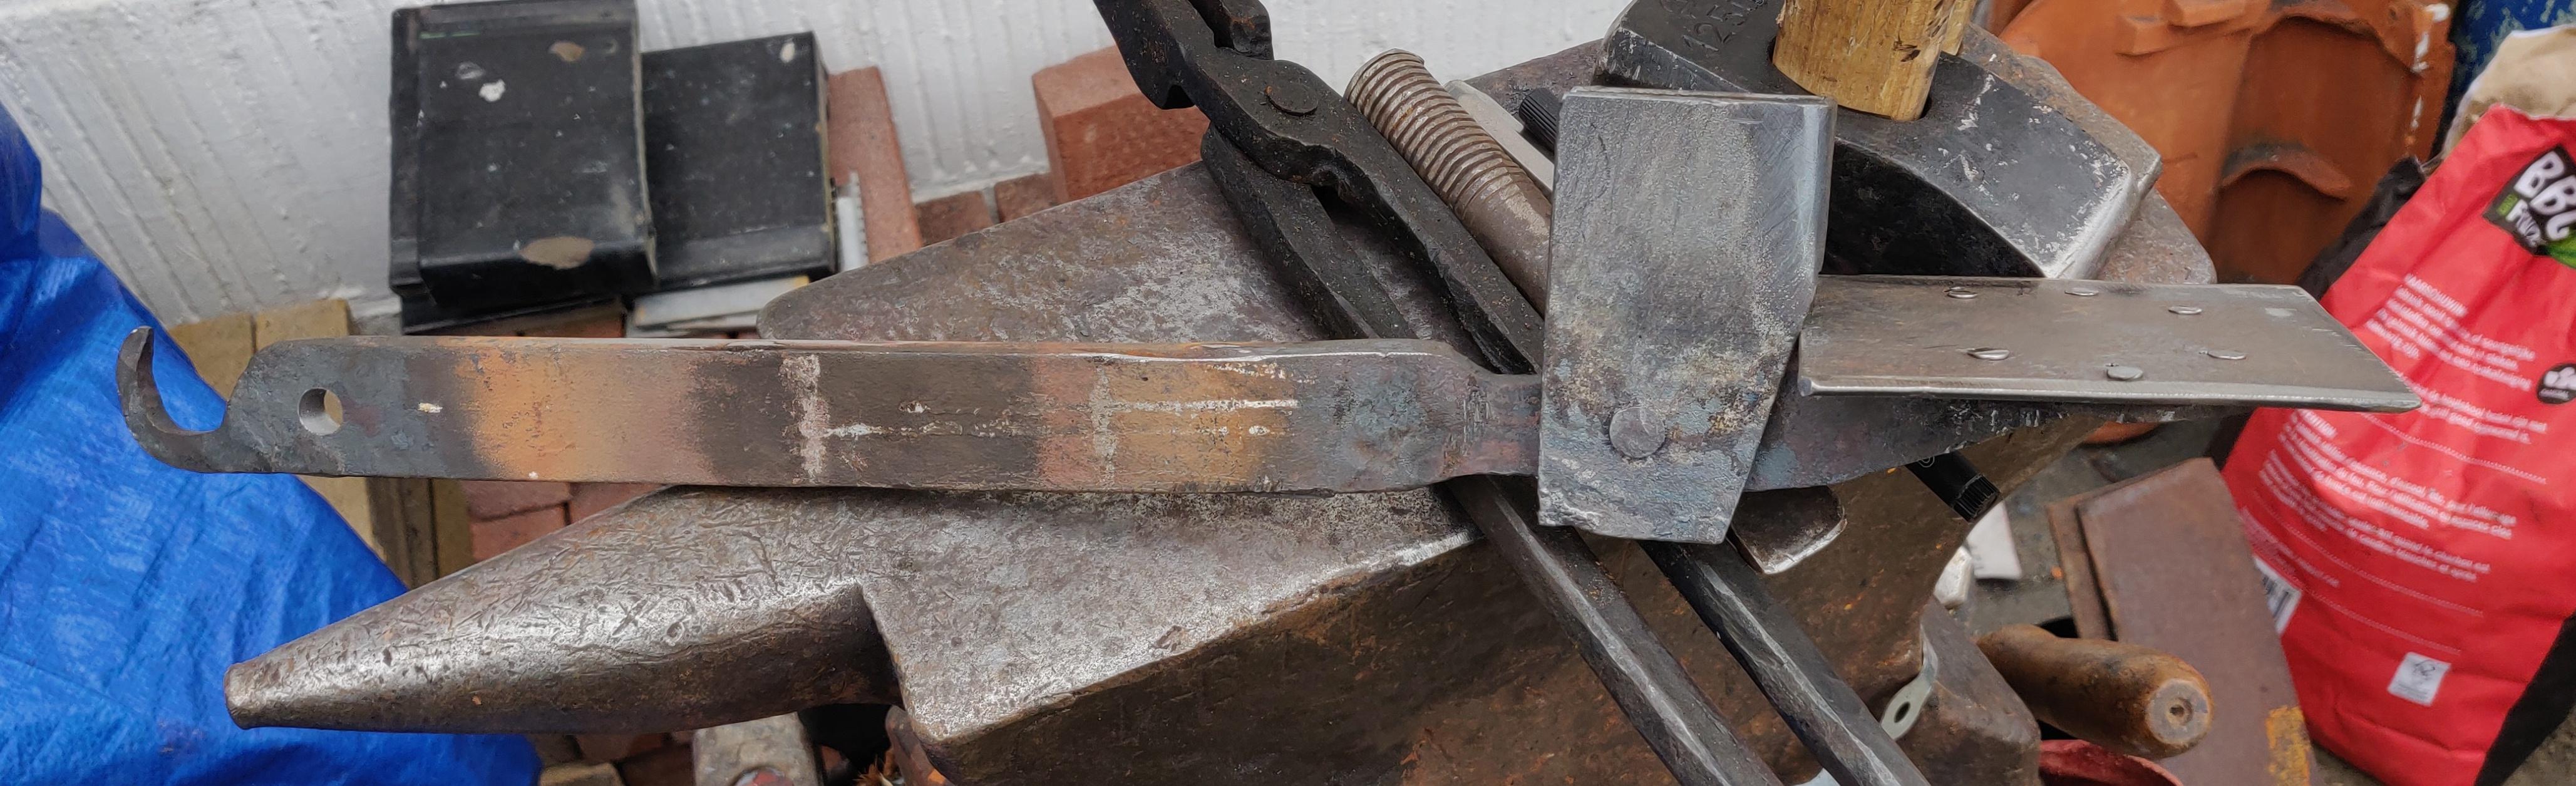
Went to my dad's place yesterday, and he is renovating an old house for a family member, dated somewhere around 1920 I believe. He pulled some things out of the wall that he thought I could use.
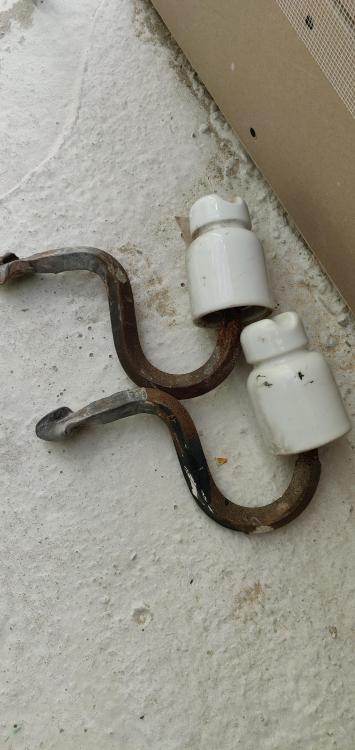
He told me power lines used to run over these before they went inside the house. This week I'll check what kind of steel it is. Maybe wrought?
~Jobtiel
-
JHCC I'd love too, but those don't exist in the Netherlands, I have mailed the team responsible for the badges here if they wanted to add them, so far I haven't heard back. There is a yearly event at Easter called the HIT, where people that want to can organize workshops. I know a guy from another group that is heavy into woodwork, especially blade handles, so as soon as I have the equipment I'm planning to set up a HIT where they can forge and finish their own knife in a couple of days. Or at least forge something like a hook, leaf, or both and make a knife handle with premade knives, depending on the time we want to invest.
~Jobtiel
-
I went on summer camp with the scouts last week, but before and after I spend some time making stuff, and adapting my forge with an electric blower!
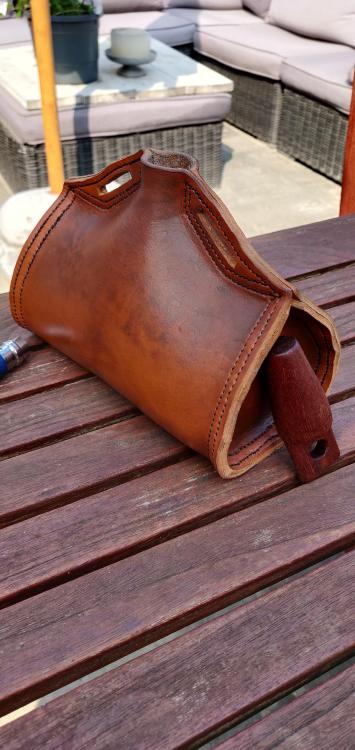
I've been busy with making a leather costrel, and today I finished the wooden cork, made from mahogany. I used some of my great grandfather's saws, as well as the drawknife I made to shape it. Too bad I haven't made a wood chisel yet, or I could've made the whole thing using heirloom/ homemade tools.
The costrel is currently drying after wet shaping it. Next to it the mahogany cork after some sunflower oil
~Jobtiel
-
-
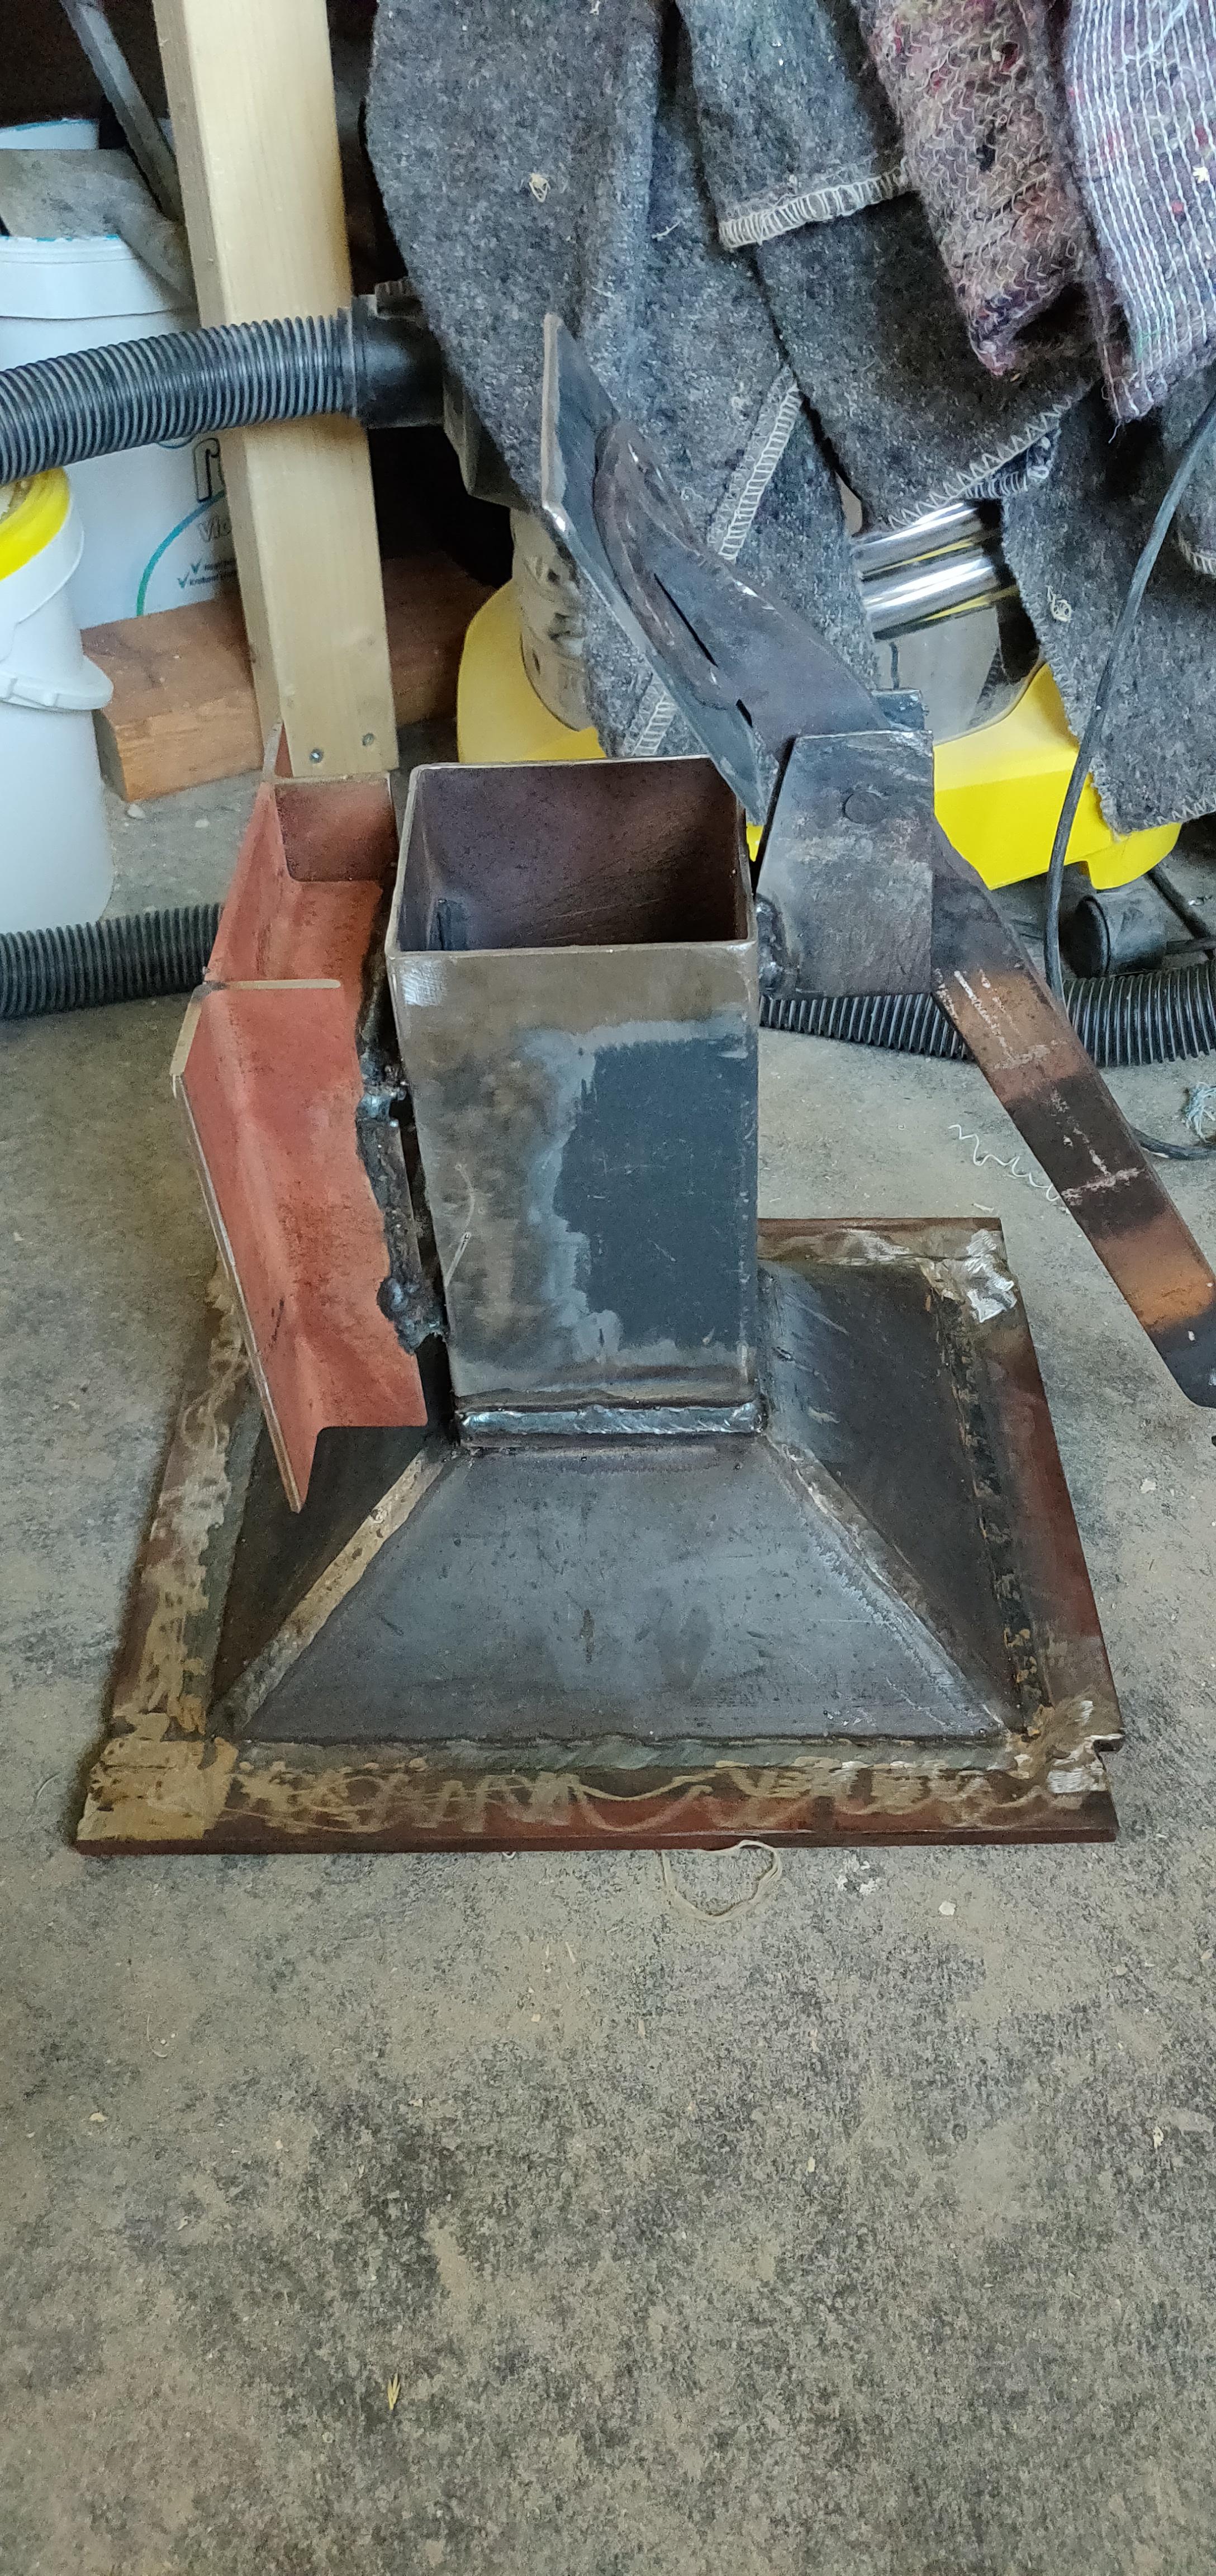
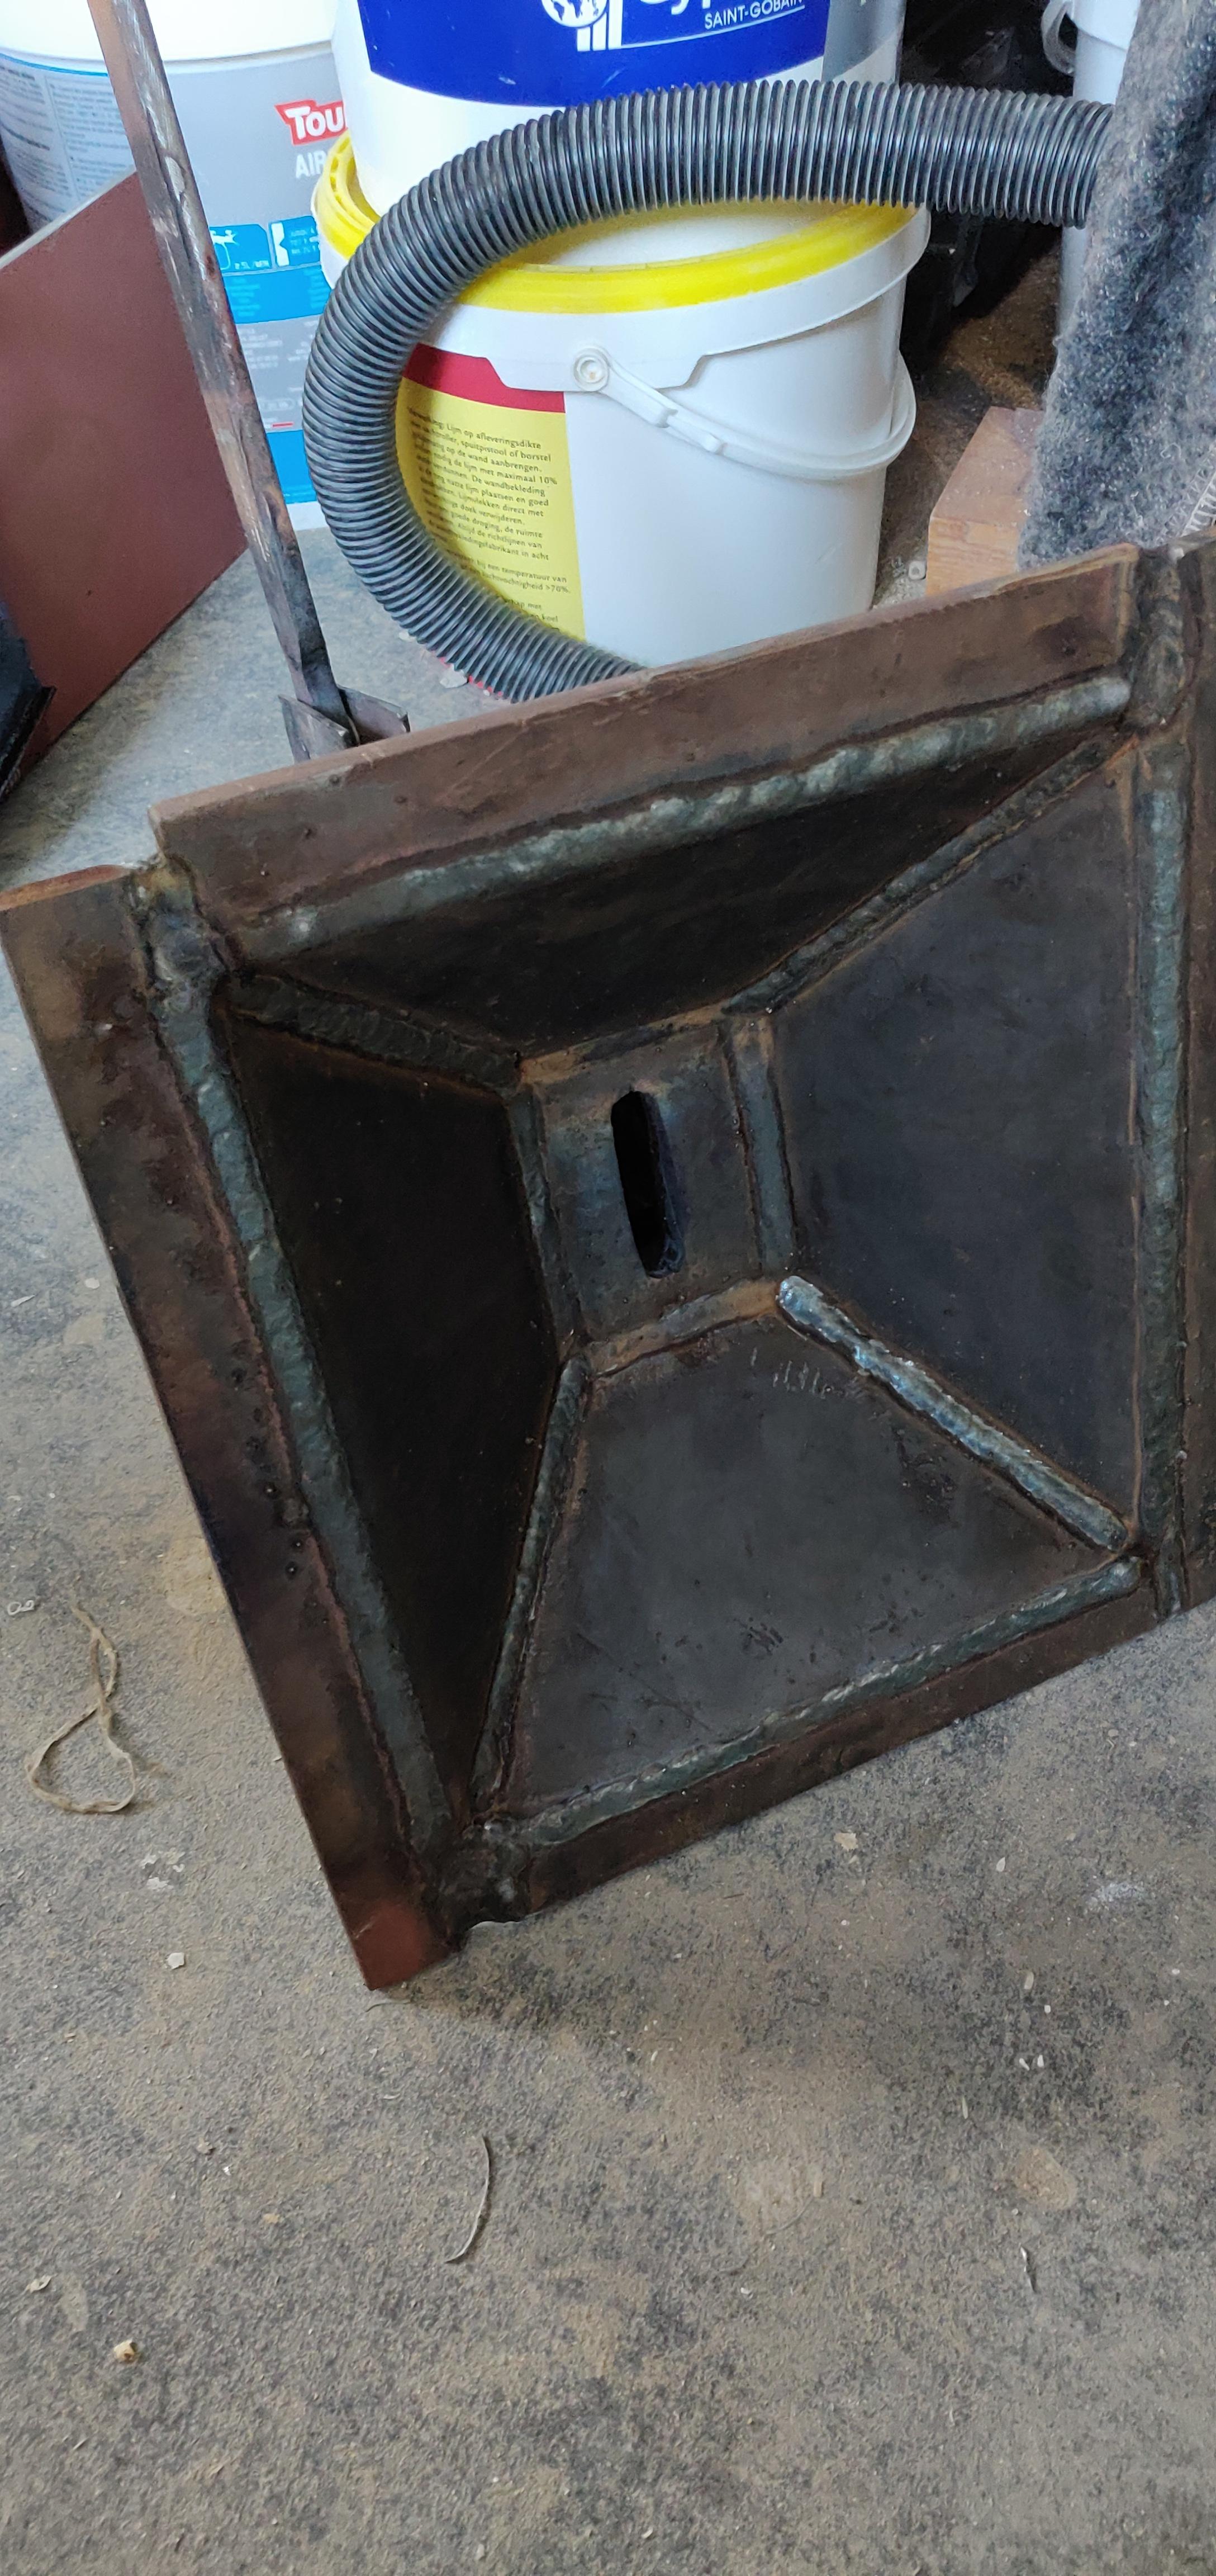
Went to my brother's work today to weld up the new fire pot. Some of the welds are very sloppy, that's one me, and my brother did an amazing job welding up the pot itself.

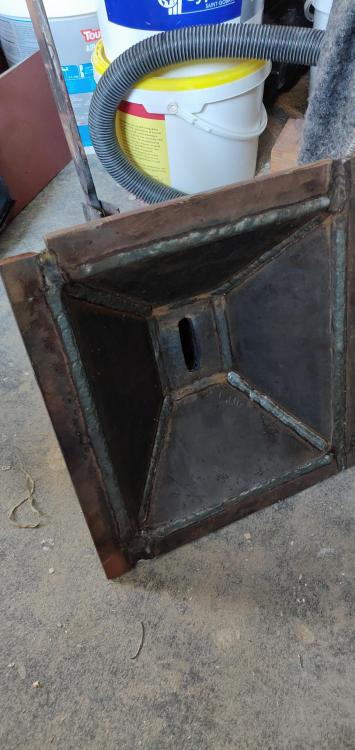
Tomorrow I'll install it, but before I do that I need to find some threaded rods so I can actually attach the blower.
~Jobtiel
-
I forged out some final pieces for a new fire pot yesterday. Everything else was cut and ground with an angle grinder, but these parts I wanted to forge.
First is the slit for the air on the bottom of the pot, I used the Bob Patrick design and slightly changed it to accommodate for the stock size that I had available.
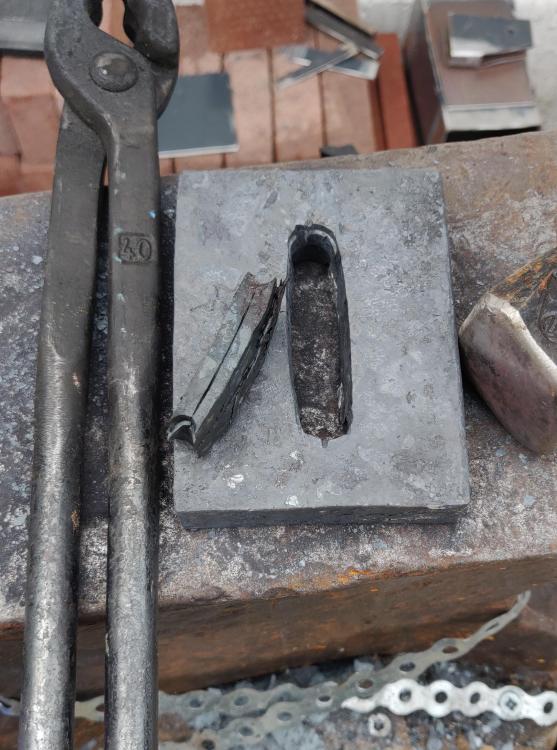
I drilled two 13 mm holes, and hot cut the middle part, it did ruin my chisel.
I also forged the handle for the ash dump, and riveted the ash dump door to the handle using nails as rivets (2.5 mm thick).

The handle is quite heavy on itself, I have made a hole for an ash dump weight, but I don't know if it's needed.
Saturday I'm welding everything up with my brother. And Sunday will probably be spend installing it in the forge. I'm also eyeing a new electric forge blower to go with it.
~Jobtiel
-
I checked this afternoon, and 70 rpm is about the rpm I spin on the big wheel, so that rpm is not suitable if I want to connect directly to the blower. Now if this motor has enough torque to spin the big wheel, I might get it.
Time to do some more research on this.
~Jobtiel
-
Yes it is the same forge from the other thread. The inside walls and grill are taken off though.
~Jobtiel
-
Yes, but that makes it hard to supply coal to the fire. Nevertheless, I cut out the steel for the firepot, so that should hopefully solve some problems, and if not, I'll put back the old installation and try some more things.
~Jobtiel
-
Hi All,
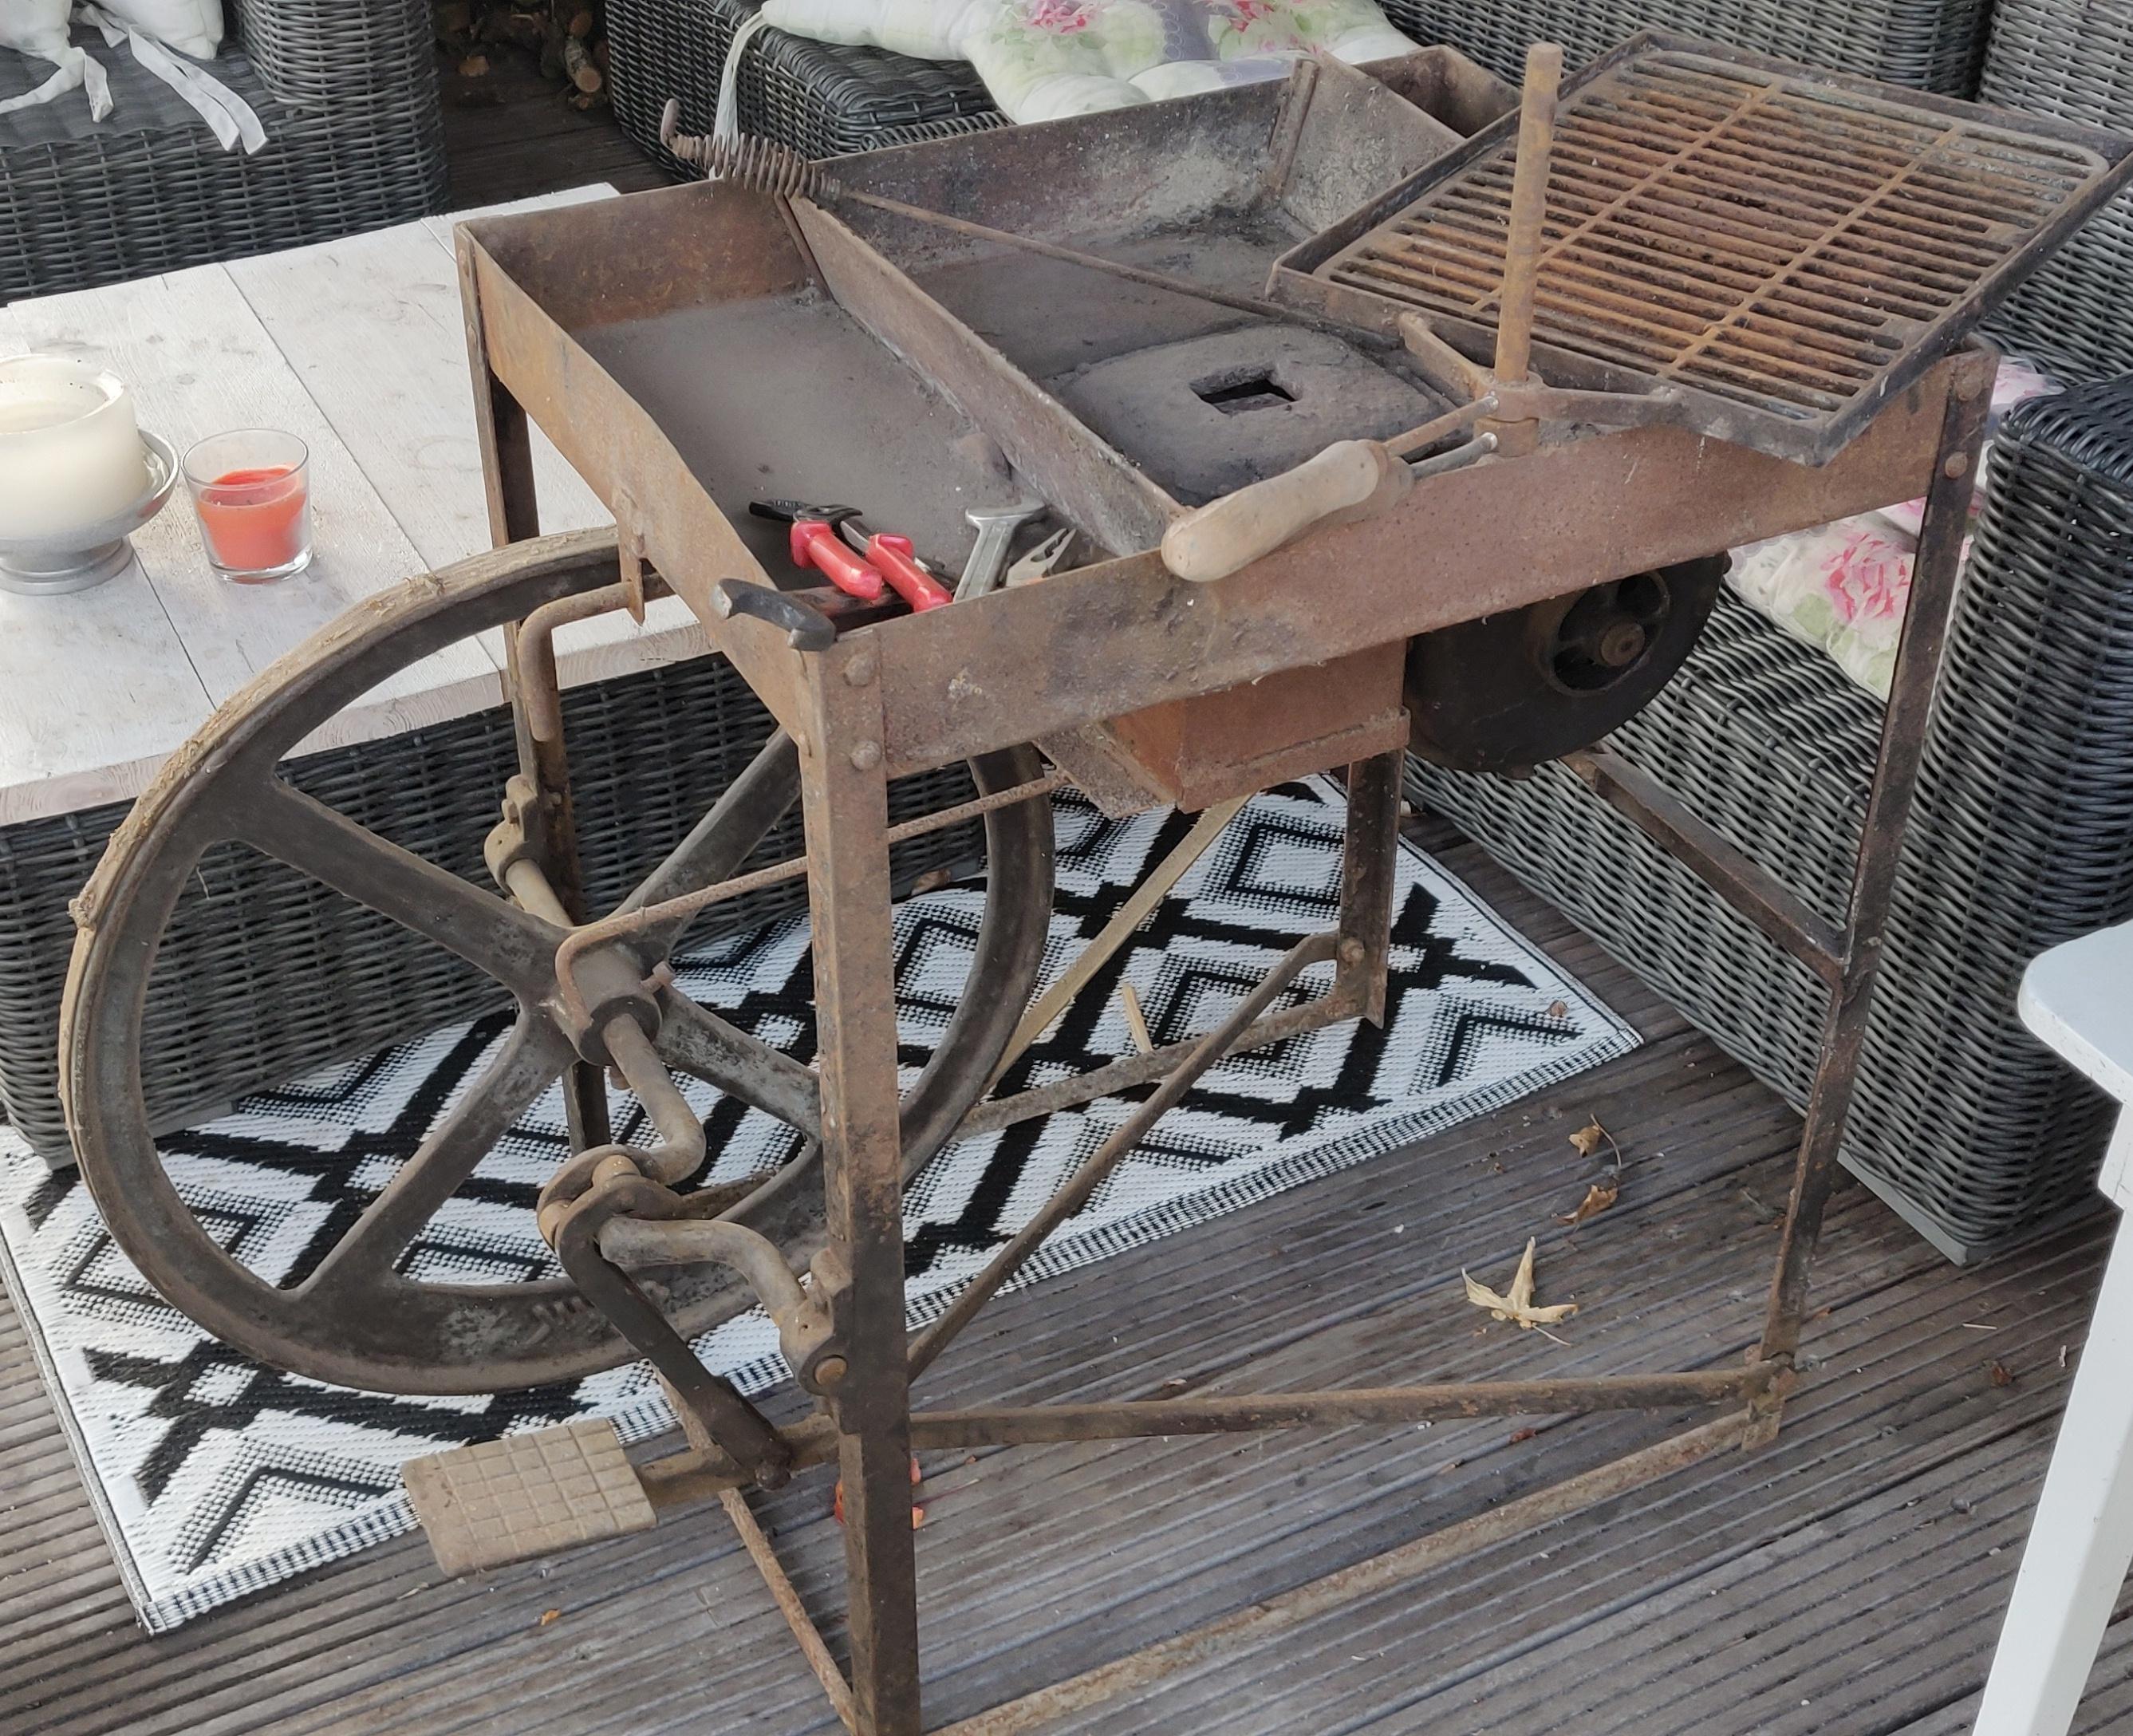
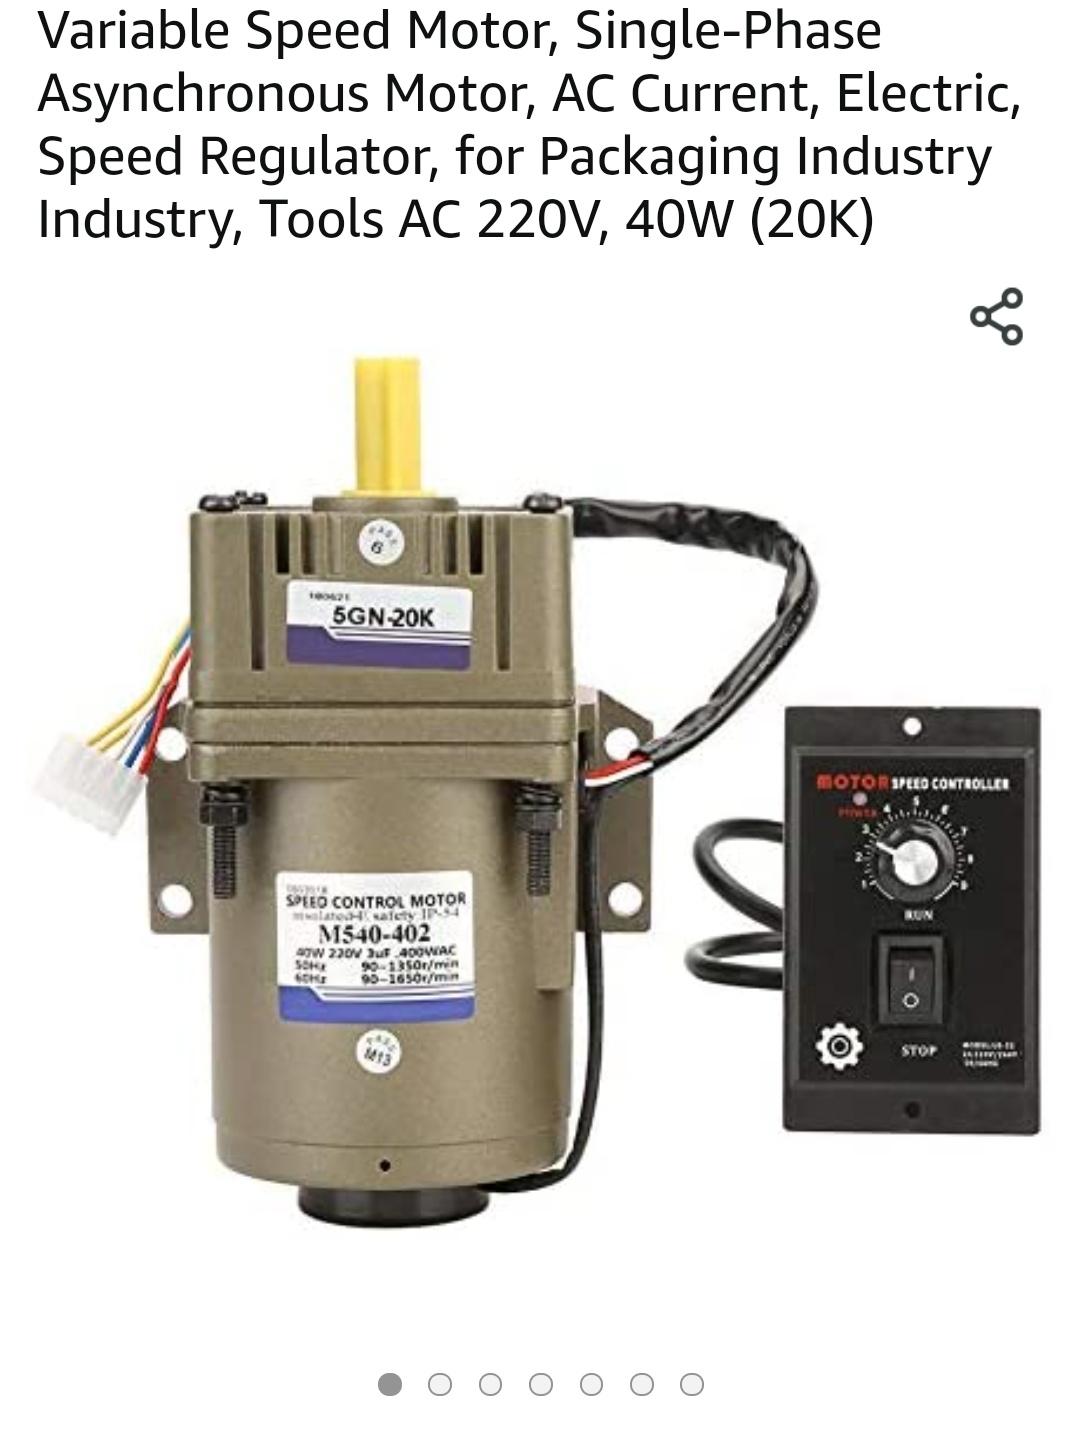
For a while, I've been wanting to upgrade to an electric blower for my forge, but so far I have not found any affordable second hand options. Now I had a thought that I could use a variable speed electromotor to power the cast iron blower I currently use with a food pedal:

After looking at some motors online, I found one that is pretty cheap, but I have doubts as to its suitability, as I have little to no experience with motors.
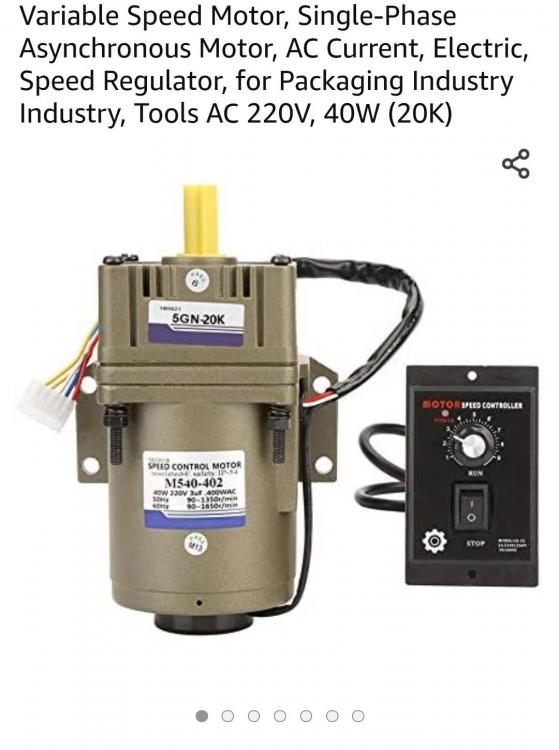
This motor would have an rpm of 70 and a torque of 5 N.m. would this be suitable for use as motor for a forge blower, and if not, what RPM's and Torques should I be looking for? The cast iron blower has no internal gears so the rpm supplied is not multiplied by the blower itself.
Thanks for your thoughts.
~Jobtiel
-
Frosty, I tried to make the fire deeper with firebricks, but way the forge is build, I've been unable to do this well enough to heat hammer stock. The forge has an cast iron piece that houses the clinker breaker, and that sits up about 2 cm from the bed of the forge. With the fire bricks to make it deeper there is still not enough depth to make a bigger fire. I've been trying for a few months already and unfortunately I can't get it to work.
~Jobtiel
-
The last two weeks I spend moving to the new place, and I have managed to set up my temporary "workshop".
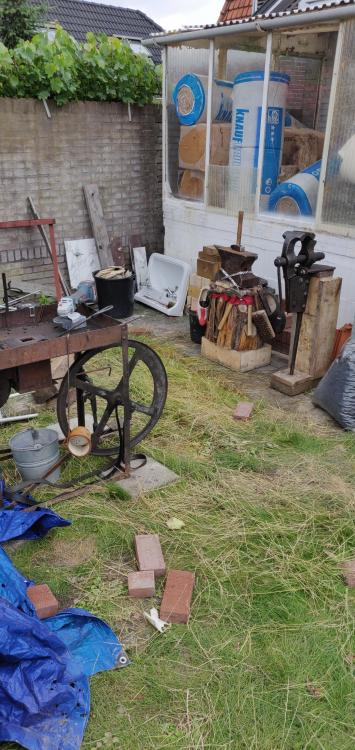
As you might see in the picture, not everything is quite done yet. The day after moving was spent on getting running water installed, and the day after on hot water. Living room is a mess currently, but at least the bathroom and bedrooms are done.
I decided to start fabricating a fire pot for my forge, as the flat bed with some firebricks is not quite enough for me. I spent the last 8 months working with it, and it's just not enough to heat hammer sized stock. So expect some pictures of that in the next week. Saturday I'm going to weld it all together at my brother's work.
~Jobtiel
-
Went shopping for steel too today, got some 12 cm by 1 cm flat stock to start building a fire pot for my forge. I want to forge me a hammer, and my current rivet forge doesn't have a pot, so time to do some fabricating!


What do you work on when you can not forge?
in Blacksmithing, General Discussion
Posted
I've only been forging for about a year, so whenever it is too hot out, I look at tutorials on the next things I want to make. I also research where I can get steel for reasonable prices, and what the different European annotations mean for the steel grade. I also have books from the library on the way that I plan to research for some inspiration. All on historical iron art and items.
I also do some woodworking sometimes. For example I leave wood chisel and axe handles to work on on days I can't forge. Or I do some leather working, just other crafts that don't involve forging. Even though I do need forged items to complete the projects.
If I don't feel like any of that I just play some videogames or read a book") .
.
~Jobtiel