Cris J
Members
-
Joined
-
Last visited
-
I will look up the TPAAT method again then for sure, thanks Glenn. We most certainly do have both of those things, well the feed store anyway the welding supply place is a little farther away, but I’ll definitely do that. Once we can actually meet in our church again, that’ll be a good idea tooThomas I’ll see to that as well, thank you.
-
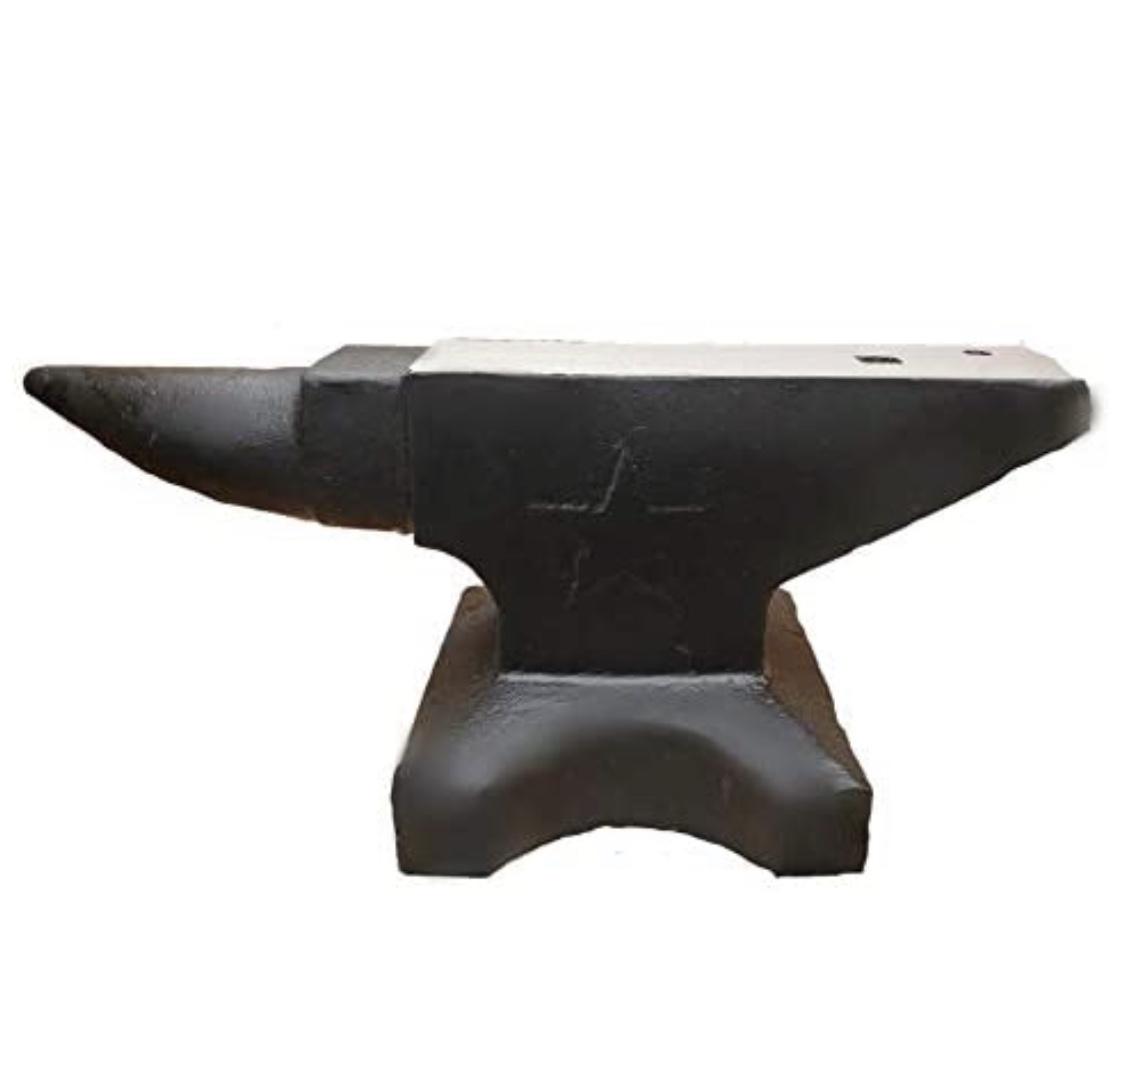
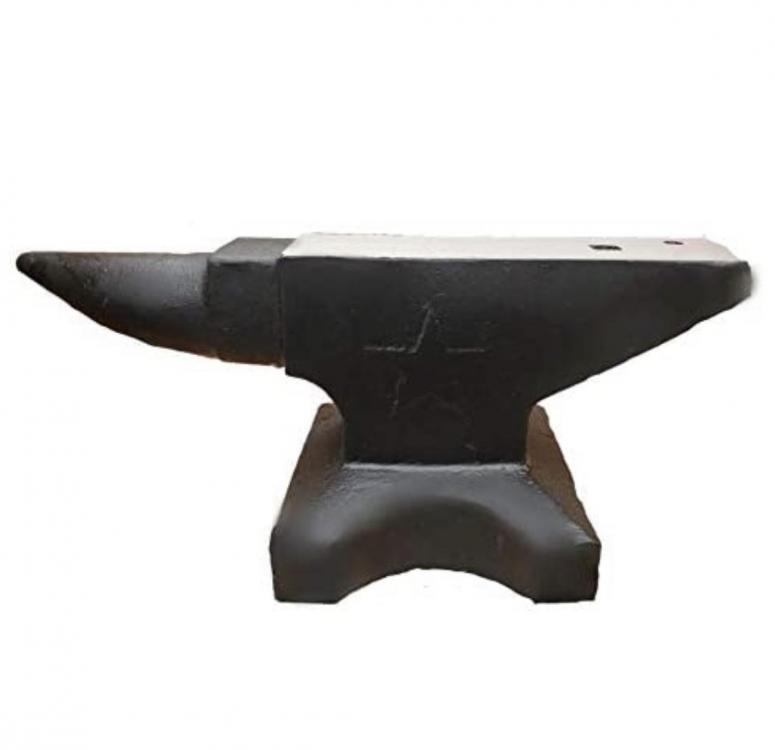
Well looking at them from pictures seems to be my only hope. My area seems a little limited on go and look option so thank you all for the help. John out of curiosity I ask, it does say it is by Texas Forge and Tools. I did find a website finally with the same model. Ever heard of them? Any reviews on Trenton Anvils as well?
-
Thanks guys, Thomas and John. If it’s not too much trouble can I keep posting finds on anvils here? Wanna make sure I get a quality one .
-
Howdy all, Ive been in the market for a good anvil after reading up and down on this forum what I would need. Got some great tips from Glenn earlier on improvised ones if I don’t happen to find one. I may have a 100# Lonestar Anvil that someone is getting rid of on amazon. It’s being shipped by JP’s Iron Works (couldn’t find a website I thought was theirs online, if anyone knows of them a review would be great.) selling for US$450 Item description: Lone star anvils by Texas forge and tools 100 lb cast steel anvil 57 hrC hardened face 75% + rebound Has hardie hole and pritchell hole Cast from m50 tool steel
-
So what should be done is more along the lines of deciding what works for your particular project rather than achieving a “one size fits all” flame envelope. Like when ThomasPower mentions
-
G-Son: Thank you, I’ll be able to pass that along too, my dad is making a forge along side me. Mikey: Wonderful tip, in my tuning I’ll see if I can get SLIGHTLY reducing down. I think I’m there for the most part after tuning the Mig tip in 1/16” shaves. ThomasPower: Another awesome tip I’ll try to put it to good use, and you know minimize the amount of times I leave something in the forge too long Frosty: I would never have thought about that thank you (like most things you guys have said actually). It was mostly shiny, but I did see how the burner heated up the bar of a jack hammer that I have, one of my future projects. It did go dull but I’ll see about finding a thinner bit of steel to use Most importantly thank you all for your wisdom. Safety is certainly paramount I’m sure my wife and soon to be fresh out of the oven daughter thank you as well
-
Frosty: Will reducing the mig tip length make it less fuel rich? Or is there something else that can be done to add oxygen into the mixture? Bearded One: At least im not alone I figured putting it here so everyone can see it newbies included would help. ThomasPowers/ and everyone I guess: would running the burner on the more reducing side be more desirable then? I plan to blade-smith with my forge once it’s all up and running. I’ve read that reducing flames generally aren’t as hot when forging everything out, but if it adds to the carbonization of the steel I could mentally picture that working a bit better. Thank you all for the tips and learning on the jargon. Gotta stay up to date on that.
-
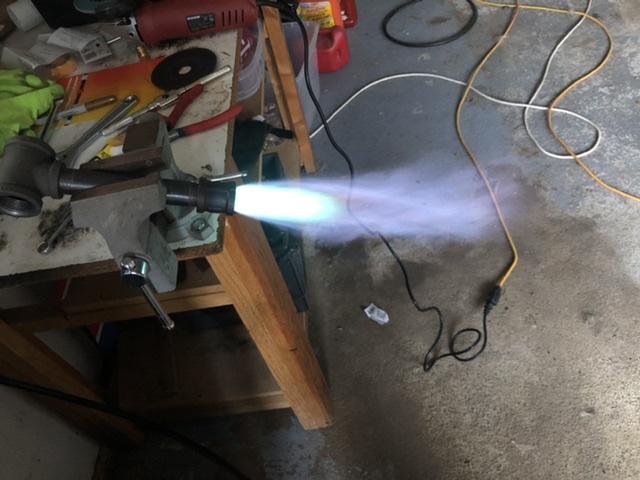
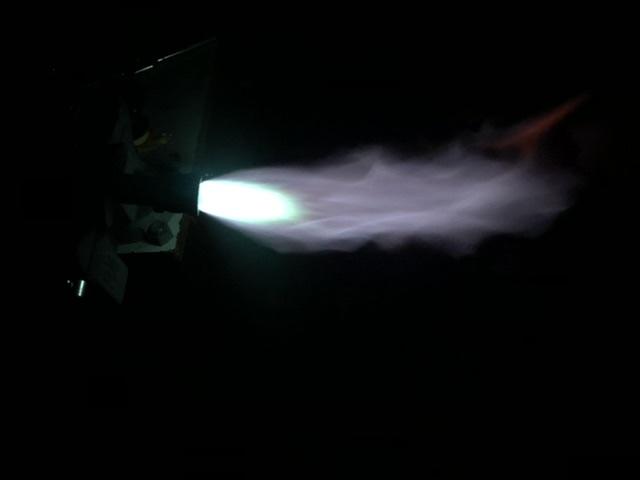
I appreciate the input nonetheless. I’m a green horn when it comes to any of this. Forging, burners, fabrication you name it. Any input as long as it’s correct is awesome. So thank you oh Bearded One. The T is 1x1x3/4” same as the mixing tube 3/4”. The picture is making it much whiter in the center than it appears in person. I’ve tried to adjust the camera so it doesn’t but I’m still working on that. Being oxidized in the flame to my understanding was more orange fanning out at the end, correct me if Im wrong. Let’s see if I can paint a word picture. The cone’s center is a light baby-ish blue with very small hints of green at the tip of the center cone, a carburizing/reducing flame I believe like Mikey stated. The second layer of the cone does fade to a purple/blueish mixture, and every so often a little orange flicks out at the very end of the cone over all but it’s very rare. I know I want the green gone so I can get a neutral flame which it does attain after a little bit. Mikey what tuning can I do to get rid of the green Acetylene(propane) feather from the get go? P.S. I know it’s not actually acetylene but acetylene feather is the only name a I can find for it in my reading. sorry everyone else posts came in later, reading now
-
Yes I did mean larger sorry, and maybe a stated it too loosely. I should’ve said its the only other shell material I have After using your diagram Frosty I’ve got the burner working, I just had a question on tuning it for the appropriate cone look. Thank you by the way for putting that up it was very easy to follow ive been removing an 1/8” of an inch on the mig tip as your guidelines state for tuning, I’m able to keep it steady around 4-6 psi now. Is this what the cone should look like?
-
I wasn’t assuming they are all bad I’ve just seen a few times k23’s don’t take the cycling very well. Thank you for the tip on the proportions though FrankenBurner with the burner relation. I’m thinking I’ve got enough knowledge to know how to not blow anything up (my primary reason for reading so much before starting in on burners and all that anyway). Now I think I’ve got to hit the pavement with the tips you’ve all got here and reference back to Lou’s consolidated notes on the whole process, see what I can make work on my end.
-
Thanks Mikey at least I know the new design will work. And I’ll make sure to stay away from those bricks then FrankenBurner Oh I see Frosty I may have just misread as well. I’ll keep it around to see if a smaller forge all together would be nice. Cut it down to 3” x 6” and such. Would the proportion 8.5” dia and 12.5” height work then, Or should I try to shoot for halves like in your example? In my skimming I haven’t come across anything having to do with proportion in relation to those two measurements.
-
Hey guys I started working on a larger shell design as was suggested by Frosty a few days ago. I was doing some more reading as well and came across a section where Mikey mentions making things variable, and another section at the beginning of this thread by Mikey stating that starting with a smaller forge build would be a good idea (I agree). i wanted to run one aspect of design your guys’ way. I have a long, old air tank about 30”. My idea was to cut off 5” of that and use that length of shell EVENTUALLY. To start with a small design as Mikey had suggested, my idea is to use only 12.5” as my small starter forge. This should only require one burner per the volume I got. Then EVENTUALLY reattaching the other half when I have more experience to do the blade smithing I want. Does the concept of putting each half together later on make any feasible sense to your guys’ boundless experience?
-
Awesome thanks Frosty. Fortunately I have a much longer one I can chop up and WELD BEFORE I paint. I‘ll keep working over all the other posts before the get the innards and all that as well. Thank you all massively for helping me not waste any more money on this and for being so kind. I’ll catch you all in the forums later. Much appreciated. P.S. Any thought on what I should use the small shell for now?
-
Yeah I’ve been skimming over the last few days, and I agree I’ve found it hard to find a post where burners and forges themselves aren’t talked about at the same time but I’ll try to keep it to the point for burners. Everything makes sense though. Thank for the tips on the layers for the inside, I’ve found two new things I’ll need. Some more reading led to other parts I’m gonna go over as well for the stuffing of the chamber Id like to make sure my math is right on if that’s okay? My día. Is 8” making radius 4” minus the 2” insawool and 1/2” of hard refractory puts it at 1 1/2”. 1 1/2 • pie squared gives me 14.8. That multiplied by my height 15 1/2” gives me 230 rounding up. So that would be 1 burner, probably 1/2”?
-
Northern Idaho - not a potato farmer The learning curve is certainly half the fun. Besides if I can’t laugh at my own dumb mistakes I shouldn’t be allowed to laugh at other’s. My interest in blacksmithing revolves around mainly blade smithing and house hold stuff like tools and the like. So would a hotspot be better for that type of work? Im just about off work so I’ll get those numbers up here for the volume as soon as I can. During my reading and a slight guess I’d think I’d need maybe two 3/4” burners, but I’ll lean on all your expertise. Is kiln wash the same as hard refractory over the insawool or is that the Rigidizer? I thought itc-100 was the hard refractory. Sorry G-son, you got it.