North State
Members
-
Joined
-
Last visited
Everything posted by North State
-
After a couple week distraction, I got a few bags (not that I will need all of them) of harbisonwalker tufshot LI plus. It runs about 45-50% alumina. Thats ok right? I mean it didnt cost me anything so I was like what the heck. I would love to form the refractory layer this weekend, but lately, who knows.
-
-
I am literally churning with laughter at the butter jokes! Glad to have made a slick impression! Mikey, I hadnt thought about the weep hole... Is the refractory that thin when it is applied? Looks like a pretty heavy weekend with the HVAC job. If i get time I would like to get to the refractory.
-
Ok cool Mikey and Frosty. 400ish is still warm so I feel better now. As for the buttering, the color was in no way inteneded as a jab! It was just the color i found. Also, i did take you guys spritz the wool before hand in that regard. Refractory next then I suppose some of that reflective stuff I read about also.
-
Ok I lit the forge off for a few minutes tonight. Fairly pleased with things. Compared to before, the shell was hotish. Not as hot as before, when I had just the solid refractory in there. I could leave my hand on the outside without burning myself this time. I didnt run it as long as before either, but I guess thats still progress. I will try to add the refractory this week. Maybe I will gain some efficiency then. As for outside shell temps, how hot are your forges on the outside under normal conditions? Since I have little to reference. Pics to come...
-
Good call! I already told my installer I was gonna scrap the old unit myself. I'm gonna snatch the squirrel cage and the heat strips from the attic and the fan motor from outside.anything else worth while? And as always, thanks for the advice, Mikey. I think i like the .5" thickness too. Now, once i get the refractory in, how does it respond to having the semi-soft inswool behind it? Seems pretty susceptible to cracking.
-
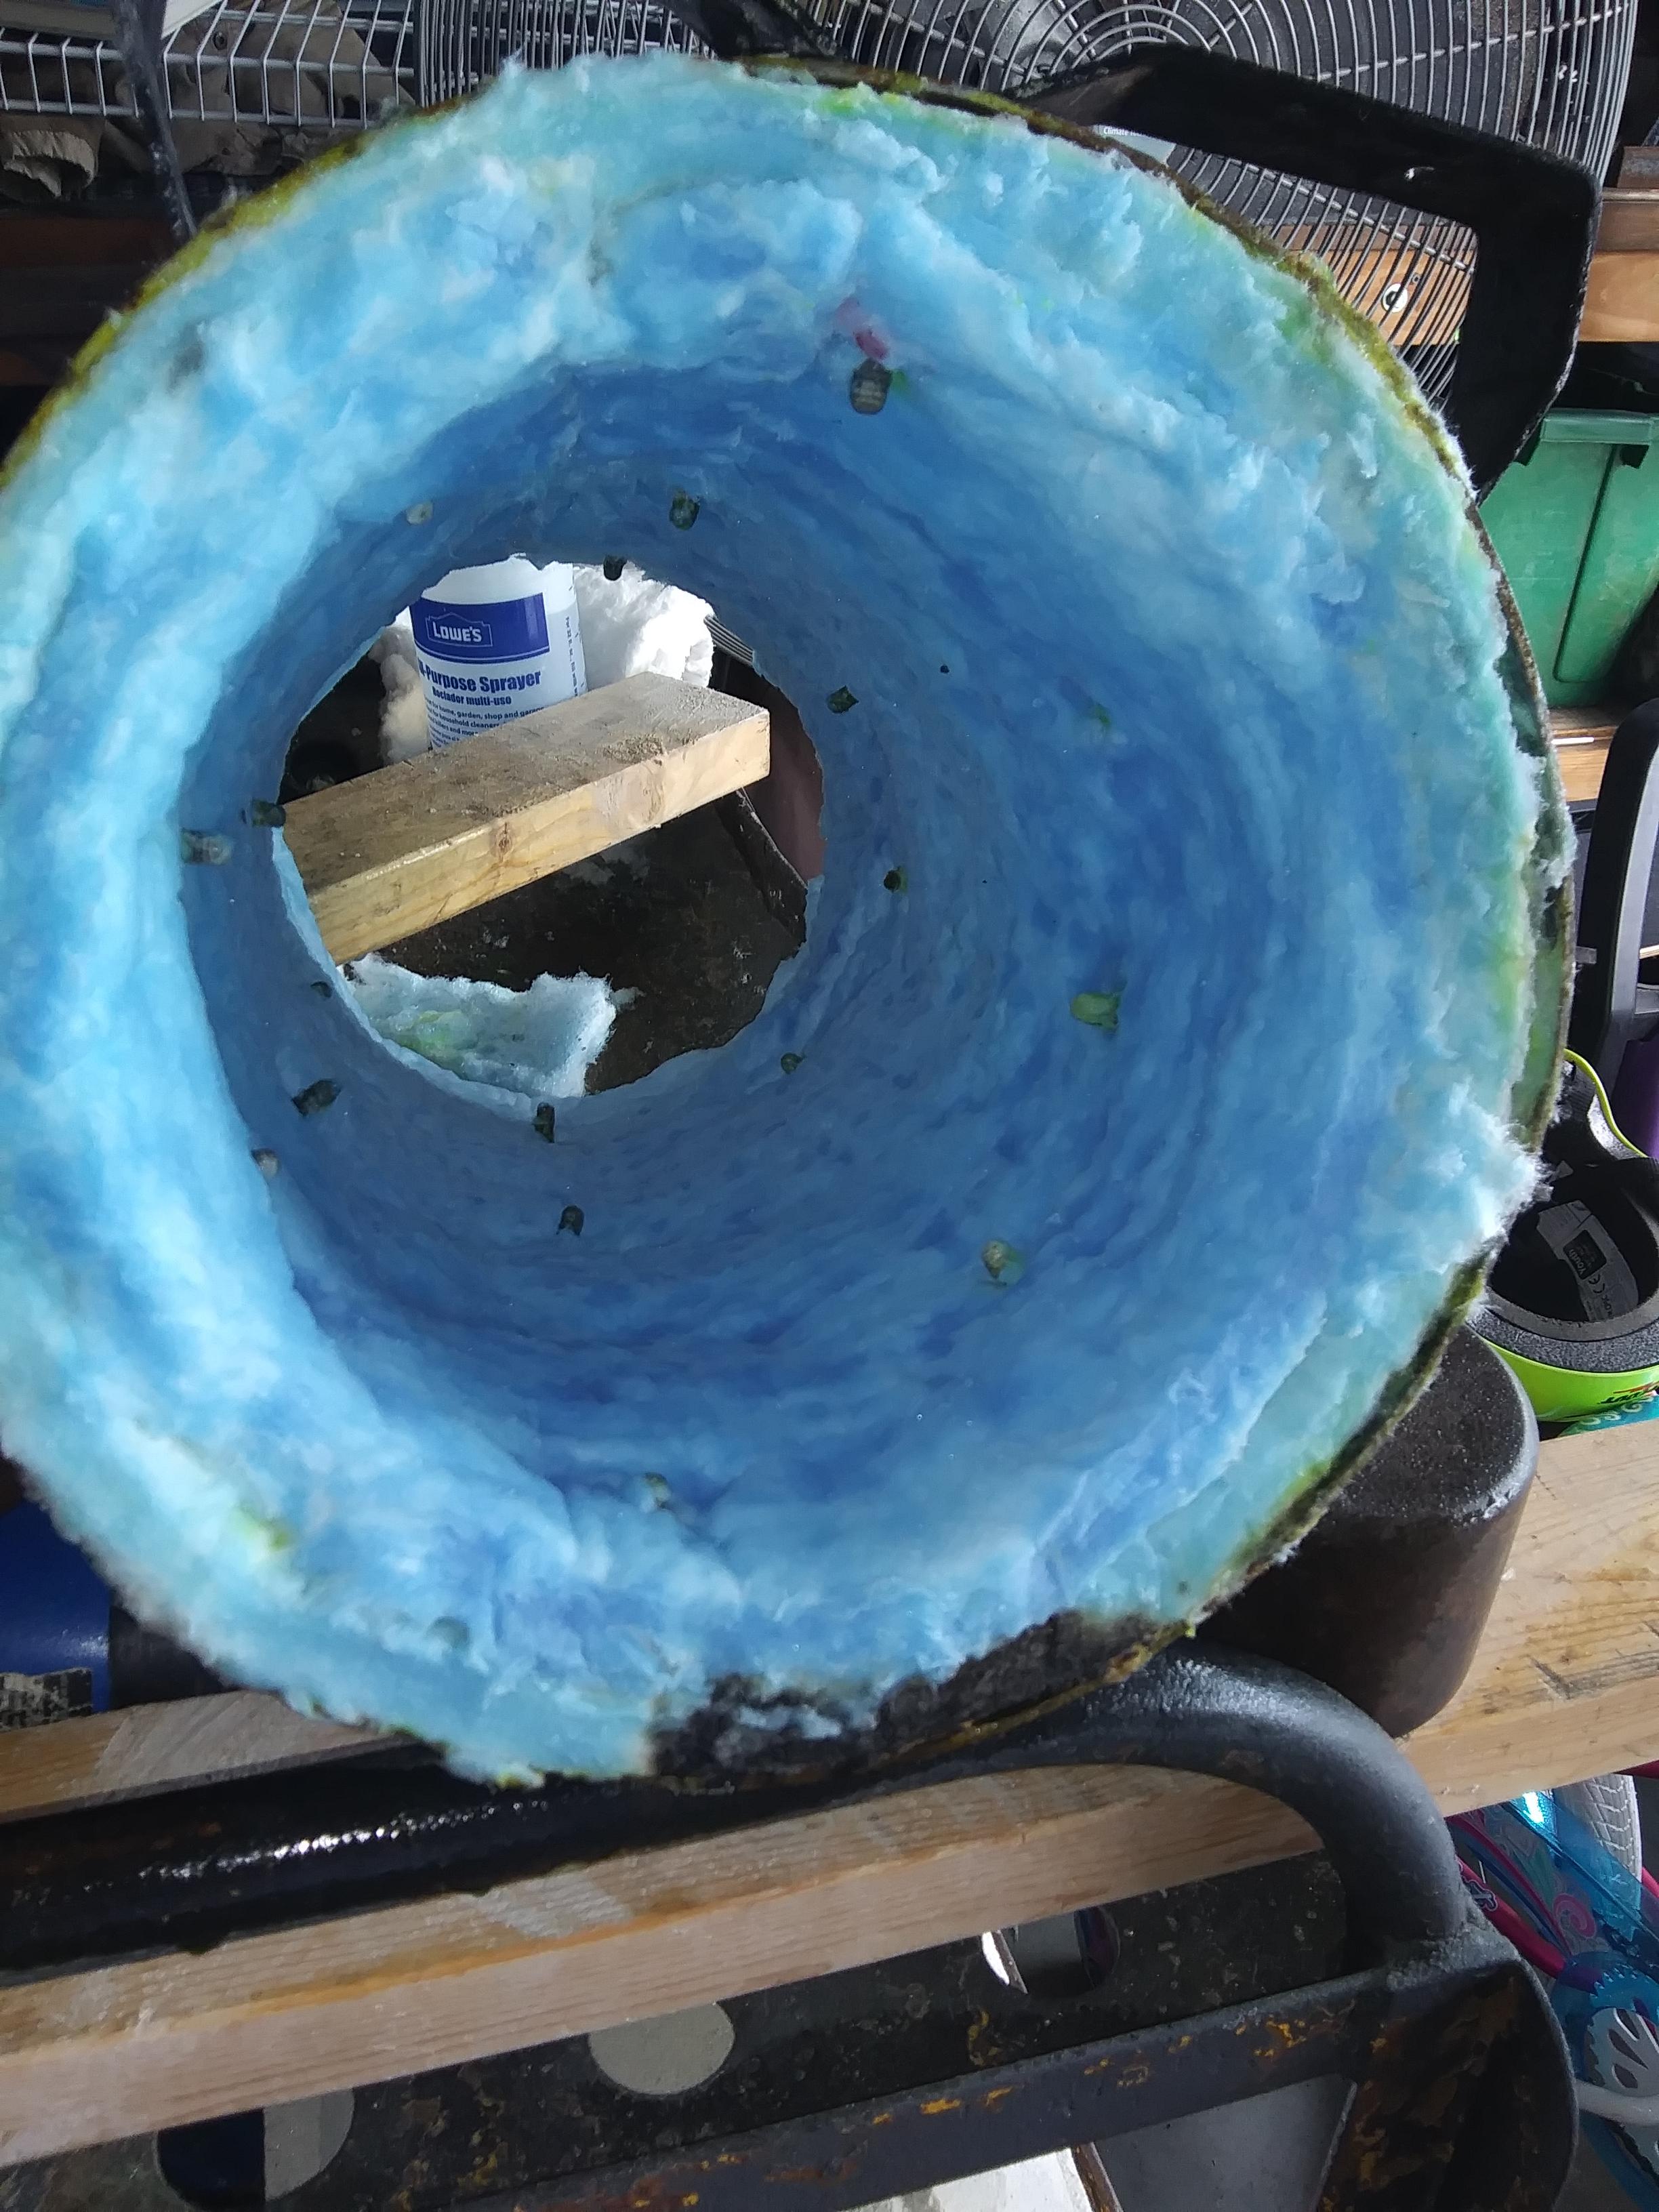
In the name of an update, our HVAC went out this past Wednesday! Here in Eastern NC, it has been in the upper 80s! I hadnt planned on spending a few 'thou' on a new unit, but its always something. I hope to be installing a new system by the end of the coming week. I did, however, figure that if I was going to be hot, I may as well be productive, so I added the second layer of 1" ceramic. I found the blue food coloring this time! I am currently waiting on the silica solution to dry before i set it with the propane torch. See pic. Also, for those who have done it before, how "spongy/soft" should the wool be after rigidizing? The surface of mine sort of feels like hair thats been sprayed or moussed, but still has some give to it. Also, is there a good thickness to shoot for on my refractory? I liked the way it was before i had to start over, but if I go 2", it will make the fire box a bit tight, i think. Whata you guys think?

-
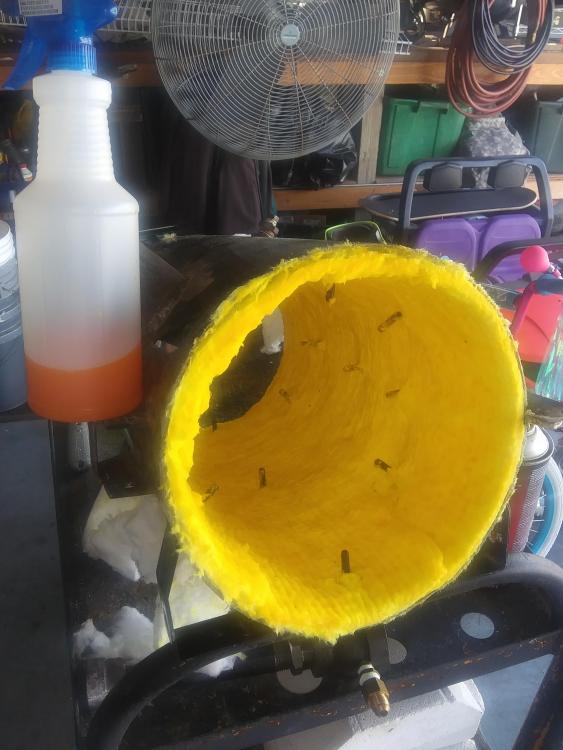
Pnut, you know what they say, theres nothing new under the sun! As for the yellow, heres the deal. I looked in the wifes cake decorating stuff and the yellow one was missing the cap... So i dumped ALL of it in there! Maybe a couple drops would have done just fine. A little bit does a lot of good, a lot must do a WHOLE lot of good!
-
Right, Mikey. Good to know! Frosty, actually, i think it was PNUT or someone who has replied to this thread who suggested the food cooring so that you can tell which areas had been hit by the rigidizer and which had not. Pretty cool tip. The colloidal silica from West Marine is white powder and renders just a cloudy mixture when mixed into water. This would be extremely hard to tell being the ceramic blanket is white as well! I like thw way you think though. A "butter shot" would be cool. Like going to the movies every time I fire up the forge!
-
-
Update from Eastern NC: We survived hurricane Dorian. Some areas endured major damage, but on average we didnt see near the effects as for Florence last year. Please continue to think and pray for those who fared worse than we did; the Bahamas, Eastern FL, GA, and SC. As for the forge liner re-do, I got the West System 406 Colloidal Silica. Following the ratio found in the refractory reference earlier, I mixed with yellow food coloring and sprayed the ceramic wool. Full disclosure, I used a 3M cartridge mask type respirator while mixing. I had read to do so by even with it on, i tried to measure amd mix with no airbourne particulates. Let me say, Im glad i had the mask on! When the more experinced fellas tell you to do something, it is for good reason. That mess gets everywhere! I am currently waiting for it to dry so I can wash over it with the propane torch. I suppose I will add another layer of wool after I torch the current one. Wish me luck! As always, thanks for the advice.
-
-
-
-
-
Neighborhood? I guess so! I literally laughed out loud! I am on my third go round on this liner thing after all! I just didnt want to come up short! How much would you recommend then? The pint like you used? As for getting moderated, I figured caution is the best practice. I got moderated last night for the link and a euphemism for being extremely angry at someone, and just on another thread, I have seen straight up cuss words. I digress, I know keeping all of us in line is no easy task.
-
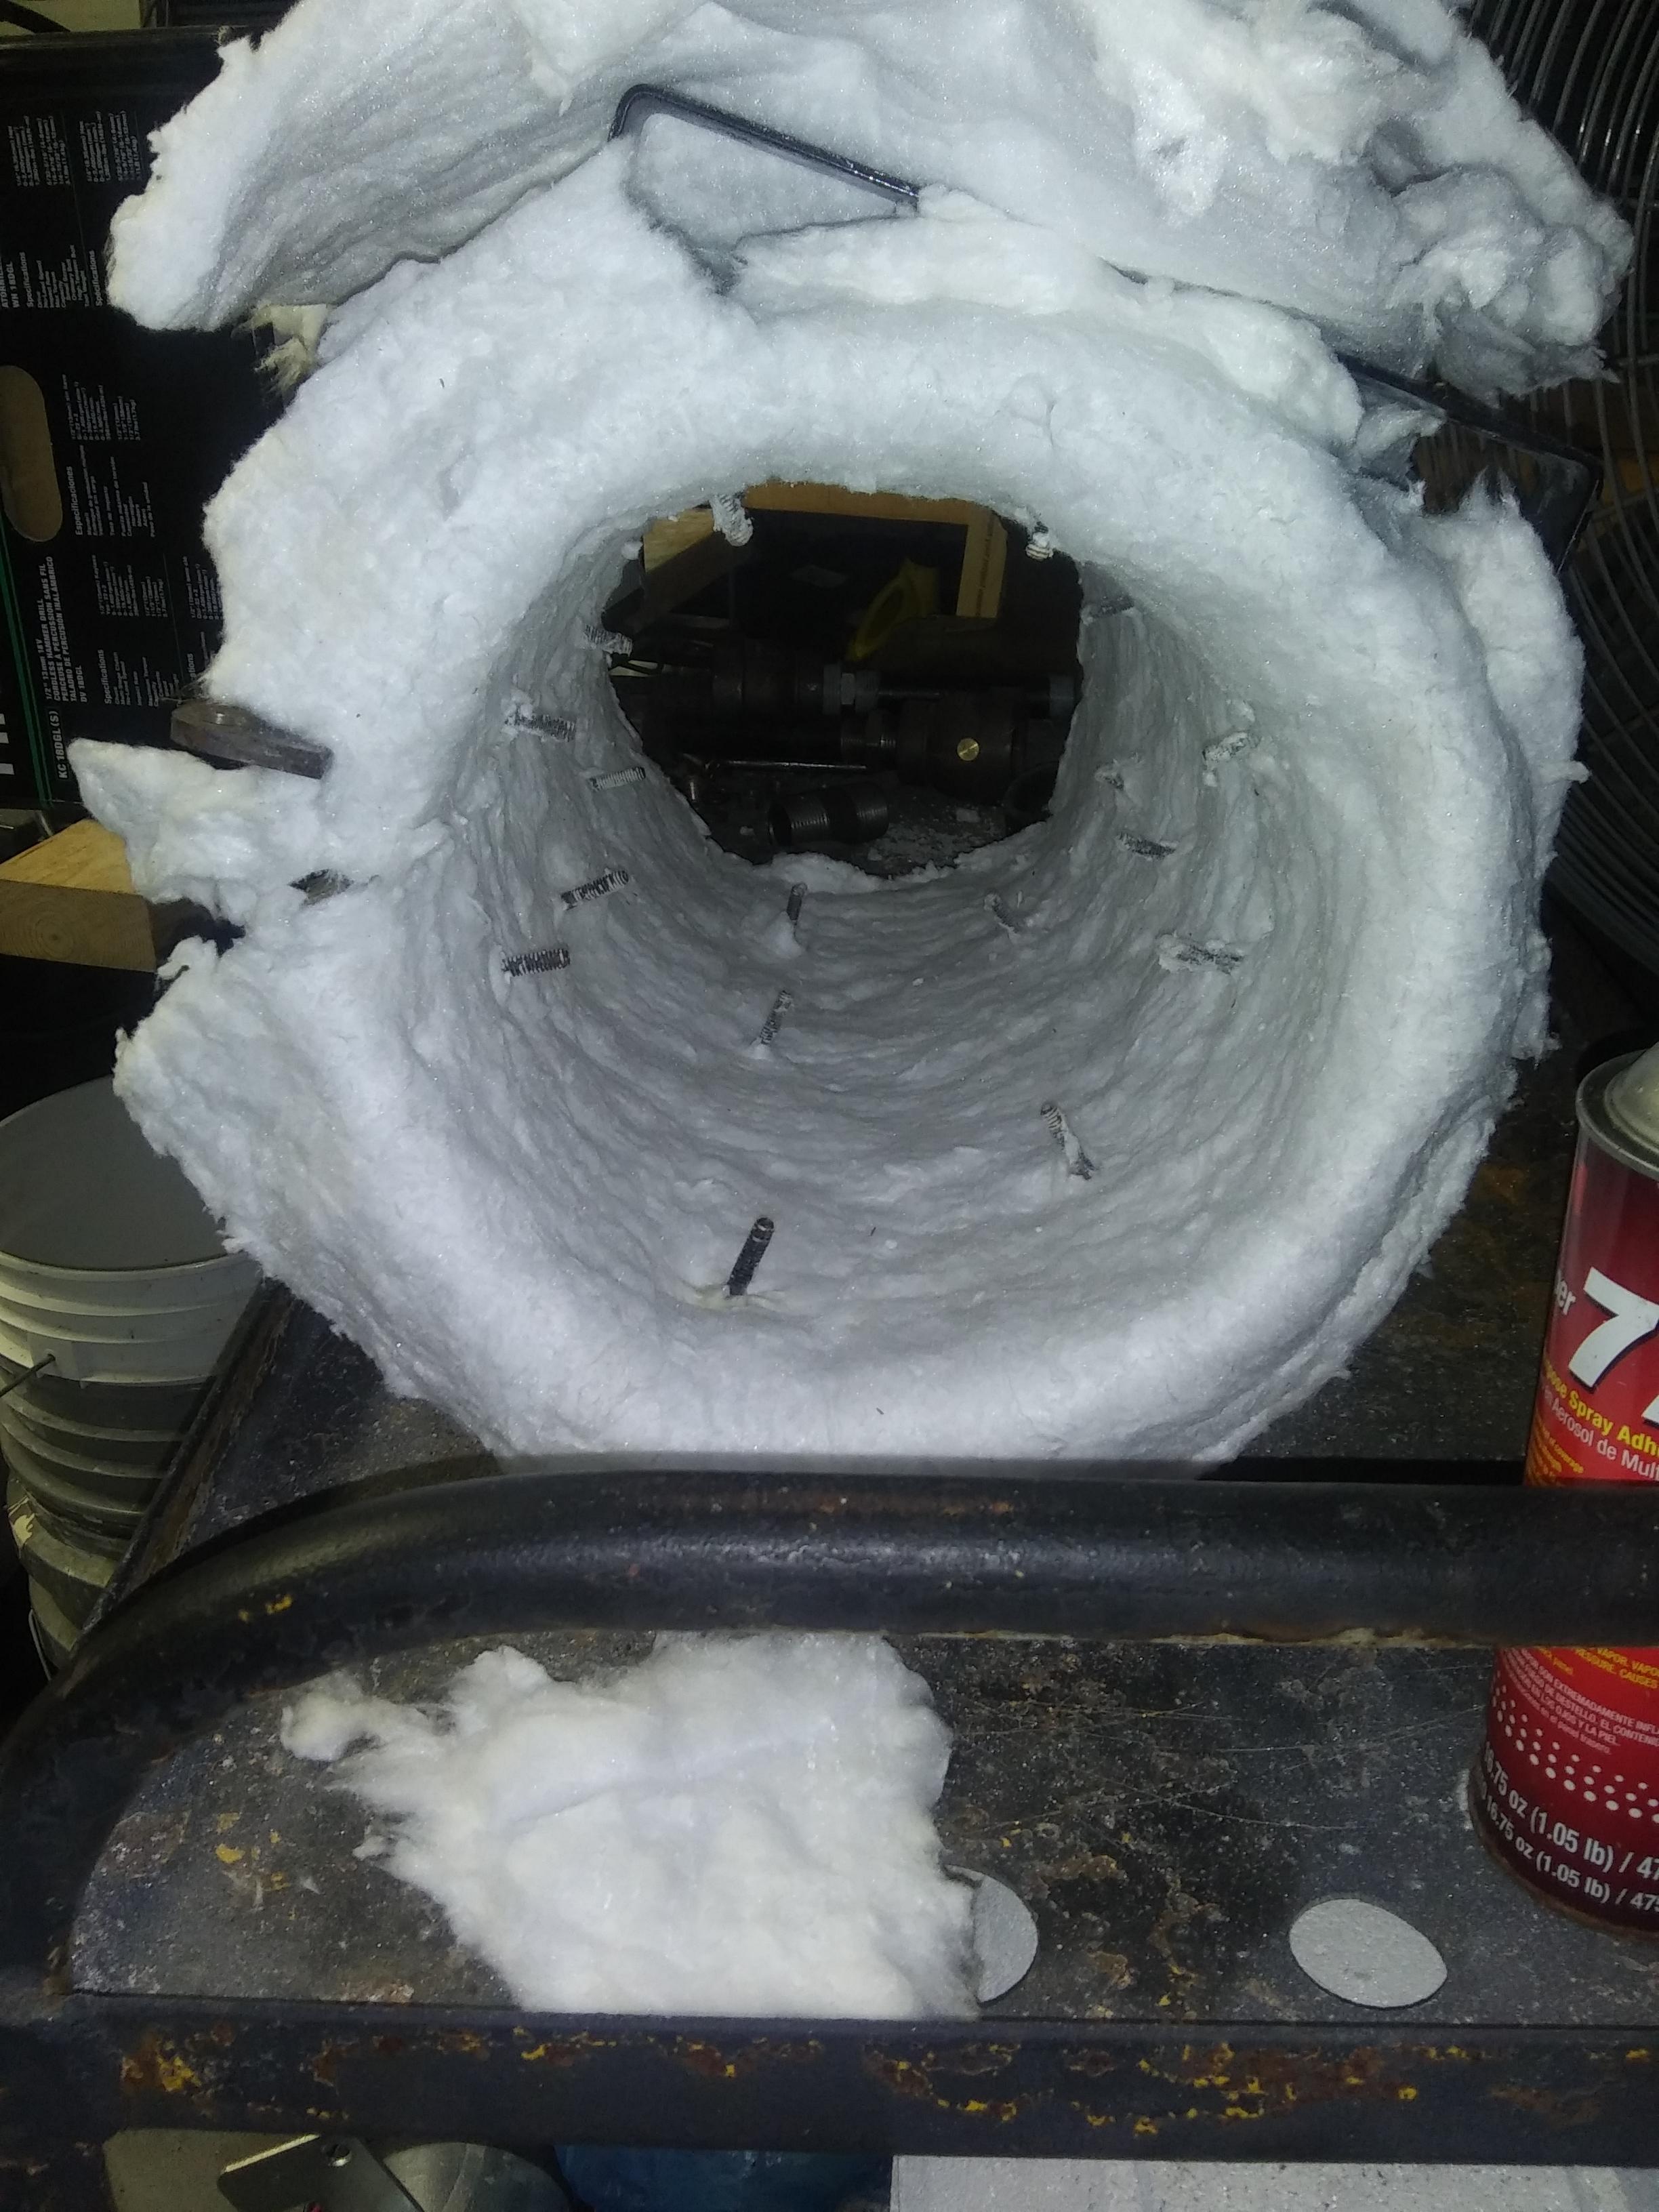
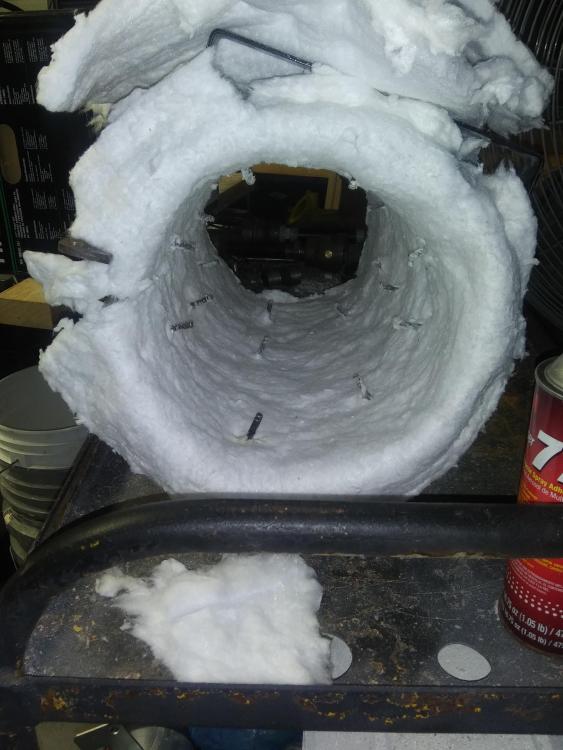
Thanks Frosty. I found like 5 quarts of fumed silica on a particular online marketplce named after a large South American river for around $20. Seemed the best deal I have been able to source. I m going to run with that and see what turns up. Also, if you compare this photo with the one before i busted out the castible, you see i still have the bolts tacked to the shell for support. With the bolts, my previous form left a forging cavity or fire box aproximately 7"x19" cylindrical. I took my 2" wool and split it into around 1" thickness. I plan on rigidizing that 1" and then add g another layer of 1" wool as per previous posts, then apply castible on top of that. My question now is, is it ok if my cylinder shrinks to around 6" diameter by the time I get the castible in? Or should I not go so narrow? The 7" felt really good as far as my limited experience goes. I just dont want to get too small...
-
-
-
-
-
AMEN Pnut! When I typed -philic and got search results for -phobic it didnt make sense to me either. I knew the -phobic properties... anyhow. I got this from the consolidated notes: Ridigizer: I bought fumed silica on Amazon and made my own using Jasen’s recipe. "...used a cup of fumed silica in a pint of water. Idk if it's proper amount but it worked very well on my forge." Add a drop of food coloring so you can see the rigidizer and ensure coverage. Per Frosty: It’s is critical that you butter the wool by spritzing it with water prior to applying the rigidizer. Do this for both layers. The rigidizer should run between layers and bond them together somewhat after the second firing. Are the "Fumed Silica" and the "Colloidal Silica" the same? and How much does it matter? Sorry if this has been addressed already. I found this link and we have a West Marine right here in New Bern, NC. link removed per TOS Wow! What a long URL! Just for the information of the forum... I found this somewhat overwhelming, but ultimately useful: http://forum.woodenboat.com/showthread.php?78902-Colloidal-Silica-vs-Fumed-Silica
-
Frosty, Irondragon, Mikey, and others, Thanks so much for the patience. I am sure there is a considerable bit of ignorant stubbornness with us newbies, but its mostly information overload for me. SO MUCH GREAT INFORMATION! Being as green and ambitious as I am, I find it difficult to retain all that I am reading. I sure wish I lived near you experienced blacksmiths so I could have a better look at the concepts you talk about on IFI. Anyhow, thanks again. I will try to wrap my head around the ideas you're throwing out. Thanks again!
-
Pnut, i saw where you called it hydrophILIC, but when I searched it, -phobic came up.your reaction was no initial thought too! I was like do what?Anyhow, i re read the consolodated notes, but I am sort of an idiot. My wife gets ill at me alk the time because she can TELL me something and I wont rememember it. If I actually SEE something, I stnd a better chance of comprehending and remembering. I will go back and re-read as well as search HYDROPHILIC again! I really appreciate your patience!
-
As for after I get the wool rigidized, does anyone know how I can apply the castible without looking like i fingerpainted the Mona Lisa? I was really proud of how clean the refractory looked on my first go round. It was a bit of a PITA, getting it to go around my support pins, and I think that in so doing, I mixed it too thin. I hesitate to hand paint the casitble inside because I want it to be as smooth as possible, but if it just cant be done, someone please let me know.