Thursigar
Members
-
Joined
-
Last visited
Everything posted by Thursigar
-
Ironically, I just picked up an old smallish pick axe that miiiight work. I don't have a post vice yet, any ideas for mounting it? I'm considdering just digging another hole and burying the handle lol. This is a great perspective, and one that I will remember. Thank you.
-
When I said local, I meant super local. They are on my way to work. As far as saving up the money for an investment anvil, it's really more about the spending on a hobby from the wife's perspective. I might be able to get away with 300-500 with a shaking of the head, but 2,000 might have me sleeping on the anvil! If I get to the point where I decide to start selling things and begin to break even or turn a profit, then my arguement may grow stronger.
-
Funny how that works.. I'll blame you priming my subconscious with the 2x6. As far as the washers go, they have performed perfectly. Post pics once you have it done!
-
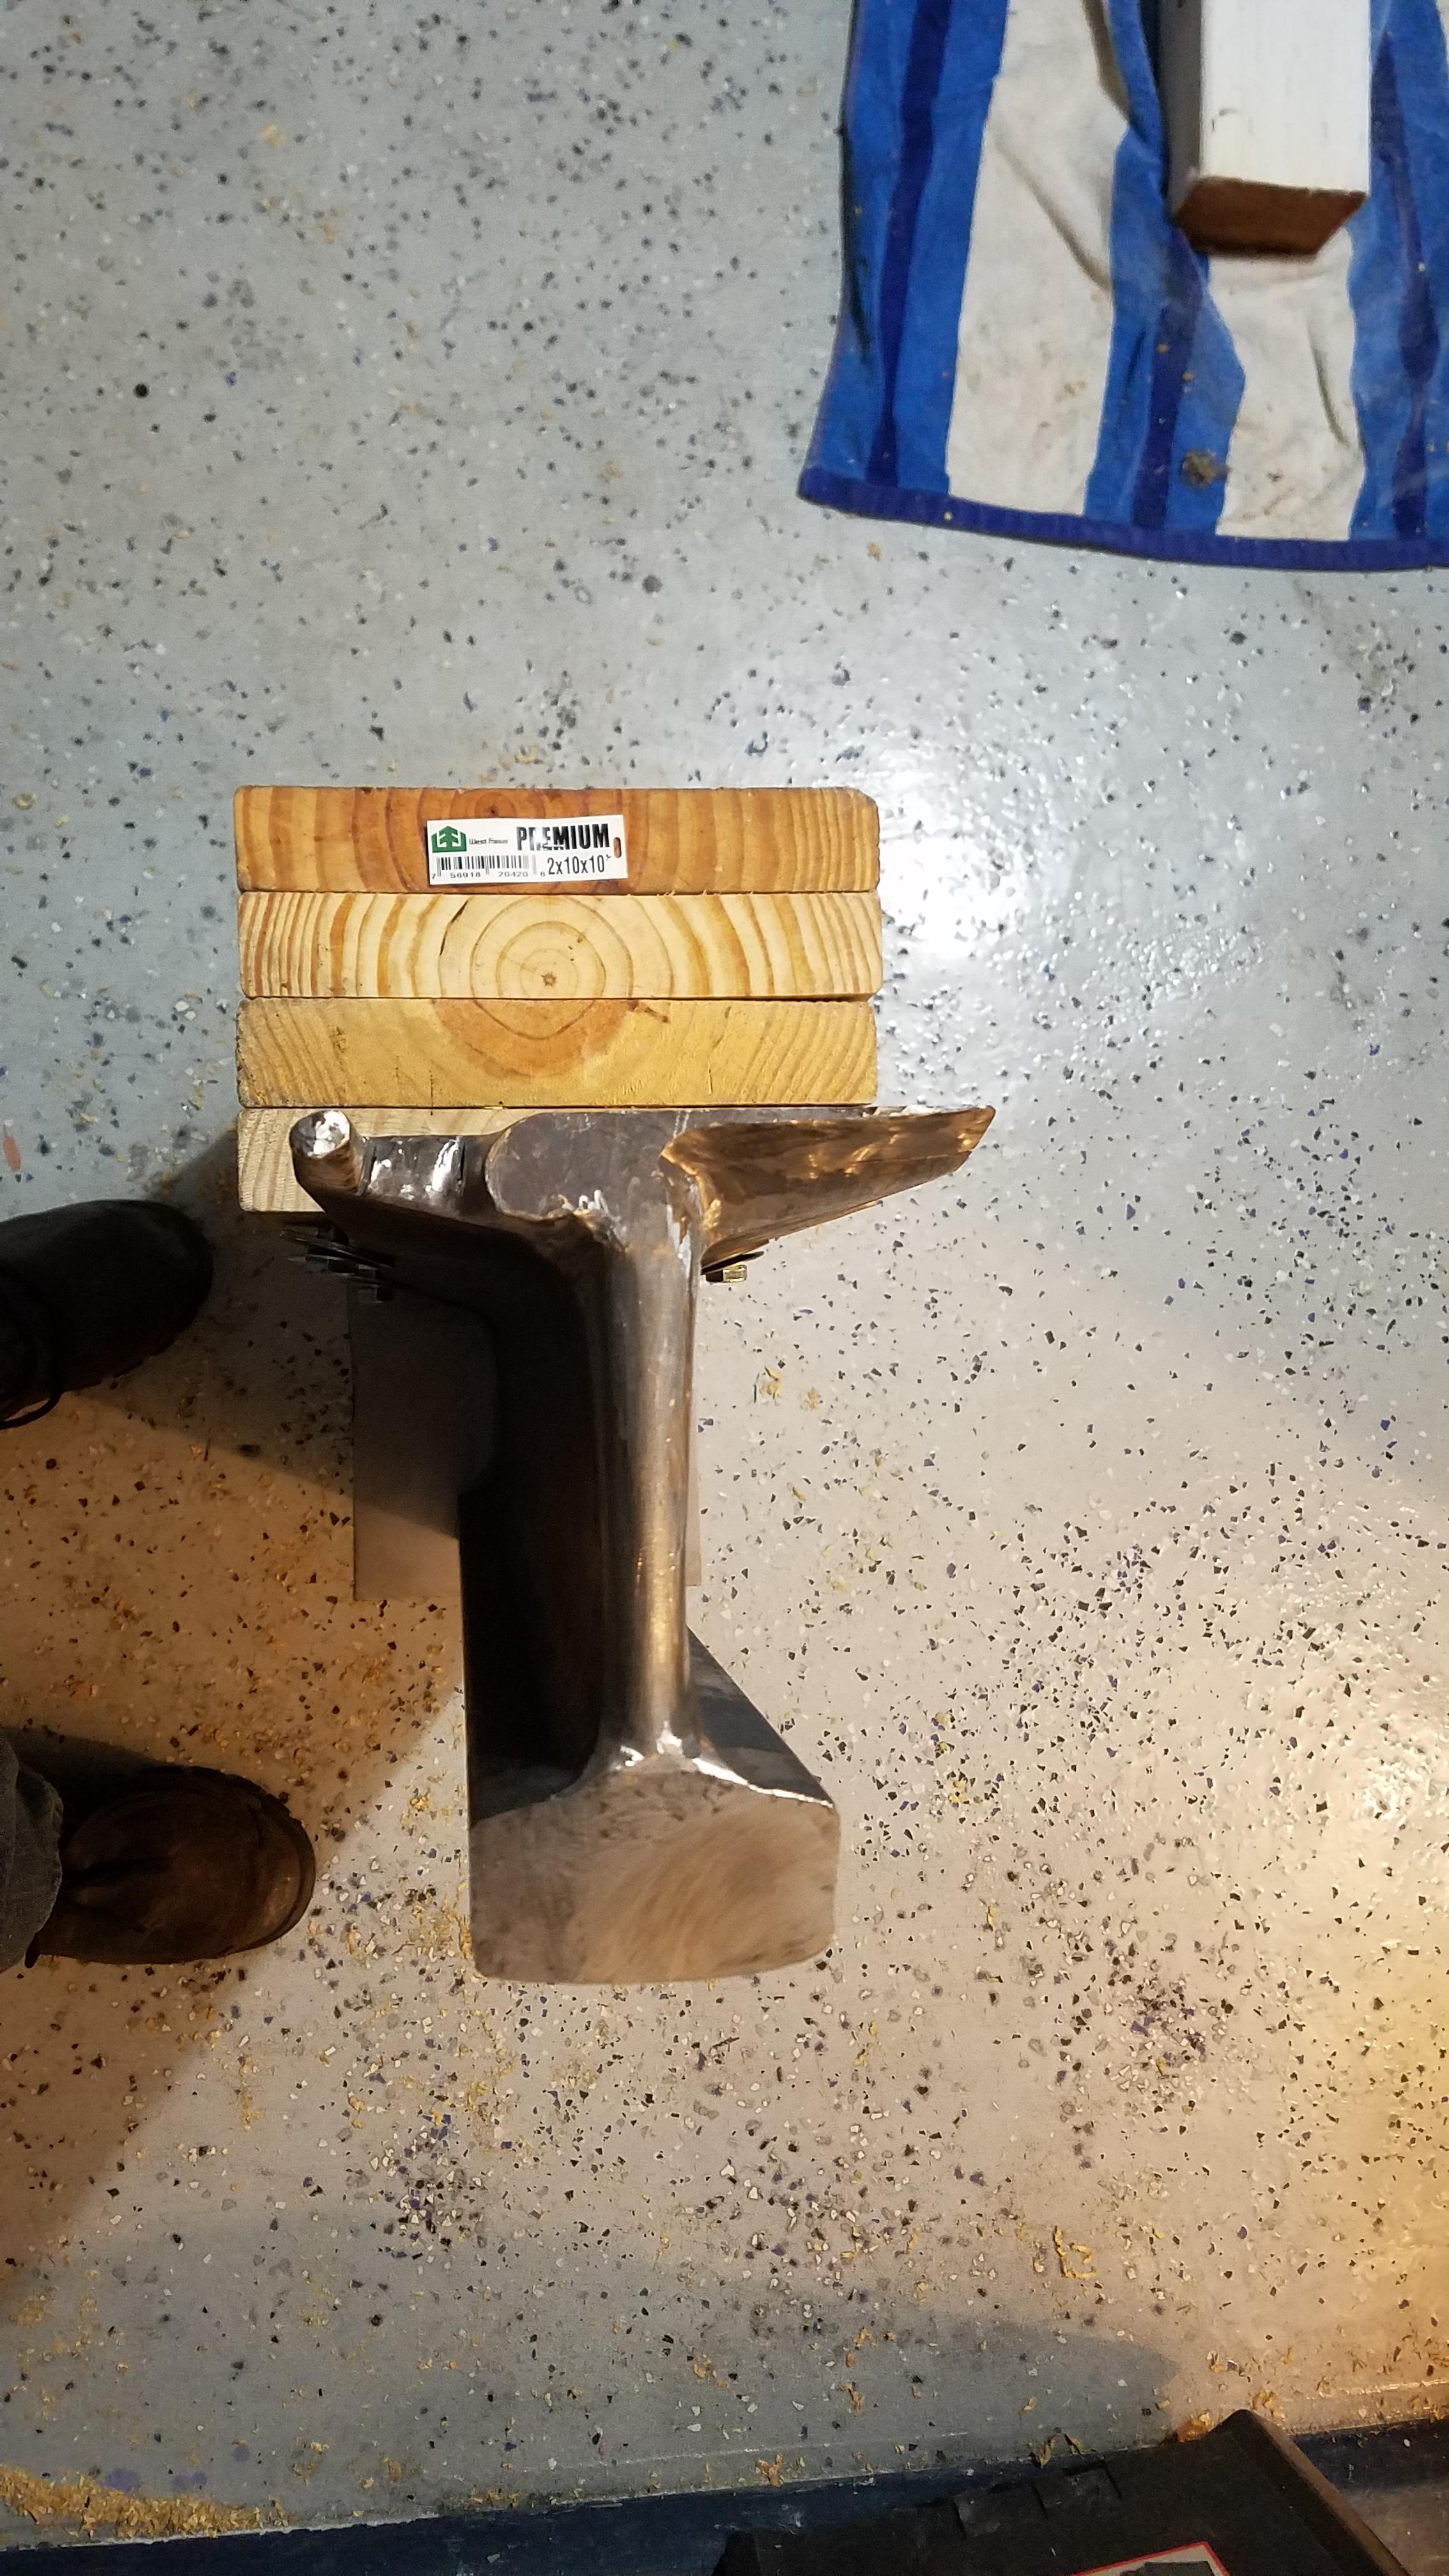
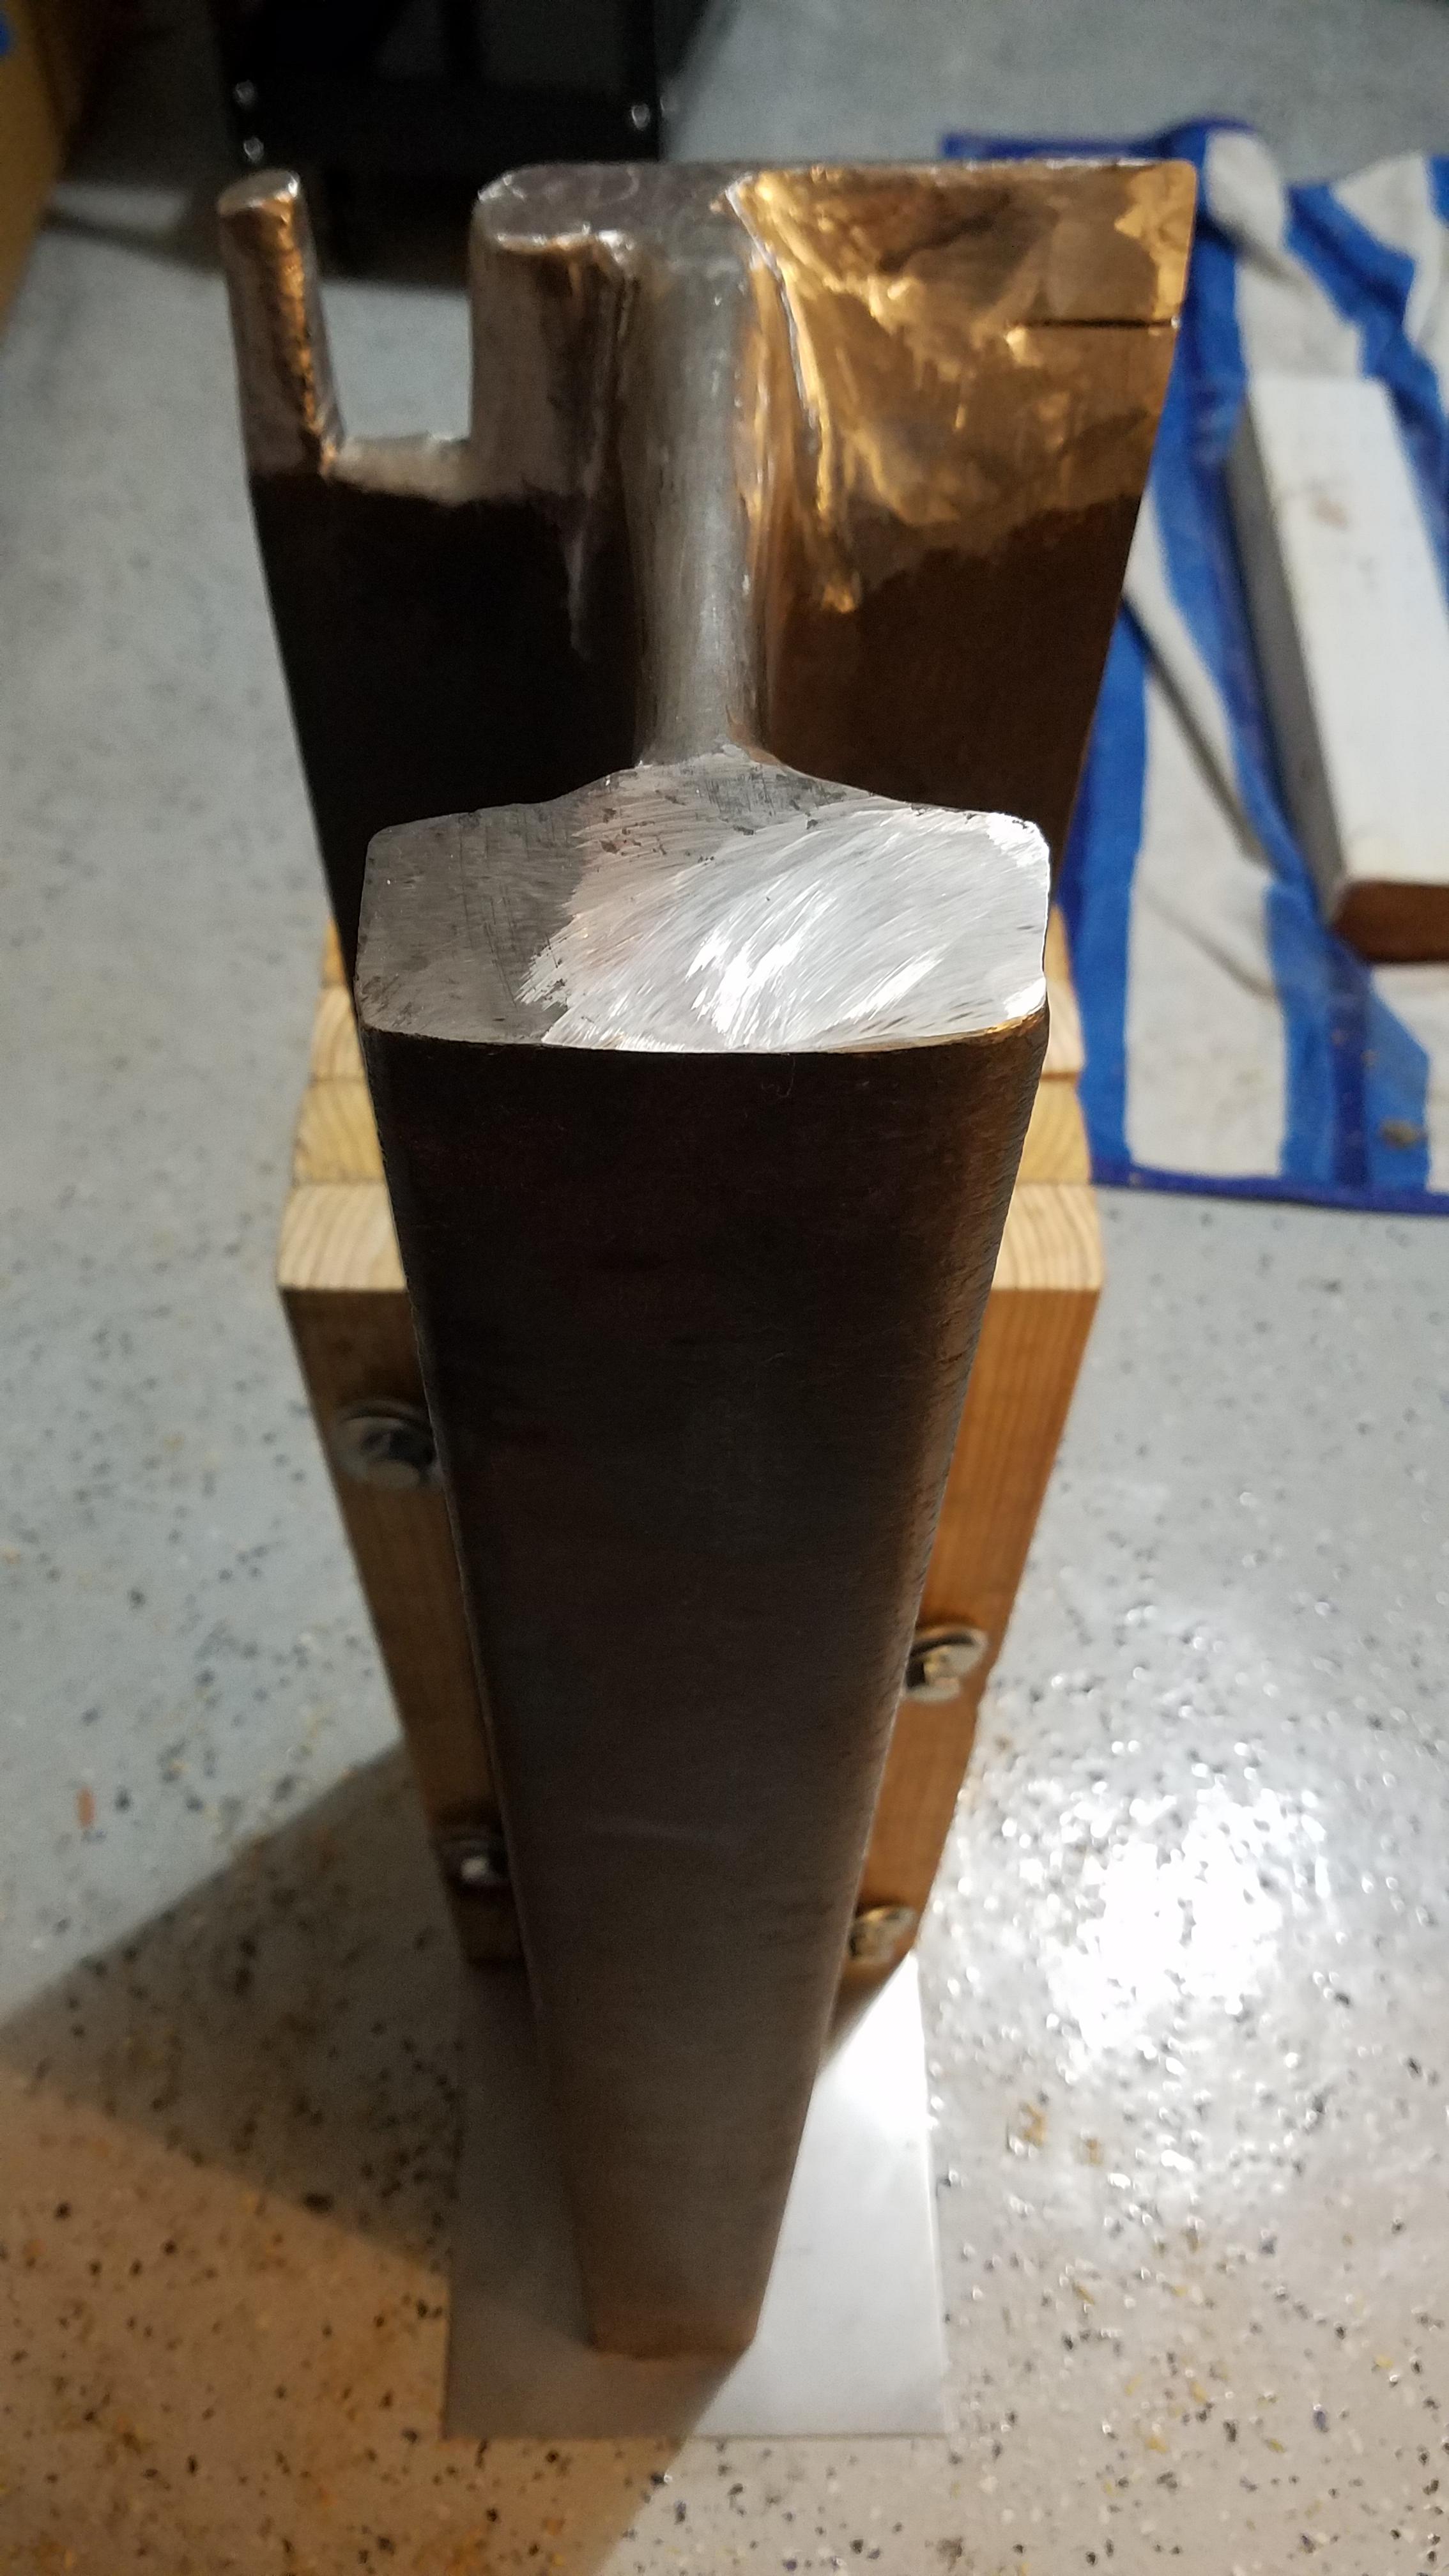
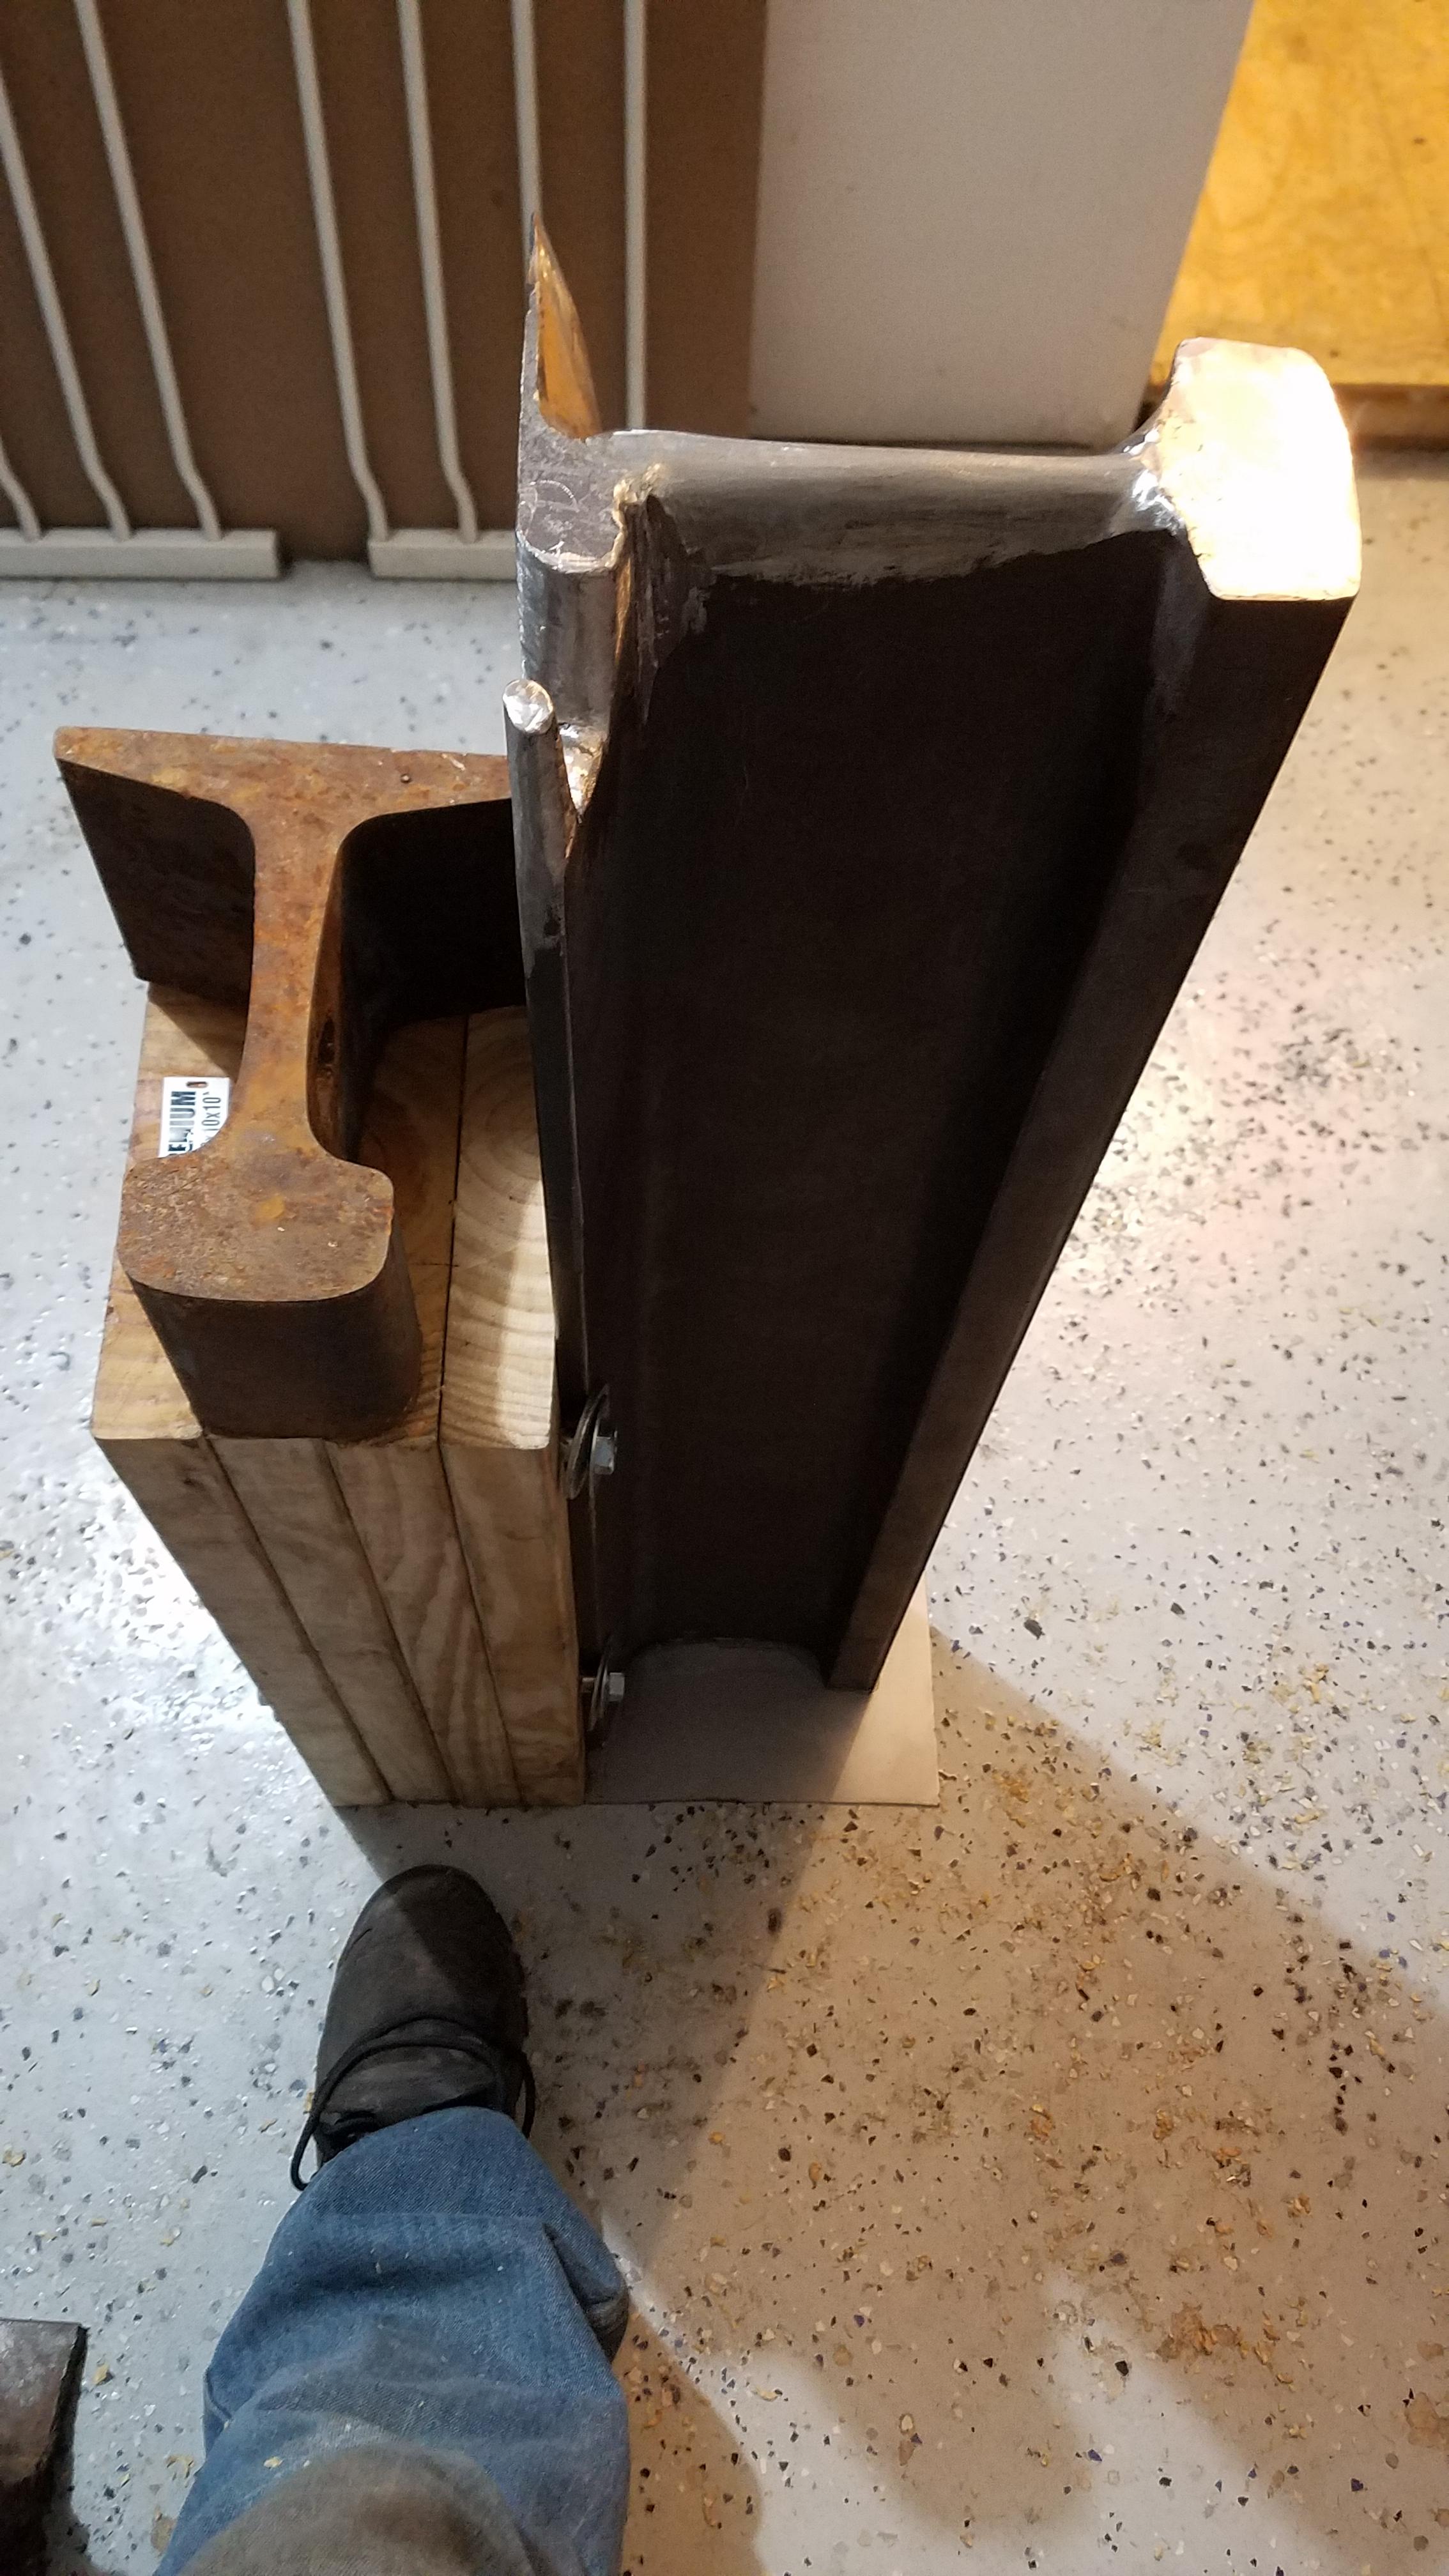
Pnut, First, they are 2x10's not 2x6's. Second, the bolts holding the track down go the entire way through the stand. Third, in addition to those, I also used construction screws in between each layer and going in both directions. I would try to get a better bottom plate than I used as mine came off pretty quickly. The only other problem I had with it was when I would use my bending forks the entire stand wanted to twist. When I moved my setup out to my dirt floor shed I actually added on another board and buried it shown about a foot and the rest of the stand down about 2 inches. It's now rock solid and whisper quite.
-
They actually have 2 kanca anvils within my "budget", I just never heard of them. They have: $392 77lb $528 110lb These just seemed like high price per pound options... Good thoughts about denting a new anvil...
-
Two problems so far: 1. It mars up pretty easily. I know Im still developing hammer control but I've had to bust out the grinder twice since making it to clean up the top...otherwise nasty marks on my work. 2. It's been a pia to use with longer stock. I've tried both hammering along the vertical side of it as well as using a separate horizontal railroad anvil. This could also be my inexperience. 3. I've been too lazy to try to solve the problem of not having a horn. The best solution I've come up with as someody who cant weld is to bolt on a 1 inch square tube and use a horizontal bick that I make myself. 4. The grass is always greener... Right now I'm focusing on making tools and hardware for my shop. When I'm not working on those projects I'm practicing my ABANA lessons. Still havent been able to do a single heat taper yet...
-
I currently use a vertical rr anvil and I might use this as an opportunity to convince the wife to let me upgrade. Here is what I am considering: $592 TFS 100 lb $455 Emerson 100lb $227 NC 70 lb ferrier I need to be as cheap as possible while still getting the most bang for my buck. Would the NC anvil even be an upgrade over my vertical rr? Any other thoughts or recommendations?
-
Actually this is something I started thinking about! Was thinking about where and how to secure the poles (fiagonalnwith the doors? Vertical with PVC pipe in the ground? Etc). Was also wondering if the heat from the forge would melt a tarp.
-
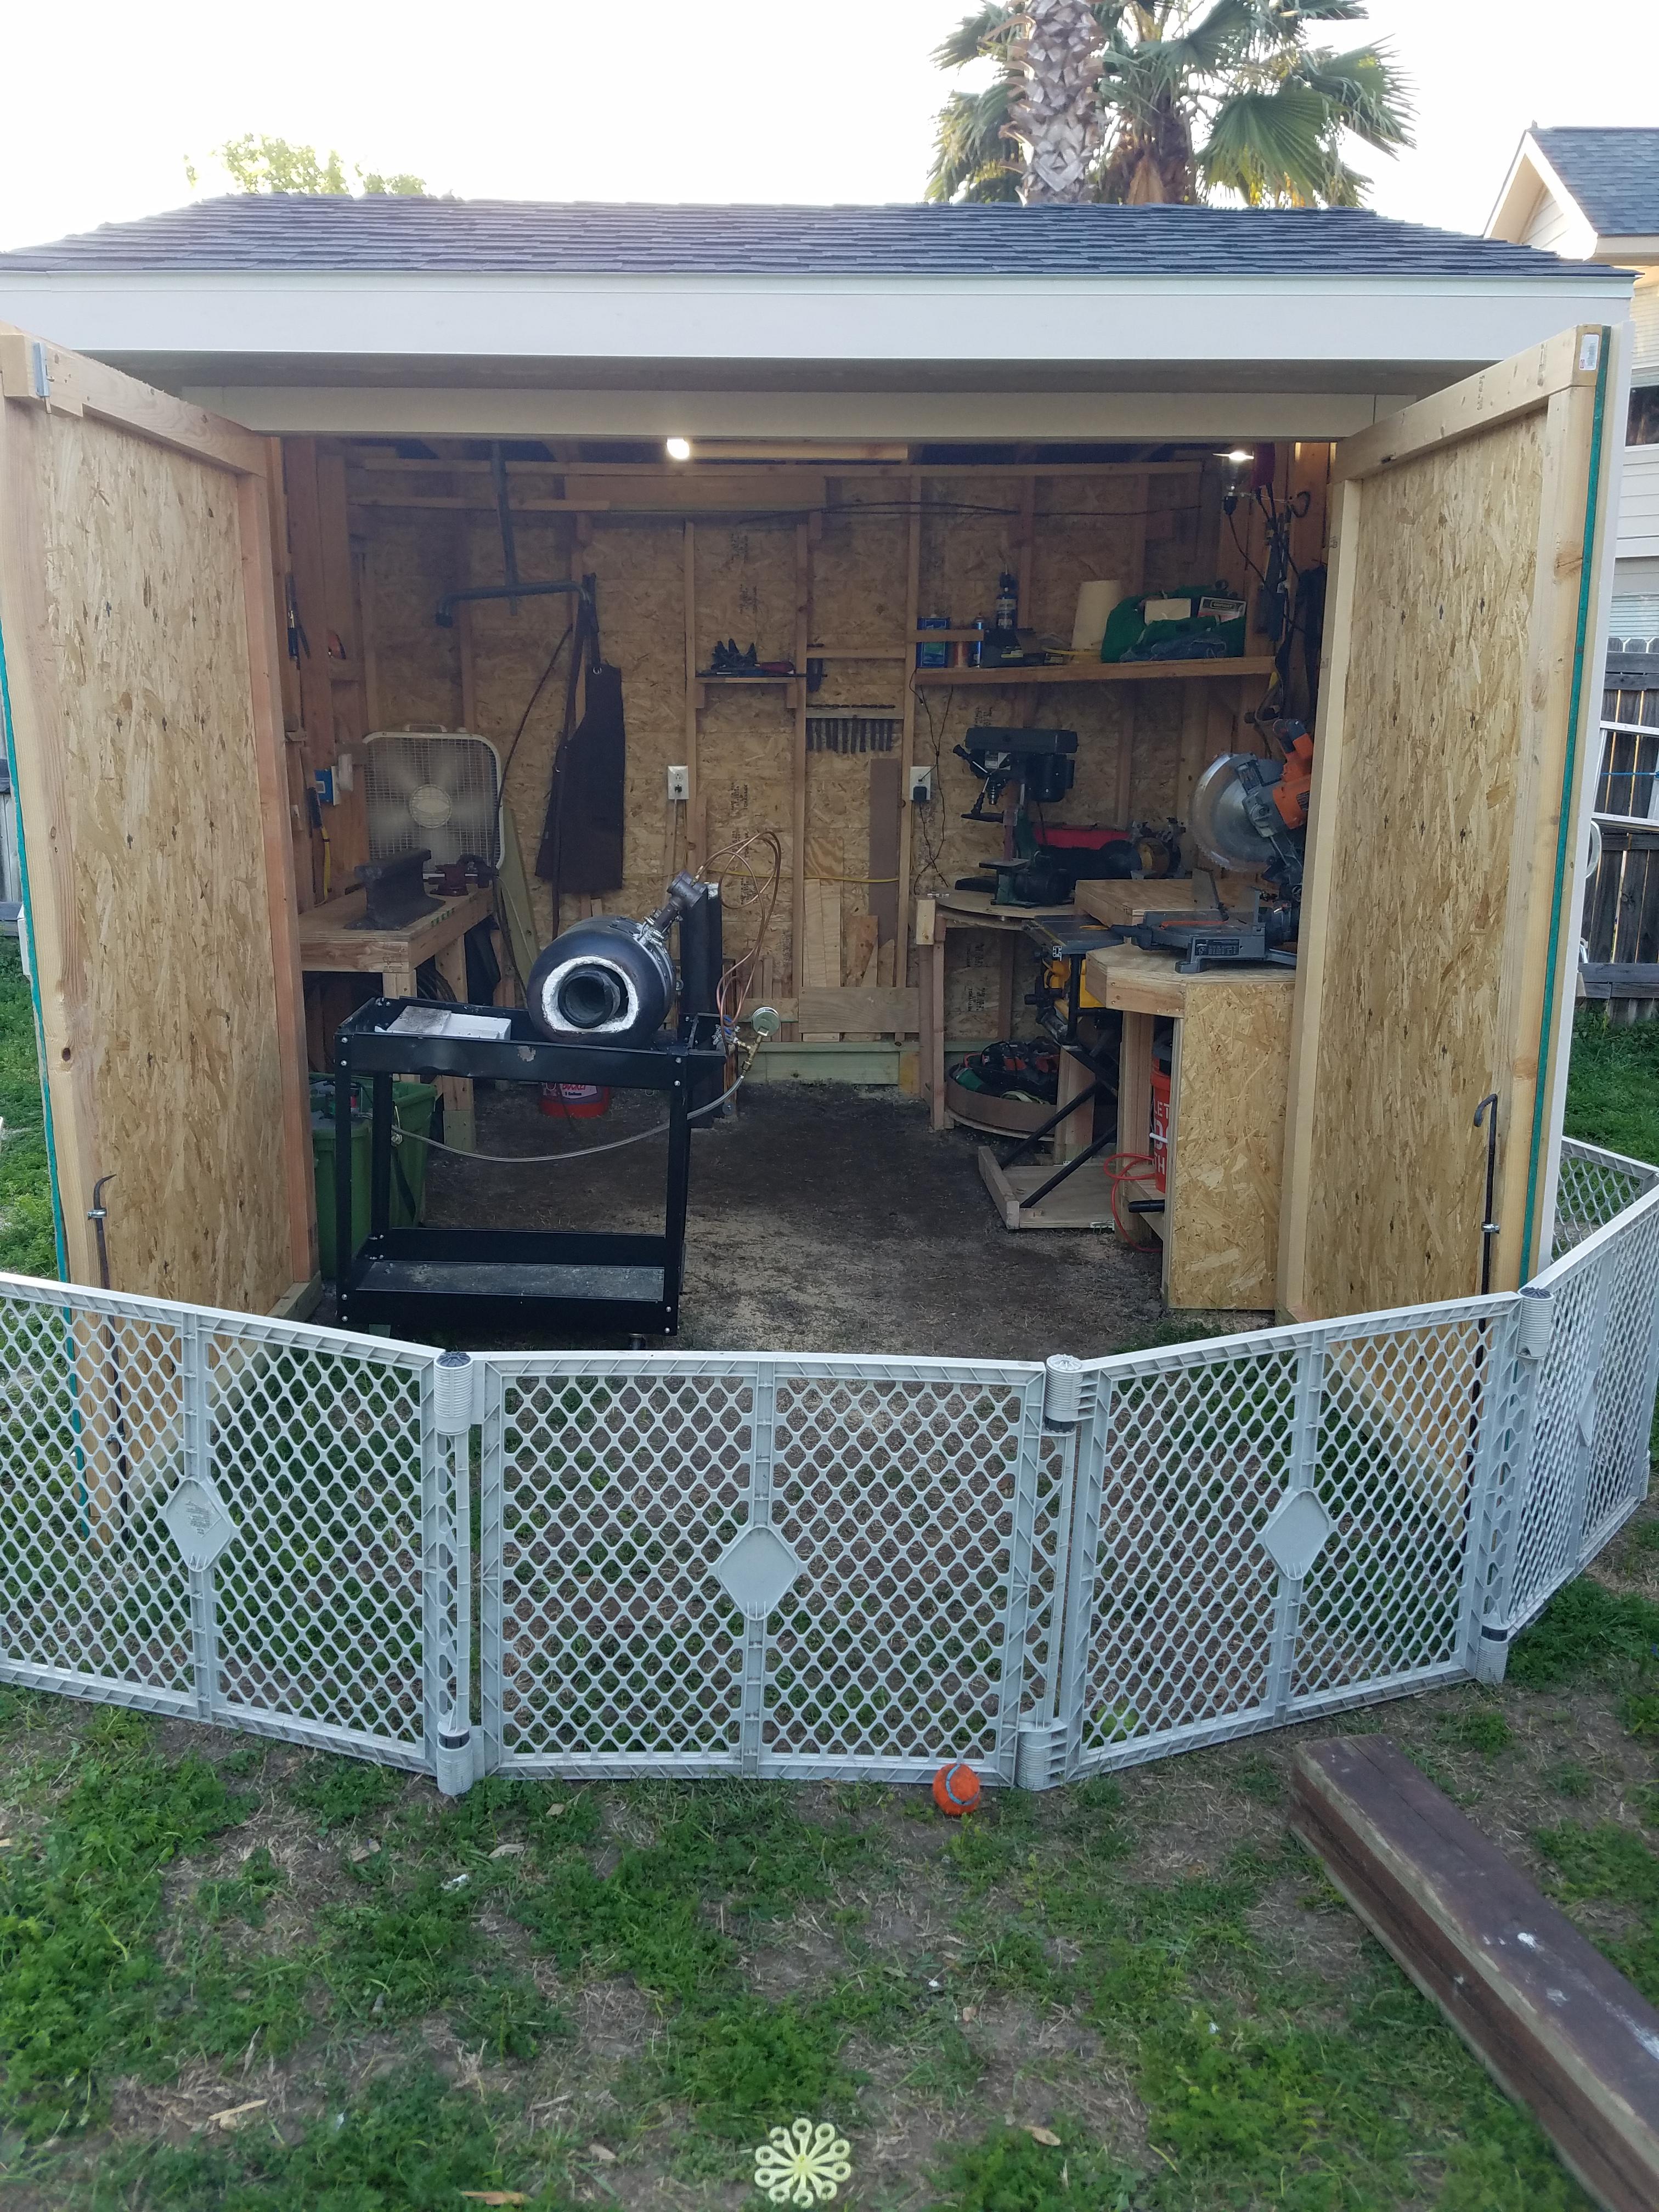
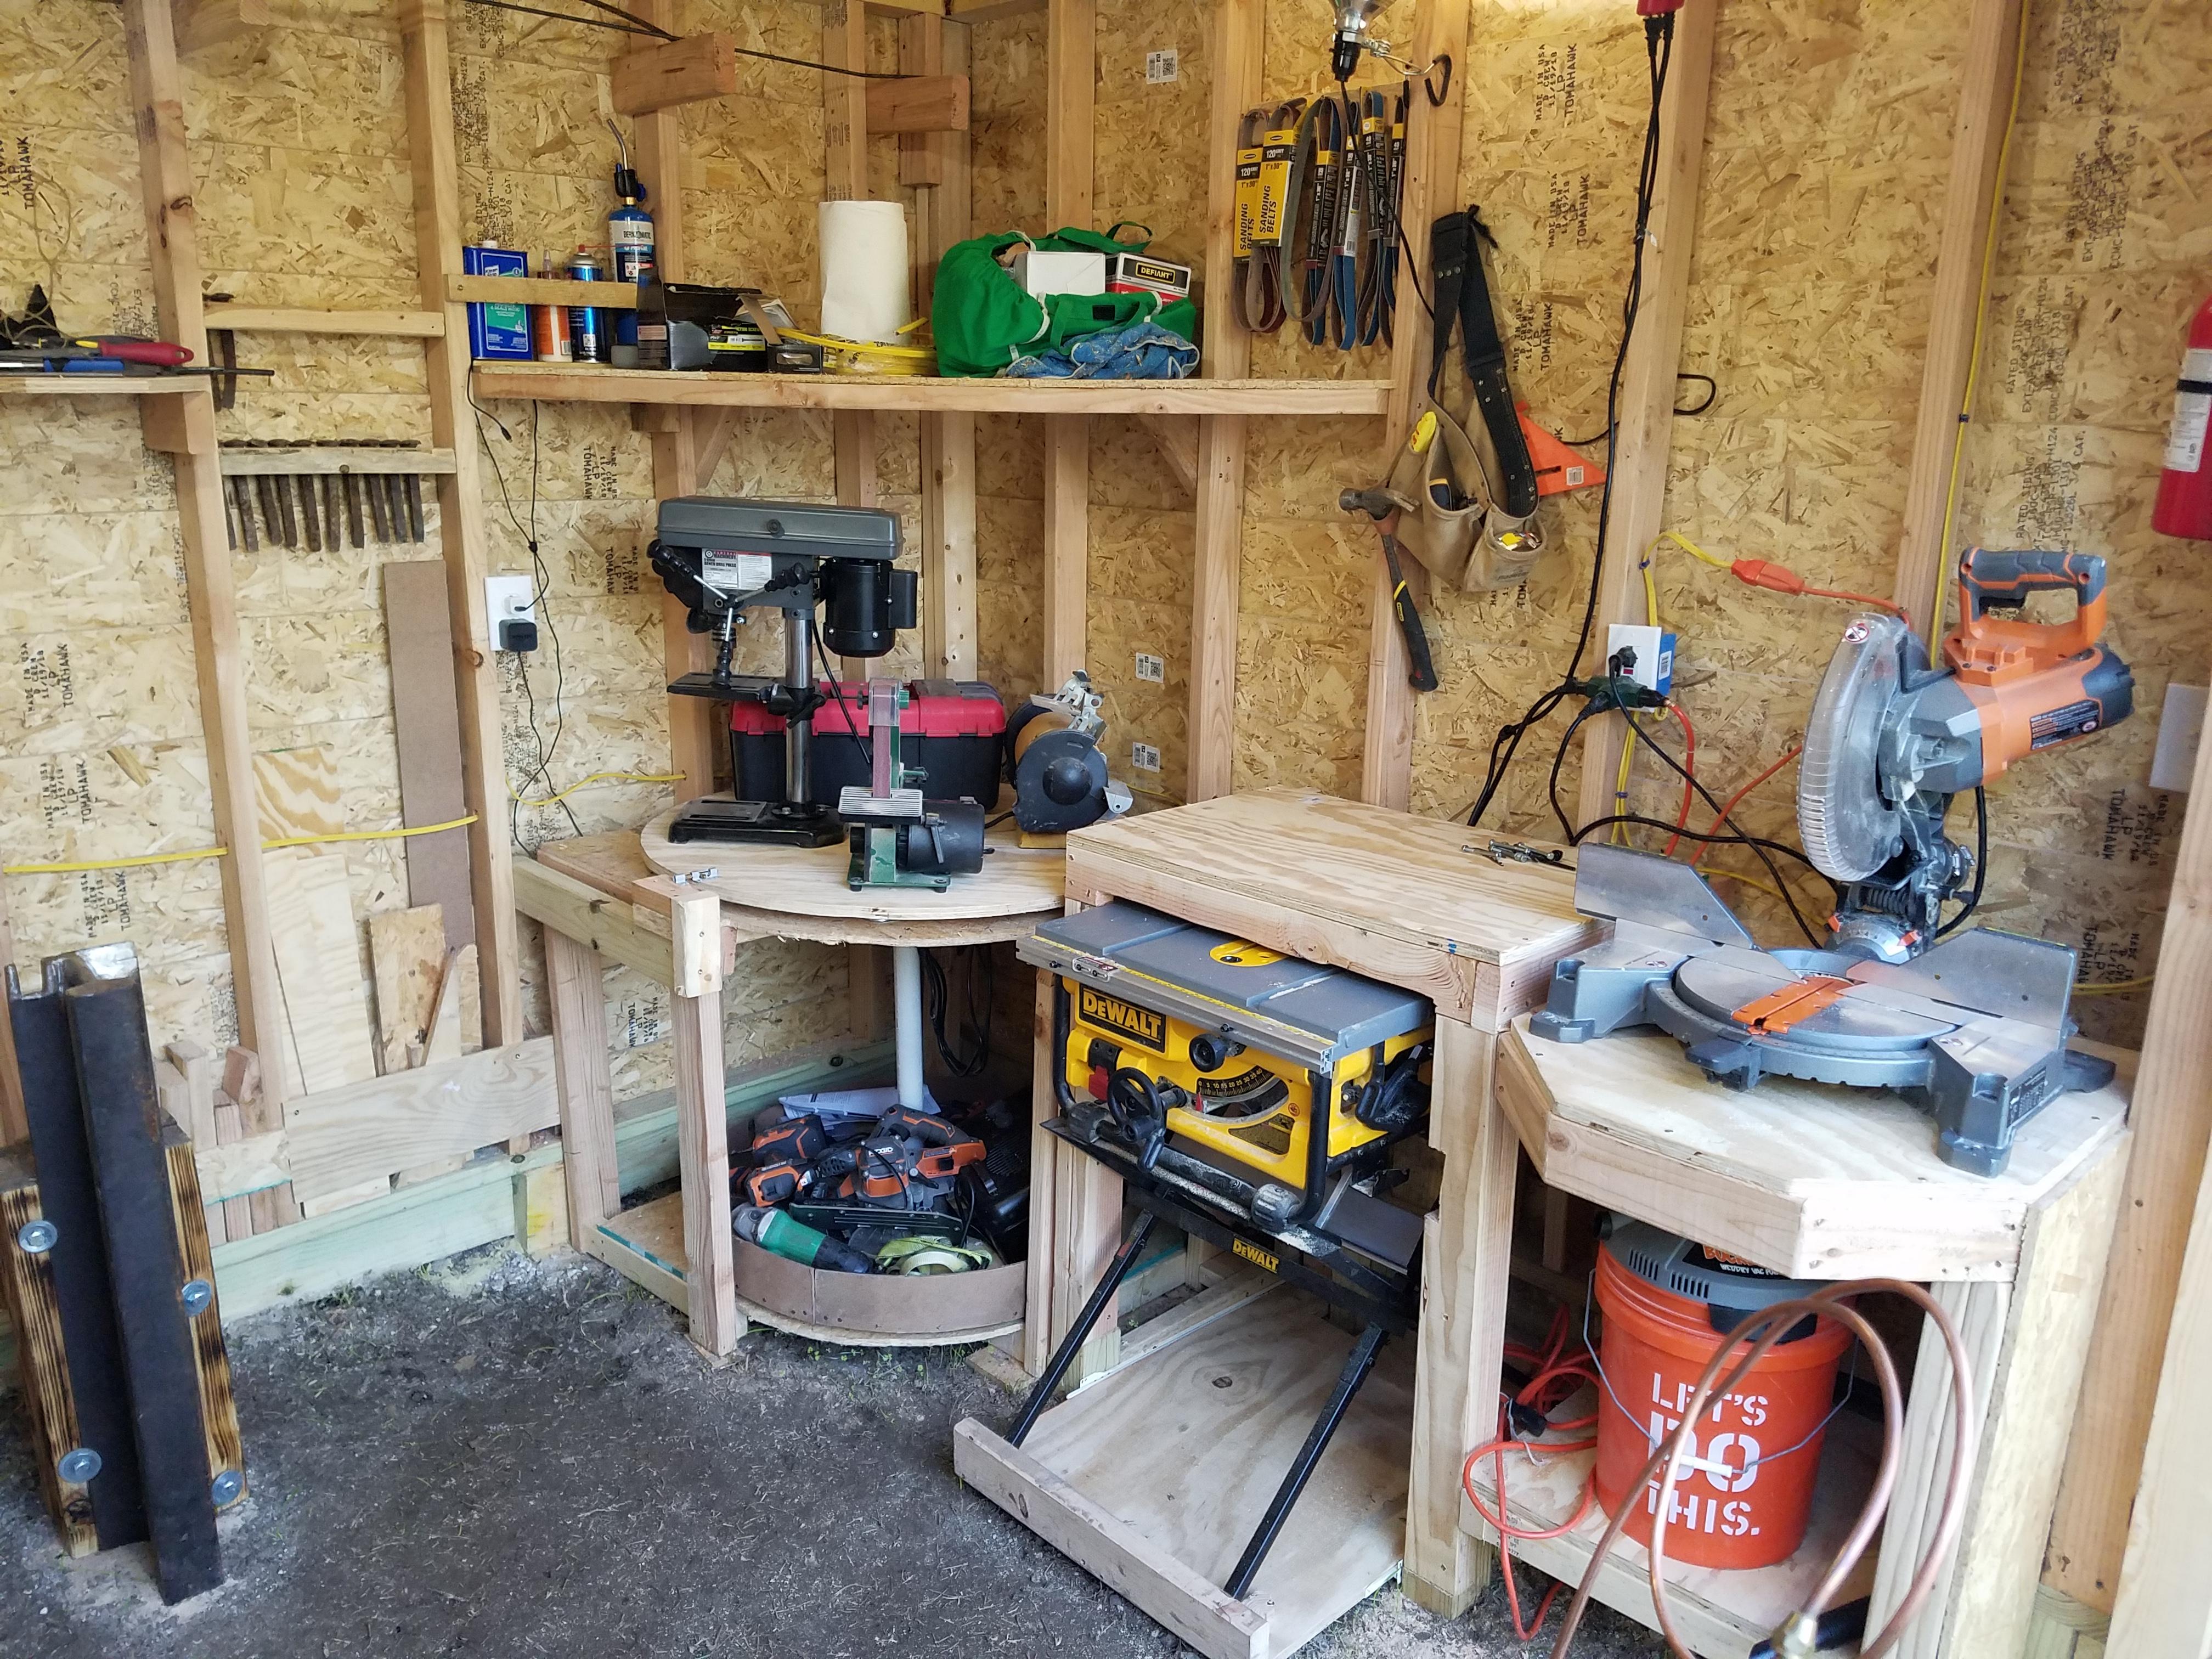
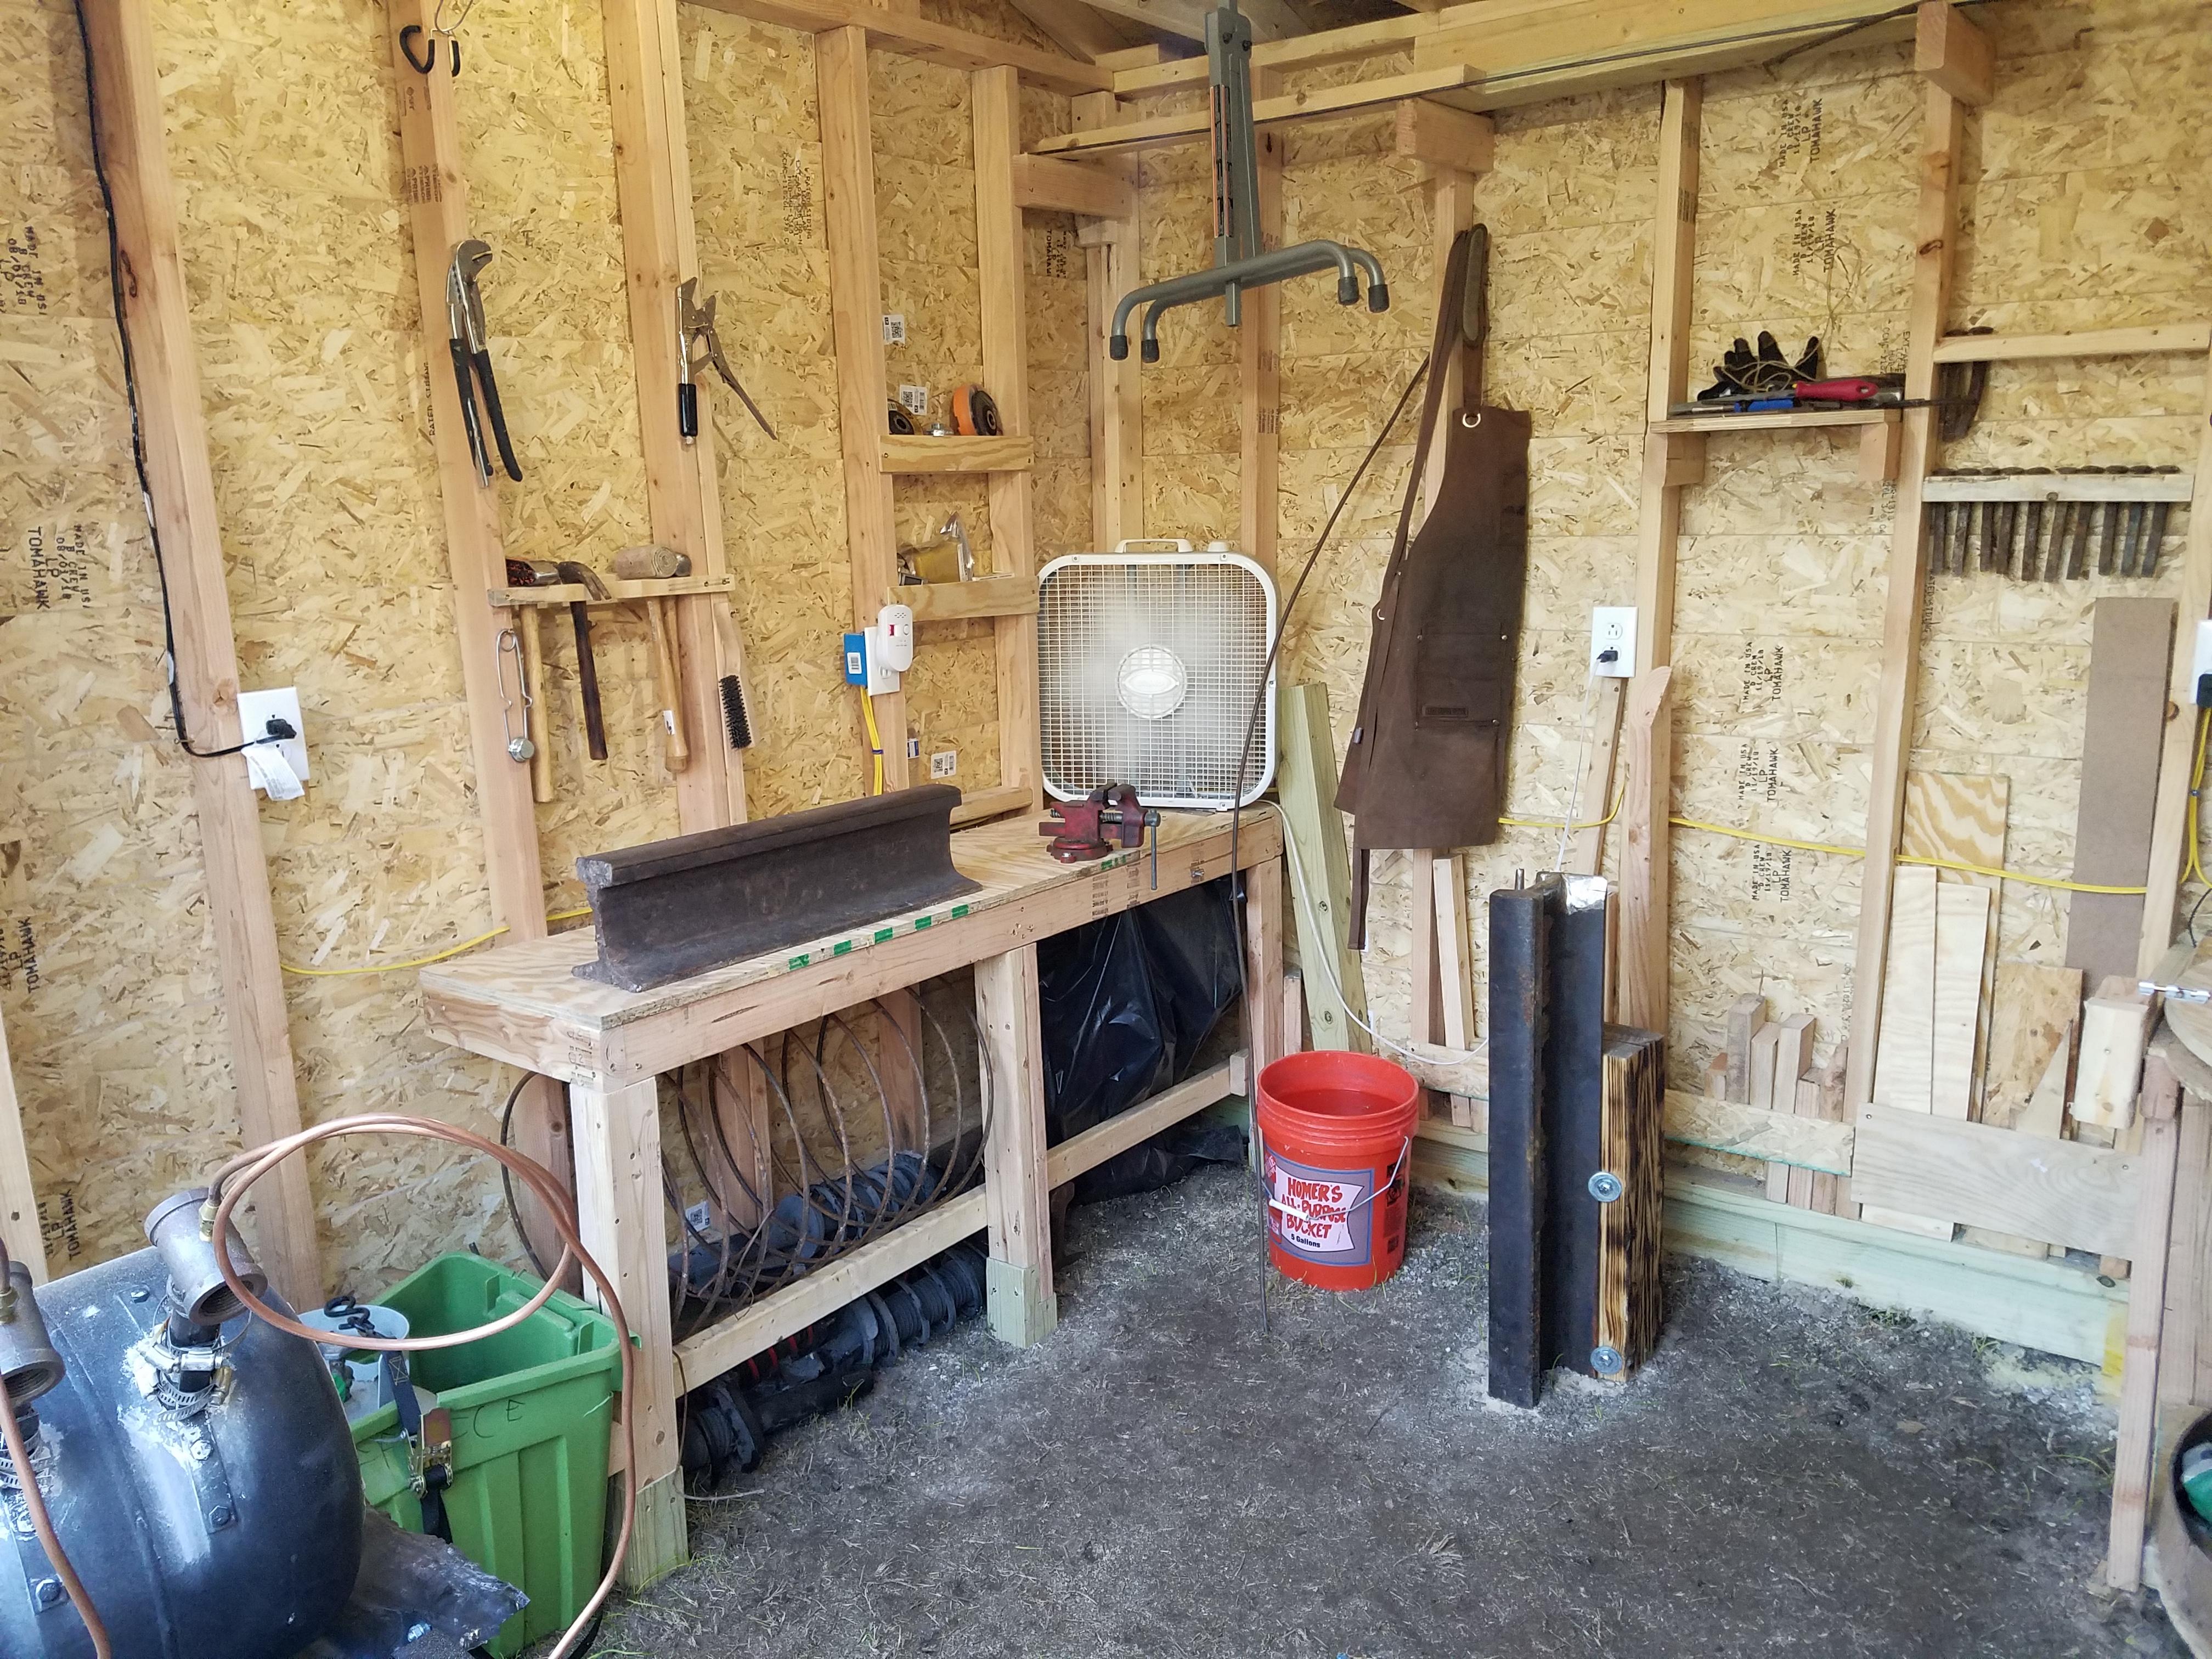
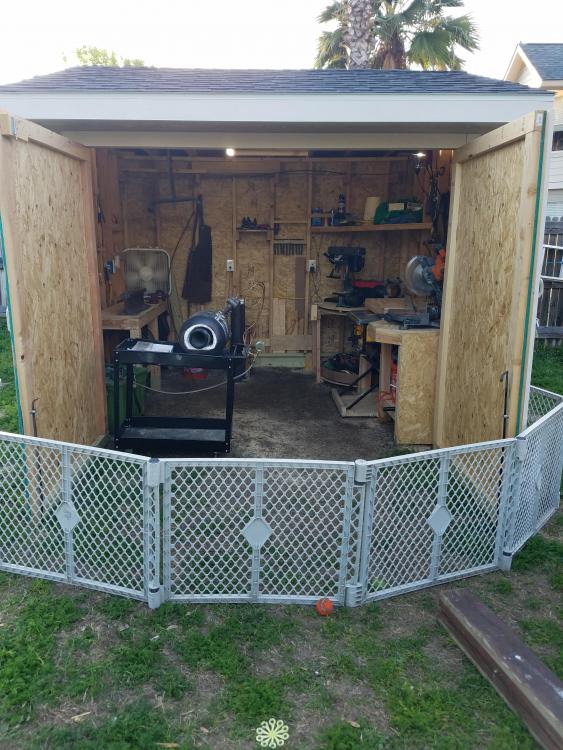
It's been awhile since I posted a shop update. After we got the roof on, all the tedious work started. Essentially, since this is a very small shop (8x10), I had to design every area with the small floorplan in mind. Because of that, most areas are multi-purpose. I also incorporated ideas from the members of this forum where I found it feasible to do so. First pic is just a big shot of the shed itself. Ideas from the forum found here are as big doors as possible (wife wouldn't let me do sliding), a gate, a propane forge with dual frosty t-burners, and im currently considering extending the roof out. Second pic is of the right side of the shop. It contains a double lazy Susan in the corner that holds my (cheap) bench top tools (sander, drill press, grinder, room for a bandsaw). Underneath is a second lazy Susan that has my power tools and other miscilanealous items. I added a corner shelf for general storage. Next to that is a small but tall workbench. It functions as a workbench, stores my table saw underneath that is on drawer sliders, and supports stock for my cut off saw. Closest to the door is obviously my cut off saw. Underneath is a shop vac for very basic dust collection. I plan on eventually expanding this out. I also plan on adding a shelf on the door itself to act as stock support for the chop saw. Last pic is the left side of the shop. To the right of the picture and centered in my shop is a railroad anvil in the vertical position (thanks here), with bending forks, a hot cut and fuller ground in (thanks again). I also buried it in sand and dirt to increase stability and decrease noise (thanks!). Above is some very basic stock storage that I will upgrade at some point, but I have additional storage behind the shed under an eave (thanks)! Along the wall is my normal workbench. I built in a trashcan with wooden clamps to secure bags. On top of the bench I have a horizontal railroad anvil for when it's easier for some applications. Below the workbench is spring coil storage. On the wall I'm beginning my hammer/tong/punch/chisel collection. Thanks to IFI members for all of your help. This wouldn't haven't been possible if it werent for everyone offering their advice and wisdom. I've already started paying it forward in the few instances I have been able to.
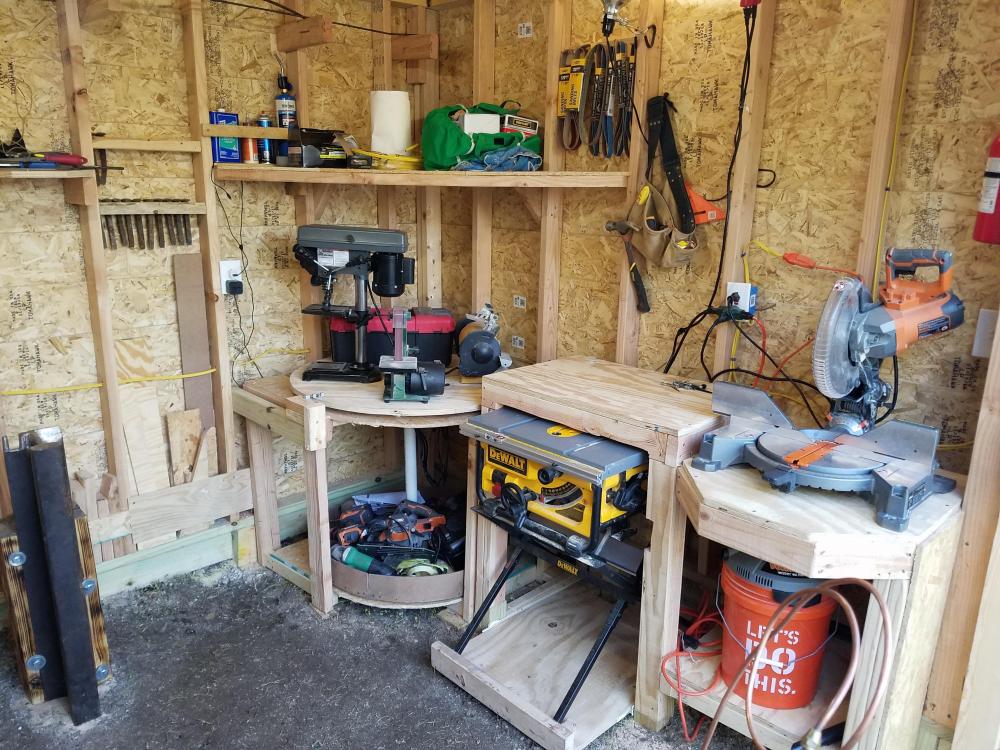
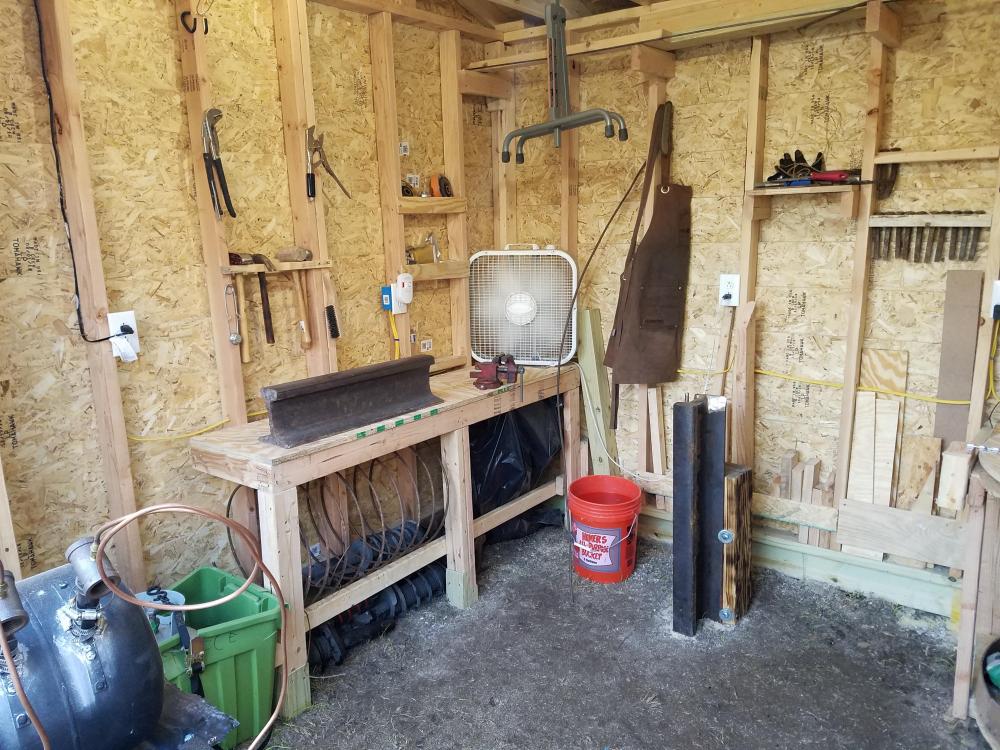
-
I think this is the route I'm going to go! We built extra long eves to both help protect against rain coming in the front and for possible stick storage in the back. Do you think a tarp would be needed to hang from the roof to help protect it? Just using bbq tanks for now. Have a bucket of water I can use for freezing. Putting the roof on today!
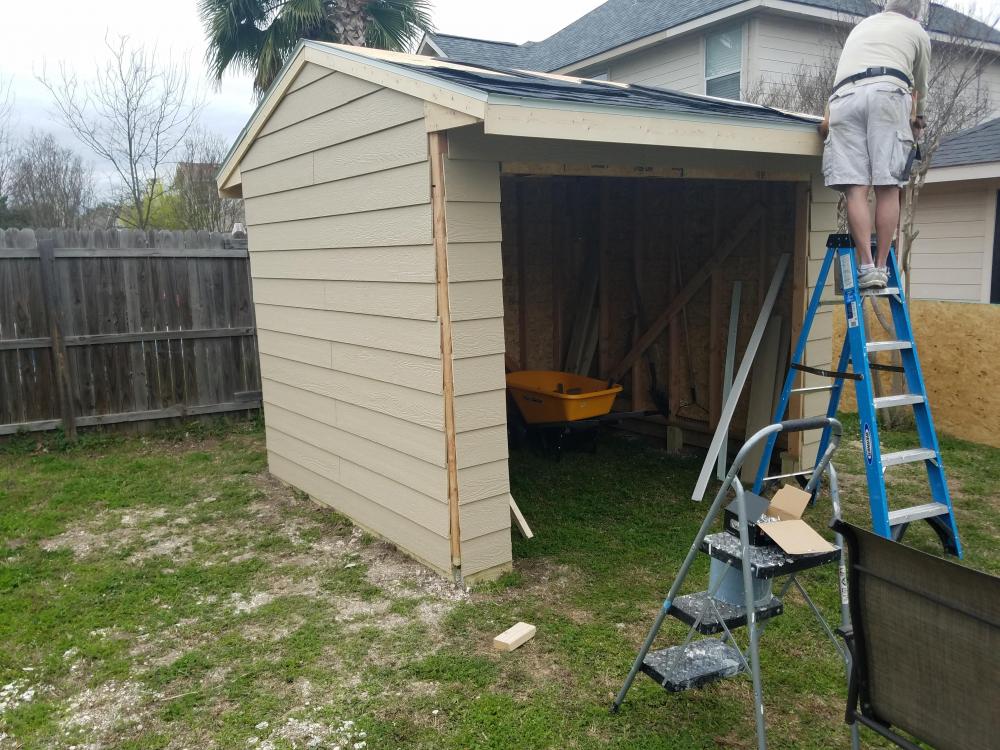
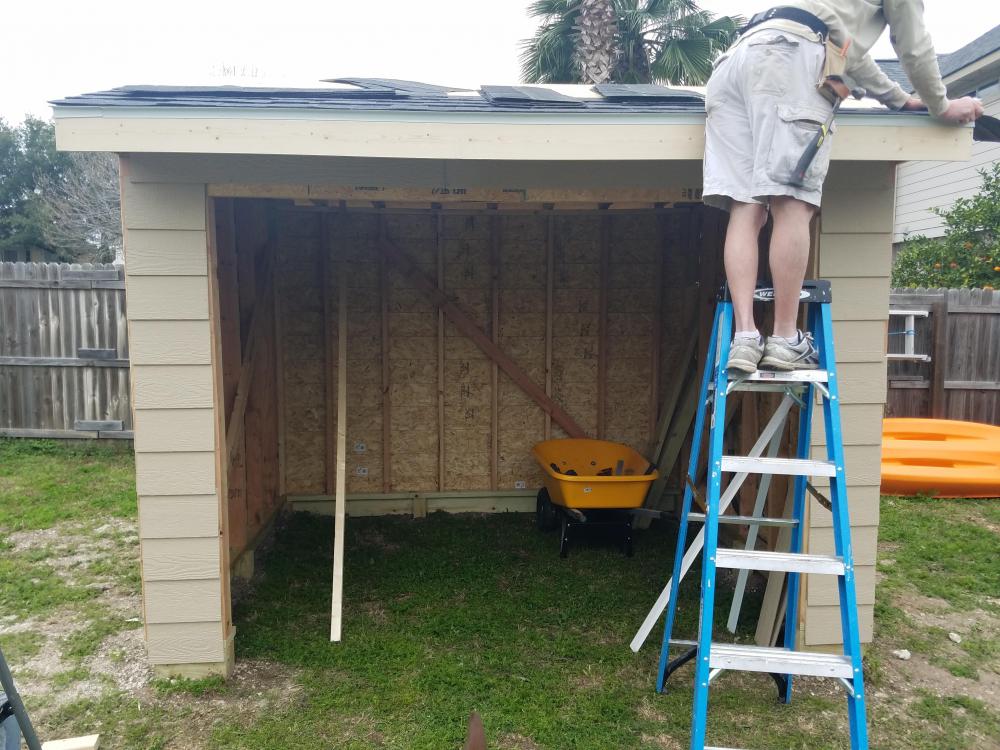
-
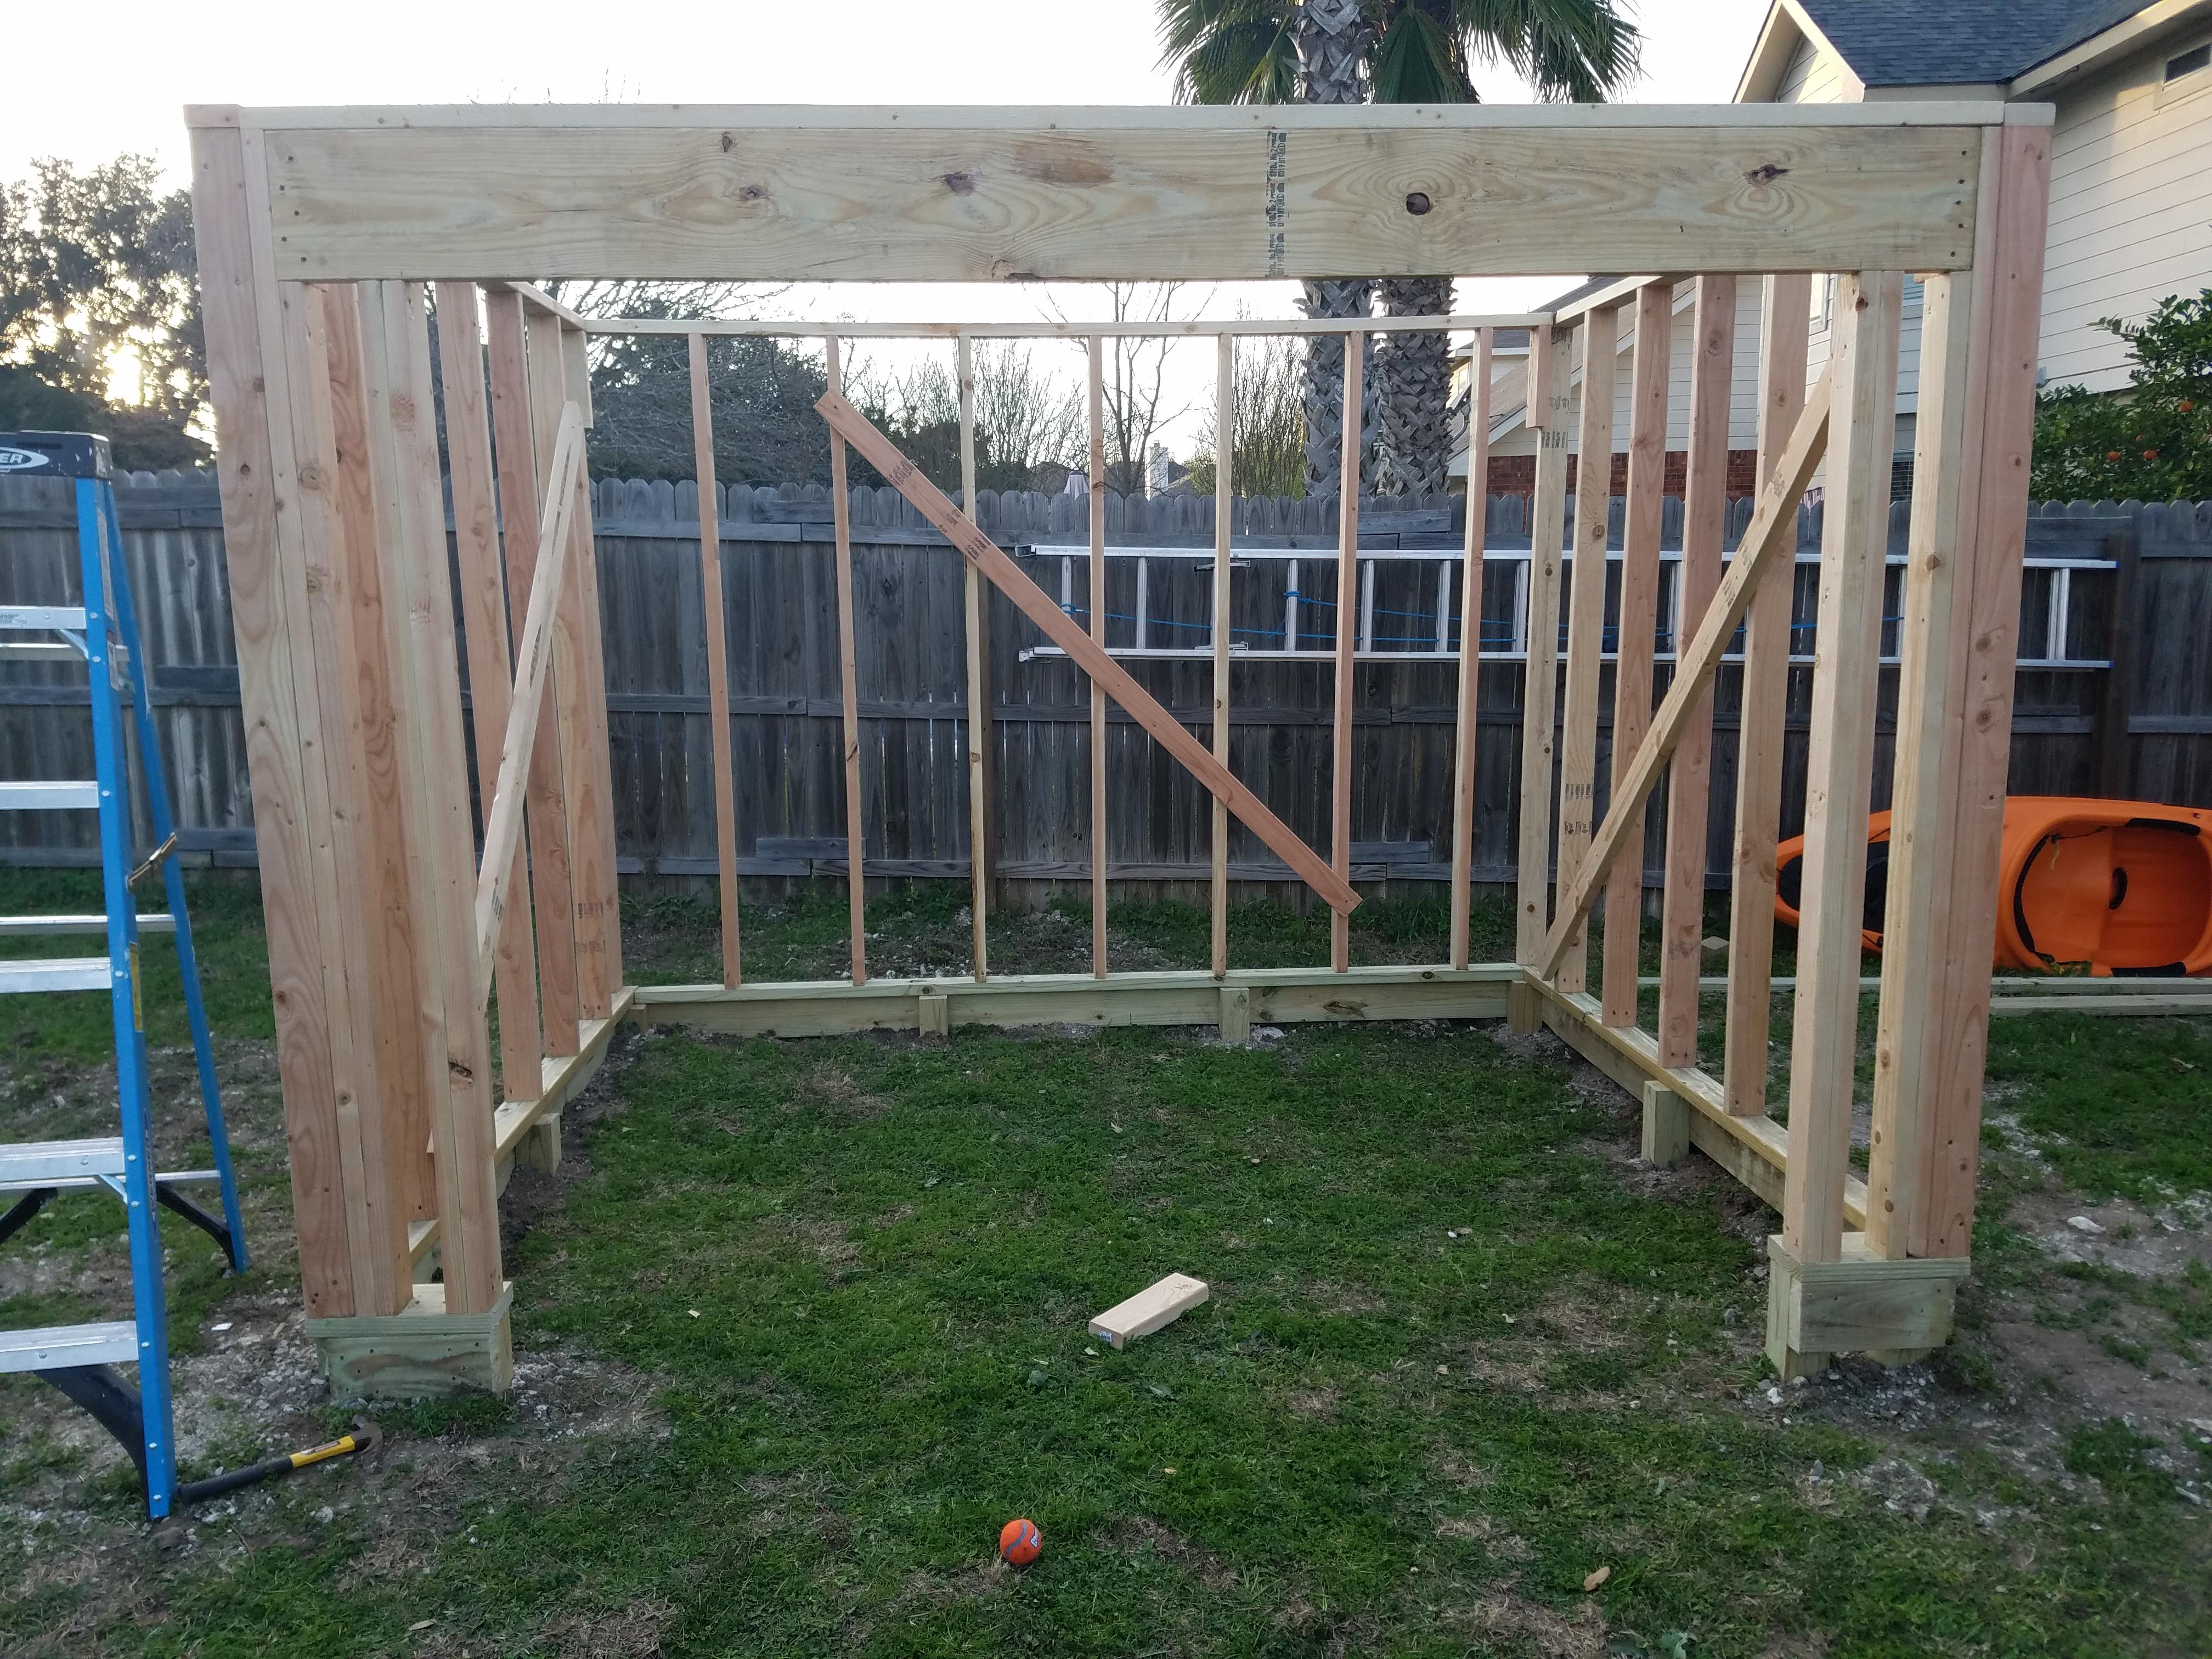
We were able to get the foundation in place today and the walls framed. Pics attached. Next up is the roof. Frosty, cant do shed style food with purpose of doubling on other side as 8t would violate our HOA guidelines on square footage. Good thinking though. i like the idea about the cutouts! I think I'm going to make some "future" additional cutouts too for a drill press and a sander. One nut I'm trying to crack is where to store stock. Right now I'm planning on the back wall opposite the door so I can easily store 8 ft stock. Any good storage solutions y'all use other than yhrowing it up on a shelf or two?
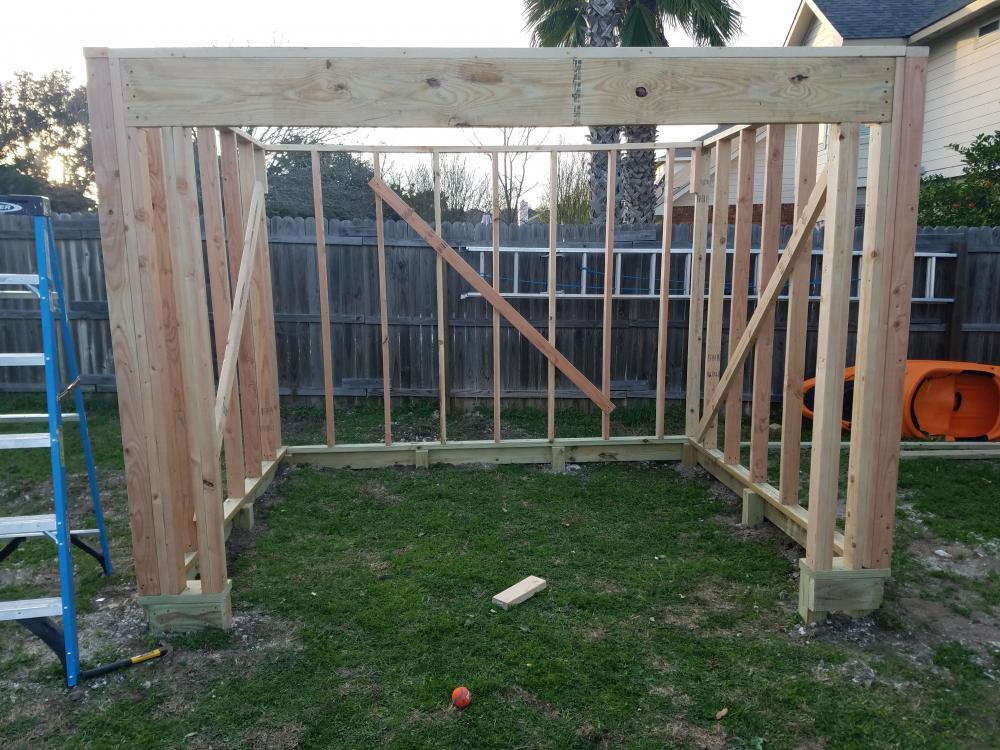
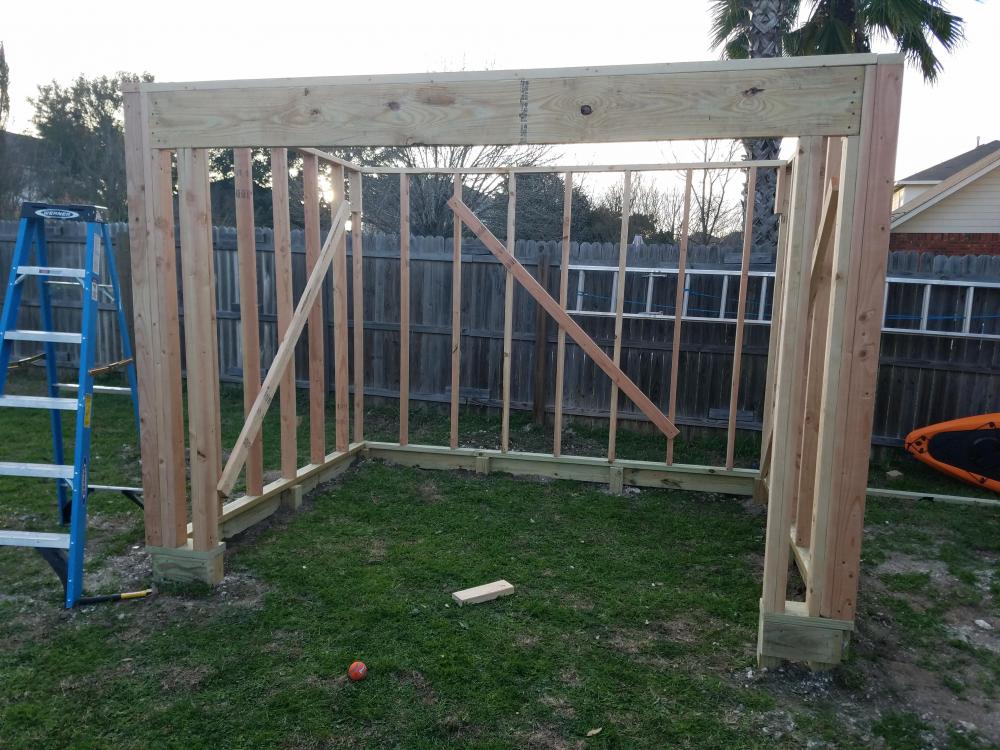
-
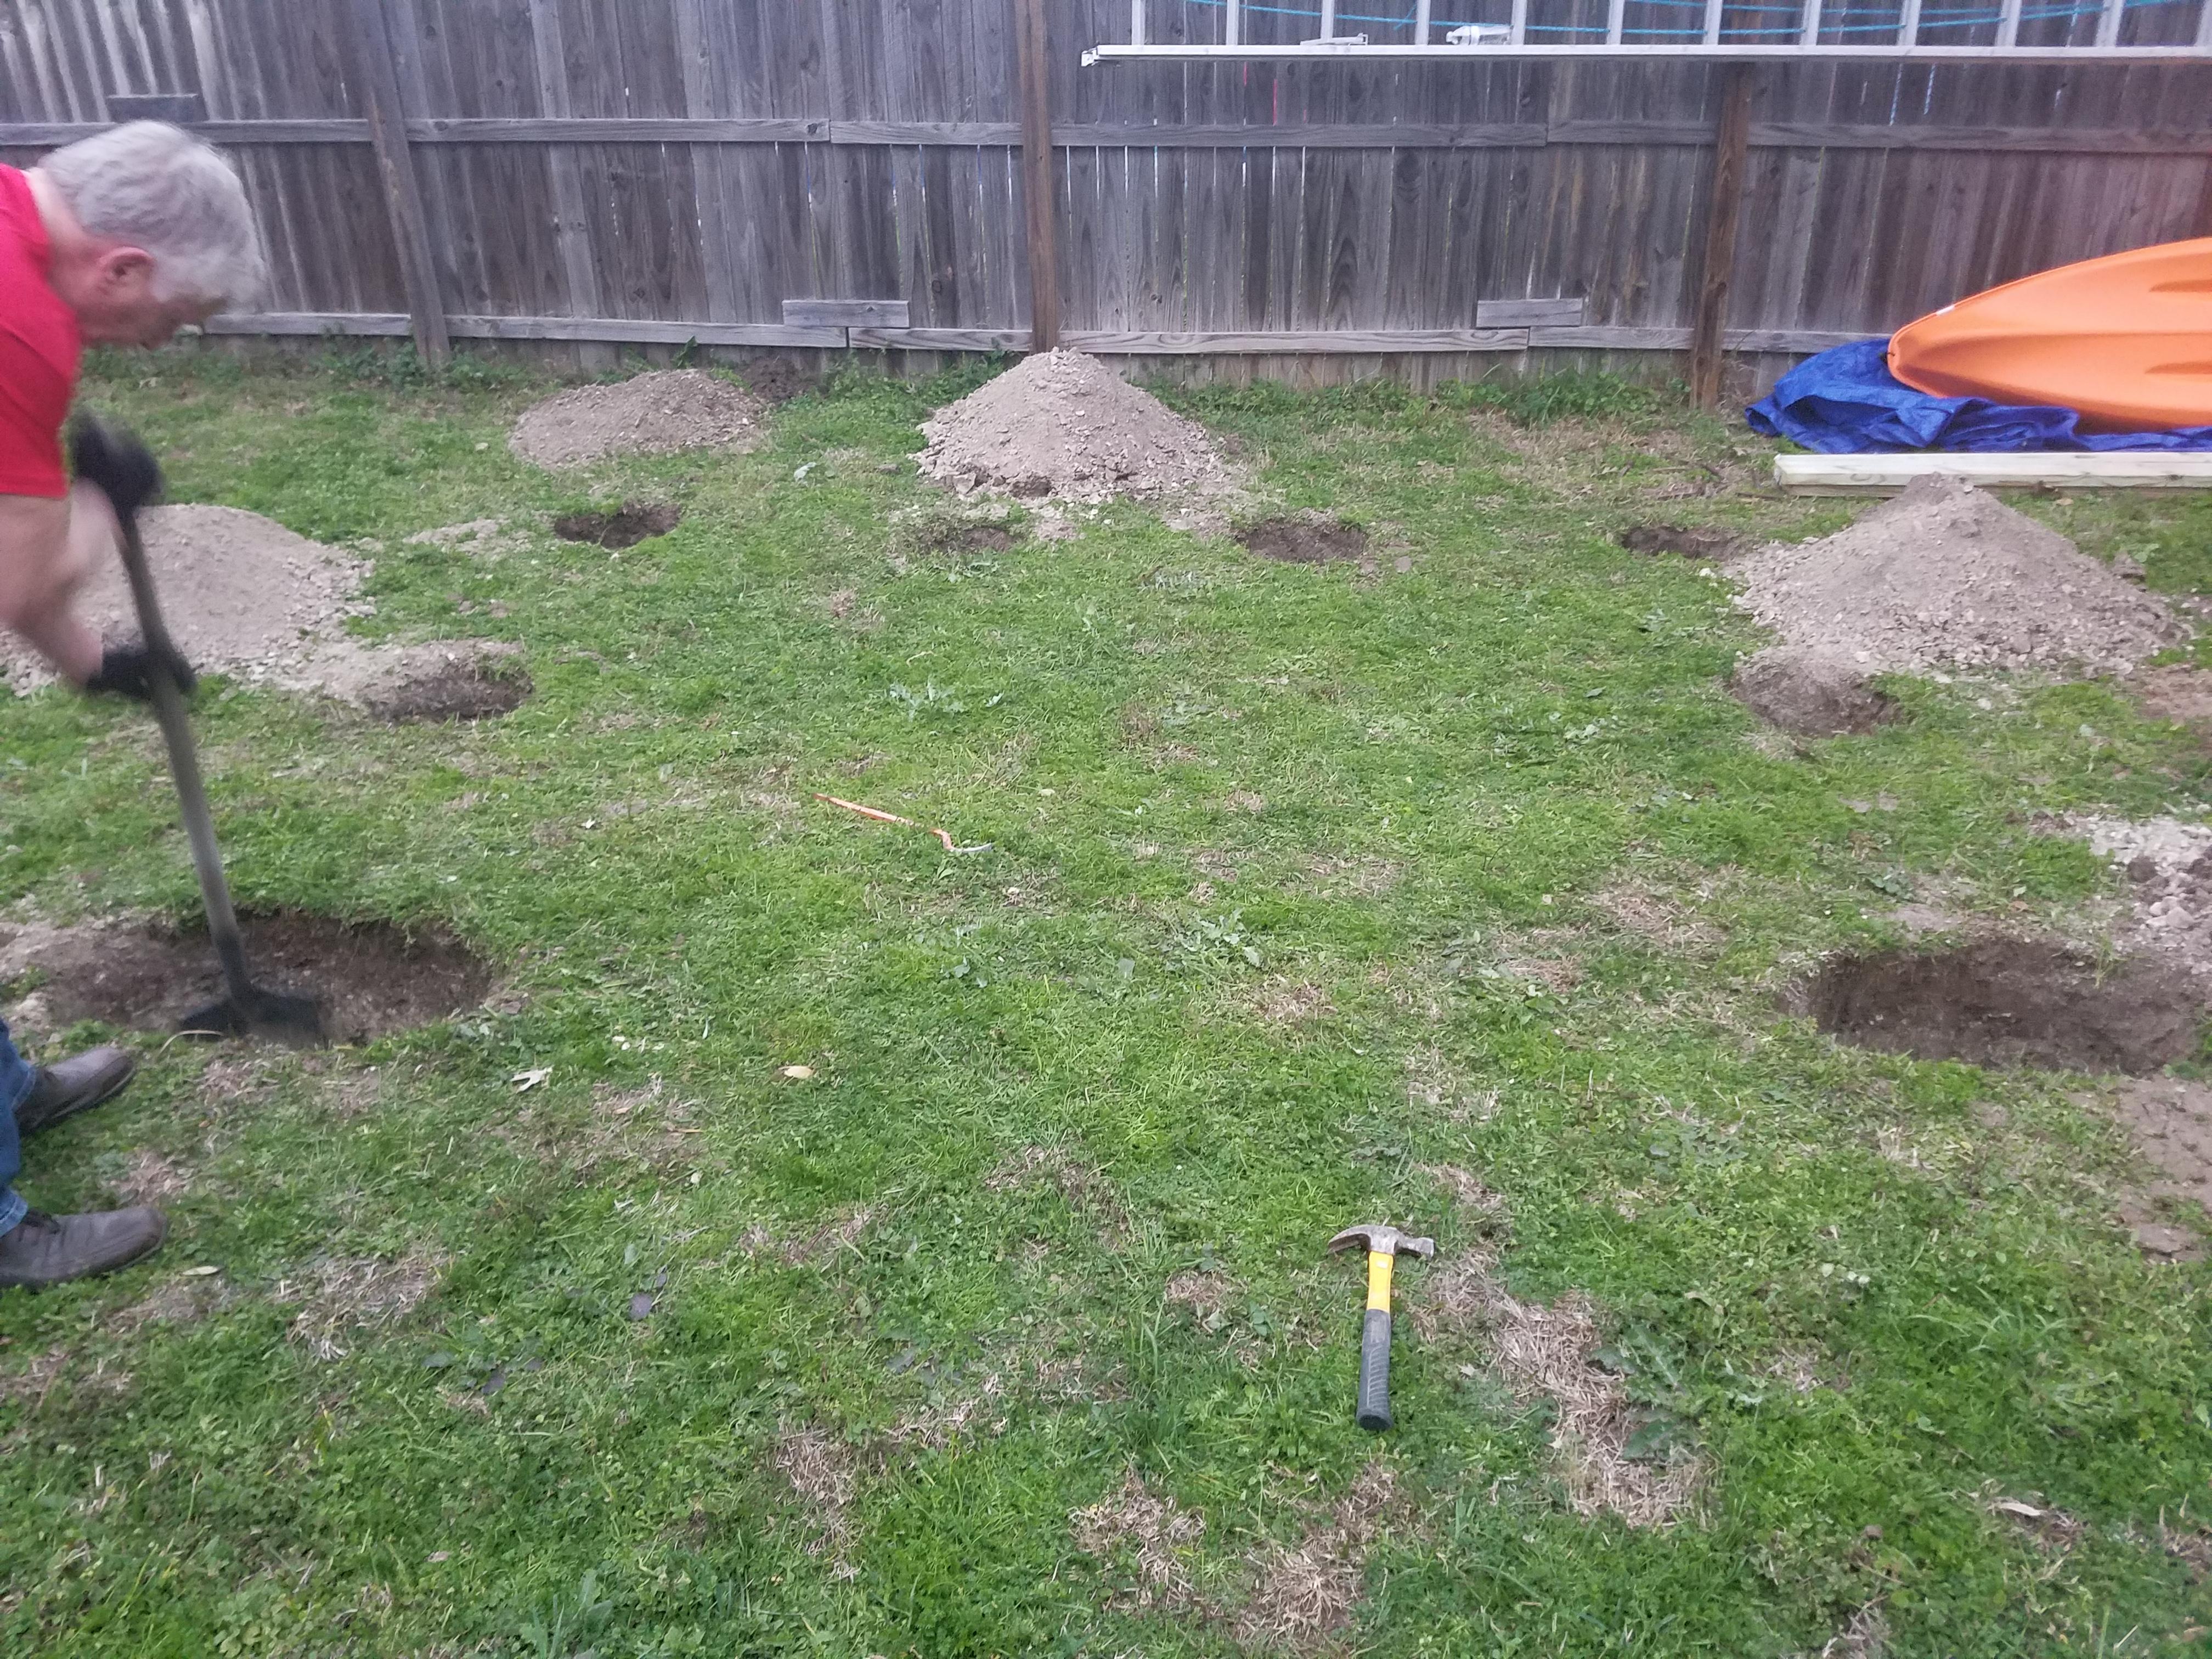
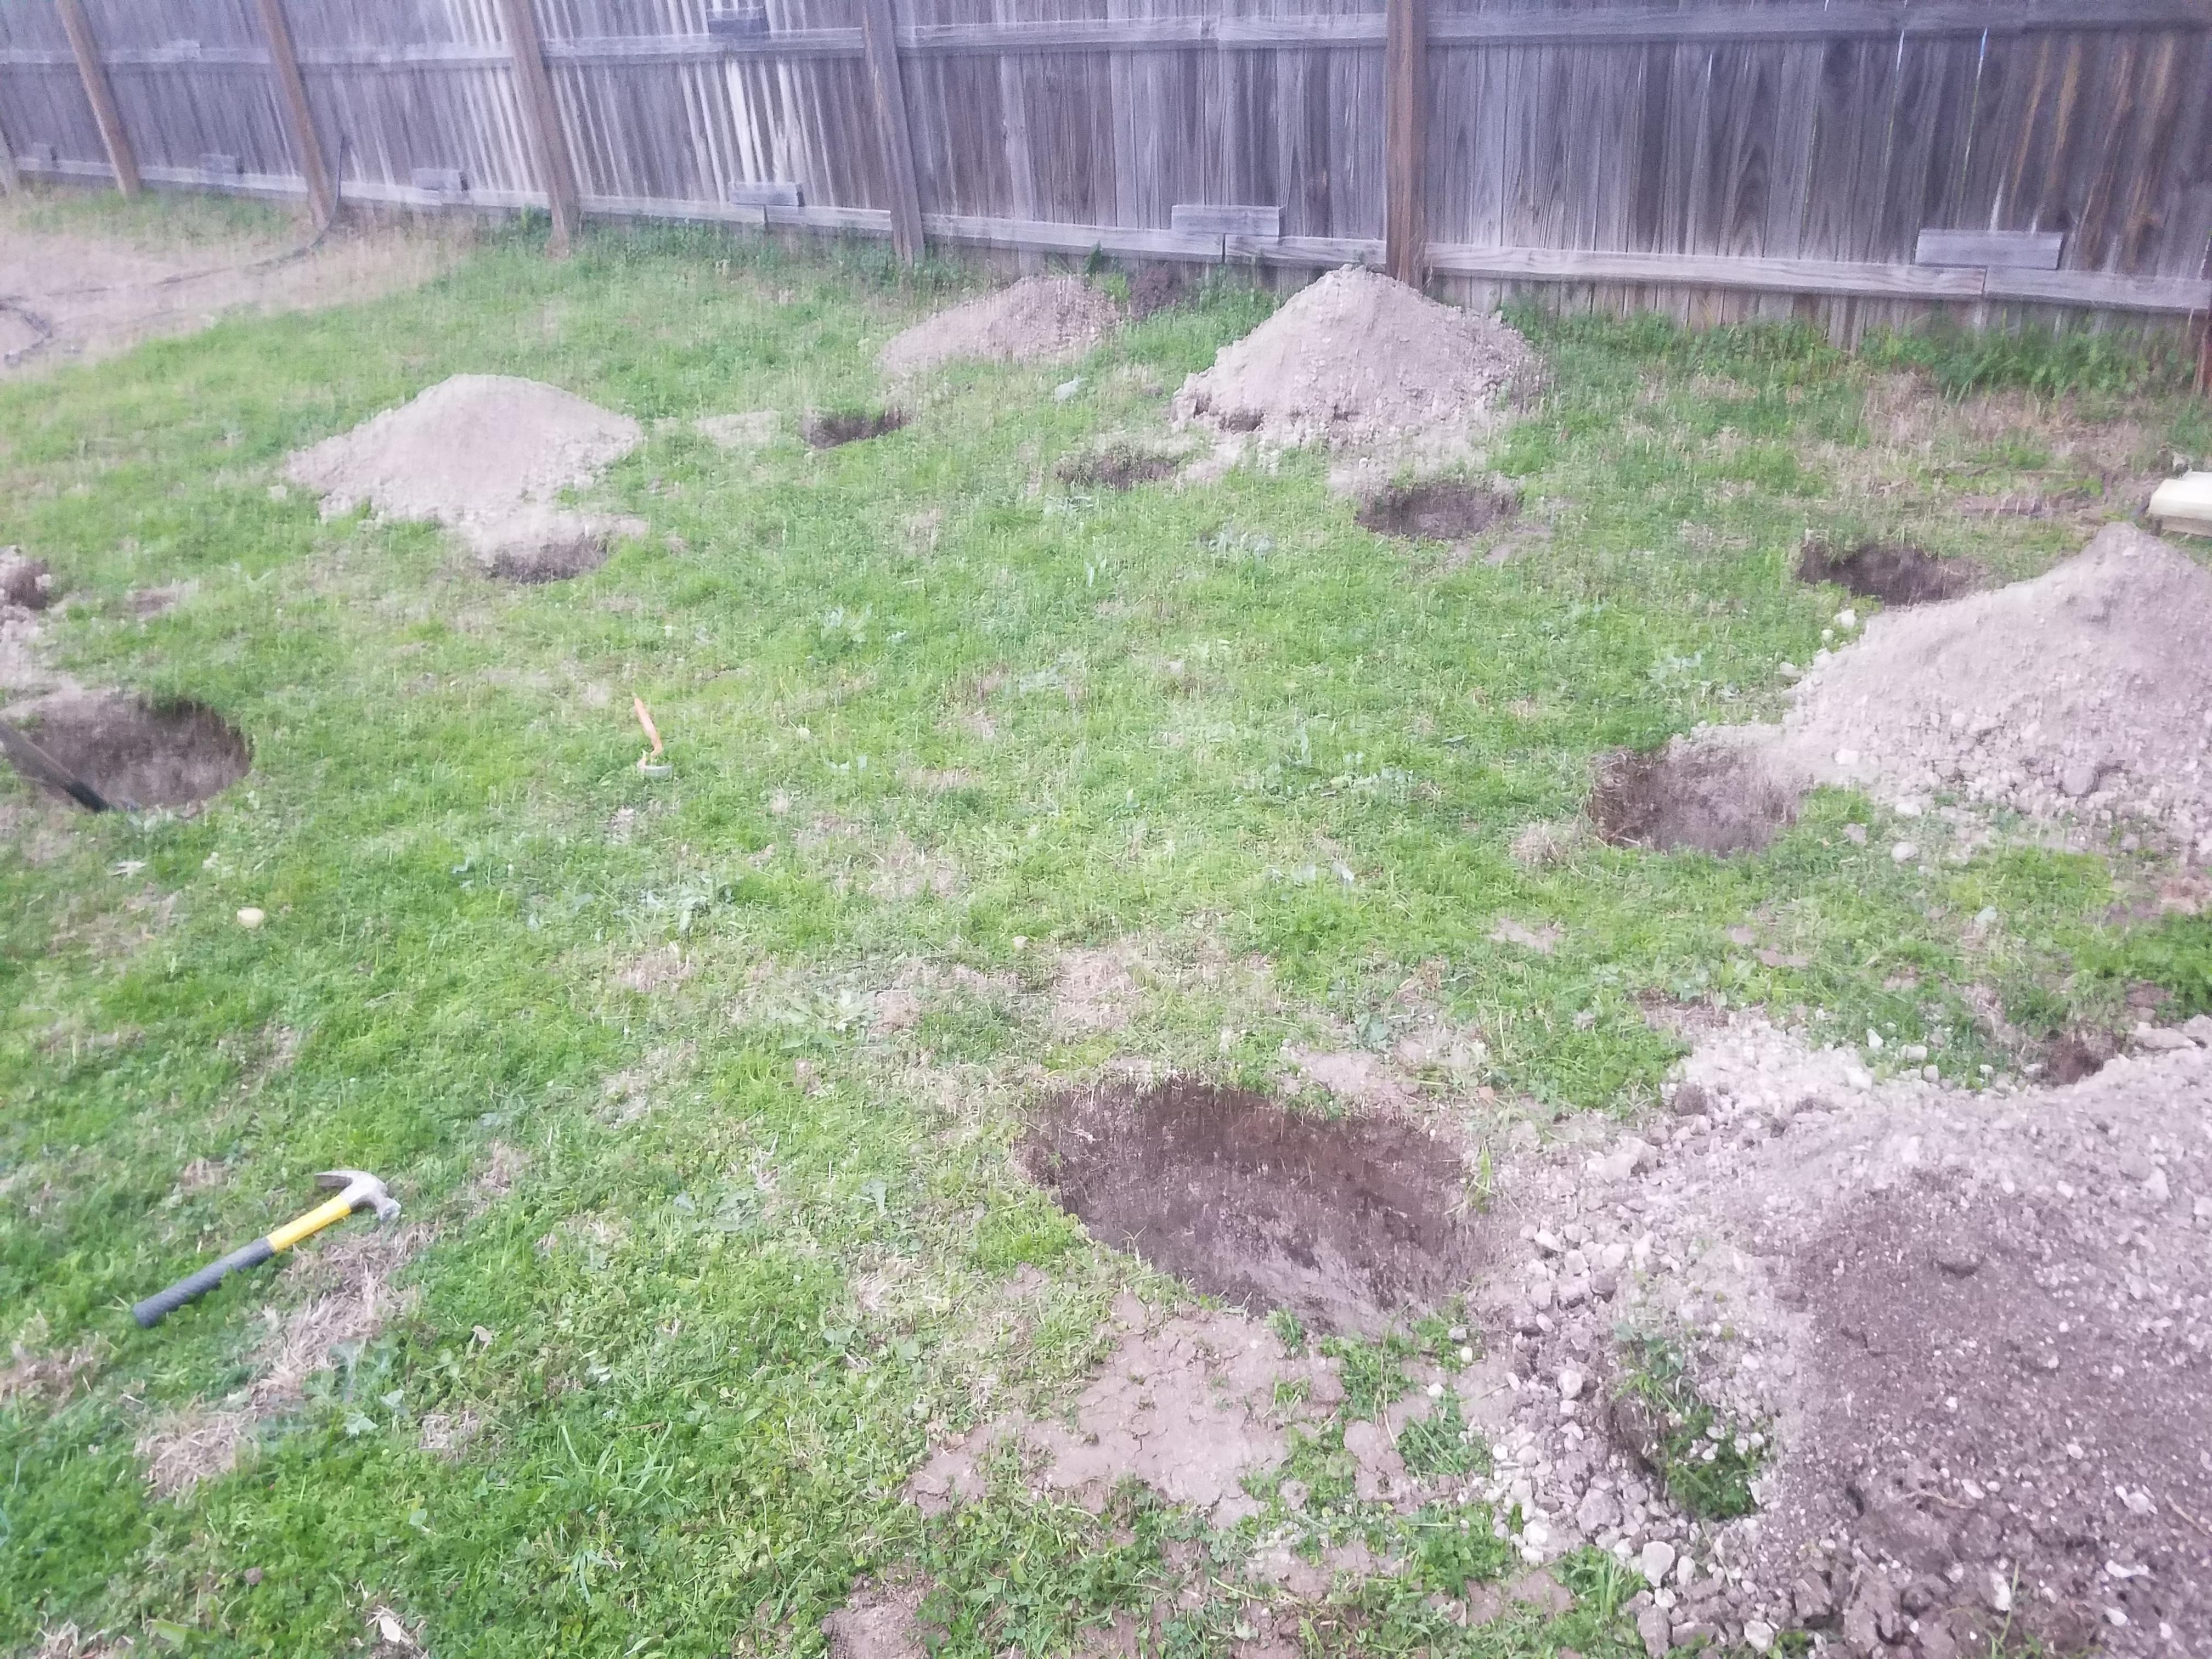
Well due to finances we had to considerably cut the size of the shop down. It now going to be 8x10. Orienting it so 8 feet of one of the 10 foot sides open up. Decided on dirt floors and peak style roof 9 feet highish. Got the holes for the posts dug yesterday and will be cementing them today. Pic attached.
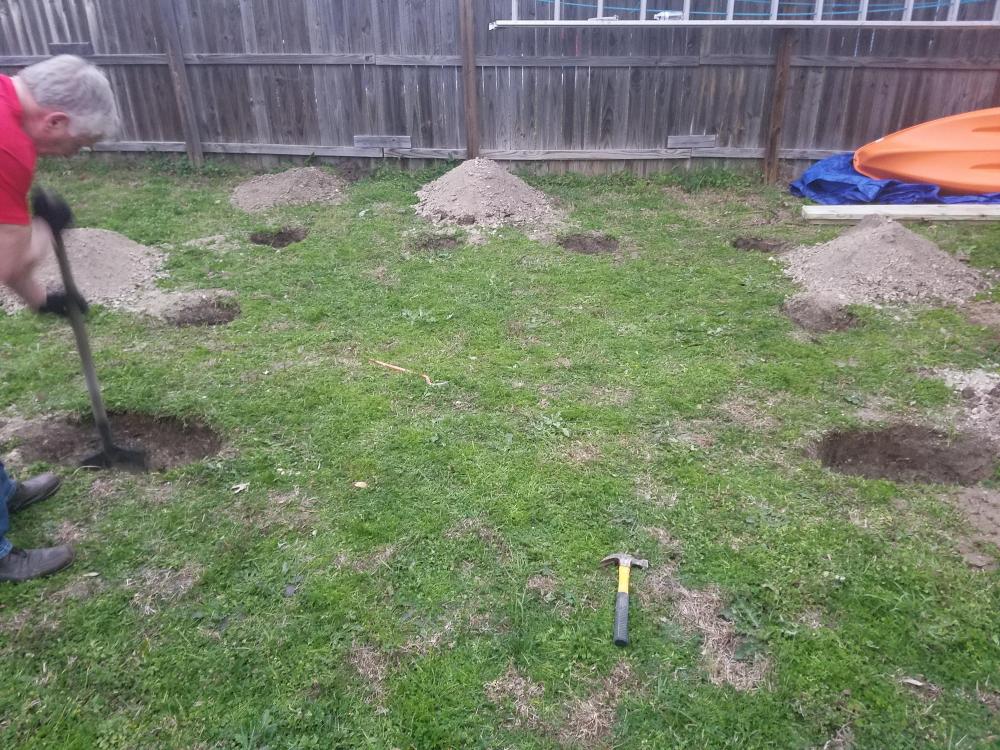
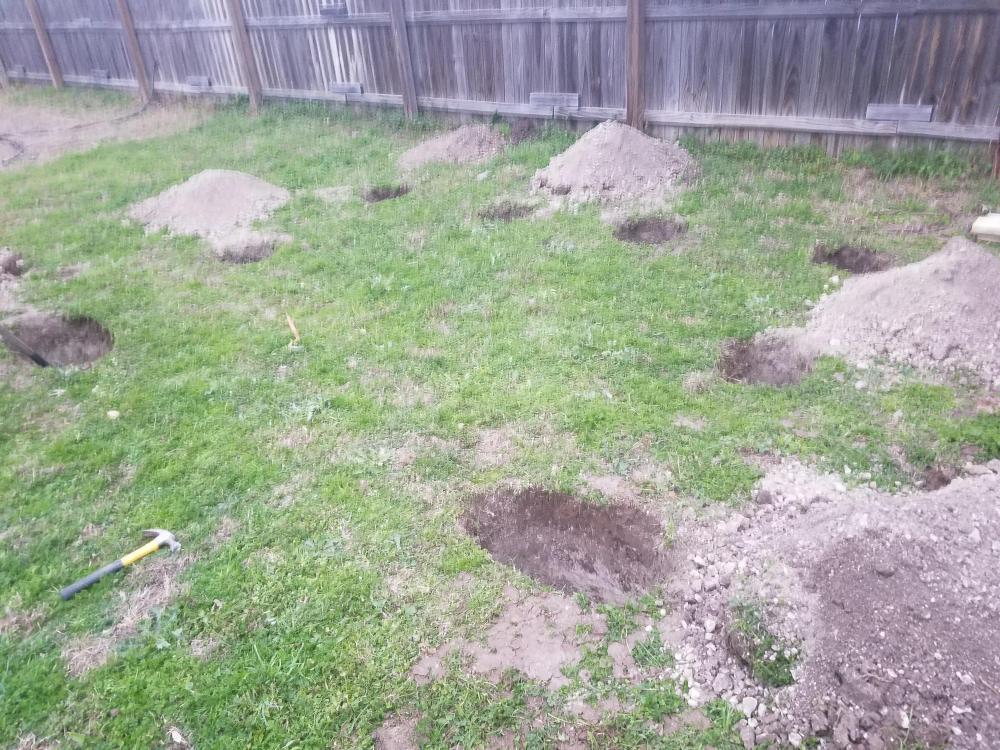
-
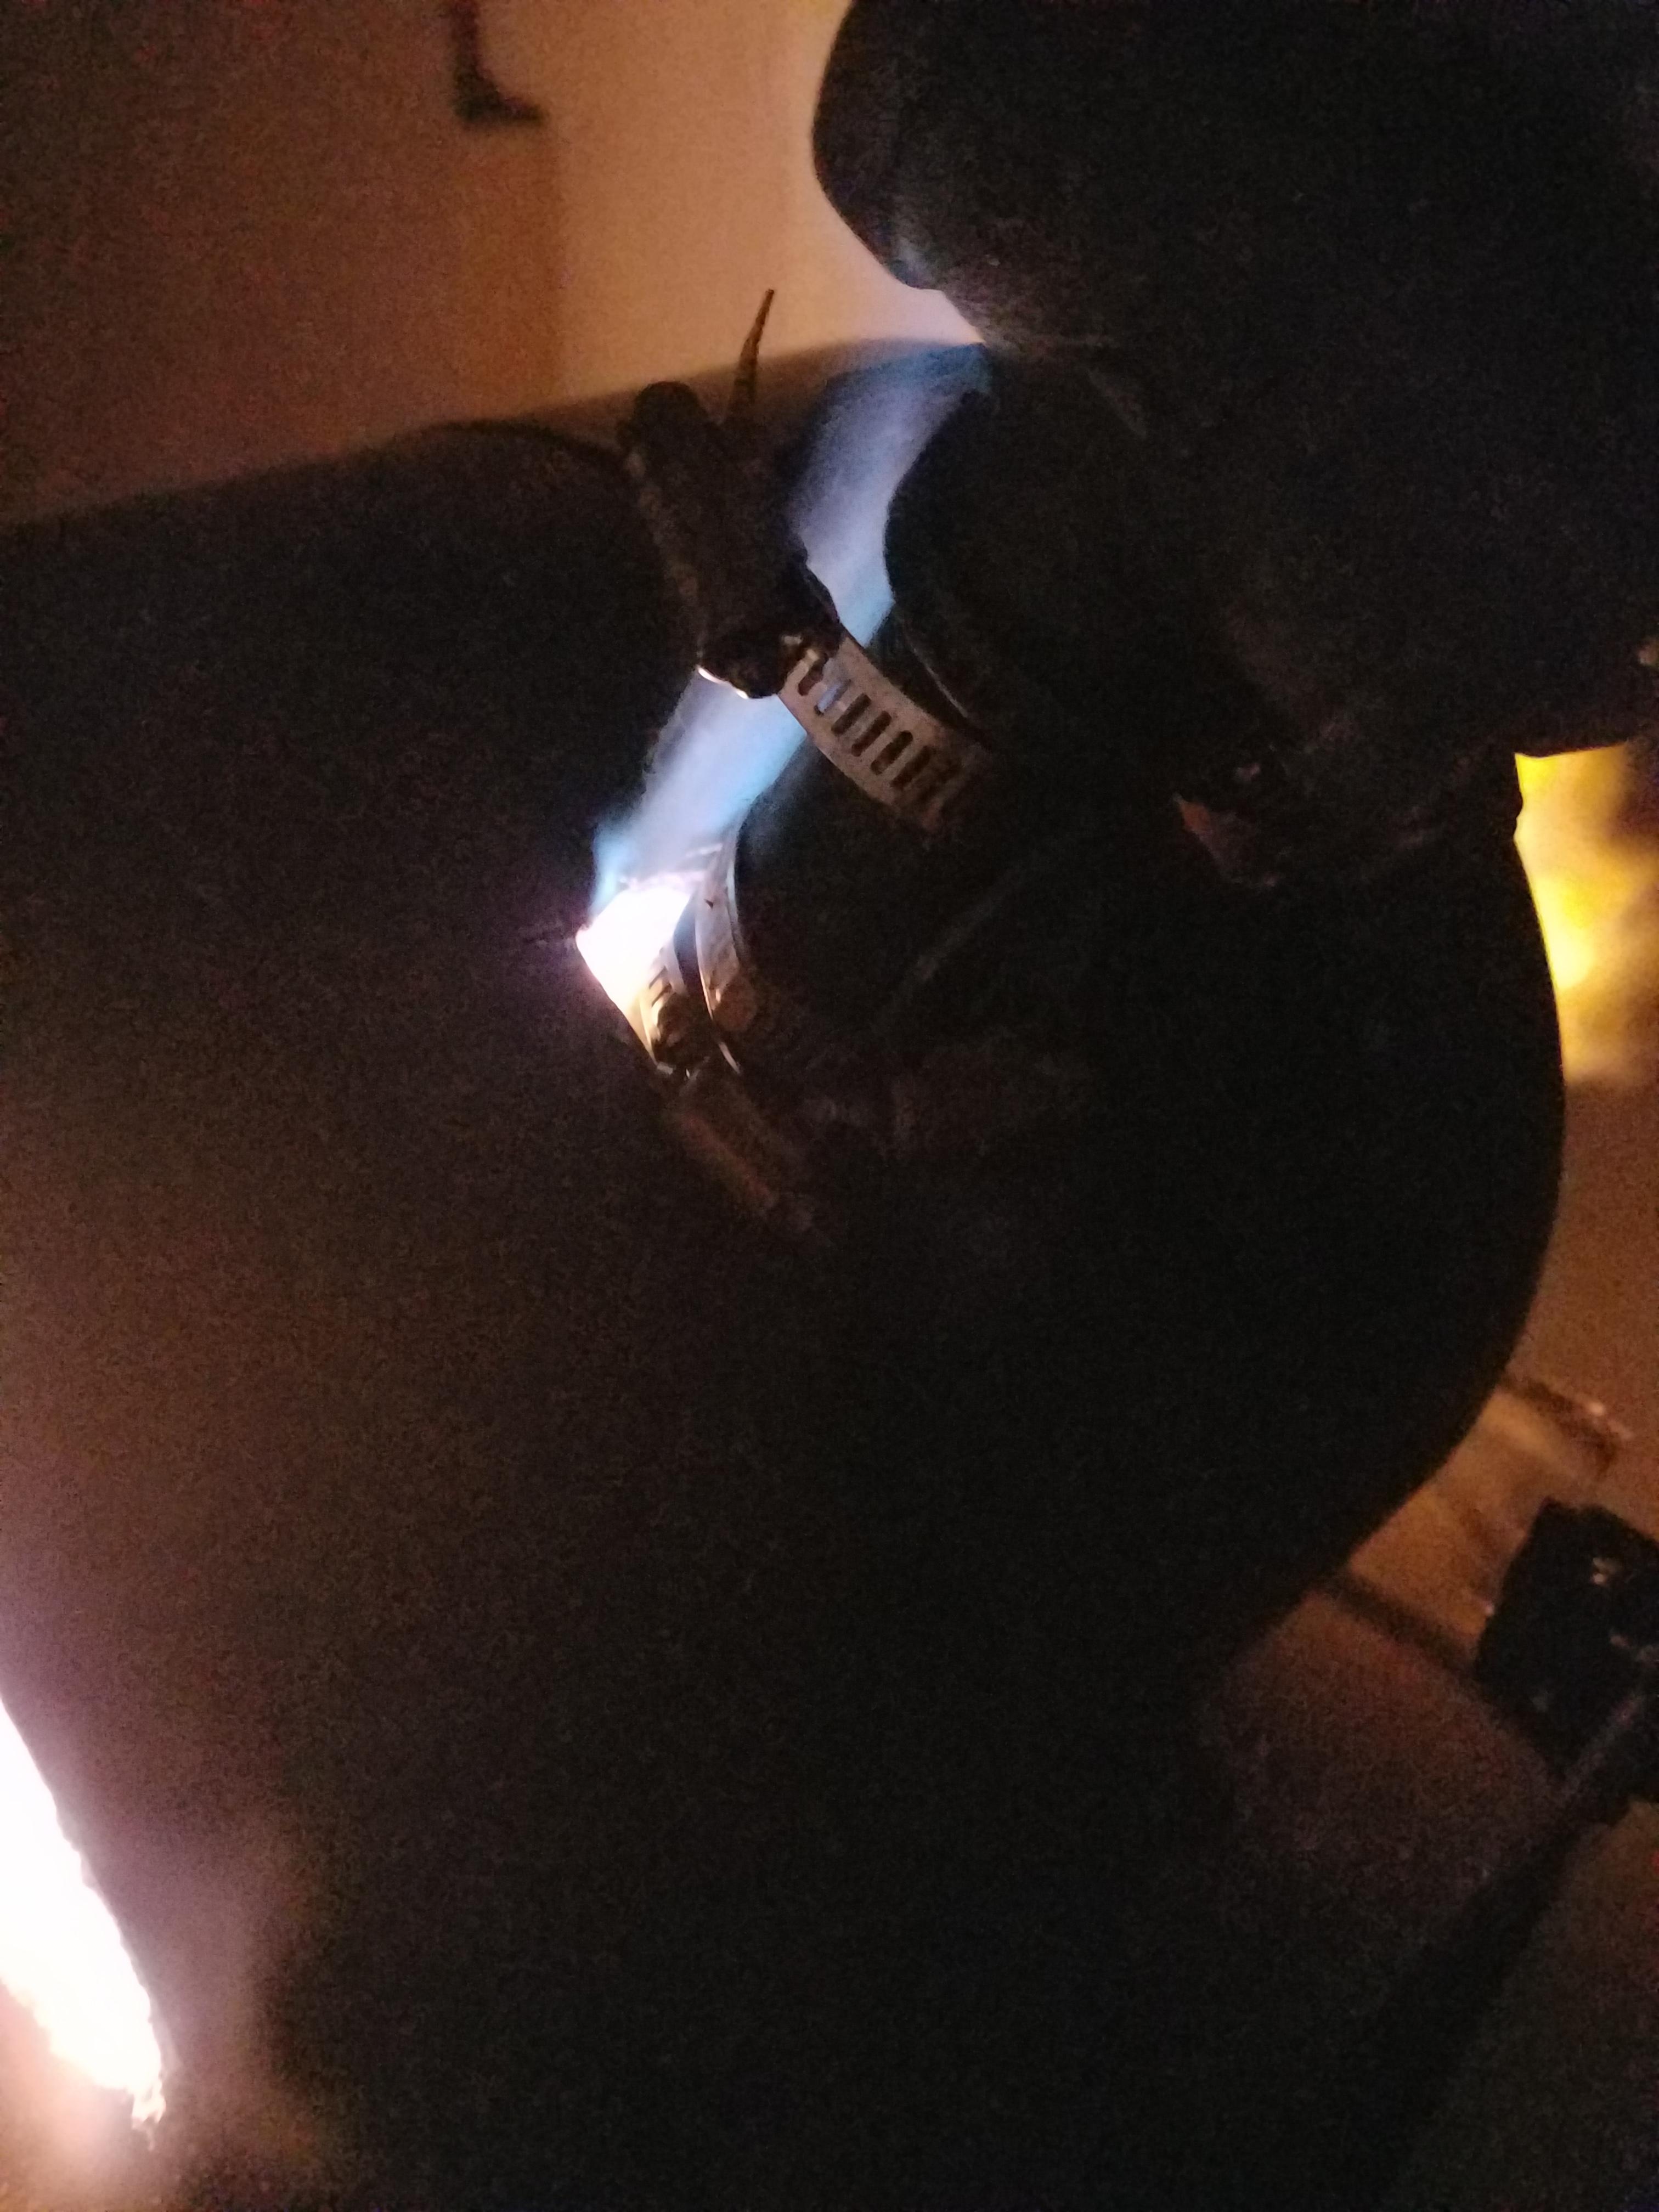
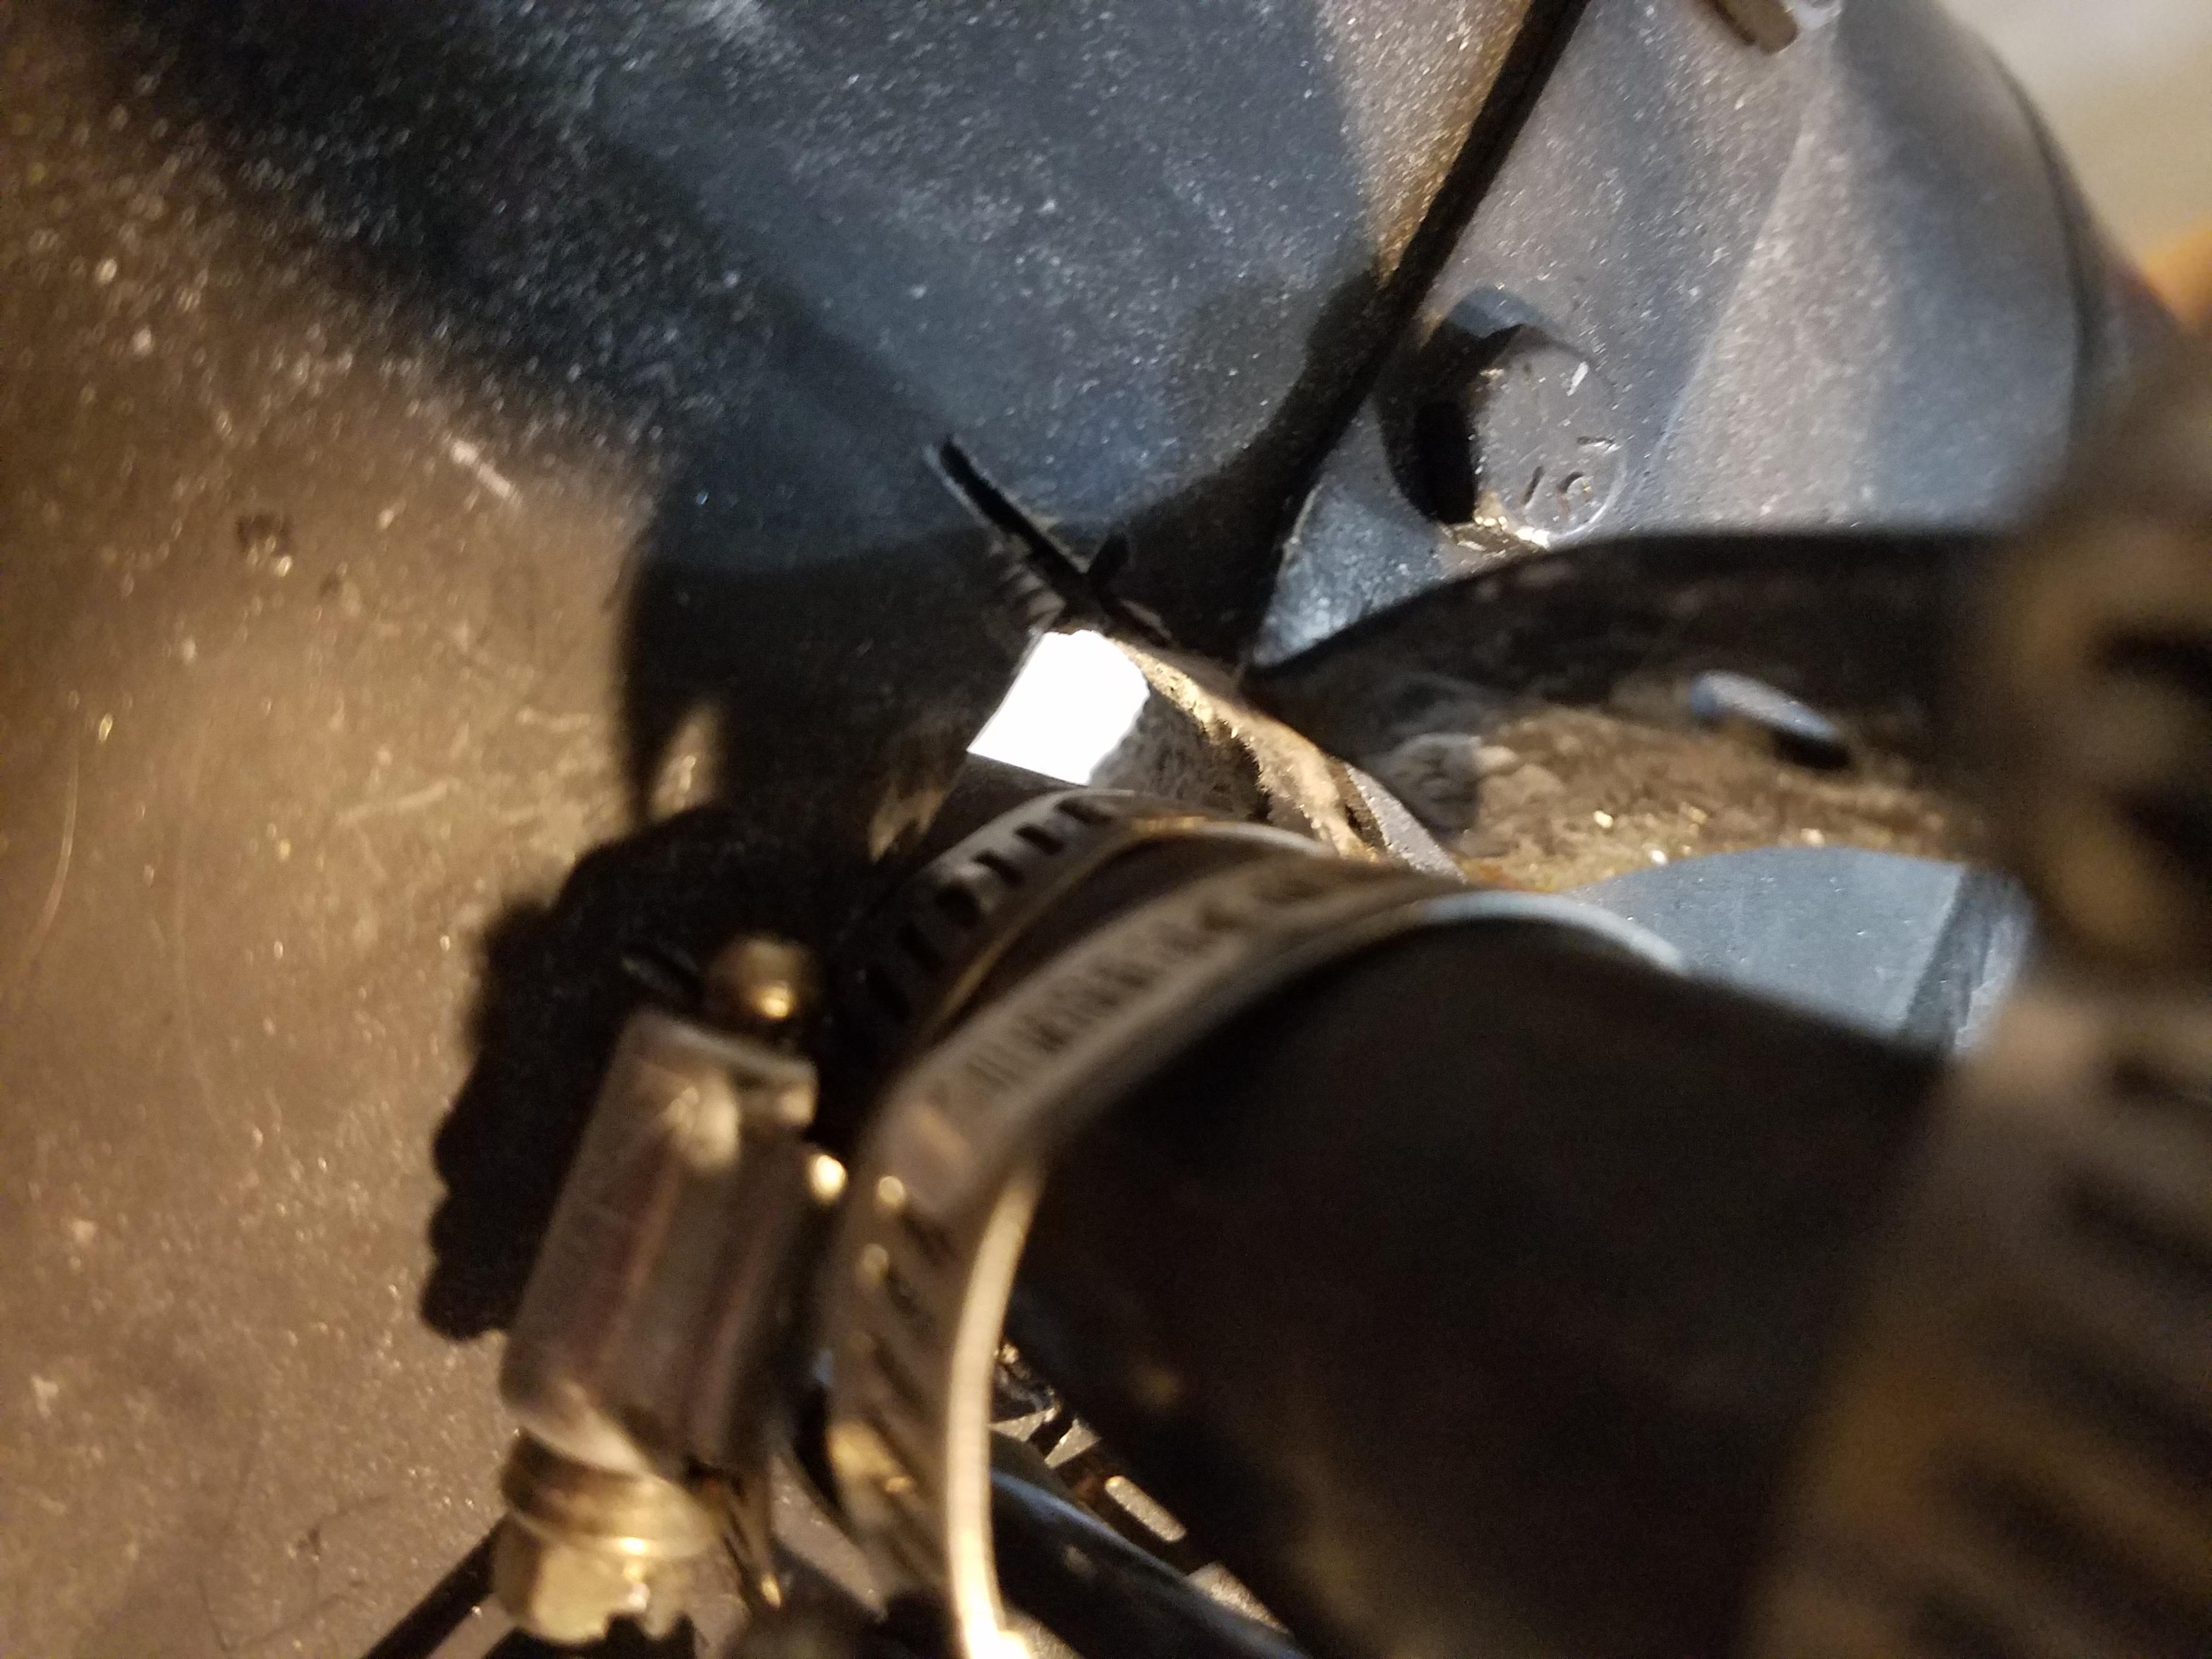
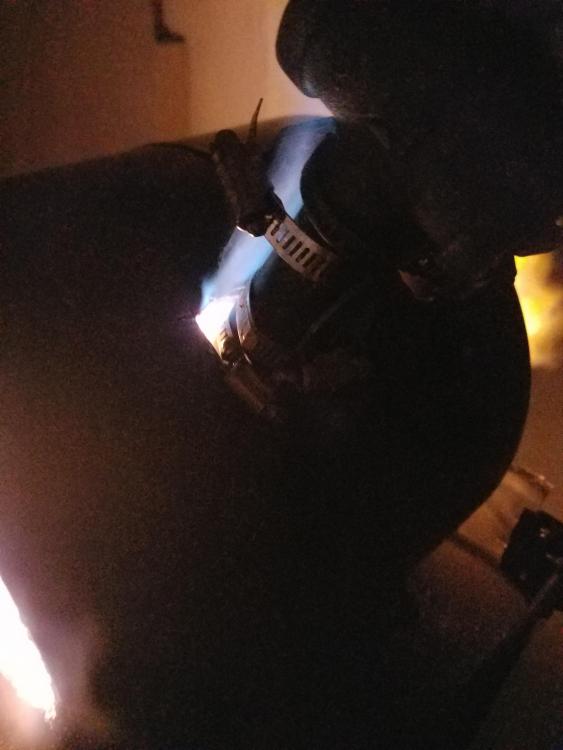
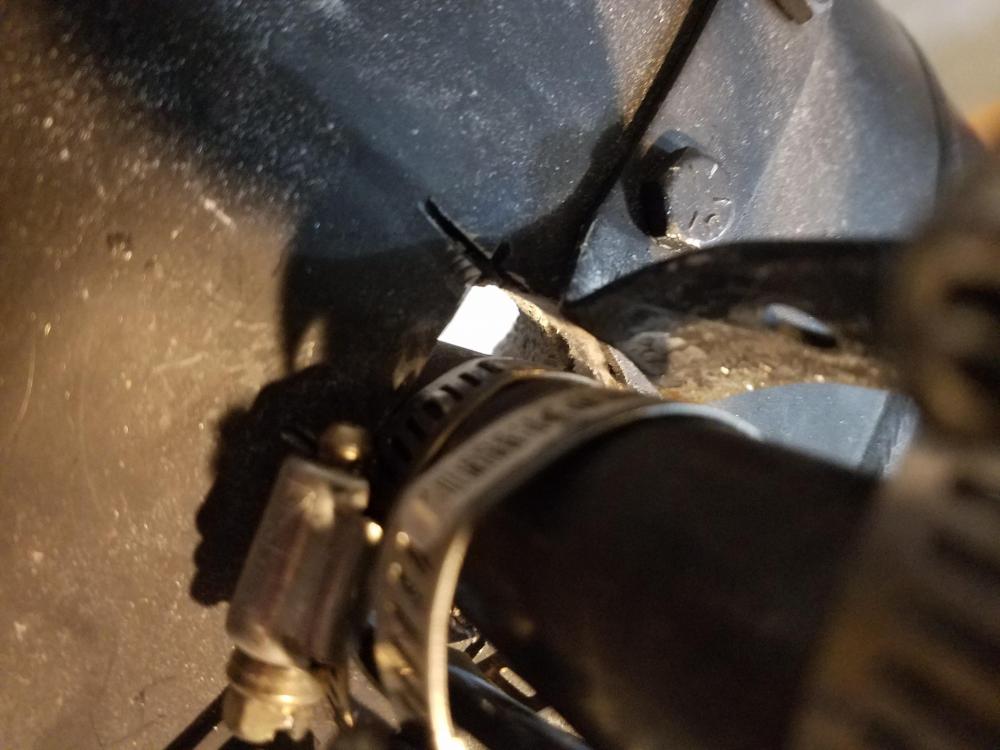
I ordered some tip cleaners and poked around but all seemed well. I'm sure I'll need them again sometime. So I realigned and adjusted the depth of the burners and that seems to have helped. However, in doing so I also created a significant gap in my burner port. Now I have blue flames coming out of one of them (pic attached). I have some leftover kaowool I could stuff down there but don't have a way to protect it from burning up and creating toxic fibers. I have a full 5 lb bag of kastolite too. But I'm not sure how I would go about using it to patch a burner port that's that awkward. Or how to store the leftover kastolite since I won't need all 5 pounds. Thoughts?
-
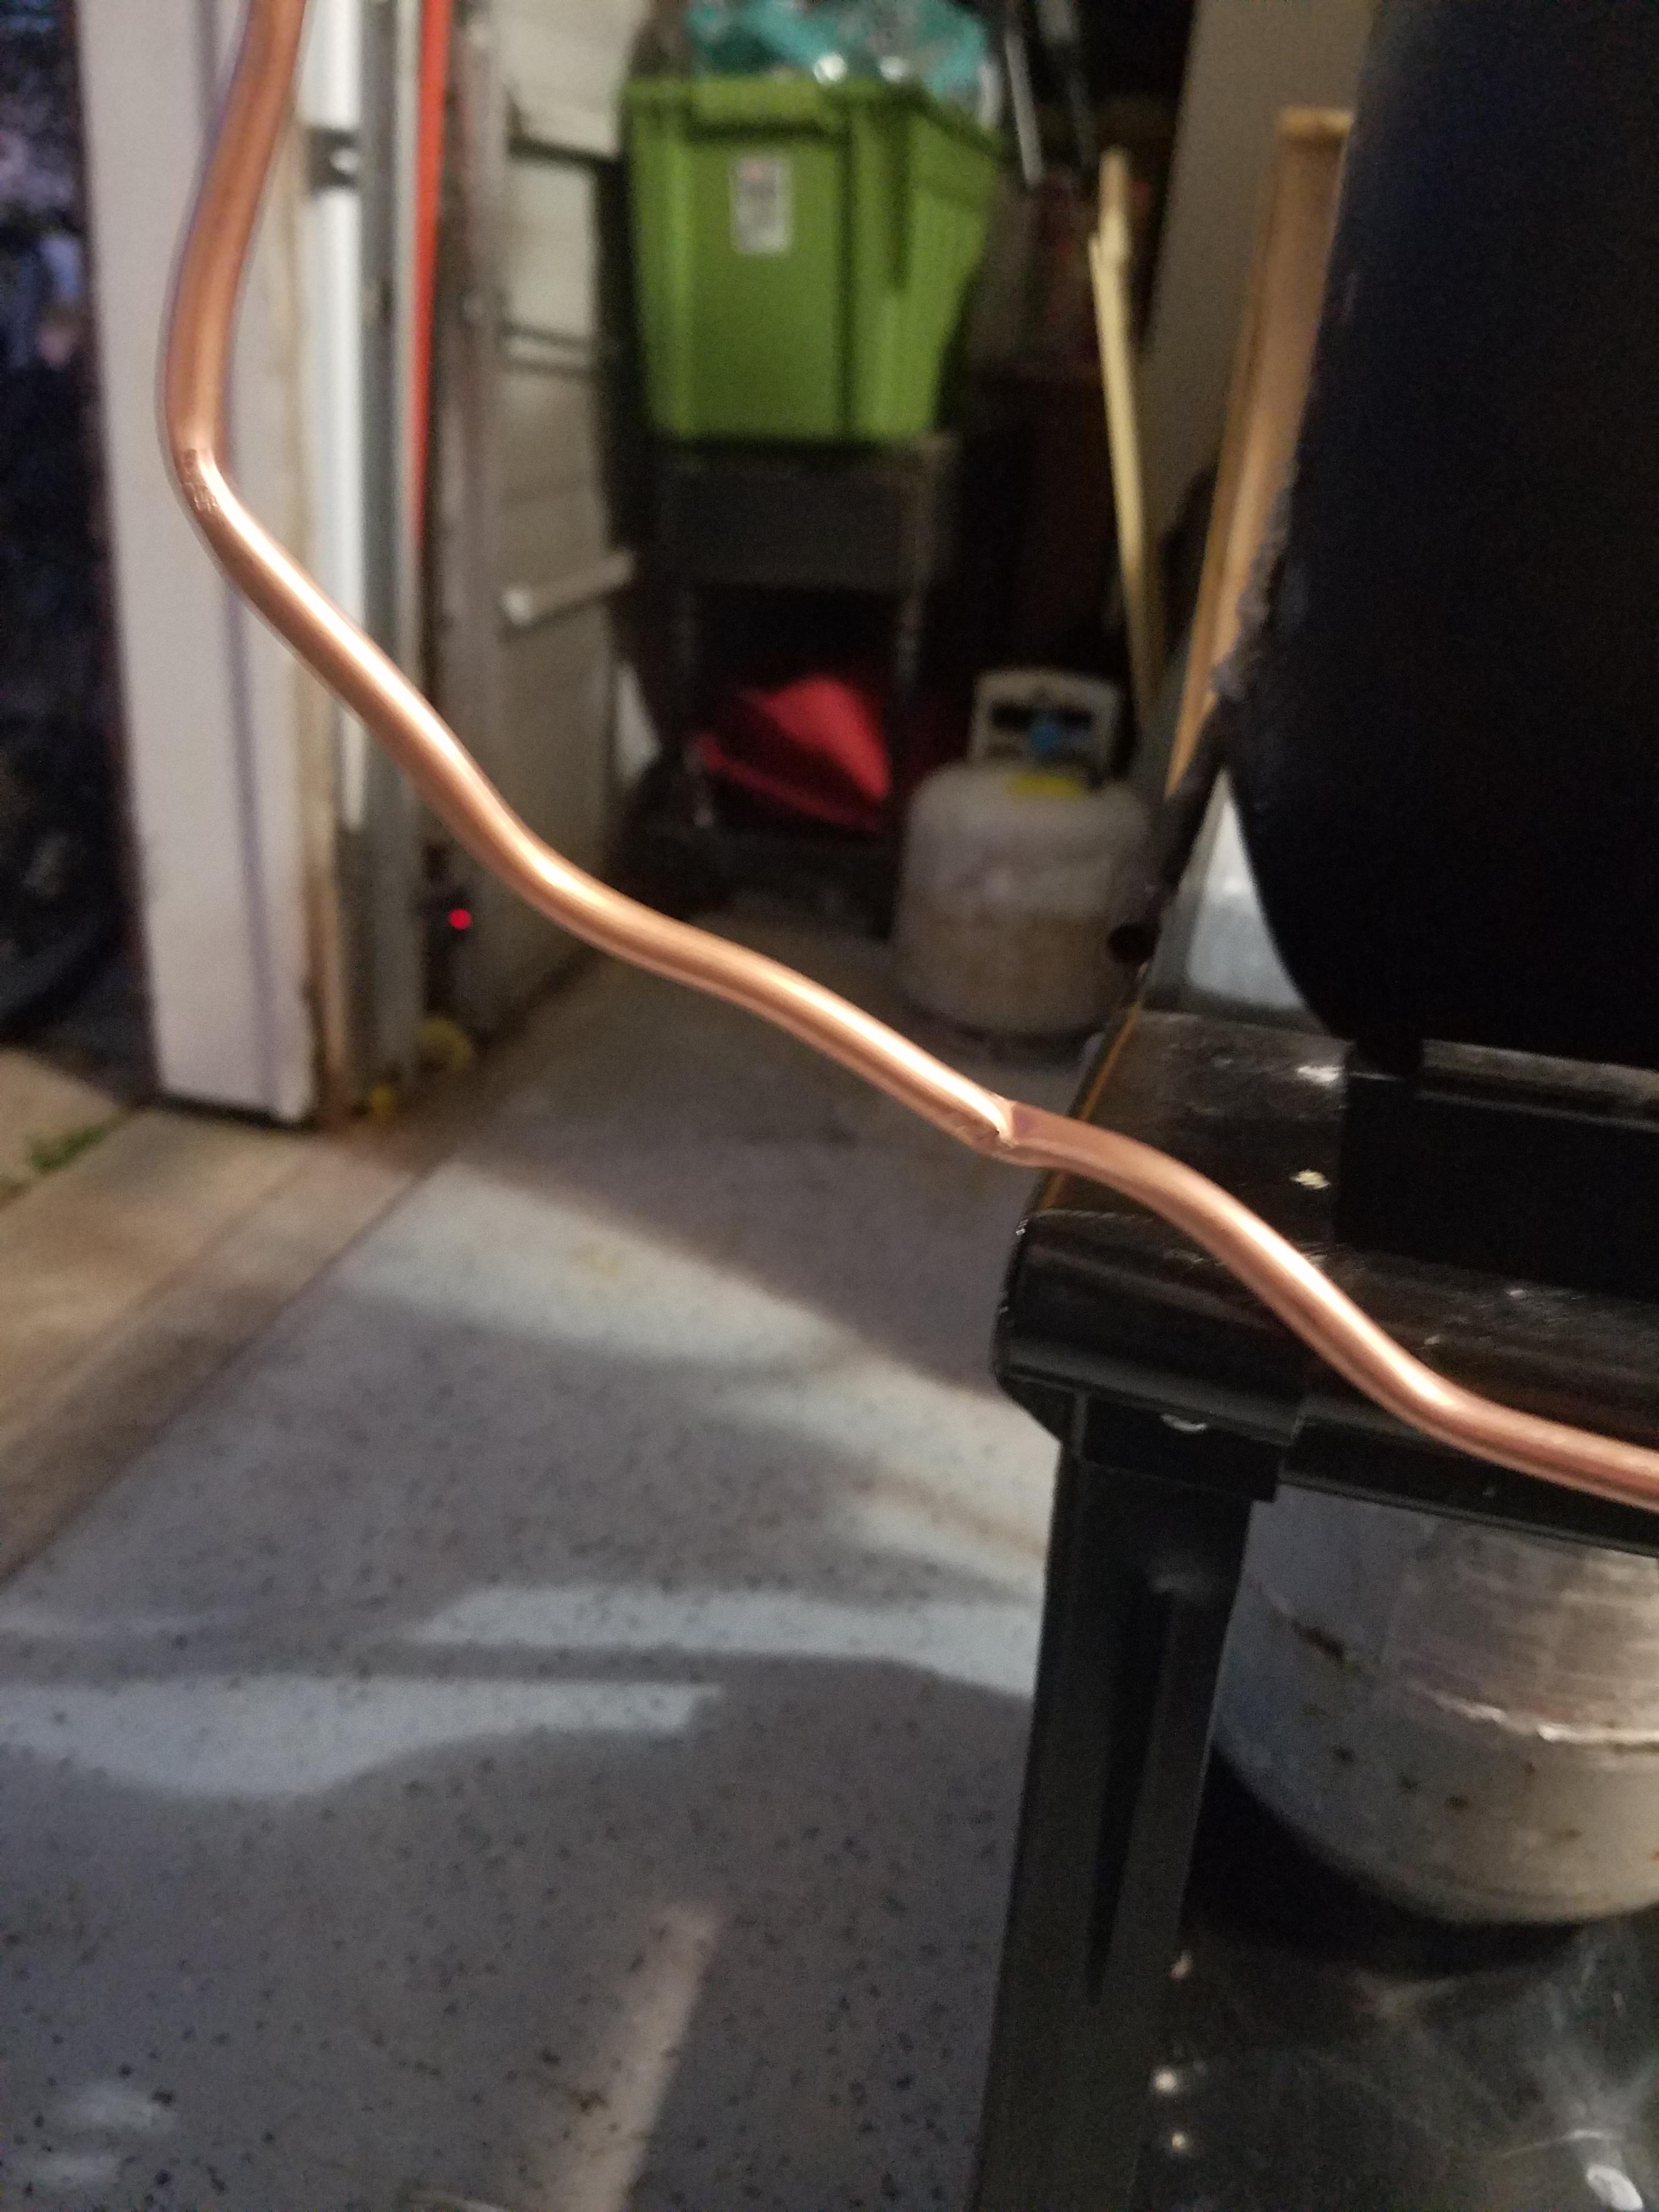
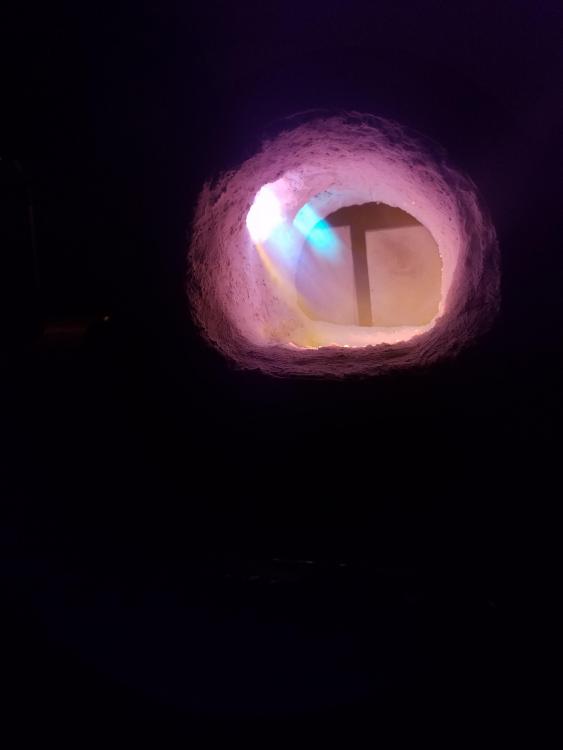
My dual frosty t burner propane bottle forge was up and running beautifully. Even at 2 psi I could get it up to forging temps. Alas, I managed to put kinks in my copper line during installation. So I went ahead and replaced the copper line and now my burner sputters no matter the psi range. I didnt move the burner nor change anything other than the copper line. From reading threads online I see 3 possibilities: 1. Now that the line isnt kinked, its created a flame with too much propane (it looks blue to me, video attached) 2. Not enough oxygen going into the I take. I'm inside a garage with the door open, and it wasn't unusually windy. 3. Exhaust fumes mixing in with the combustion, but I'm not entirely familiar with what this means or how to fix it. Since it was working great before, my best guess is reason 1, which I think could be fixed by cutting back the mig til? Am I on the right track here? Ps the tiny bit of dragons breath coming from the first burner is from plistix I just put in. The copper line that was replaced was the one further away.
-
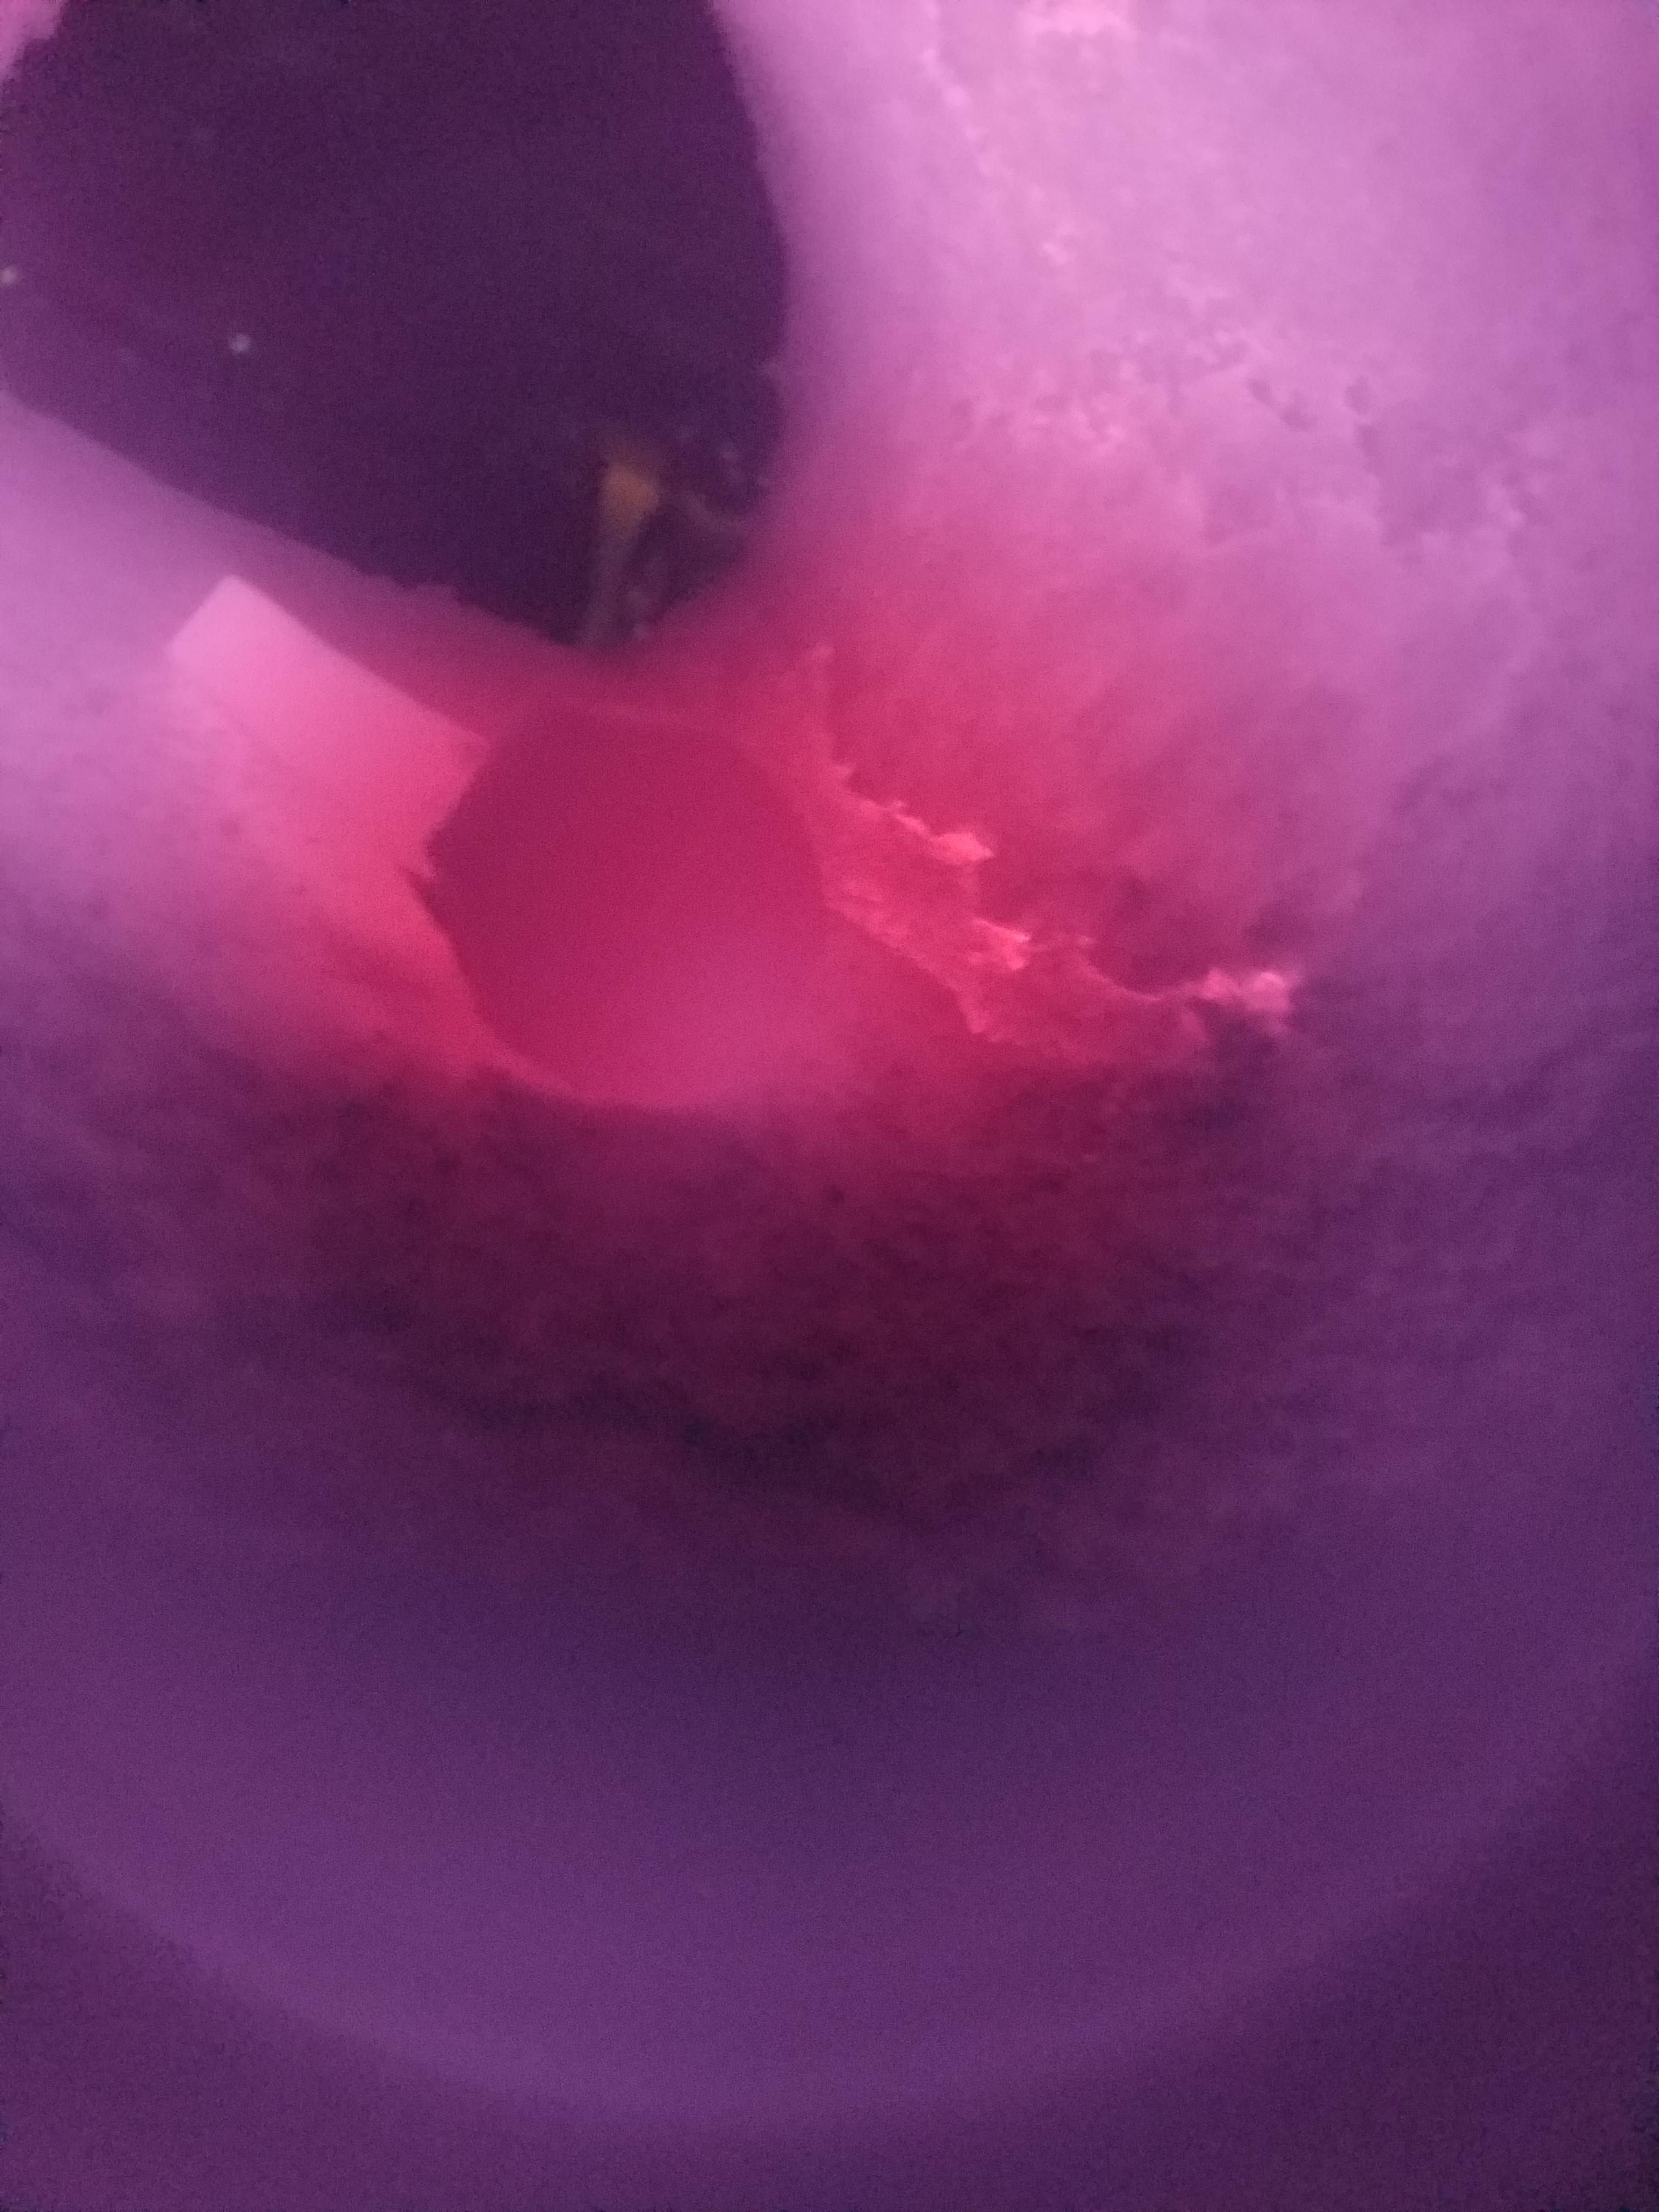
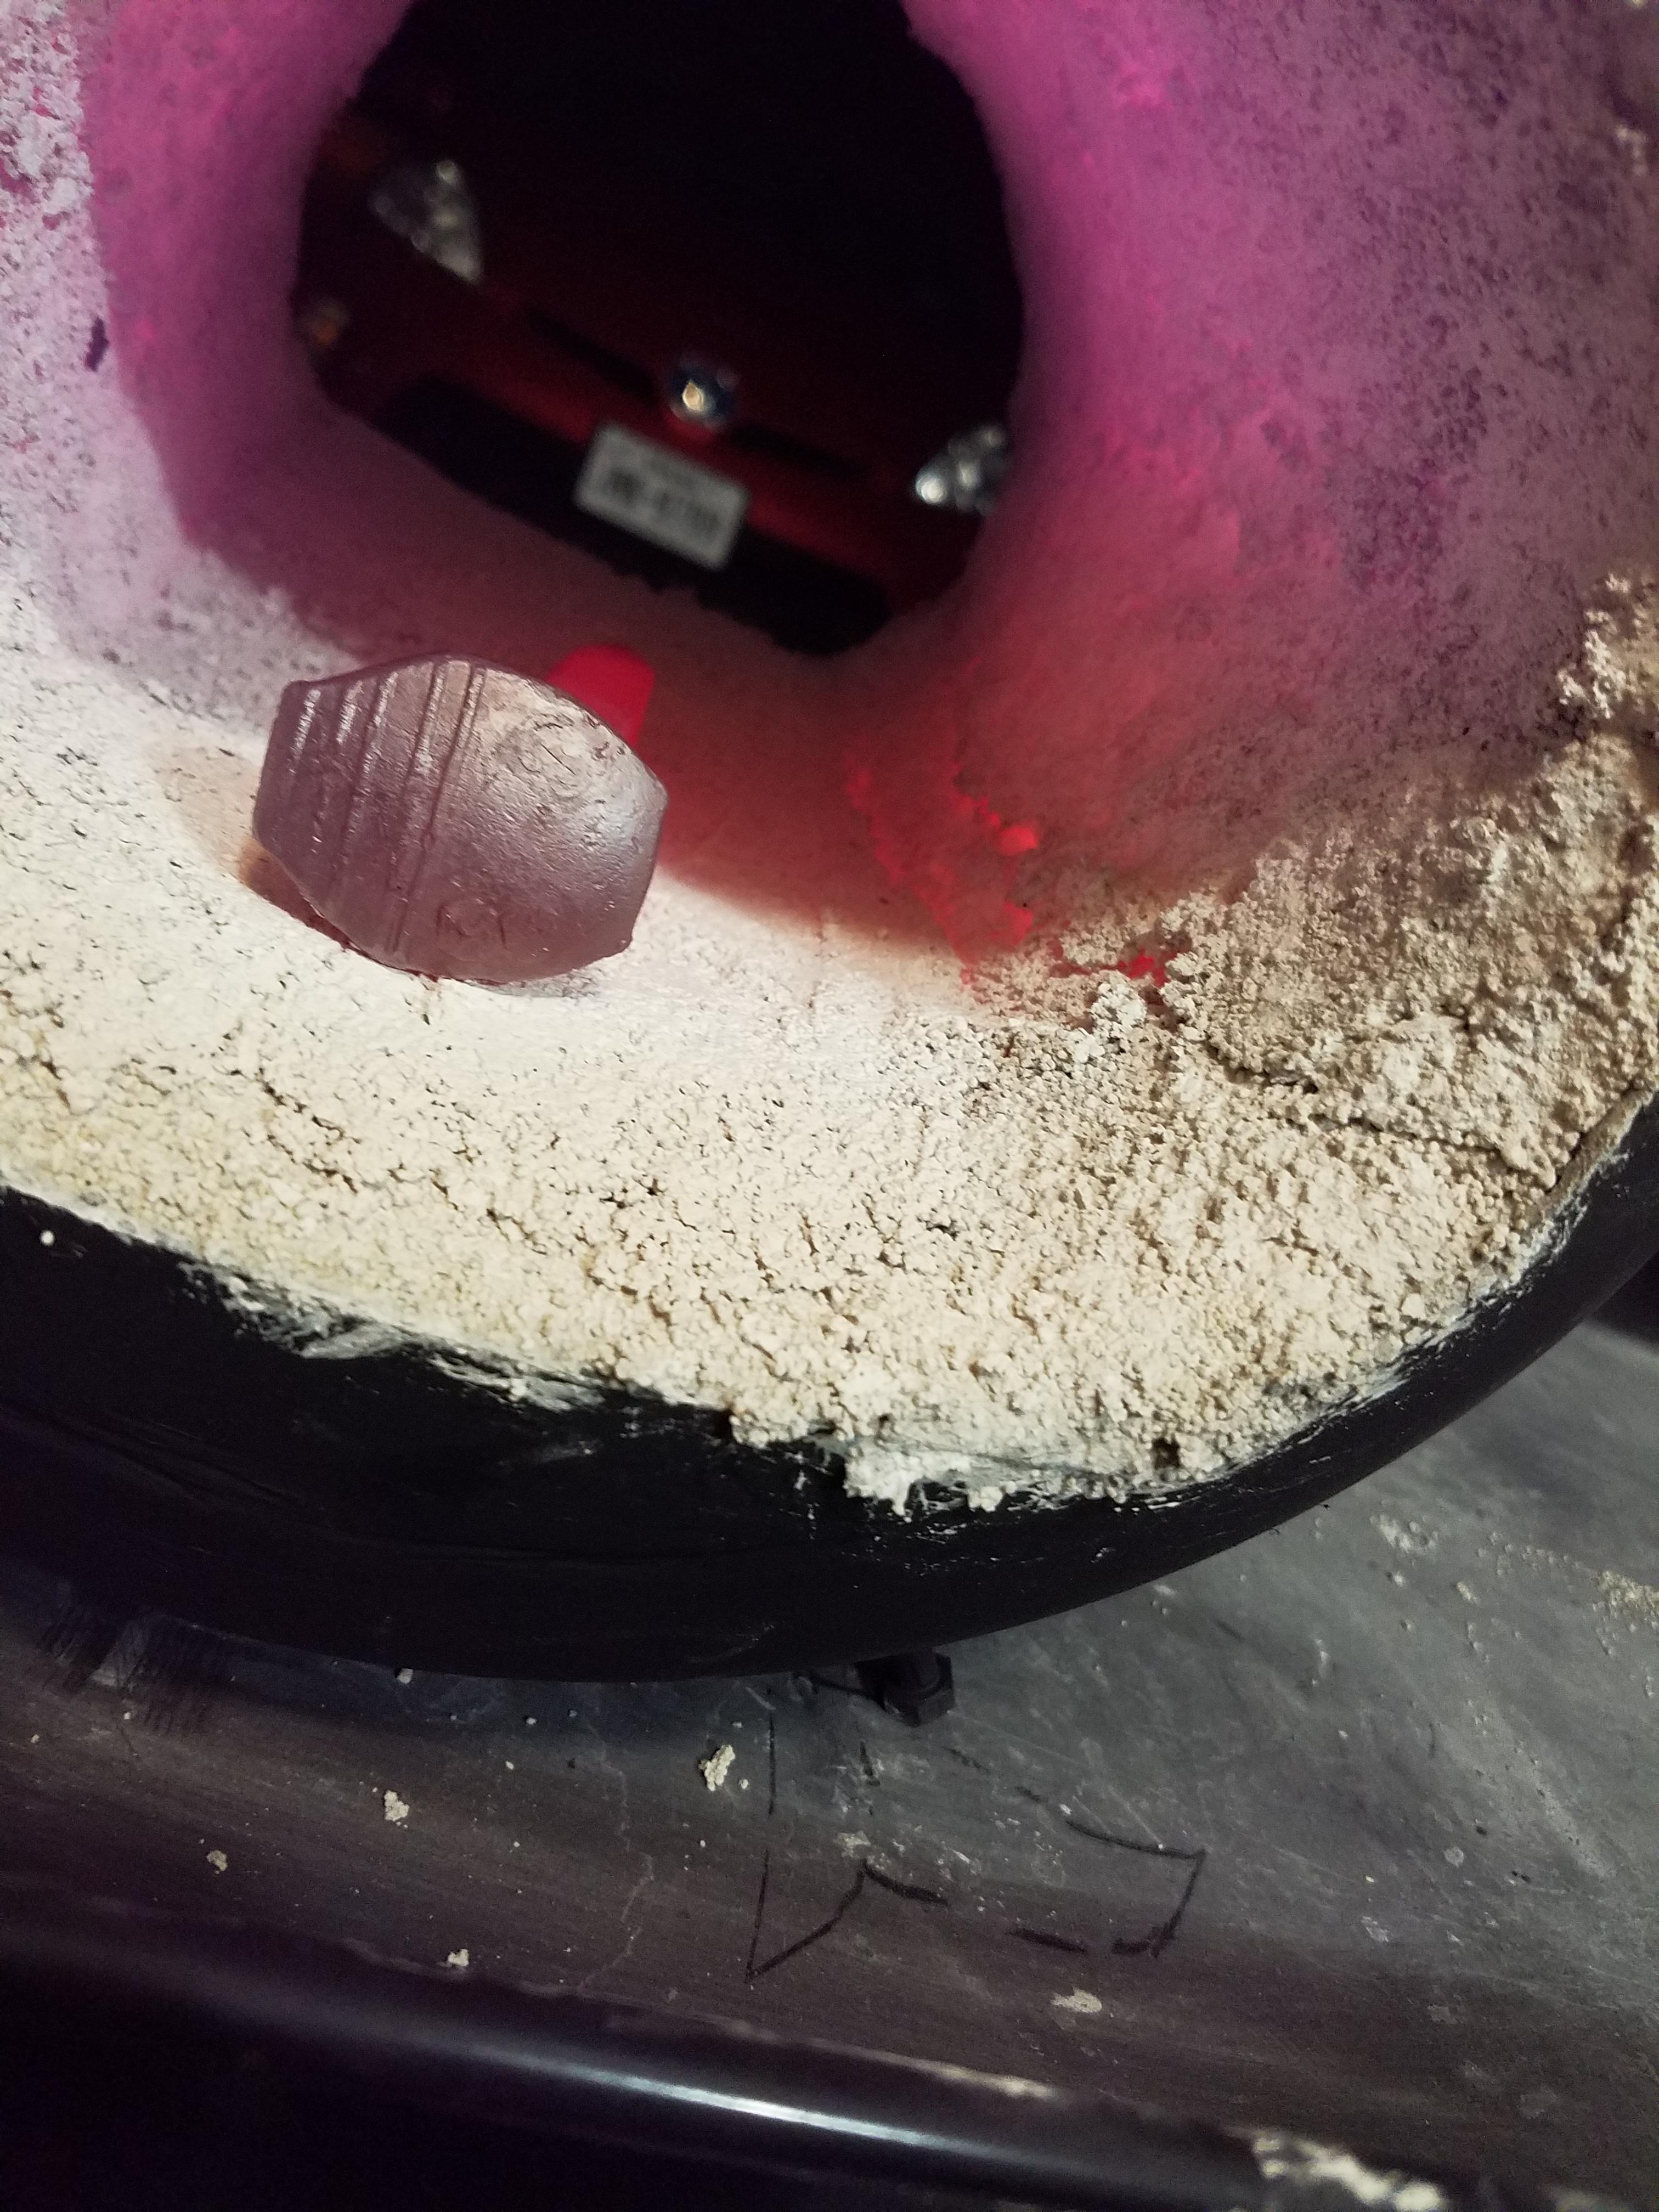
I did this casting in 3 sections, and the "cracking" is where I overlapped those sections. I applied it via hand instead of the tradtional pour. I only have 5 more pounds of the castable refractory left, so definitely not enough to do an entire layer. Should I just try to "patch" those cracks and throw on a layer of Plistix? I tried searching IFI for info on repairing or patching cracks and only came up with one thread with the above suggested. For those wondering, I asked Larry why the ice copper line wouldn't work, and he stated that it wasn't up to code.
-
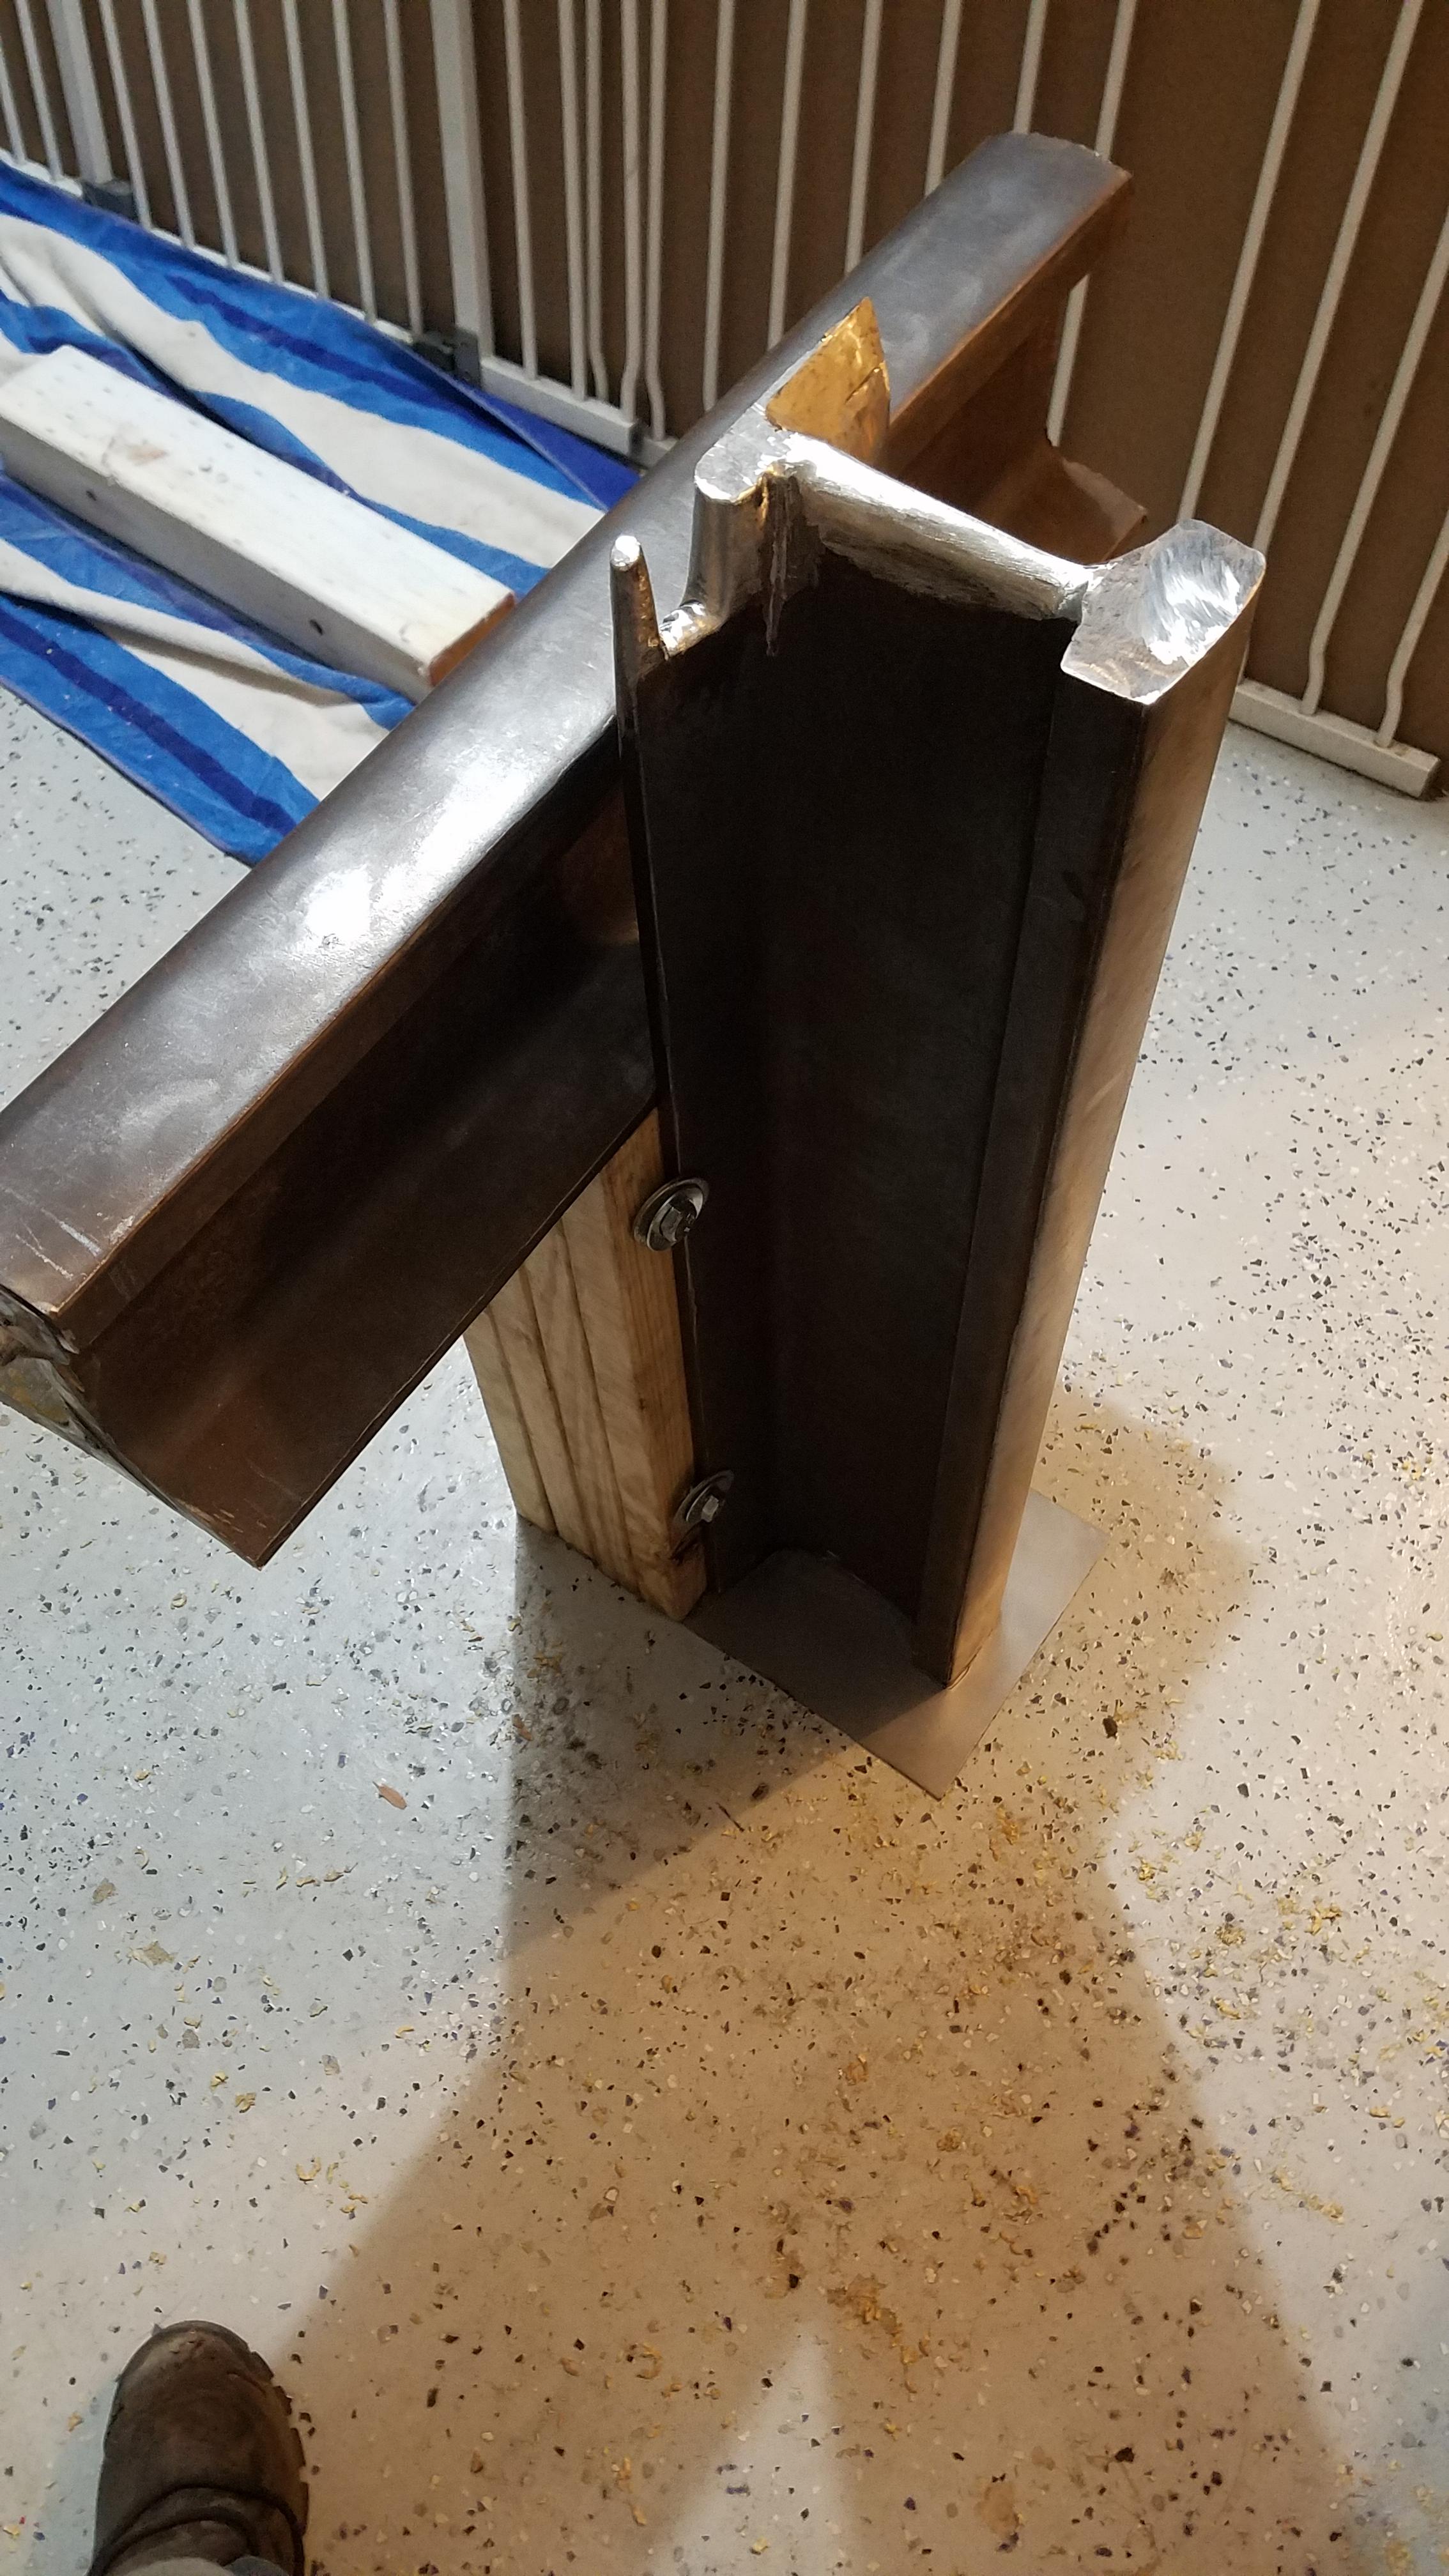
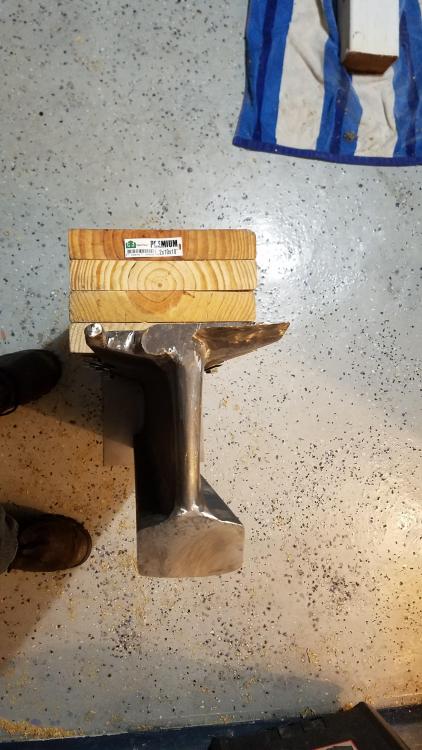
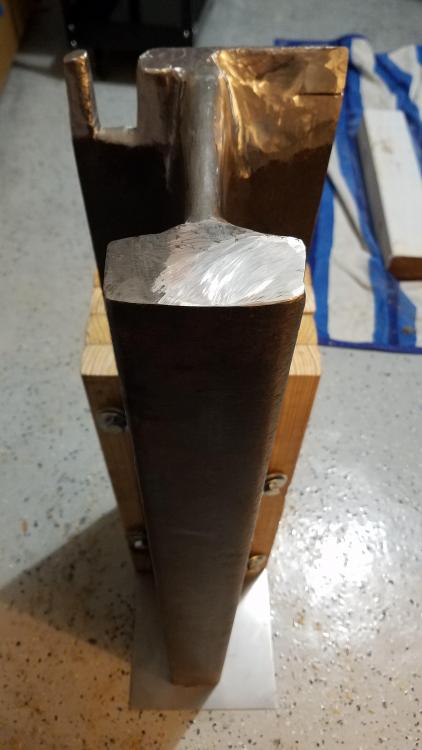
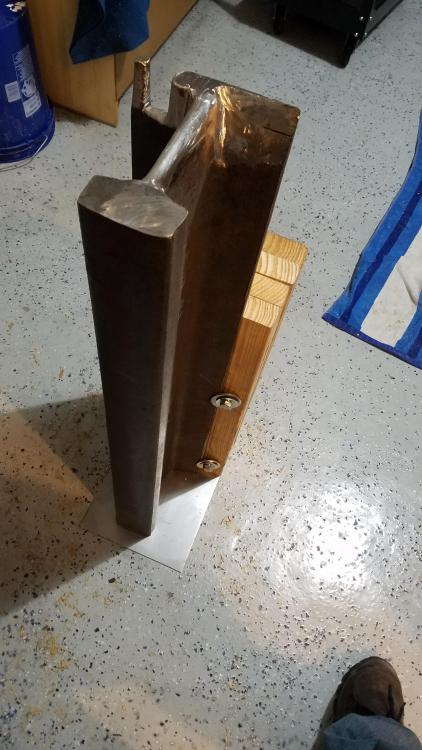
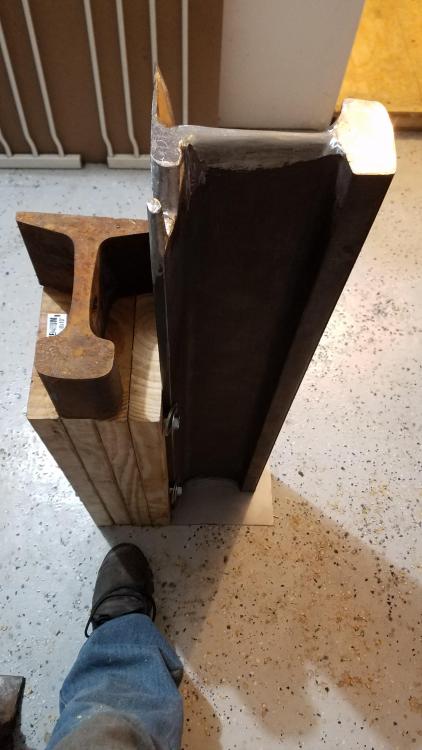
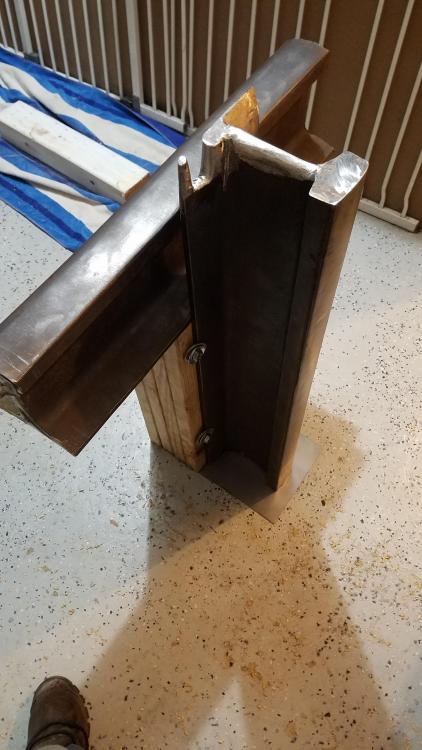
So since I am using a modified vertical railroad anvil, in trying to problem solve for some of the areas its lacking in. Unfortunately, I can't weld/don't have a welder. I was wondering if it would be a good idea to drive down 1 inch interior square tubing into my anvil stand to create a hardy hole? Some problems I foresee but don't know how realistic they are: 1. The anvil is blocking access to 1 side of the hardy and would be a danger to any wild swings. 2. I may crack the 2x6's from both creating and using the hardy. 3. The hardy would be significantly lower than it should and that could be problematic. Am I worrying for nothing?
-
I did make sure to leave thread at the end, and that is precisely why you see so much. By moving the tape down, I had to go over the nut part of the nipple as well. I was given instructions along time agothat it was 2x around. not 1.5? Also, I am happy to report that everything seems to be working fine now, though on not sure what changed. I was able to work the psi up to 30 this morning. I kept it there for about 7 minuites until I started to get concerned about the kastolite degrading. Turner it back down to 2-2.5 and it still jeqtednup my railroad spike beautifully. Pretty happy camper and 8 appreciate everyone's help. Wouldn't be forgingwithout you guys!
-
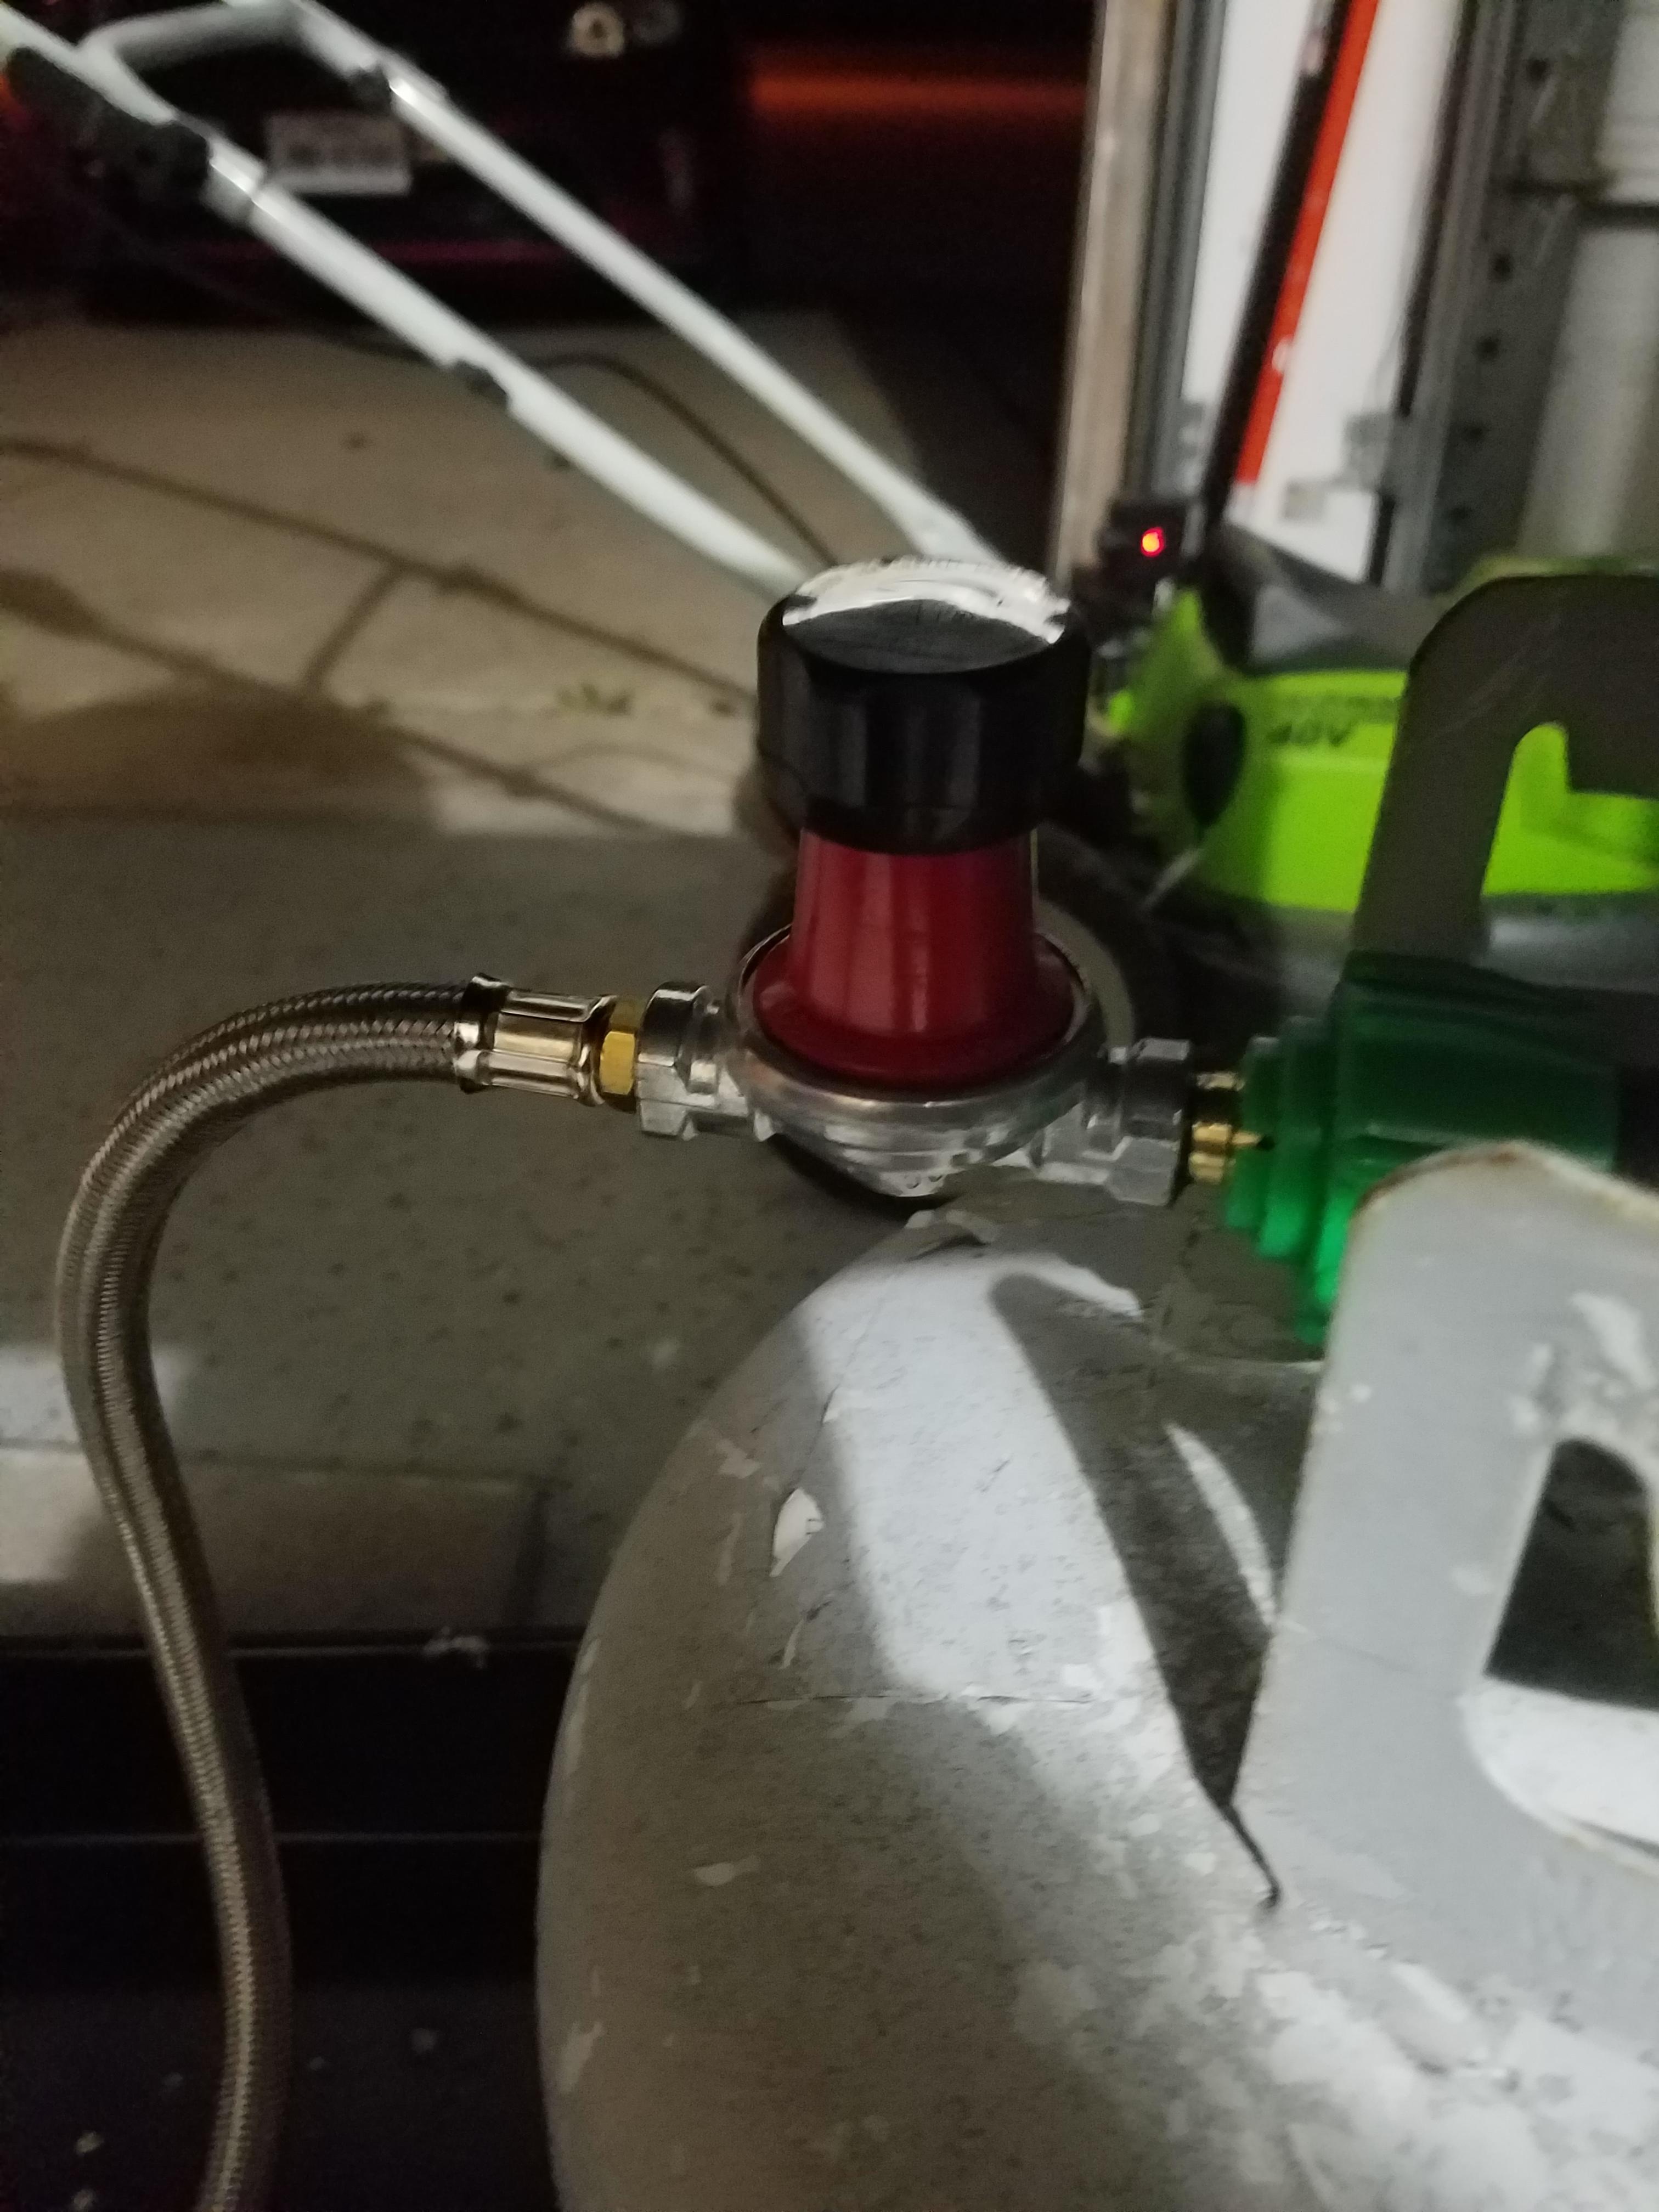
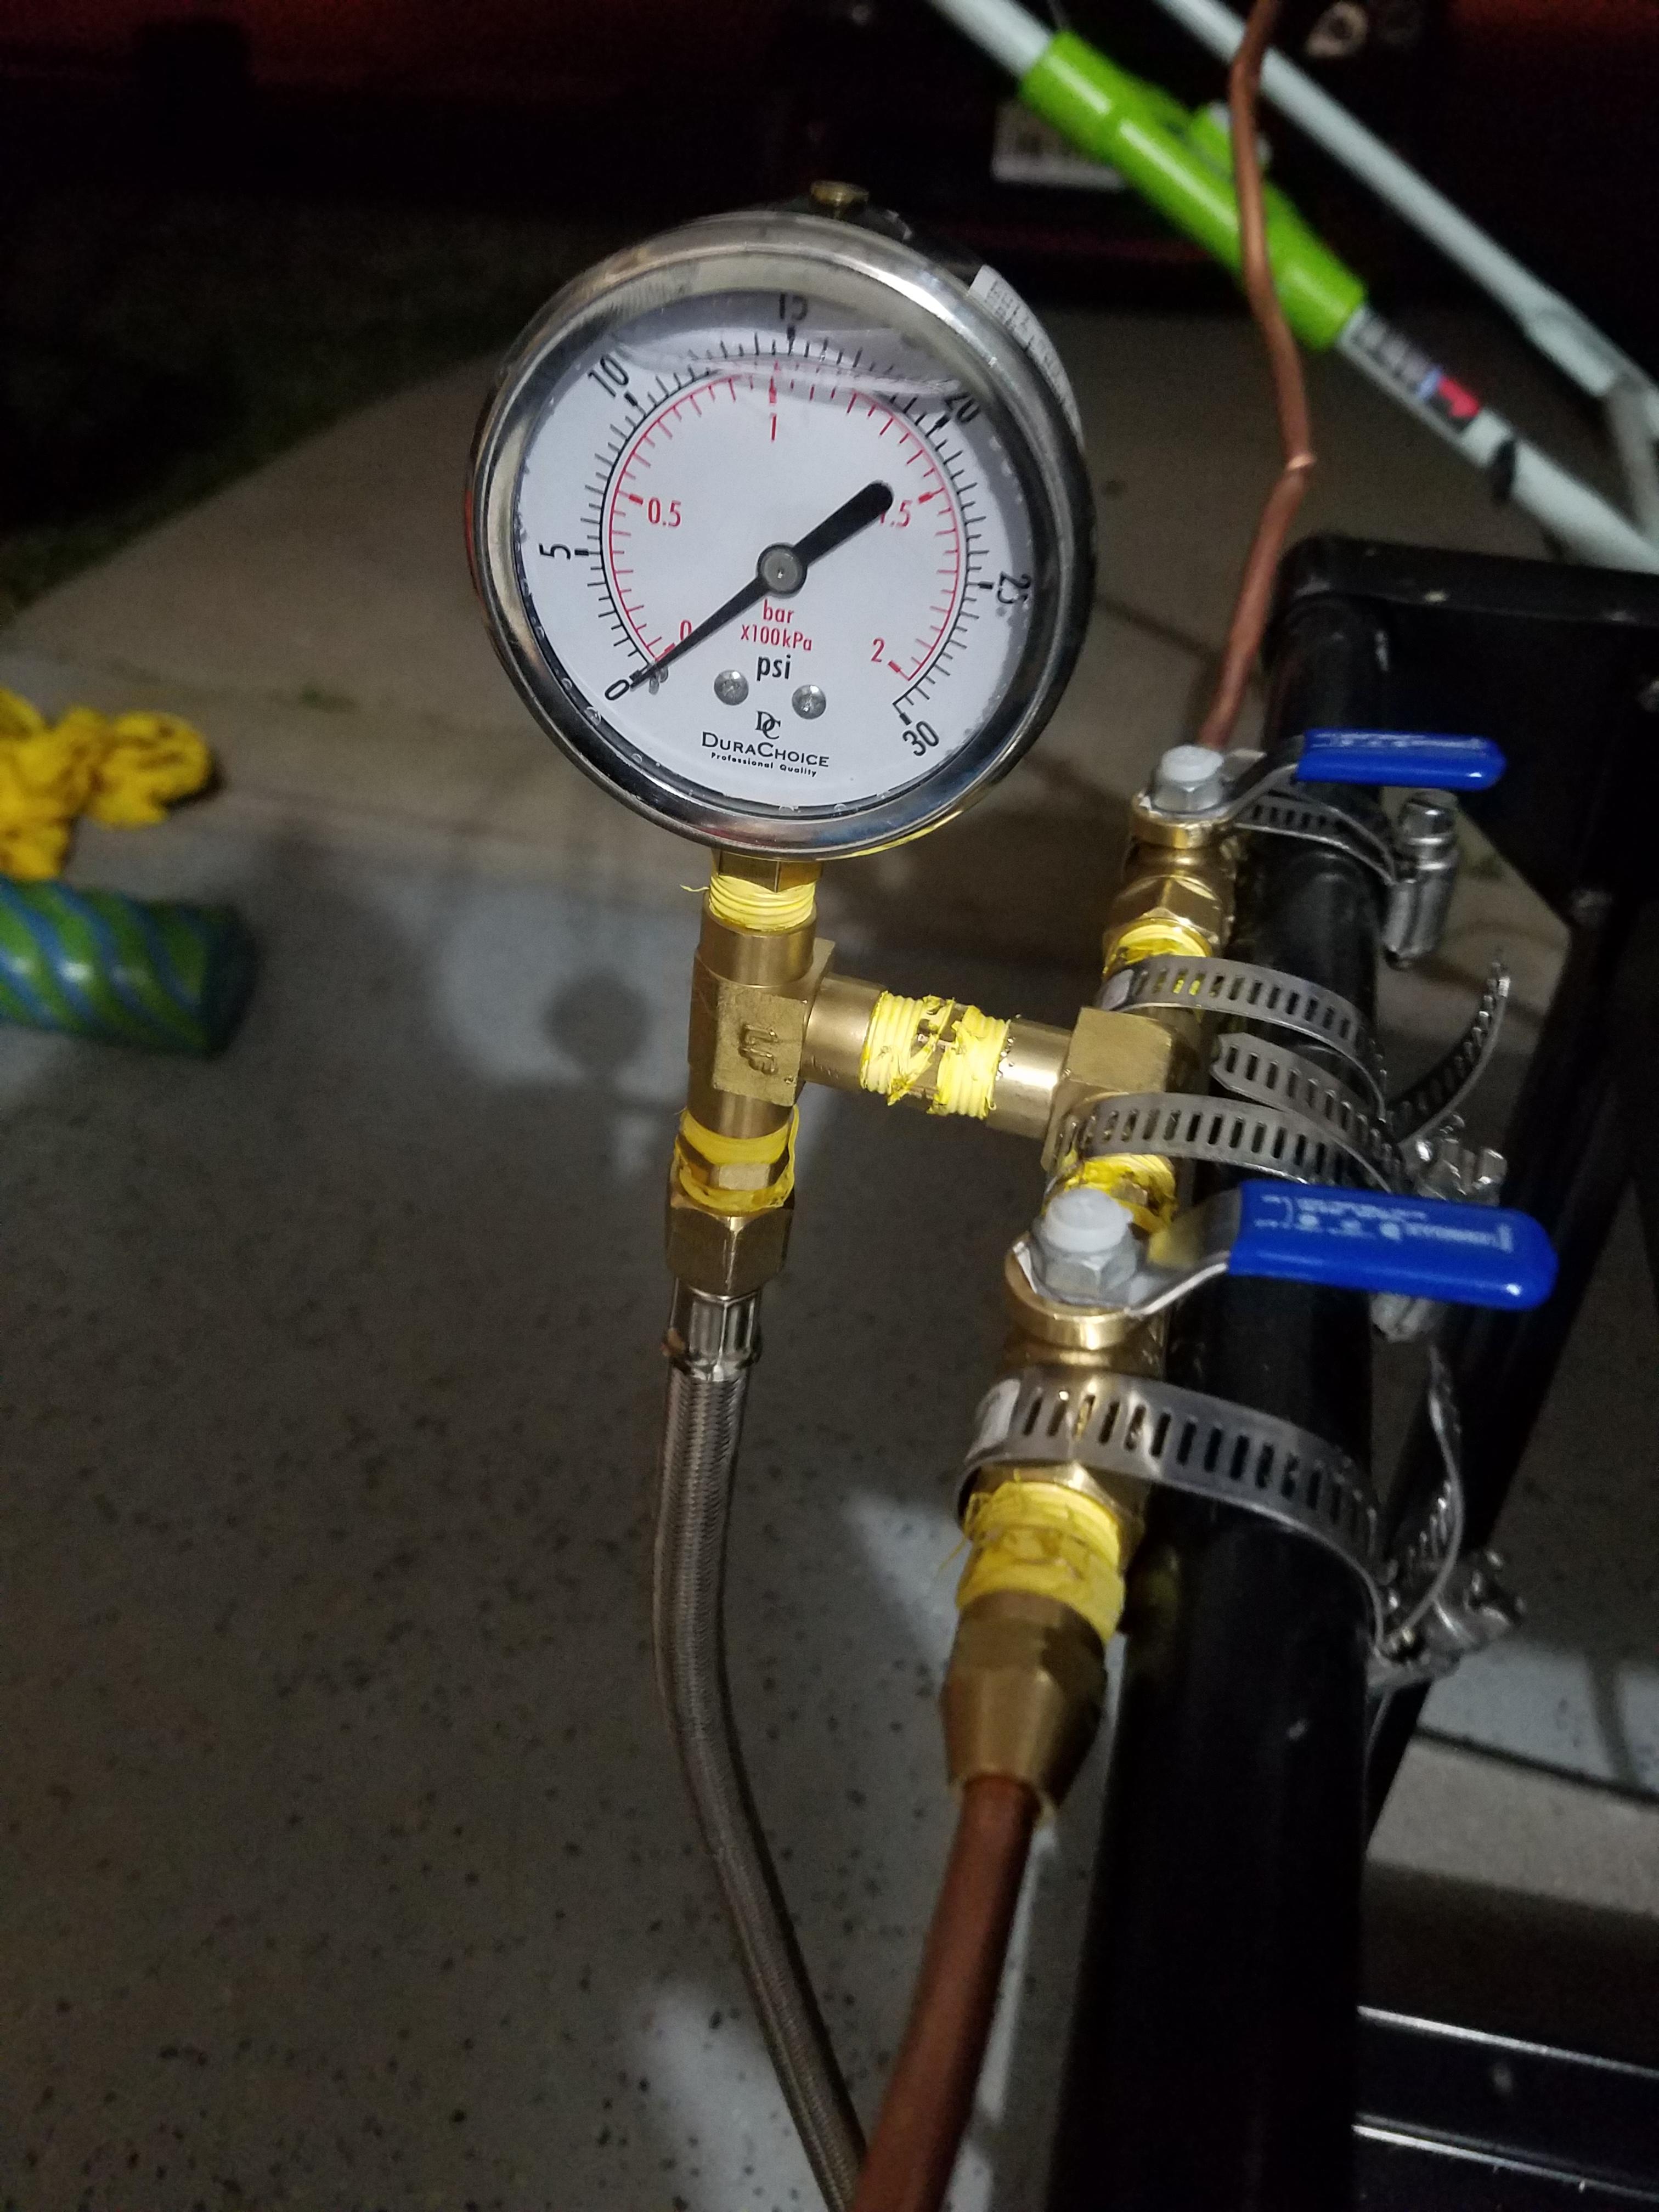
I take it back. Psi cant be at 2. Either my gauge is faulty or my regulator is, and I'm leaning towards the regulator. When I went to test the copper lines tonight with higher pressure the gauge didnt budge. I know gauges are really just yo give an idea and can be inaccurate, but since this is new and not moving above 2.5 I'm thinking something is wrong with my regulator? Here is a pic of both. It it maybe because I mounted the gauge where I did on the T instead of in the middle?
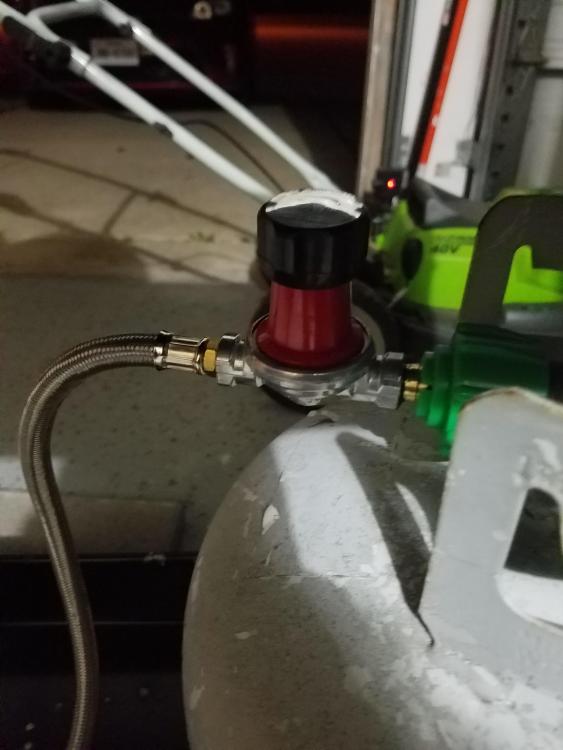
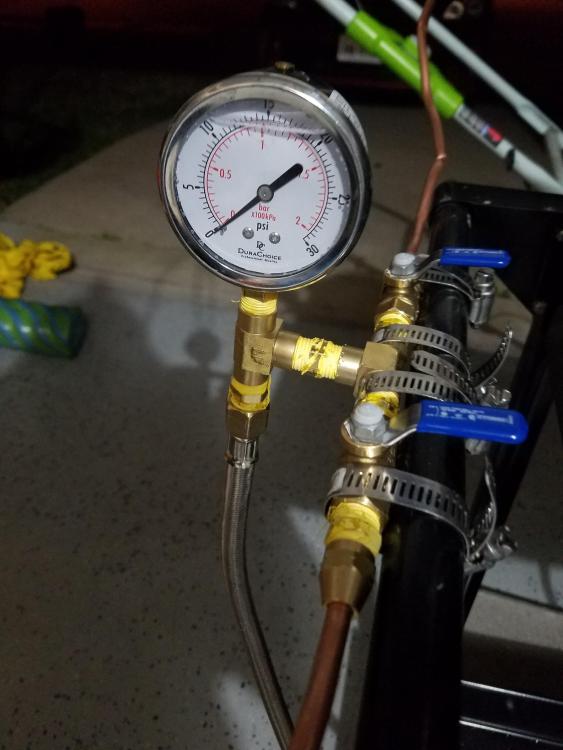
-
That makes me extremely happy to hear coming from you two! I actually had a challenge with not letting the forge get too hot while curing. I tried to counter that by shutting it completely off in cycles. I dont..but I see another purchase in the future. Is the line safe enough to use in the meantime?
-
I was going to test last night but kept it low because of his comment. The connections I'm using is a .25 flared connector with a .25 flare nut. Another pic attached. I noticed 2 pinches in the copper line from not being gentle enough. I used pliers to try to straighten it, is this a problem (pic attached). I did 3 sections of the kastolite and the area in question is think because i was attempting to transition the seam. Frosty T's baby! I used a flaring tool that had different sized holes, one of which was .25. Is that what you are referring to?
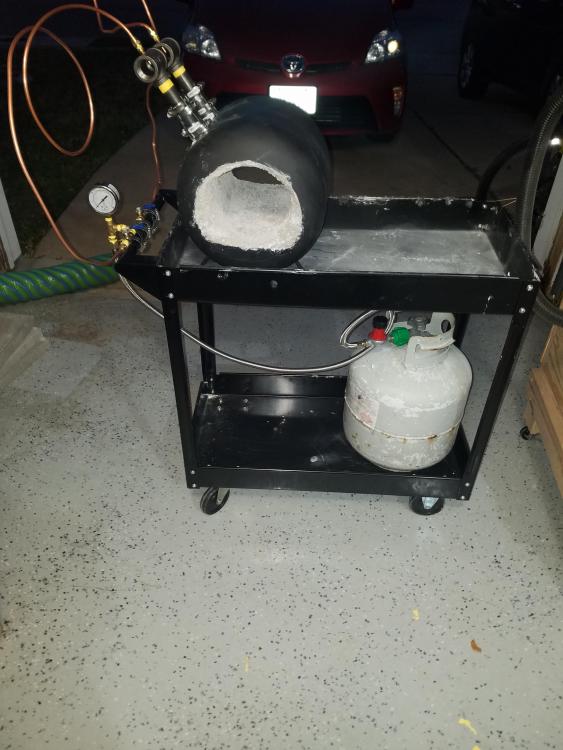
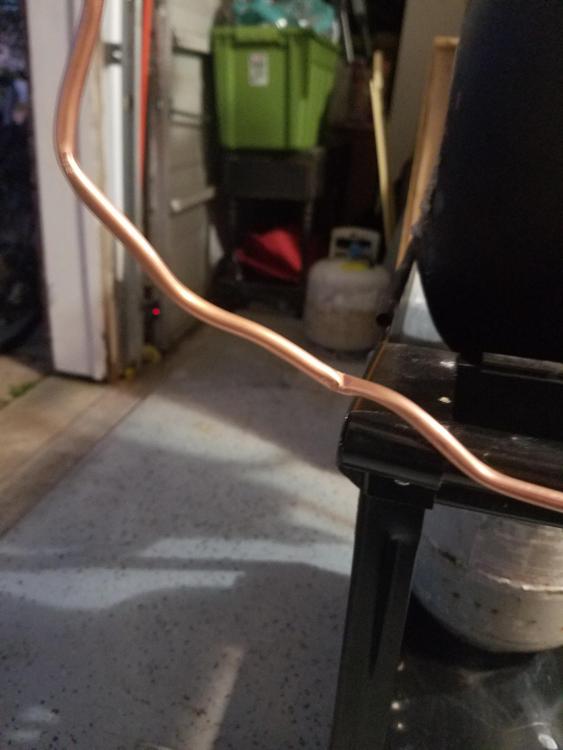
-
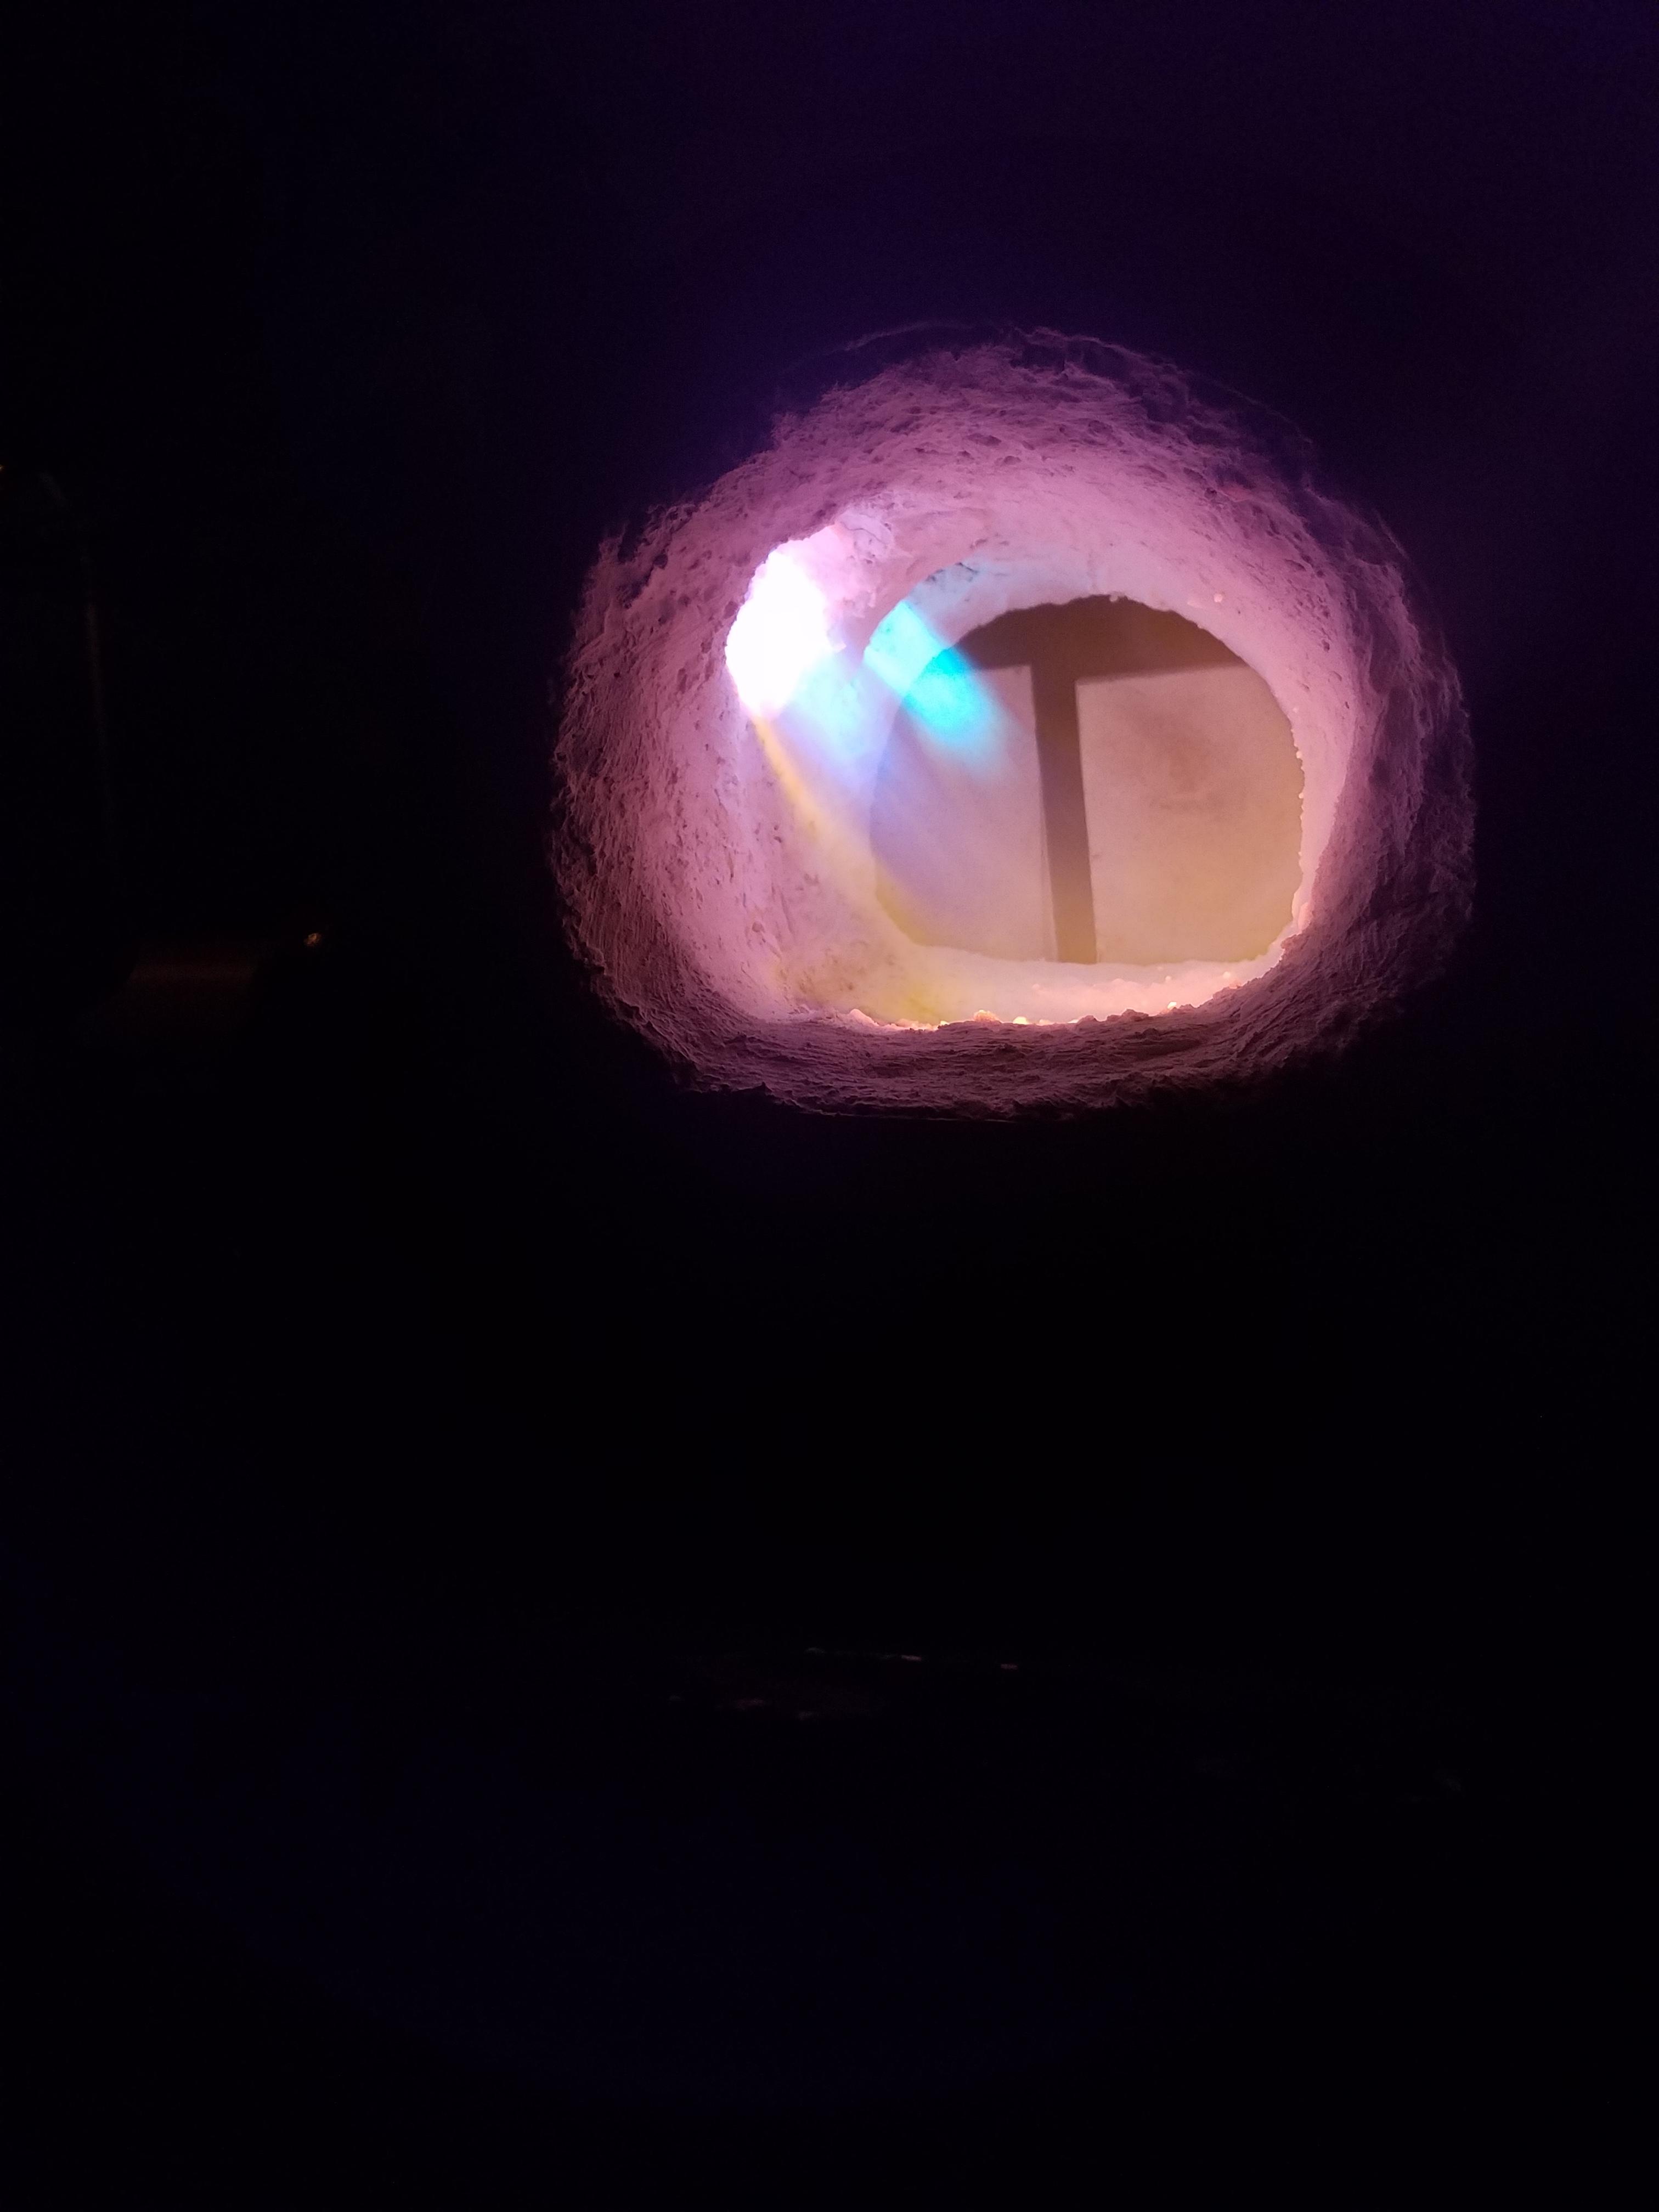
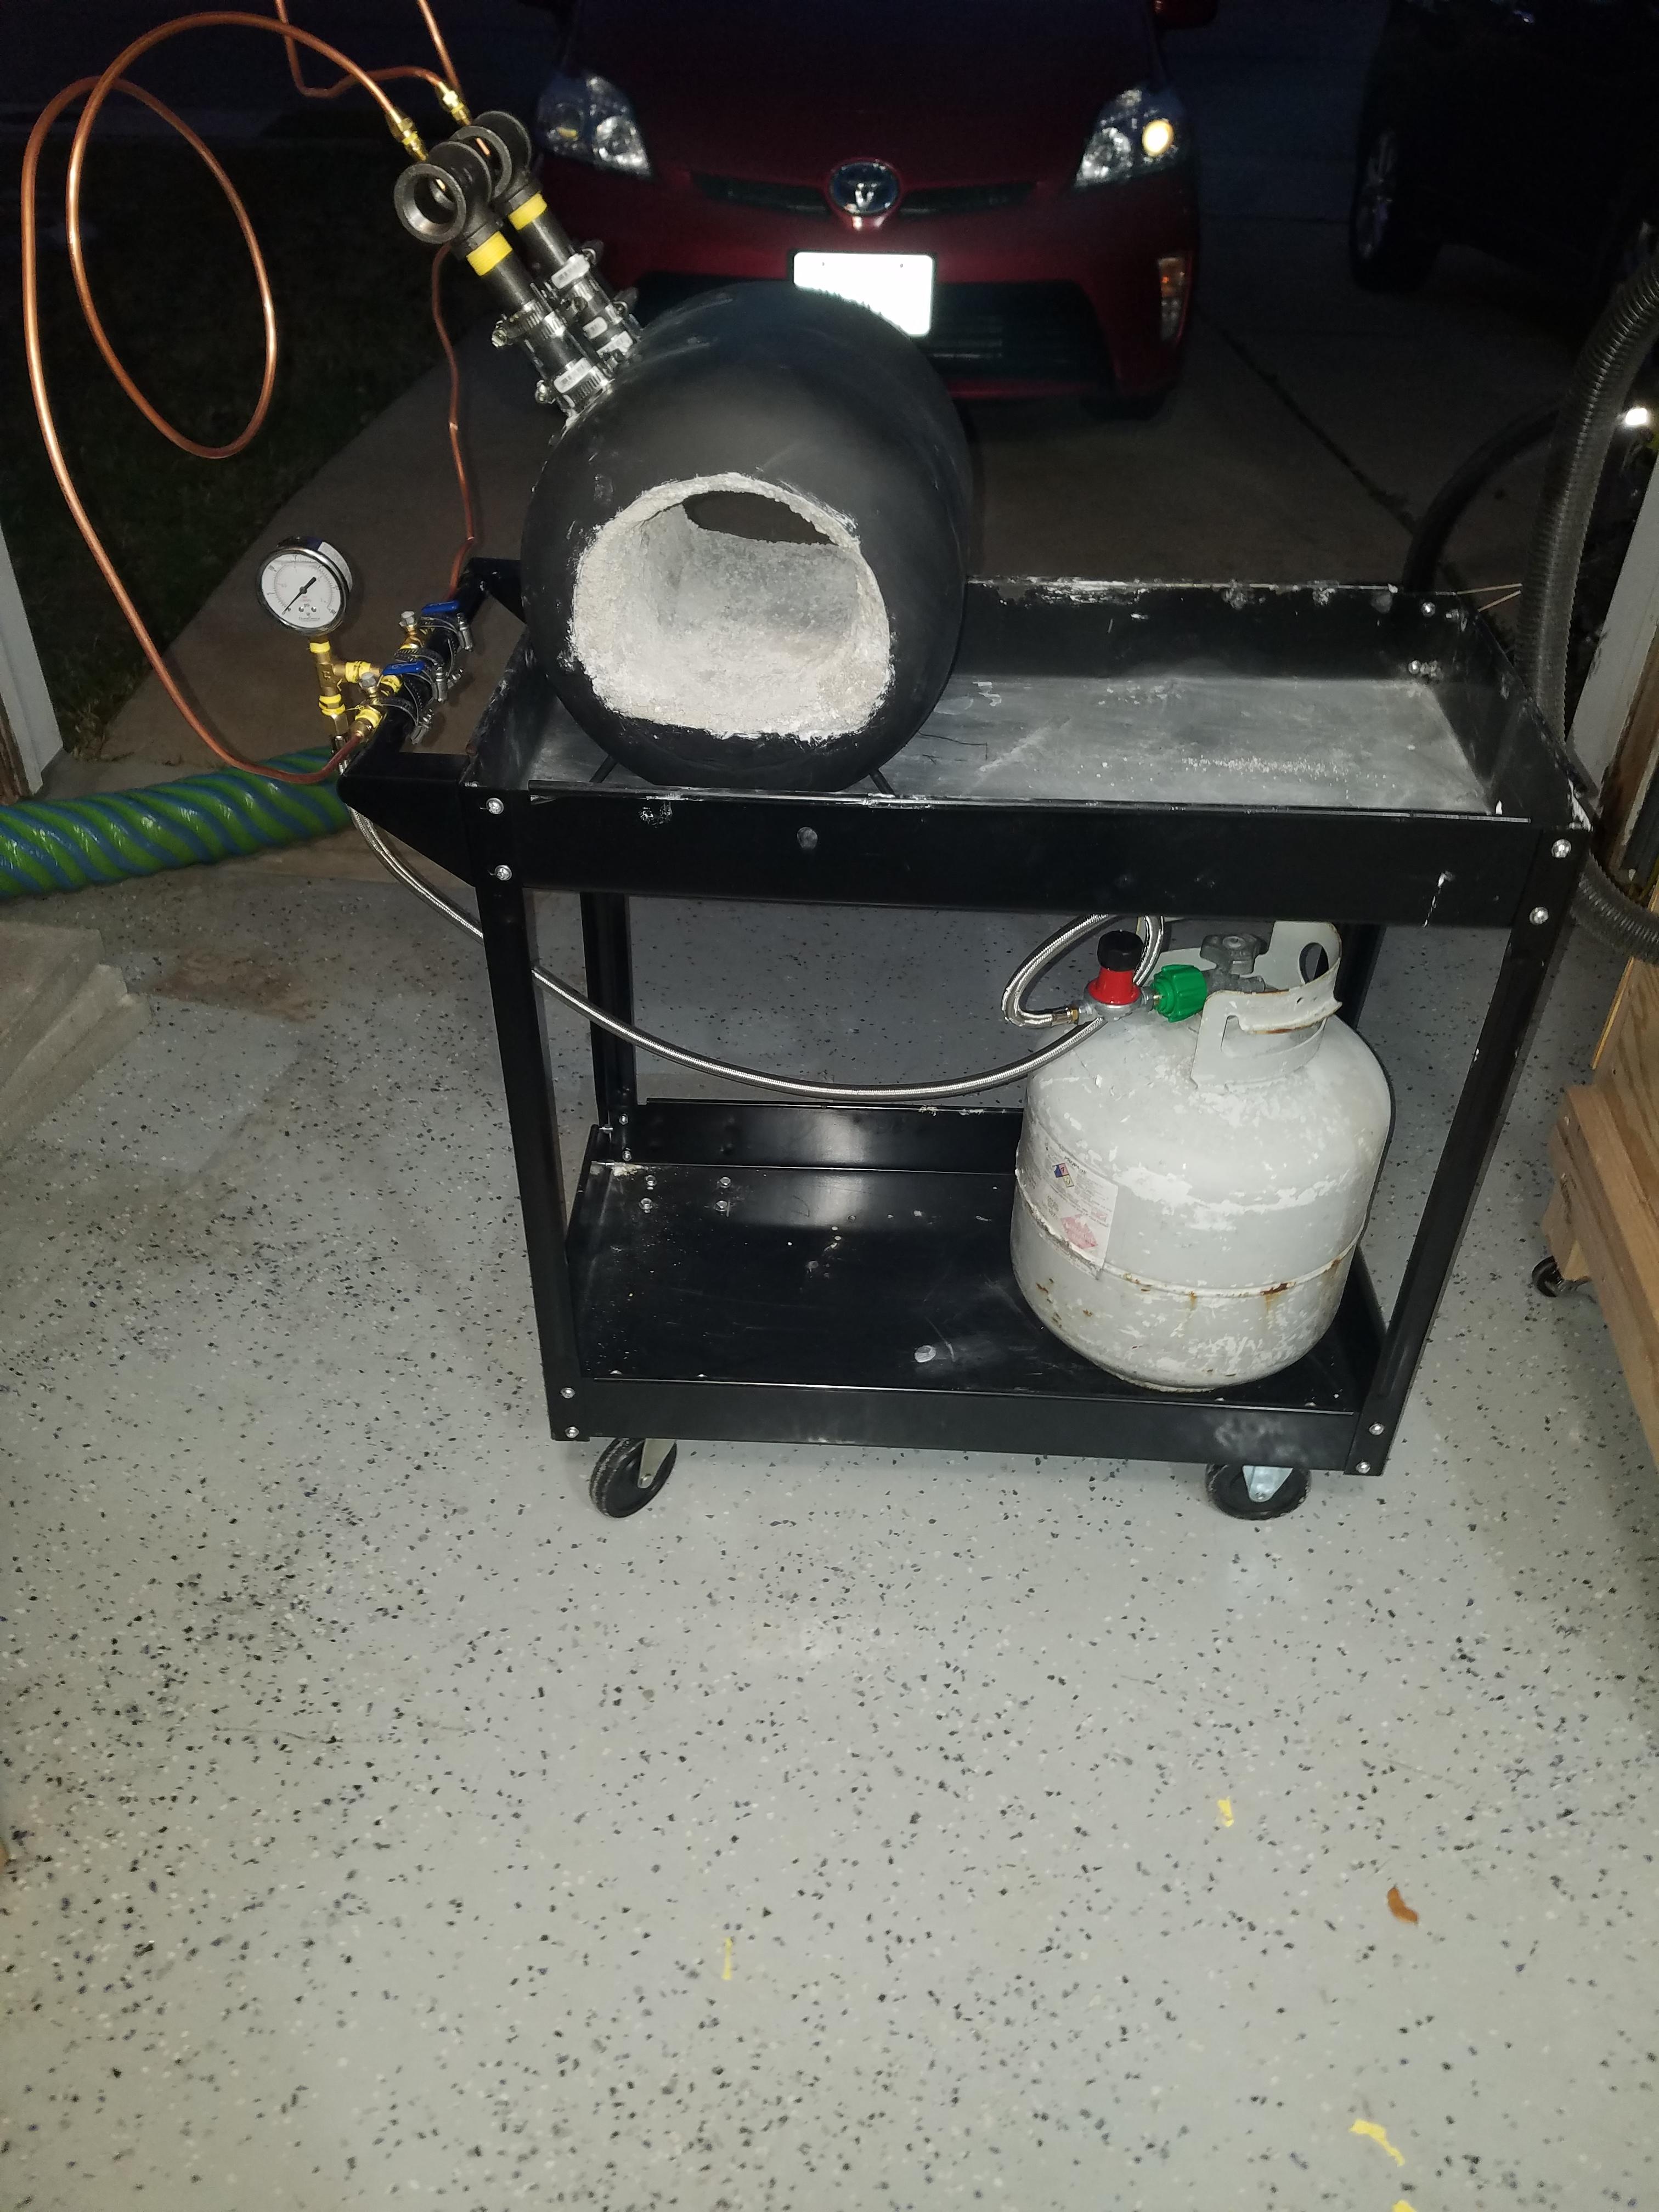
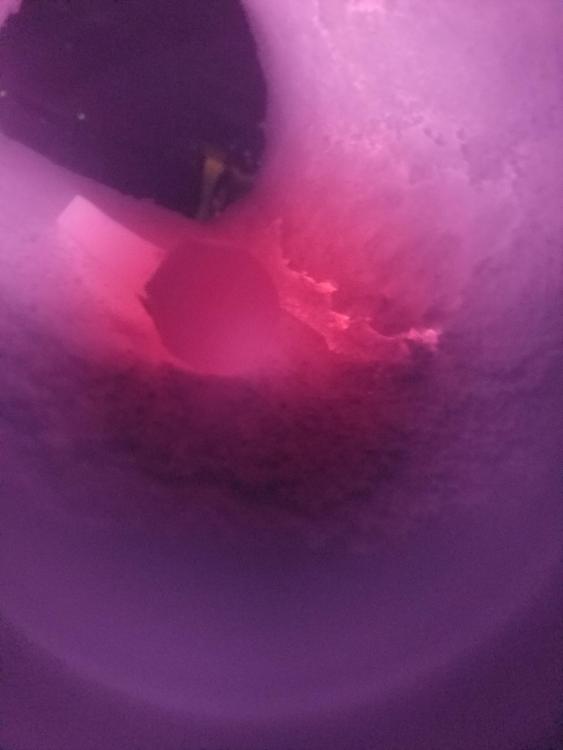
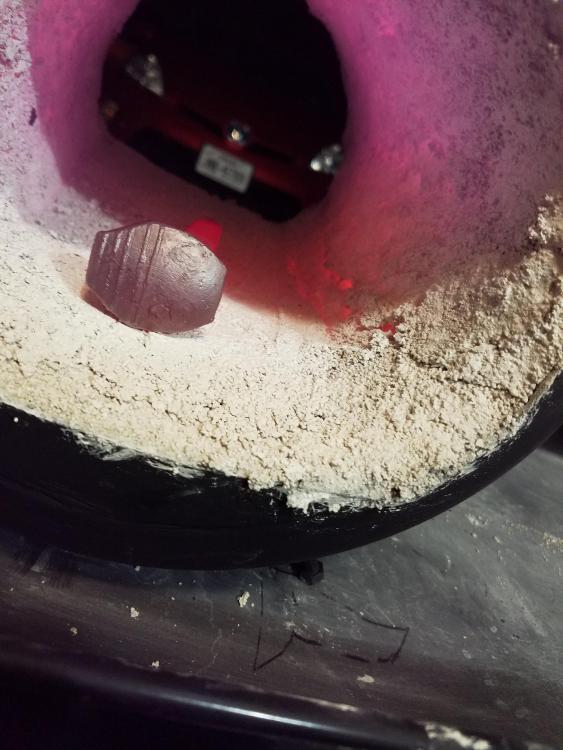
Hi all! It's been a long couple months but I have slowly and surely put together my forge and anvil. I was during kastolite 30 tonight and thought I would take a video to get your feedback while I waited. Some here are some questions on my final build: 1. How does the propane to oxygen mix look? 2. I also attached a pic of the right inner side of my forge. Unfortunately it's where one of the kastolite seams is and appears to be cracking. Is this cracking back enough to put down another layer of kastolite? Right now I'm leaning no. 3. I used 1/4 copper tubing to run from the burners to 1/4 turn ball valves on the side. However, it is ice maker copper tubing and Larry Zoeller said it wasn't safe. Obviously I respect Larry's opinion and was wondering what the difference between the two is and if anybody could give insight into exactly how unsafe it is. 4. Even at only 2 psi, it's getting up to forging temperatures. Is this normal? 5. I managed to burn a test peice of steel while it was still orange. I thought steel had to be yellow to burn? Thanks ahead of time I appreciate all the amazing people here and their willingness to help us newbies! ! 20190120_003716.mp4
-
Yeah, he has a couple of instructions on his website stating to use 1/4". I also see 1/4" used for Satanite (different material) on High Temp tools (http://www.hightemptools.com/faq.html#Satanite). I would say I began this journey lost, and thanks to the hundreds of folks and their opinions I've become much more understanding of how a lot of this stuff works. I find I'm already able to answer basic questions that pop up on beginner blacksmithing groups, thanks to the likes of you!
-
Larry Zoeller for sure, and one other person here on the IFI in one of the thick threads...Wayne maybe? Yeah, I got that part of it. Easy enough. Wow, that is so simple! I really am over complicating this portion of it. Why haven't I seen this easy solution anywhere else. Thank you!
-
Honestly, I'm struggling and really not sure what you are meaning here. I get the elliptical shape so you can angle the burner. But that's about it. Probably just my lack of knowledge in fabrication techniques. Wouldn't this dramatically change the airflow in the burner pipe? I have to imagine it would wreak havoc and have flame etc coming out the tabs. Once again, maybe I am not educated enough to 7nderstand your instructions. Regardless, i appreciate your time and willingnessto help!
-
I've seen some super respected opinions (including yours) both argue for 1/2 inch and 1/4 inch. I might make two forges, one with each to determine which is better and then sell the other. Got it. Since I can't weld, do you have any other suggestions on how to mount the burners? What about trying to aim the flame on 1/2 of the shelf, so I can move my stock closer/further away as needed? I was positioning at 1:00 and aiming for 5:00. Have the stock to the left of the flame at 6:00 and 7:00. If i need concentrated heat move it over to 5:00. Does that make sense?