
pragtich
Members
-
Joined
-
Last visited
Everything posted by pragtich
-
Brian, Well spotted. Actually at first I used some wood to get my coal started. In the meantime, I've learned to make sure to build up some coke at the end of the day. That way she starts up with only some wadded up newspaper.
-
It's been a few years and I learned welding in the meantime. Built a 'super sucker' hood following Jim Guy's plans for a 10 inch flue. After using it for 6 months, it still amazes me. On foggy days I need to show it a bit of burning paper to get it started, but besides that it always drafts like a madman. All the little embers get sucked in, too. Really the only smoke that escapes, is what I drag with me from pulling the workpiece from the fire. 5 stars, would recommend

-
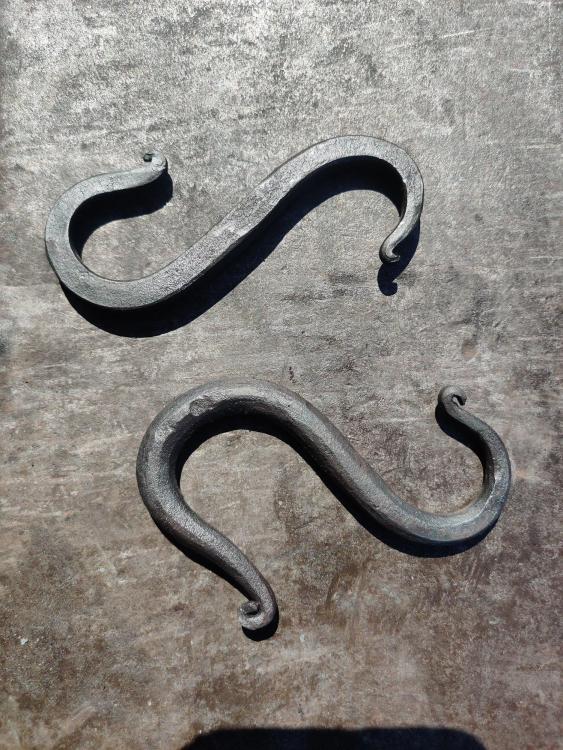
Like the red paint, MeltedSocks: it really makes them pop. The simple concepts are sometimes best, Hefty. Cute idea, like it! Forged some items from the 'honey-do' list myself: a couple of chunky storm hooks for the shed doors. Wanted to start with 8mm round stock, but didn't have any. Rounded some 8mm square instead. That made them even more chunky. But still accepable to me (and the Mrs, which is more important).

-
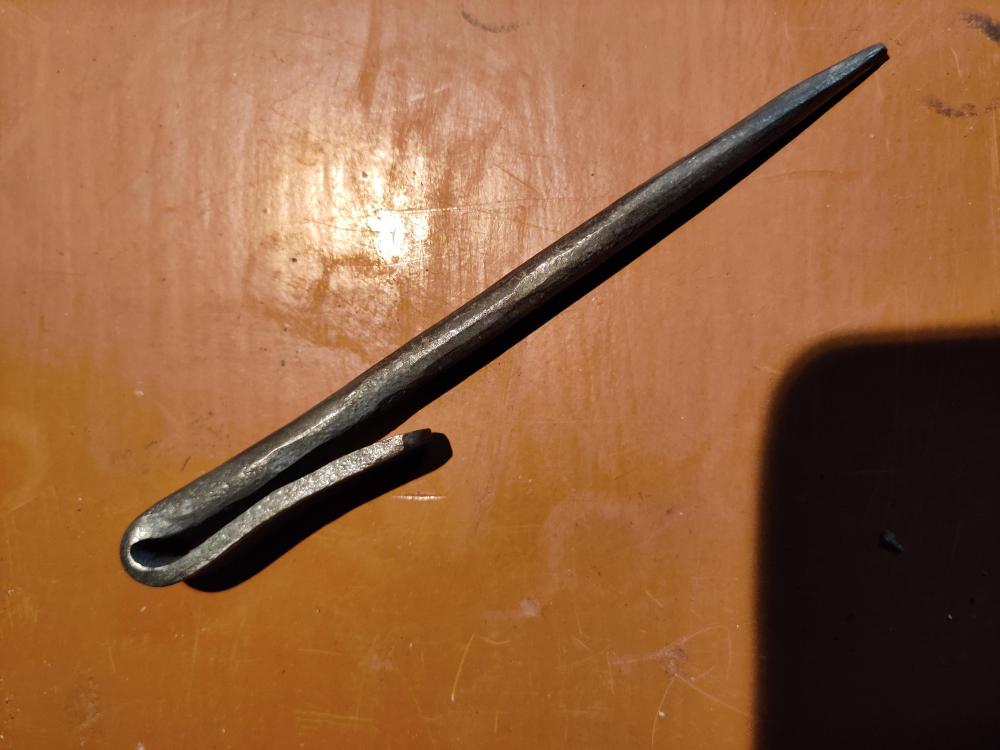
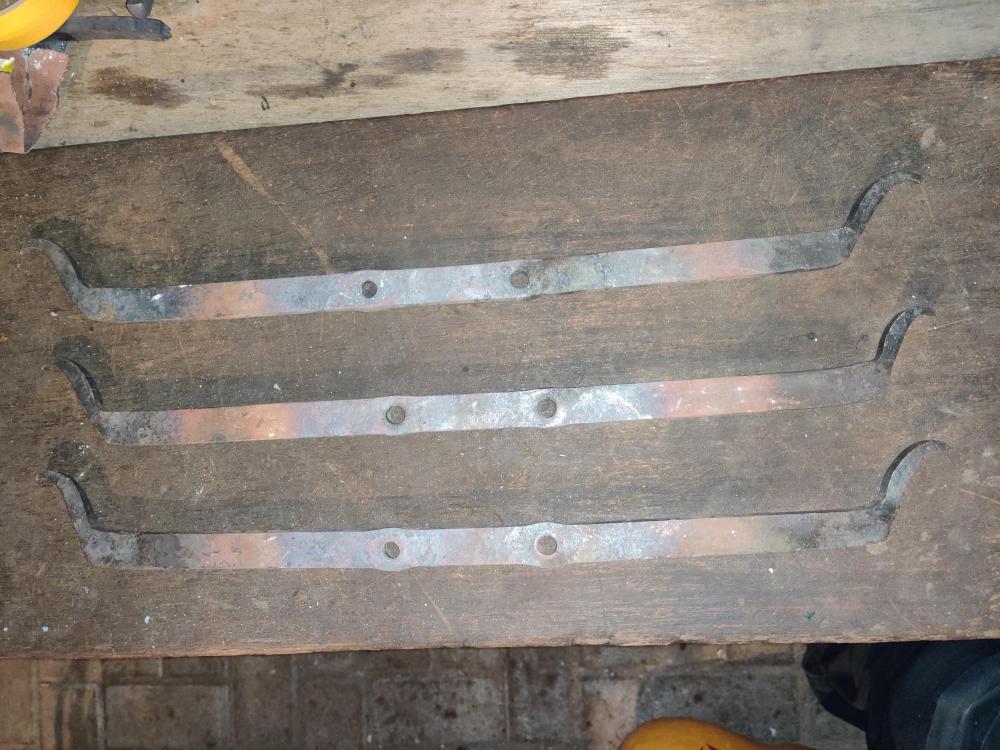
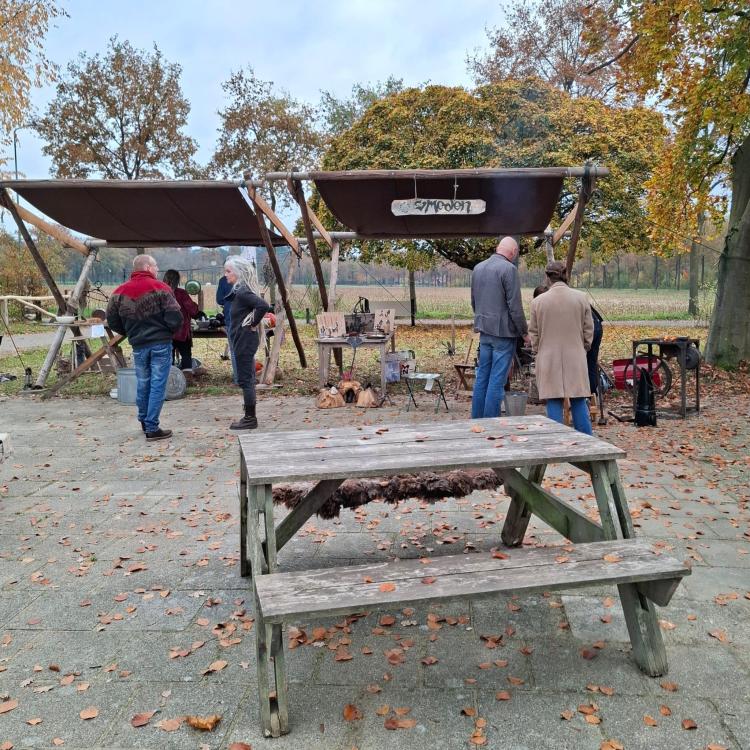
Spent Sunday doing a demo with friends, trying to drum up some attention for our friend Daan's craft and arts initiative. We had lovely autumn weather and lots of interest. Made a small scriber from a bit of hayrake spring. Also made a few brackets as a simple steel rack. It turned out that punching and drifting the holes was a conversation starter, many guests had not seen that before.
-
Hi Tim, and welcome. There's blacksmiths of all levels around here, don't worry. There's something to be learned for everyone. Your hangups around experience, learning and imposter syndrome are 100% recognizable. It's great that you are already getting your work out there -- that's a big step. And you sound like you recognize your limits. Make friends with the local blacksmiths and send the other work their way. It takes more than a lifetime to master the craft in all its depth and breadth, no shame in having limits to your skill. For me, taking courses at the local association was a game changer in terms of skills, efficiency, technique and confidence. But more importantly, and something you never see mentioned in the brochures: you make friends. That really helps to build the feeling that you belong. Just keep showing up and joining in, and with time you'll be part of the community. And if you're nice and somewhat safe and competent, you will probably be able to spend time in other people's workshops when you have specific tooling needs (power hammers, for example). That's also a great chance to figure out which investments, if any, are right for you. Best, pragtich
-
Stefan Gotteswinter did a detailed video on this problem a few years ago, on his youtube. He has some good tips:
-
Wow, they're really cute. And not badly done if they're still around and looking this nice after nearly a century, right? Although I'm guessing there's something wrong with the math on the size...? I'm counting 13 1/2 bricks in the height. 3 5/8" seems to me to be closer to a depth measurement than a height measurement for bricks? 2 1/4 seems closer. I googled a bit and it seems that 8" for 3 courses seems typical in the US. 36 inches is still three feet (or ~90cm), so they're still quite huge They must weigh a bit too...
-
Thanks Goods, I'll give both your suggestions a try. MeltedSocks, that looks really nice. My favorite tool for quick handles is a drawknife. Symmetry is a cruel mistress, isn't it?
-
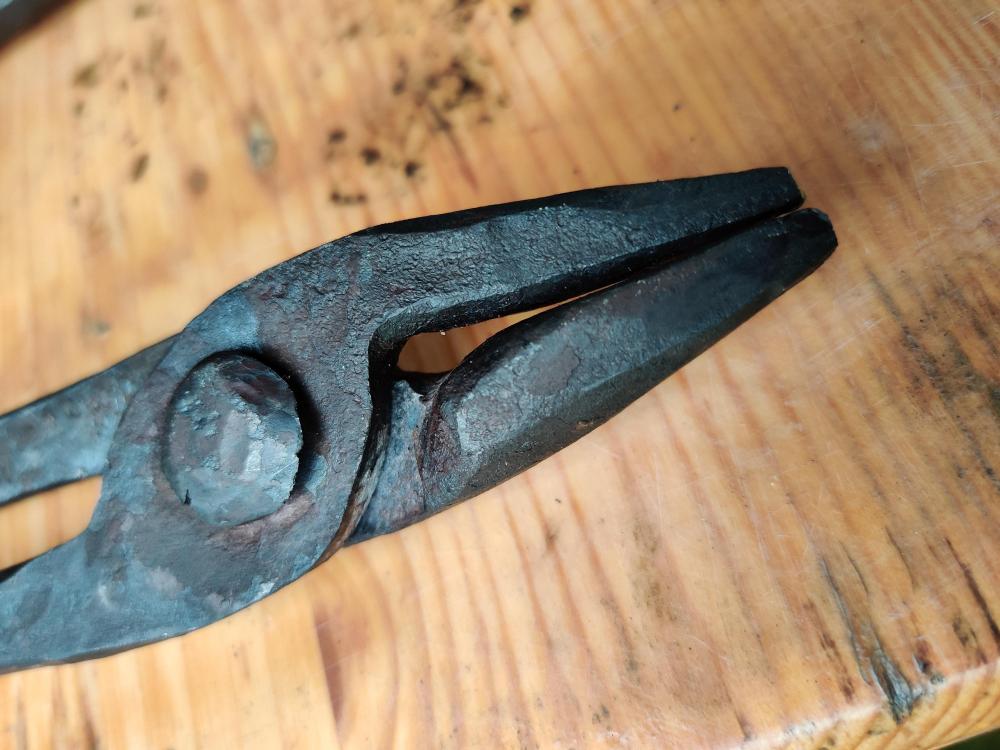
Nothing fancy as that, but I do dabble a little in metallography. This was taken with an optical microscope after etching a polished cross-section. Materials engineer by day, blacksmith by night. At the day job we mostly (laser or orbital) weld stainless steel - those welds need checking now and then. Since they're very small (penetration ~ 100 um), you end up needing microscopy. But also fun to see my failed welds up close :-) Will probably try again but heat to slightly lower temperatures. Had been looking for bubbles in the borax and sparks from the fire, but that clearly put me slightly too hot for this steel. Also want to improve the geometry of my scarfs now that I understand what we're trying to achieve.
-
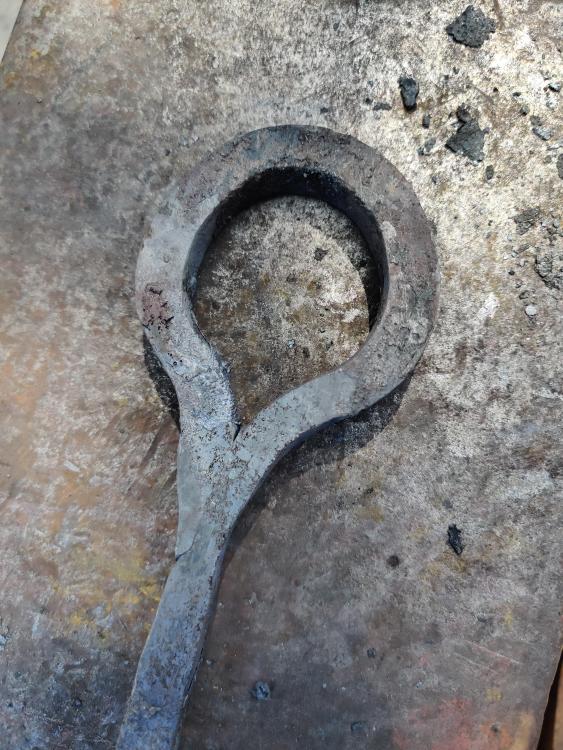
I've been trying to learn forge welding, using the loop weld from "New Edge of the Anvil" as a guide. First one burned and thinned too much to properly weld, second one was a partial weld (still probably overheated), as shown by a cross-section I did at work.

-
Wow, Gewoon ik, that's gorgeous. And definitely not too small :-) I actually don't mind the floorboards at all, but it makes sense to try and find something less distracting. Nothing better for such a huge hinge than a huge oak slab... Prachtig gedaan.
-
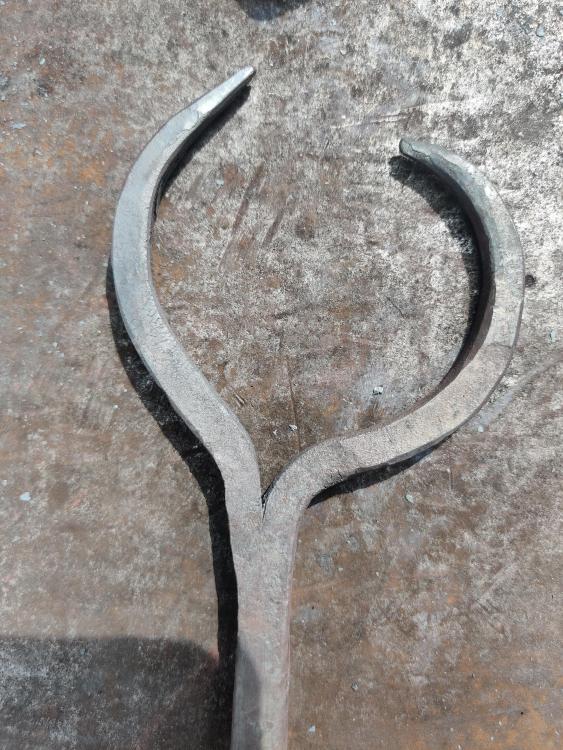
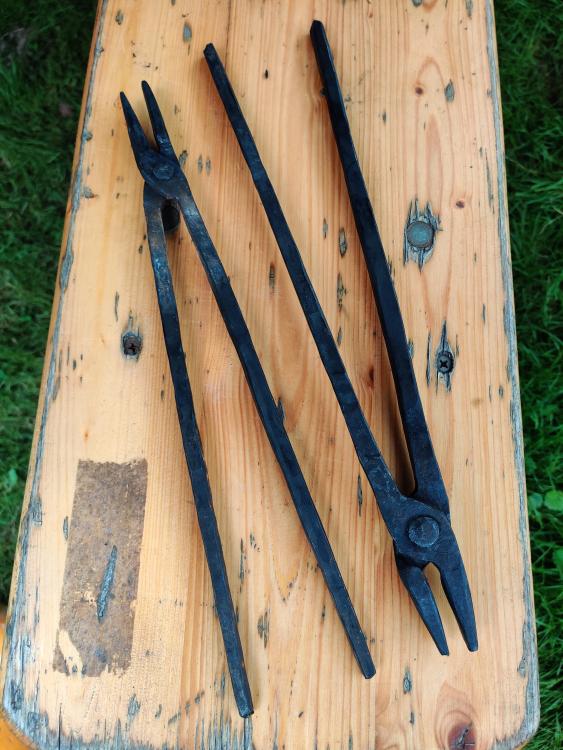
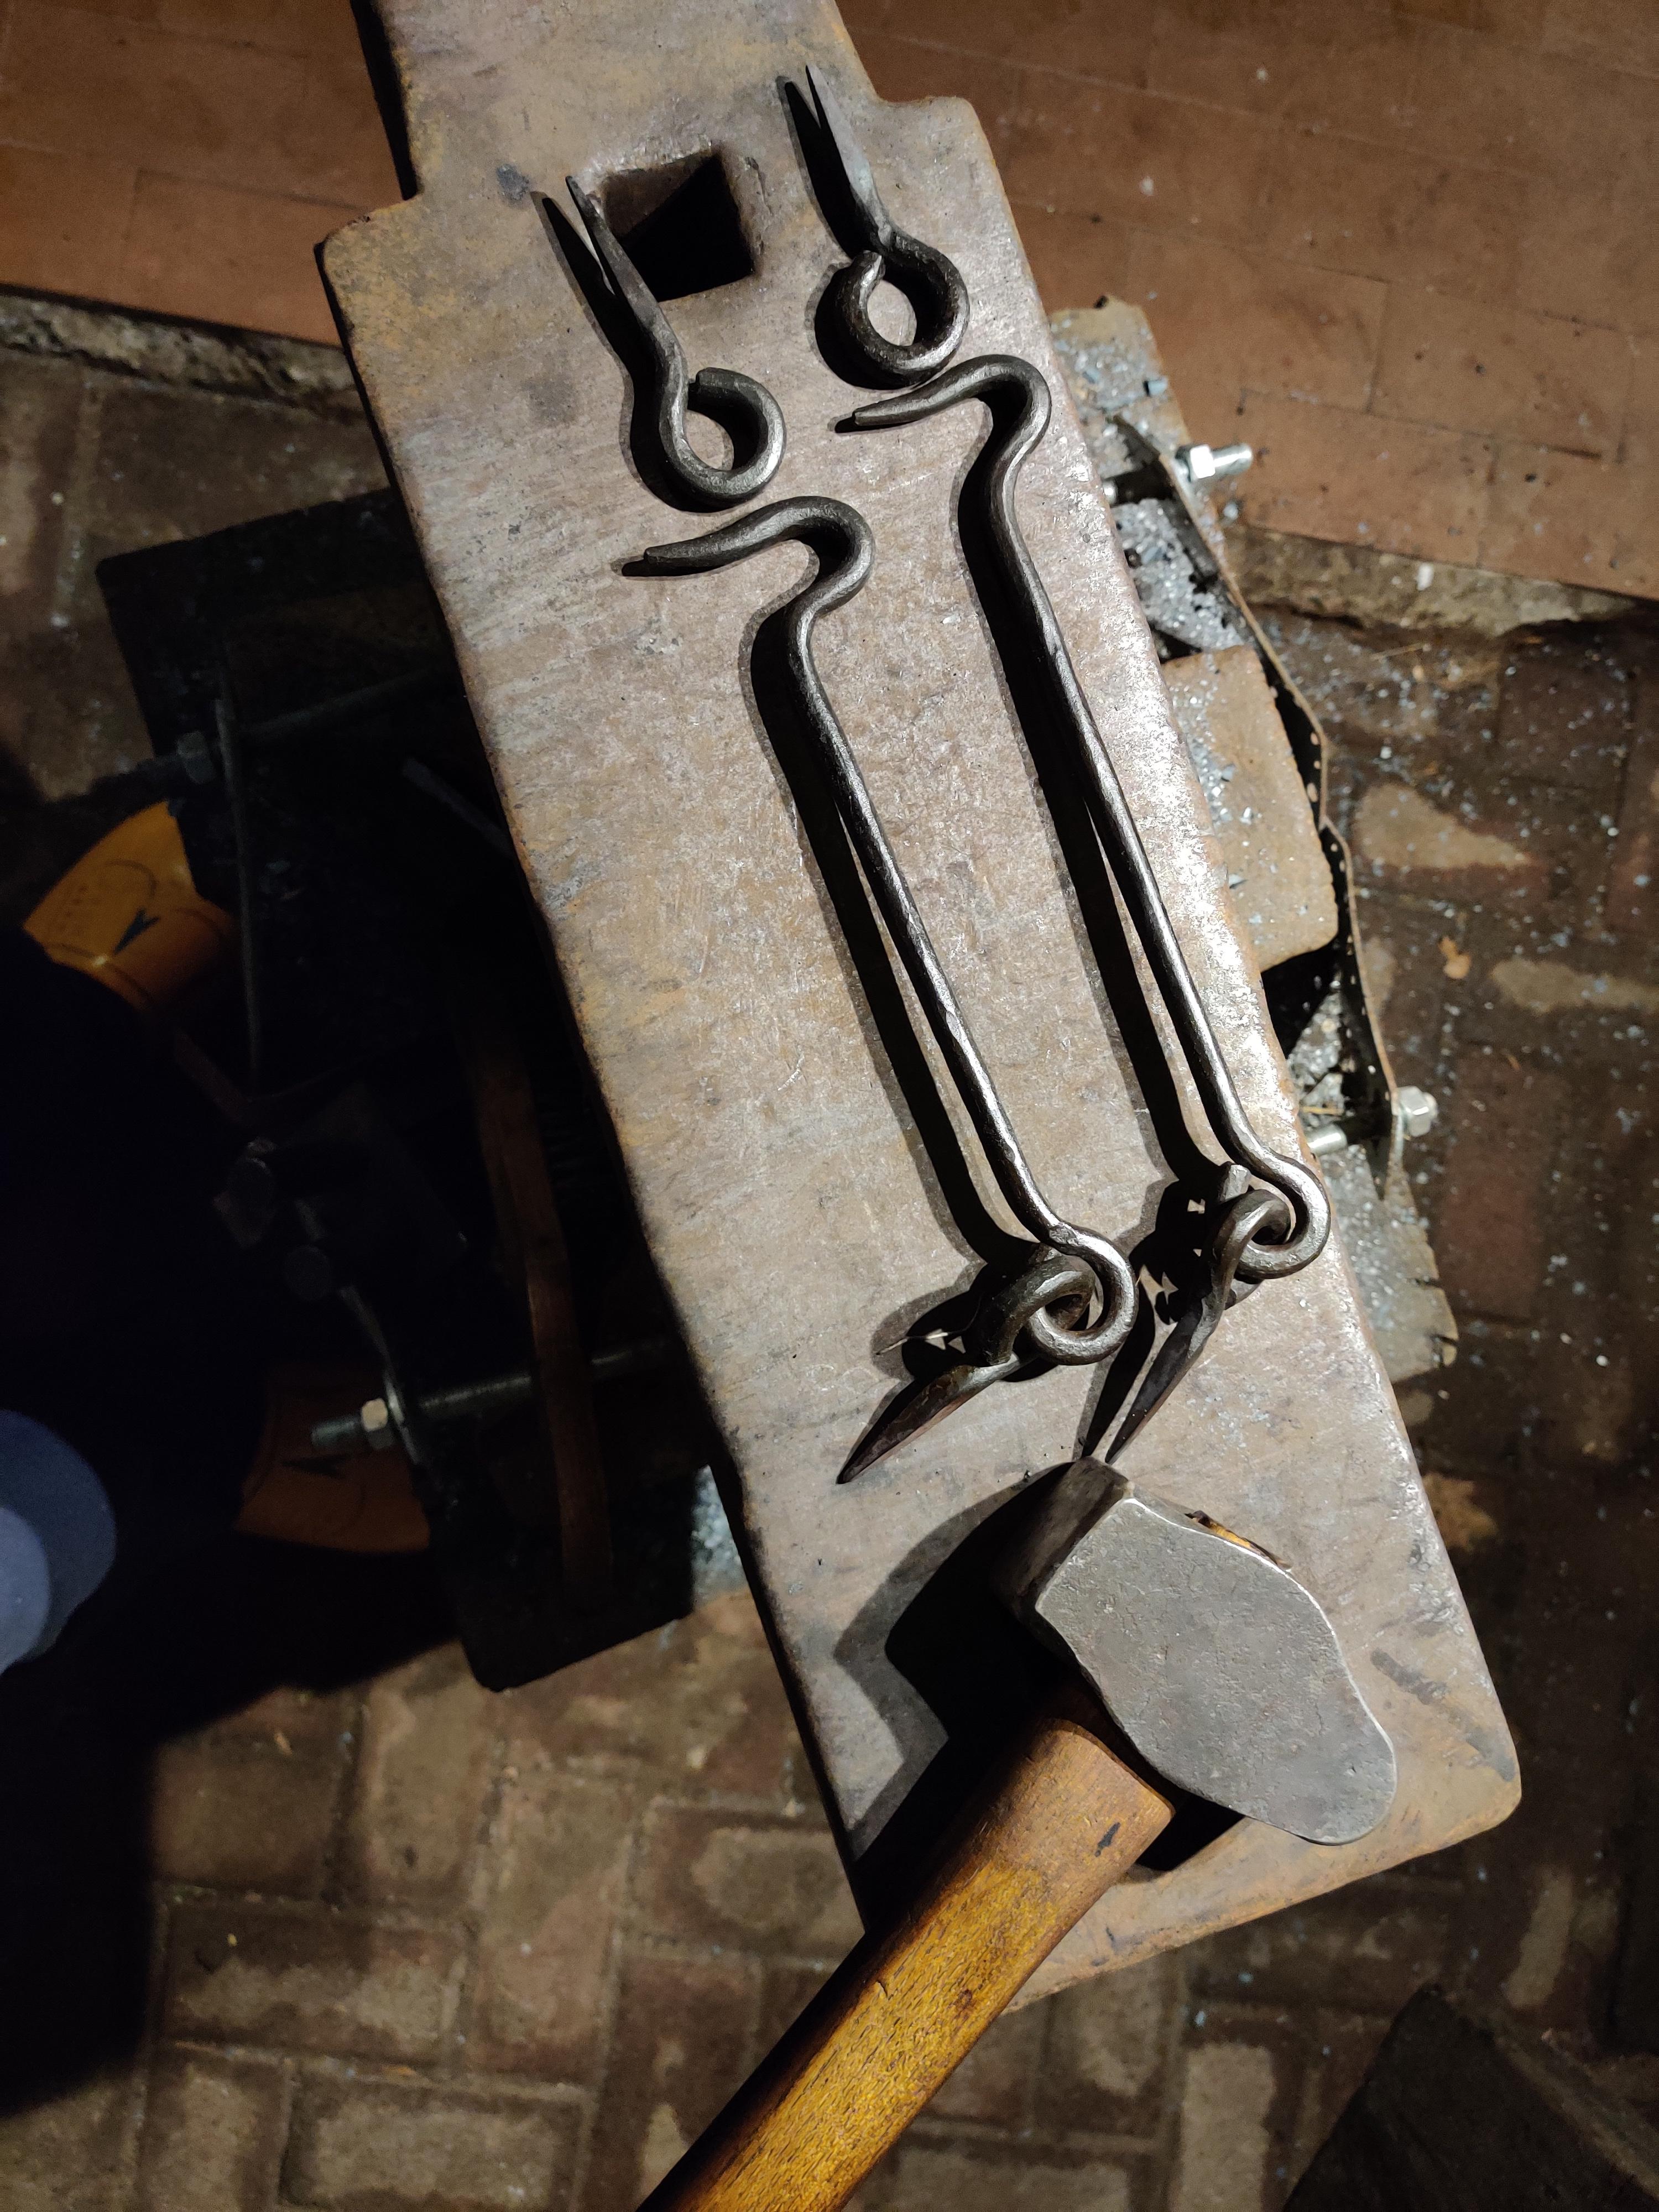
Thank you all for the nice comments. I had been apprehensive about starting tongs, it was very encouraging to have an introduction from an experienced smith. Gewoon ik, I'll definitely explore welding the reins later on, sounds fun in its own right. For now I will take my teacher's advice and ask a local blacksmith to forge out the reins on the ends of some sticks to give me some preforms. Gets me talking to them, so kills two birds. Definitely very motivating, Frosty. Can't wait for the next chance at the forge to make some more!
-
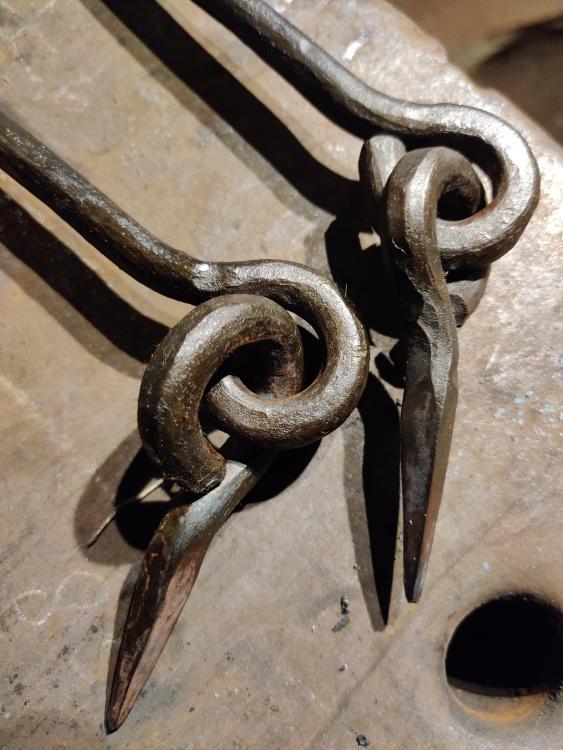
Spent last week at a summer camp workshop led by local blacksmith Kees Klaassen. I had asked him to teach me how to forge tongs, and I had a blast. Learned that it really is a lot of work to forge out the reins, especially in spring steel. But that I really like the feel of more tapered reins as opposed to the common cylindrical reins in the commercial tongs that you find around here. Learned to appreciate the help of a striker with a big hammer! Made one miniature pair for practice, and one full-sized pair in spring steel, and got to use them both for work afterwards.
-
Hoi Bart, always nice to meet other Dutchies who are interested in blacksmithing and tools. Same here :-) Looks like you’re also into scythes? I got into those recently, not yet really happy with my setup yet (angles seem to be all wrong). groeten uit Beltrum, Joris
-
Thanks, but I didn't show the reverse. That's where it was welded. And ground flat afterwards :-)

-
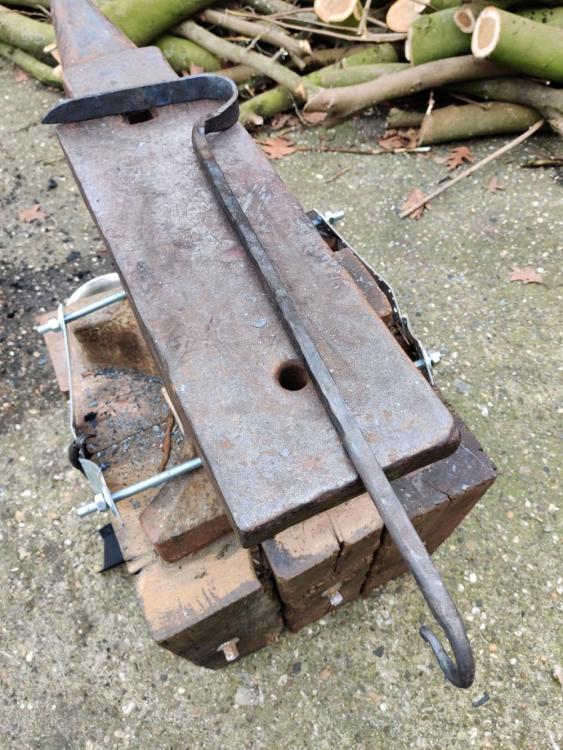
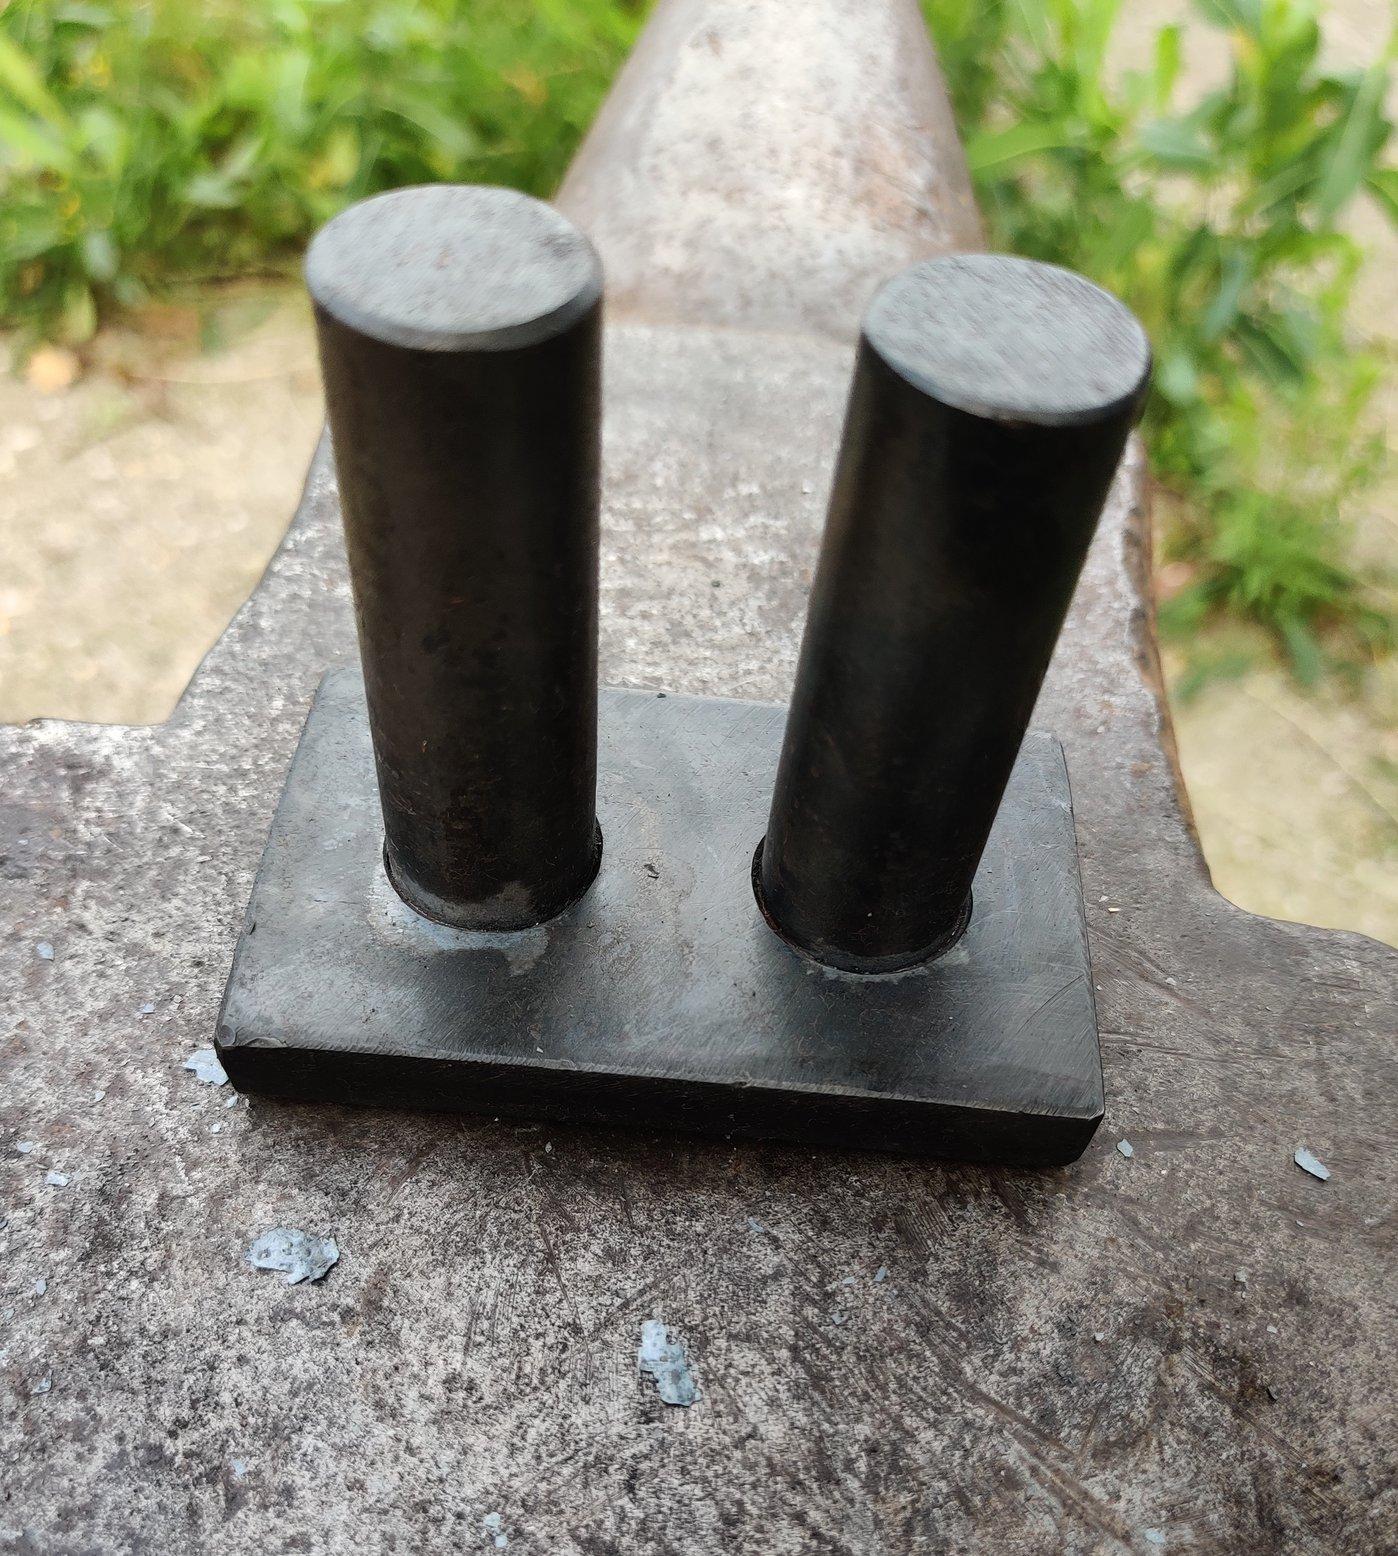
That looks like a fun project, TommyVee! Some basics here, too. I had been attending welding classes at a local welding school and made this bending fork for the anvil. Squished a 30x30mm tube to fit the ~28mm hardy hole (1 1/8"?). Was a fun confidence builder on the fabrication side of things. What a game-changer, that arc welding lark. Made a few hooks to test it out. Slowly getting better at tapers, square<->octagon<->round transitions and the surface finish is getting better, too. Now to get rid of those few errant blows.

-
Ah, Latticino, just noticed your comment. Yes, I'm sure that's what's going to happen. I'll be building a proper steel box some time in the future, I'm sure. But a helpful proof of concept for the flue, and it might last a little bit. Thanks for your comment.
-
Haha, it is indeed a significant motor. You should have seen the motor it came with, that one was even larger! Still, an induction motor runs a fixed rpm, so the pulley sizes determine the speed of the blower. I made up a (wooden) motor pulley that got me roughly in the ballpark. It seems that the previous owner put a motor in when the crankshaft for the pedal drive had worn down too much. It looks like they were using the clinker breaker as a crude gate valve. They added a locking screw in order to be able to set it to a fixed position. Since it closes quite tightly, that works (sort of). I went for a more high-tech option and installed a small VFD that I had gathering dust. Very satisfying :-)
-
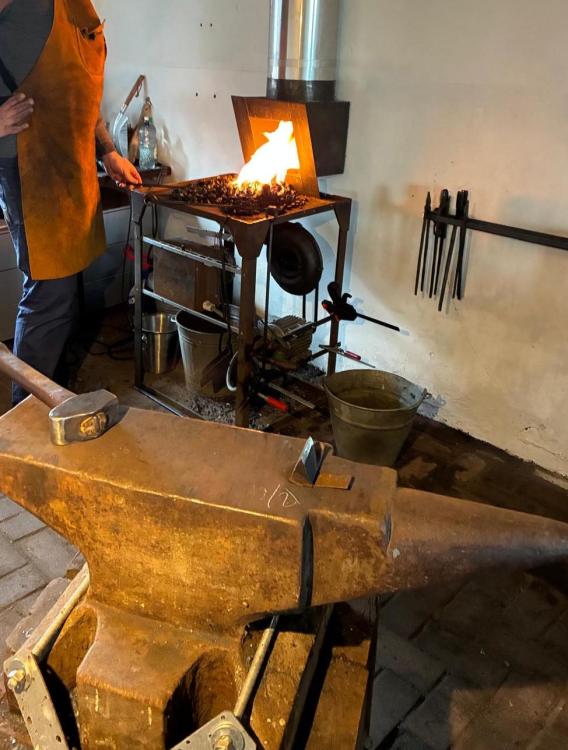
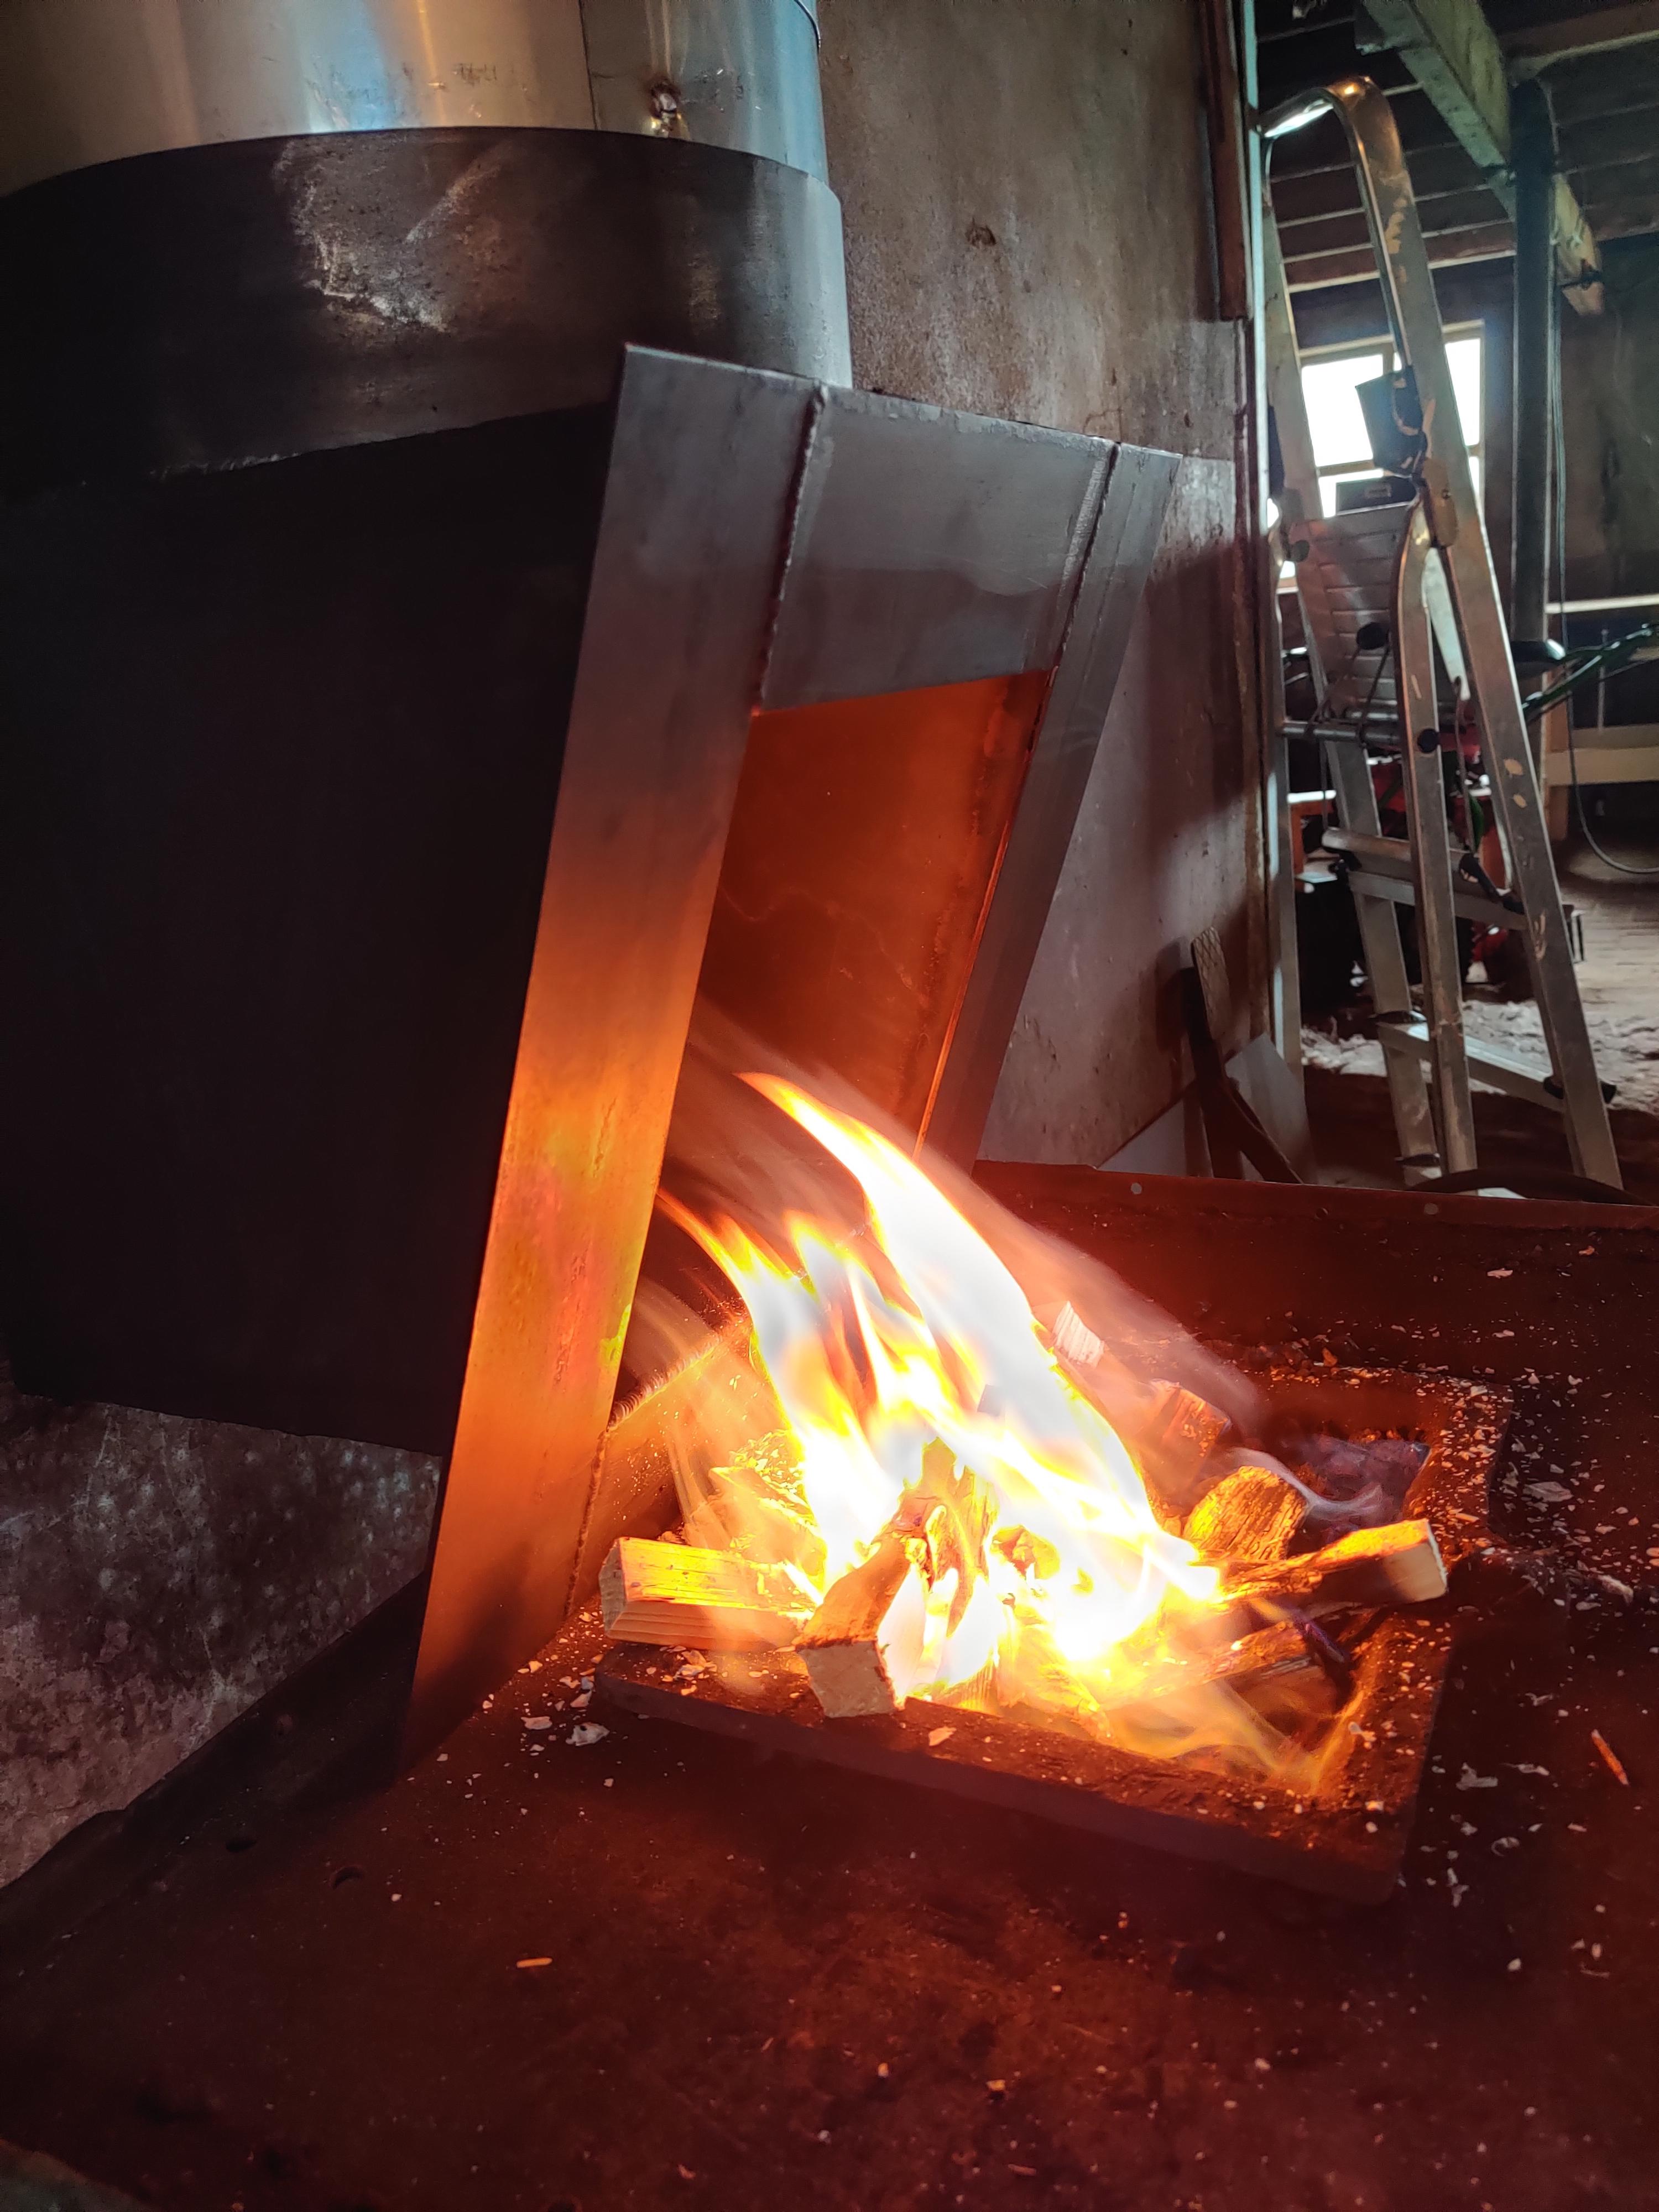
I was driven to action the last months, due to the rainy spring that we have had here in the Netherlands. Good for the farmers, but it kept me from enjoying the open air setup that I was using. So it became time to install the flue that I have been planning for a year now, into the shed. I figured that it might be helpful to share an experience, perhaps it might help someone out. Having originally planned to go through an available masonry channel, I had purchased some 250mm single-walled stainless flue pipe. That didn't work out: the channel wall was too irregular to fit. Reading on this forum told me that 250mm or 10" is considered to be the minimum feasible diameter. So I changed the plan to a through-roof solution and it turned out surprisingly nice. In total I used 5 x 1m length of 250mm pipe, 2x 45 degree corners, a rain cap designed for wood stoves an a blind cap at the bottom. For the side draft opening, I chose to follow the sizing that was published by Jim Guy for his 10" Super sucker, which uses an 8 1/4" (21 cm) square opening (89.5% of the flue area). I simply cut two doors in the side of the lowermost tube, just above the end cap ~3" above the level of the forge table. This will need some finishing as the walls are terribly thin and sharp. I did a test firing this morning, and it really is surprising how well the flue draws. I started the draft with a small paper fire in the bottom of the flue, but I doubt that it's really necessary. In contrast to experiences from others, it seems that my standard rain cap is sufficiently open to allow for good draft. The only smoke that escapes, is the smoke that gets wafted out of the fire by my movements, or by wind gusts through the open window. All in all, I'm really happy with this solution, so I figured that I'd share.

.thumb.jpeg.244a292ec2d052f95c152a9a28324786.jpeg)
.thumb.jpeg.9574e0786d985e125177021983b6a9a6.jpeg)
-
Hi all, and thanks for the warm welcome and top tips. Really mucht appreciated! Shainarue, it's cool that you caught the joke in my username! For the others: "prachtig" means beautiful or splendid in Dutch. My family name contains the same letter flip (we descend from the province of Drenthe with possibly some connections in Groningen. The 'g' seems to be more common than the 'ch' around there maybe? At least in the pronounciation that difference is quite significant. I got to college in 1997 and those were the days that you could still hope to find unique-ish usernames and this one turns out to be quite universally unused. The workshop is, as of yet, a 100+ year old anvil and a German style coal forge ('feldesse') which has had an electric motor fitted in a past life, outside in the garden. Since the rainy months we have had recently, I have started work on an inside space. Converting a corner of our disused barn. Yet another distraction from the actual forging, but it will get me out of the rain, that will be welcome... Swedefiddle, I appreciate the comment around finding a group to join. I'll do that. Just the workshops, and chatting to the sellers that sold me the tools, has taught me to greatly respect the history and depth in this craft!
-
Thank you, Frosty, for the insight and encouragement. I happen to have scrounged some smaller wire size spring recently, so I'll definitely give it a go. Best, Pragtich
-
Hi all, Nice to meet you. I'm a forty-something guy from a rural (relatively) area of the Netherlands. I came to blacksmithing due to a fantastic workshop with Kees Klaassen at The Green Circle, an astoundingly cool crafts initiative not far from here. I'm feeling the learning pains, especially in the area of design and proportions. But it turns out that my body takes the hard work quite reasonably (despite being a full time office dweller during the work week), and I'm having a blast doing beginner stuff and trying to get regular practice in in my improvised home forge. I attached a pic of a beast of a rake that I forged some months ago. Lesson learned: 12mm (~1/2") square is really too heavy for this handle and drawing down (started at 17mm) will show you your inefficiencies quickly.


.jpeg.503bde9e7a296536166819f246c9d005.jpeg)
.jpeg.2333bab454bb08c638a59907bc2e835f.jpeg)
