pragtich
Members
-
Joined
-
Last visited
-
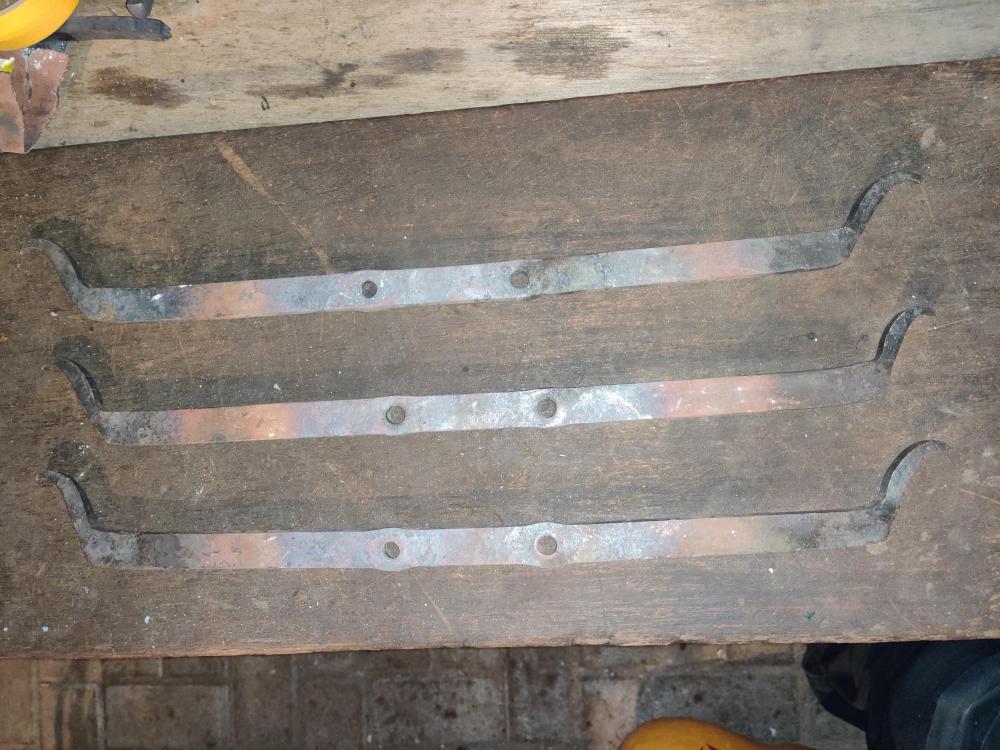
Yep :-) I love them for pottering about the yard. They're great in wet grass and on soft ground. I don't usually forge in them (although some do): stepping on a small piece of dropped steel can be very slippery). My right one broke a few weeks ago, I fixed it with some glue and one of these old-fashioned nail strips.
-
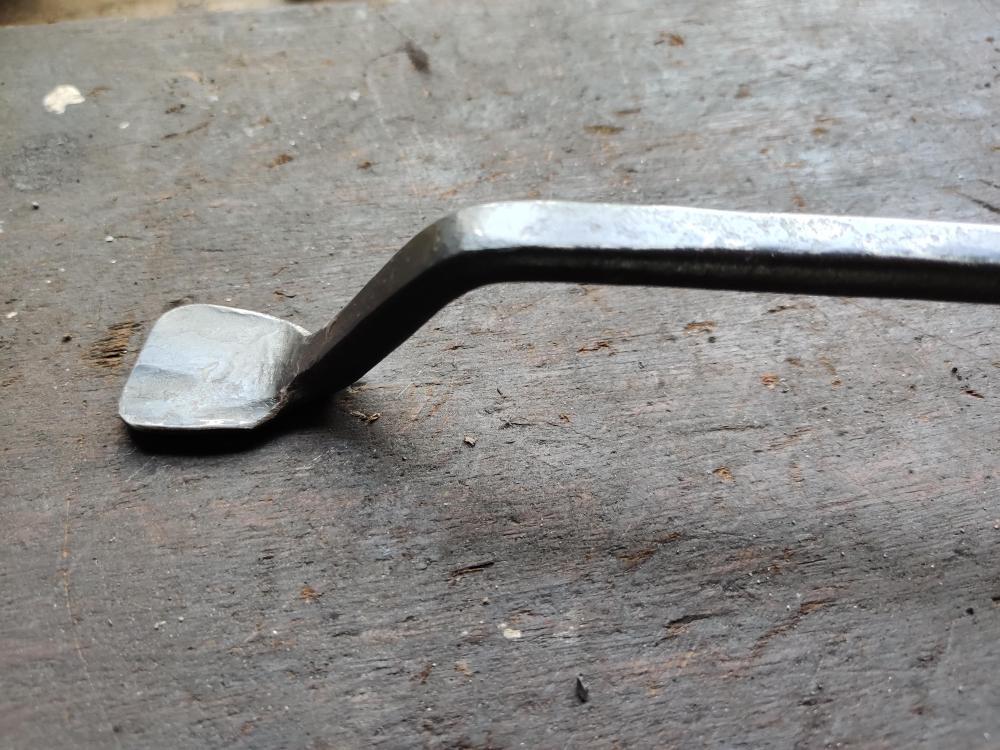
I have been forcing myself to make things more slender. This one may or may not have gone too far -- I actually feel like it will be ok as long as I manage to screw it securely. We'll see, I guess. It's 60cm long and a flattened ø10mm cross section. So it's quite light. I suspect the weakest part might be that I sightly over forged the feet.
-
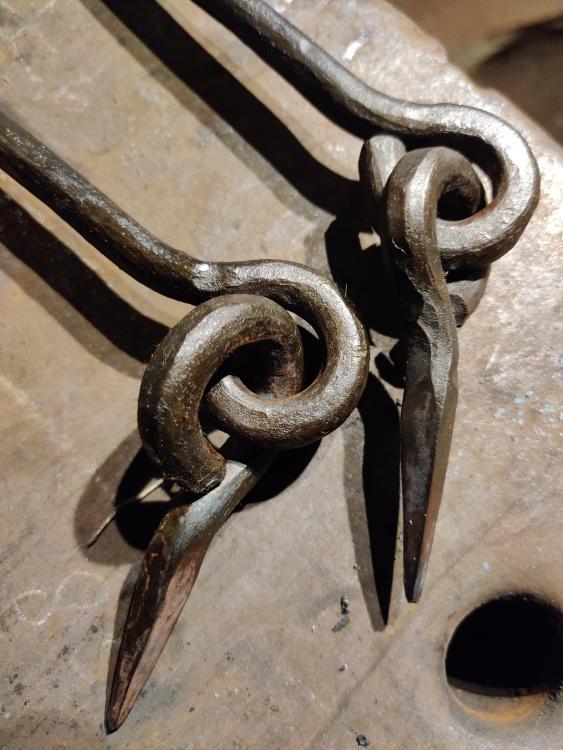
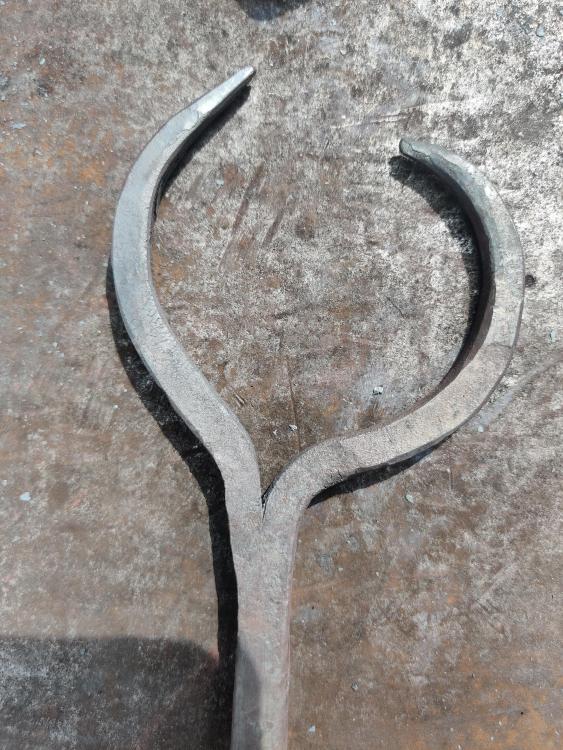
Good luck recovering Shainarue, smart to not try and push through. Veel plezier met het Nederlands leren. Very cool pliers, Goods. I've also been thinking about making small tongs/pliers ever since I saw a picture of Peter Braspenninx' infinitongs keyrings (now that's small tongs...!). Figured I'd need an anvil block for sharper corners than those on my very 'experienced' anvil, and larger bolt jaw tongs to forge the anvil block. So when the weather gets cooler and the grass stops growing, I'll be turning back to all our favorite passtime: making a tool to make a tool to make a tool... Chad, you must be a masochist. Very impressive without a striker. During a rainy day, I lit the fire and forged a simple handrail for my aunty. She's getting on a bit, and had some trouble getting up the cellar stairs so requested a handrail. Let's hope it helps her get up the stairs for years to come.
-
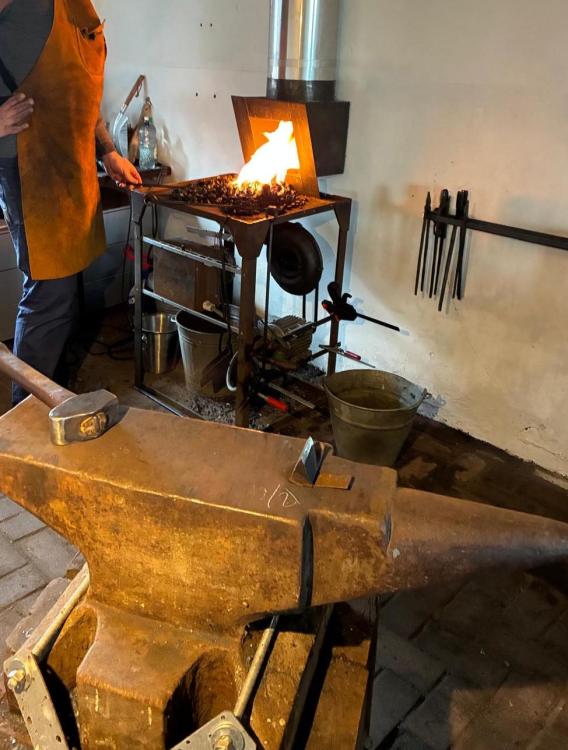
Brian, Well spotted. Actually at first I used some wood to get my coal started. In the meantime, I've learned to make sure to build up some coke at the end of the day. That way she starts up with only some wadded up newspaper.
-
It's been a few years and I learned welding in the meantime. Built a 'super sucker' hood following Jim Guy's plans for a 10 inch flue. After using it for 6 months, it still amazes me. On foggy days I need to show it a bit of burning paper to get it started, but besides that it always drafts like a madman. All the little embers get sucked in, too. Really the only smoke that escapes, is what I drag with me from pulling the workpiece from the fire. 5 stars, would recommend

-
Like the red paint, MeltedSocks: it really makes them pop. The simple concepts are sometimes best, Hefty. Cute idea, like it! Forged some items from the 'honey-do' list myself: a couple of chunky storm hooks for the shed doors. Wanted to start with 8mm round stock, but didn't have any. Rounded some 8mm square instead. That made them even more chunky. But still accepable to me (and the Mrs, which is more important).

-
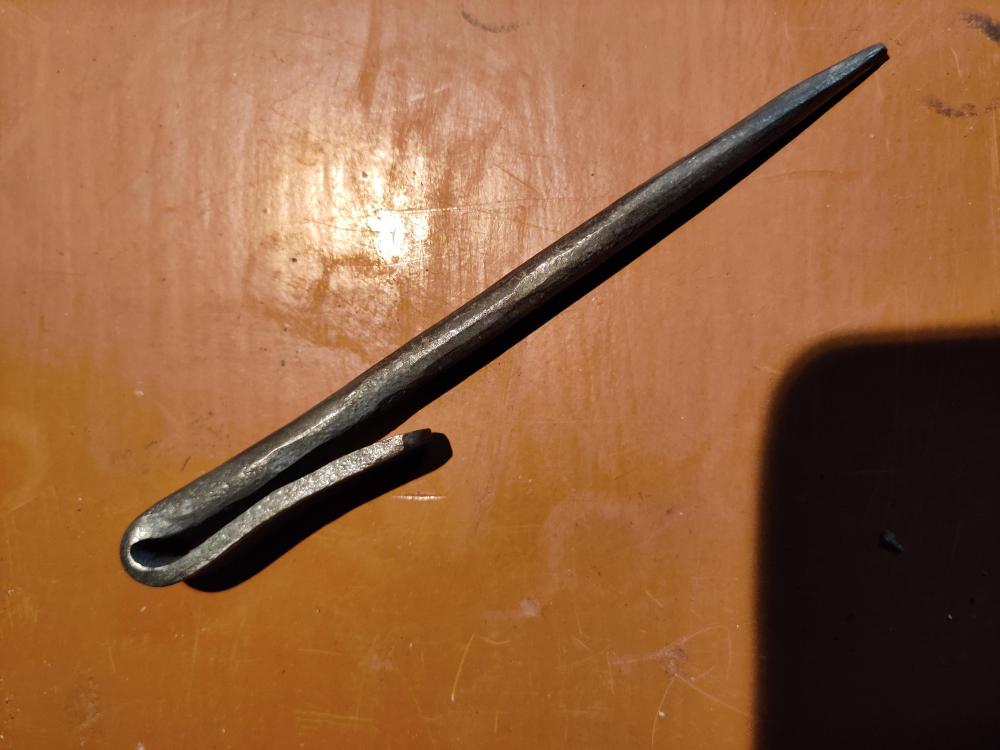
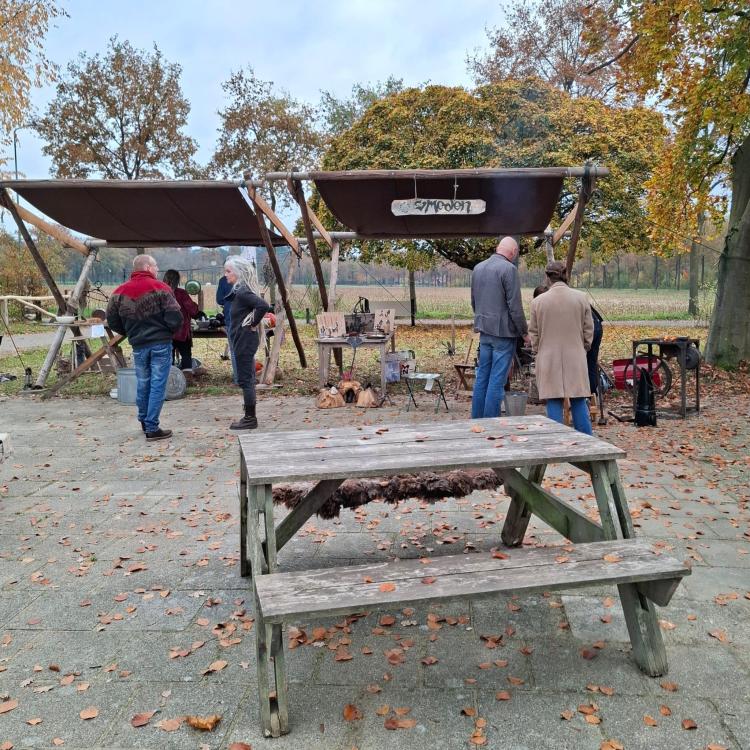
Spent Sunday doing a demo with friends, trying to drum up some attention for our friend Daan's craft and arts initiative. We had lovely autumn weather and lots of interest. Made a small scriber from a bit of hayrake spring. Also made a few brackets as a simple steel rack. It turned out that punching and drifting the holes was a conversation starter, many guests had not seen that before.
-
Hi Tim, and welcome. There's blacksmiths of all levels around here, don't worry. There's something to be learned for everyone. Your hangups around experience, learning and imposter syndrome are 100% recognizable. It's great that you are already getting your work out there -- that's a big step. And you sound like you recognize your limits. Make friends with the local blacksmiths and send the other work their way. It takes more than a lifetime to master the craft in all its depth and breadth, no shame in having limits to your skill. For me, taking courses at the local association was a game changer in terms of skills, efficiency, technique and confidence. But more importantly, and something you never see mentioned in the brochures: you make friends. That really helps to build the feeling that you belong. Just keep showing up and joining in, and with time you'll be part of the community. And if you're nice and somewhat safe and competent, you will probably be able to spend time in other people's workshops when you have specific tooling needs (power hammers, for example). That's also a great chance to figure out which investments, if any, are right for you. Best, pragtich
-
Stefan Gotteswinter did a detailed video on this problem a few years ago, on his youtube. He has some good tips:
-
Wow, they're really cute. And not badly done if they're still around and looking this nice after nearly a century, right? Although I'm guessing there's something wrong with the math on the size...? I'm counting 13 1/2 bricks in the height. 3 5/8" seems to me to be closer to a depth measurement than a height measurement for bricks? 2 1/4 seems closer. I googled a bit and it seems that 8" for 3 courses seems typical in the US. 36 inches is still three feet (or ~90cm), so they're still quite huge They must weigh a bit too...
-
Thanks Goods, I'll give both your suggestions a try. MeltedSocks, that looks really nice. My favorite tool for quick handles is a drawknife. Symmetry is a cruel mistress, isn't it?
-
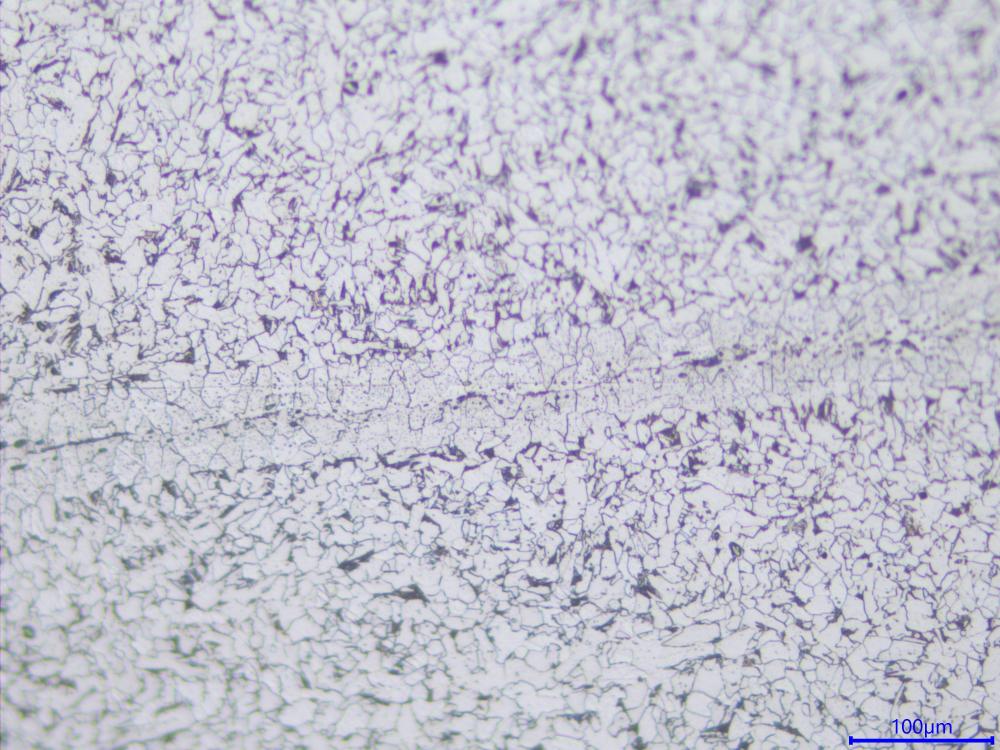
Nothing fancy as that, but I do dabble a little in metallography. This was taken with an optical microscope after etching a polished cross-section. Materials engineer by day, blacksmith by night. At the day job we mostly (laser or orbital) weld stainless steel - those welds need checking now and then. Since they're very small (penetration ~ 100 um), you end up needing microscopy. But also fun to see my failed welds up close :-) Will probably try again but heat to slightly lower temperatures. Had been looking for bubbles in the borax and sparks from the fire, but that clearly put me slightly too hot for this steel. Also want to improve the geometry of my scarfs now that I understand what we're trying to achieve.
-
I've been trying to learn forge welding, using the loop weld from "New Edge of the Anvil" as a guide. First one burned and thinned too much to properly weld, second one was a partial weld (still probably overheated), as shown by a cross-section I did at work.
-
Wow, Gewoon ik, that's gorgeous. And definitely not too small :-) I actually don't mind the floorboards at all, but it makes sense to try and find something less distracting. Nothing better for such a huge hinge than a huge oak slab... Prachtig gedaan.
-
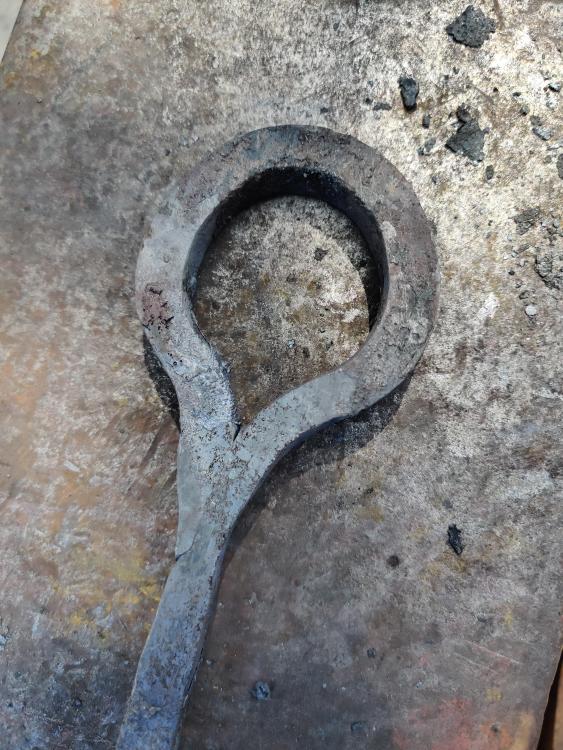
Thank you all for the nice comments. I had been apprehensive about starting tongs, it was very encouraging to have an introduction from an experienced smith. Gewoon ik, I'll definitely explore welding the reins later on, sounds fun in its own right. For now I will take my teacher's advice and ask a local blacksmith to forge out the reins on the ends of some sticks to give me some preforms. Gets me talking to them, so kills two birds. Definitely very motivating, Frosty. Can't wait for the next chance at the forge to make some more!