

D.IVO
-
Posts
80 -
Joined
-
Last visited
Content Type
Profiles
Forums
Articles
Gallery
Downloads
Events
Posts posted by D.IVO
-
-
Outstanding work as always, nobody makes knives like you do!
-
In episode 108 of Forged in fire, they try to recreate the jambia which has the same central ridge. Some grind away from the ridge others use a die for the press.
-
I've had a bunch of leaf springs that make for good blades, once you discover the right HT.
Its not unusual for that steel to have internal micro fractures, which can only been seen when you getting ready to polish the blade.
-
Coincidently I have built my forge exactly that way. Running for two years now, always kept outside. Always beware that a red hot forge, will ignite any gas without a direct flame or spark .
-
Beautifully done.
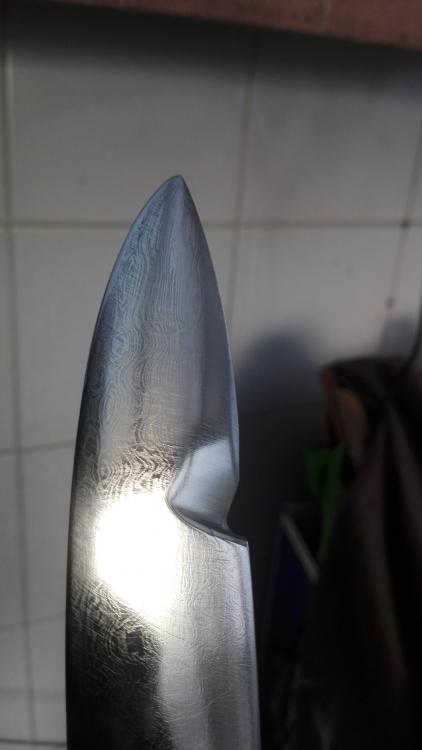
One question : why the last blade has assimetrical bevels?
-
2 hours ago, Buzzkill said:
My understanding is that if the steel is put through all the proper heat treating steps after shaping then there is no noticeable strength or performance difference between stock removal and forging.
True for modern mono steel. When the steel is homogenous any improvements in grain structure by forging, dissappear during HT.
-
About the handle construction, maybe not a good idea to put a pin in such a slim tang. I would epoxy all together and put the pin on the butt cap.
Getting stiched in the fingers is very anoying and removing them is extremely painfull. They wouldnt sow in that spot so put an adesive and it'll be fine.
-
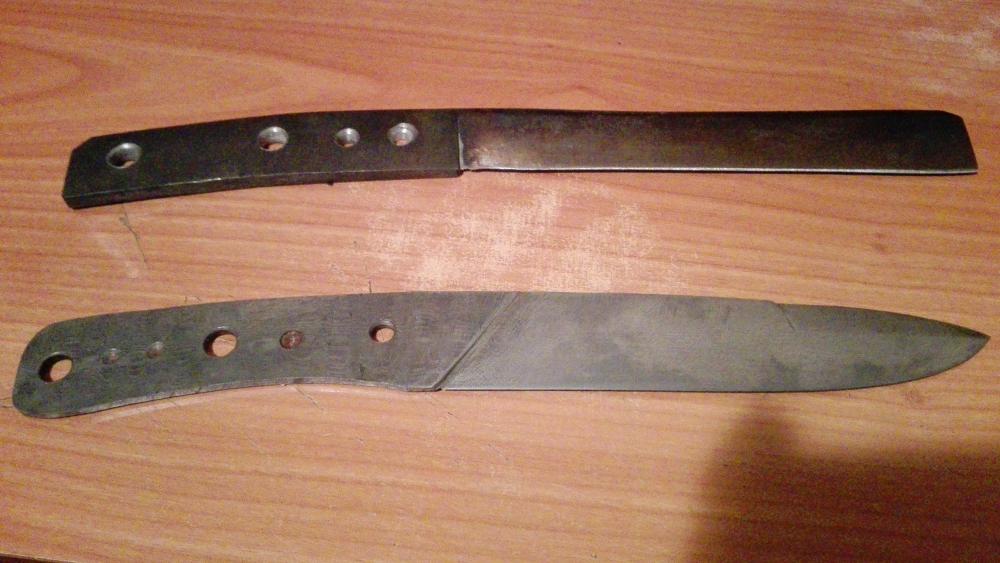
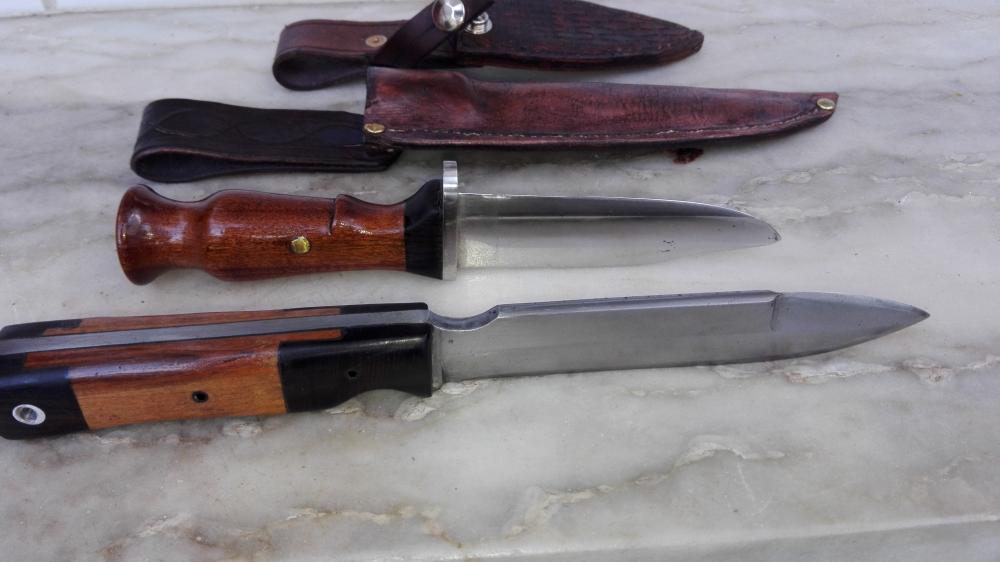
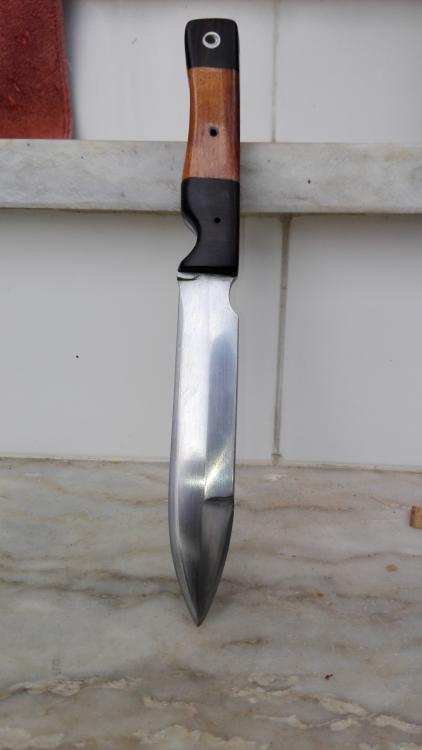
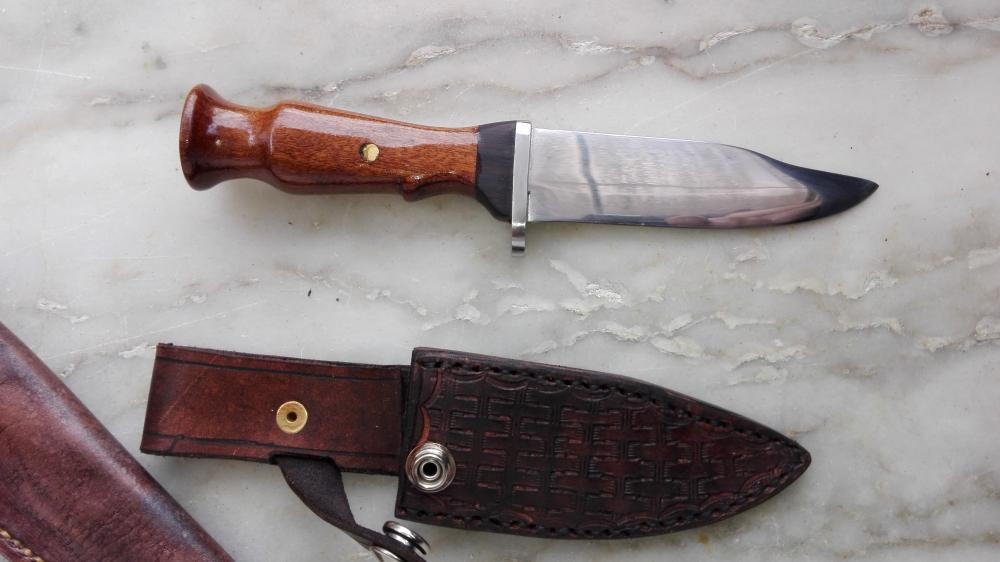
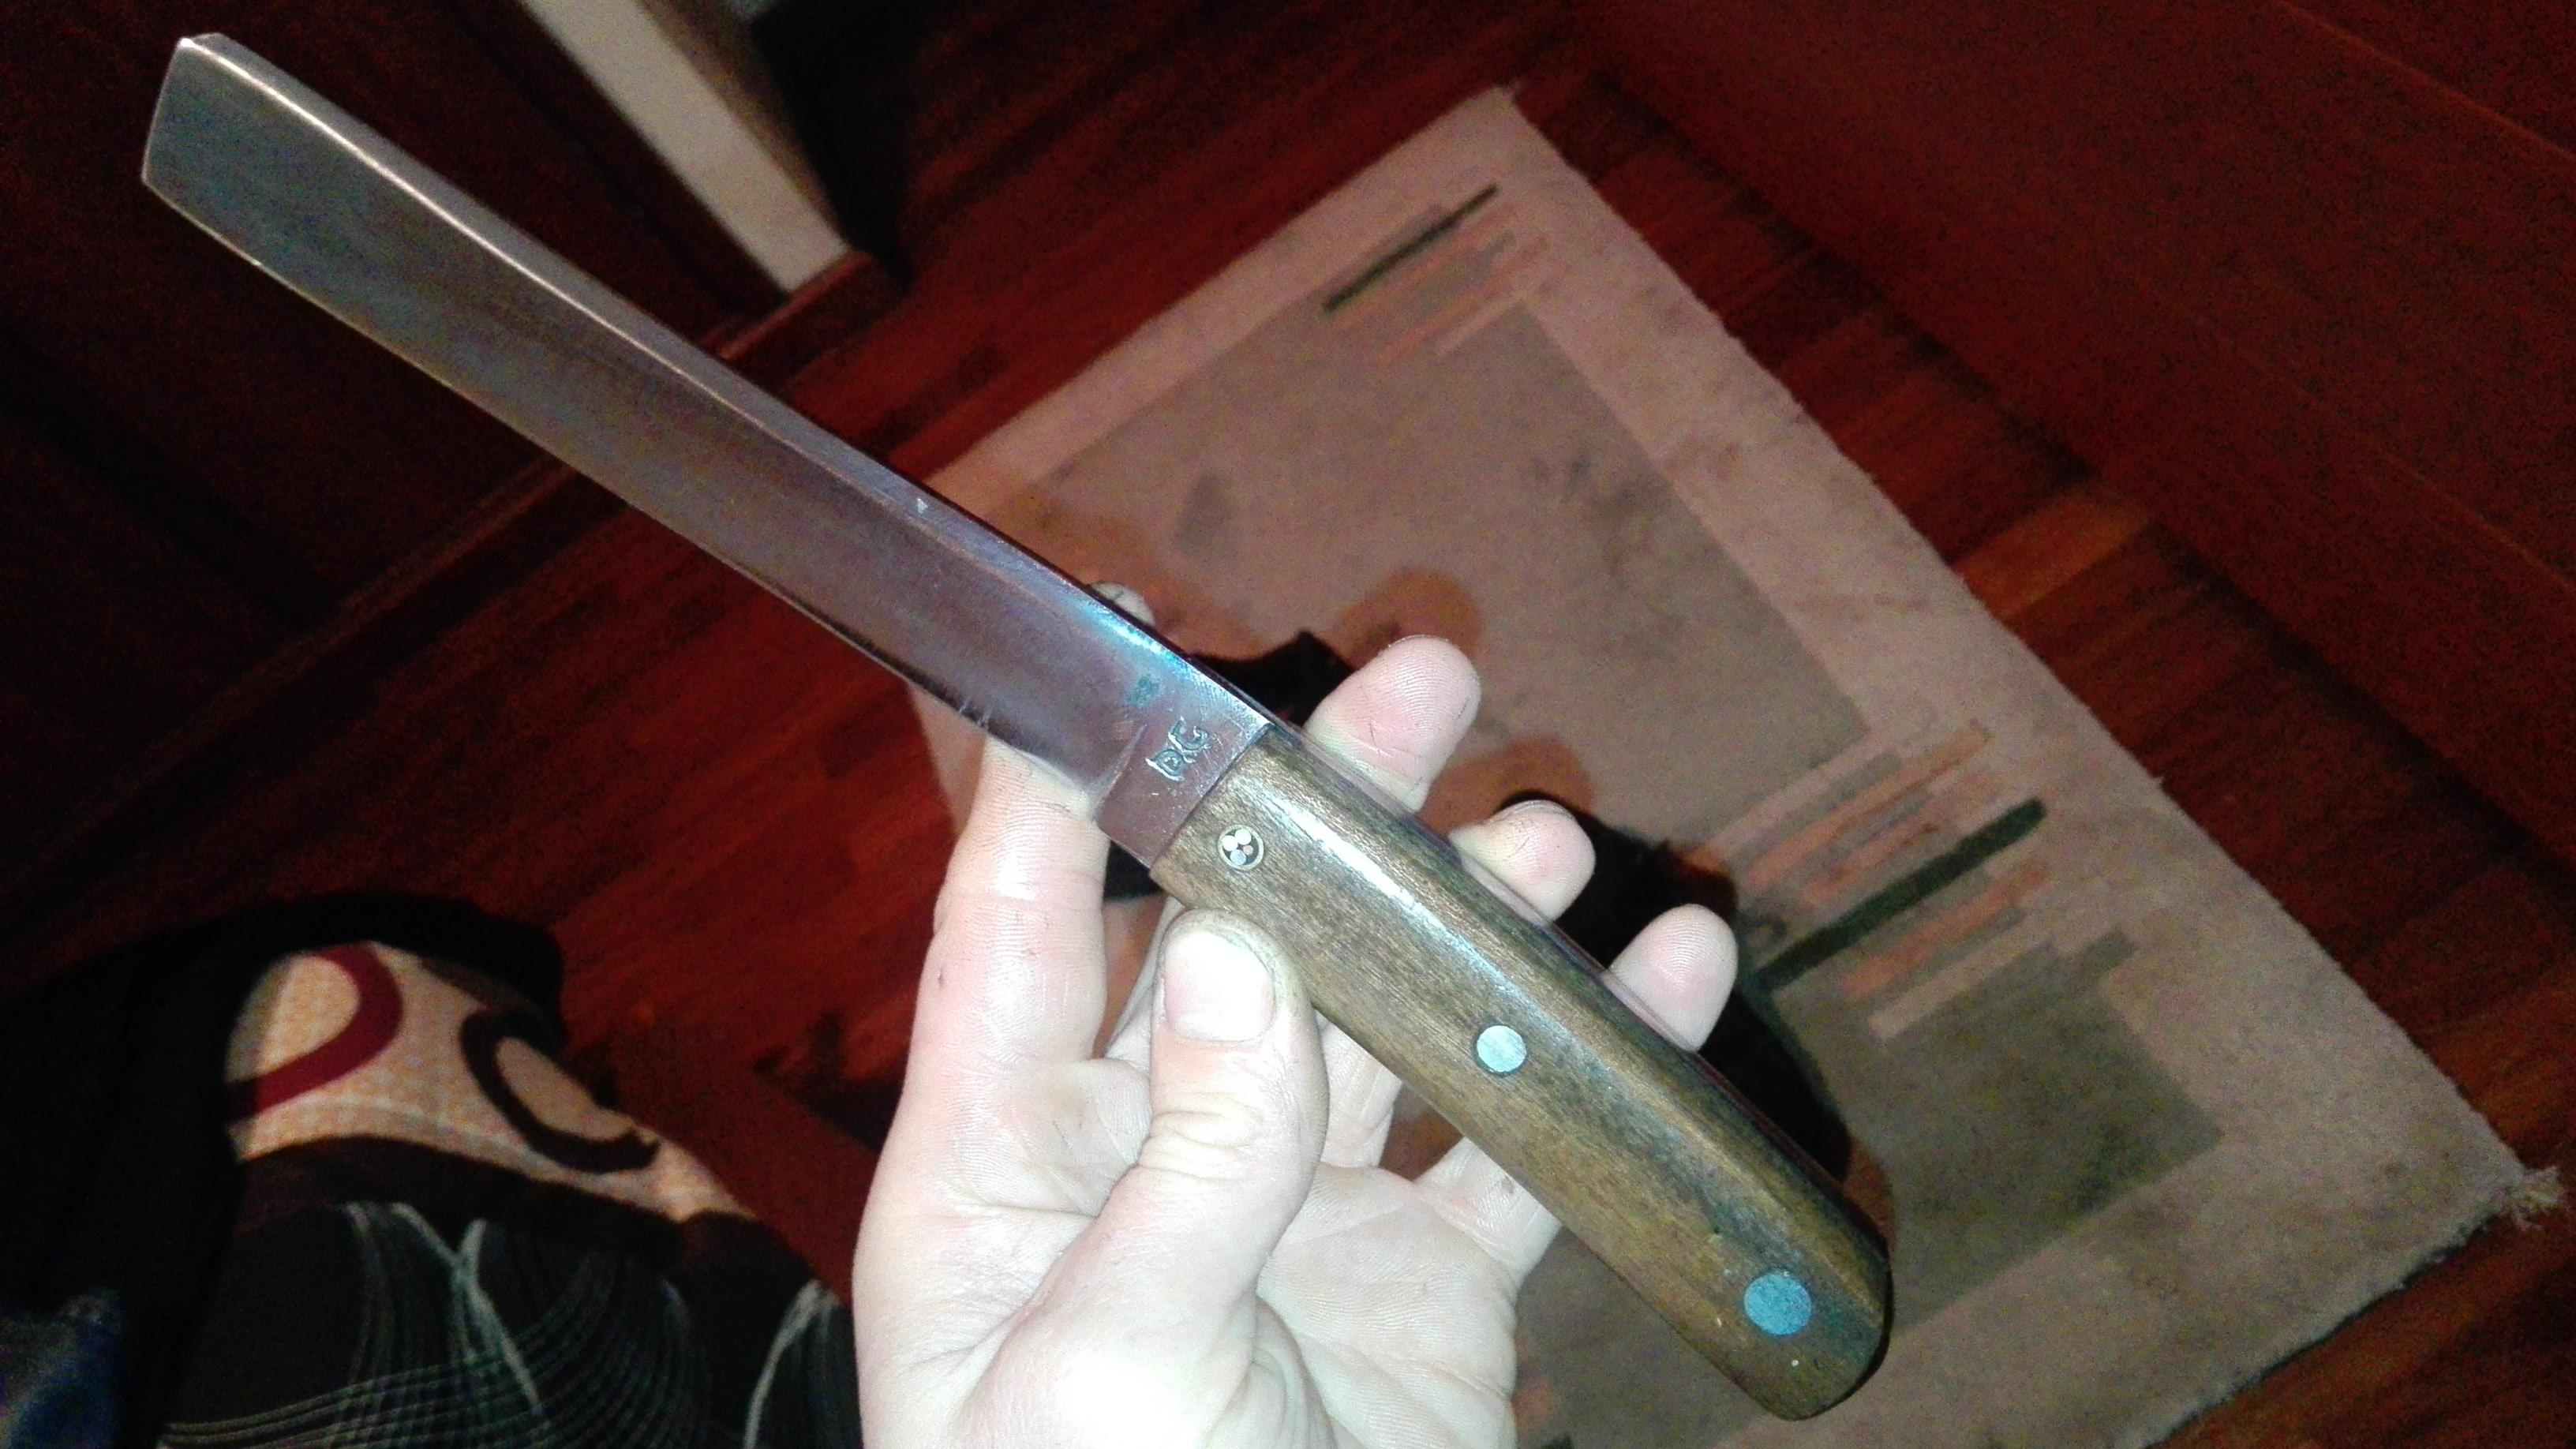
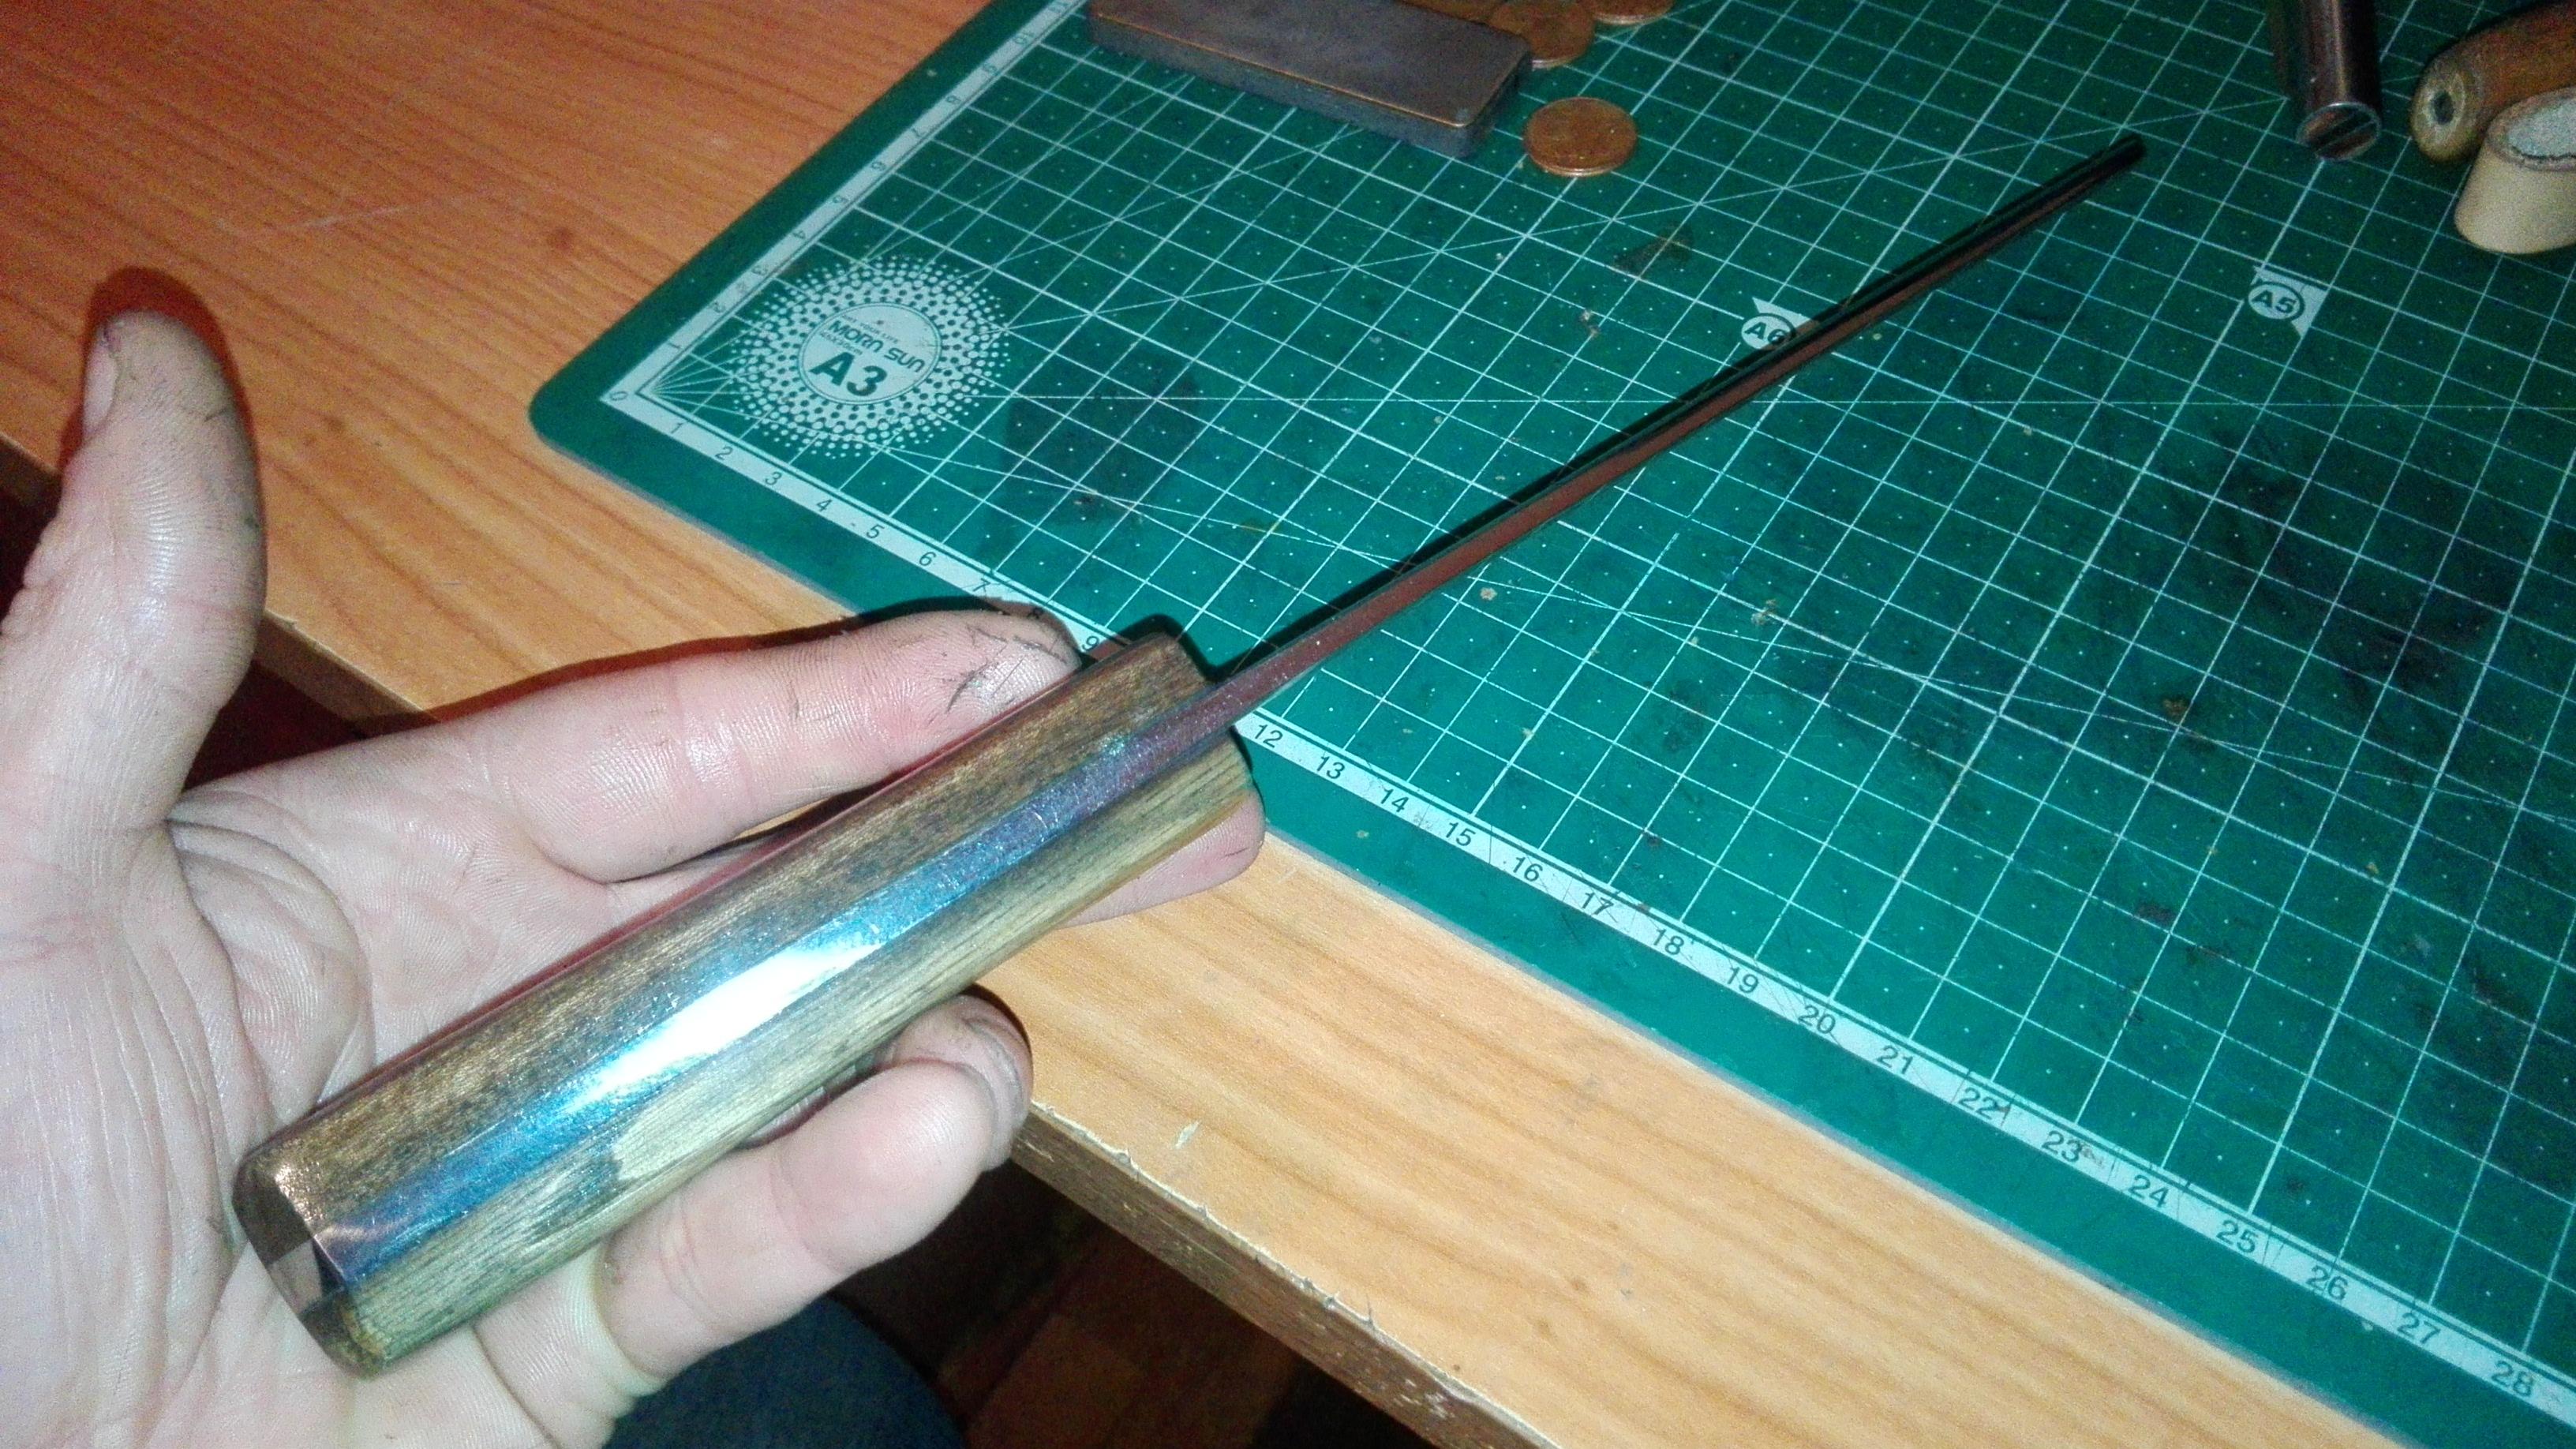
Hello, here's something new and very simple I finished last month. These are some of the most simple and quick knives I've made.
I took the criticism about my work being to exagerated sometimes so I'm going simple and practical.
Both are file steel blades, stainless guard /cap; pau santo handle for the dagger and cherry wood for the fighting knife.
Hope you enjoy
cheers


-
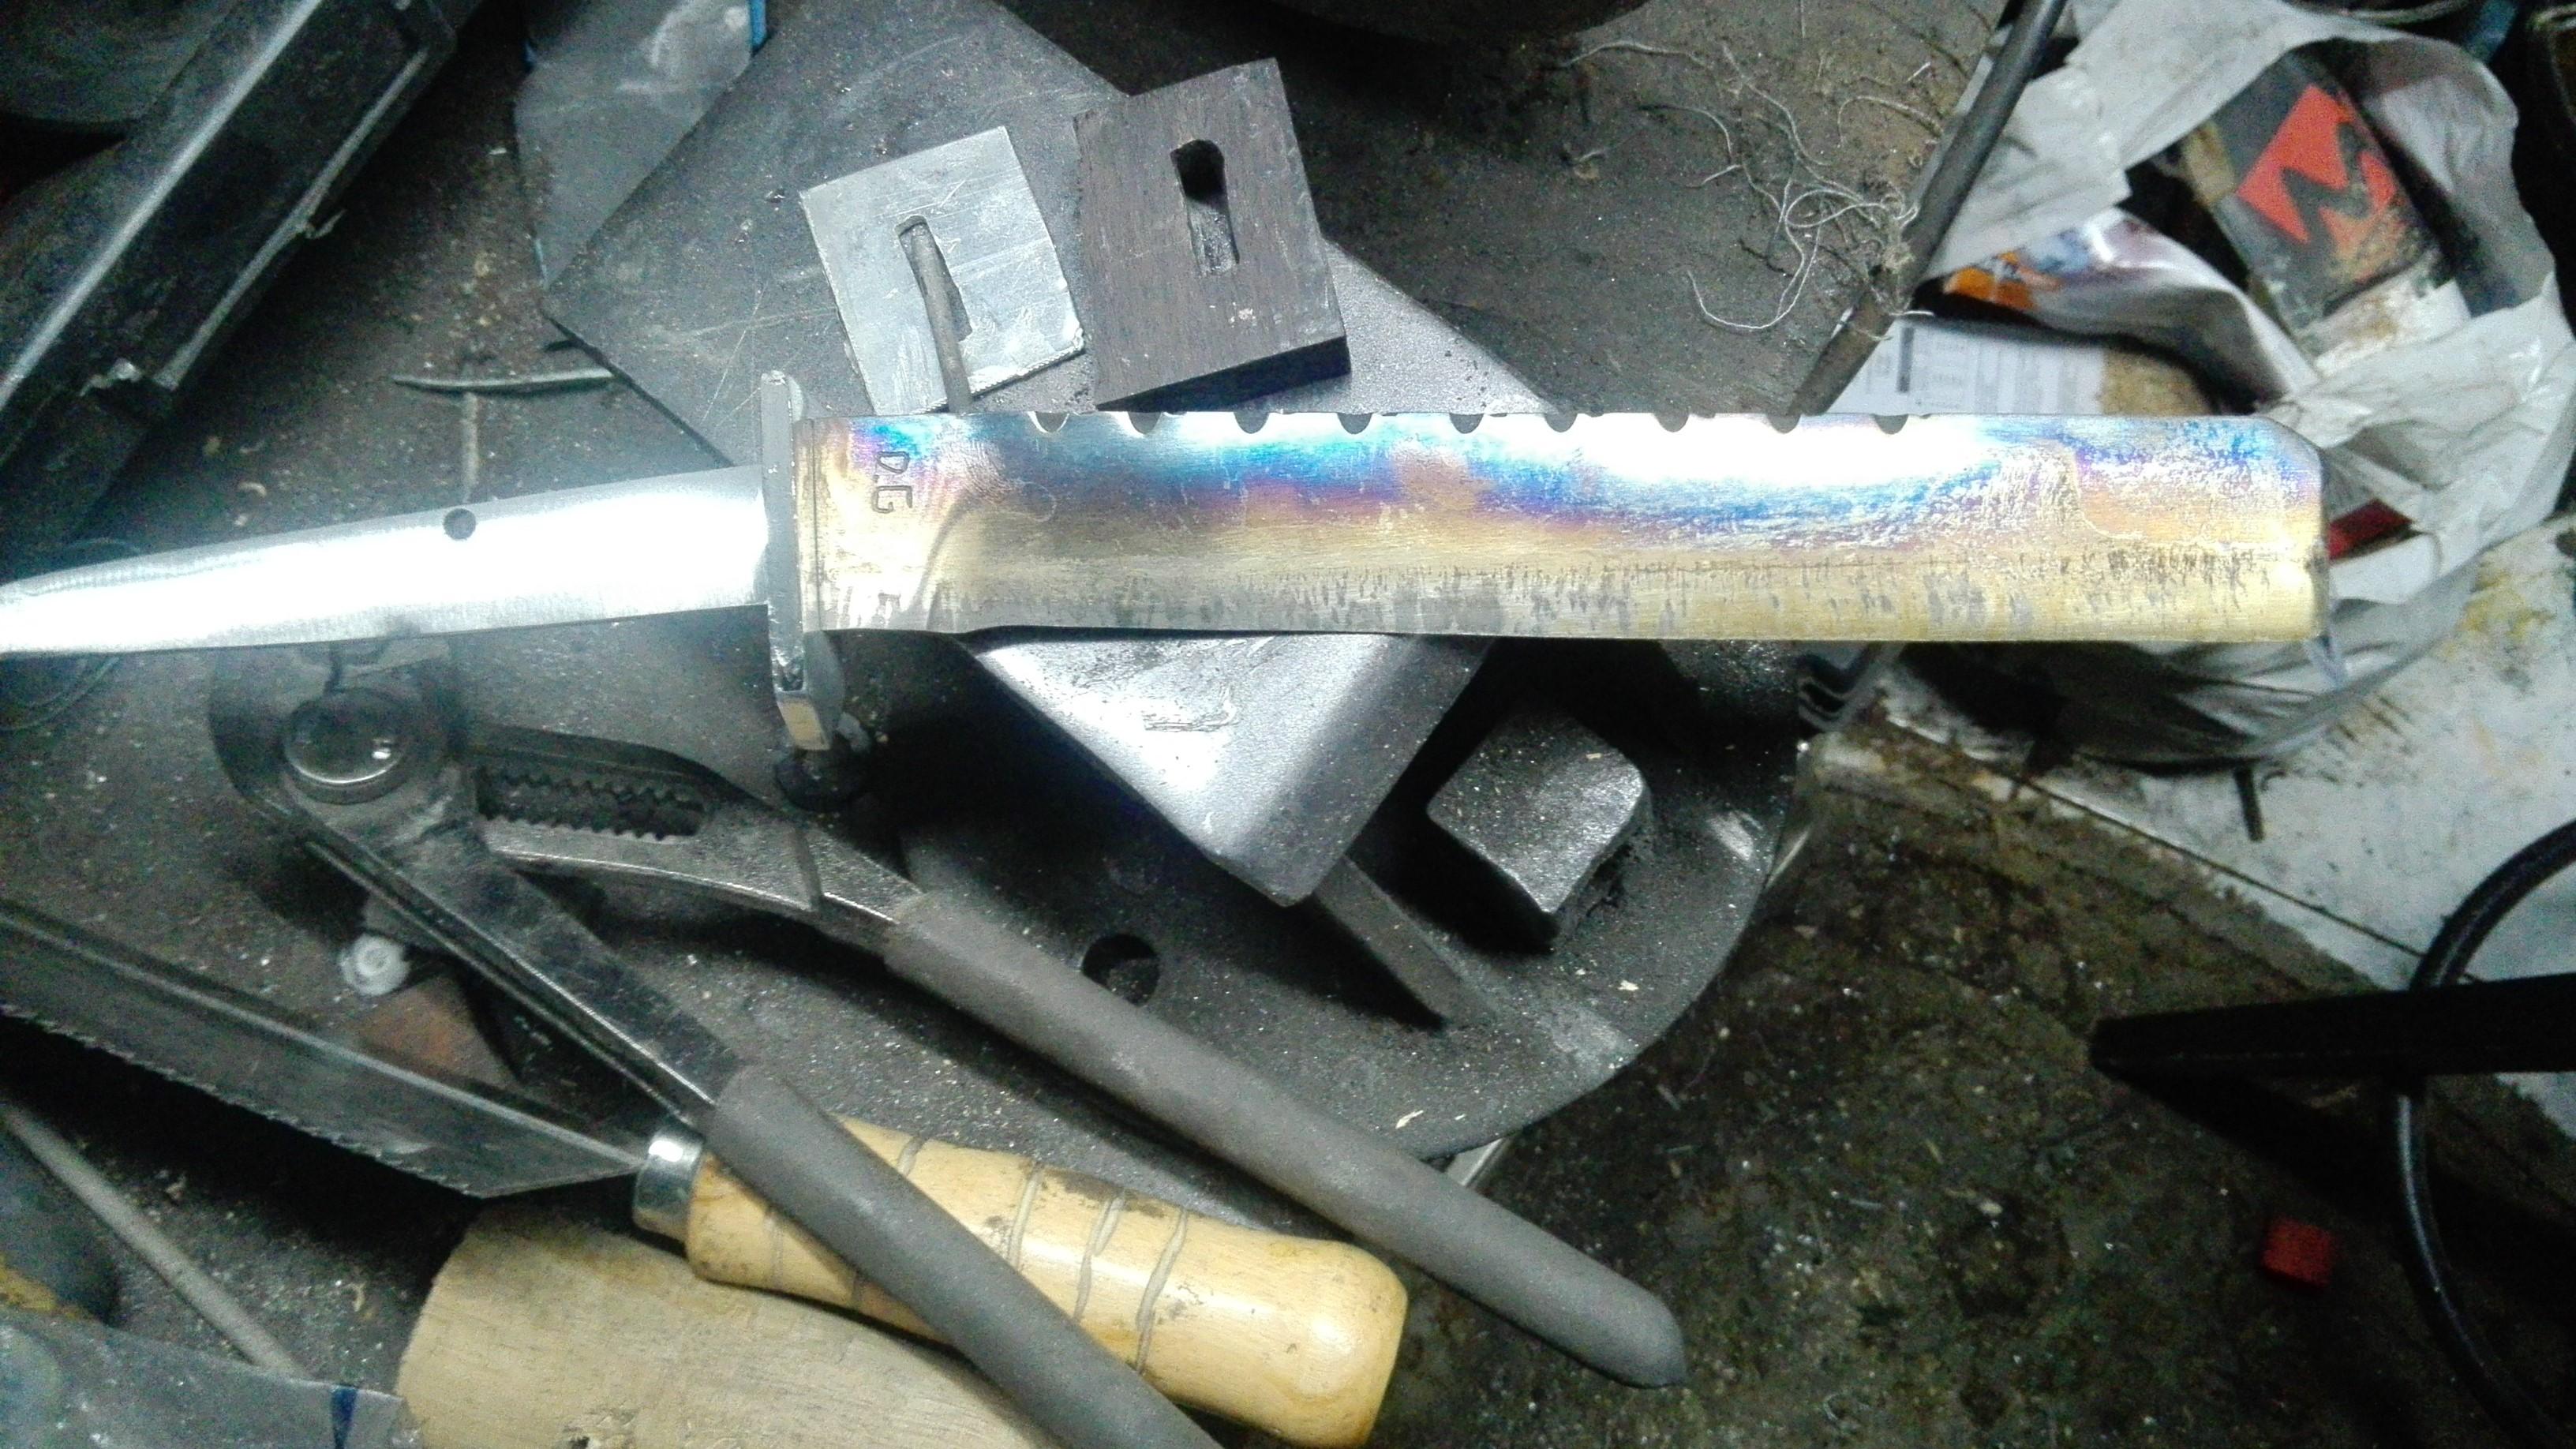
Cool profile of the blade but the tang is a bit big. Great job hammering that beast into shape .
-
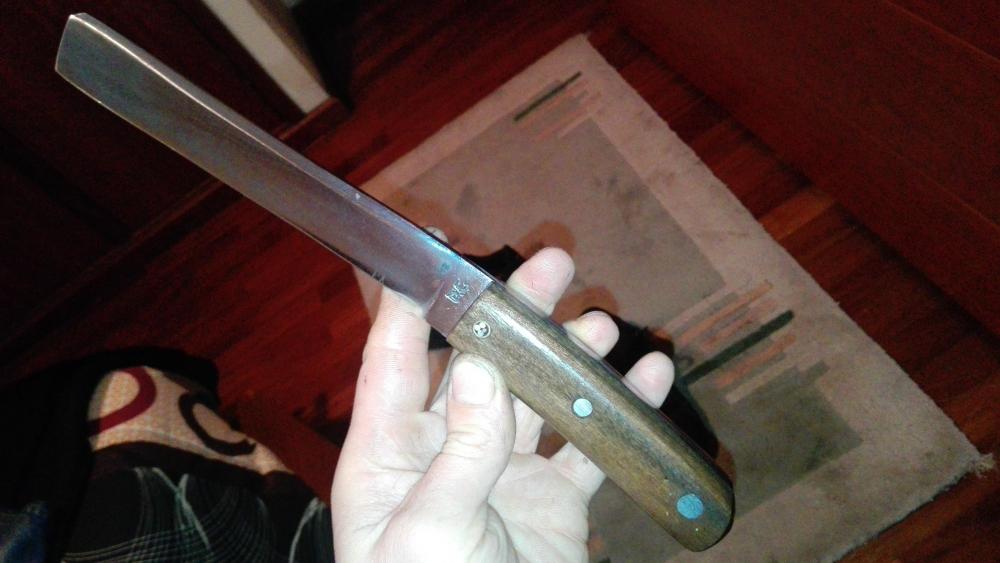
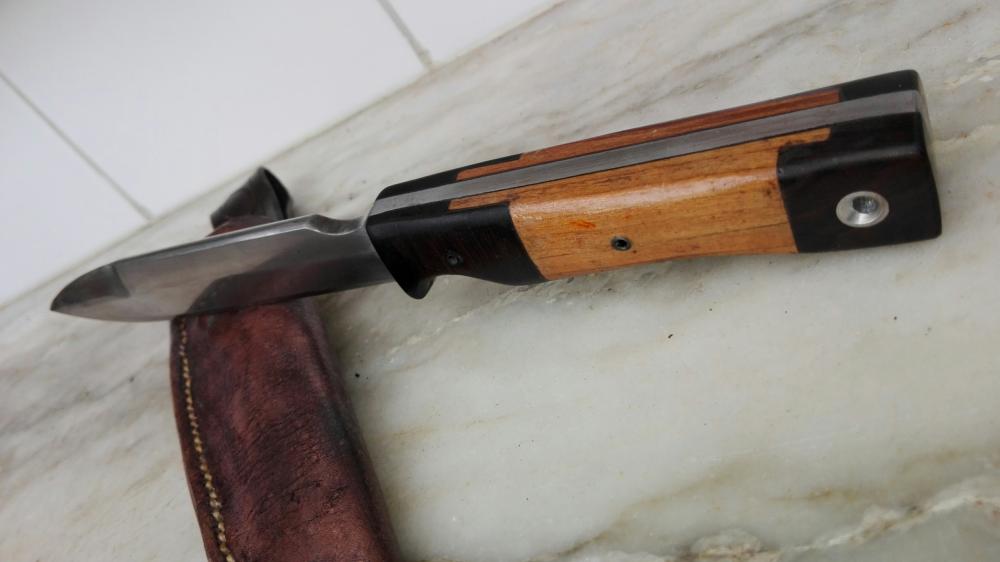
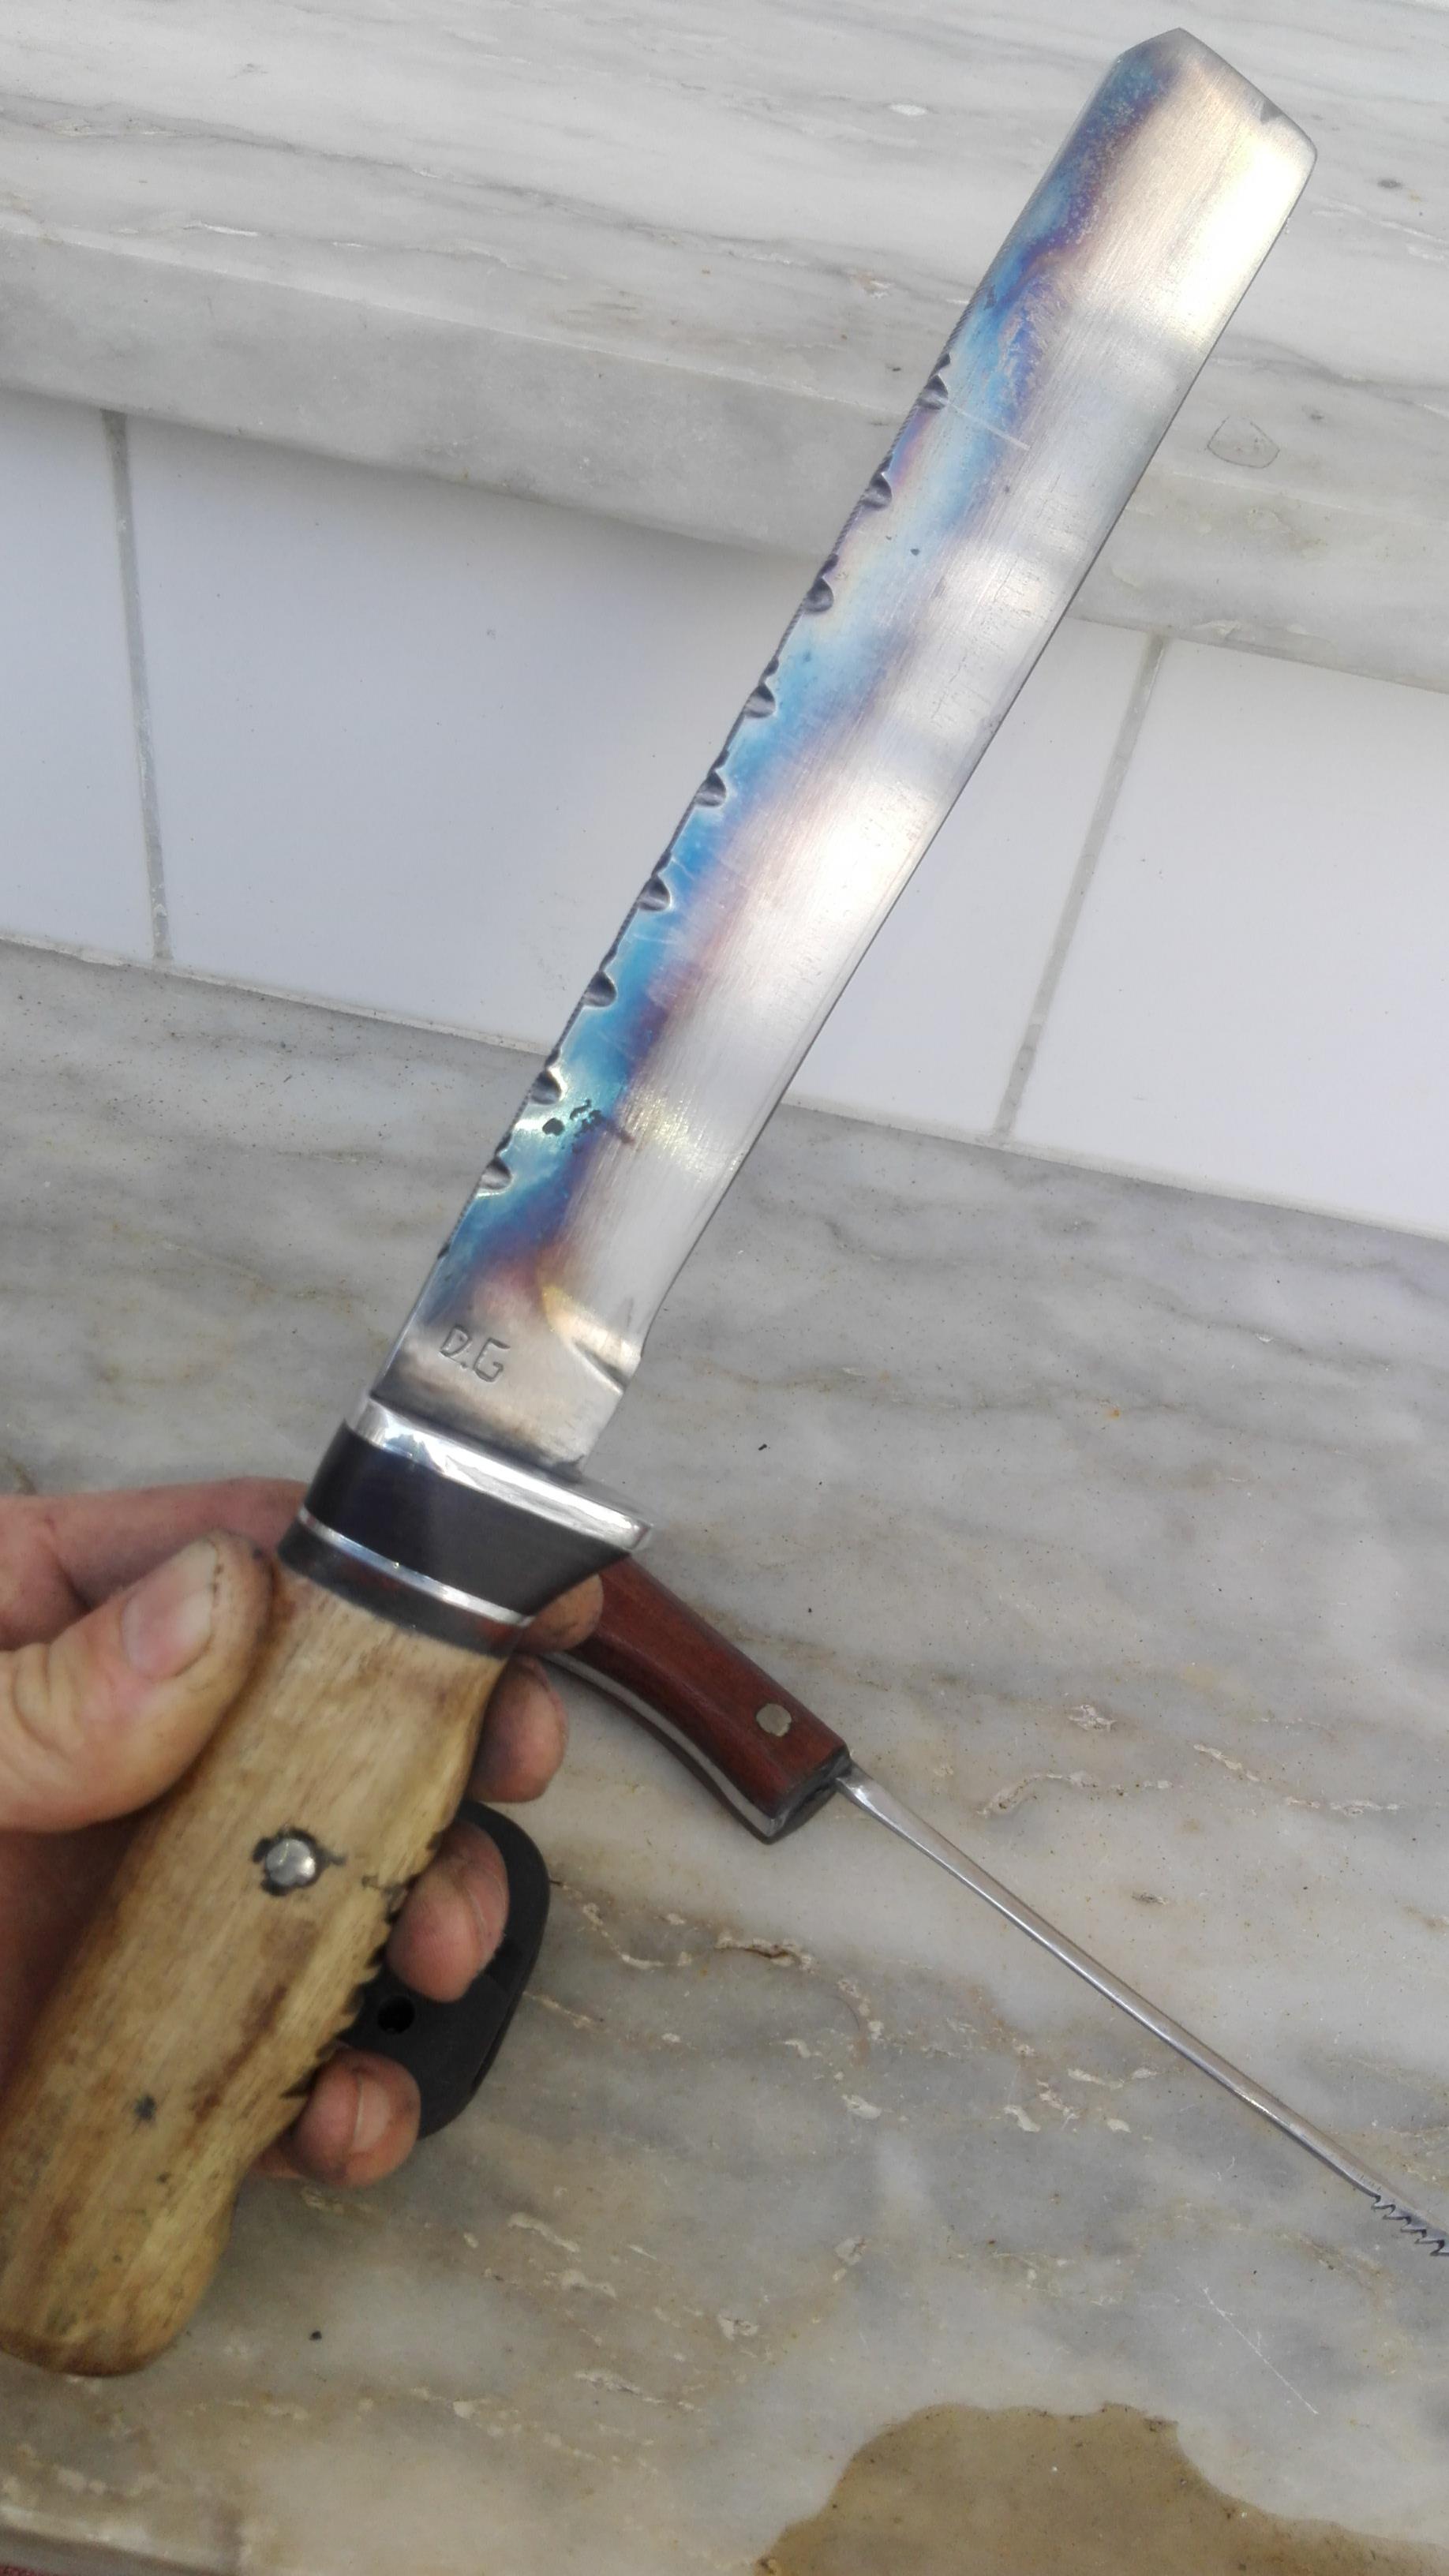
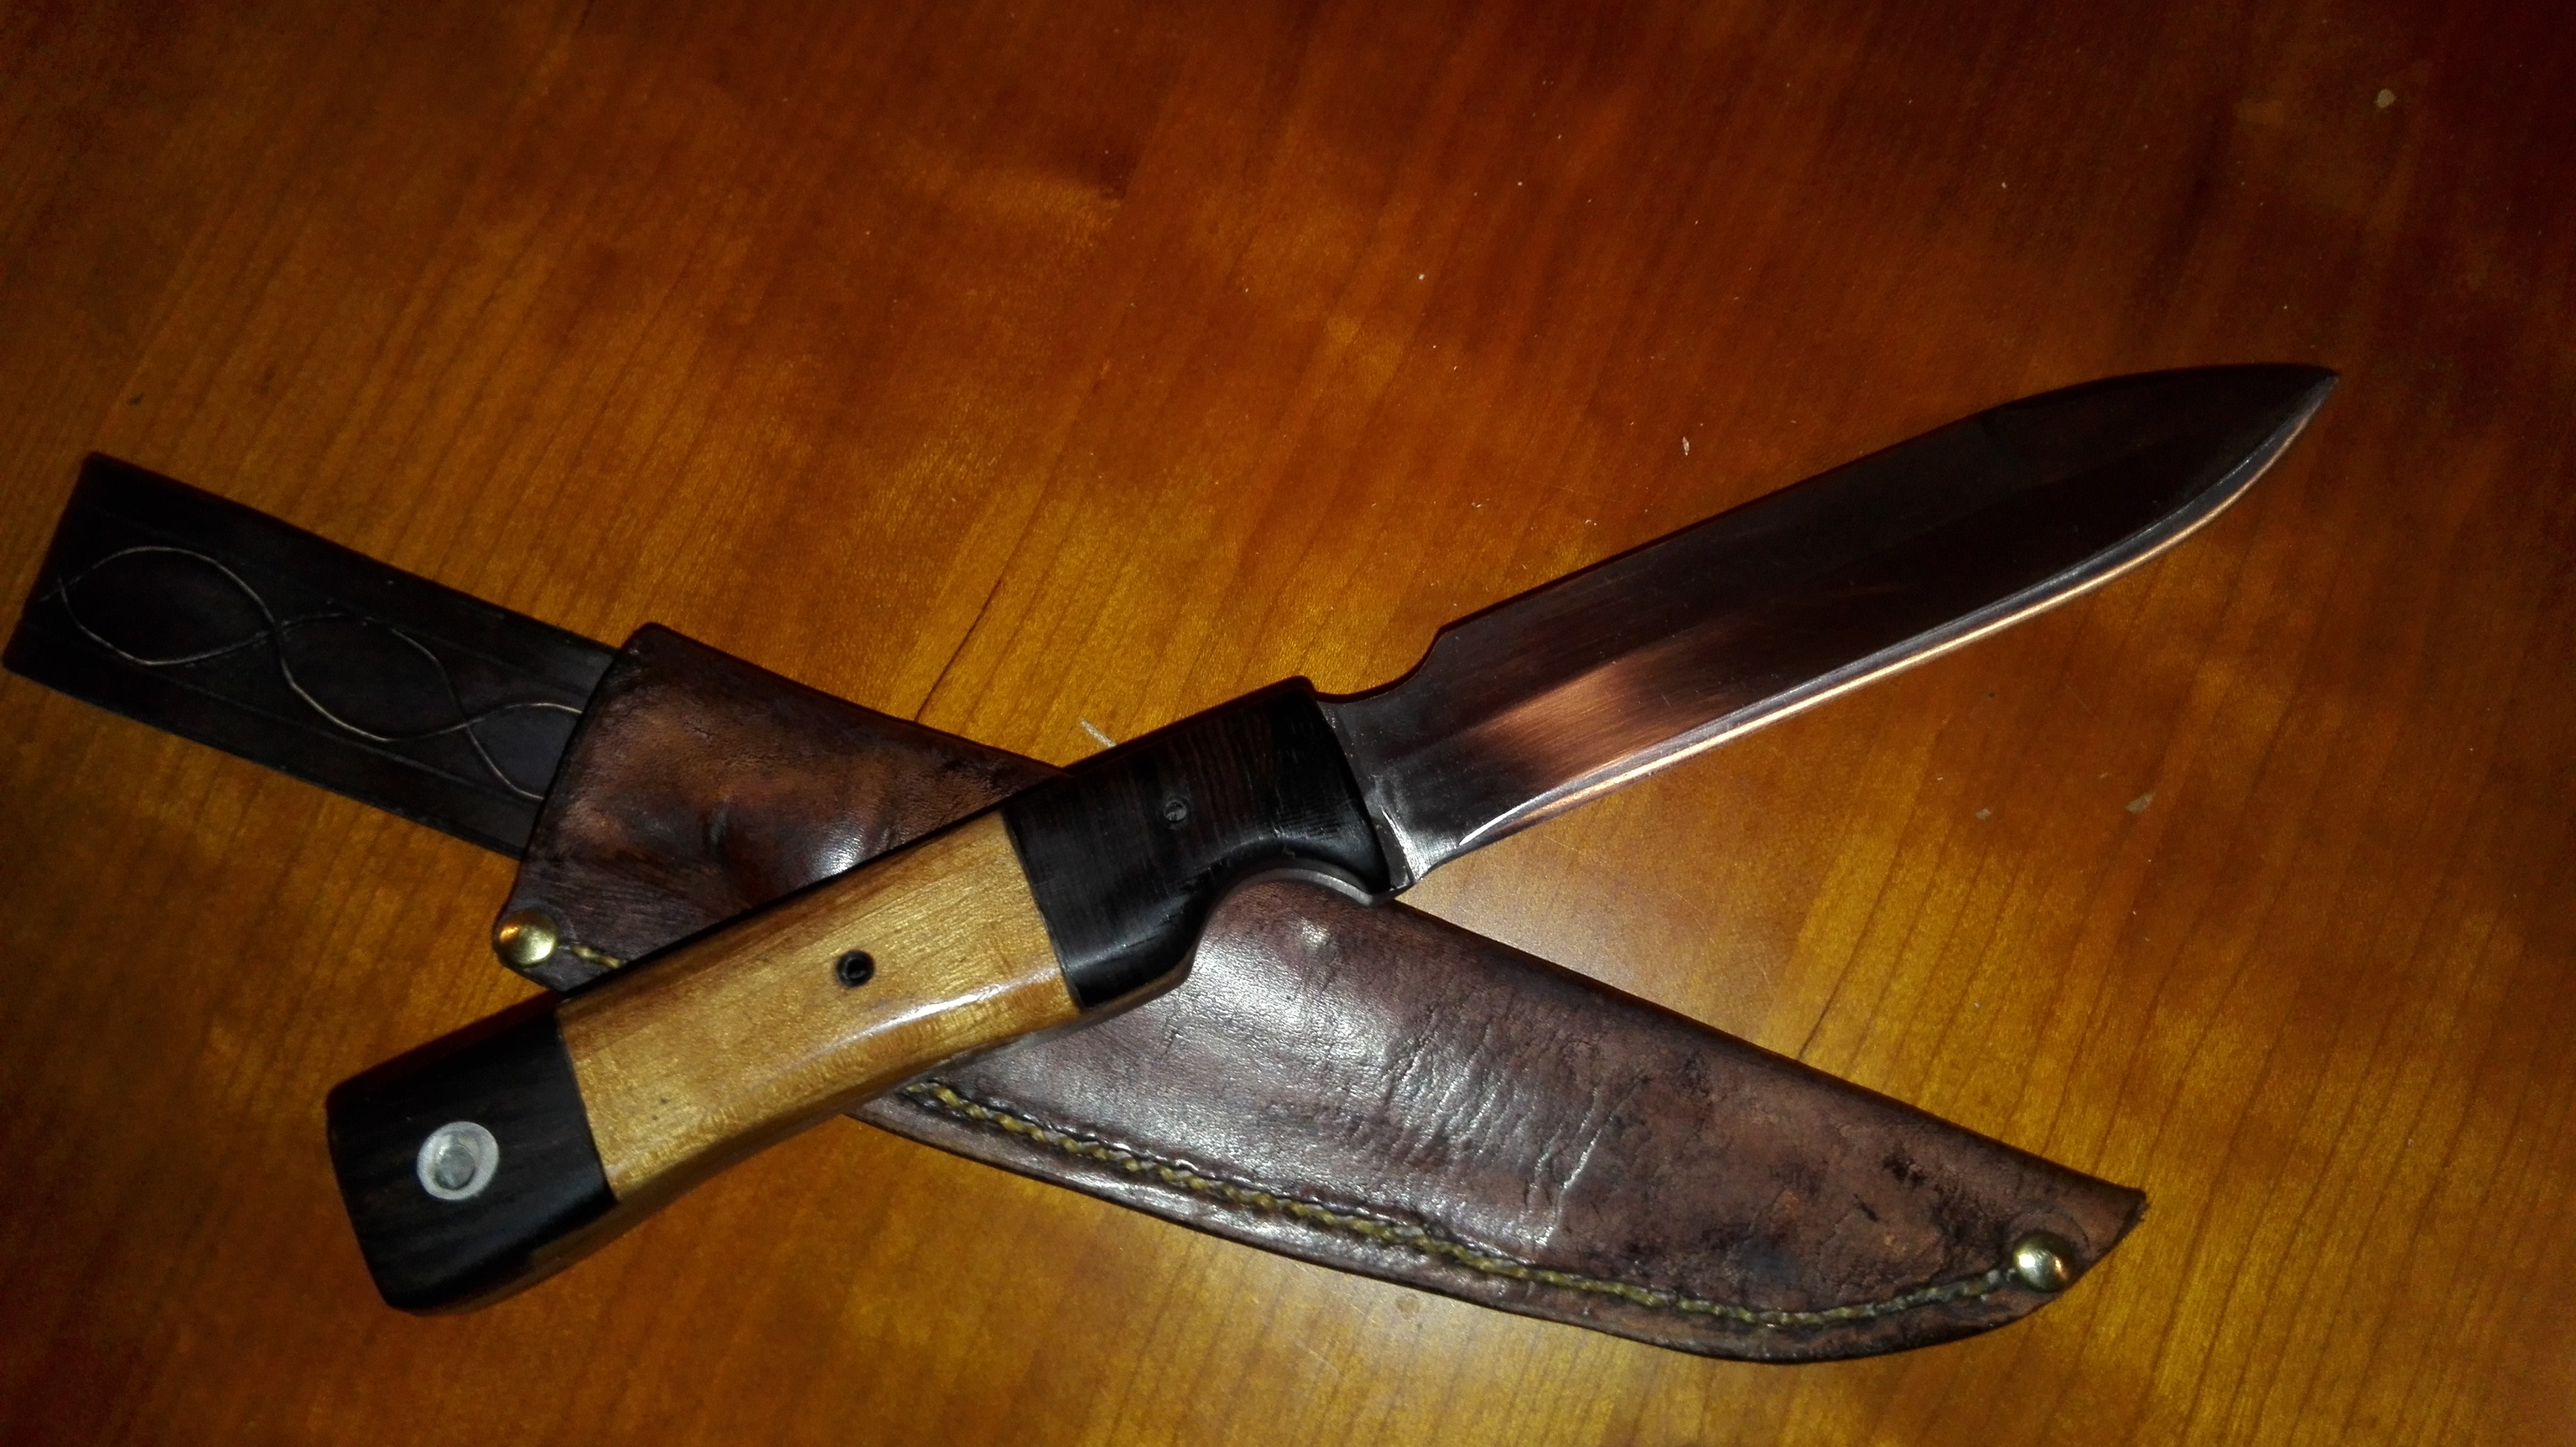
Not a false edge but sharp on both ends. I dont really plan just go with the tide.
File work is all needle files, always before ht and the small grooves are traces of the old file. I tempered the blade for two hours at ~210 Cº as usual and then I submerge the edge in water for the final temper with the torch , no harm is done and blade is stronger.
The purpose of the grooves is to aid grip nothing more, the polished varnish is a bit slippery when wet .
-
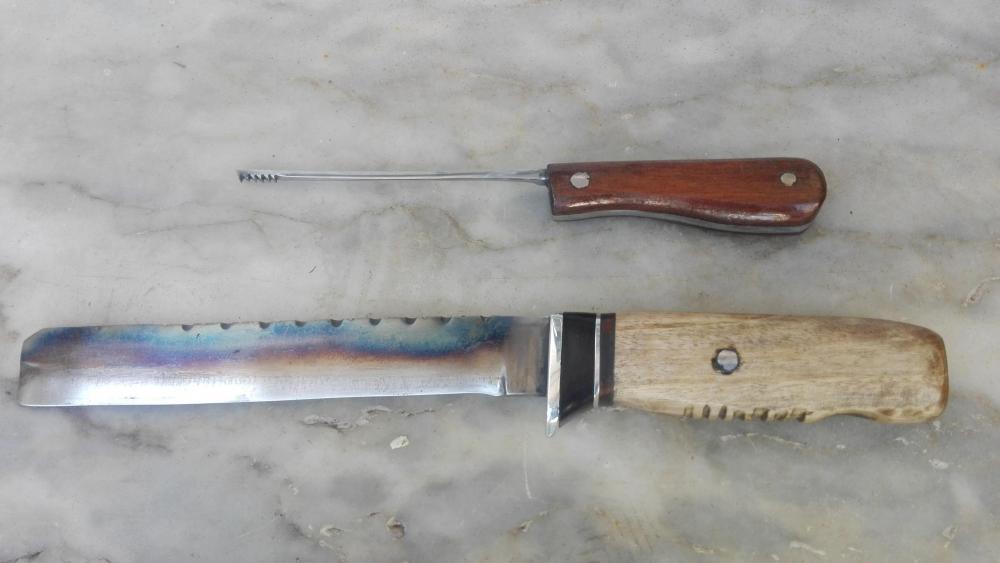
I've been so busy since last year with new job and other experiments that I didnt took take time posting anything so here it goes...
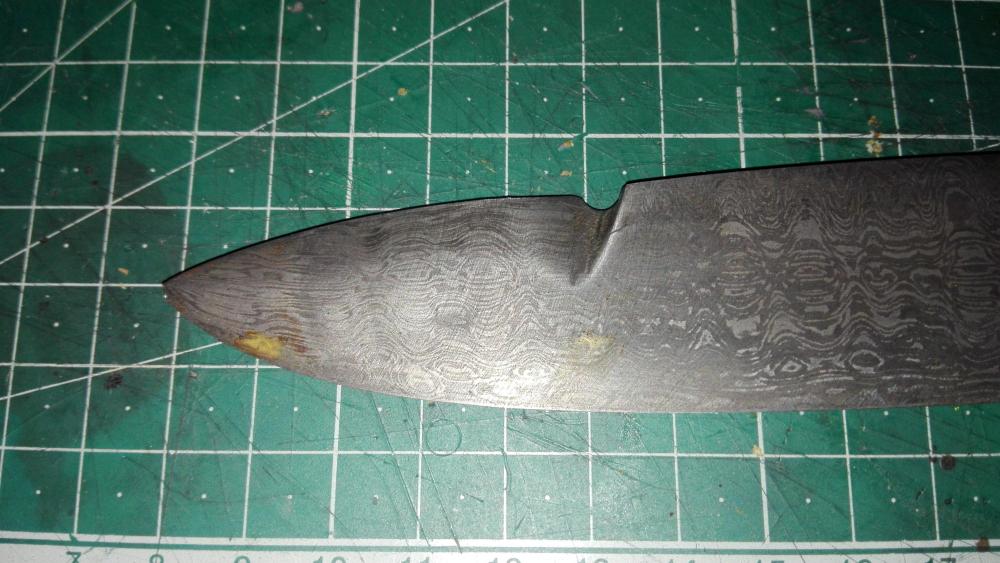
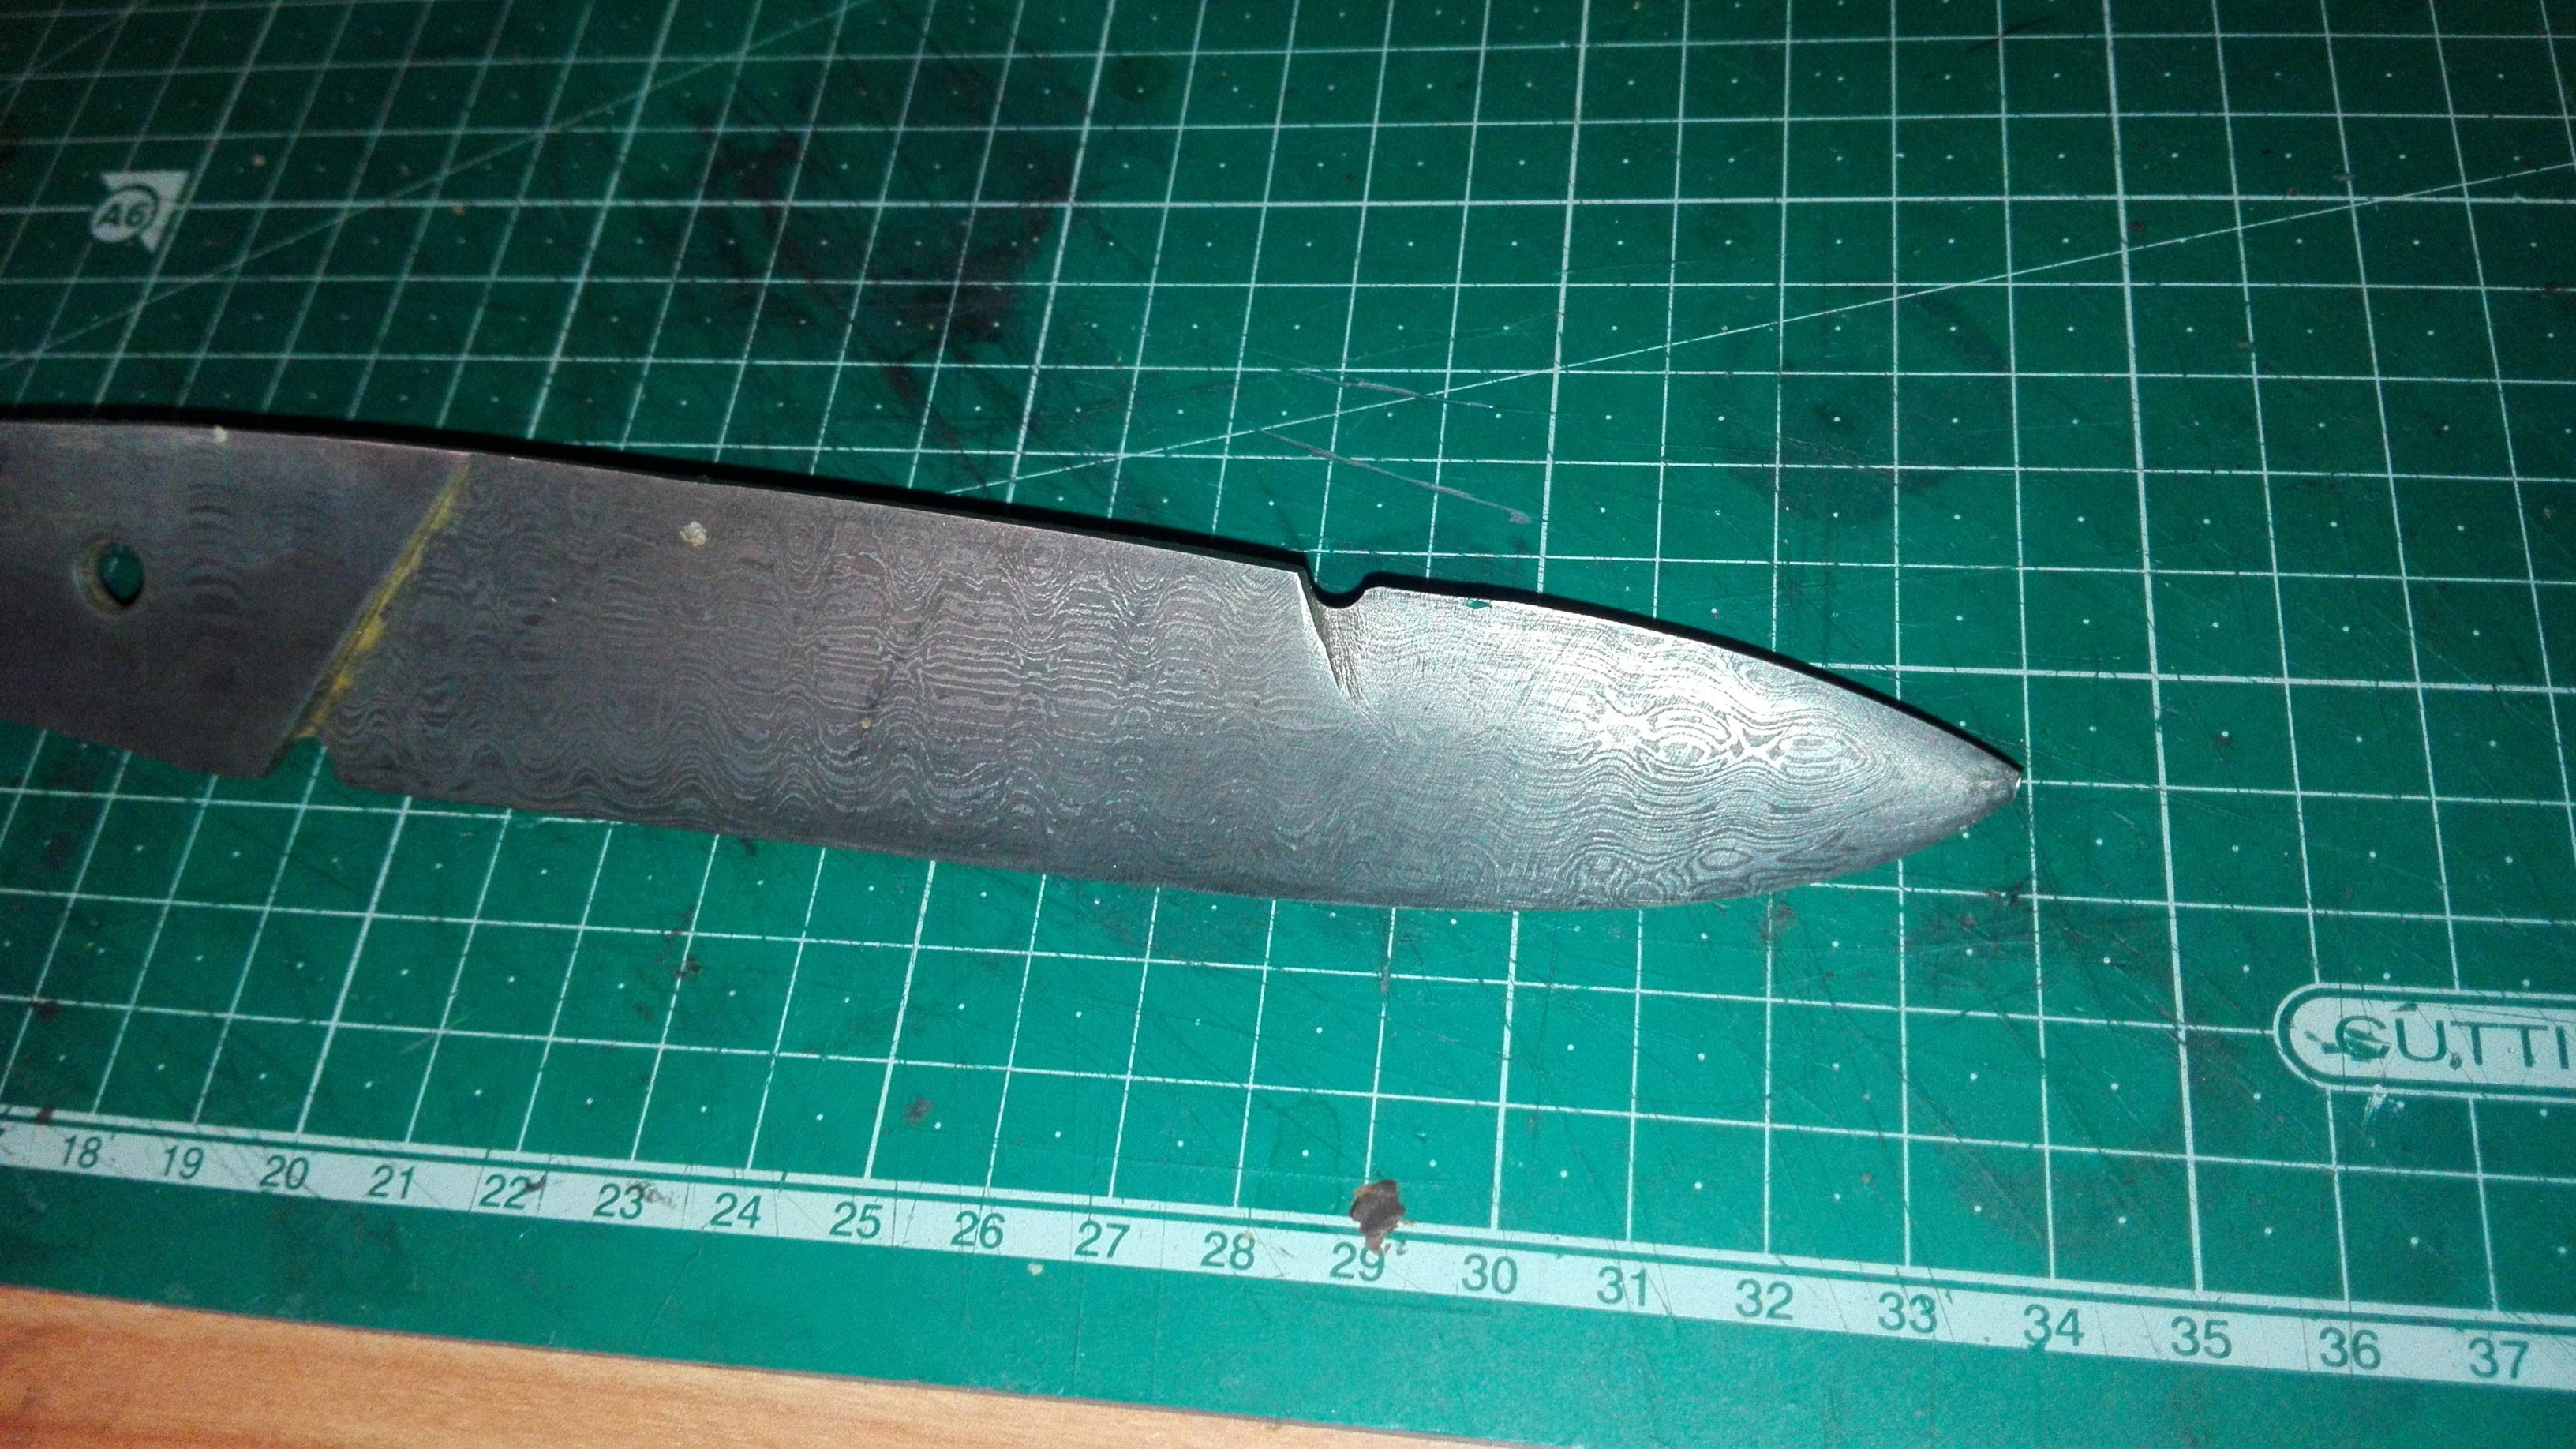
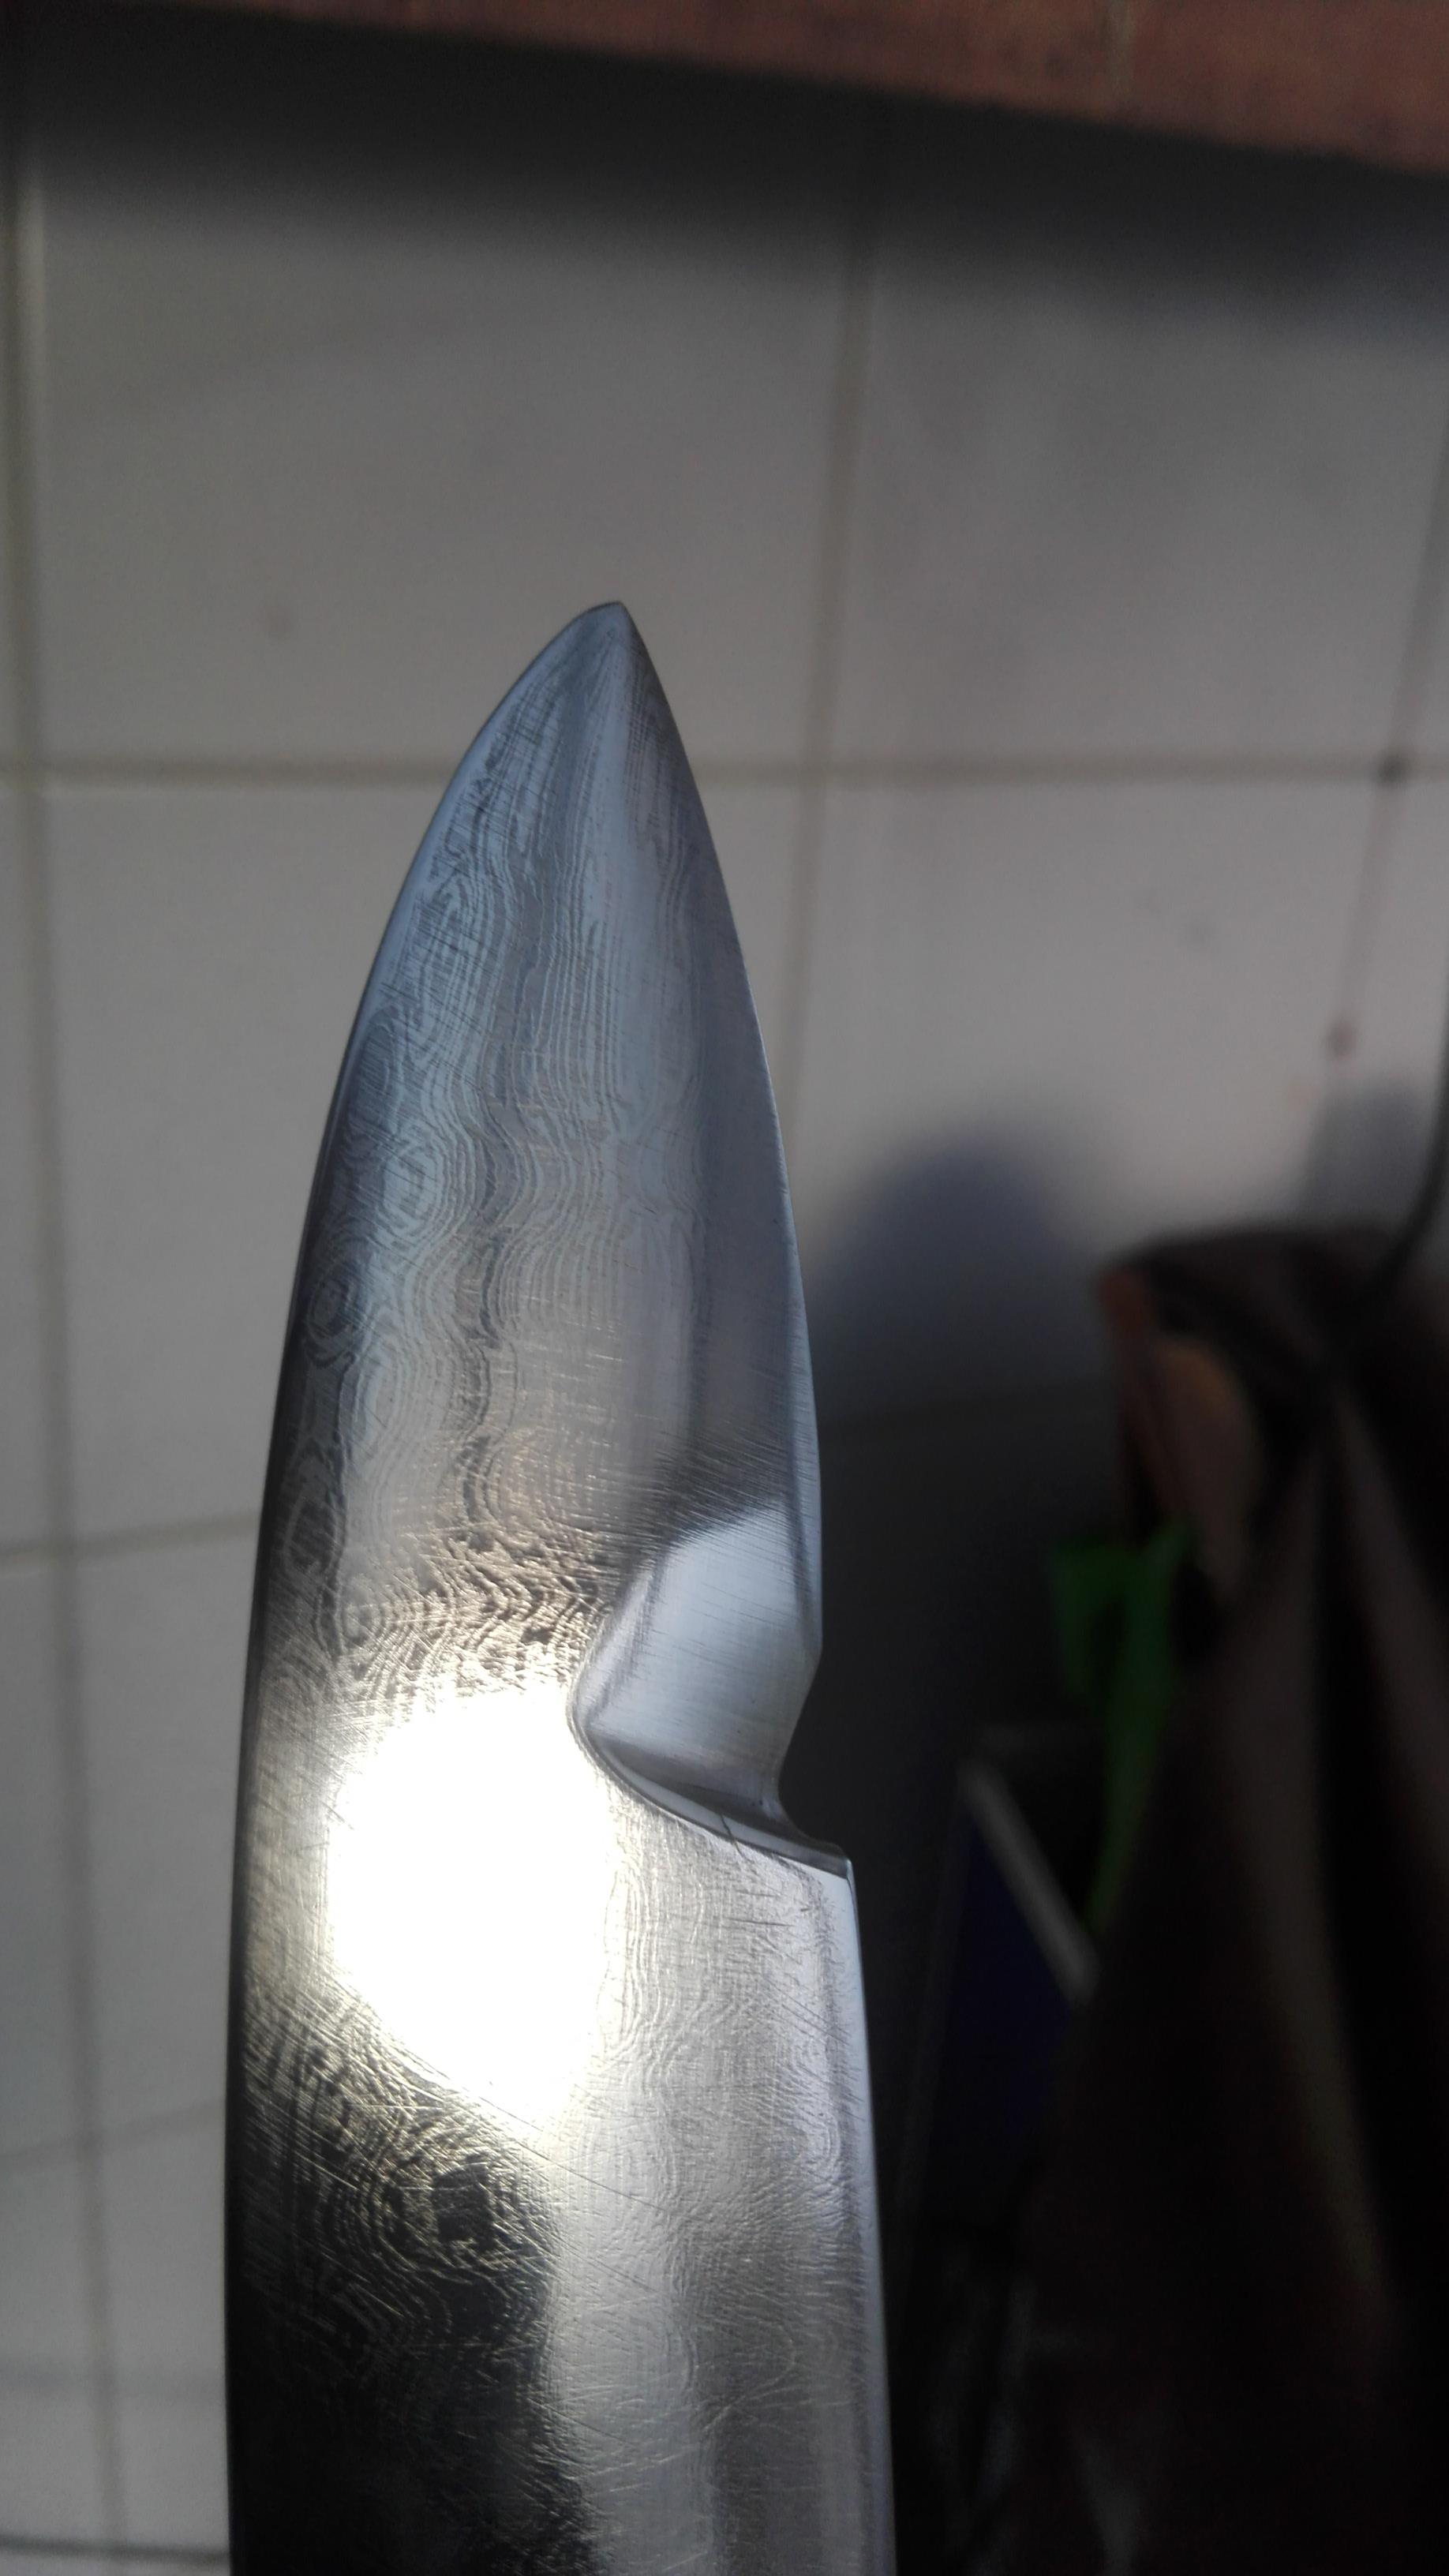
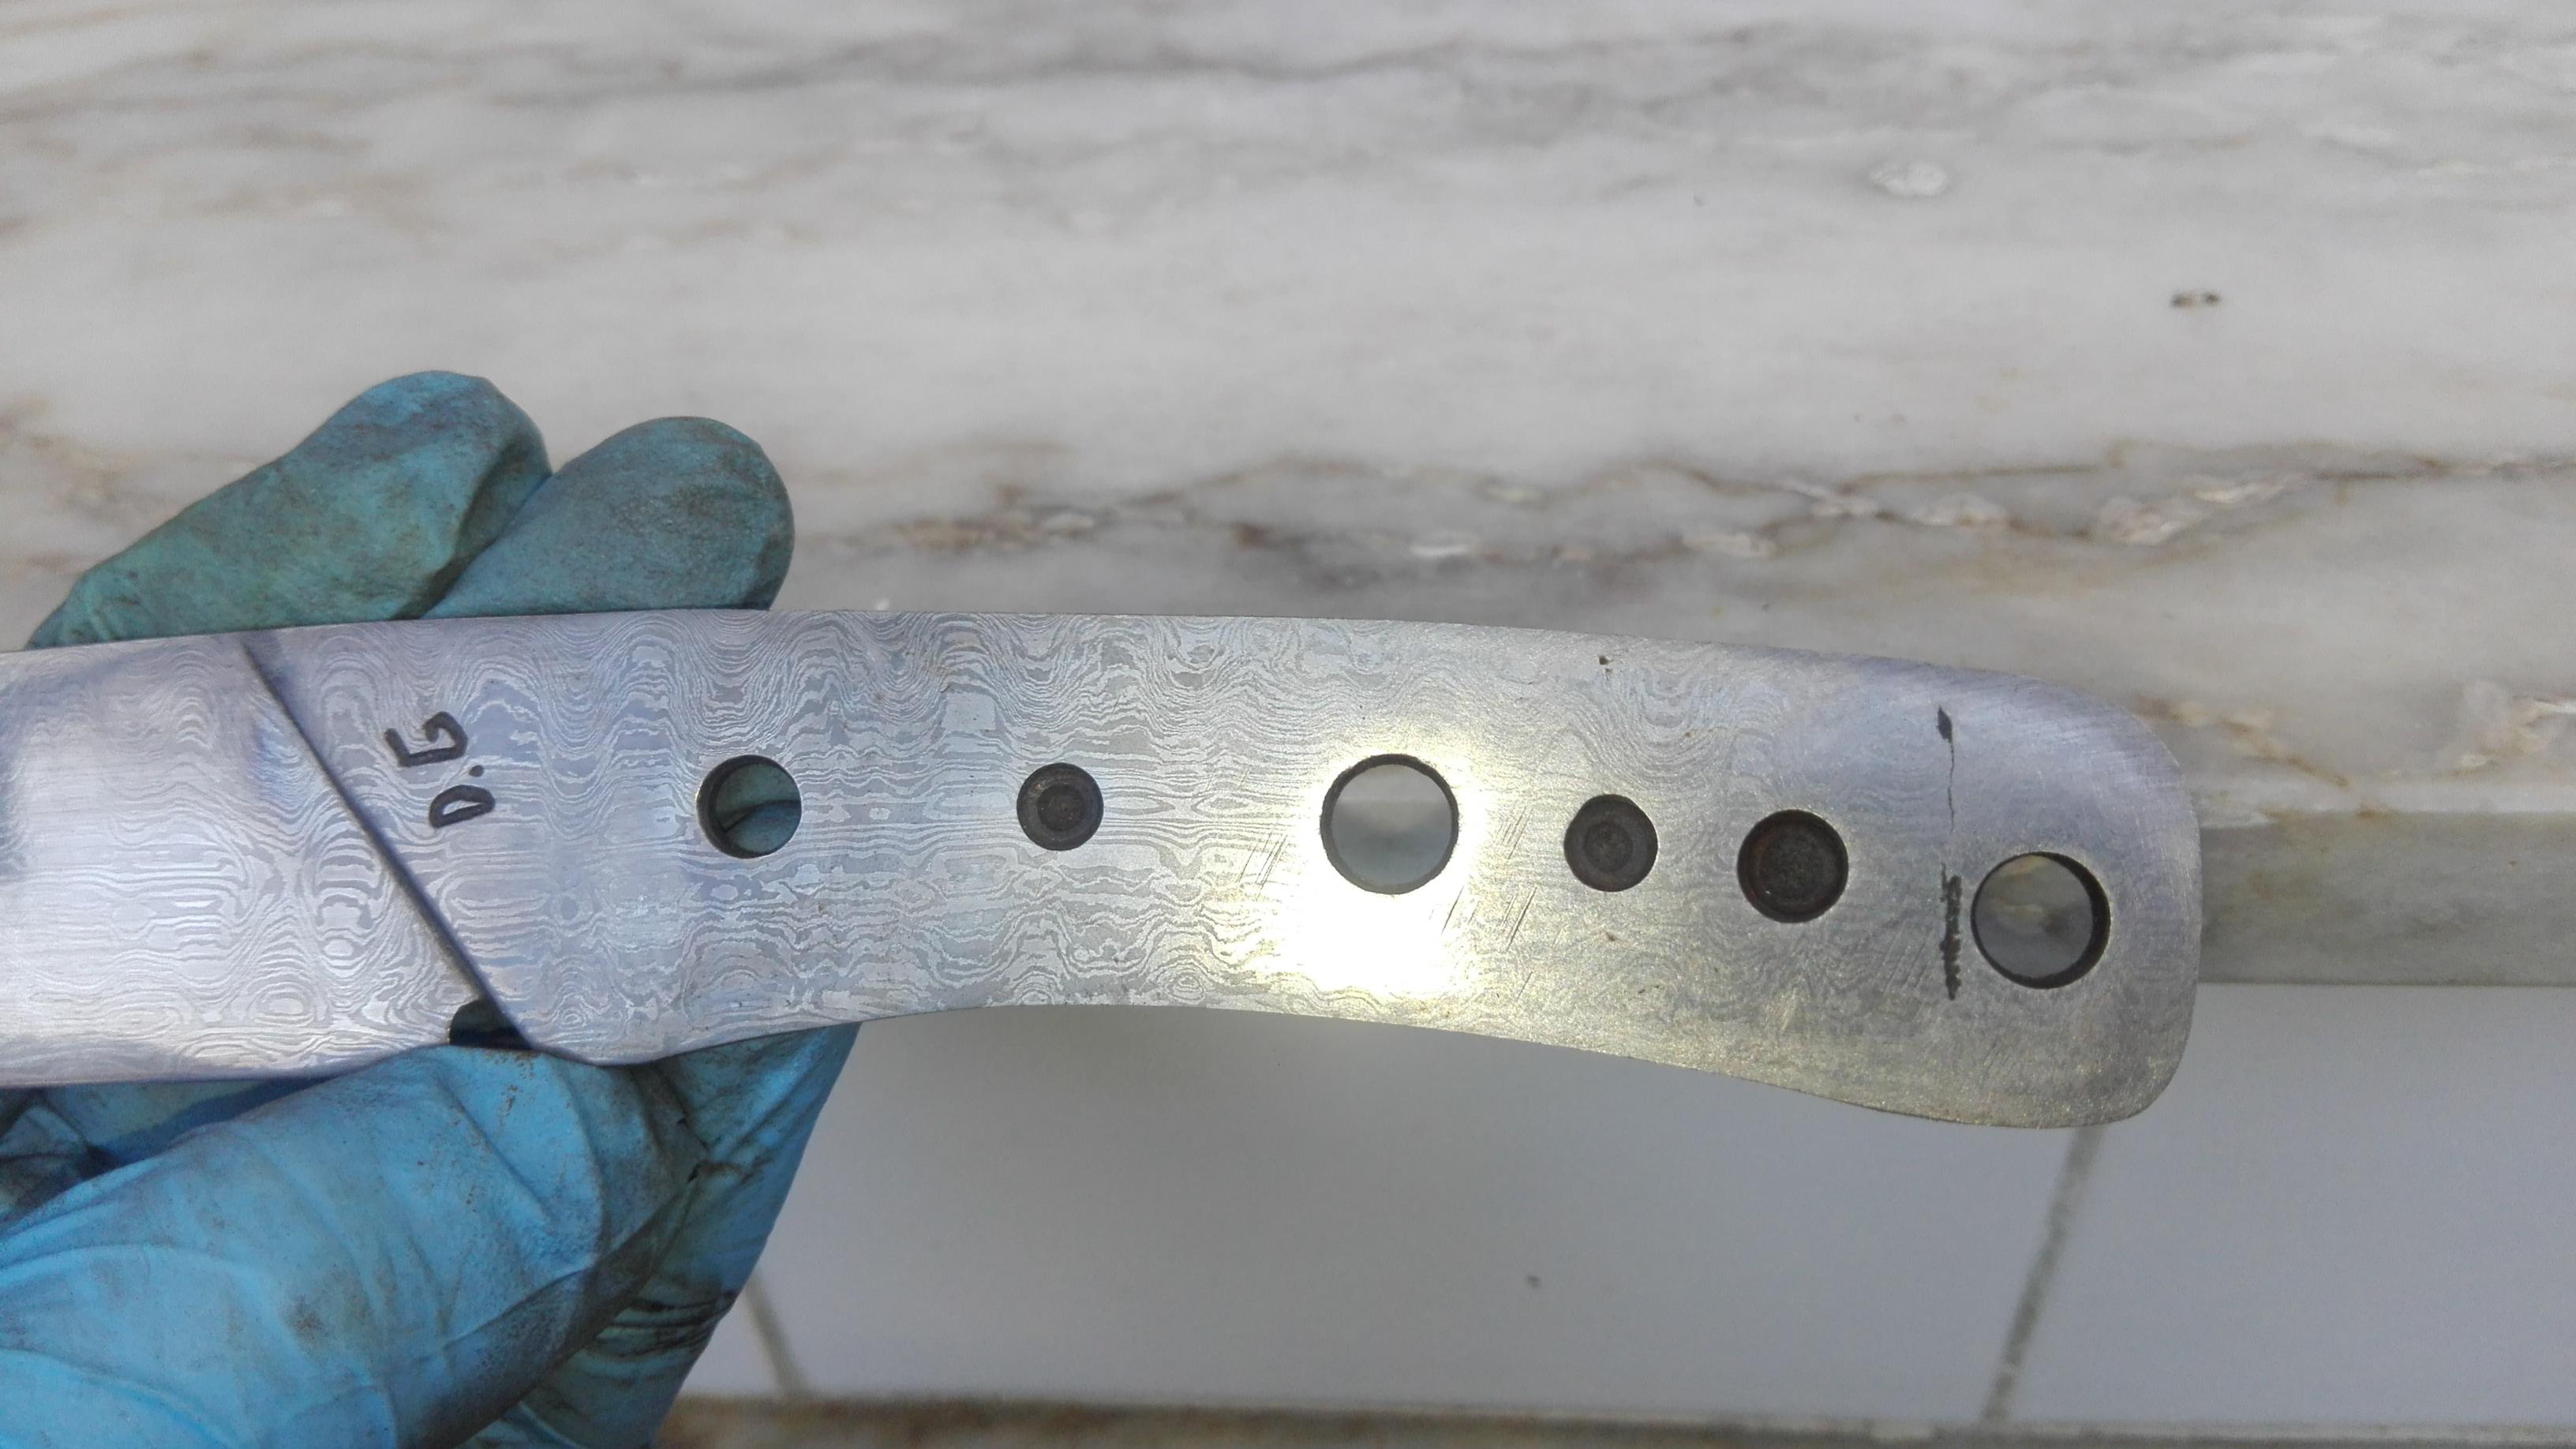
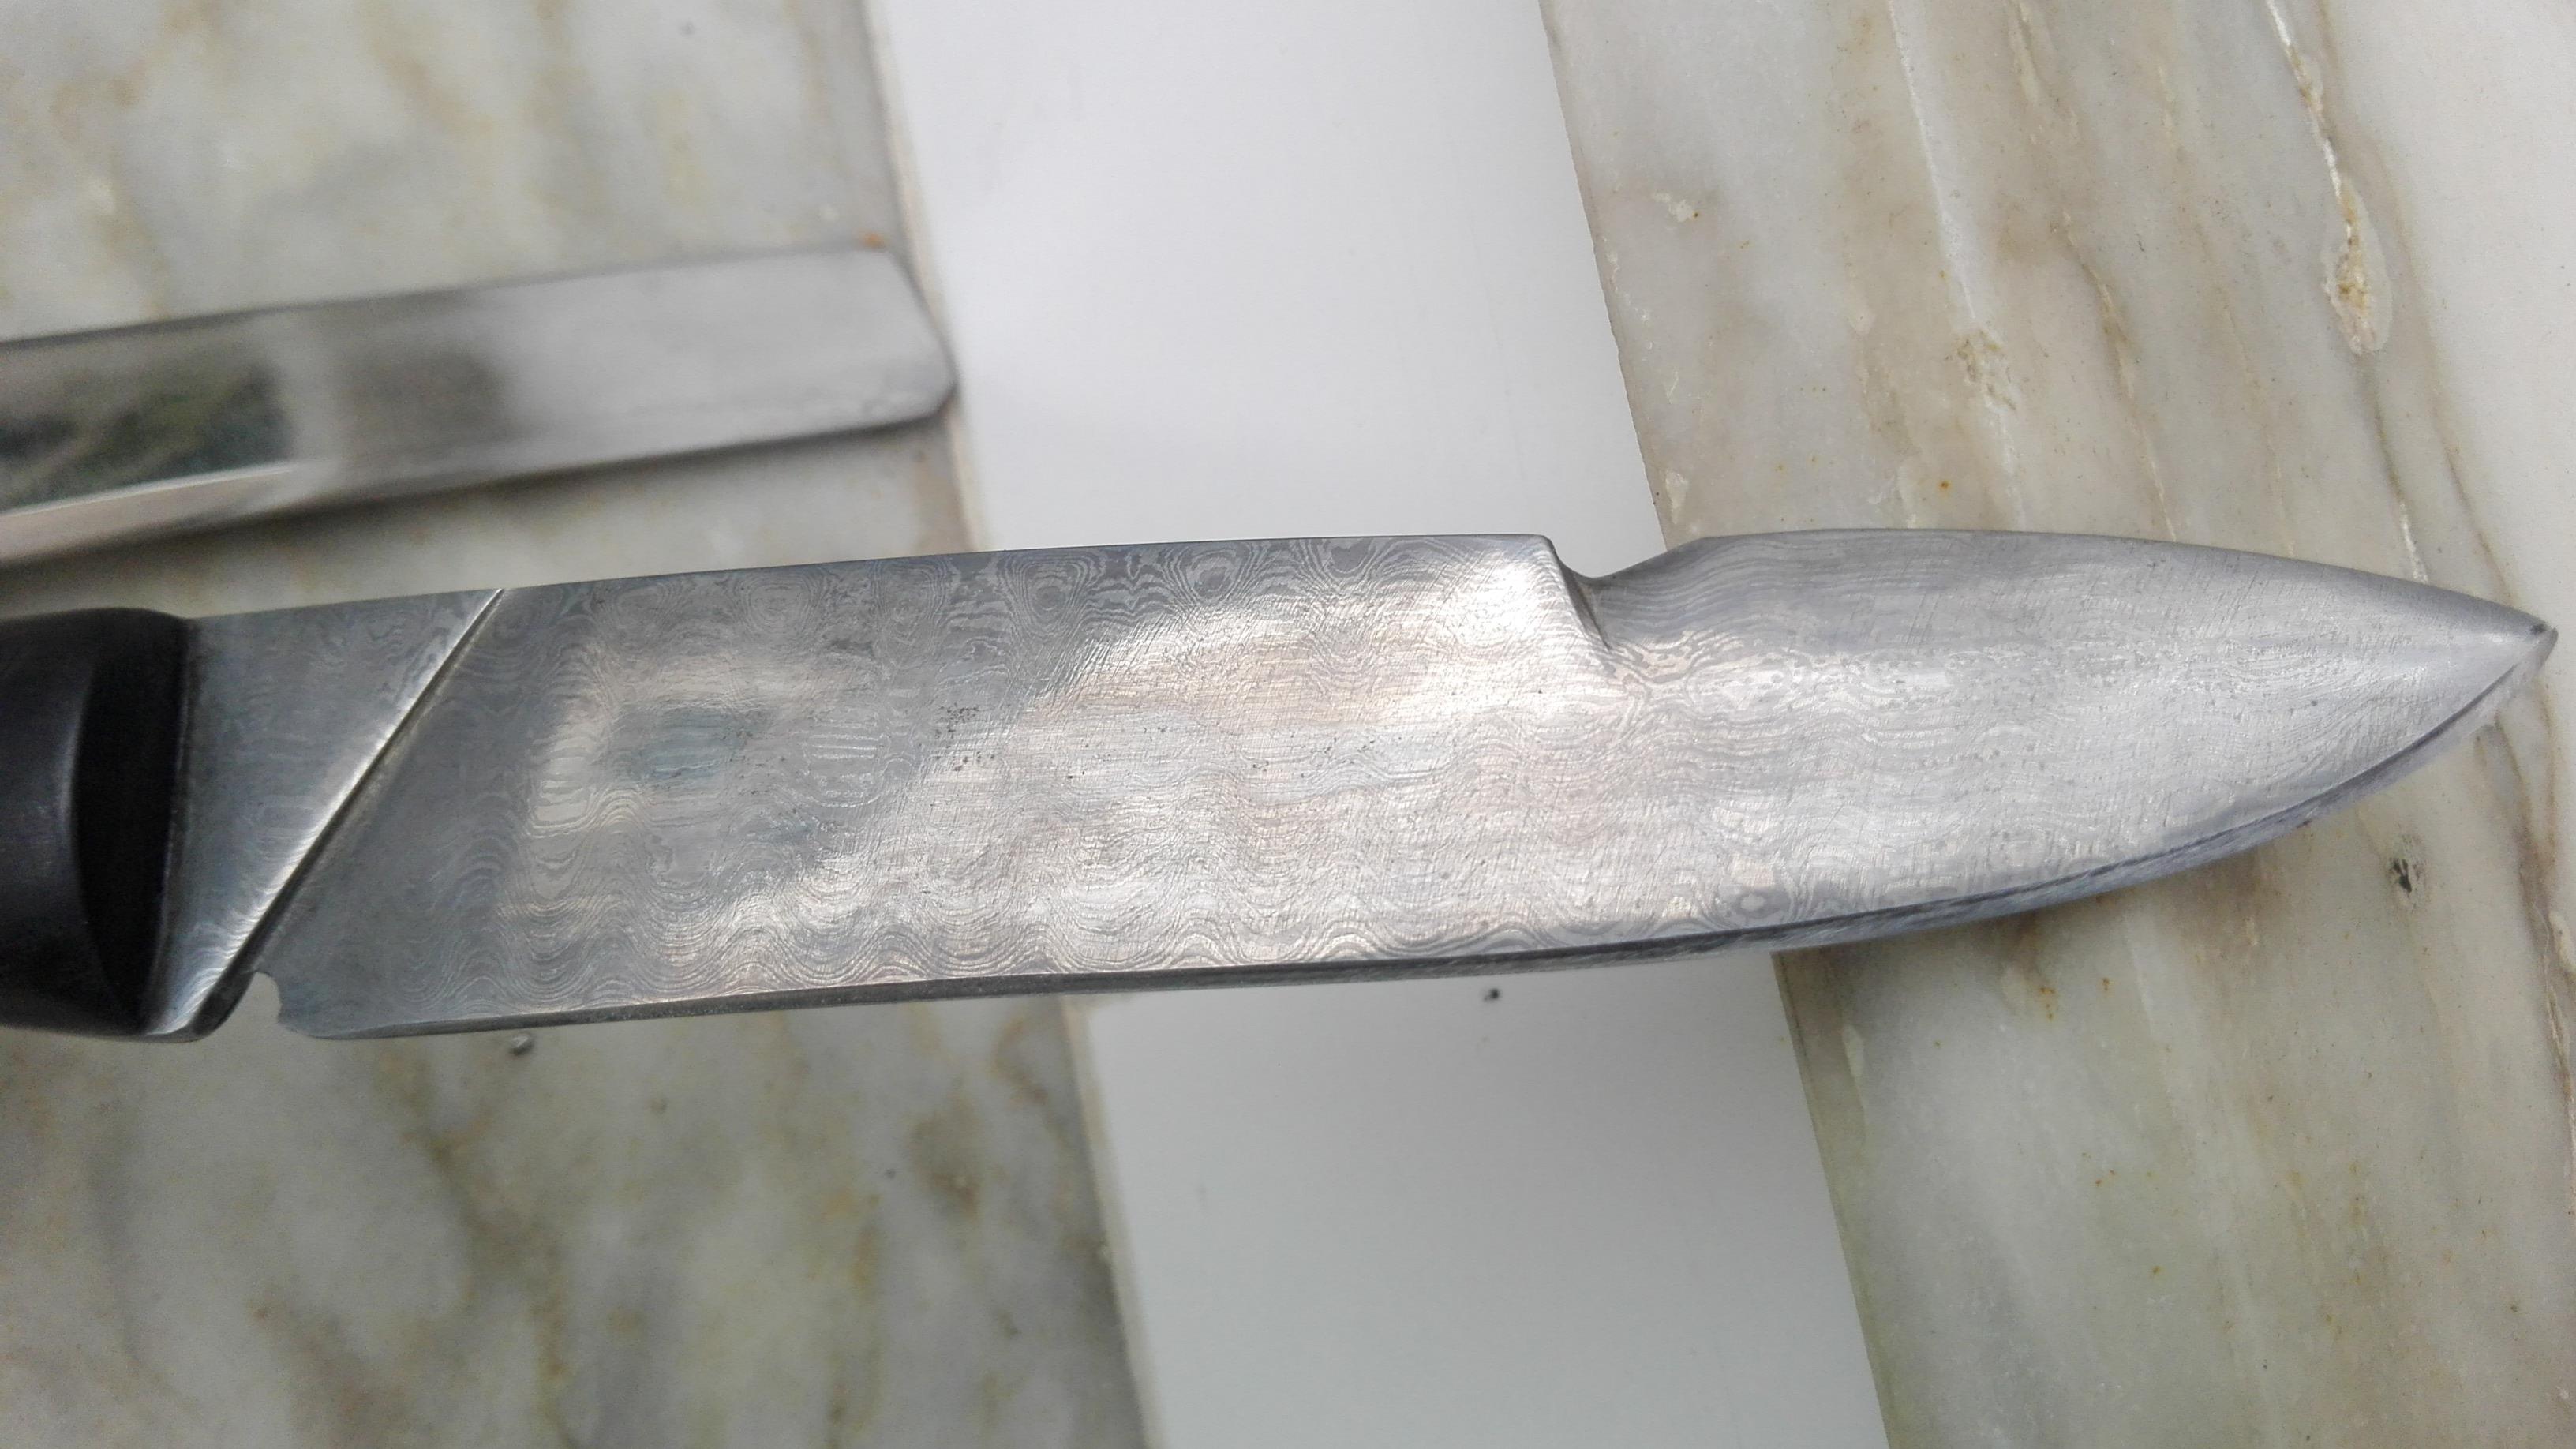
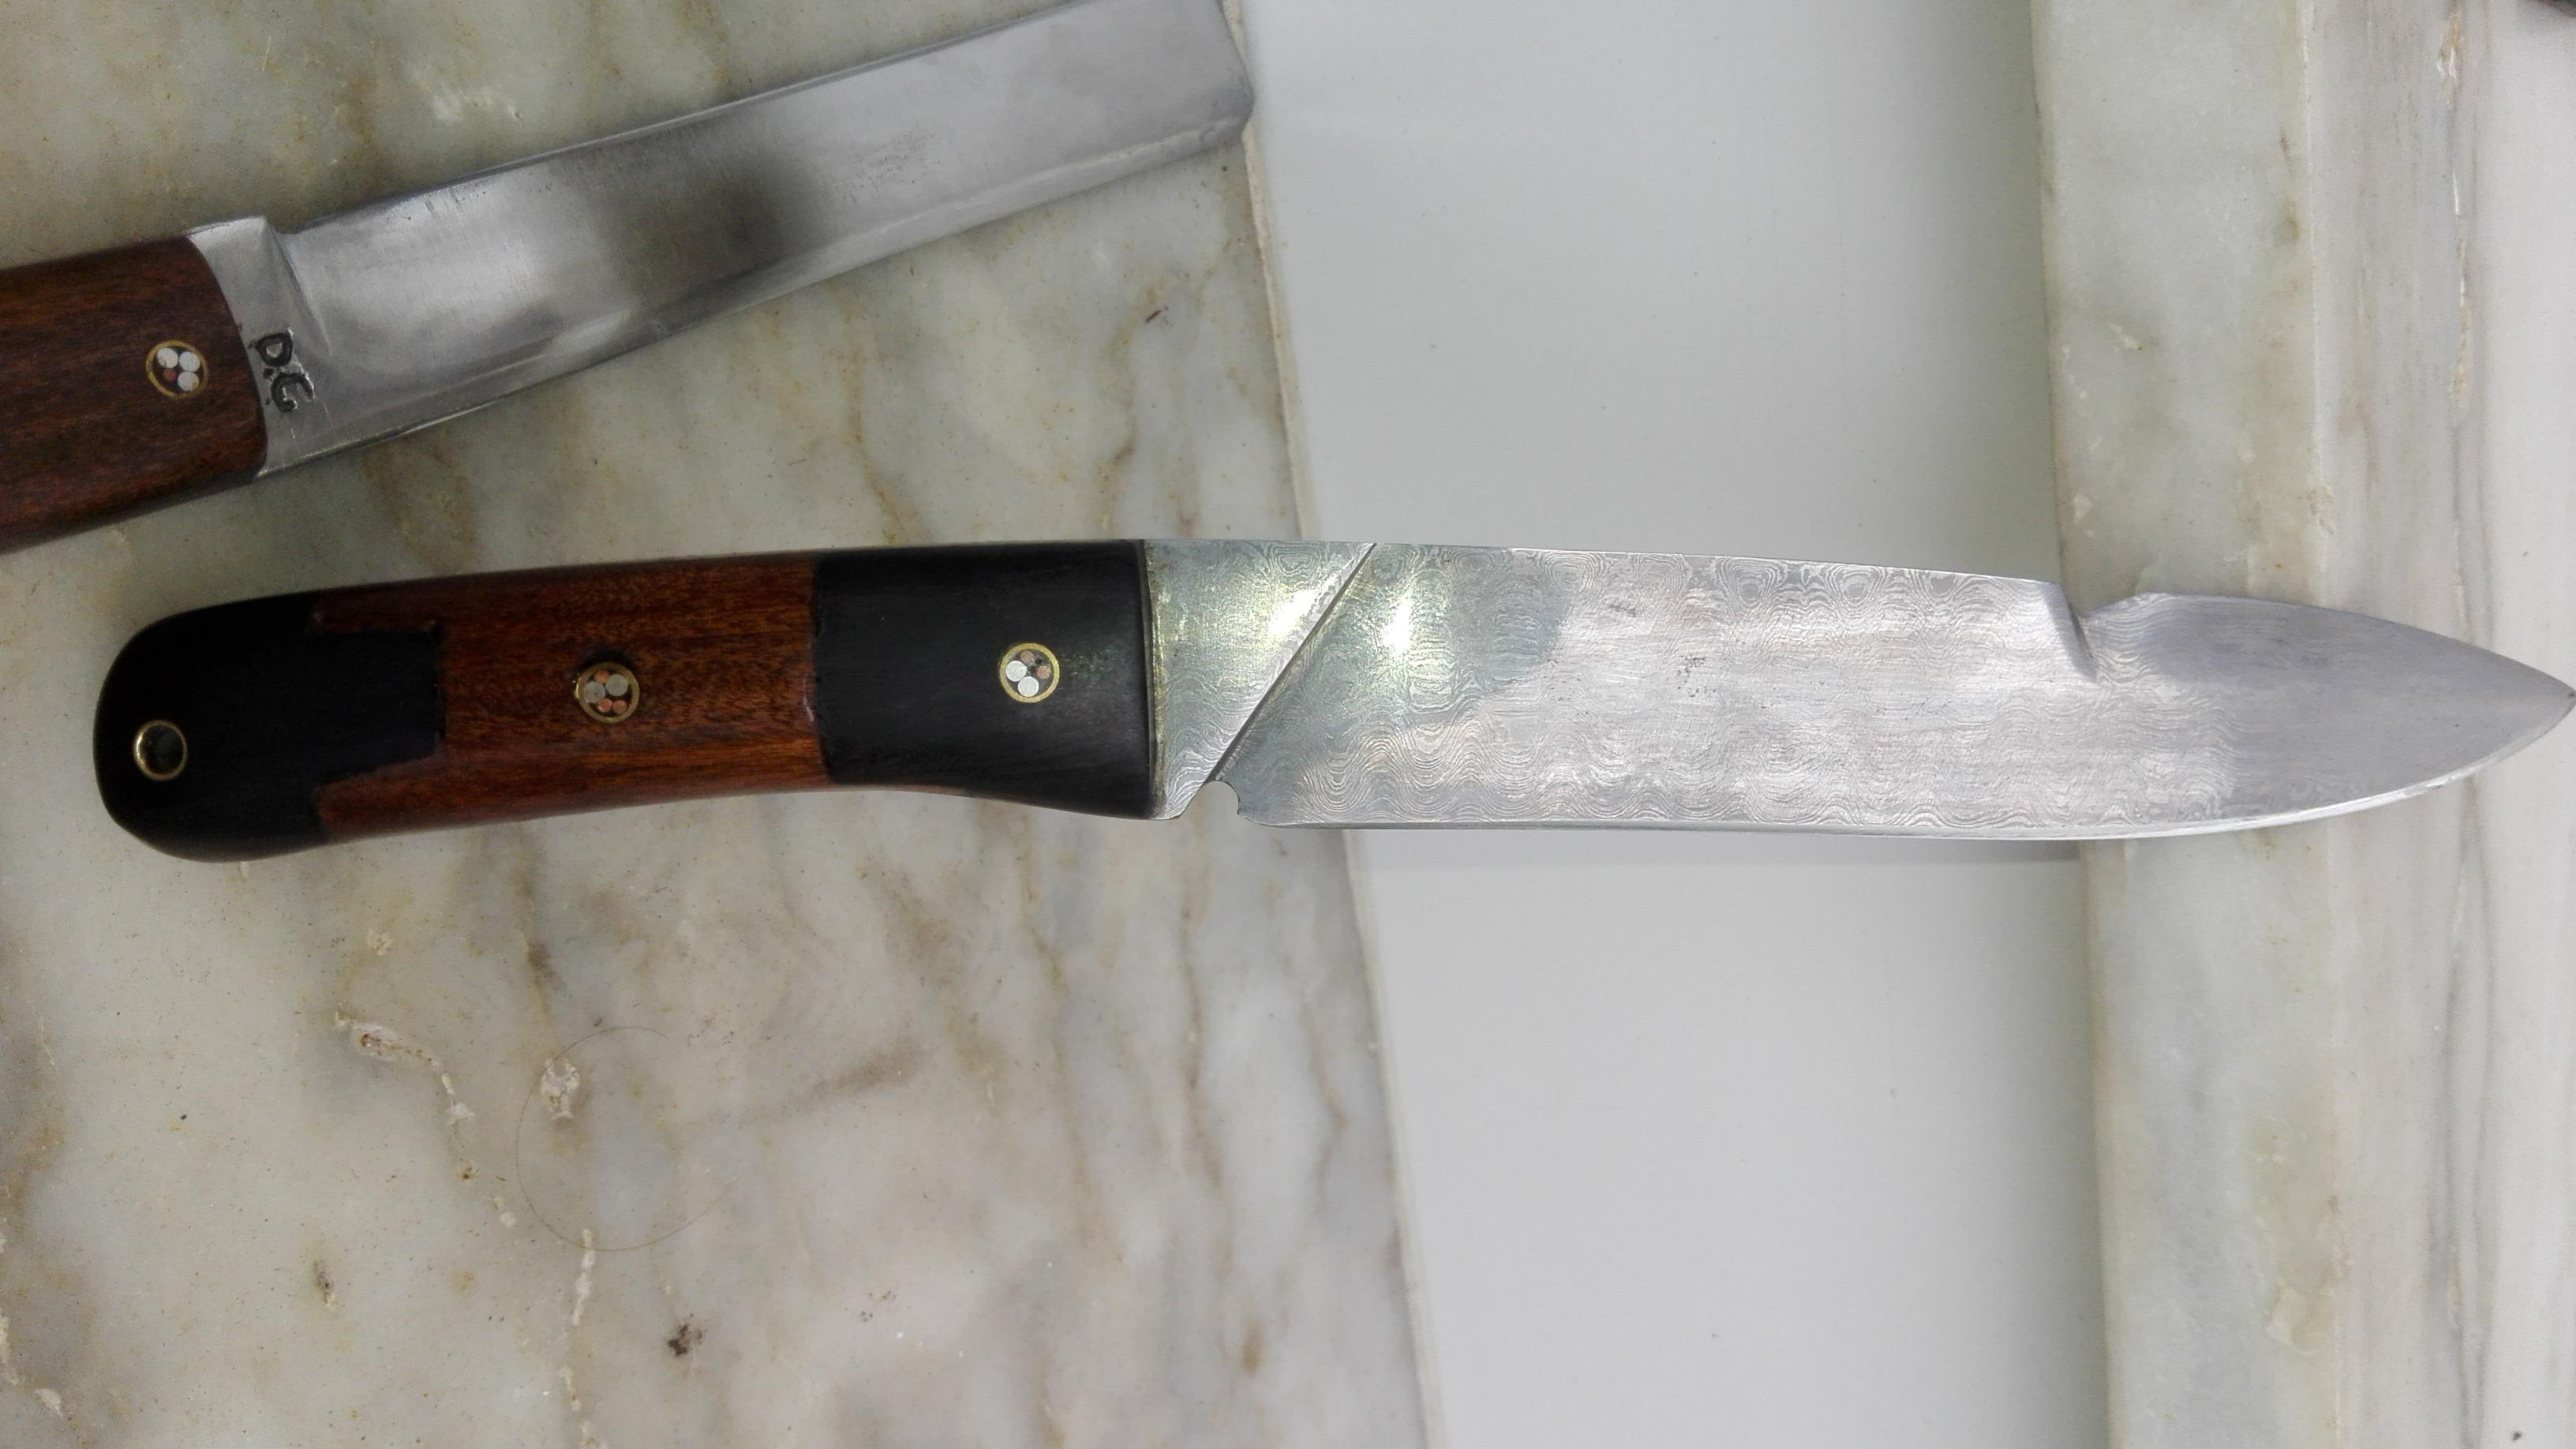
In September 2018 i went to a cutlery expo in Caldas da Rainha, bought a billet of pattern welded steel from Russian knifemaker Kirilov.
Forged into shape, handle of brazil wood, cherry wood and mosaic pins. It's a joy working with damascus, it was easy to heat treat and the blade is quite hard and though.
Secound one is forged spring steel, chery wood, pine, mosaic and alluminium pins. Made it for choping and wood working.
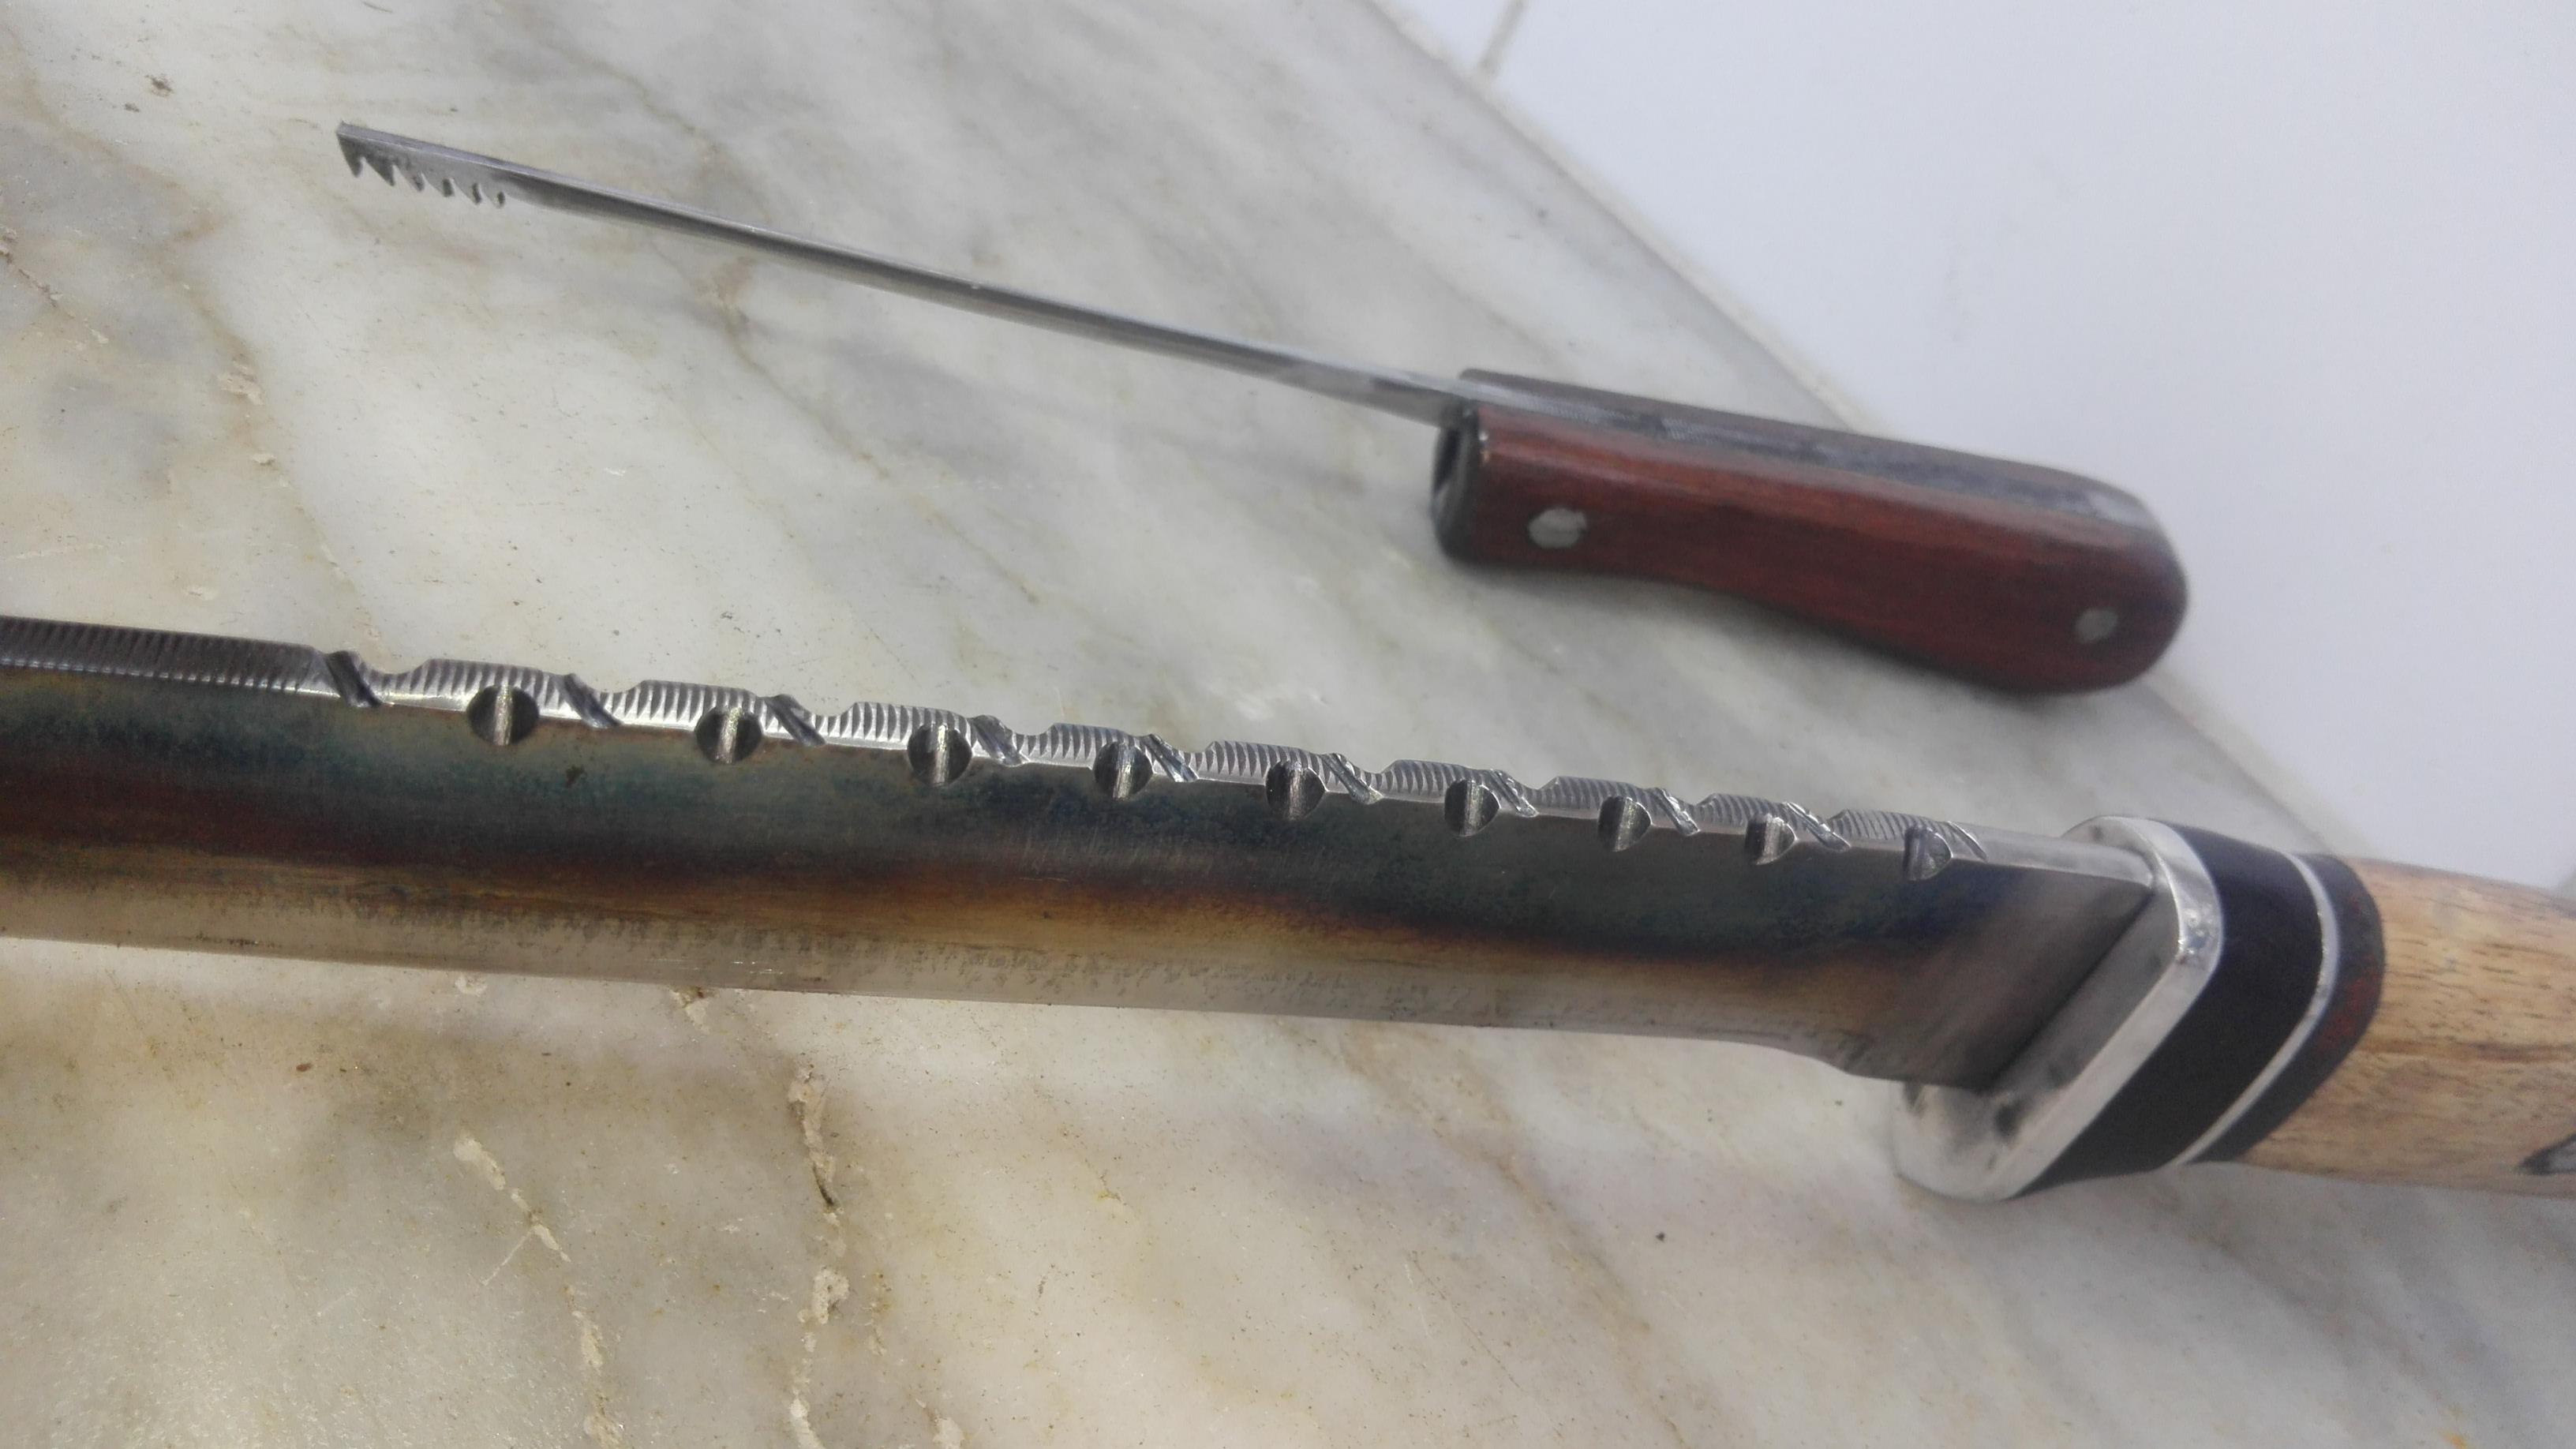
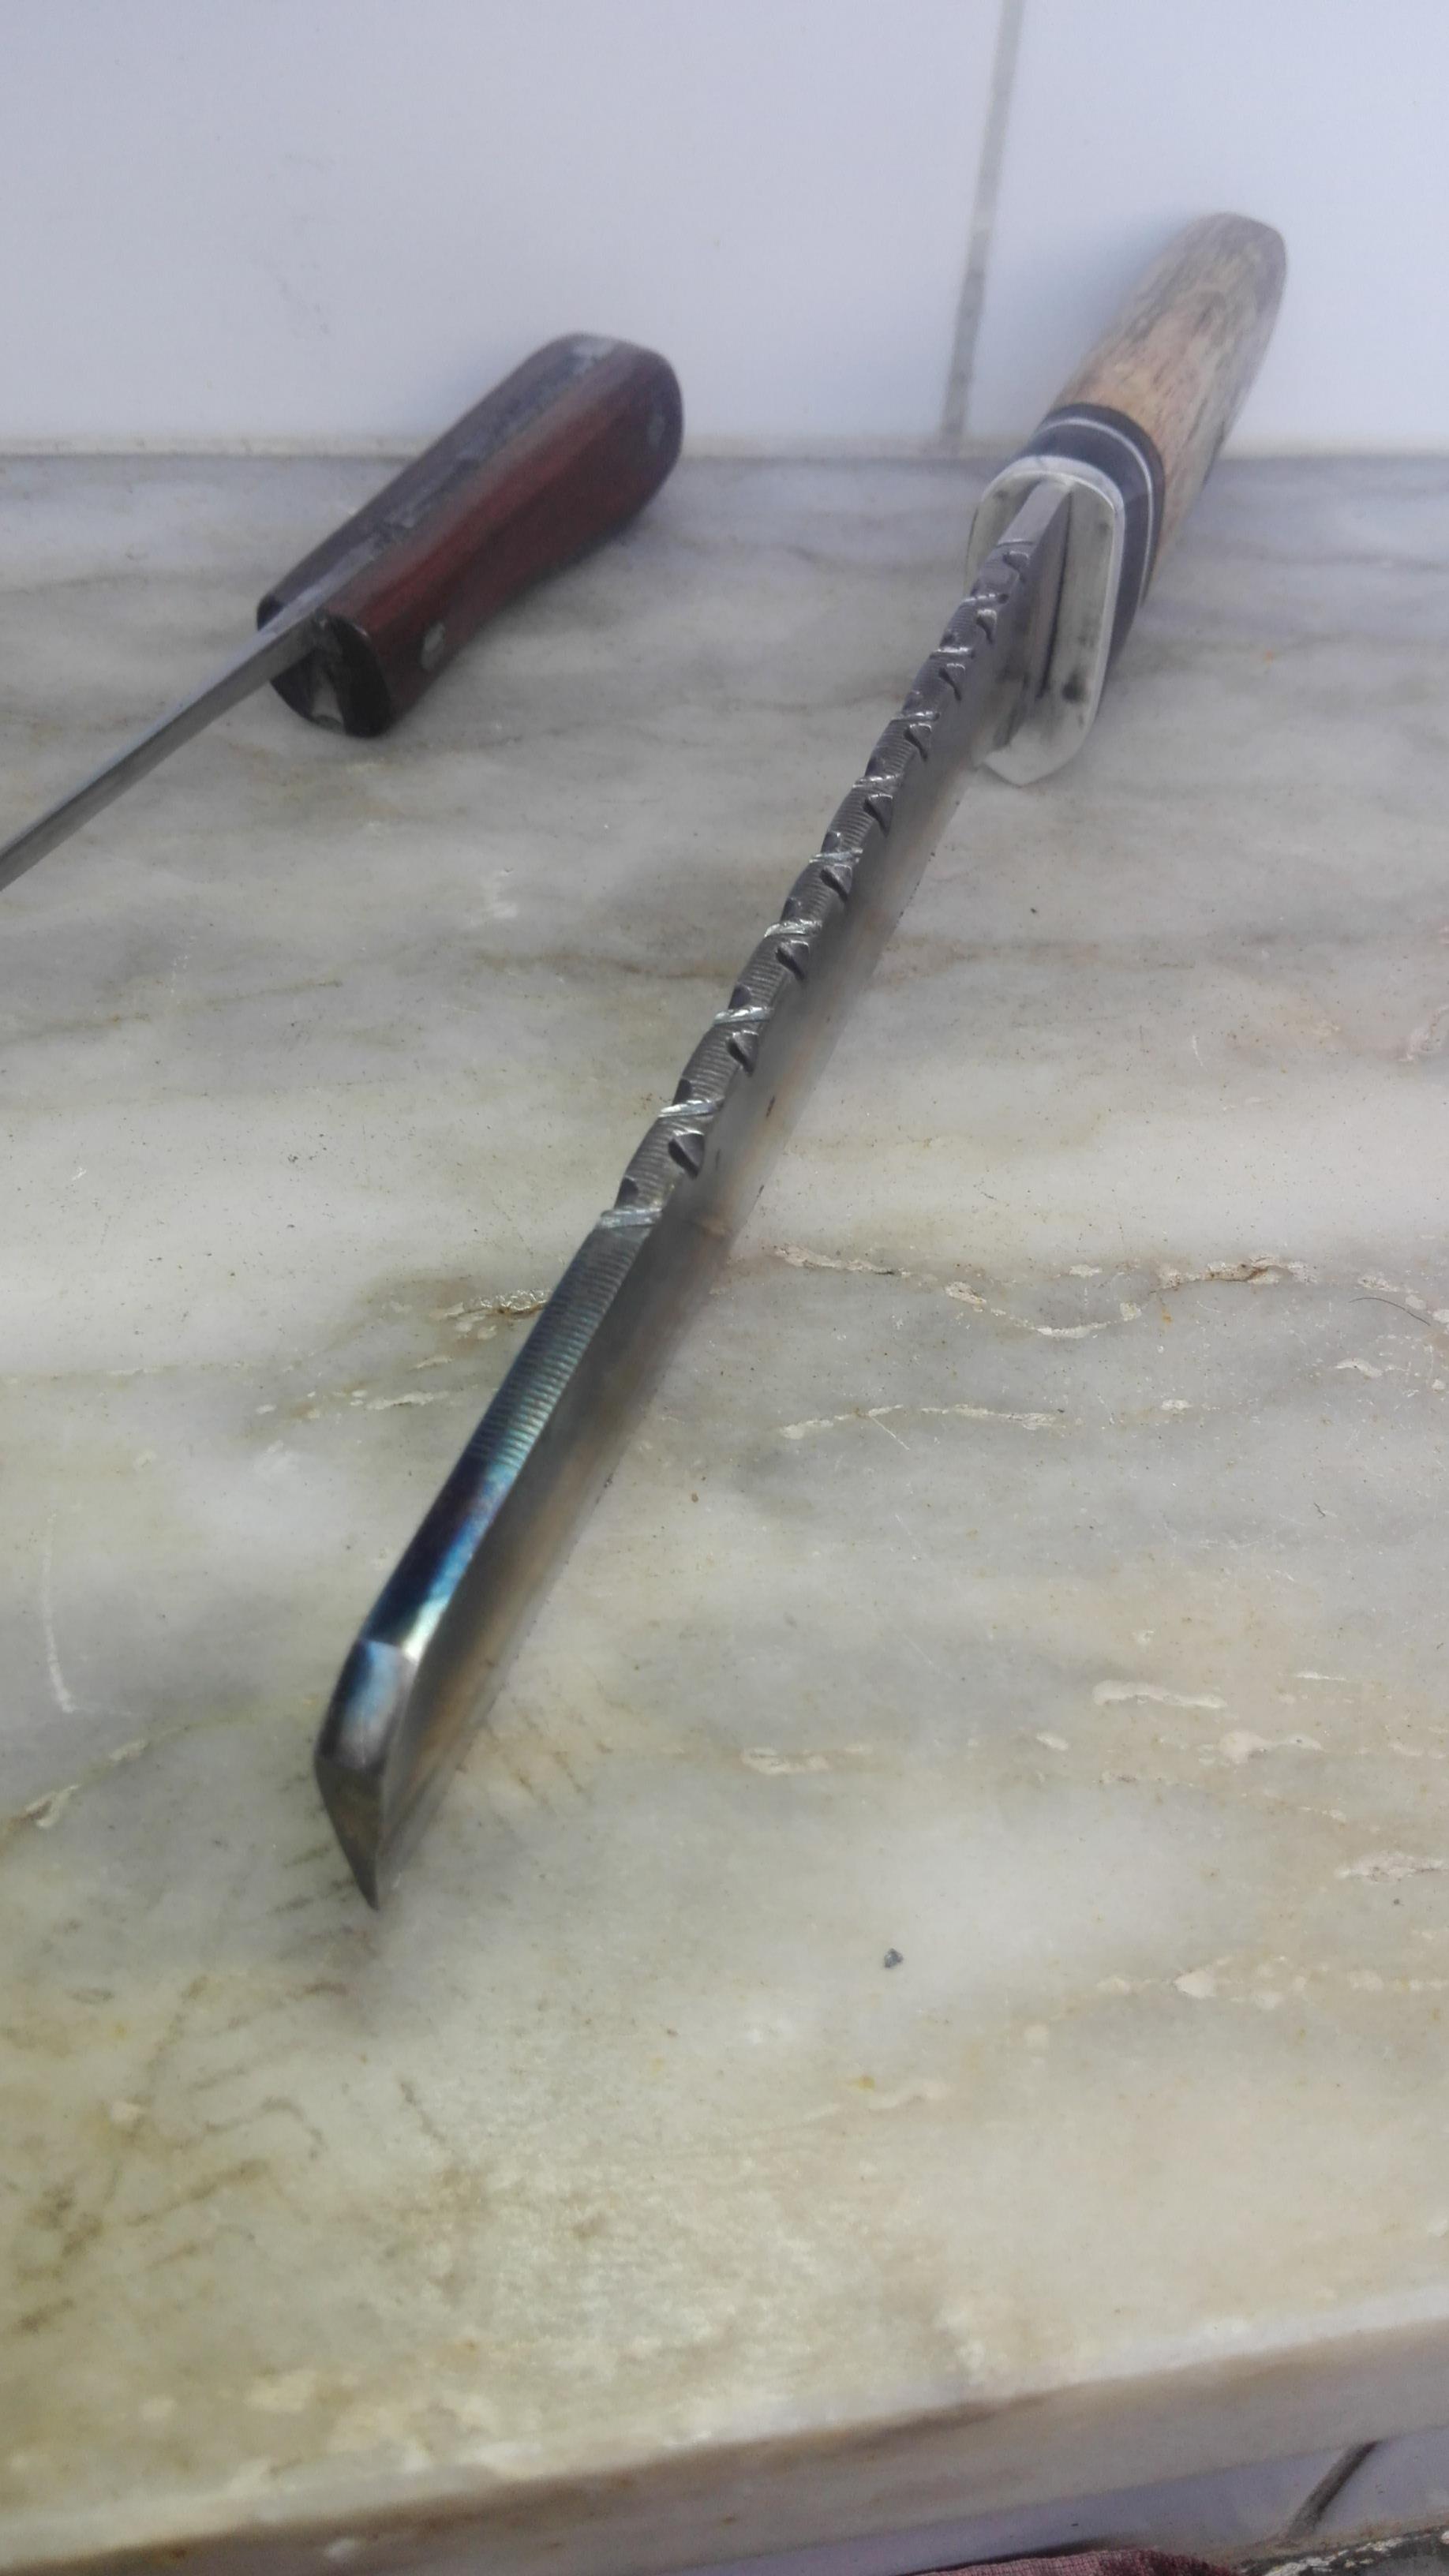
Third one is a choper from file steel, dual temper and S file work . Alluminum guard, brazil wood, leather spacer and oak.
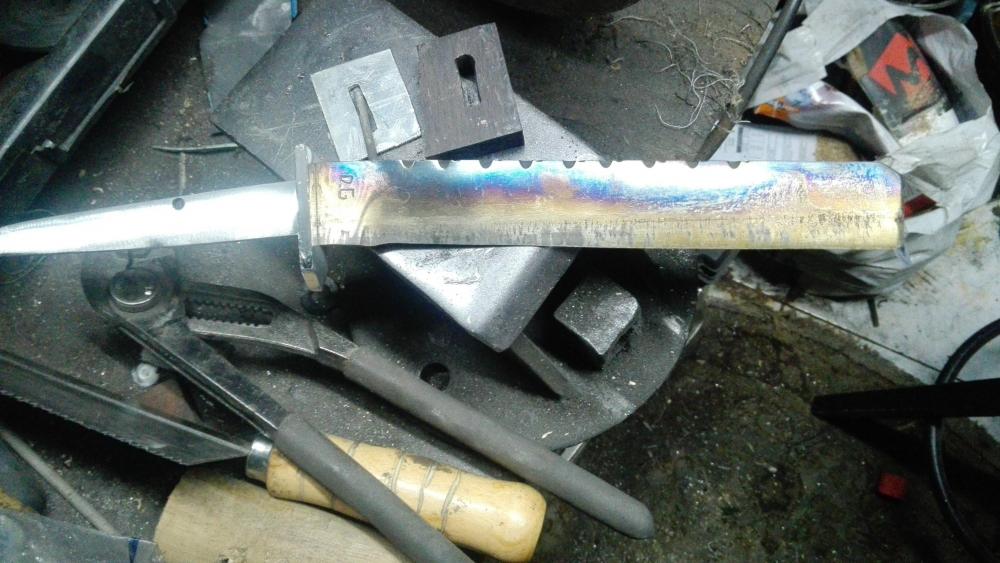
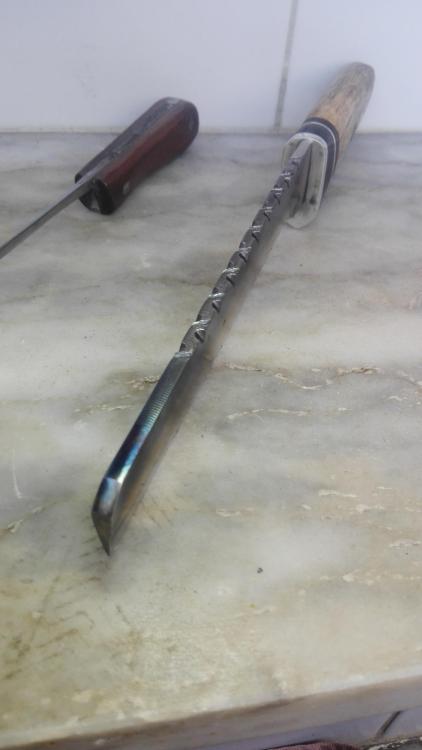
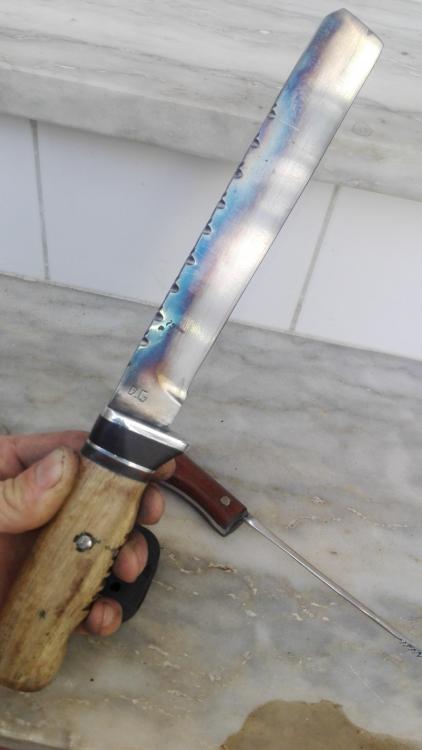
That small thing with teeth is a broach for hidden tangs, 4mm thick at the end by 12cm long. A very usefull tool I should've made years ago.
Tell me what you think..


-
Didnt knew such a file existed, gonna get me one of those!
Keep the good work!
-
Excelent fit-finish and choice of materials !
-
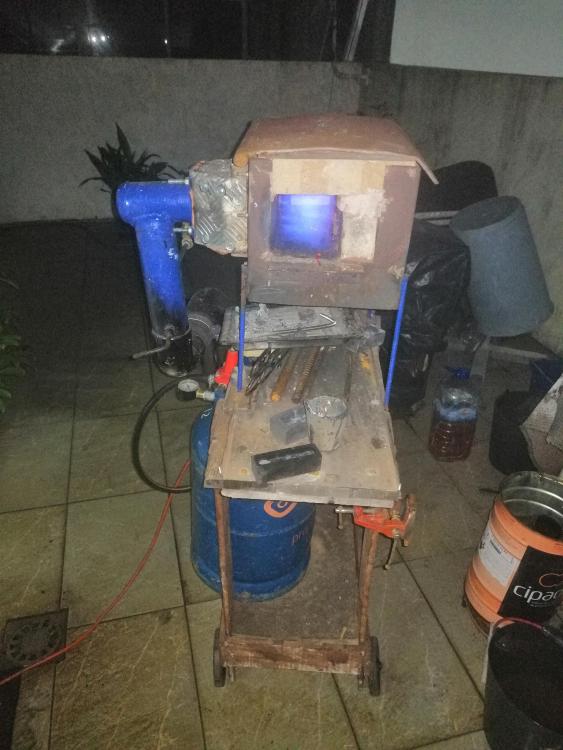
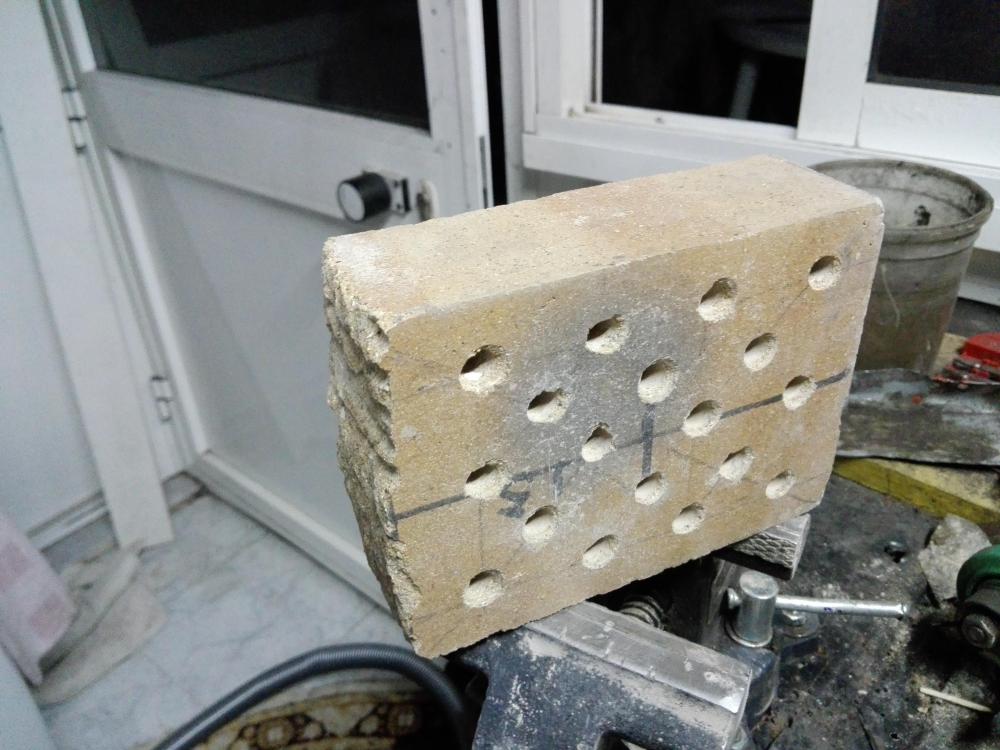
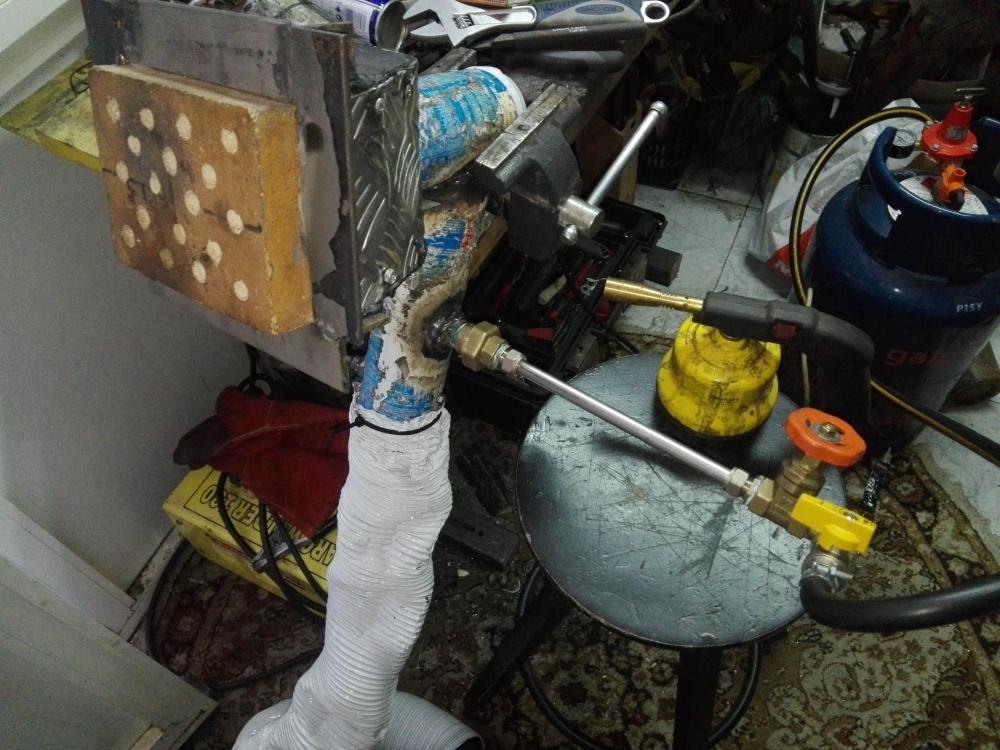
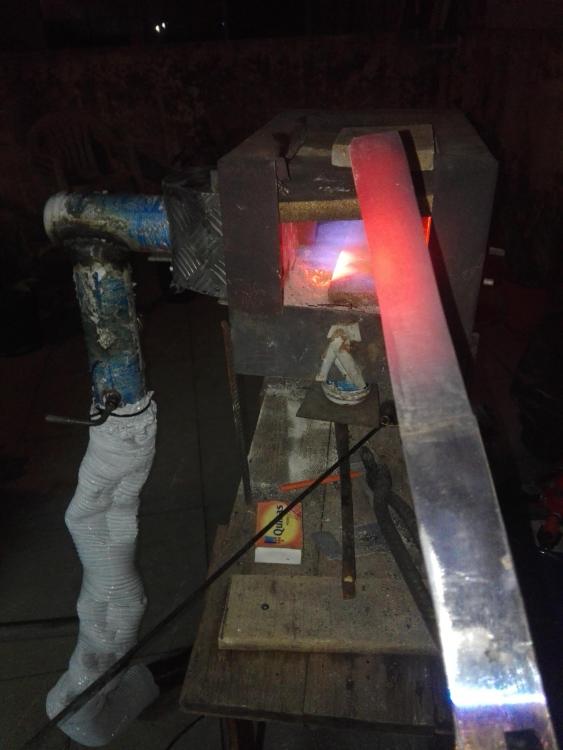
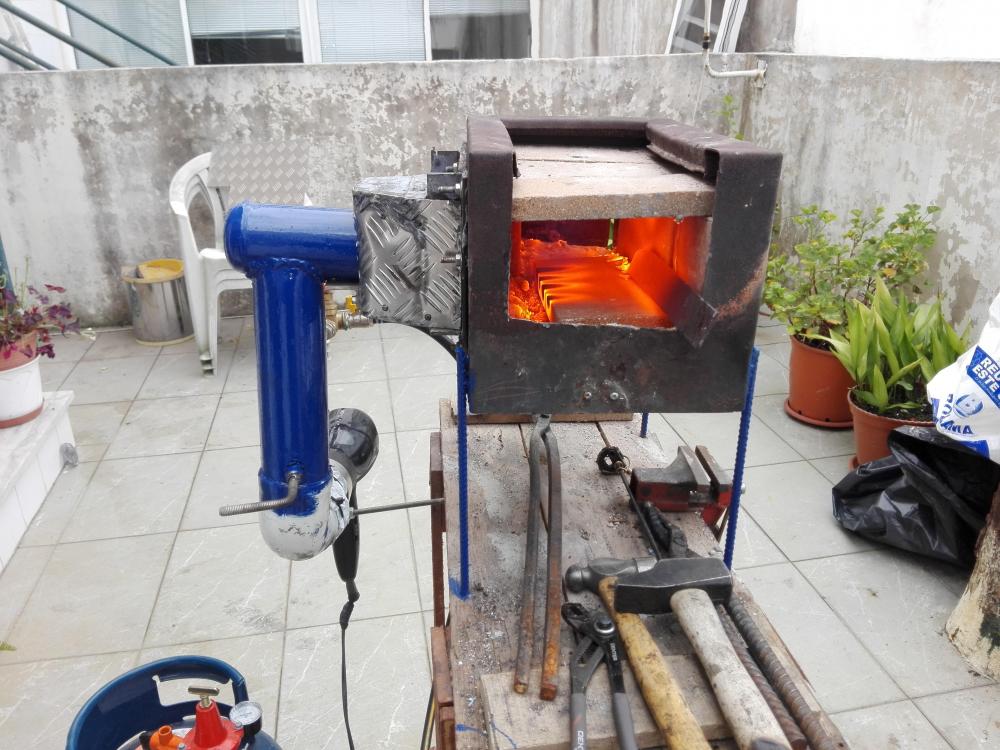
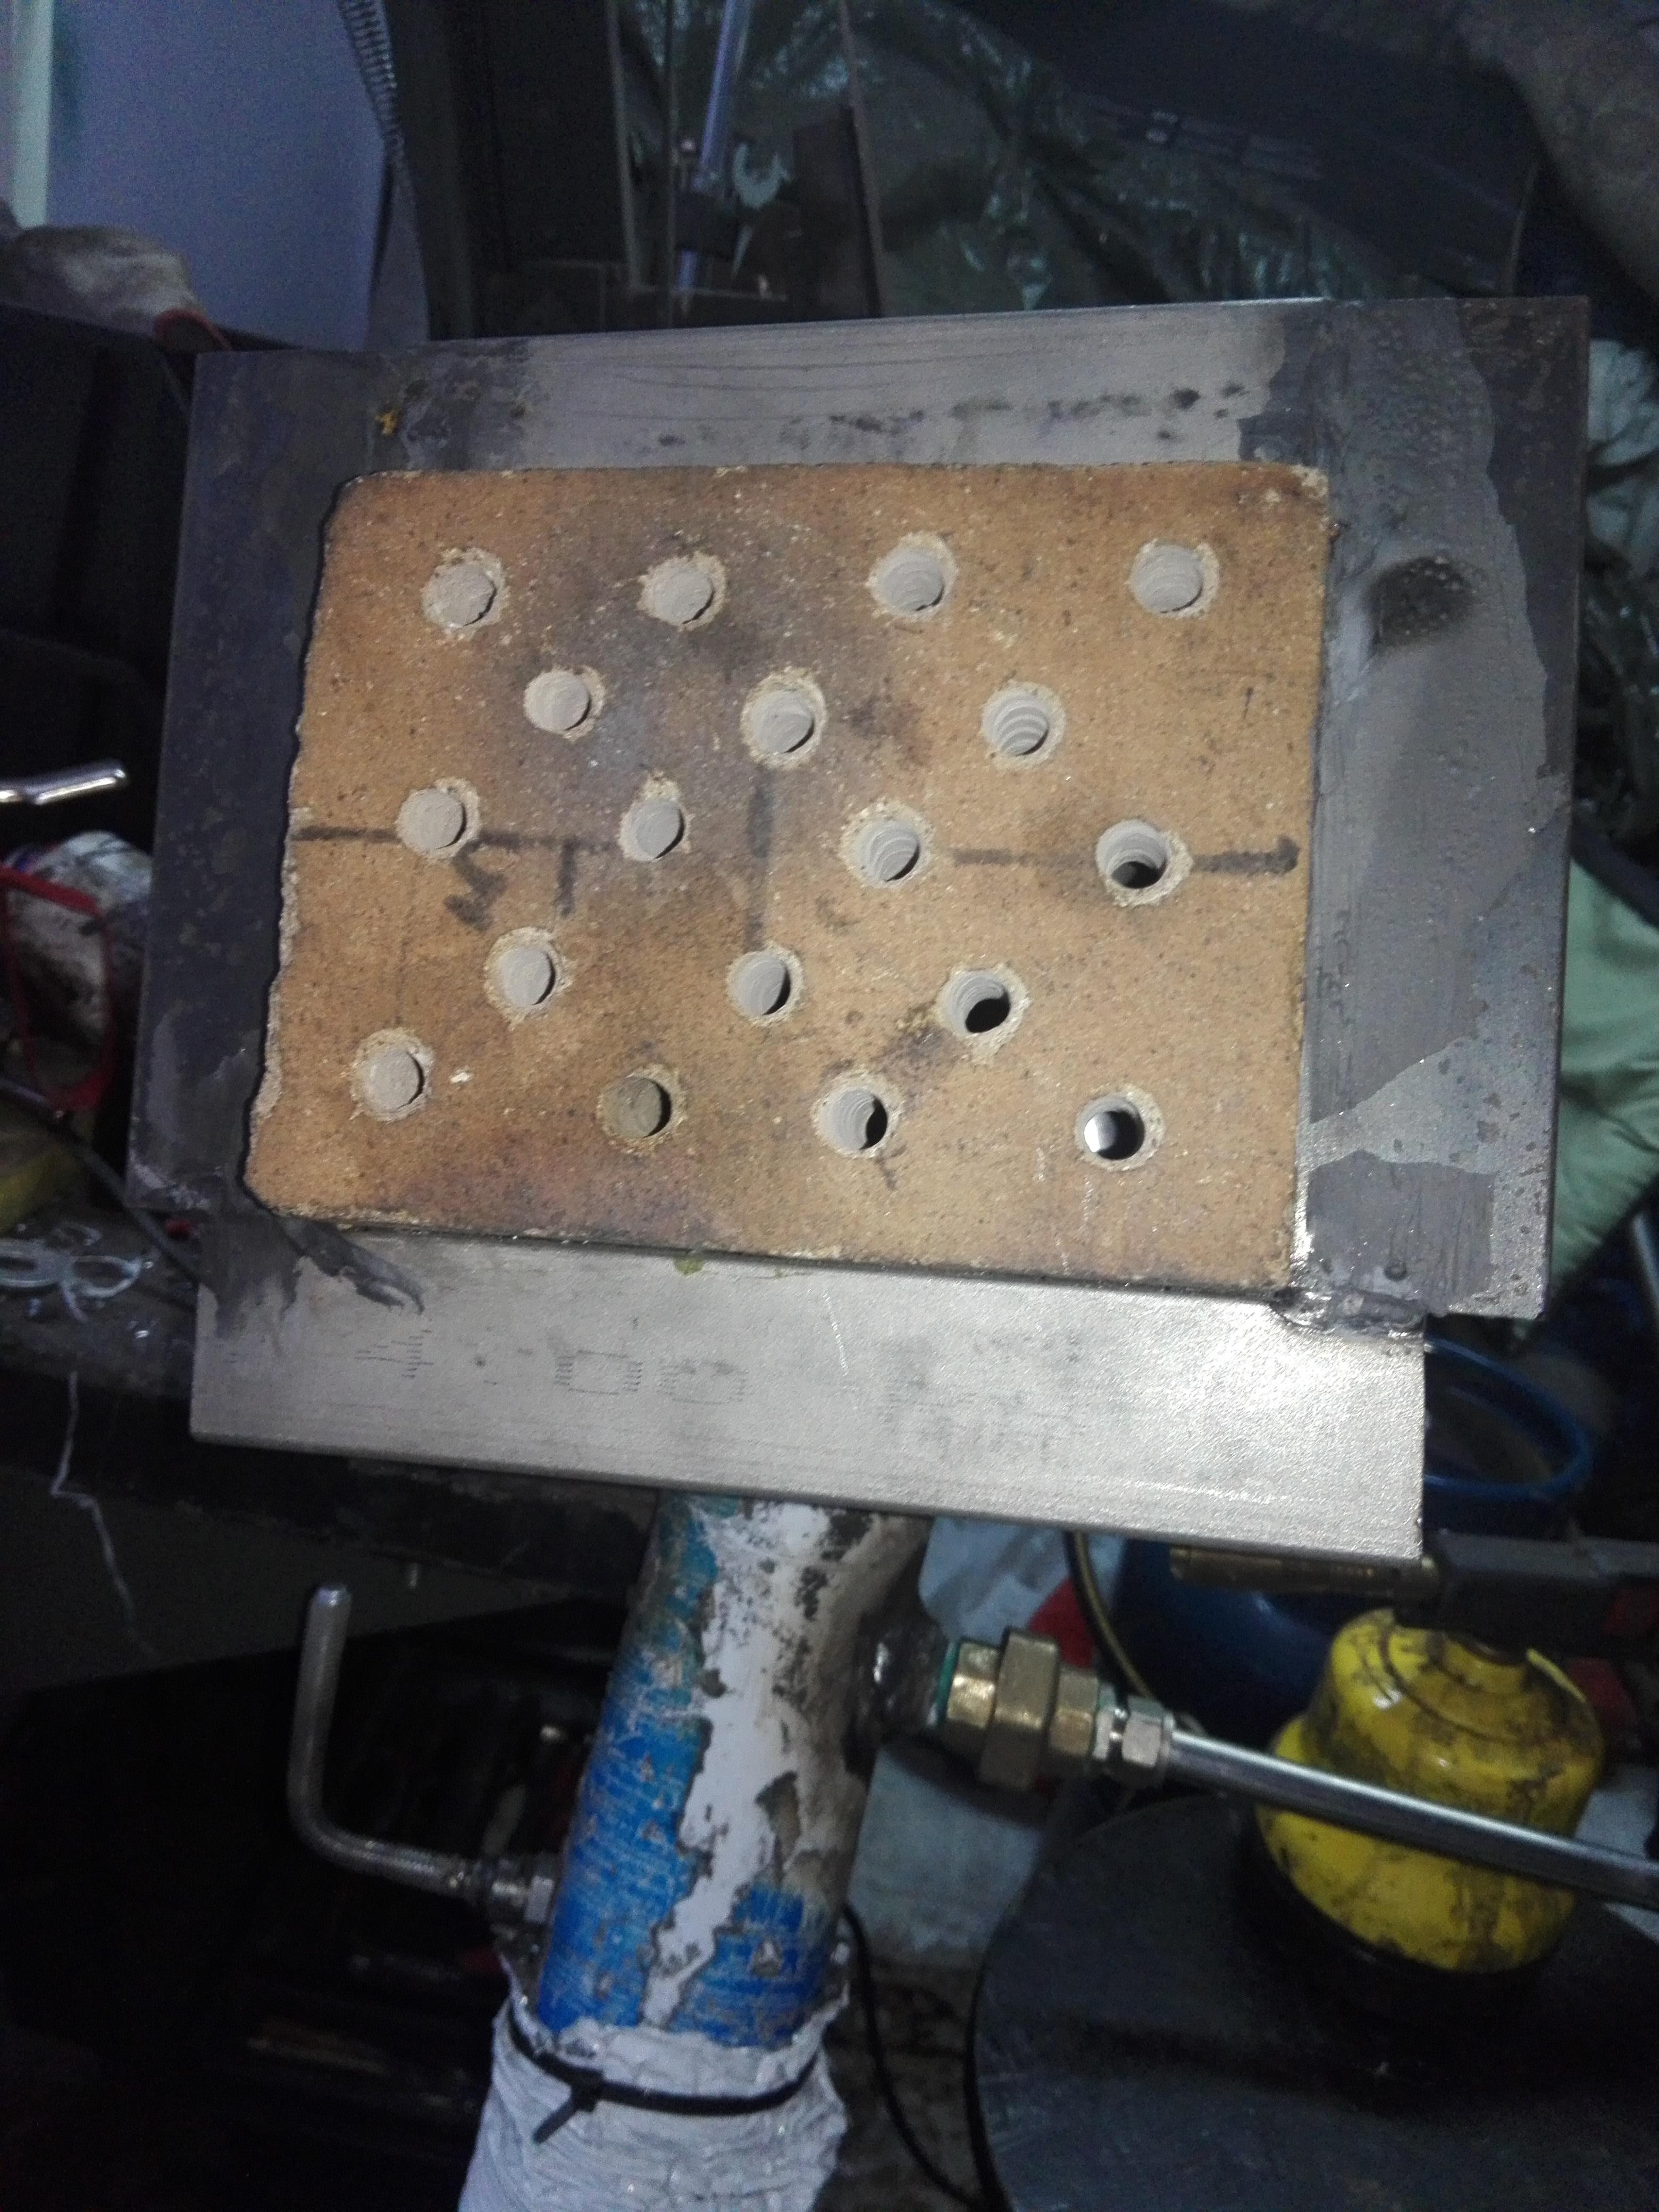
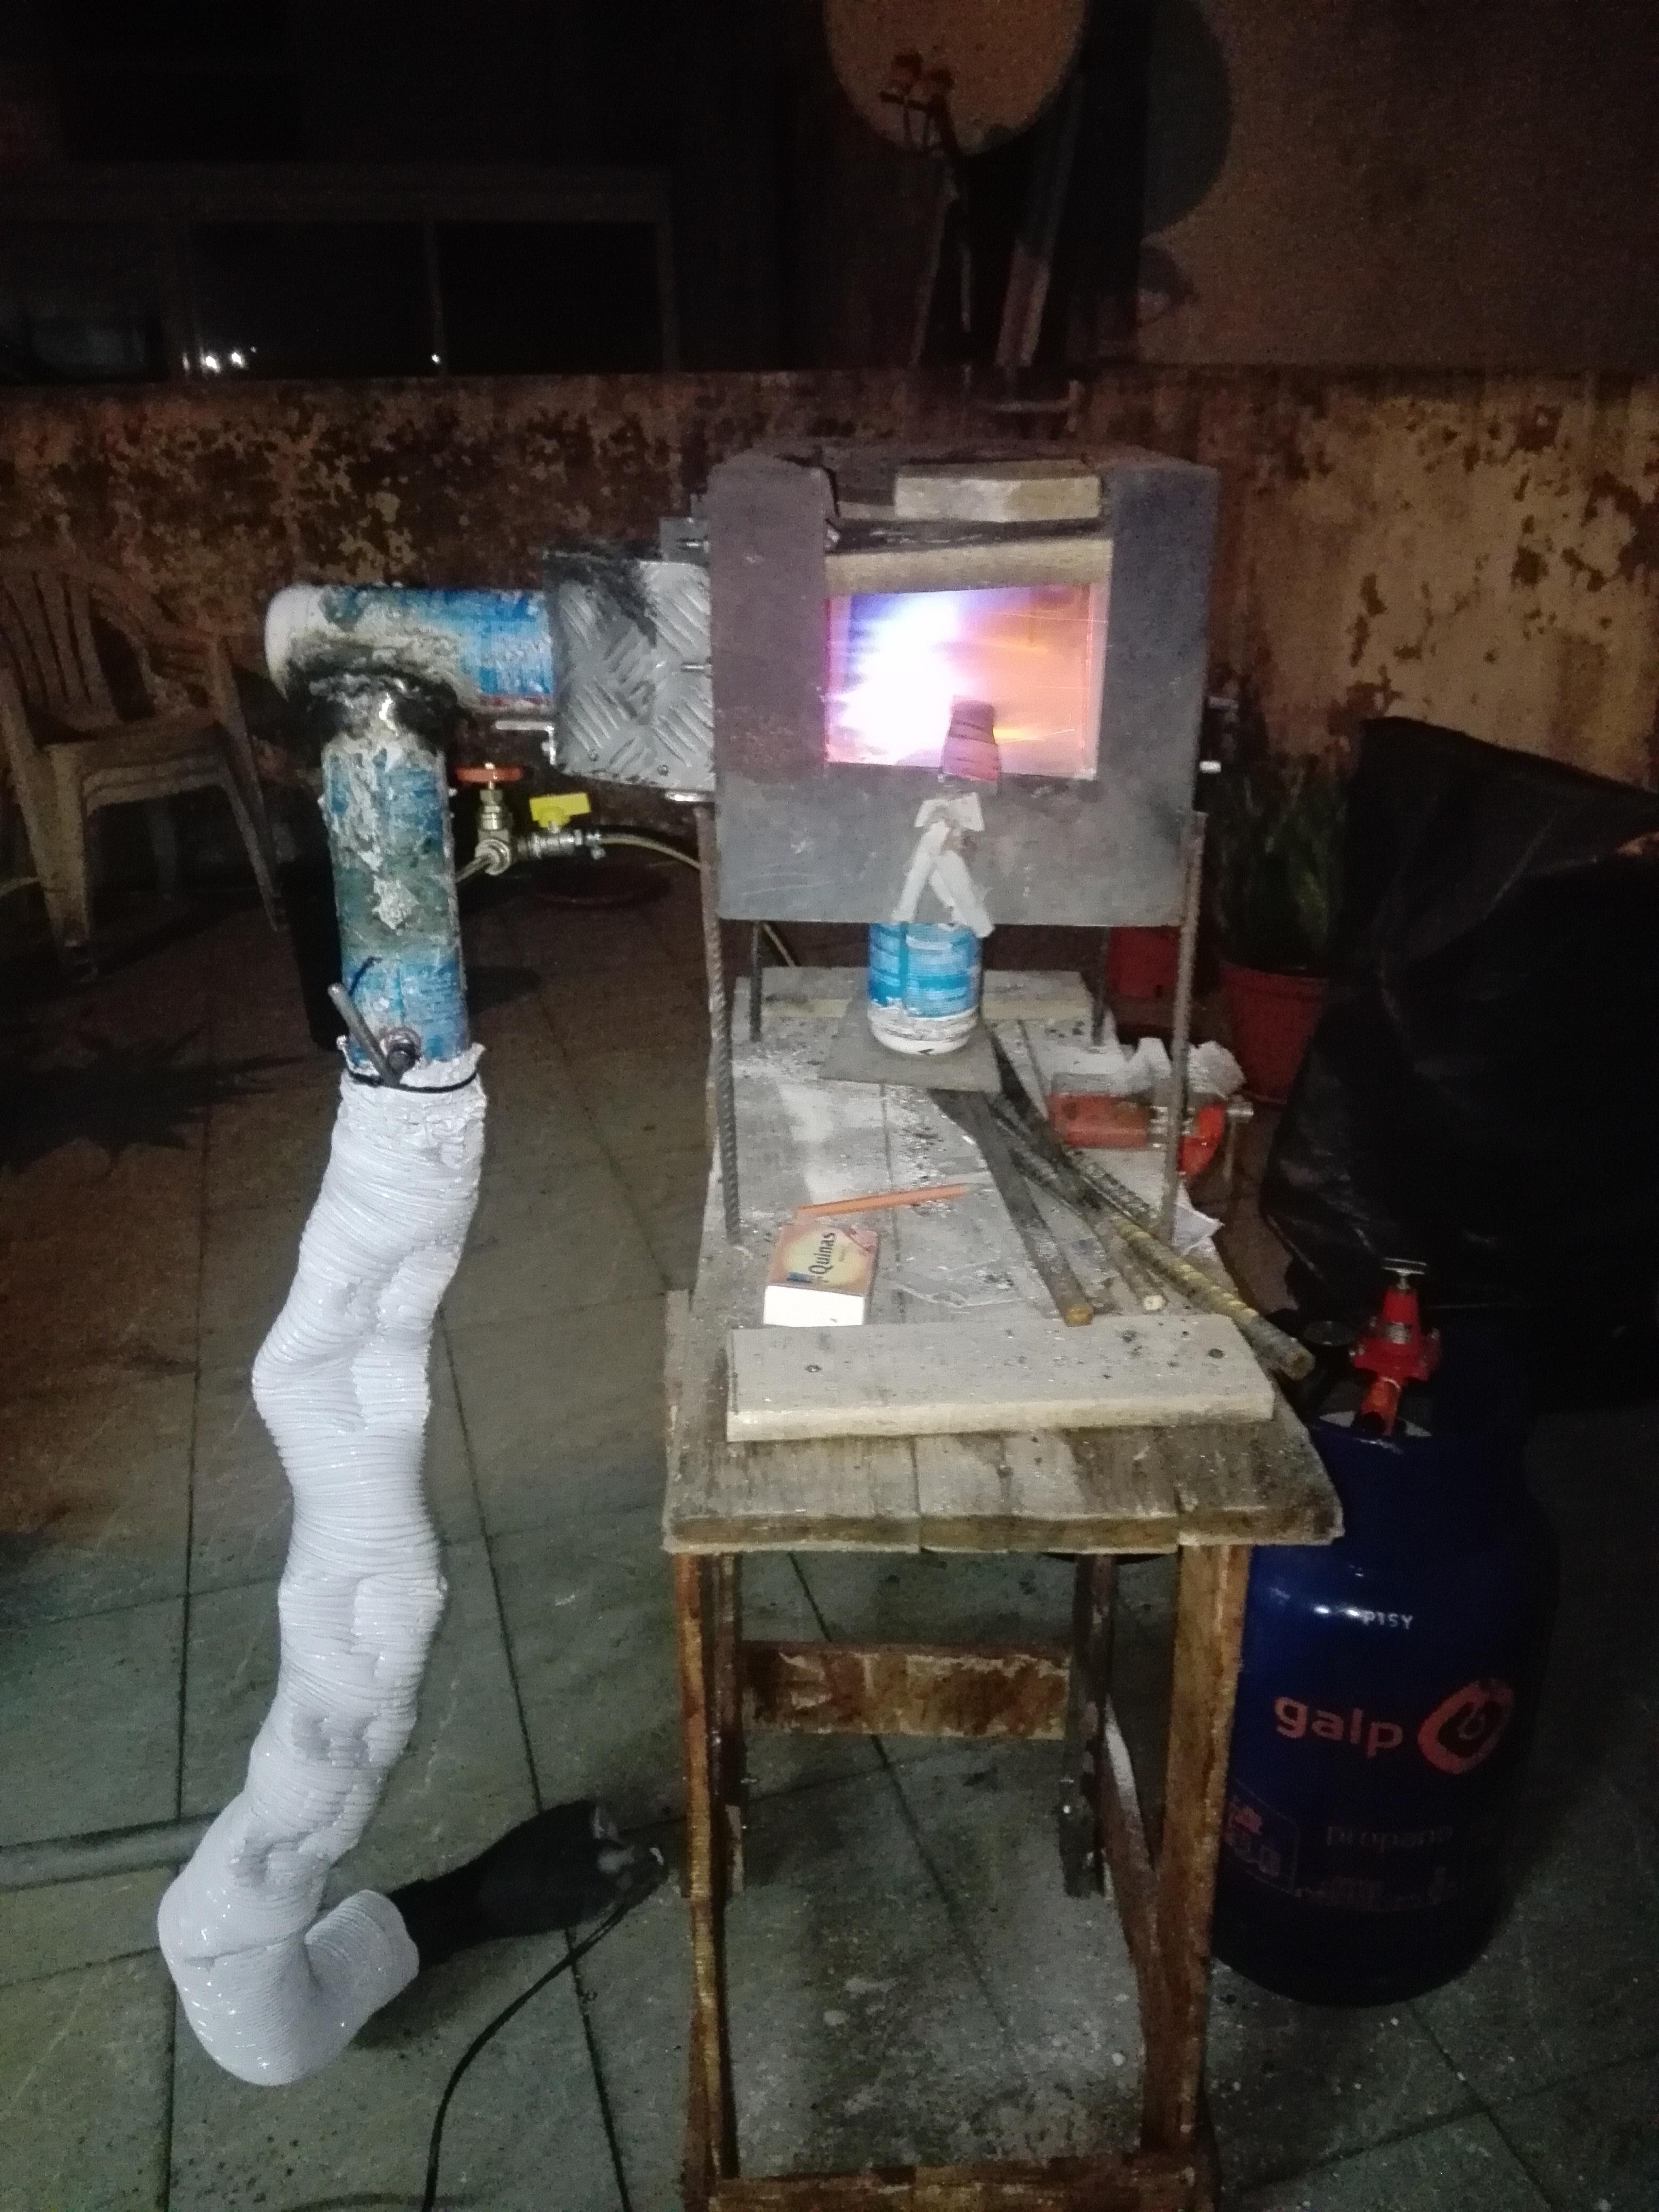
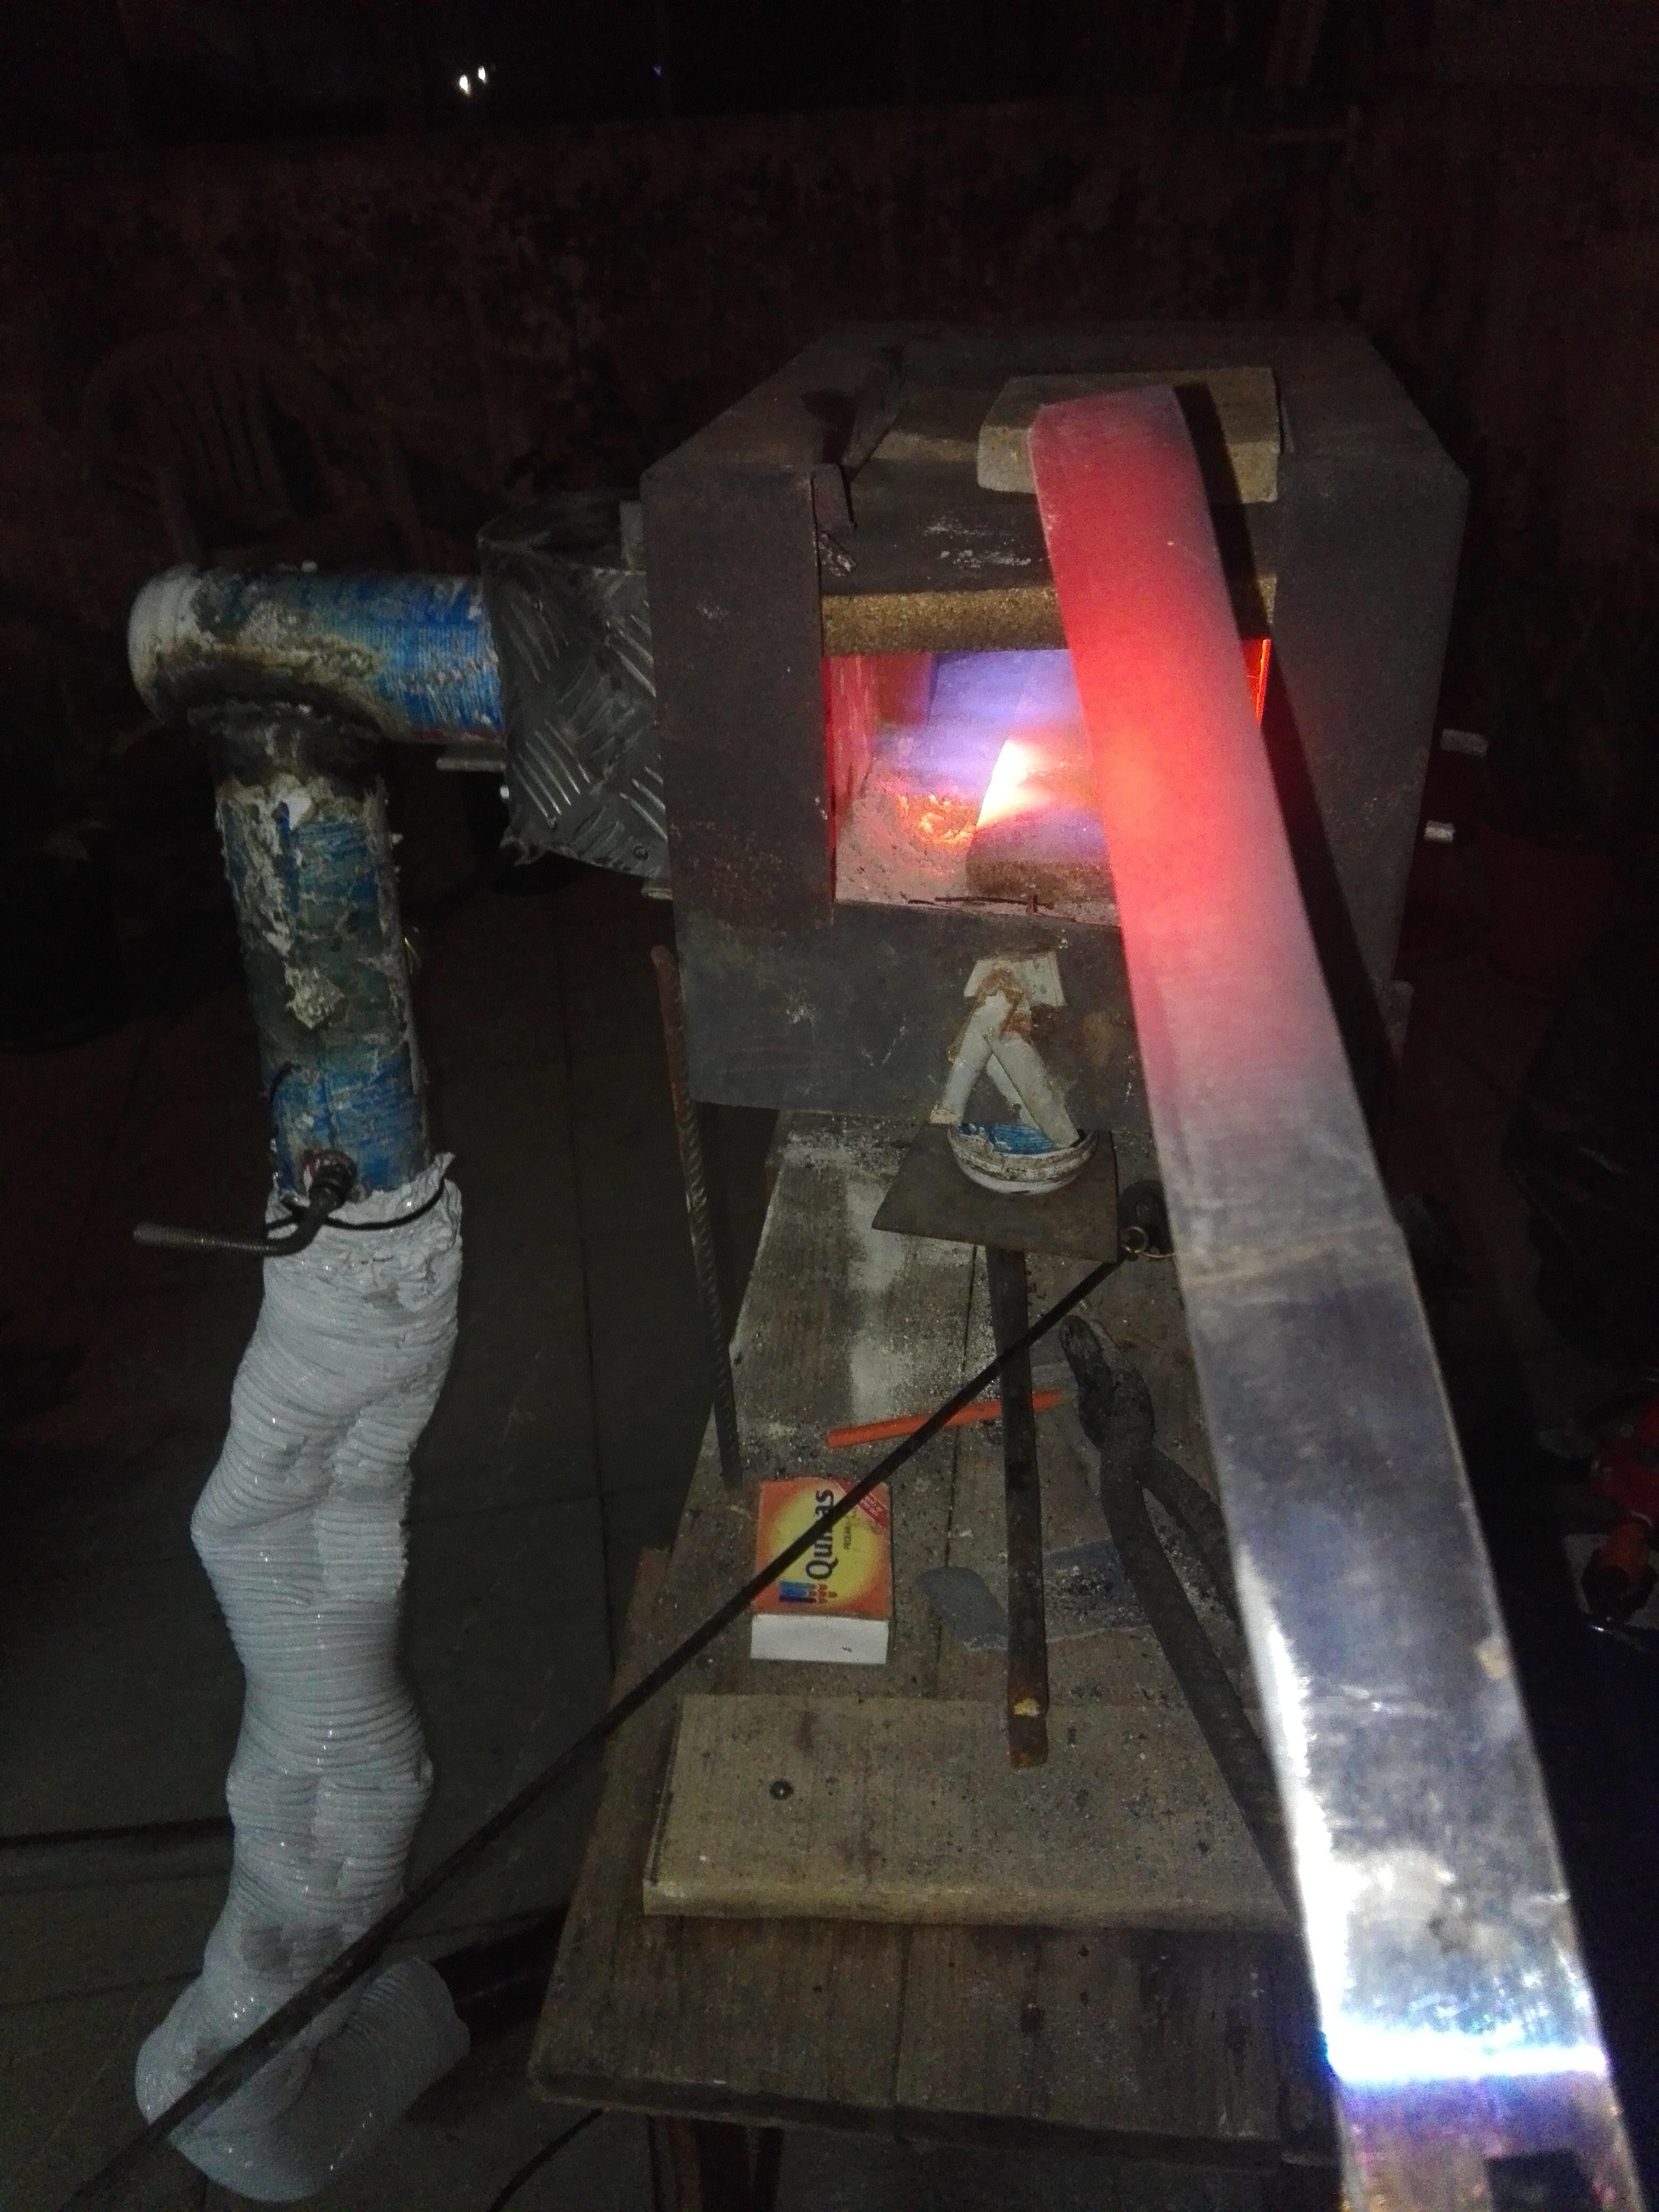
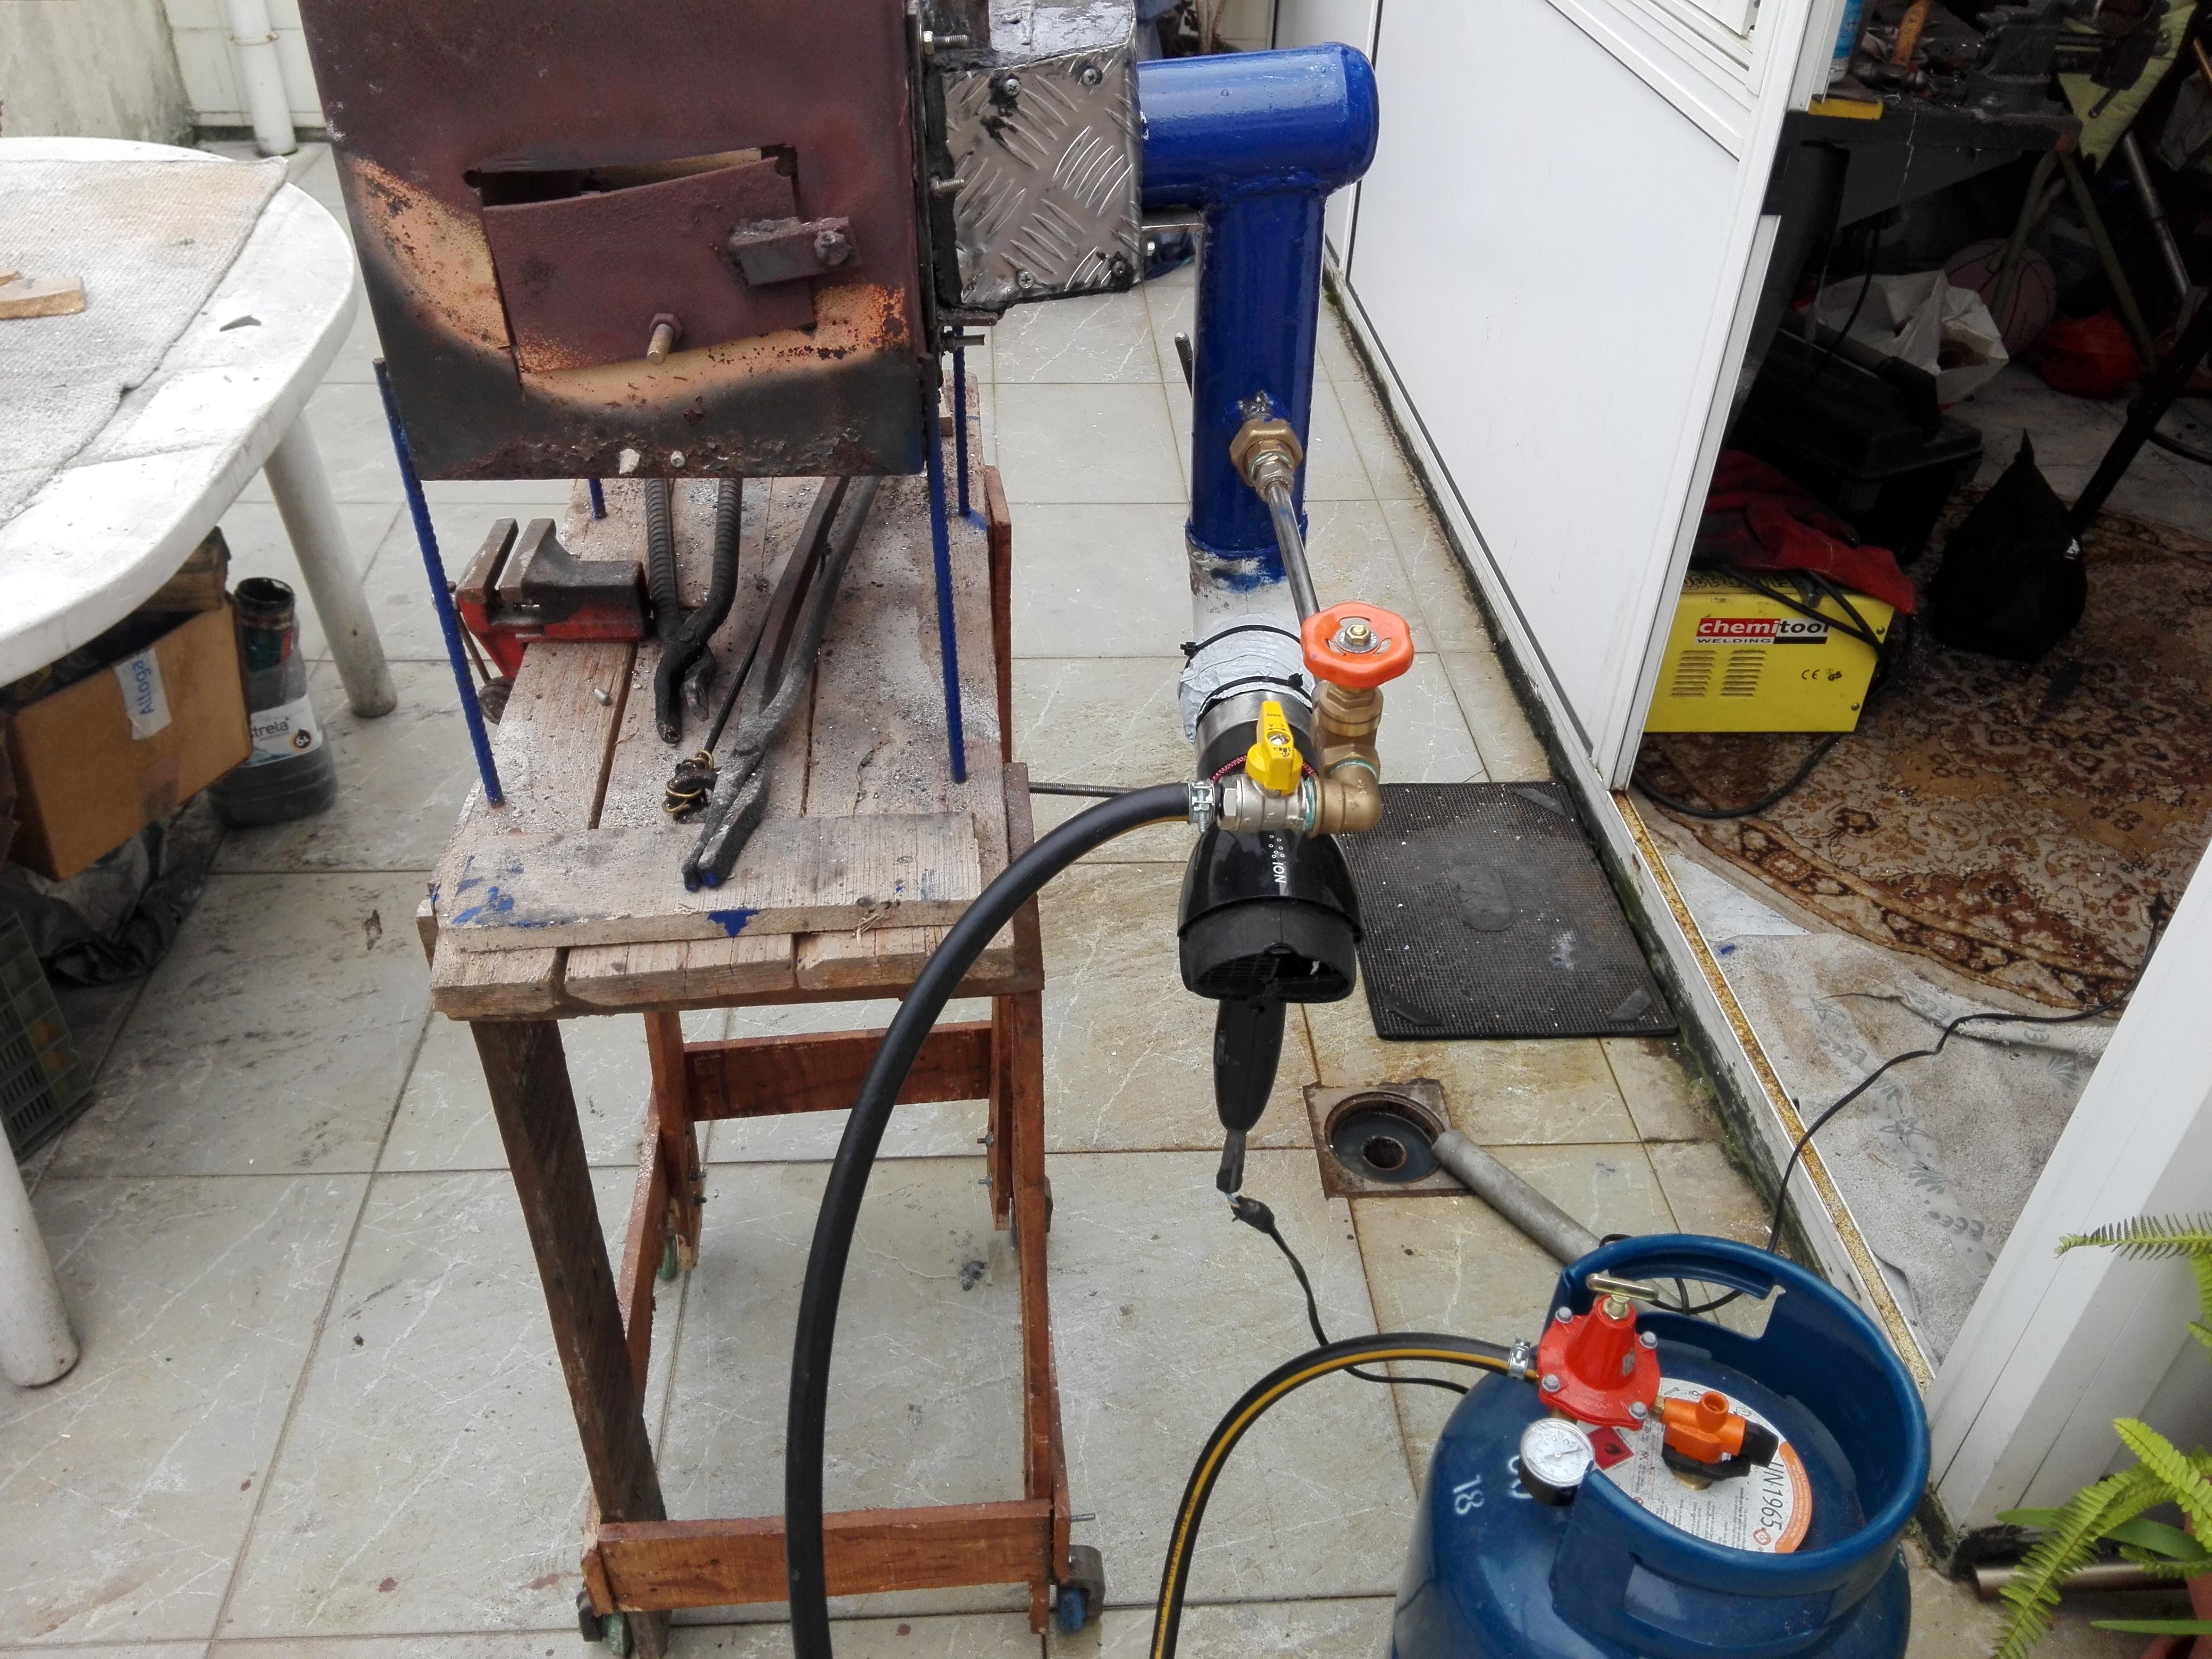
My latest tool. After a lot of research looking for the most efficient design, went ahead with the ribbon burner forge.
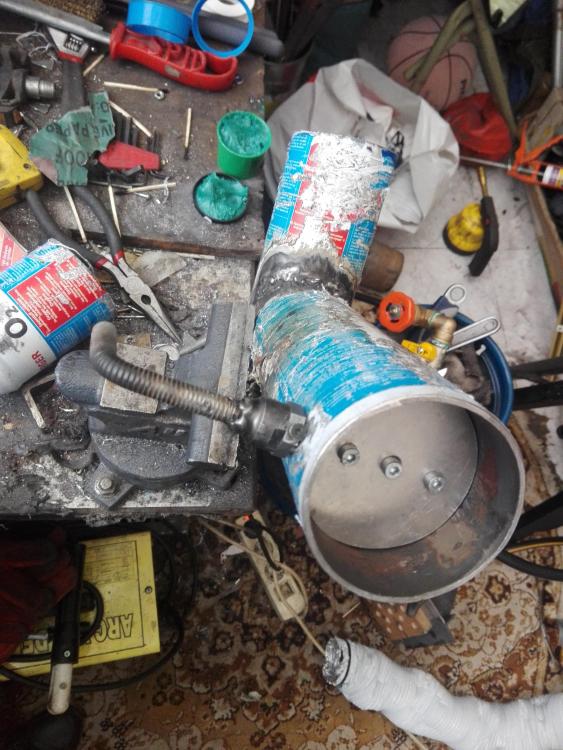
Used the same forge container (old safe) that I used for 2 years on charcoal. 4cm thick refractory bricks on the walls, 2cm on top and hight temp silicone to fill the gaps.
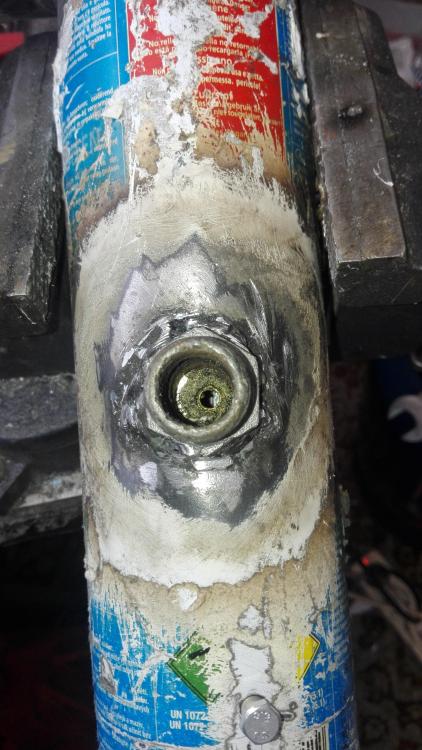
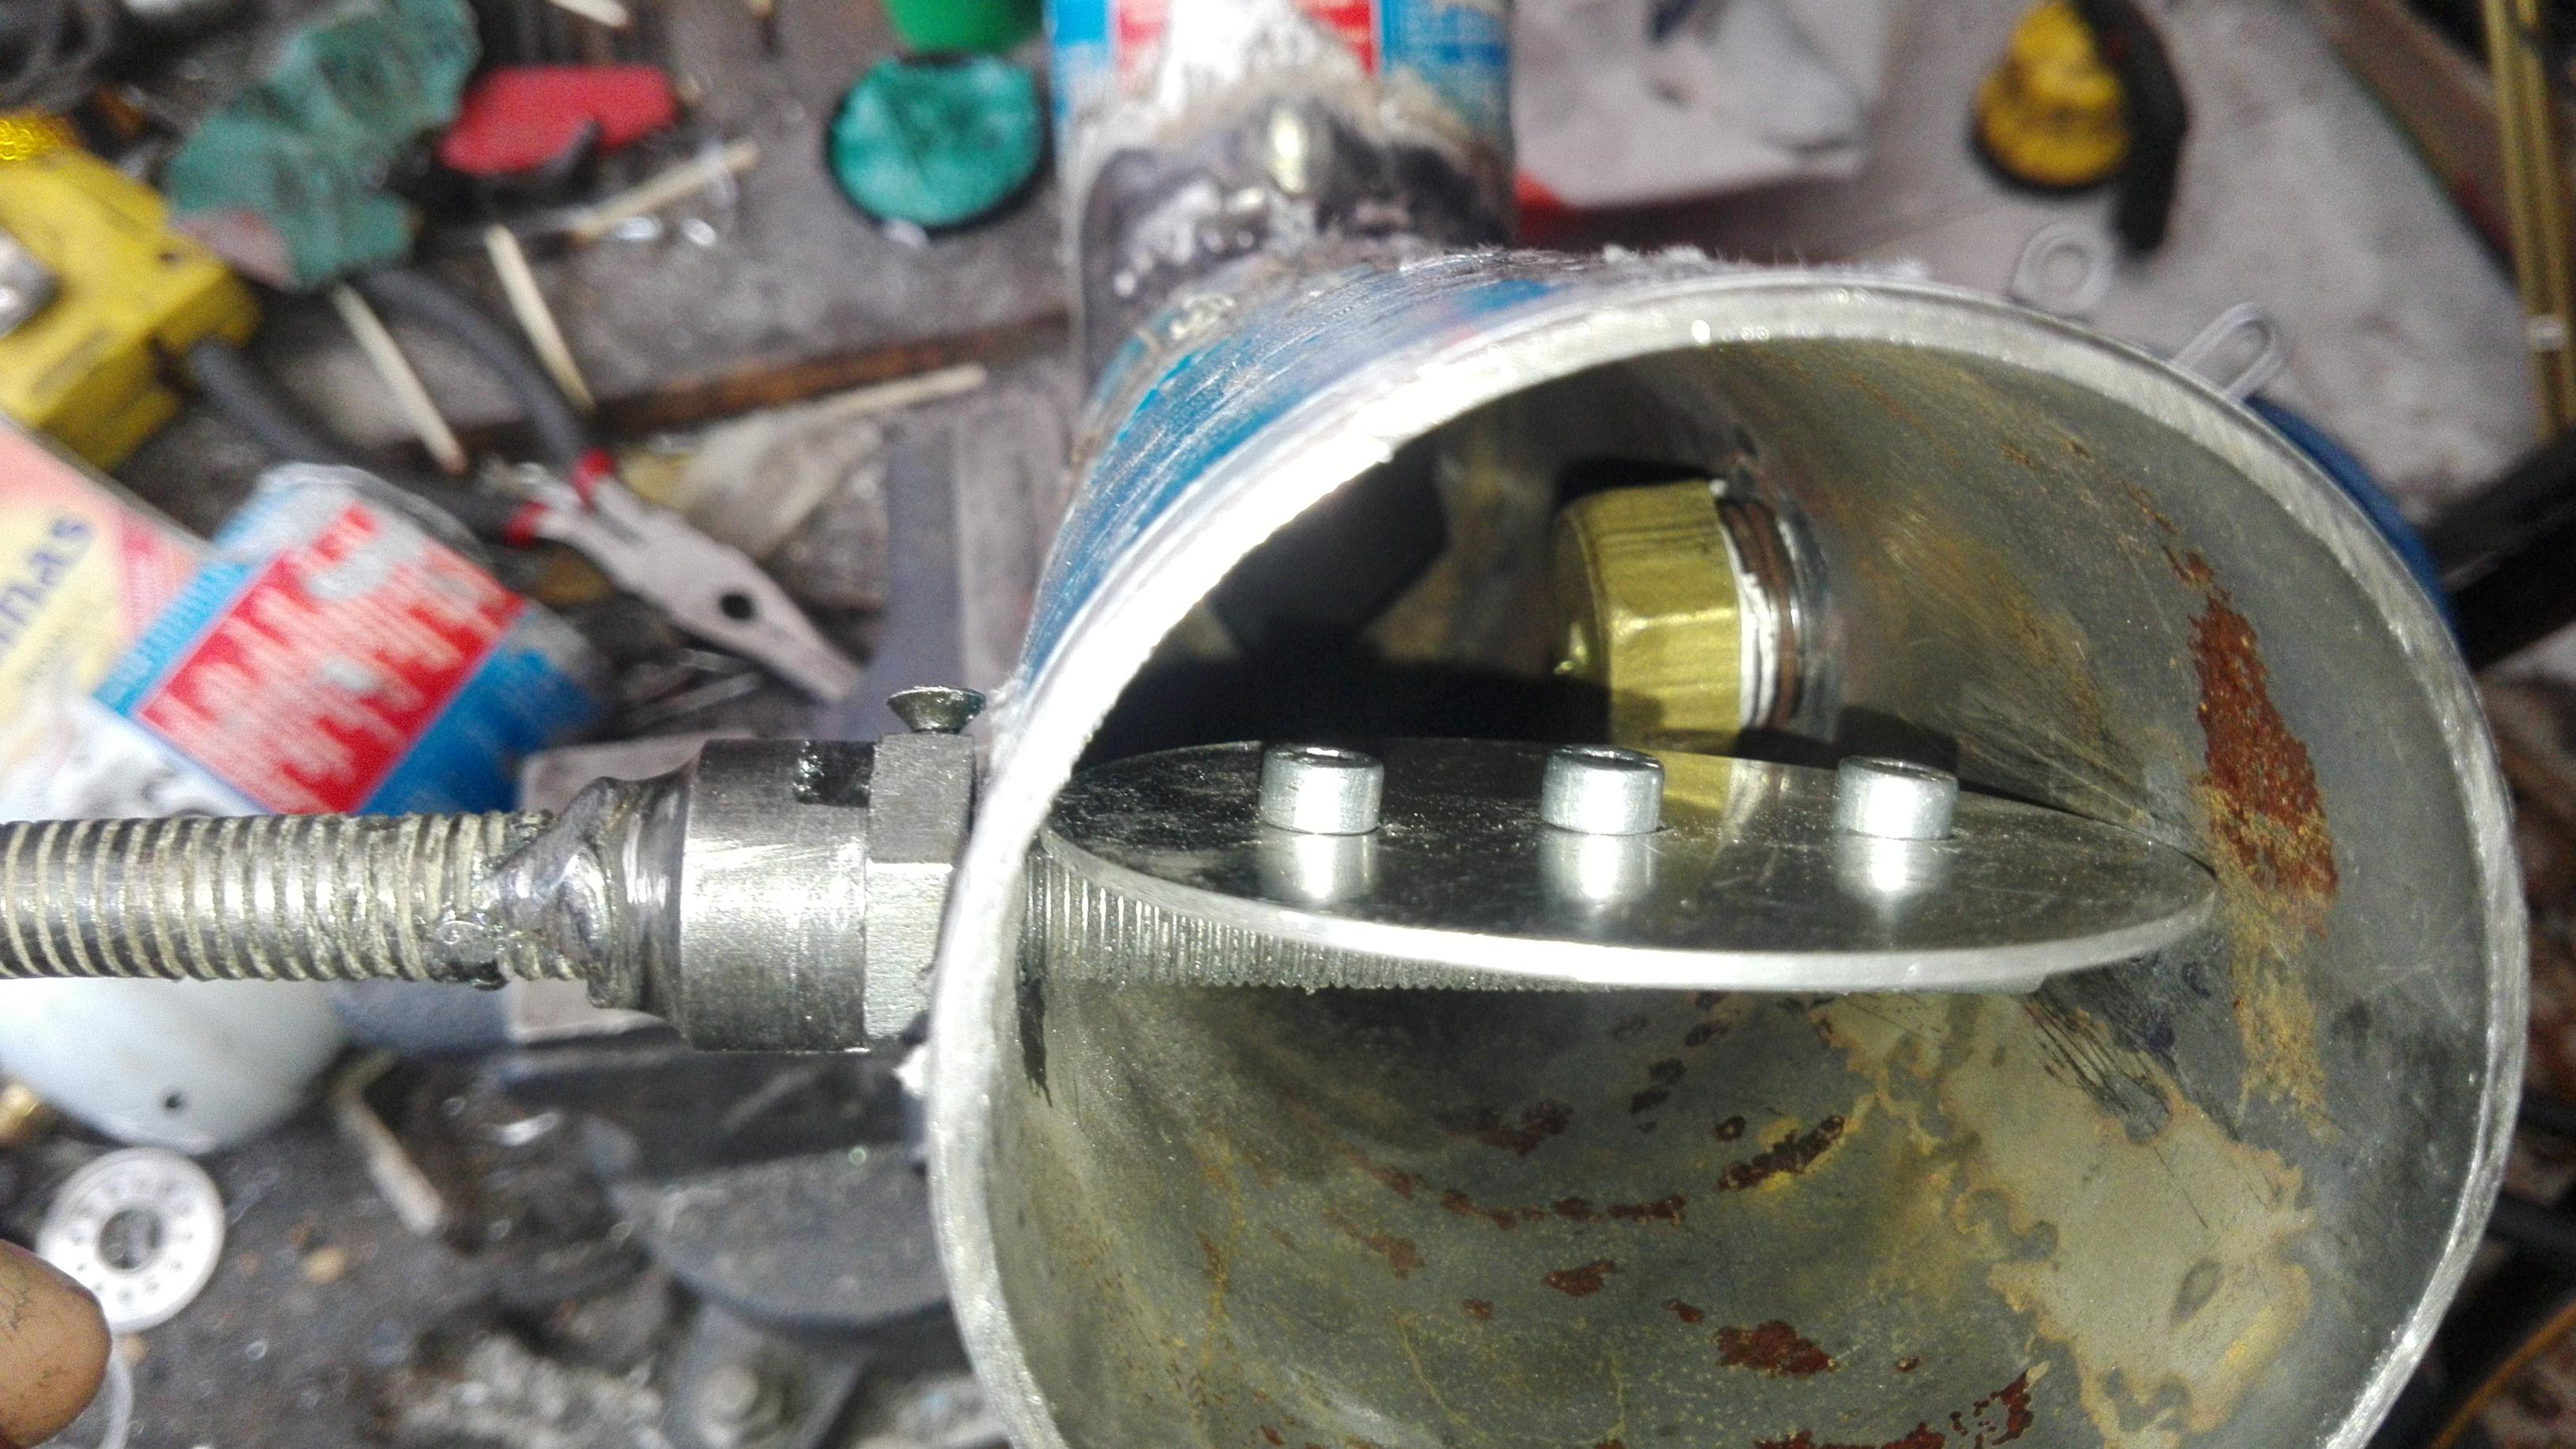
I had empty oxygen bottles from my oxy torch, with 73mm in diameter, those became the ai/fuel duct. Welded a 1/2" steel bushing and a cap with 5mm whole for the gas outlet.
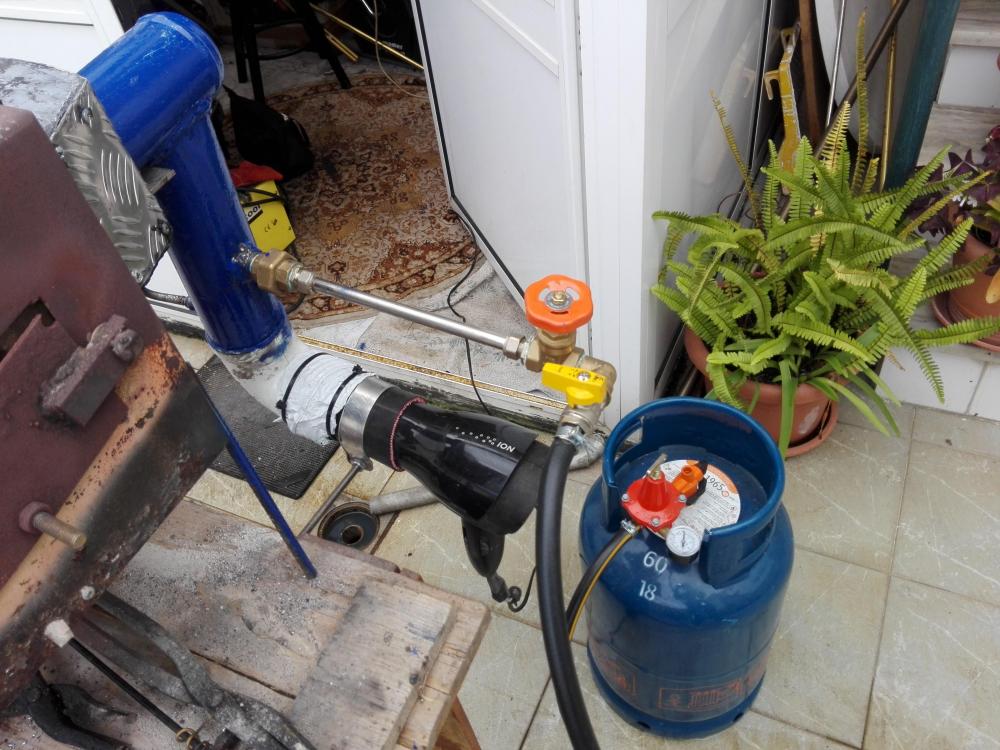
All aluminium butterfly valve, ol' lady hairdryer, high pressure regulator with manometer and 24 lb/11 kg propane tank .
I'm very satisfied with this forge, it is easy to light, easy to control the heat for forging or HT and there´s little maintnence involved. I'ts amazing how well this thing works, better than I expected...
Black snout, smoke smelling clouthes, burnt metal and mess allover the floor are a thing of the past. Goodbye charcoal!!


-
My initial plan was to do the plunge lines only on the belt grinder, for a smoother transition into the bevel. Not pleased with it because I know I can do much better with just a file.
It's the only thing i dont like about this knife.
Thanks for the feedback.
-
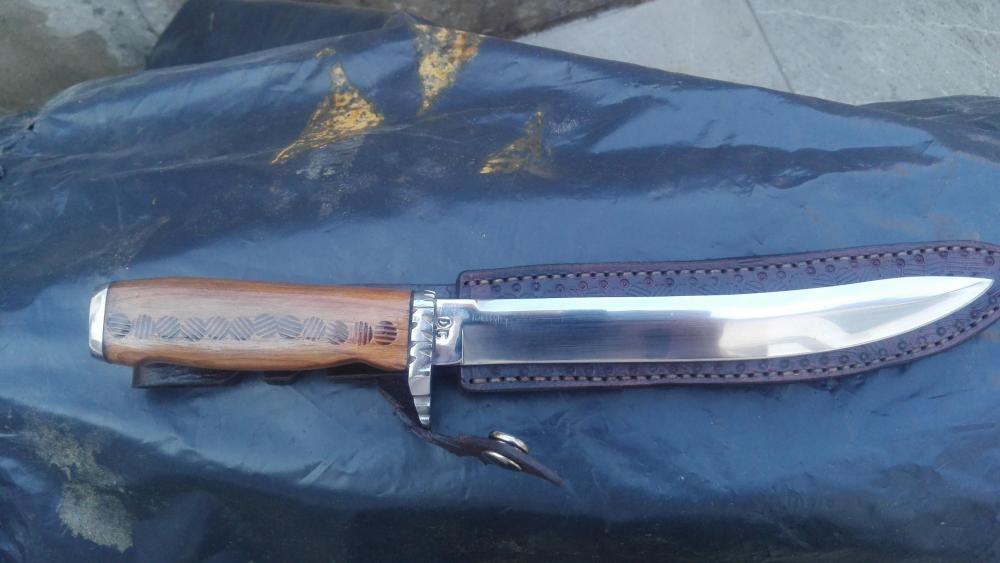
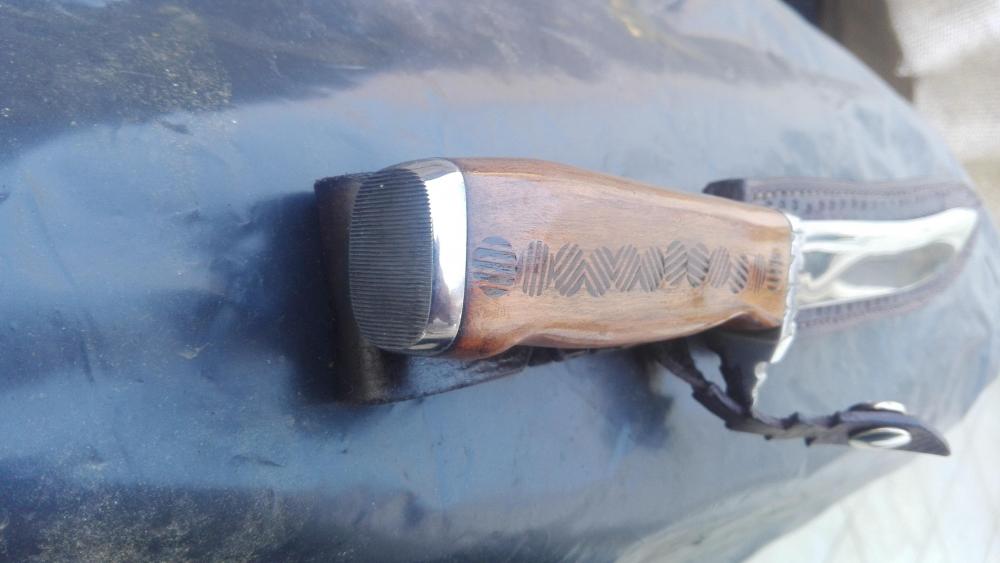
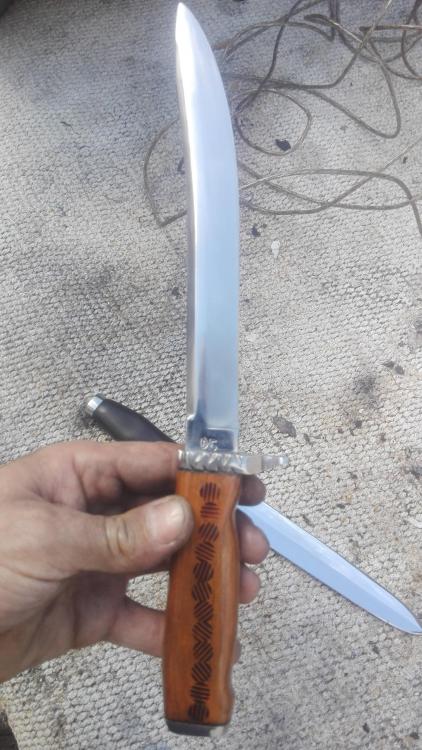
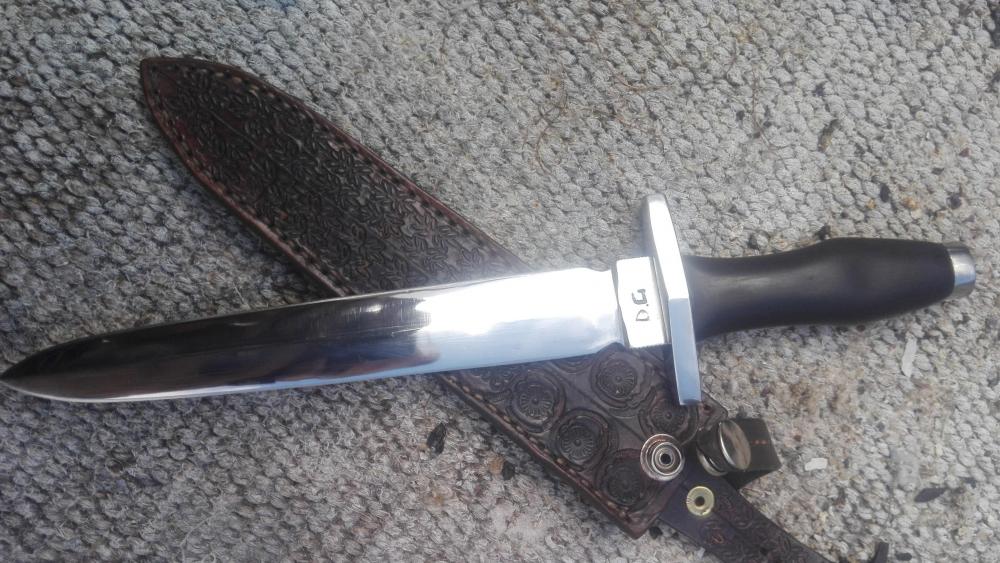
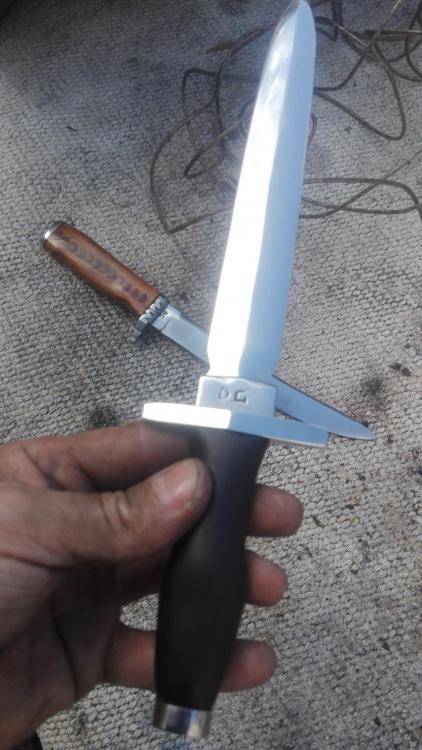
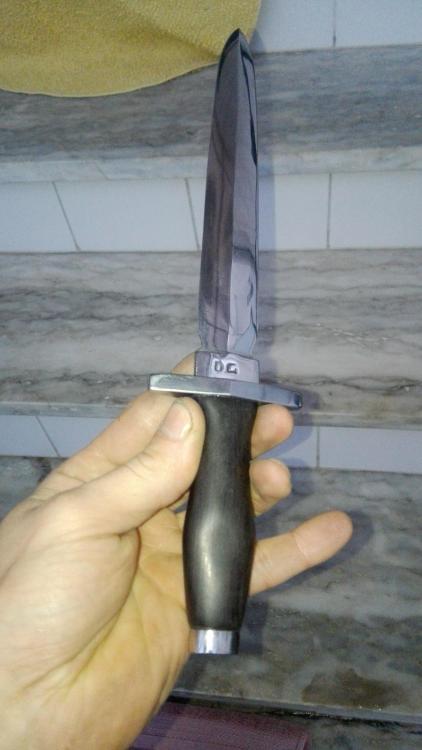
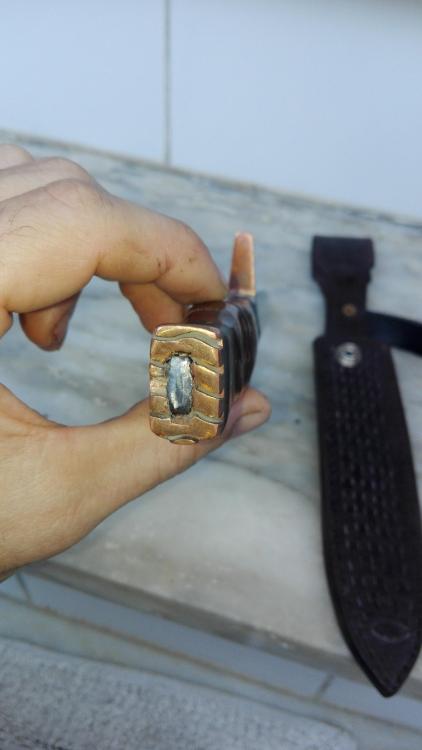
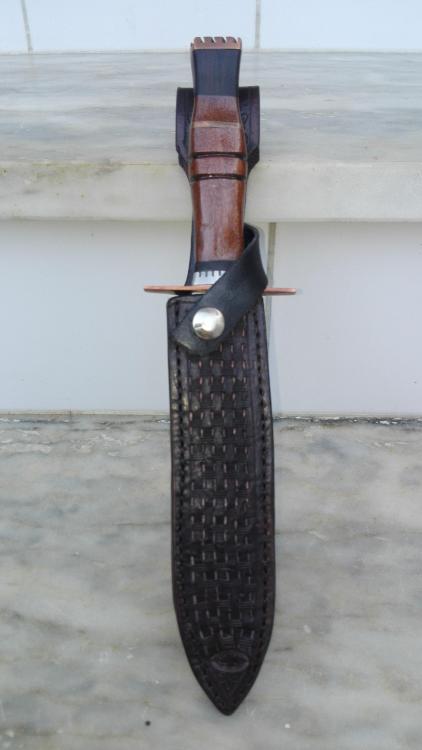
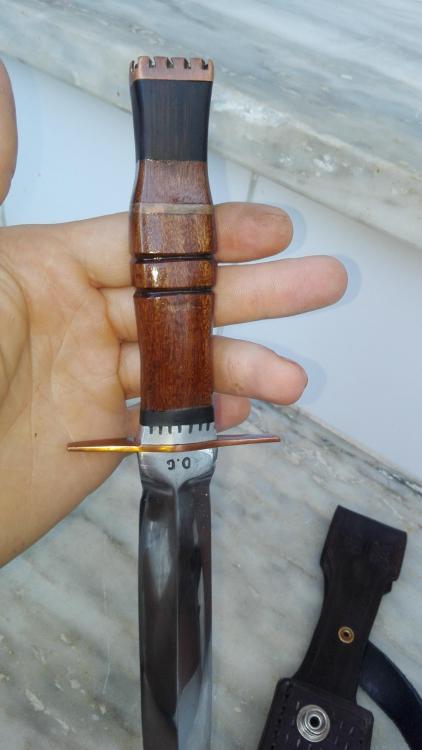
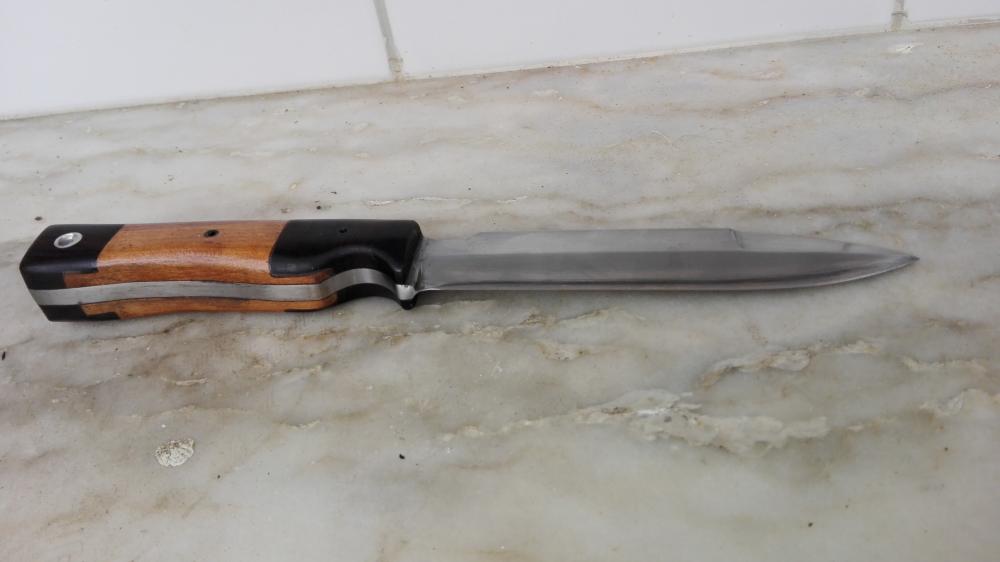
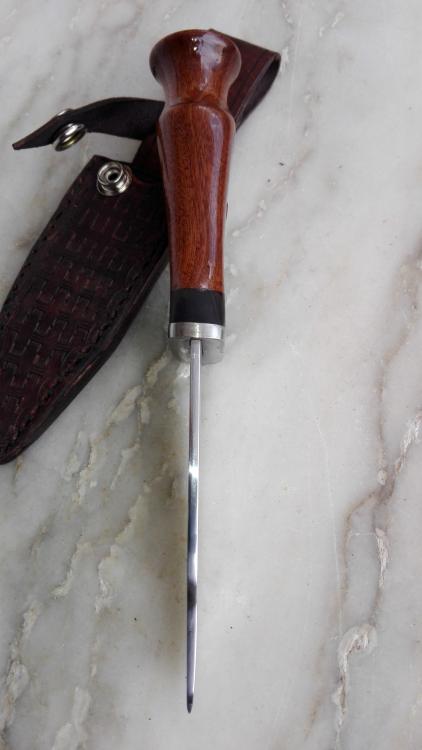
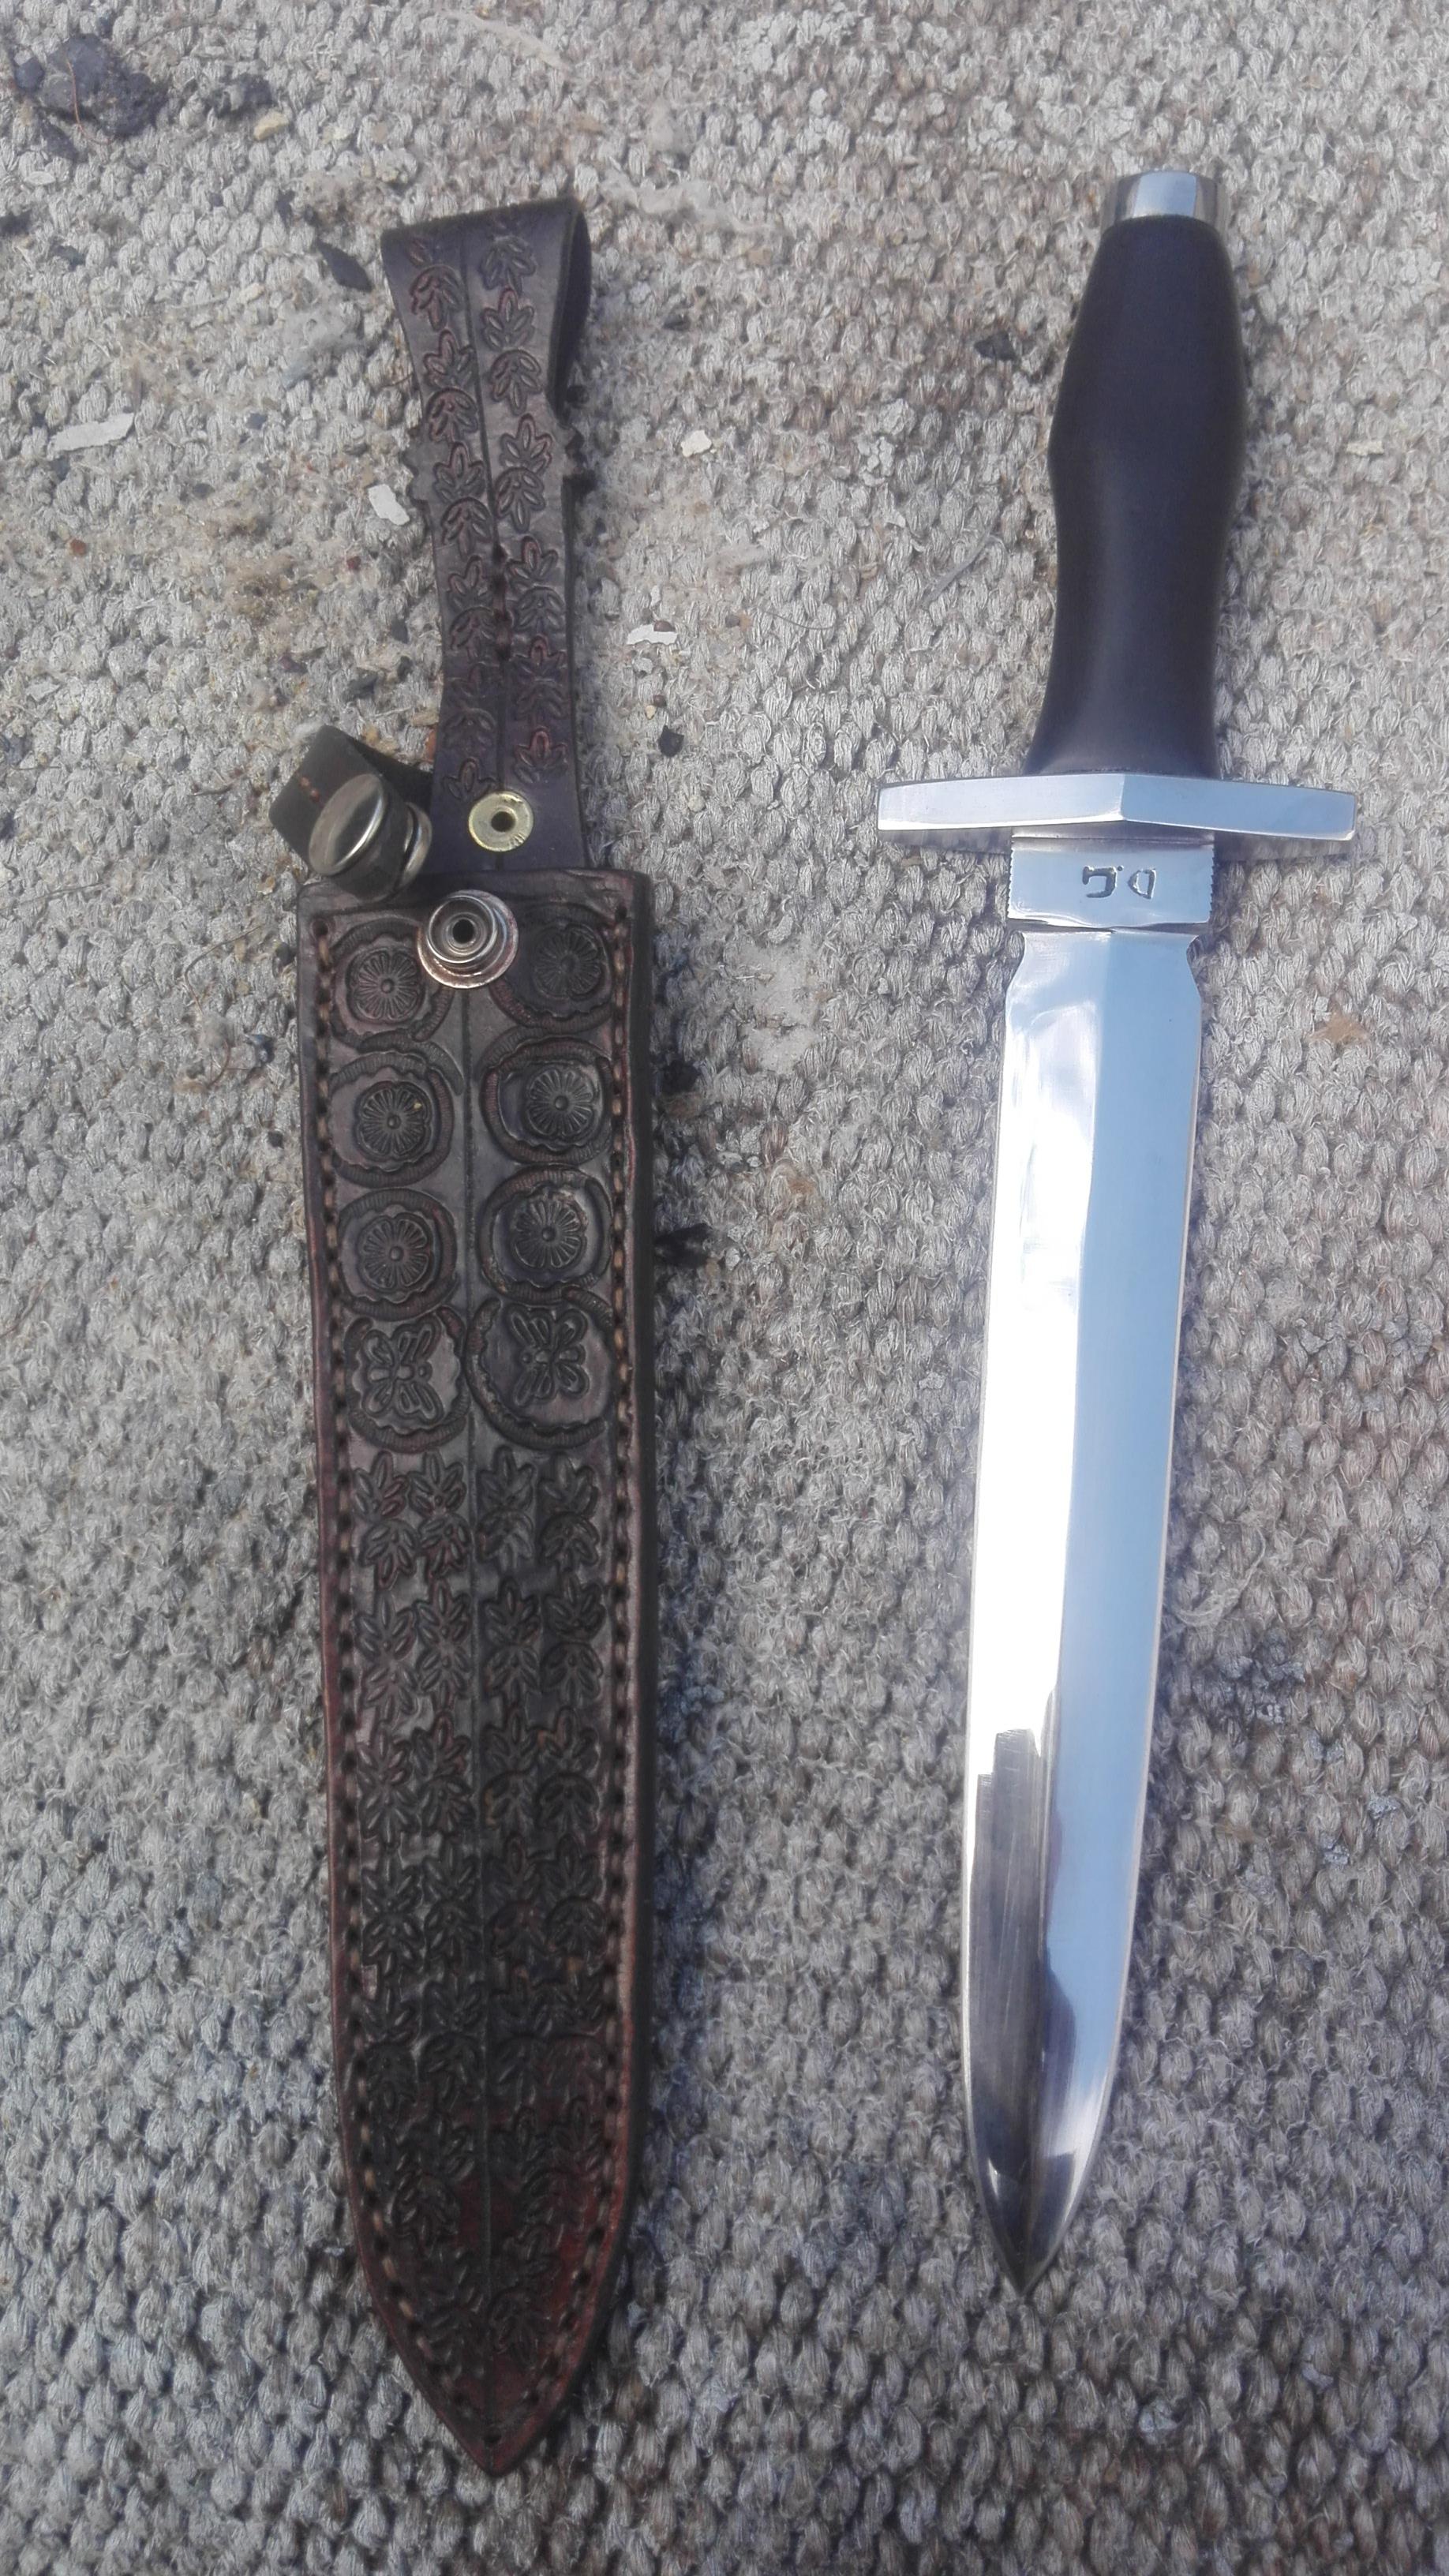
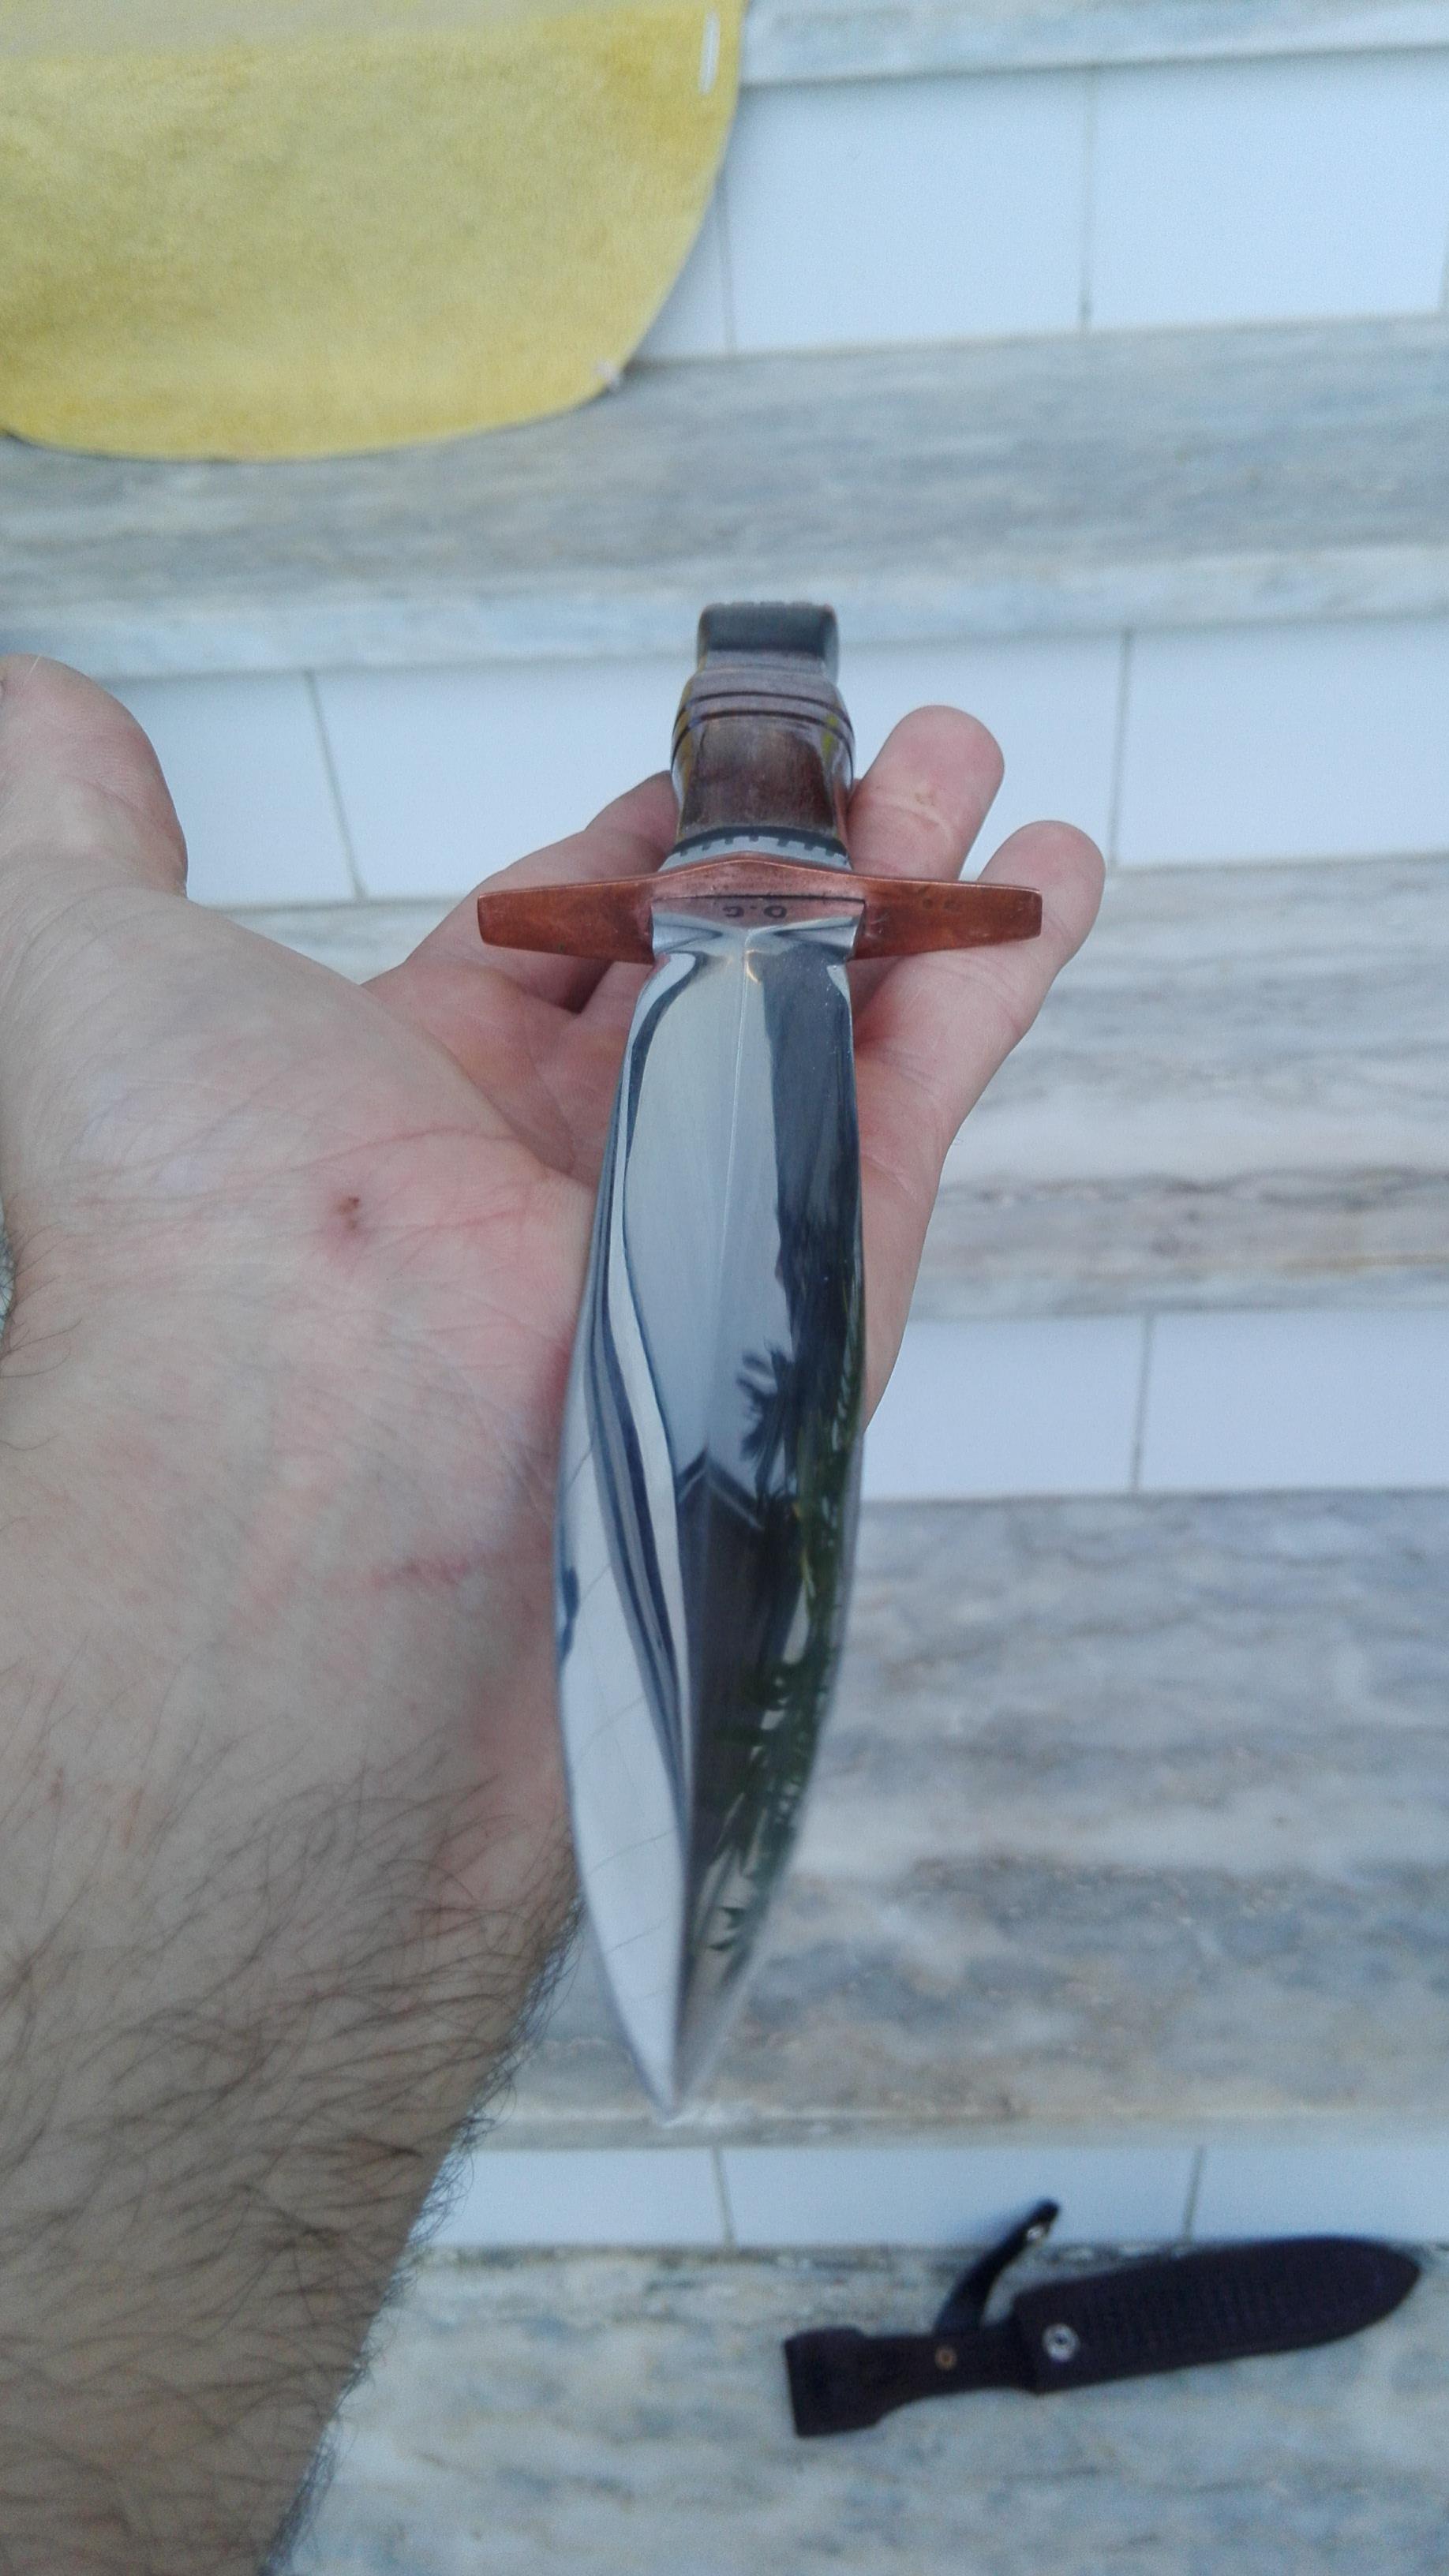
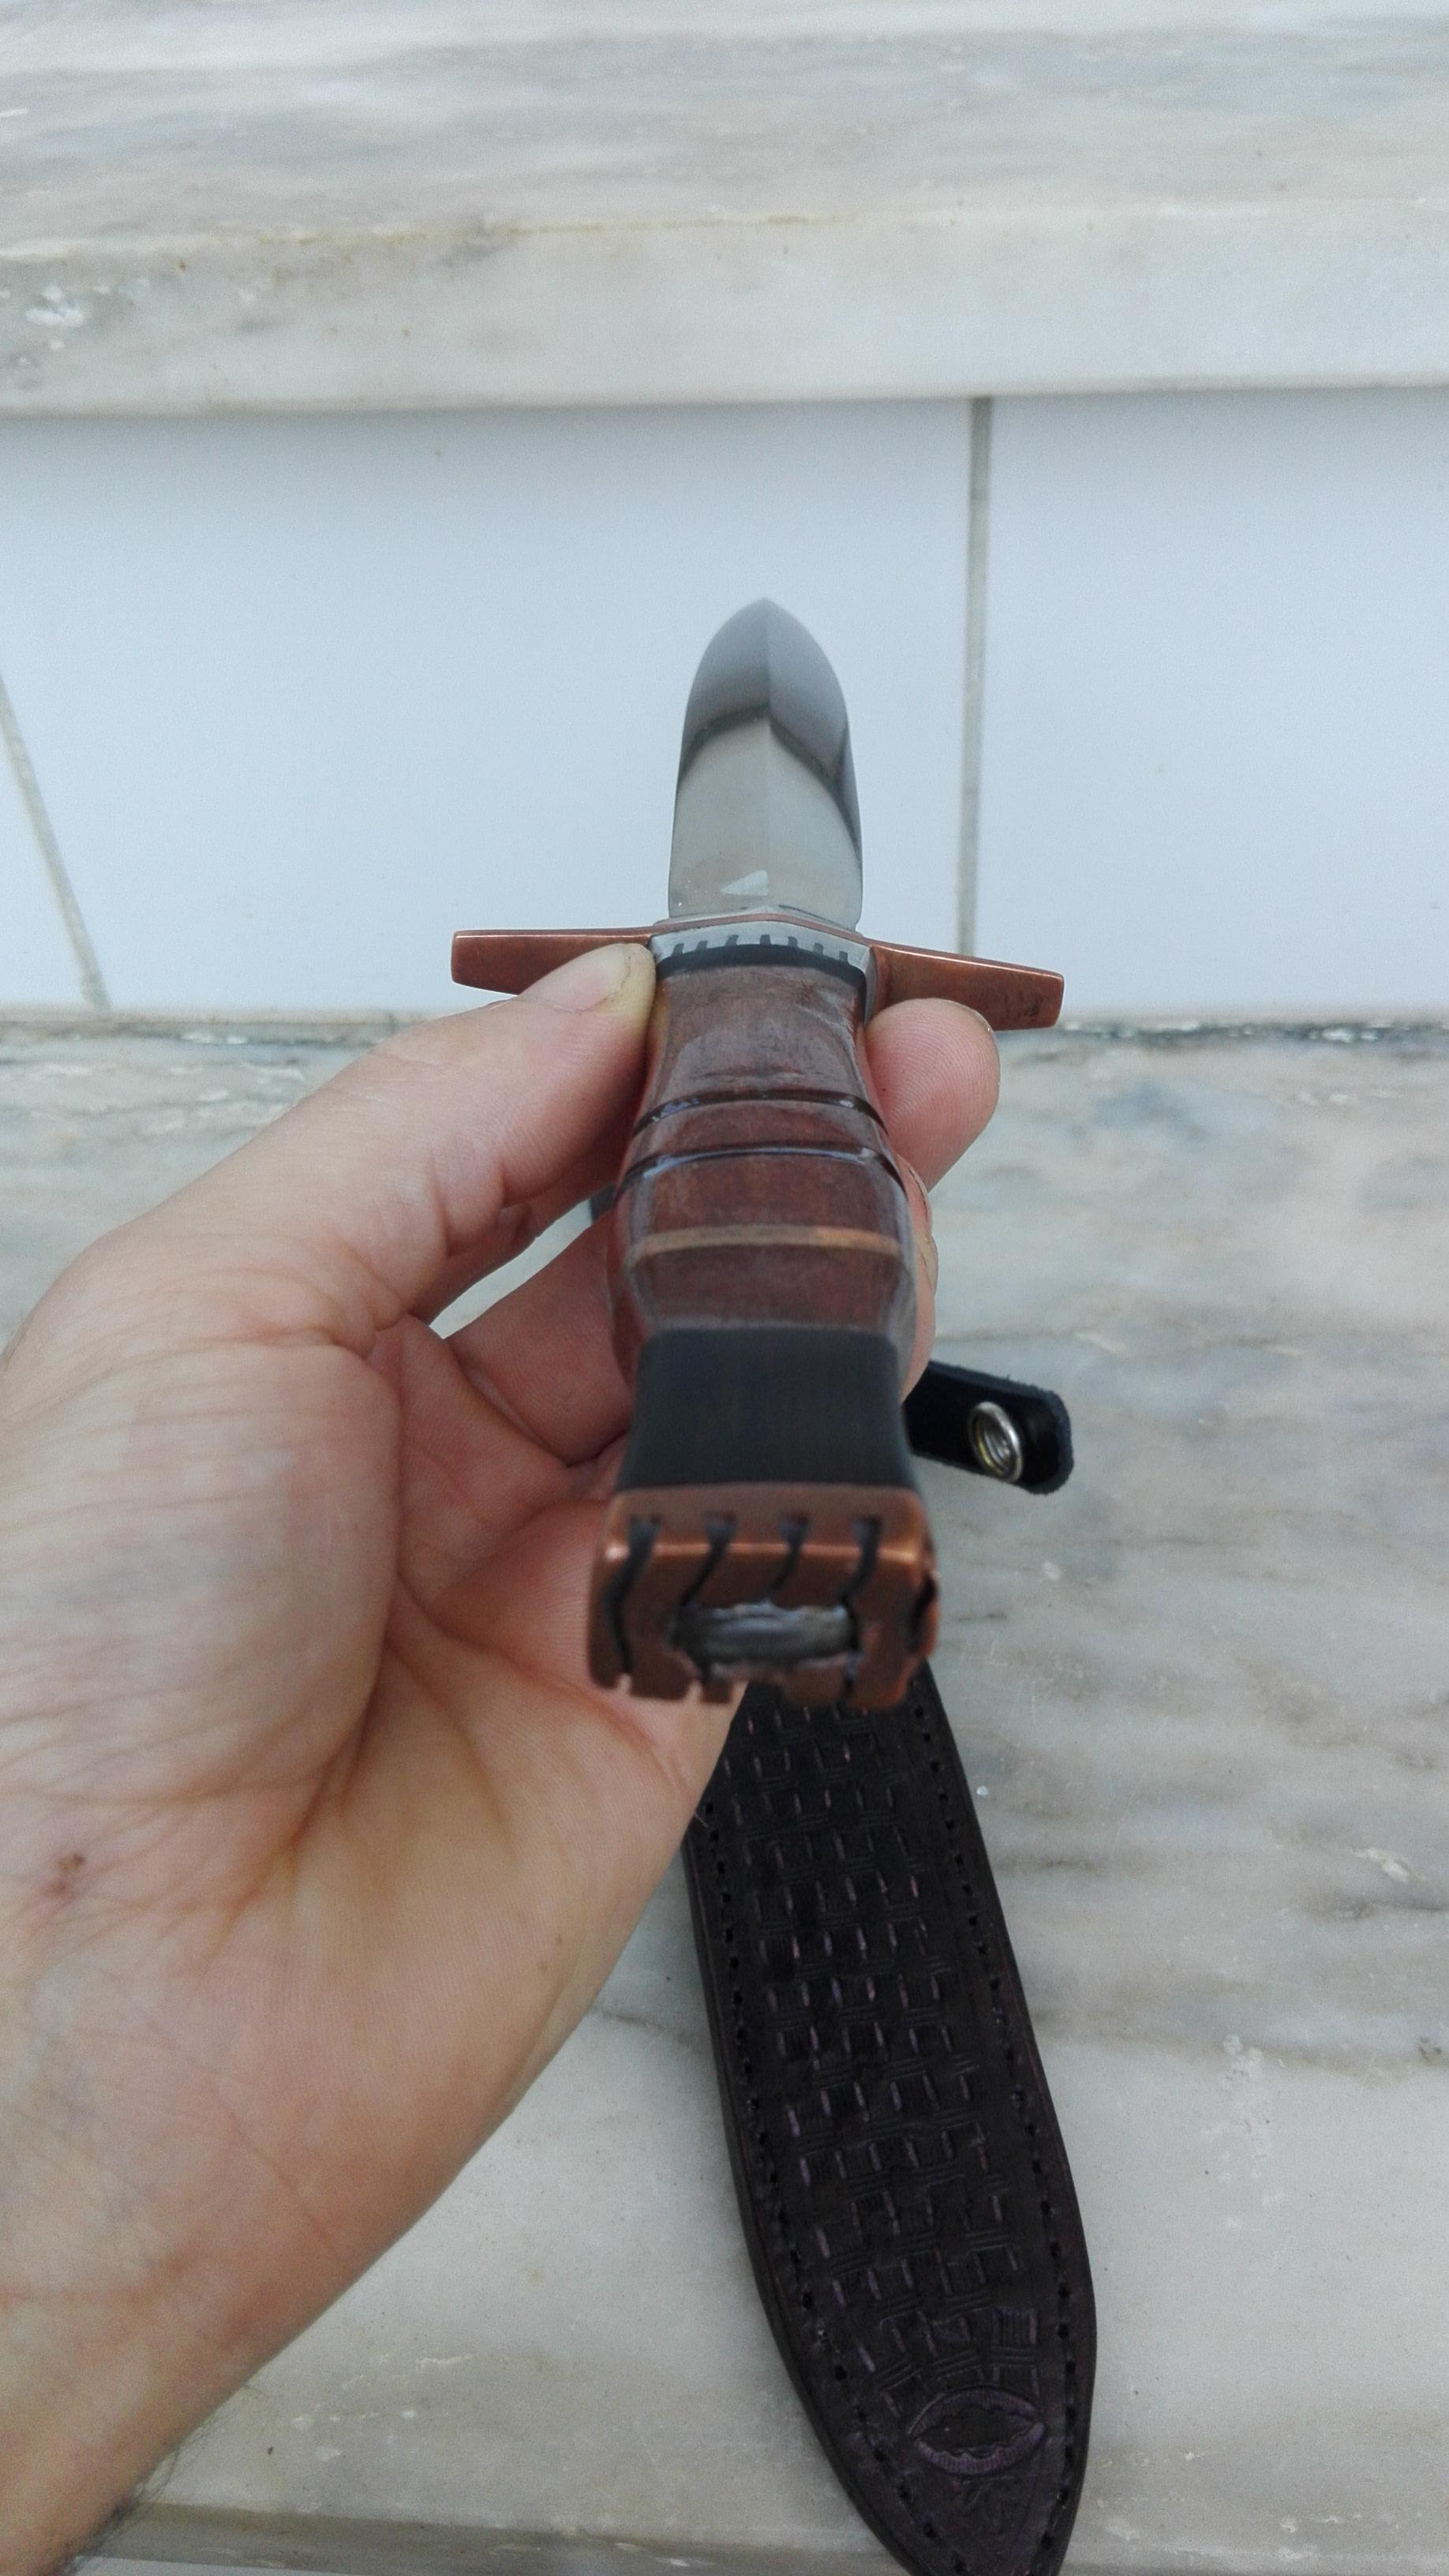
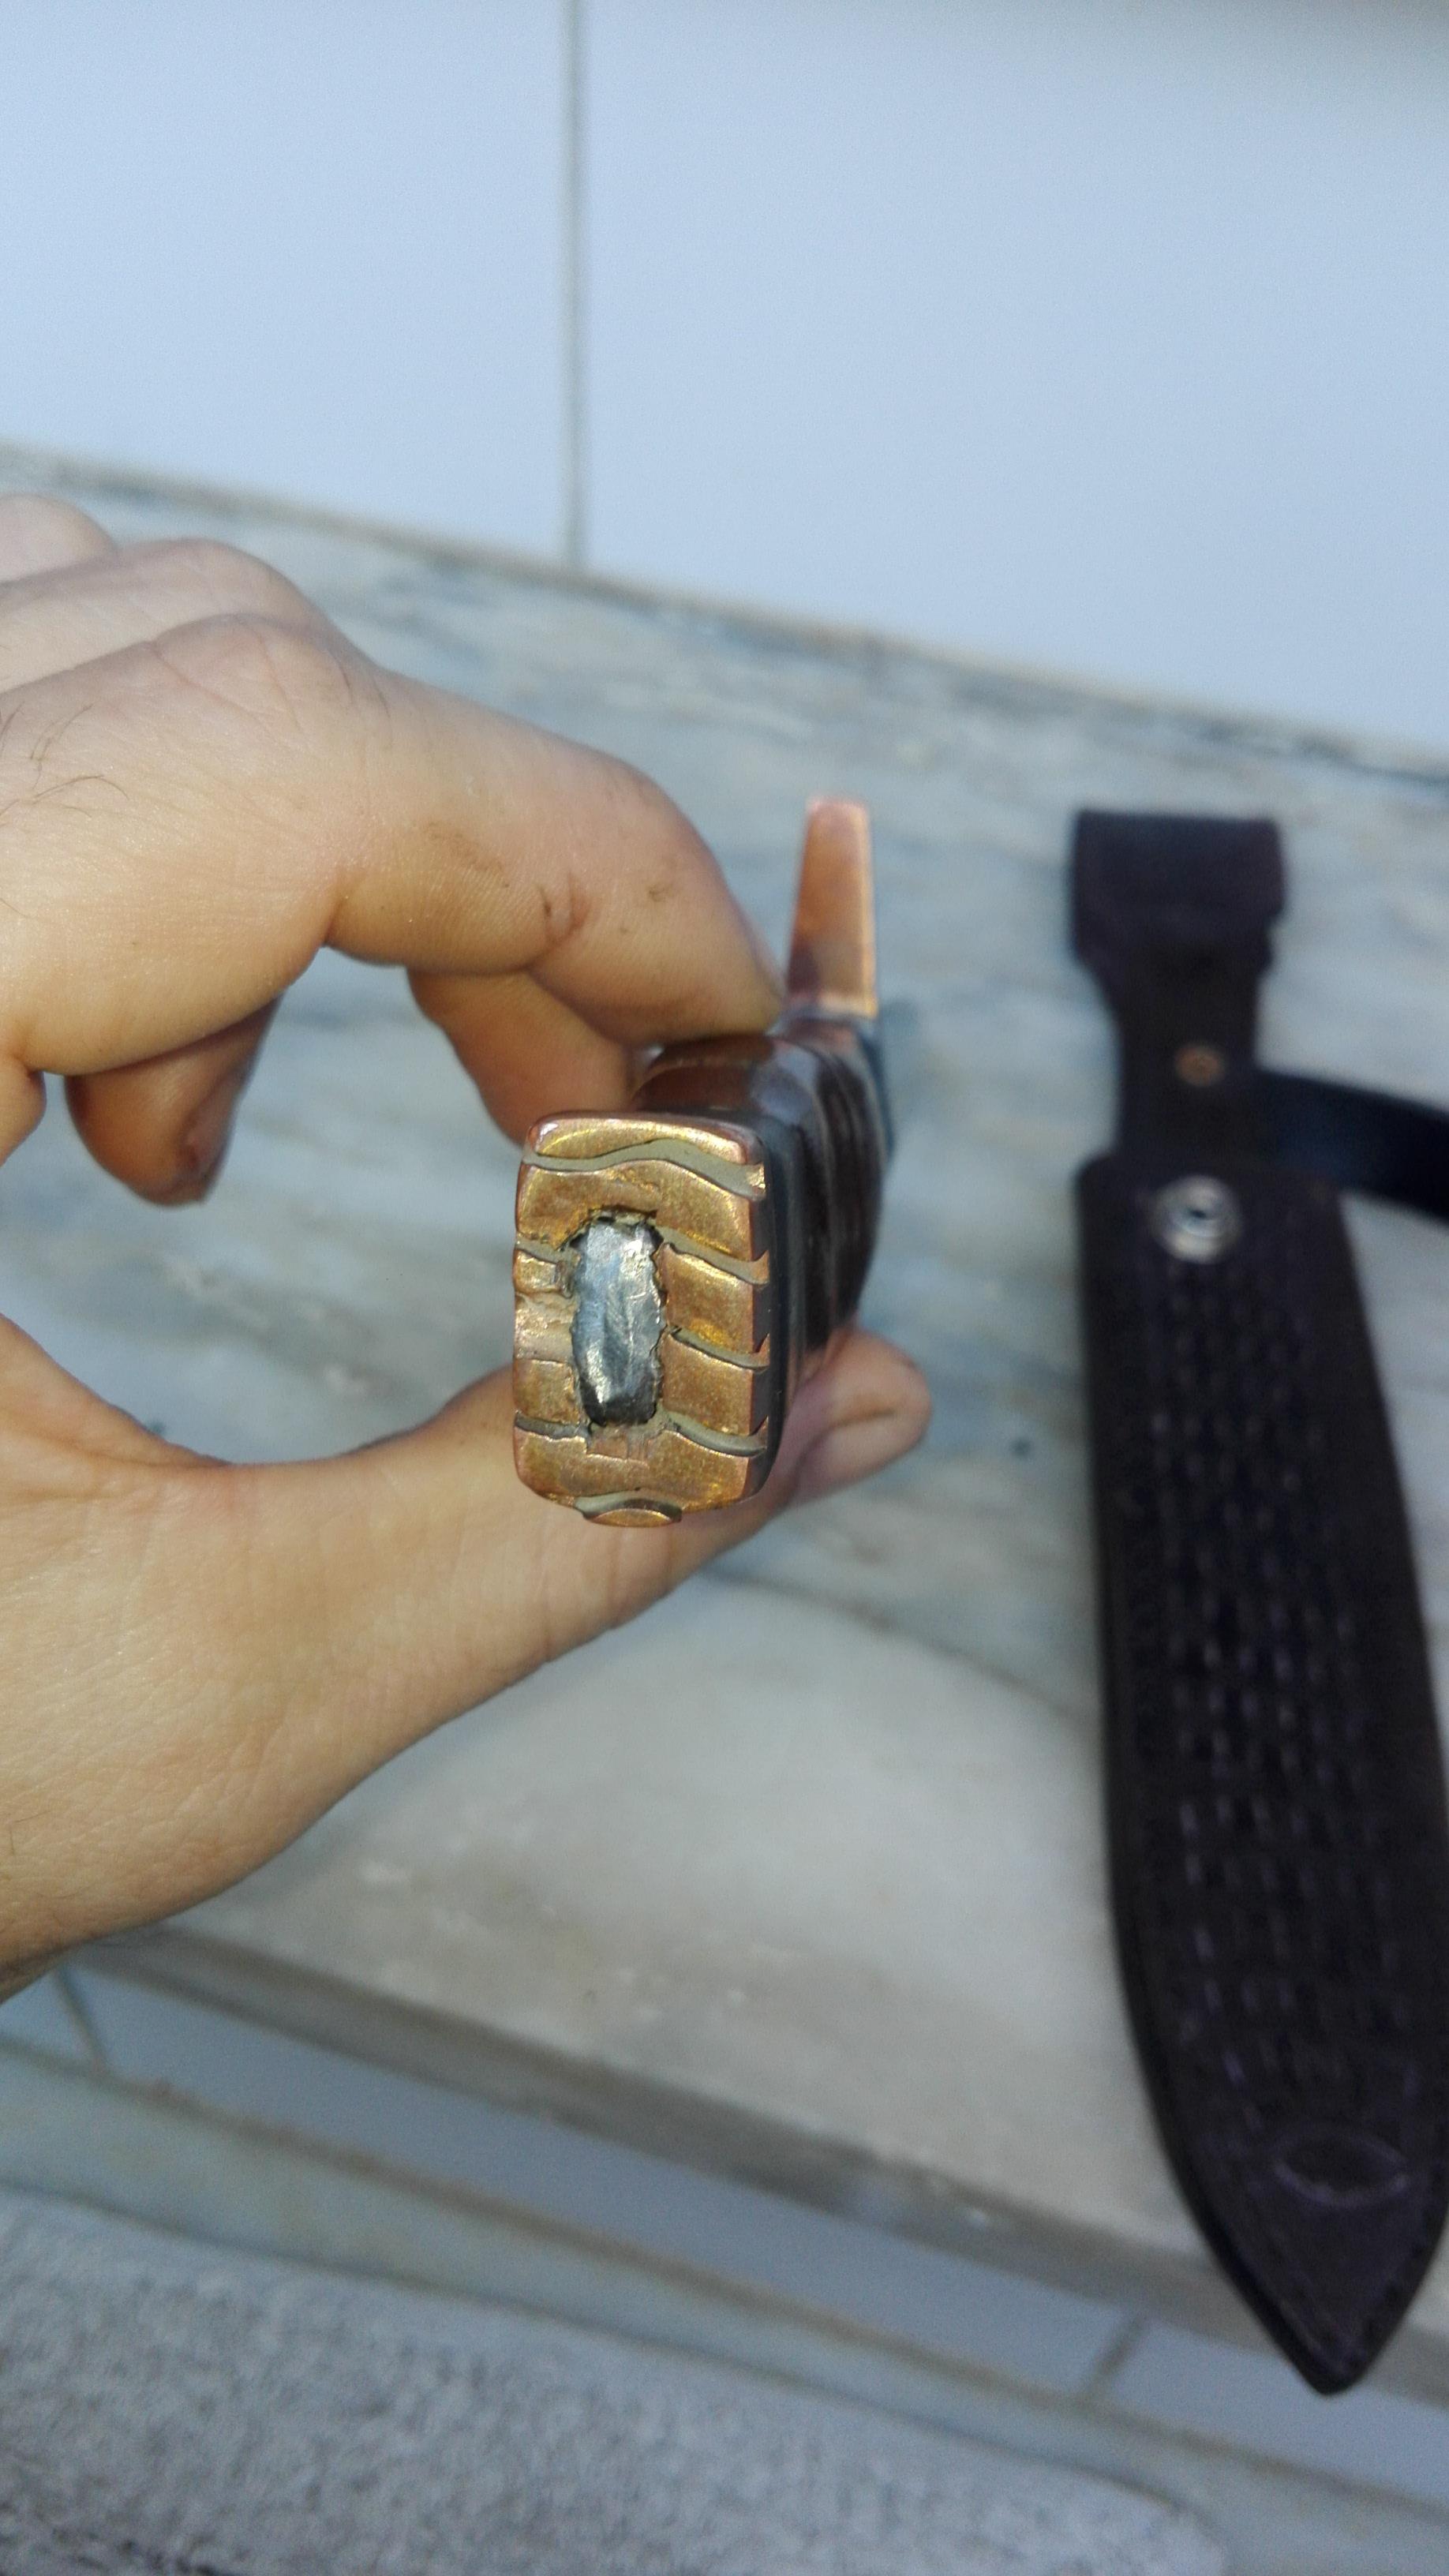
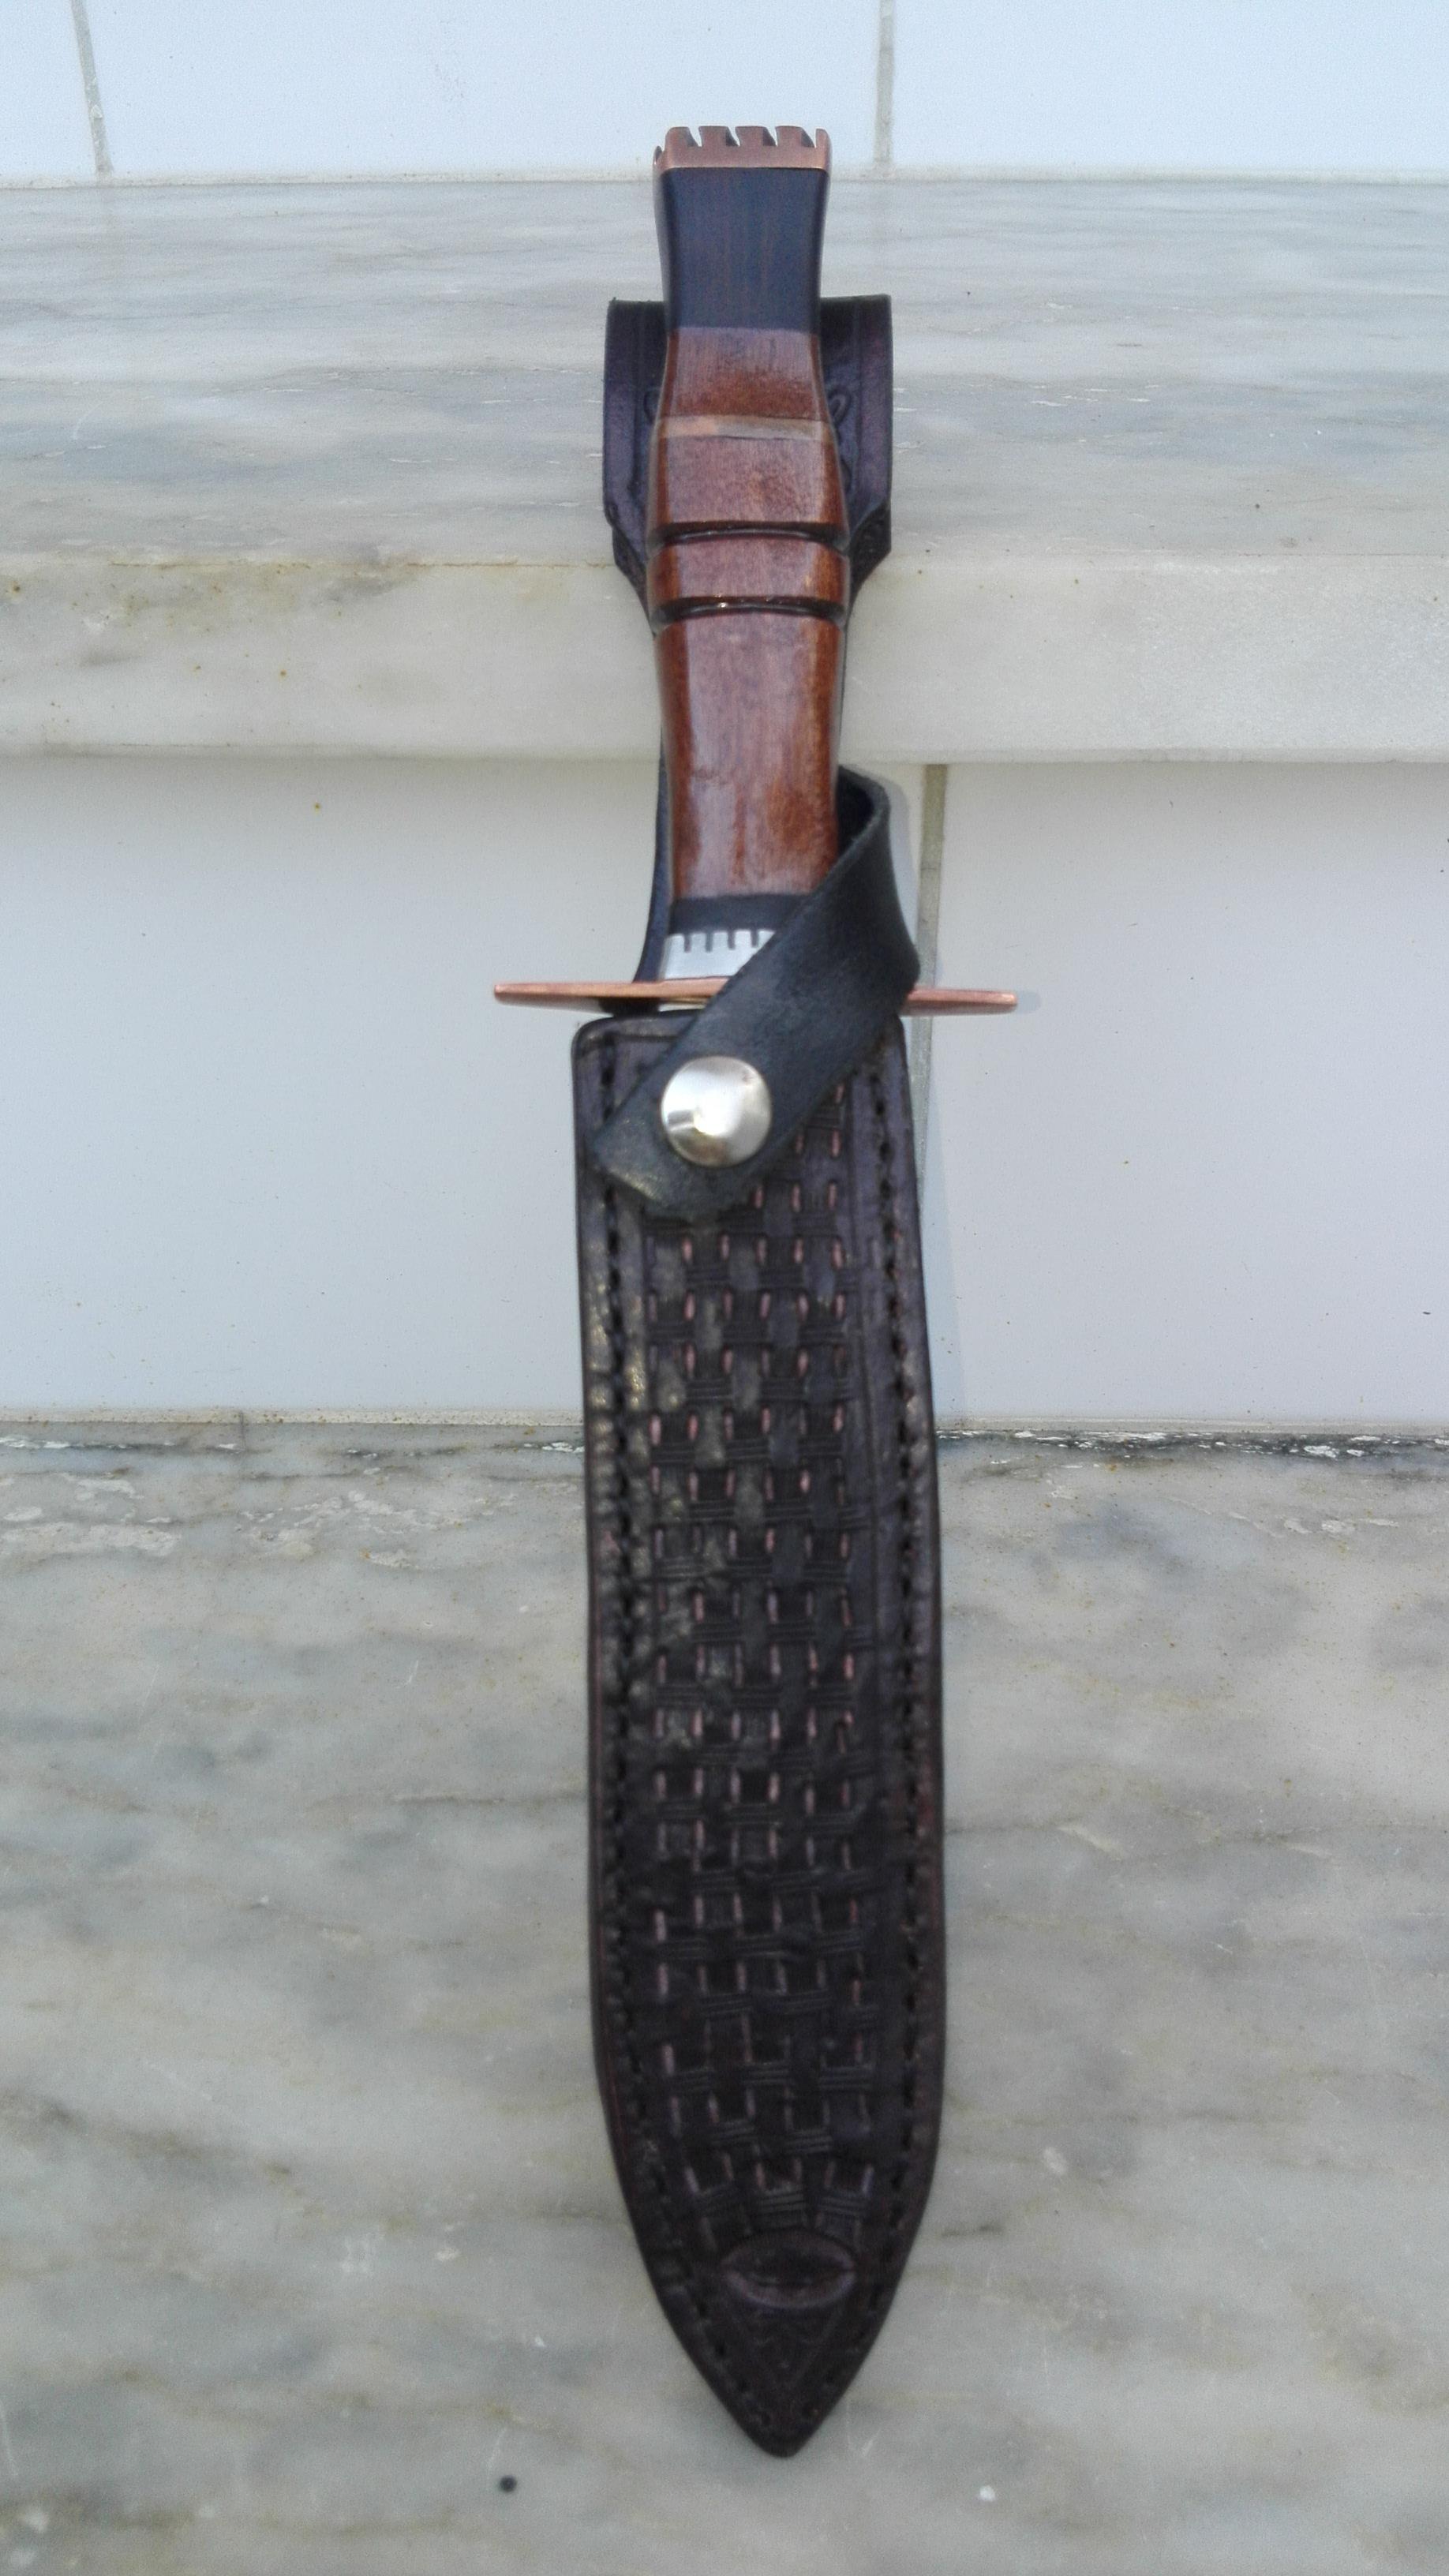
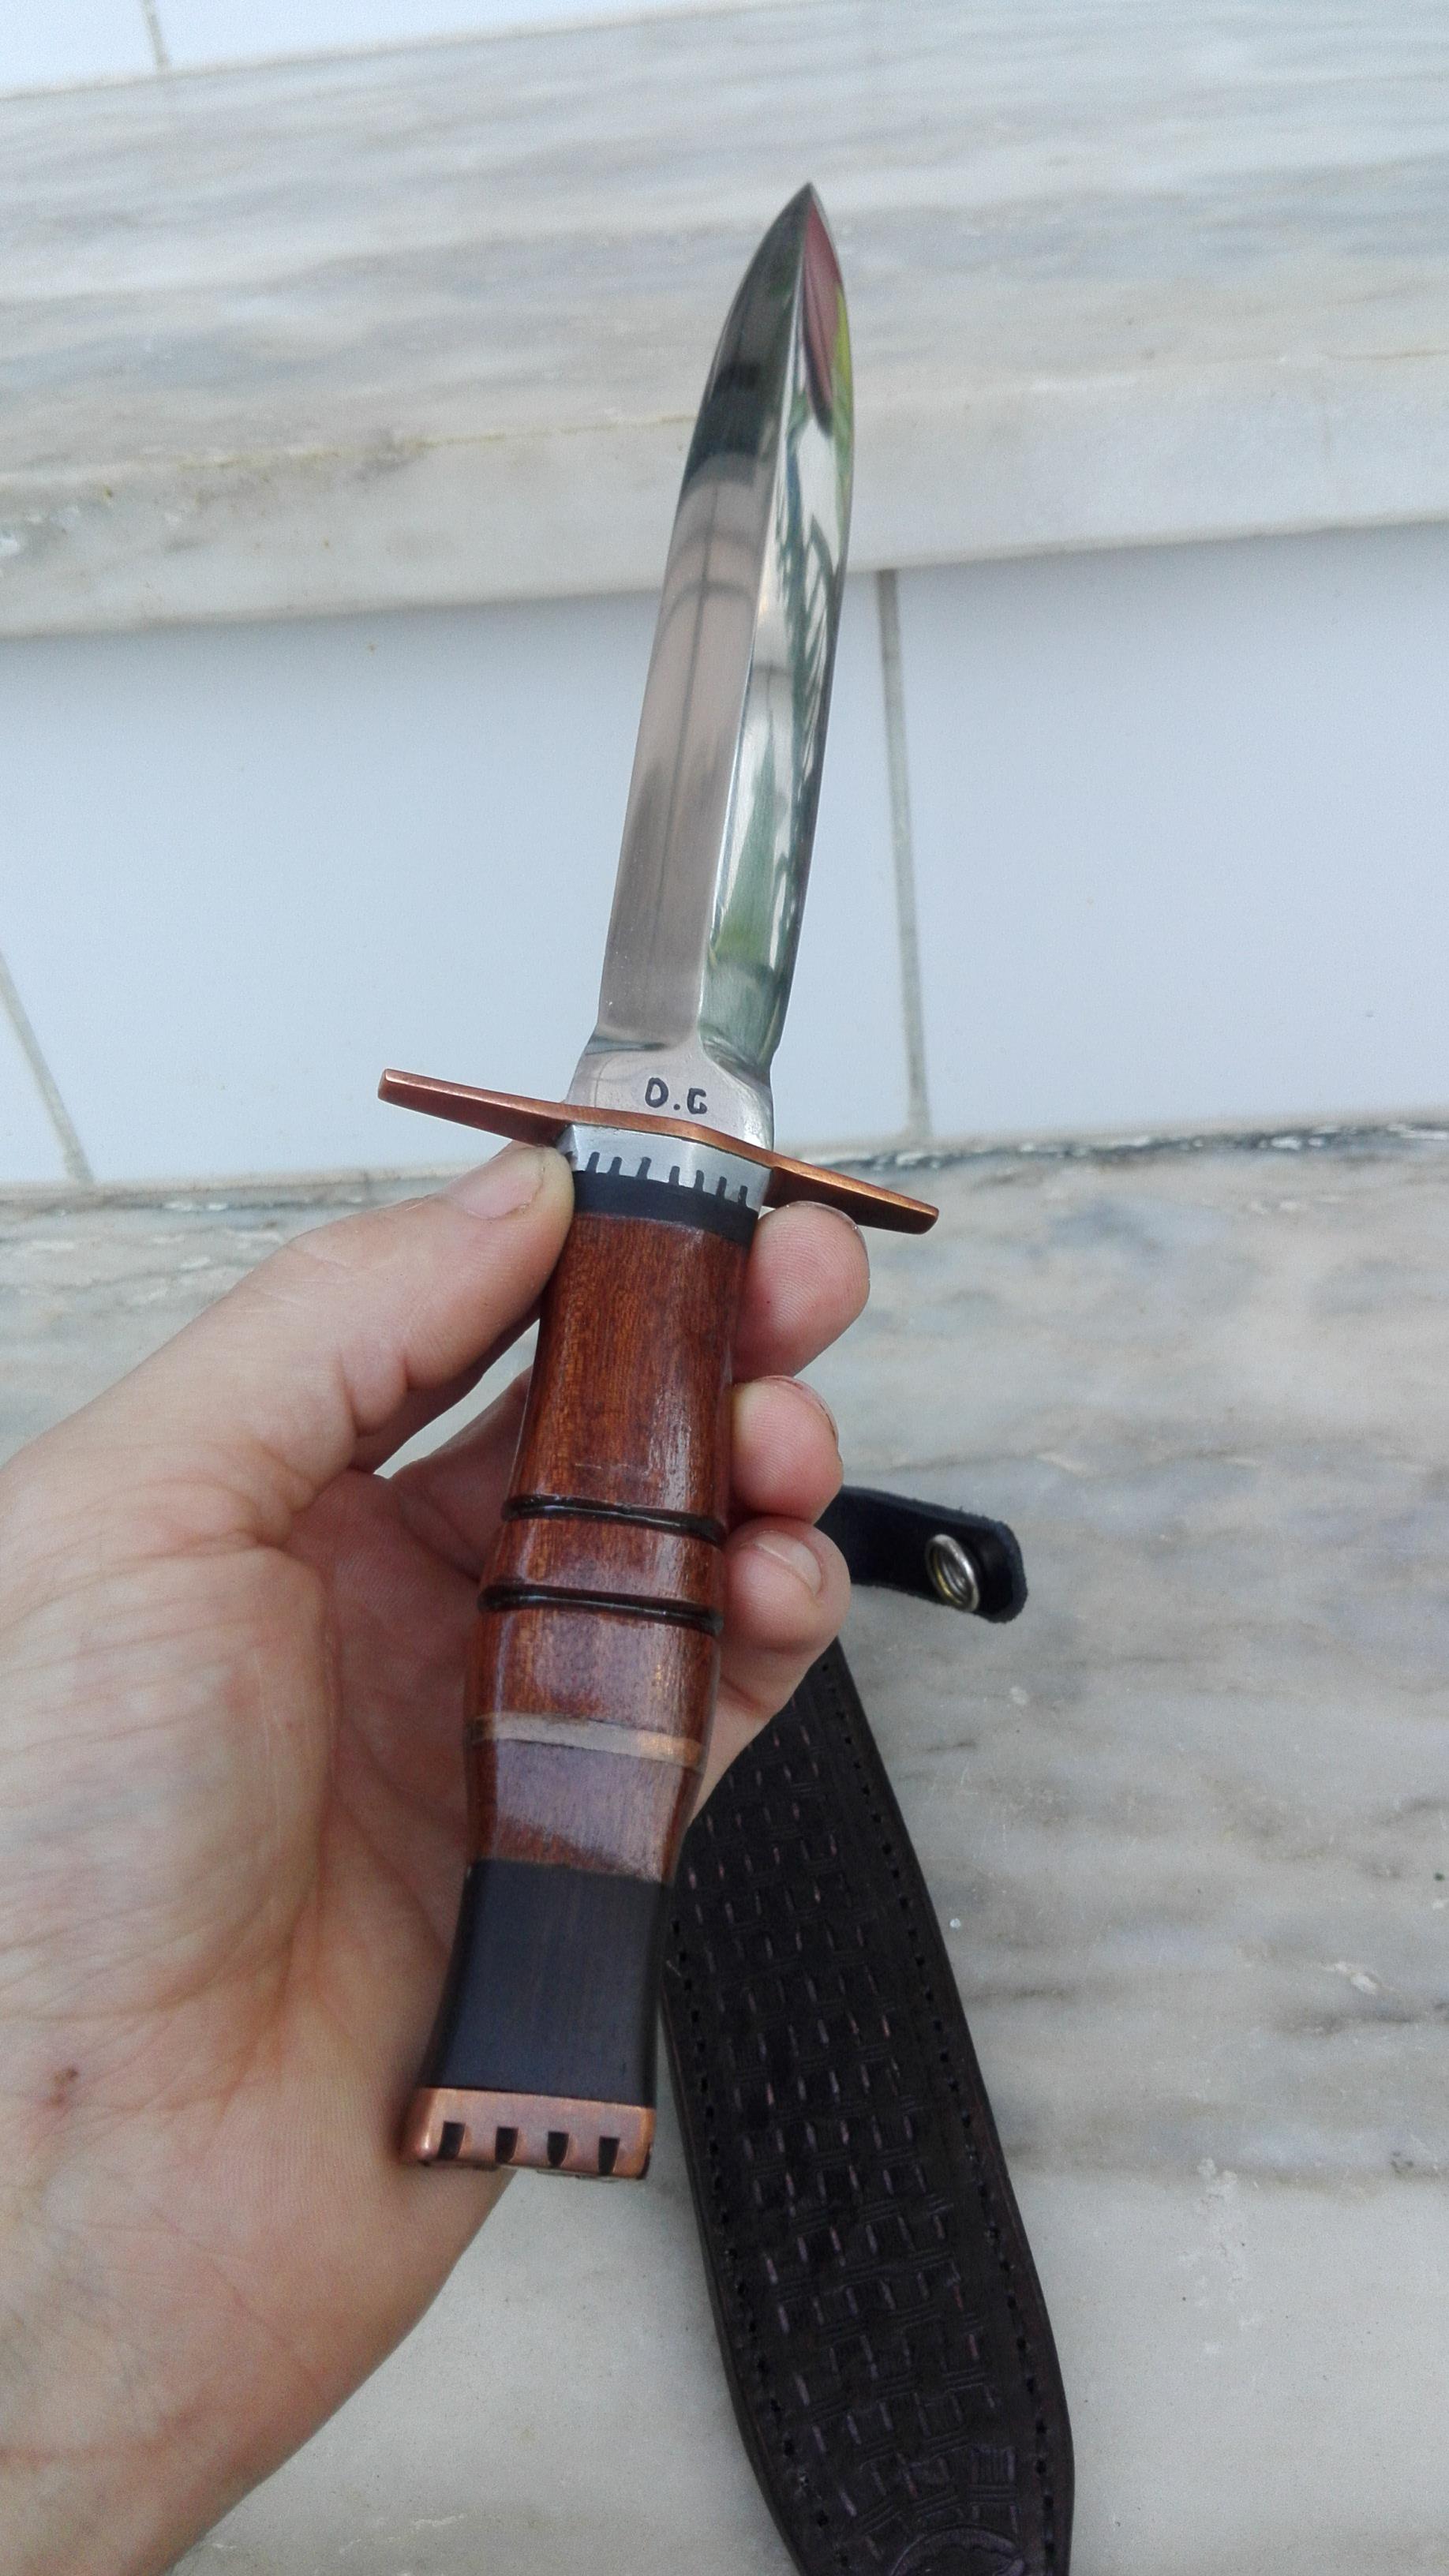
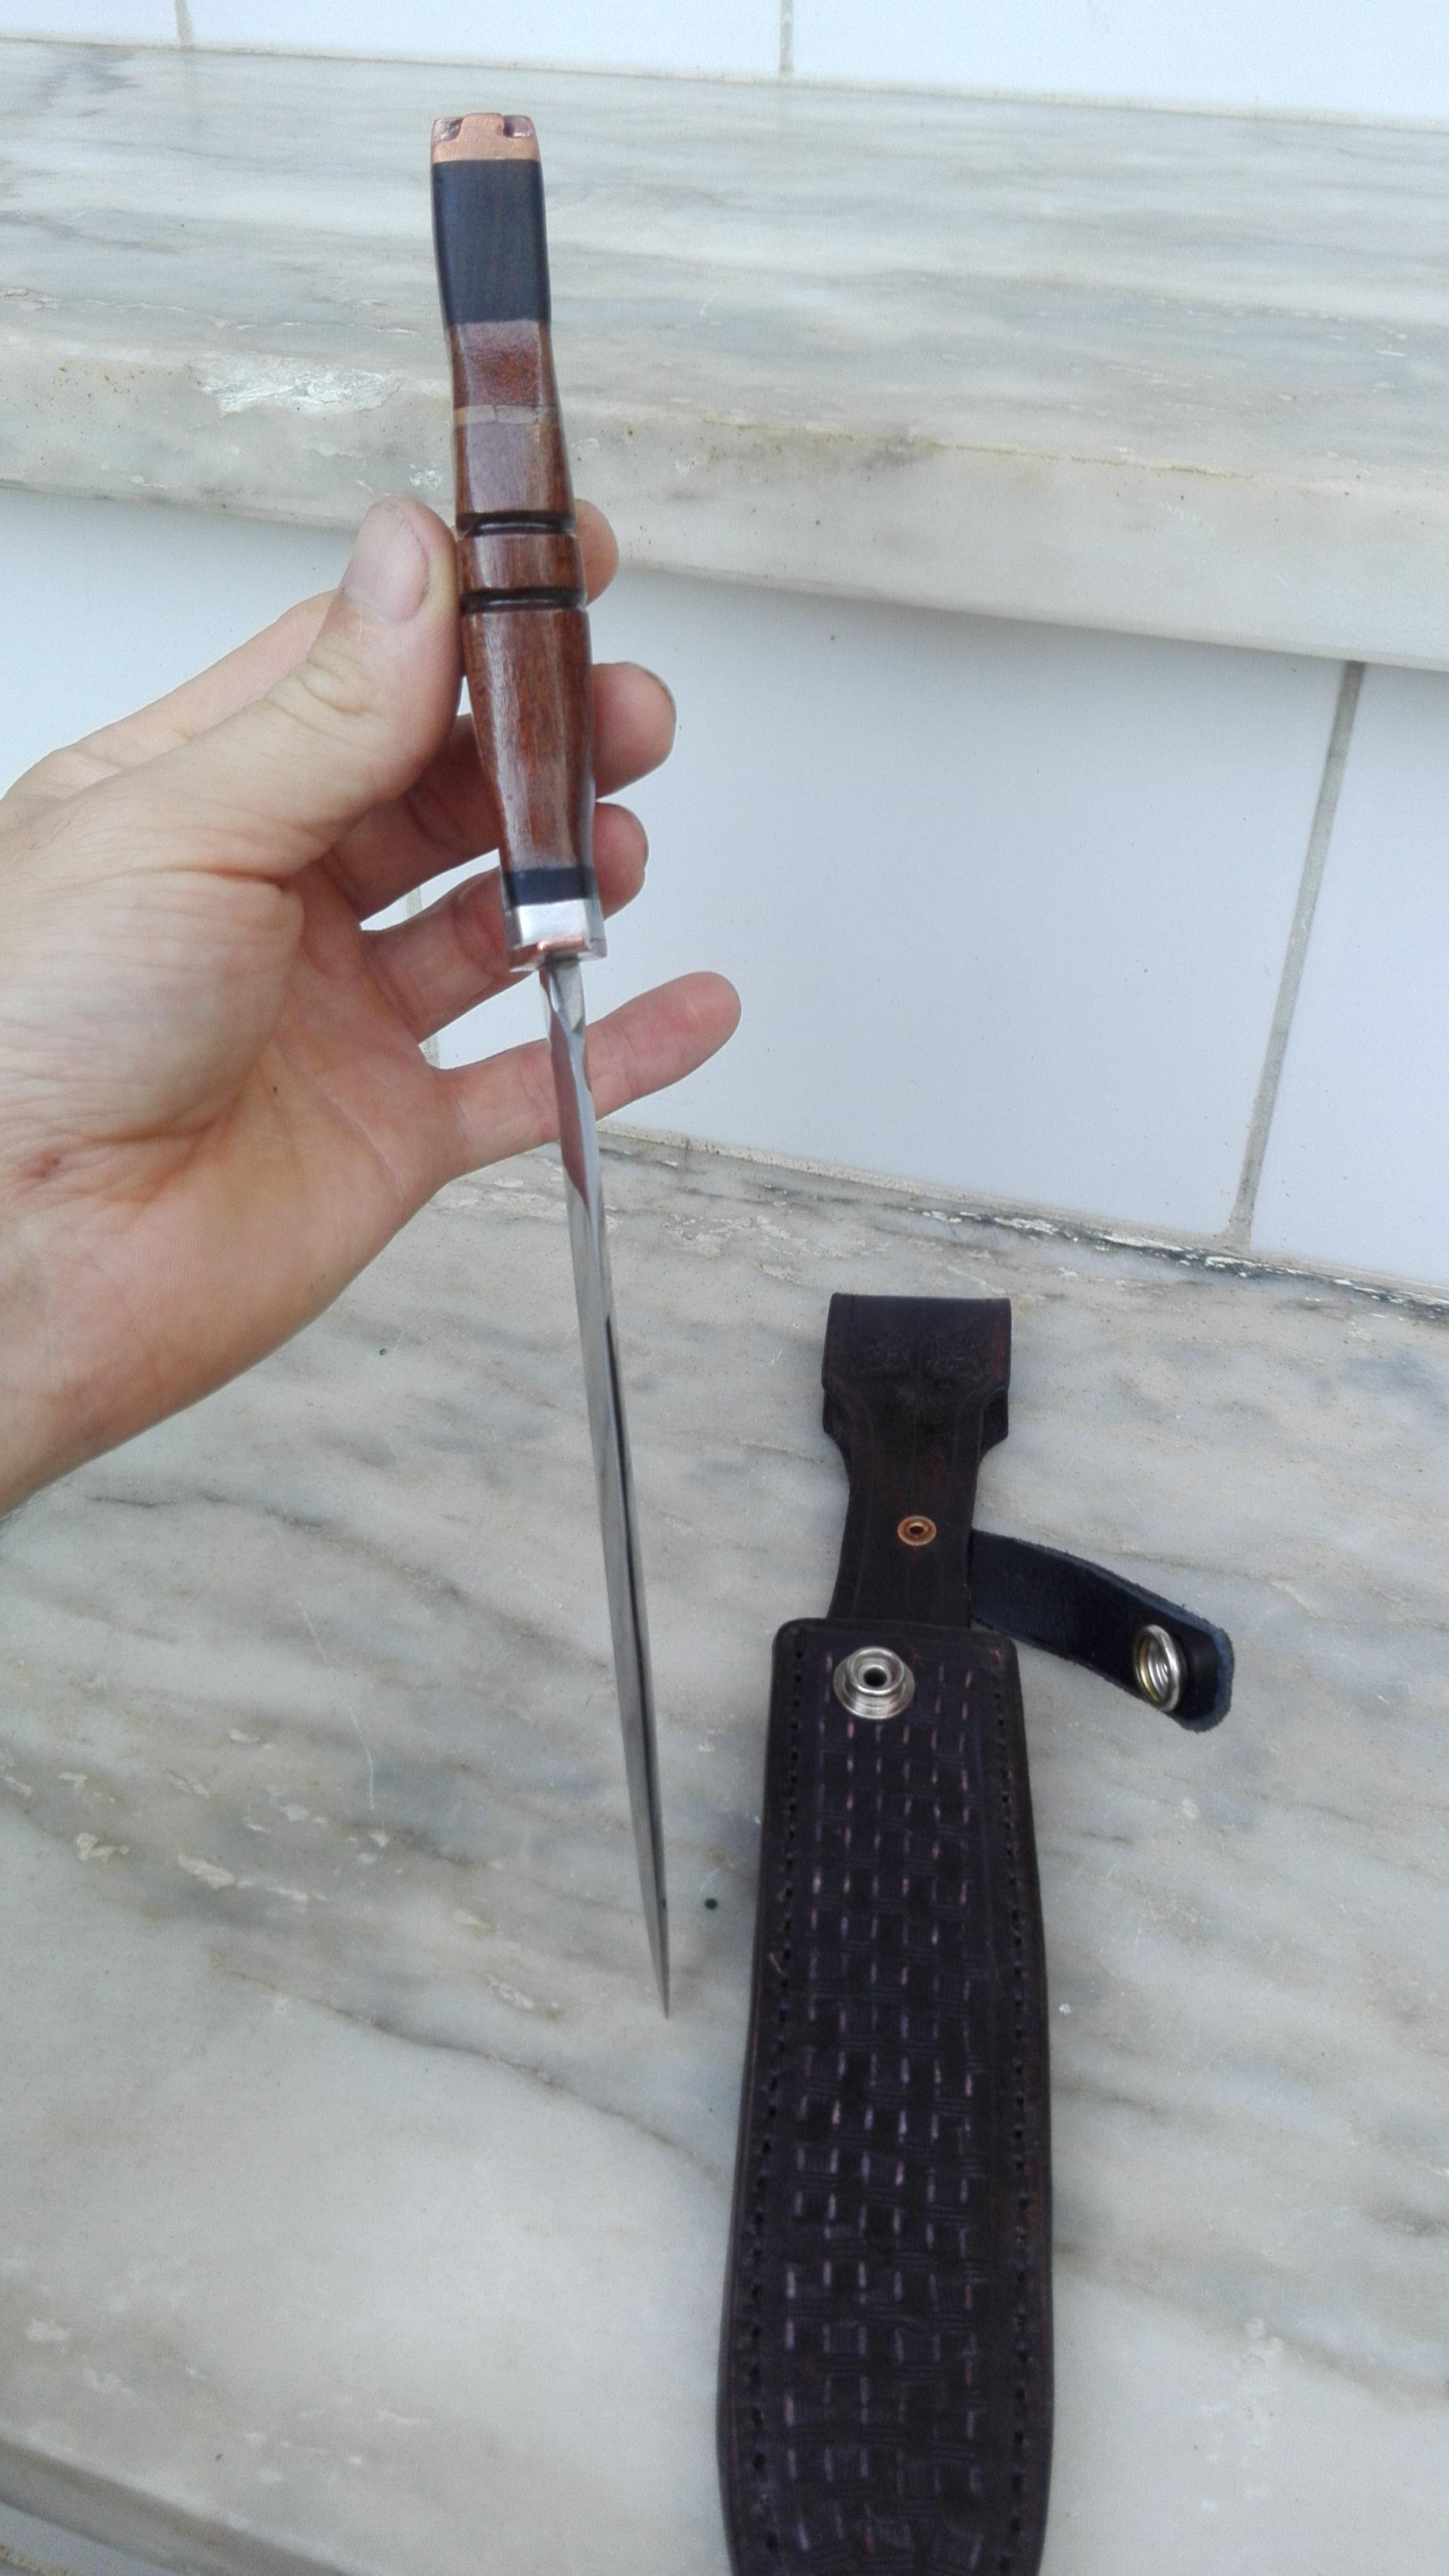
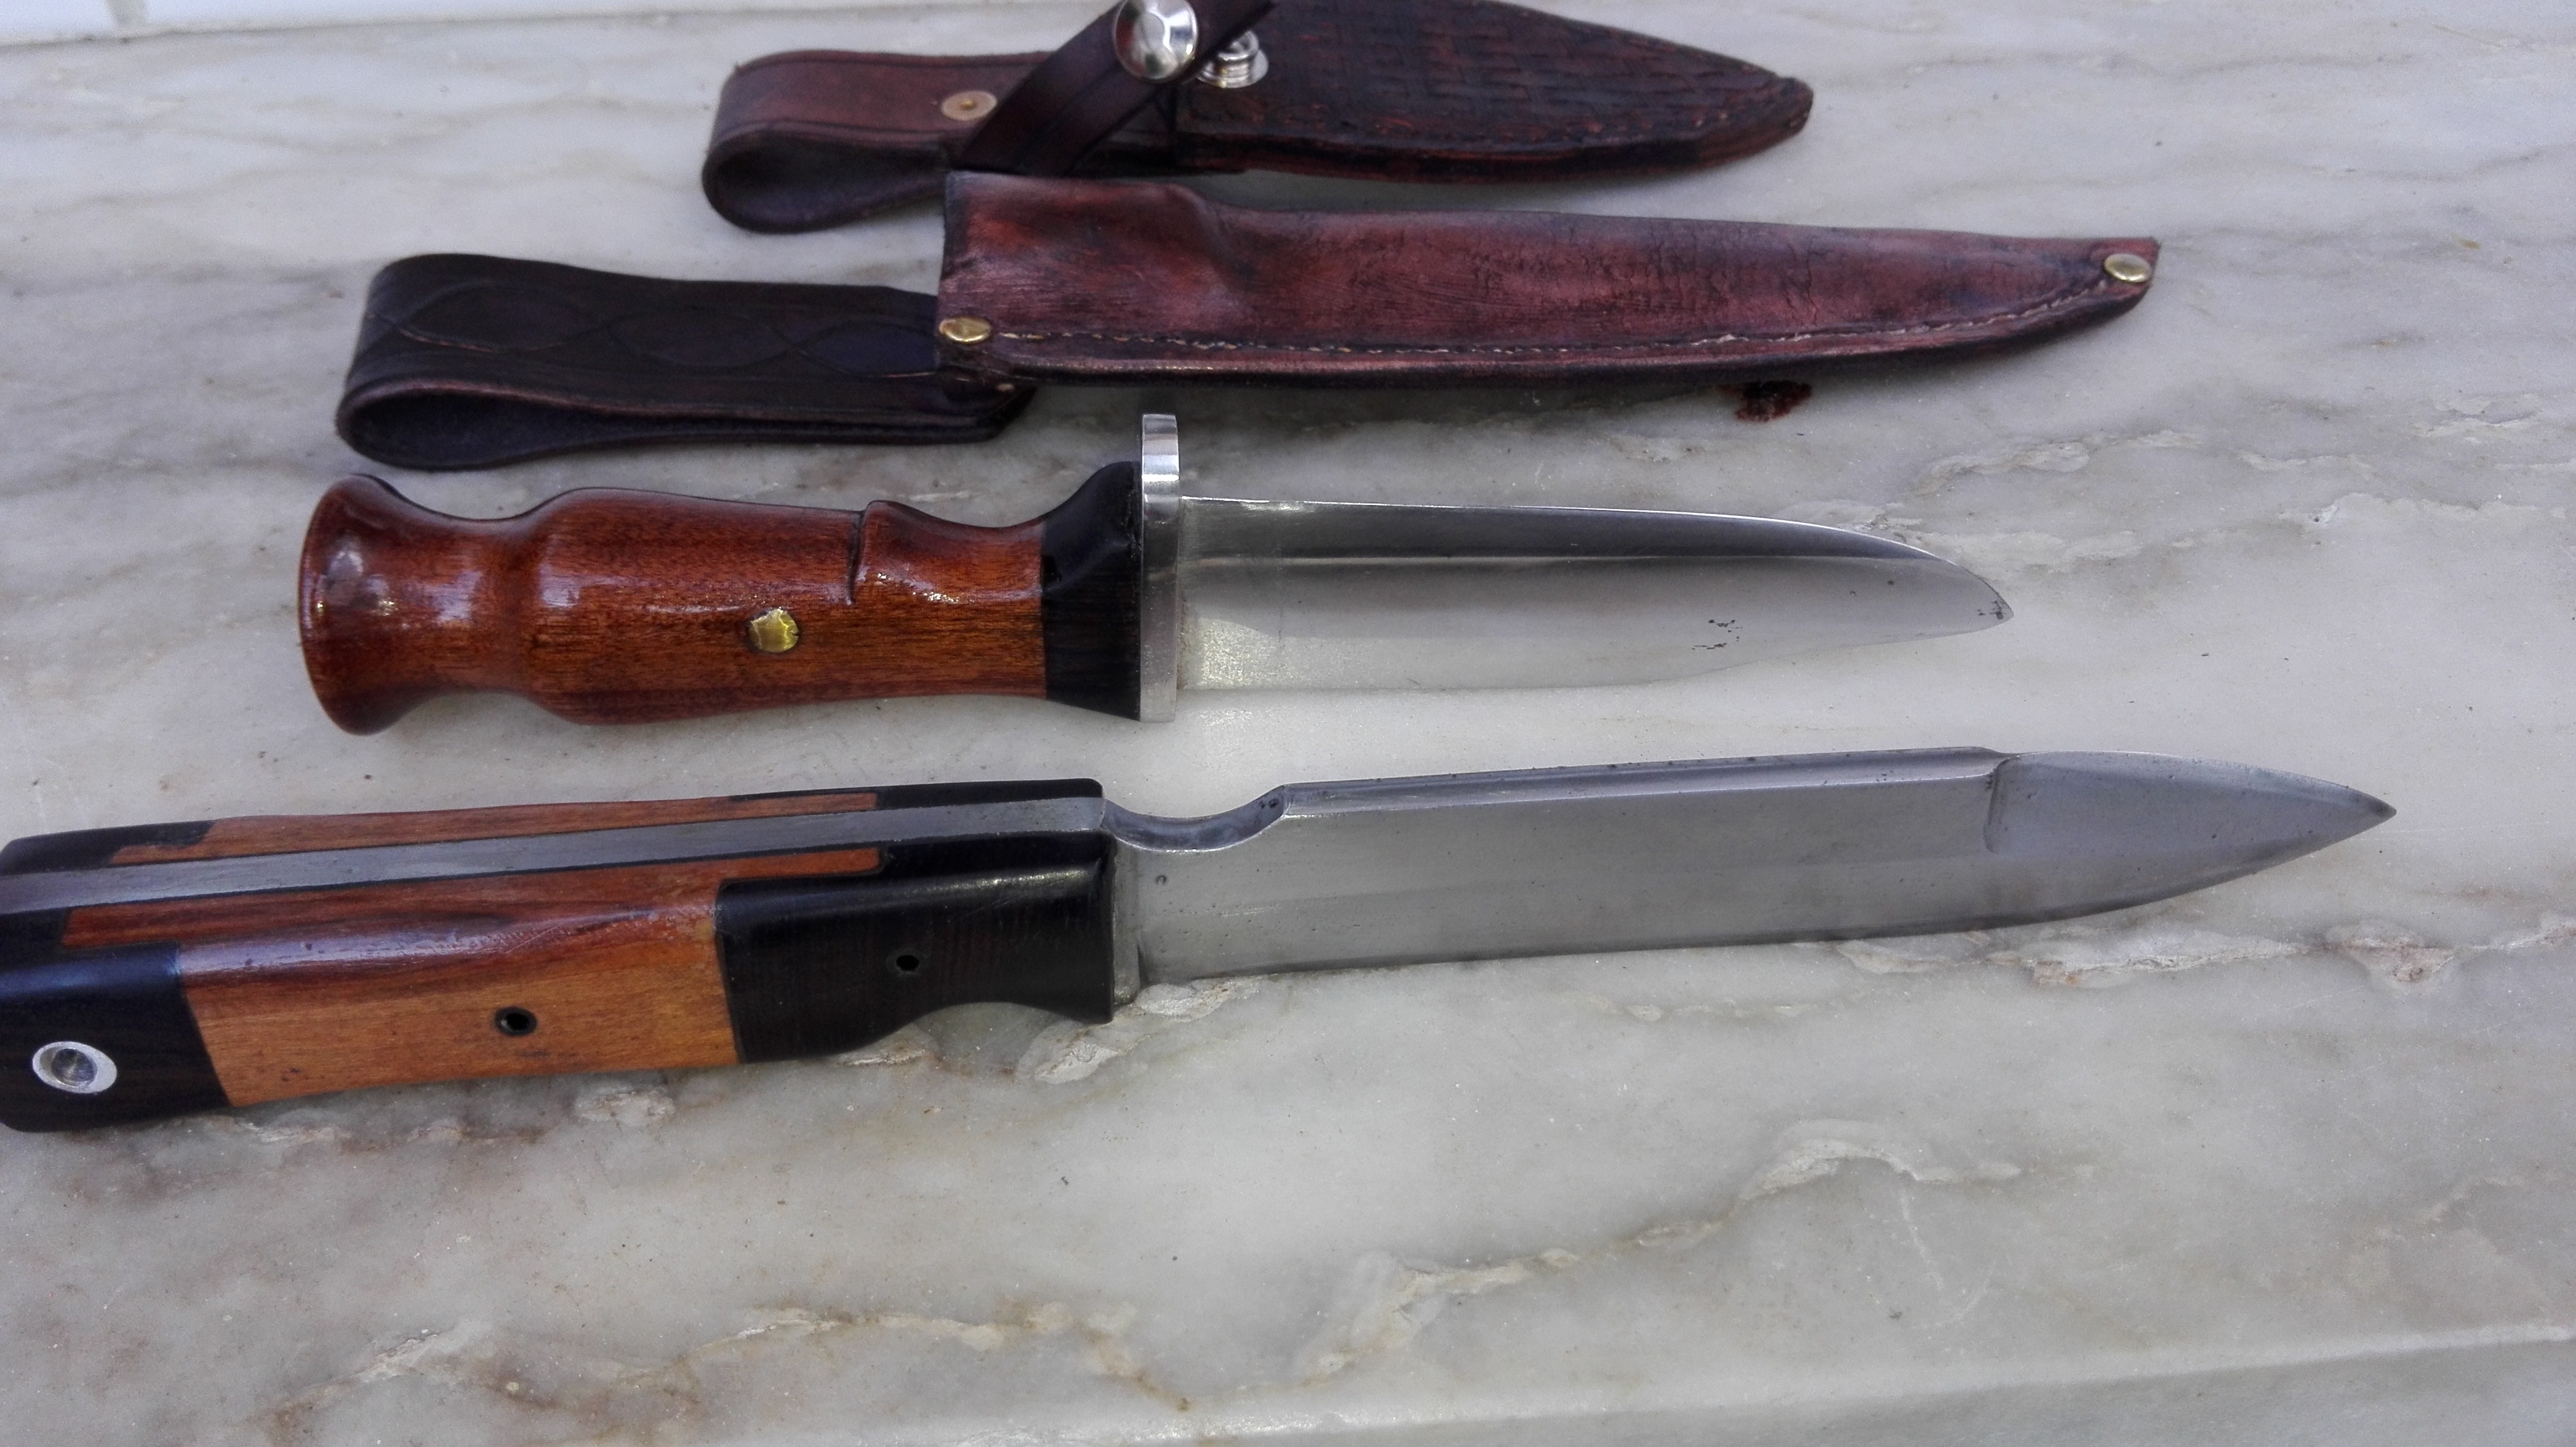
Daggers are becoming my favorite type of knive, simple yet difficult to get right.
Spring steel blade: 16cm
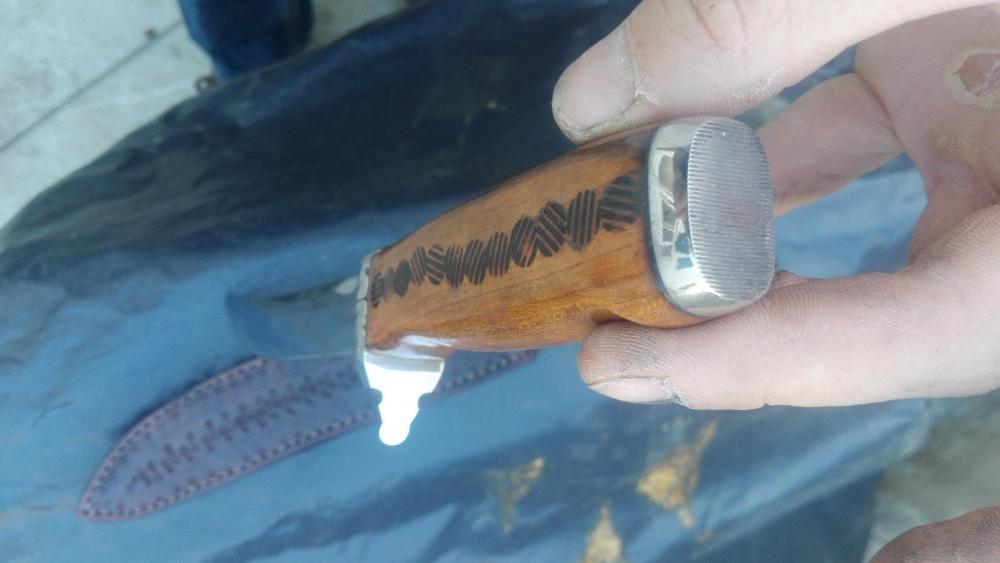
Copper guard and pommel
Handle made from oak, palo santo and aluminium.
Through tang construction and peened at the end.
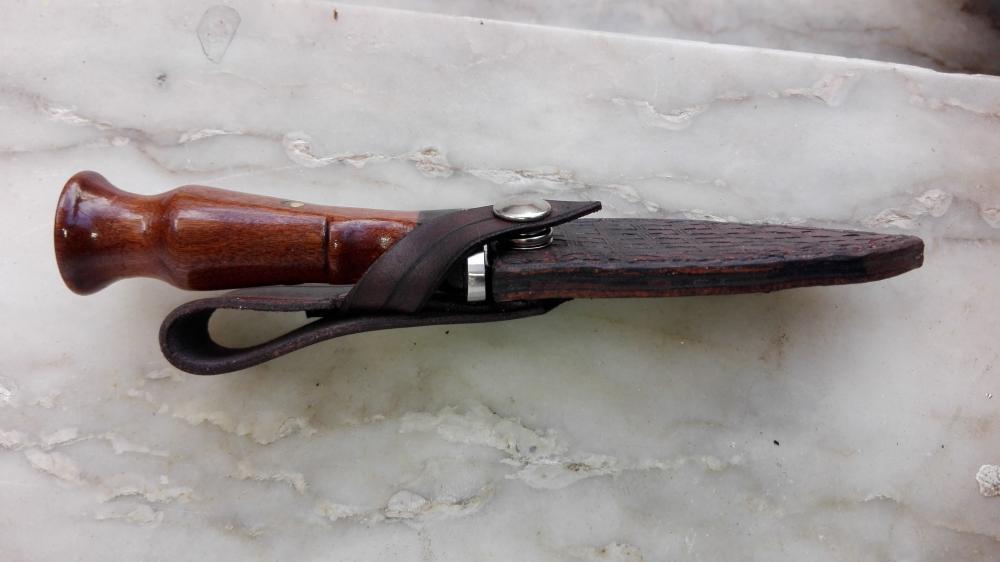
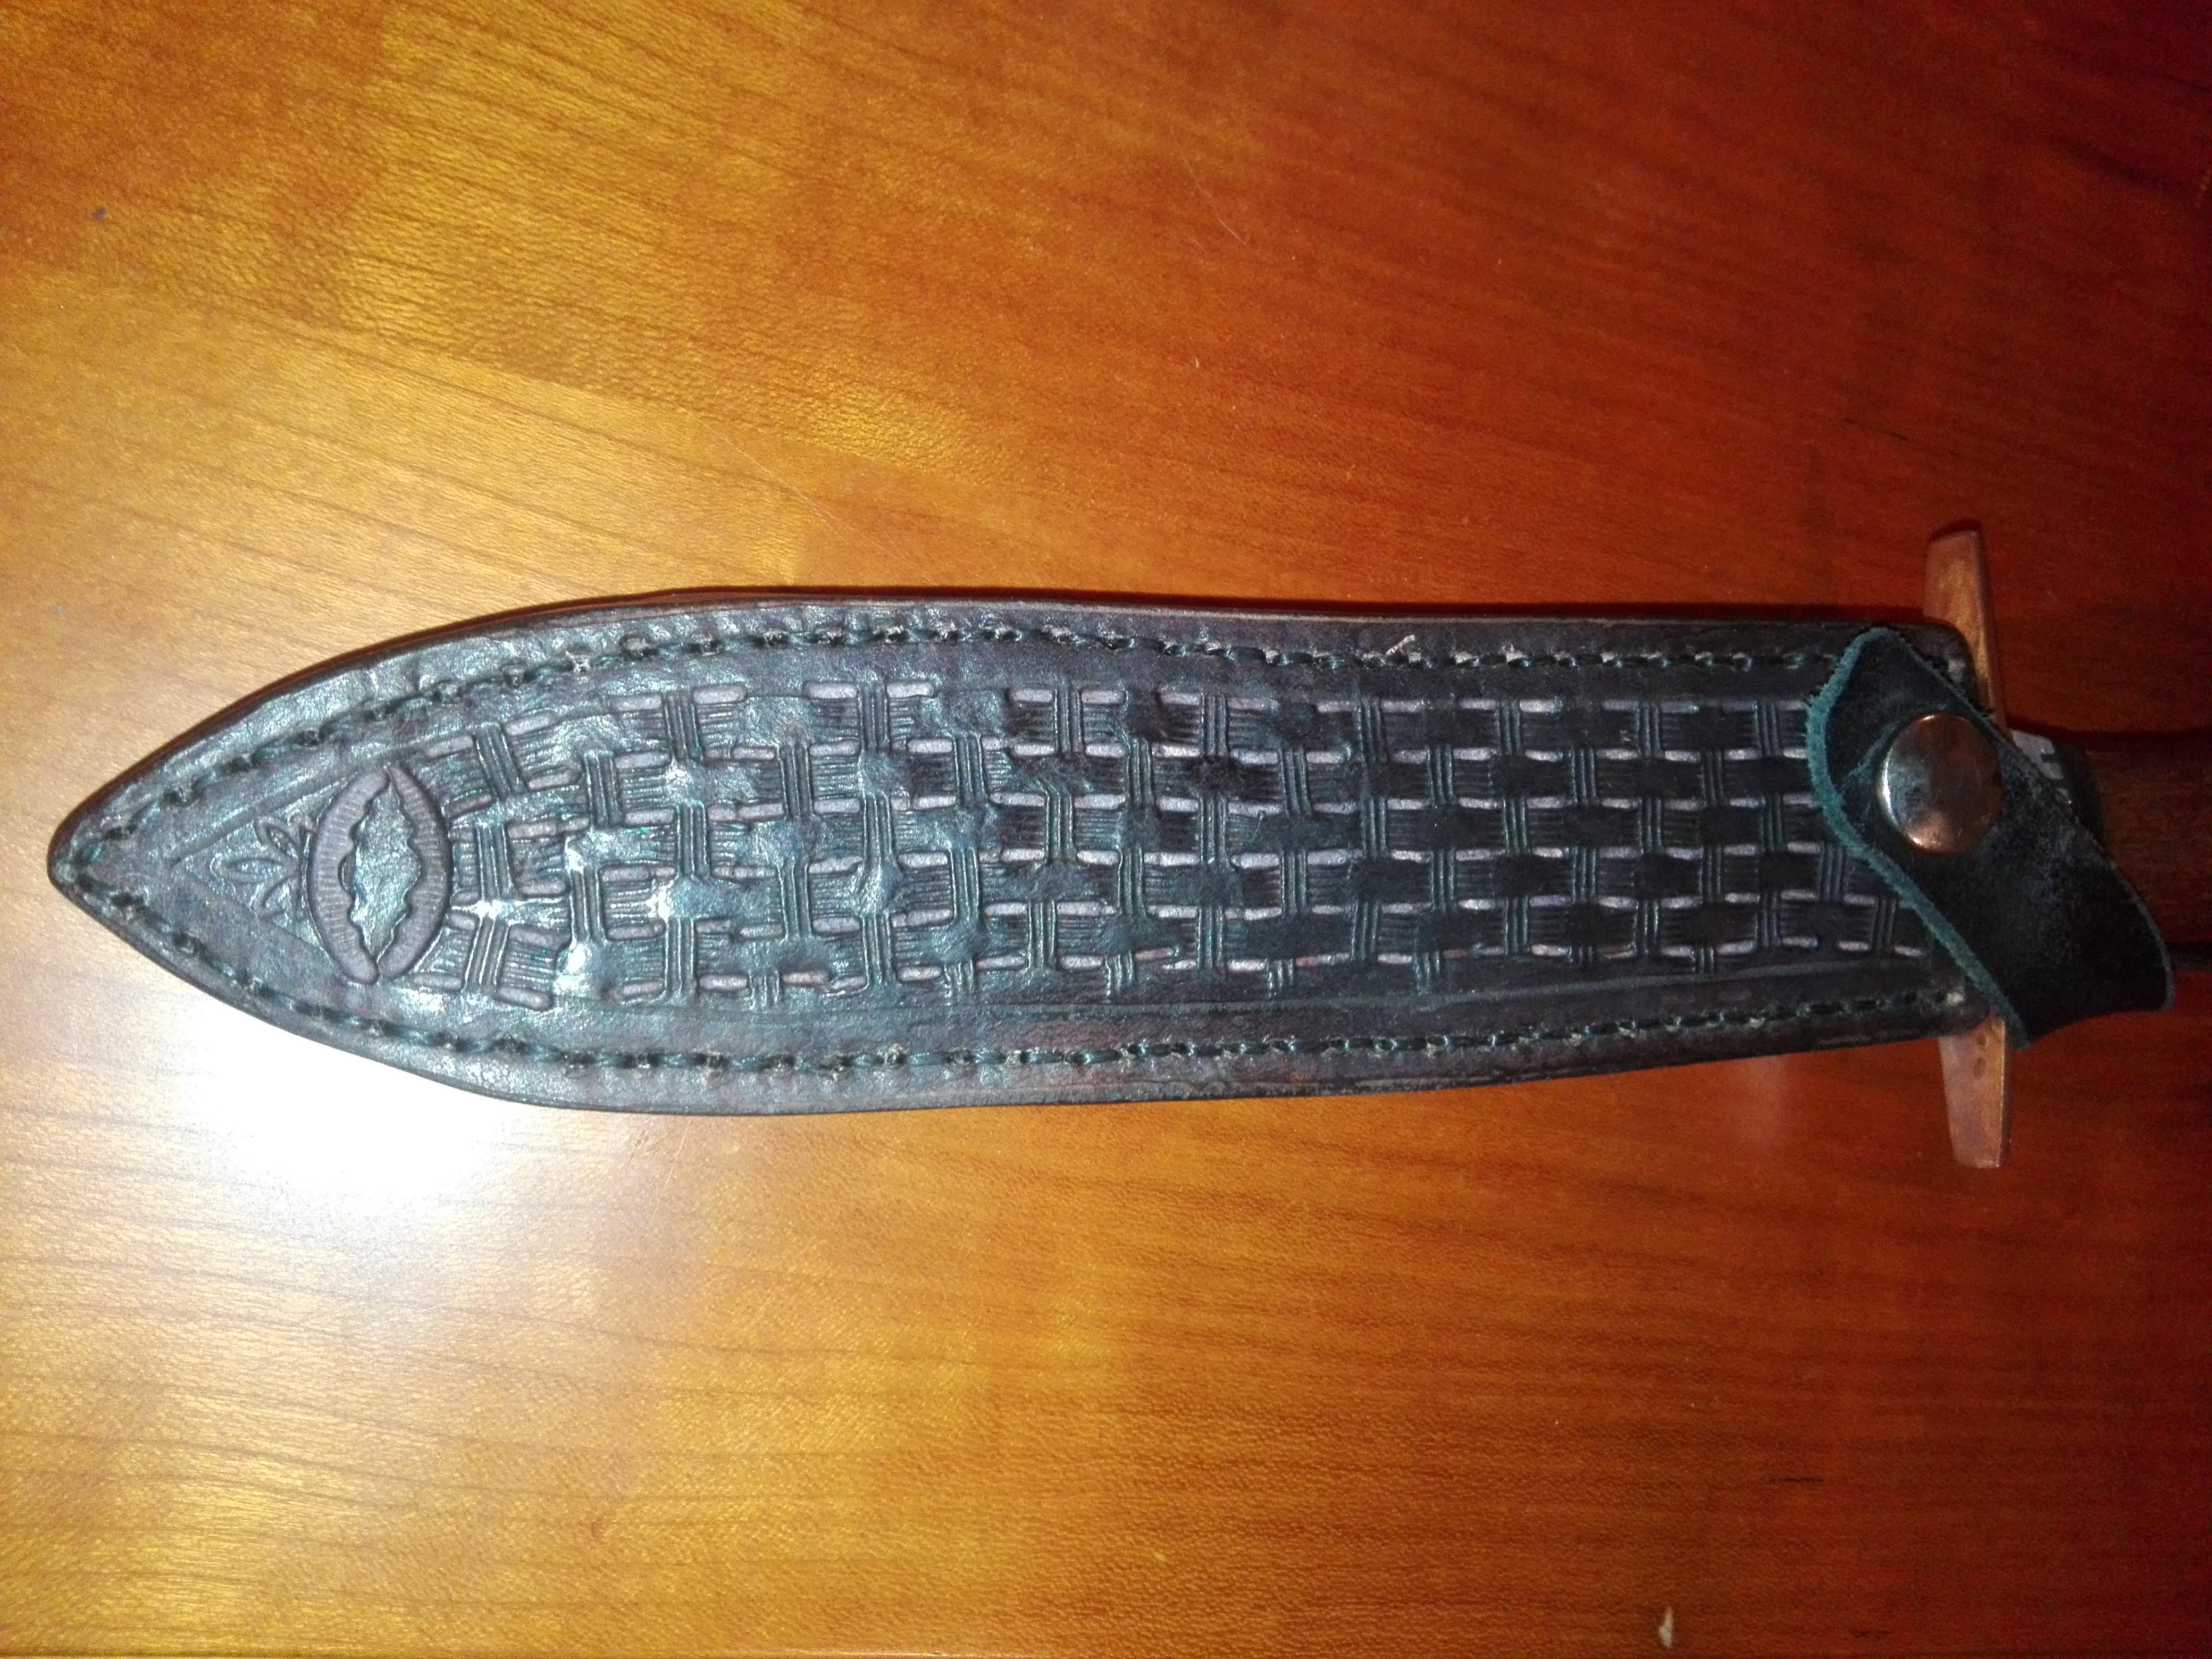
Leather sheath engraved with weave.
Always a pleasure to share my work and critics are always welcome.
Cheers


-
I cant see anything to criticize, All that remains to know is how they perform
.. Next step is make a sheat for those two.
-
"that's a knoife"...
Mighty blade, I would put a smoother transition beetween the guard handle, handle seems a bit blocky and outcast from the perfect fit & finish blade and guard.
Nicely done.
-
For wood crafting it's best a scandi or full flat grind .
-
Why not a medieval crossbow. I built one years before I got into knife making.
-
Yes, the top finger groove is for the thumb, it gives more grip for thrusting.
None of these were forged, just true up the steel on the anvil and straight to grinding.
Thanks
-
Small details make a big difference, the bolsters are my favorite. Well done.
-
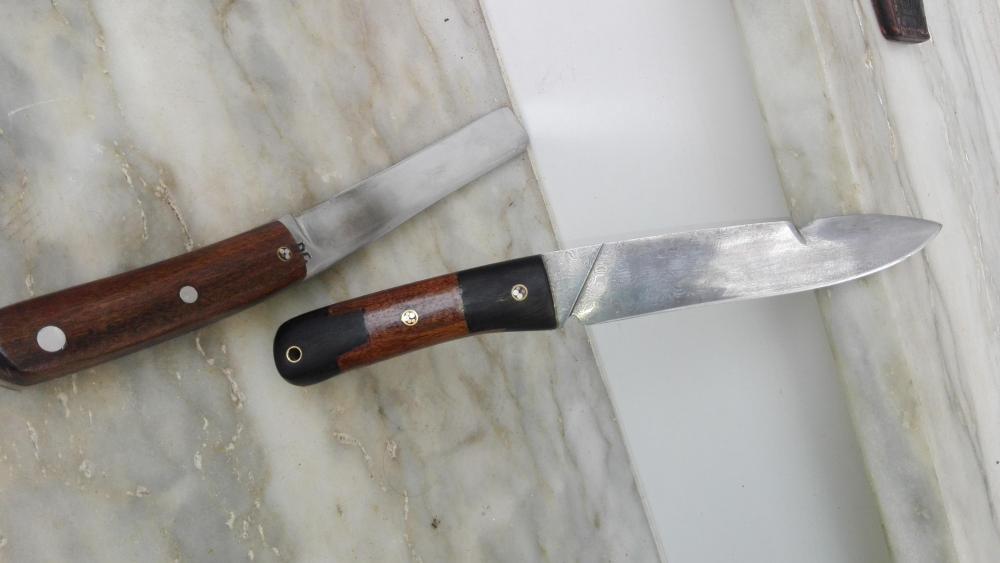
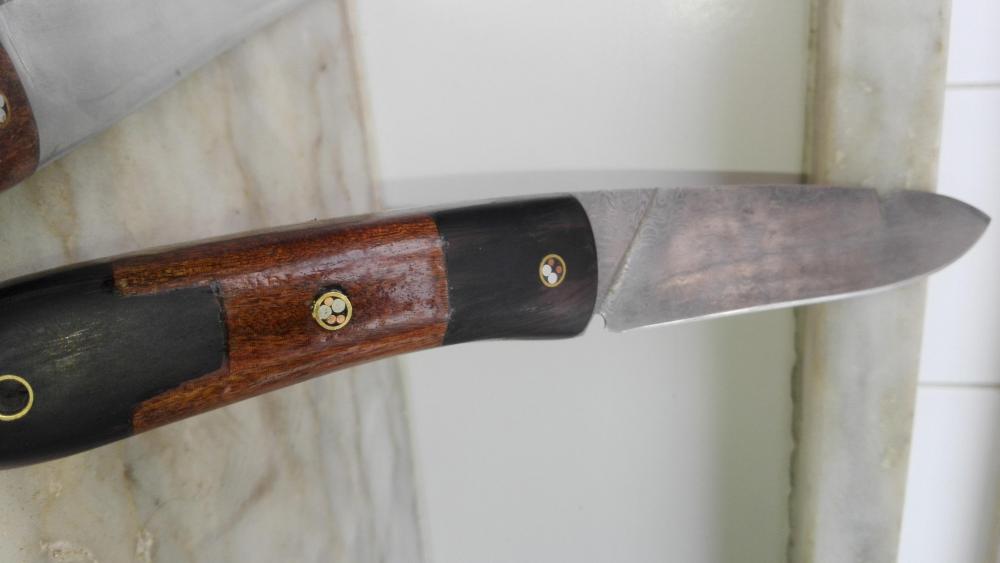
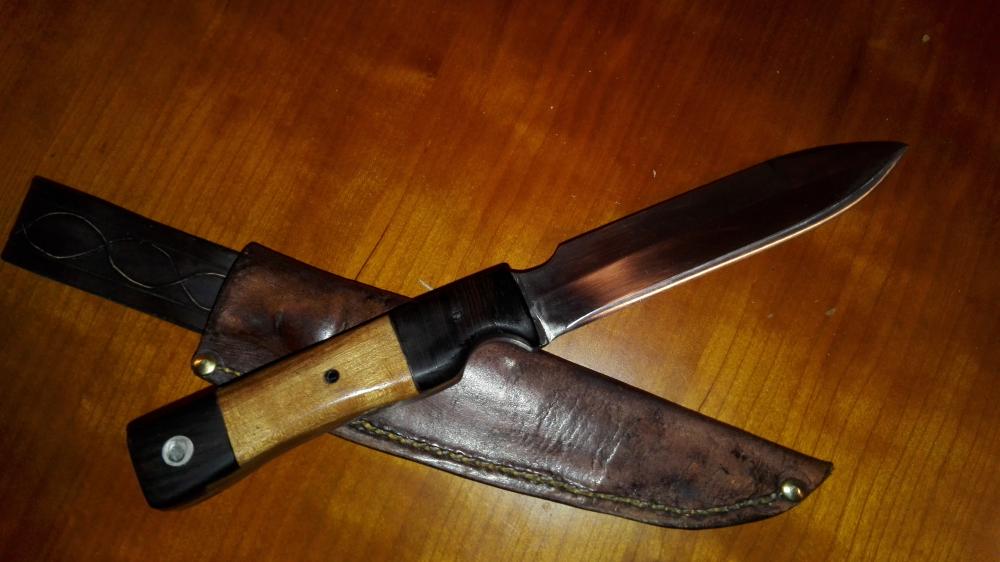
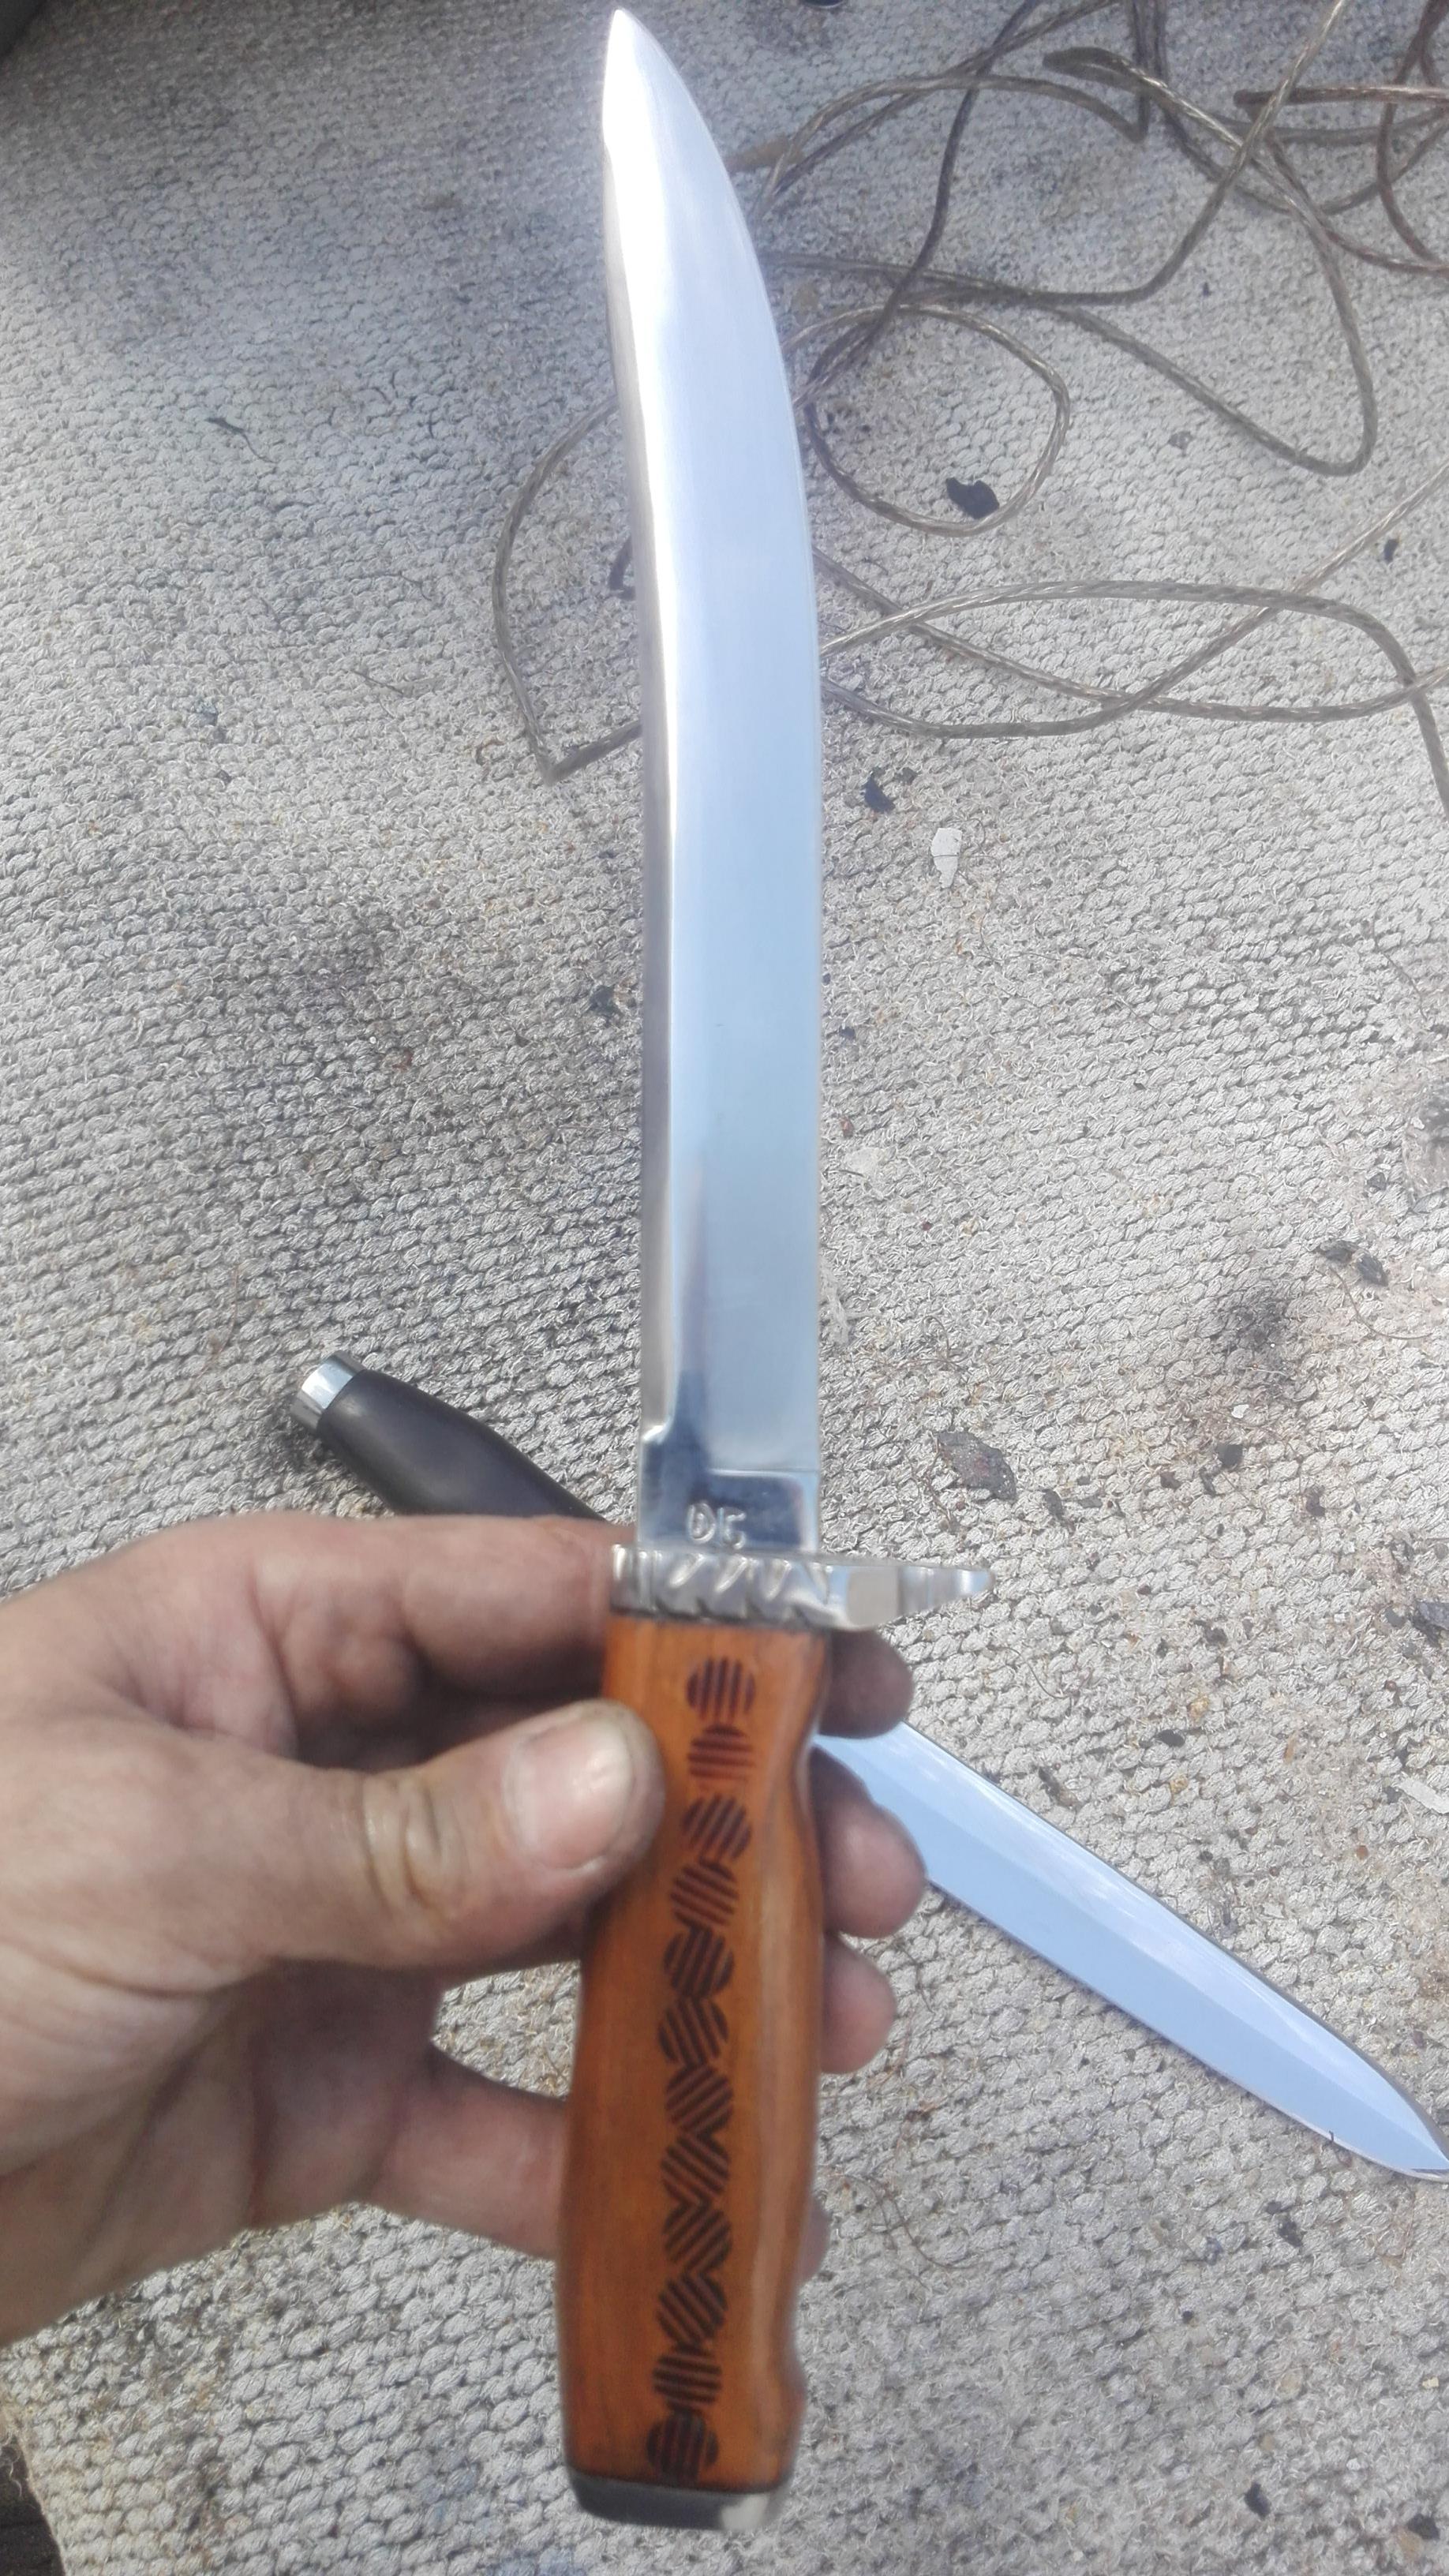
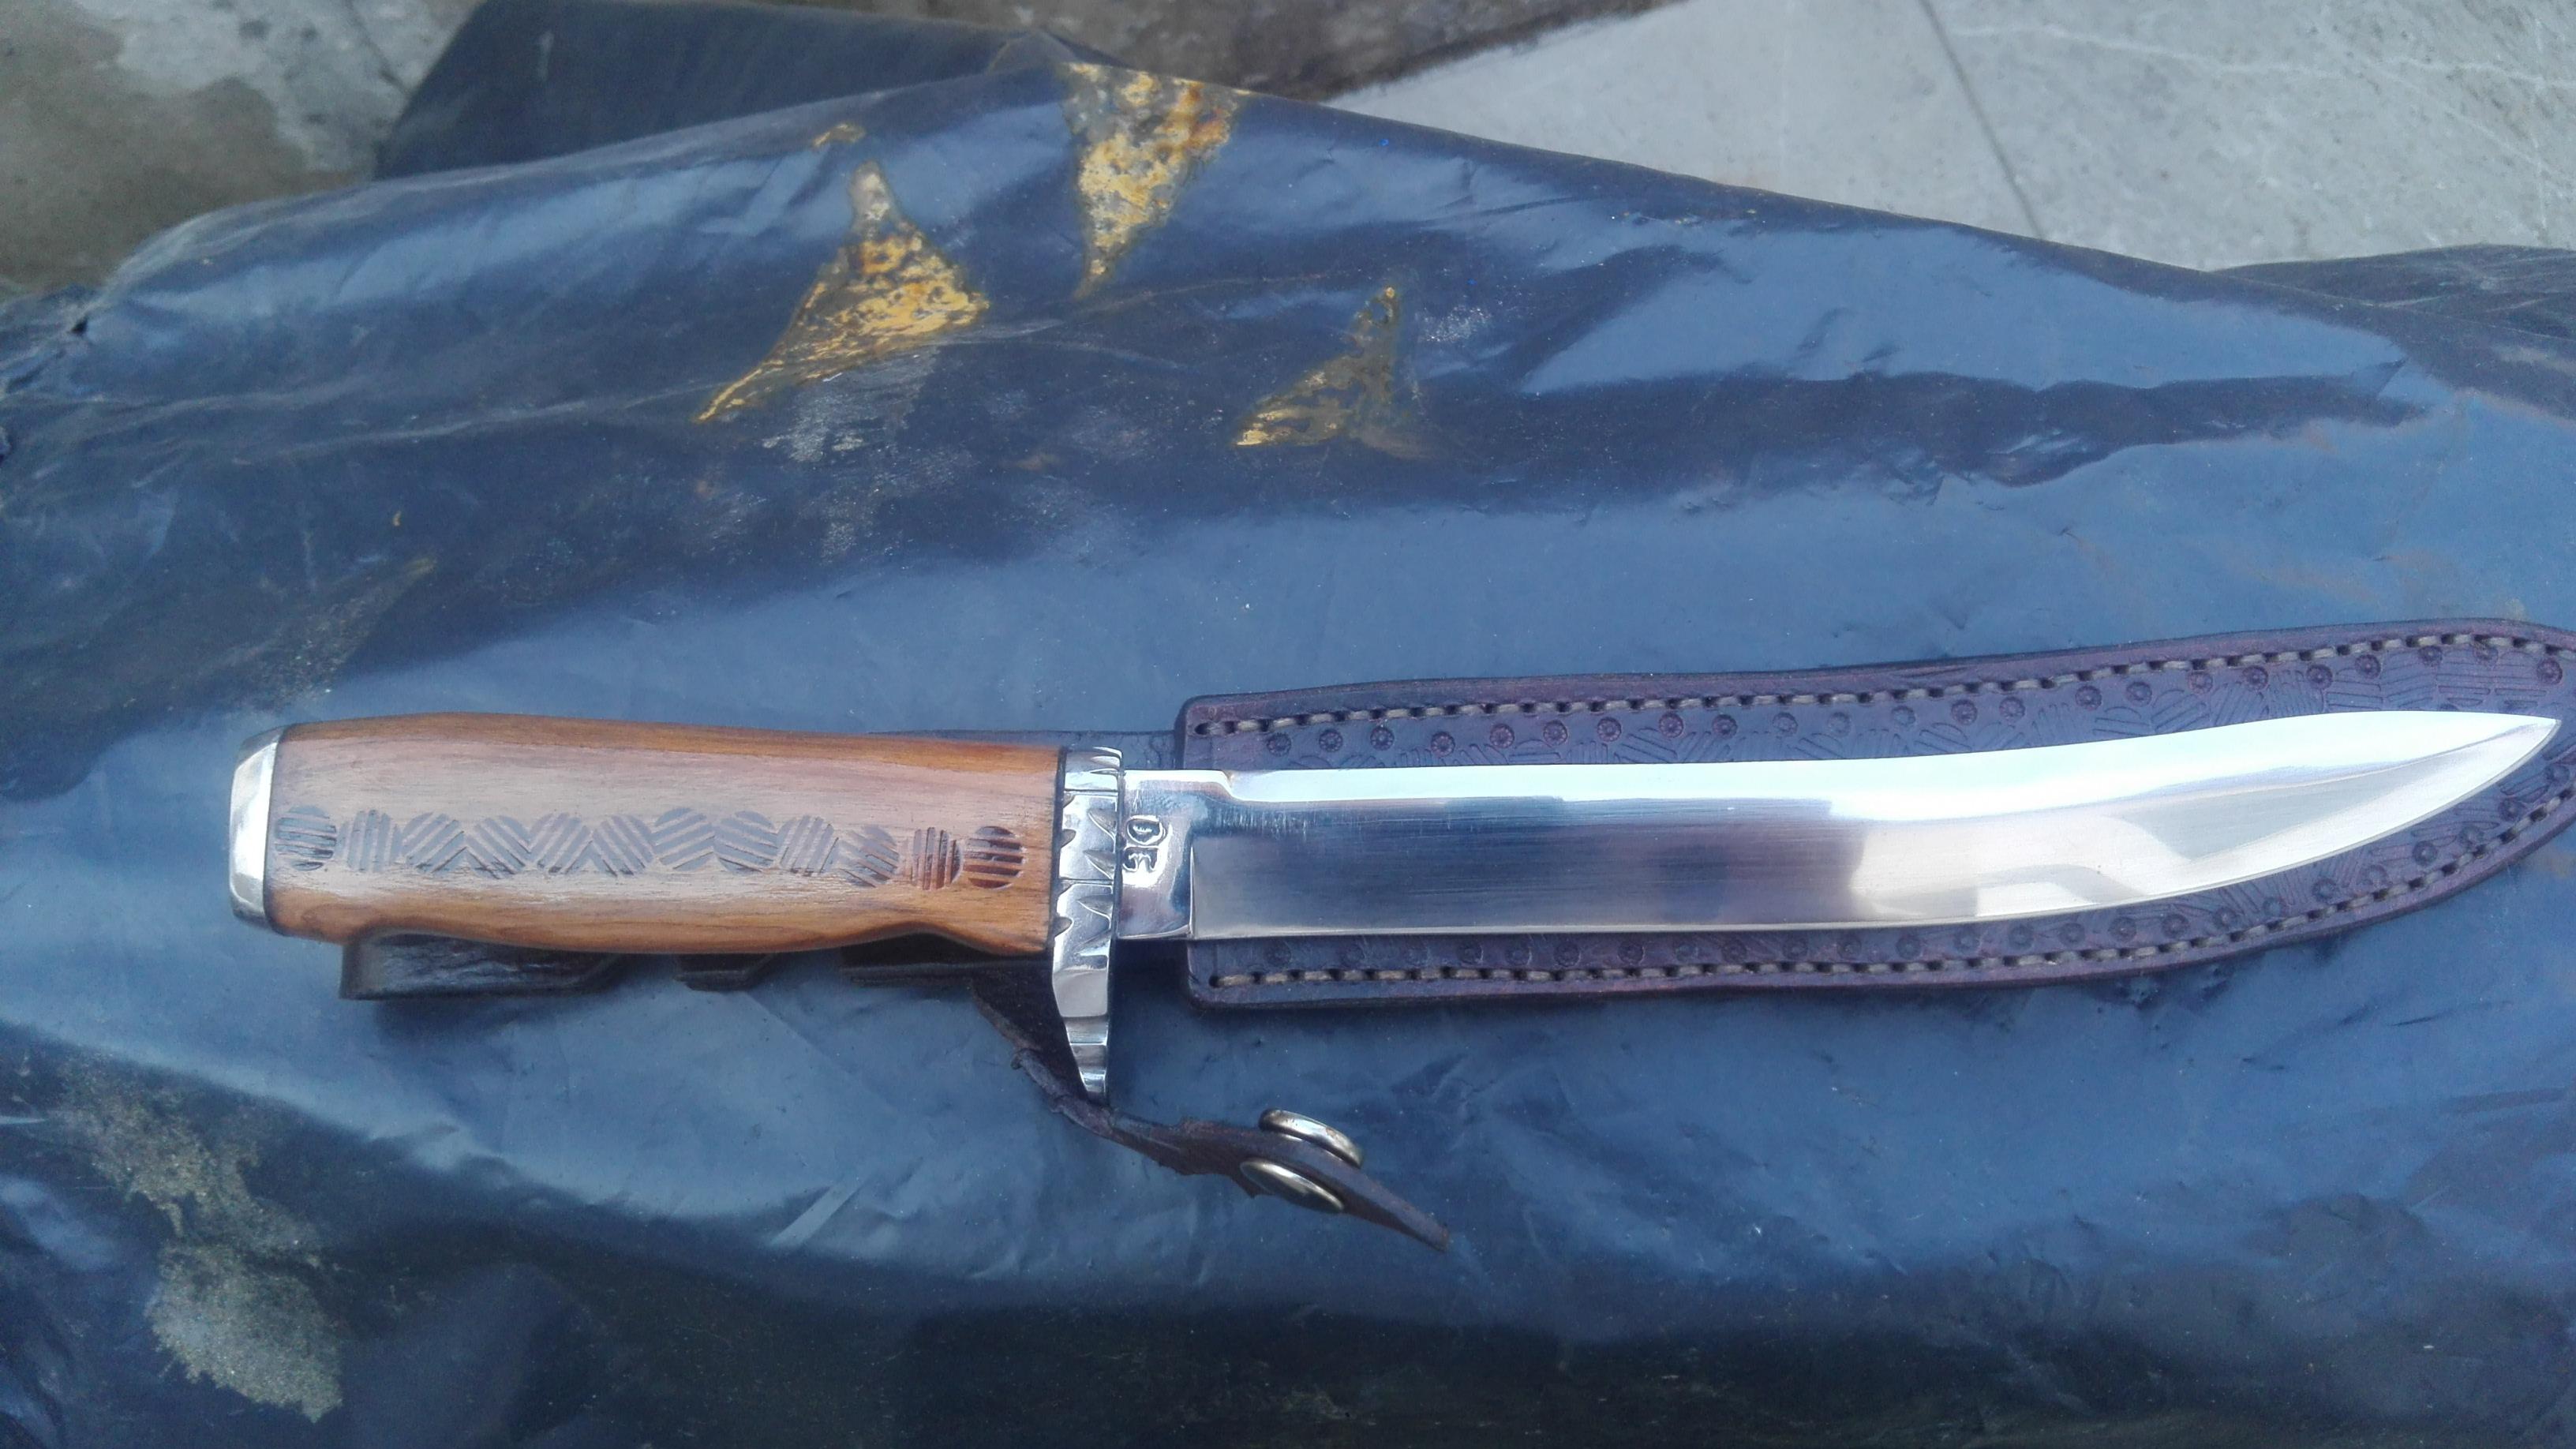
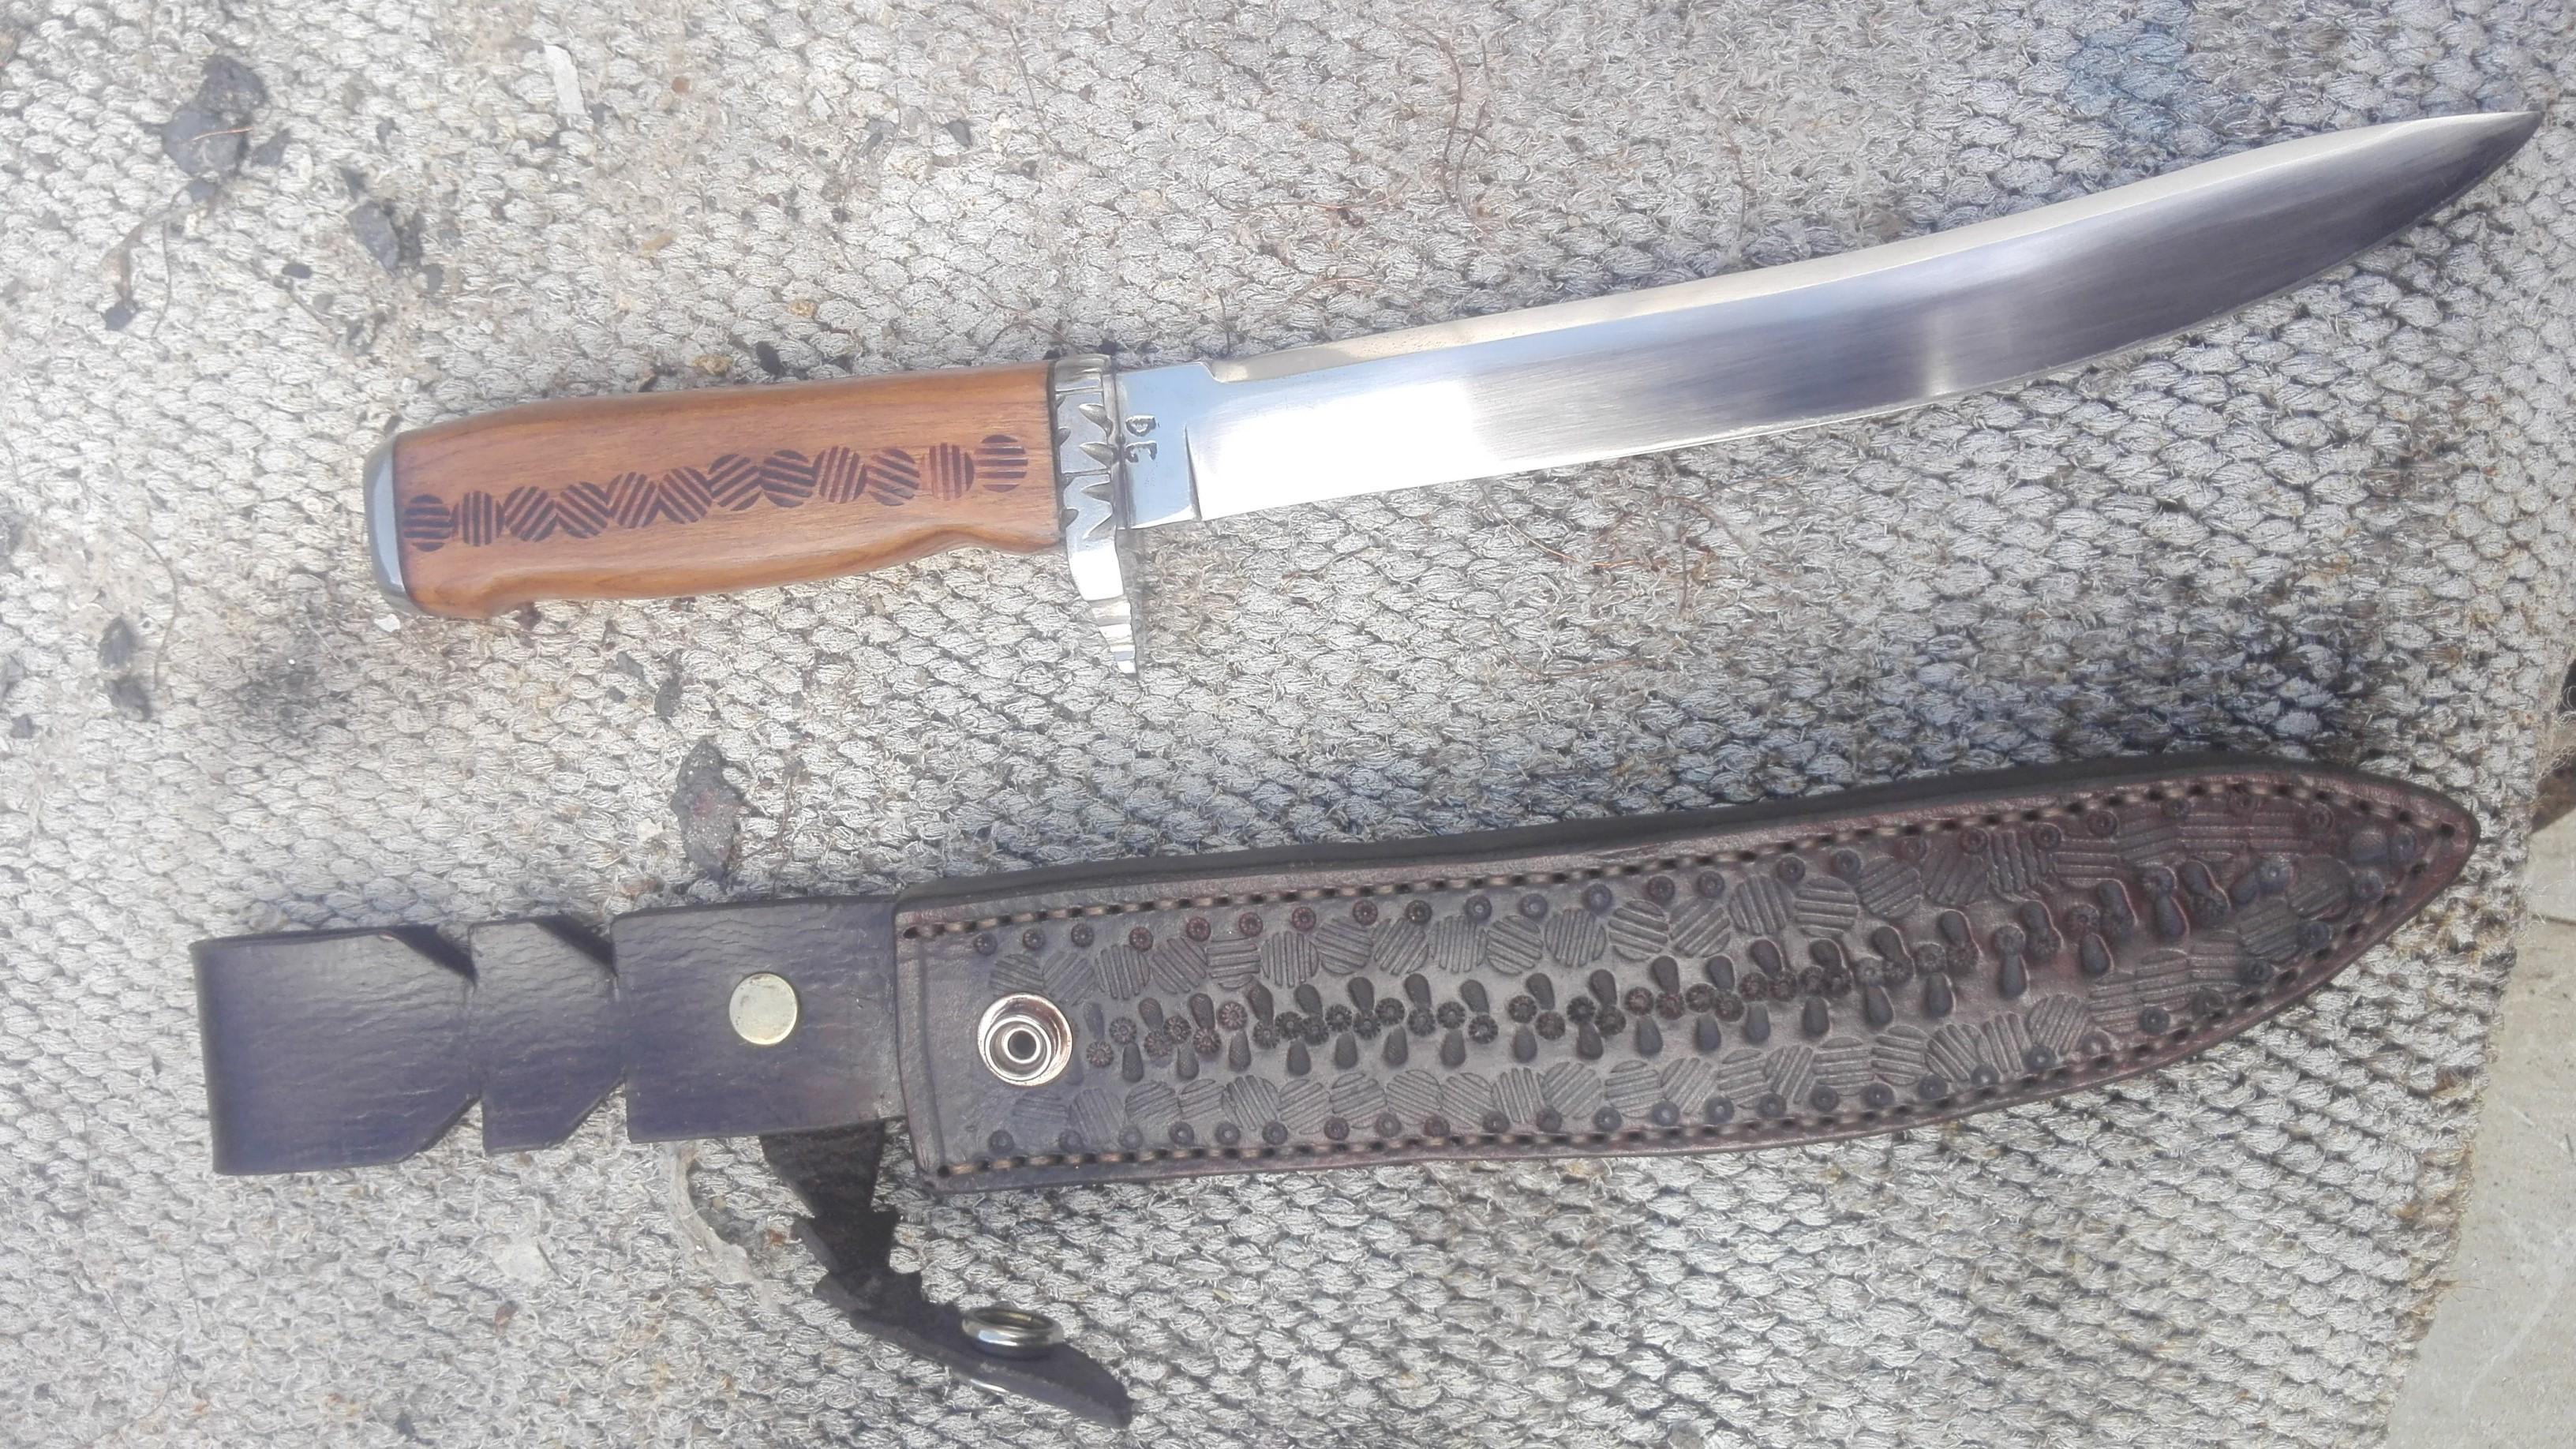
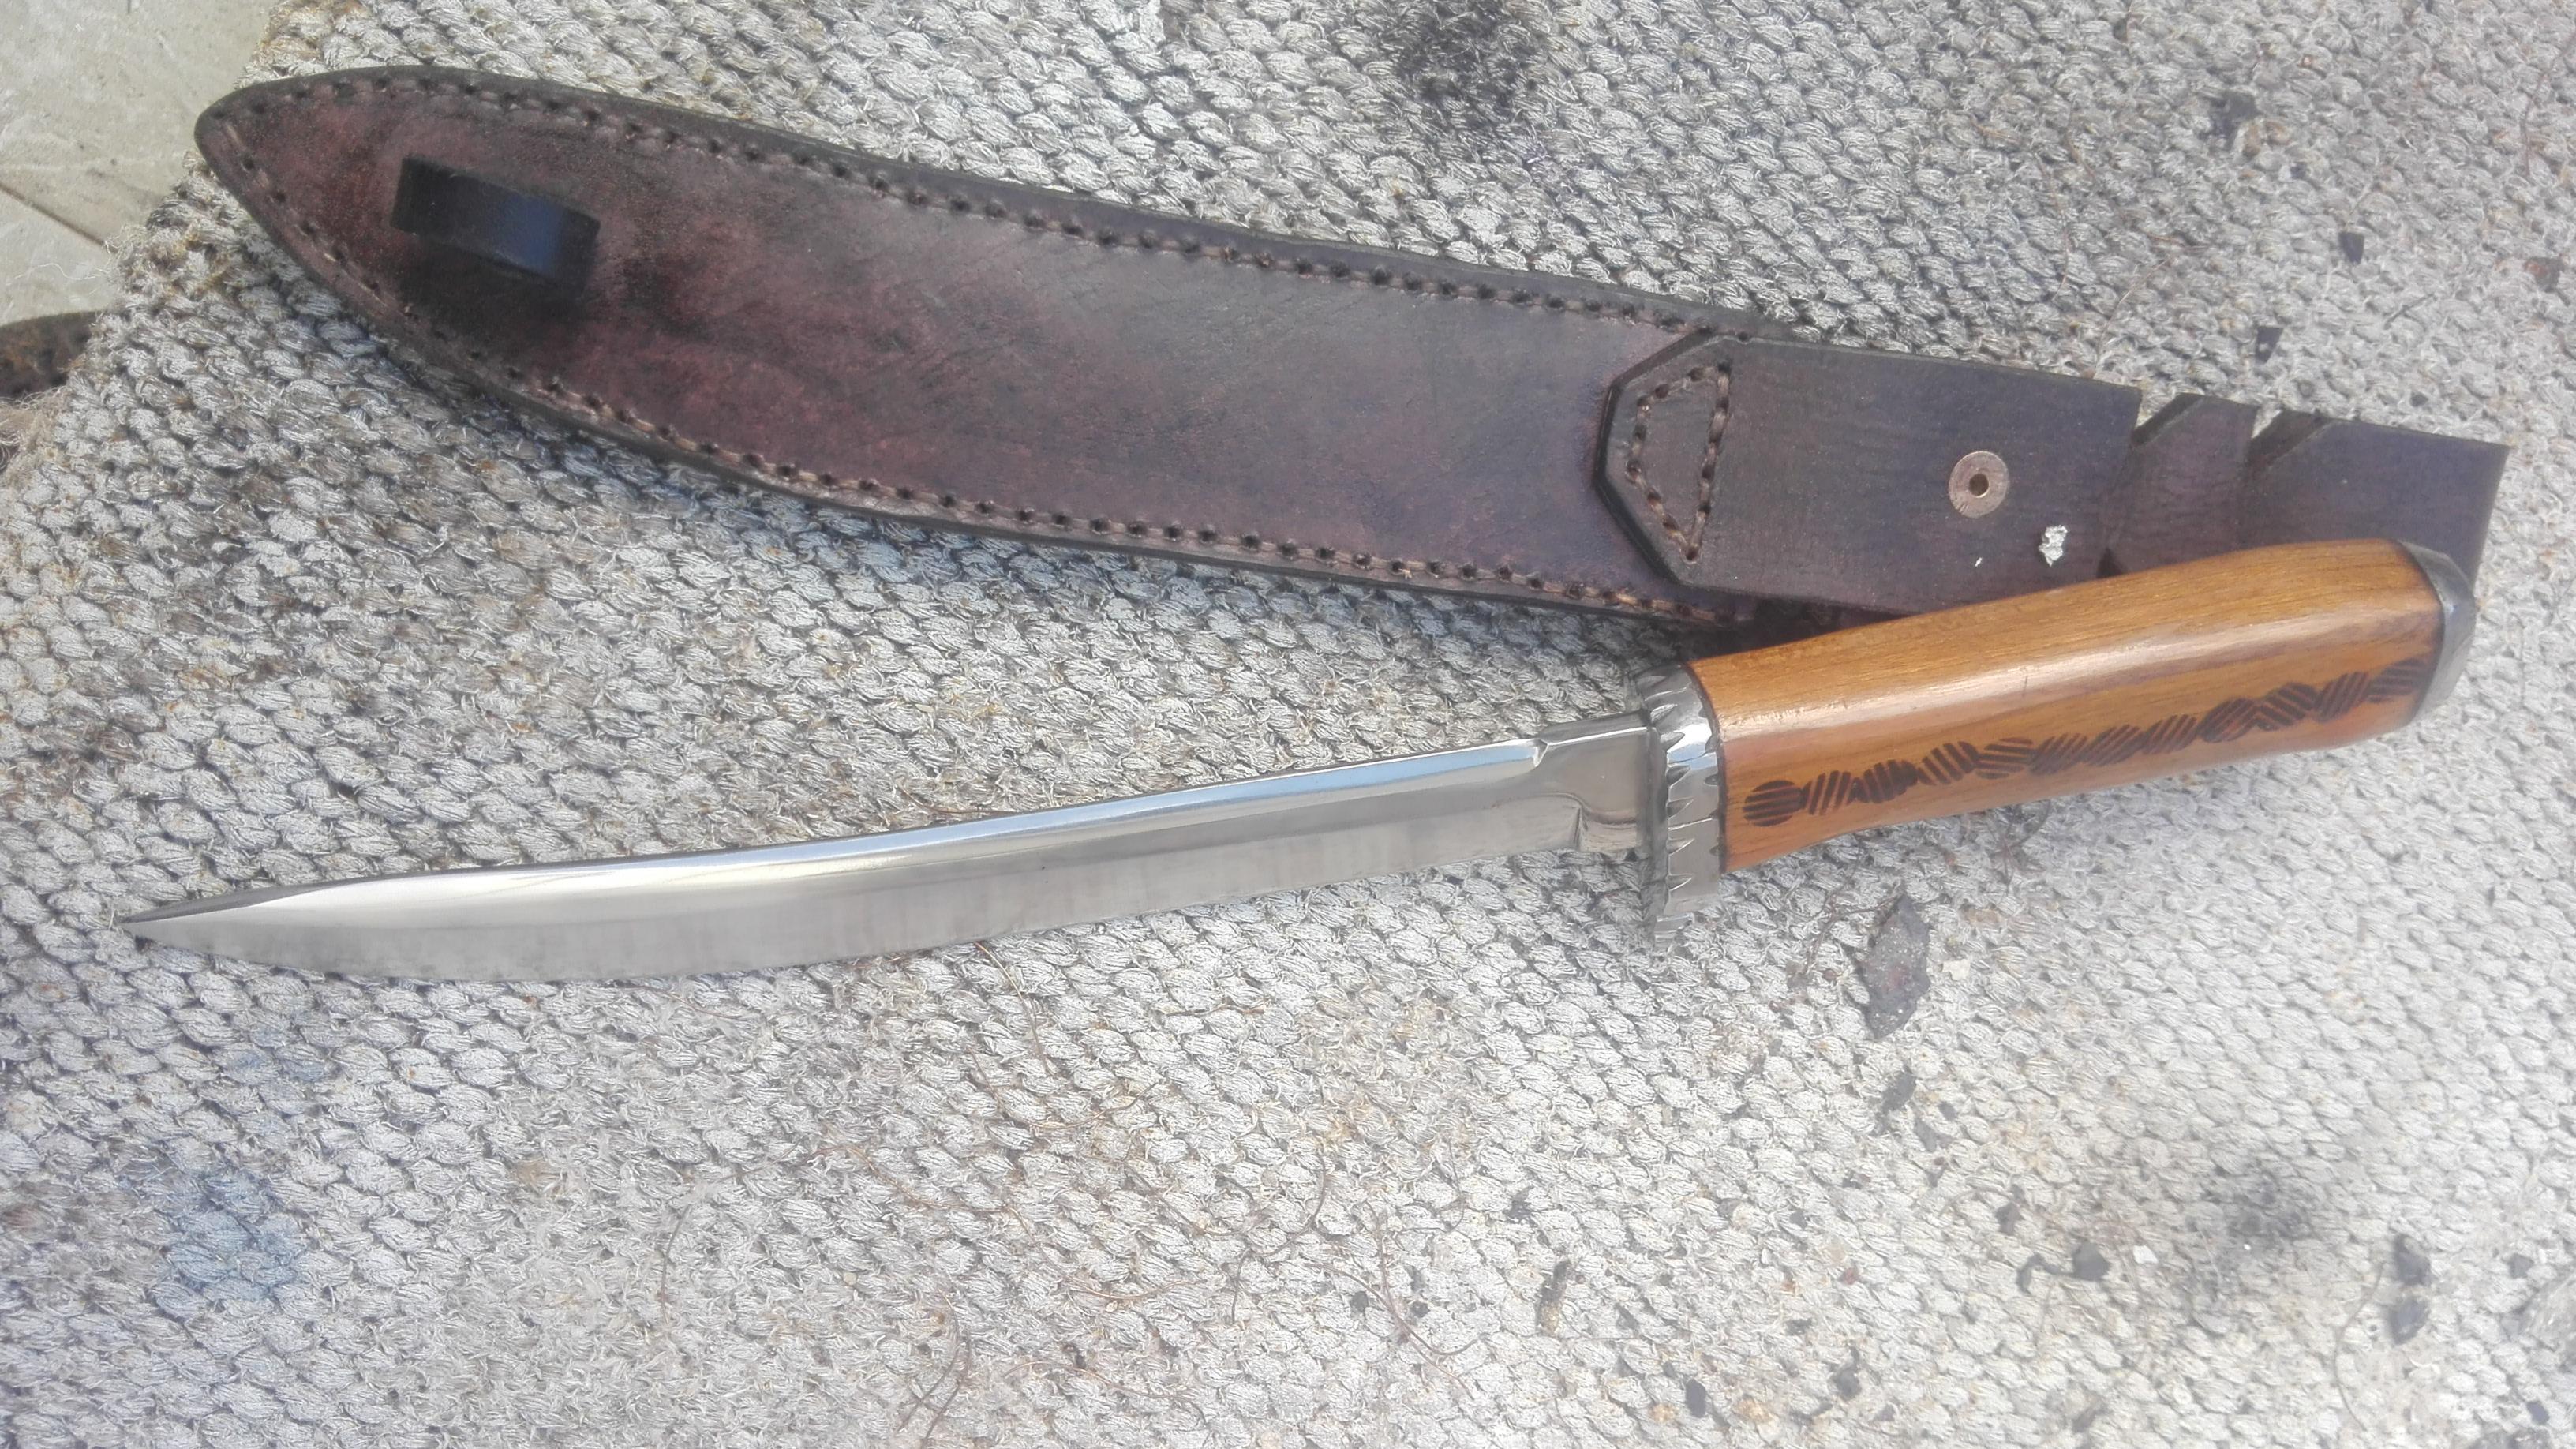
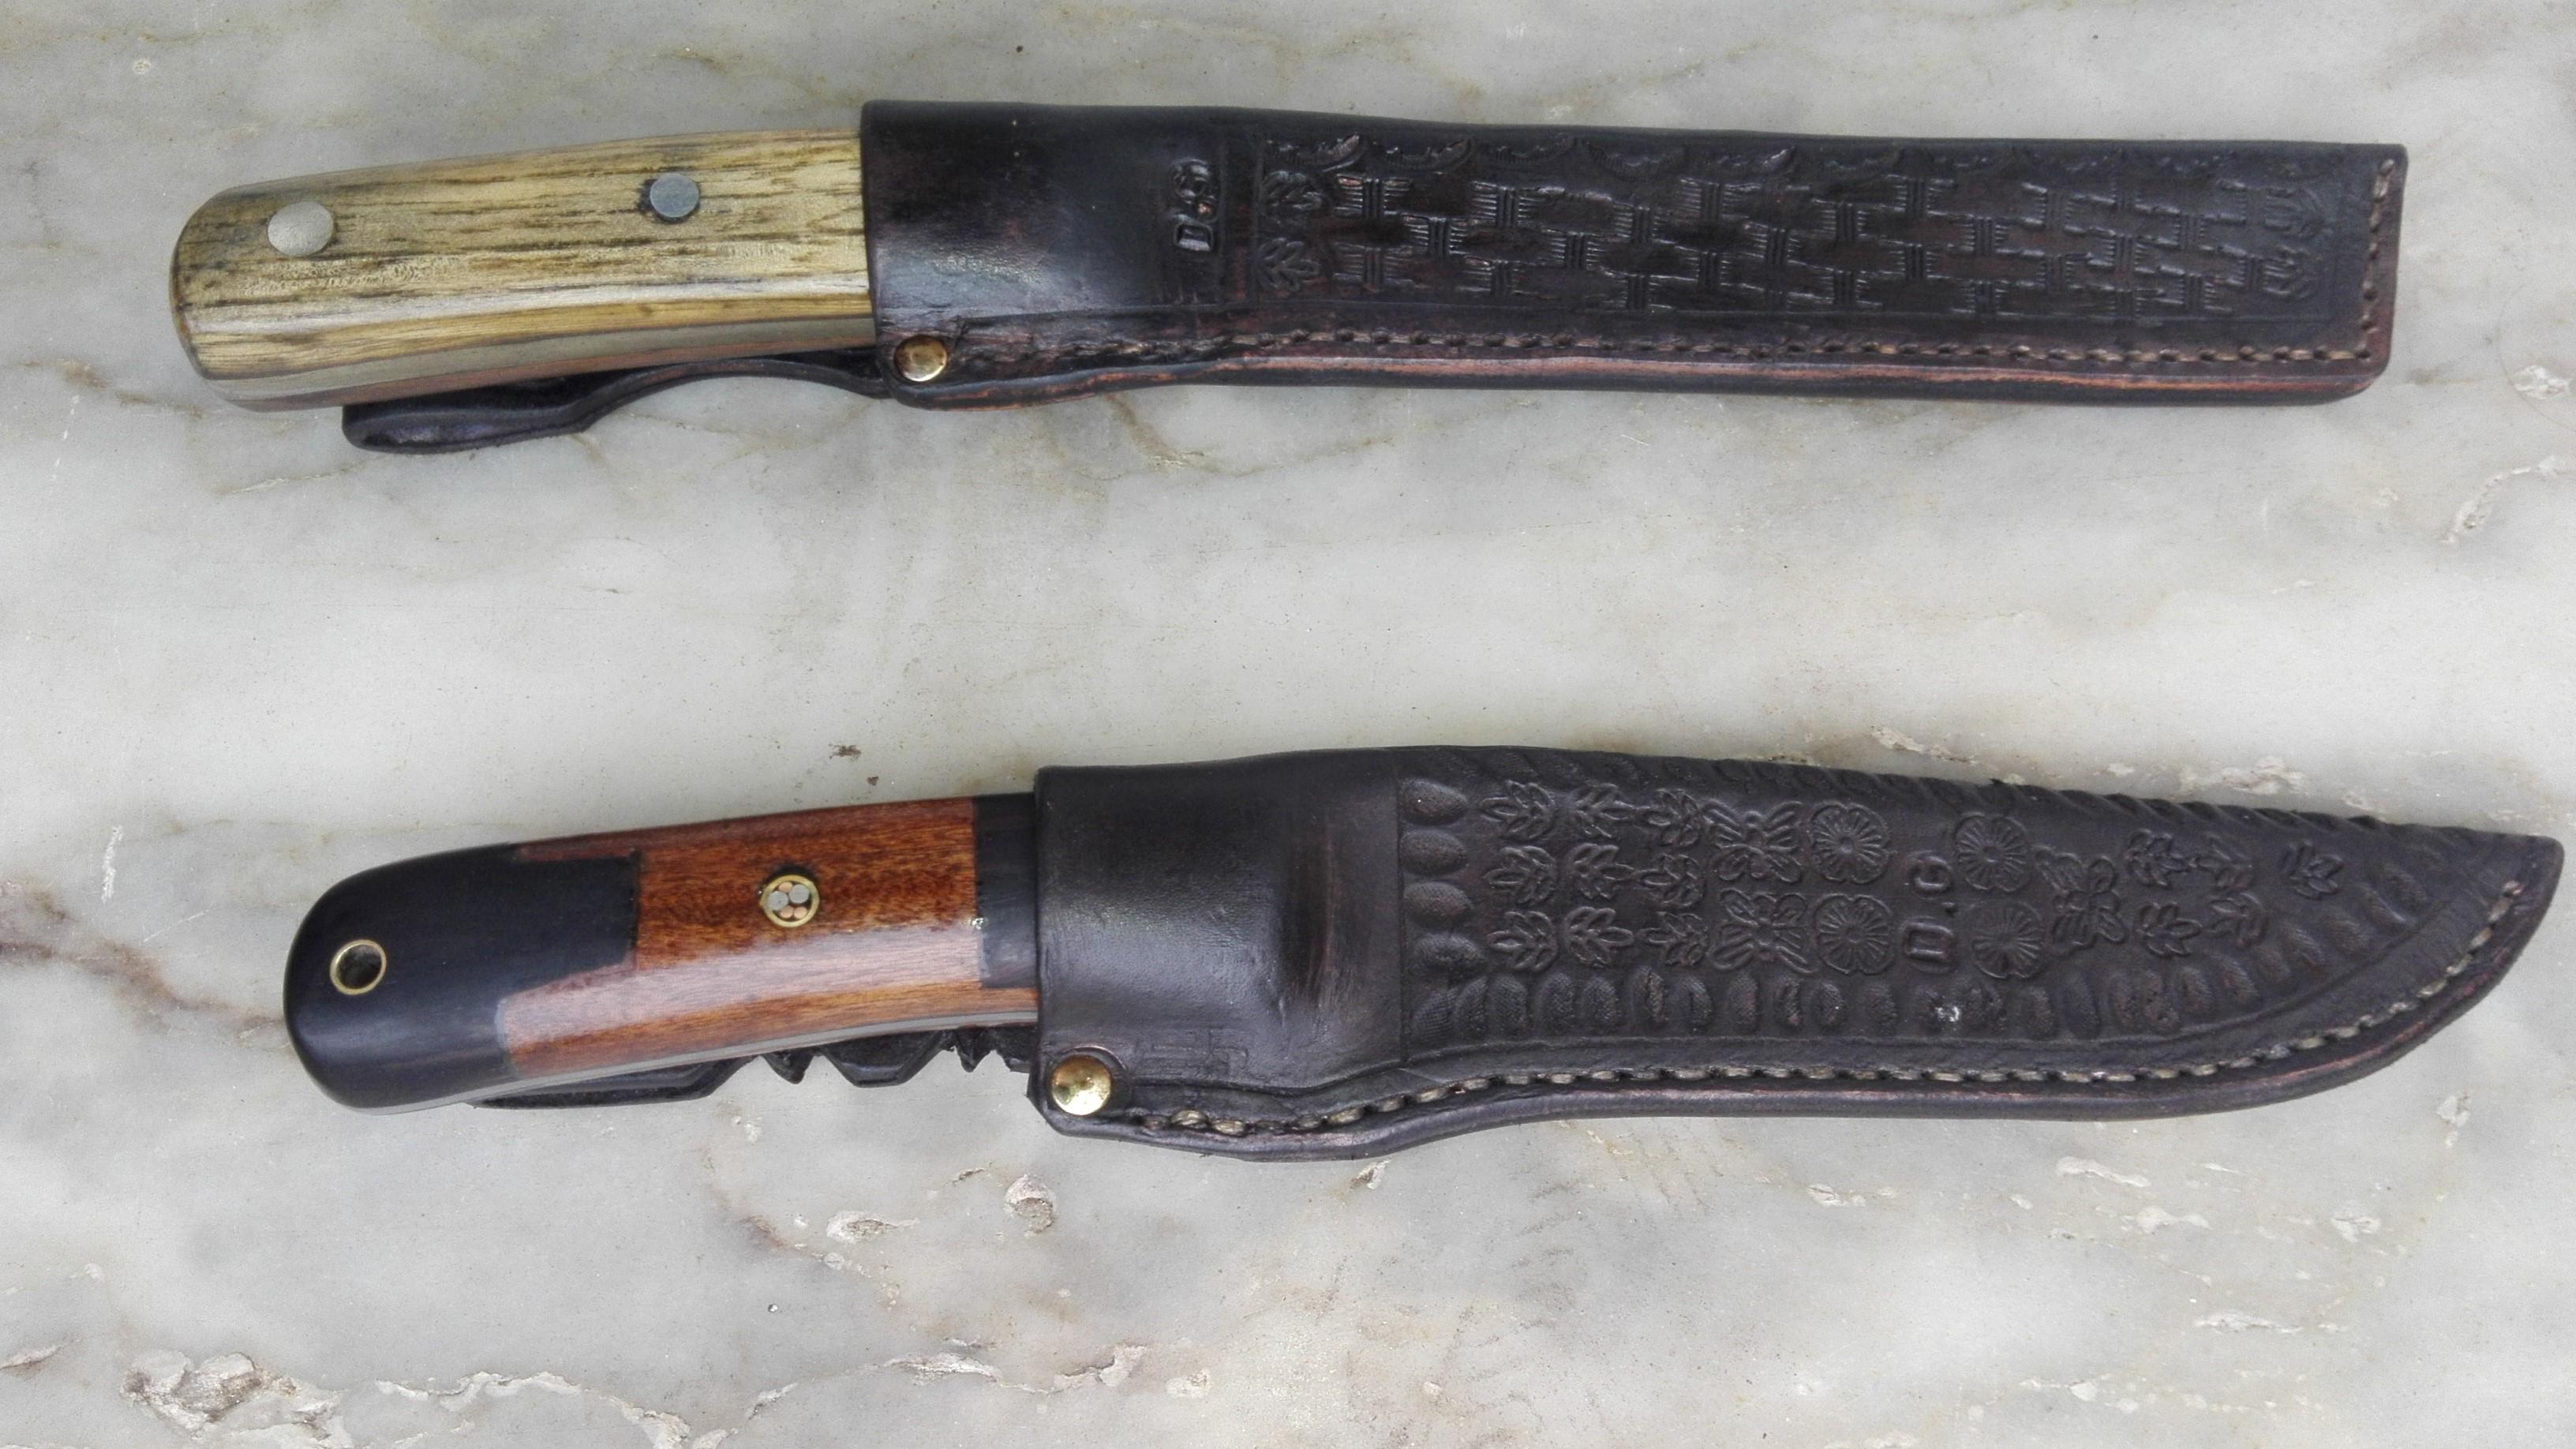
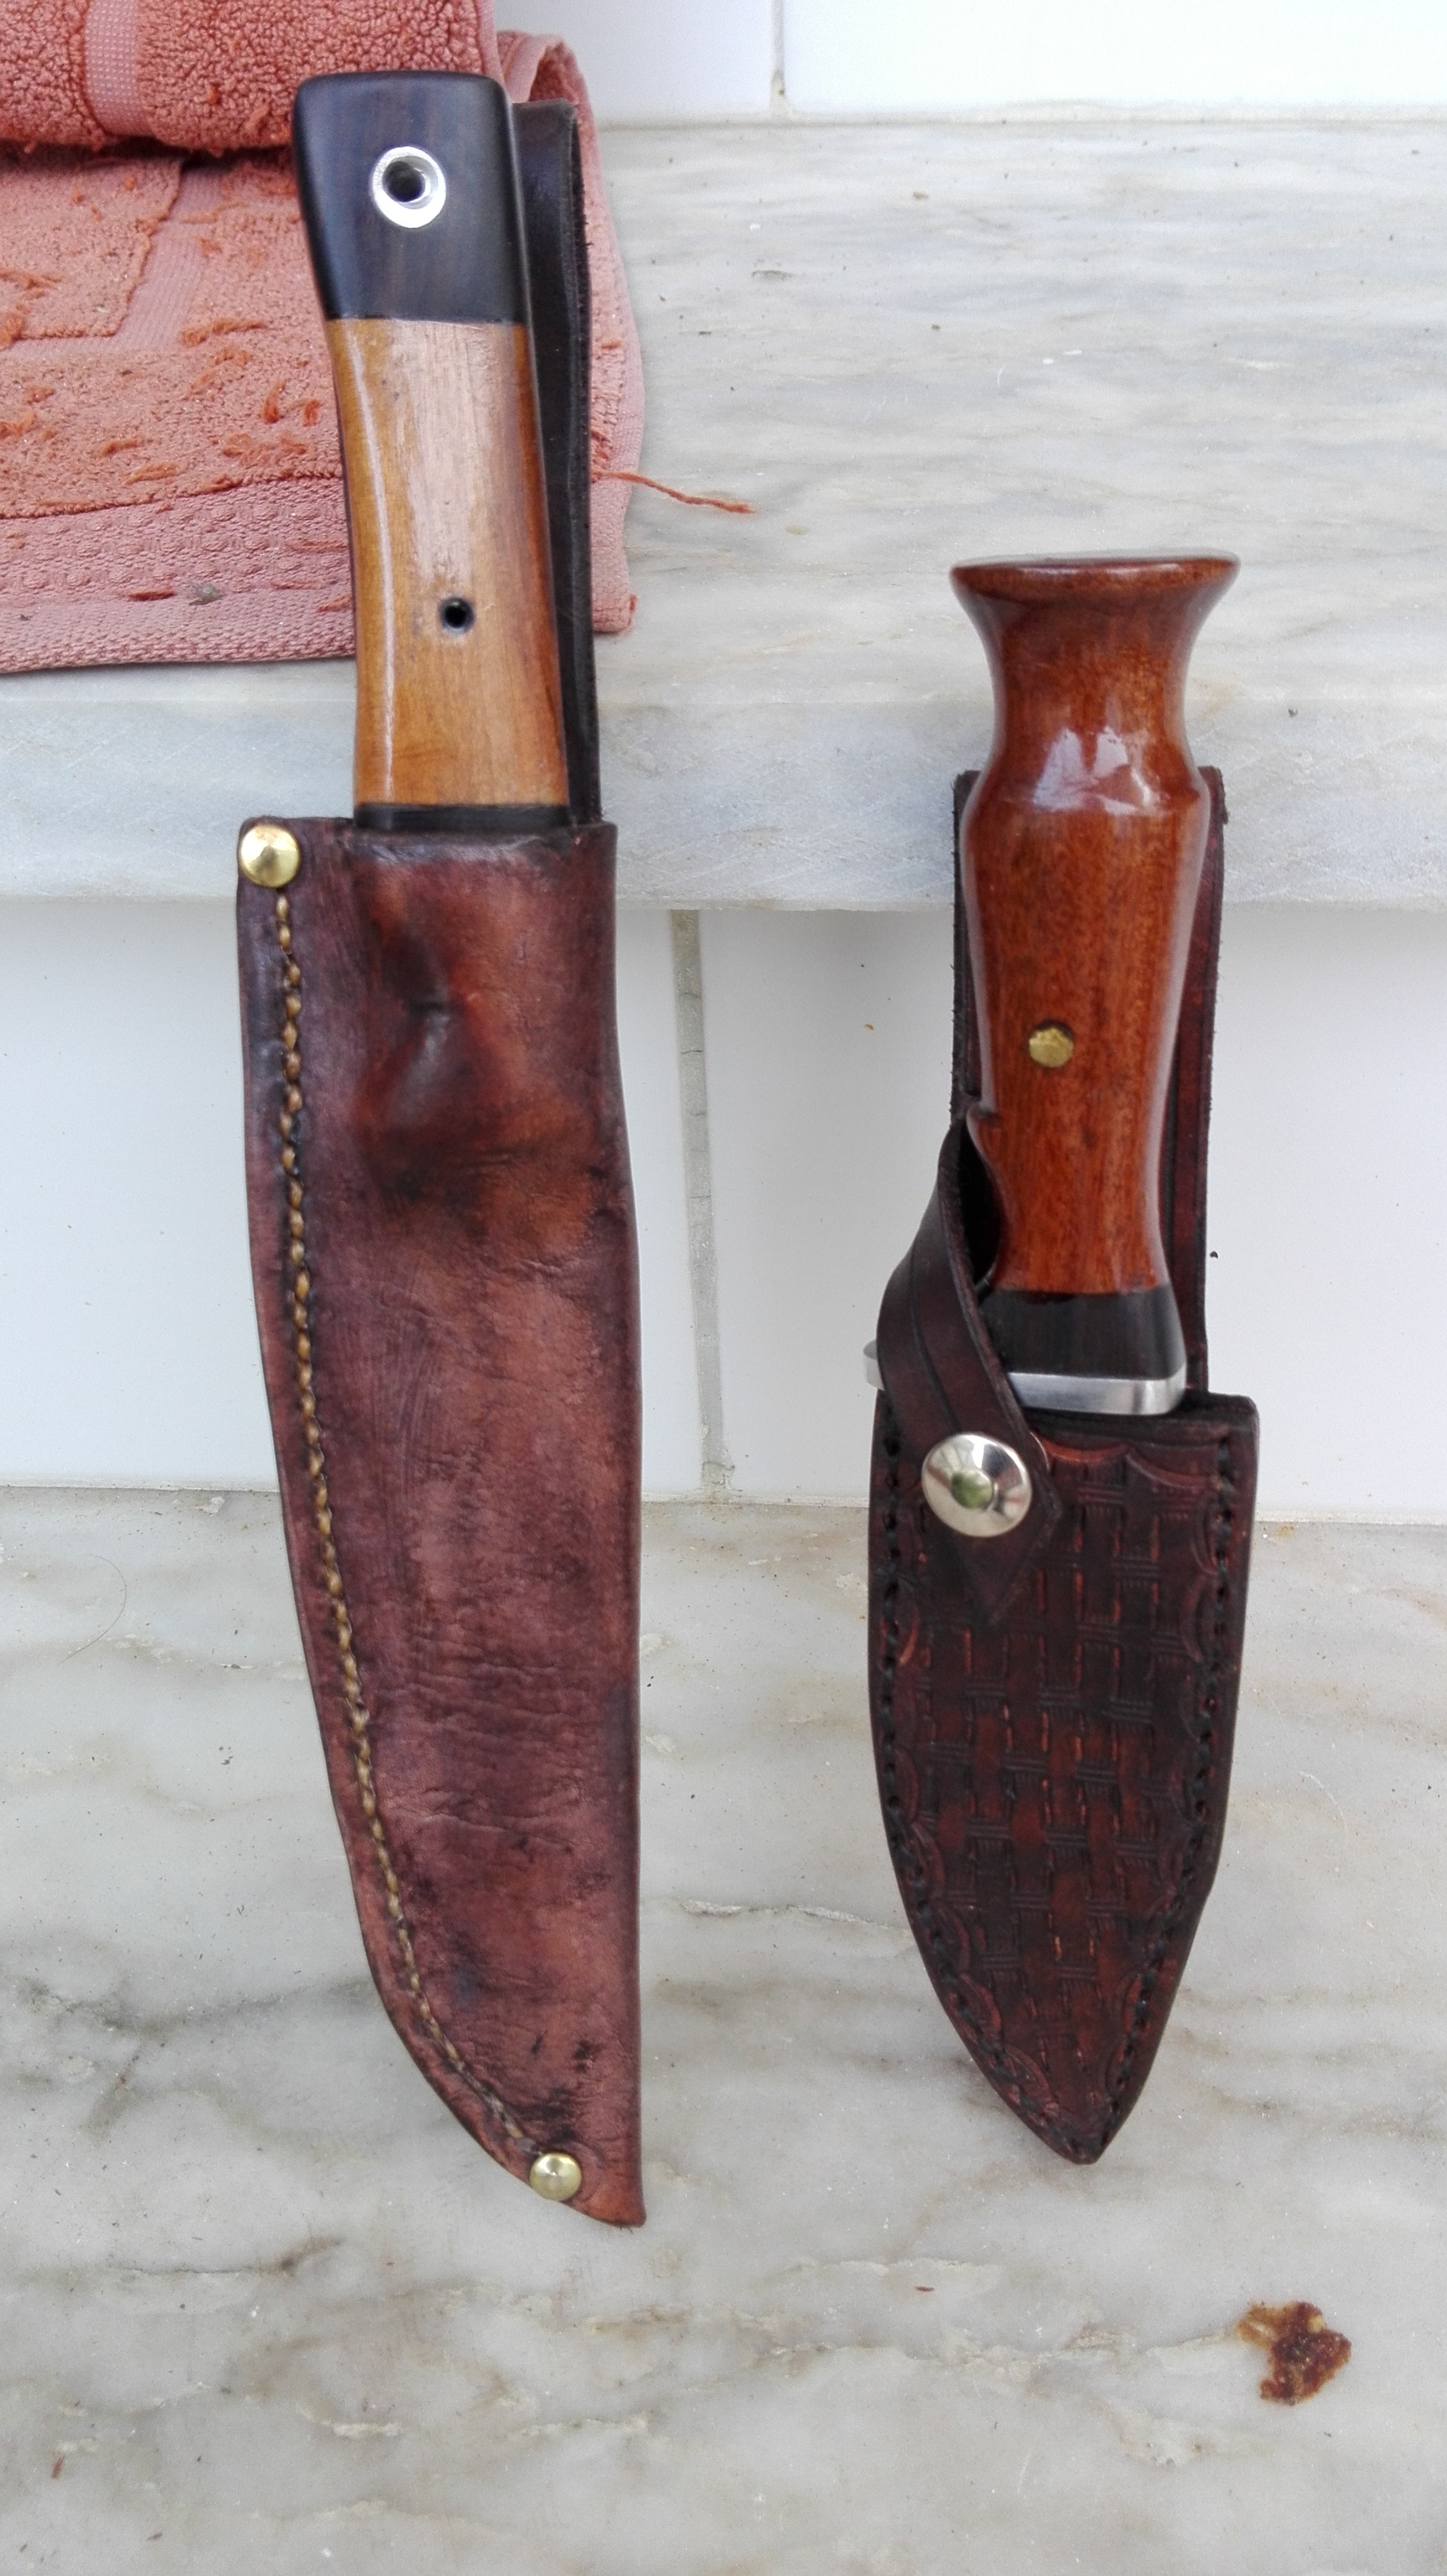
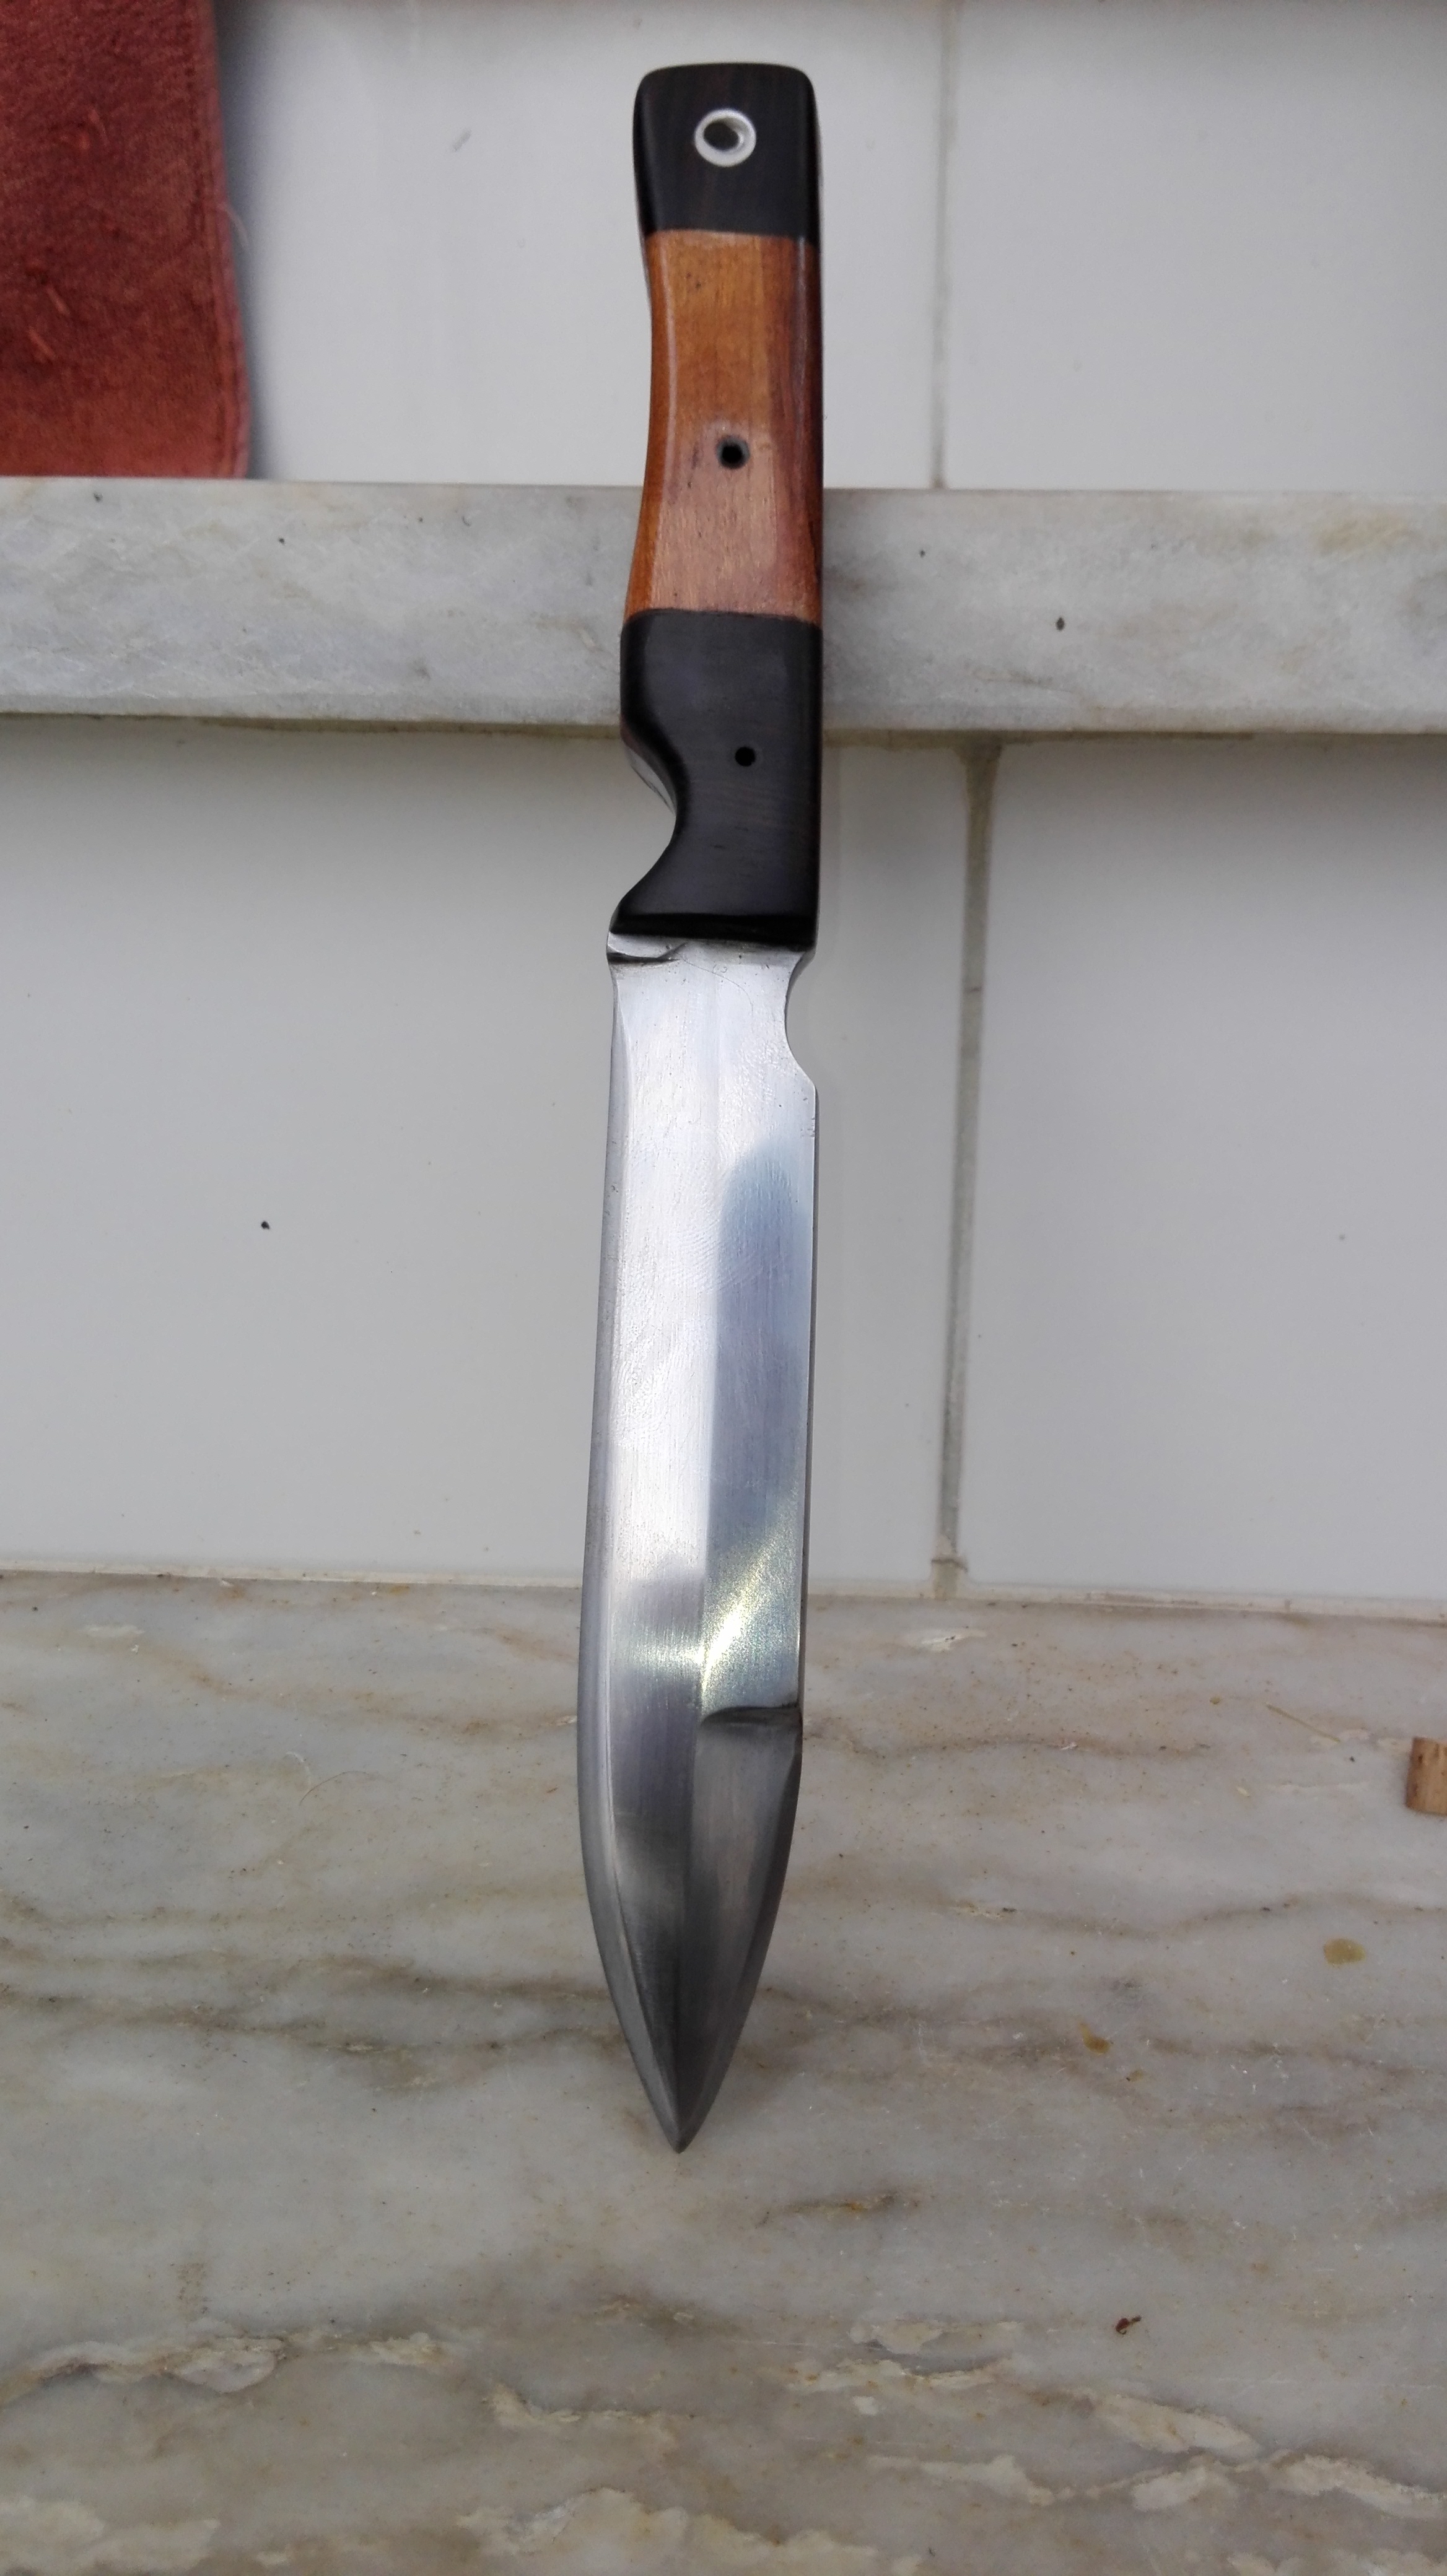
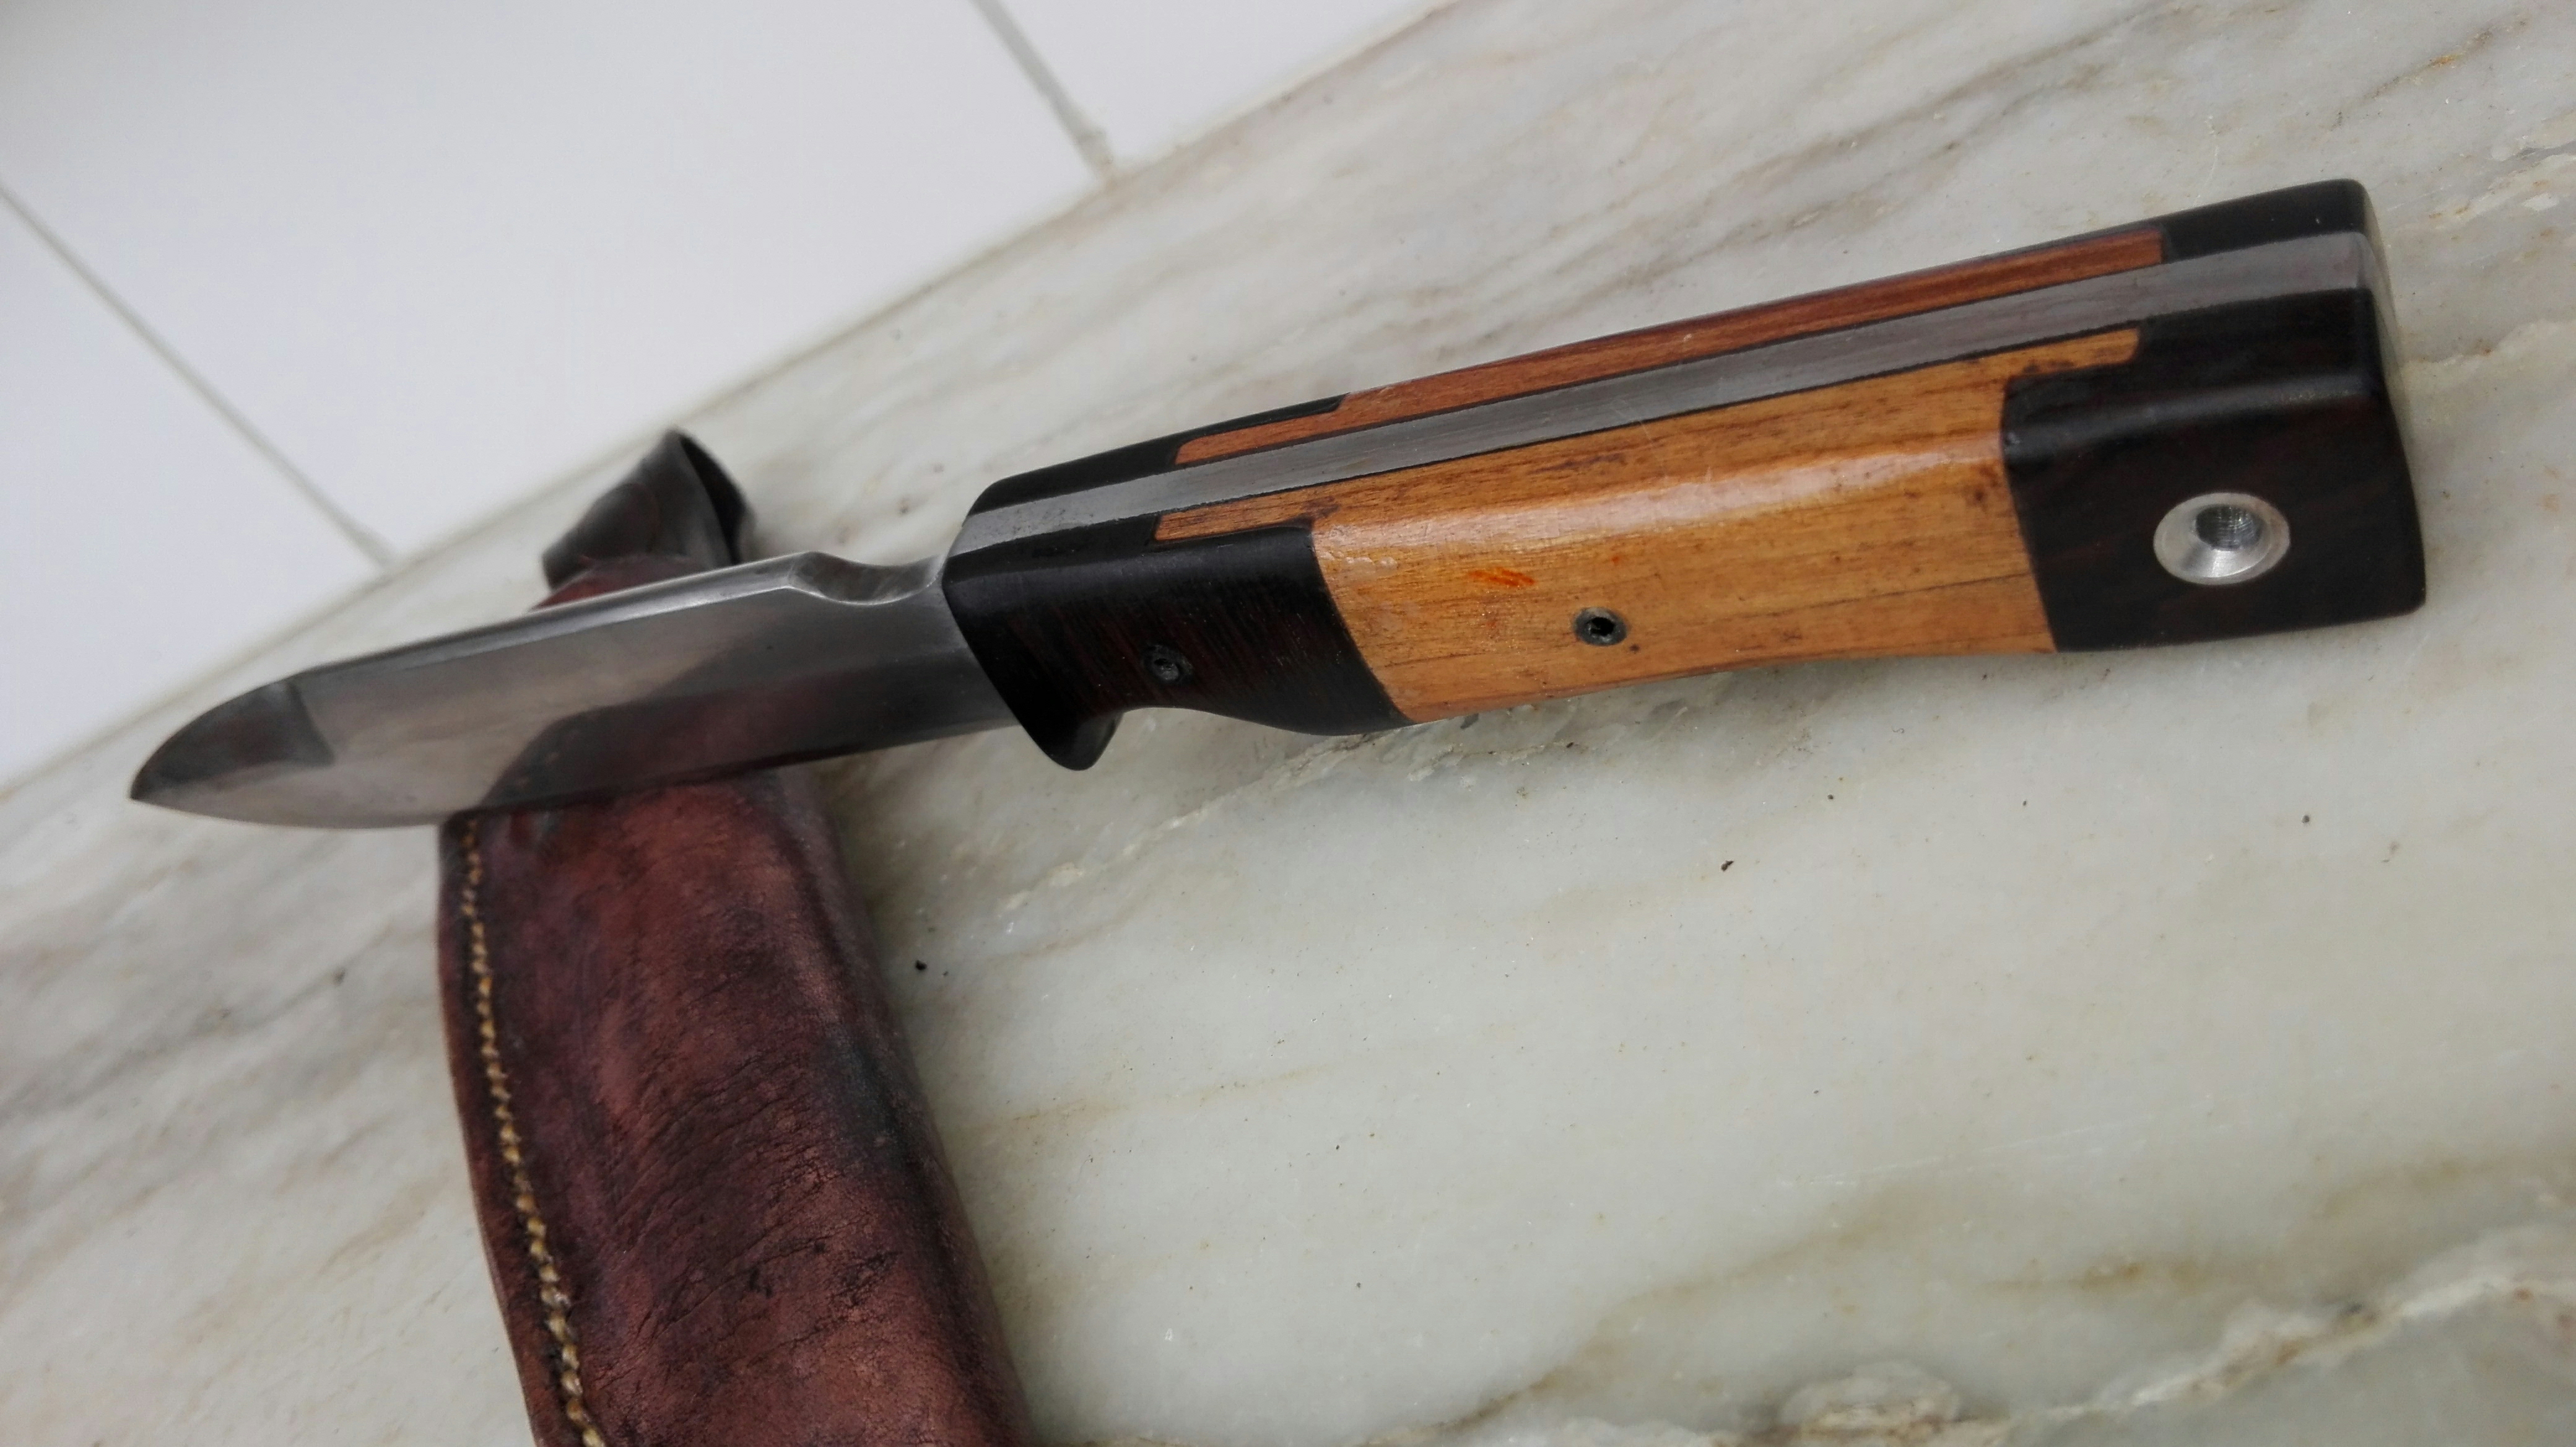
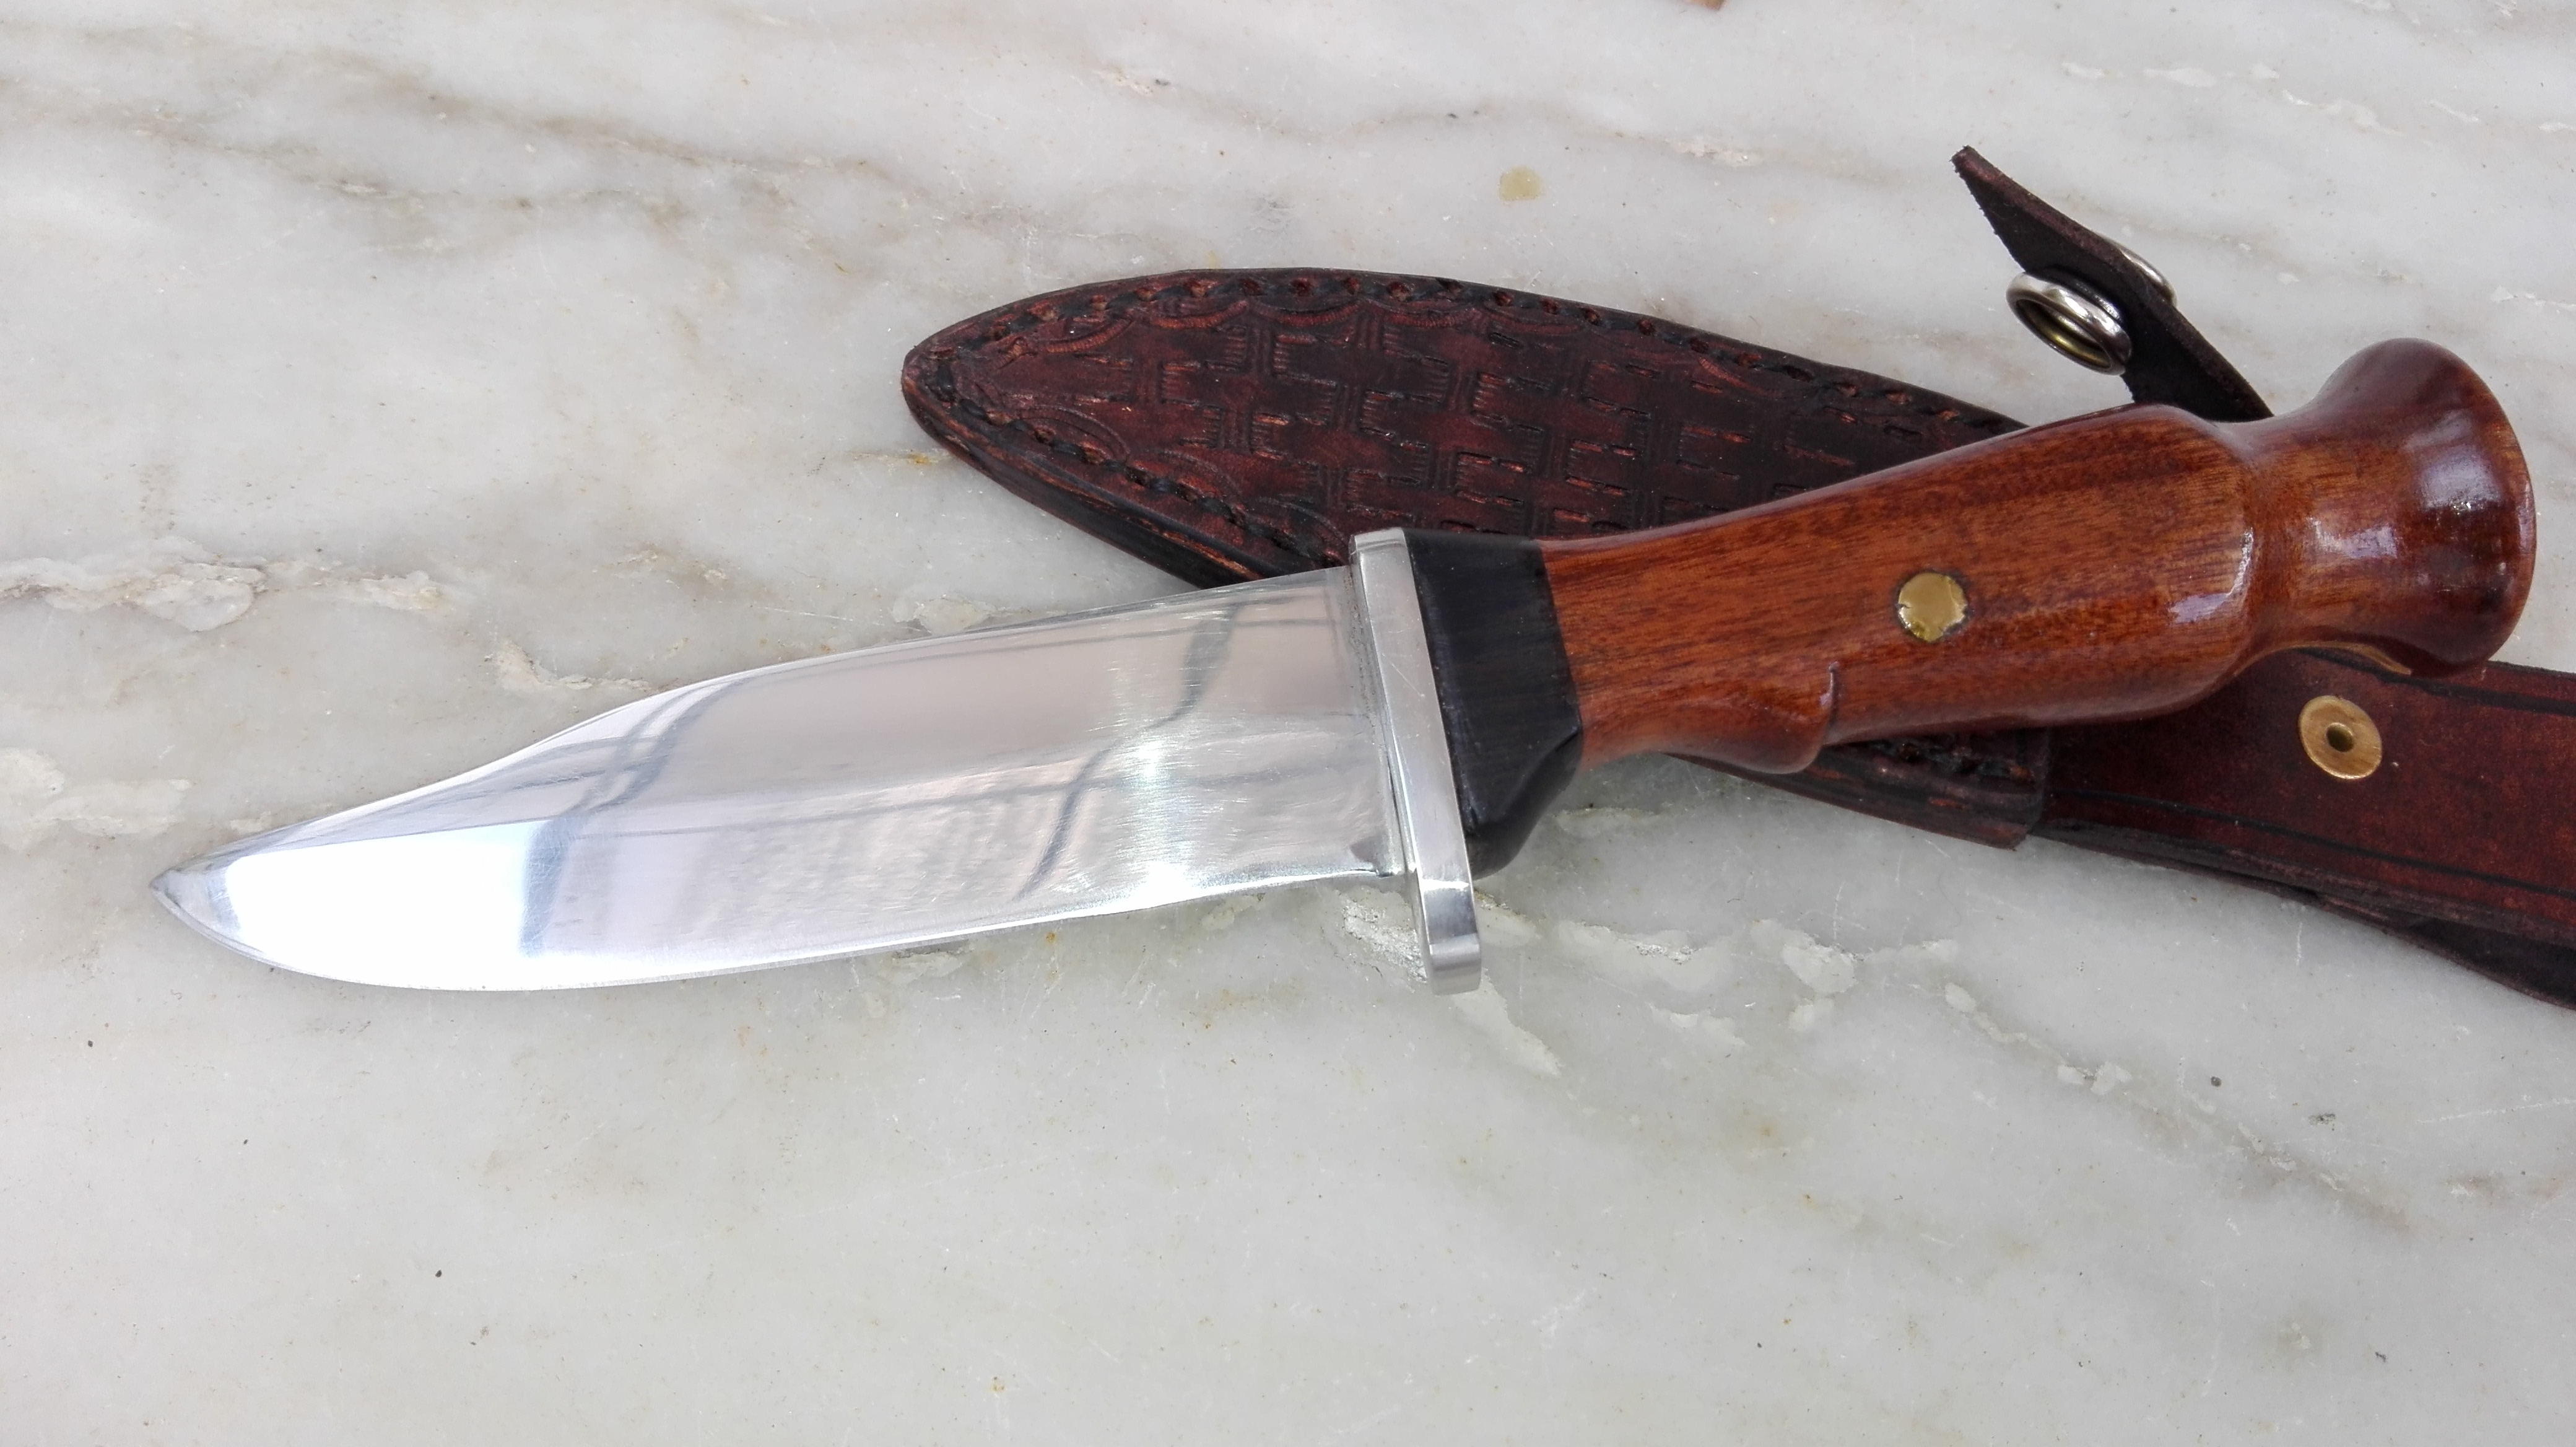
New work
The bigger one is a further development of a design I started in december 2017, made from spring steel with paulo santo and cedar wood, edge quenched and tempered 1 hour around 210 cº.
Spent three hours just fitting the mortises, it's the most difficult part of this knive and I havent figured out how fit them perfectly without epoxy... yet.
Did a bit of choping and it kept an edge really well.
The other is a stainless X48 ( 440a equivalent) blade with aluminium guard, paulo santo and blood wood for the handle . HT is done by heating to 1040 cº and air cooling temper around 180 cº, I dont have fancy Ht oven so I quenched in veg oil after reaching vivid yellow and tempered twice for 30 mins to straw color in the oven. I've used this methods few time before and they work just gotta test the blade for flexibility because this steel wont hardened like simple high carbon does.
I've also got new leather stamps and went with a basket weave effect on the small sheath.
Cheers


-
That's awsome... but will it kill?


Color after temper?
in Heat Treating Knives, Blades etc
Posted
Oil residue will affect temper colors.