Dunk_c
Members
-
Joined
-
Last visited
Everything posted by Dunk_c
-
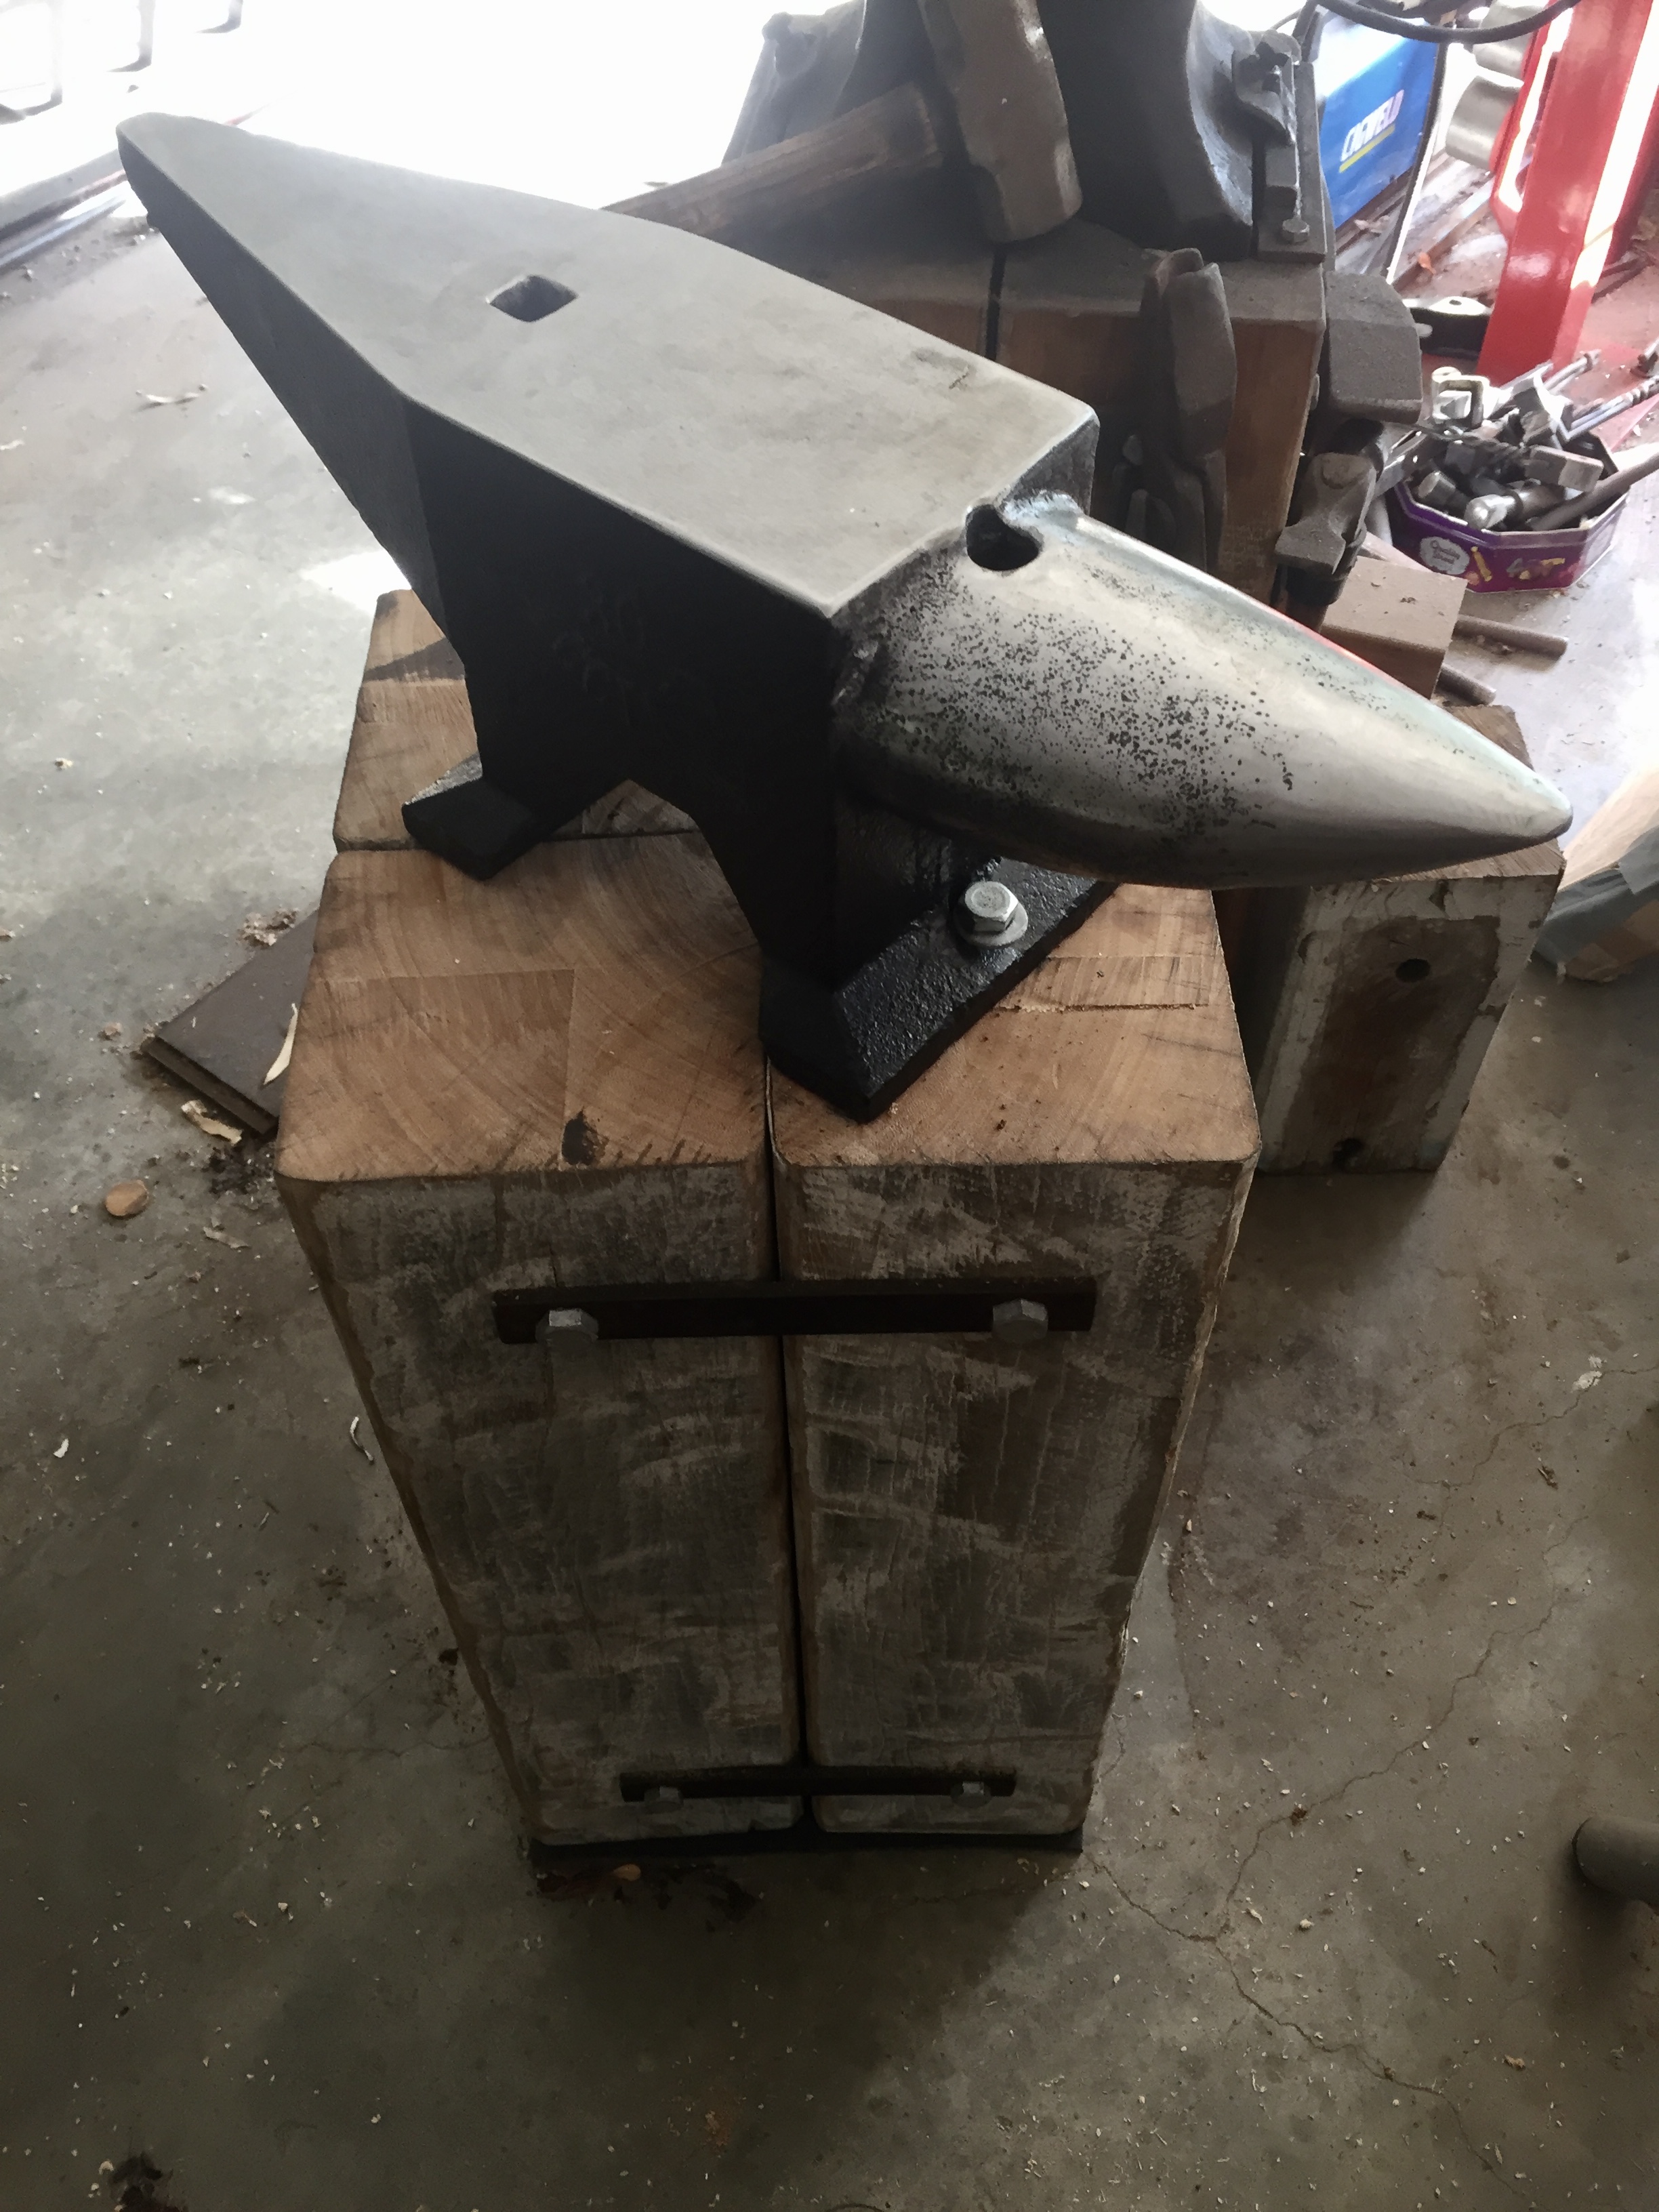
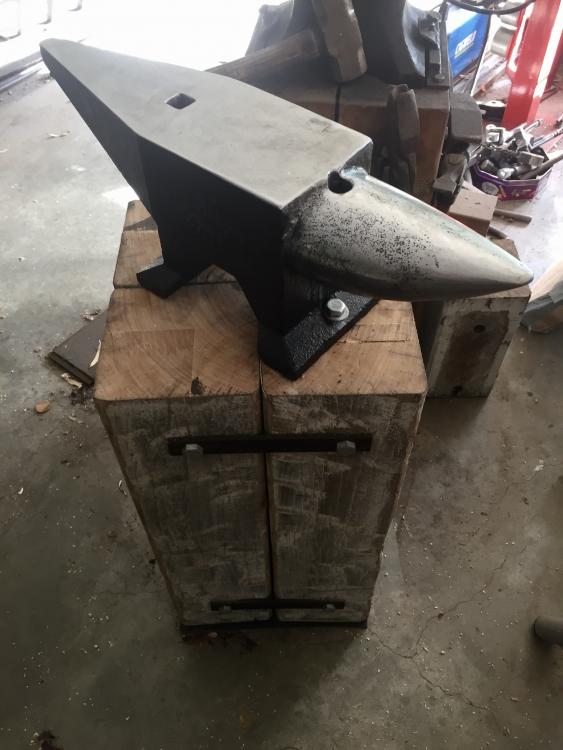
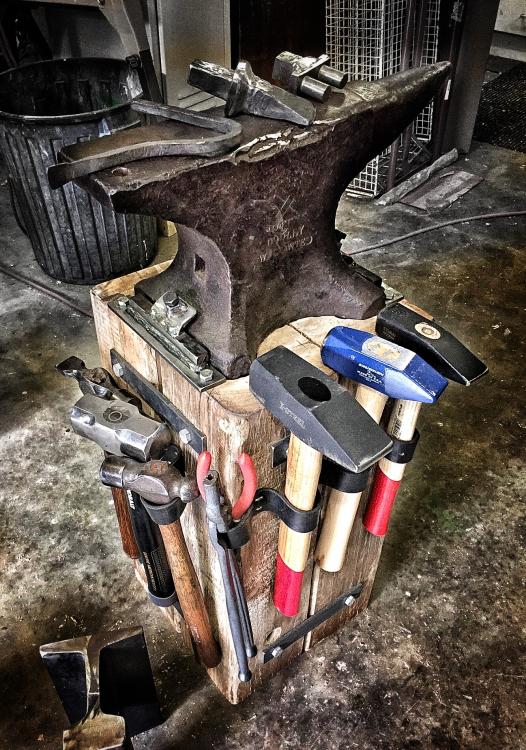
New anvil just mounted. Got myself a cheap Accaiao 66lb cast steel anvil to go with my ancient saddle backed Dudley. Quality was as expected but even though the horn was not cast symmetrically I got a nice flat hard face and no holes in the casting anywhere. Stripped of the blue paint and applied some rust preventer (wish I had just oiled it, went a bit too black). Dressed the edges and hardy hole. I mounted it to a hardwood base using lag bolts through the holes in the feet (tidy). Put a magnet under the tail to reduce the ringing. Seems like it will do the trick!
-
Anyone got comment on the eye size? I guess the widest part should also have a shallow taper.
-
Maybe hardening and tempering is pointless as the tool will be buried in hot steel in use (I read this somewhere).
-
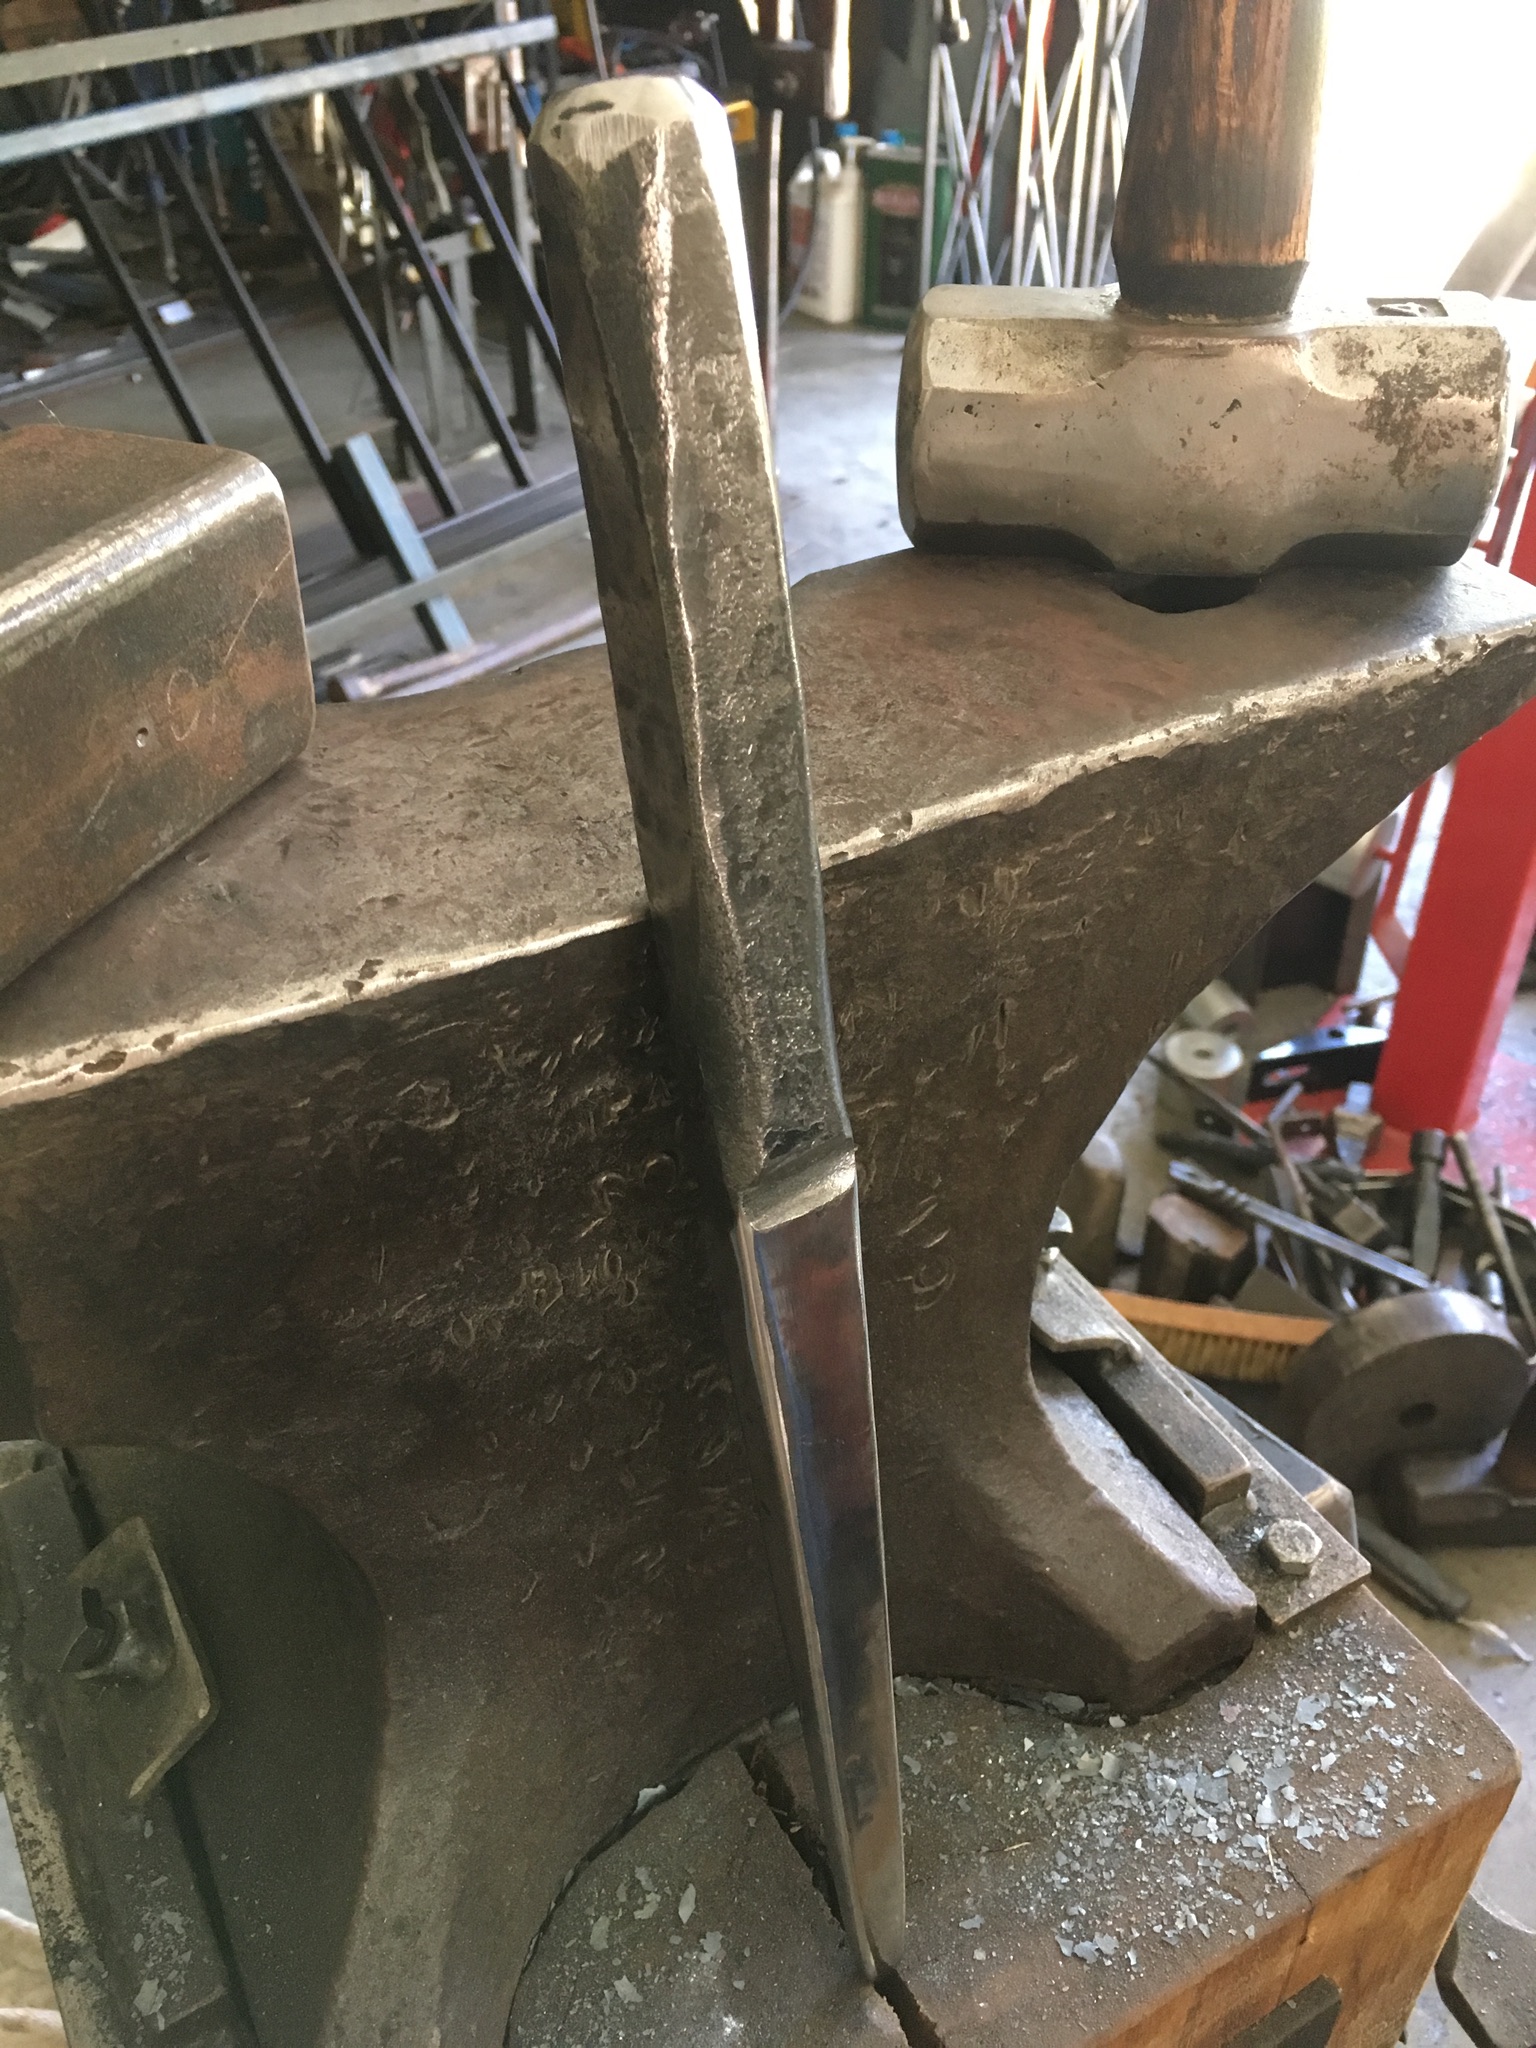
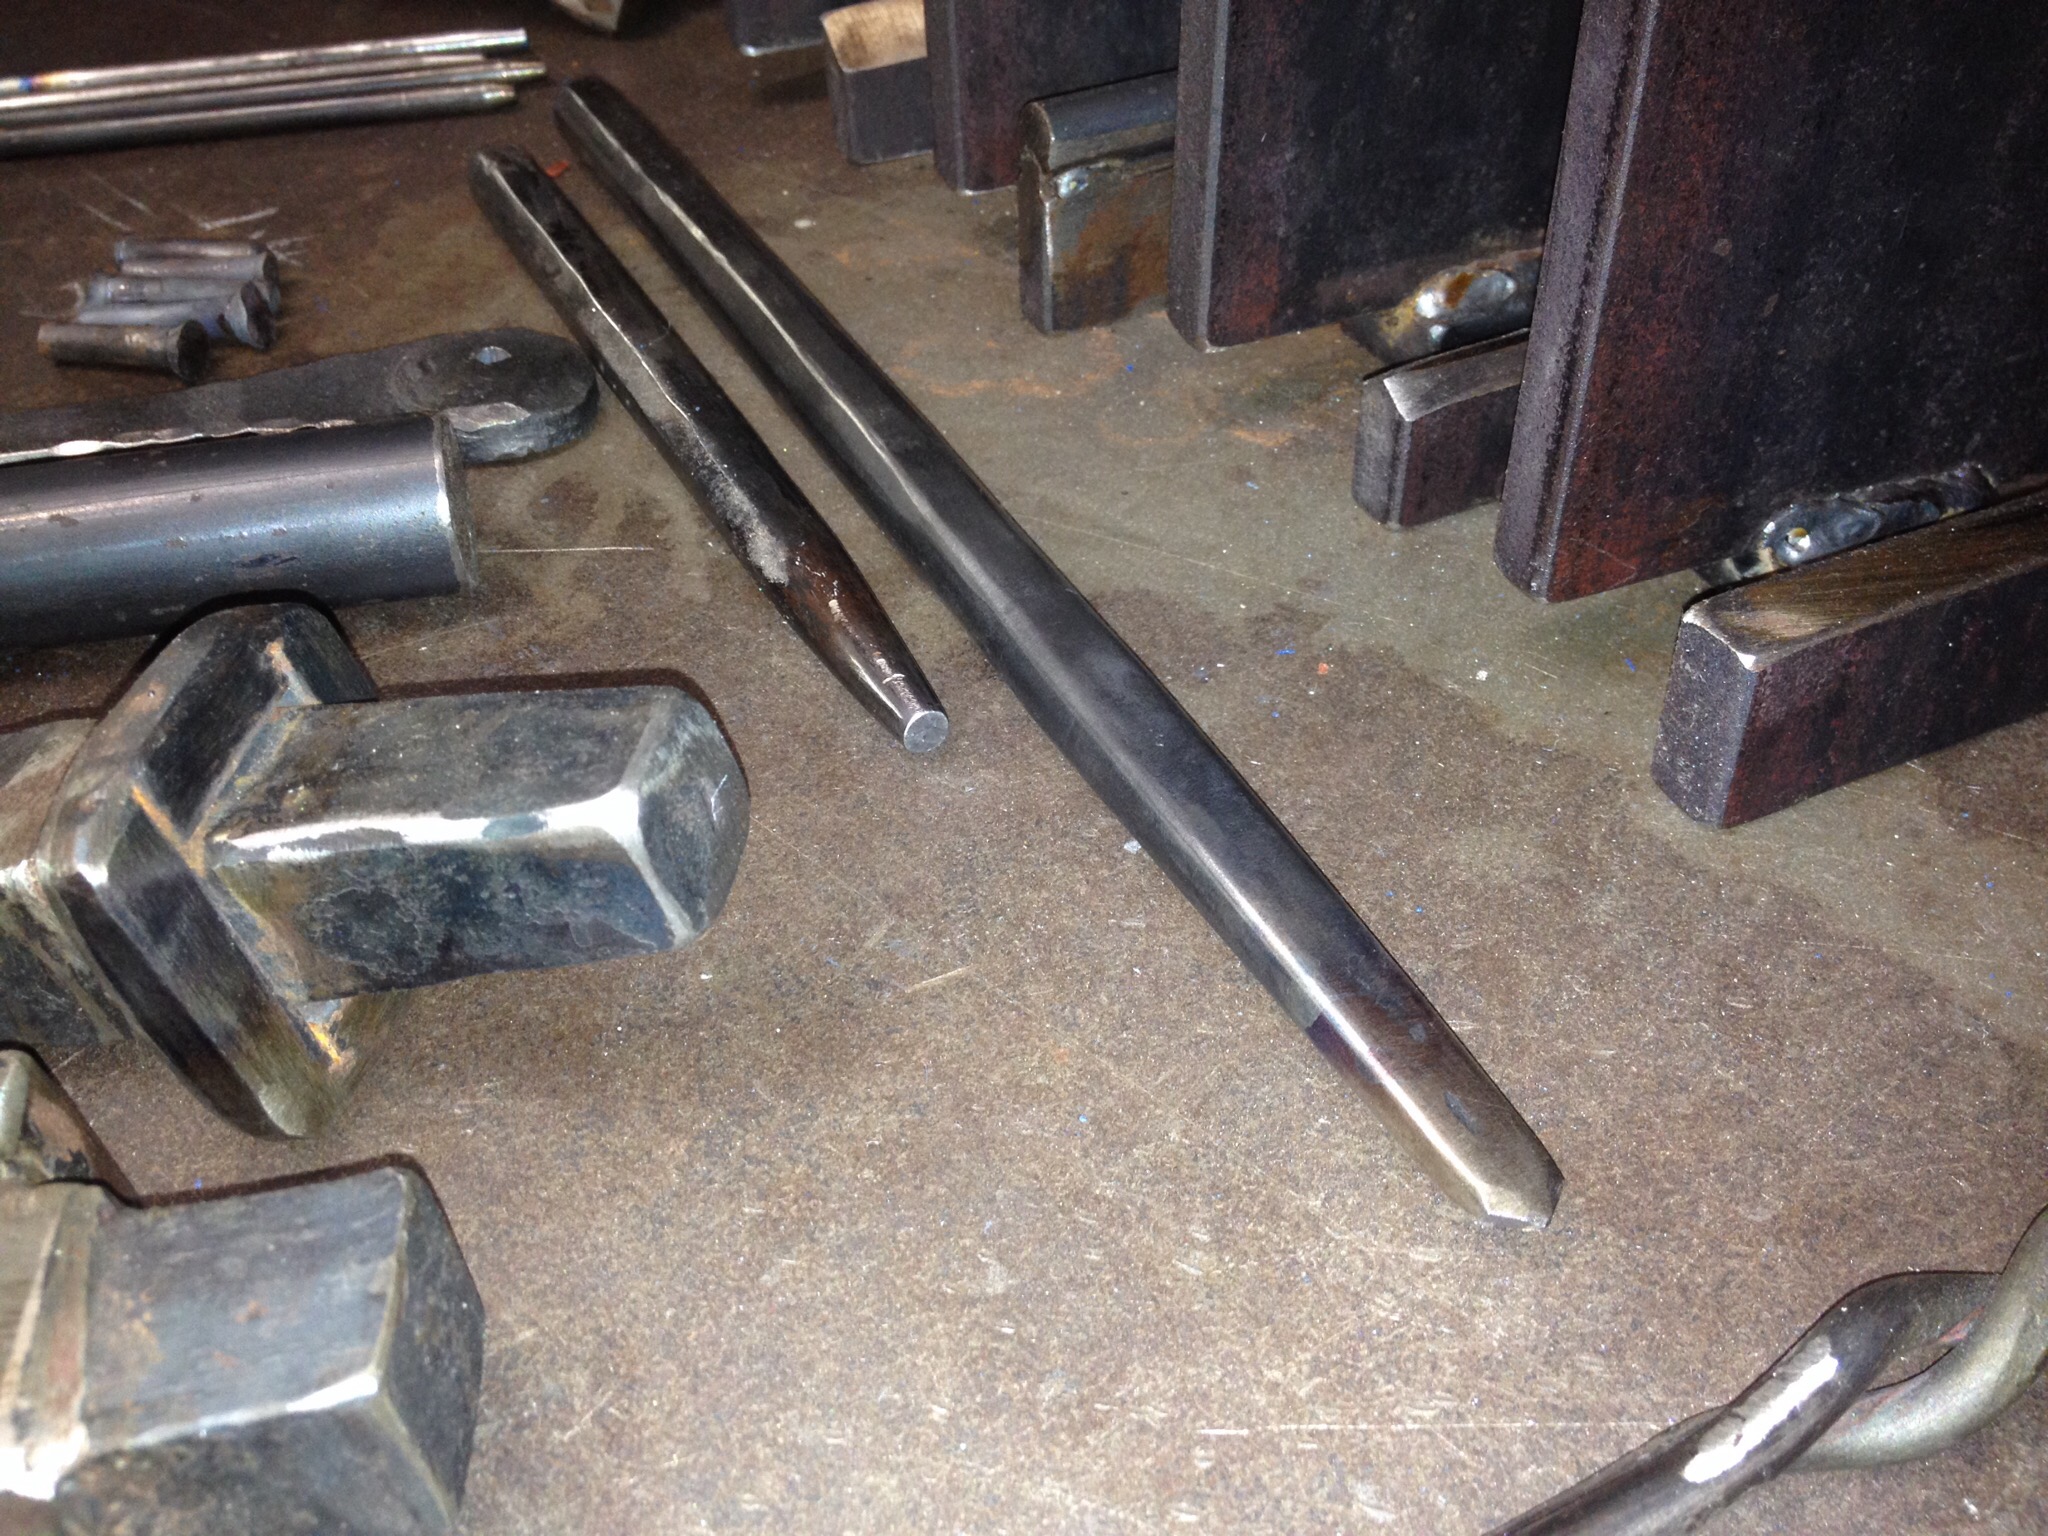
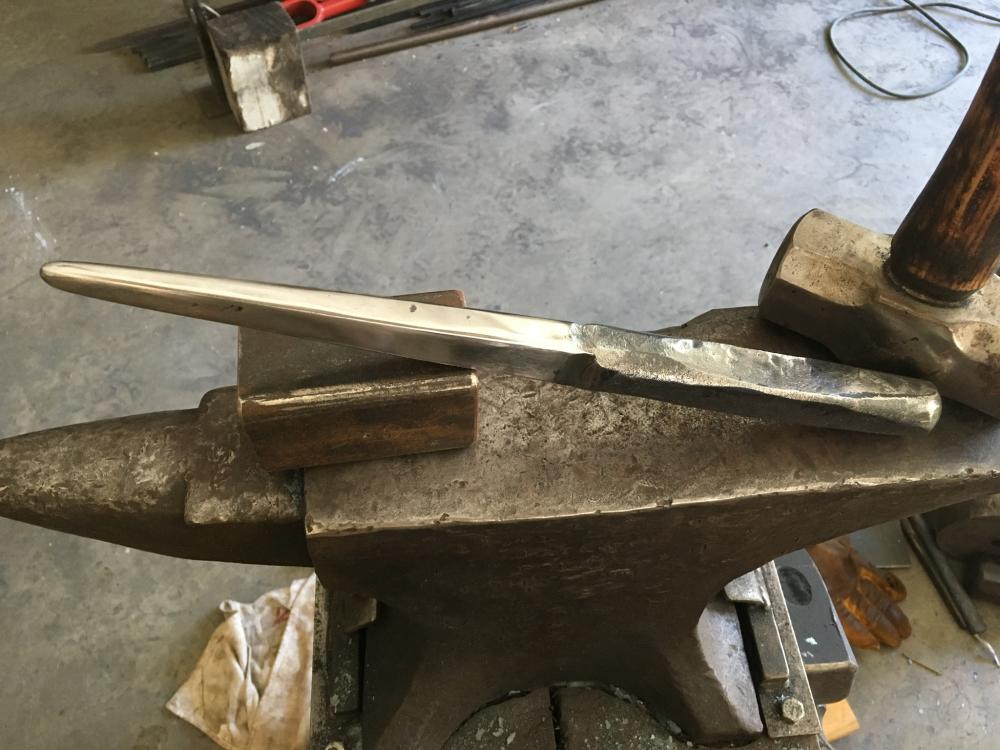
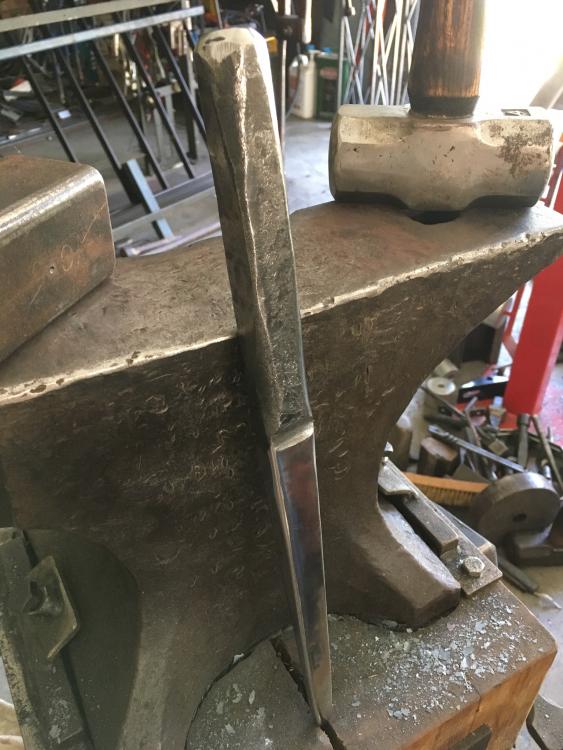
Hello Artisans almost a year ago I posted some pictures of my new home forge and some of the tools I made from scrap steel - the start of my smithing Back then I had a pieced of 50x50x100mm 1045 to make my first hammer. A forearm injury and other projects got in the way and I never got started. Back at it again, and I just made a hammer eye drift from length of 25mm round steel cut from an old Japanese crowbar of unknown grade. While making it I used my home made beating anvil, guillotine tool - satisfying! From the sparks coming off the linisher, the crowbar looks to have some decent carbon content. Anyway after hours of beating and some grinding this is what was made. The length is 325mm, width is 25x15mm. Is it too small to make the correct size eye for the hammer head billet I have? The tool was just air cooled and it has a hardnes less than 40 Rockwell by my cheap file set. How should I treat it? I will be using an H13 splitter to make the through hole (from Glen on YouTube). thanks.

-
Thanks for the suggestions. I downloaded the app, interesting, although acurate temperature control will be beyond my capability. What I need are tools to use for forging a rounding hammer head (top and bottom fuller), hammer eye drift (I bought an h13 slitter), blunt chisels for texturing leaves. Only making tools for myself. Also having some hanging around is good. I have some salvaged car coil spring and leaf spring and Pandrol clips. Might try and scrounge some assorted sizes of 4140. Just hoarding really for when I get an urge or need to make something.
-
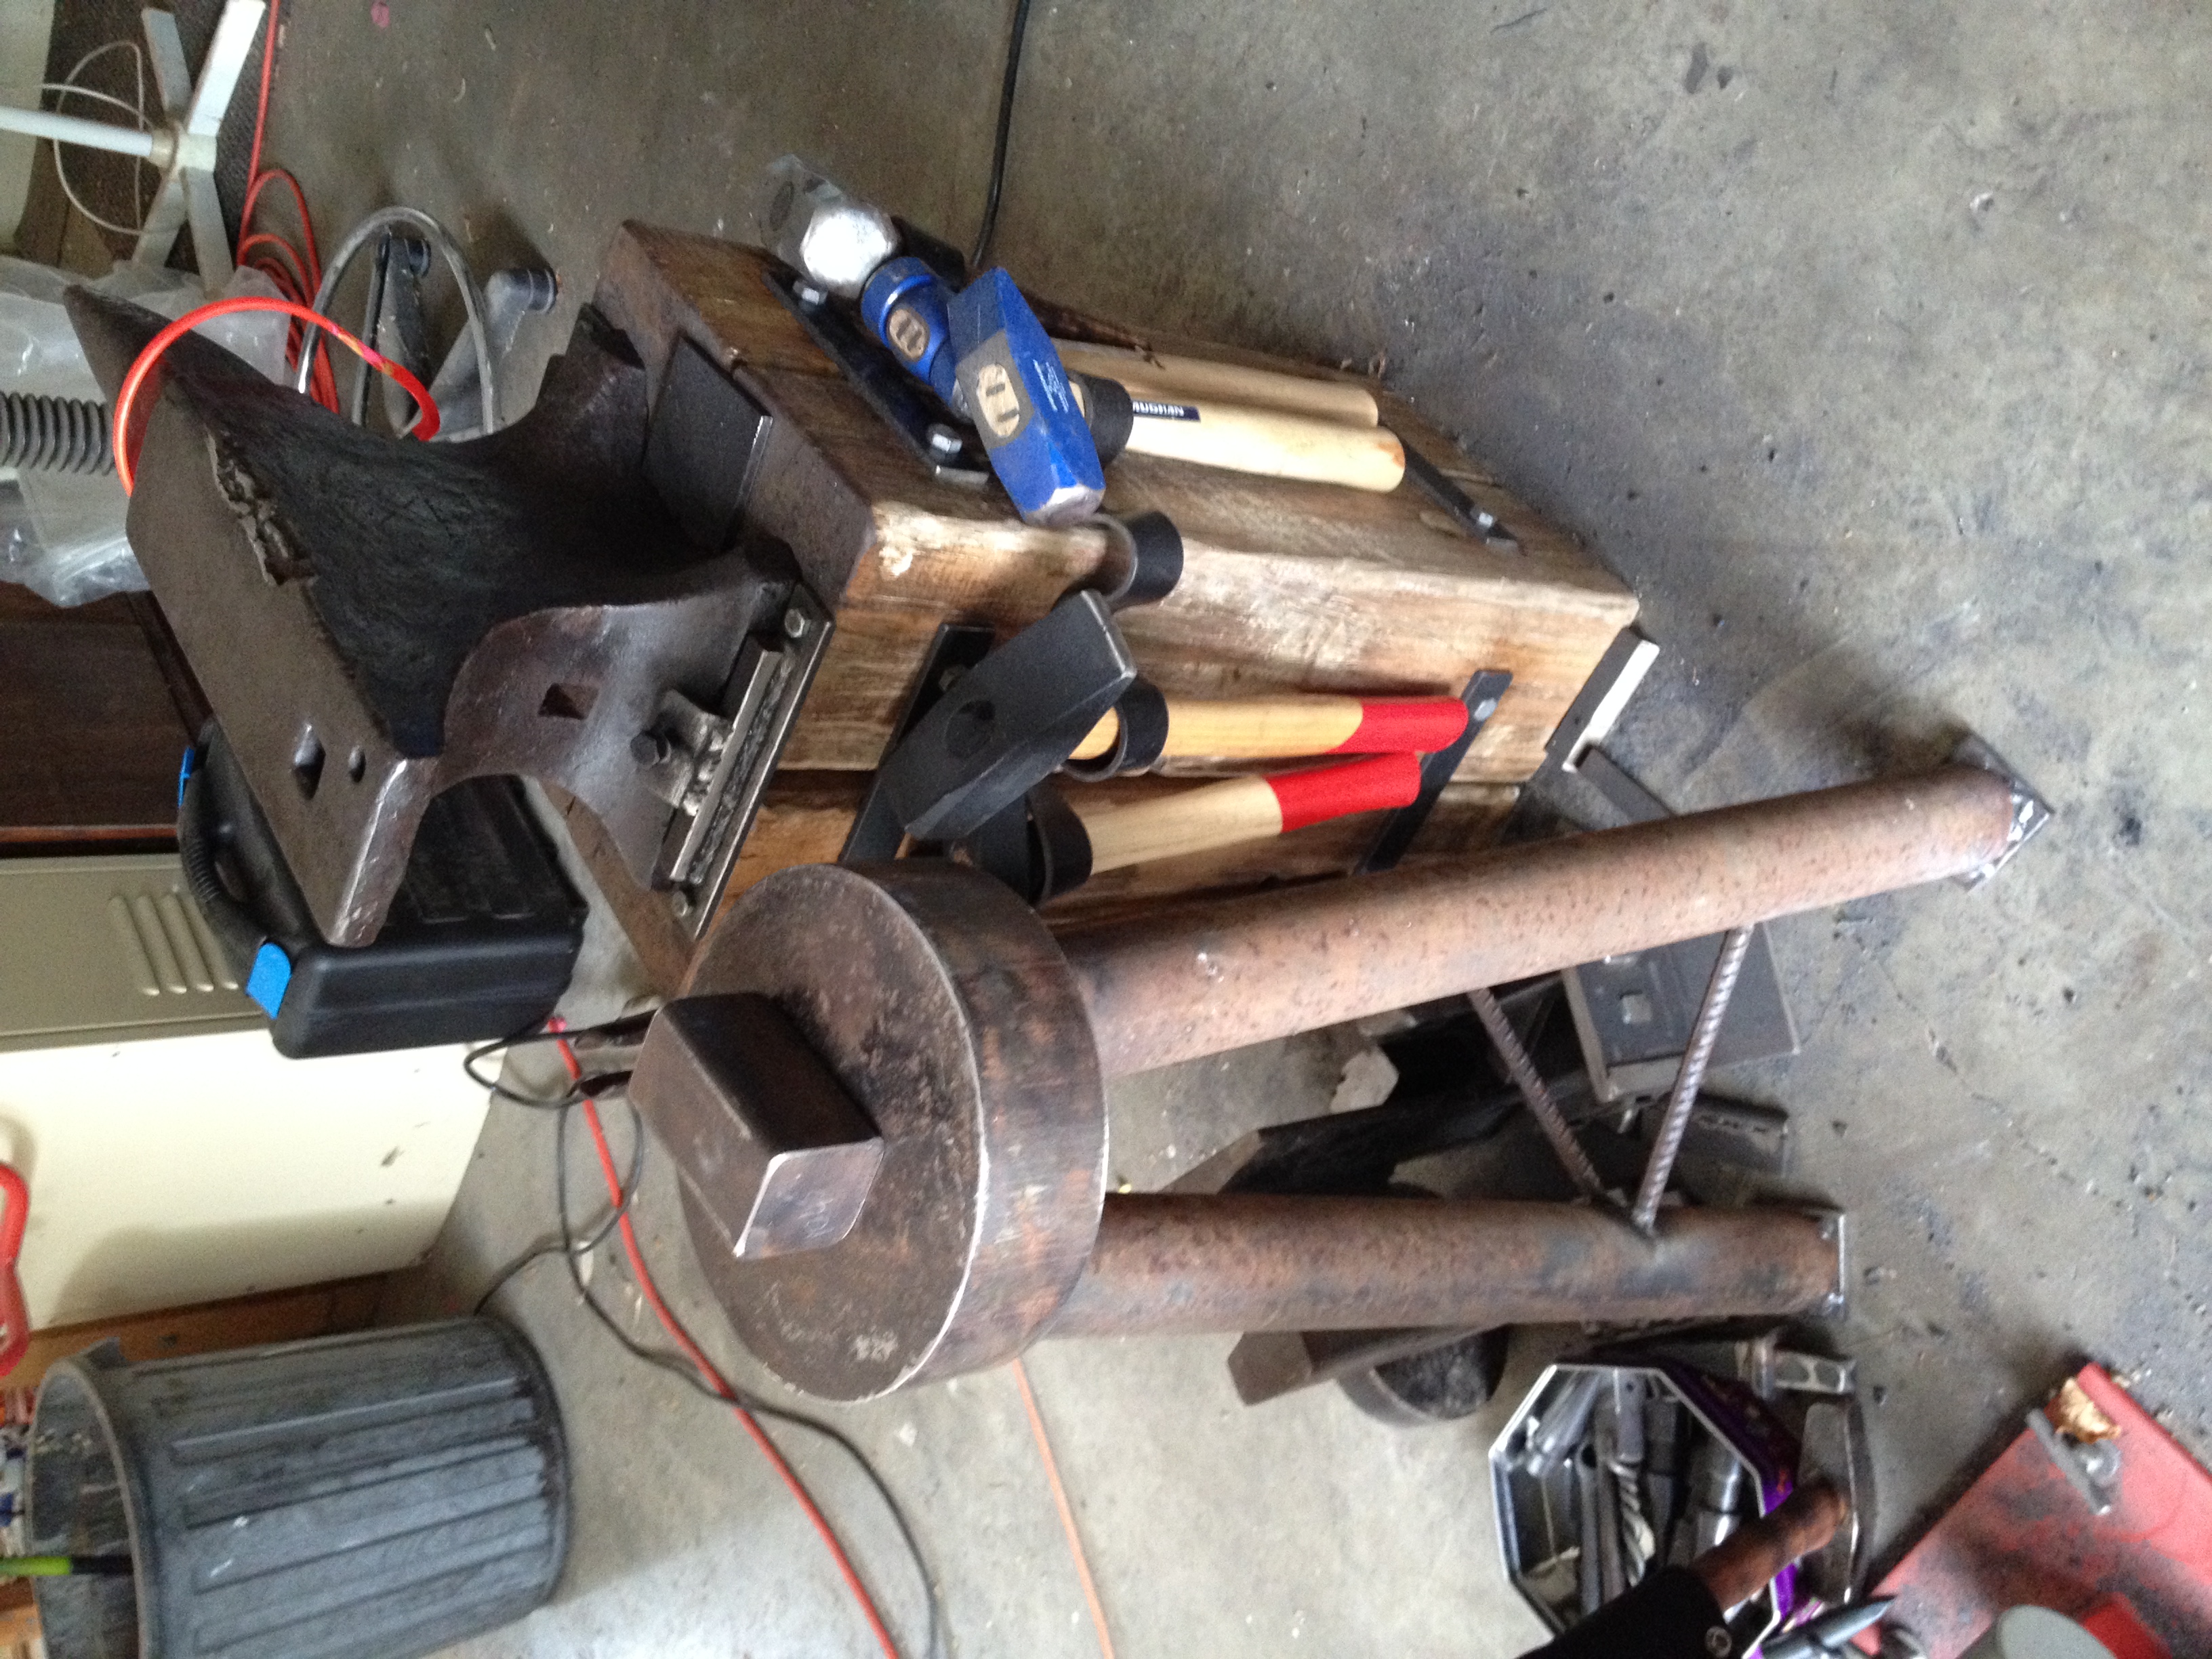
Anvil is just a 90lb-er and had already suffered some damage before I got it. Yes the hammer blank looks dauntingly thick, 40mm. Got to make the drift and spring fuller first.
-
Here it is finished, with my first 1045 hammer blank on top. Should save the face of the small anvil.

-
Hi I have acquired 1.2m of 20mm H13 steel. I wanted to try making some wire handled punches. What other blacksmith tools could I make with it? thanks
-
Thanks for the interesting idea. Still going with original plan and will post picture when done.
-
As I said, I already have an anvil, just want to protect it from any overly enthusiastic sledge hammering :-) Also. As it probably mild steel, it could be used for chiseling.
-
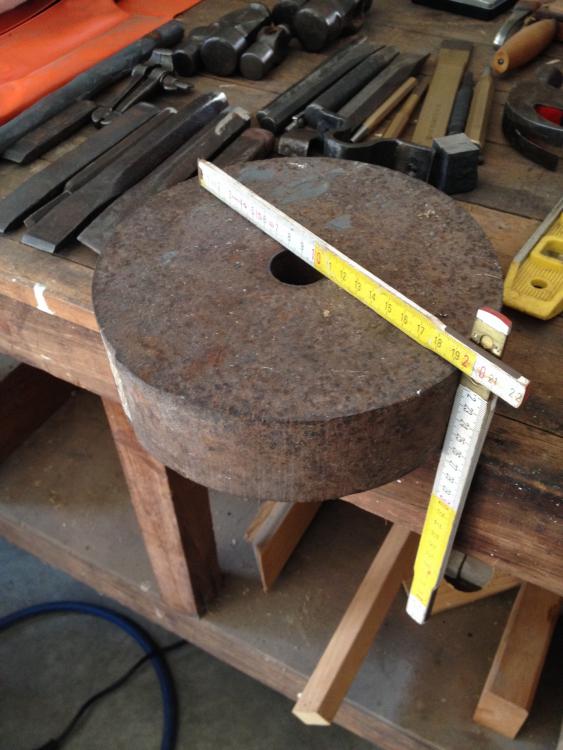
Hello Everyone, I damaged by small antique anvil a little when straightning a Pandrol clip and piece of the edge chipped off. I have this chunk of steel of unknown qualities. I think it used to be a barbell weight someone made. 8" x 2" with 30mm hole. Would it make a decent striking anvil or should I keep trying to find a broken forklift fork? Maybe round is a potential problem? I have some thick walled 2" pipe I can use for legs. All suggestions welcomed.
-
Hi is there any way that the tool images can be reposted for this thread? The images no longer exist when I follow the link on page 1.
-
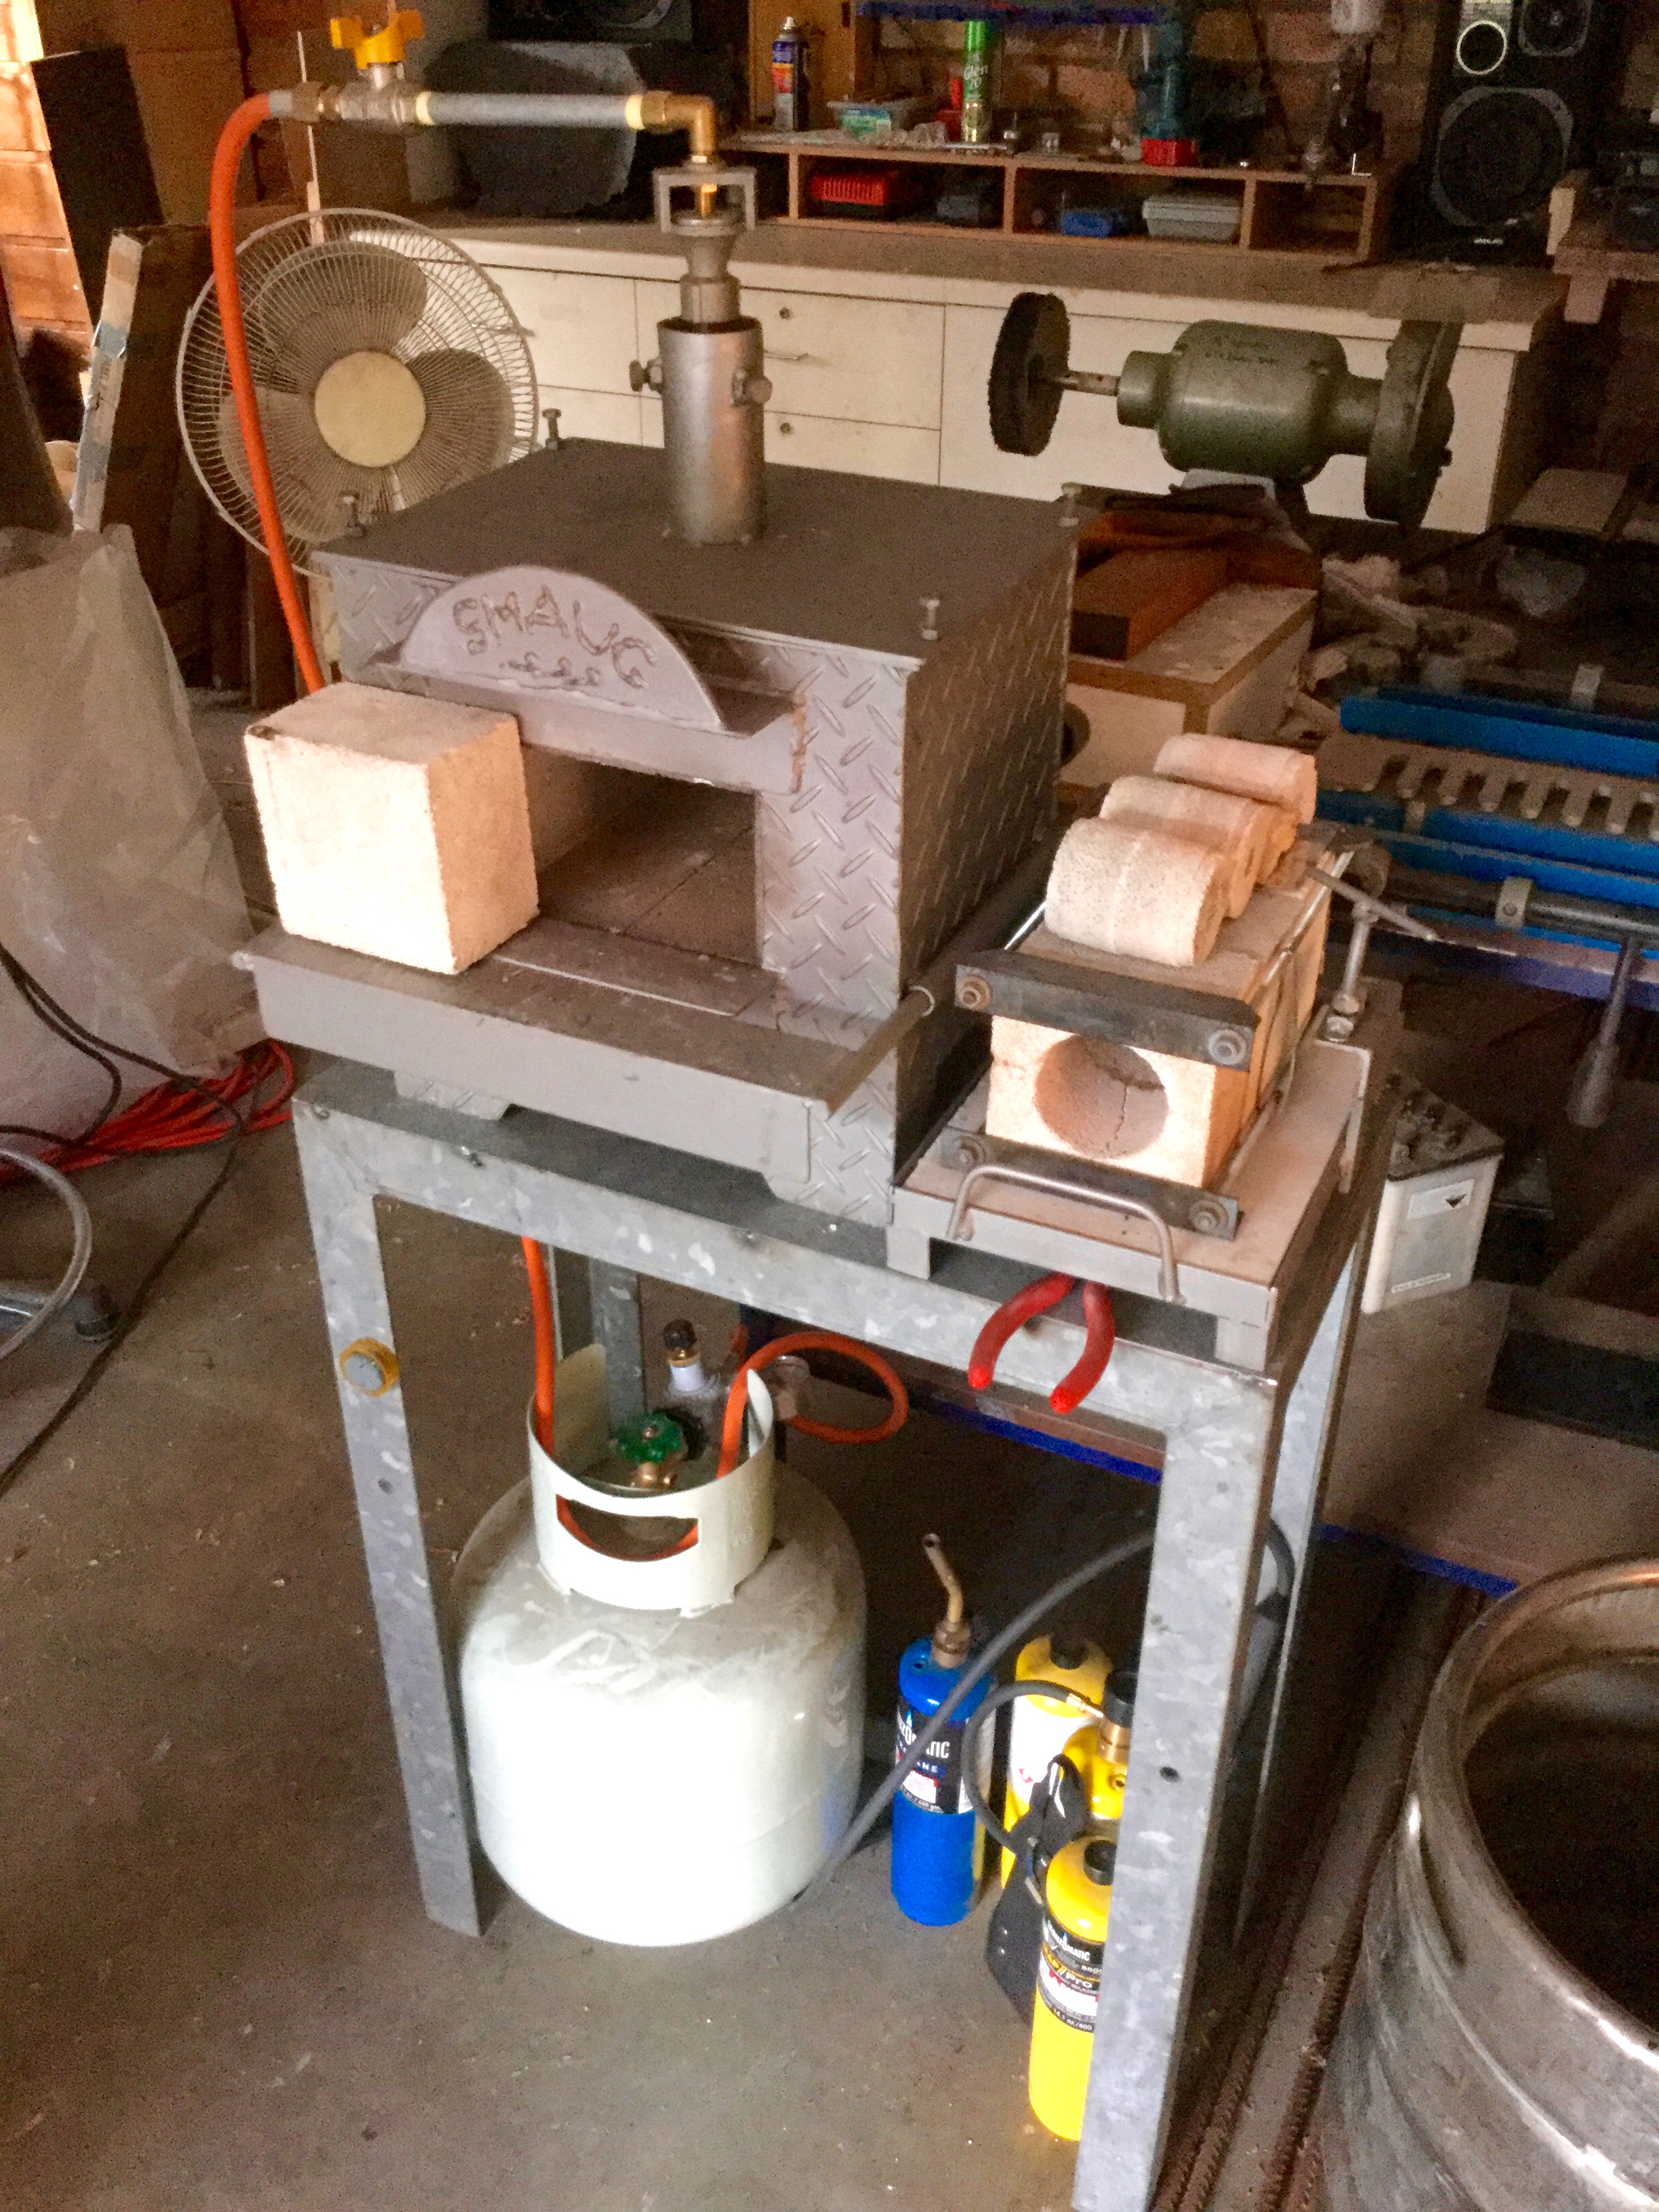
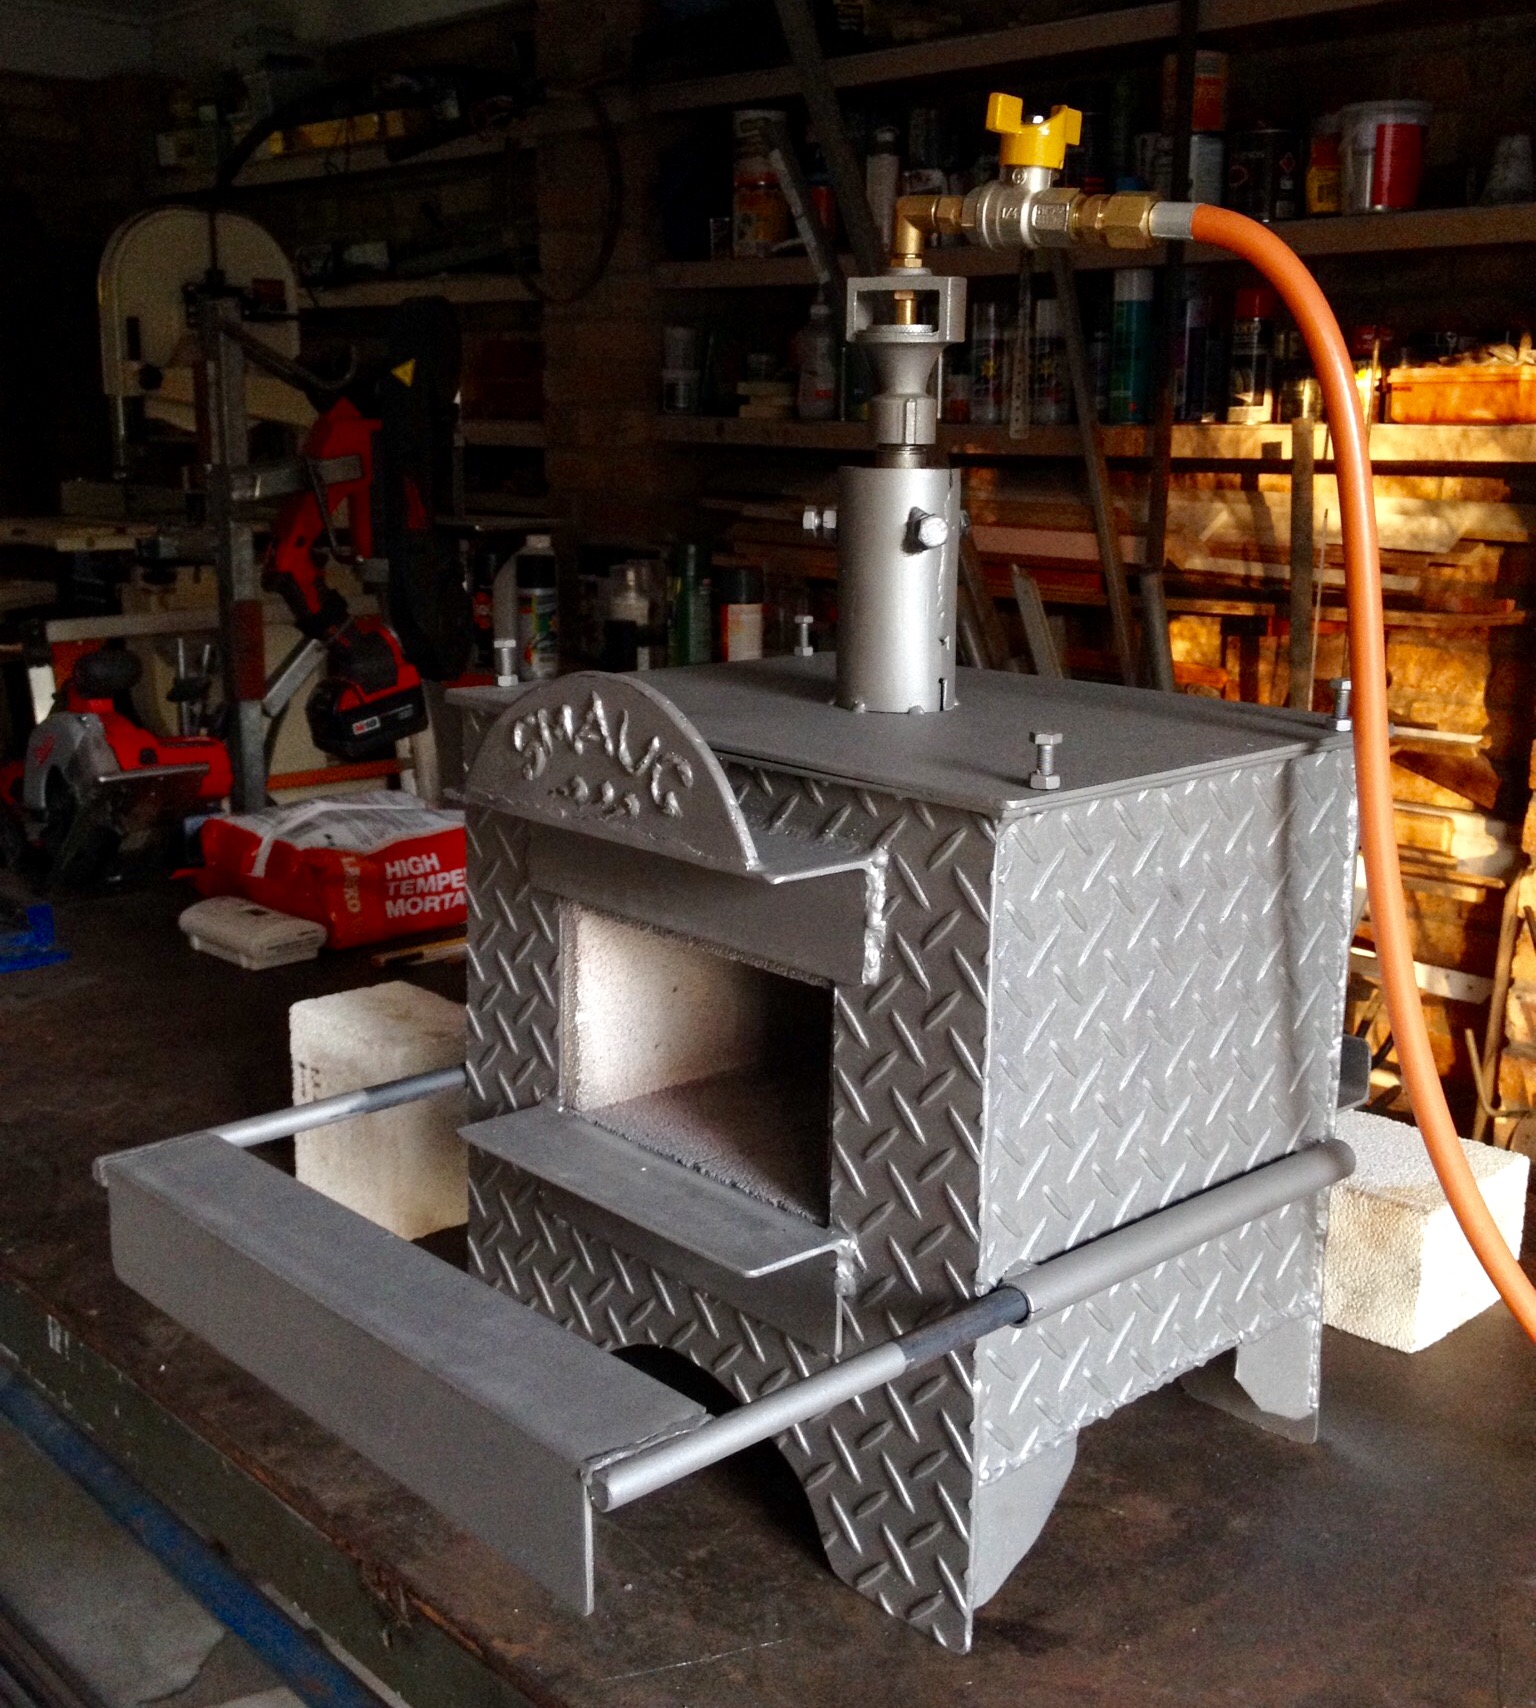
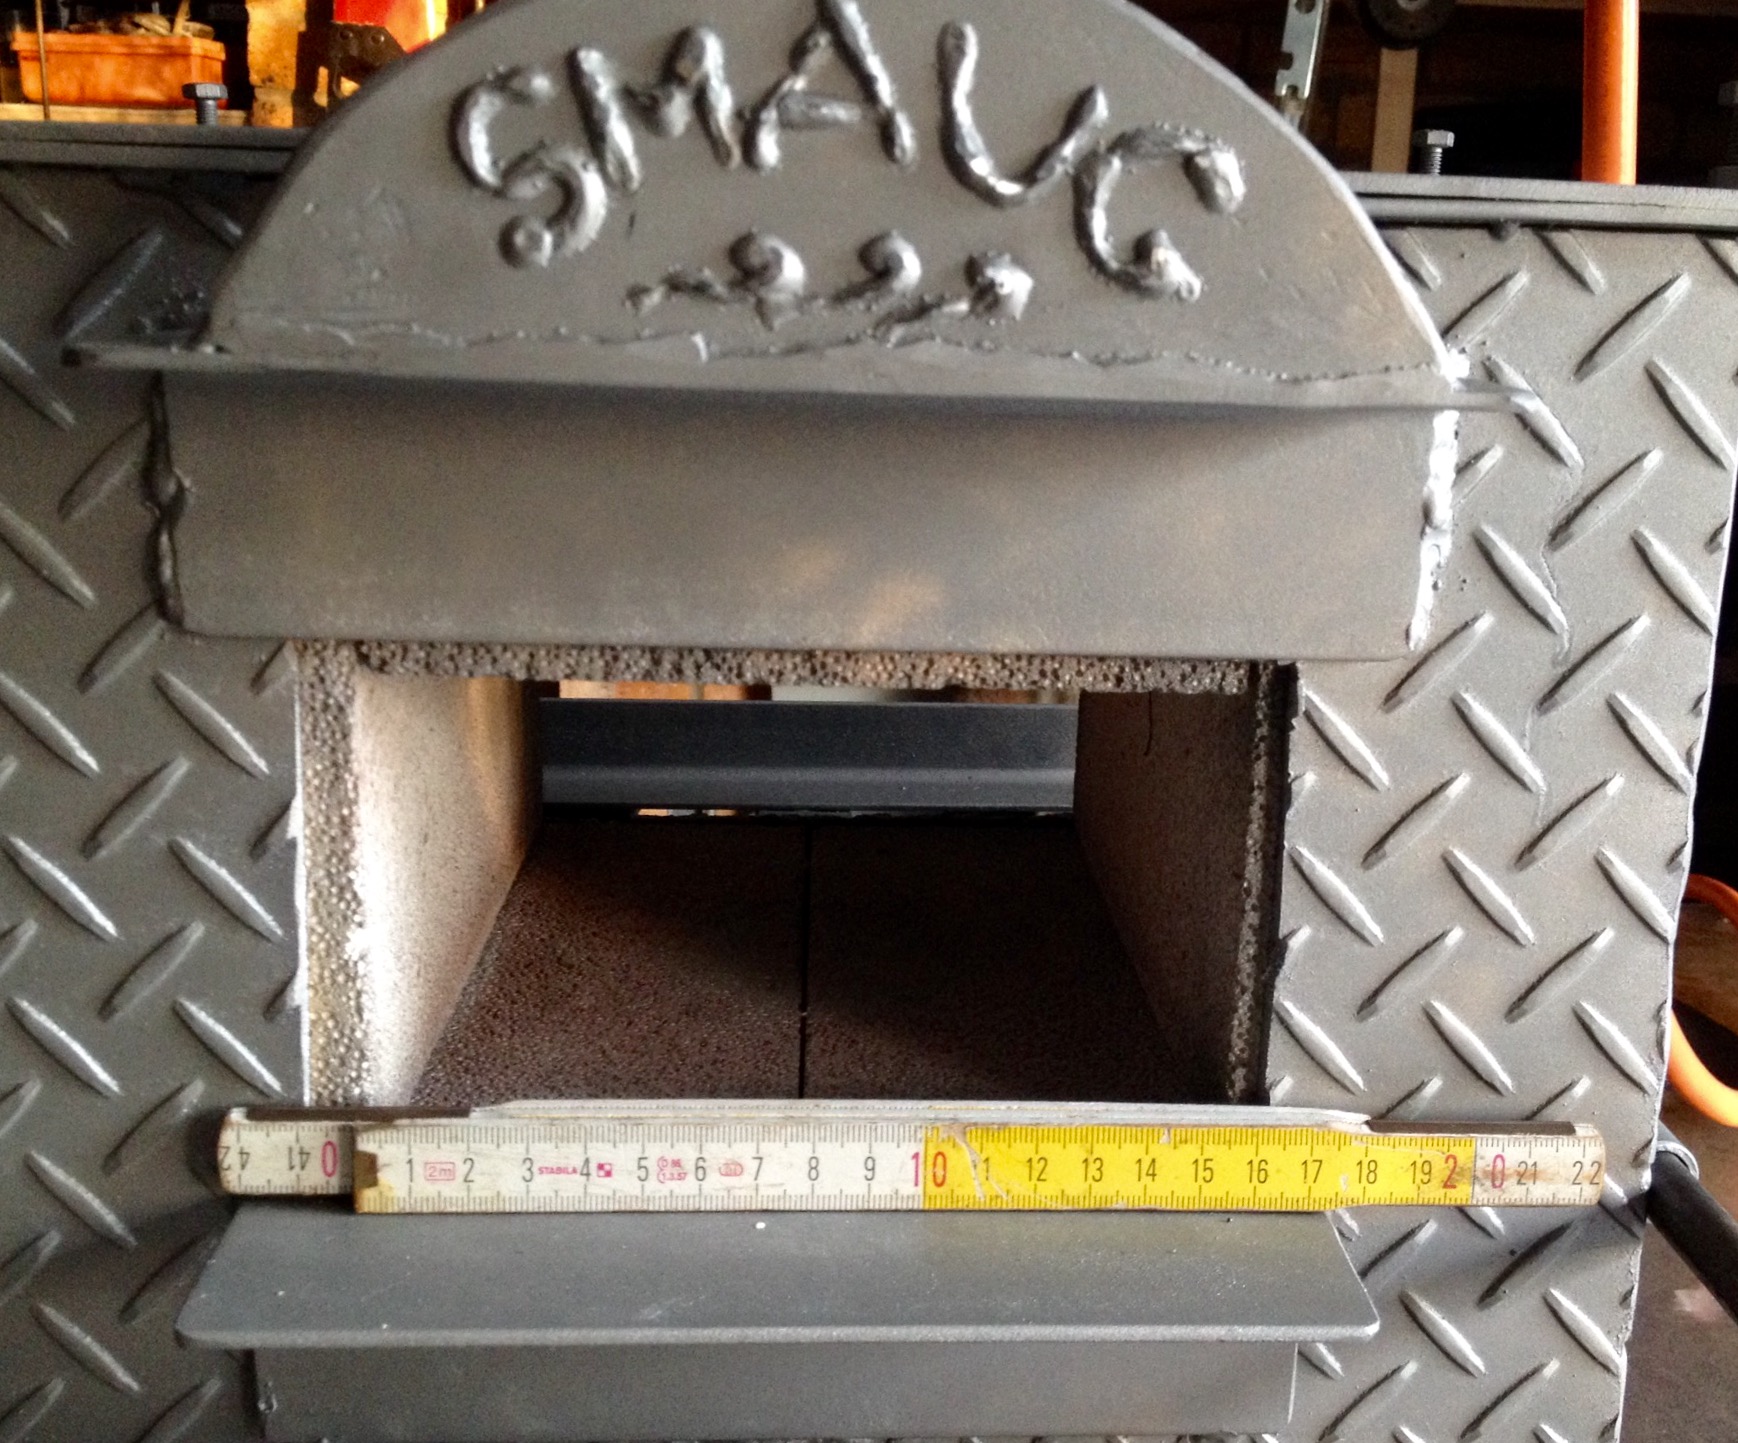
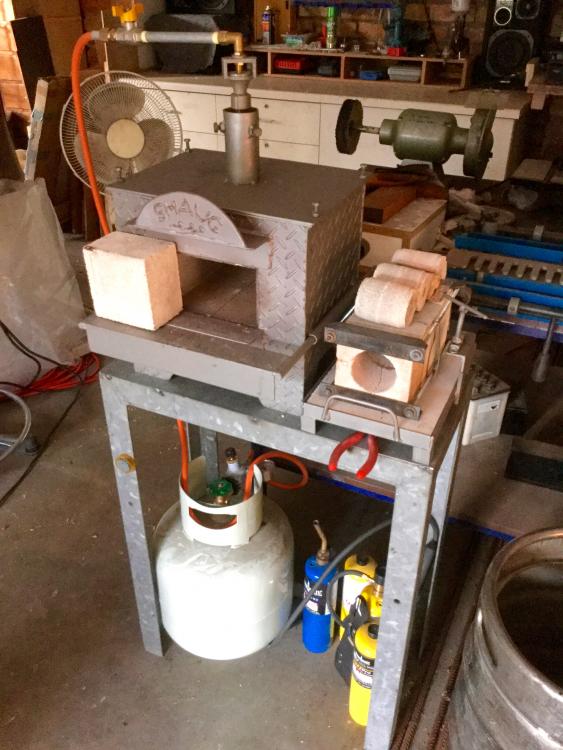
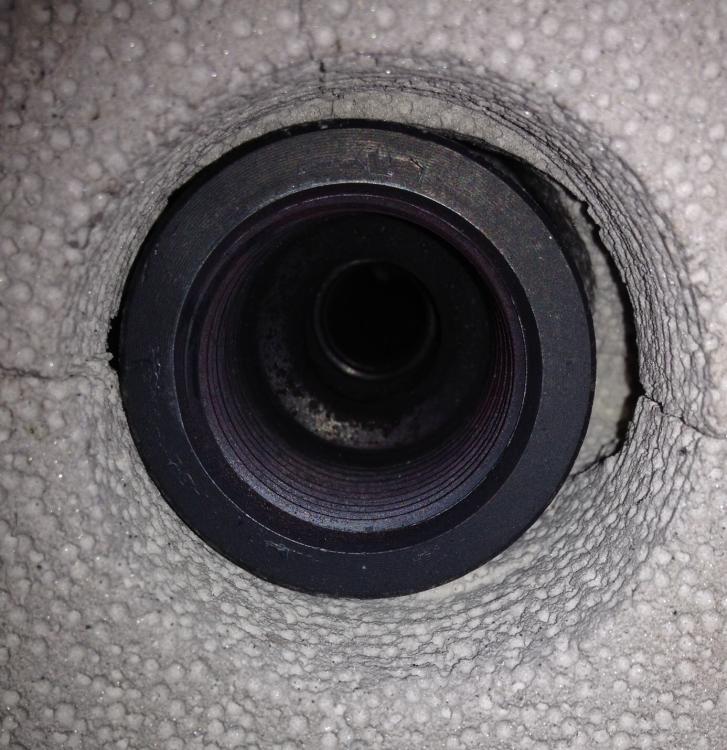
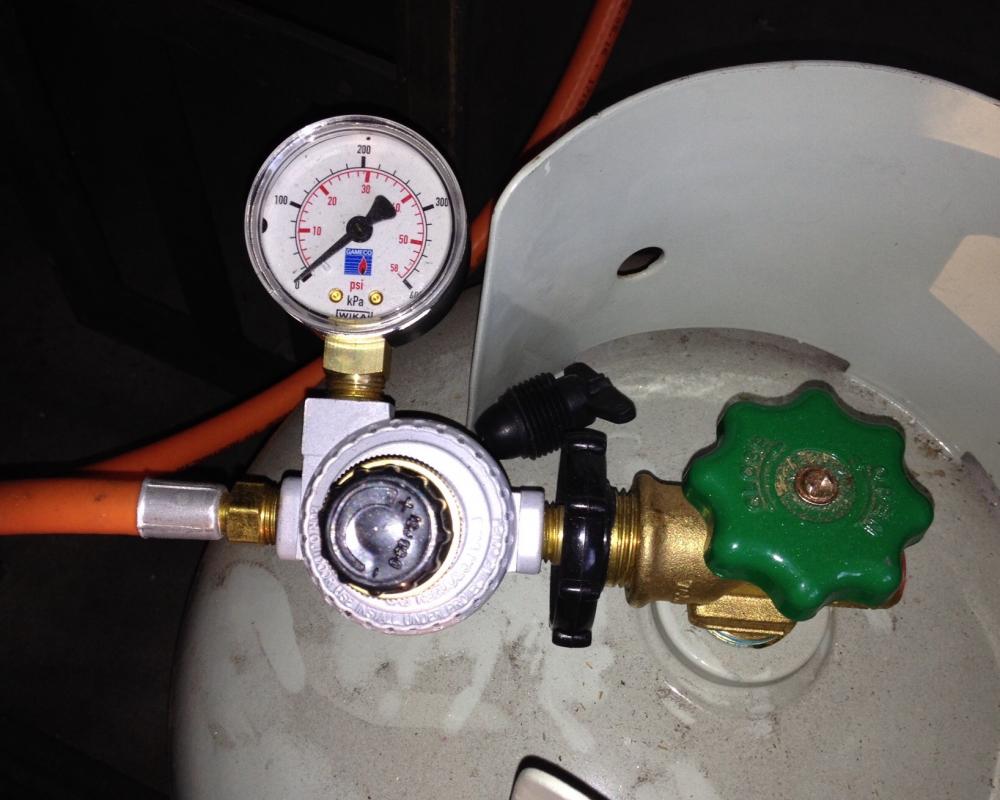
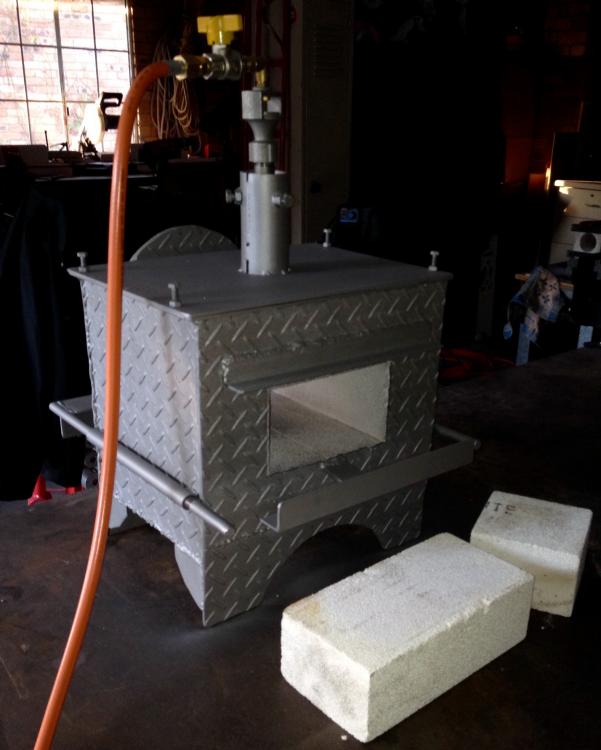
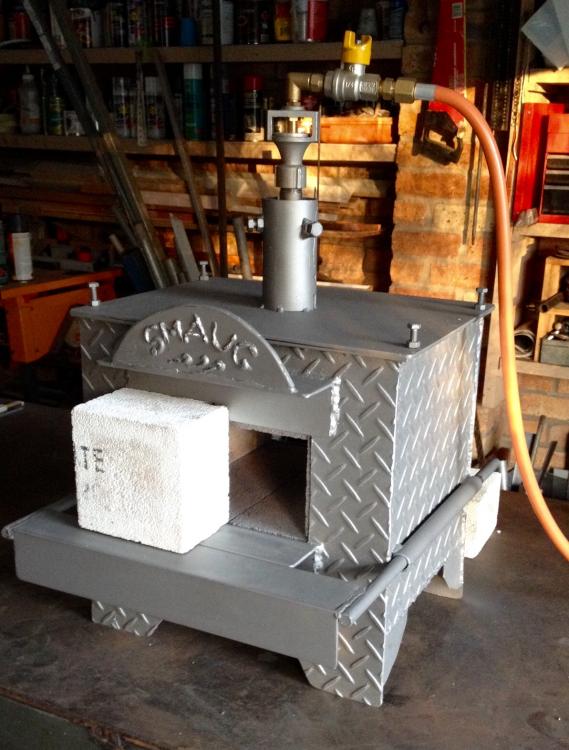
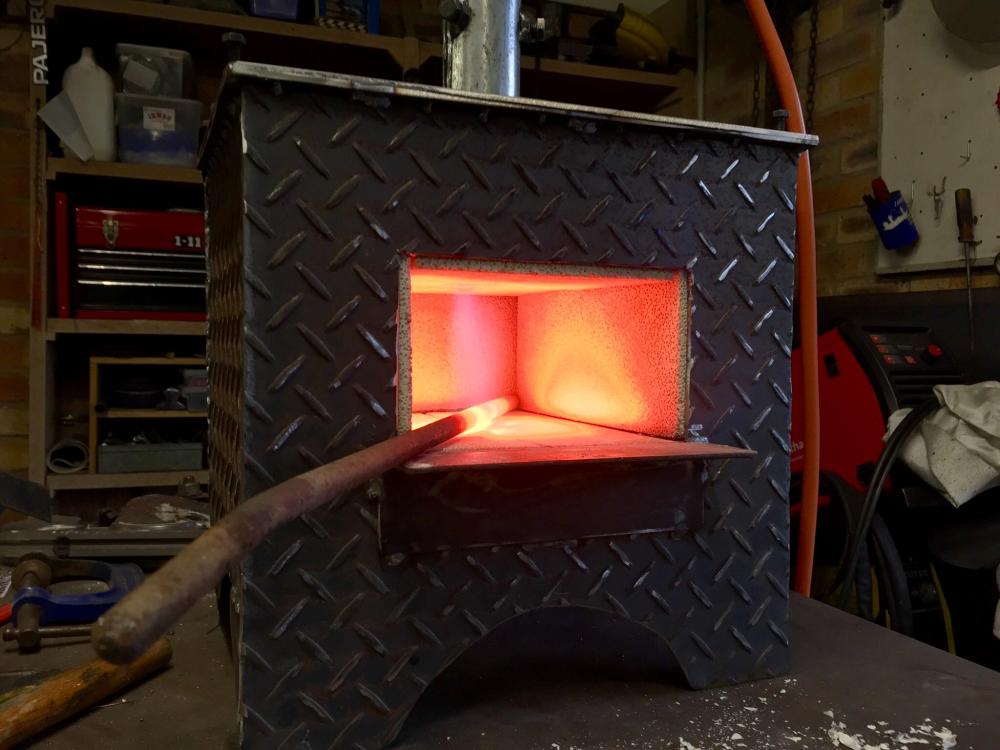
Just an update: New picture showing gas valve extension tube added to reduce temperature of the valve (as suggested, it worked). Also showing refurbished bernzomatic mini forge, now on refractory board with proper torch holder (previously used too much wood in build, that eventually turned to charcoal!). Using a cheap eBay thermocouple, the chamber tempersture only reaches 850-900 Celcius (steel is bright orange to my eye at 7psi) but I was able to straighten out a Pandrol-type rail clip with a large hammer. Might try higher psi to see if temp will rise. Forearm injured from long-screwing some timber so cannot get stuck into a project at the moment.
-
Posted elsewhere, just adding to collection. It is a Wilkinson and weighs about 90lbs
-
You spotted the small forge at the back I see
-
-
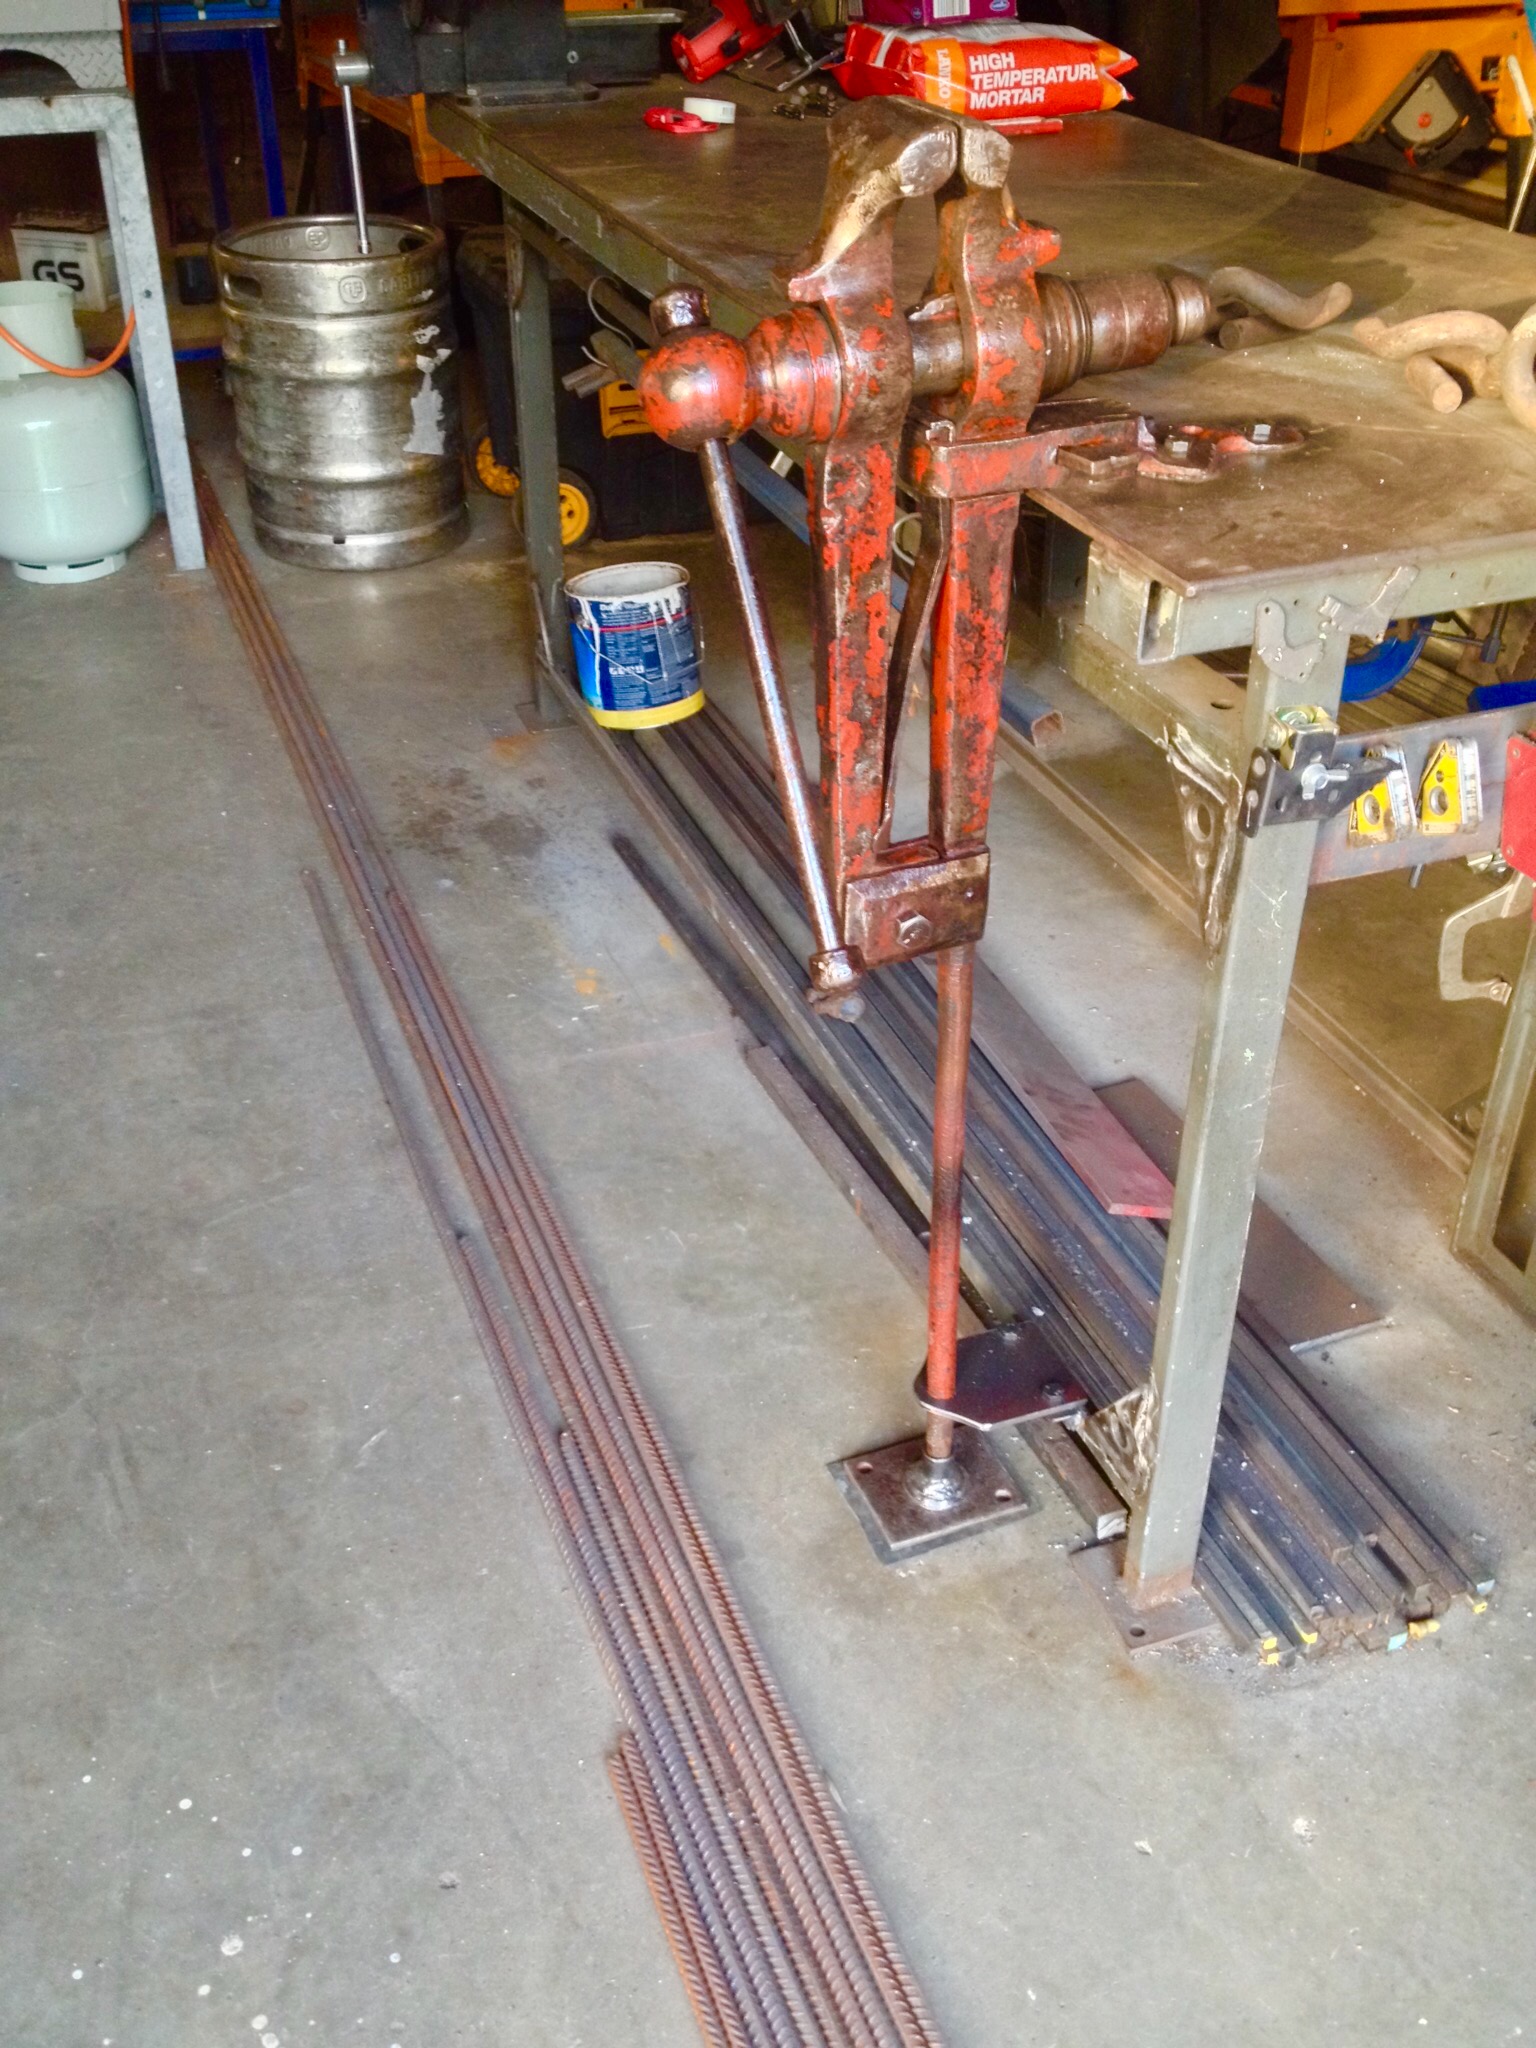
Hi I have previously posted pictures of my anvil and forge in the other forums but today finally got my old 4" post vice attached to my welding bench. Posted a couple of pictures for anyone interested in the installation. I had to heat the leg and straighten it, but I like the old paint so didn't strip it completely. I didn't manage to get the leg perfectly vertical on the bench so may have to fix it later. This old vice either had a hard life or it wasn't forged perfectly, difficult to know what part of the vice to work the levels from. Sheeesk, I need a bigger shed! Rebar all over the floor. Also, newly added recycled beer keg slack tub.


-
Thanks, That would be why my Google searches came up blank! The refractory mortar available to me from the hardware store is only rated to 1000 C, for pizza ovens only. I'll use nothing until I come across a small amount to paint on as you mentioned. when I bought my kiln bricks I asked about shelving ans was told it would not take the heat. I have seen people using high alumina tiles but no idea where single items can be sourced. Tile would need to be thin so as not to reduce the forge height too much. Every year I visit a foundry for work, some of what they coat their crucibles with might be good.
-
Sorry about terrible spelling. Also, 1093 Celcius Dupli Color High Heat auto paint can take the flames without burning. Touch stuff!
-
Thanks MF. Goeje Avond ( Dutch wife!) I have the community to thank for many design features. I searched the net and picked up ideas from what people had shared online. The vertical burner configuration was one I found on some commercial sites (farriers forges for example) so thought there must be some merit (or more likely economy of manufacture). I had read about he chimney effect also. Wrapping a kitchen fire blanket around the top vertainly protected the valve from the head radiating from the top of the burner with choke closed off. I think I may have to get an extension to move the valve away. The burner designer tells me he had not inte ded it for this tupe of configuration but it certainly seems to work quite well.
-
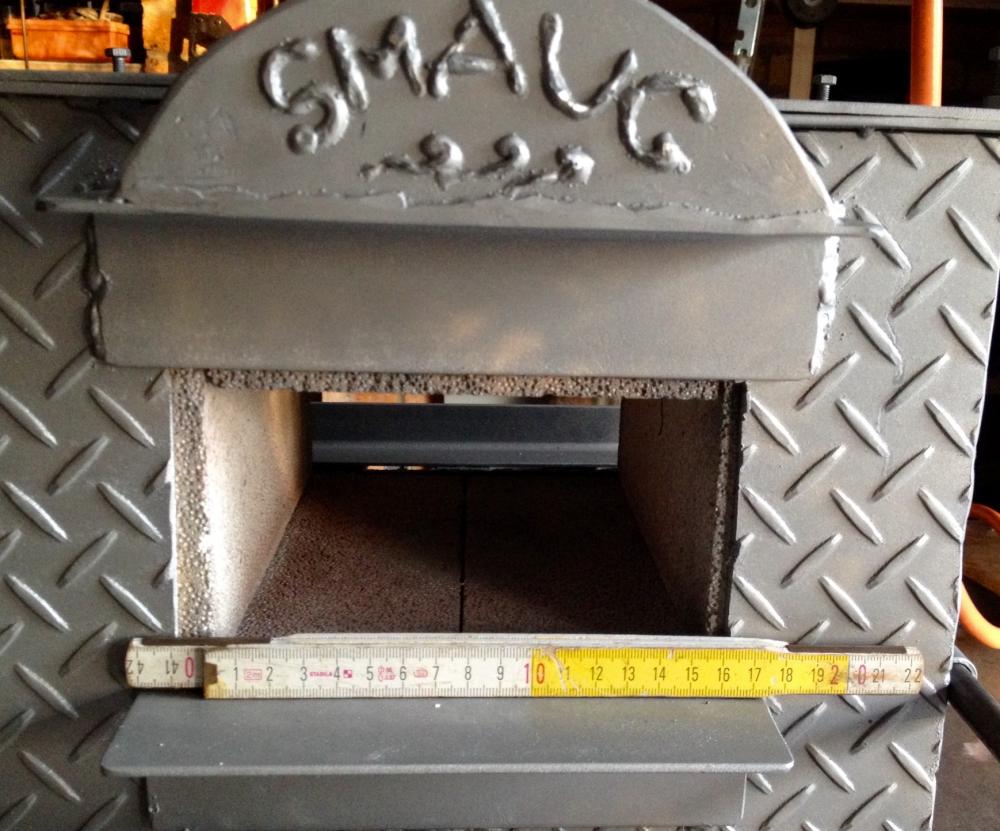
Thanks for the suggestions. If the heat is getting to the valve by conduction then presumably it would need quite a few inches of extension. If the heat is getting to the valve and tube by convection then presumably lagging would be a solution. Any ideas? - probably both play a part. Wish we had easy access to the refractory materials in small quantities here in Oz. Thanks for the nice comments. I tried to leave a 5mm brick edge all round but my plasma cutting skills let me down a bit on the backside. The checker plate is quite thin and during the first burn the heat escaping around the brick at the backdoor cause the metal to buckle; had to bend it back and add a piece of angle iron as a strengthener. The porch is to deflect heat away from the air intake and was also added after the firt run. So not so much planning as fault fixing! You may be right about the soft brick as my first micro forge cracked rather quickly. However, I drilled out the brick centres and the wall thickness was greatly reduced. Hopefully this will fair better, and I will not be forging every weekend for a while, so I could still get some mileage out of it. I chose bricks also because high temperature refractory board is either hard to find or too expensive. I would apply a lining but these items are also not readily available in OZ in small quantities. While I do not intend to do any welding, I do have a scrap sheet of stainless steel I was going to cut to shape as a floor just to protect the brick from heat, abrasion, but not particularly for borax. Would that be of any benefit?
-
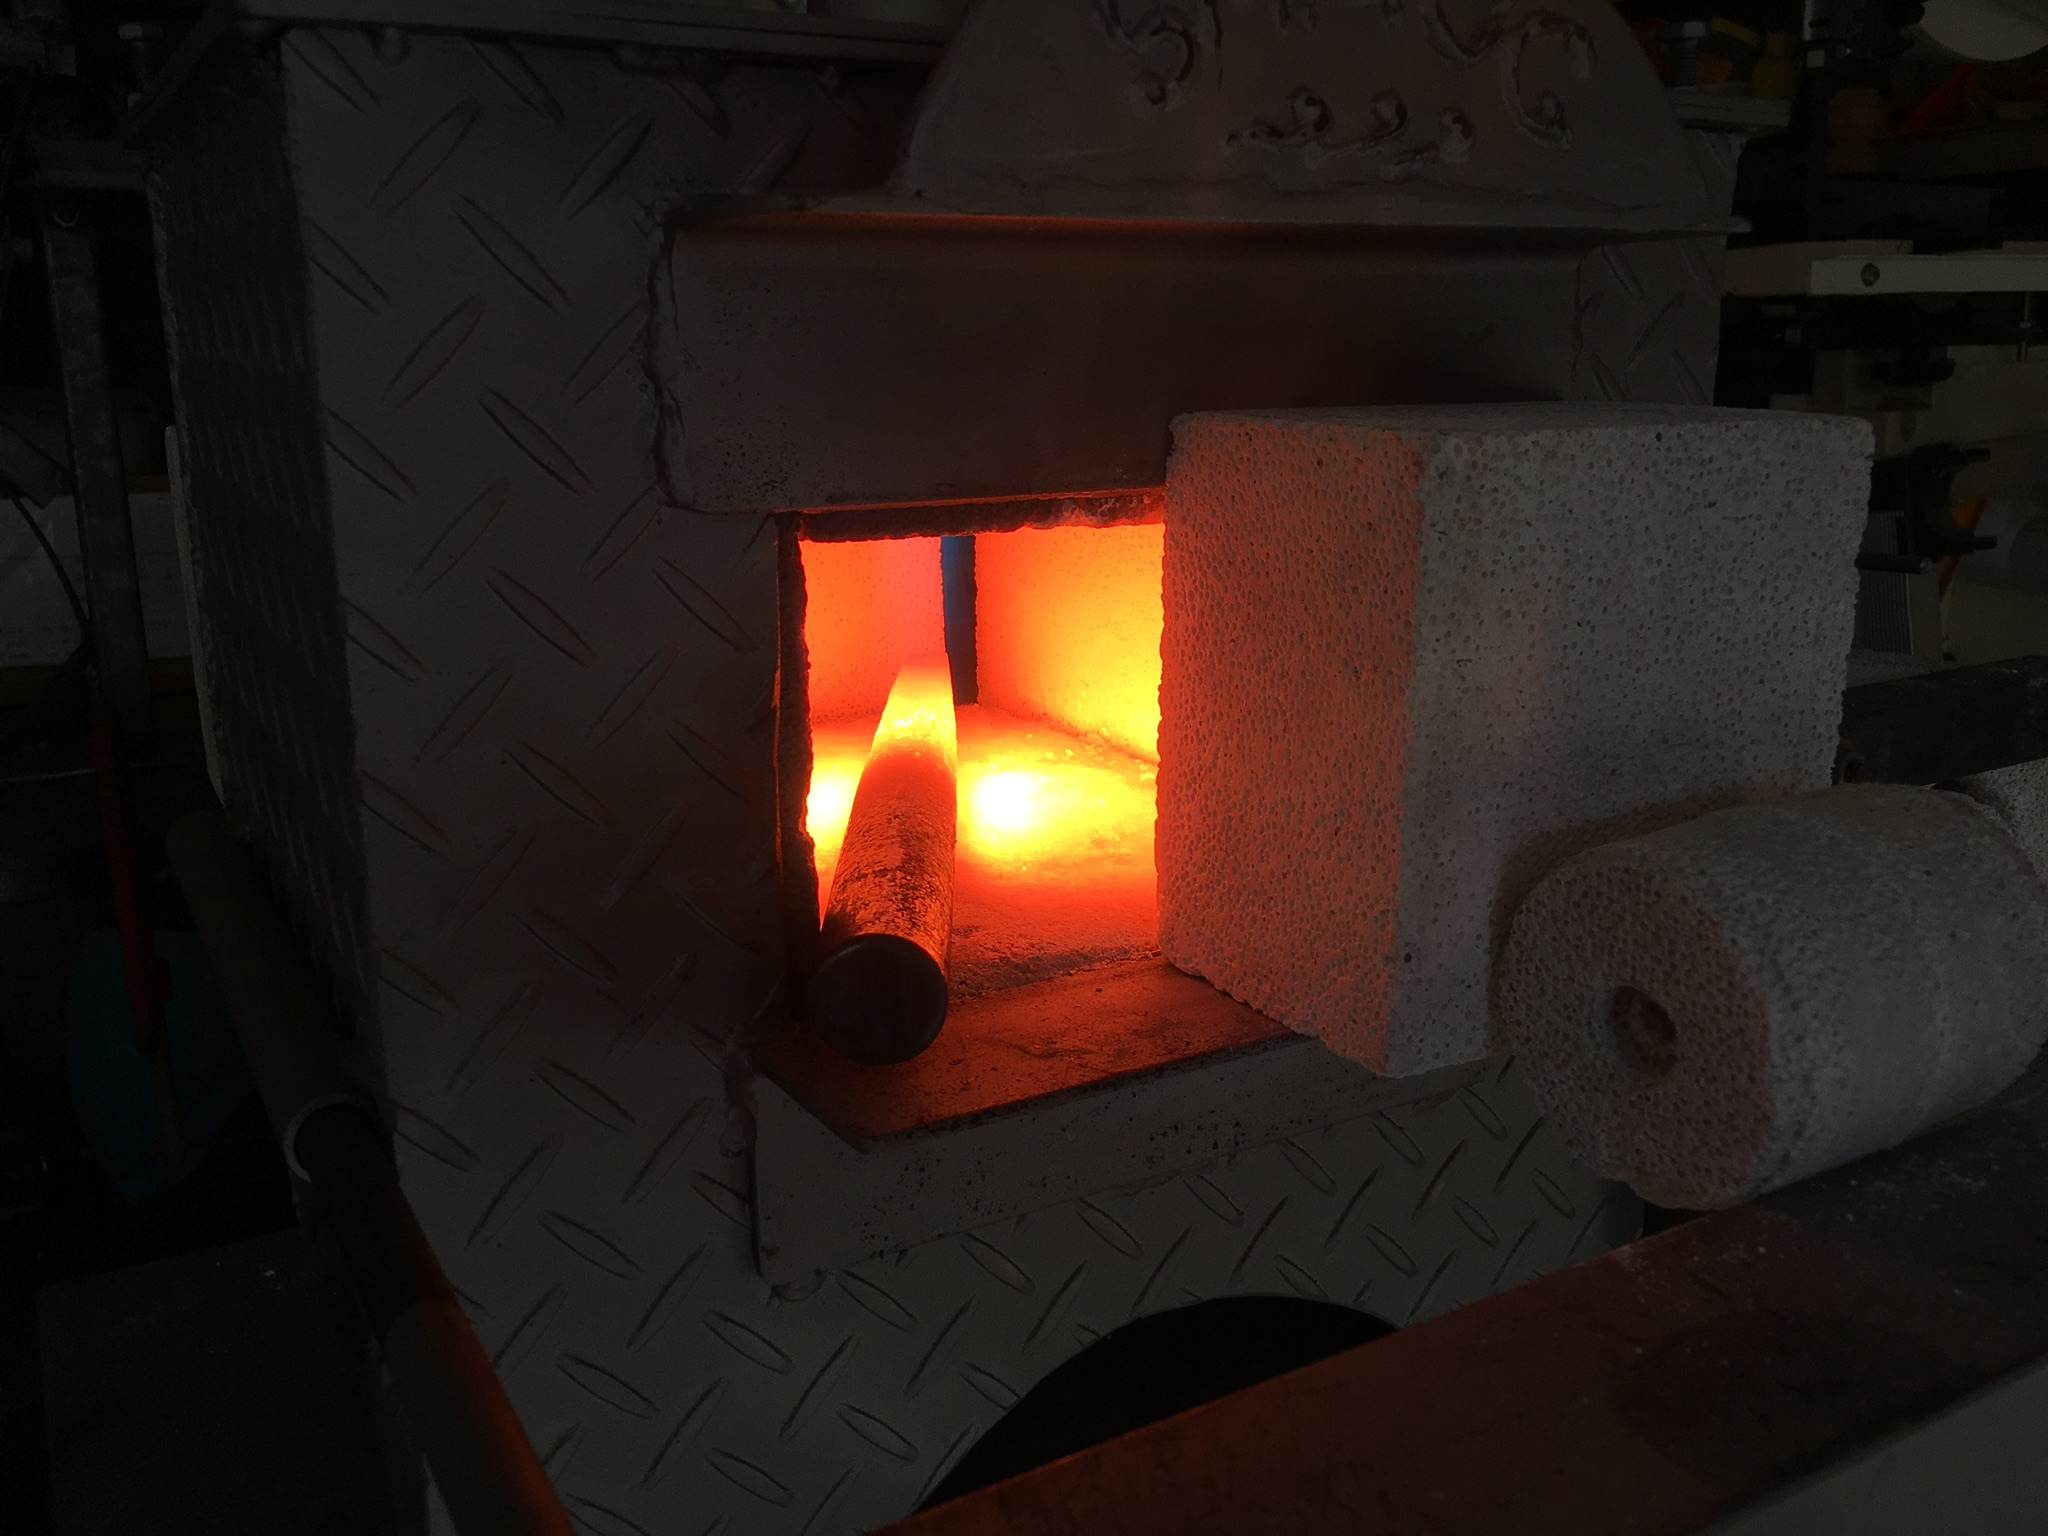
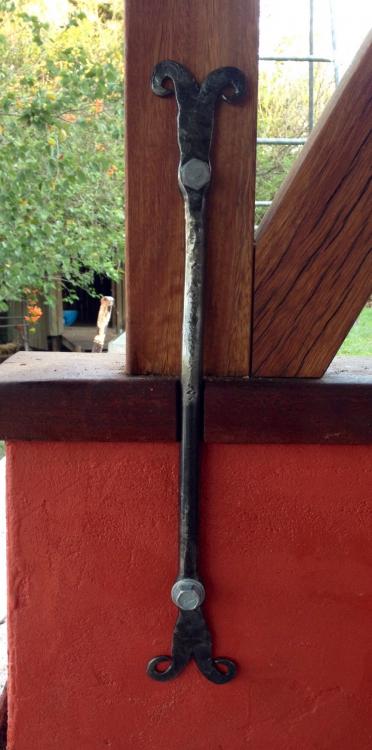
Hi my previous posts showed my old anvil and my first attempts at tool making. My reason for starting to learn blacksmithing was to make items that I cannot buy easily or at all. I don't have time for hobbies at the moment so this is all about gaining ability and skills, and items I need. Anyway, my first gas forge was made from two hollowed out soft kiln bricks and a bernzomatic propane torch and it worked very well. Size was a problem but I was able to make a few things but only just managed to make these anchors for a new building I need tied down to a wall. To make things a bit easier I needed s slightly bigger forge: Ibought a commercially available burner, soft kiln bricks (1400 C) and some ceramic fibreboard (1100 C). I knocked up this forge over the weekend from some scrap metal. I trialled the burner before finishing the design and was finally able to get a stable burn with wide open throttle and about 7psi, at lower pressure the flame front kept jumping to the forge floor. The forge volume is about 200 cubic inches and the burner has a 1/2" tube with a heavy duty flare. Not sure what nozzle aperture is. Here are some pictures for anyone interested.


-
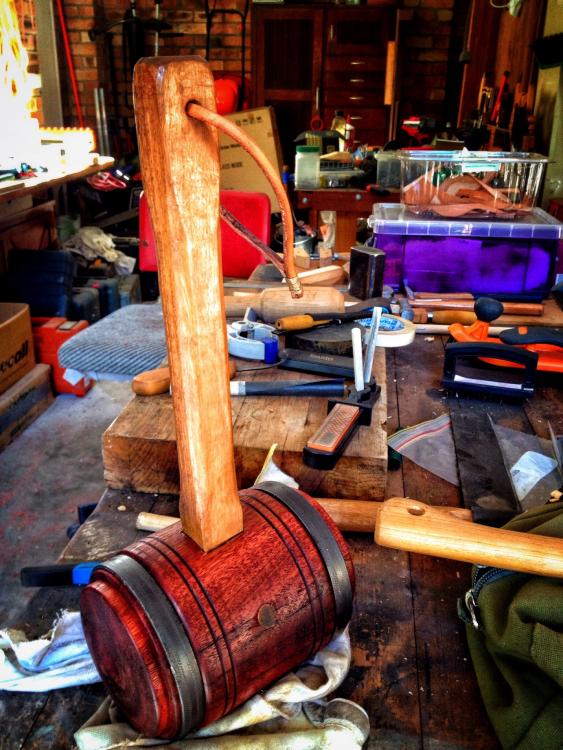
Thanks for the positive feedback. Yes, first blacksmith projects but I am a DIY welder from long ago, also an avid student of YouTube :-) Hi Slag, have a draw knife that gets some use. The handle on this diy maul was made with one and a side axe last weekend. I was wanting a small adze for bowl carving, which I can't do with my current tools. Australian seasoned timber is like iron so needs some heavy duty roughing out tools. I have seen some made from a car leaf spring in an elbow adze, or a regular one from a ball pein hammer.
-
Haven't really had to use any to make the other tools (with exception of the nail header, used the square drifts), so don't really know yet. On second thoughts, I did use the small punch to drive two metal bands onto a carpenters maul that I made and the tip did not get damaged, so maybe the treatment worked. I think I am ready to try some tongs, then I can put the fuller to use and see if it works. I have also acquired 7lb of 2" square 1045 for my first hammer but don't know how that will go in the small forger and on the small anvil - looks like hard work. If I could make an adze by reworking a shop bought hammer, I would be happy, so maybe I'll try that one day.
-
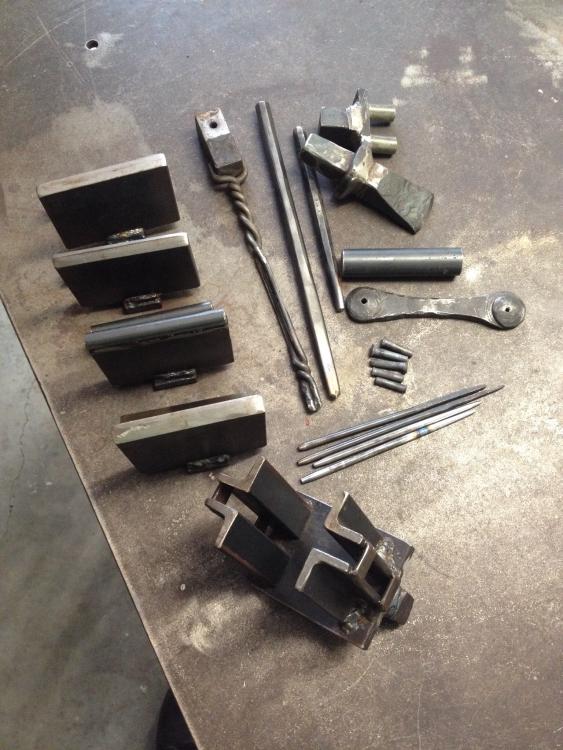
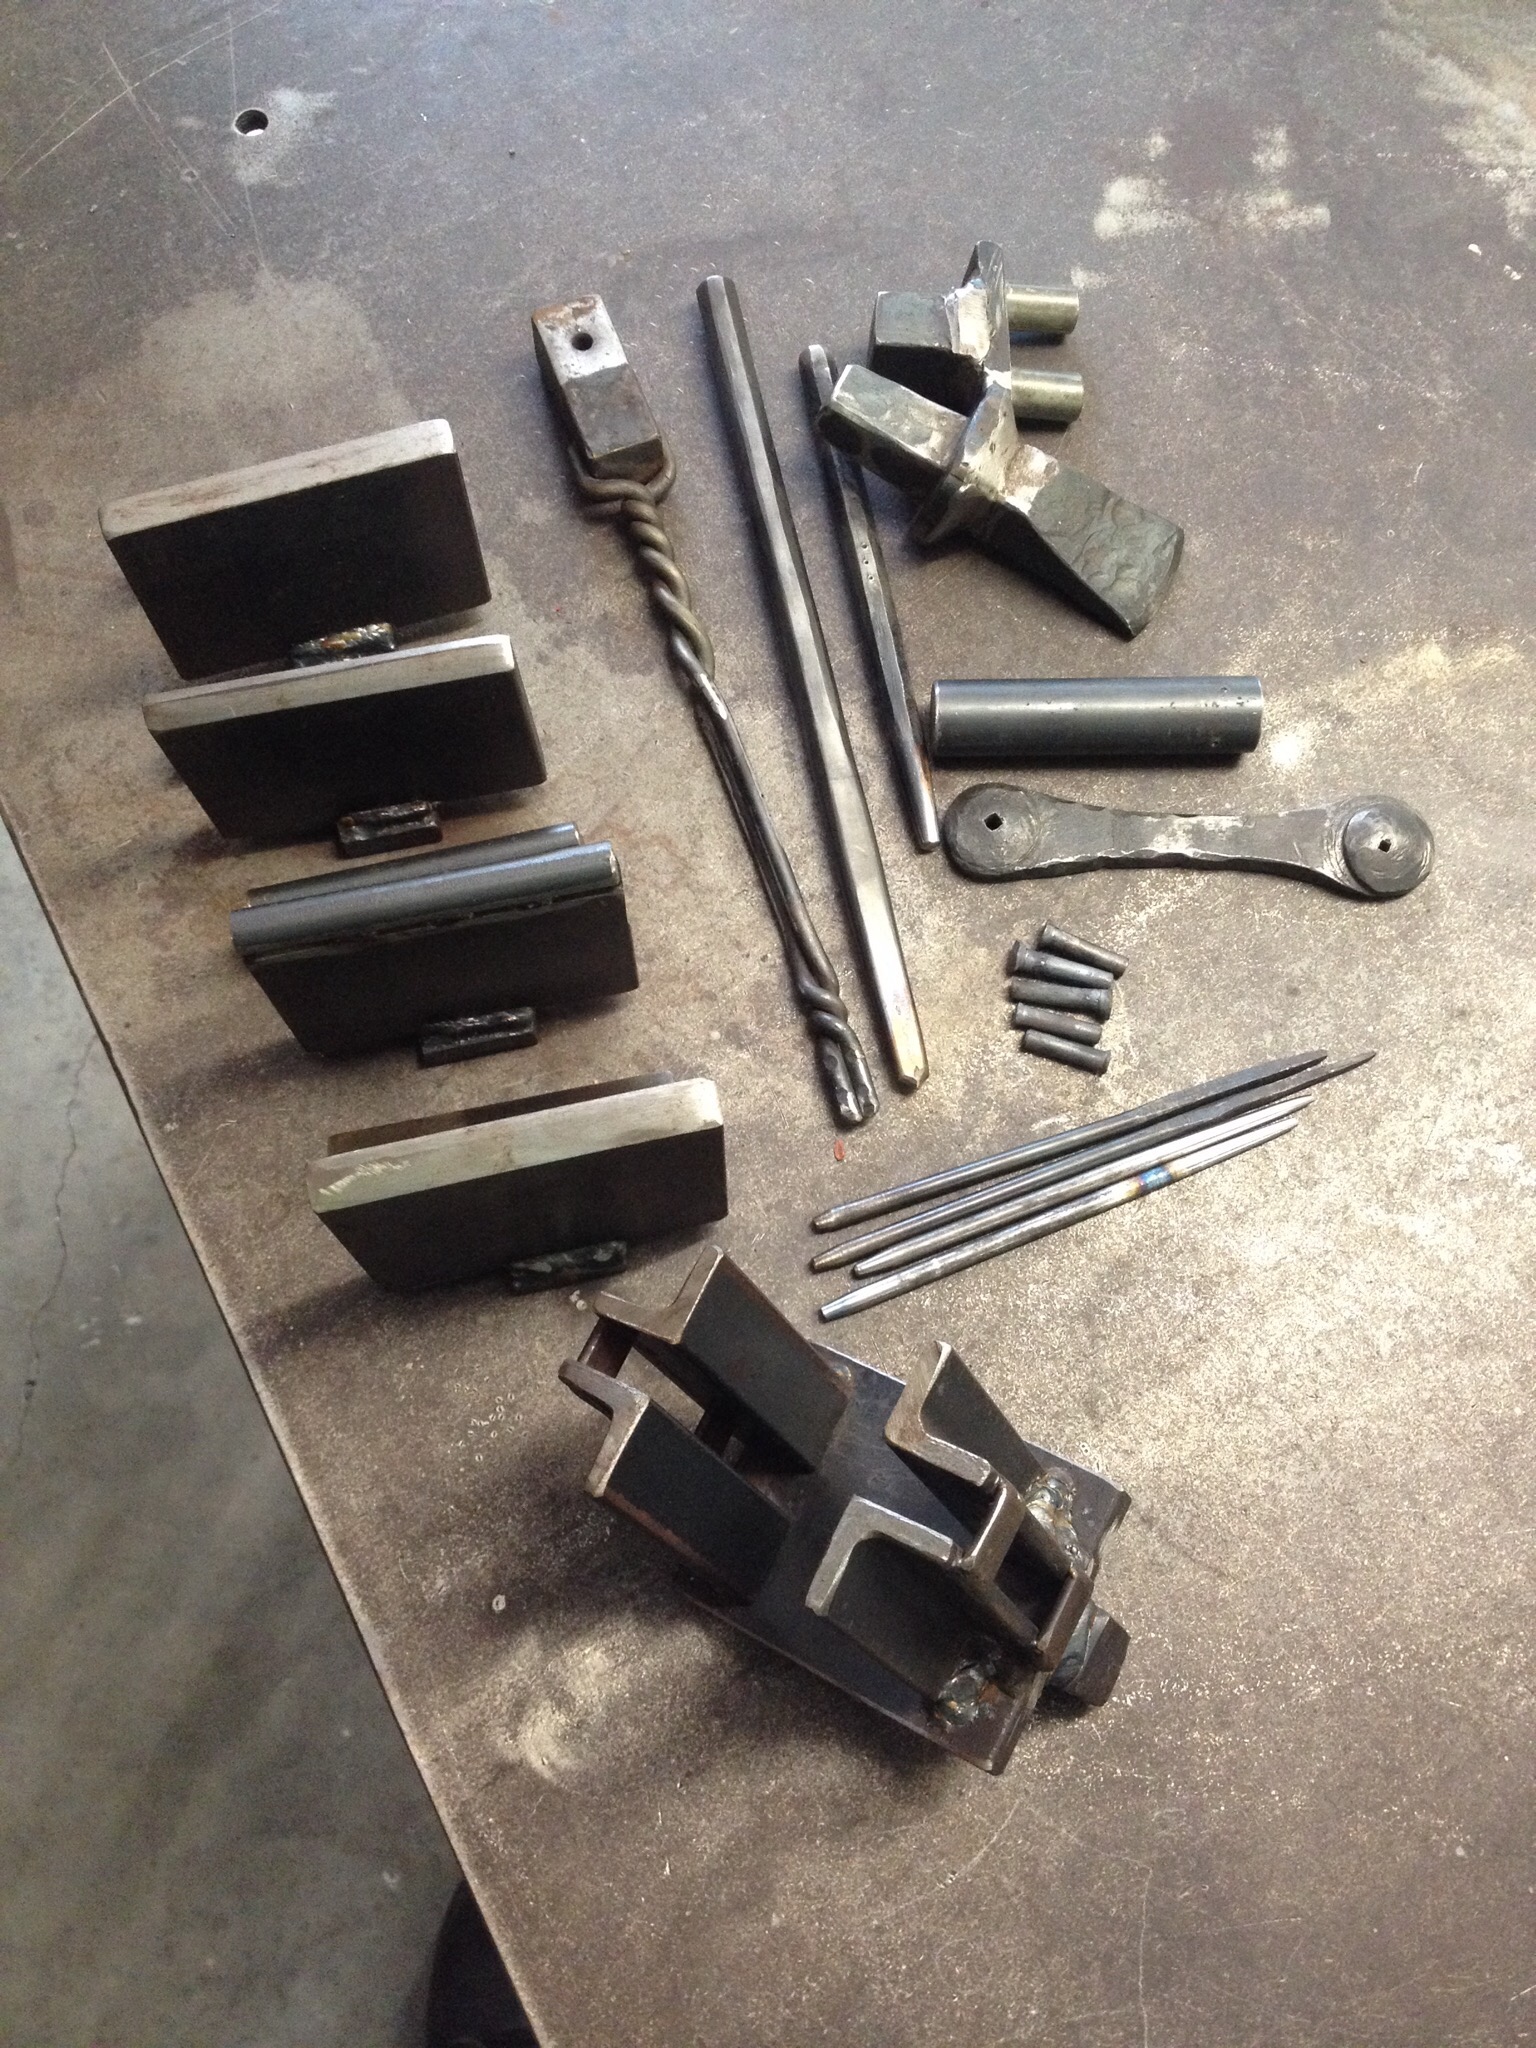
Hi, just thought I would post a quick picture of the tools I have been making over the past few weekends since I got my anvil and mini forge. The post might help encourage beginners like me to have a go. Mild steel tools: hardy fullering multi tool (4 profiles), small drifts, handled rivet maker 6mm, pritchel hold fast (not shown), my first 6mm rivets, 6mm tenon monkey tool, hardy hot cut, hardy bending pins Car leaf spring tools: nail header 16mm car coil spring tools: short 6mm round punch, long punch/drift. These were quenched in water, and tempered back to a yellow oxide colour at the tip. I made the long punch by copying images on the web but not exactly sure what I ended up with! I was hoping I could punch a slit with it? Might make a square drift for making mortices next. Any other suggestions for generally useful tools welcomed but I guess most people make them as needed.