
Donniev
-
Posts
189 -
Joined
-
Last visited
Content Type
Profiles
Forums
Articles
Gallery
Downloads
Events
Posts posted by Donniev
-
-
O, that makes perfect sense, thanks. I'm going to attempt to put all the suggestions here in action on my next pair, I'll post pics.
Most of the tongs I've made thus far have either been turned into a hook (cuz wow, there's been some bad ones lol) or something else, I've kept some, but I'd like to start selling some tongs just so I can pay for the coal, instead of buying it with my "real job" money
-
12 hours ago, John B said:
As an aside, do you hammer with your left hand and use the tongs in your right hand? As the ones in the picture appear to be for use in the right hand.
I hope these comments are useful, have fun and enjoy.
Yeah I am left handed, and this is the first time I've heard of tongs being either left or right handed, what's the difference though? I've been making them based off of technicusjoes technique he shows on YouTube, and he goes through how to set down the jaw while angling the piece at a 45, whether you are left or right handed
-
I have not tried to put those 4 cuts in the hole yet, I'll give that a try, thanks.
I'll also make certain that the boss area is as flat as possible, I had not noticed that
-
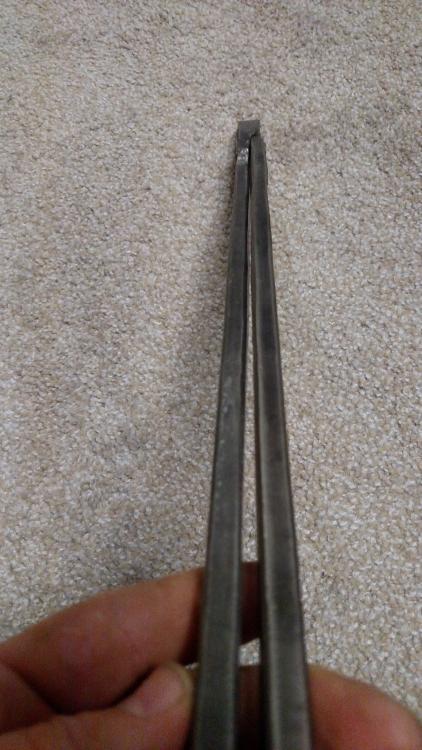
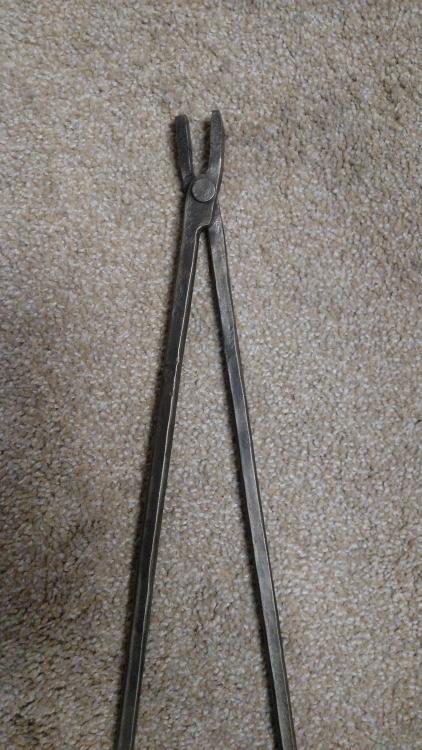
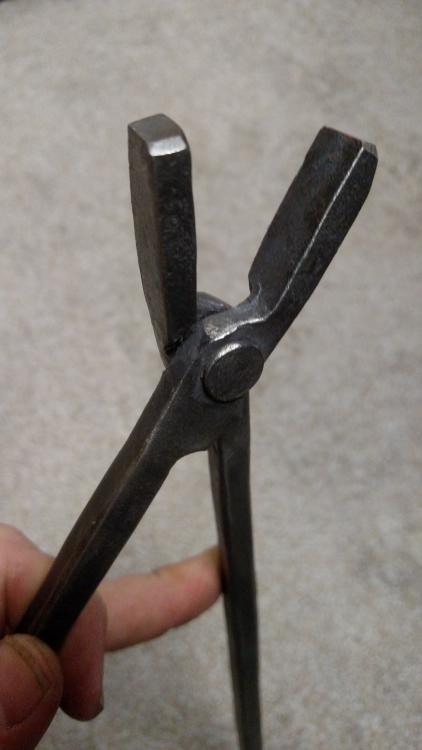
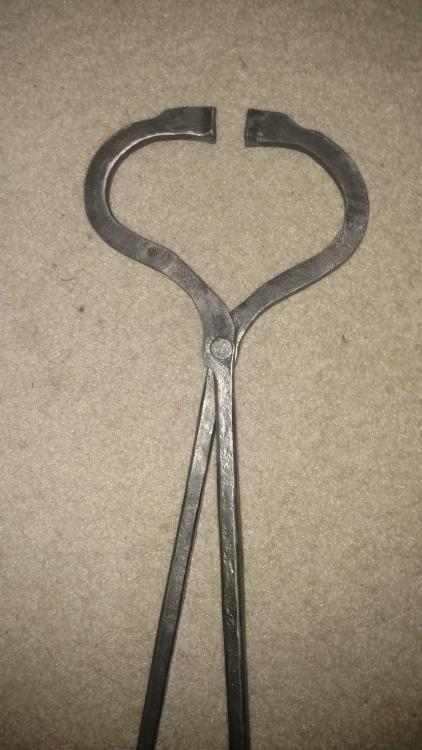
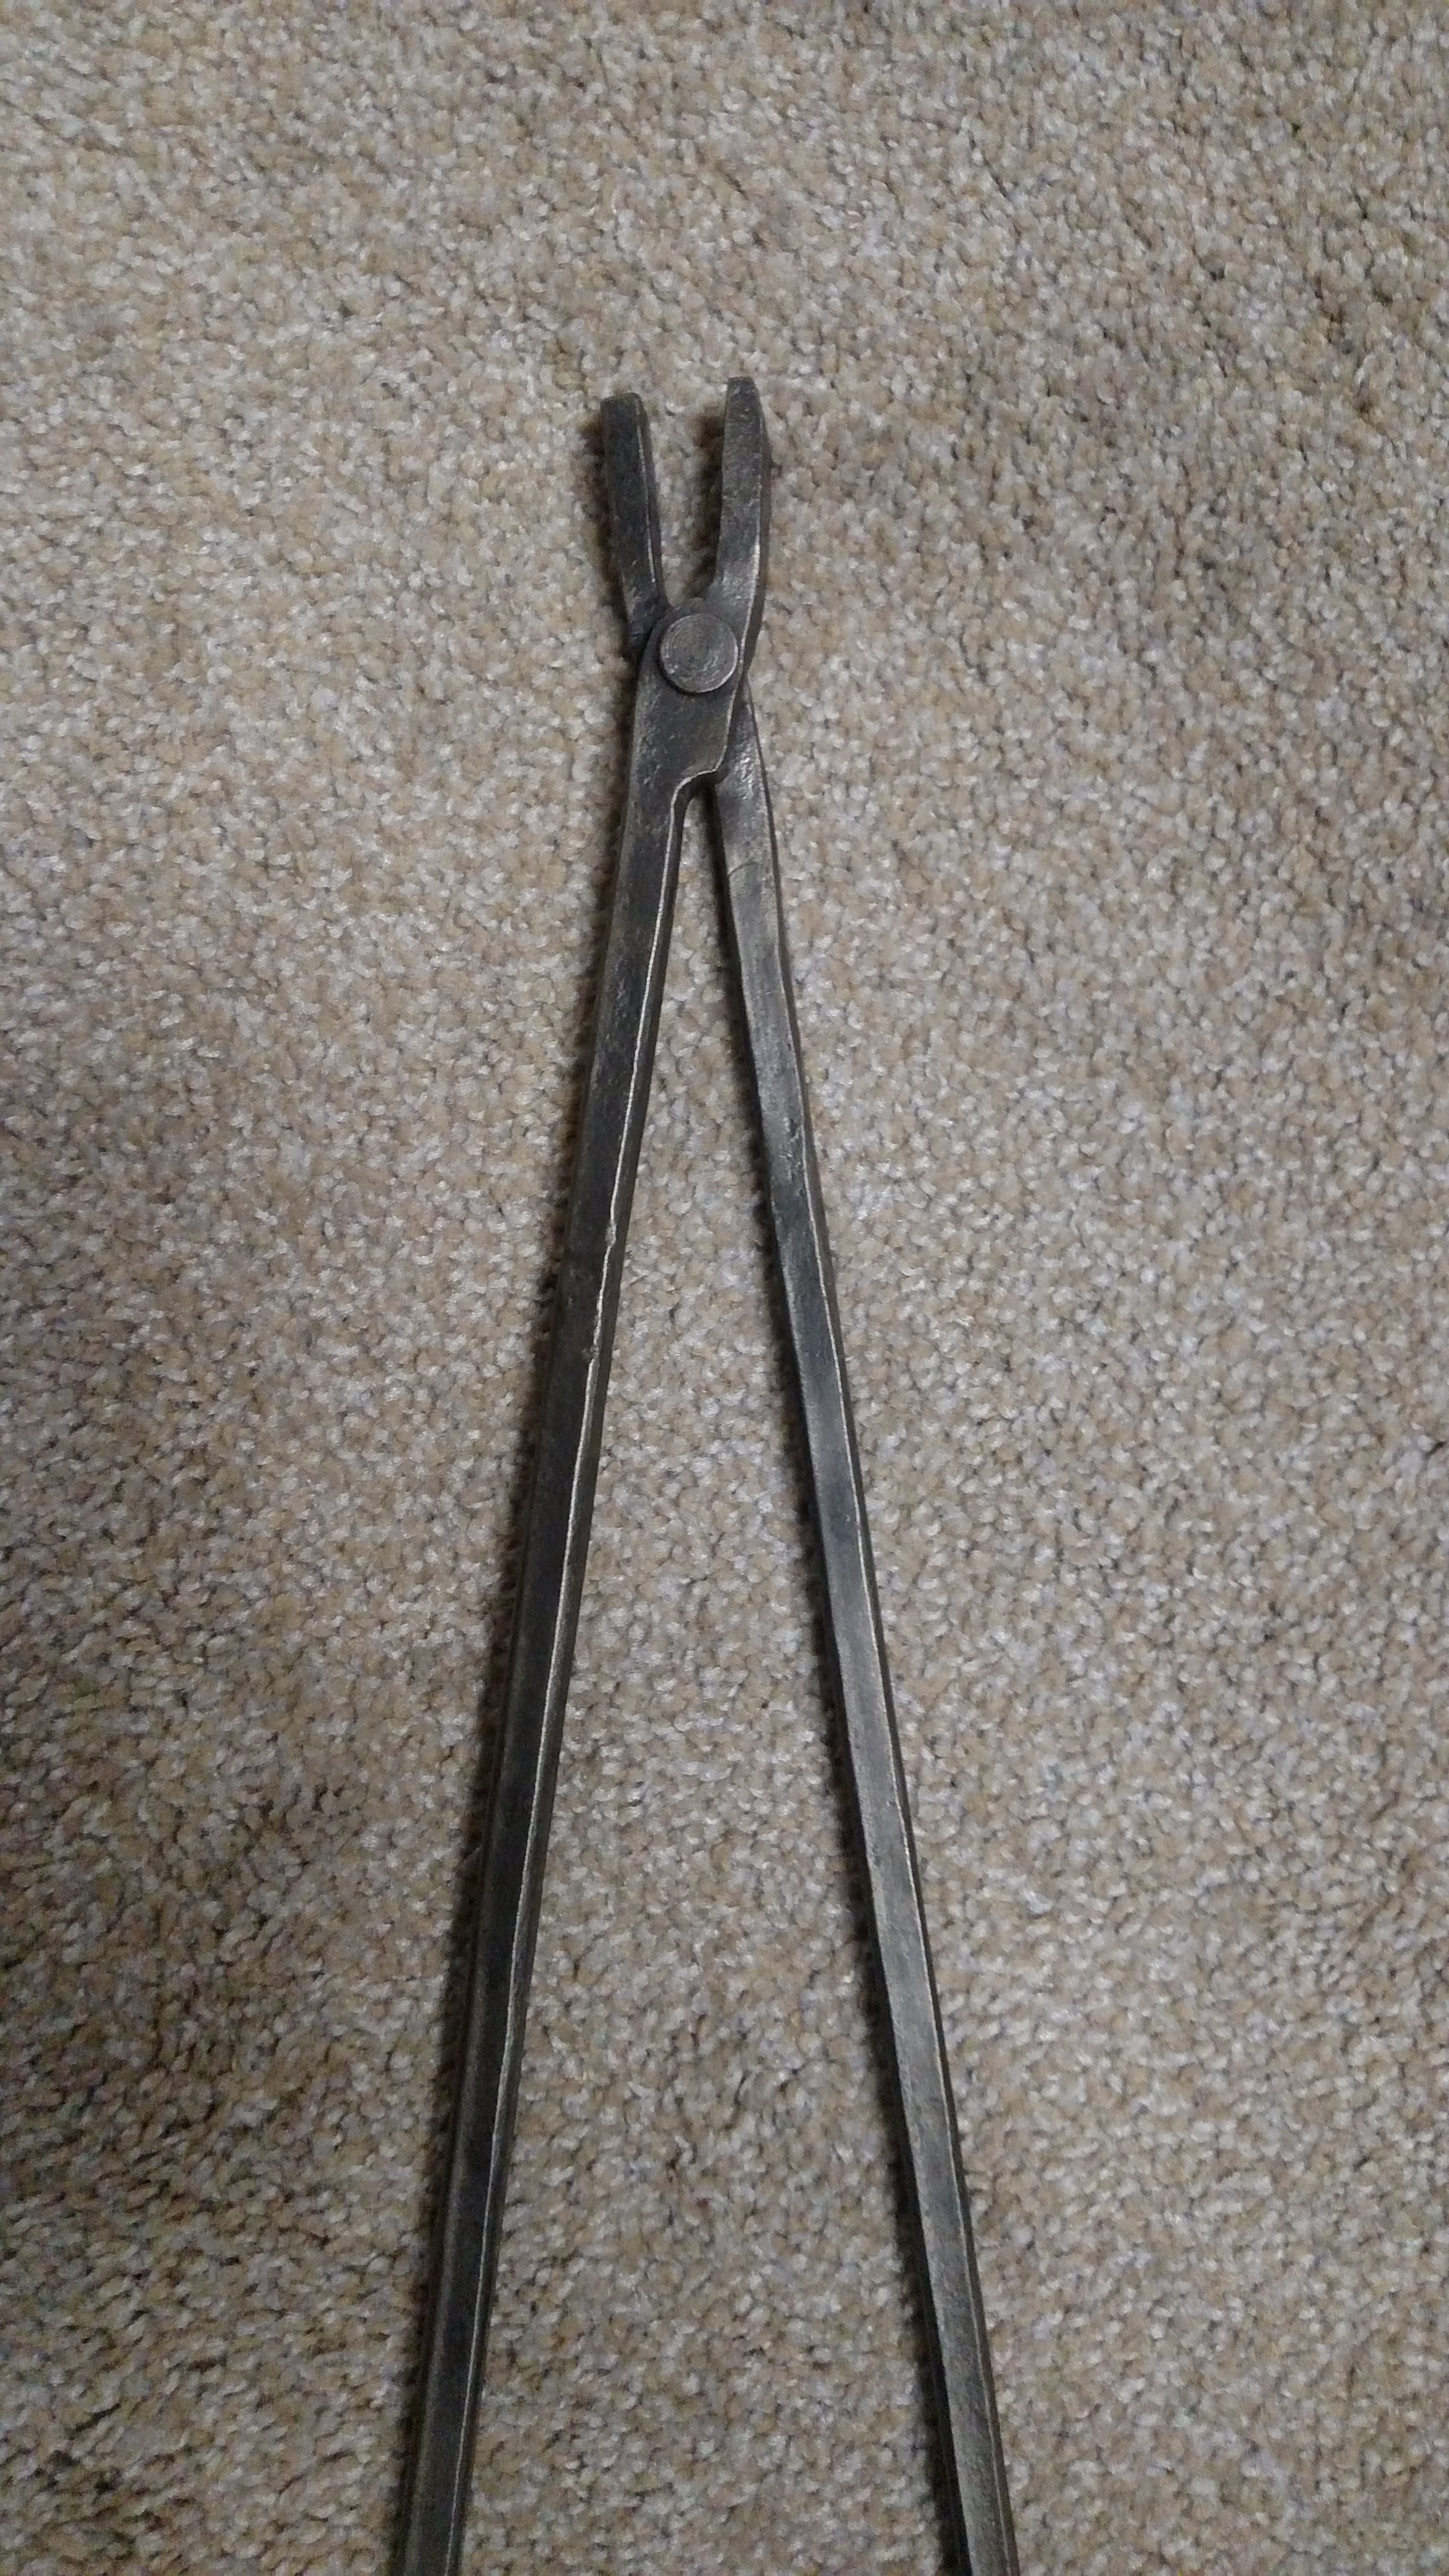
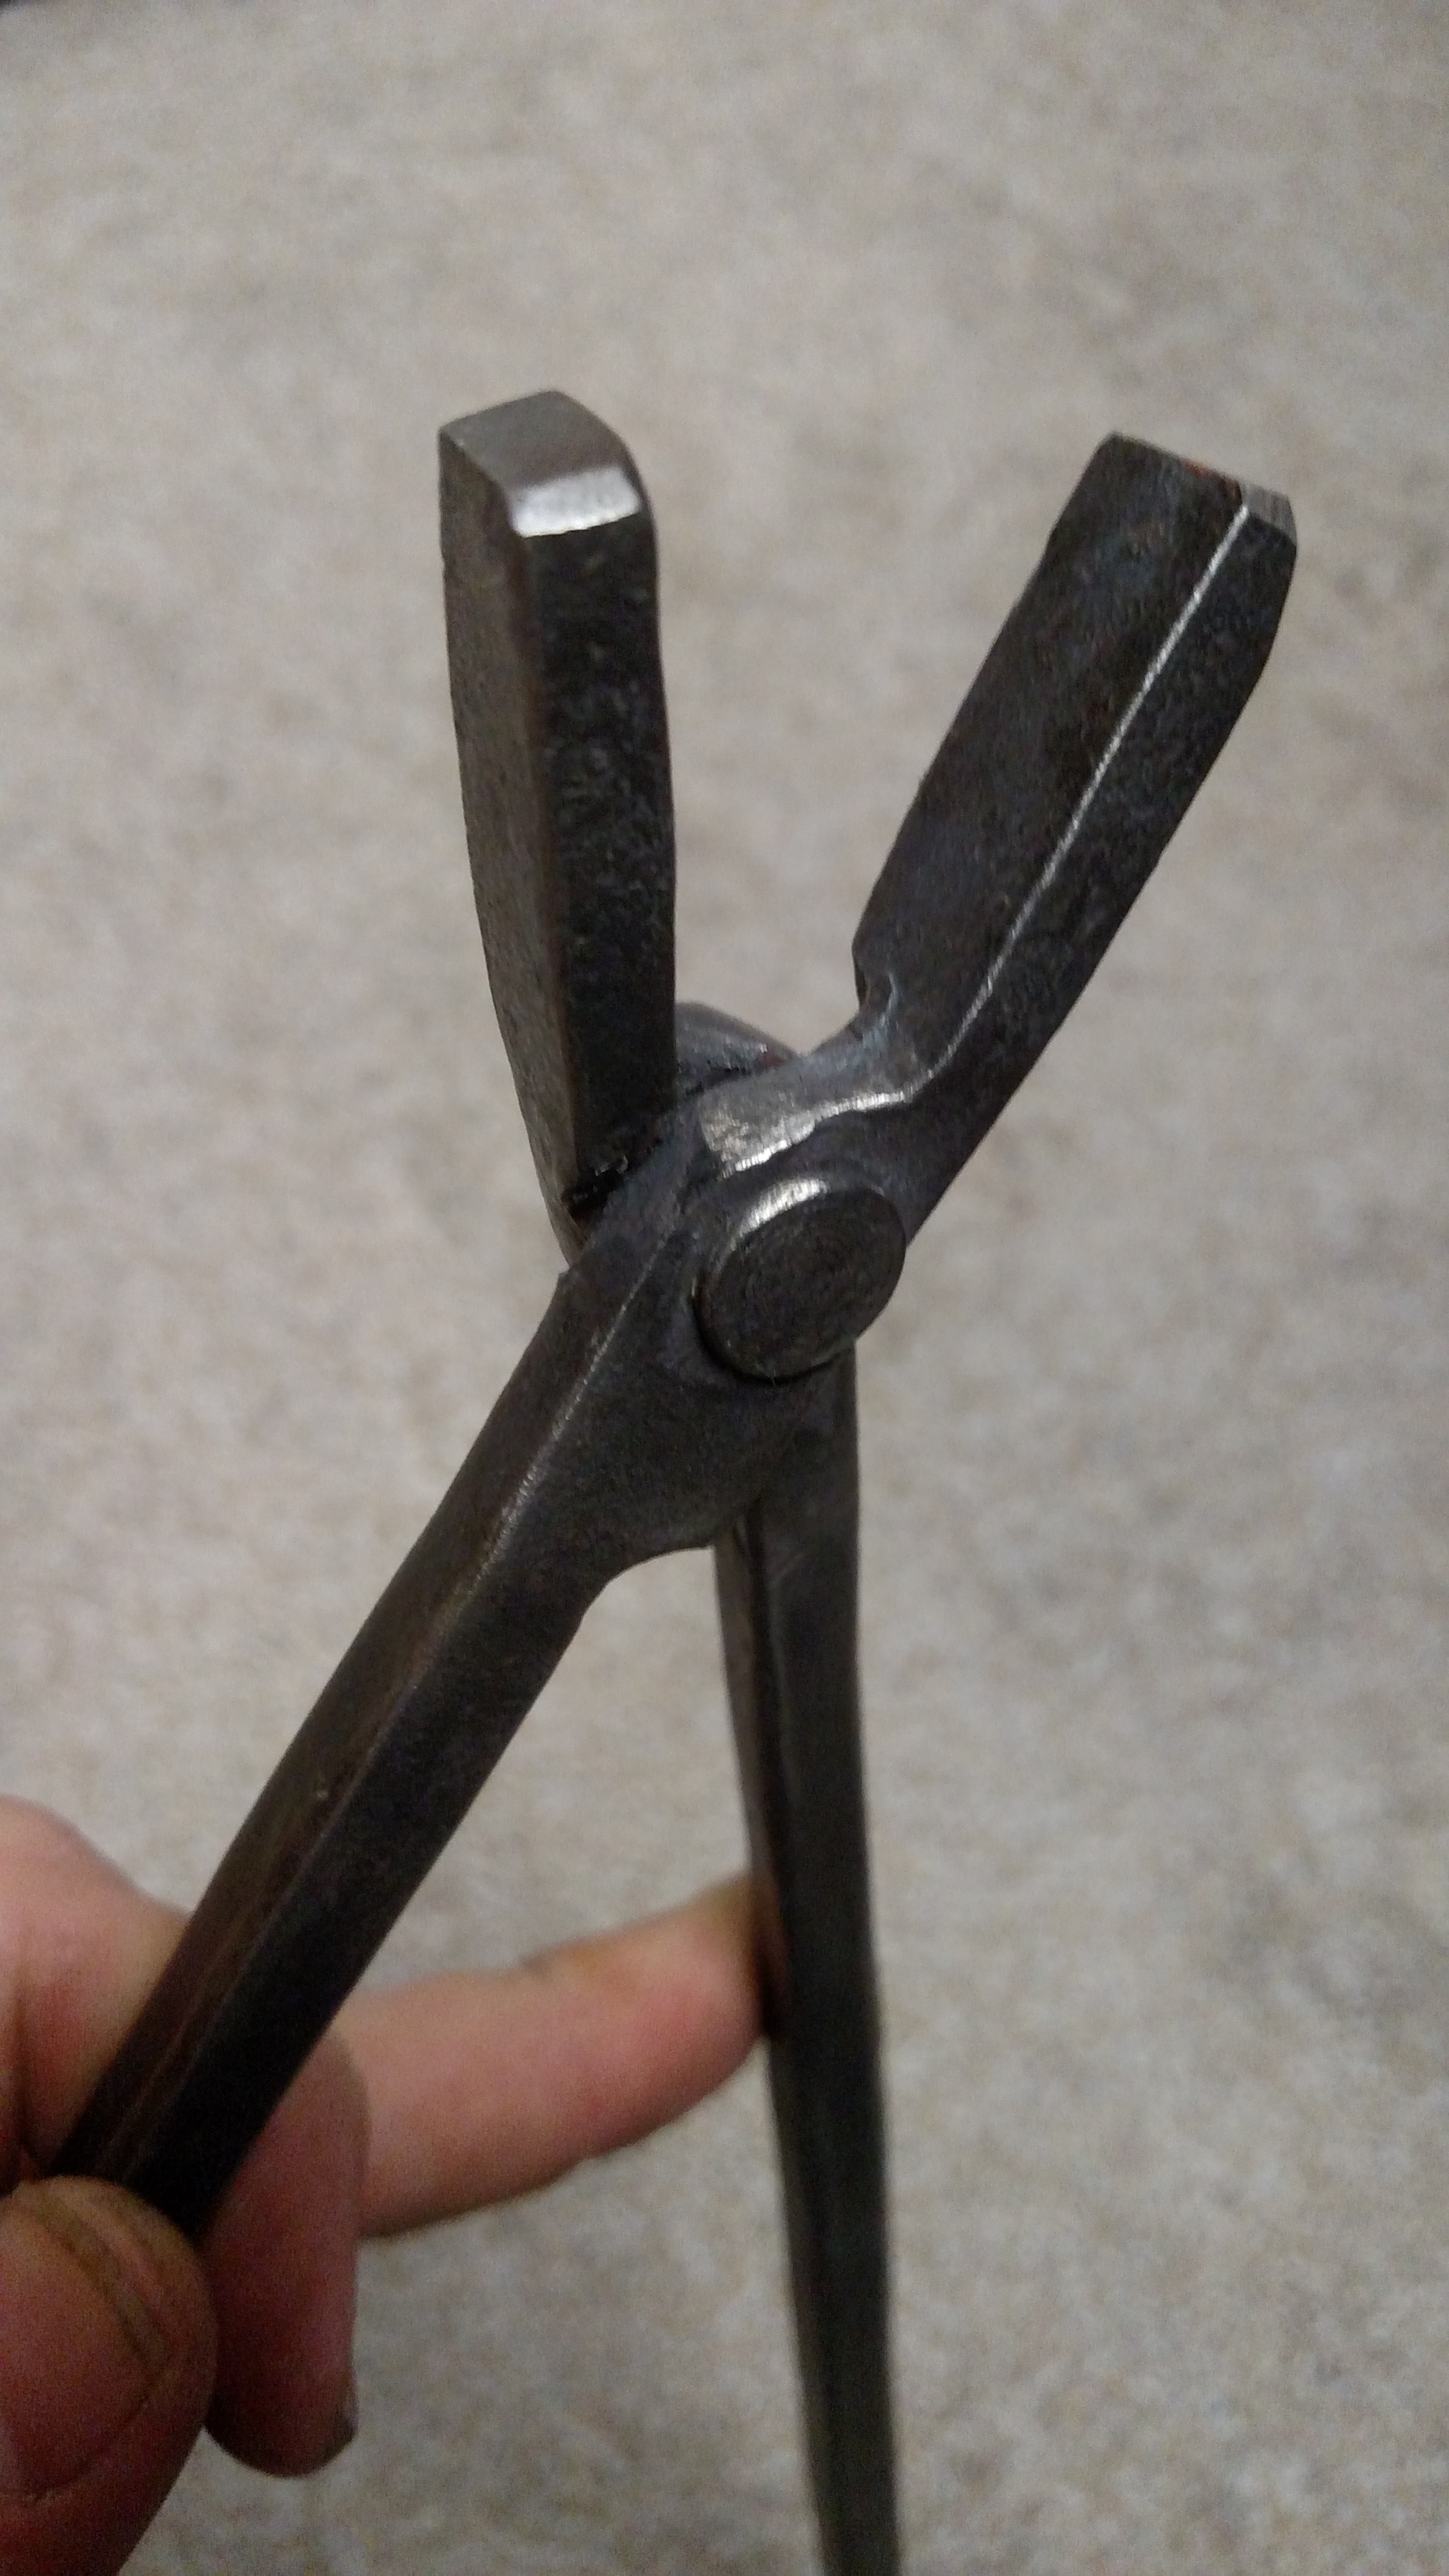
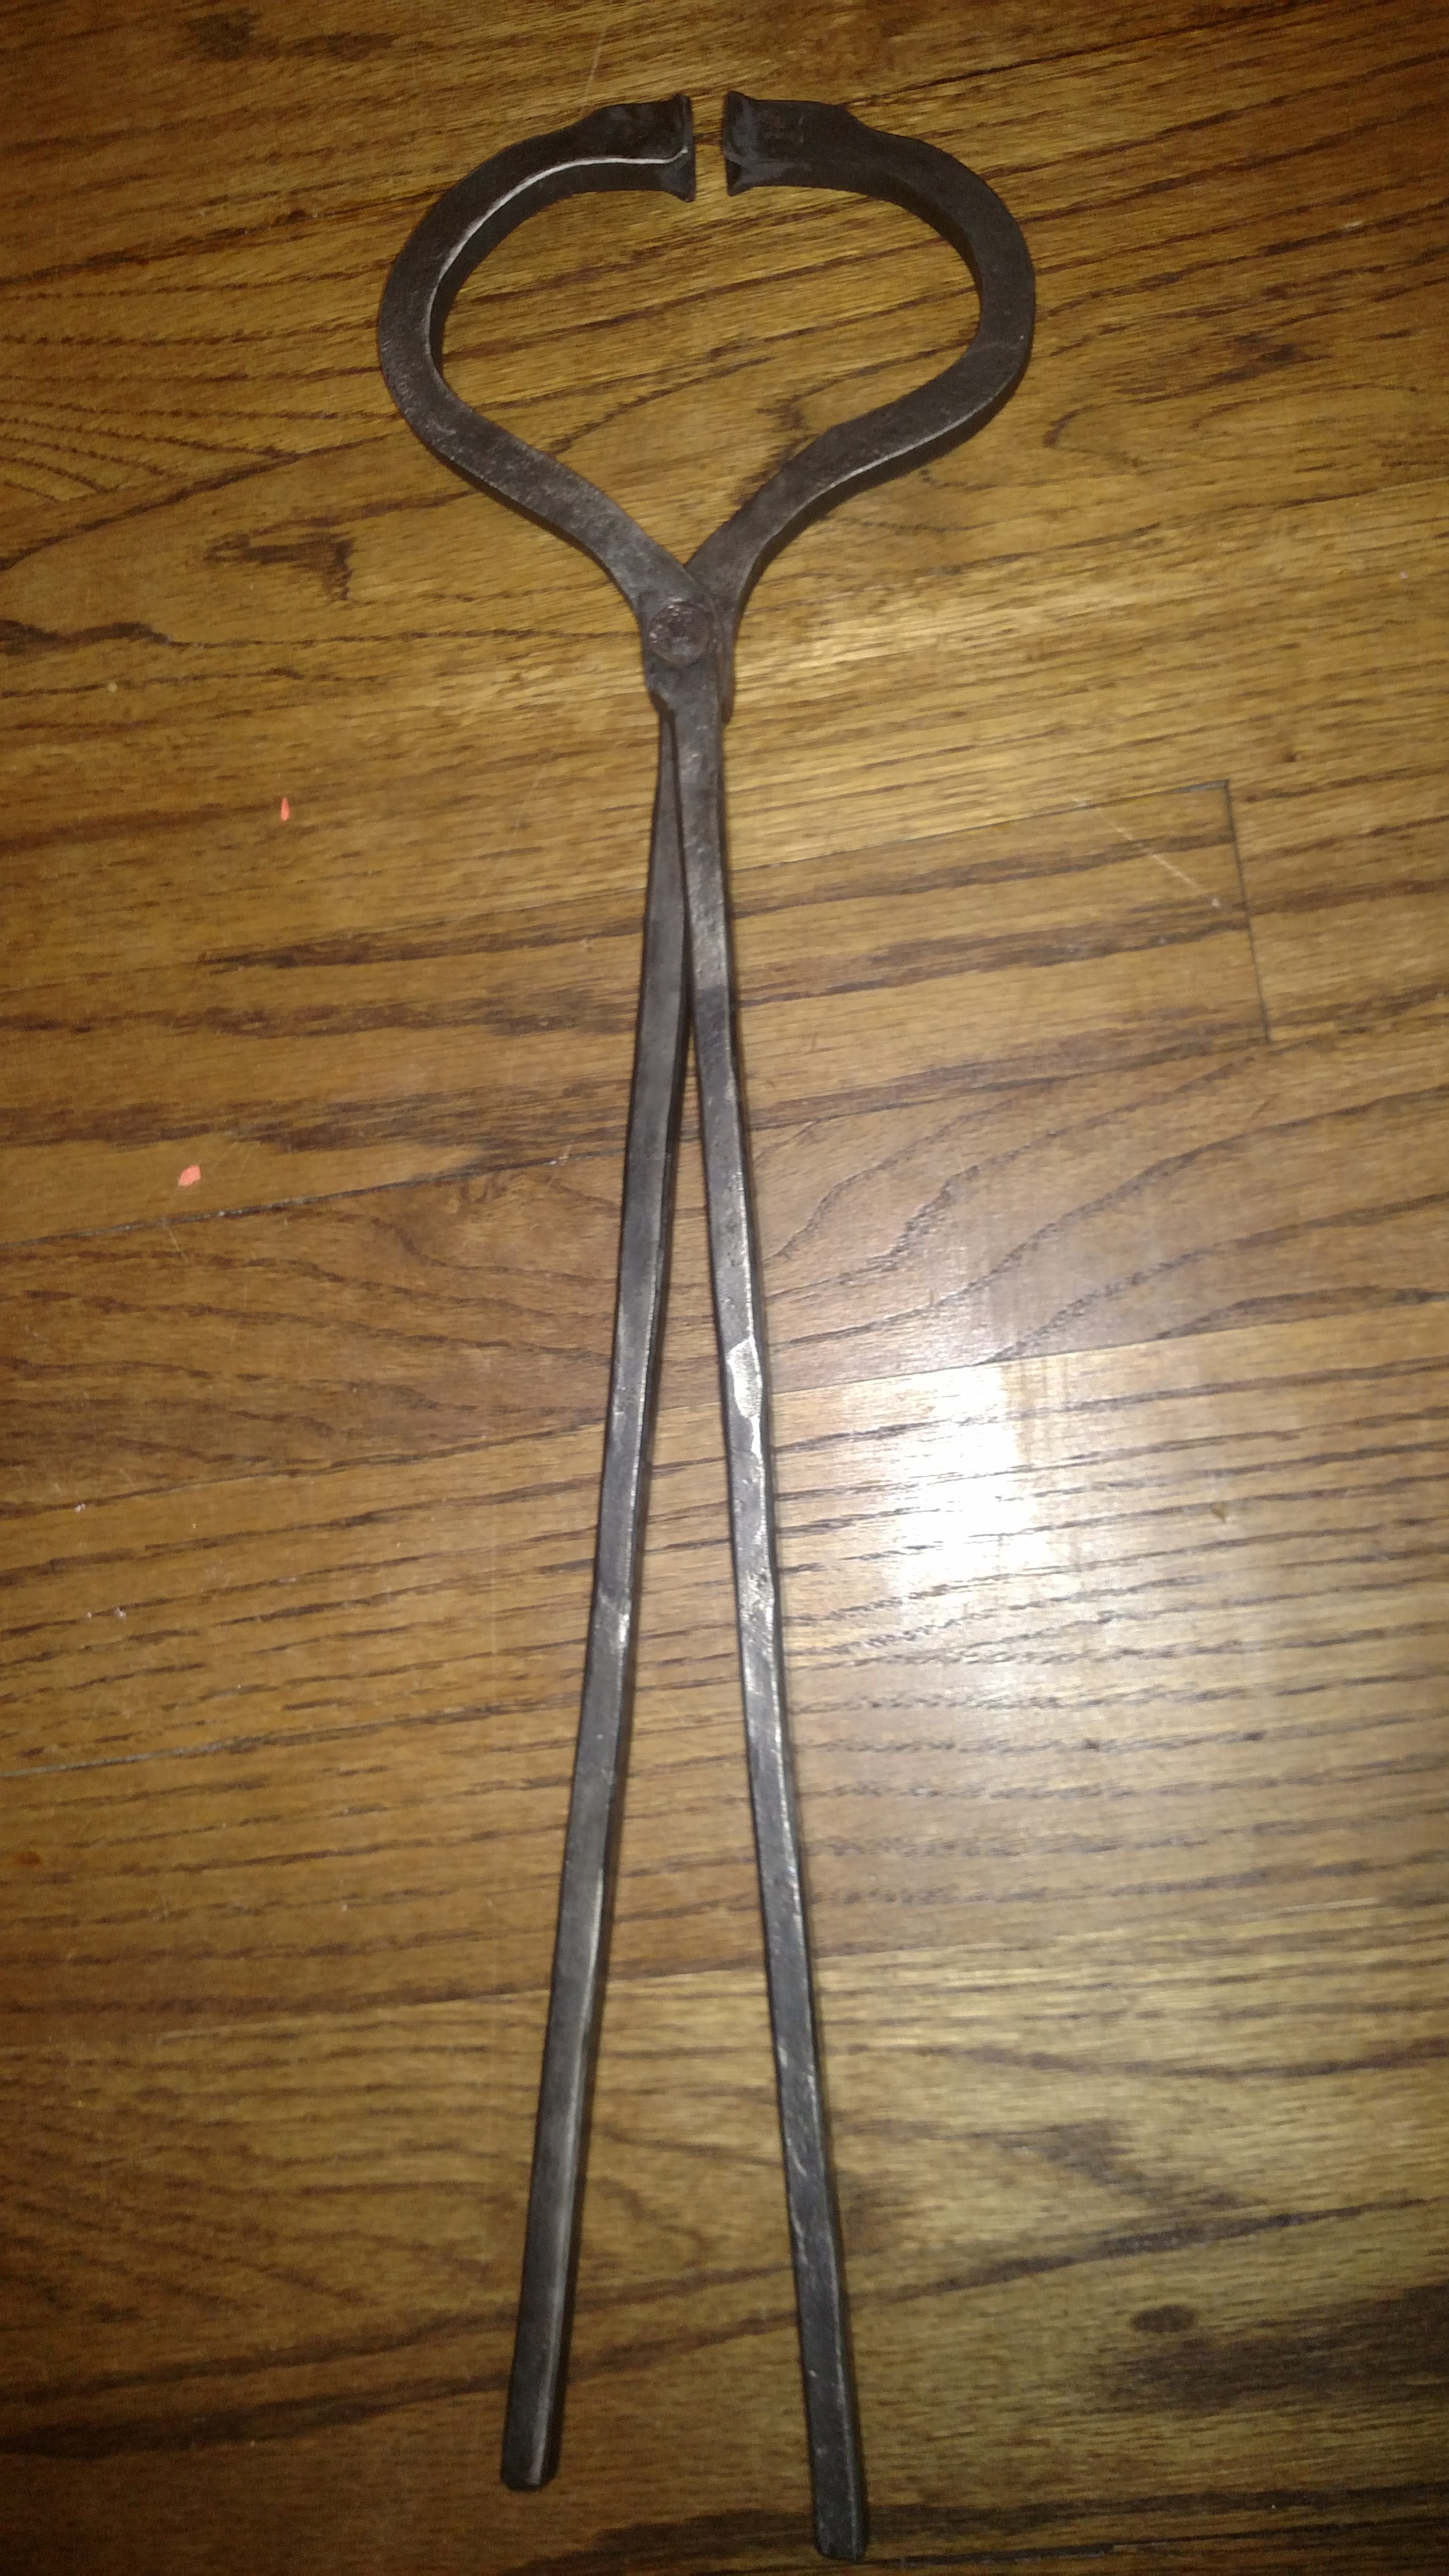
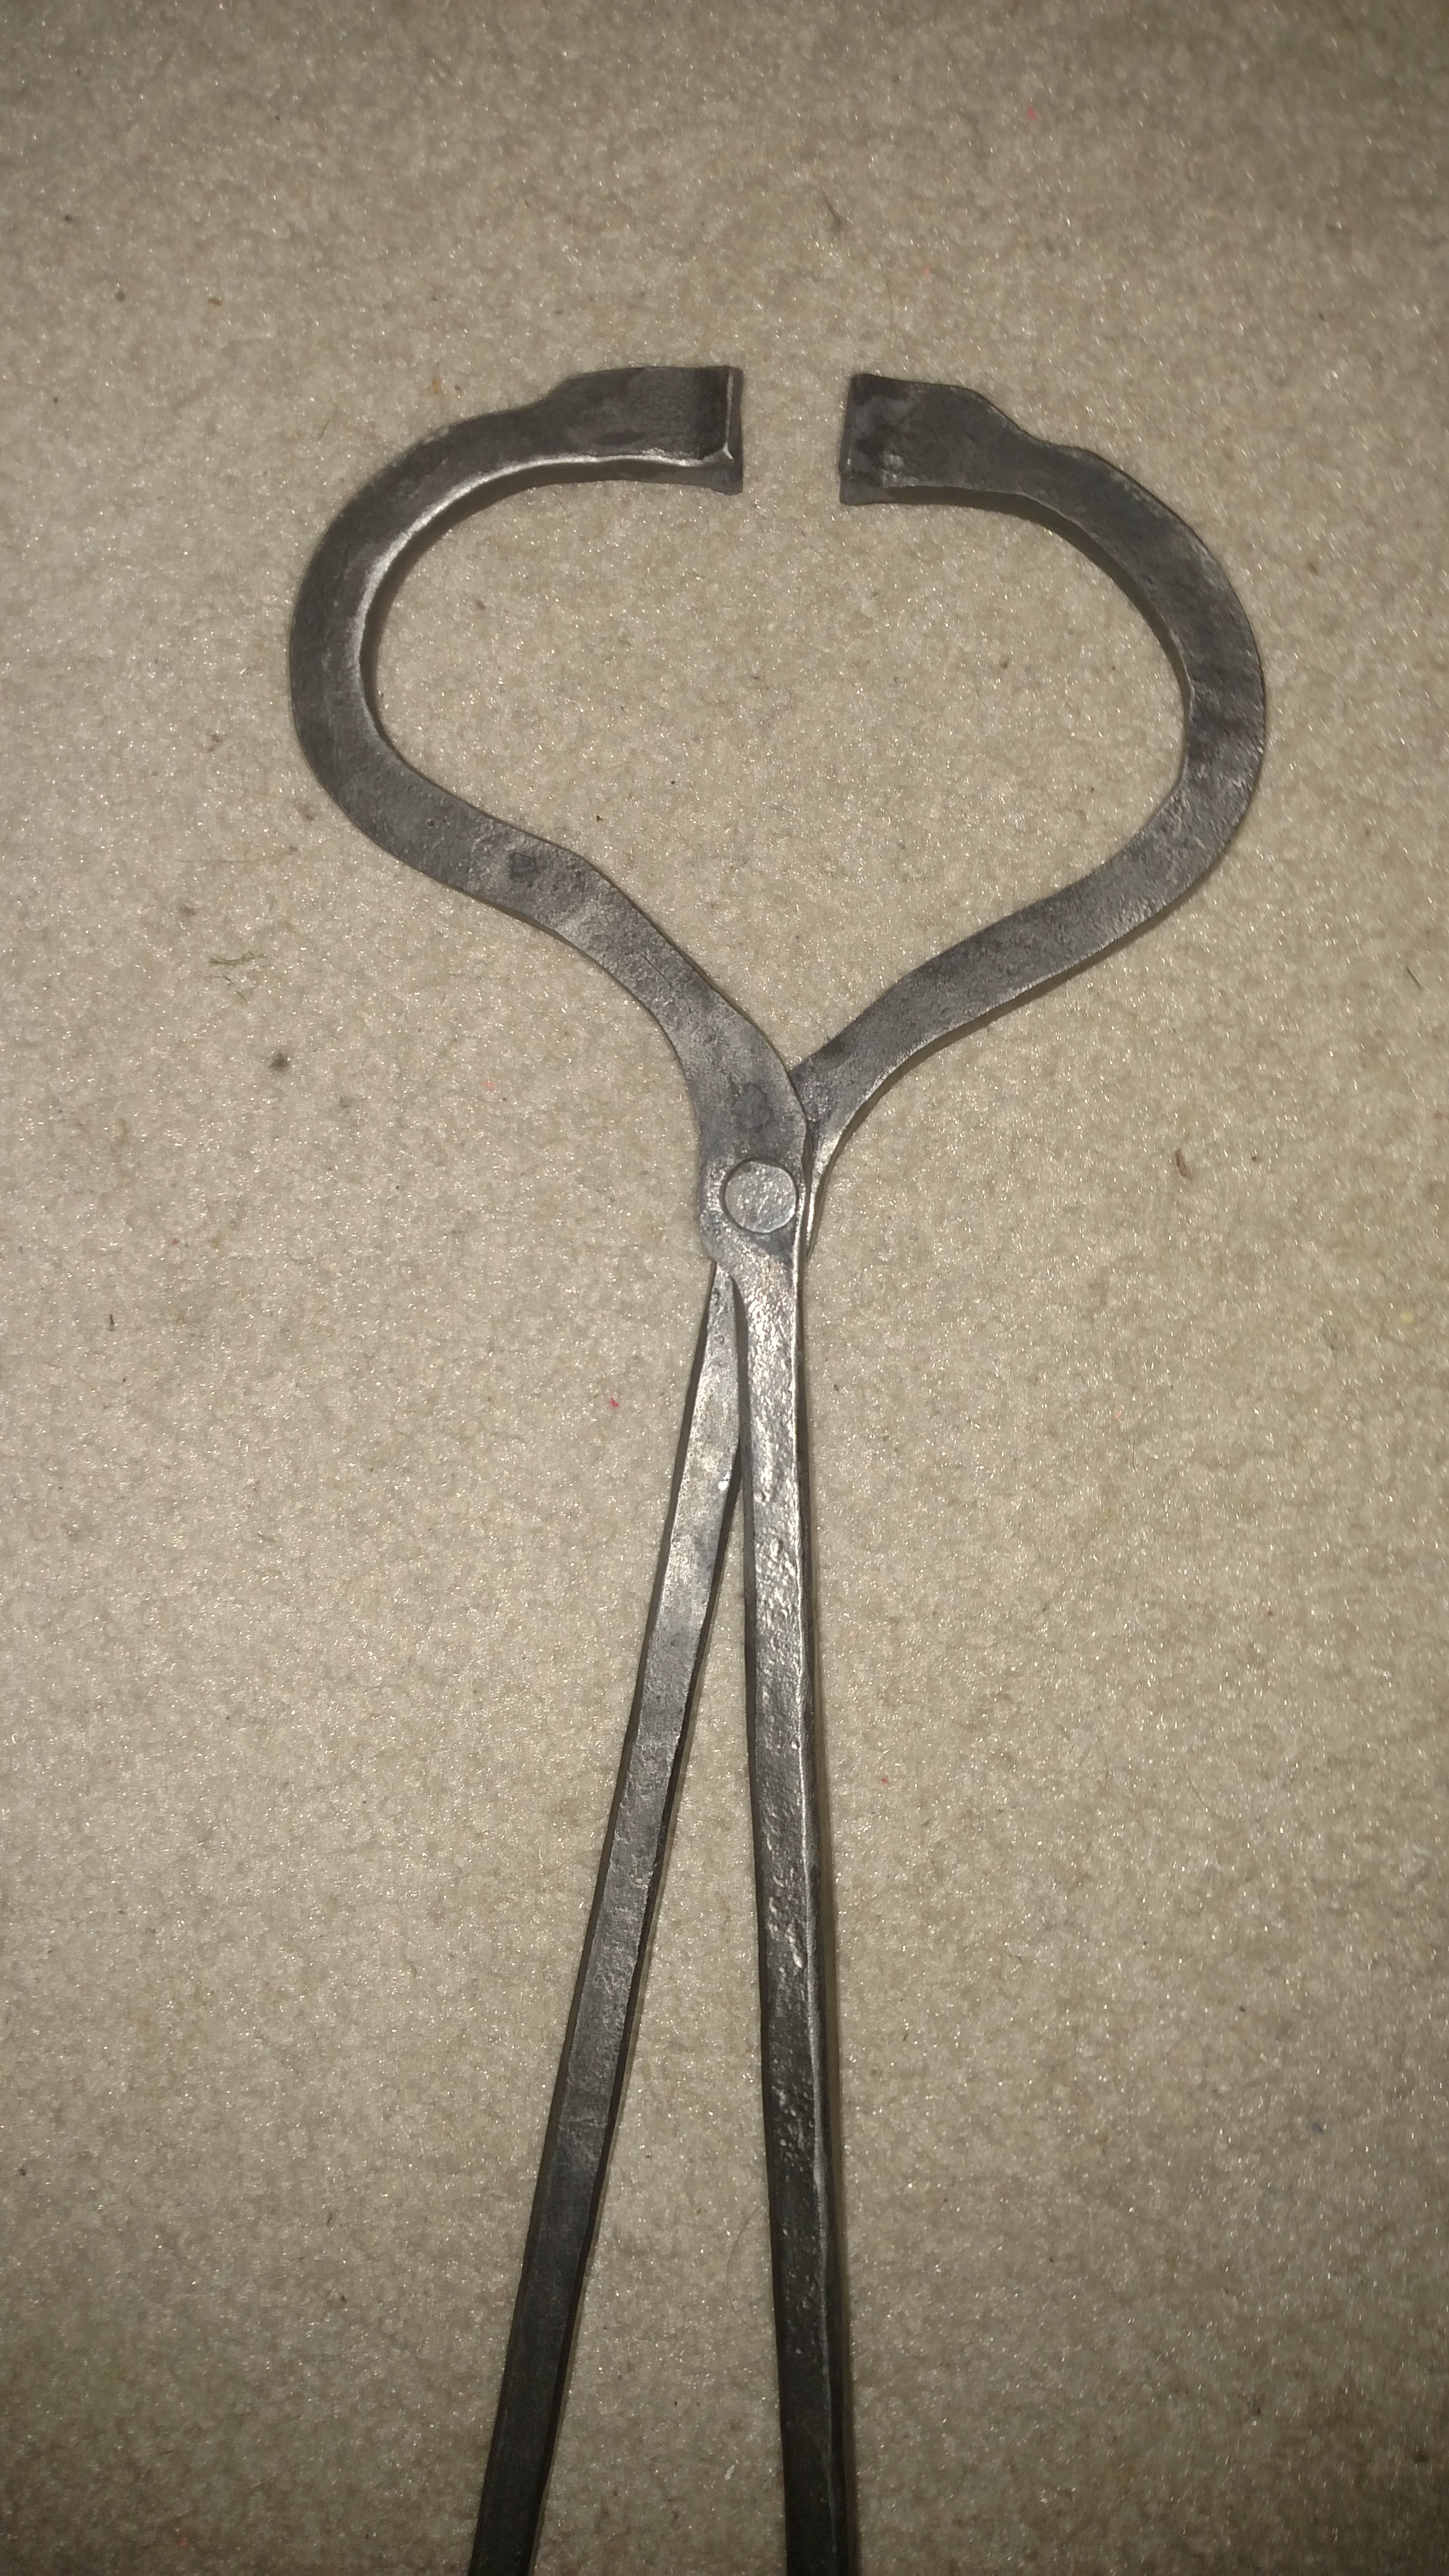
Hey guys I want your opinion on these. I've made about 15 pairs now, and I am still having an issue with the tongs having a little wiggle- it's not a lot, but even this pair while I hold one rein I can move the other probably 1/8" one way or the other.
When I rivet it I set the rivet, then open and close them until they are free moving, then put my material in the jaws and make it fit. I take another heat and go to the vise (while holding the 1/4" in the jaws) and adjust the reins, then I slightly tap the rivet 2-3 times to get it tightened back up, then free them up again with the open close motion. I also open and close quickly when they go in the quench bucket.
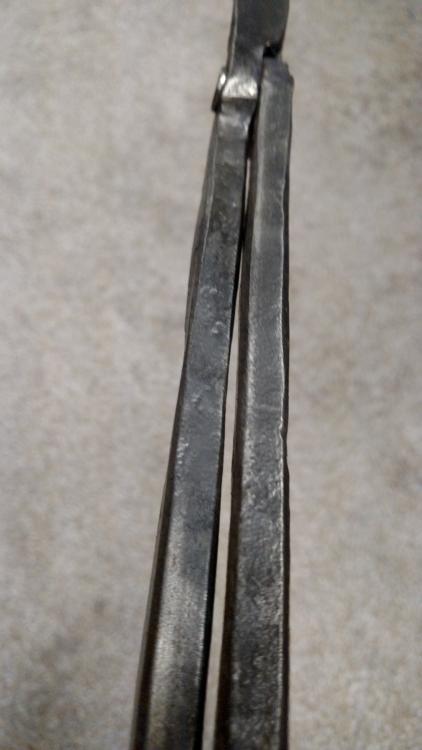
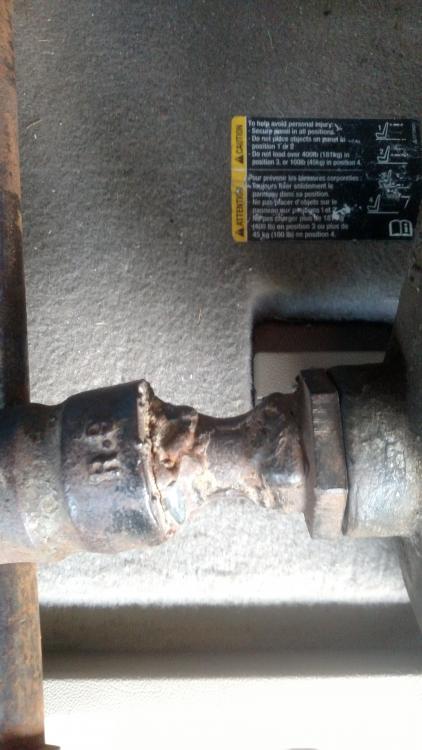
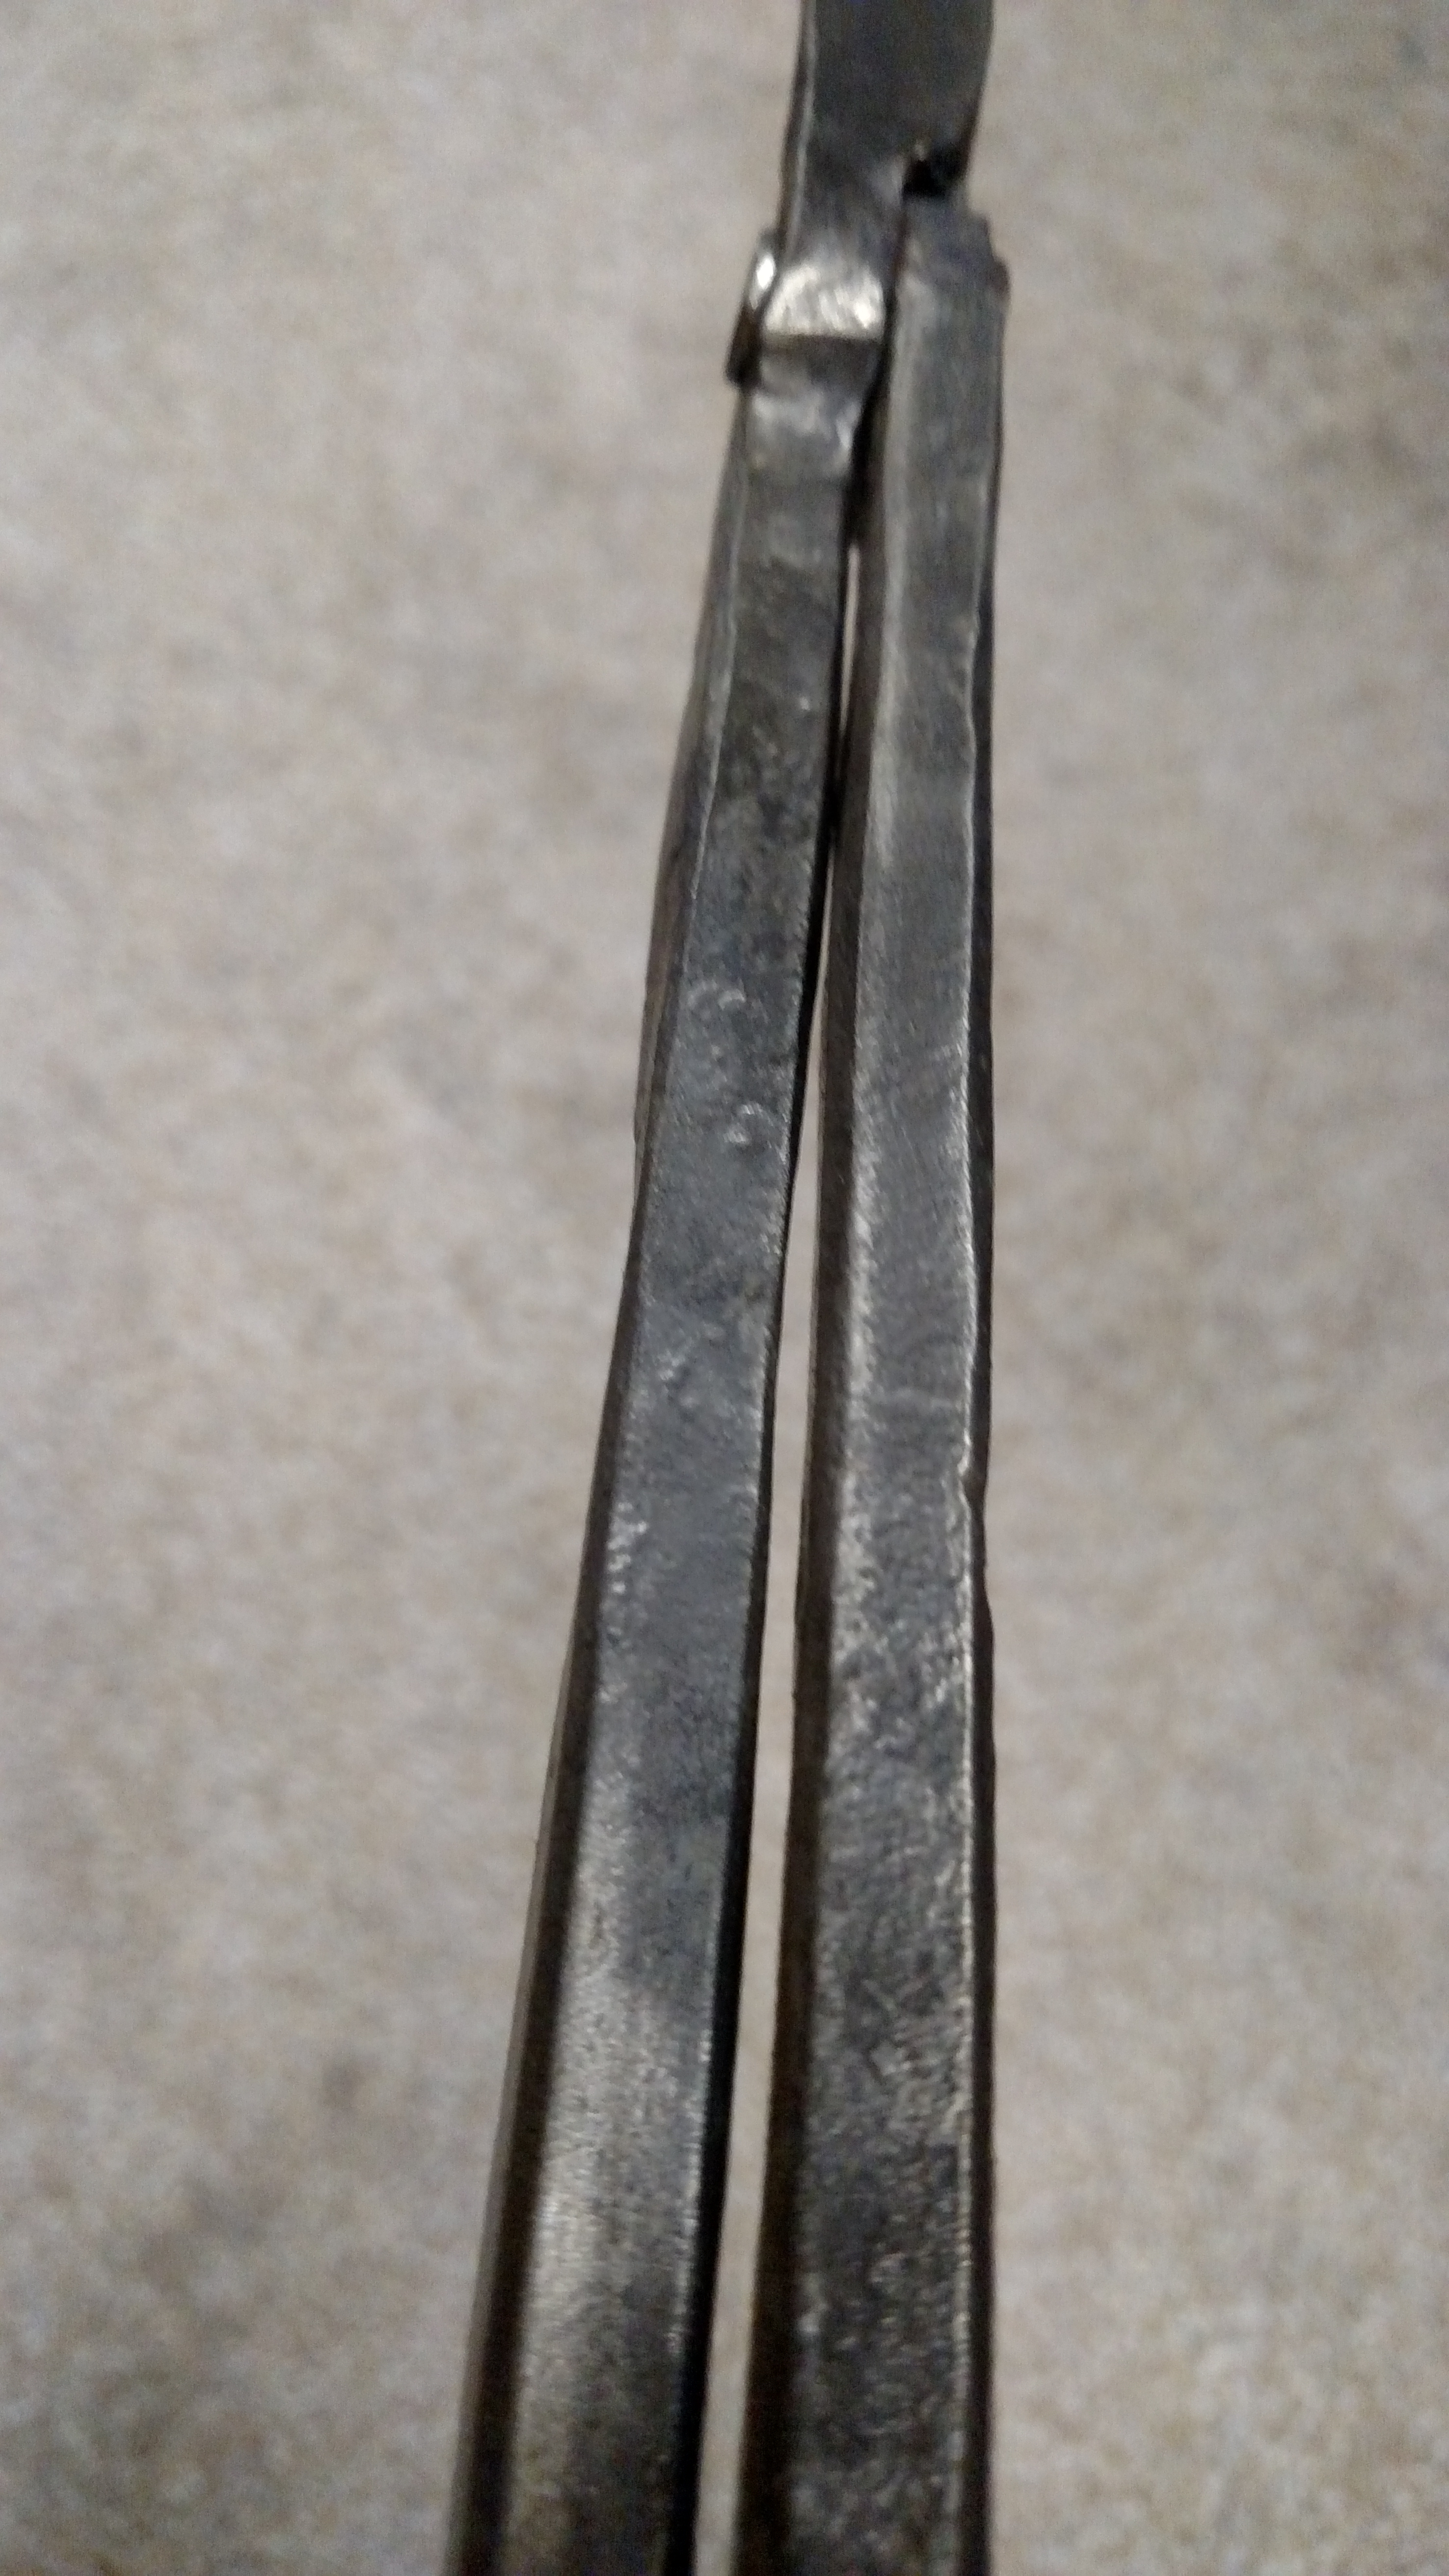
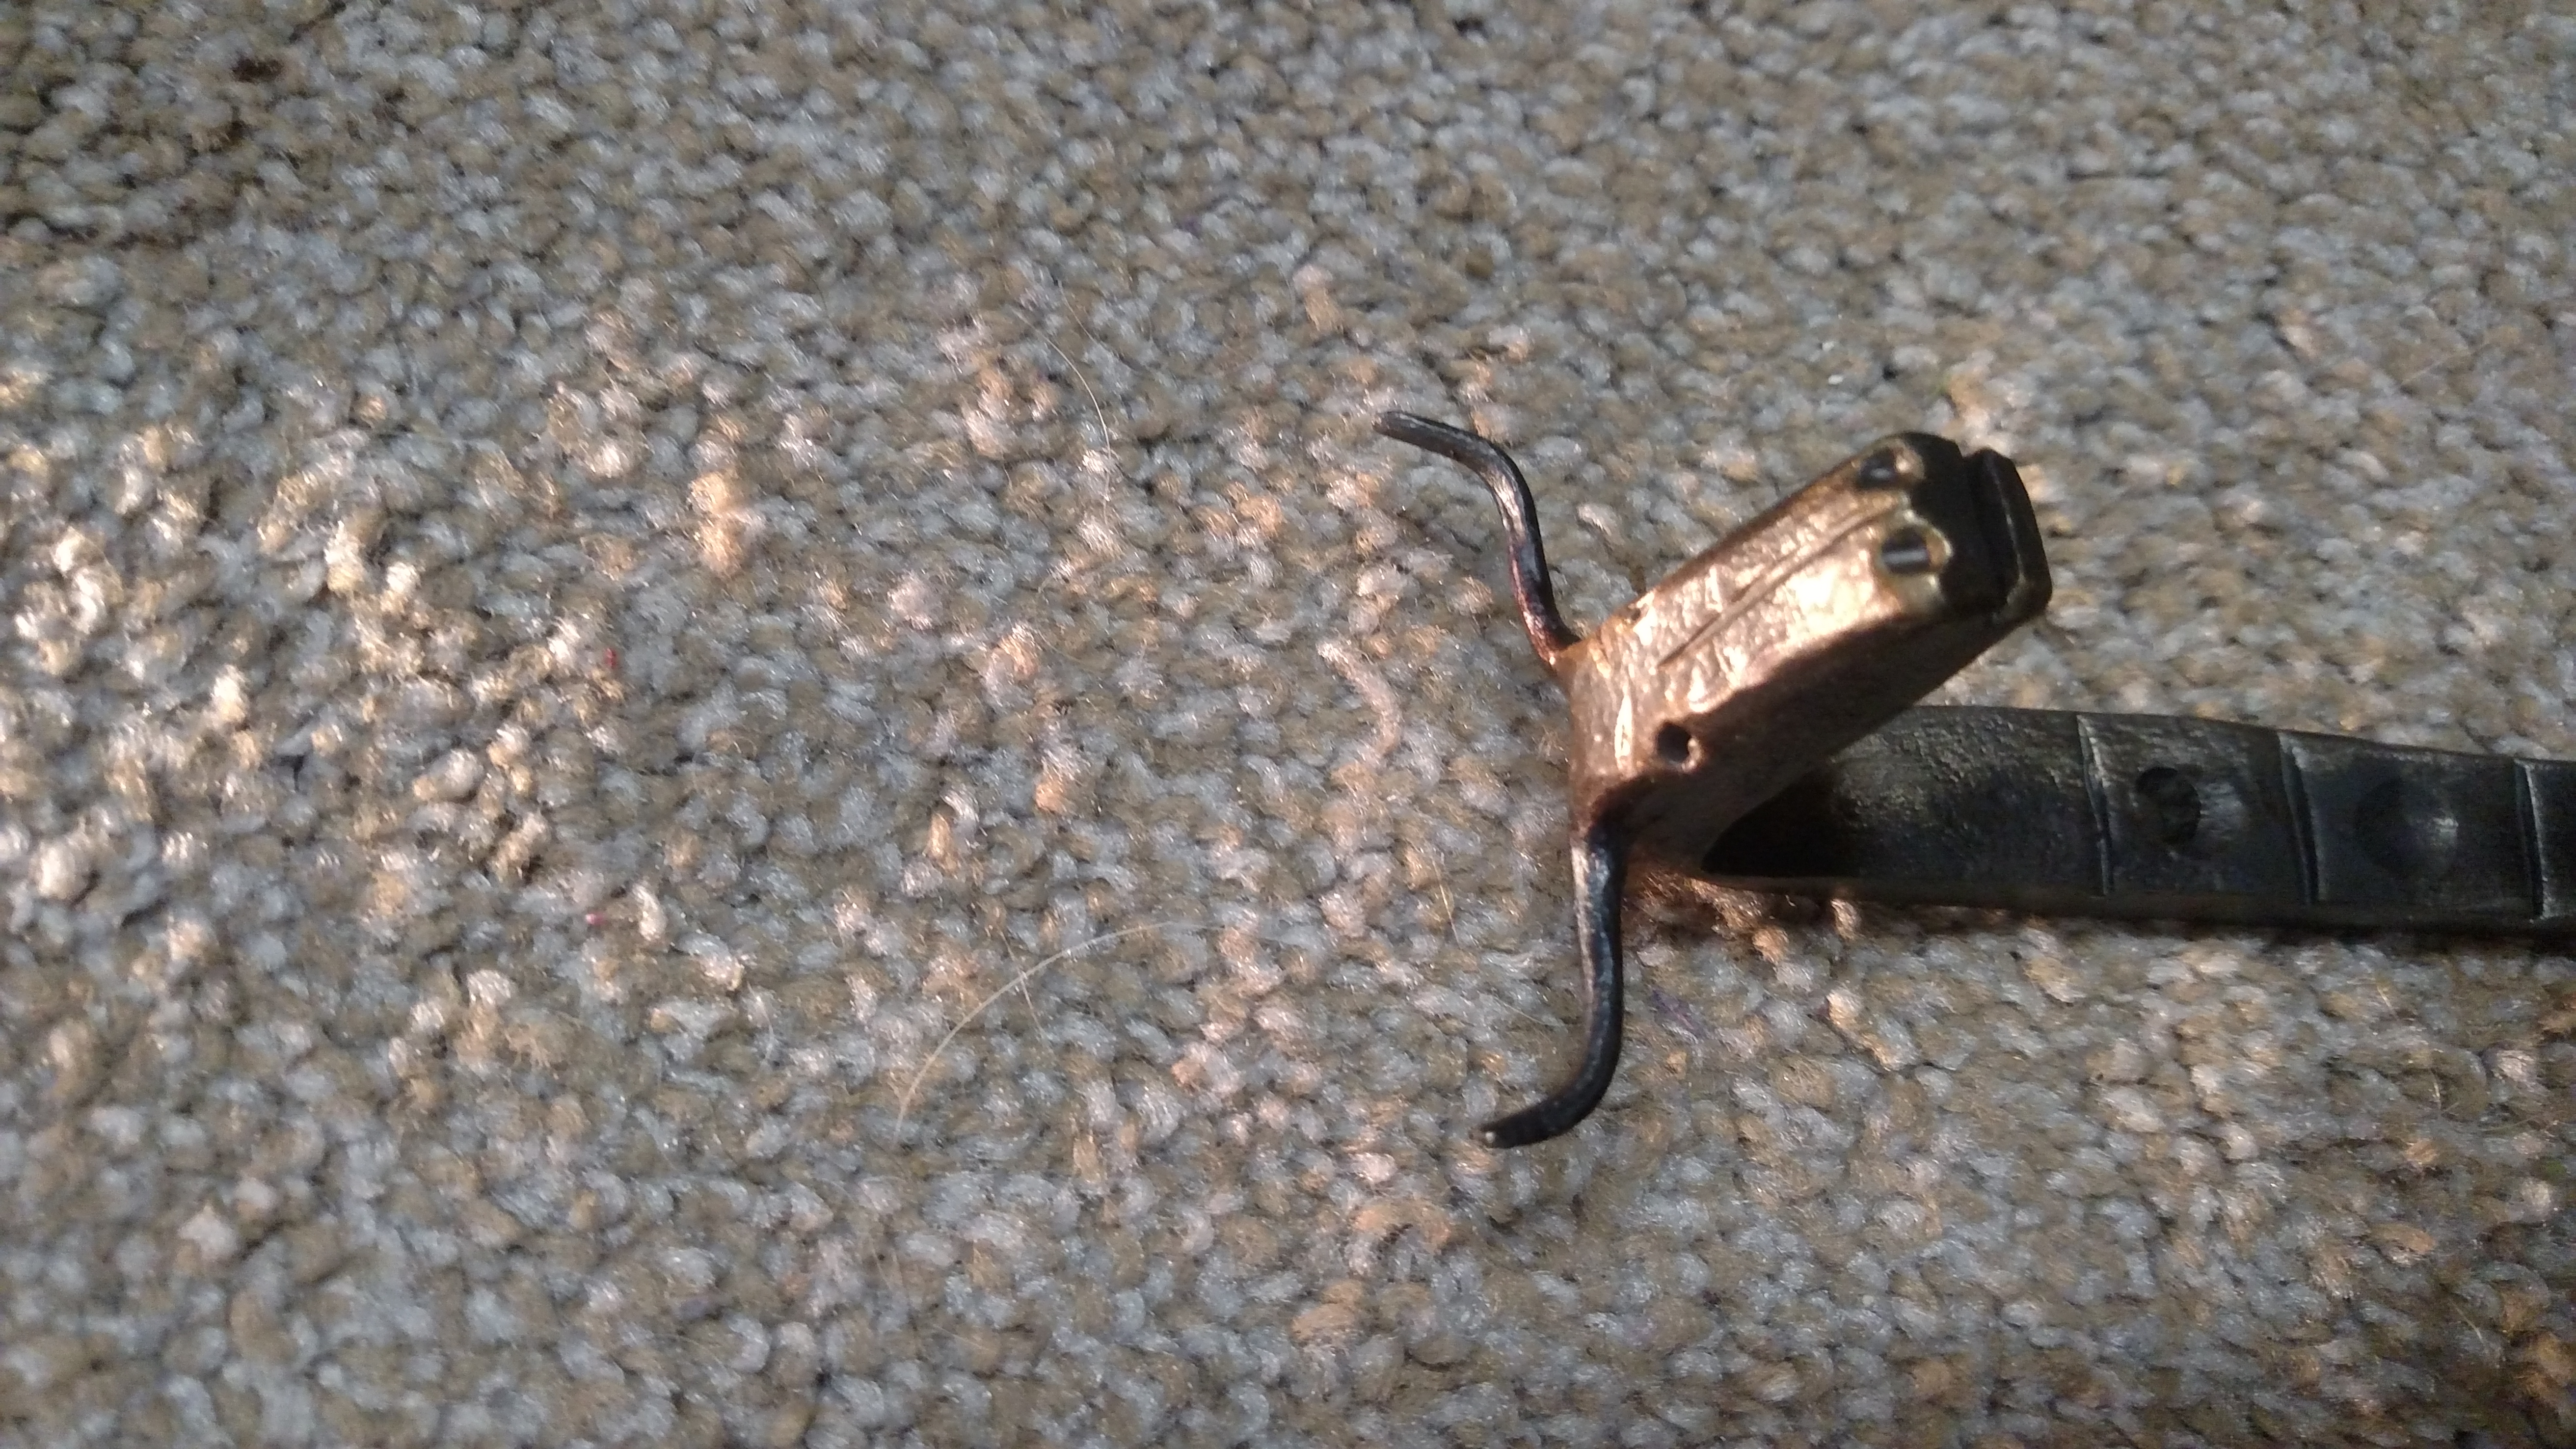
I included the last picture to show where I fire welded the rein onto the jaw portion. I forge the jaw and boss out of 1/2" and weld 3/8" square on for the reins, I'm wondering if the pitting shown in the picture is normal or if it can be prevented. I use borax as flux for the first 2 weld heats, I usually do a 3rd (no flux) just to clean it up and make sure there's no cold shuts. 'Sparkling' of the steel is pretty minimal when I take it out of the fire, so it's not like I'm pulling it out and it looks like a grinder hitting all 4 sides.
Any suggestions to help me get rid of the 'loose' feel (even tho it's not much) would be appreciated, as well as any other constructive criticism
-
$20 for 50 pound bag, almost an hour away.
-
Frosty and gote, thanks, doing it as you guys described sounds much easier than the long process I went through. You are right that spreading the horns and then drawing them out was difficult, what I did was just what I came up with in a spur of the moment "I'll try making a longhorn". I'll probably try another in the next few weeks, thanks for the advice.
-
8 hours ago, gote said:
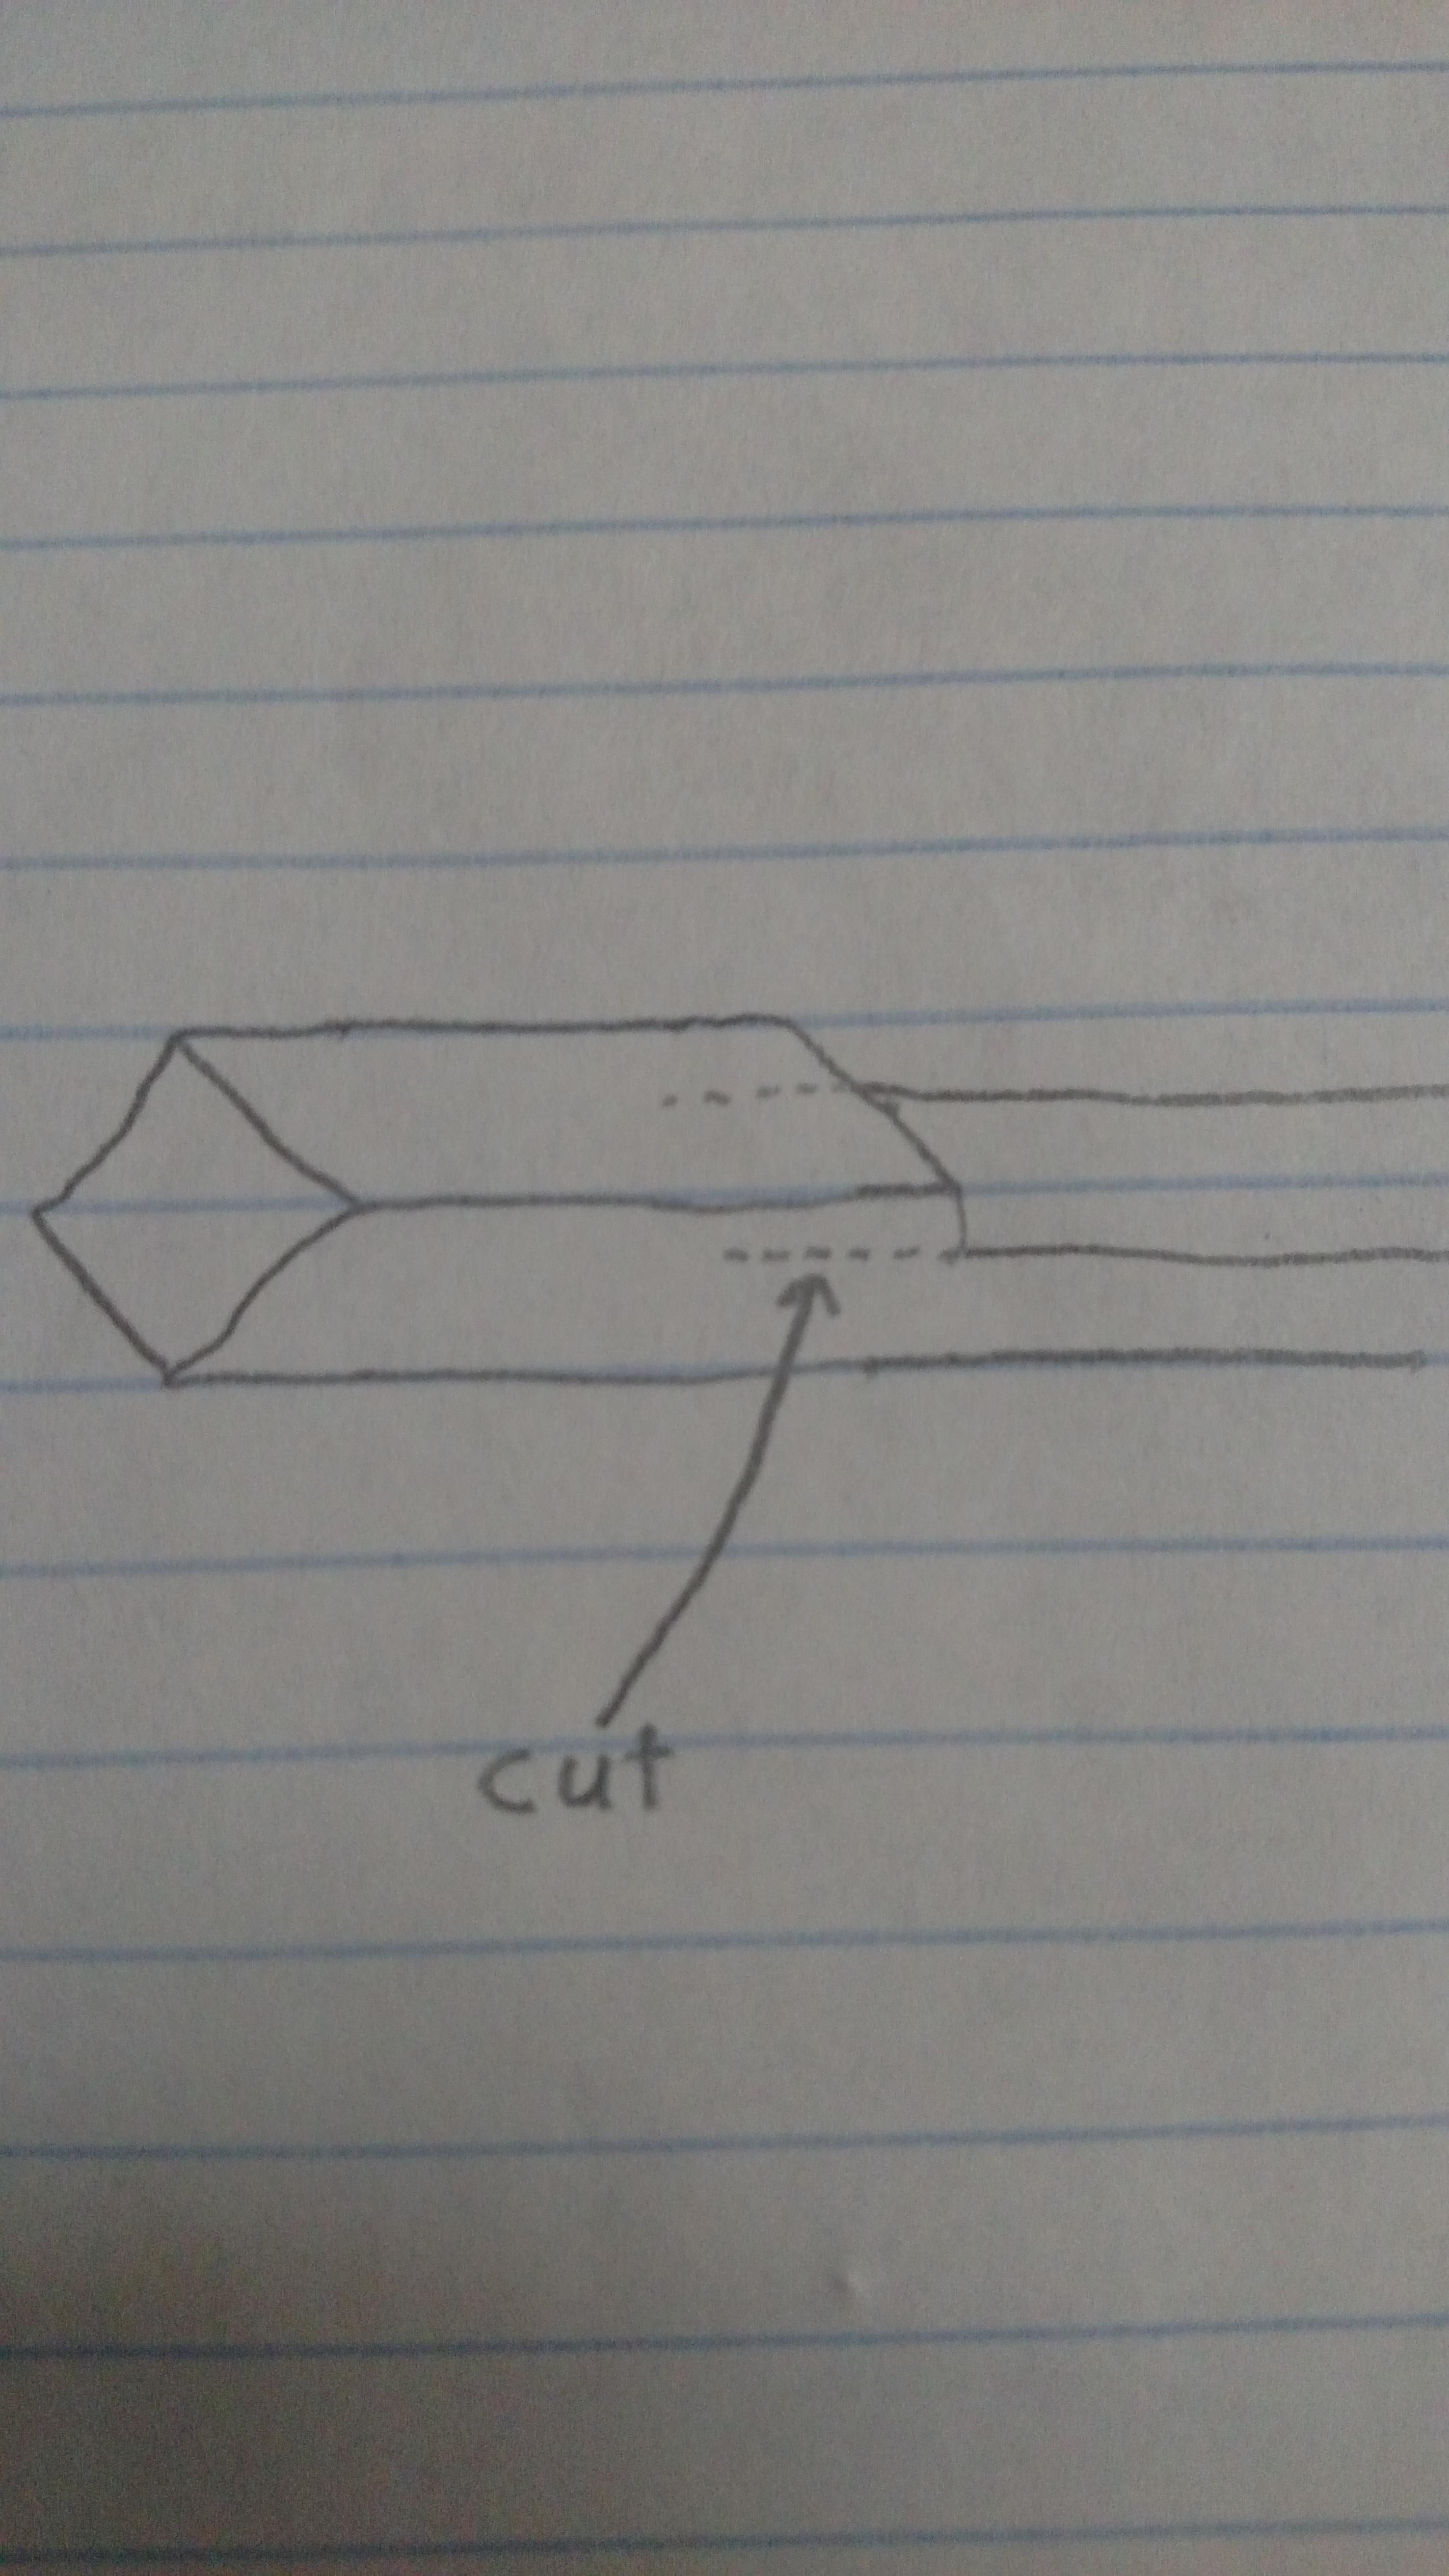
How did you make the horns? I would split the end of the stock and then fold over to form the head. They then start out fairly thick. If you do not draw them out thin it is not so much of a problem. Most blacksmithing animal heads have thicker horns. However if you want to have them as thin as these they will loose heat quickly.
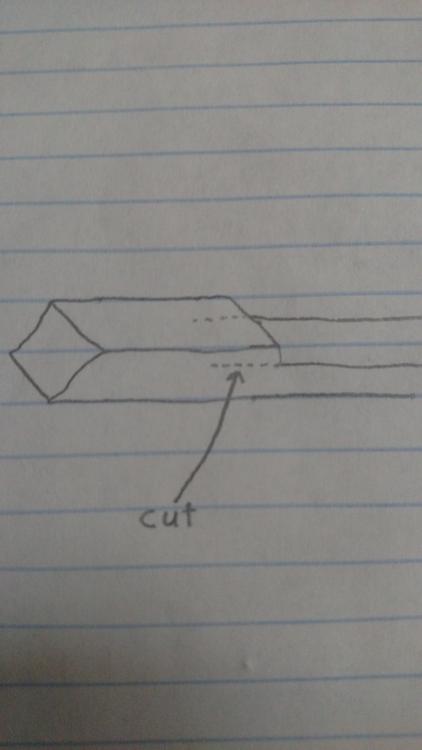
Was thinking this is how I will do it next time around. For this I made a set down and left about 2 1/2" untouched on the end of the bar. Took a grinder and cut into the untouched material to make the horns. Hope the drawing illustrates it to make sense.
-
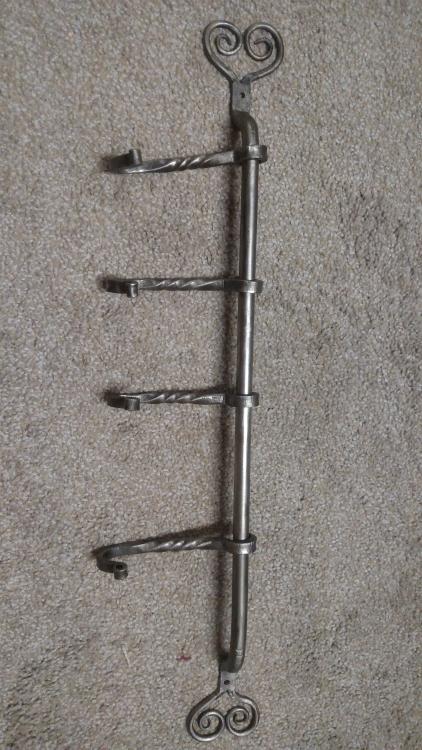
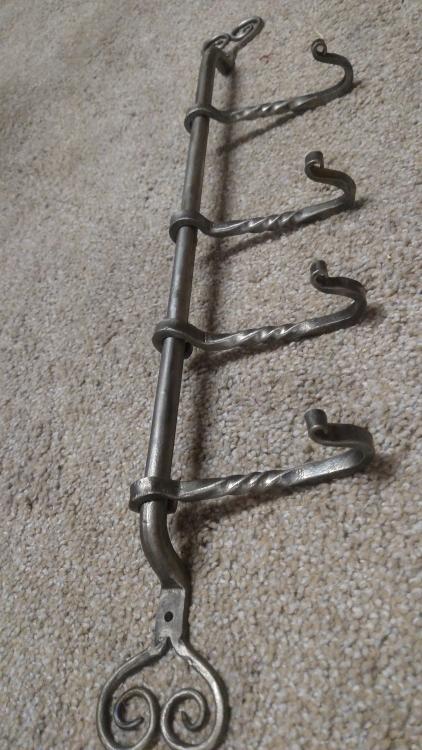
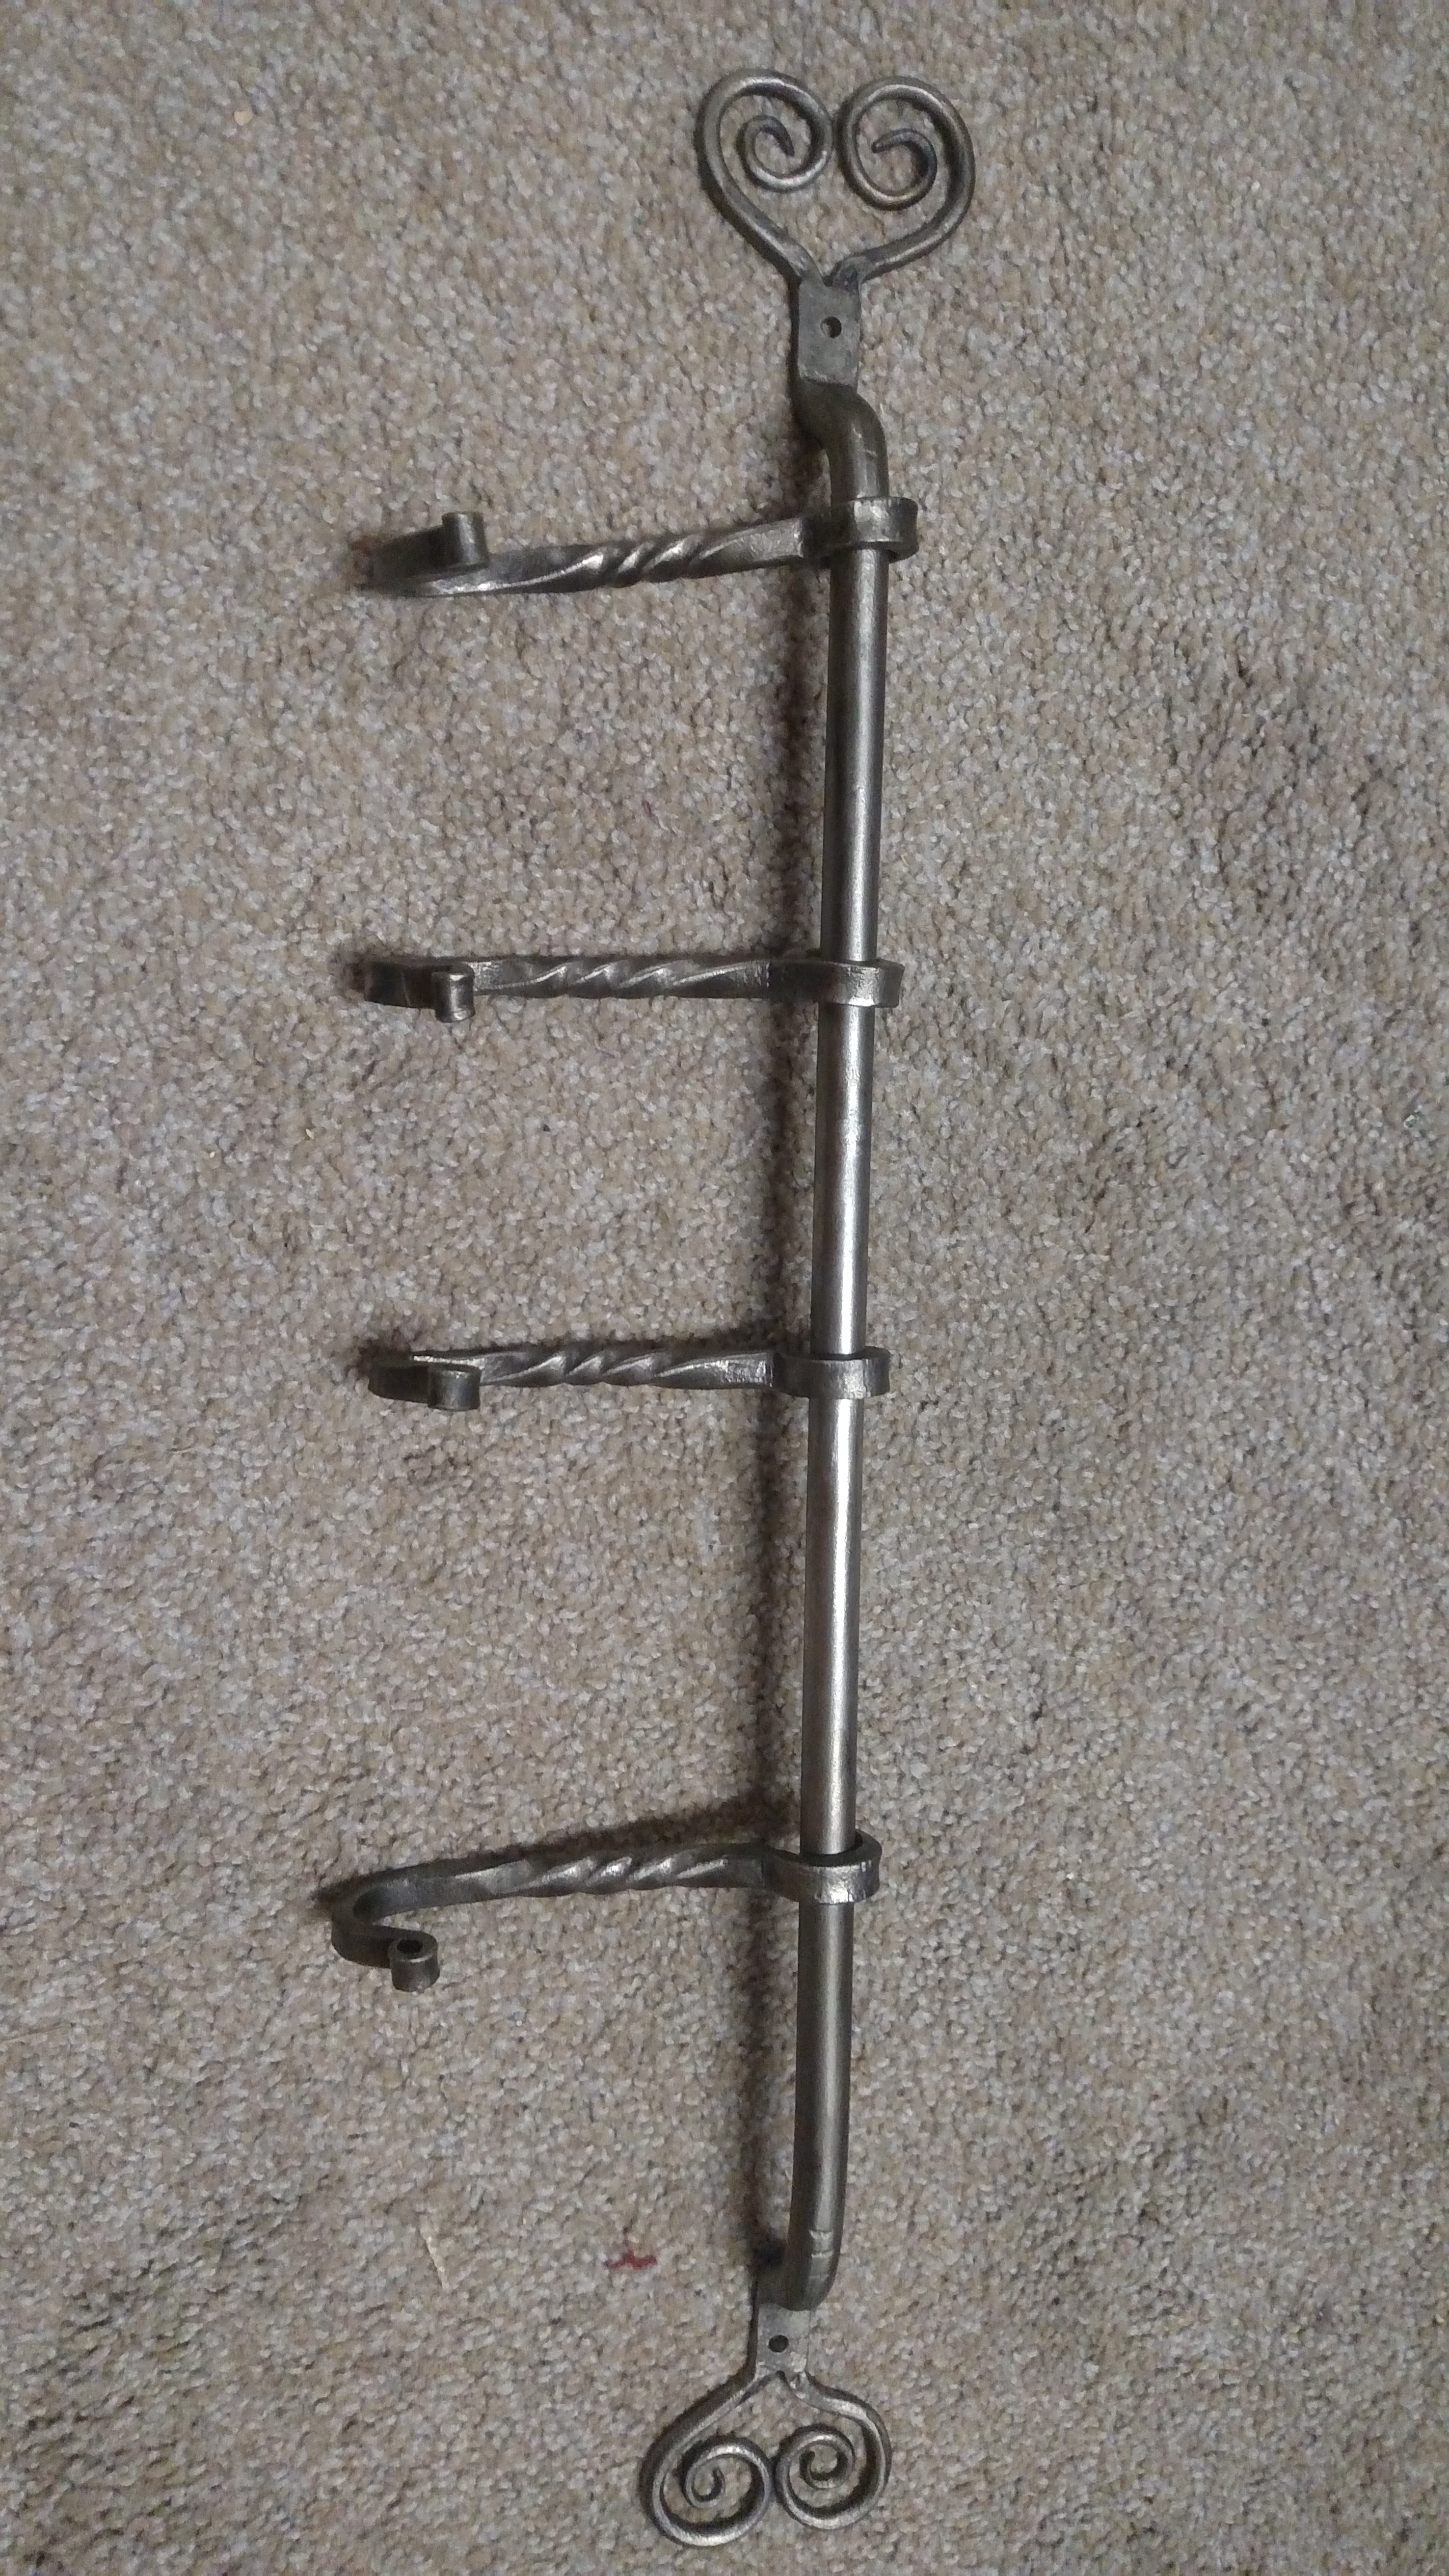
Made this ?coat rack? today, saw something like it on Google. It's 24" long, made from 1/2" round, and the hooks started as 6" of 3/8" round stock. They are all about 4" long now. For my first time around on it I like it, but I think aesthetically it be a little more appealing if I had made the piece that goes around the 1/2" round, instead of setting it down and drawing it out flat like I did
-
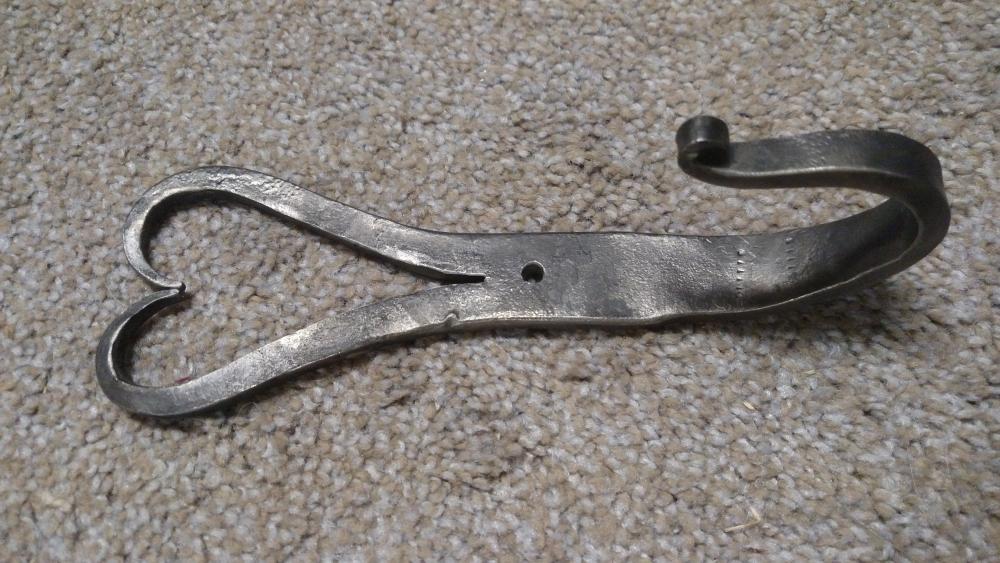
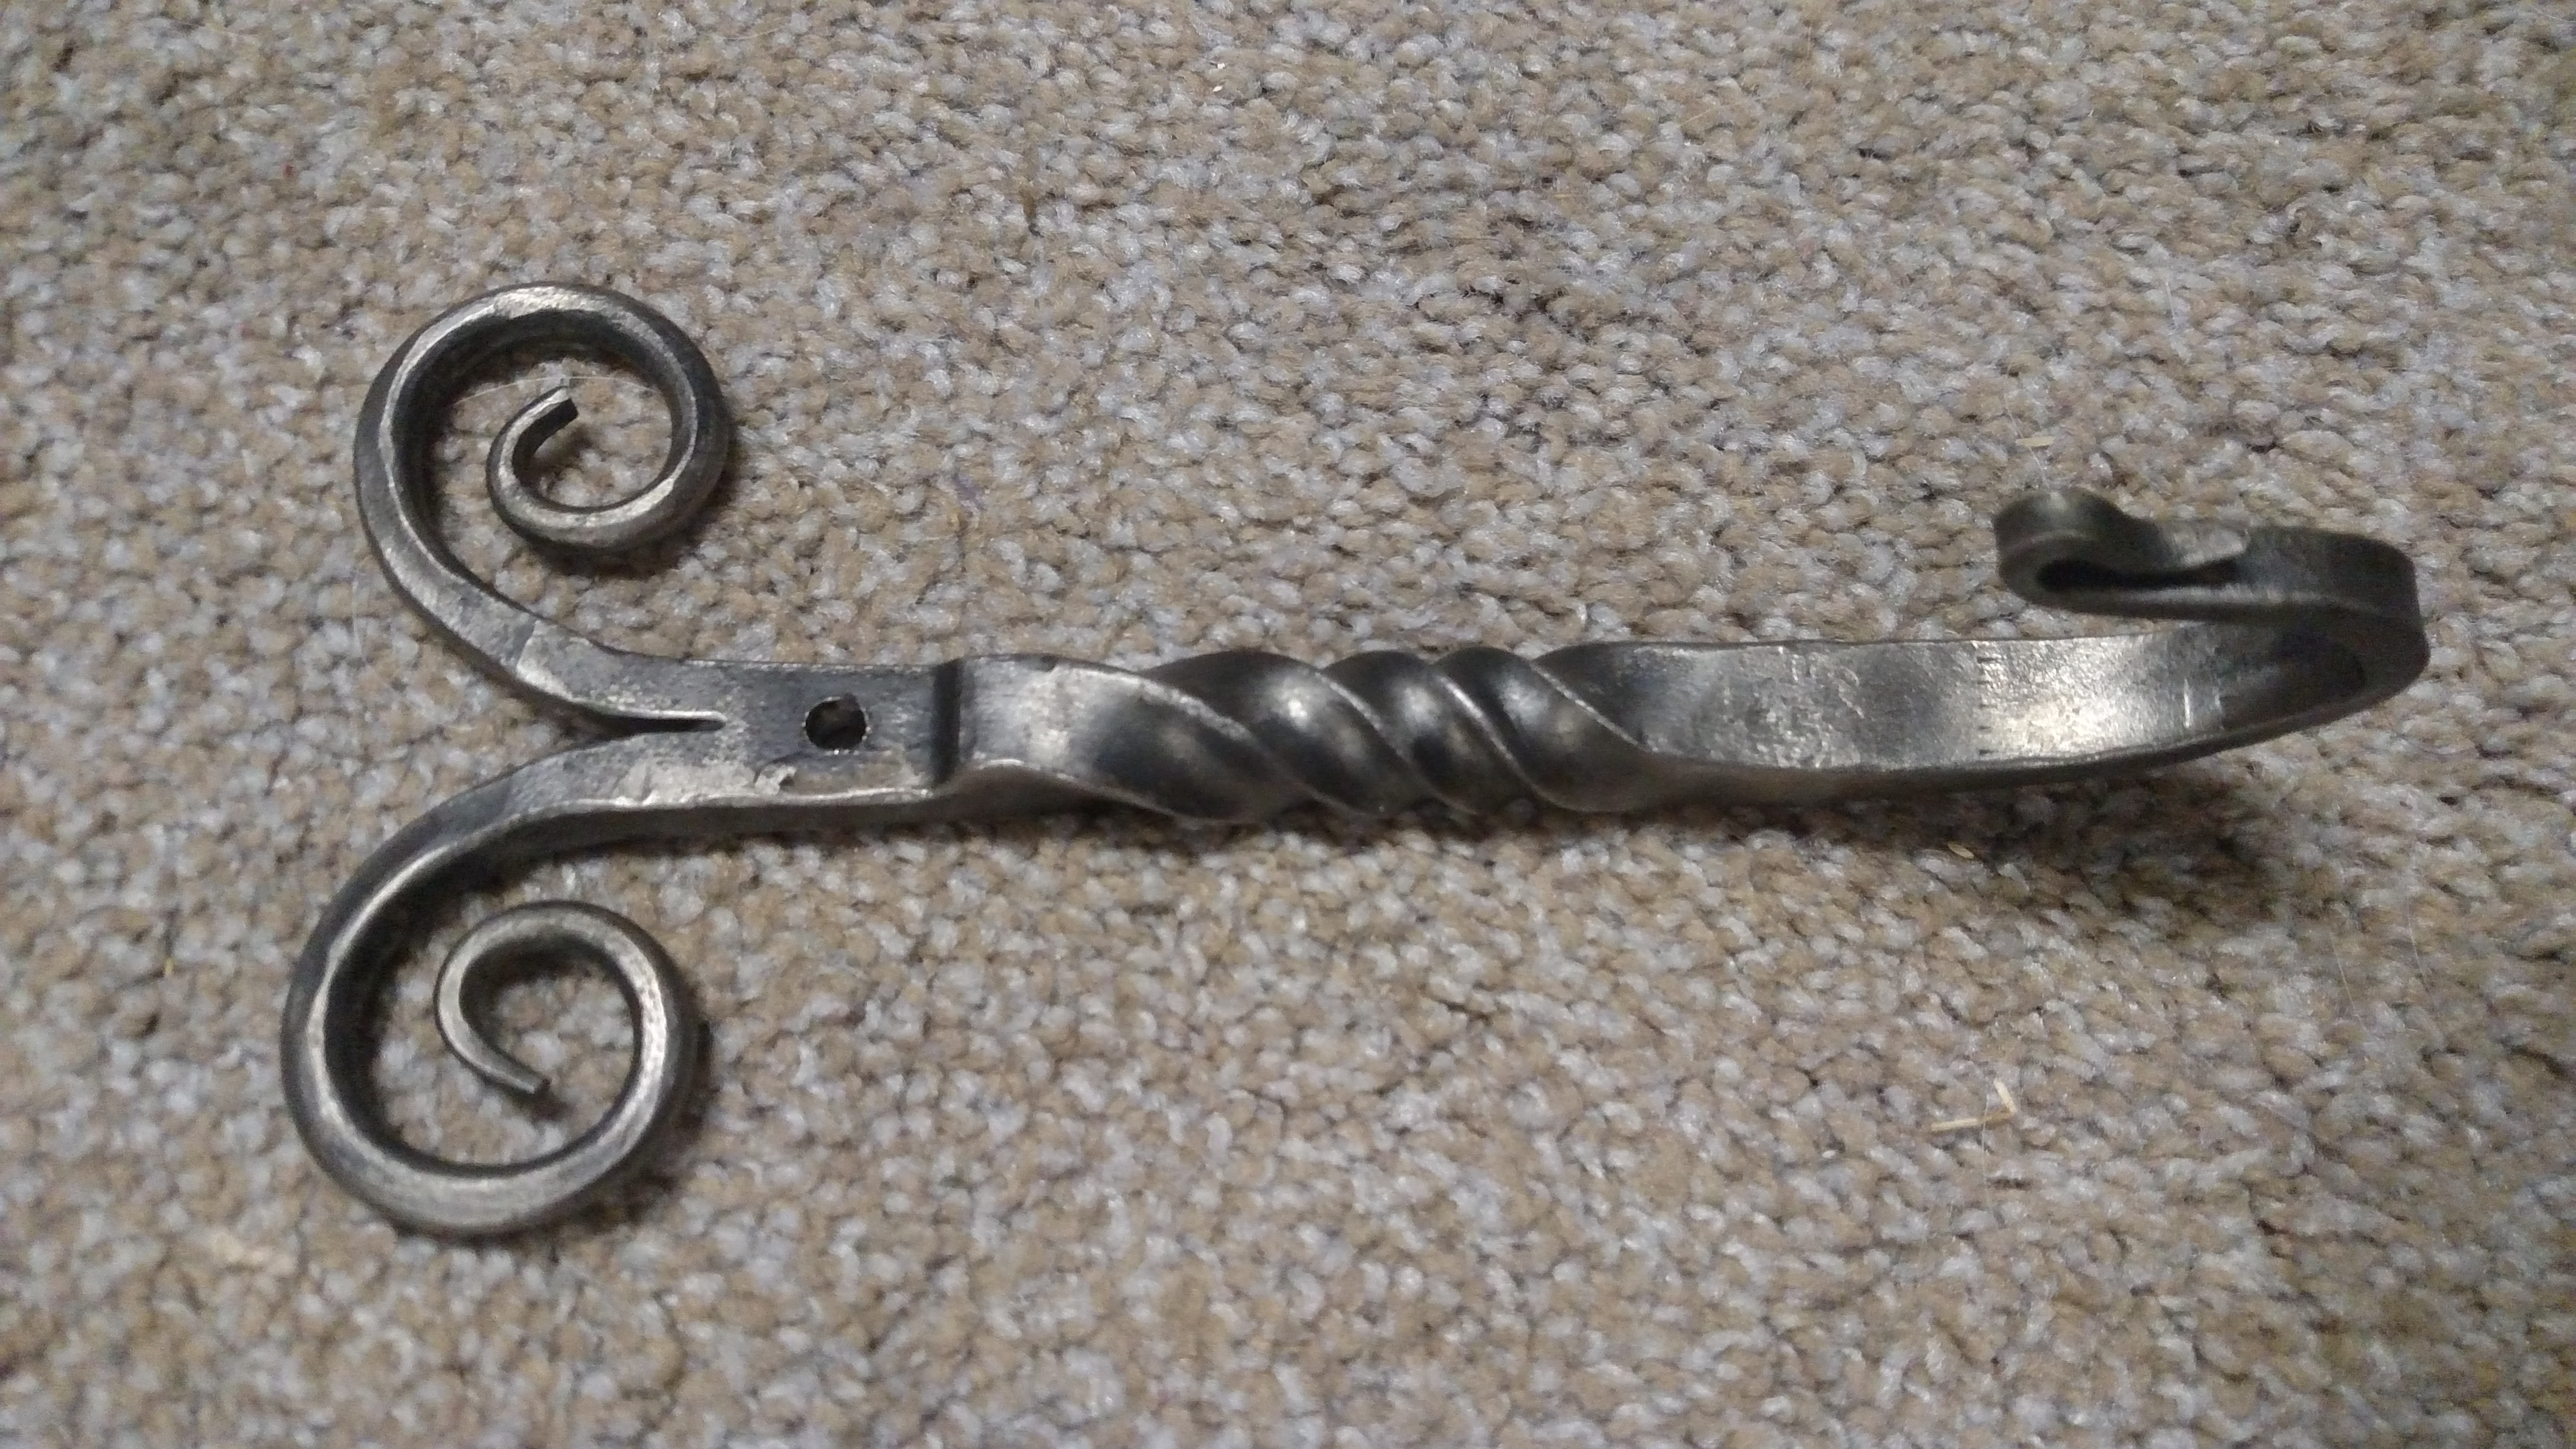
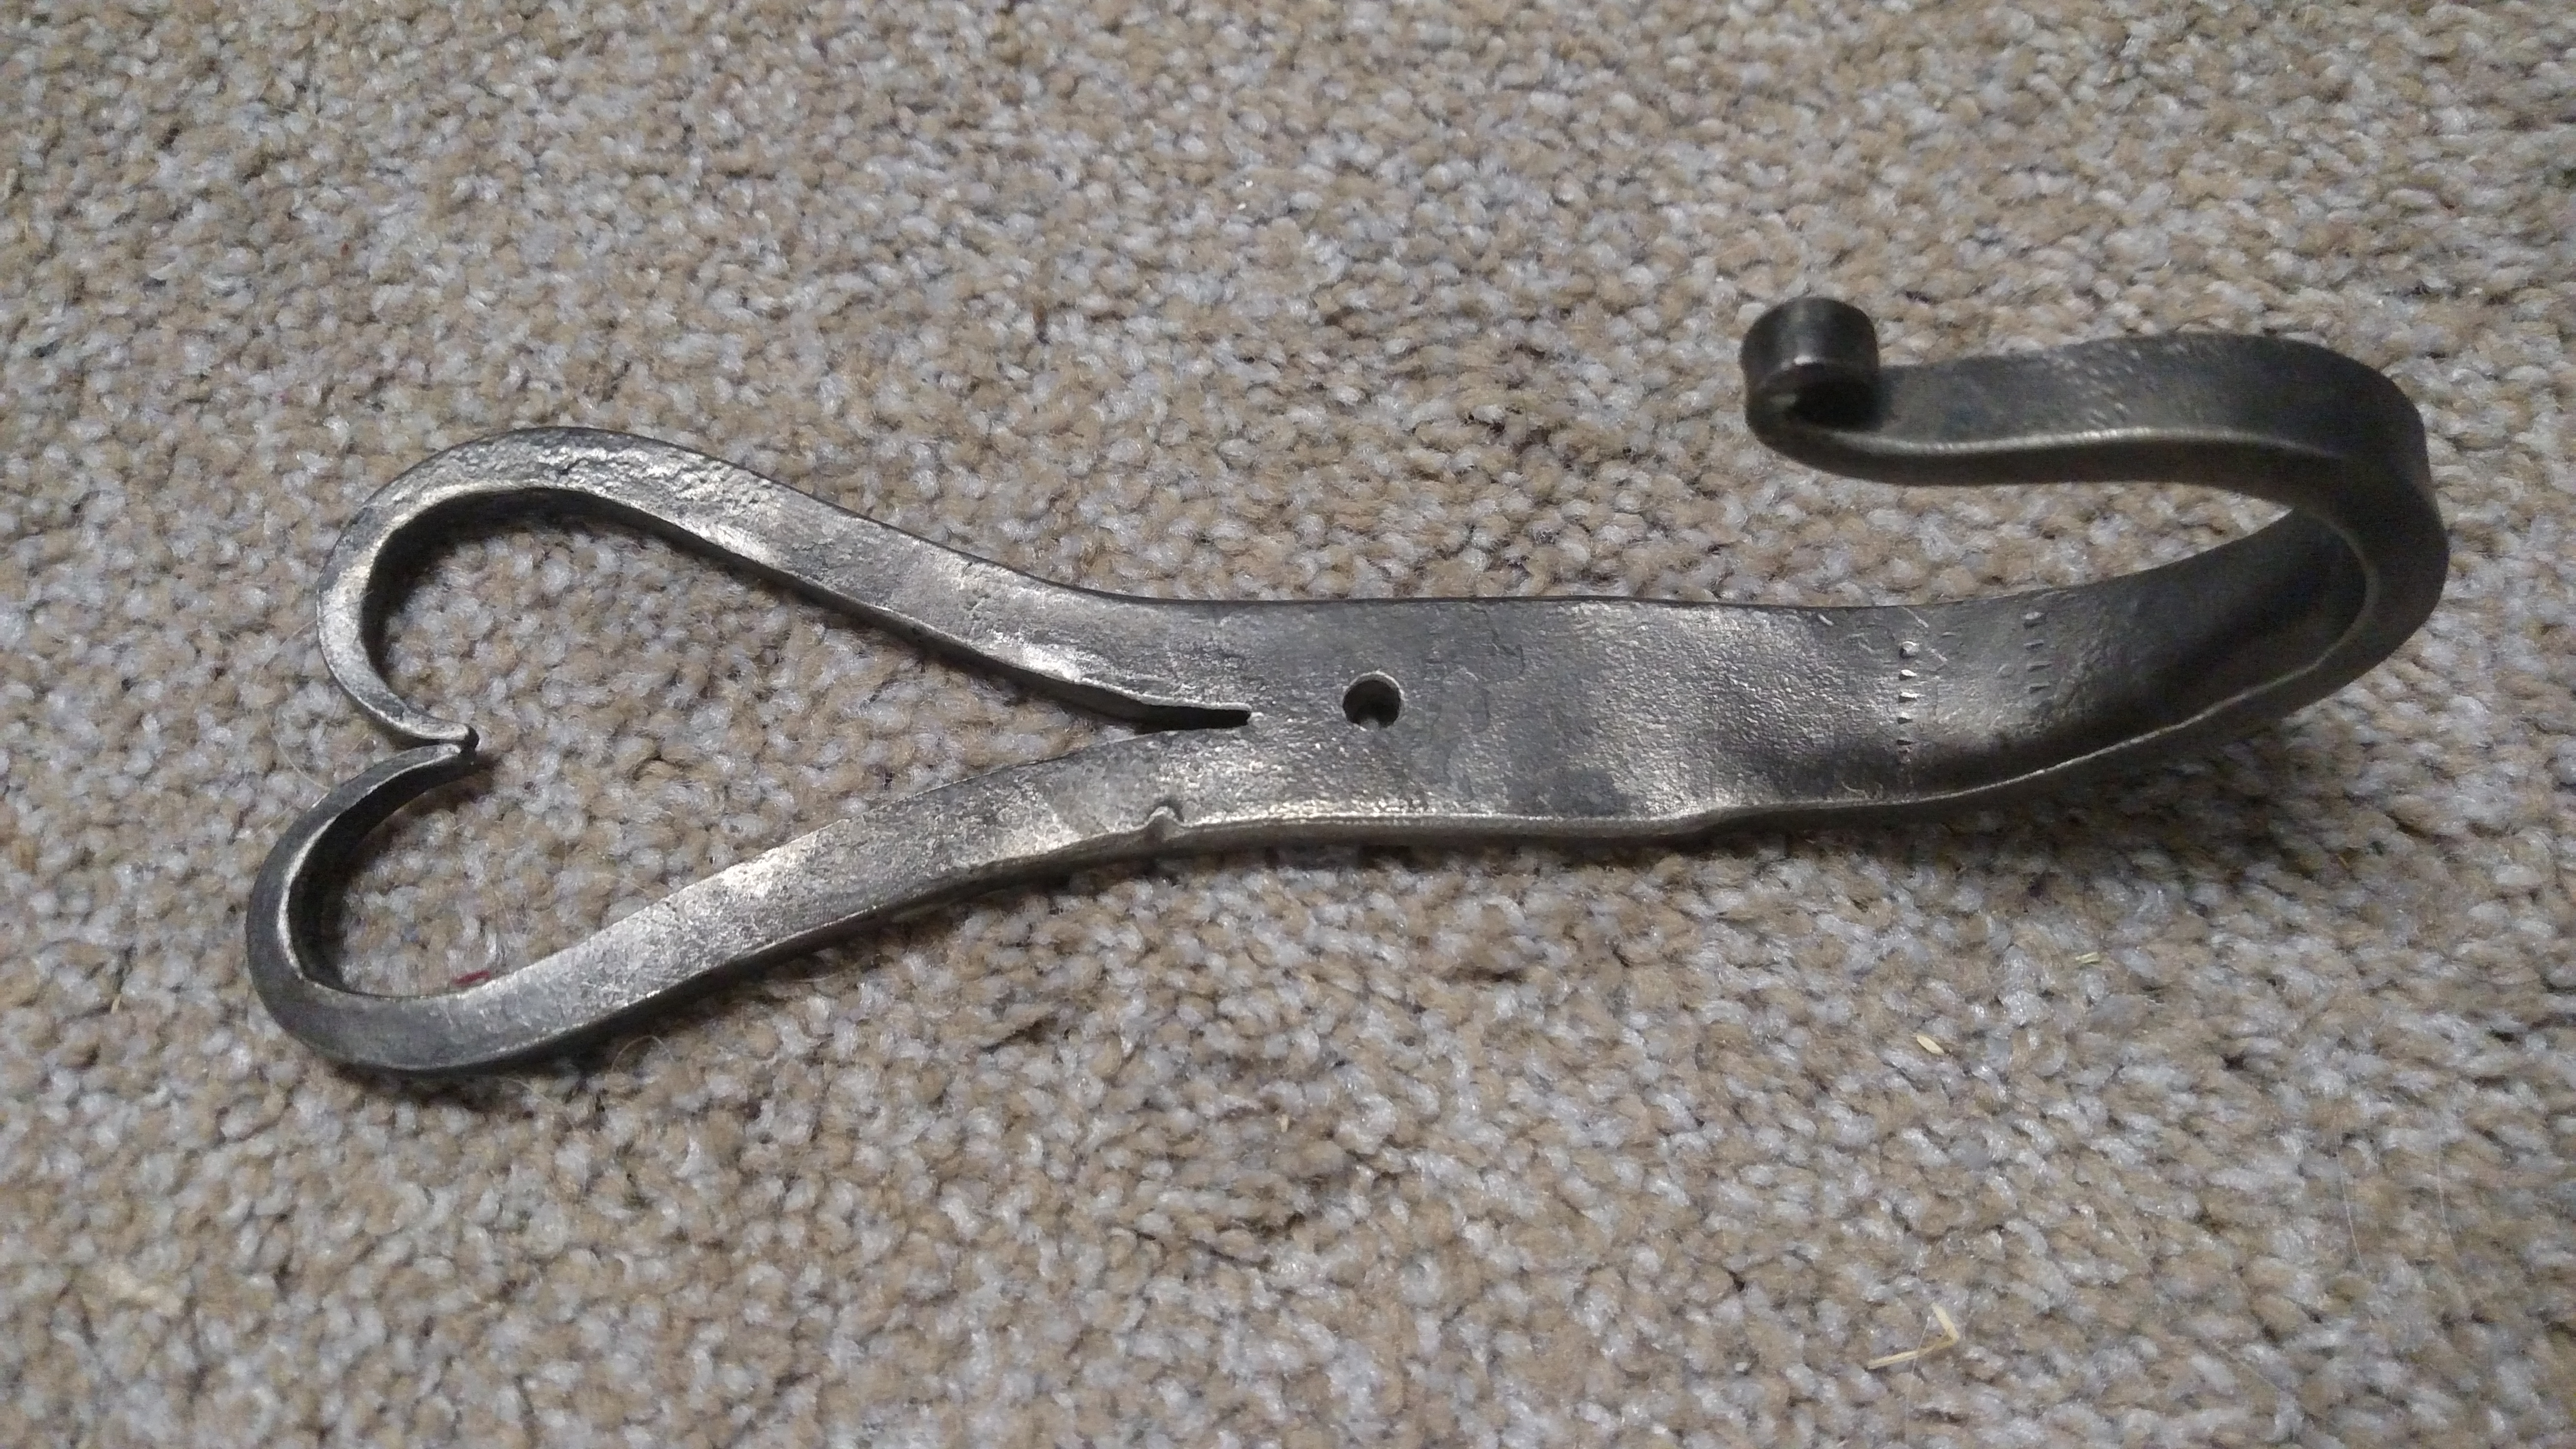
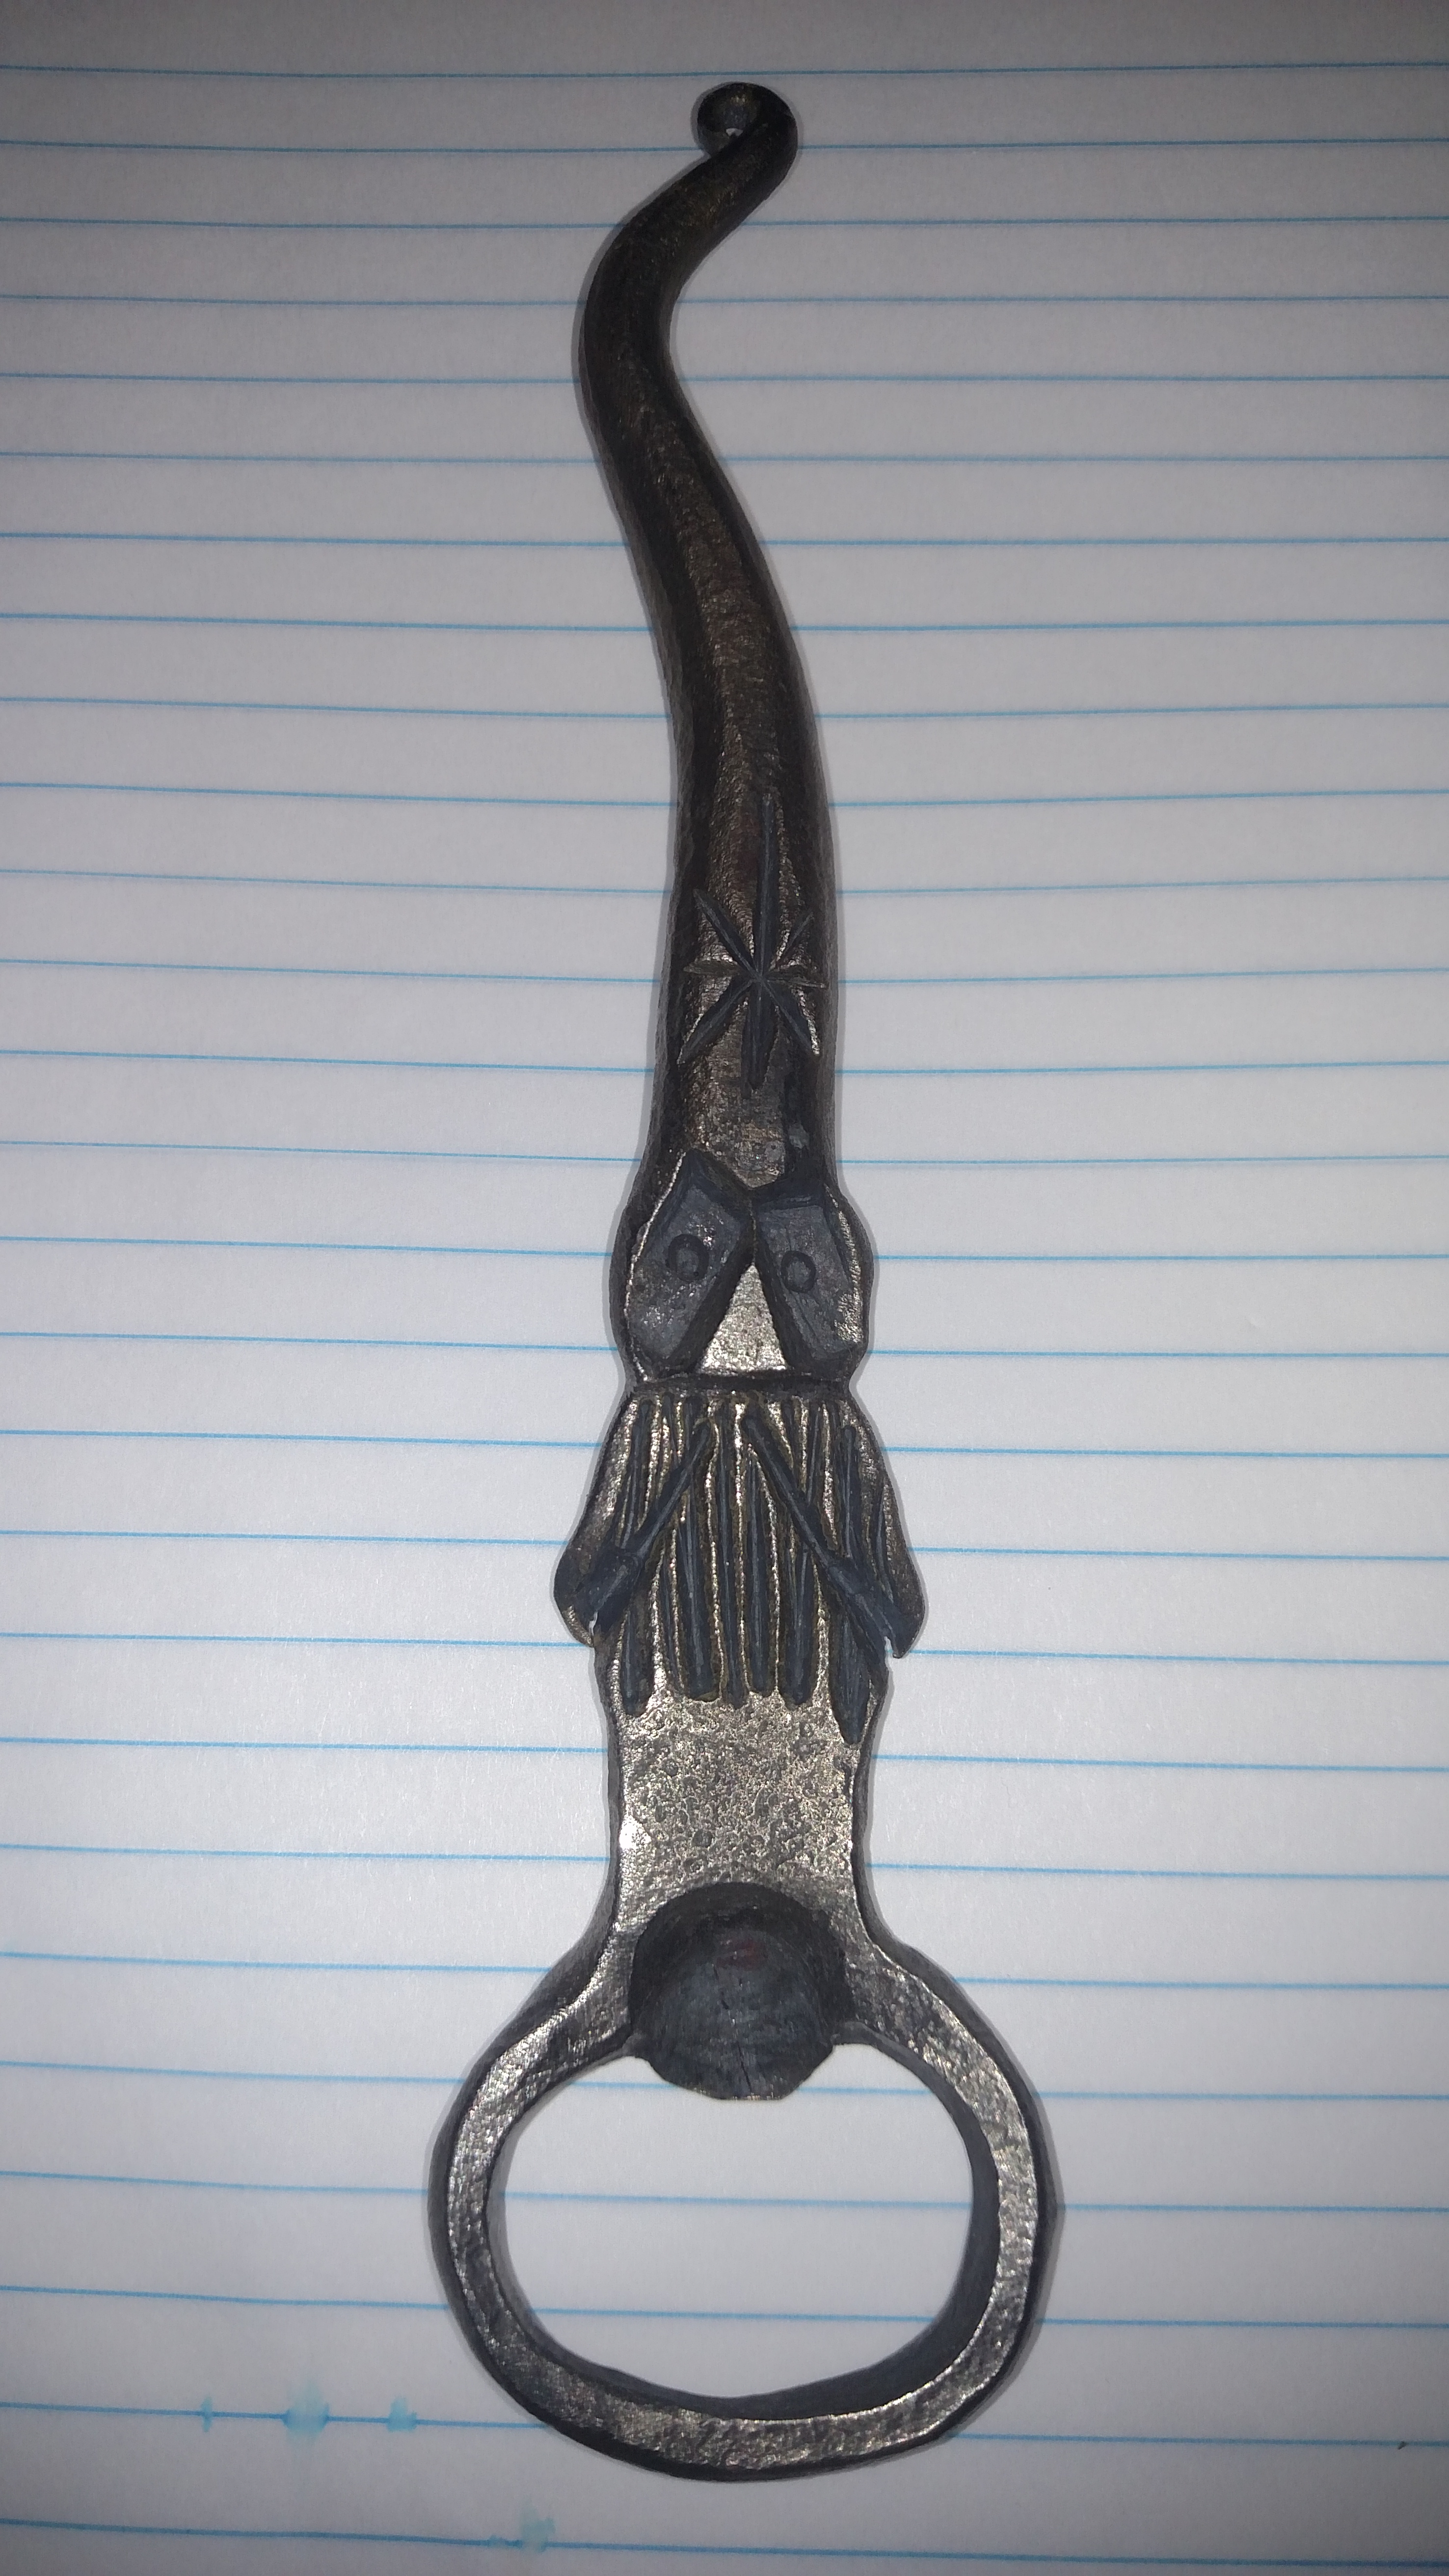
Made these the last 2 days. I've made 3 of the heart hooks, the longhorn definitely took the longest. Drawing his horns out took forever cuz I kept losing my heat, even bringing the head out orange didn't seem to keep it in longer. It's my first try at an animal of any kind, I'm going to do it again, but id like to give him a meaner look next time, and I think I'll use paste wax to finish him up instead of beeswax, it made him a bit darker than I thought it would.

-
Nah that's just a callous that was coming off lol
-
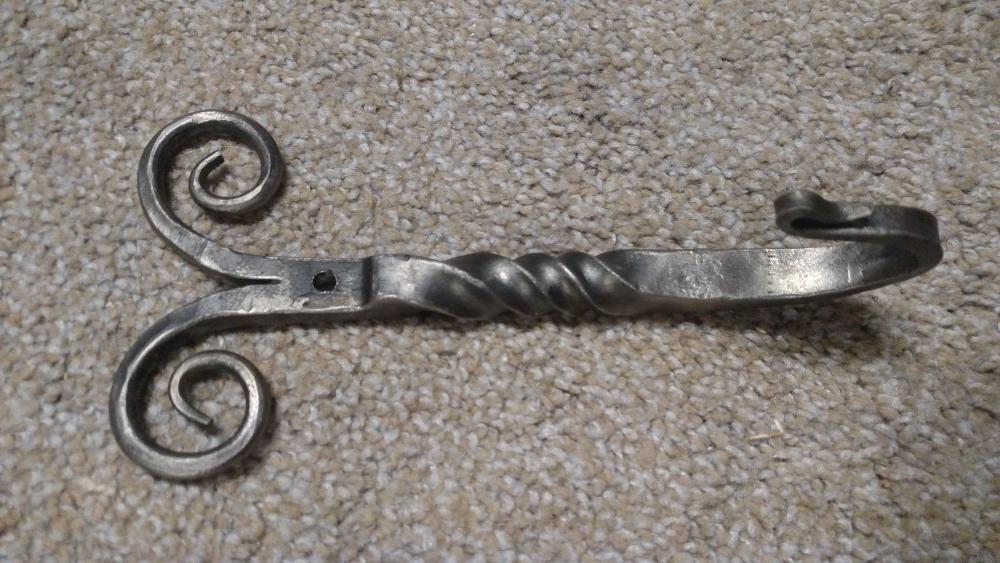
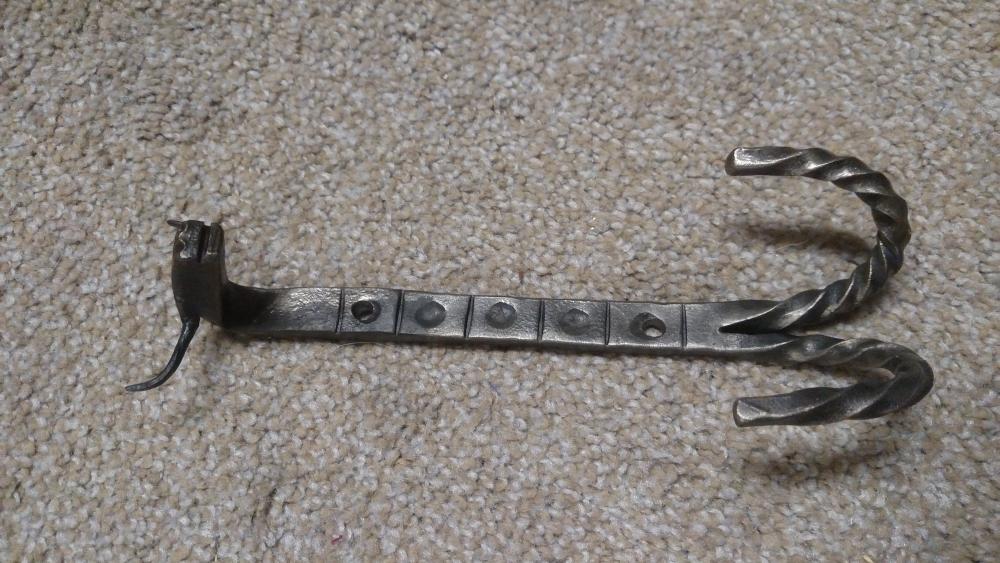
Just based off that picture the maker probably didn't use 4 thin pieces to collar that together, I would guess instead it's a piece of flat bar that he chiseled those marks in for decoration. That's what I would do at least, instead of trying to do the same process 4 times over, or trying to fold all 4 pieces at once around. I'm not saying it couldn't be done, just that a single bar would be easier
-
I lied about doing it this weekend, fired up the forge and knocked it out tonight
-
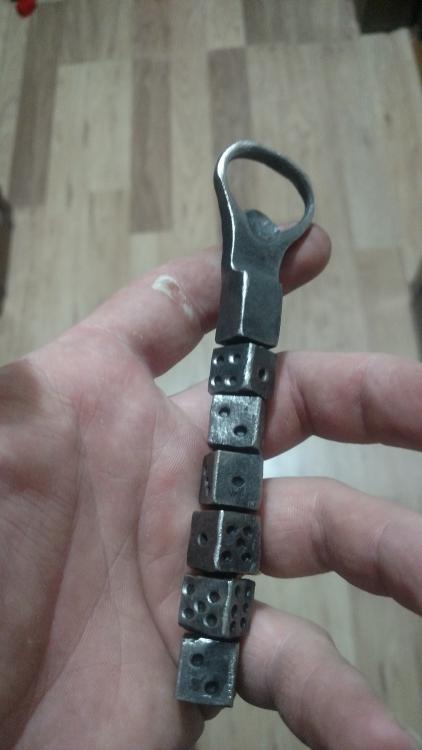
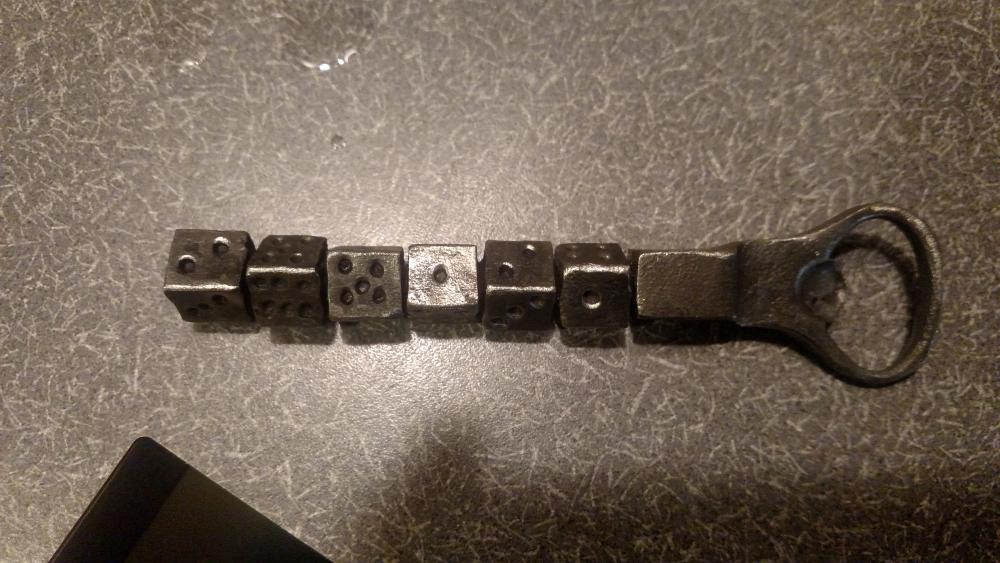
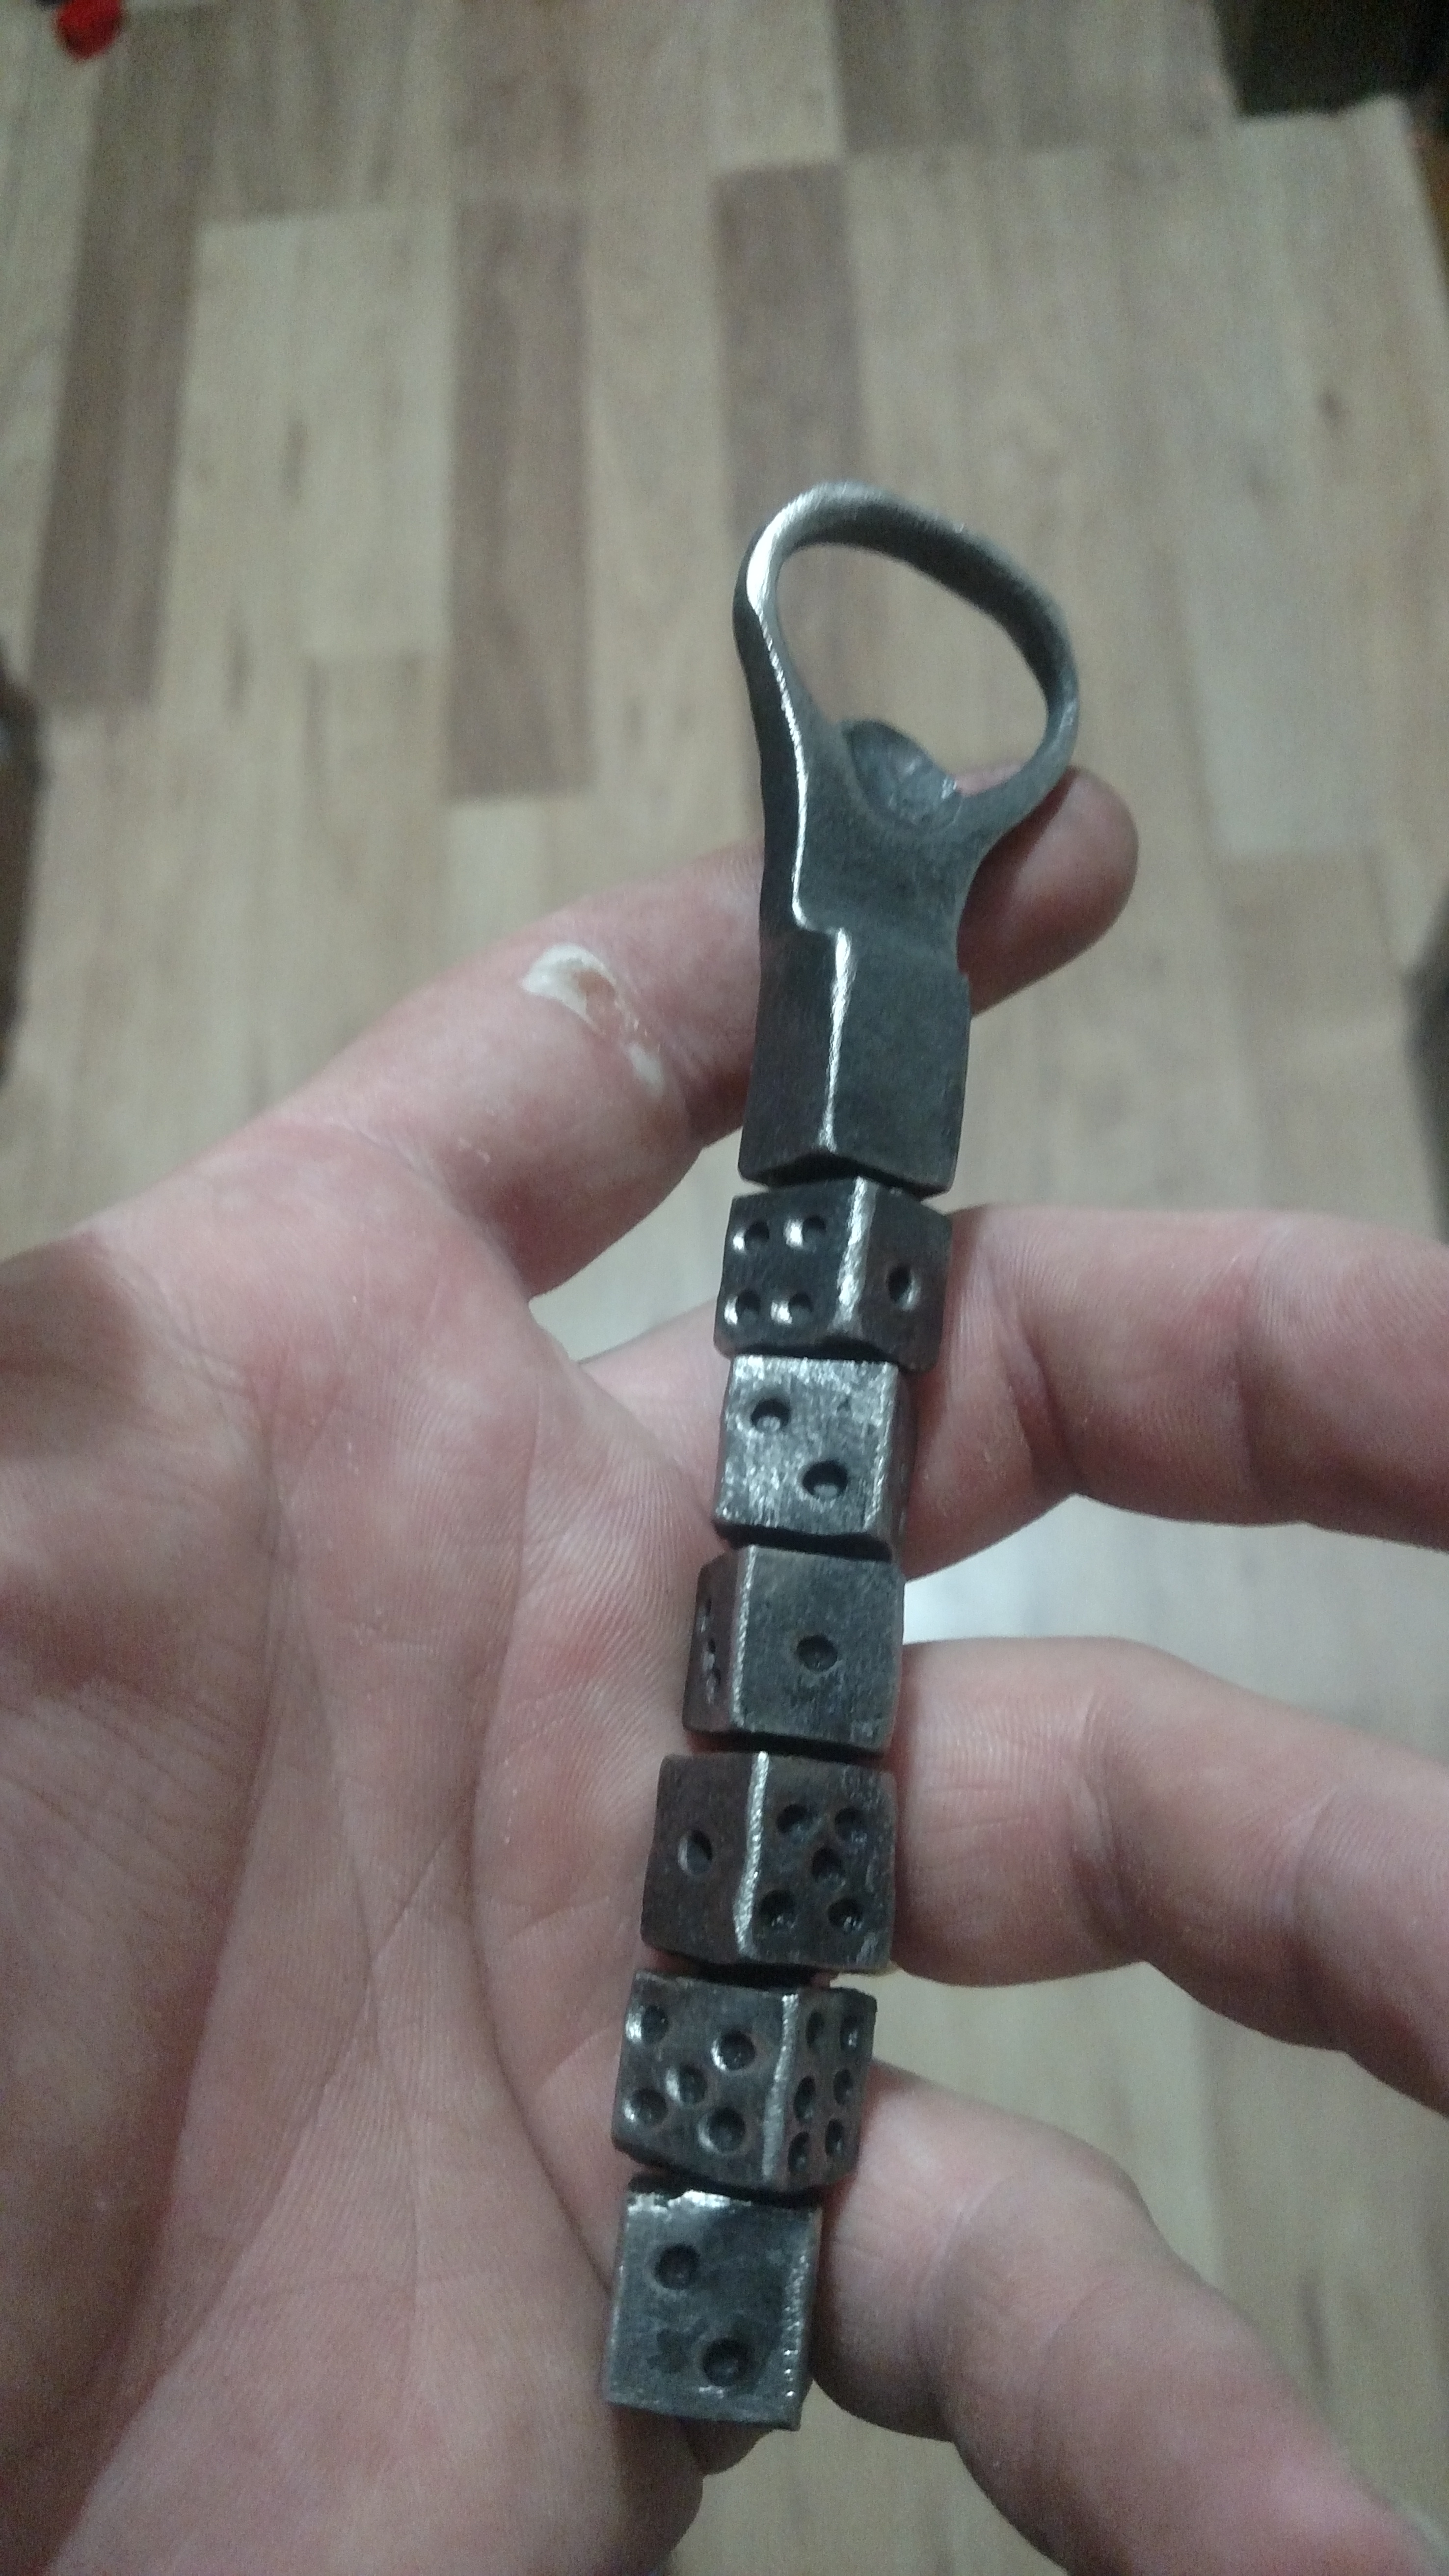
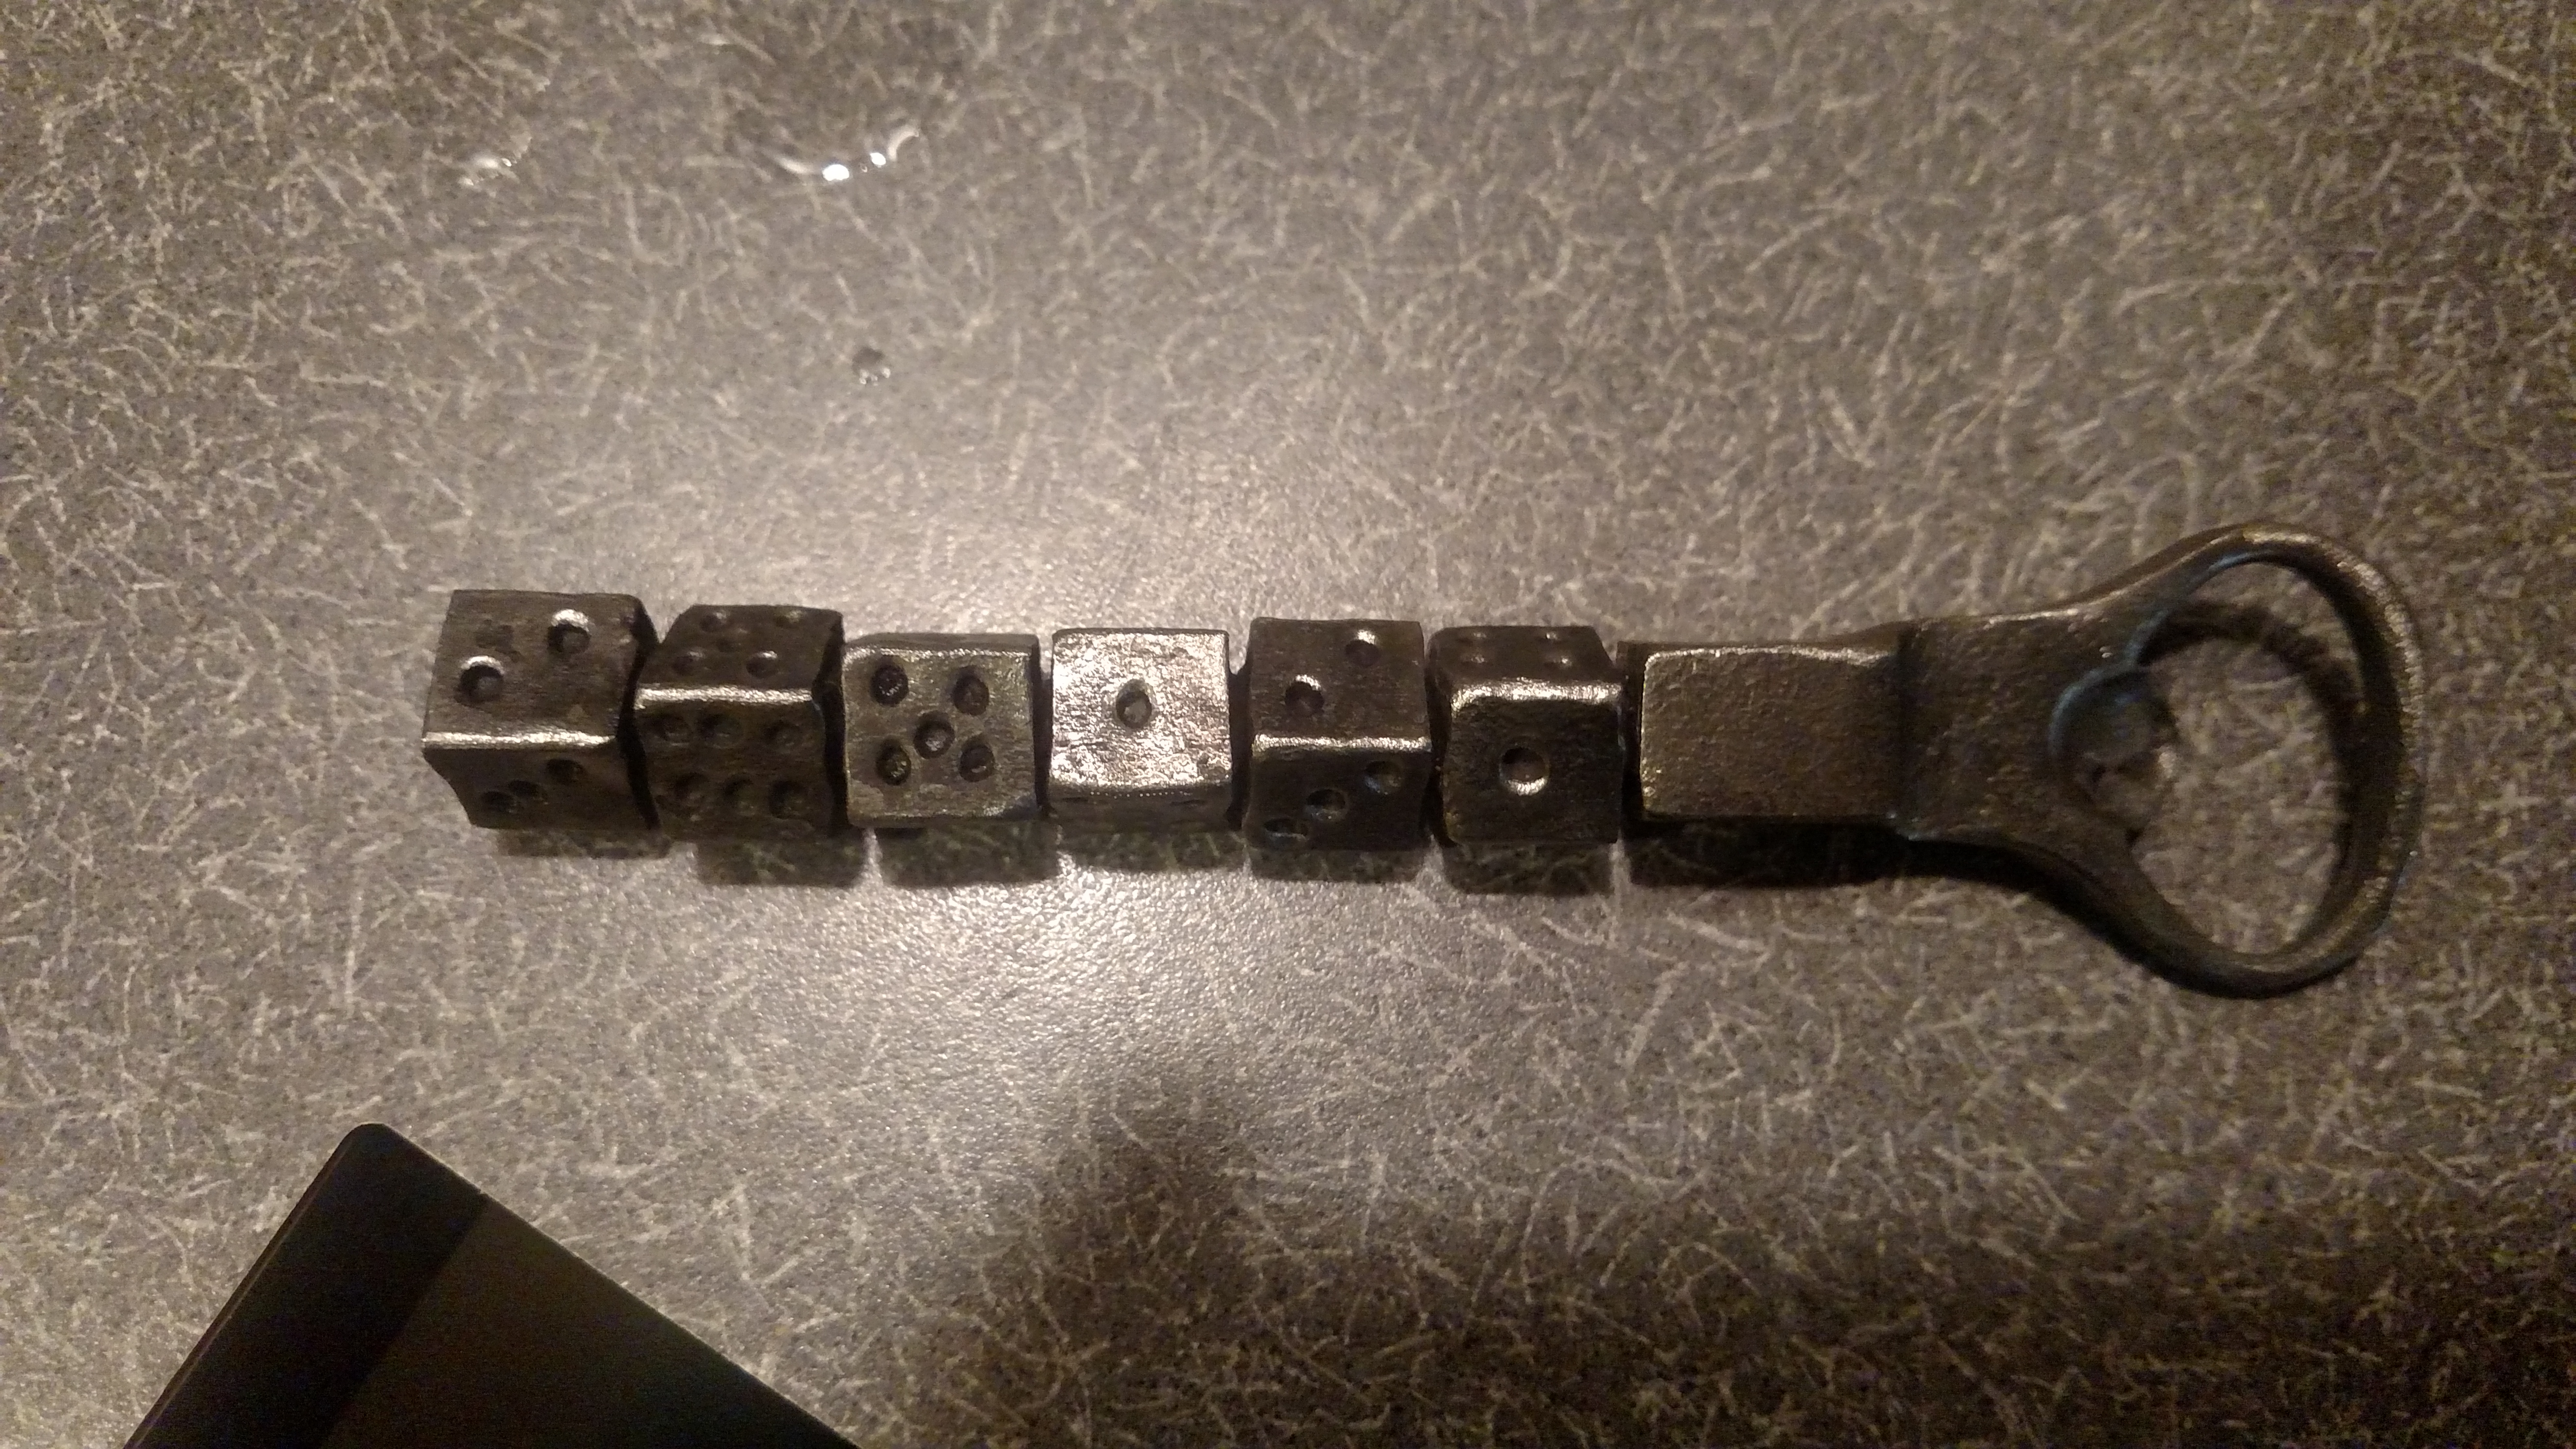
Heap, you got into more than a few people's head- I'm gonna try the dice opener this weekend, I'll post pics
-
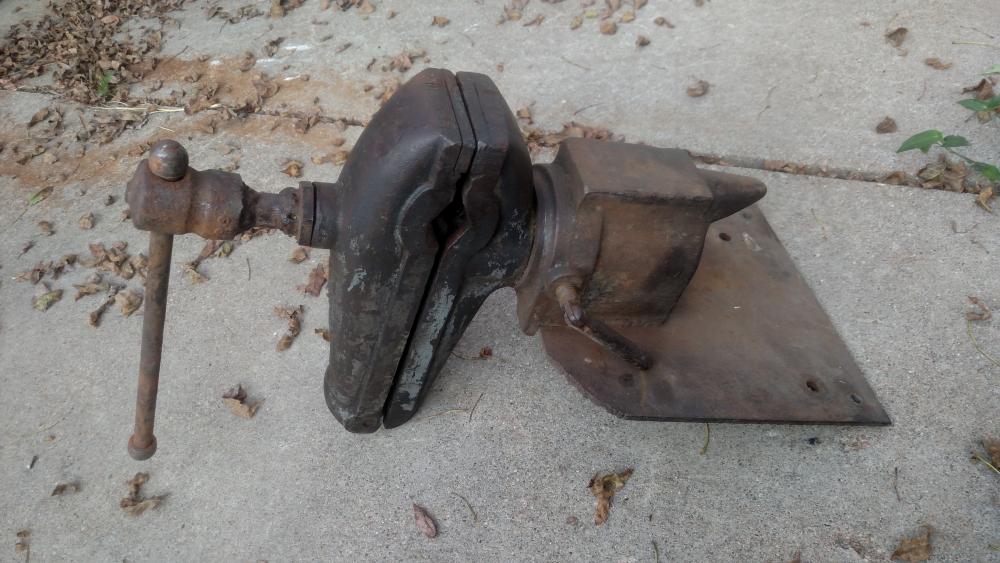
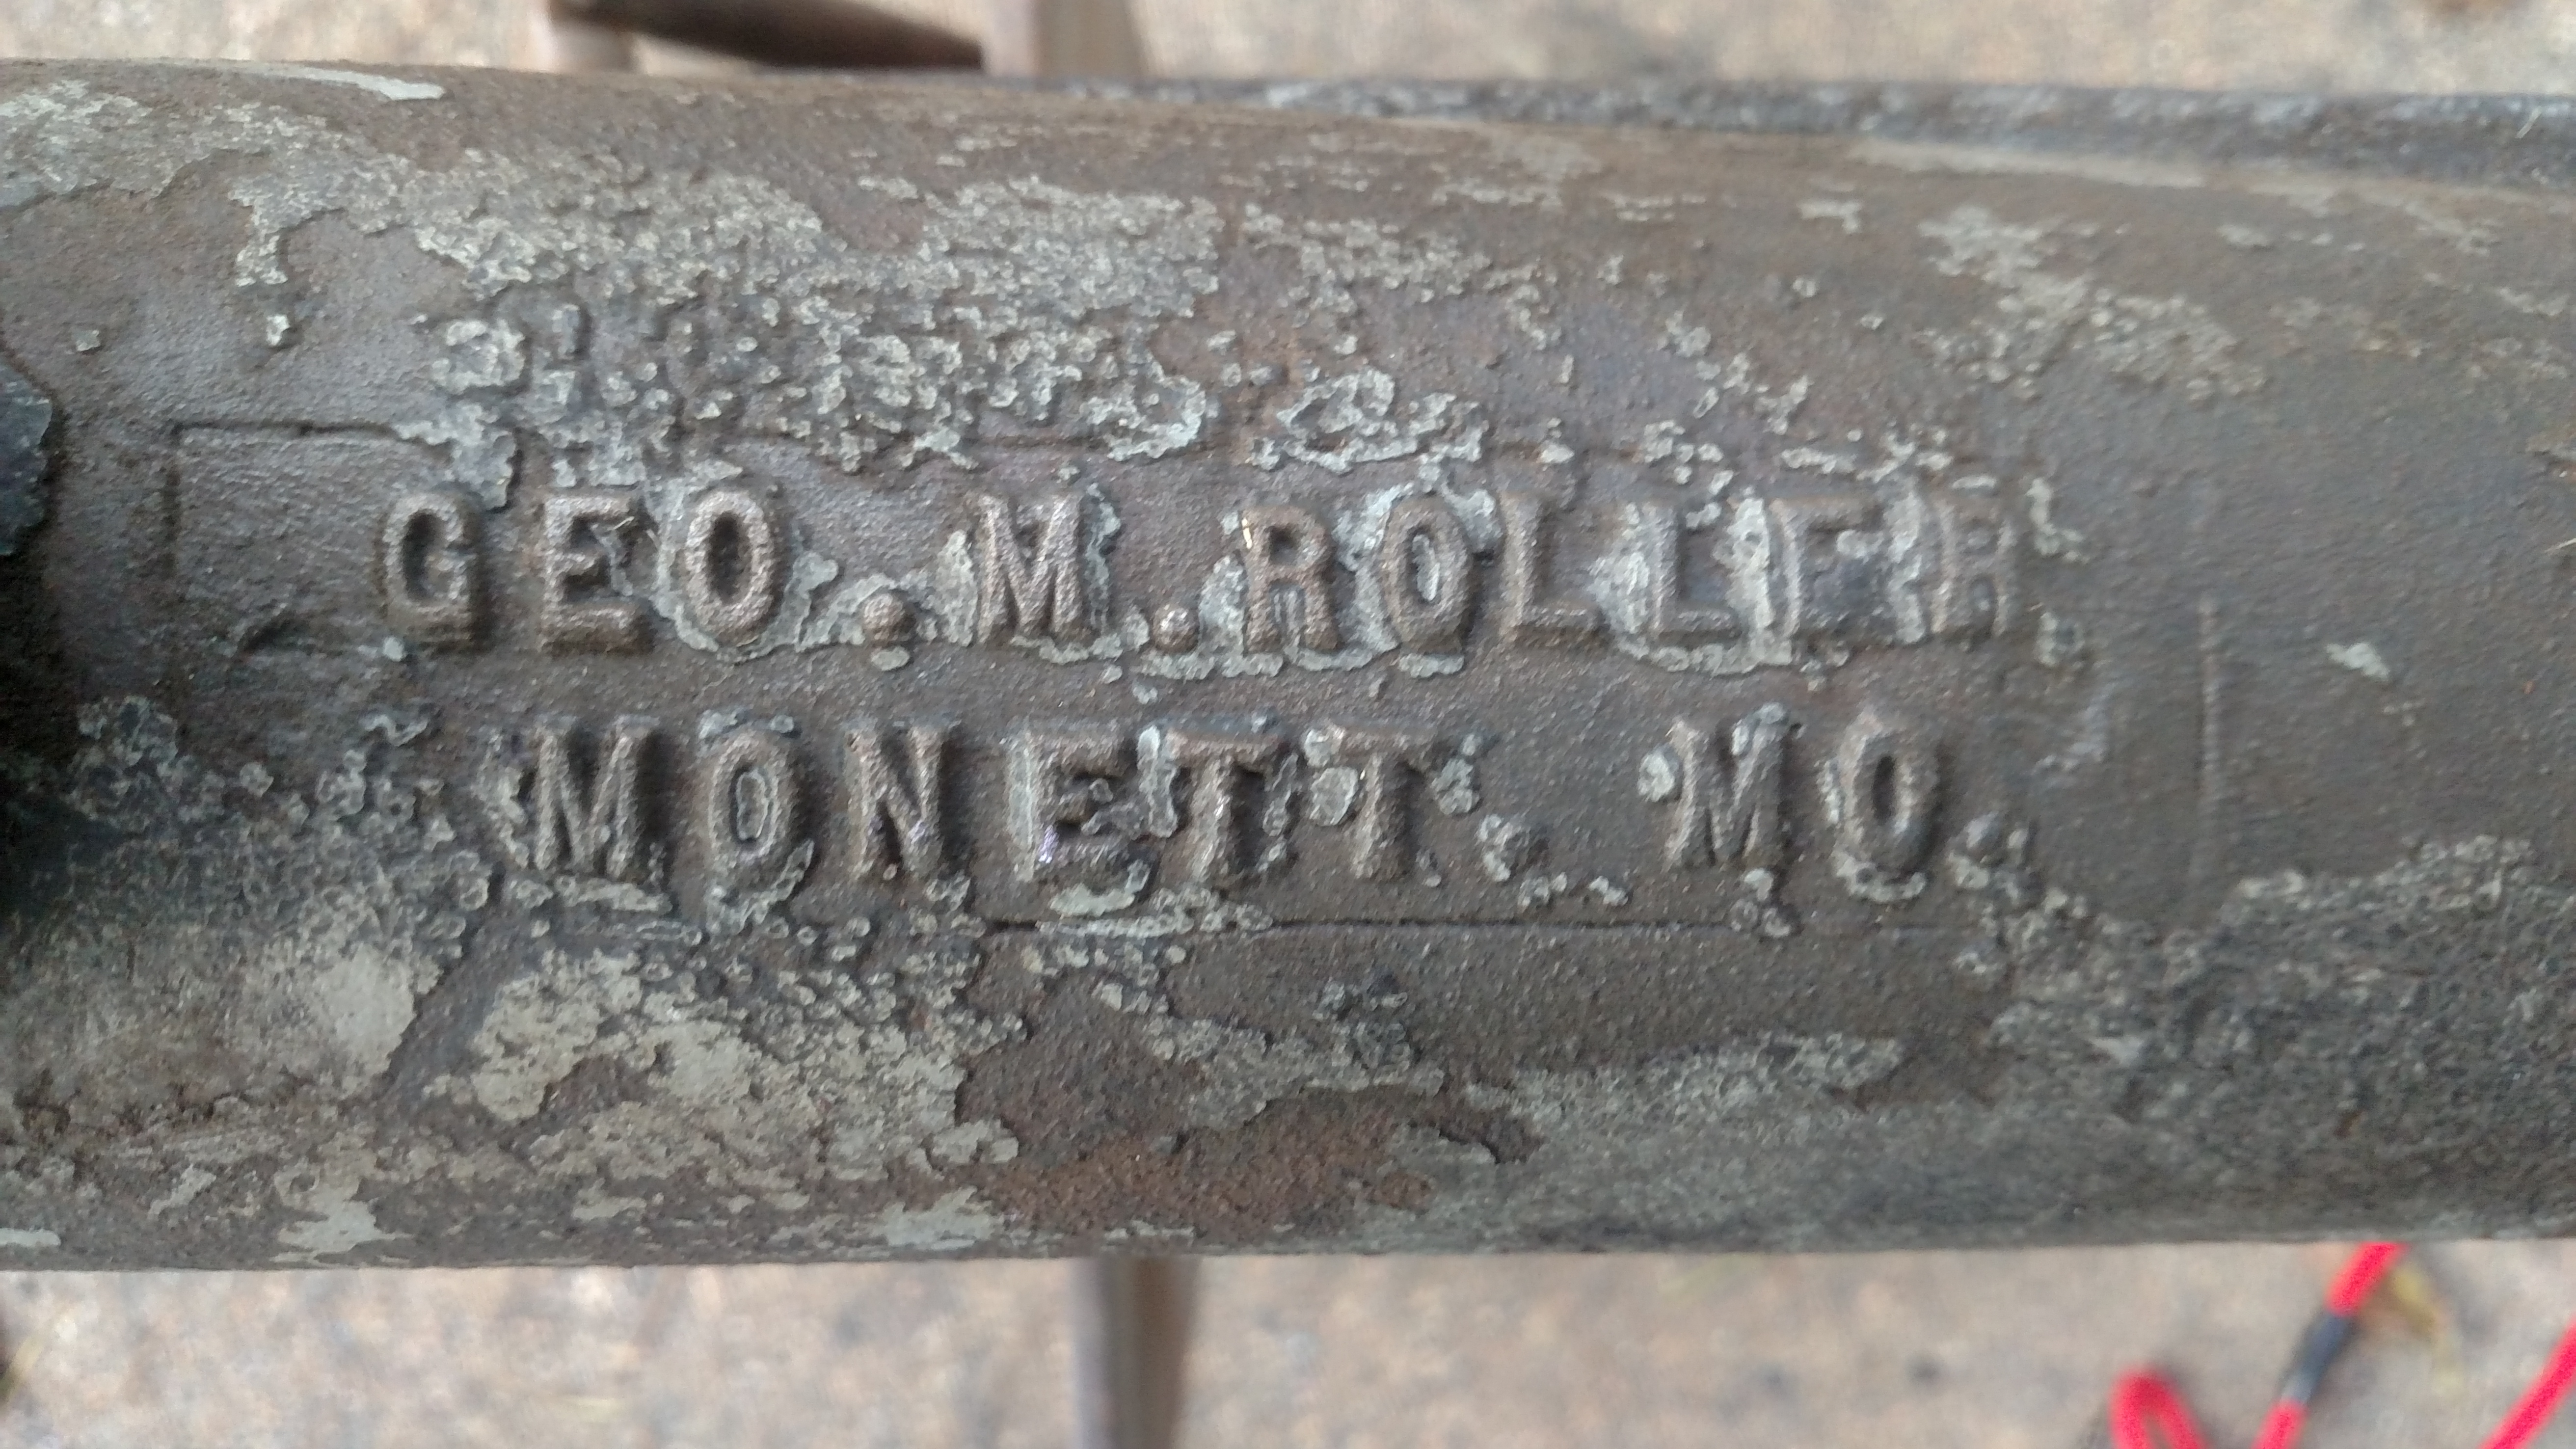
I'm always browsing Craigslist for stuff, never for anything in particular, and today I saw this posted and thought"when am I ever gonna see another one of these?"
Eventually I'll look to replace the handle, but as it is right now it works, even with the welded handle that's a bit off center. Don't know anything about it other than what he told me- he said he got from an old house in what's now a run down part of the city demoing a house, and this was in the garage that looked like no one had been in it for 30 years, along with a wooden wagon
-
Bolt tongs are as universal as you can get, they'll hold both round and square stock, as well as some smaller flat stock sizes....check out technicusjoe on YouTube, he has a good video on how to make bolt tongs from RR spikes. The only thing I'd add is to consider using a bolt and nut to fasten the two together if you struggle with making the rivet- I know I did, so I just used a bolt and nut on my first pair
-
Think they'd come down to $5?
-
Frosty- it's a wizard
-
Had enough time to get this and a pair of tongs made, copied it from a YouTube video (mark aspery, I think). I've made a few of em now and given them away, next time I make one I'll think of a few things I can do different to make it my own

Heap, that looks great, love the idea of incorporating dice in em
-
Bolt tongs
in Tongs
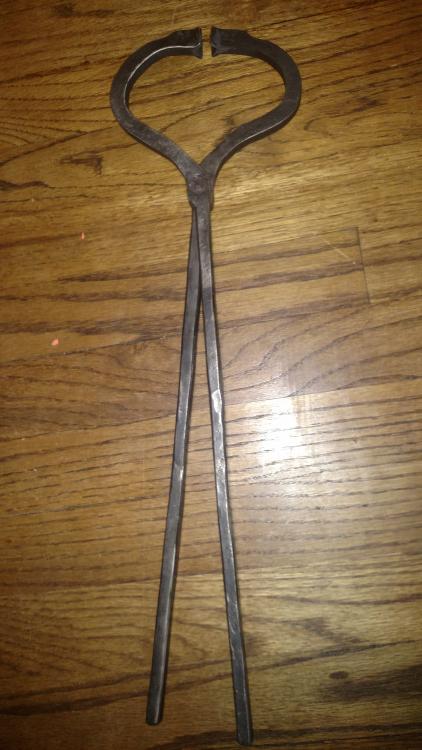
This is my 4th pair of bolt tongs I've made, the pair I kept are only about 14 inches long and I felt they were kind of small, so decided to make a beefier pair this weekend. These are 20 inches long, the reins are just shy of 1/4 inch. The jaws are a bit off, not a lot but enough to be noticeable. Not sure if I'm gonna fix em or not, they work great as is.
Of note is the fact that I did my first forge weld on one side. I was working one and had the other in the fire, and yup, just as I pulled it out of the fire about 6 inches fell off the reins. Ugh. I hadn't planned (and didnt want) to forge weld but here I was, probably 20 seconds too long in the fire. Didn't use flux and it turned out fine, I've only tried it once before, (read: epic failure) but since my last try I've watched a few videos on forge welding, did my best to put it into practice. Tried to find the weld after I cleaned em up and waxed them, but I can't find it, so I'd say I did good for a 2nd try
-
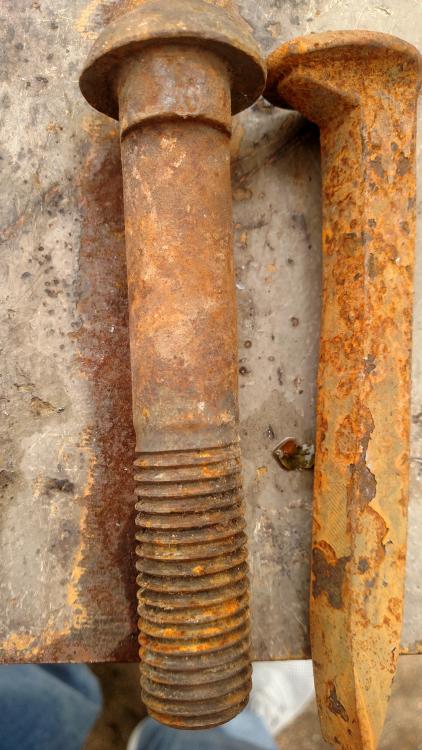
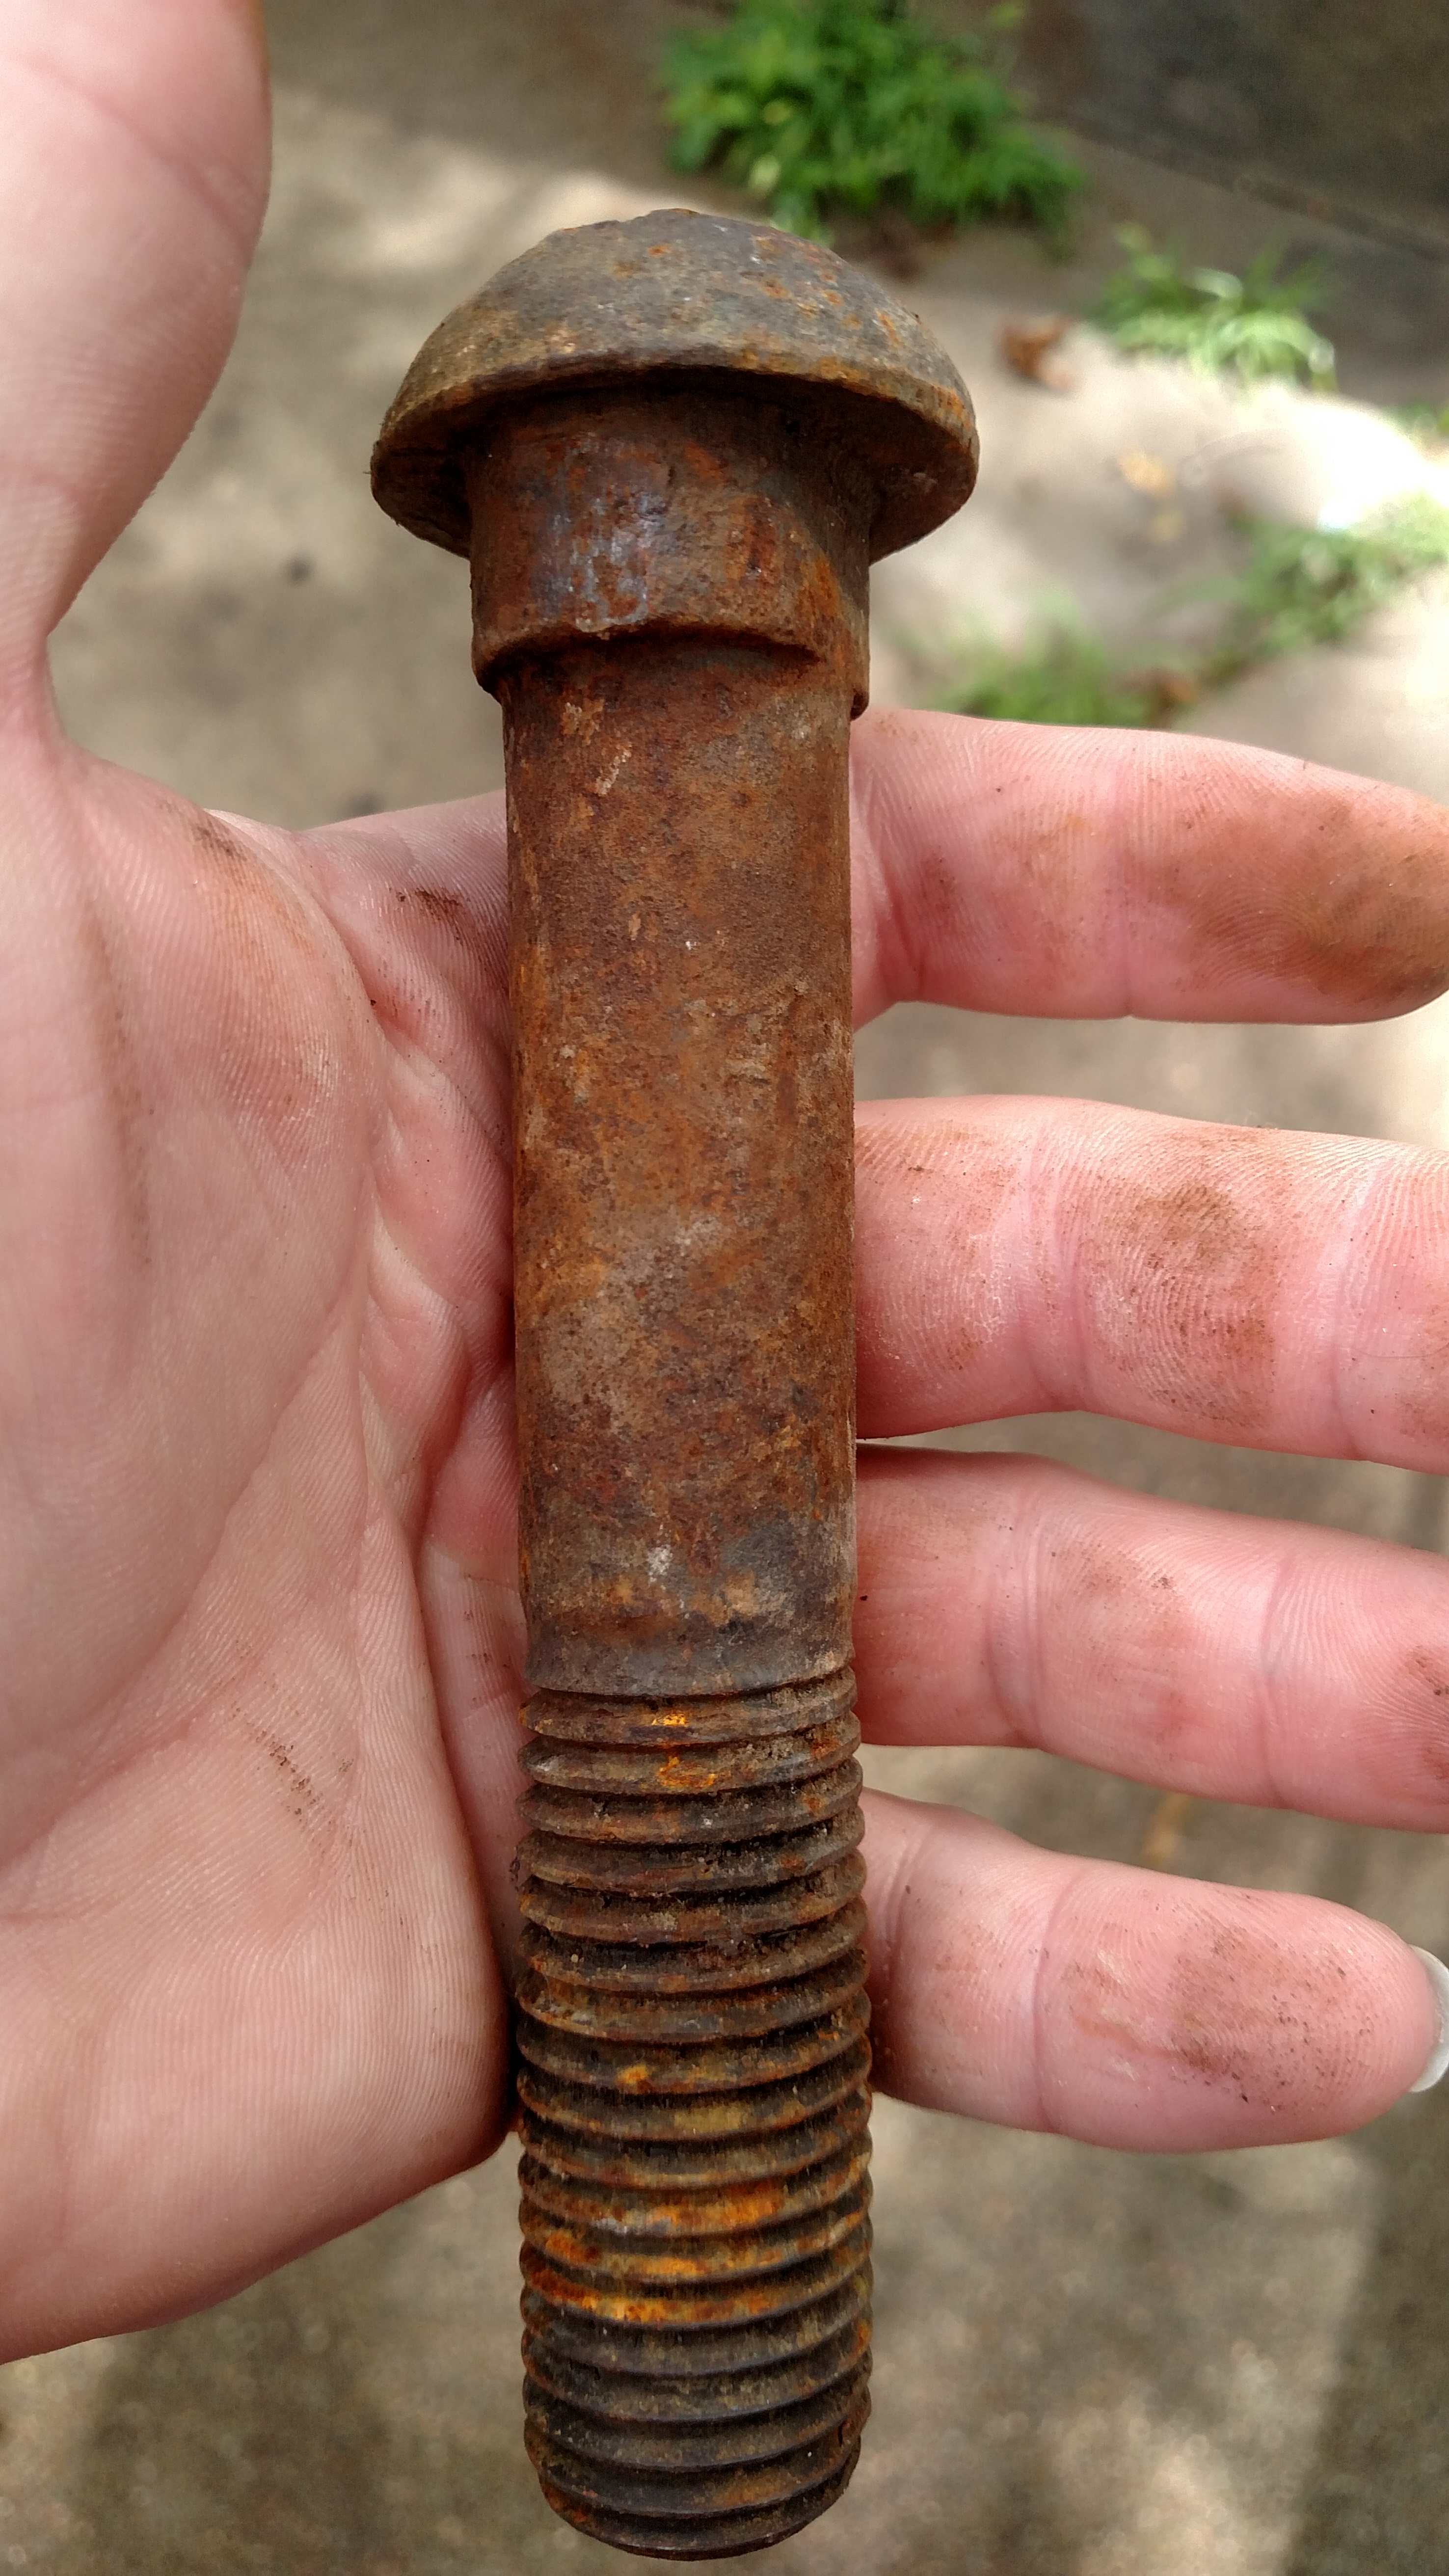
I've got 4 of these big bolts, been wondering what I could make out of em. 1" across 6" long and the head is not quite 2". I was filling a 5 gal bucket with RR spikes out of a RR contractors metal bin, and saw these guys and grabbed em. Any thoughts? My initial thought was to make a pair of large bolt tongs, but I don't wanna spend that kinda time drawing the reins out by hand.

-
Tongs were the first thing tried to make. After I ditched the rebar I was able to get a pair together, I didn't even rivet them just used a nut and bolt. 1st pair will be ugly, but as long as they function it should be ok, right?
Search technicusjoe on YouTube, he has several videos on how to make tongs from RR spikes
-
Personally used 1/8" steel plate for table top and 3/4" schedule 40 pipe for the legs, because it was available to me free through my works scrap bin. I say use what you have, I see no problem with using angle iron for the legs- I agree with everyone else saying 1/4" is too thick for table top, your table has to hold steel while it's in the fire, not withstand a nuclear blast.
Also, go with 3 legs, as it won't wobble. My table is on 3 legs and is 30*24", it does just fine on 3 legs. Lastly, if craftsmanship means a lot to you then by all means do what you feel you want/need to for it to look great, but at the same time don't lose sight of the fact that it's purpose is to heat metal, nothing else. Personally I'm more focused on what my forged work looks like than what my forge looks like, but to each his own brother
-
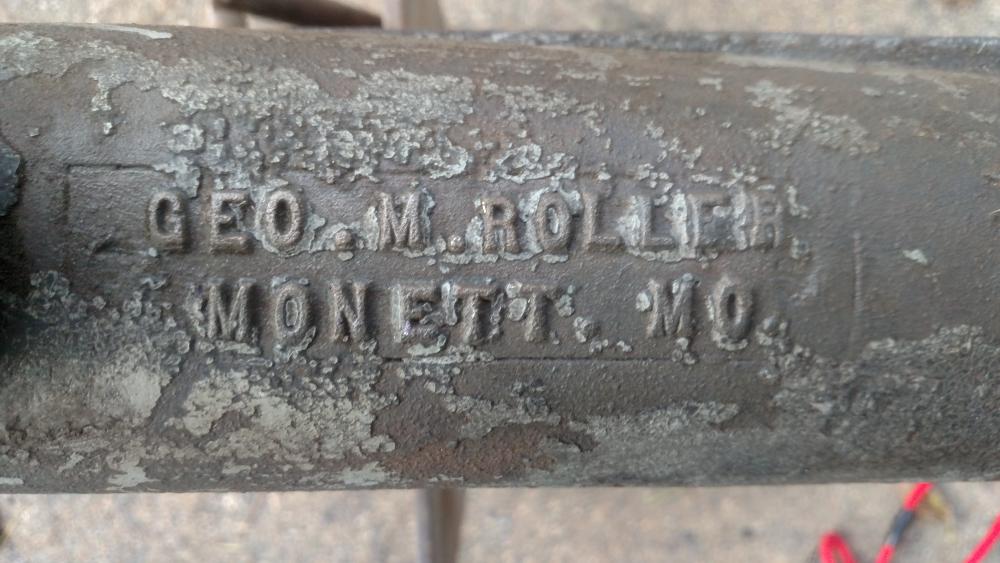
Thanks Thomas, it's fun learning the history of everything that goes along with forging
-
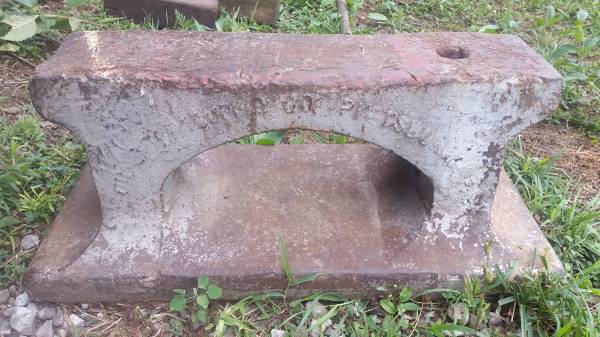
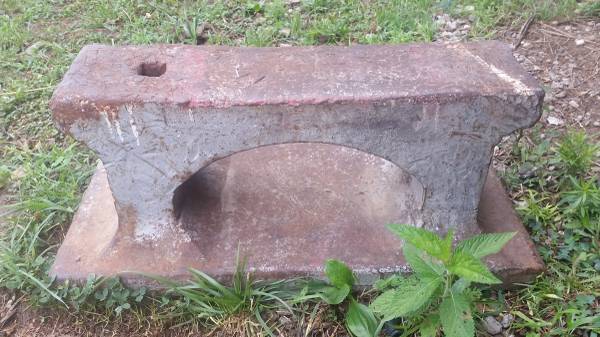
Saw this posted on CL earlier, and it piqued my interest. I'm still as green as they come as far as understanding all the lingo that comes with this hobby, but what the heck is an "oil field anvil"? What's the purpose of having the domed hole in the center? Google search didn't dig up too much, so thought id post it here. I have no need or interest in it btw, especially since he wants $1500
Craigslist link removed


Flat jaw tongs
in Tongs
Posted
John thanks for the feedback. I was just out forging and got about 80% done with my next pair, but I ran out of coal. I made the boss area a bit smaller, and tried to make certain I had it laying flat, but as you can see, it was far from perfect. I think part of it was that I was using 5/8" instead of 1/2" (what I'm used to working with) I've never had that much metal obviously sticking out. The length of the boss has varied so far, I'm not measuring when I do the set down from the boss to the reins because I'm sure that the more pairs I make, the more it will become muscle memory.
I filed down the extra metal on the edge of the boss, so it should be flat now. Just for the heck of it I forged these just like a right handed person would, it really only changed how I was standing in relation to the anvil, and I'm sure that may have lended some help to the ugliness of em.