BryanL
-
Posts
95 -
Joined
-
Last visited
Content Type
Profiles
Forums
Articles
Gallery
Downloads
Events
Everything posted by BryanL
-
What did you do in the shop today?
BryanL replied to Mark Ling's topic in Blacksmithing, General Discussion
I second Frostys request. Beavers, we want a picture! Littleblacksmith, I do the same thing. I end up with projects sketched out on a post it at work. -
Champion No. 0 back to work
BryanL replied to BryanL's topic in Power Hammers, Treadle Hammers, Olivers
I just checked but I don't have any other pictures of the pin. Sadly I'm out of town for work...or I would be out working on the hammer right now. Judson has a similar hammer, the next size up Champion and he replaced his pin. I'm hoping it is threaded in. If you get any tips from the hammer-in, that would be great! I'll update here as I make progress. -
Champion No. 0 back to work
BryanL replied to BryanL's topic in Power Hammers, Treadle Hammers, Olivers
Morgan, there is nothing visible on the dovetail side of that pin. I do intend to remove and replace that pin but haven't decided how to get it out. I may weld a bar to it so I can get a grip on it. Bryan -
Champion No. 0 back to work
BryanL replied to BryanL's topic in Power Hammers, Treadle Hammers, Olivers
That's a good thought Thomas. We tried something similar with long pry bars tensioning the wedges while I tapped them. My dad was standing on the two prybars lol. We may have to try your method for more consistent tension. I was actually thinking about leaving them and hoping starting to use the hammer would loosen them up. What do you think of that? Of course I got sent on work travel so I'm itching to get home and work on it. Bryan -
Is that anvils all the way down instead of turtles?
-
I'll be on work travel for a couple weeks, maybe longer near Evansville, Indiana. Anyone near there with a forge setup? I'd love a chance to swing a hammer while I'm on travel. Woiuldnt want to go into withdrawal. I'm debating packing a hammer into my checked bag just in case. Thanks, Bryan
-
Champion No. 0 back to work
BryanL replied to BryanL's topic in Power Hammers, Treadle Hammers, Olivers
Awesome, thanks. I'll check that out. -
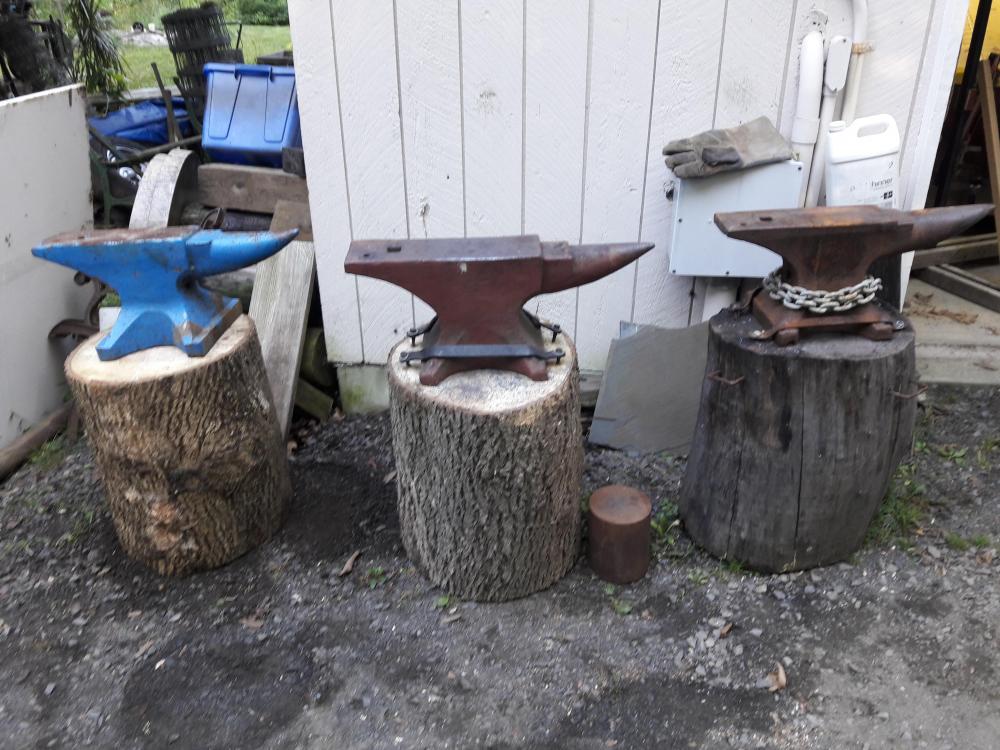
I've probably posted these individually before but they looked so pretty all out together. From left, unknown, Peter Wright, chunk of steel upset block, and soderfers.
-
What did you do in the shop today?
BryanL replied to Mark Ling's topic in Blacksmithing, General Discussion
Pulled my Peter Wright out of storage and back in rotation. Cut a new stump and made some hold downs for it.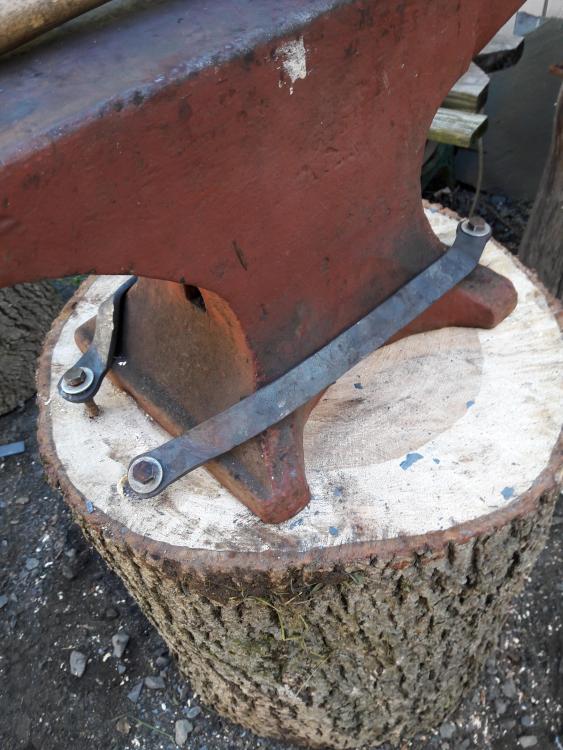
-
Champion No. 0 back to work
BryanL replied to BryanL's topic in Power Hammers, Treadle Hammers, Olivers
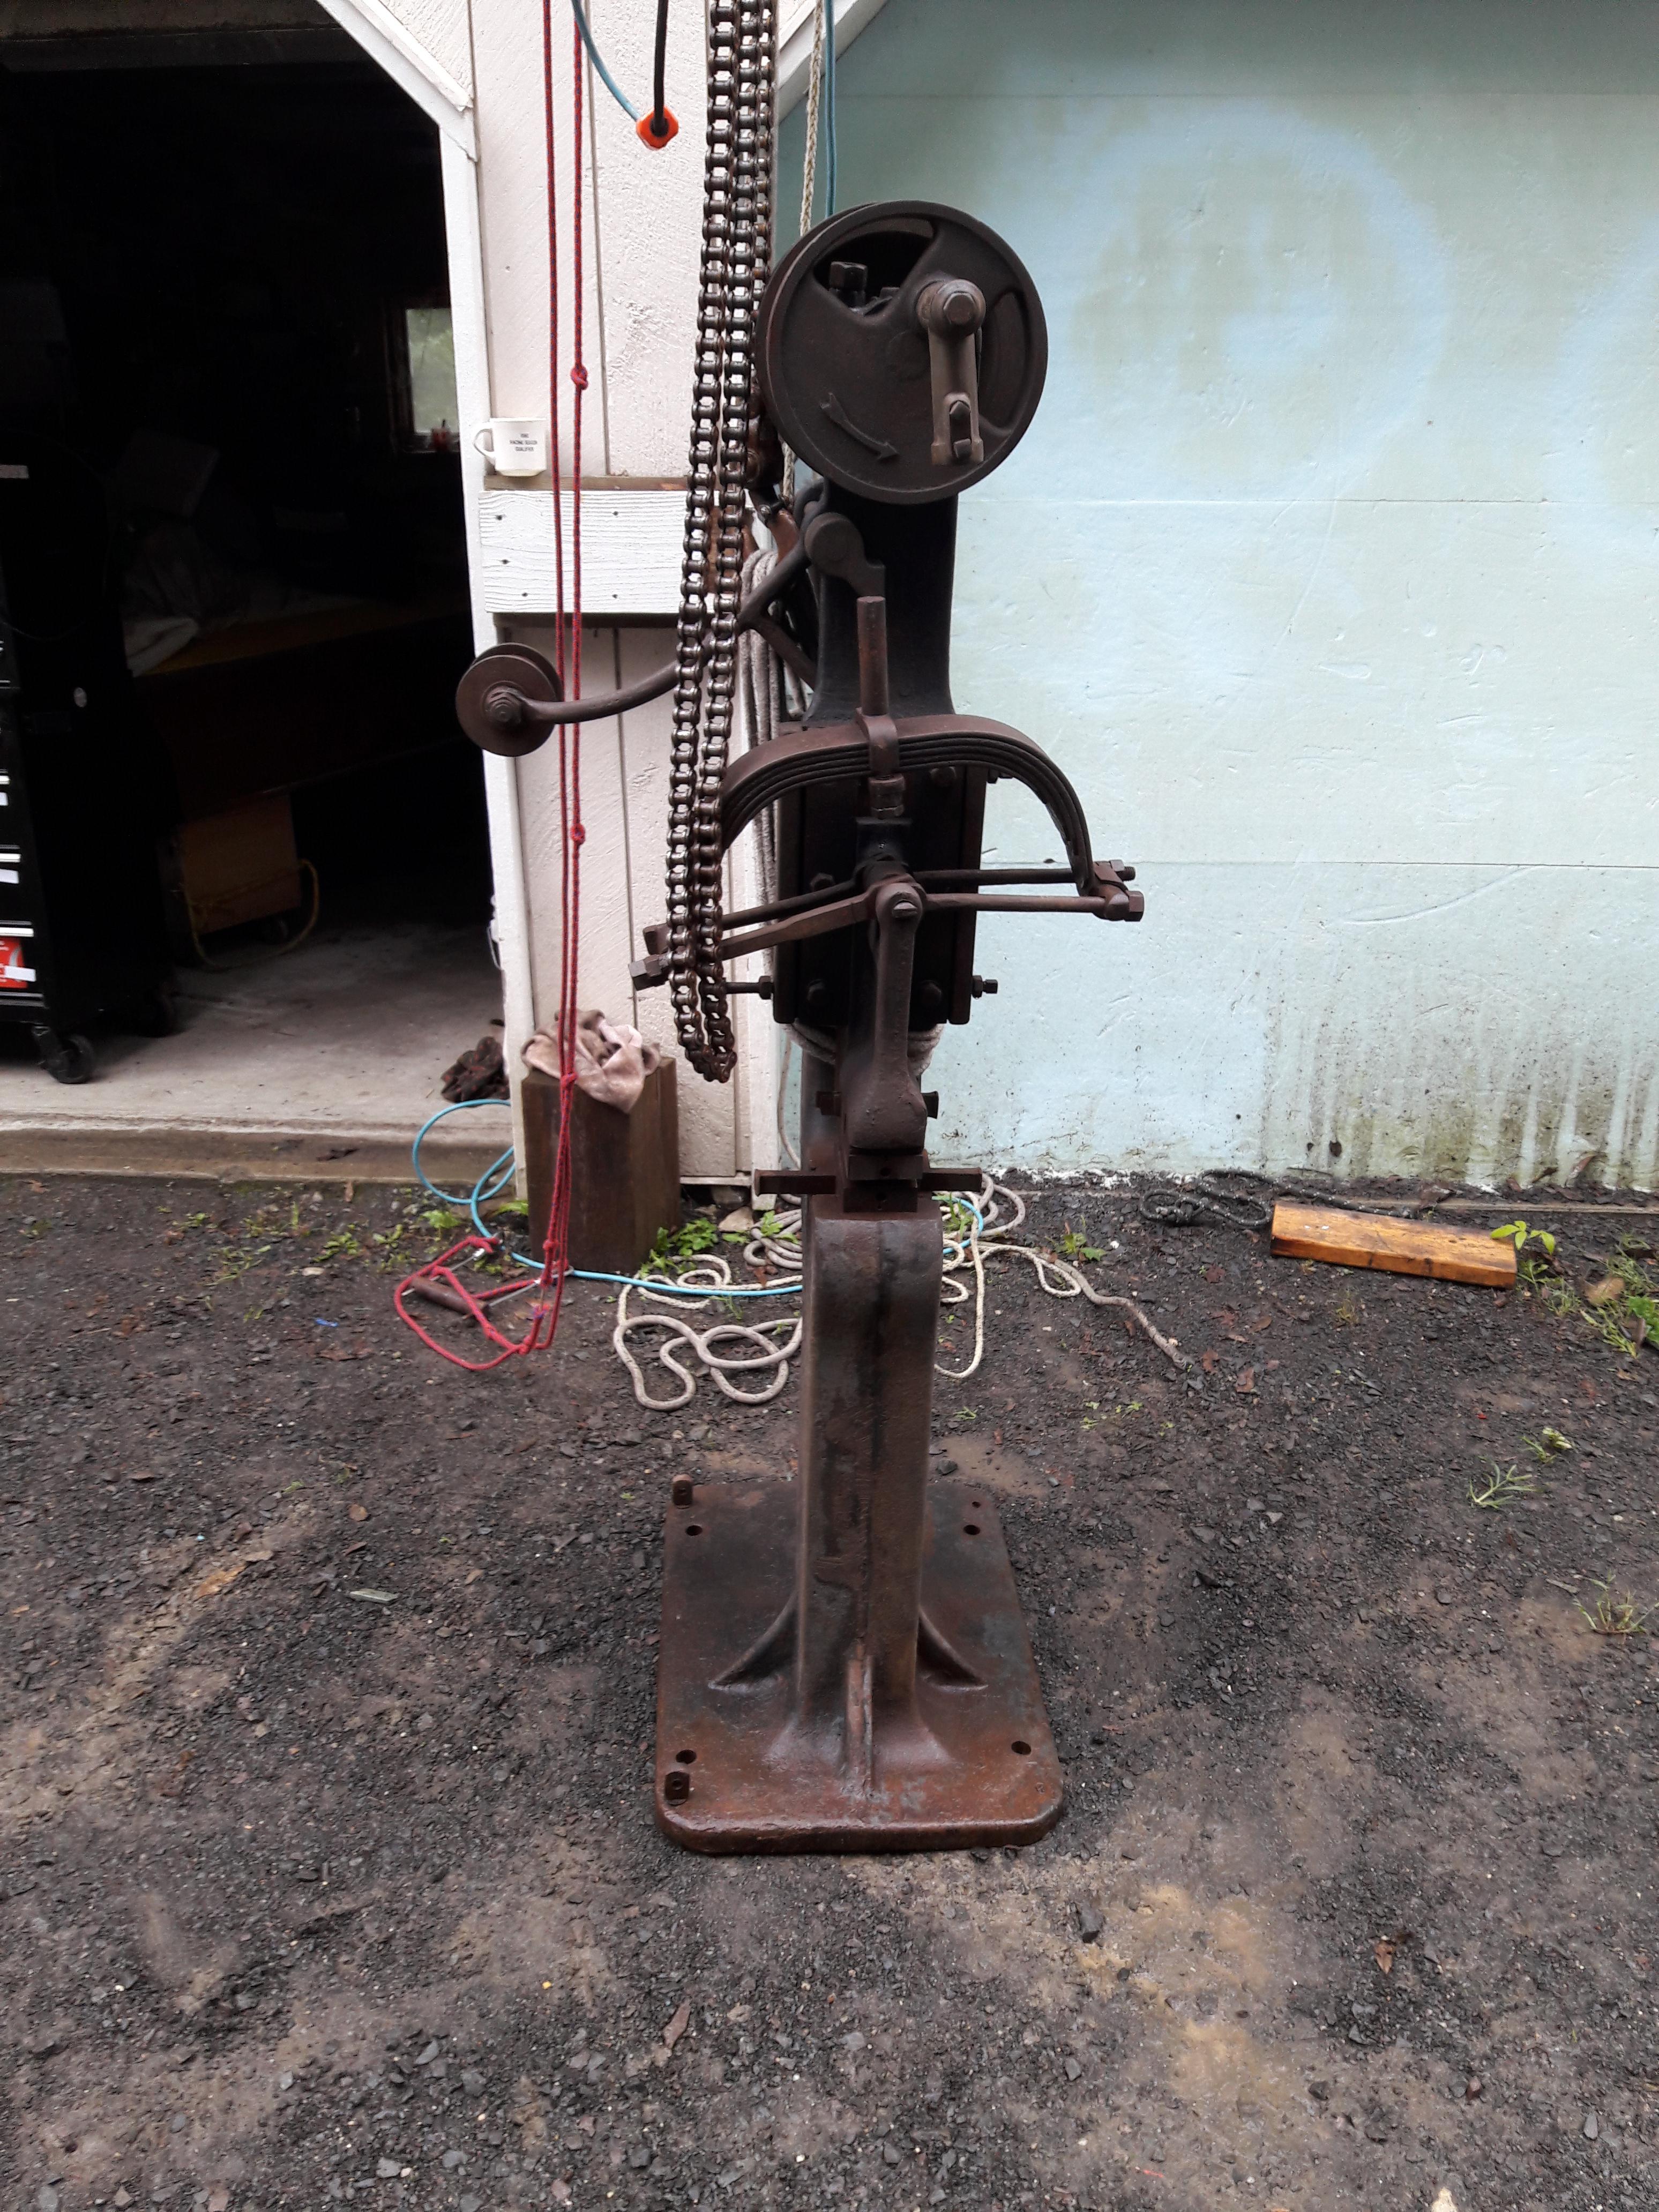
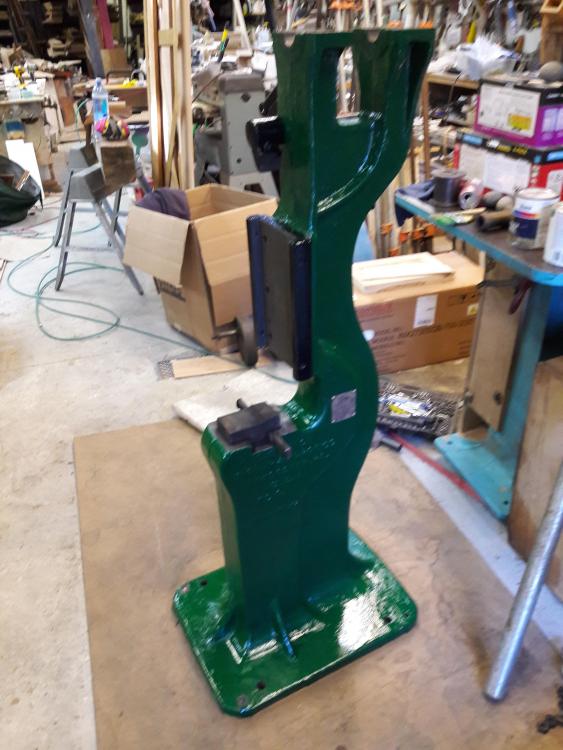
Paint job! Happy with how that looks. Hopefully I can get the sheared bolts out next weekend.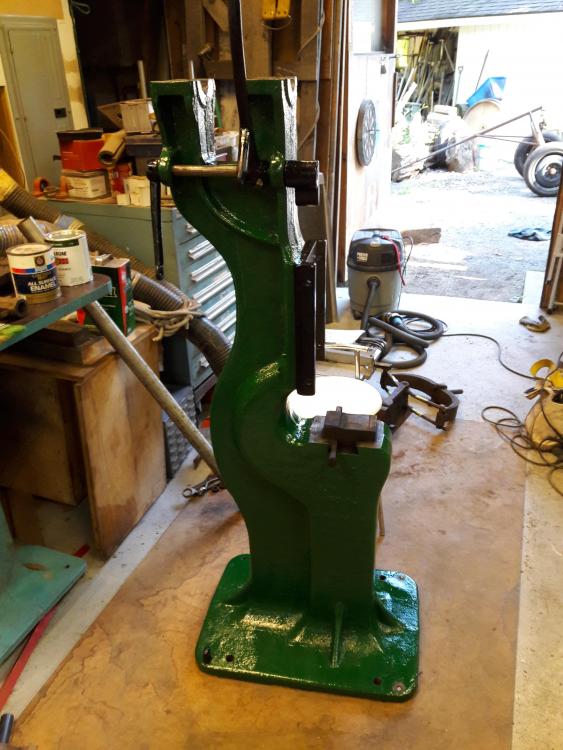
-
Champion No. 0 back to work
BryanL replied to BryanL's topic in Power Hammers, Treadle Hammers, Olivers
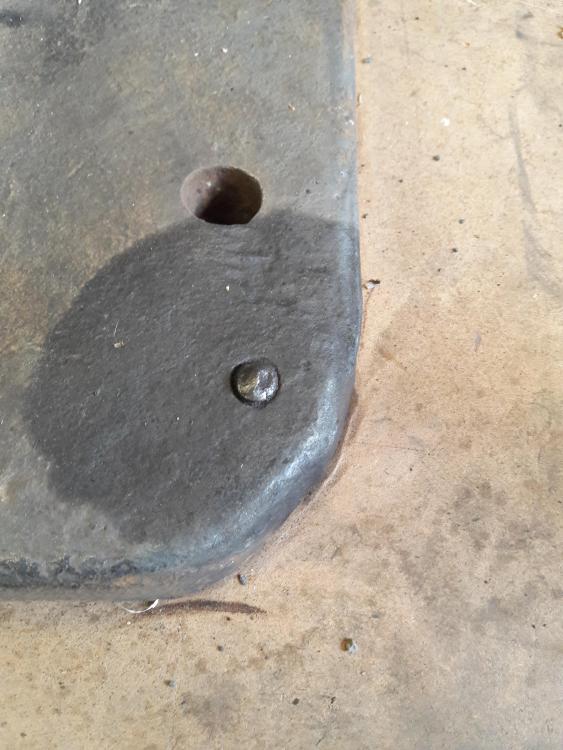
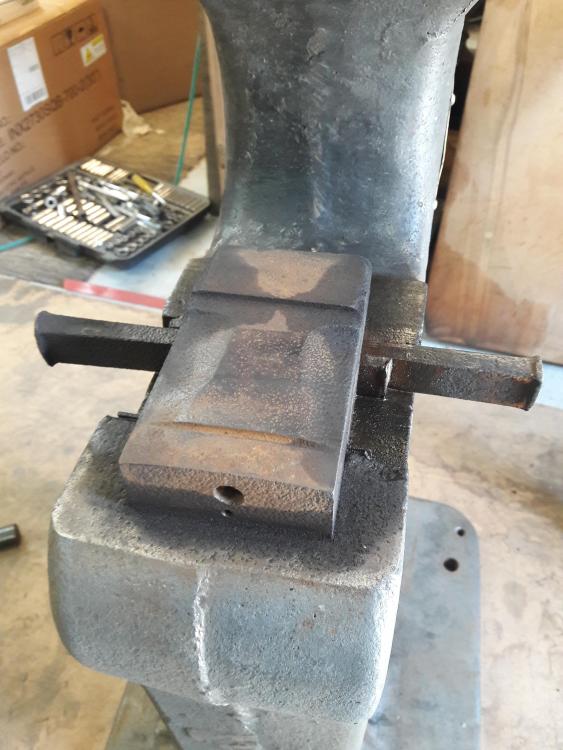
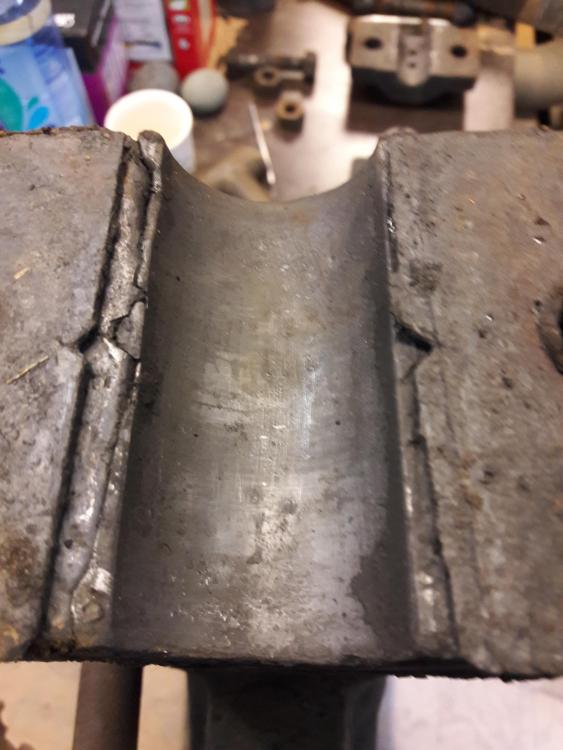
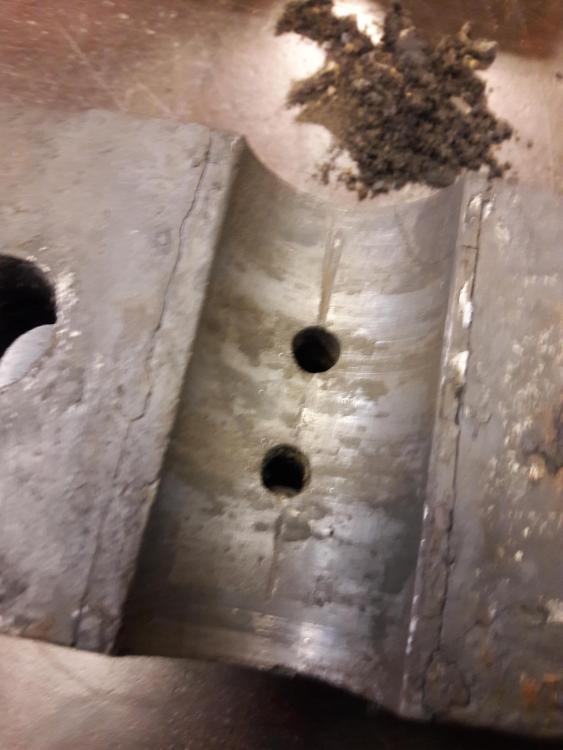
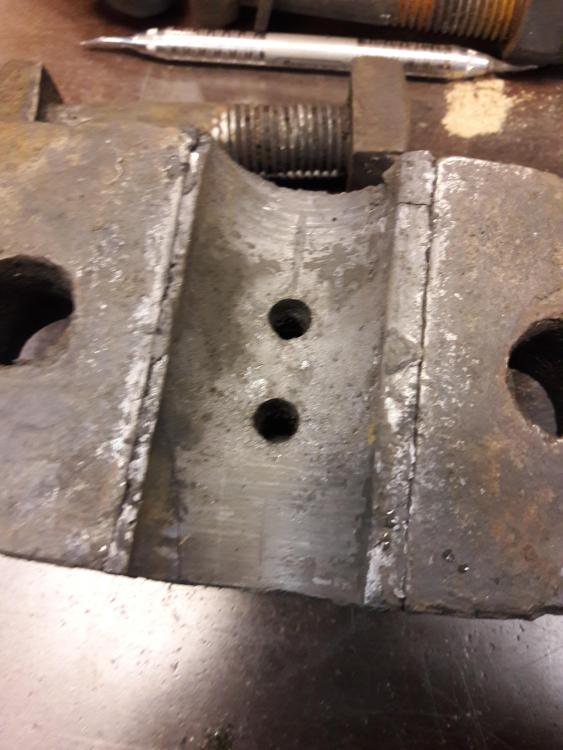
Update, pretty much finished wire brushing the main frame. I decided it's getting a full paint job. Thankfully I listened when you all told me to get respirator a while back. Nasty job. Few issues I've got in front of me. I want to get at the pin holding the spring arms to the hammer but don't see yet how to get it out. I hear this pin is a big wear point so I want to see it's condition. One of the treadle mount eye bolts is sheared off in the base. The wedges holding the dies are super tight, have not gotten them loose yet. I've been hitting them every couple hours with PB blaster for a day so far. I'm not quite sure what these dies would have been used for. It's not a simple radius, it's two convex sections on each side and a flat in the middle.

-
Champion No. 0 back to work
BryanL replied to BryanL's topic in Power Hammers, Treadle Hammers, Olivers
There was shims on the rear bearing only. I'll check for play when I put it back together. The bolts were all slightly loose when I got it, so I haven't checked with it fully tightened. Thanks for taking a look! -
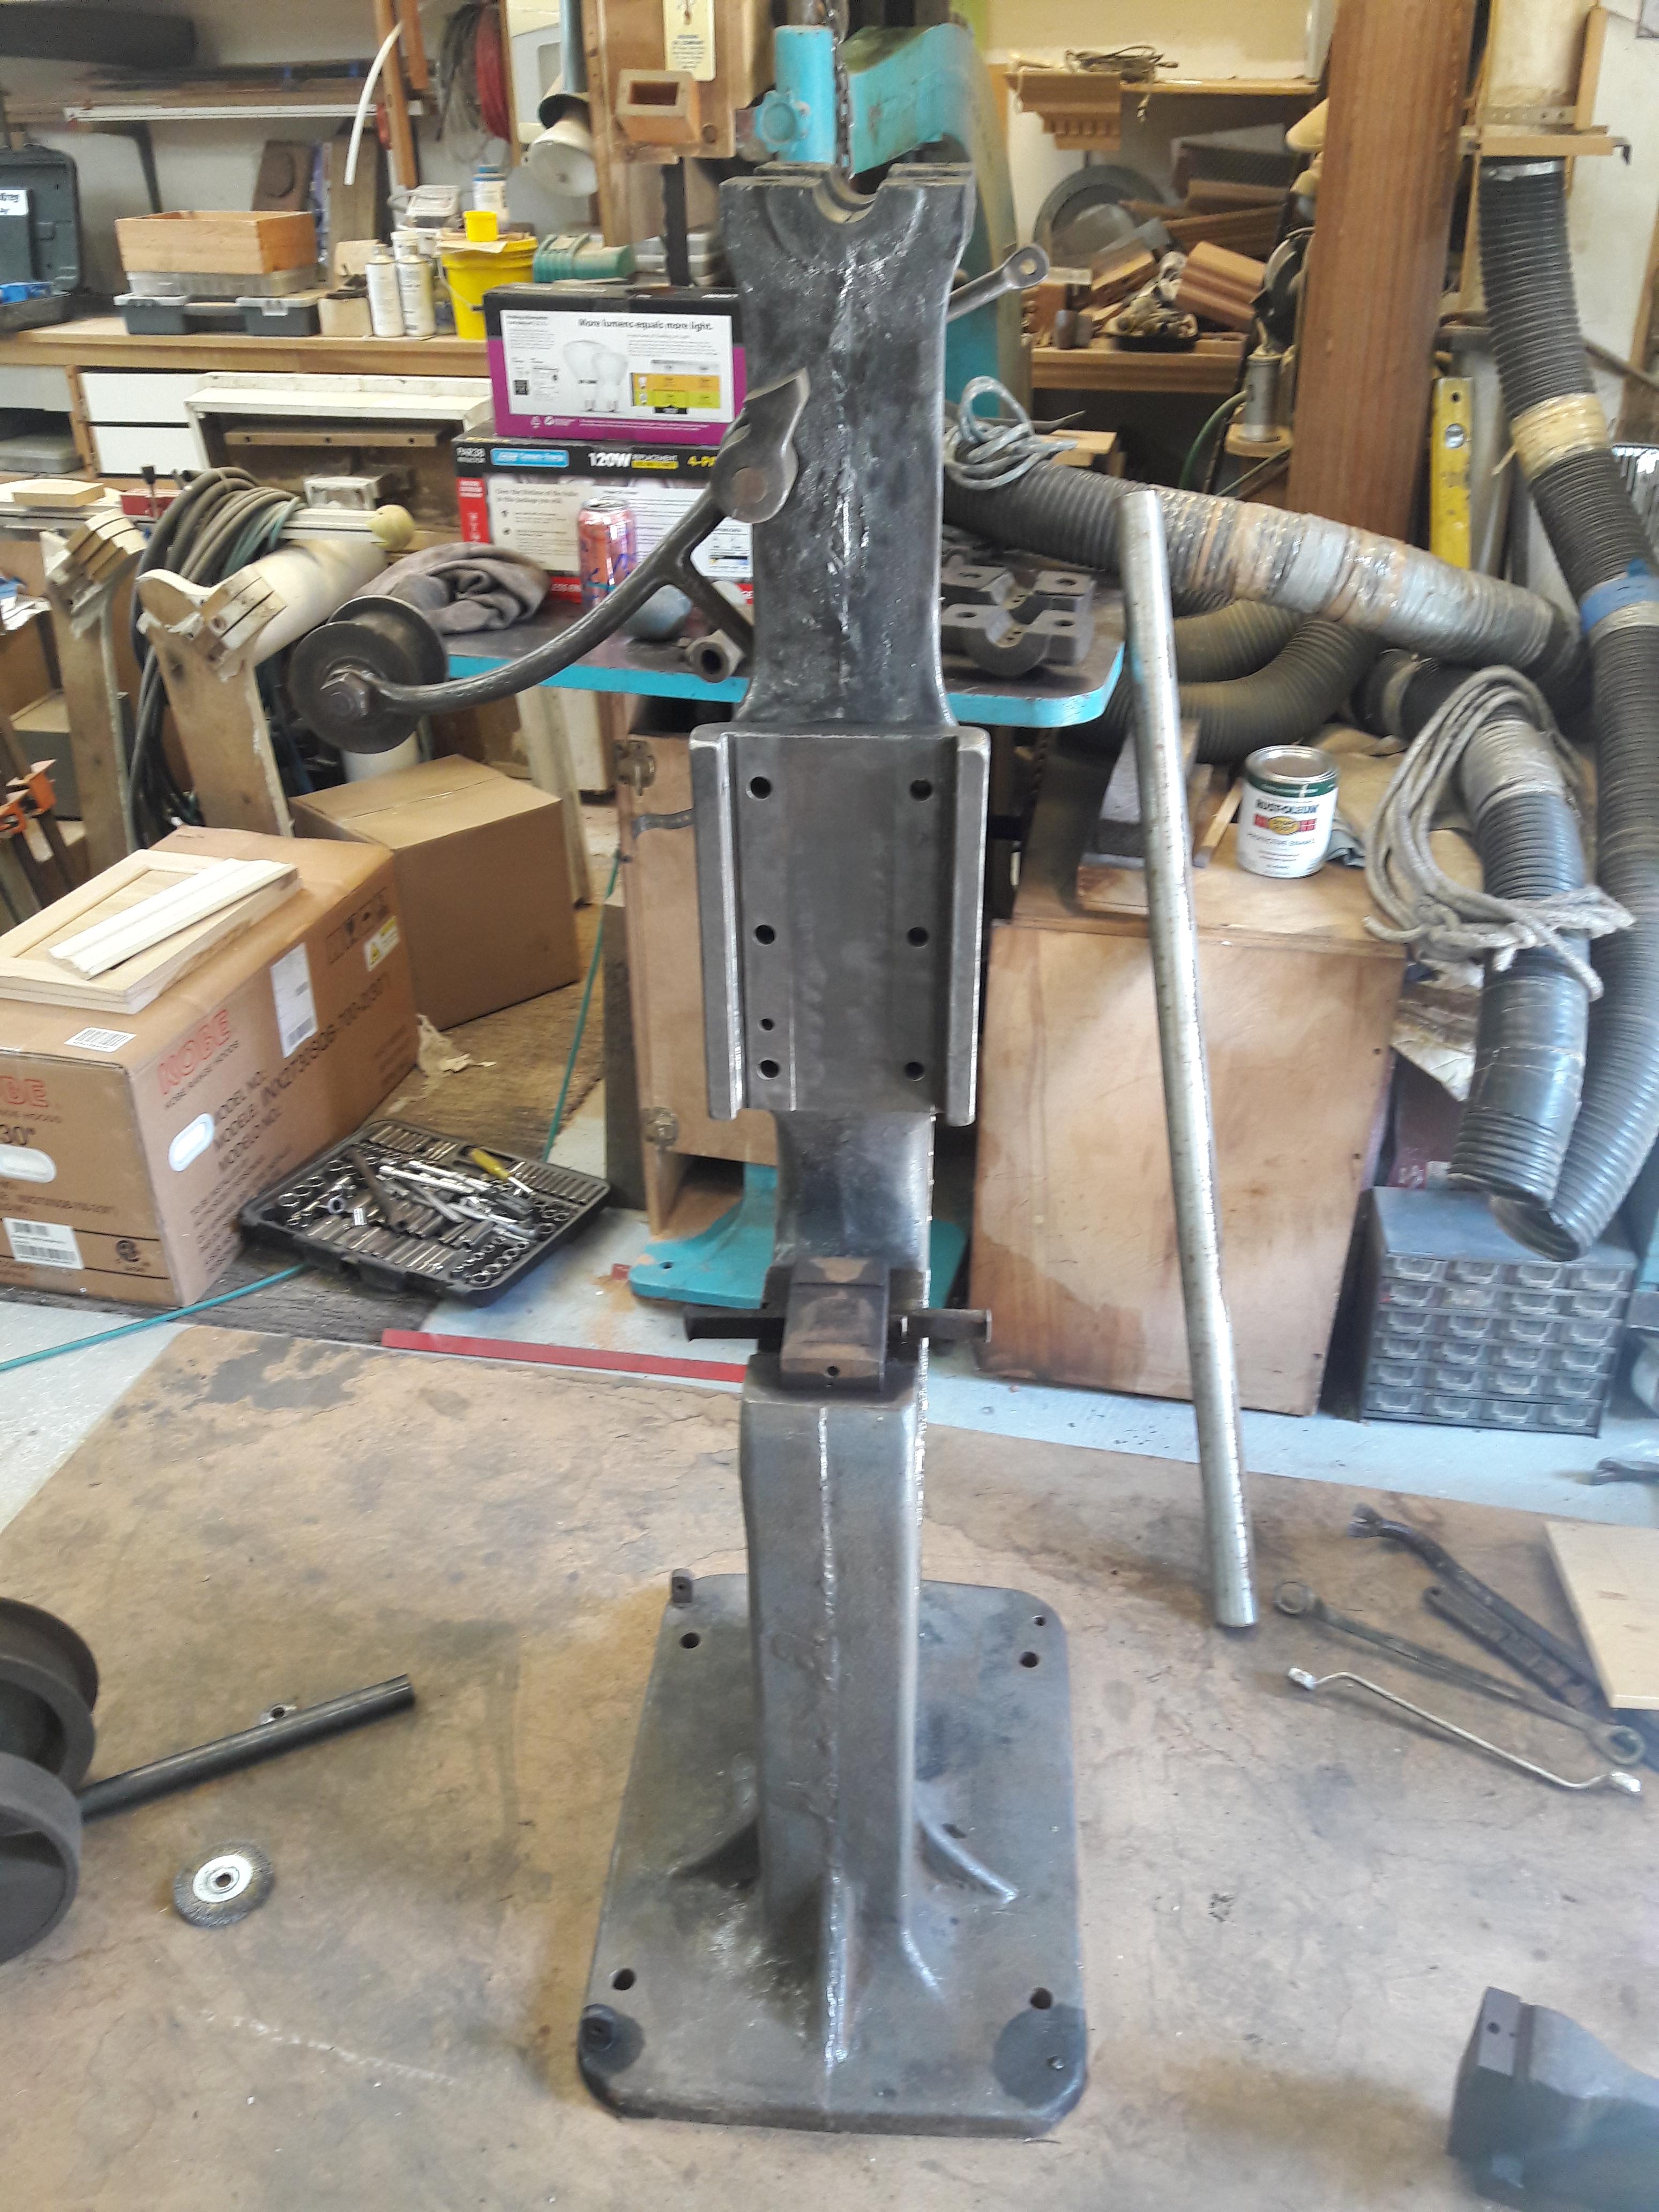
Got the Champion No. 0 out of the van and into the shop today to start taking it apart and see what shape it's in. Overall, it looks quite good. I don't have any experience with Babbitt's, so if anyone can comment on the pics, I would appreciate it. I believe they look decent enough to run as is but advice would be great. I'll update this thread as it comes together. I think my first task is to clean and paint.


-
Lou, great to meet you as well. I'm super excited to get this up and running and appreciate all the help and advice I can get. Sounds like a guard is a good idea, I'll keep an eye open for how others have done it. I'll let you know about a motor, I need to see what I can scrounge from my dad's motor shelf first. Dax, those tongs look like they may work well for pulling clinker out of a coal fire. They remind me of a pair my old teacher used. Happy forging, Bryan
-
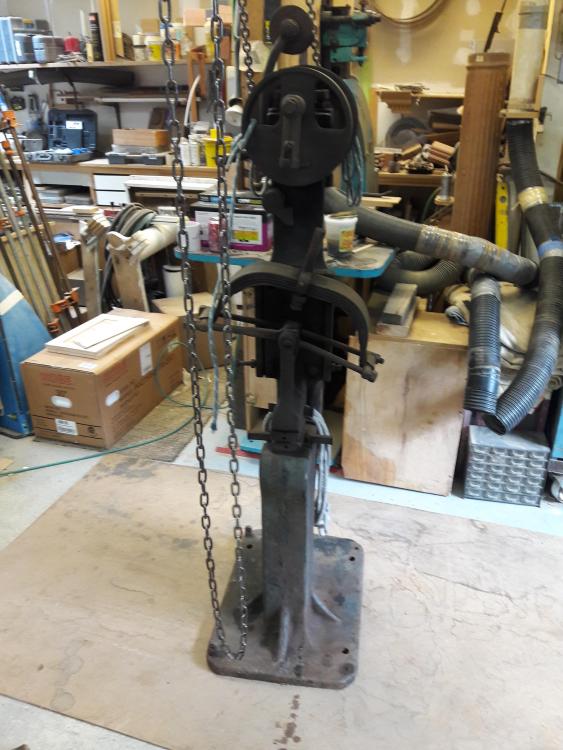
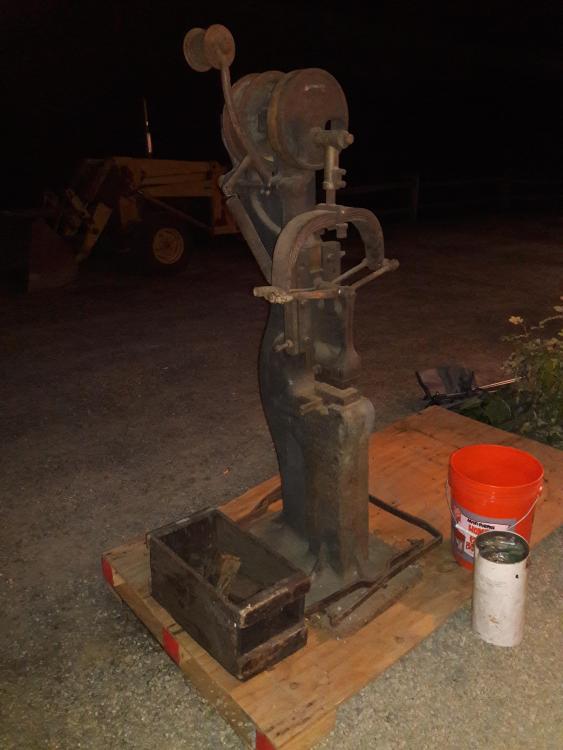
I took a fairly big leap for me this weekend and brought home a Champion No. 0 power hammer from the NEB meet. Time to do some serious research and work to get it up to its former glory.
-
What did you do in the shop today?
BryanL replied to Mark Ling's topic in Blacksmithing, General Discussion
Hello All, Had quite an interesting day with my cousin in town, who is an artist and glass blower. She needed some custom glass blowing tools in stainless and was happy to help with the work. My first time working stainless or pipe. Safety tip of the day is don't quench pipe if it's aimed back at you, or the steam can get you! Happy forging.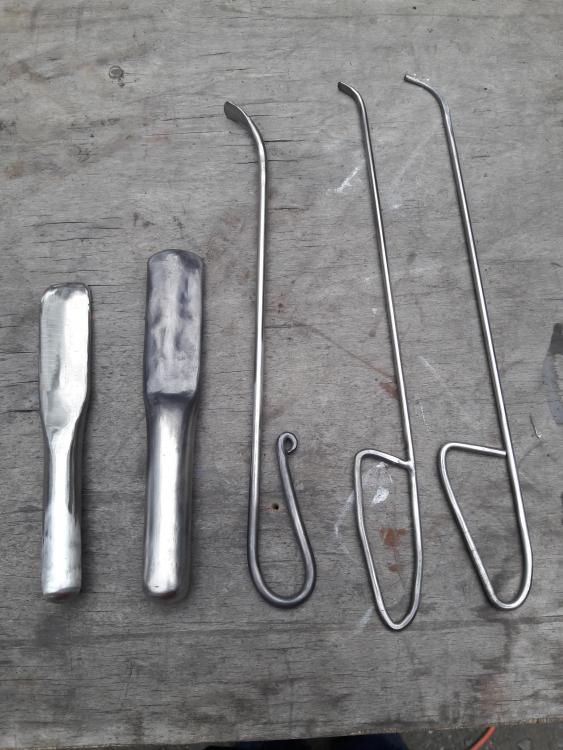
-
What did you do in the shop today?
BryanL replied to Mark Ling's topic in Blacksmithing, General Discussion
Since I read the "simplistic" comment (which i took as a compliment), my brain has said to itself, "always grab foot pedals/switches when you see them". Just like....actually that list is too long to list out. -
Jealous of the forge blower ranchman. I'm keeping my eyes open for an electric blower at a reasonable price.
-
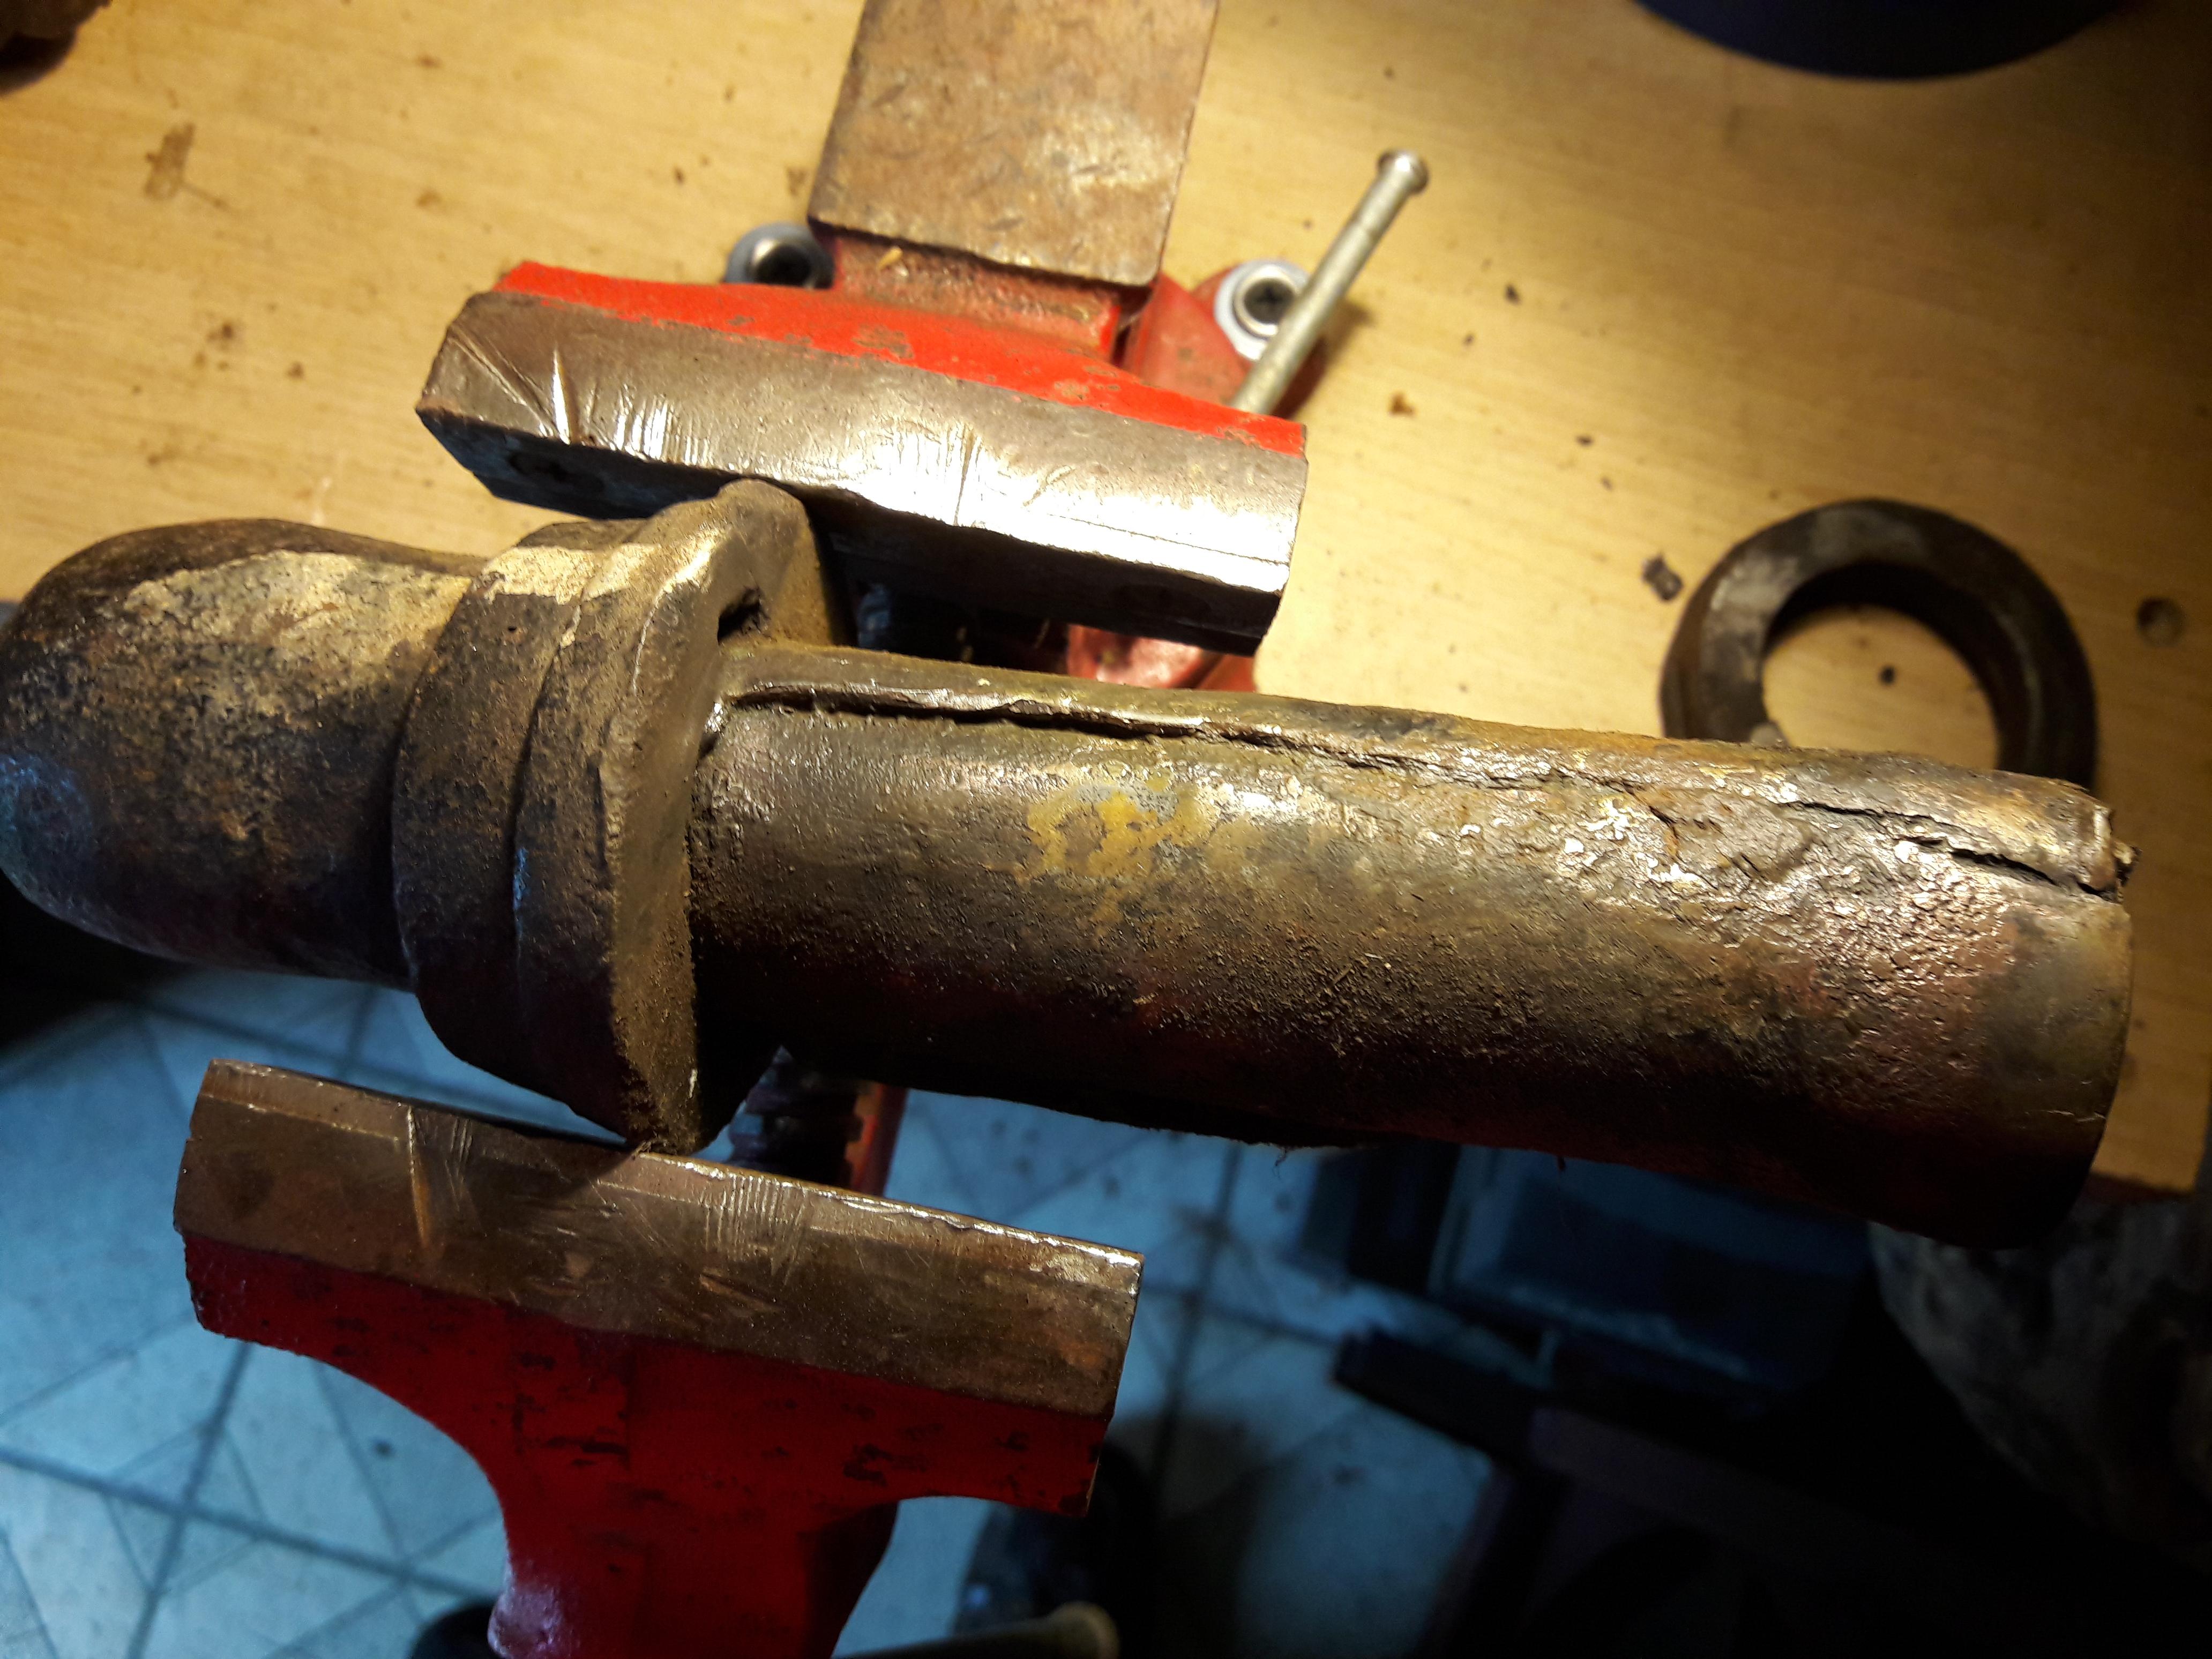
Thomas, took a pic of the screwbox (I think) and I do see some evidence of "red" metal. I don't know much about brazing though, does brazing ever use copper or bronzes? Das, no markings that I can find yet.

-
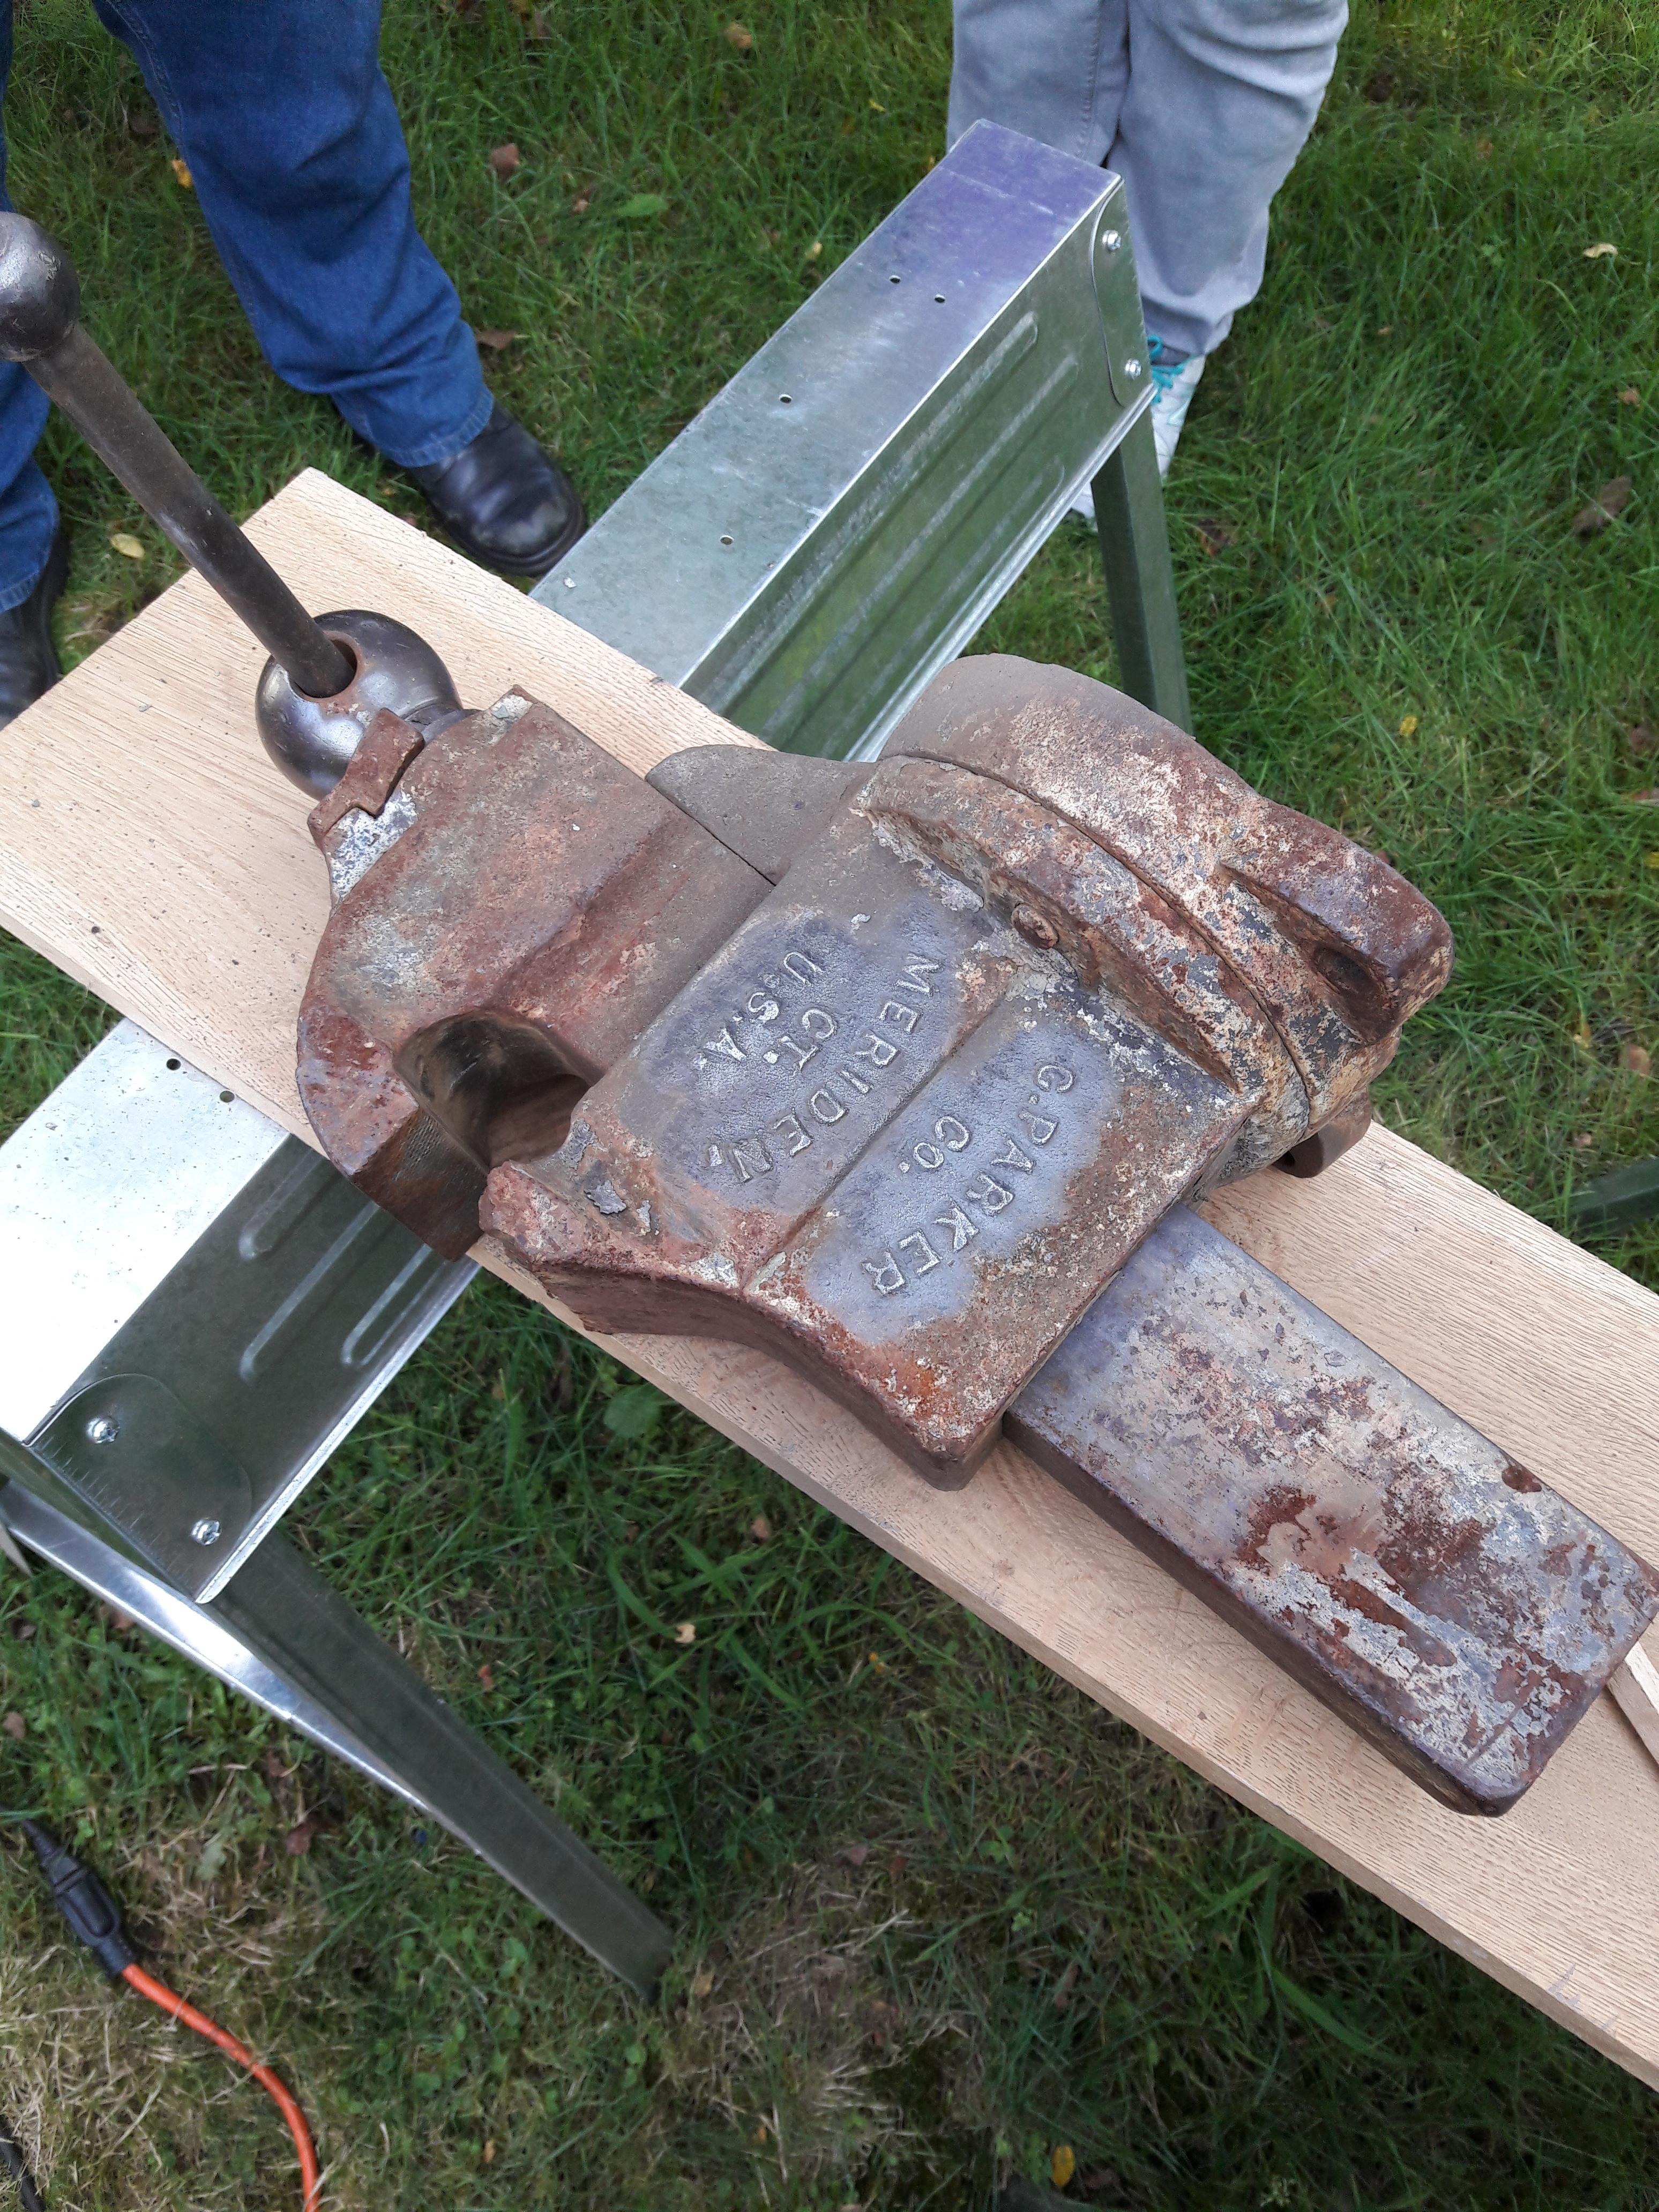
Lou, I actually went over to Rhode Island at the Exeter scrap yard. But there is another one you can walk through in Stamford, Vulcan scrap metal. And they sold it to me for $35, so I didn't even bother haggling. It was a great find. I'll check in the screwbox when I get home.
-
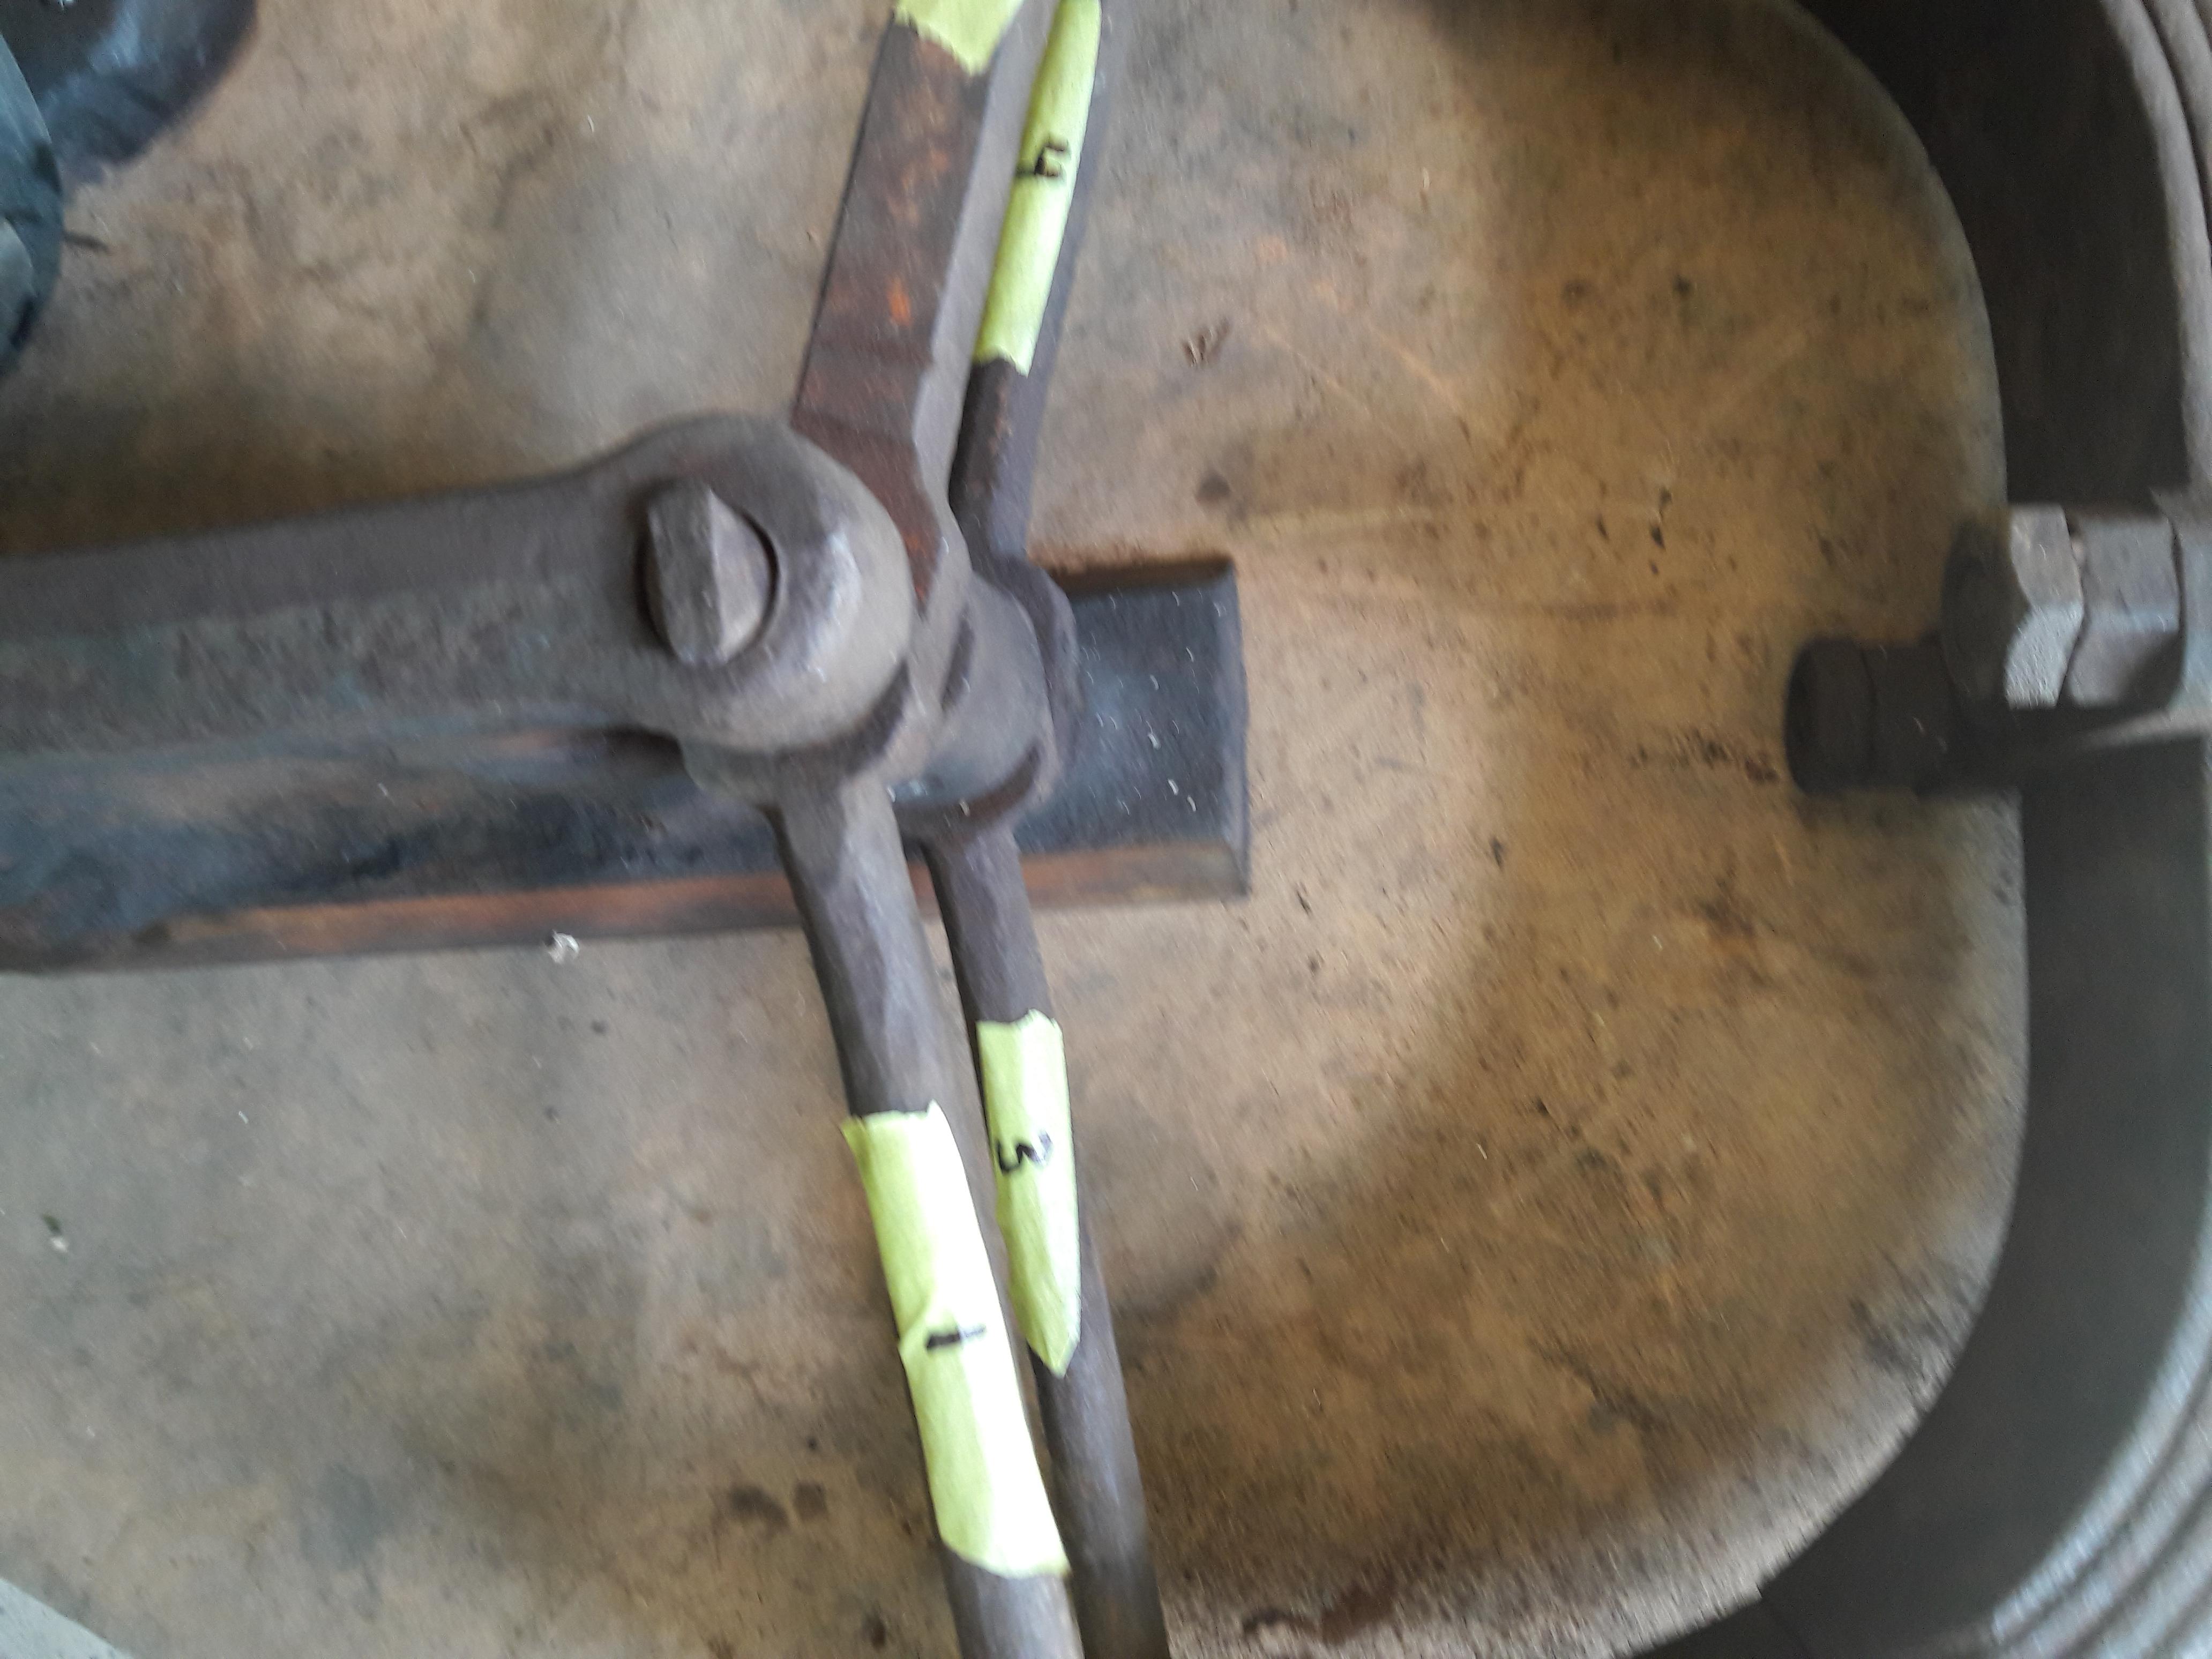
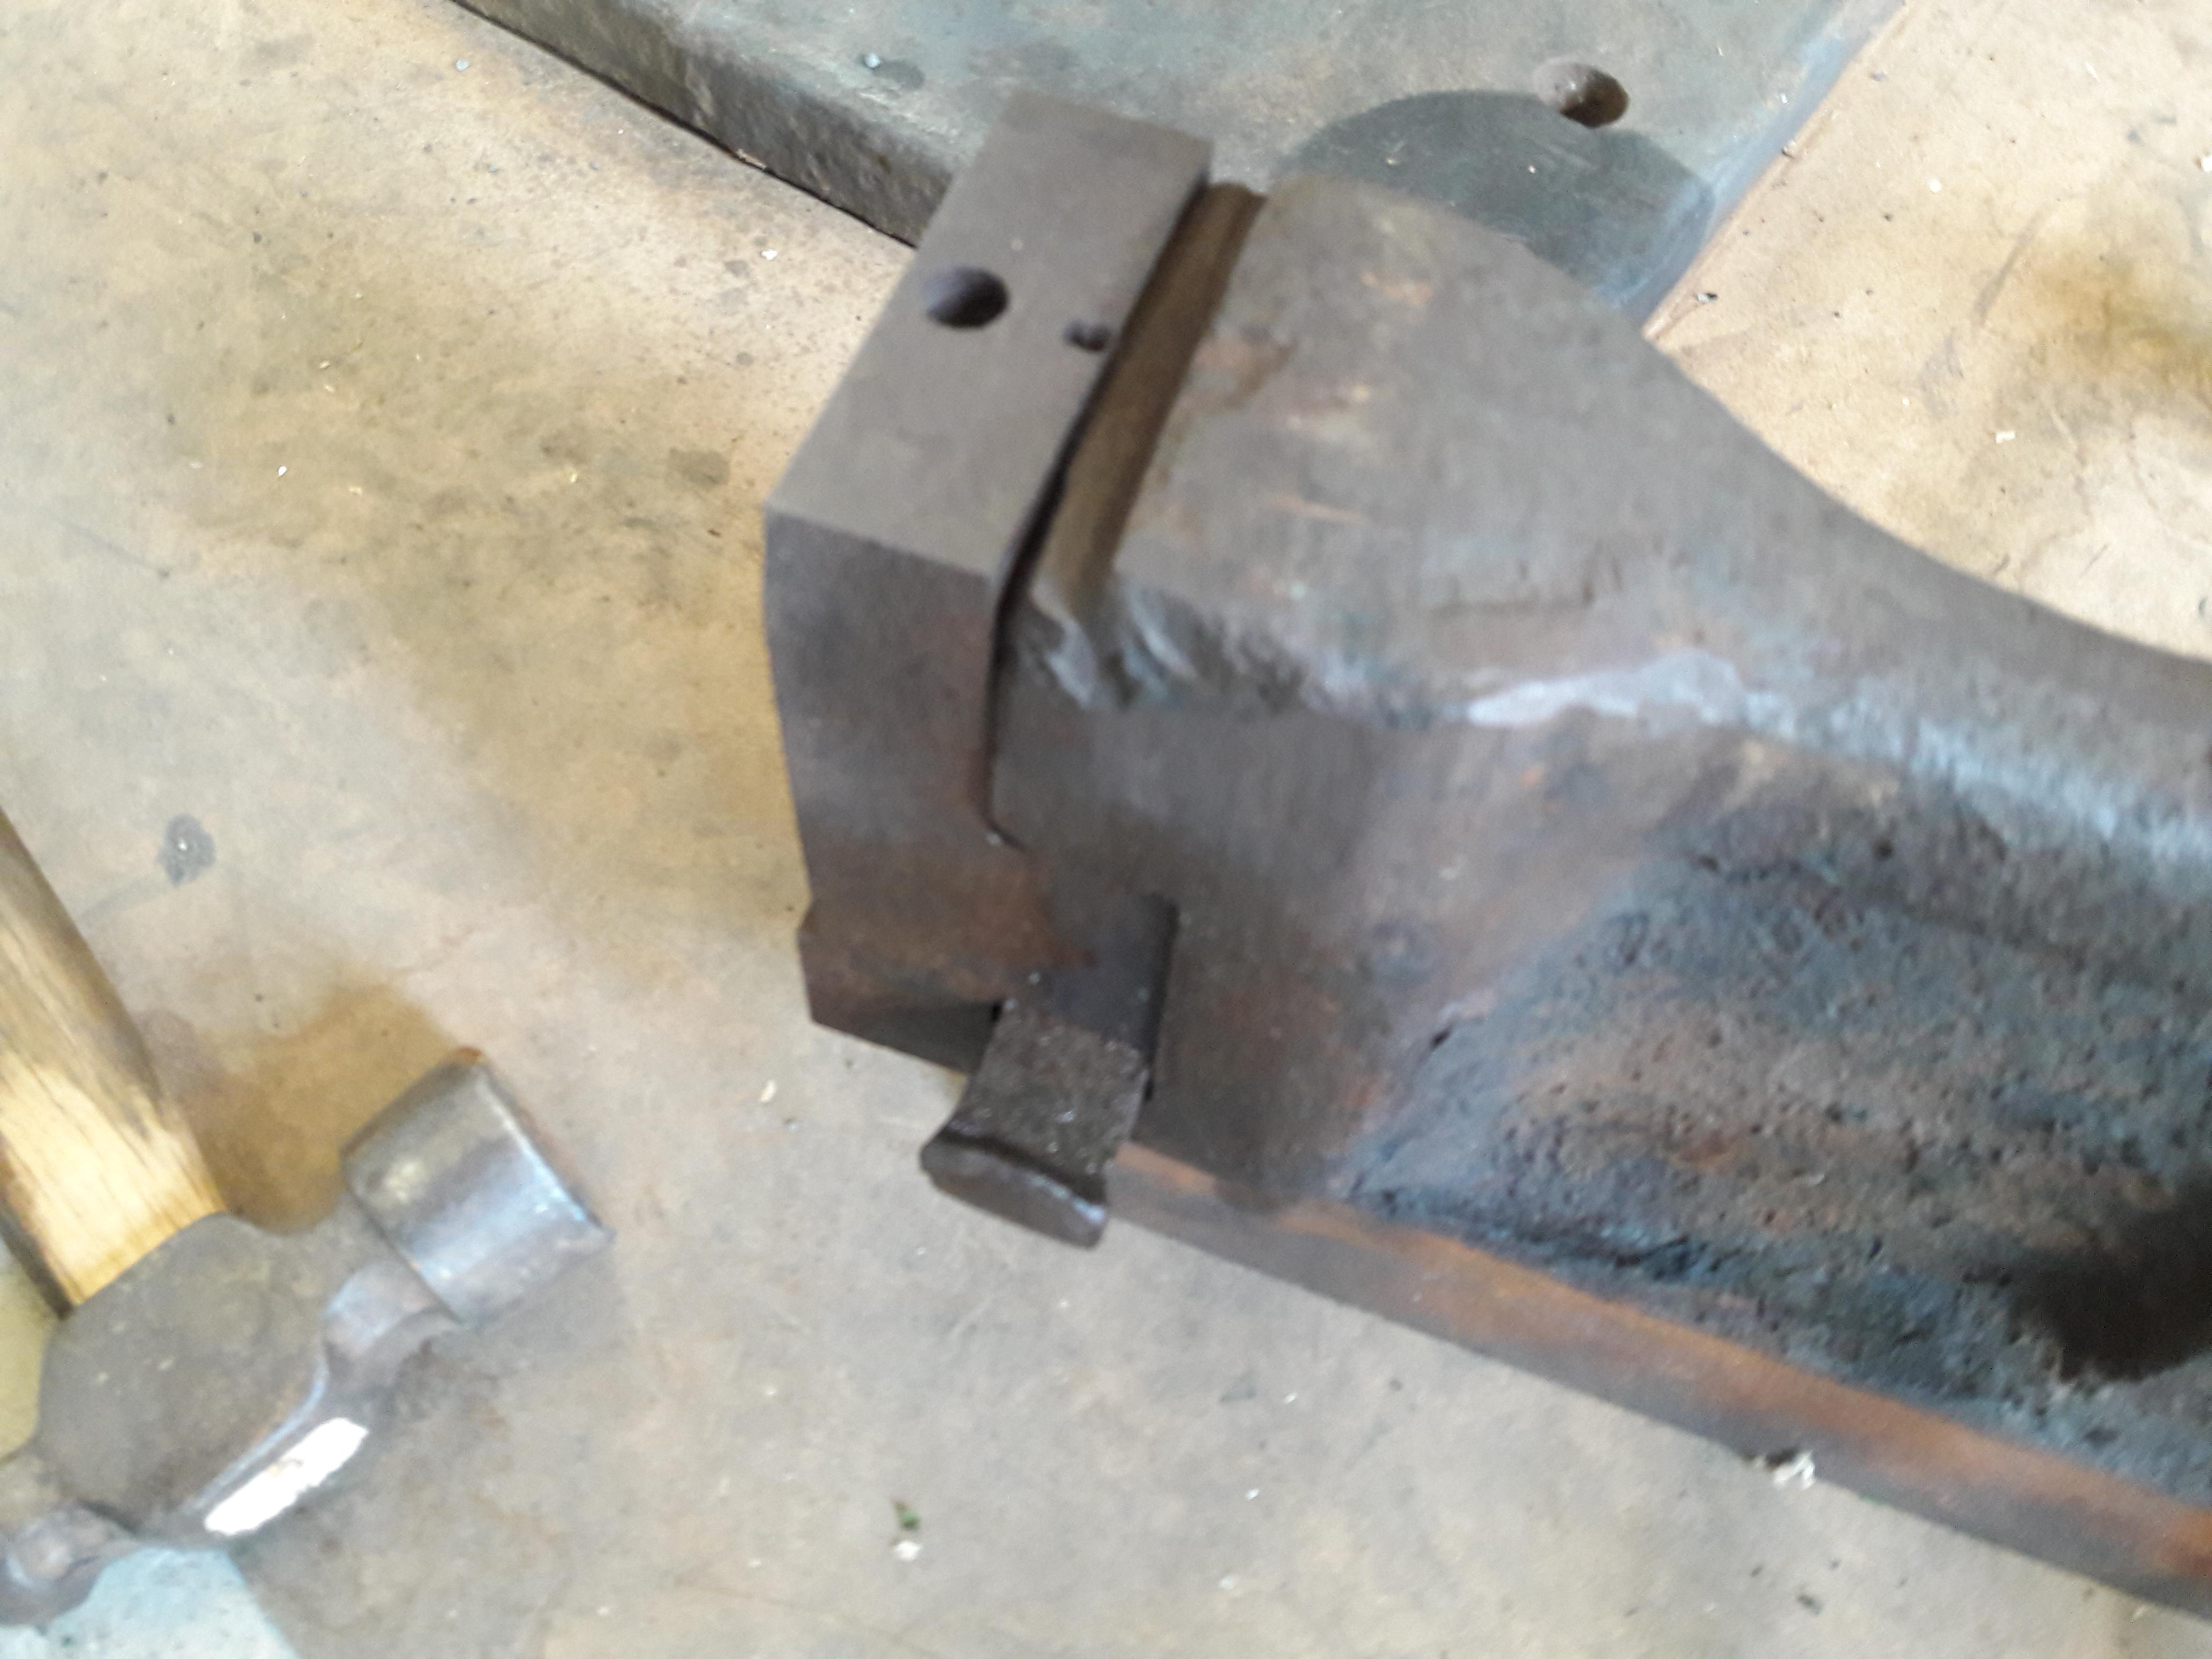
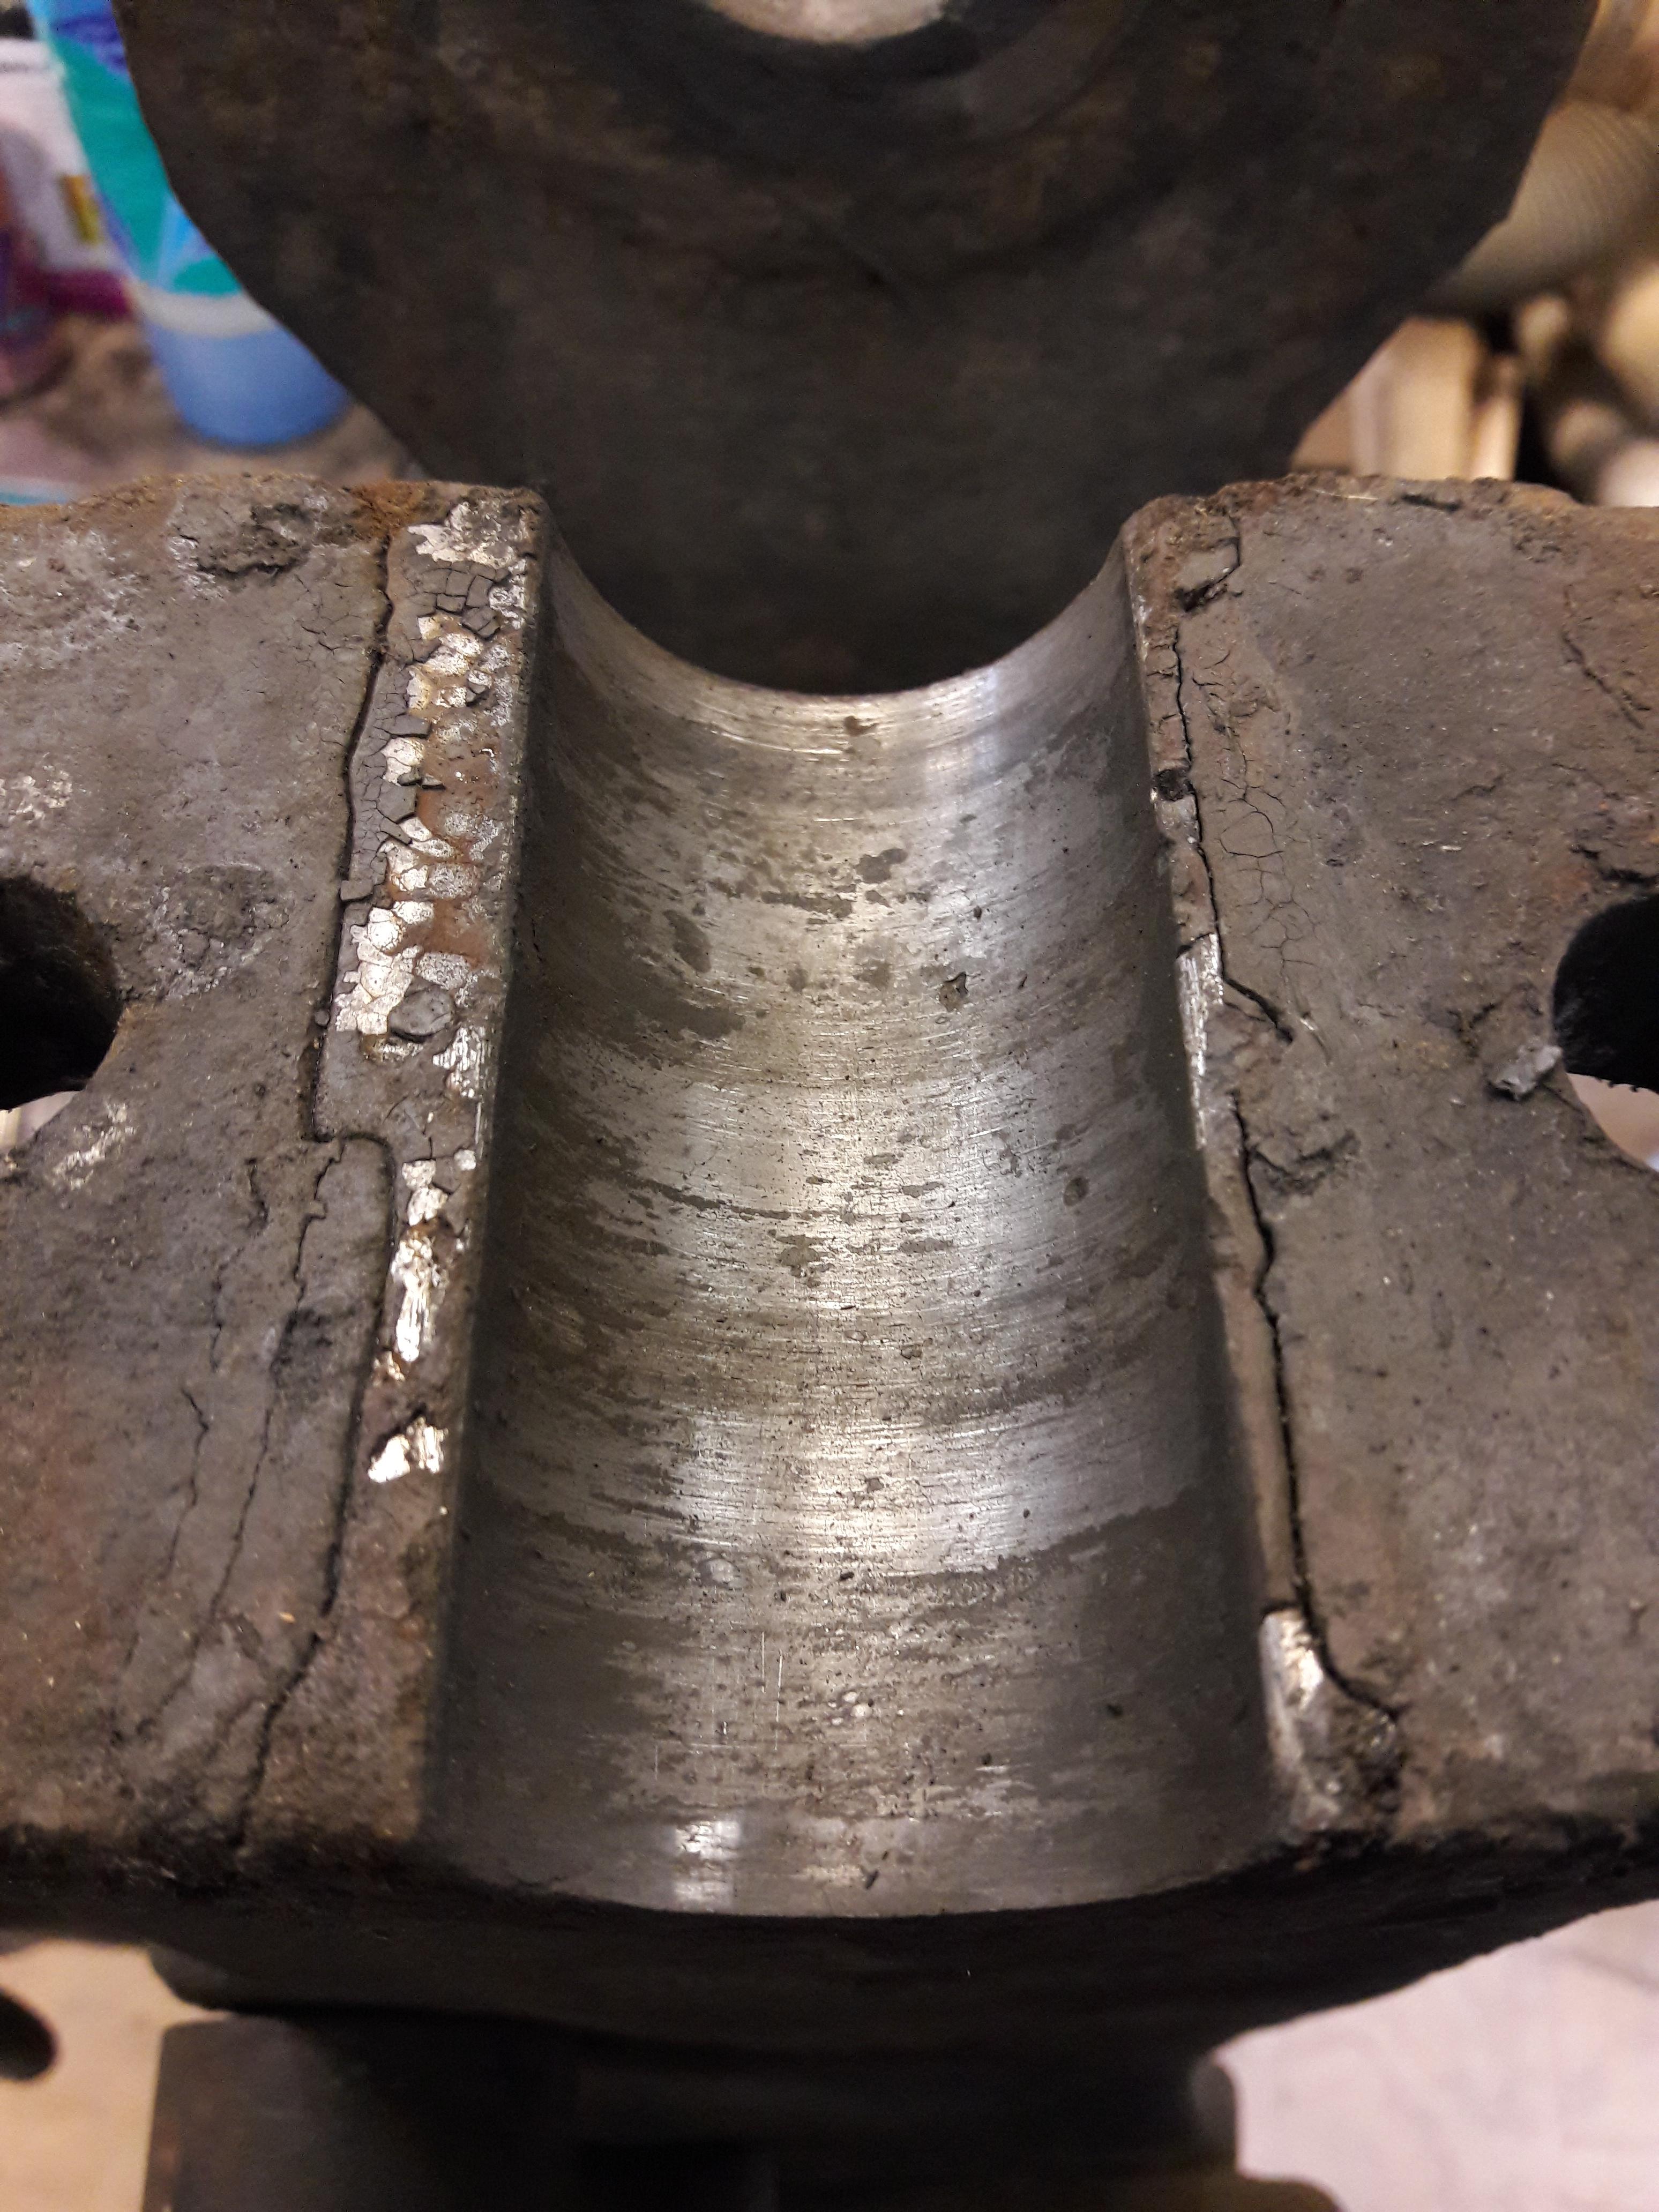
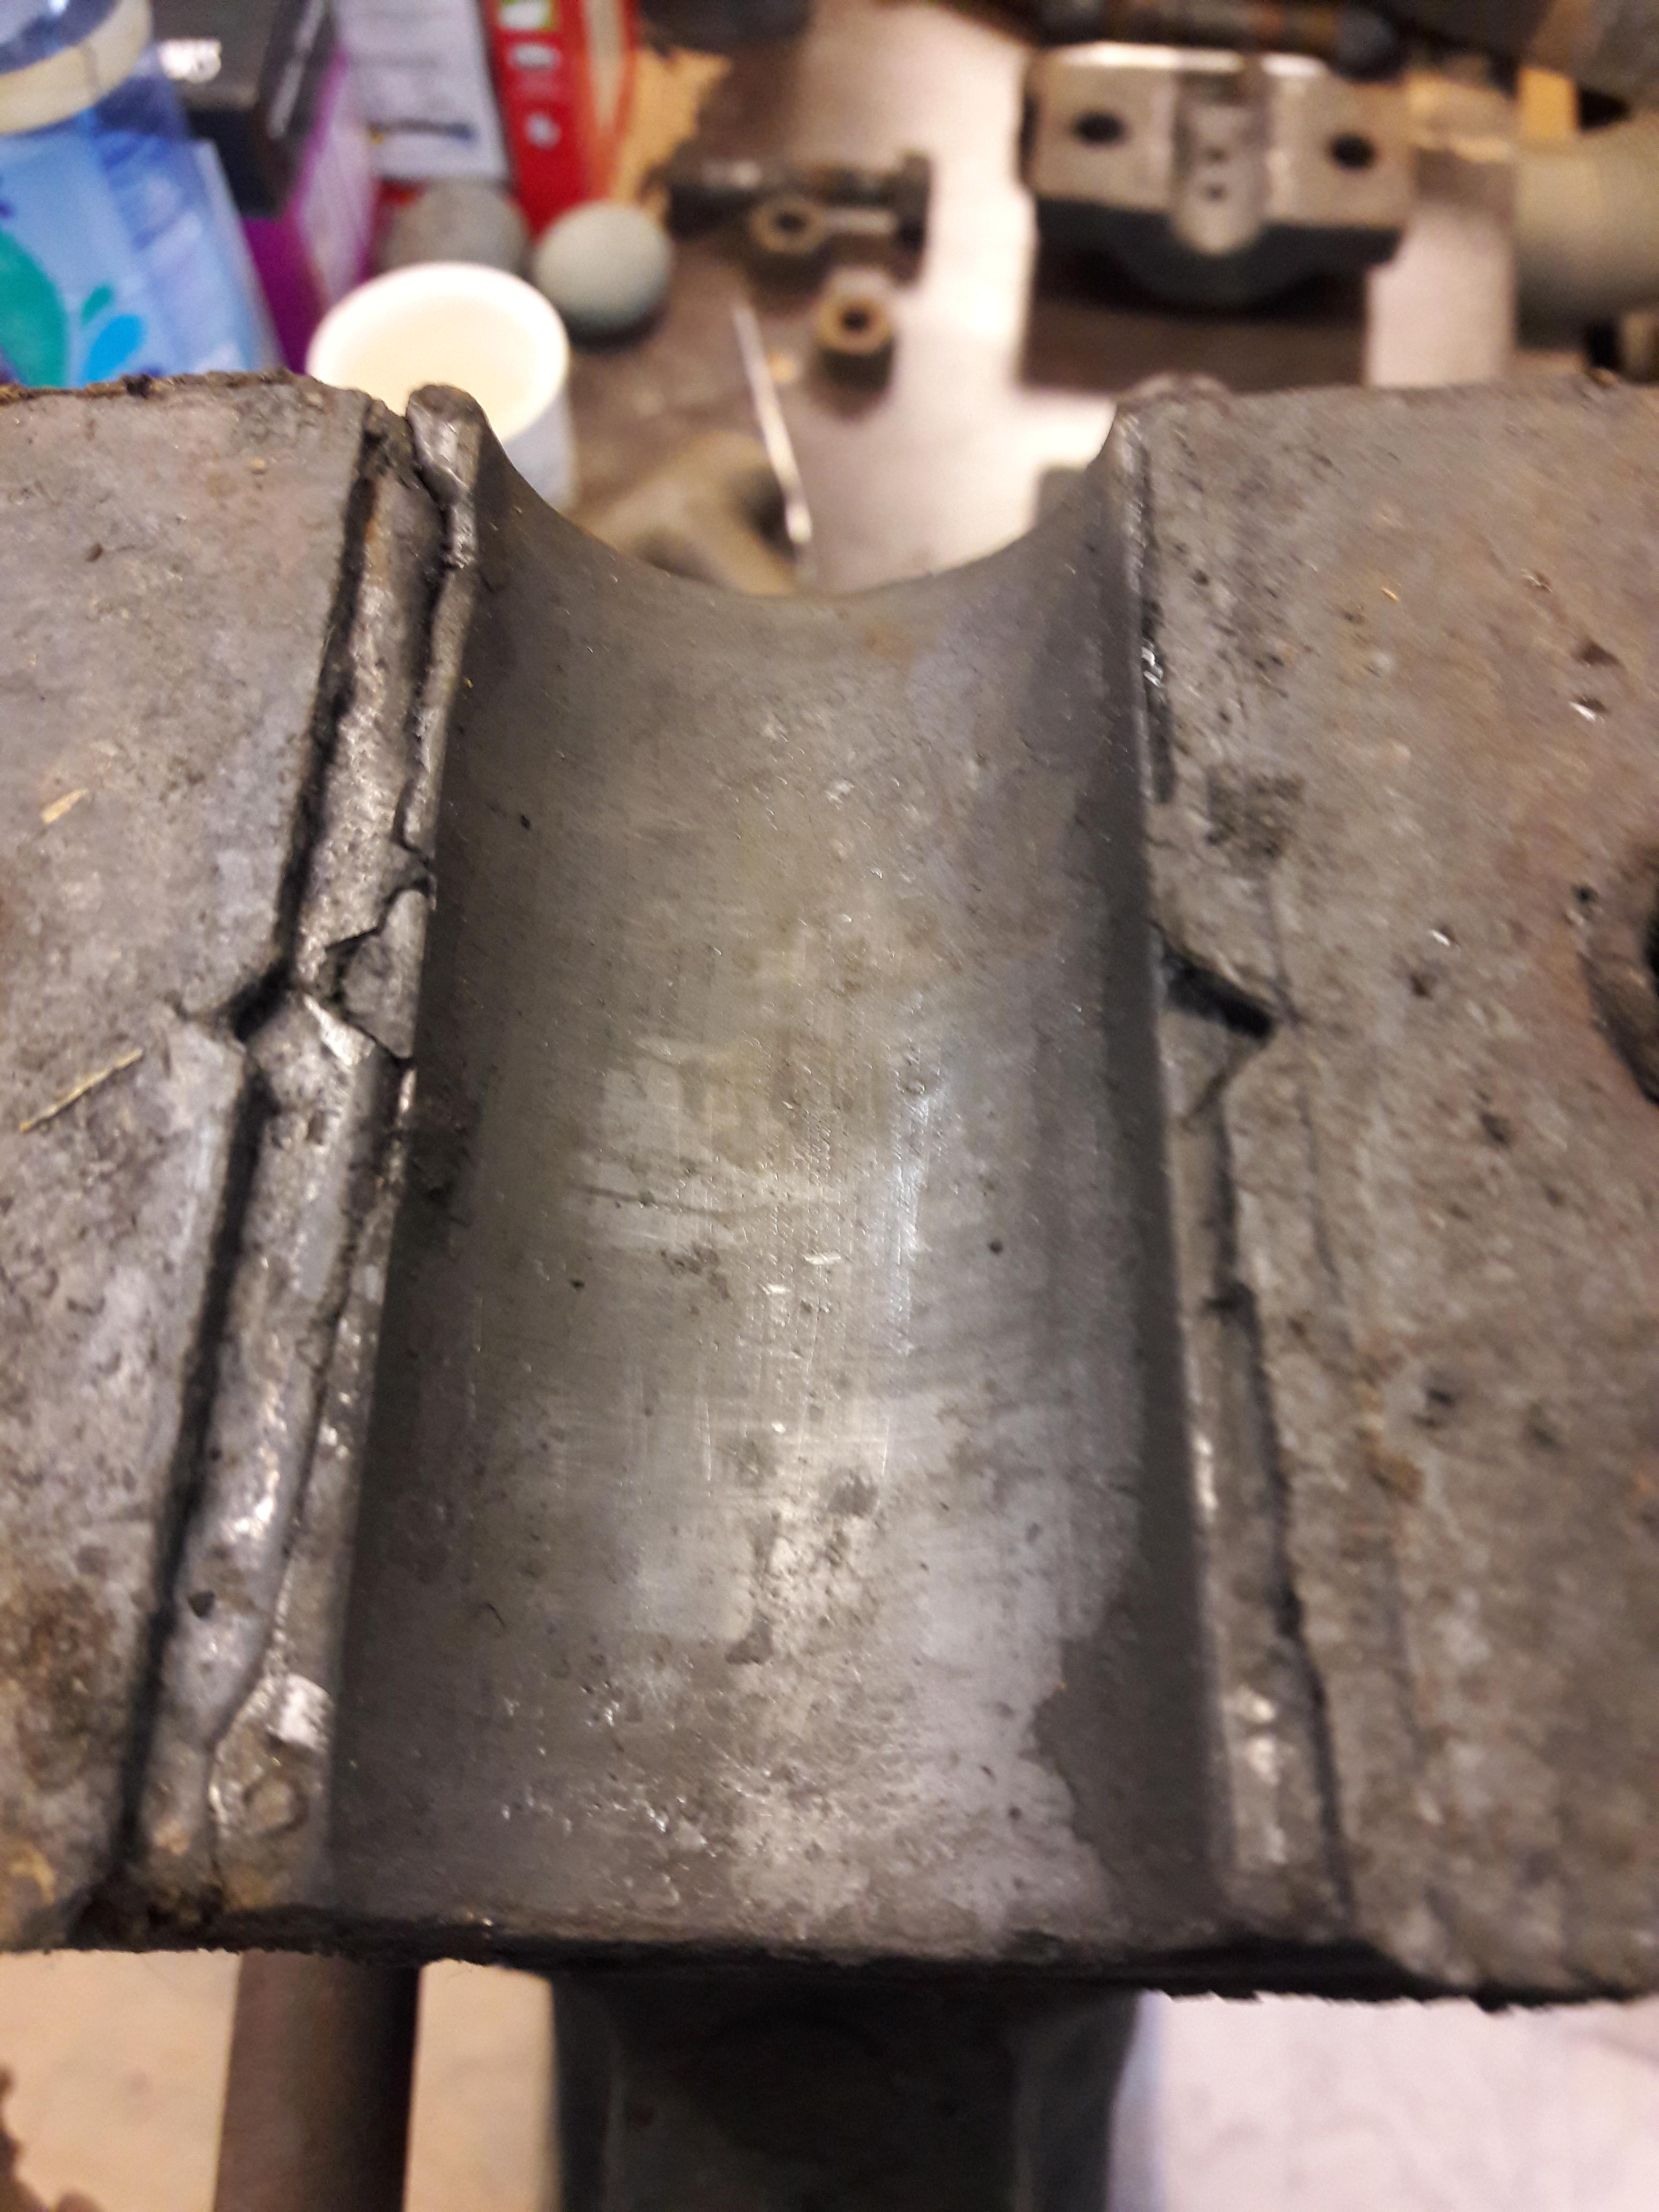
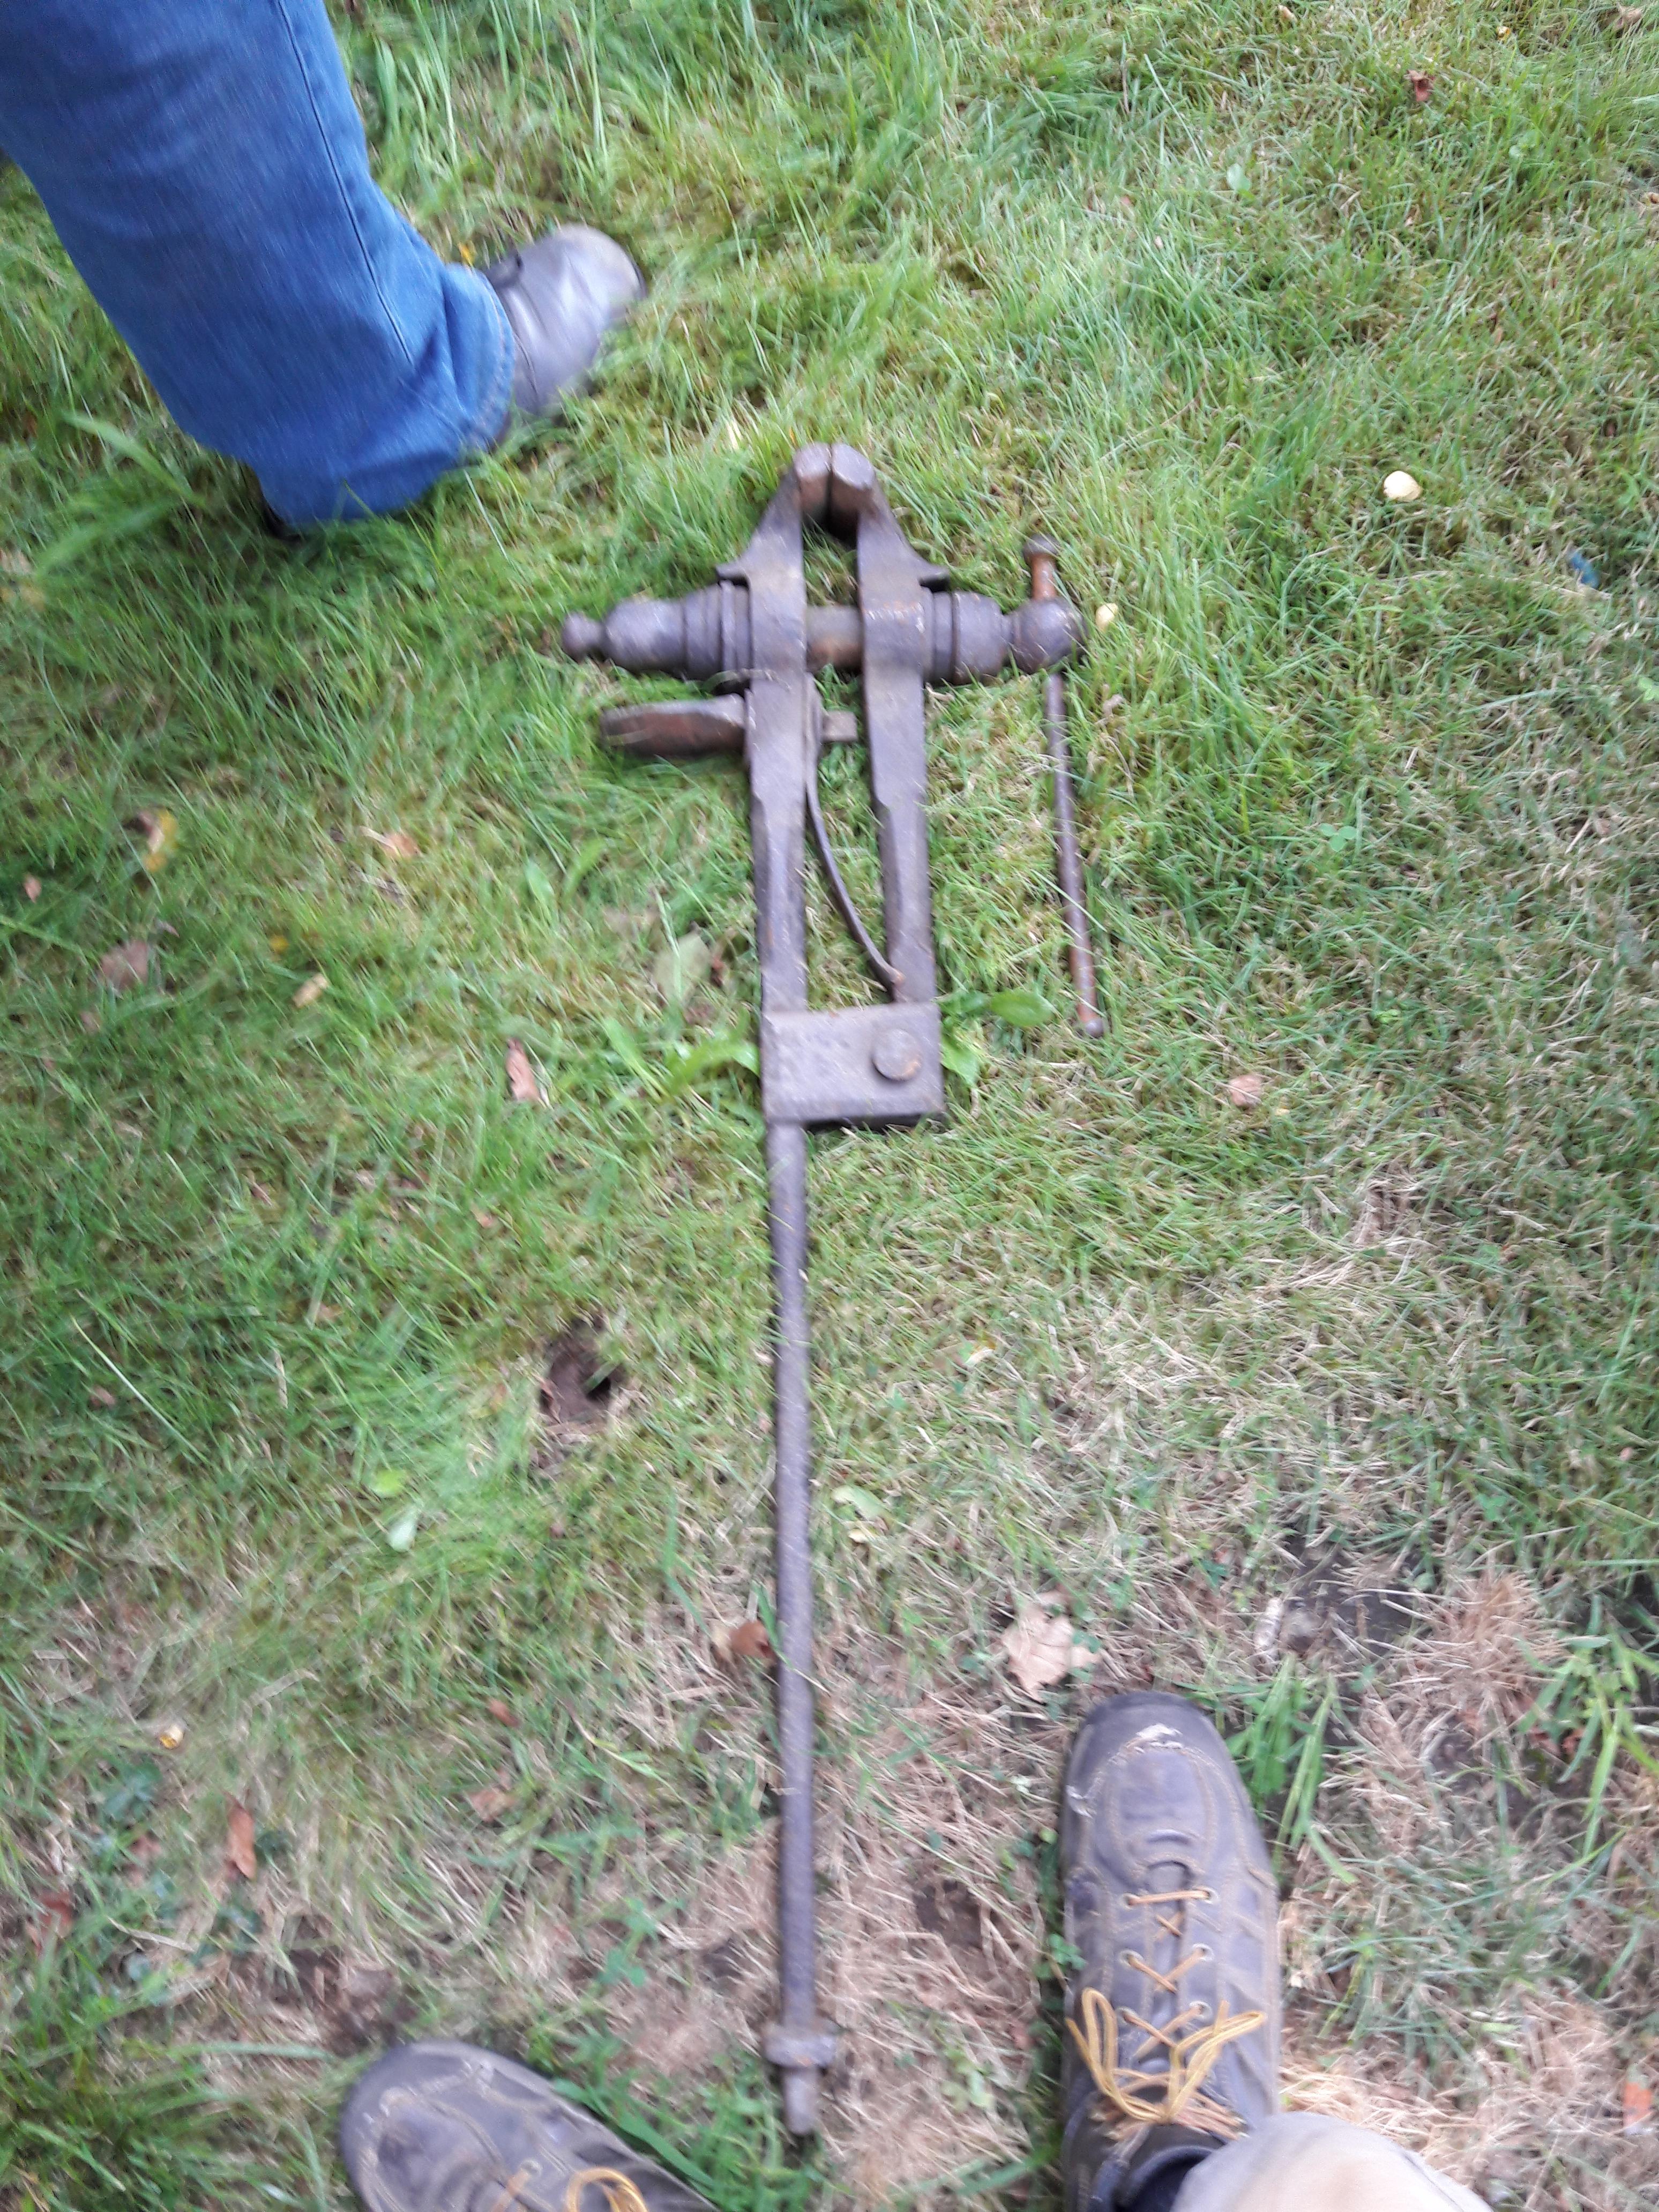
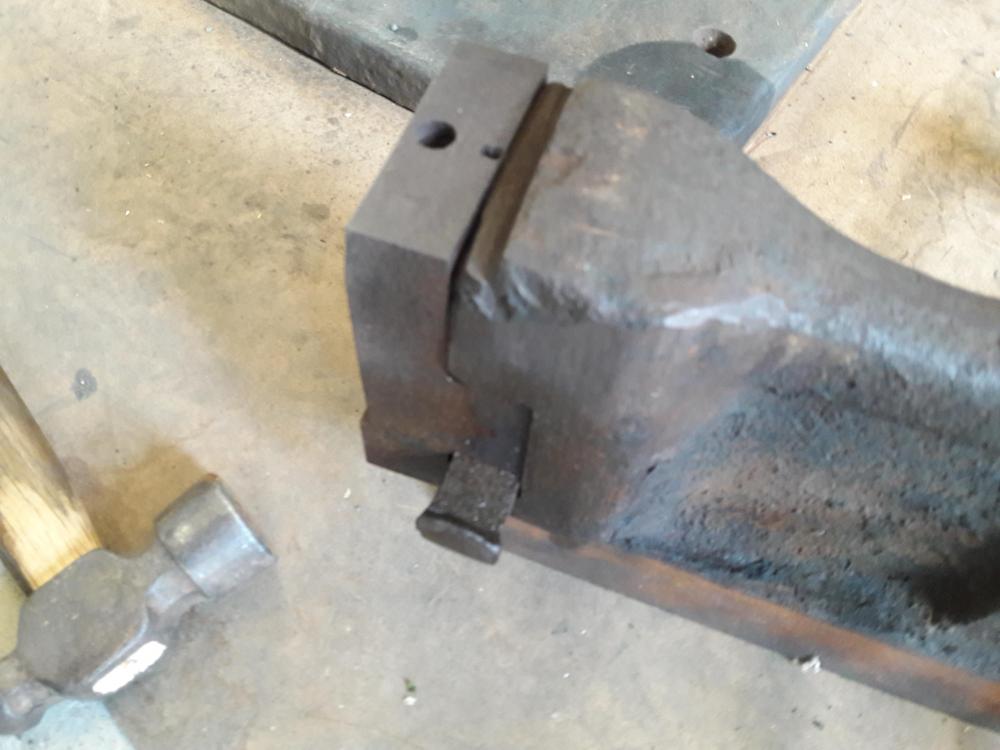
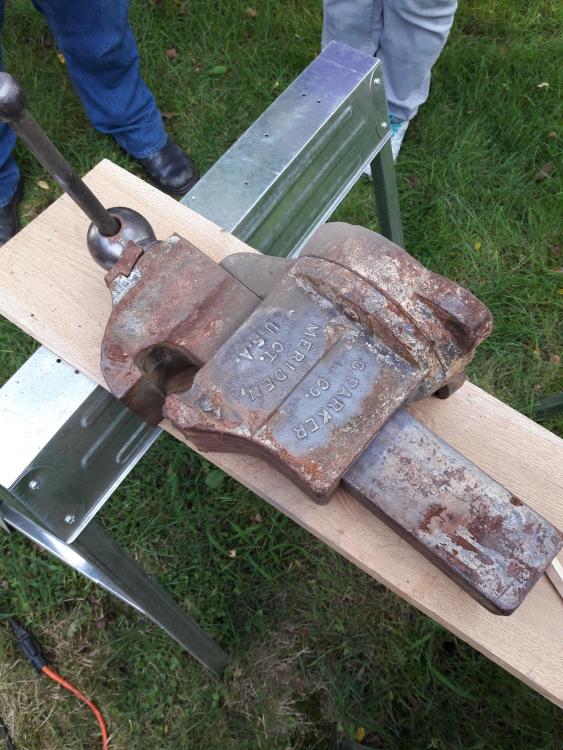
Stopped by the scrap yard the other day and came home with a couple vises. The bench vise is a Parker which I figured I could weld repair and get a new jaw. Turns out that may have been overly optimistic as they had pretty complicated jaws. I'll have to think how I want to do the repair. The post vise is in great shape, threads are nice and square.

-
What did you do in the shop today?
BryanL replied to Mark Ling's topic in Blacksmithing, General Discussion
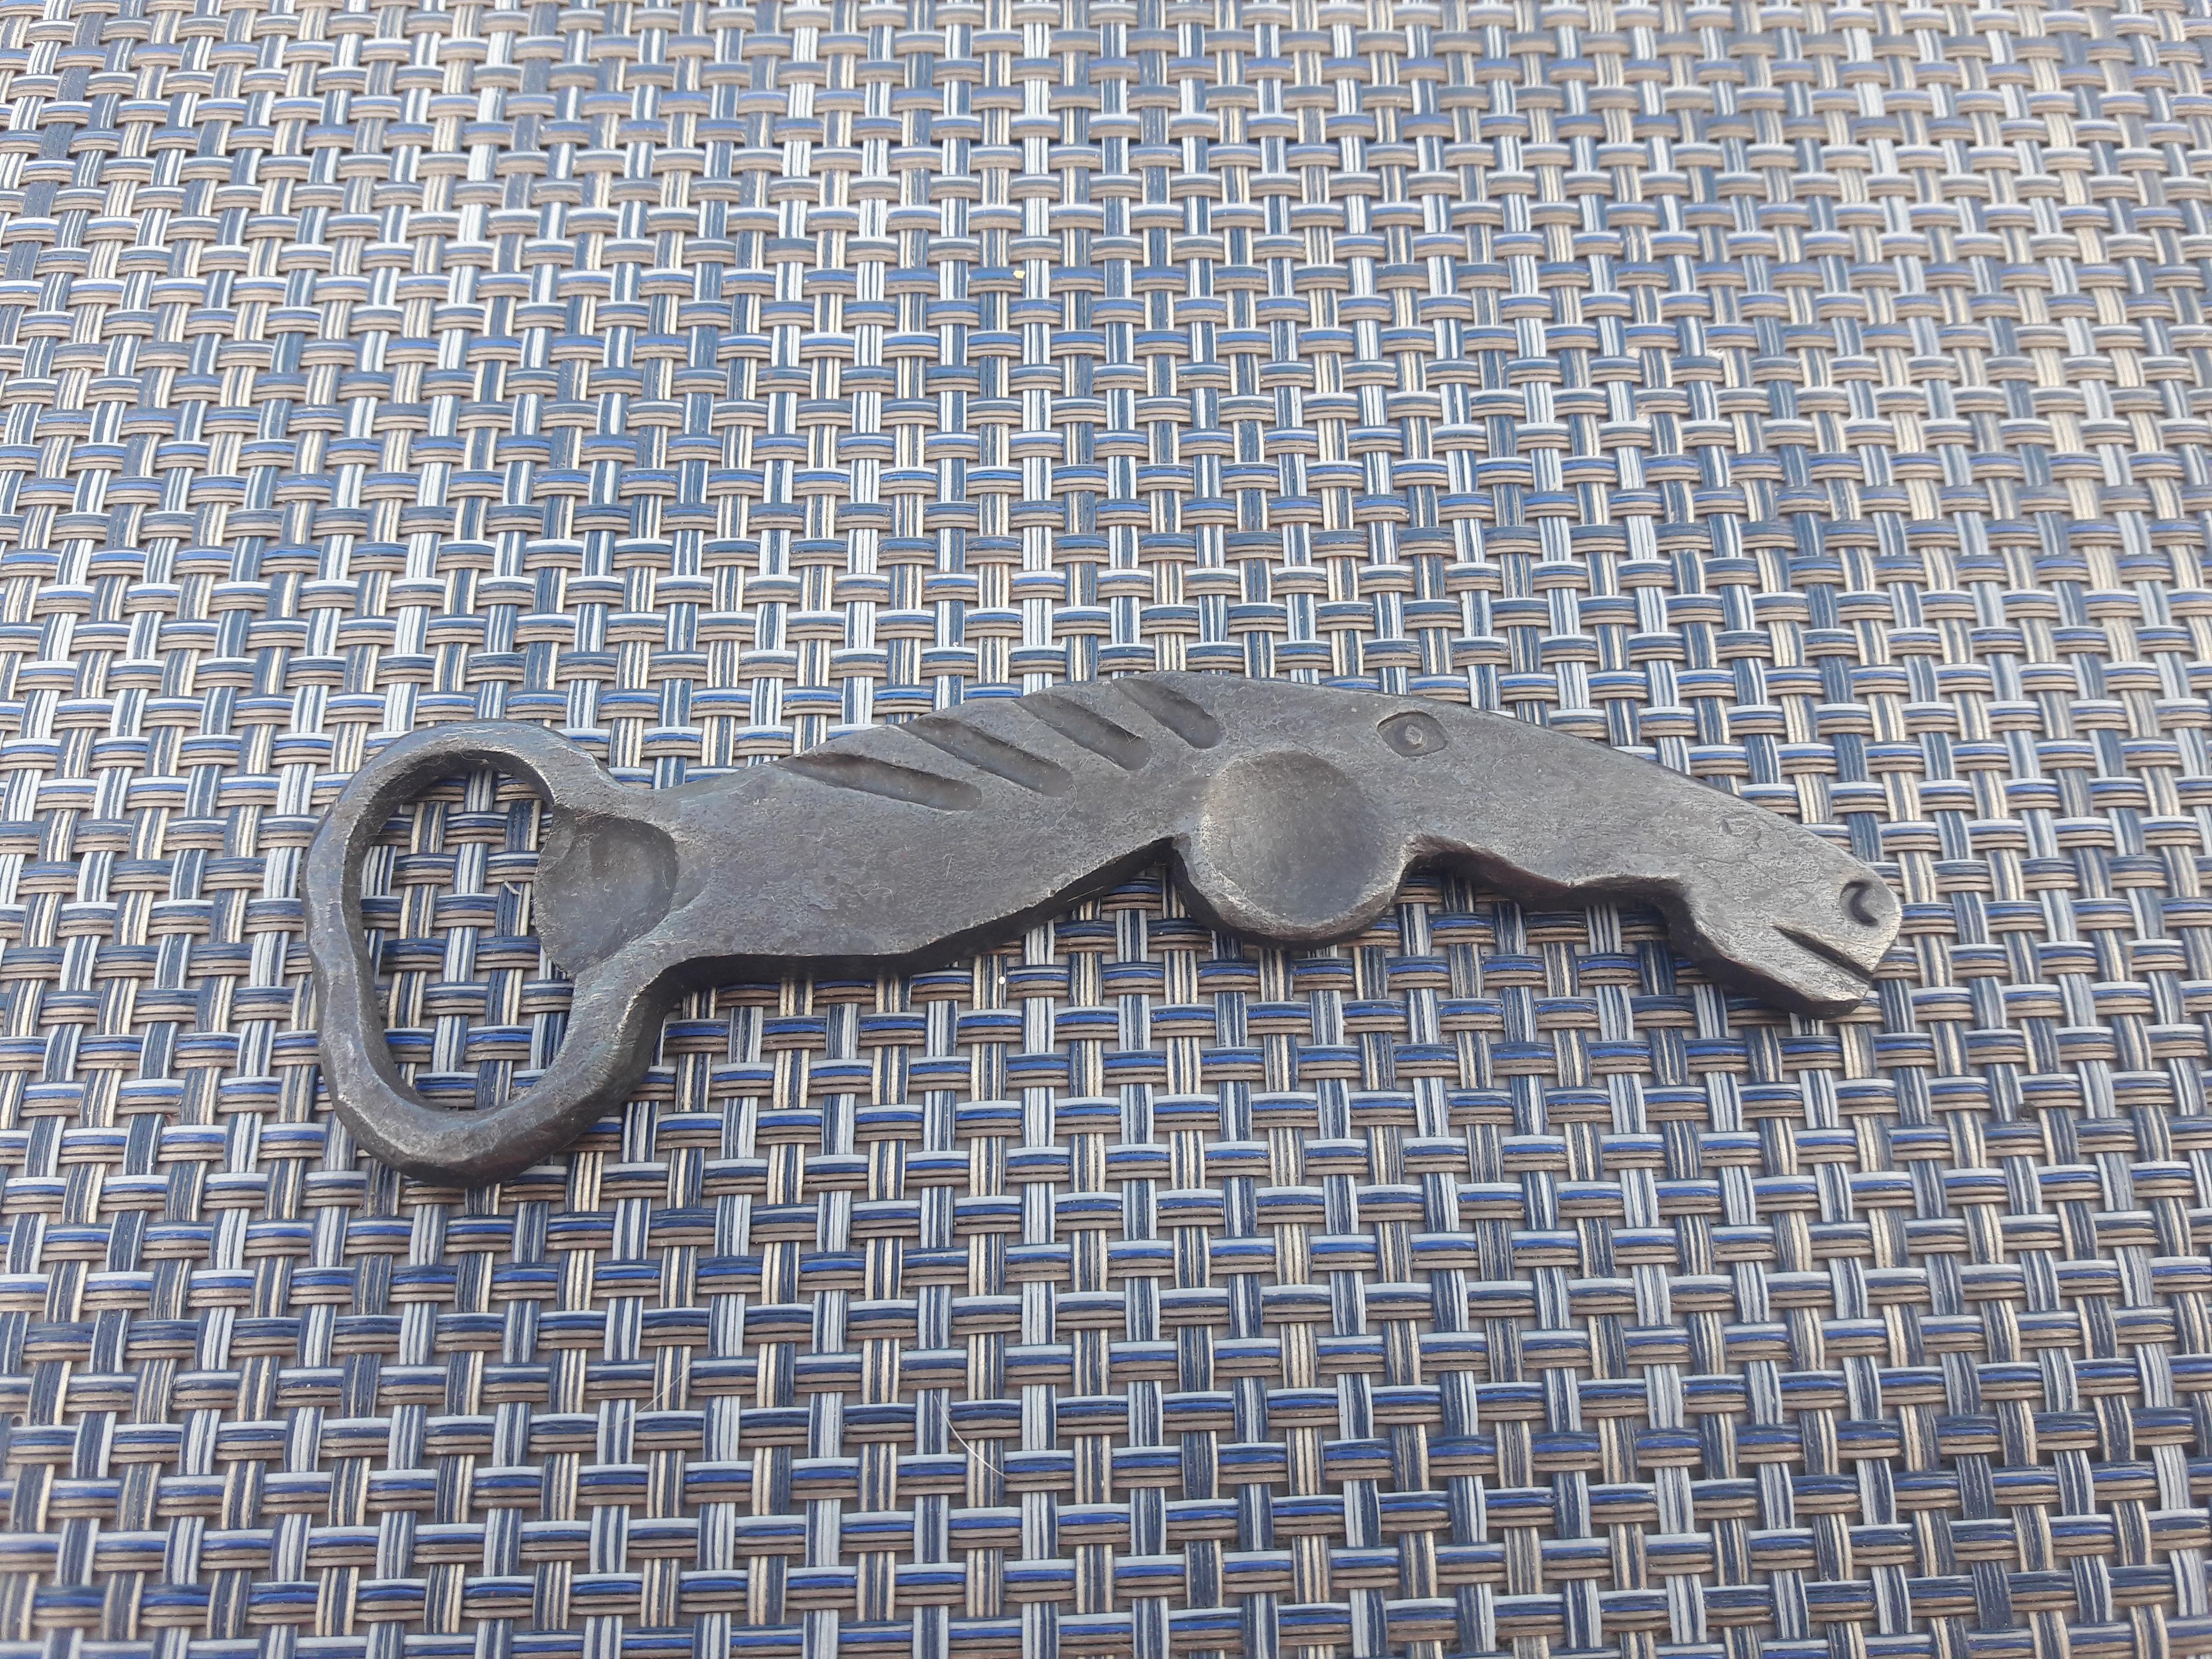
Looking good CWest. My sister is coming to visit for the first time in a while so I made her a present. Inaspired from Brian Brazeals video.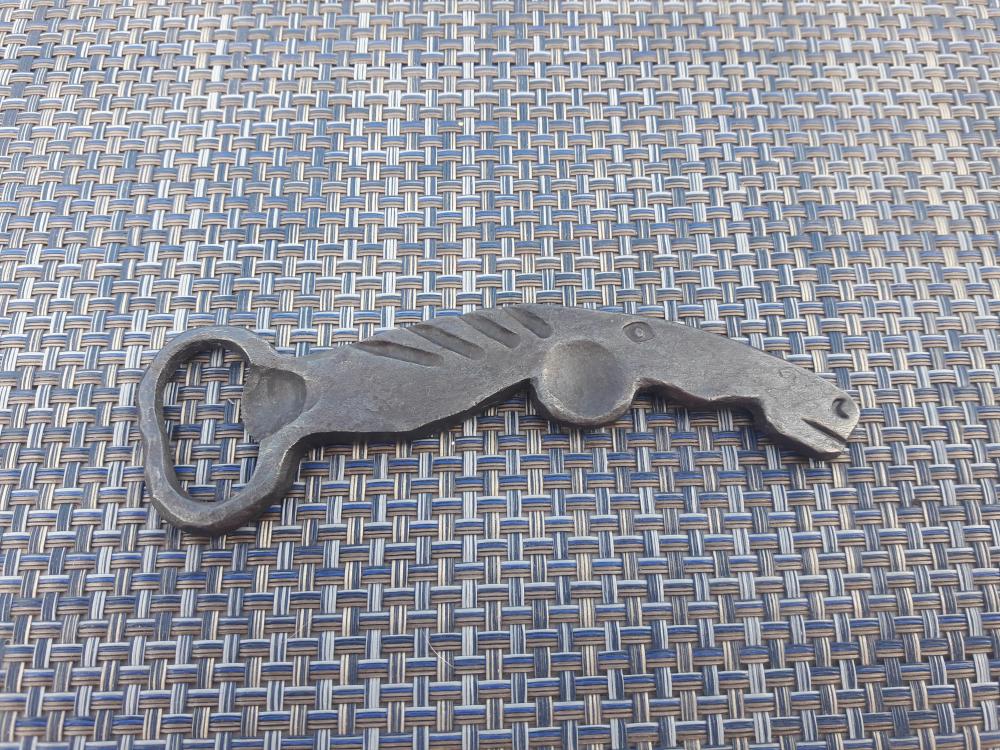
-
What's a Bosh?
-
Someone just offered me and old water tank. 10 ft by 3 ft diameter with 1/4 inch wall. Not sure what I would do with it. Ideas?
-
What did you do in the shop today?
BryanL replied to Mark Ling's topic in Blacksmithing, General Discussion
I love that for tool holding. Will steal!