falsevacuum
-
Posts
74 -
Joined
-
Last visited
Content Type
Profiles
Forums
Articles
Gallery
Downloads
Events
Everything posted by falsevacuum
-
Thanks. Hmmm... I definitely would try to avoid anything synthetic directly on my skin, since most synthetics become napalm if they catch on fire. Then again, odds are I won't be catching on fire. Hmmm... alright. I already shot them an email asking who to talk to. The guy I talked to last time knew something about forges, so they're not completely unknowledgable. That said, if they don't respond to me, so be it. Good point. I'll be sure to clear the nearby area and move things like paint thinner, acetone, etc. to the other side of the garage.
-
Thanks for all the replies! Hmmm, okay so the takeaway is: - Give forging outside a shot. We'll see. I remember my first winter here, I bought some hot fried food. I had forgotten my gloves, so I carried it bare handed to where I was staying 10 minutes away. By the time I got there, my hands literally could not move. Took me a good minute or two to fish my keys out of my pocket, and probably another 1/2 hour for the hand to feel fully normal. I'll definitely give it a shot, though. - Use the propane forge. It should heat up the garage even with a good cross draft. I like this idea. Warm forging. Yum. I'll contact the fire department to make sure I'm not violating fire code and whatnot. So unless forging outside doesn't work out and the FD says no to the propane forge, I'll save myself the few hundred buckaroos. The money I save will easily cover the cost of the propane forge. I will do some research on propane forges and see what I can do. I'm thinking of doing a forced air propane forge and bringing in outside air to help with CO concern. Individual responses: Mark Dobson: Yeah, CO is the main concern with propane. The stuff is a gentle killer... in some cases the main sign is you're tired and want to take a nap. ThorsHammer & Iron Poet: Haha, maybe working faster would help. I definitely get super warm skiing. I find there's a lot of time cranking the blower, though, so I'd probably cool down then. I'm working on my heat management skills and other technique. Getting there! DSW: As ThomasPowers said, might as well just get a propane forge at that point! SpankySmith: Yeah, last winter it was only in the 30s for a few days here. Last winter was one of the worst winters in a while, but still. COLD.
-
So, how about them northern New England winters? Winter approaches! Since I started blacksmithing in April/May of this year, I'm wondering how I can continue my work with 2' of snow on the ground in 0 deg F weather. Currently, all of my equipment is outside and my hammer hand would freeze pretty quickly. The local fire code here (and all of NH) is that open fires must be 25' from a building, so I can't stick my coal forge out the garage door. I will need to confirm local gas forge and indoor coal forge laws once I've picked my winter solution. I've been offered to rent an old smithy with no electricity or lighting for $100/month (I'd use it probably 1-2 times per week), and there's no equipment except for a side draft hood. I doubt my rivet forge's firepot sits close enough to the hood for it to work. There's an additional line chimney line I could hook into, but I'd need to make a full hood. Or I could make a new forge. The main advantage is that it's indoors and will heat up quickly. At that point, I figure I might just buy a propane forge and stick it out the garage door. Ebay has new gas forges for pretty reasonable prices, or I could make my own. Our garage is a 2 car garage with 2 car doors and 2 people doors, so I can get air in. Either way, I'm buying CO detectors since I value my life more than $20. So, to reiterate, the options I see are: 1) Rent a building $100/mo, no electricity, no lighting, and the sun goes down at 4. and either a. build a full hood for my rivet forge and hook it into the existing alternate chimney b. build a brand new forge to hook into the exist side draft hood 2) Buy a gas forge, stick it out the garage door, work inside the garage with all the lighting and electricity my heart desires. Does anyone have advice/guidance on what to do?
-
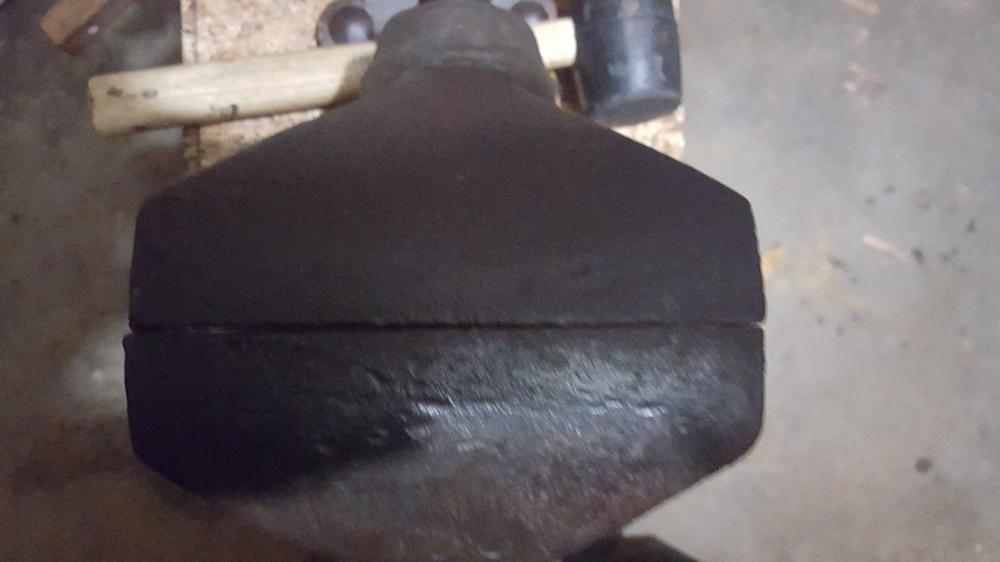
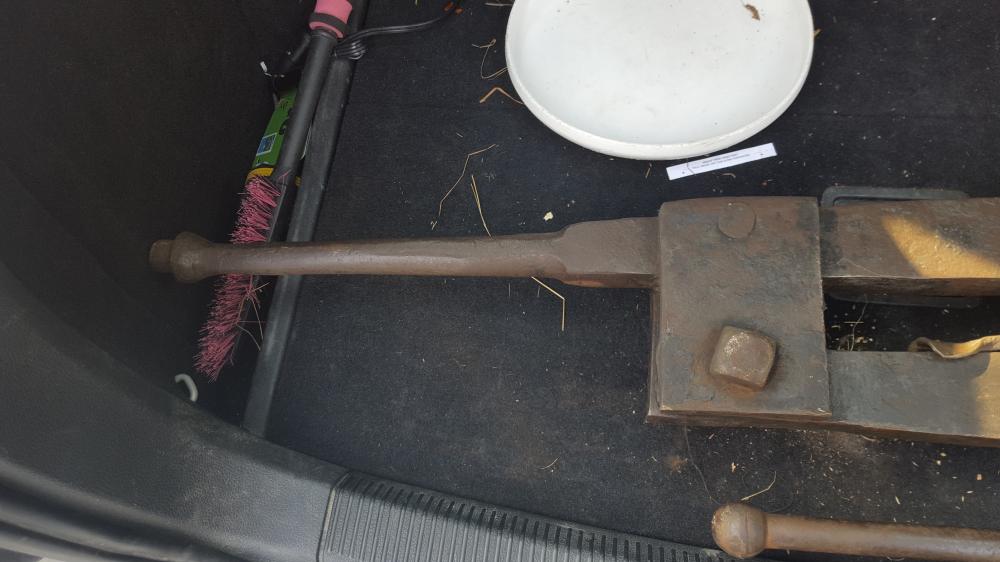
I was thinking I liked the black metal look, so I may just leave it as is. I just used a manual wire brush for most of it, so hopefully I didn't wear off too much of the protective oils and such. Any finishes that would preserve that look? I'll definitely upload more pictures! (though classes start next week so progress will likely be slow) Oh, yeah. I thought I edited the post to say OSB but apparently not :/ I had been taught the stuff was supposed to be more structurally sound than Plywood, but I guess not. I suppose I could go buy some Plywood if I had to. Plywood can get pricey though, if I can get it for cheap like you suggested. I should look for concrete suppliers, maybe? I'll look around and see about acquiring some. I suppose I could reinforce it with 2 pieces angle iron running on the long side, yeah? For now, the 2 brake rotors are working pretty well, but I haven't tried opening it all the way. I'll try with all 4 brake rotors next time I forge. Who knows, maybe I won't need the plywood... Thanks!
-
Not sure if someone has already posted this, but if you need clean edges before you get a block set up, it looks like you have some sections of in tact edges on there. Keep in mind "clean edges" aren't the same as "sharp edges". My anvil is pretty beat up along the edges (not as much as yours, though!), though I do have 2" sections on either side that are pretty clean. It looks like you may have similar patches. Just use those! Awesome score! Fishers are great since they don't have a ring. I'm sure your ears will appreciate it
-
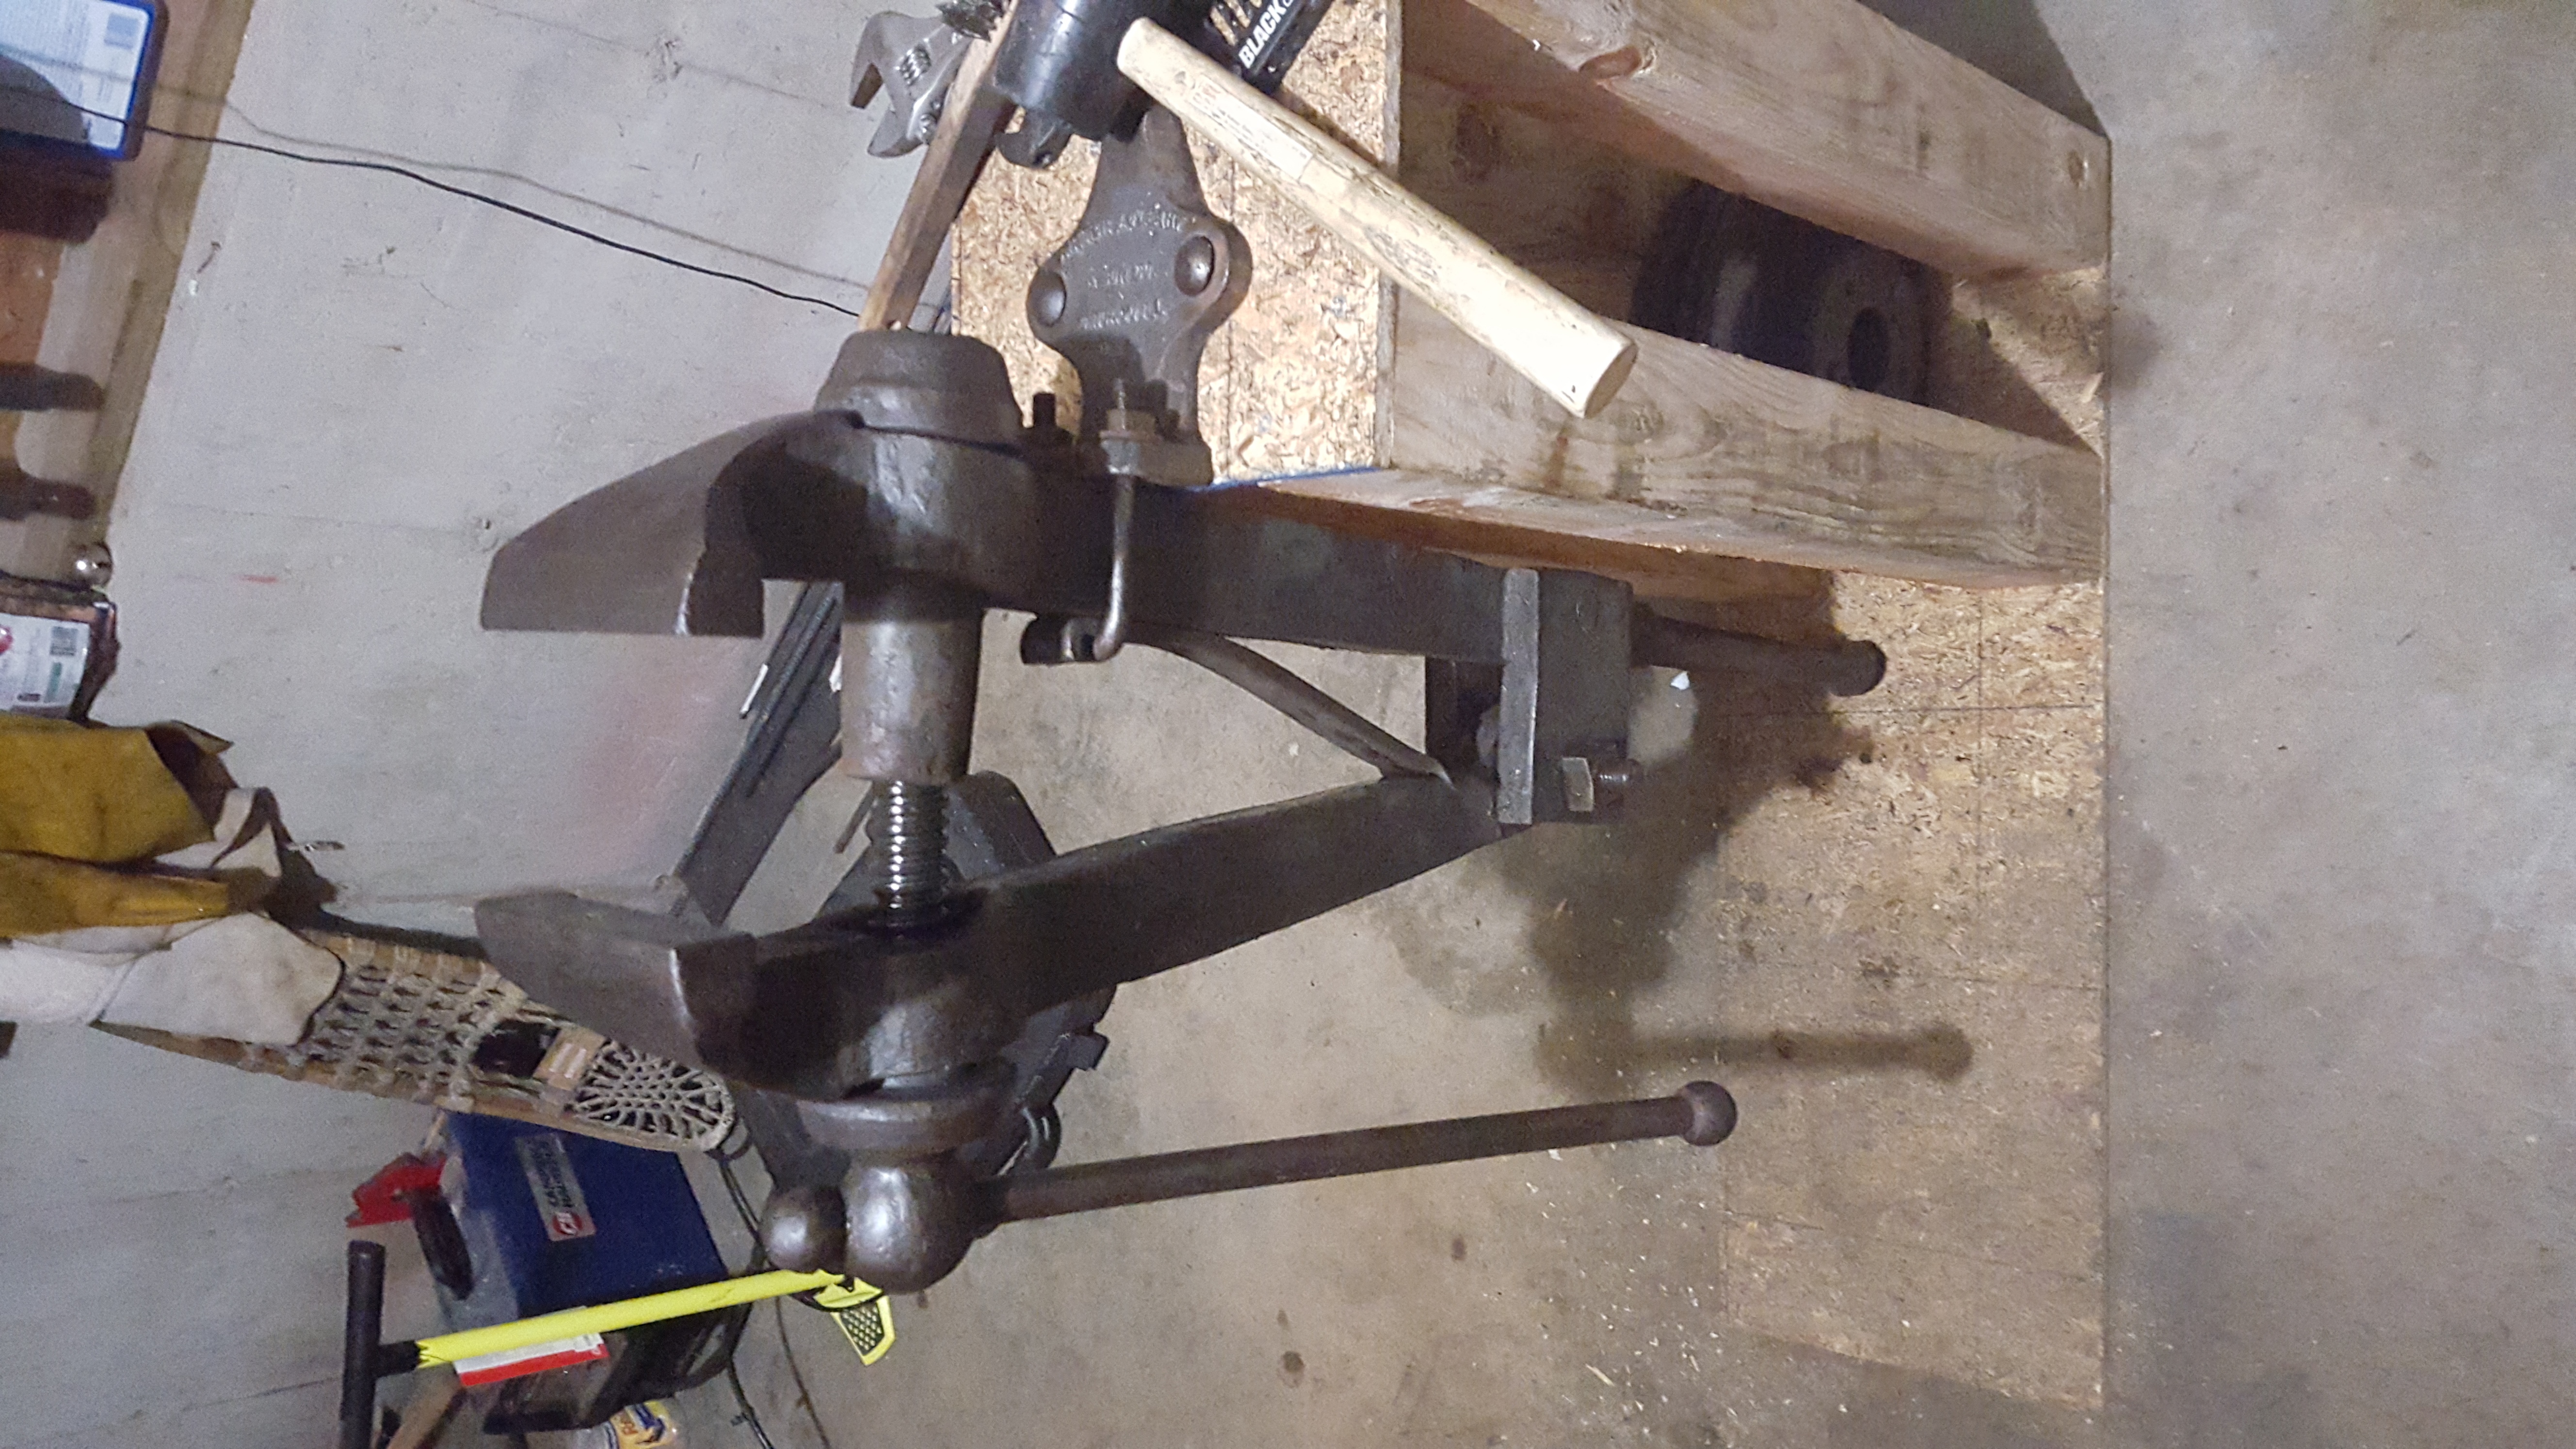
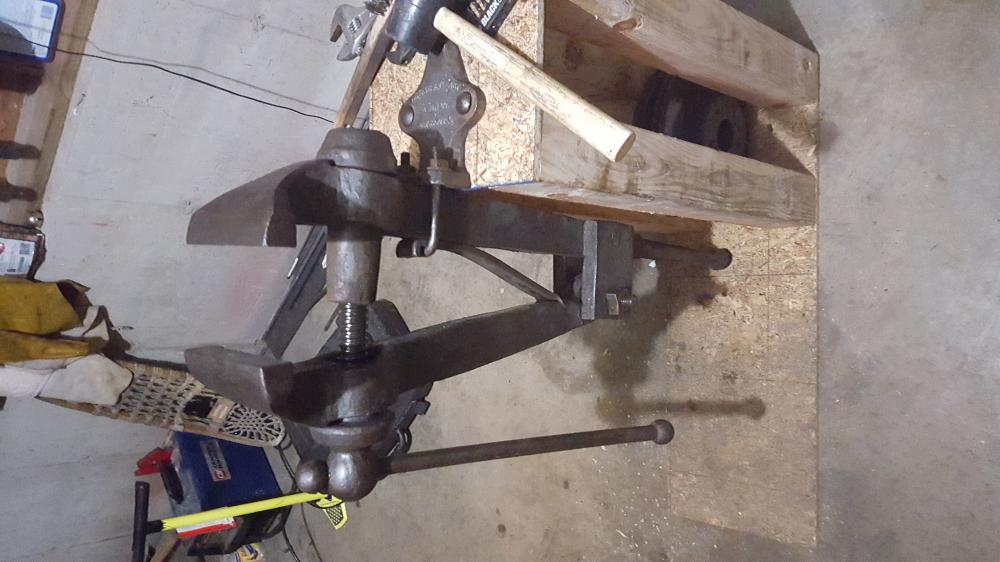
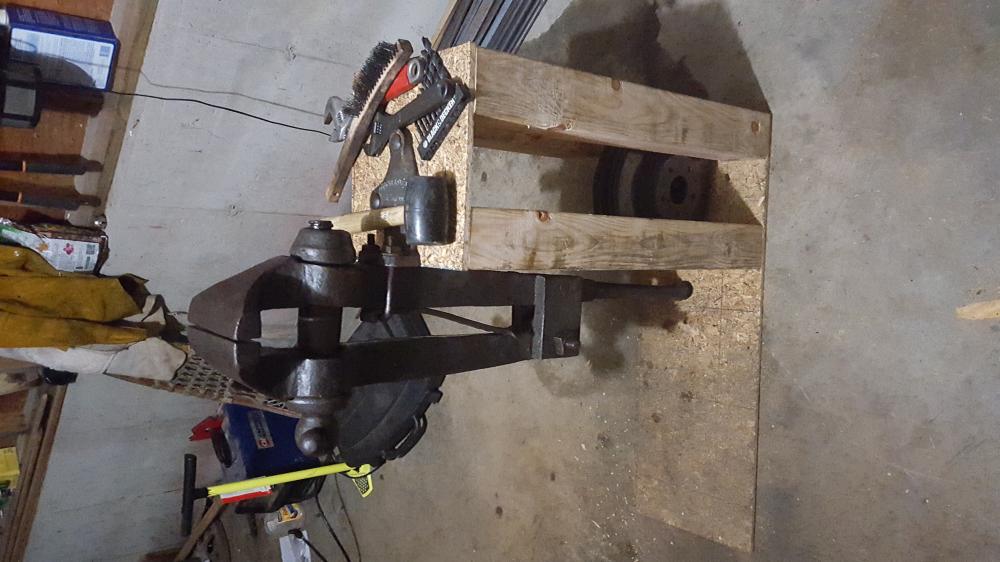
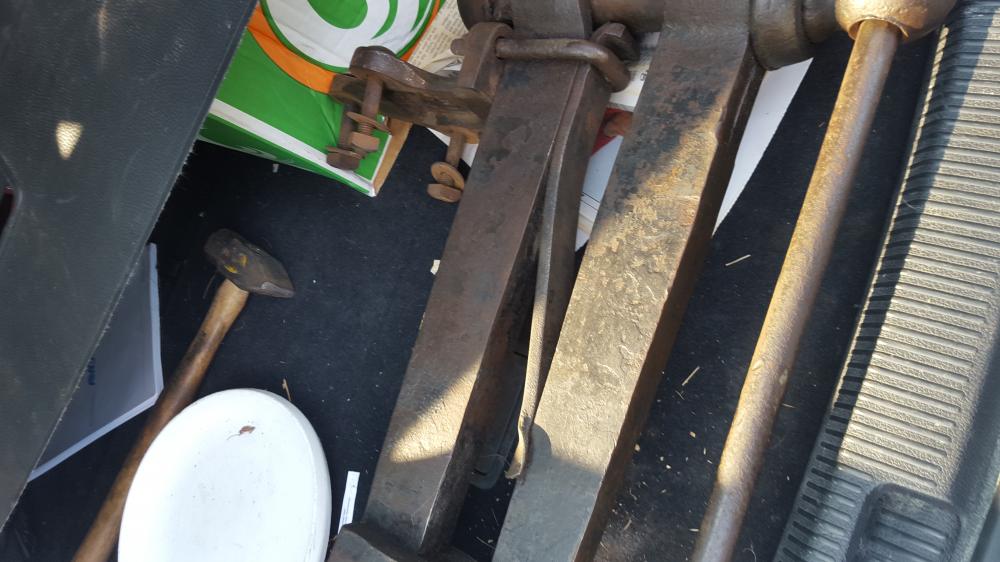
I have 4 subaru brake rotors, each 12" diameter. I opted for a wooden stand for ease of construction though. Still need to paint it. The only issue is that it's light and plywood bends, so it wants to topple when I open the vise. I might reinforce the plywood, but I think it's easier just to weigh down back end of the stand. The jaws closed up much better after cleaning. I bet it was the grime getting in the way. Should I bother with a finish for the vise? Maybe paint? I didn't use the power wire brush so I could leave the orignal finish somewhat in tact.
-
Forbidden...
-
A more mobile option is better since I'll be moving in a year. I got a couple of brake rotors, could those make a decent mount? They're a little on the small side but hopefully still alright? Awesome! I'm thrilled to hear that!
-
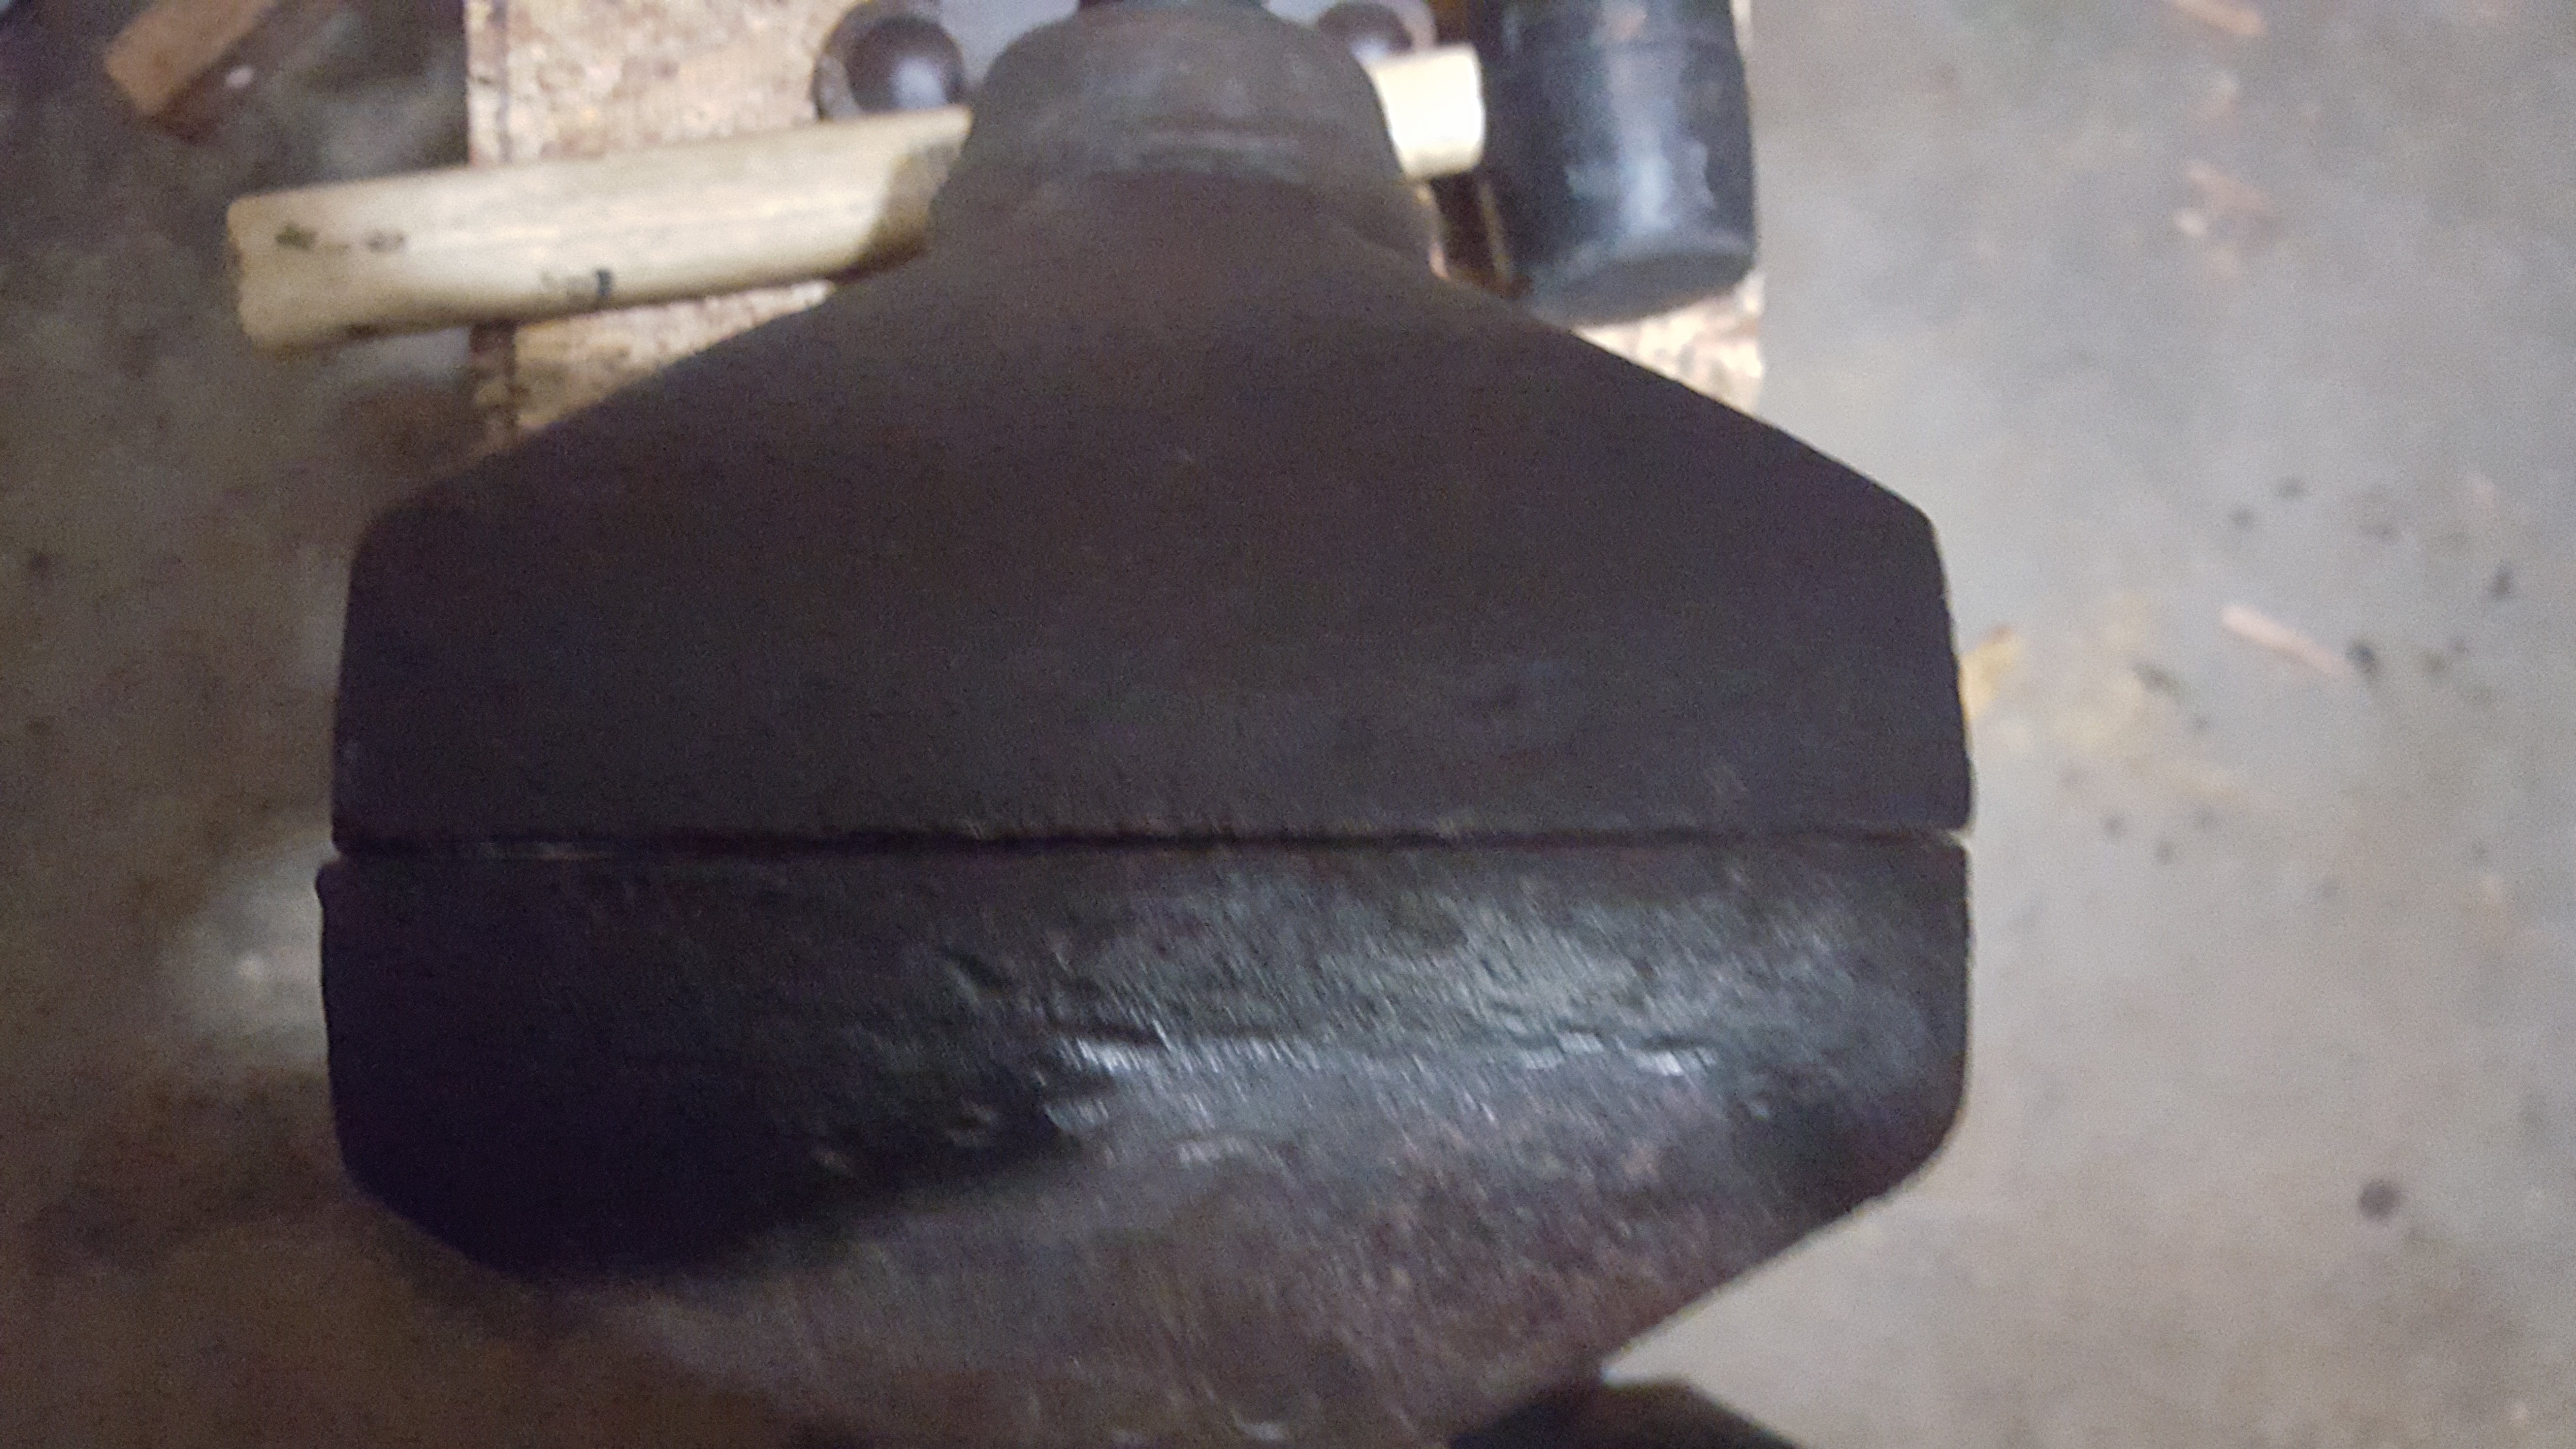
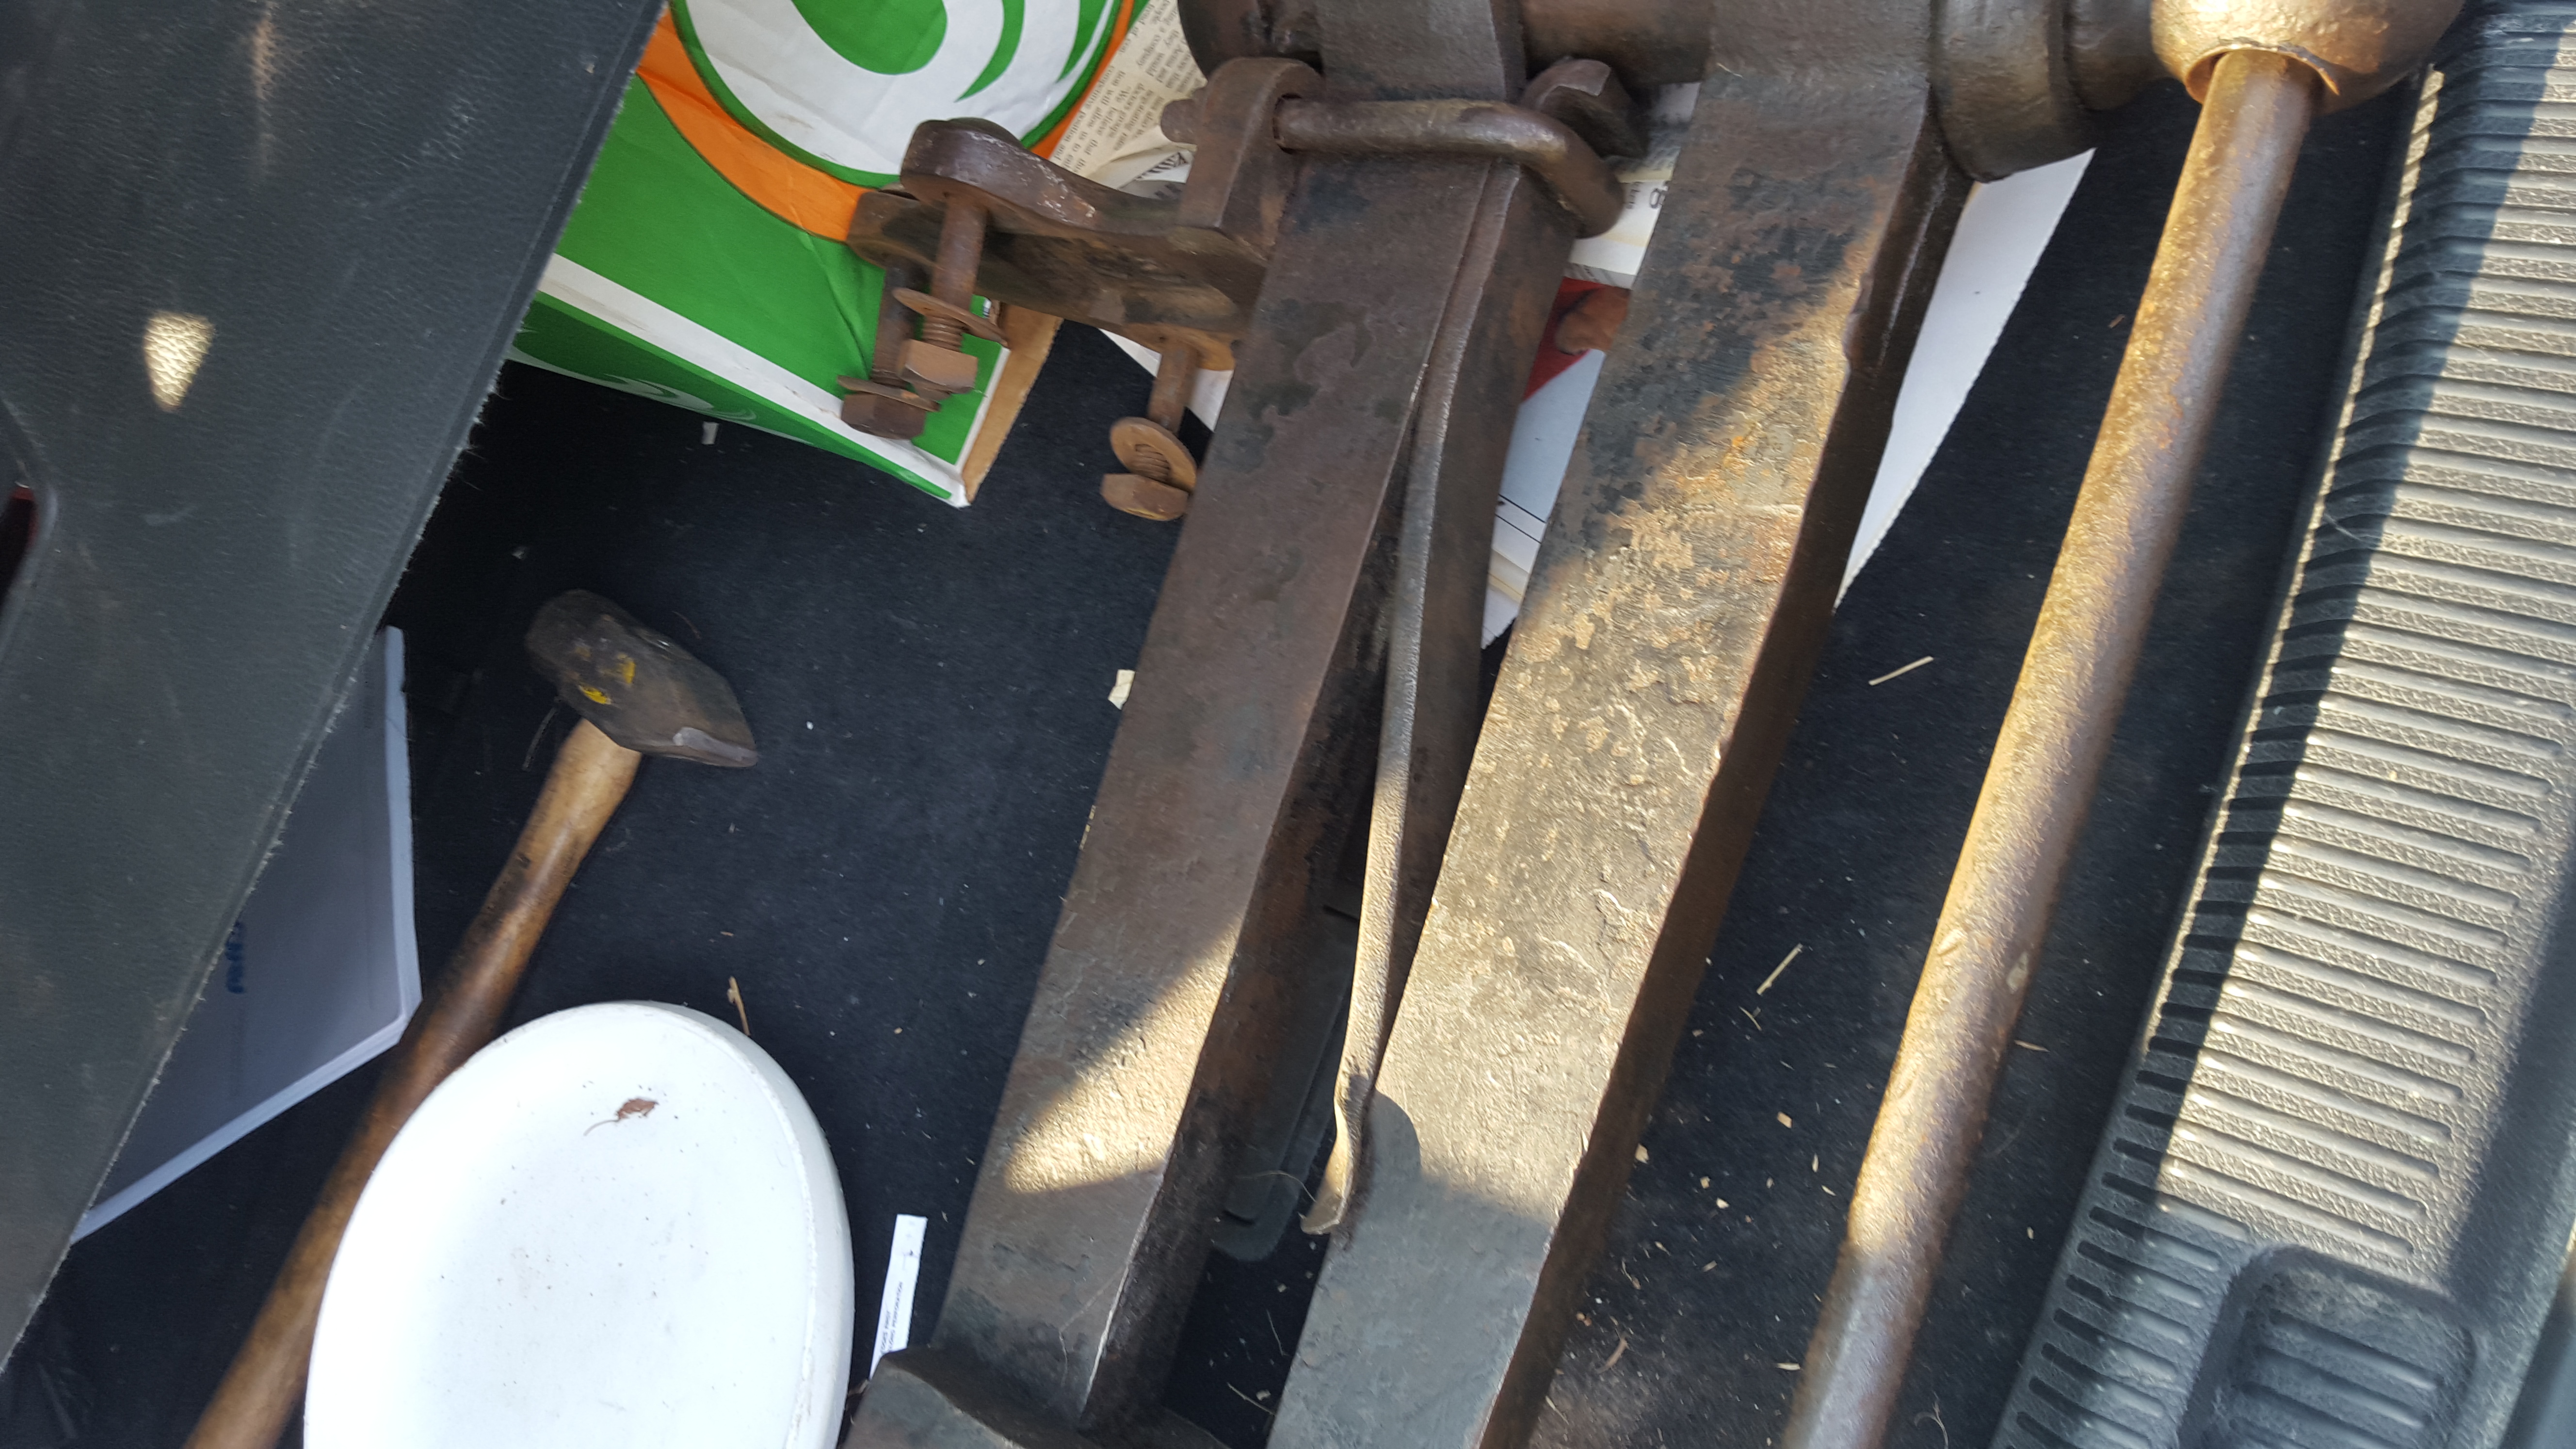
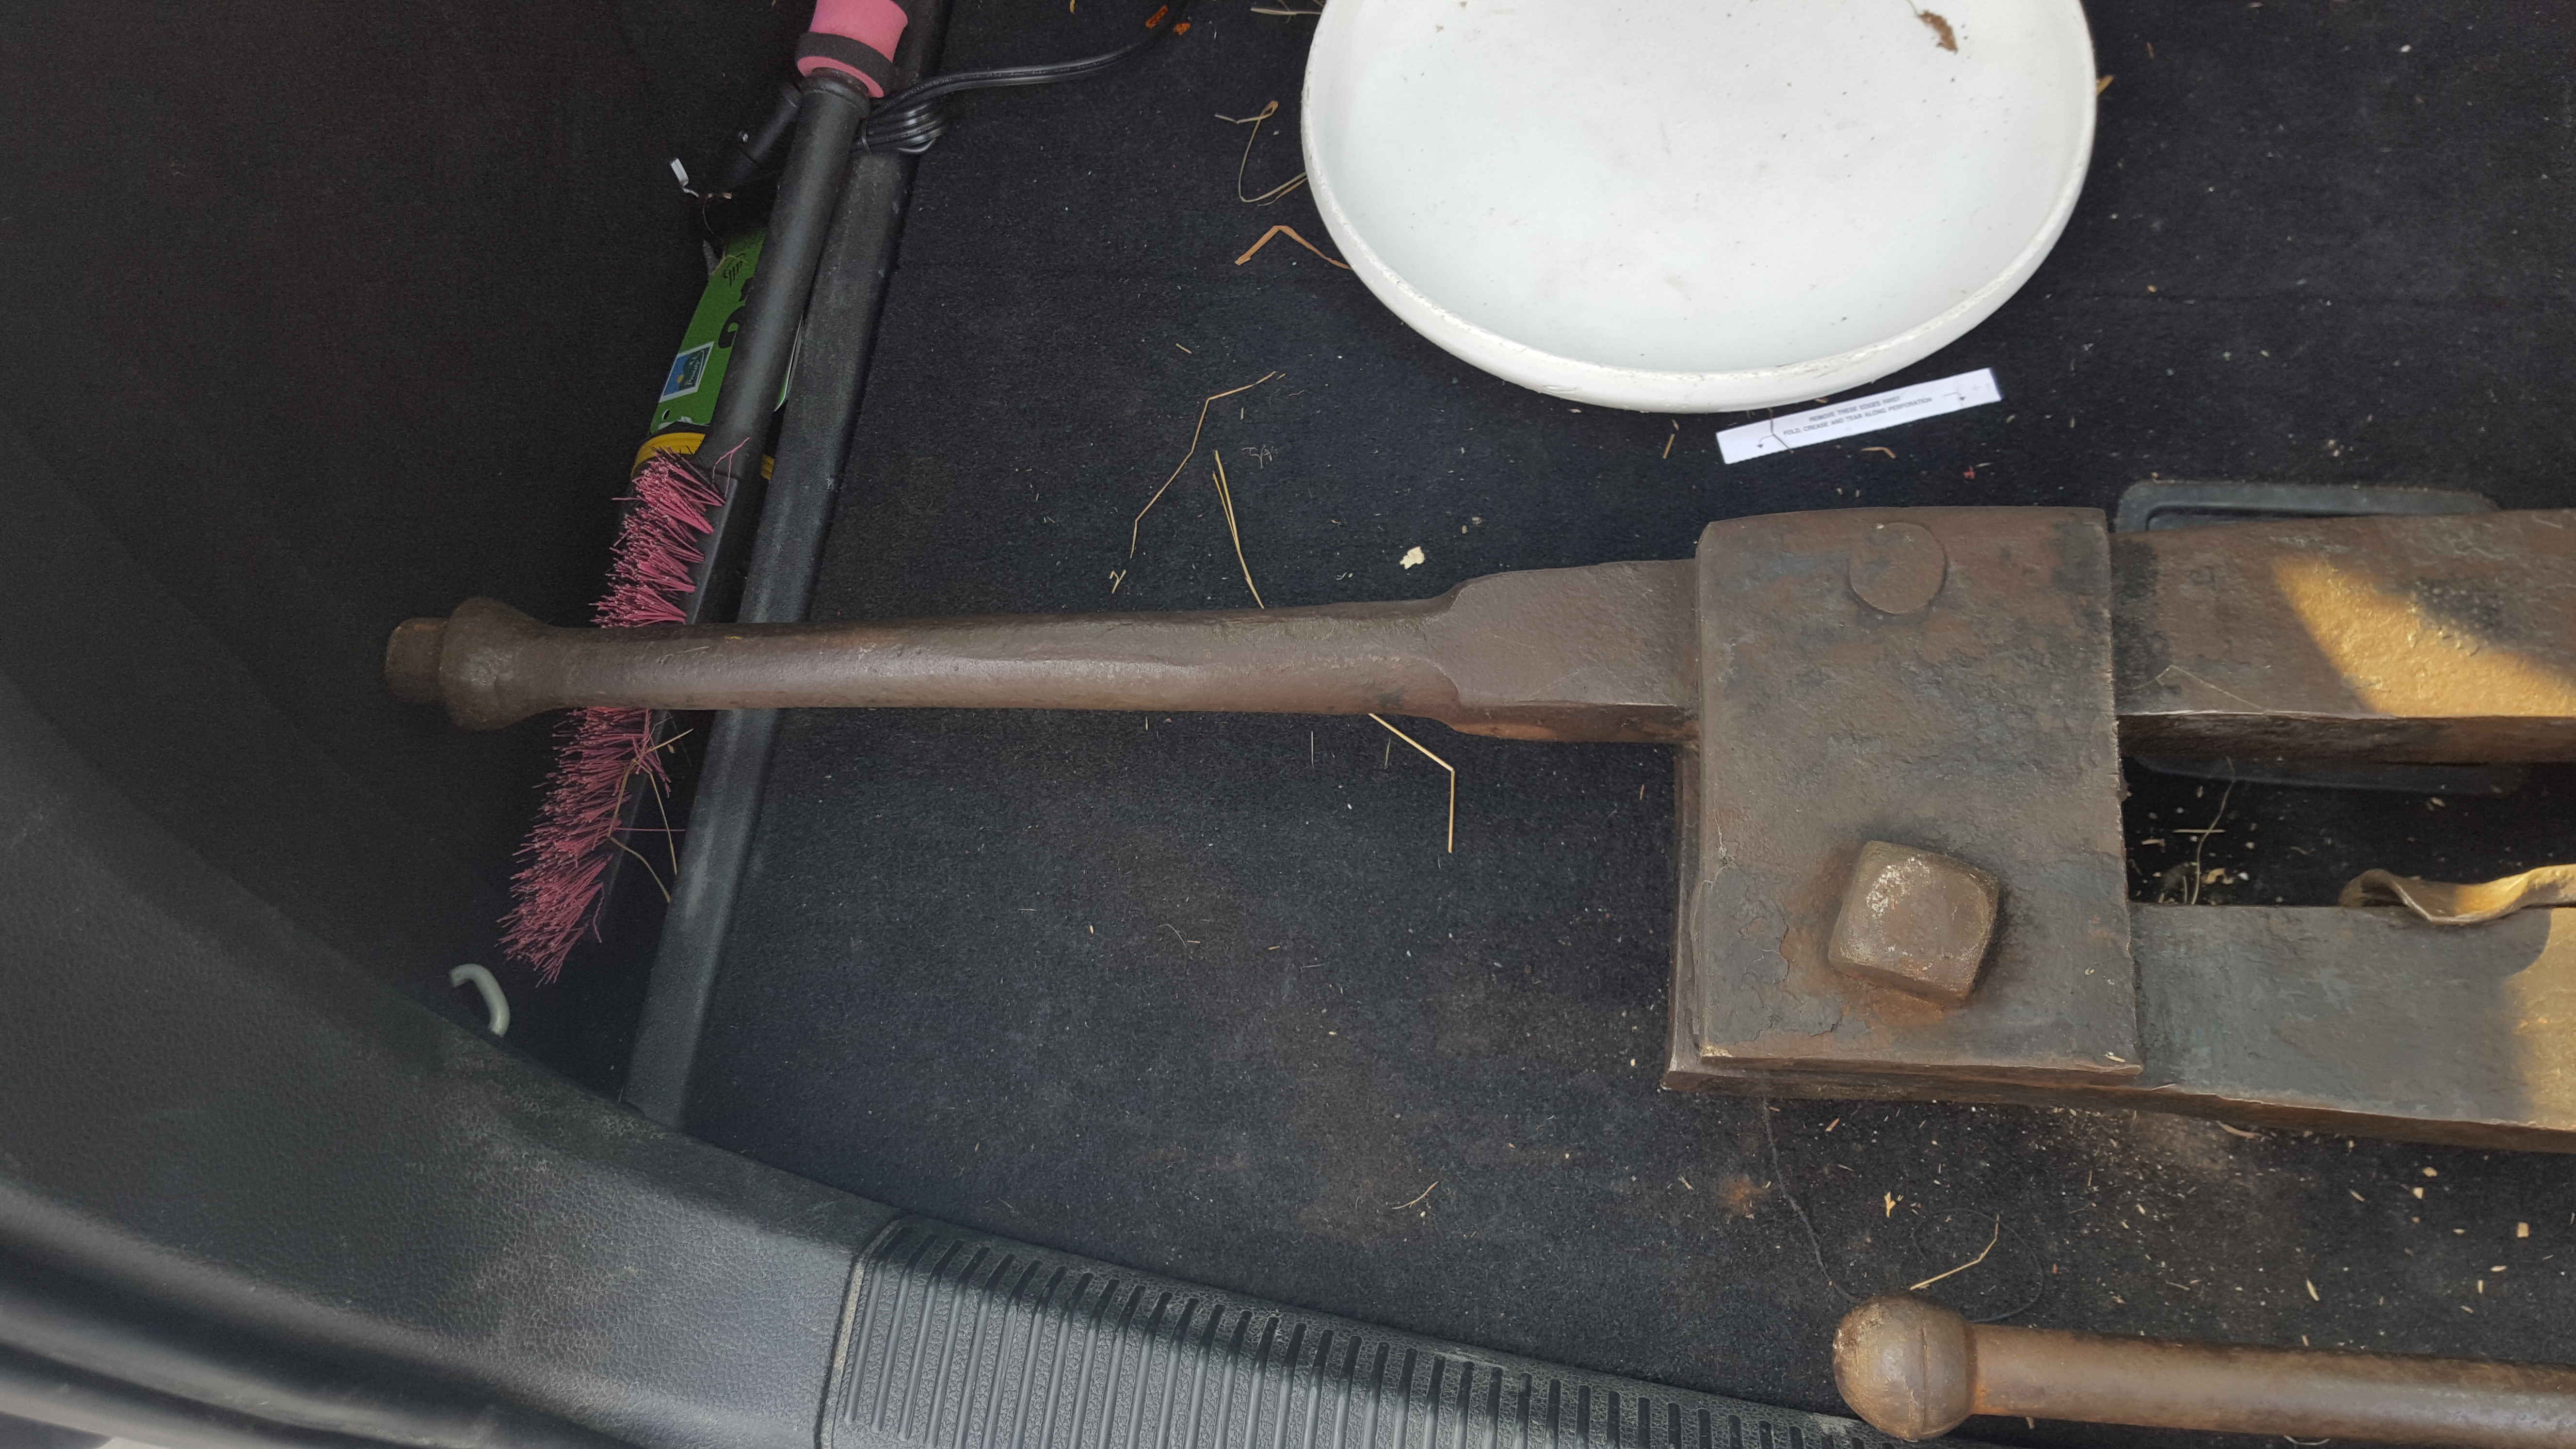
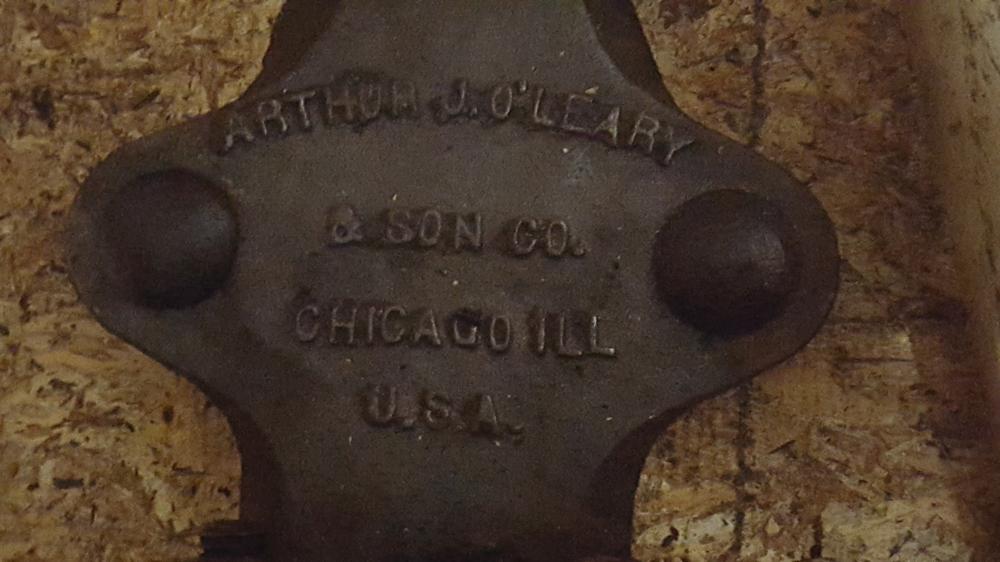
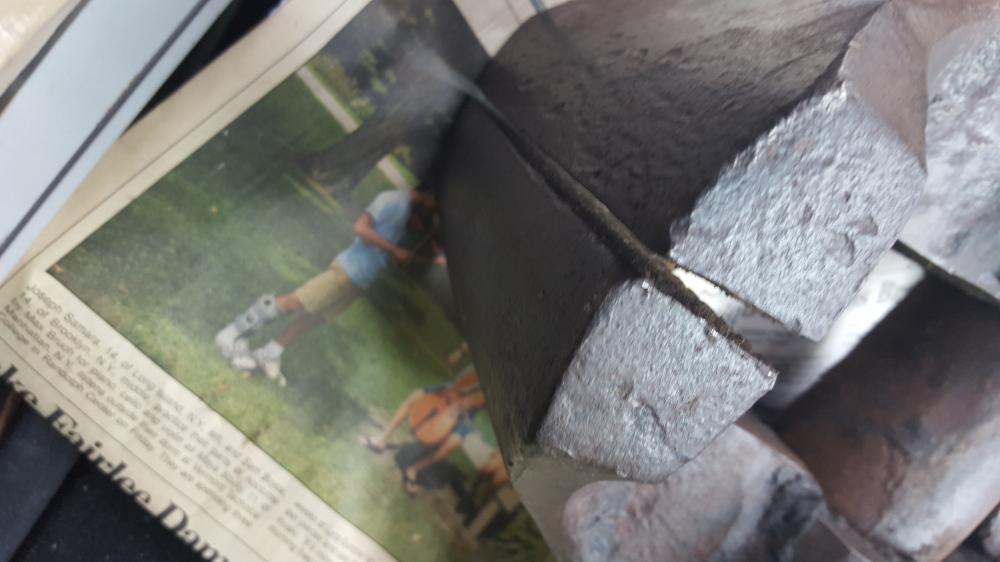
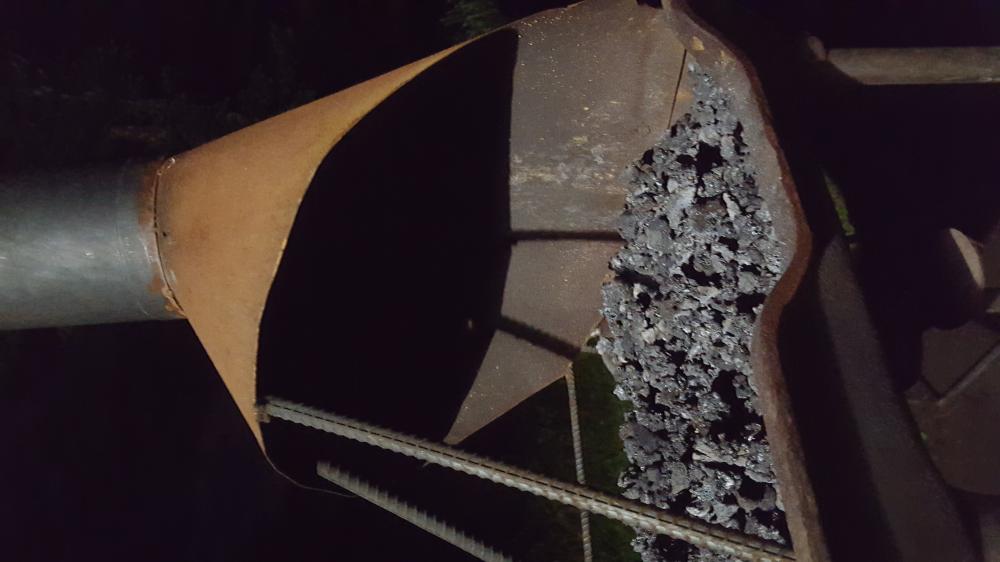
I got it! I paid $125. The missing part is the first image. May not actually be missing. Nor does it seem necessary. If you all think it's worth my while to still weld it, I can post a spark test tomorrow night. Otherwise, how do I mount this sucker in my lawn?

-
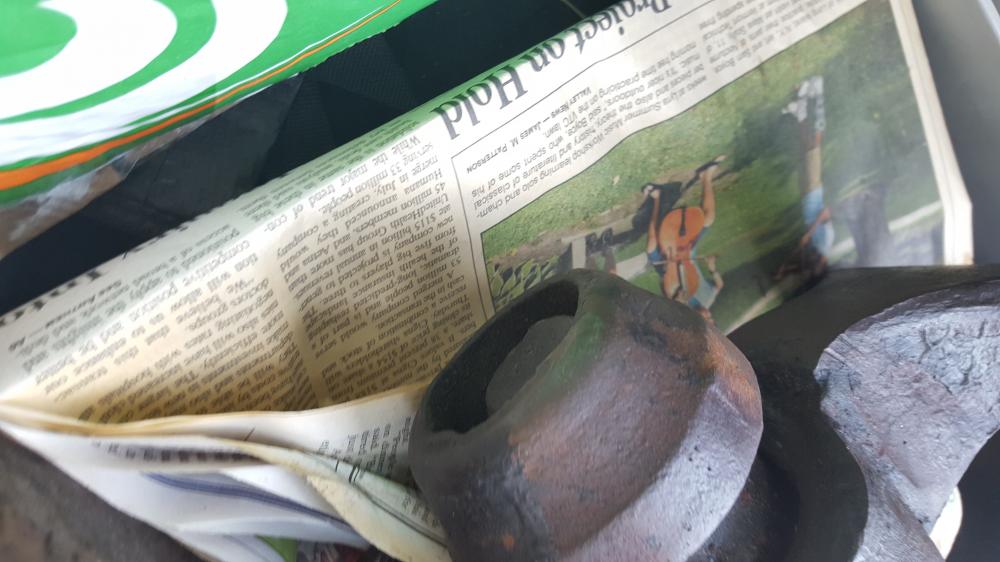
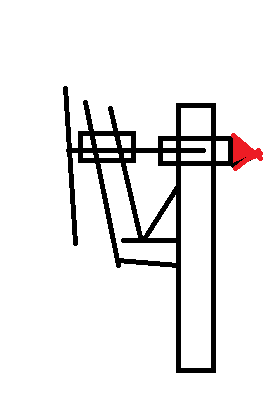
I don't recall if the legs are beveled or not. You can clearly see the break line for the red part. (I'll post a picture after buying it) The guy showed me on another vise what the part originally looked like. But if some vises don't have it, I guess it probably isn't important! On the welding front, assuming I don't get beaten to the punch, should I start looking into finding someone who can gas/stick/TIG weld for me, or will my flux core work just fine? Or should I not even bother and go with epoxy/JB Weld like you mentioned?
-
I don't have a picture, but I do have a masterfully rendered image, recalled from my perfect memory, generated in the professional art software "MS Paint". The red section is the missing section. The vise opens and closes and has the spring and mounting bracket (not rendered) I can get you a real picture when I buy the vise on Monday.
-
Haha, well hopefully he doesn't sell it until Monday! He didn't seem like he was in a huge hurry to sell it, just kind of a "oh, yeah, I don't really need this" kind of deal. I don't like impulse purchases, which is half of why I didn't purchase it on the spot. The other half was that I paid him $100 for lessons and would have felt pretty bad spending about half my weekly income in under 4 hours.
-
Thanks for the replies! For welding, I have a Flux core wire feed welder. Will that work? I know vises have been made from everything from wrought iron to cast iron to steel, so I'm a little worried about damaging it. I think I can get access to oxyacetelene or TIG too, if that's better. The trash bag seems like it would work well. It's a part of the screwbox on the stationary part of the vise, but its past where the weight bearing section is. I think I'll buy it on Monday. Edit: also, I remember reading somewhere it should grip a dollar bill evenly, yeah?
-
I'm sure I'm not the first or last to make the pun in the title, but it felt necessary. Back to the topic at hand: I found a guy selling a 6" post vise for ~$120 (he said it was negotiable, but I couldn't figure out if he wanted more or less; $120 is what he bought it for). The vise is in good condition except the cap at the end of the screw box has broken off. No mechanical issues. How big of a deal is this damage? My main concern is that I'll be keeping the vise outside and I don't want to ruin it. I can put a tarp over it, but the more tarps I put up the more grass dies The other place I might acquire a vise is the New England Blacksmiths meet in about 15 days, but I'm not sure what the going rate for vises is there. So, if this were you, would you snap up the 6" vise before someone else does (he isn't listing it online AFAIK), or check out the NEB meet for a better price first? Thanks!
-
forge welding, and quenching
falsevacuum replied to Tempered Warrior's topic in Blacksmithing, General Discussion
forbidden.... -
6" flue for outdoor coal forge?
falsevacuum replied to falsevacuum's topic in Chimneys, Hoods, and Stacks
I covered the reasons why Im not inclined to do this in the first line of my first post. -
6" flue for outdoor coal forge?
falsevacuum replied to falsevacuum's topic in Chimneys, Hoods, and Stacks
I'm liking the sound of a pipe with a fan in it. How far up should the fan be? A fan nearby would definitely be no fun in the winter! It gets chilly here. I am very worried about structural stability. No problems with the current setup but I bet too much taller and it's liable to topple. I also need to find a setup that doesnt interfere with my path to the anvil. The separate stack might be a good idea (then I can just set it down after use)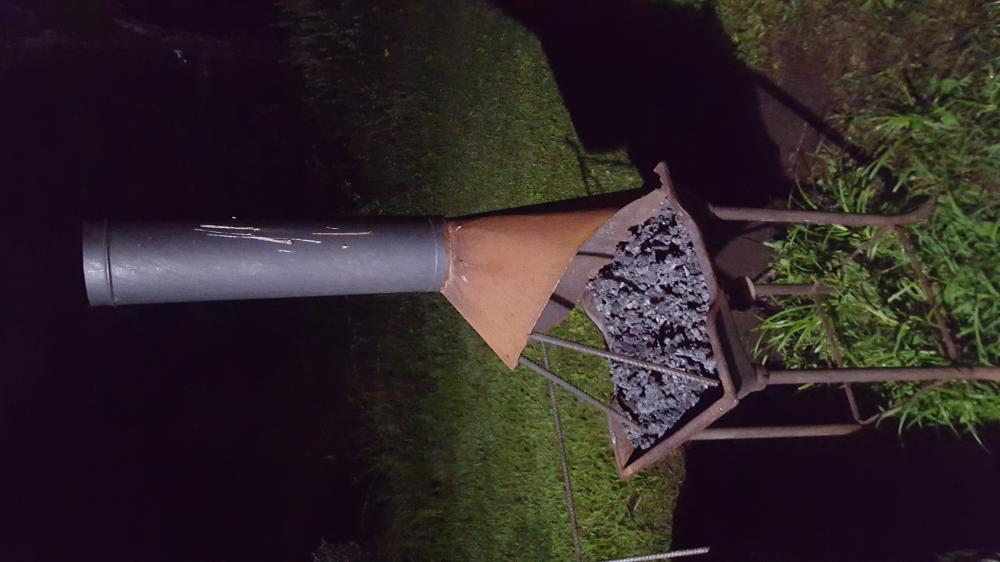
-
6" flue for outdoor coal forge?
falsevacuum replied to falsevacuum's topic in Chimneys, Hoods, and Stacks
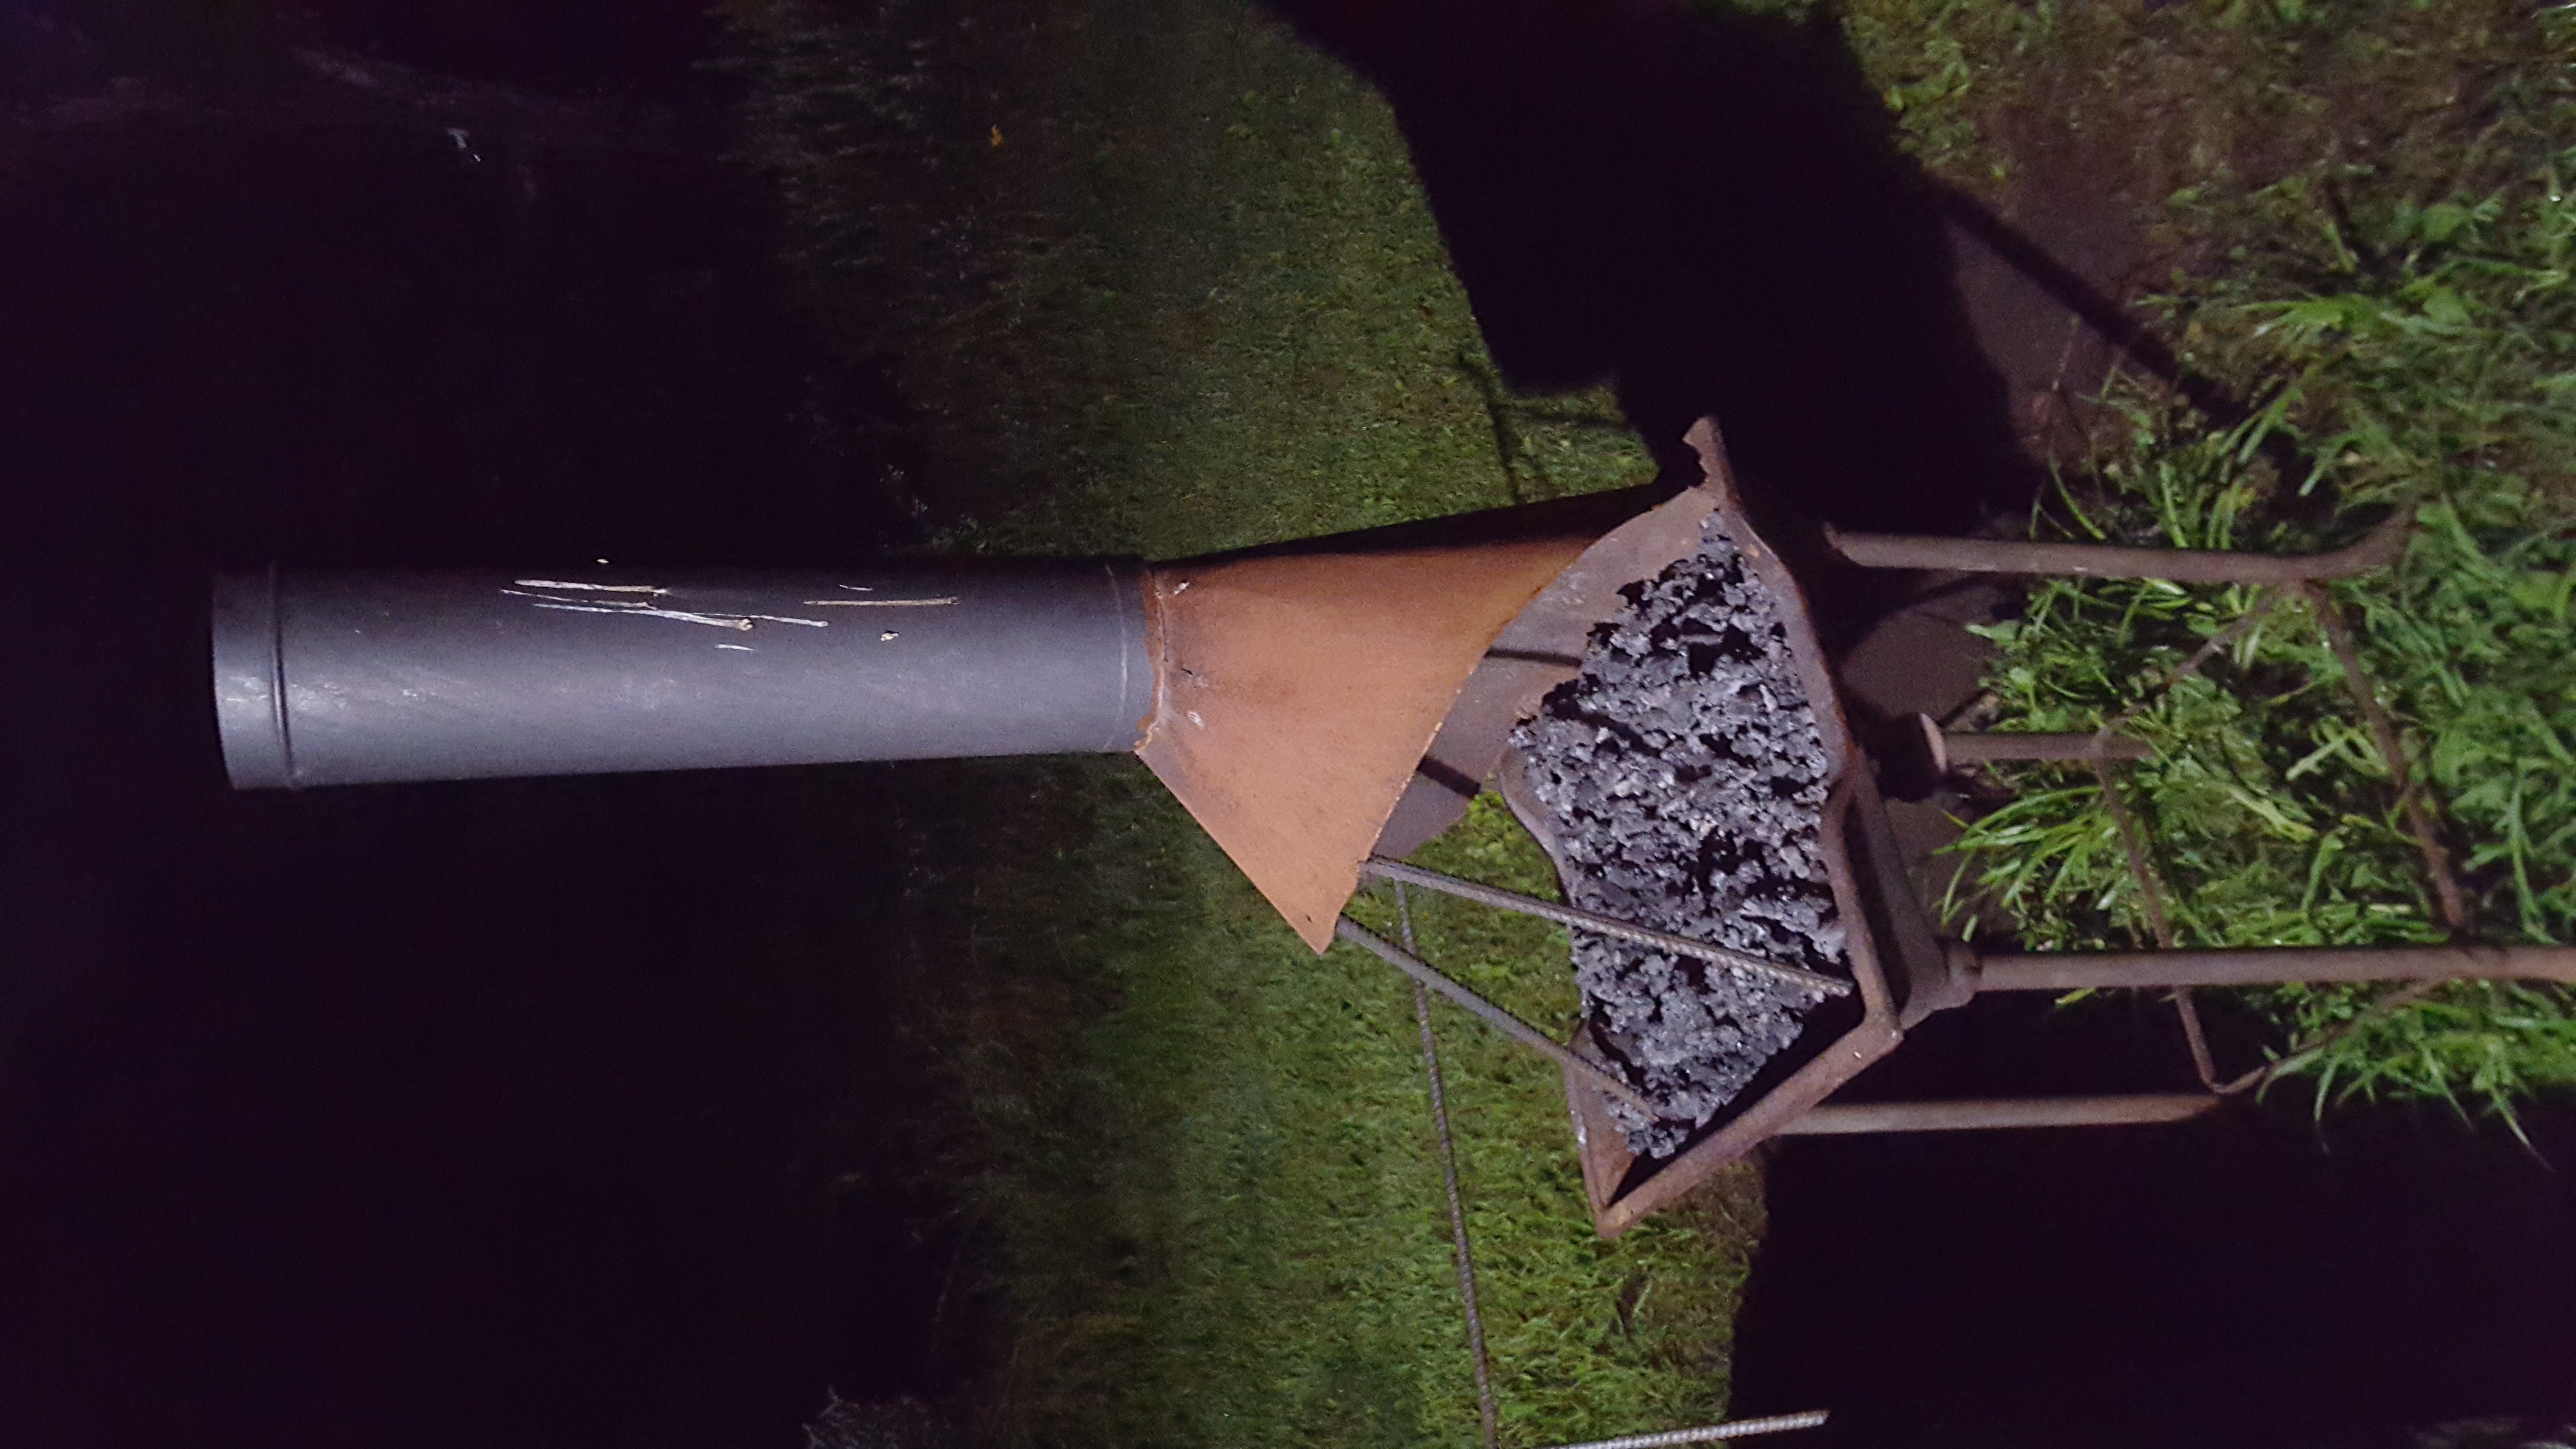
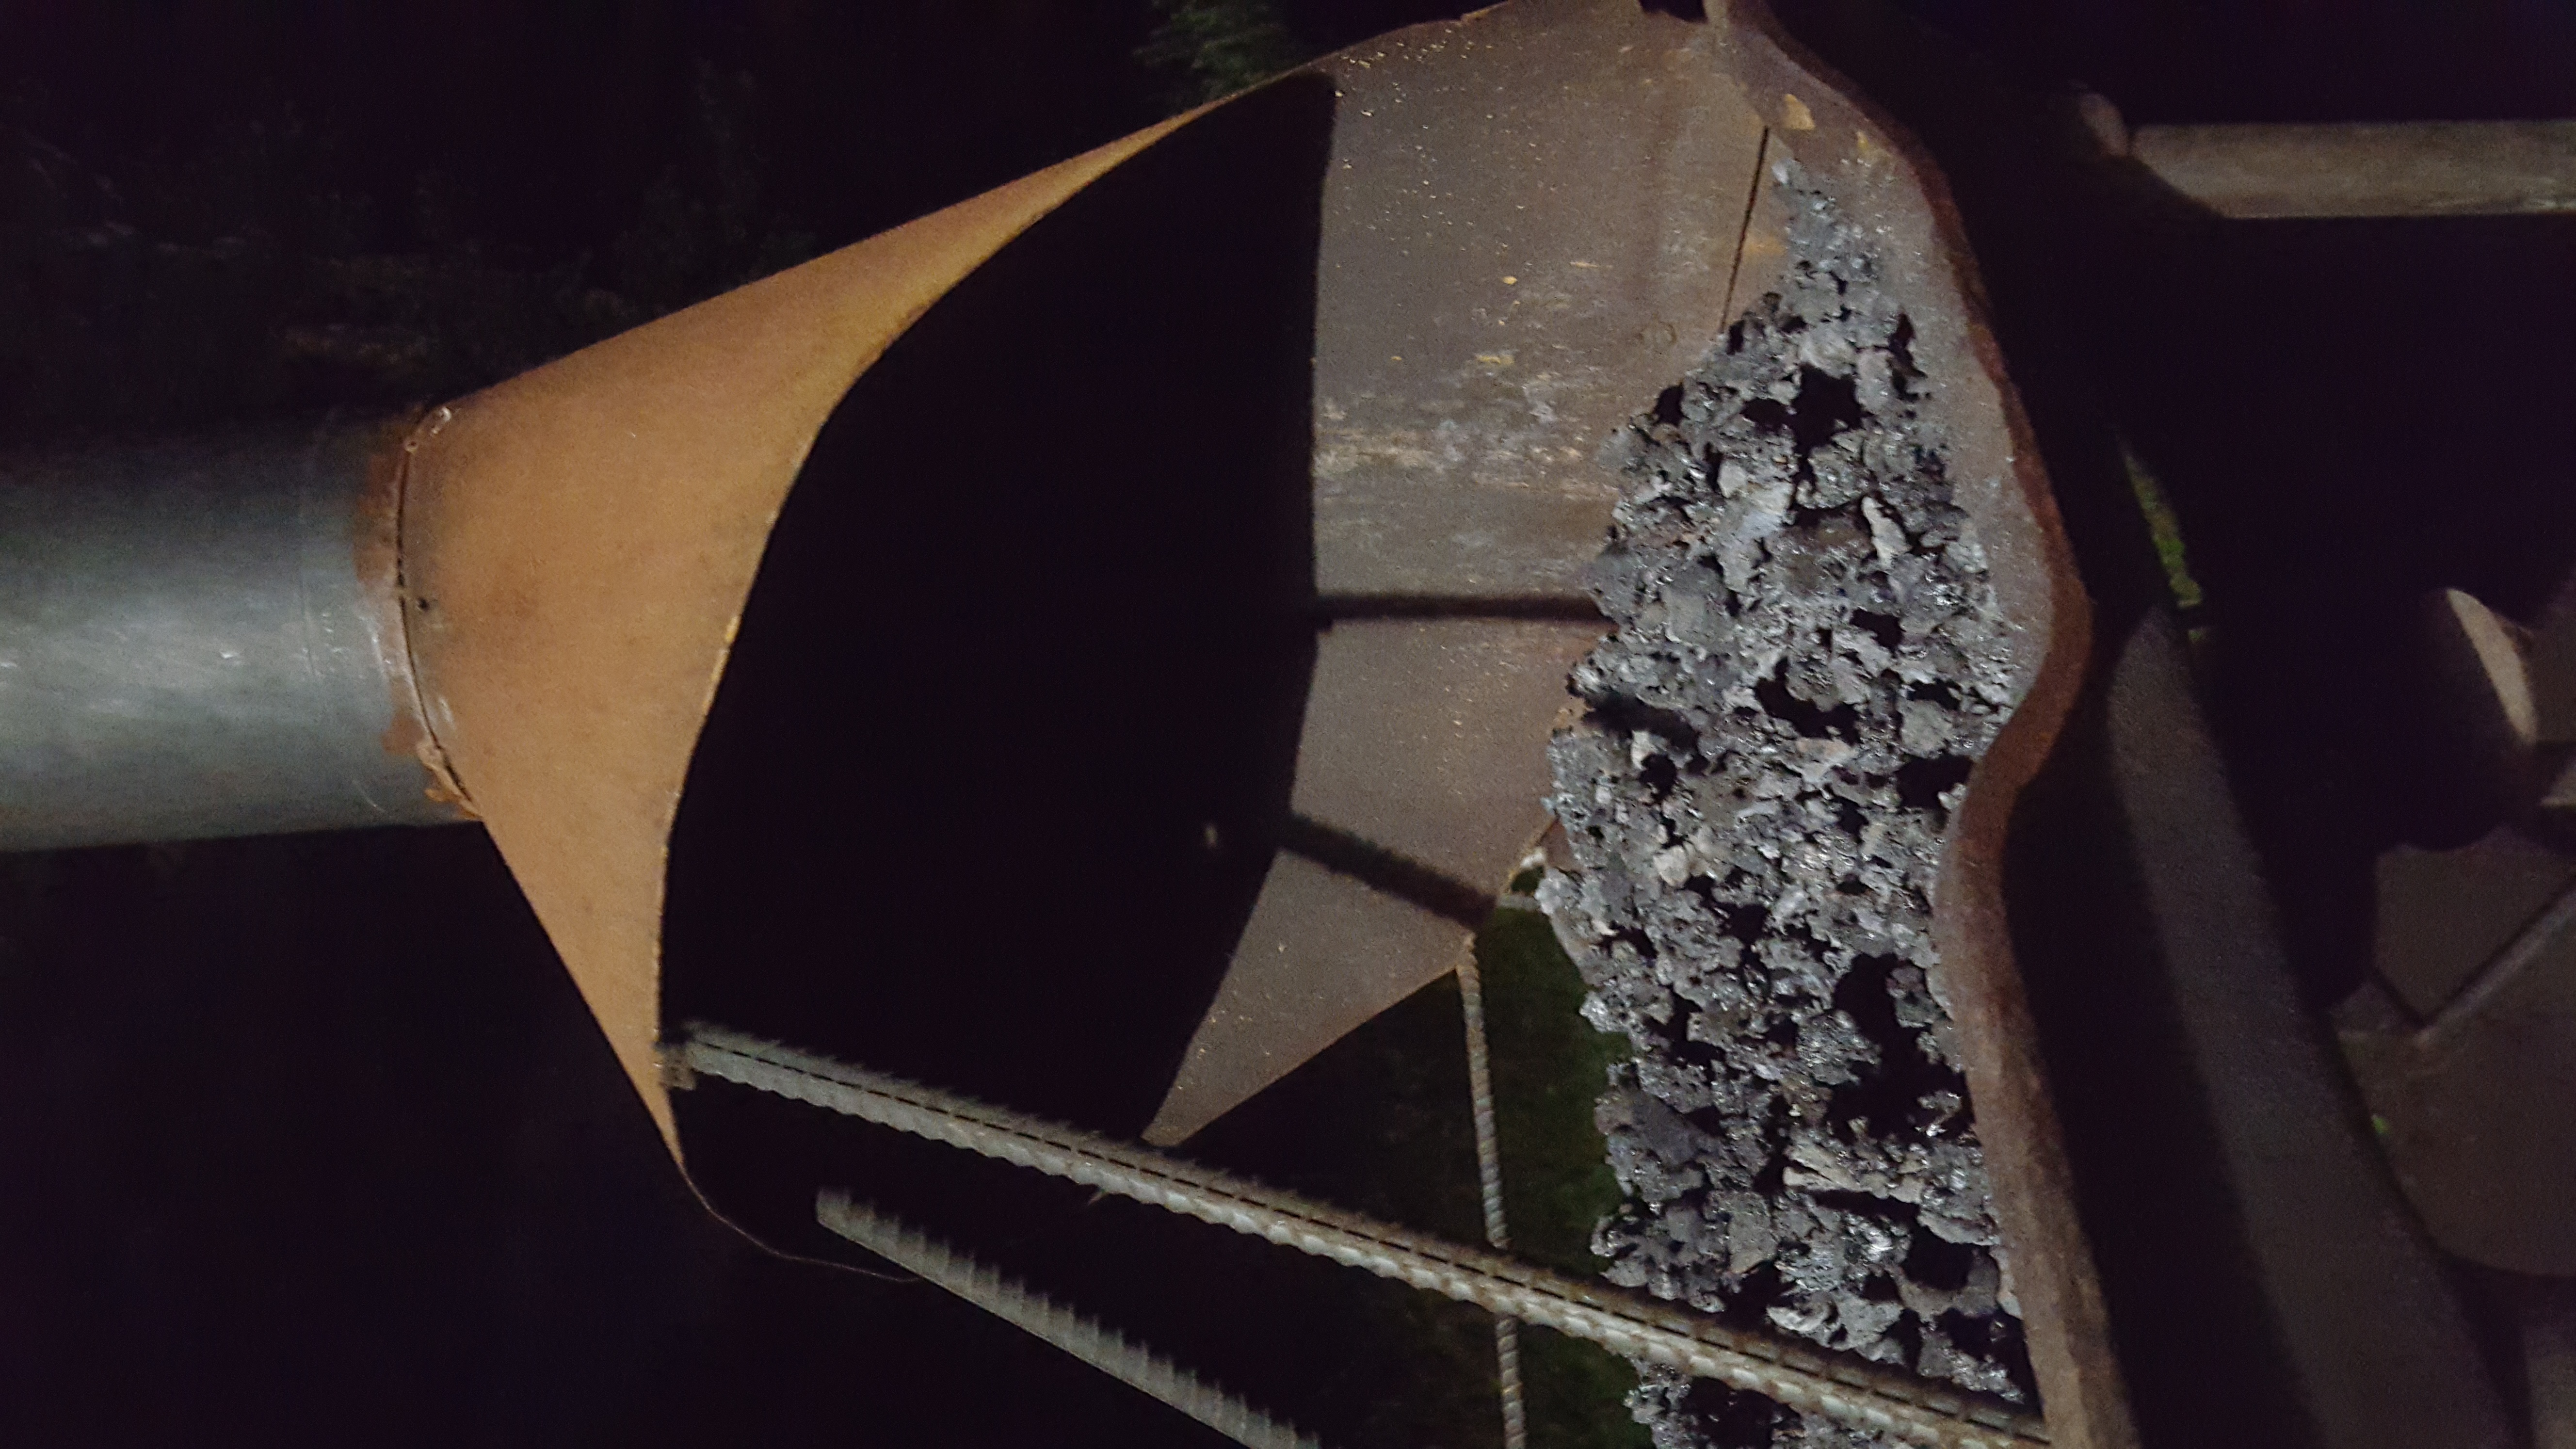
Well, I'm not happy with all the smoke I'm breathing in. I'm hoping raising the flue height will improve that, but to be more clear I'm trying to ask if you all think I'll see a substantial decrease in stray smoke by raising my chimney or if 6" diameter flue simply can't capture the smoke of a coal fire. Edit: also I'm using a hand crank blower so I'm standing very close to the fire. Moreover I can't leave the smoke without stopping cranking -
Hi everyone, I've read time and time again that flue diameter should be 10"-12". However, the half hood my forge came with was a 6". I'm very new to the whole metalworking thing and I'm not sure how I'd go about making a half hood. Nor where I'd get that much continuous sheet metal within an hour's driving distance. Also, I don't have all that much free time, so as much as possible, I'd much rather spend it learning to forge than upgrading my forge. My setup is outside and not meant to be permanent, so installing a side draft or similar is not an option. Right now, I have the half hood set up with about 2' of flue, and that sucks up about 1/2 - 3/4 of the smoke depending on where I'm coking coal. I have another 10' of pipe and a tall cap (opening >6") I plan to install once I get some rebar to support it with. Will I be alright sticking with a 6" flue? Is it just not worth my time? I don't have pictures right now, but I can take and post some tomorrow evening if that would be helpful. Thanks!
-
-
I'm no expert on how to learn blacksmithing, seeing as I only first picked up a hammer a few months ago. But wouldn't the best idea be to learn technique on junk or cheap steel, then transition to better steel once you learn technique? For monetary reasons, of course. Going back to the car analogies people seem to love around here, that strikes me as: going to drivers ed and learning on automatic while you get a feel for traffic, how terrible other drivers are, etc. Then, once you've learned the basics, learning manual since that's the car you will be driving around town. It can be hard to transition, but I think starting easier or cheaper can keep things relaxed and you don't feel like you need to hit the ground running. Feel free to completely disagree. Again, I'm certainly the furthest thing from an expert. Edit: to clarify, I'm responding to not using RR spikes for knives.
-
Thanks for the advice! Neg & Kayakersteve: I do plan on using it as a hot stamp most of the time, and I plan on heat treating it as such. S7 for hot work, from what I've read, should be quenched at orange in still air, then, once cool, should be twice reheated to 900F, which is just barely visibly radiating in the dark, and cooled. Is that correct? Vaughn: Hmm... I do have access 10lb sledge but I would never subject my 150# anvil to that. Moreover, I don't have access to someone to swing that hammer for me If it fails, it will be a learning experience. If it succeeds, I'll come back and post it here! I'll definitely keep them both at 8" unless I feel they need to be shorter. Honestly, I'm not that concerned about it being the most beautiful stamp in the world since I'm just getting started with forging. It's all learning experiences. Also, a separate question: should I heat treat the striking end? Since I'm buying annealed steel, it seems like that would be wise to ensure my hammer doesn't mushroom the striking end. I don't really want to buy a separate hammer just for striking if I can avoid it.
-
Cast iron for upsetting block?
falsevacuum replied to falsevacuum's topic in Anvils, Swage Blocks, and Mandrels
Good idea! That's another skill on my long list of things I have yet to learn but want to. The ASO is on a stable stand, so it is a stable surface. I'm mostly just trying to perfect leaf making as a way to learn hammer control, right now. Also getting used to the idea that some of what I'm doing might be considered "art" to some people. Strange concept for me... Hmm... so maybe get a busted 5th wheel, forklift tine, etc., stand it to about 10" below my anvil and call it an upsetting block like those fancy Peddinghaus anvils have? I can look around see, maybe my university's maintenance department can give me a broken tine? It also looks like there are a few truck repair places nearby. It looks like there may be a forklift rental company nearby, too. I'll give them a call during my lunch break tomorrow. Though we'll see what happens with the maintenance department since I recently sent them an angry email after they stole cut the lock off of and removed my bike... With a forklift tine, though, I might even be able to get two in one: if I cut it down, raise it up, and stand it like an L, the base of the L could be the upsetting block and the vertical of the L could be a "sharp" edge anvil and a second anvil for when I have guests over. Thanks for the help! -
Cast iron for upsetting block?
falsevacuum replied to falsevacuum's topic in Anvils, Swage Blocks, and Mandrels
I wasn't aware there were good mornings! They're all a groggy haze to me... I'm also a CS student, so I suppose 1AM is a good morning. > Sometimes you want a surface to do a special job Hmm... so instead of messing with the marred step, I suppose I could use the ASO for chiseling, too. So not recommended, except over dirt? (which is currently the ground) Right now, the thickest thing I have is some 1/2" mild steel. I'll keep an eye out for thicker. I haven't had much luck getting scrap. The local scrap yard and machine shop have not proved very useful for getting scrap. Is there anything from an auto salvage yard that might be useful? There's one about 35 minutes away, but they fetch everything for you, so you have to know what you want up front. > Don't give up on it, it'll make a good solid base for various bottom tools, especially bending and scrolling forks or shears. A good heavy bottom tool holder is ALWAYS a good thing to have. Even if you don't have room in your shop, paint it and keep outside under a tarp or old grill lid so it doesn't rust up too badly. Good point! Currently all of my stuff is outside, and both anvils under a tarp so not too much work to do there! (aside from making bottom tools) EDIT: Also, sorry if I posted this in the wrong section. I wasn't sure where exactly to post it... upsetting blocks are technically anvils so I thought here would be best, but please move the topic if it's in the wrong spot. -
Hi all, A few months back when I was just starting, I picked up a 55# cast iron, made in China, anvil shaped object. I have since gotten myself a nice Mousehole anvil, and the ASO is kicking around as a hot cut hardy holder. (mostly since I haven't gotten around to making one for my Mousehole) When I make myself a hot cut hardy for my new anvil, would the ASO be any good as an upsetting block if I move it to the floor? I haven't successfully done any substantial upsetting, so I don't really know what to expect. Thanks! For some odd reason I feel the need to place this anvil topic thread into the anvil section, go figure.