

ThorsHammer82
-
Posts
586 -
Joined
-
Last visited
Content Type
Profiles
Forums
Articles
Gallery
Downloads
Events
Posts posted by ThorsHammer82
-
-
Love the side draft forge design.
-
Soft for all but the floor. Hard just for the floor.the hard is a split brick so 1.25" thick.all the rest are full thickness at 2.5" thick.
-
like I said, I wasn't trying to be rude, and I knew it would come off that way. But that was not the intention.
I guess I'm a visual type. I can't see working with a closed forge, as how would you be able to tell when the metal is ready?
the only other gas forge I've worked with at all was one time, and it was an open ribbon burner forced air forge, it had a secondary "invisible wall" blower that kept the dragons breath in check.
-
First I want to say that I'm not trying to be rude, or insulting. But if you have no idea what you're talking about, why say anything?
now, just for my own questioning. if there is air and fuel being drawn into a forge, but there is no exit/opening, what's going to keep the forge running? Eventually you'd have no airflow which = no fire. forced air is one thing, but on an atmospheric burner, it requires air flow. or draw, to bring in enough Oxygen to burn (correct me if I'm wrong)
I can understand closing the opening as much as possible to still allow access to the work piece. but not entirely. I think the biggest issue I have right now is the regulator. once I've upgraded that I will move on to other potential culprits, but I don't think that the opening is the primary problem at this point as 90% of the gas forges I've looked at have all been open.
As for the dragons breath, my thoughts on how far it reaches out side the forge are not so much gasses burning outside of the forge, so much as burning gas being forced outside of the forge due to the draw/pressure induced by the cone (where the real heat is). For example, an A/O torch has multiple flames. each level of flame has a different heat, but it's all directed by the flow of the gasses being introduced to the atmosphere. a short hot cone shaped blue flame/s and a long after flame. both are required for the torch to work properly. but once tuned properly they still maintain different lengths. Regardless of where you point the flame, the length of the different types of flame remain the same. Some shoot out away from the obstruction. In the case of the forge burner, the forge chamber directs the dragons breath out the opening.
-
I currently have one of the ones from the first link as the bottom of mine, with the full width ones making up the rest of the brick pile forge. But I got the half brick from a fire place/grill supply store. and the full bricks from Lowes.
-
"Paid in full" that's funny right there. I guess you can say I was paid in full at conception on this one. Luckily the Metal didn't cost me anything. and I'm only about $65 into the forge so far.
-
What most people today forget is that this tech has been noodled over and modified by far greater minds than their own for a millennia. (Maybe not the gas forge part, but still)
Men who had the forethought to imagine it could be done and do it even though many around them said it was impossible. Theses men forged (pun intended) the way for us numbskulls to come along and think that we can improve upon it.Every now and then someone can have a spark of genius and come up with something that works, or works better. but for the most part, What we are trying to learn/modify has already reached it's peak. And really the only thing left to improve upon is ones own skills and technique.
Sure a new tool can come along that can be adapted to be used with Black smithing. Power hammers, pneumatics, gas forges all come to mind. but in the end, the one in charge of the hammer is the real factor that matters.
Sure a more efficient forge will heat a piece of metal faster, but it can't turn it into something beautiful. An anvil and hammer can change the shape of the metal, but it cannot make it functional. There are thousands of Blacksmiths who have made far more beautiful things than you or I, but they have had a fraction of the technology and far harder tools to use than you or I.
-
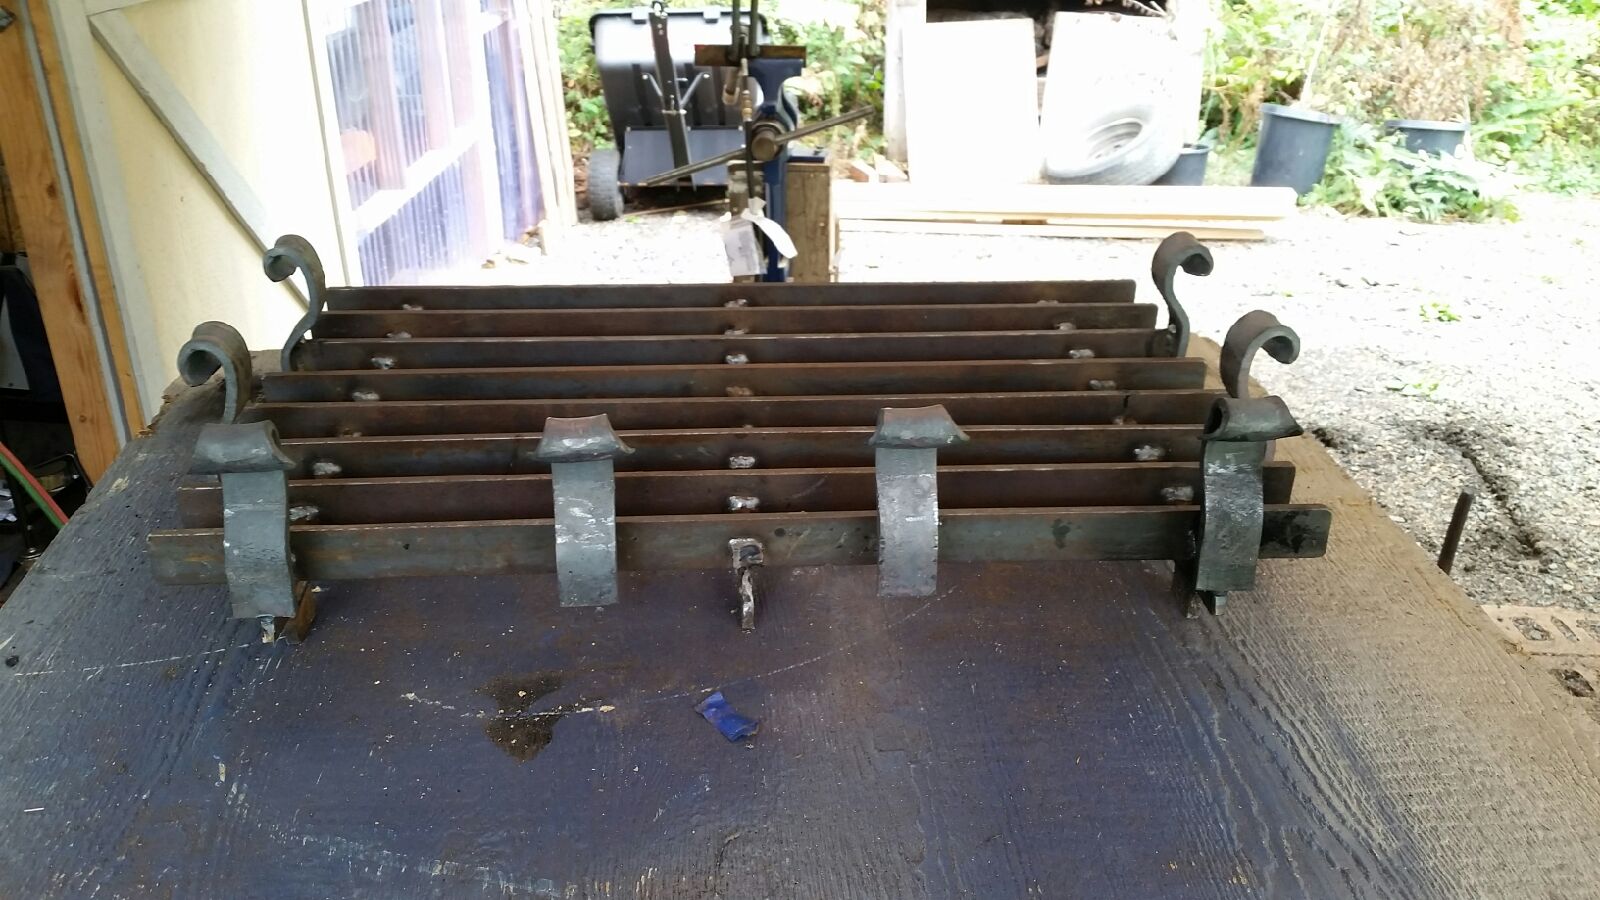
The biggest reason for making the rack was the fact that the orientation of the support bars on the rack that is in place now is counter productive to hooking and moving logs. As half the time you're hooking the rack with either the hook, or the log causing it to not want to move easily. Thus the longitudinal orientation of the support bars under the logs. It should make rolling logs, and condensing the fire much easier.
I wasn't the one who took the measurements for sizing the rack, but per the person who did, they left room for the doors/screens and what not. So hopefully it will fit in as easily as a 70+ lbs. fire rack can. I think that the height of the rack should put the bottom of the logs inline with the bottom of the doors (They have air vents under them) +/- 1/2" or so. I'll be bringing my angle grinder with me for the install so that I can get it level in the fire place. Just need to get up there before it gets to cold so that I'm not freezing trying to get the thing installed.
-
Welcome Tangle.
-
yeah, I went with the fish tails because of the number of owners/visitors that enjoy fishing.
-
Well, here it its. nothing to fancy. but at least it's designed for the size of fireplace. instead of two store bought ones next to each other. 24" deep by 36" wide. Final height will be determined at the cabin, as the fire bricks in the bottom of the fire place aren't exactly level.

-
For $50, I'd pick up the other one too. Cleaned up and with a mount and spring, even if not original, would double your money.
-
Ok. Time to upgrade the regulator. Well maybe in a month or two. I'm onto welding projects for the time being. I'll post the finished fire rack tomorrow. For whatever reason, my phone won't let me post pictures.
-
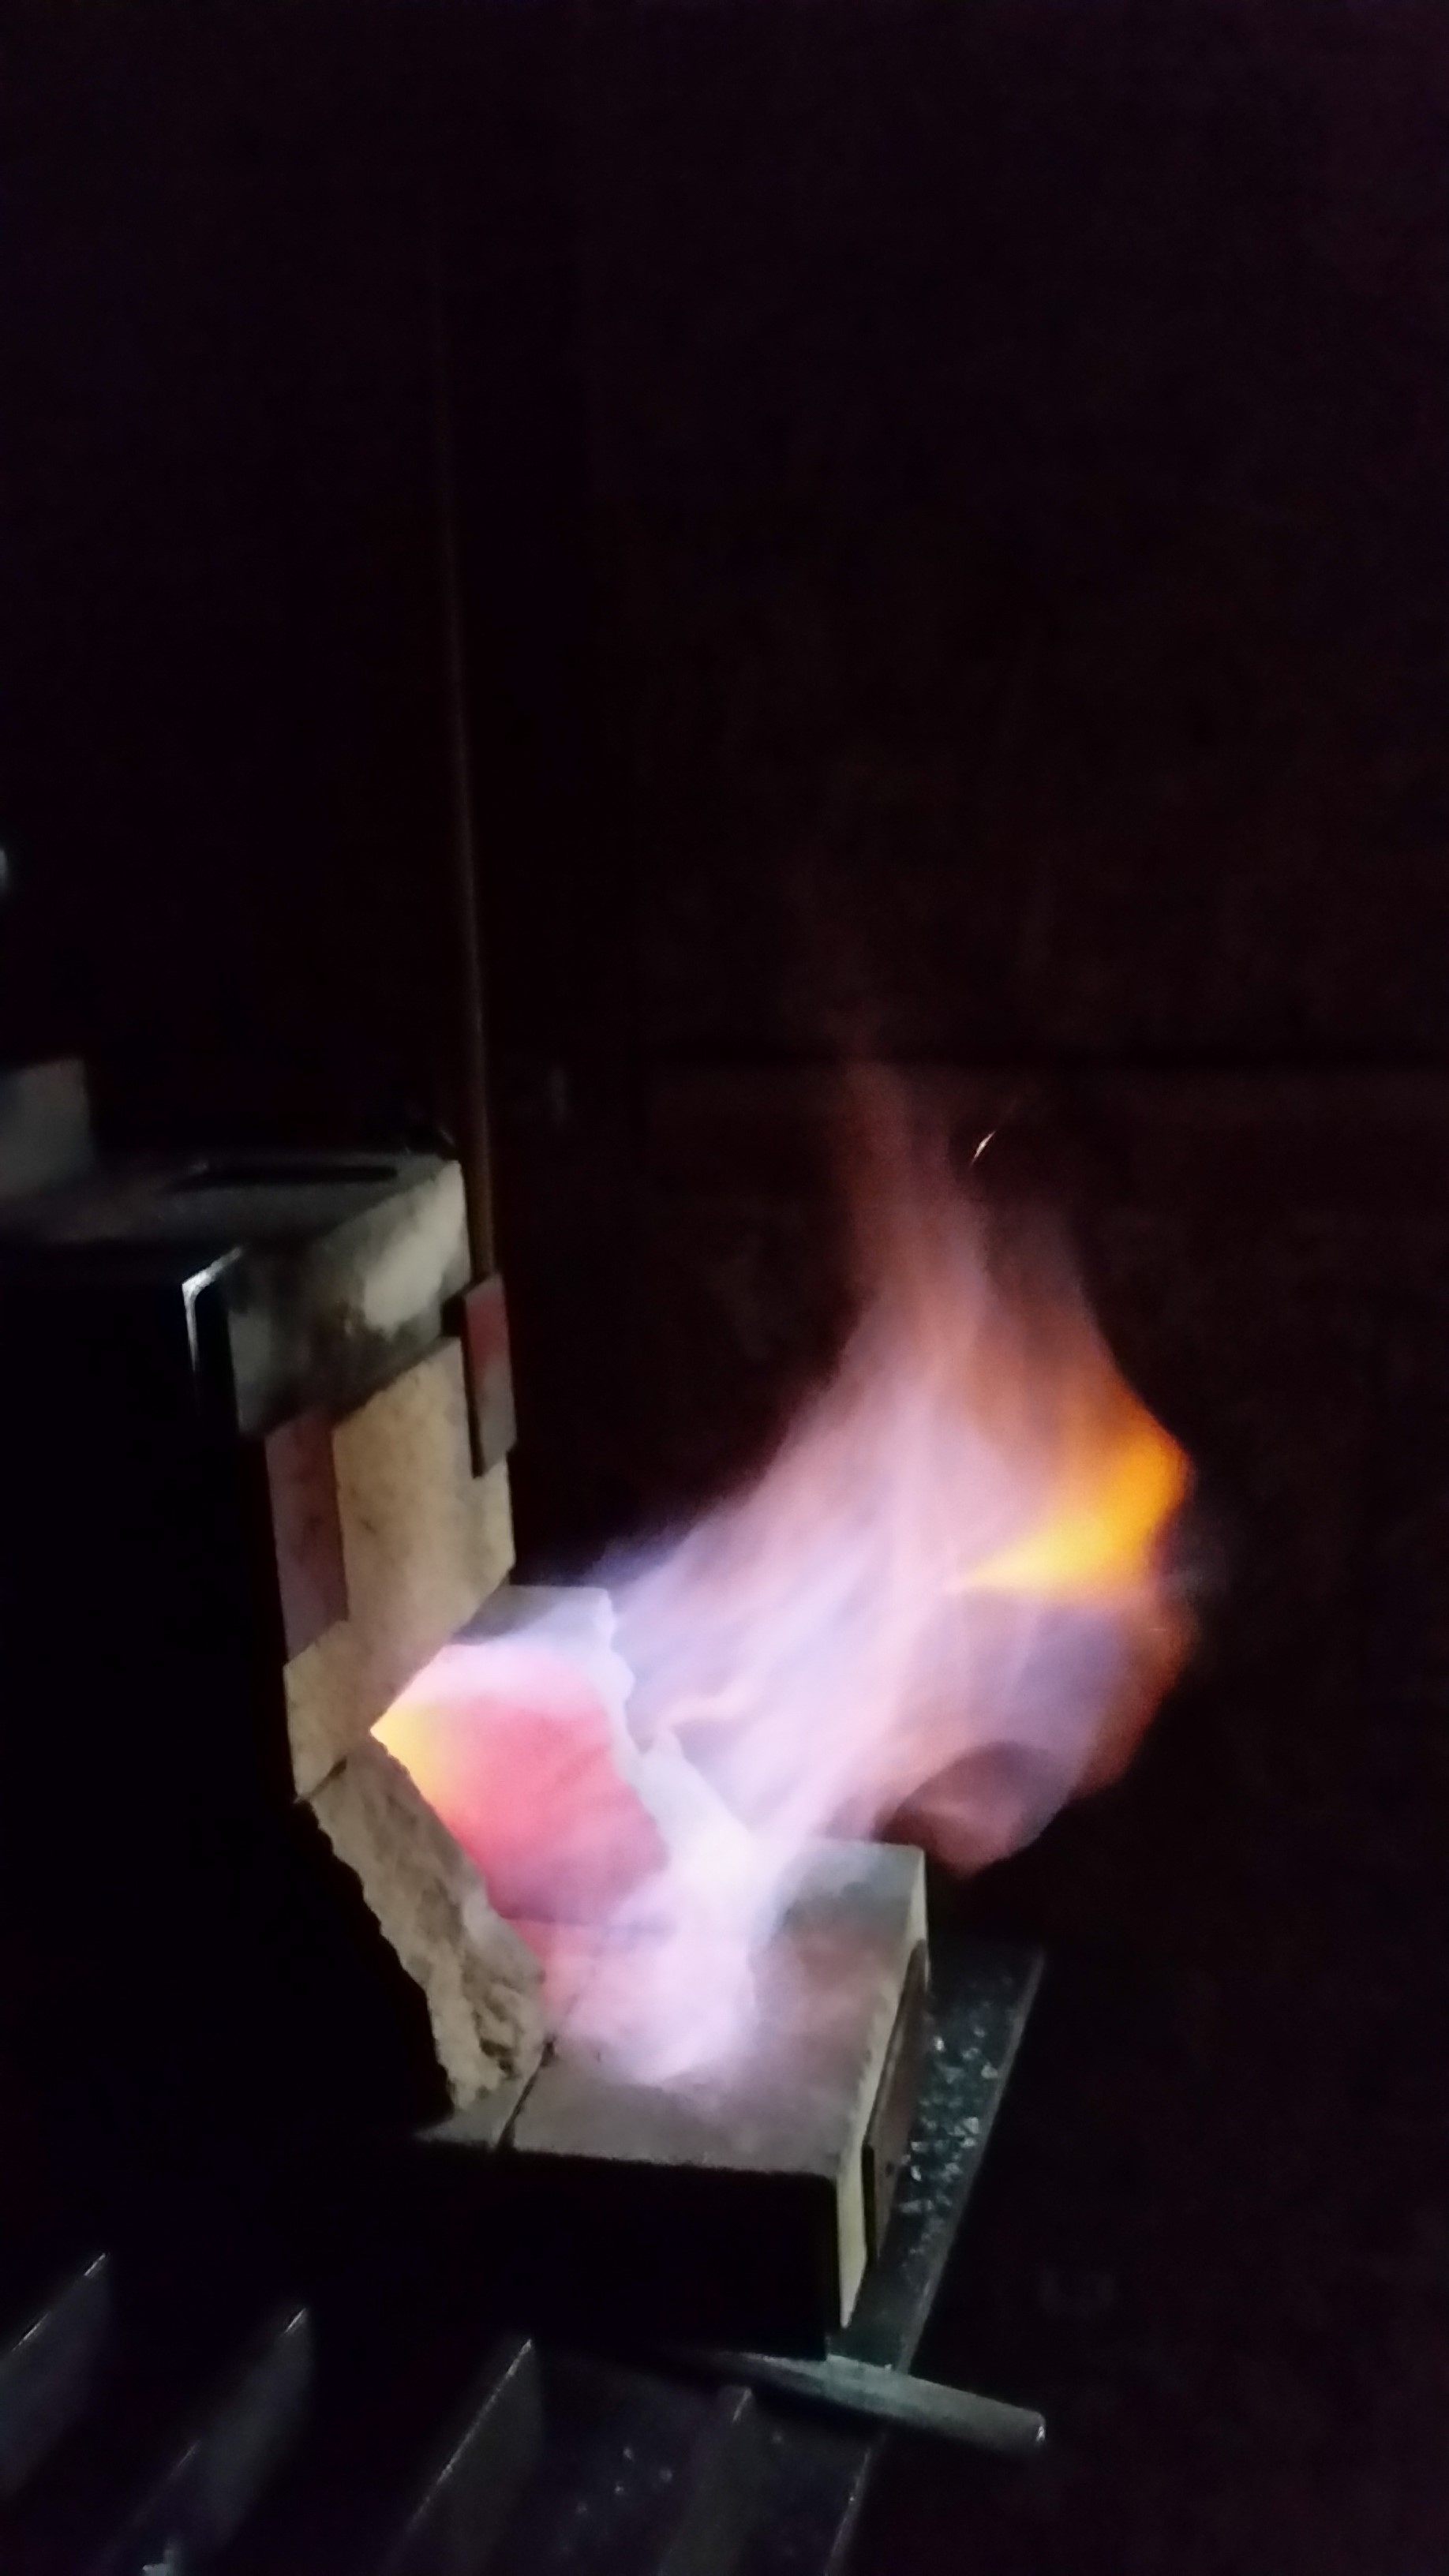
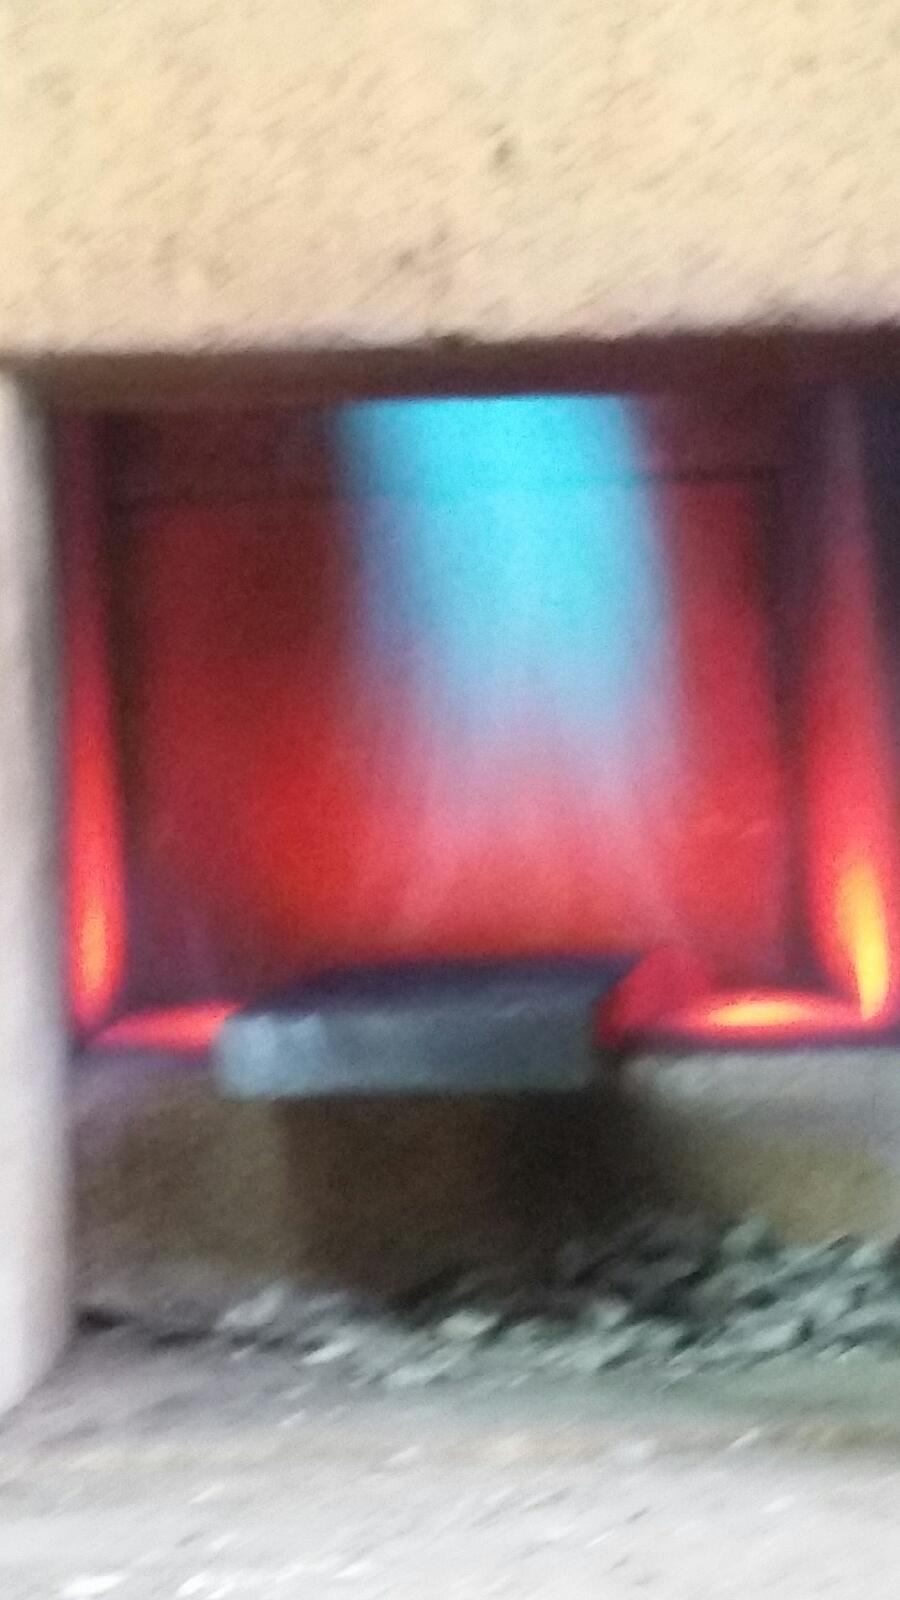
ok, so I took off about 1/32" and now it's got a much more stable flame. I also narrowed the opening by about 1..5"-1.75". but I'm still not able to get to welding heat.
My regulator is a 10 PSI regulator, is it to small?
Here is a picture of the dragons breath that is more visible.

The other thing I noticed when I took off the additional 1/32" is that the cone isn't nearly as long as it used to be. In the picture on my previous post, you can see that the cone is nearly touching the bottom hard brick in the forge. Now you can't even see it looking straight into the forge. You have to look up into it to see the cone. But the cone itself is much more stable though with less feathering.
-
Lucky dog!
that's less than $1 a pound. it's hard to find Really rough anvils at that price let alone a 300+ lbs Hay Budden.
-
I'd say you did great for free. Here is what my free anvils look like... Still need to cobble together some sort of horn...
These were given to me by a local quary owner. the first almost triangular shaped one is half of a rock anvil that is used in the rock crusher. The rocks are thrown at these anvils that are in a ring around the machine. The rocks hit the anvils and shatter. The second is the "bit" of a rock breaker that mounts on an excavator. it puts hundreds of tons onto the rock to split massive boulders into manageable boulders for the other machinery. It's what I have, and it will do for me just fine for now.

-
I worked 3/8"x2" flat stock in it already. But like I said I'm only getting to a bright orange heat with it. Fine for the job at hand, but was hoping for more. Maybe blocking the opening more will help with that.
I'll slowly trim back the tip over time. I've got more if I go to far.
There is some light orange feathering on the dragons breath.
-
Town wide Garage Sale? My Lord I'd have a nervous breakdown on that one, have to rent a U Haul either that or in Jail if my wife had my stuff for sale in it. Thinking more on this I'll bet she would.

Some welding humor, but I think it would apply to Smithing as well.
Tom finally decided to tie the knot with his longtime girlfriend. One evening, after the honeymoon, he was welding some stuff for fun. His new wife was standing there at the bench watching him. After a long period of silence she finally spoke,
"Honey, I've just been thinking, now that we are married maybe it's time you quit spending all your time out here in the shop. You probably should just consider selling all your welders along with your gun collection.
Tom got a horrified look on his face.
She said, "Darling, what's wrong?"
He replied, "There for a minute you were starting to sound like my ex-wife."
"Ex wife!” she screamed, "YOU NEVER TOLD ME YOU WERE MARRIED BEFORE!"
Tom replied: "I wasn't." -
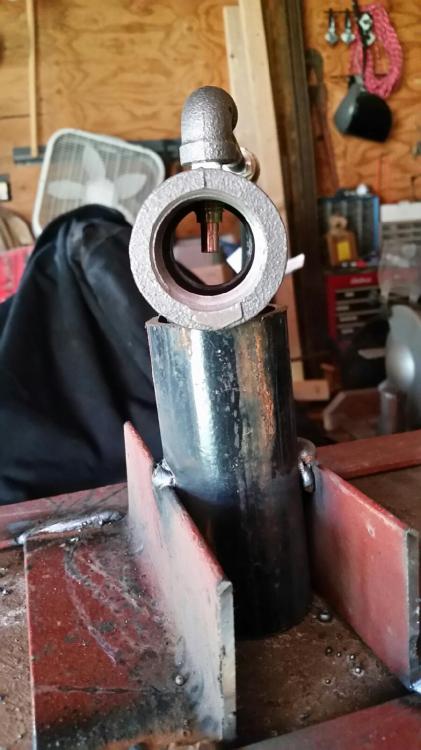
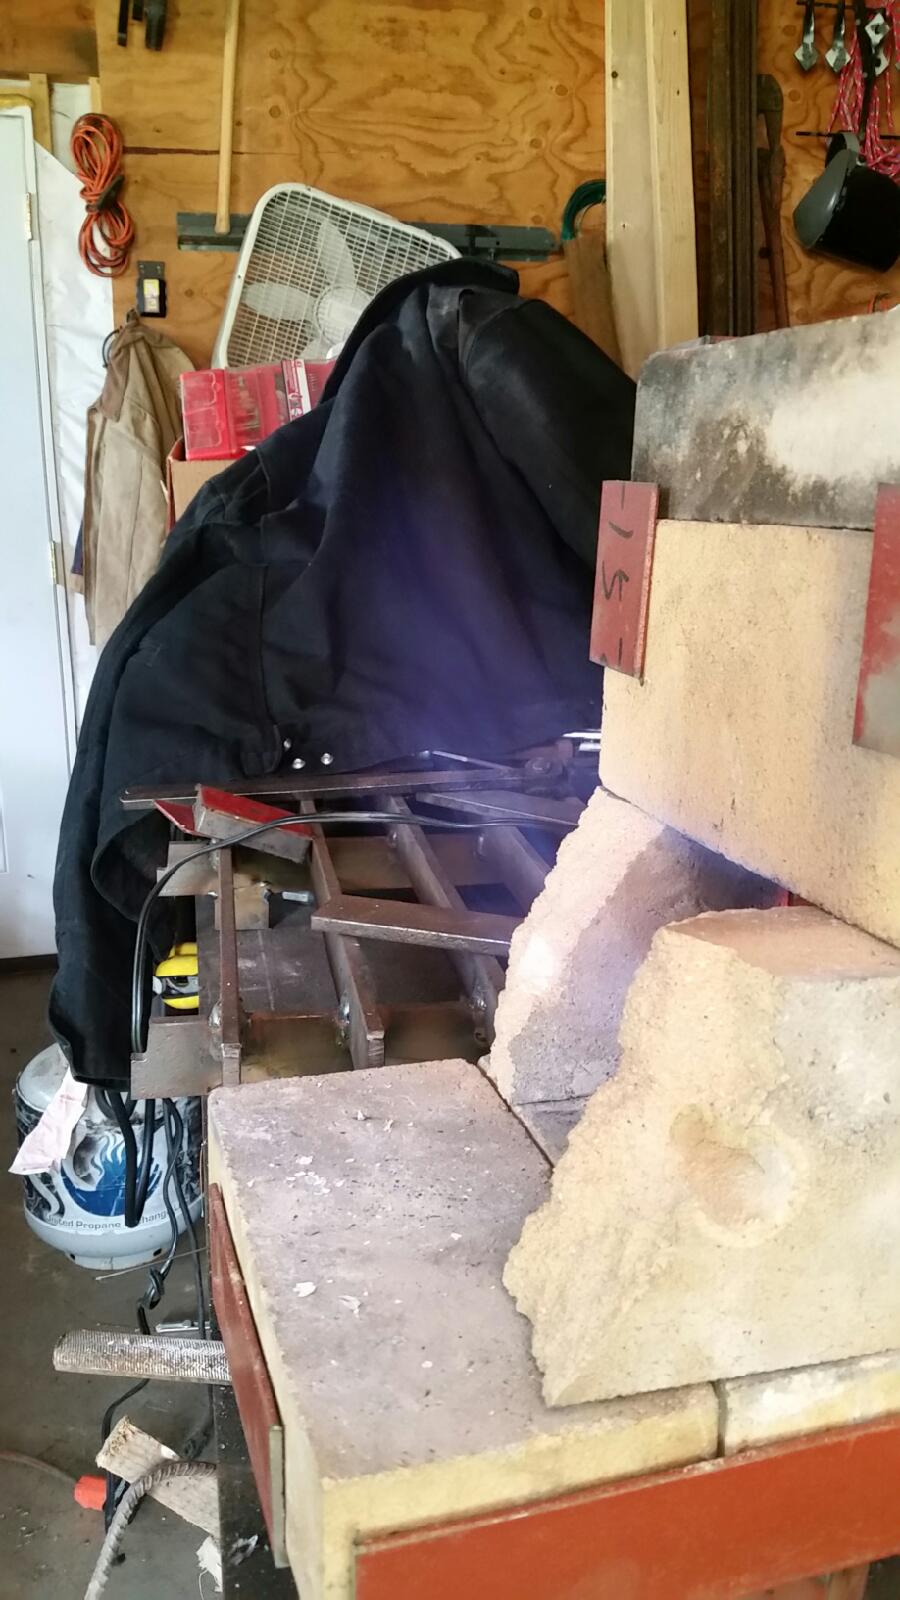
I tried to start this on my phone but, it didn't feel like cooperating... so here goes. This is my "Brick Pile" Gas forge using a Frost T. Now that I've got it all put together it's time to start tuning it. I've already trimmed the Tip back to approximately 1/2" the run of the T and I still feel like it could do more. it's not a loud roar unless I hit it with a hair dryer. So I'm assuming that means I'm still rich, and need to trim back some more of the tip to get it a truly atmospheric burner which is the desire.
Frosty, here are a few pics for you to judge what my next move should be.
The T has a 6" nipple, and a SS coupler to act as the flare. The burner sits approximately 1/2"-3/4" into the chamber. Which by my calculations is 314"3
I haven't been able to get past a bright orange heat yet.


-
1 hr to go, waiting on pictures.
-
Try any fireplace supply store. That's where I get mine from.
-
I get the enjoyment of playing with one's toys. As I do so myself, though not often enough for my own desires.
the simple point being, you're over complicating things. that is all.
I understand no running water, and single source heating as my family has a cabin in the mountains that was built in the early 1900s with a single wood stove in the center of the living room as it's primary heat source and no running water.
In fact I'm building my first gas forge right now so I can finish a new fire rack for the cabin's fire place right now. any way, I digress. I'm just a fan of the KISS method I guess.
-
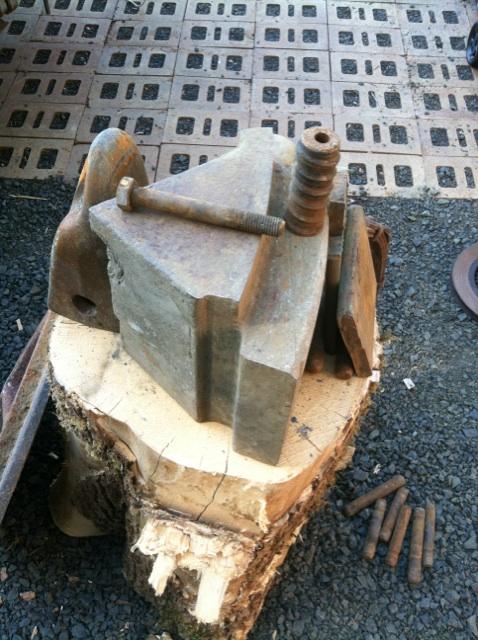
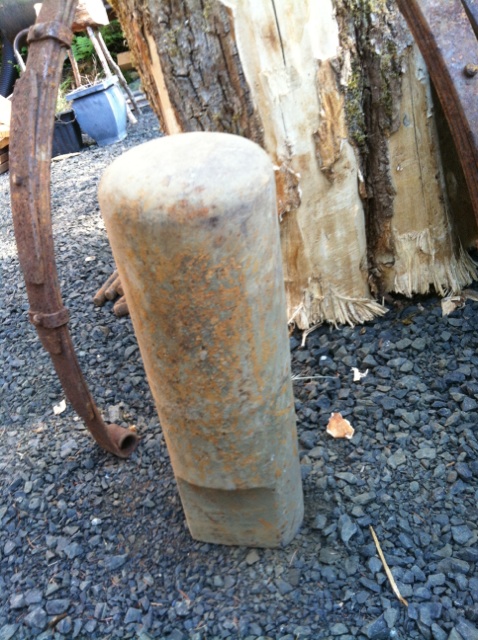
If you didn't anneal it first, the bearing area as Charles said is going to be the hardest part to cut. Try about 1/2" away from that. May go much better.
-
I can see fullers in the wheels, the Yoke can be used for a guillotine style tooling base or as a bending fork. The Rod is easily used for forging stock if it's solid. Which it looks like it is from the pictures. The Main frame can be used for stands or as a anvil protector for cutting/punching/etc. I'd say you did ok for $35 for that and the gained knowledge.
Also, that's RR track, not RR tie. The tie is the wood pieces below the track that keep the tracks "tied" together at the right width, and help keep it from sinking into the ground as the heavy loads go over them.


The eternal question.. Gas or Coal?
in Solid Fuel Forges
Posted
I'm with Charles' last statement. More than one forge and more than one fuel. In my experience, limited as it may be, tools made for multiple uses may be able to do multiple things, but rarely do the do any of them well. Where as tools made for a specific task tend to do that task exceedingly well. it's the reason why there are so many different types of specific tools. Hammers for instance. Hundreds If not thousands of different designs, all with an individual task in mind. But how many black smith's do you know who only have 1 hammer that they use for everything?