Mudman
-
Posts
290 -
Joined
-
Last visited
Content Type
Profiles
Forums
Articles
Gallery
Downloads
Events
Everything posted by Mudman
-

What did you do in the shop today?
Mudman replied to Mark Ling's topic in Blacksmithing, General Discussion
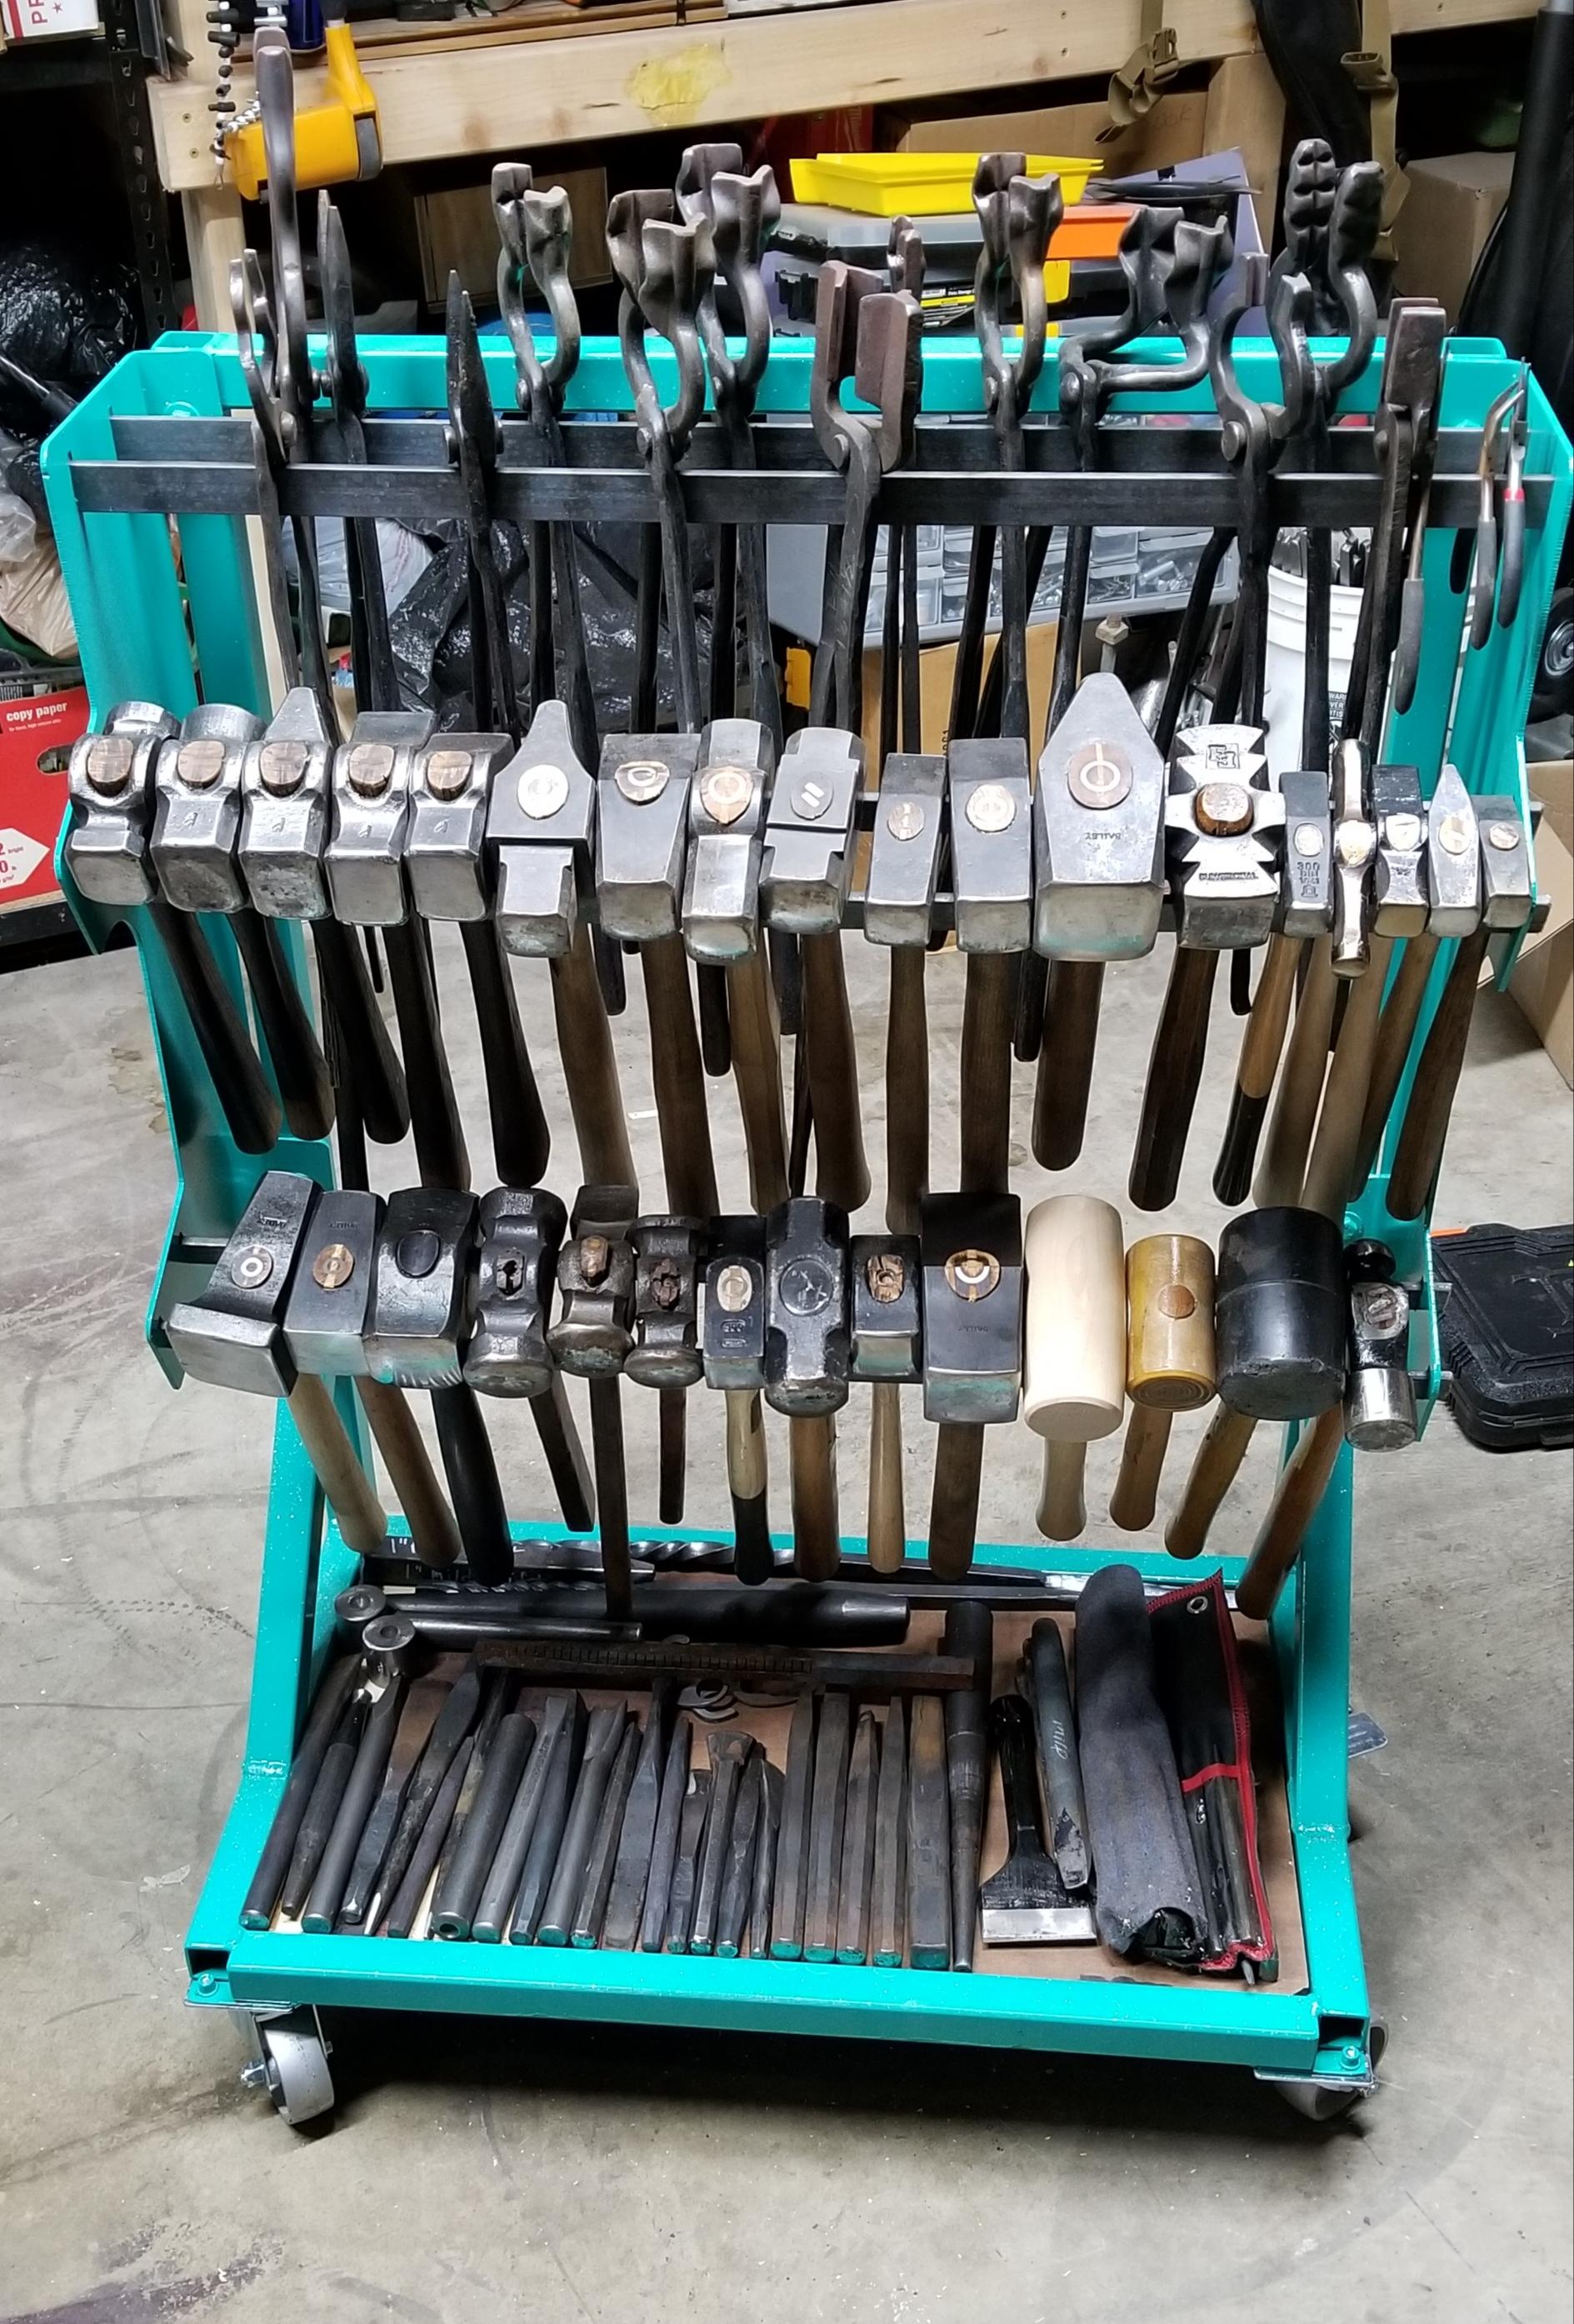
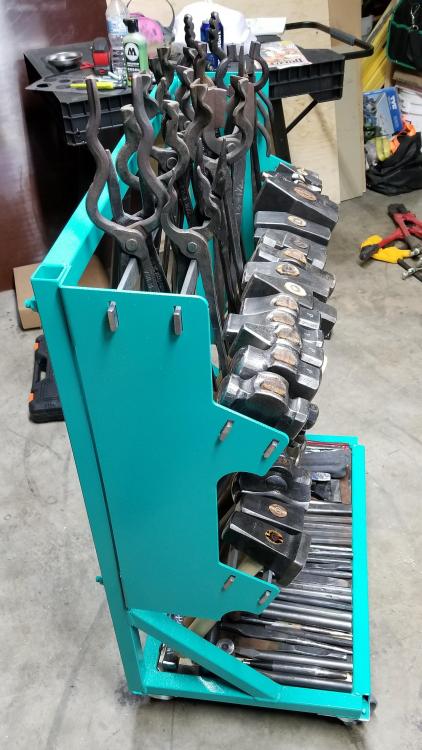
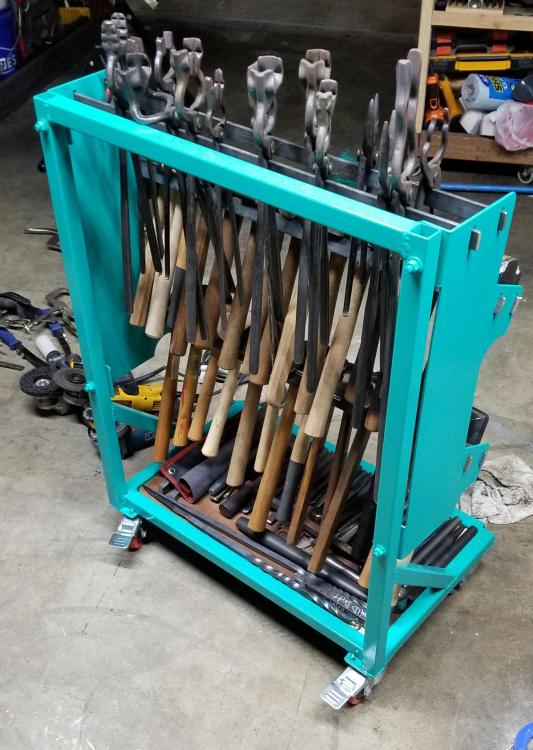
Irondragon: Thank you, I put more effort than anticipated into the project. I see nothing wrong with yours. =) Mines was a project that sat in pieces in a 5 gallon bucket for the better part of a year. This time, I was really annoyed with having to move so much stuff around to get to my grinder. So I took the time to finish it. JHCC: I'm seeing a lot of truth to this. Time to start on a 50 foot, 10 tier rack. jlpservicesinc: Thank you, I'm quite pleased with my hammer collection. The is the culmination of 5+ years of buying hammers from my favorite makers. Old style hammers work just as good as the new ones. It's not the tools anyway, I've got plenty of nice tooling, but 90% of the folks out there could kick my butt with a $2 ball pein and a hand file. Color was random, but I like it also. The photos don't show it much, but I used a hologram sprinkle topcoat from Montana paints. It has a very cool rainbow reflection at various angles on top of the teal(ish) color. The cross bars haven't been notched, but it was on the list. However I want to maybe try a different method. Notching would probably be the fastest though. The tie in on the middle was something I didn't think about, very good advice, I will do that. There are multiple hammers over 4lbs on there, heaviest being 7lbs. -
What did you do in the shop today?
Mudman replied to Mark Ling's topic in Blacksmithing, General Discussion
Finally finished my tong and hammer rack. Sadly I still can't fit all of my hammers on it. But its sparkly and rolls smooth.


-
What did you do in the shop today?
Mudman replied to Mark Ling's topic in Blacksmithing, General Discussion
Dangit, I feel like you guys are trying to jedi mind trick me, into building a dance floor around my vise or something. -
What did you do in the shop today?
Mudman replied to Mark Ling's topic in Blacksmithing, General Discussion
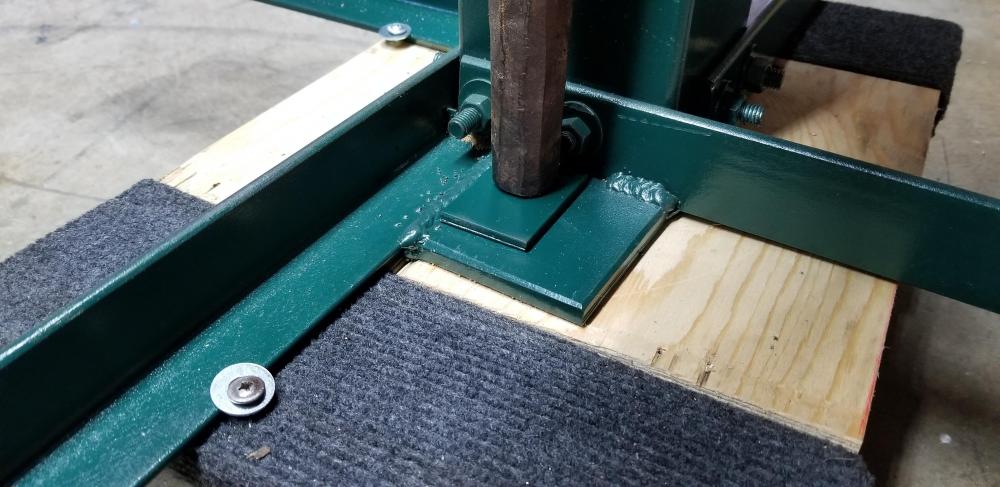
Jlpservicesinc, the angle iron is going to be bolted to the floor. I am also planning to add extra bracing -
What did you do in the shop today?
Mudman replied to Mark Ling's topic in Blacksmithing, General Discussion
Good to know, I planned to use the current stand as is, until I need to replace it. Adding some bracing like you did, also look like a great idea. -
What did you do in the shop today?
Mudman replied to Mark Ling's topic in Blacksmithing, General Discussion
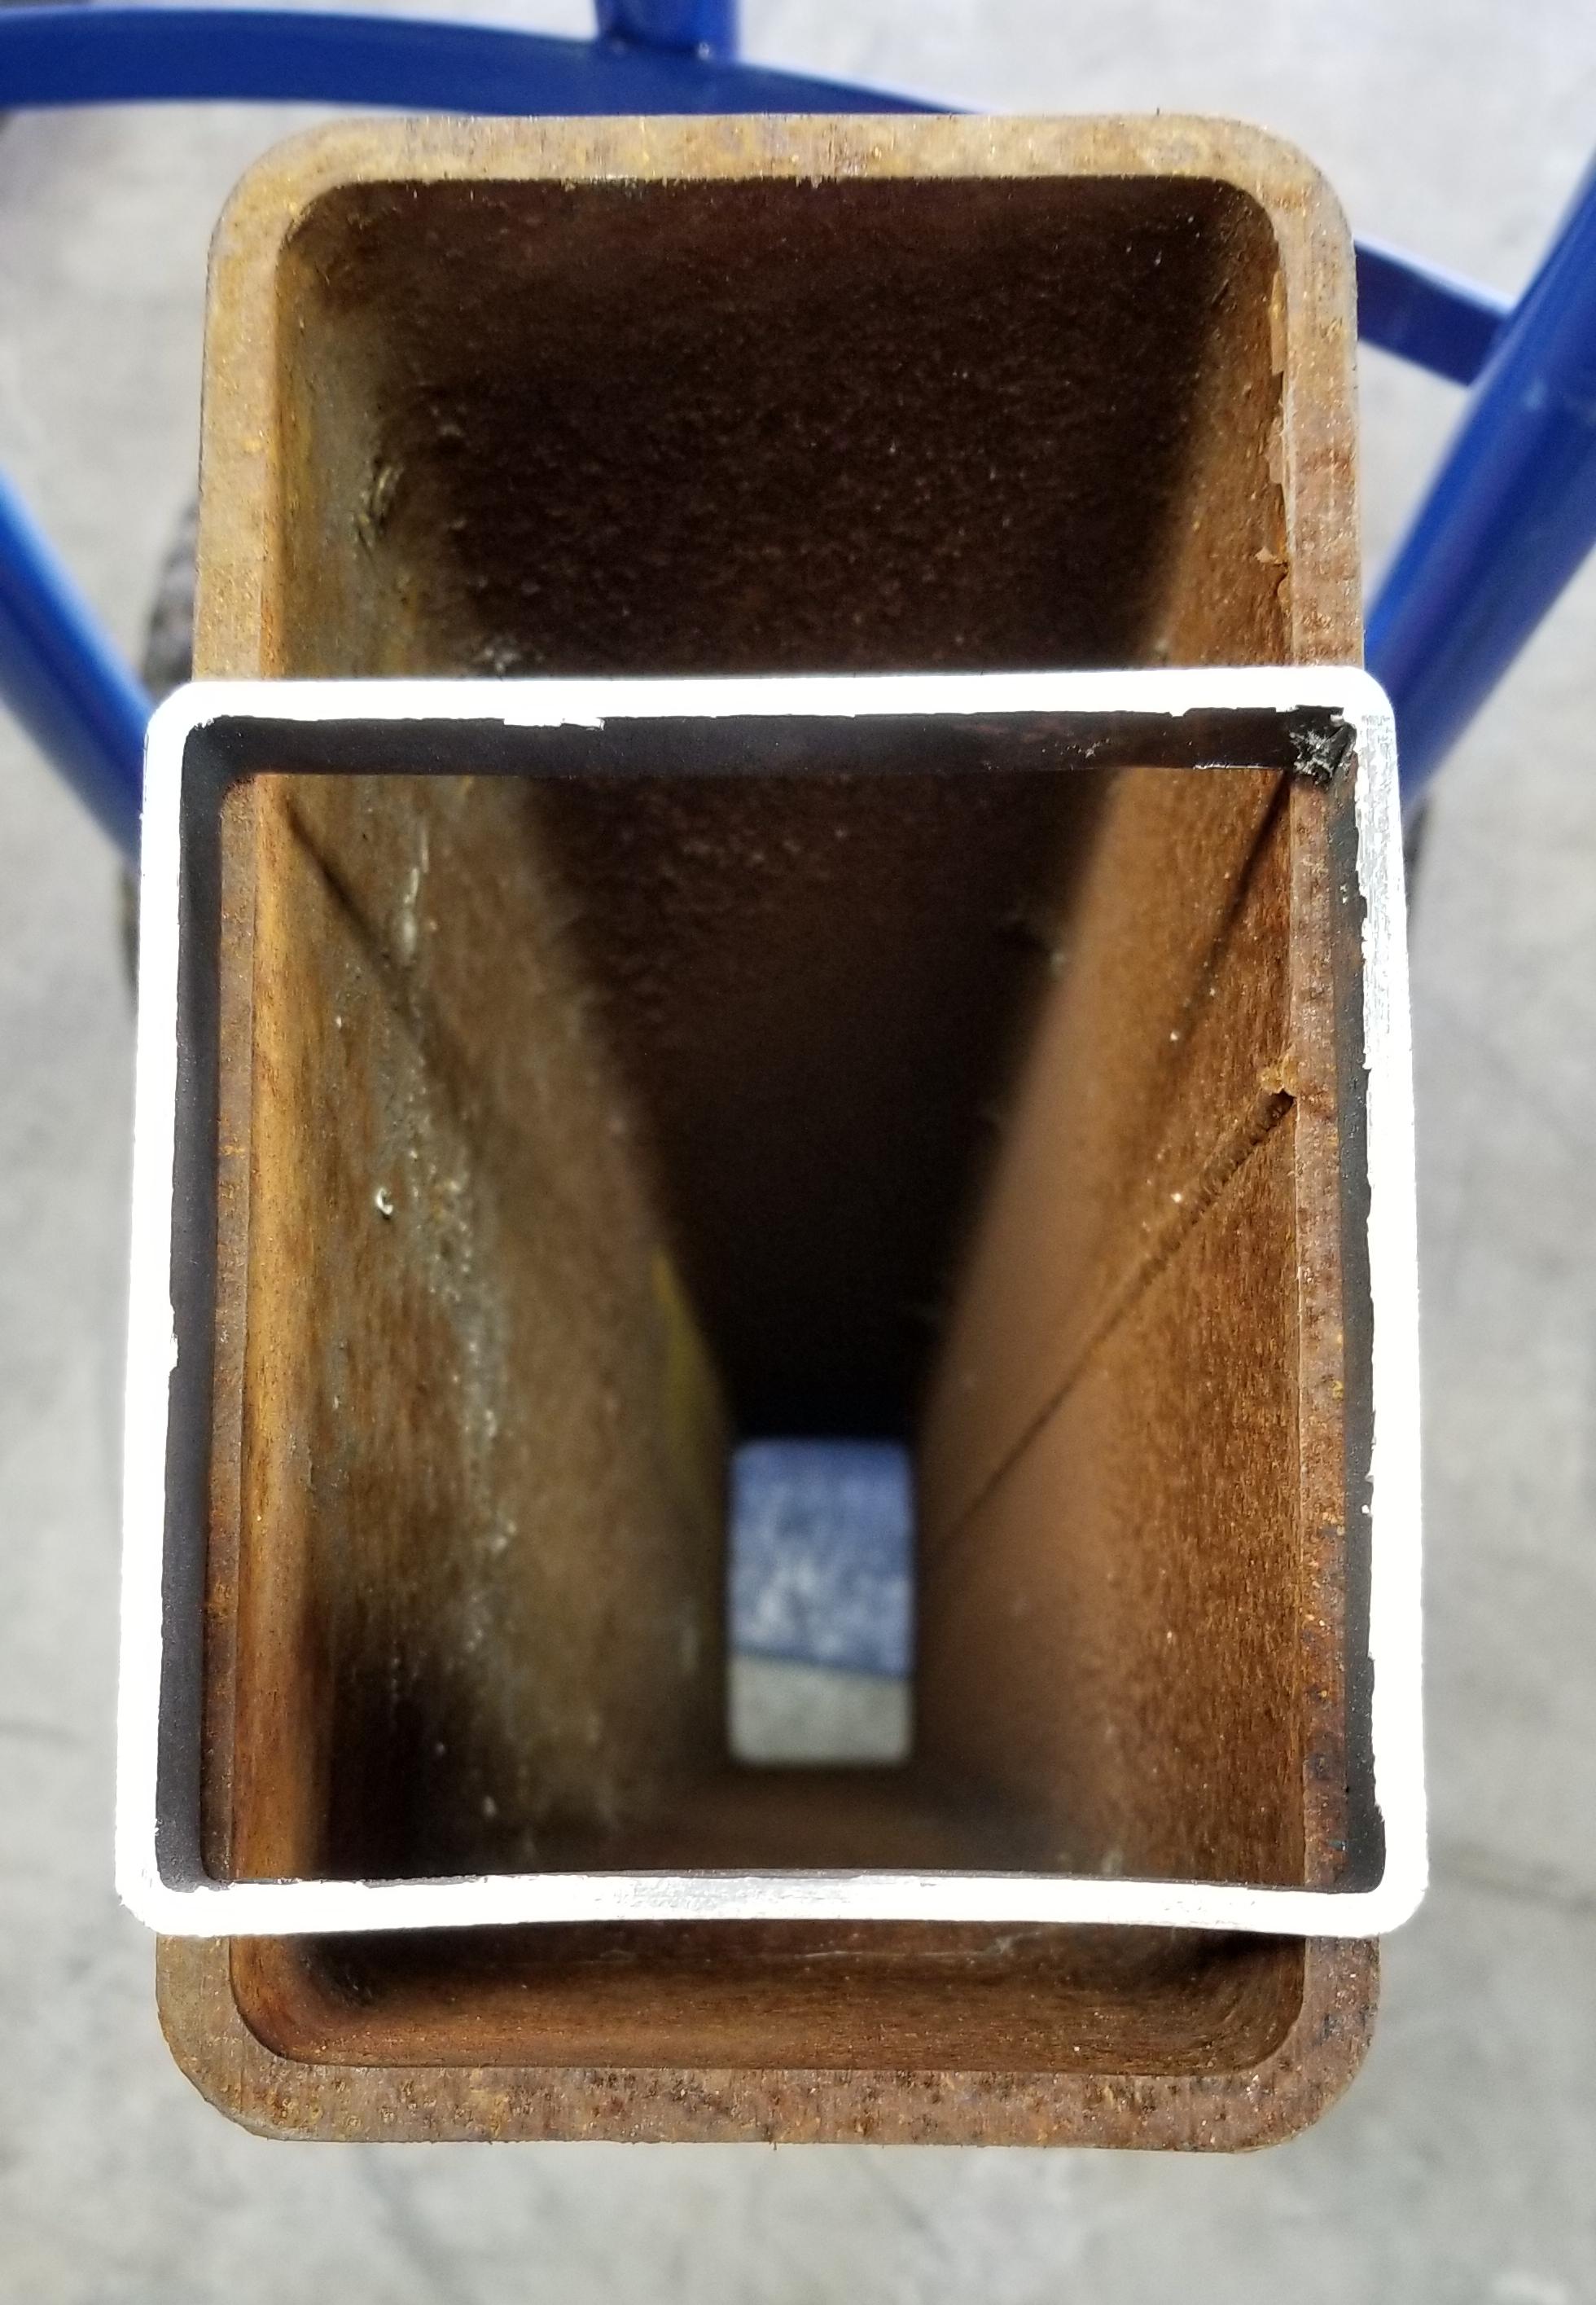
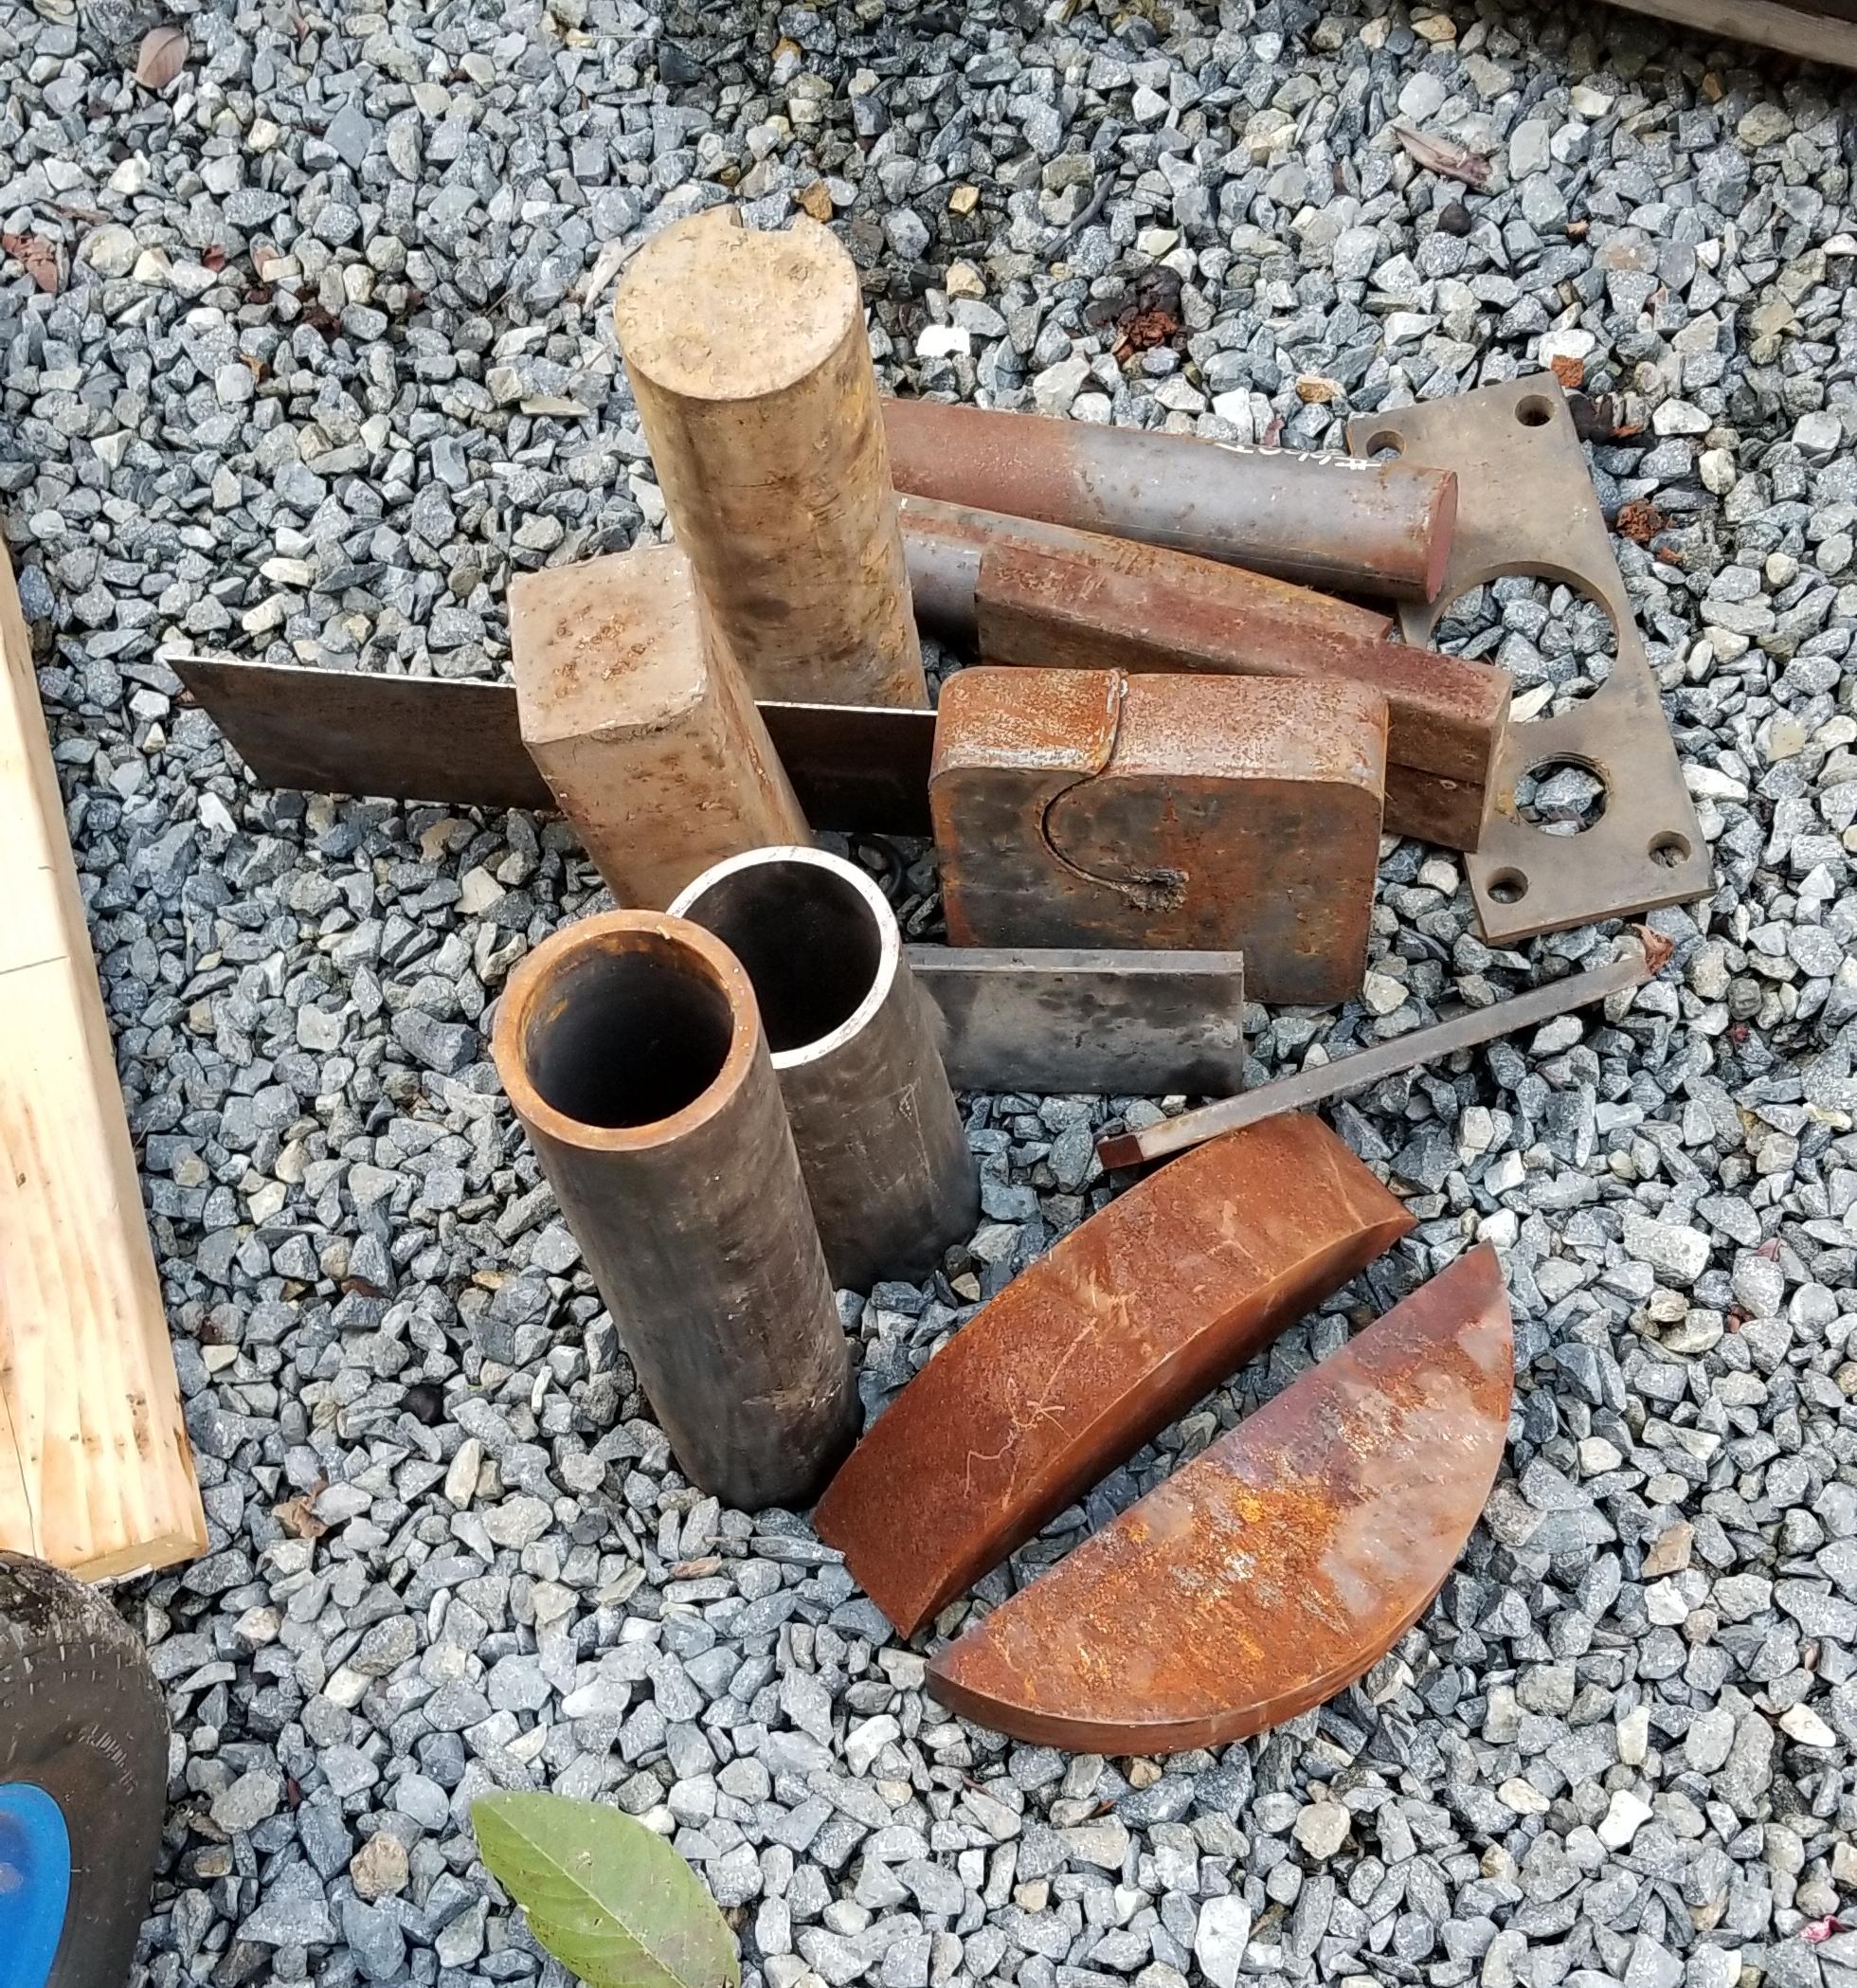
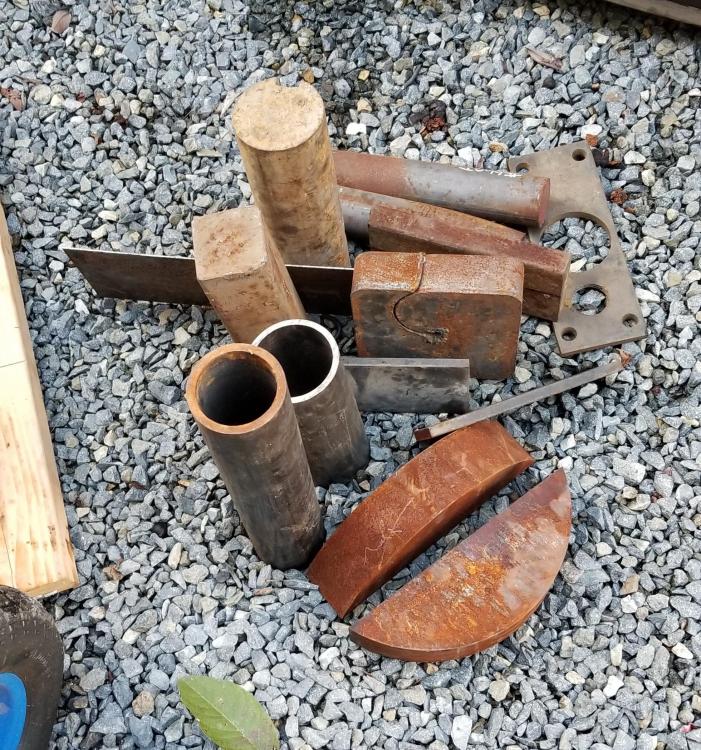
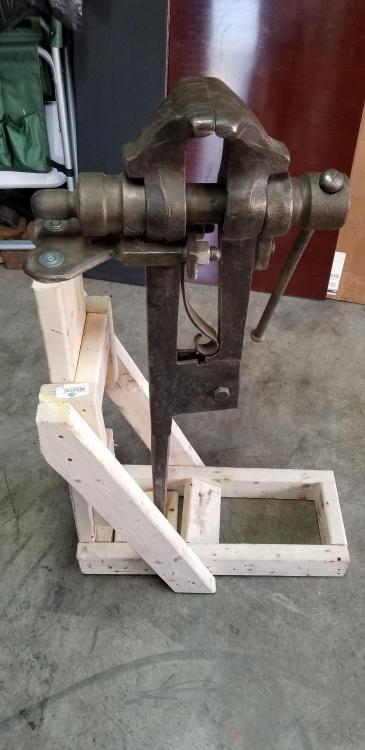
Great work peeps! jlpservicesinc: I'm not too concerned about the angle iron legs- in that the upright support will likely give out first. I was just using what was available to me, without having to stop by a scrap yard or buy too much new material. The Angle iron is 1.5'' wide and .25'' thick material, it'll be bolted to the concrete once I find a location I like. A plate was definitely my preference, but I couldn't find one right away- still can't find one actually. However it's sounding like I'll already have to build a new stand asap. The 4 x 7 x .25 wall tube my co-worker gave me will be much better. I plan to use that once I source a plate for the base. Top plate is 1'' thick so I'll stick with that. Also would have to find someone to weld it together. Irondragon Forge & Clay: thanks for pointing that out. I cut a piece of tubing for it, and now realize it's not on there. I'll add that right away. This is the thin wall tubing I used, because it's all I had at the time. New stand will use this, with .25 wall. Same co worker also gave me some miscellaneous pieces of steel.
-
What did you do in the shop today?
Mudman replied to Mark Ling's topic in Blacksmithing, General Discussion
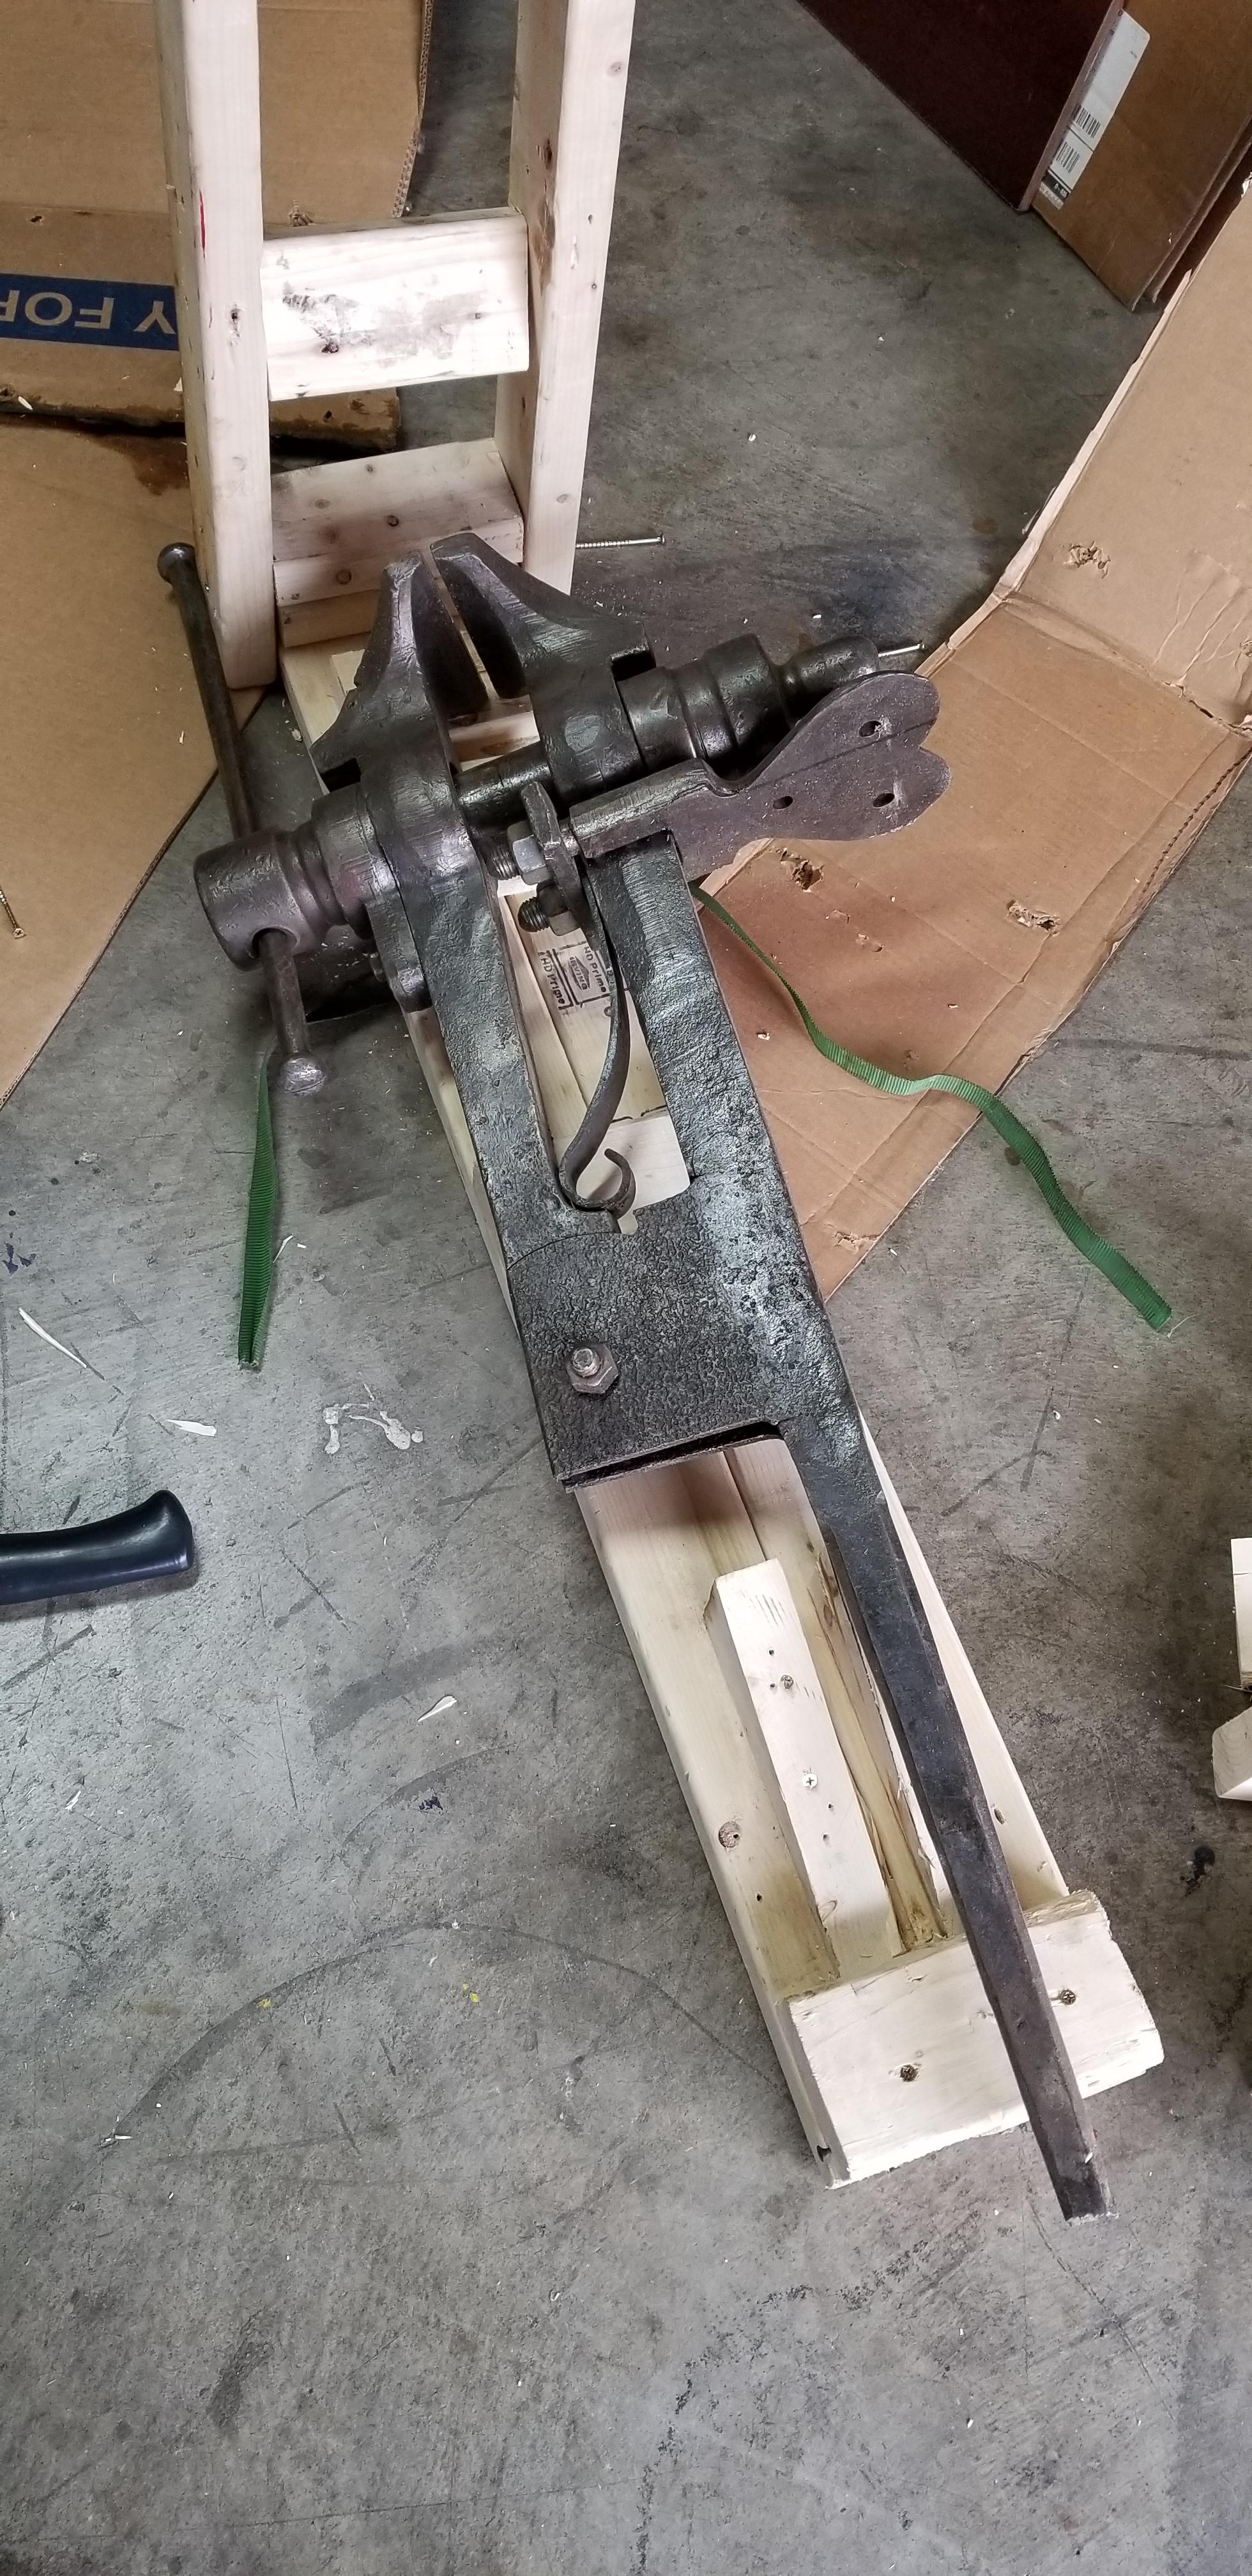
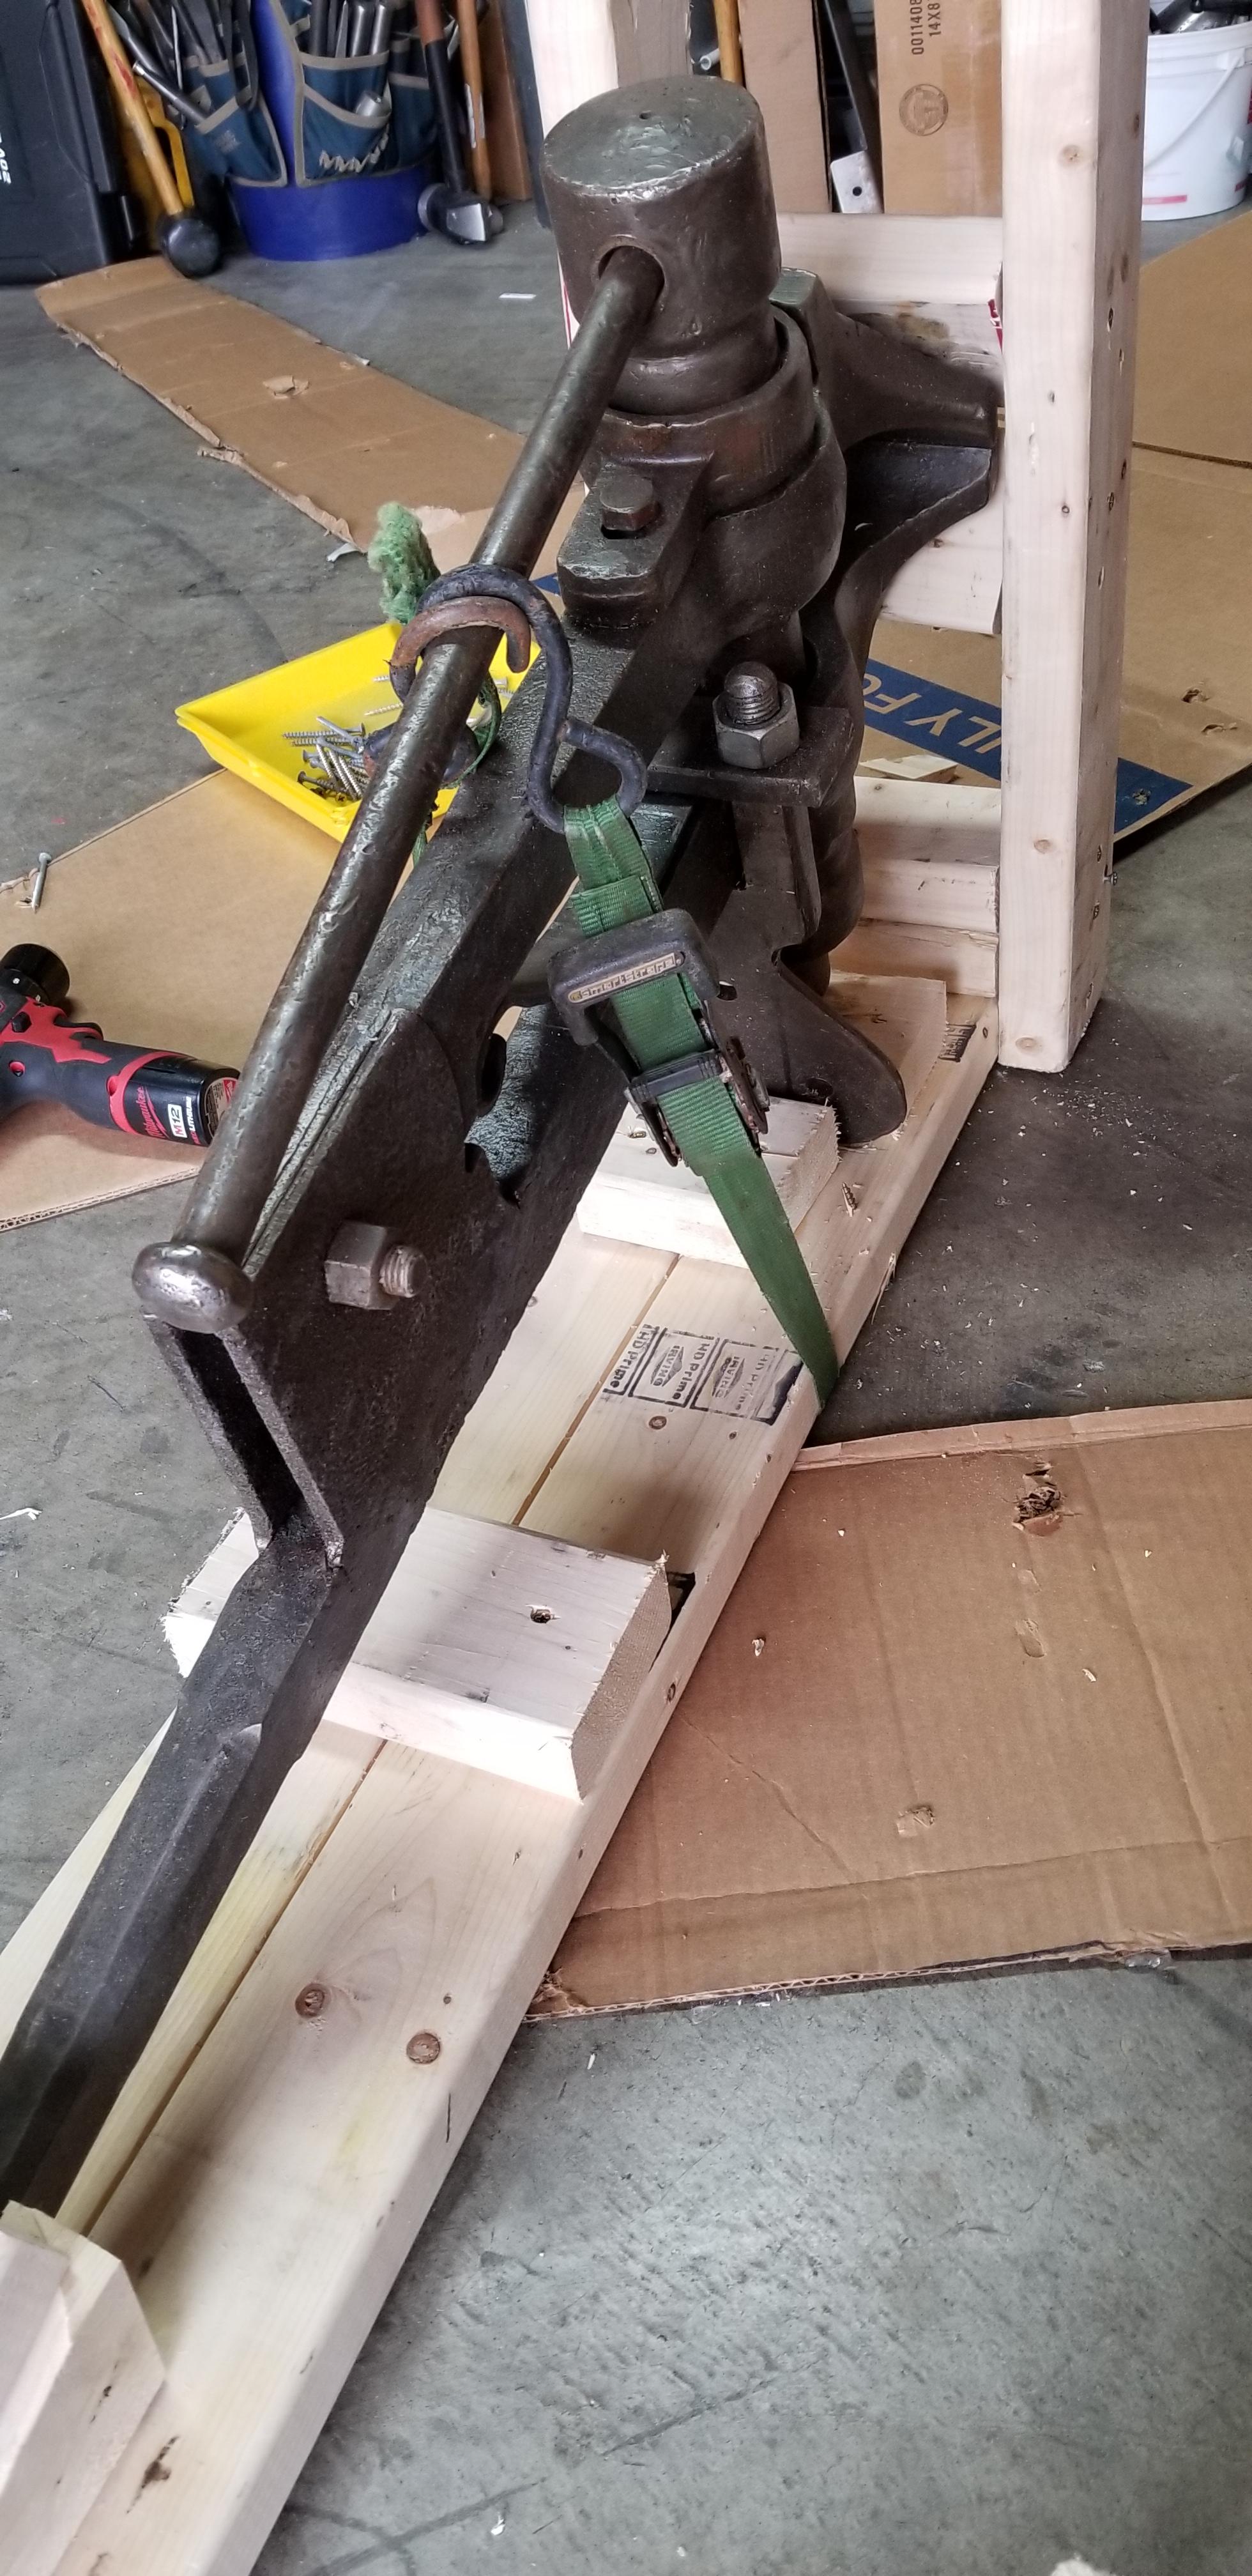
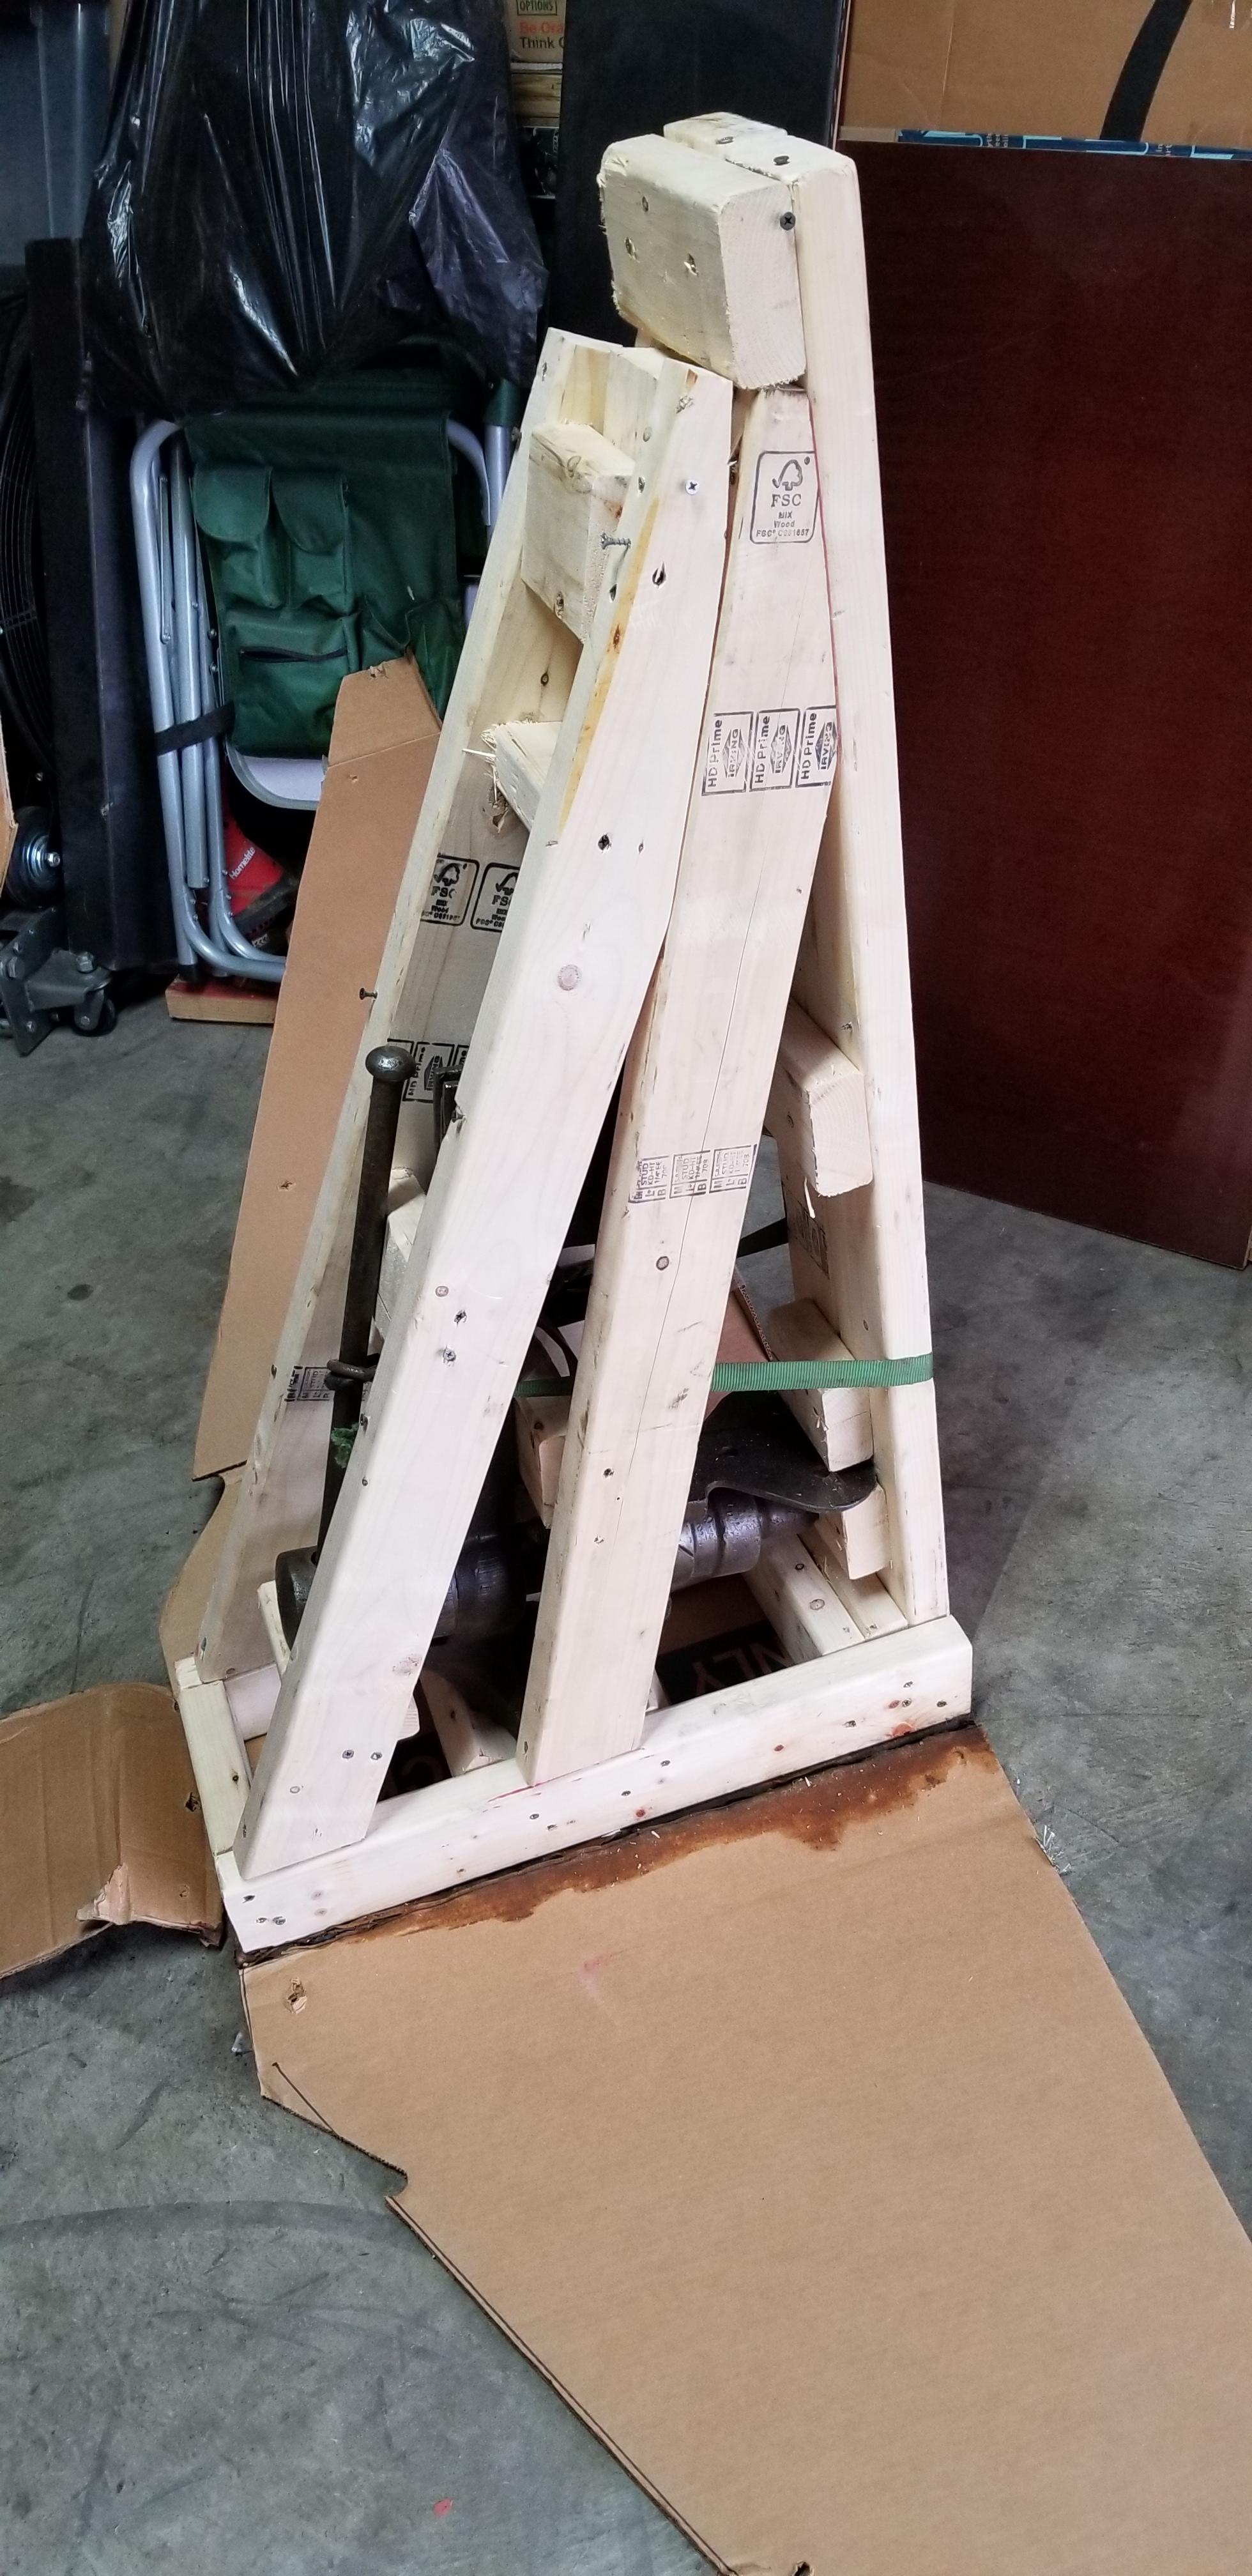
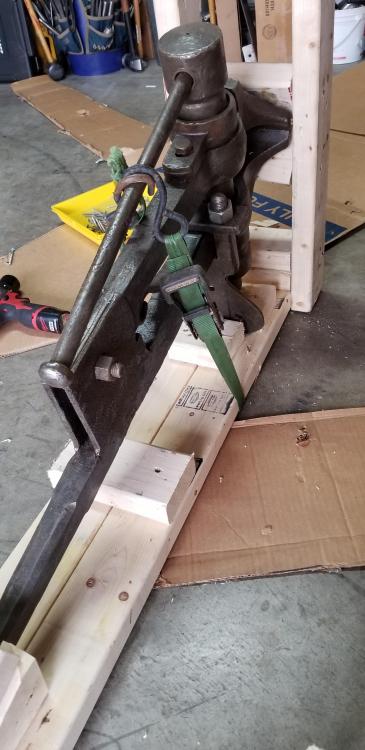
haha Chicken tracks is a good one. Sorry, I should have mentioned. The dolley was to make moving the vise around the garage easier, it's only temporary just to move around not use. It's been raining, so I couldn't build the stand outside. It was easier to have the dolley, vs dragging it around. The screws were to keep it from sliding, just case I happen to run over a paper clip and snag the wheel or something. Once it stops raining, I'll put it outside next to the forge and bolt to the concrete. -
What did you do in the shop today?
Mudman replied to Mark Ling's topic in Blacksmithing, General Discussion
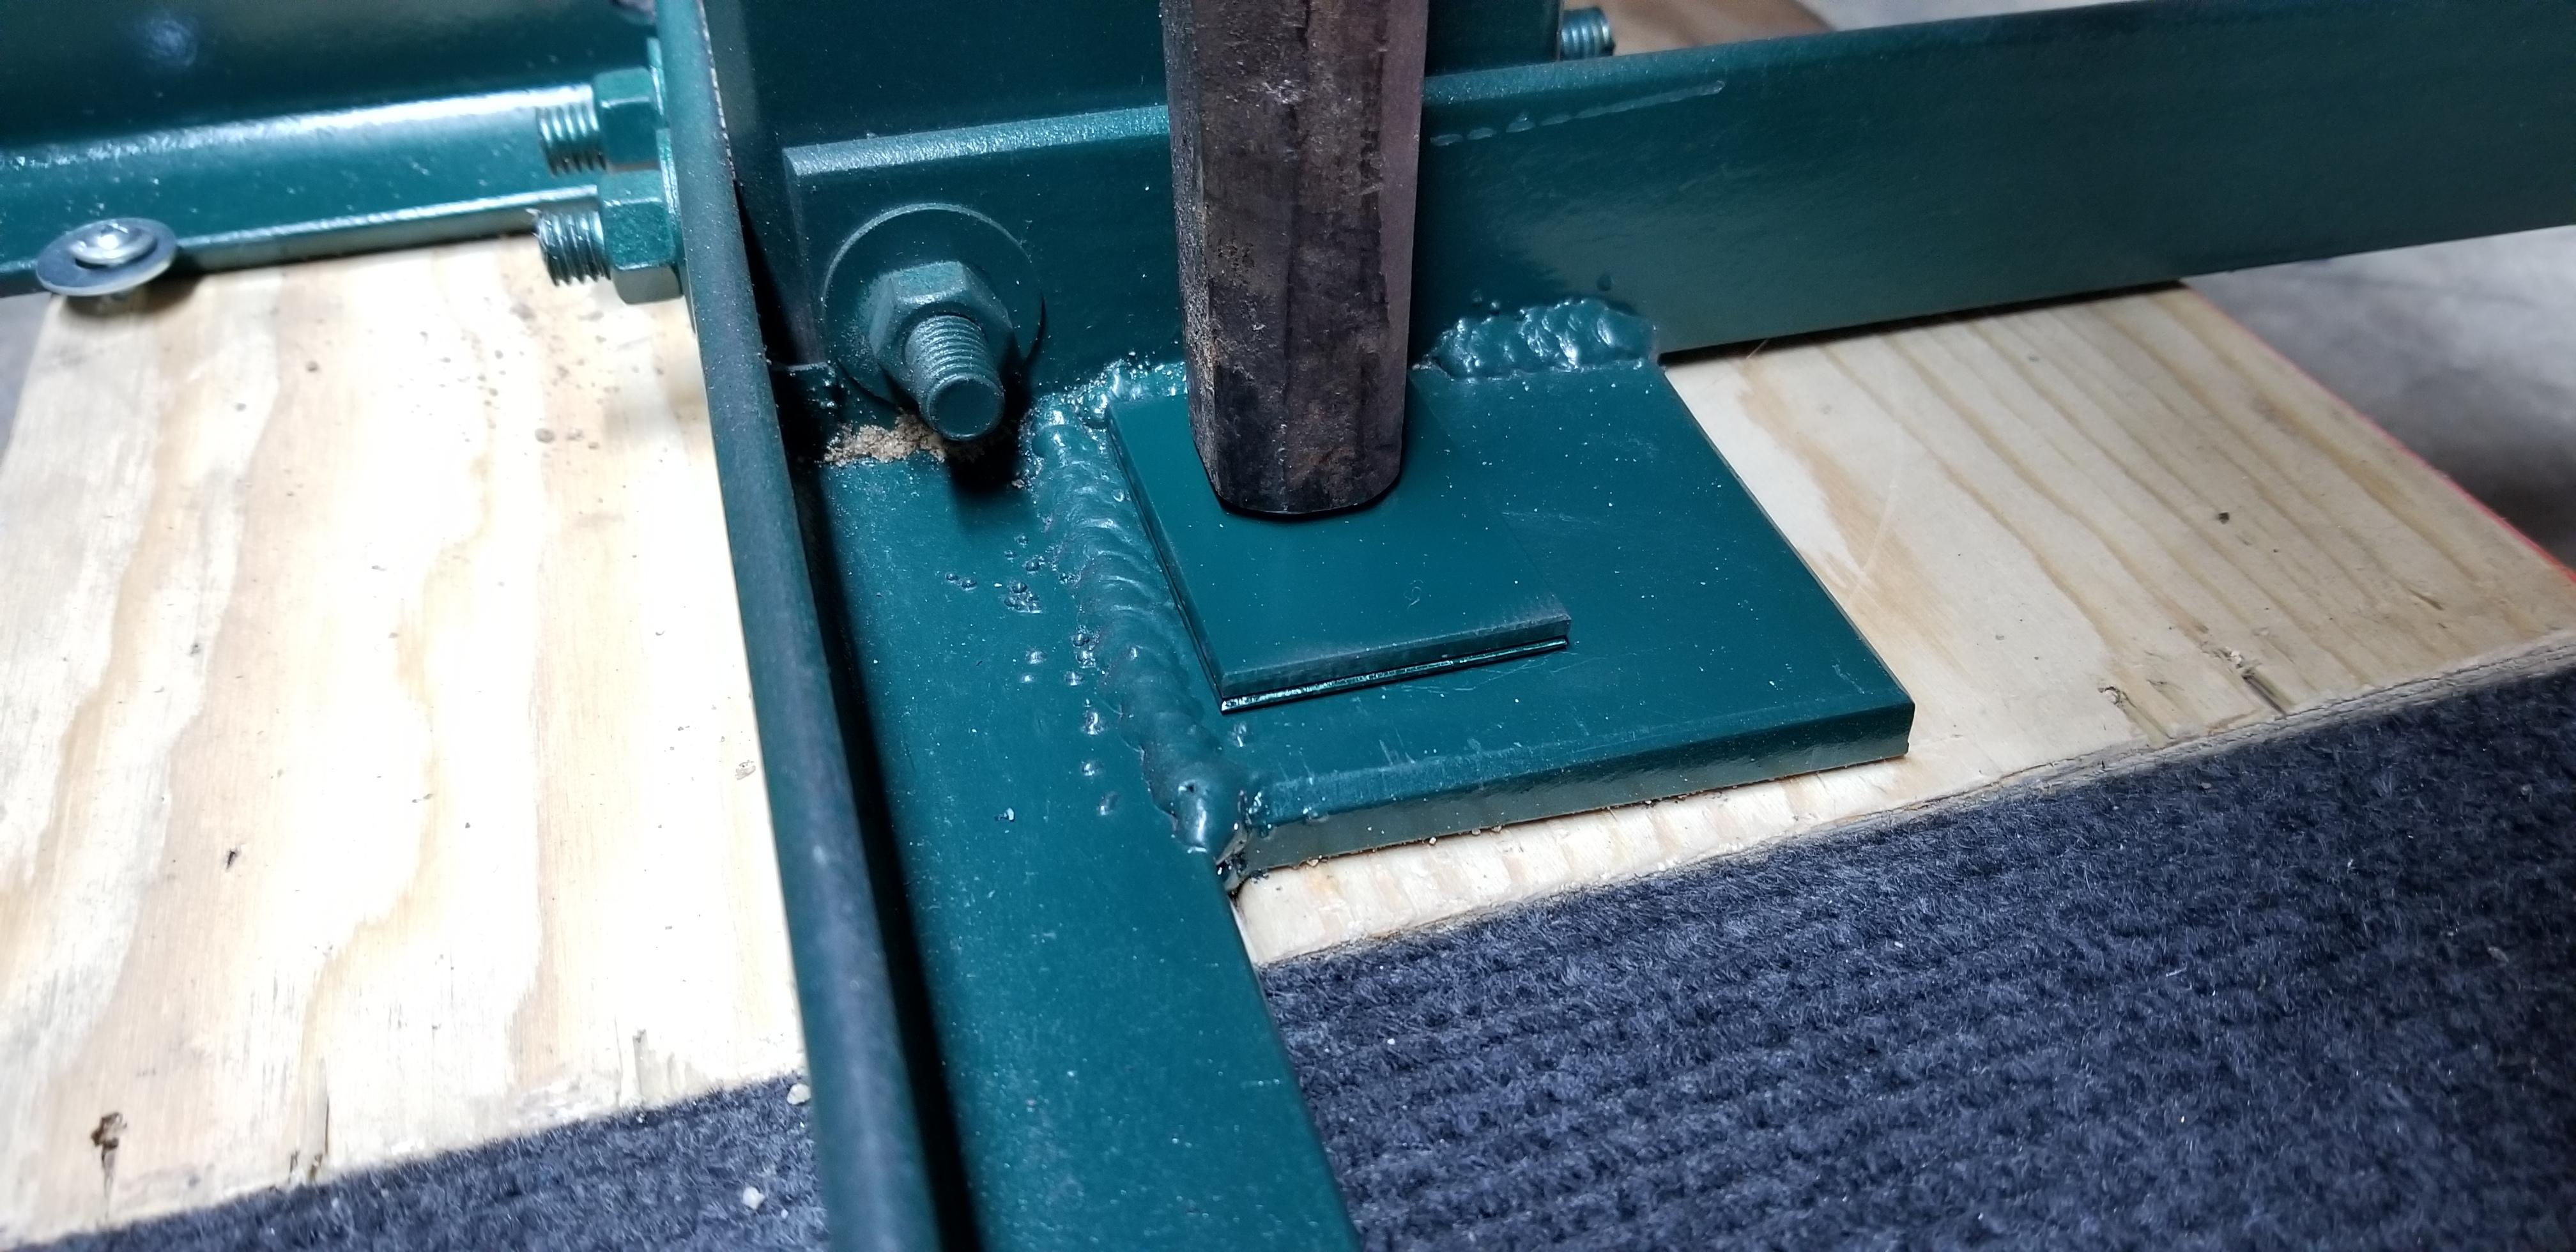
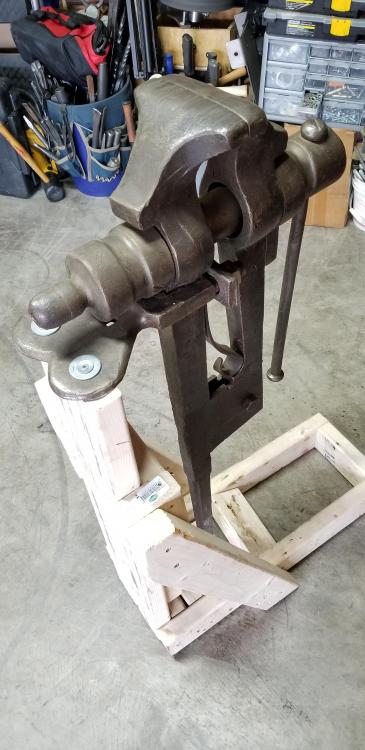
Man everyone has cool scrap yards except me. Forge is looking hot JHCC. Also finally finished the stand with paint. Please excuse the booger welds, I'm no good at it. I'm not thrilled about the thin wall tube on the upright, but it's what I had. Once filled with sand, it became quite nice. Although oddly enough, my co worker just gave me a section of rectangle tube that's 4" x 7" and .25" wall. Wish I would of had this prior to finishing the stand. At this point I'm too lazy to redo everything.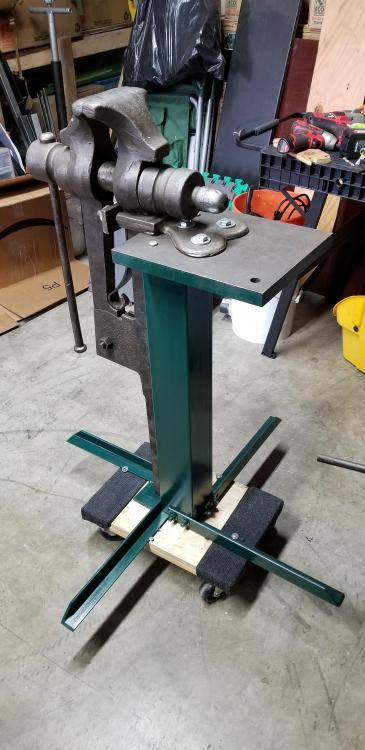

-
What did you do in the shop today?
Mudman replied to Mark Ling's topic in Blacksmithing, General Discussion
Anachronist58, I have the cheap flux core welder from harbor freight. Got it on sale for under $100. -
What did you do in the shop today?
Mudman replied to Mark Ling's topic in Blacksmithing, General Discussion
Very cool jhcc! -
What did you do in the shop today?
Mudman replied to Mark Ling's topic in Blacksmithing, General Discussion
haha your right. I try not to quote too much, because it ends up cluttering the forums a little, when conversation goes on. But it sure helps spelling usernames completely wrong. -
What did you do in the shop today?
Mudman replied to Mark Ling's topic in Blacksmithing, General Discussion
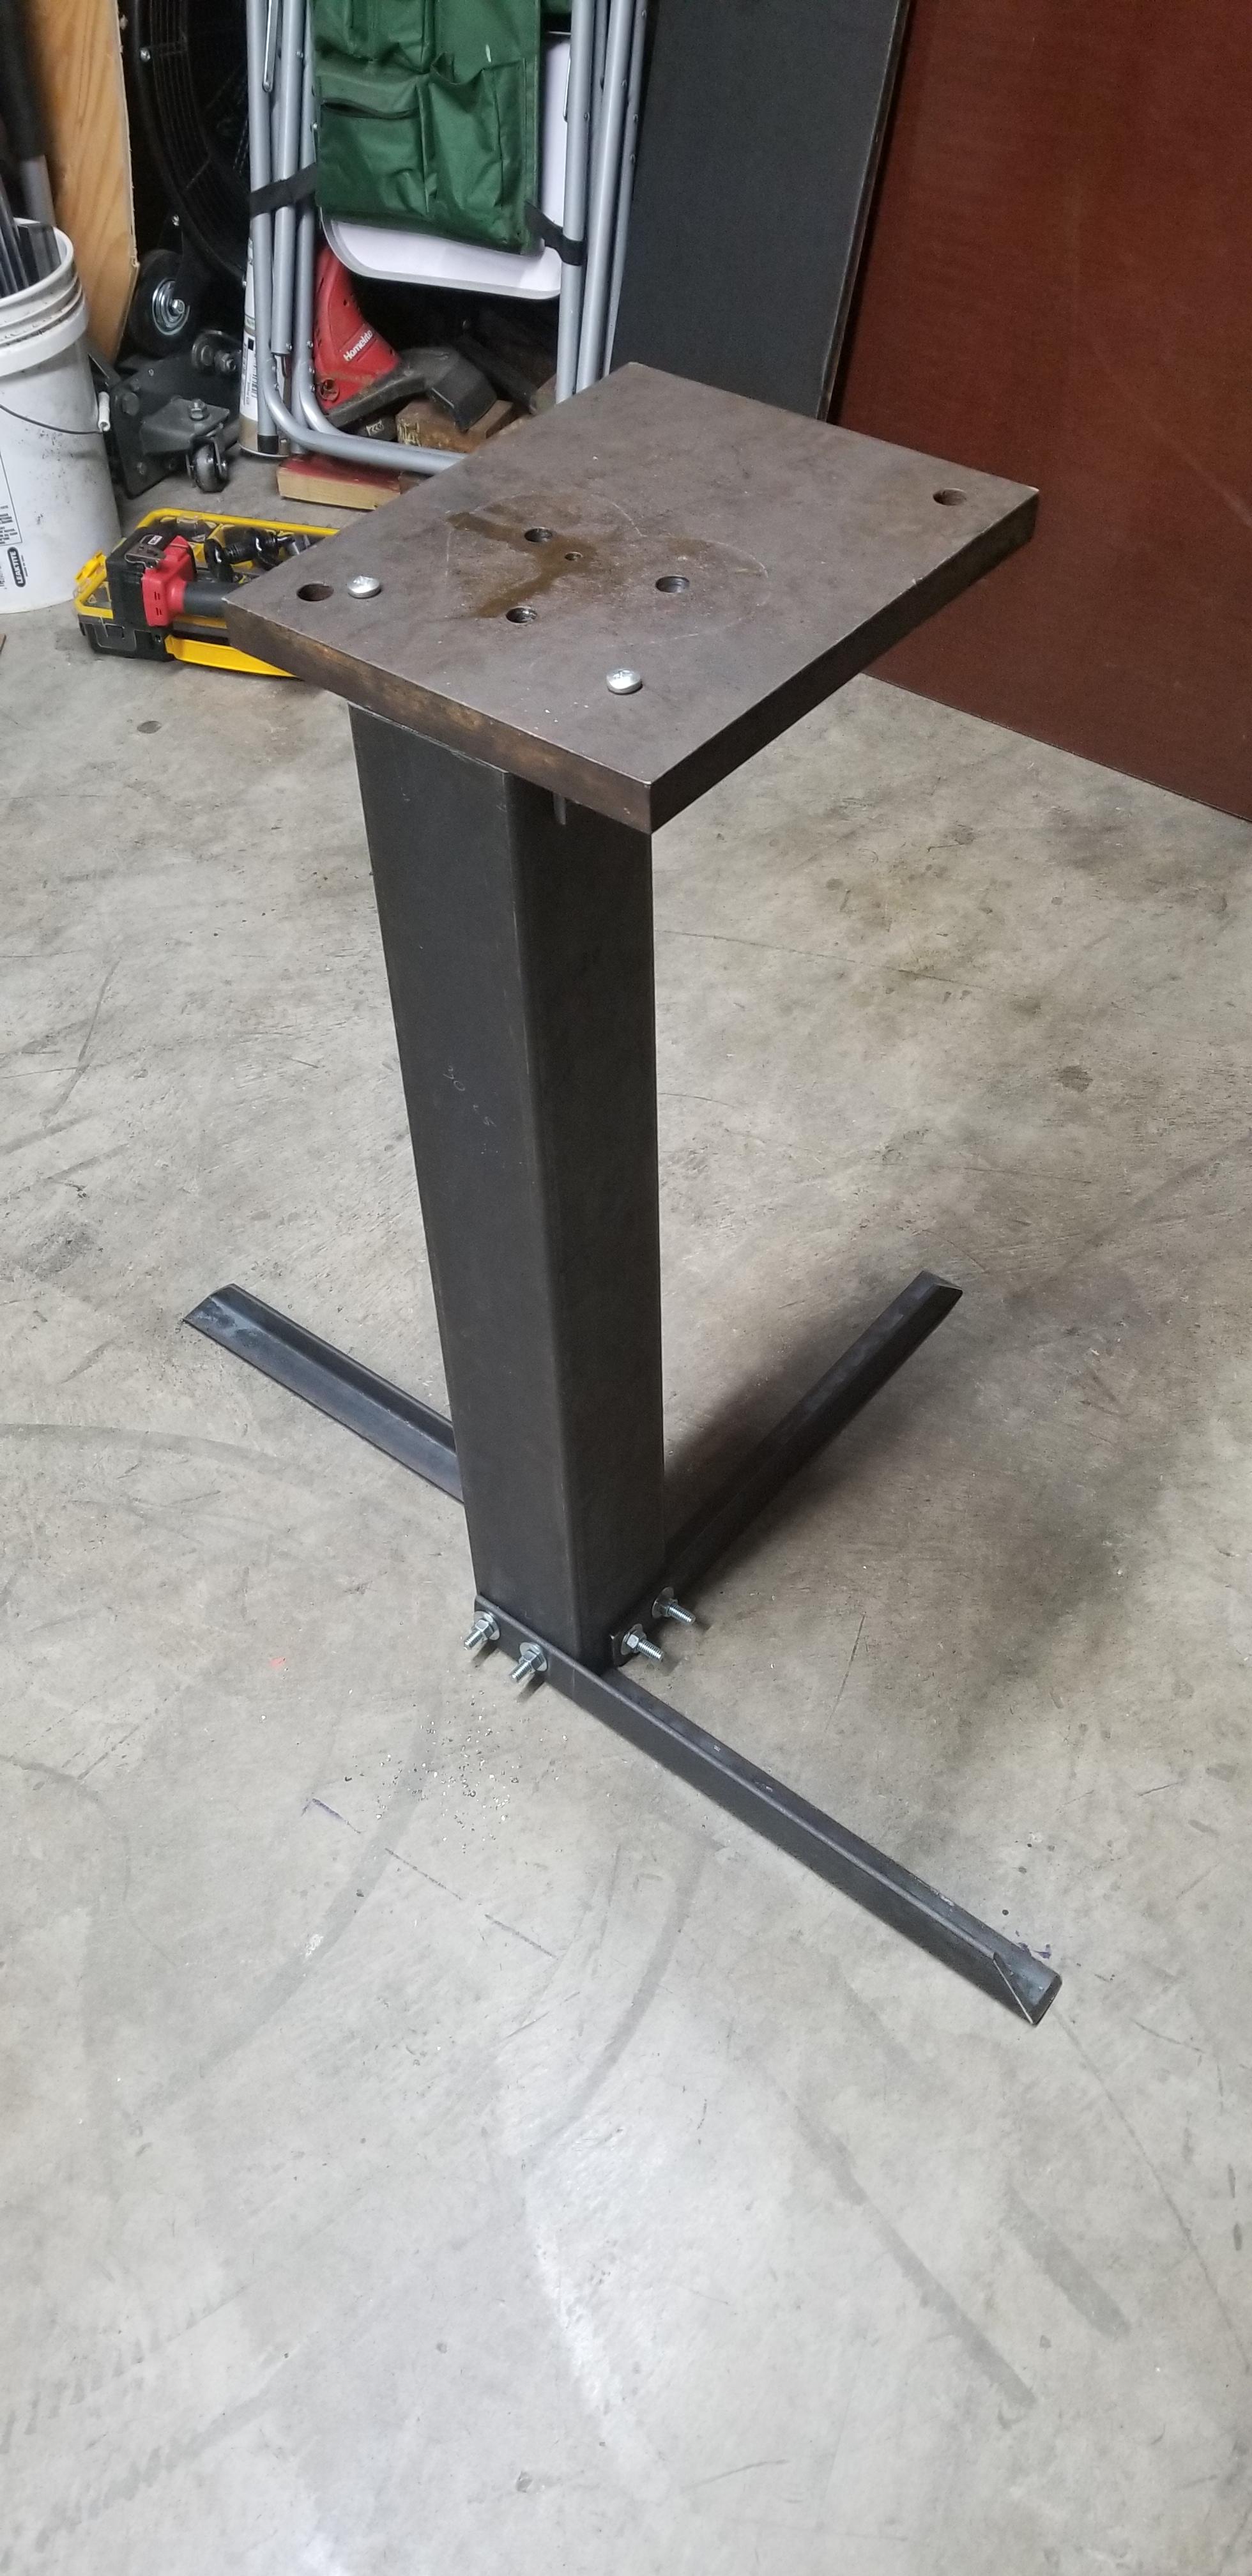
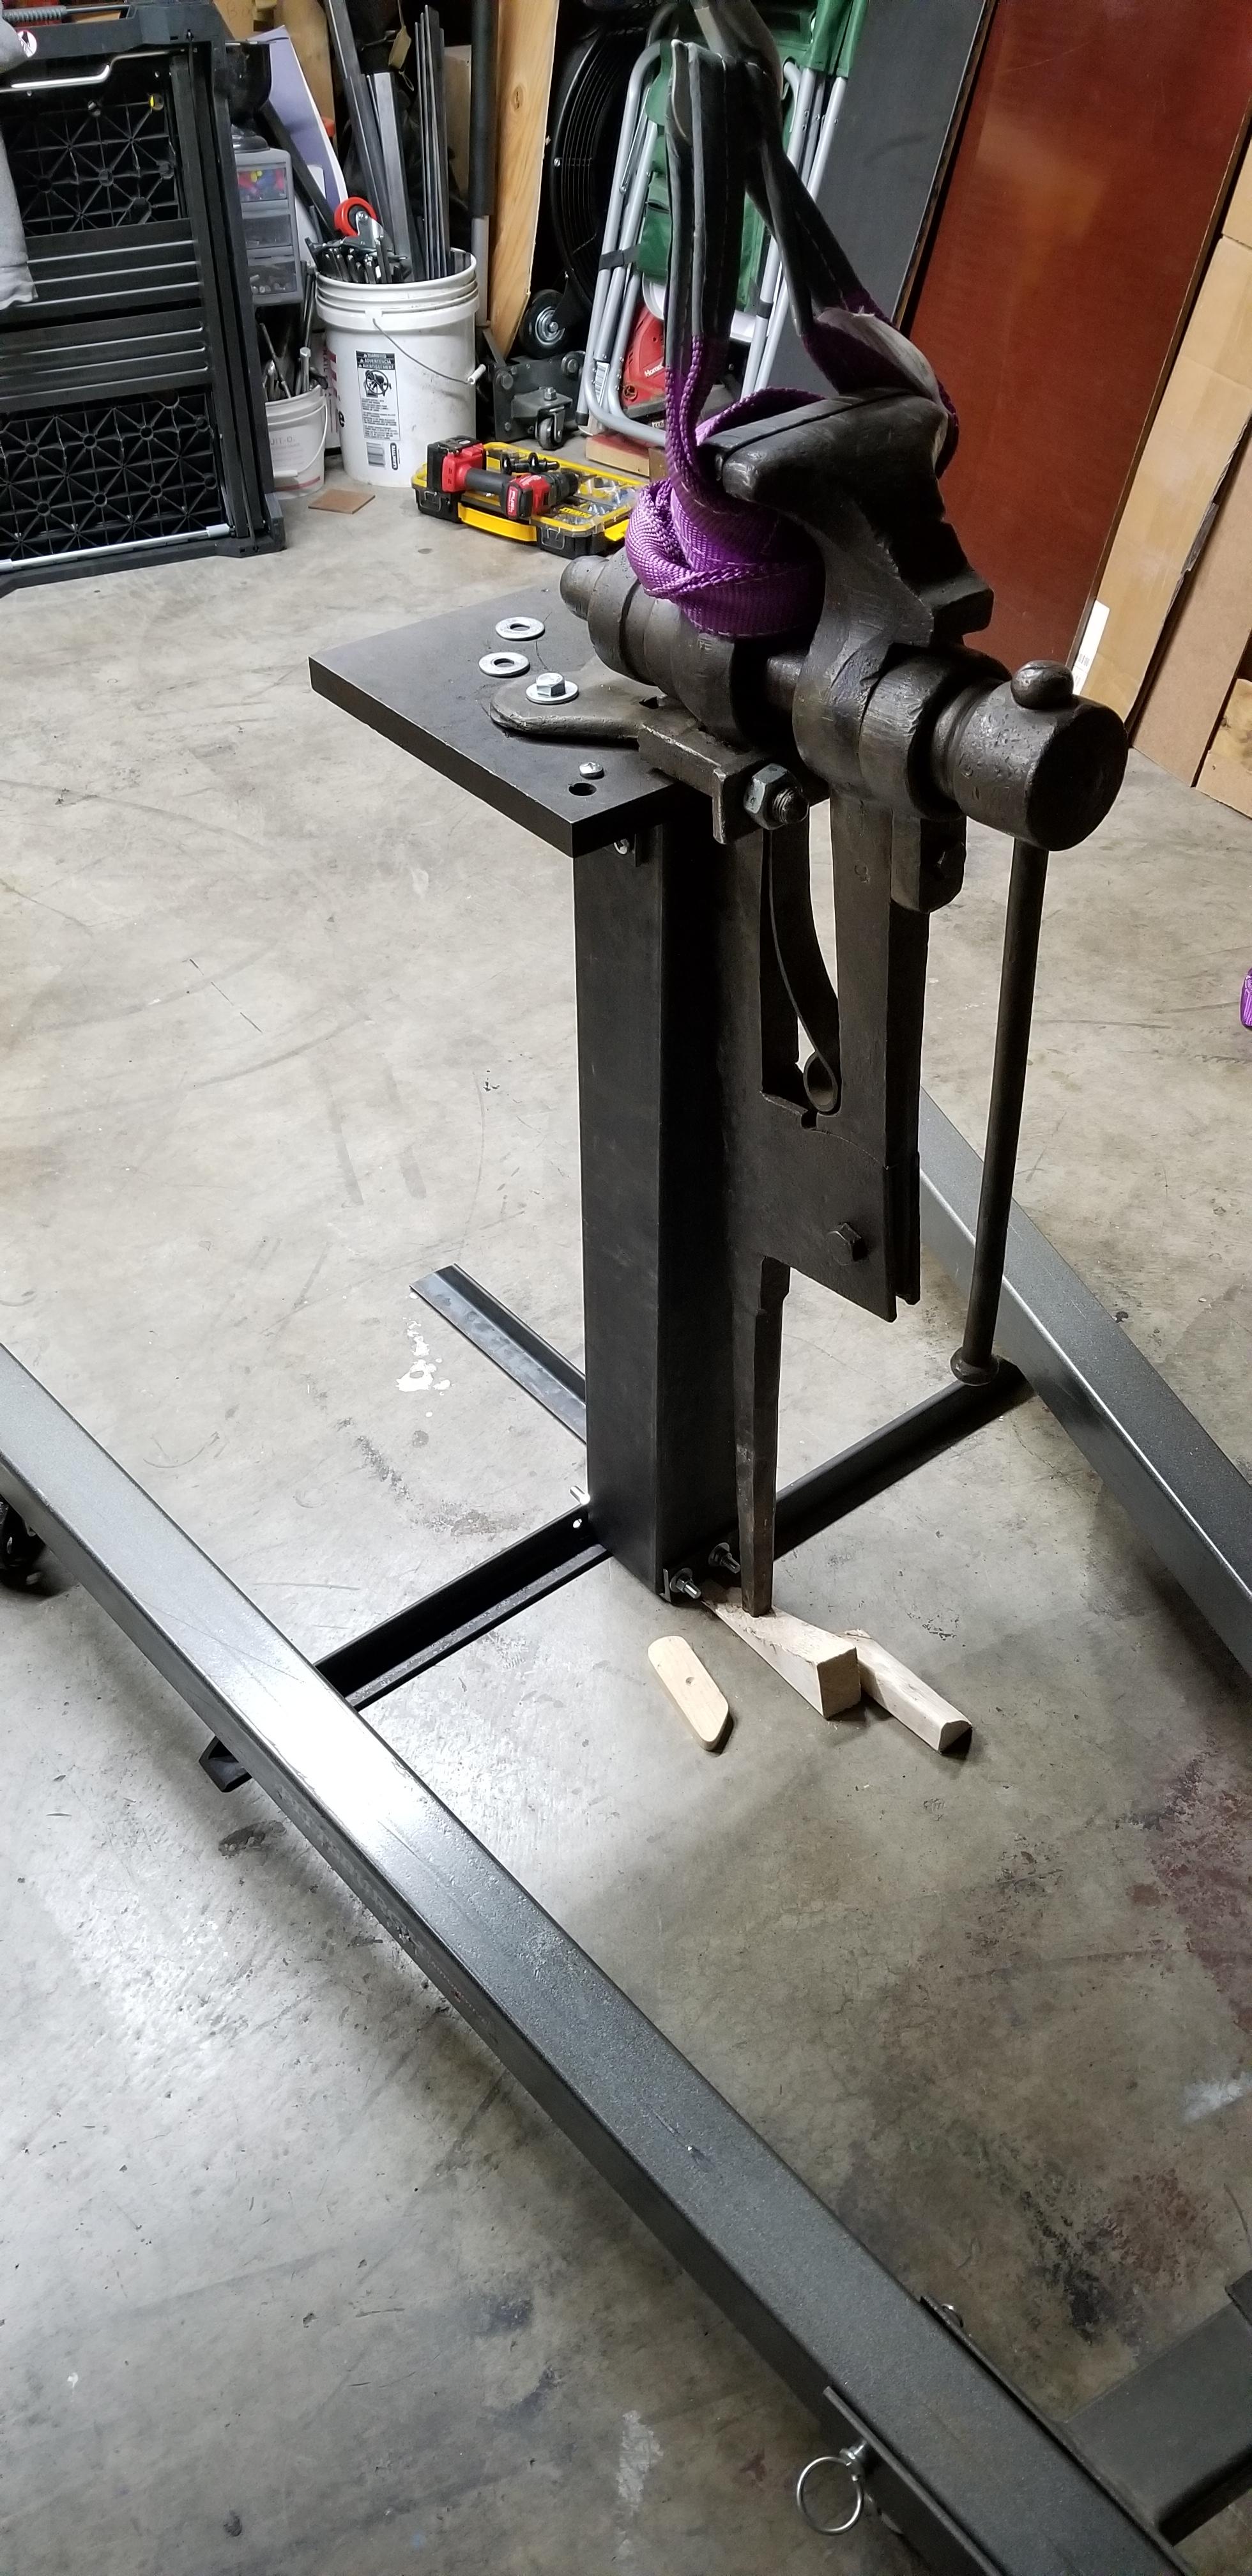
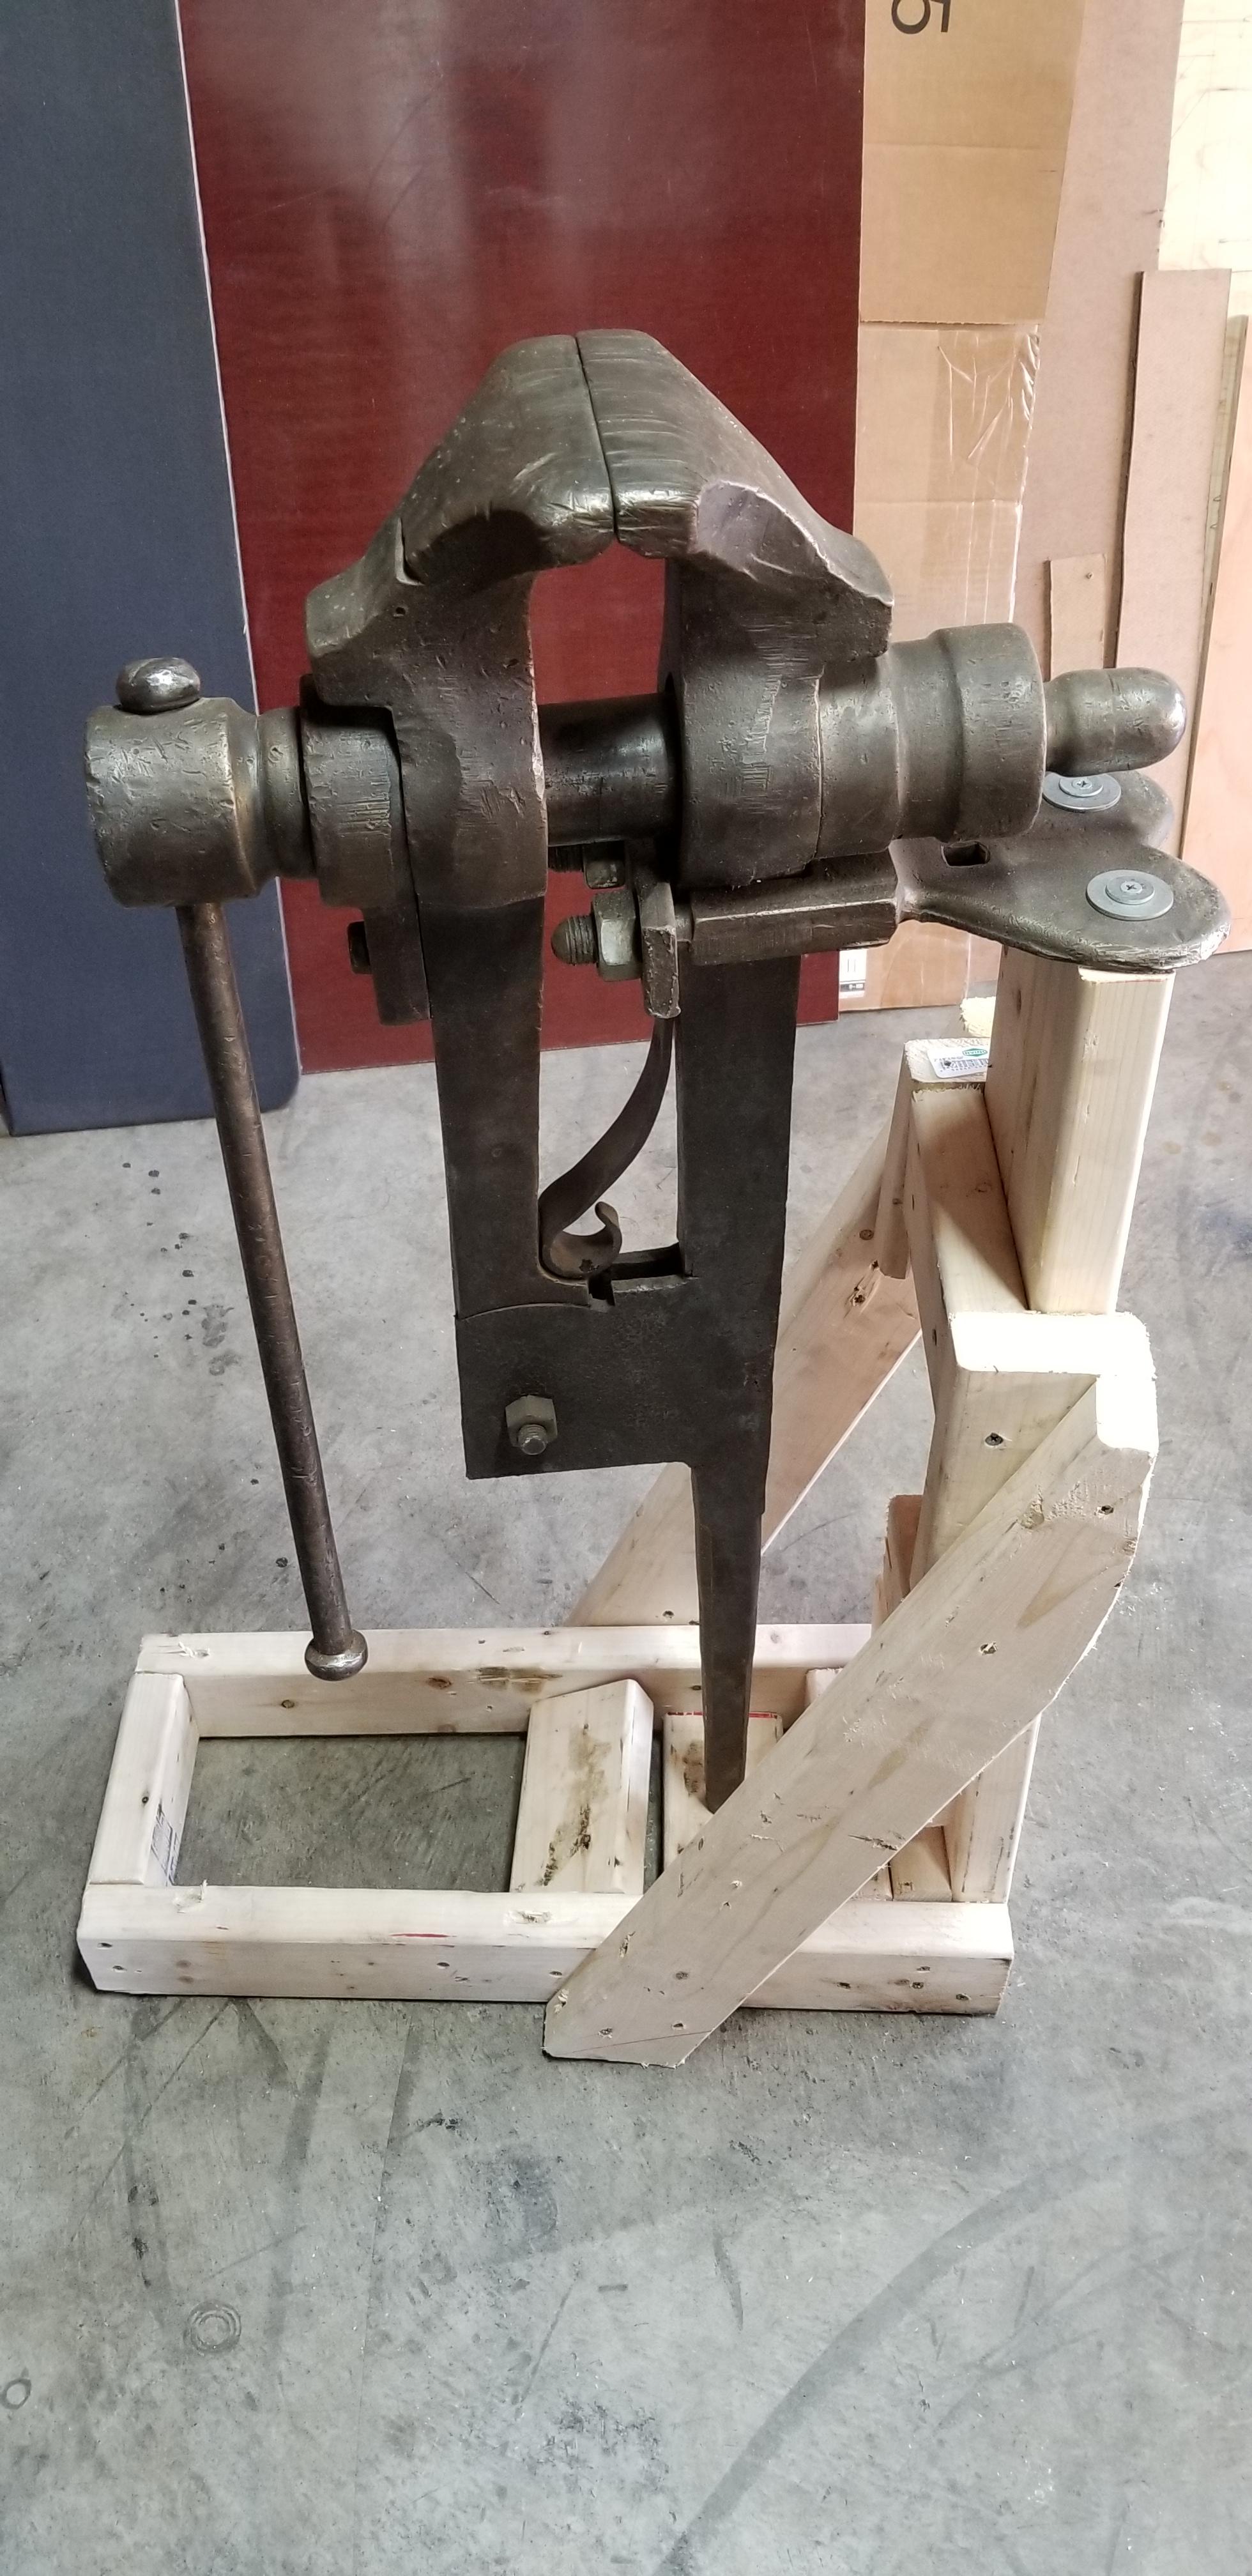
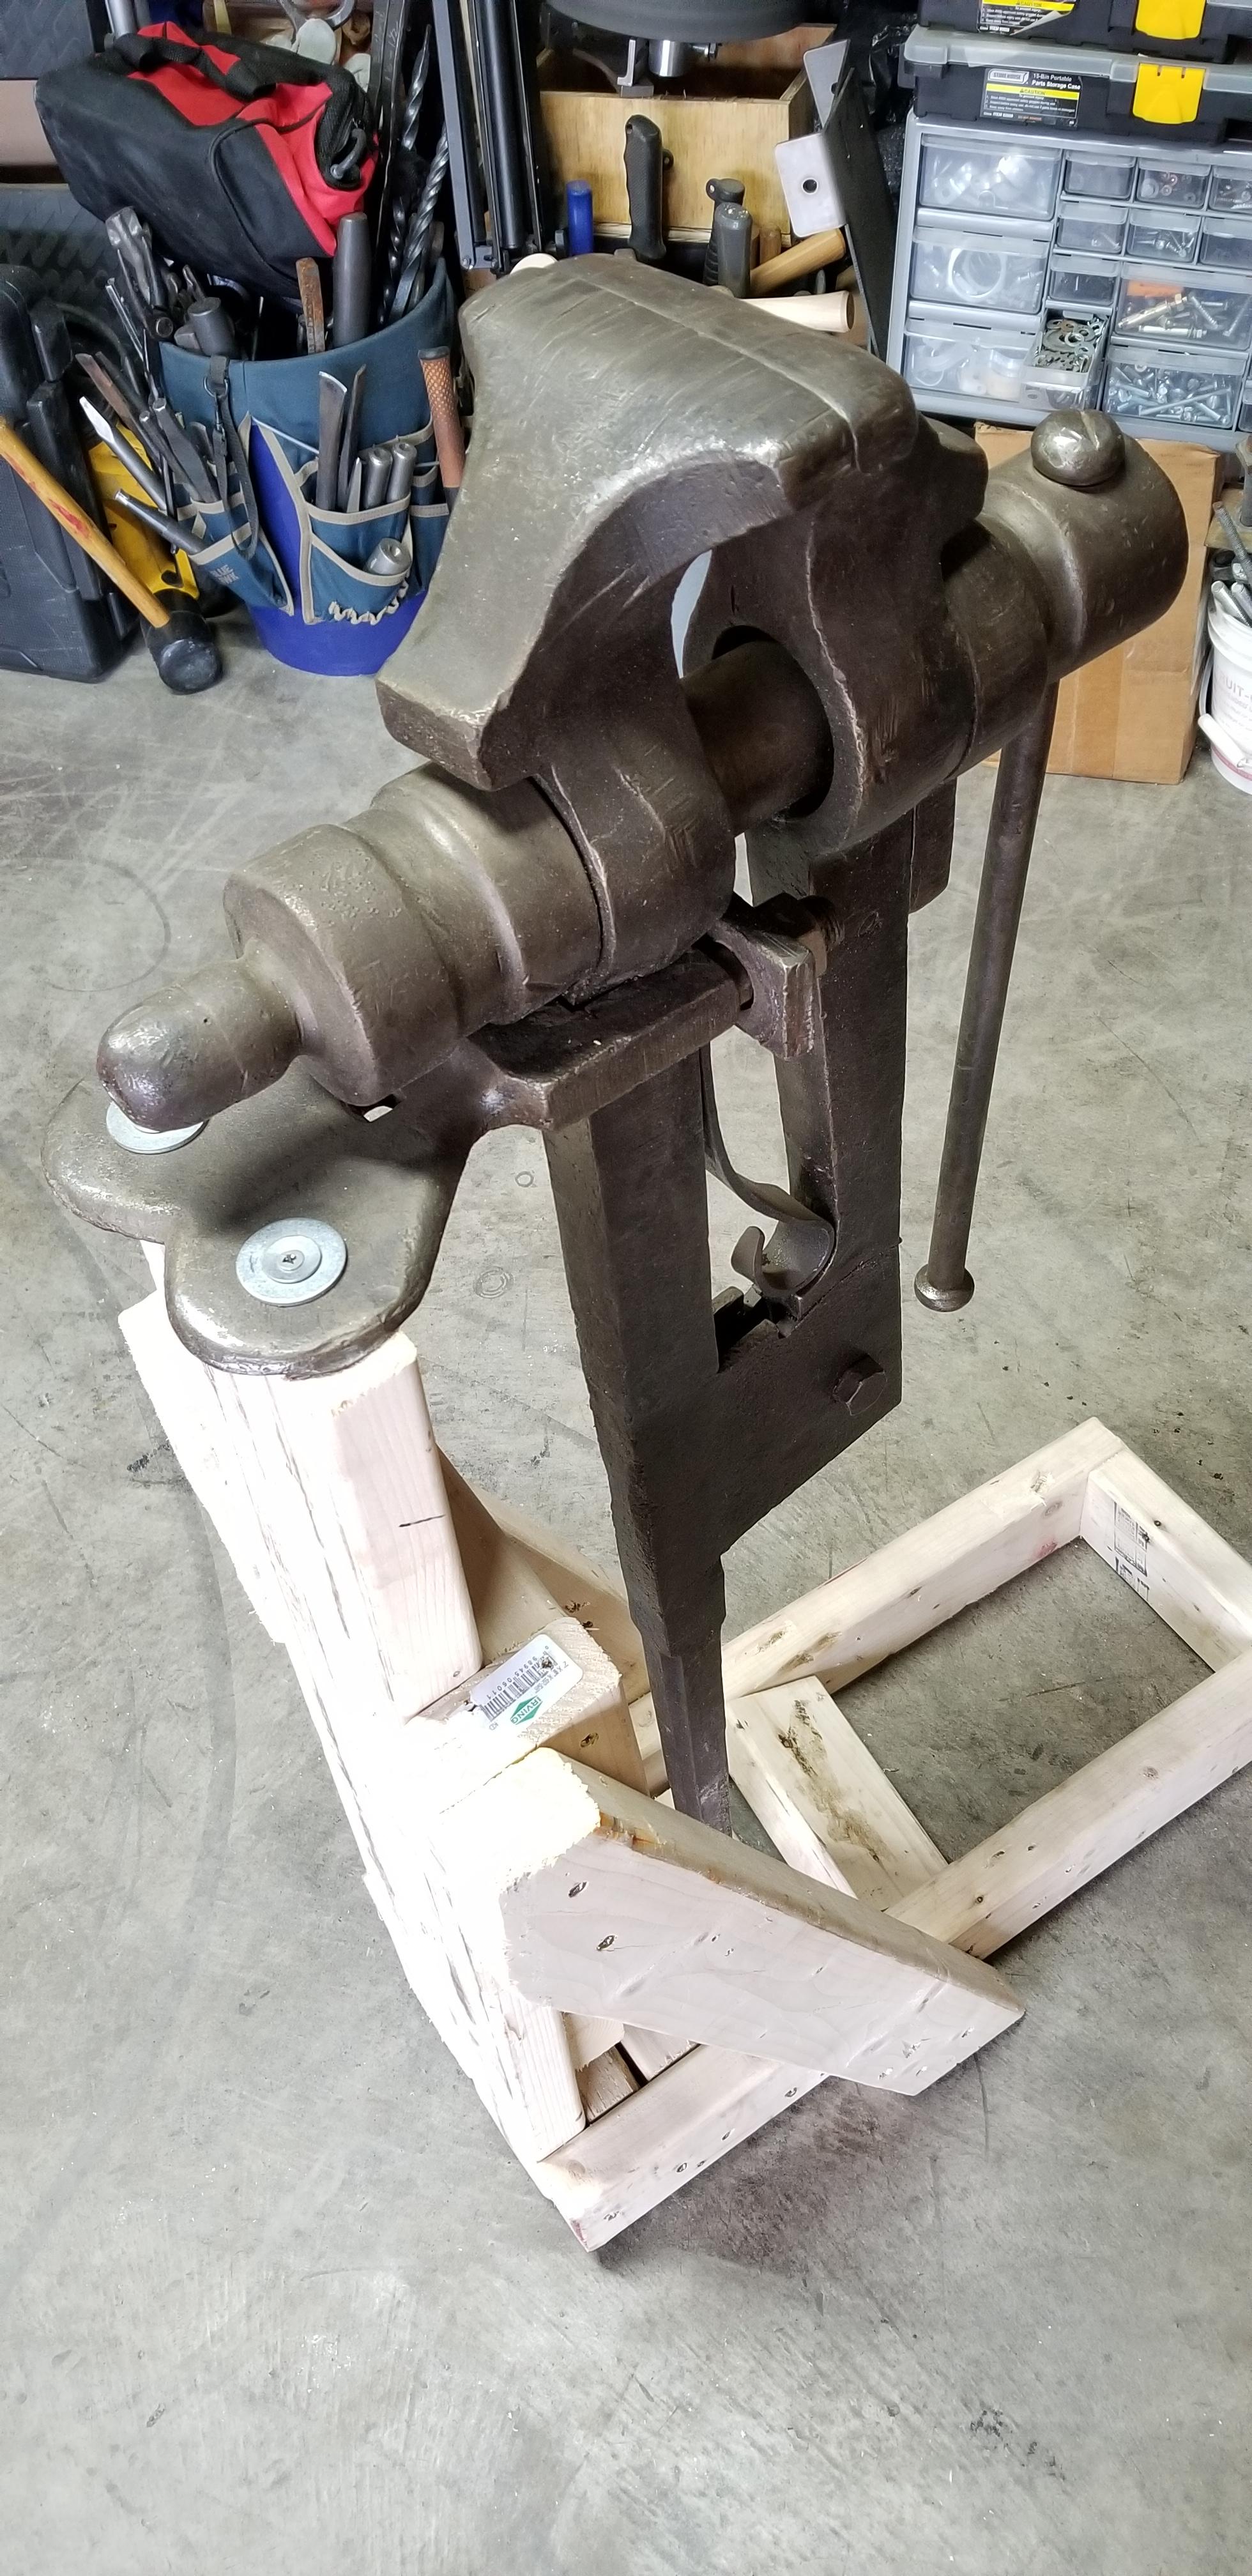
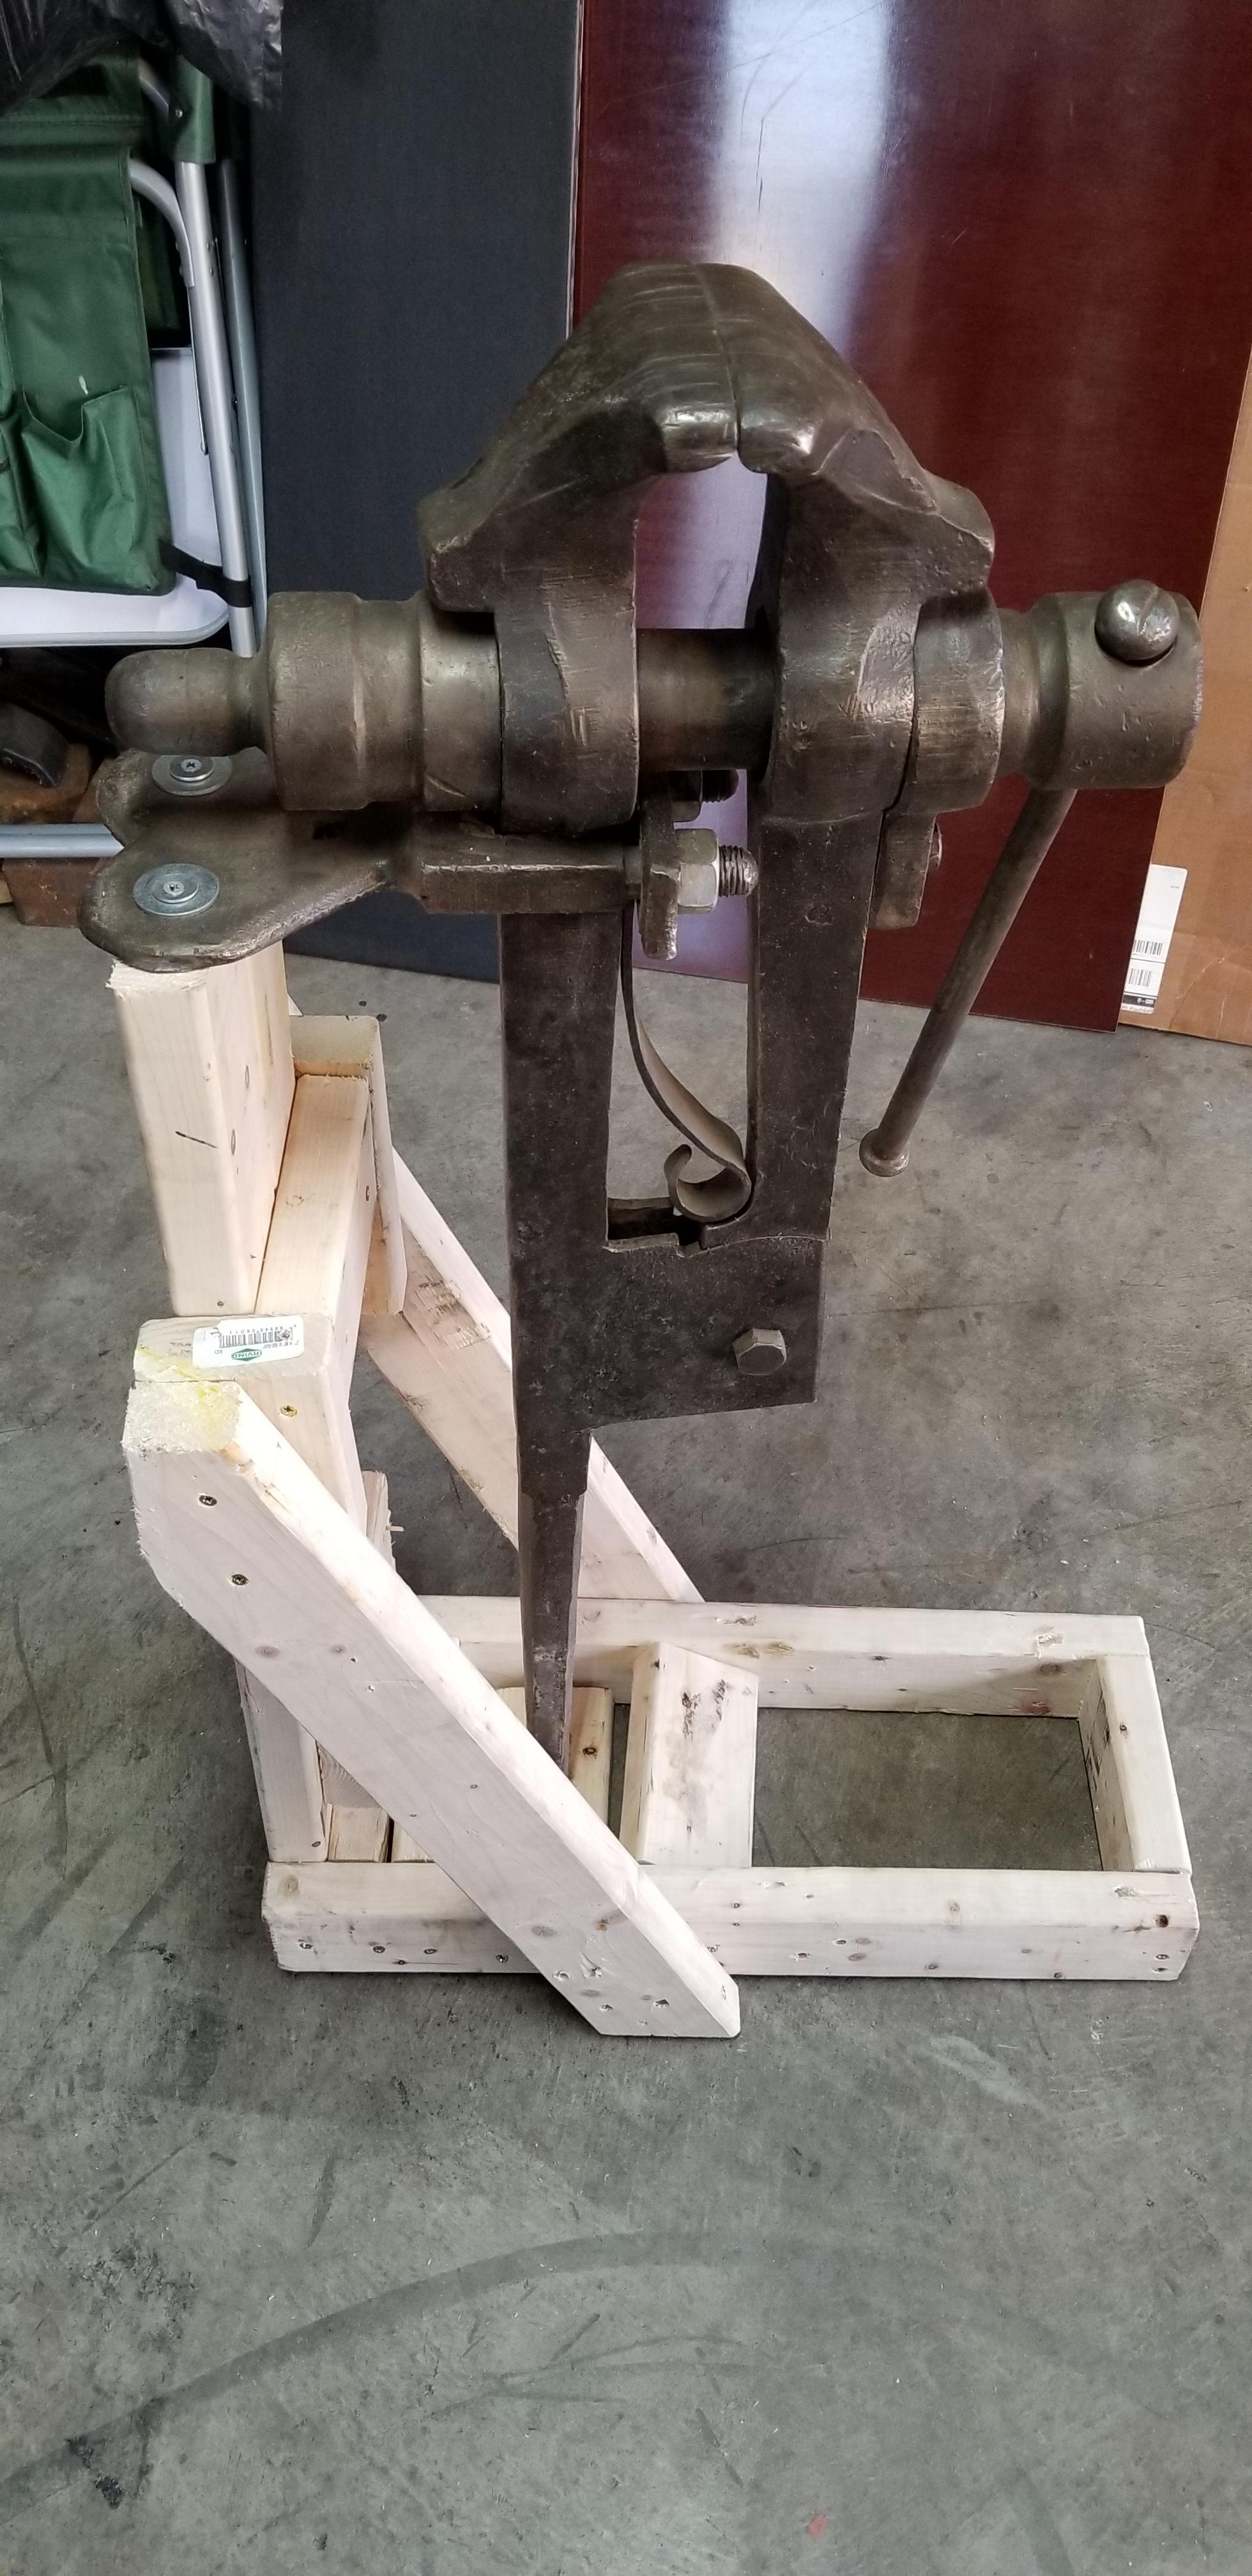
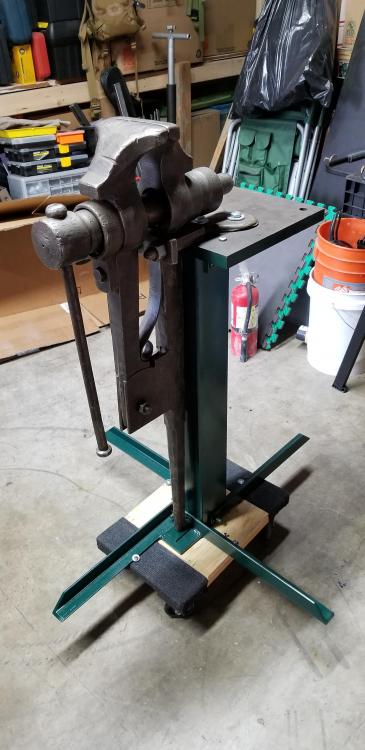
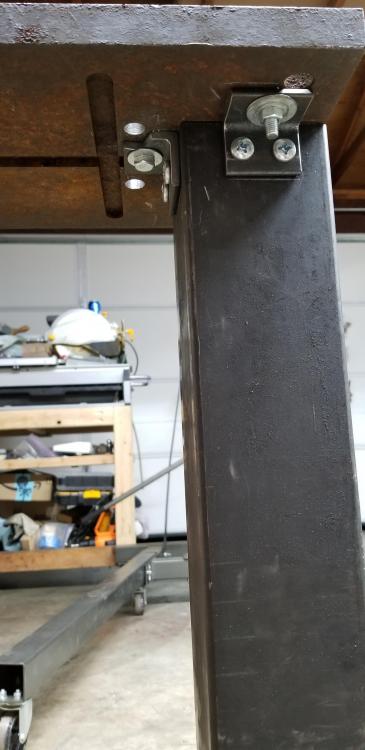
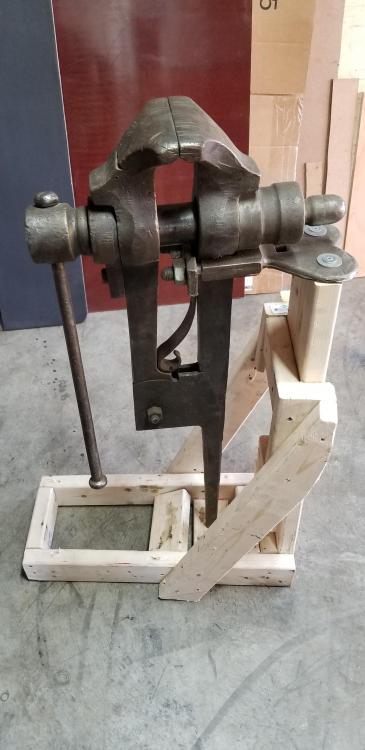
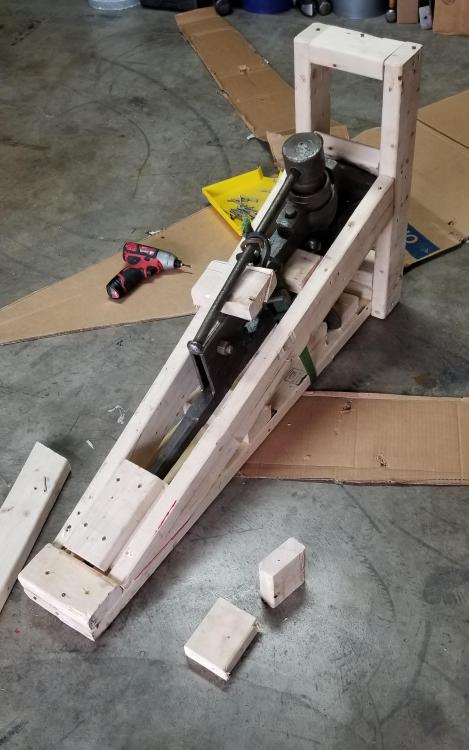
Haha sorry anachronist58, I could have sworn it said anarchist. This is my inability to read correctly without just quoting on the forum. I proofread multiple times and still got it wrong. Today I worked on the stand for my new to me vise, spent about 5-6 hours on it. One hour was removing a broken 3/8-16 tap, I should have known better trying to thread 1" plate. Then drilling the 1" plate took a while also. I don't trust my 120v flux core welder to do the job, so I used a mix of m8, 3/8, and 1/2 inch nuts and bolts. It was around completion, that I realized I forgot one of the legs. stand is 55lbs also got to weigh the vise. It will ultimately look like this, plus another leg.

-
What did you do in the shop today?
Mudman replied to Mark Ling's topic in Blacksmithing, General Discussion
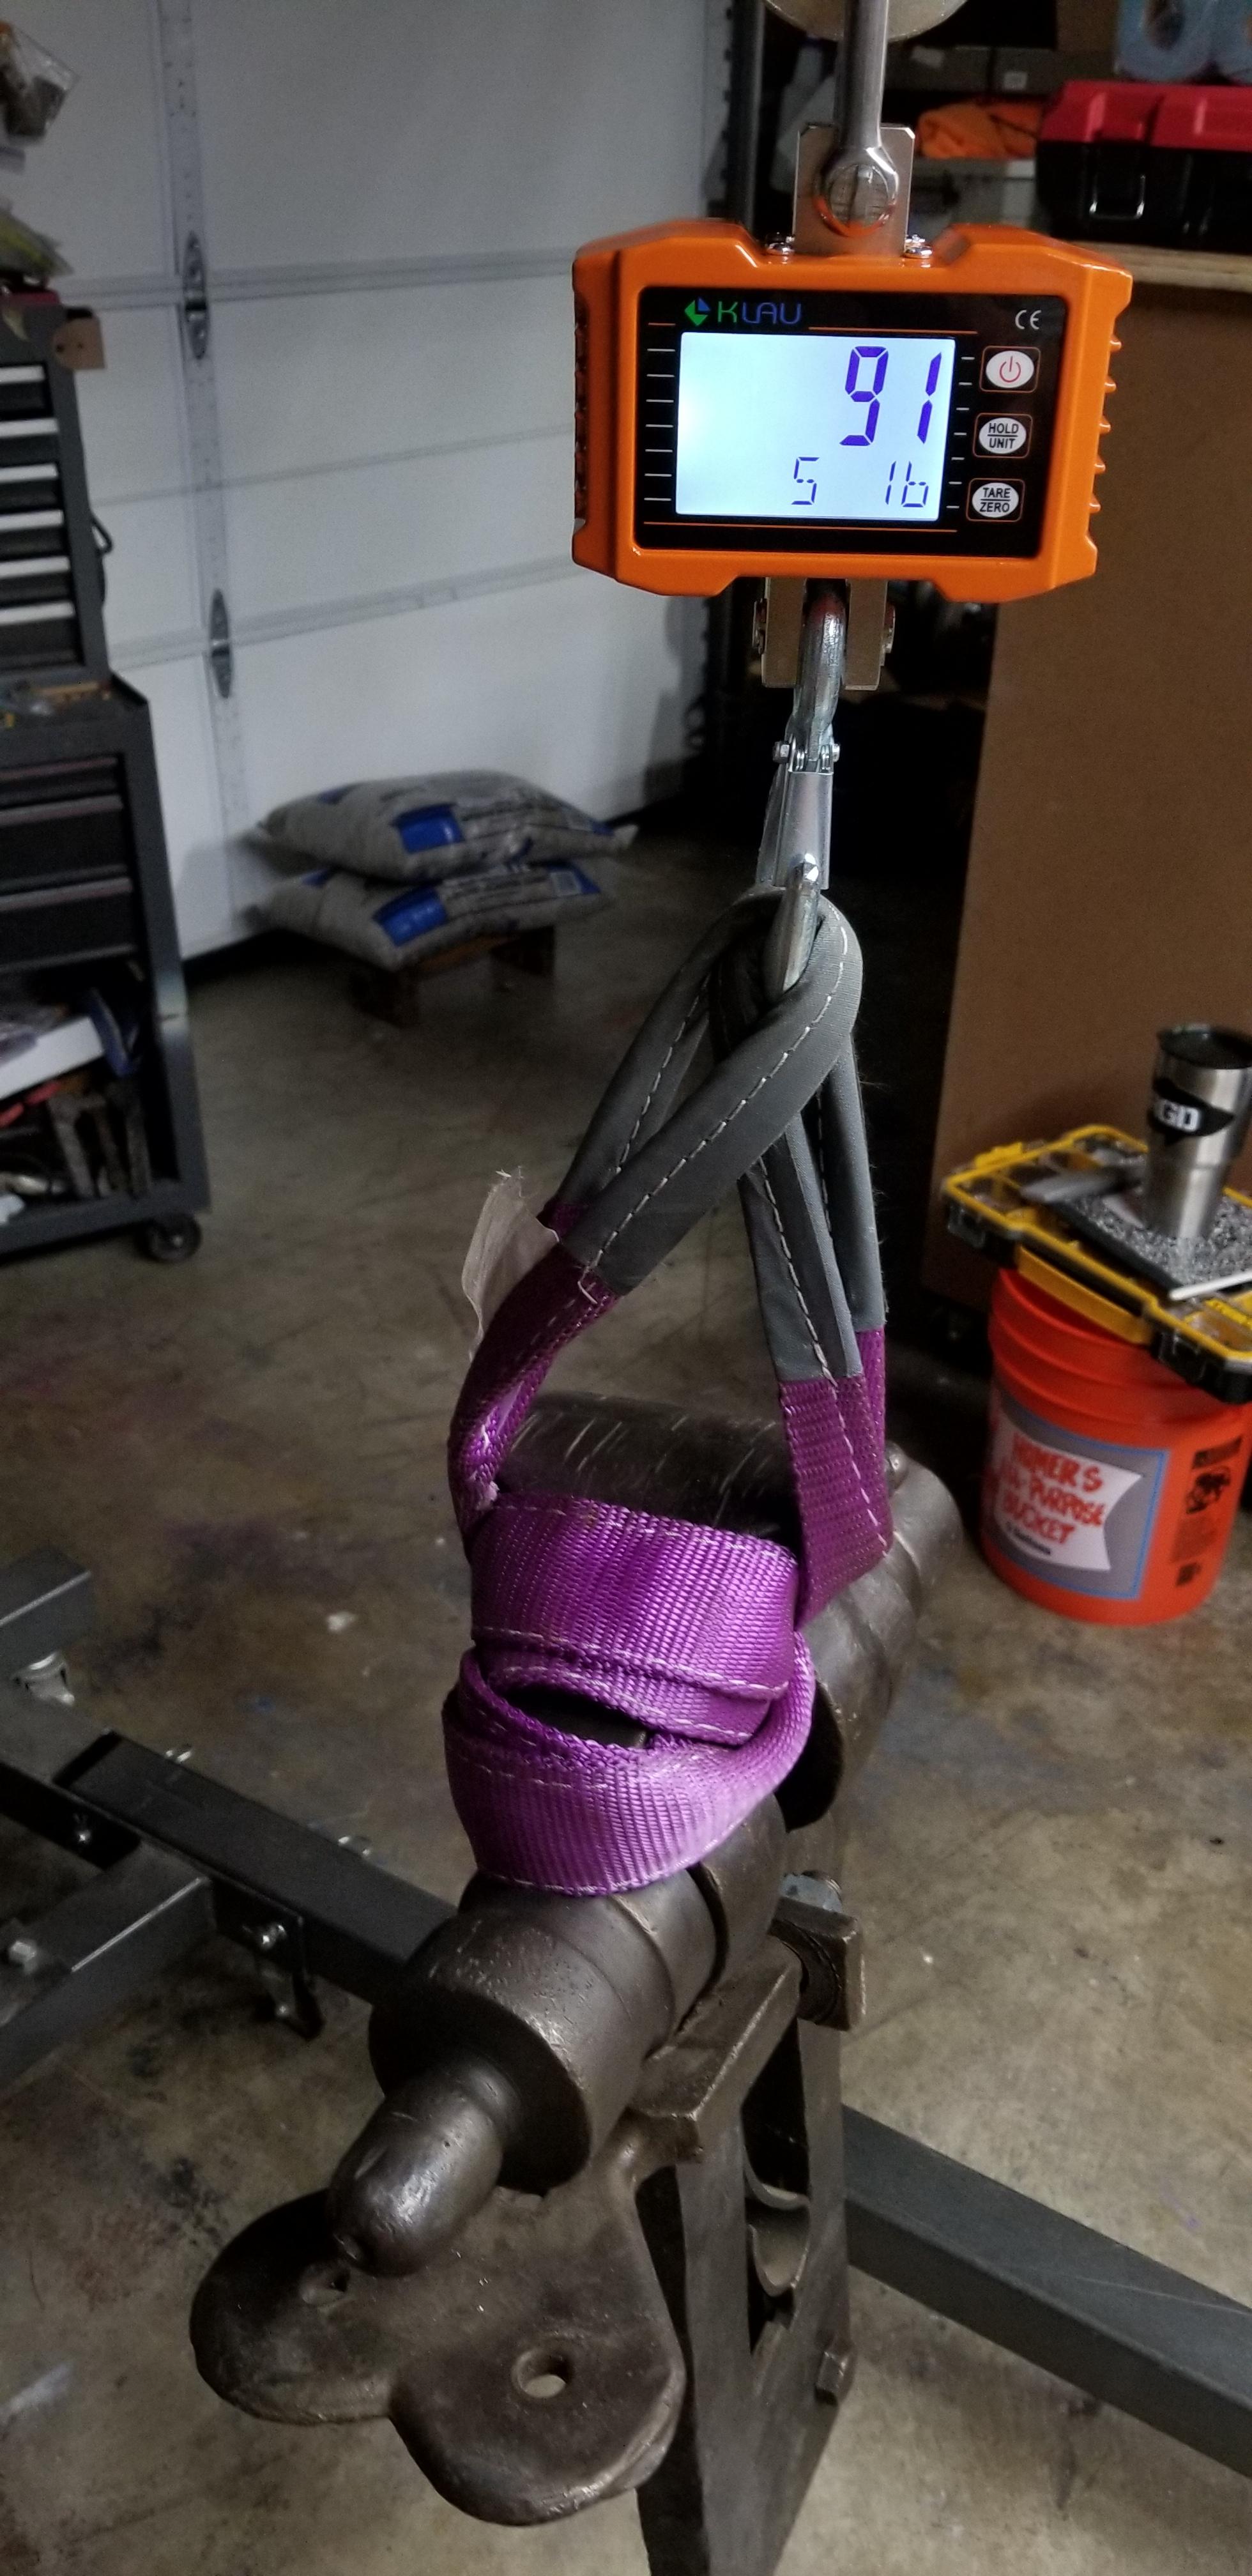
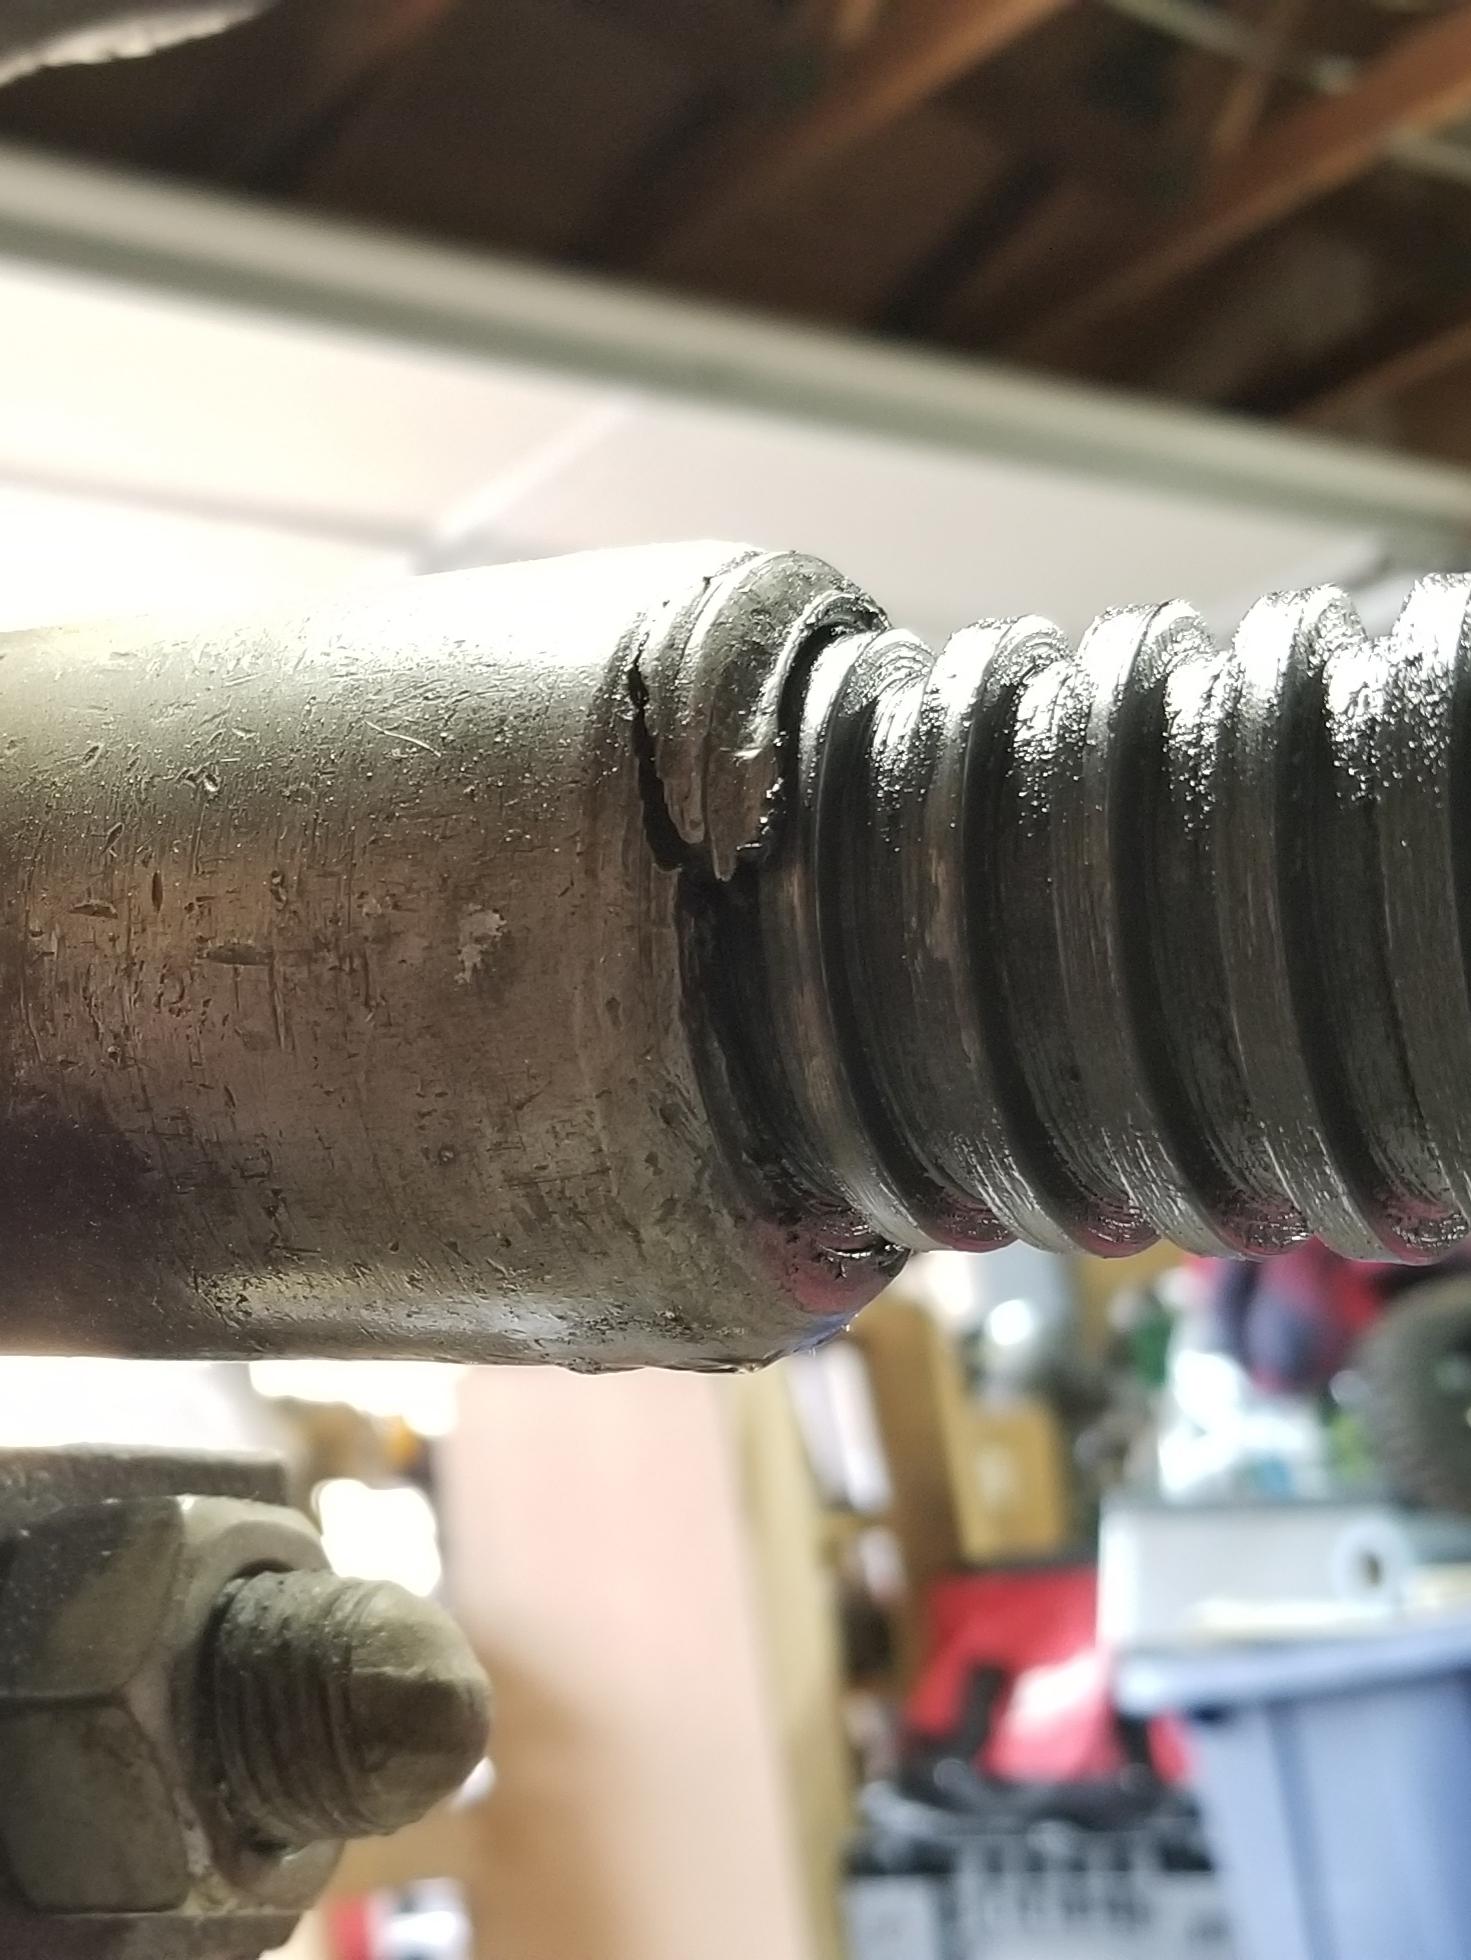
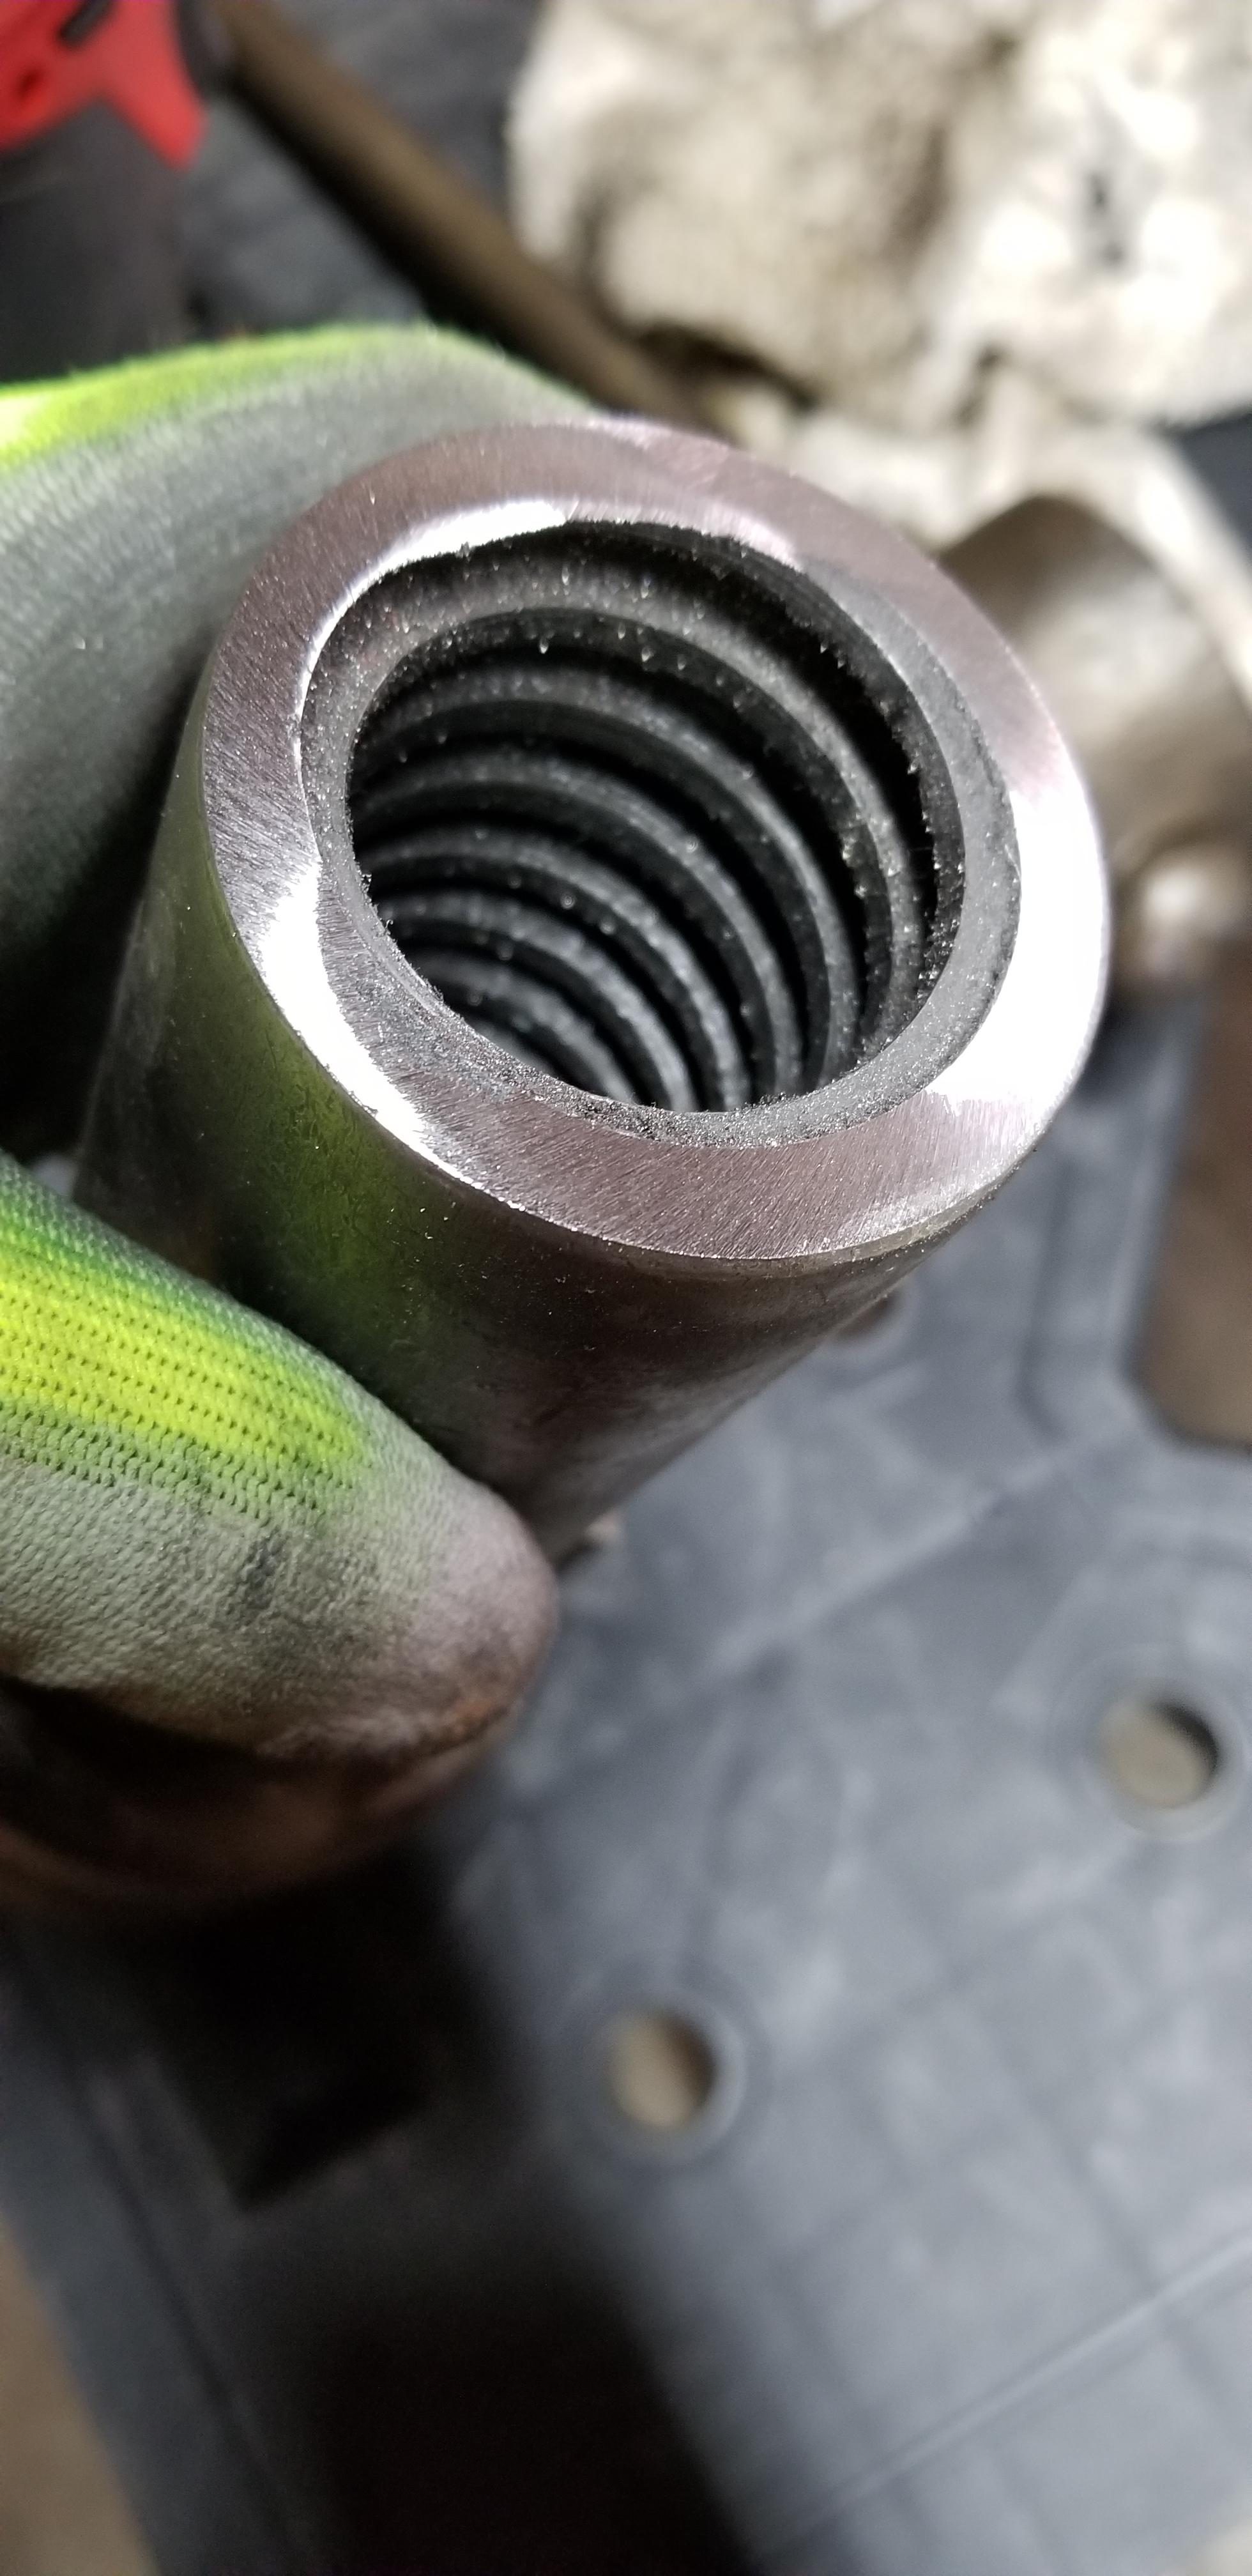
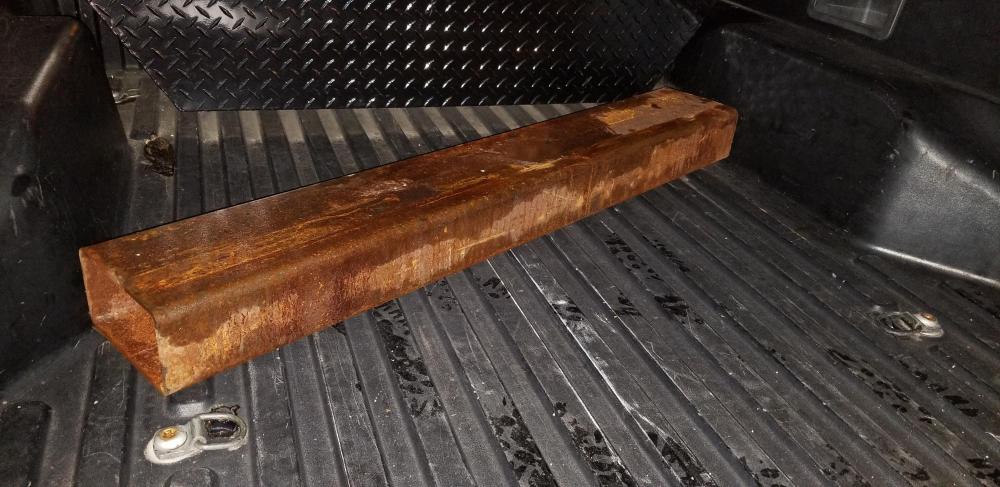
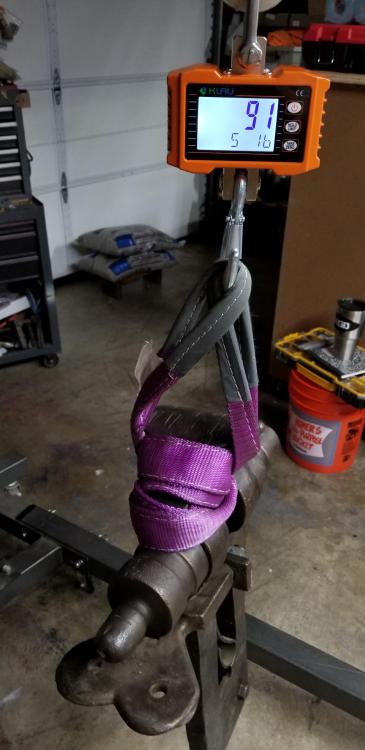
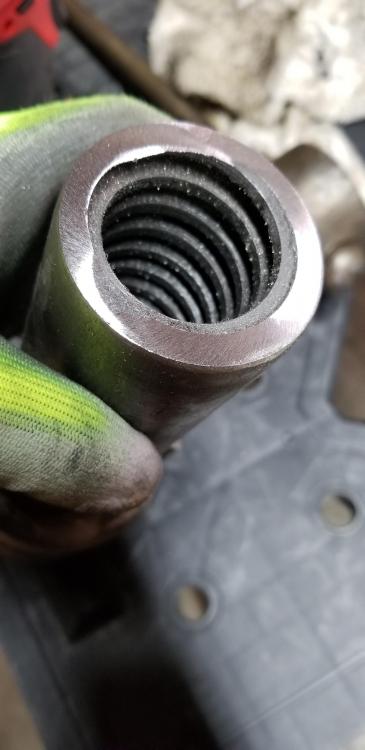
Anarchist58 no, from what I understand, it was dated to around the 1920's? French pattern and quite hefty. Weighs around 100lbs I believe. But my extreme curiosity led me to pick up a crane type digital scale. So I'll know better once she's weighed on it. Thank you jlpservicesinc, I purchased through a very kind fella on Instagram. Happened to see a post of him restoring a vise, and turns out he does it regularly. This is a 6inch French vise, one I'm not super familiar with. But the threads are crisp with no damage as far as I can tell to the internals of the bell housing. Looking forward to using it, as a tiny bench vise doesn't cut it. I discovered a small crack on the very end of the bell housing. After asking the seller about it, he graciously offered to replace it. But being so minor, I decided to grind it off as there was still plenty of thread on it. Most of my shop time was spent cutting up pieces of square tube, to build a hammer and tong rack. Then trying to piece together some scraps I had for the vise stand. Having a small 120v flux core welder has been quite a limiting factor.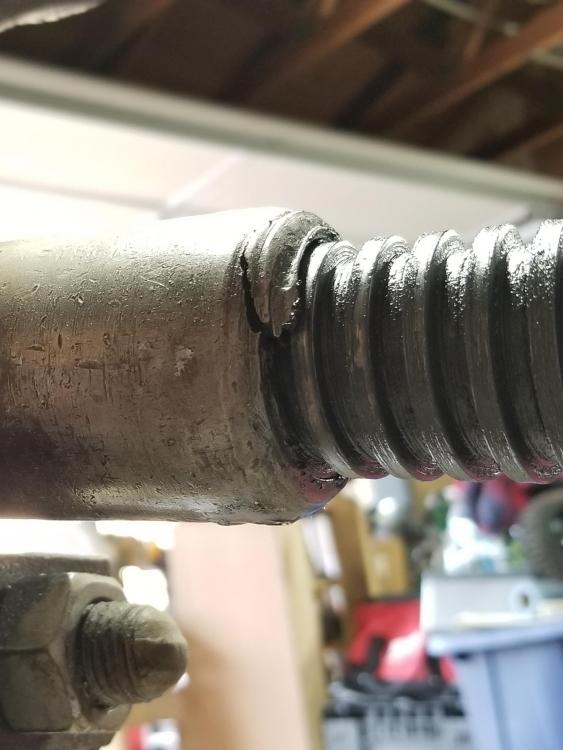
-
What did you do in the shop today?
Mudman replied to Mark Ling's topic in Blacksmithing, General Discussion
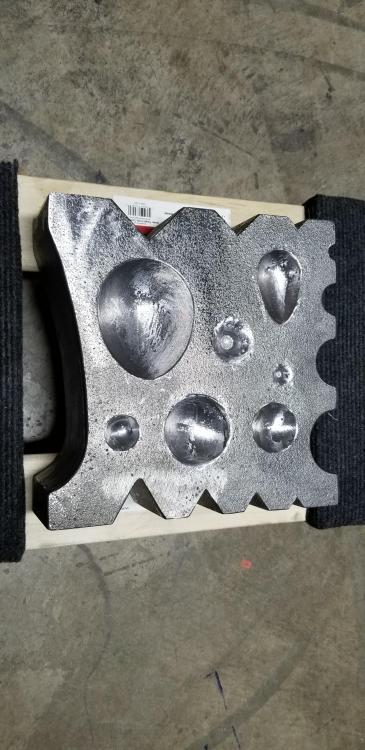
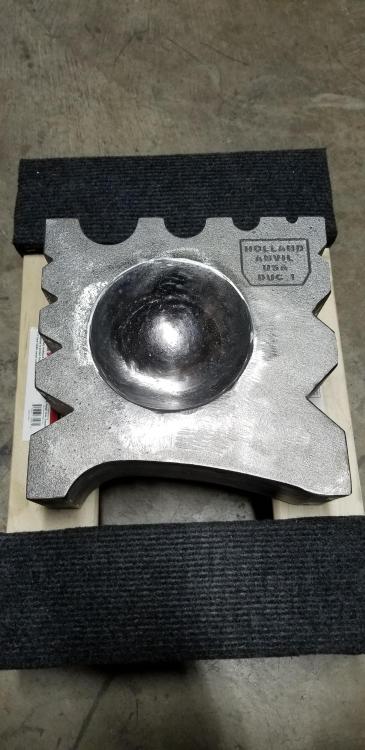
Couldn't forge today due to rain, but this beautiful thing came today. Unpacking was better than Christmas. This is what I call proper packaging


-
"How to Forge a Set Hammer" (Steeled face) Video
Mudman replied to jlpservicesinc's topic in Tools, general discussion
Great video, Would you say this is more effective(?) than tapering larger stock? -
What did you do in the shop today?
Mudman replied to Mark Ling's topic in Blacksmithing, General Discussion
Thanks jlpservicesinc. I'll keep pushing my luck for now, when I see a crack, then I'll know the limit. =) pnut, I have not seen that but will check it out. I've noticed for sure that it get's a little shinier as also as your mentioning. -
What did you do in the shop today?
Mudman replied to Mark Ling's topic in Blacksmithing, General Discussion
Thanks. The copper tube thing never occurred to me, until a friend mentioned it after showing me a spoon he made as well. It takes a little fiddling, but seems pretty well proportioned for spoons once flattened. Using a hacksaw, despite having several power tools more than capable for the job, is oddly satisfying on copper. The bigger spoon I made, was from 1'' copper tube I believe? 2'' tubing sounds pretty handy. I may continue on this route using the tubing, seems much easier to get. I'm not quite ready to shell out the money for a big sheet of copper yet, although tempting. Do you think it's a softer type of copper in general, or just pre-annealed? -
What did you do in the shop today?
Mudman replied to Mark Ling's topic in Blacksmithing, General Discussion
haha dangit, I should have proof read better. Apologies folks jlpservicesinc, thank you very much. I just used various hammers including a very tiny ball pein. When I say tiny, it's tiny. The key to my door is bigger than the head of this hammer. Which worked out well for the tip of the smaller spoon. But now that you mention a wood pattern, that sounds like an excellent idea- I'll have to make some. These were not annealed, as they seemed pretty soft as is. They were originally copper tubing from the hardware store. I cut it to length, then split down the middle. After shaping though, the material definitely hardened some. Copper tubing worked out pretty good, although I will likely need to pick up a sheet for the bigger forms. -
What did you do in the shop today?
Mudman replied to Mark Ling's topic in Blacksmithing, General Discussion
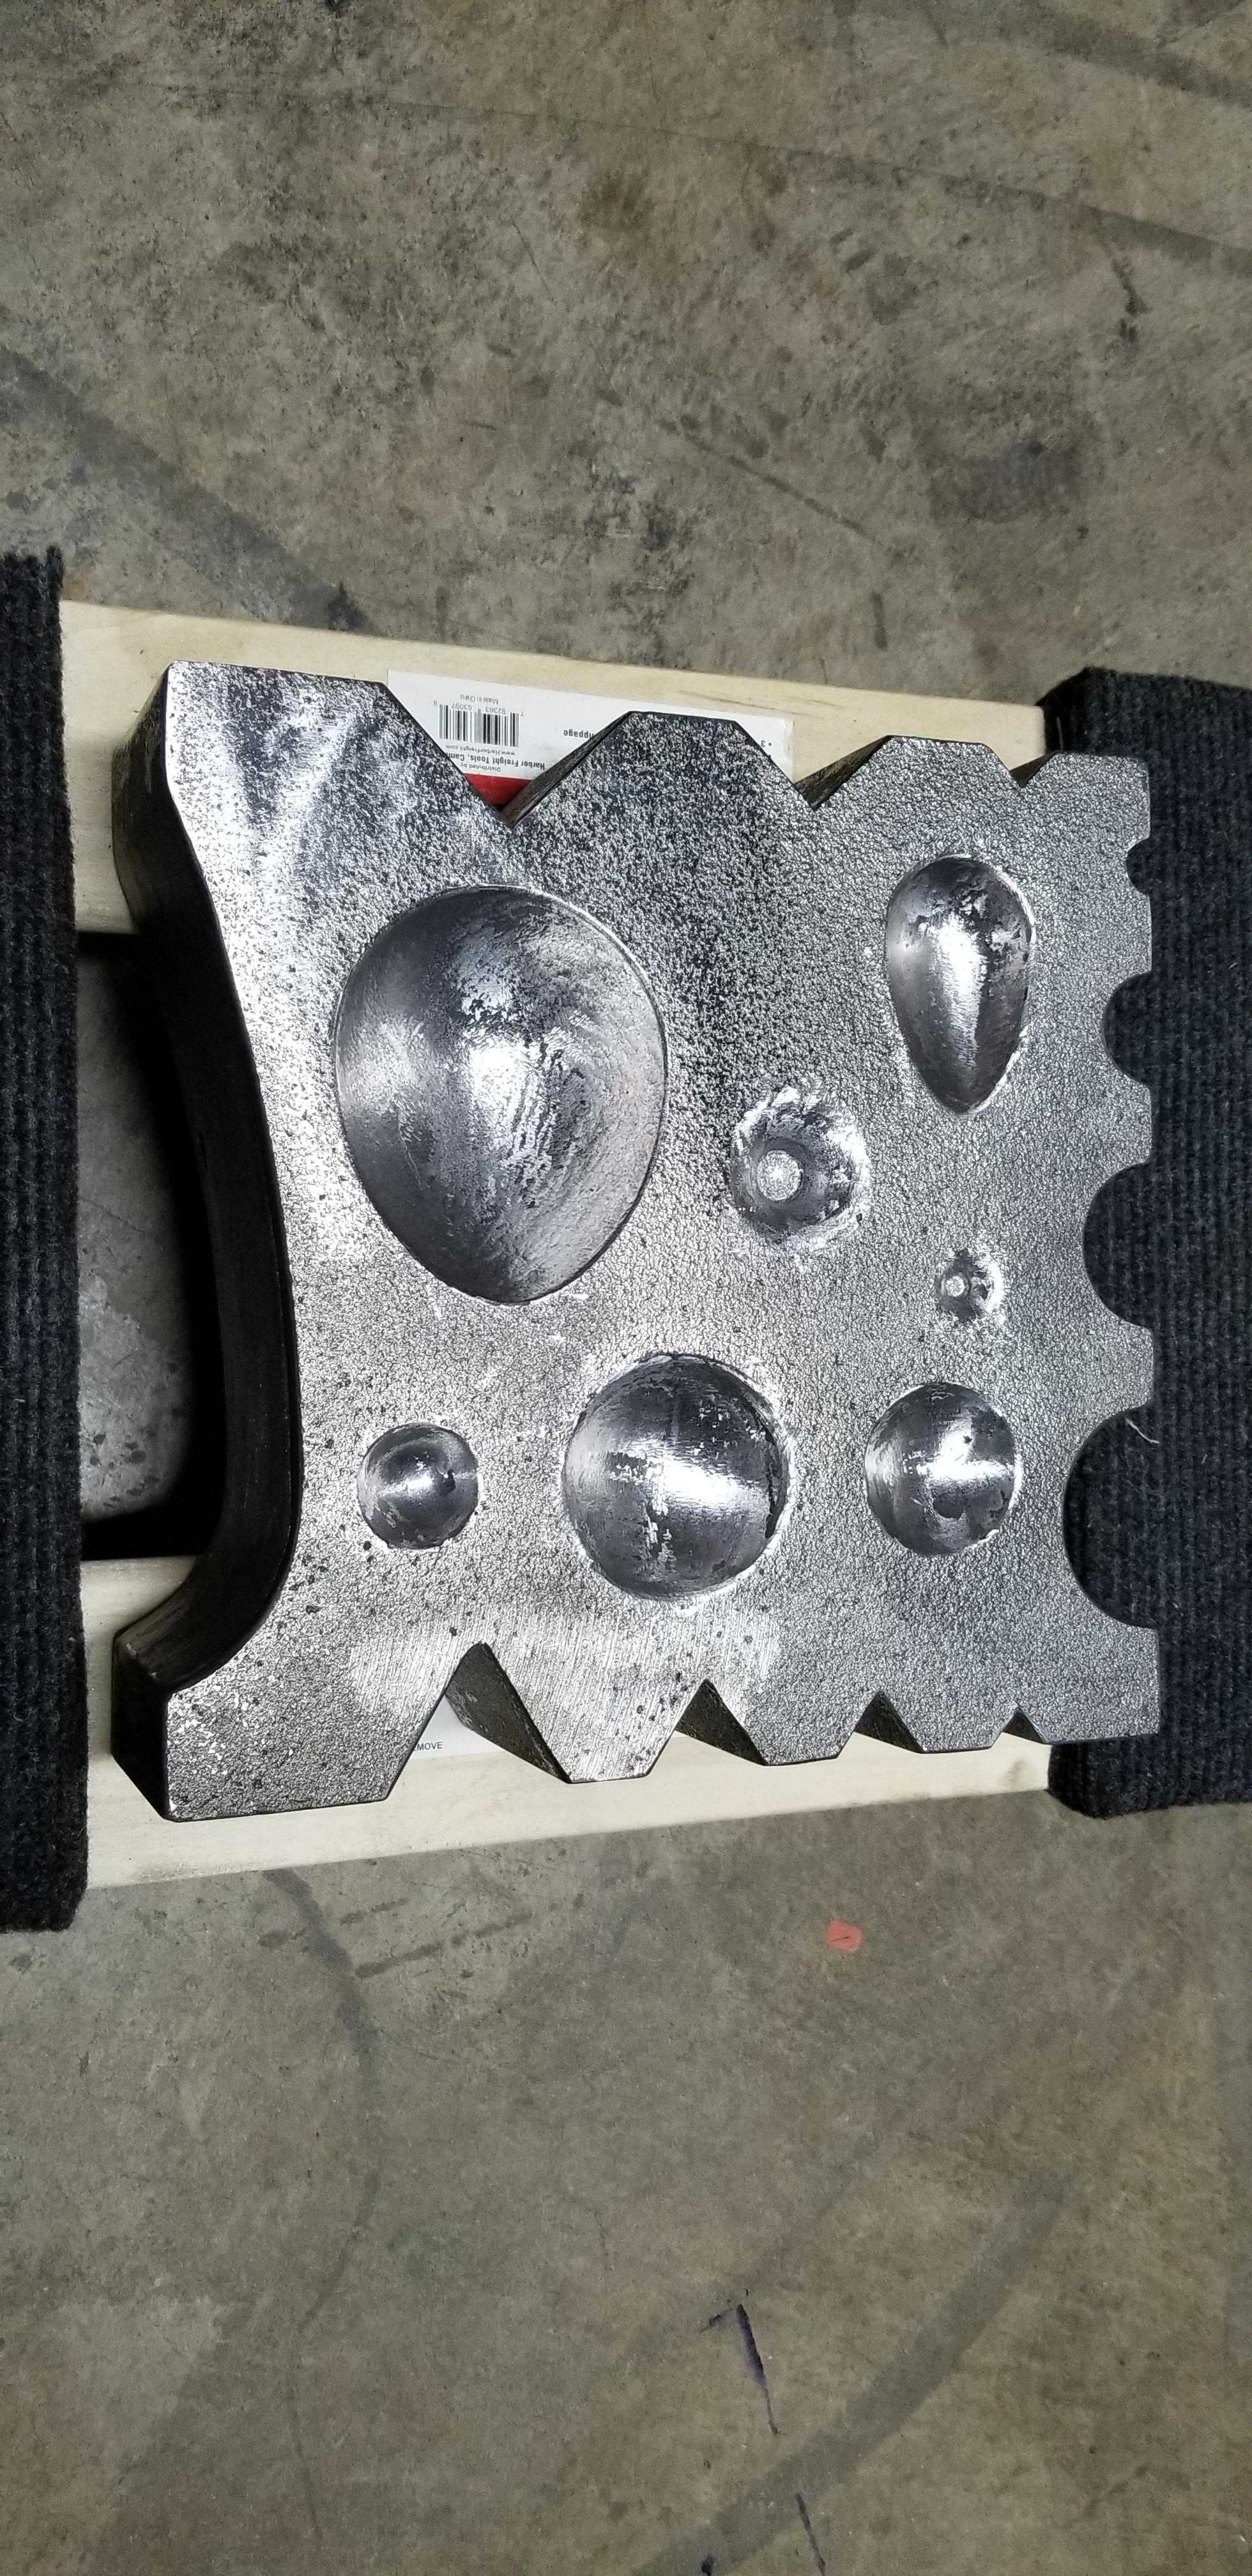
First tine making sounds. Much work to do, but lots of fun. Also cleaned up my swage block a little.
-
What did you do in the shop today?
Mudman replied to Mark Ling's topic in Blacksmithing, General Discussion
those are looking great daswulf -
What did you do in the shop today?
Mudman replied to Mark Ling's topic in Blacksmithing, General Discussion
Looking forward to the video jlpservicesinc, I've been wanting a set hammer. -
How to forge a flatter.. No swage block used..
Mudman replied to jlpservicesinc's topic in Tools, general discussion
Excellent work jlpservicesinc! I really enjoyed seeing this method used. -
What did you do in the shop today?
Mudman replied to Mark Ling's topic in Blacksmithing, General Discussion
That's very nice work 58er -
What did you do in the shop today?
Mudman replied to Mark Ling's topic in Blacksmithing, General Discussion
Love those rulers -
What did you do in the shop today?
Mudman replied to Mark Ling's topic in Blacksmithing, General Discussion
Still need to finish the chisel end, but roughly done on these bottle openers. This is my first attempt at an open end bottle opener.