keithgartner
Members
-
Joined
-
Last visited
Everything posted by keithgartner
-
-
-
-
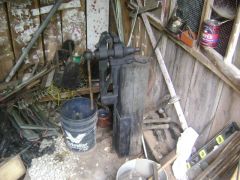 Mounted on RR tie with 24" x 24" x 1" plate portable for rendesvous
 -
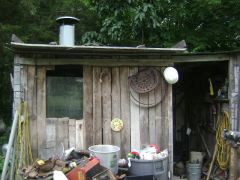 We call it the " Outback ", cause" Keith's outback welding".
 -
-
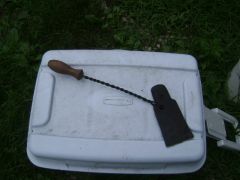
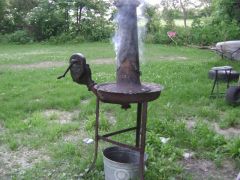 Burning paint off, I'm gonna make a cone stand out of it.
 -
-
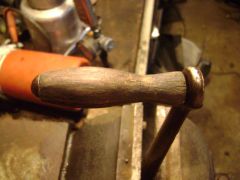 Sanded, then three coats of raw linseed oil
 -
-
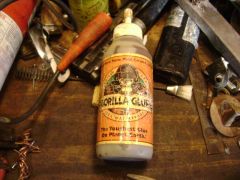 Gorilla is weather proof, for peoplr like me, that leave stuff outside.
 -
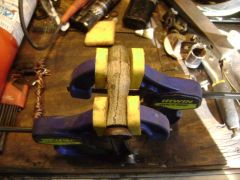
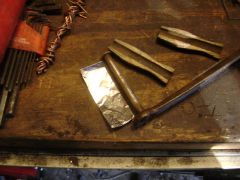 Wrap aluminum foil around shaft to prevent handle from being glued tight to it.
 -
-
-
-
I believe the Mousehole anvil pic you posted was made prior to, 1820 as, that's when they started adding pritchel holes. Also I wouldn't be as worried about the "sweet spot", as I would be that the edges are so radiused, and you'll need somthing square, to make weld scarfs, necking down, etc. I have a PW with chipped edges that I going to weld up and grind square.
-
And dont sand blast or glass bead blast, grit will get inside, use a wire brush, or soda blast. ( dry ice chips )
-
Inquiring minds want to know!
-
Good repair and you have an anvil for yaers to come.
-
Yes you can, I have for twenty years. I have a Peter Wright anvil in the shop, but I've also got a 5 foot piece of track with three legs welded to it, (like a tricycle), The straight leg about 6 or 8 inches back from one end, ( You may want to make a horn, I never did ) the other two like a saw horse at the other end, brace. The long piece comes in handy for straightening stuff. I've also got a 2 foot piece on my truck as I do alot of field work. You'll also want to wrap a chain around track anvils as they really ring and will cause ear damage.
-
Also the popping is the flux oosing out of the joint.
-
Try wetting your green coal that will stick the fines together, make a deep, 7", clean fire, no clinker steel etc., add coked coal on top and green damp coal to form bee hive, use as little air as possible to slowly bring to welding heat, flux before heating and on the way to anvil, small amounts of flux, then gently tap to start weld, two or three taps then back in fire, about three heats progressively hitting harder. Try a weld every time you light a fire. Practice, practice, practise.
-
I use wax or crayon as lube on the blade so chips don't stick. And the material must be clamped tight, in a good vice, on a good bench, if the material vibrates the blade bounces, and the teeth wear unevenly, and start scaloping. Also watch the blade not the saw frame.
-
Everthig about blacksmithing is time consuming, more for some than others. The guys on here are very good at what they do, and the knowledge they pass on to newbies, like me/us is invaluable. Pay close attention to their council. There are no wrong questions, but there are some that are asked repeatedly.
-
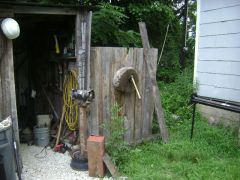
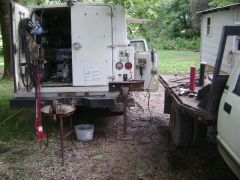 Truck supplies 1300watts 120volt electric through an inverter, or 10,000 watts 240 volts with welder running. To the right is my layout table.