Norrlander
Members
-
Joined
-
Last visited
Everything posted by Norrlander
-
Thanks for those excellent (and entertaining) answers! Yes, I've been trying to learn the 'fishmouth prevention method' for a while, with varying degrees of success. I suspect I'm experiencing a combination of these issues. I'll keep on learning as always ! Back to the anvil (and we won't talk about the three lovely things I destoyed recently due to forgetting about normalising...)
-
Hi there, wonderful community of metal-bashers! I have a problem and hope you can help: sometimes the tips of my tapers start to split, rather like split ends of hair. It's happened with both mild and tool steel. Can anyone shed light on what I might be doing wrong?
-
Wow, thanks! That exciting to hear. After the counterweight response, I was feeling very wary of any 'organic' shaped pieces. But from what you say, it seems there will be more useful bits in this car than I even thought at first. I really need to study my identification methods though, because I still can't discern any difference between the sparks from the counterweight (now officially my 'standard cast iron' comparison) and the known pieces of spring steel !
-
I don't know if anyone is still following this thread, but I have a thing to check ... I assume that track rod ends would also be cast iron then, judging by the shape of them?
-
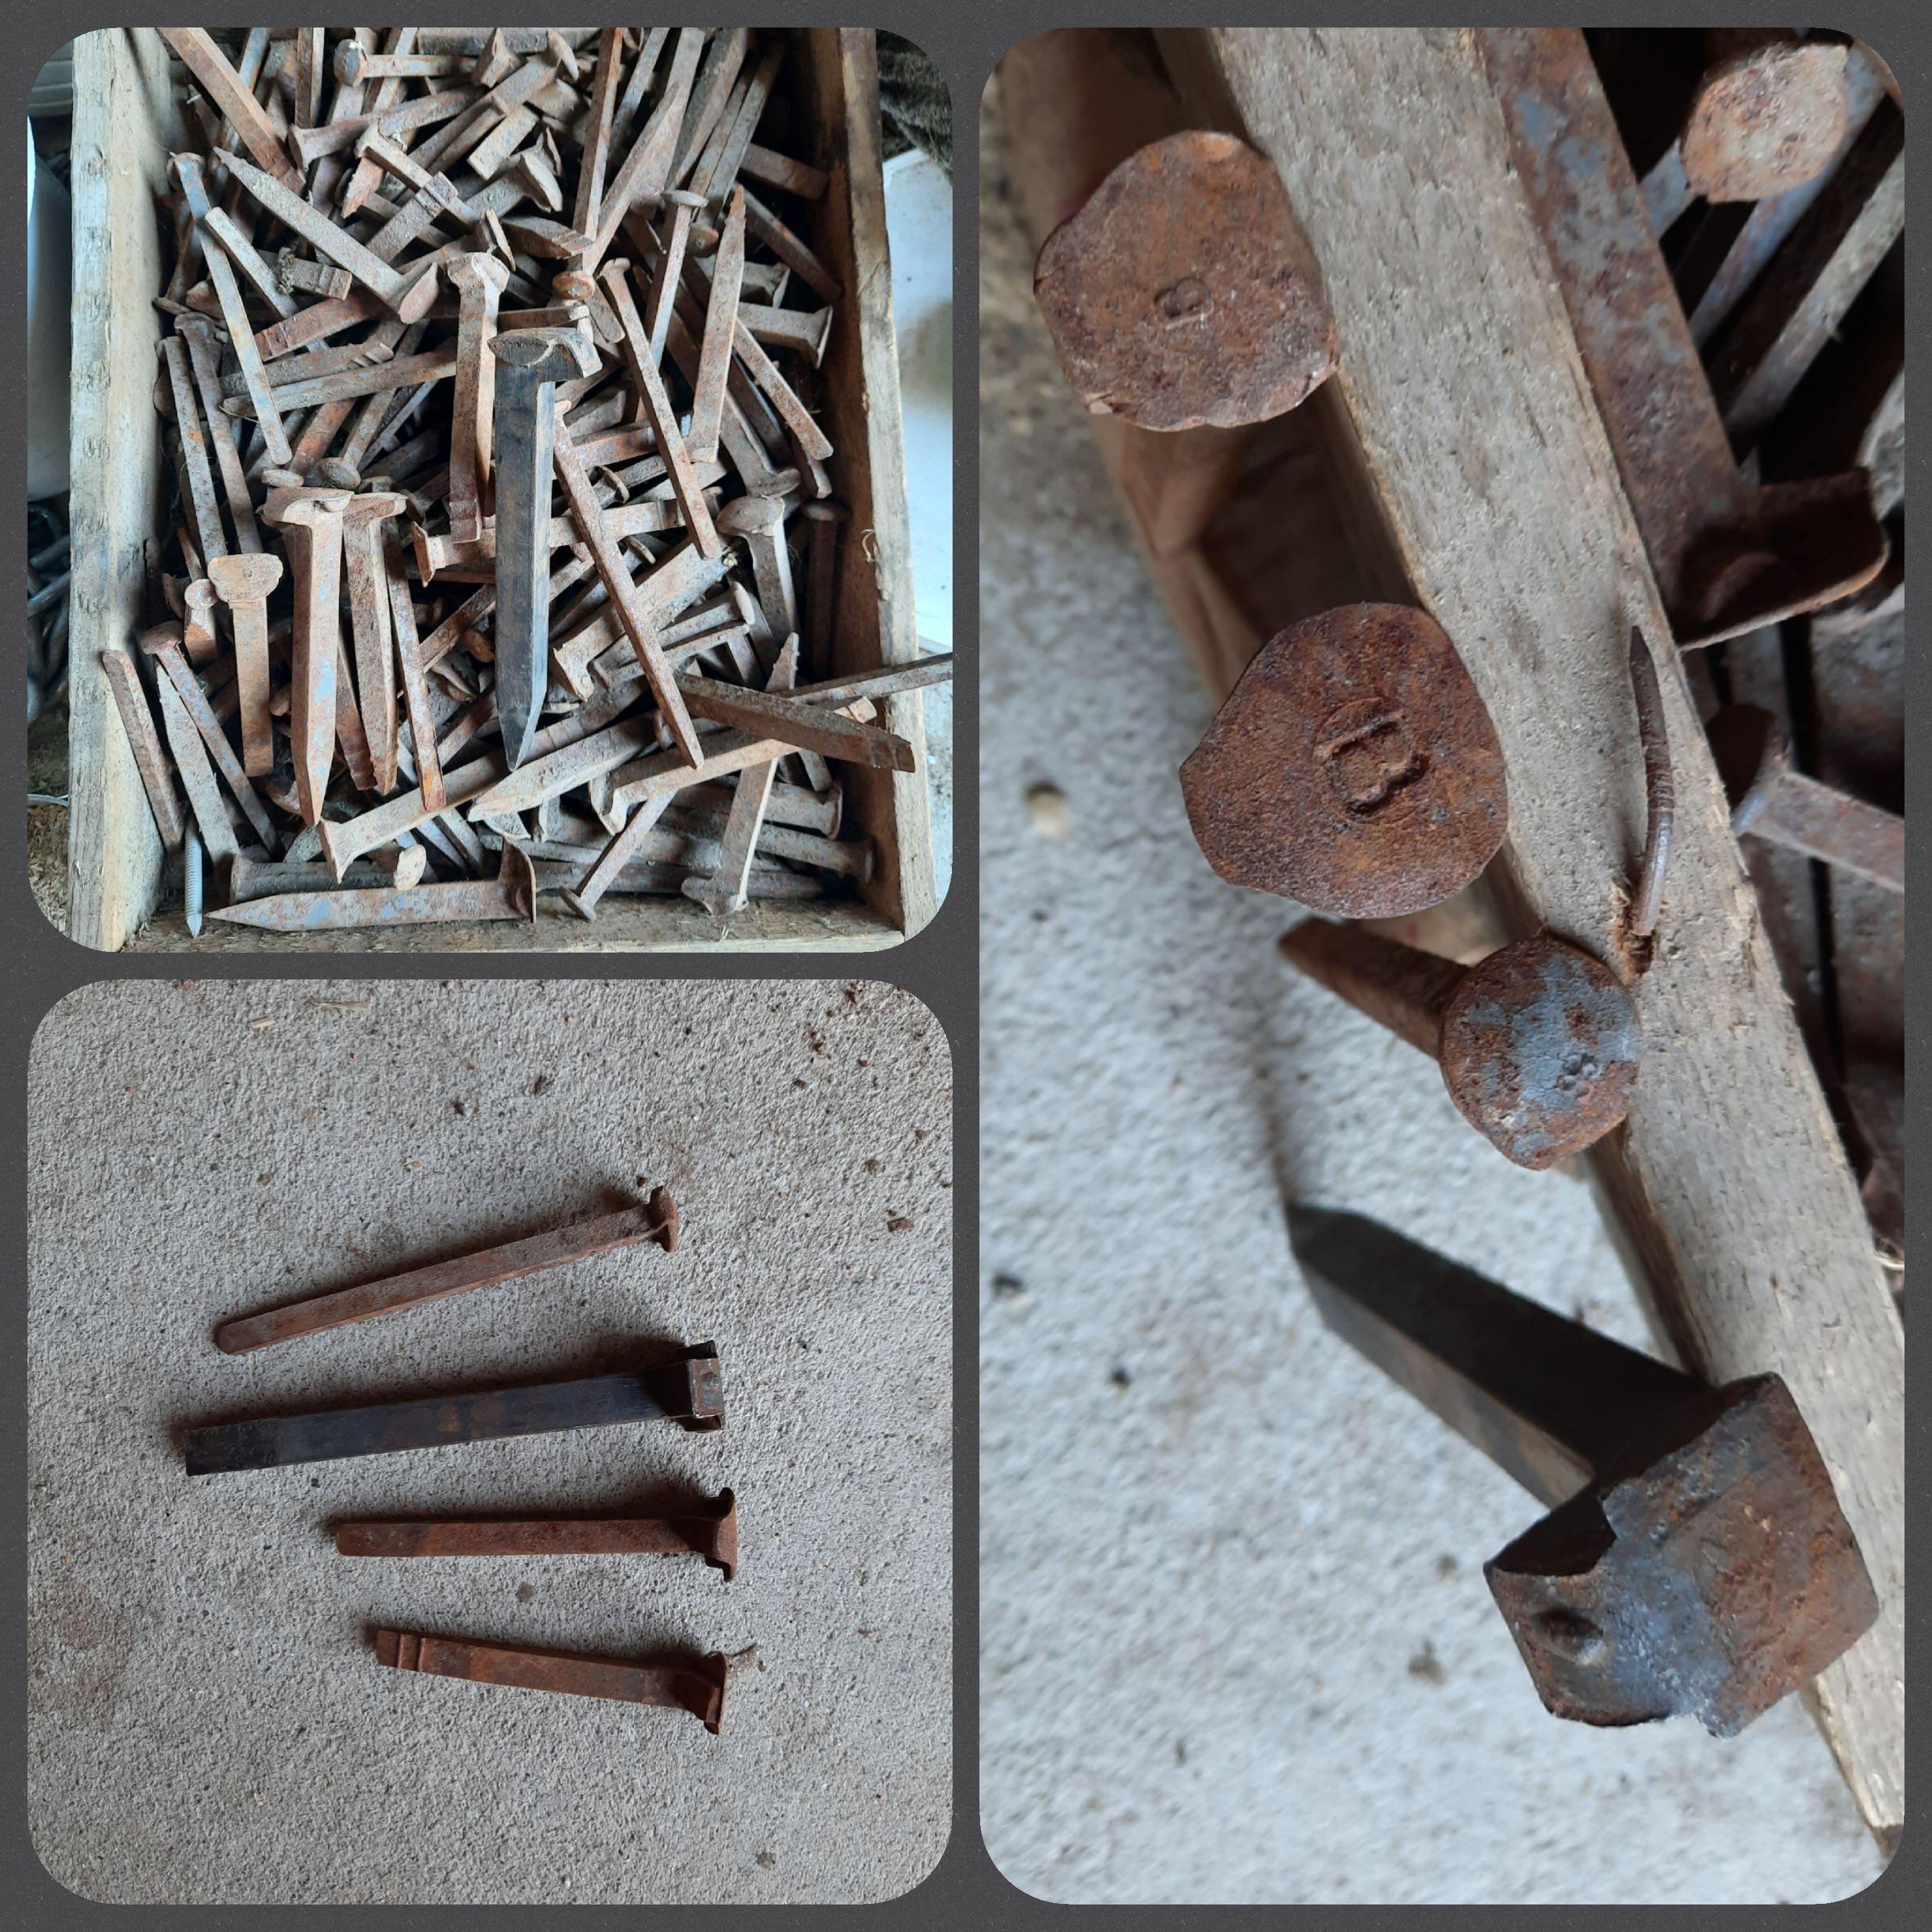
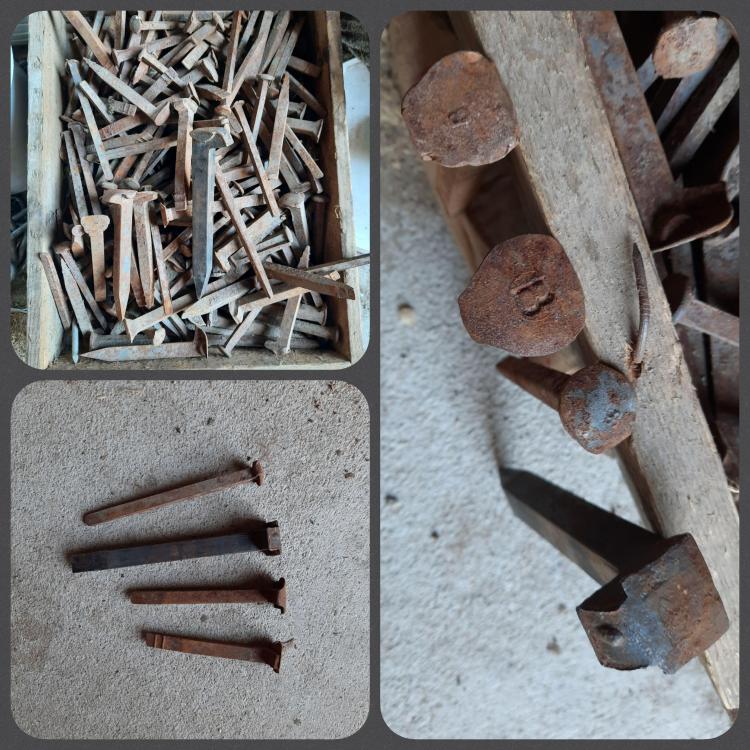
A friend (same one who sold me the lovely anvil) just gave me a box of spikes. The only one which matches the size I've seen talked about as a RR spike is shown here for scale. Otherwise the box is a fairly even mix of the other three types, two of which have the same 'dog head' and many of them have a letter B on the top. Any thoughts on what these are? I'm in Sweden, in case that makes a difference. Also grateful for ideas on what to make from them to get in my practice time!
-
Thanks Ted, of course I can mostly see the ways it fell short but I'm reasonably happy with it. Yes, part of this is figuring out what tools I want to add to the collection. Perhaps a teardrop punch could have enough uses to be worth making.
-
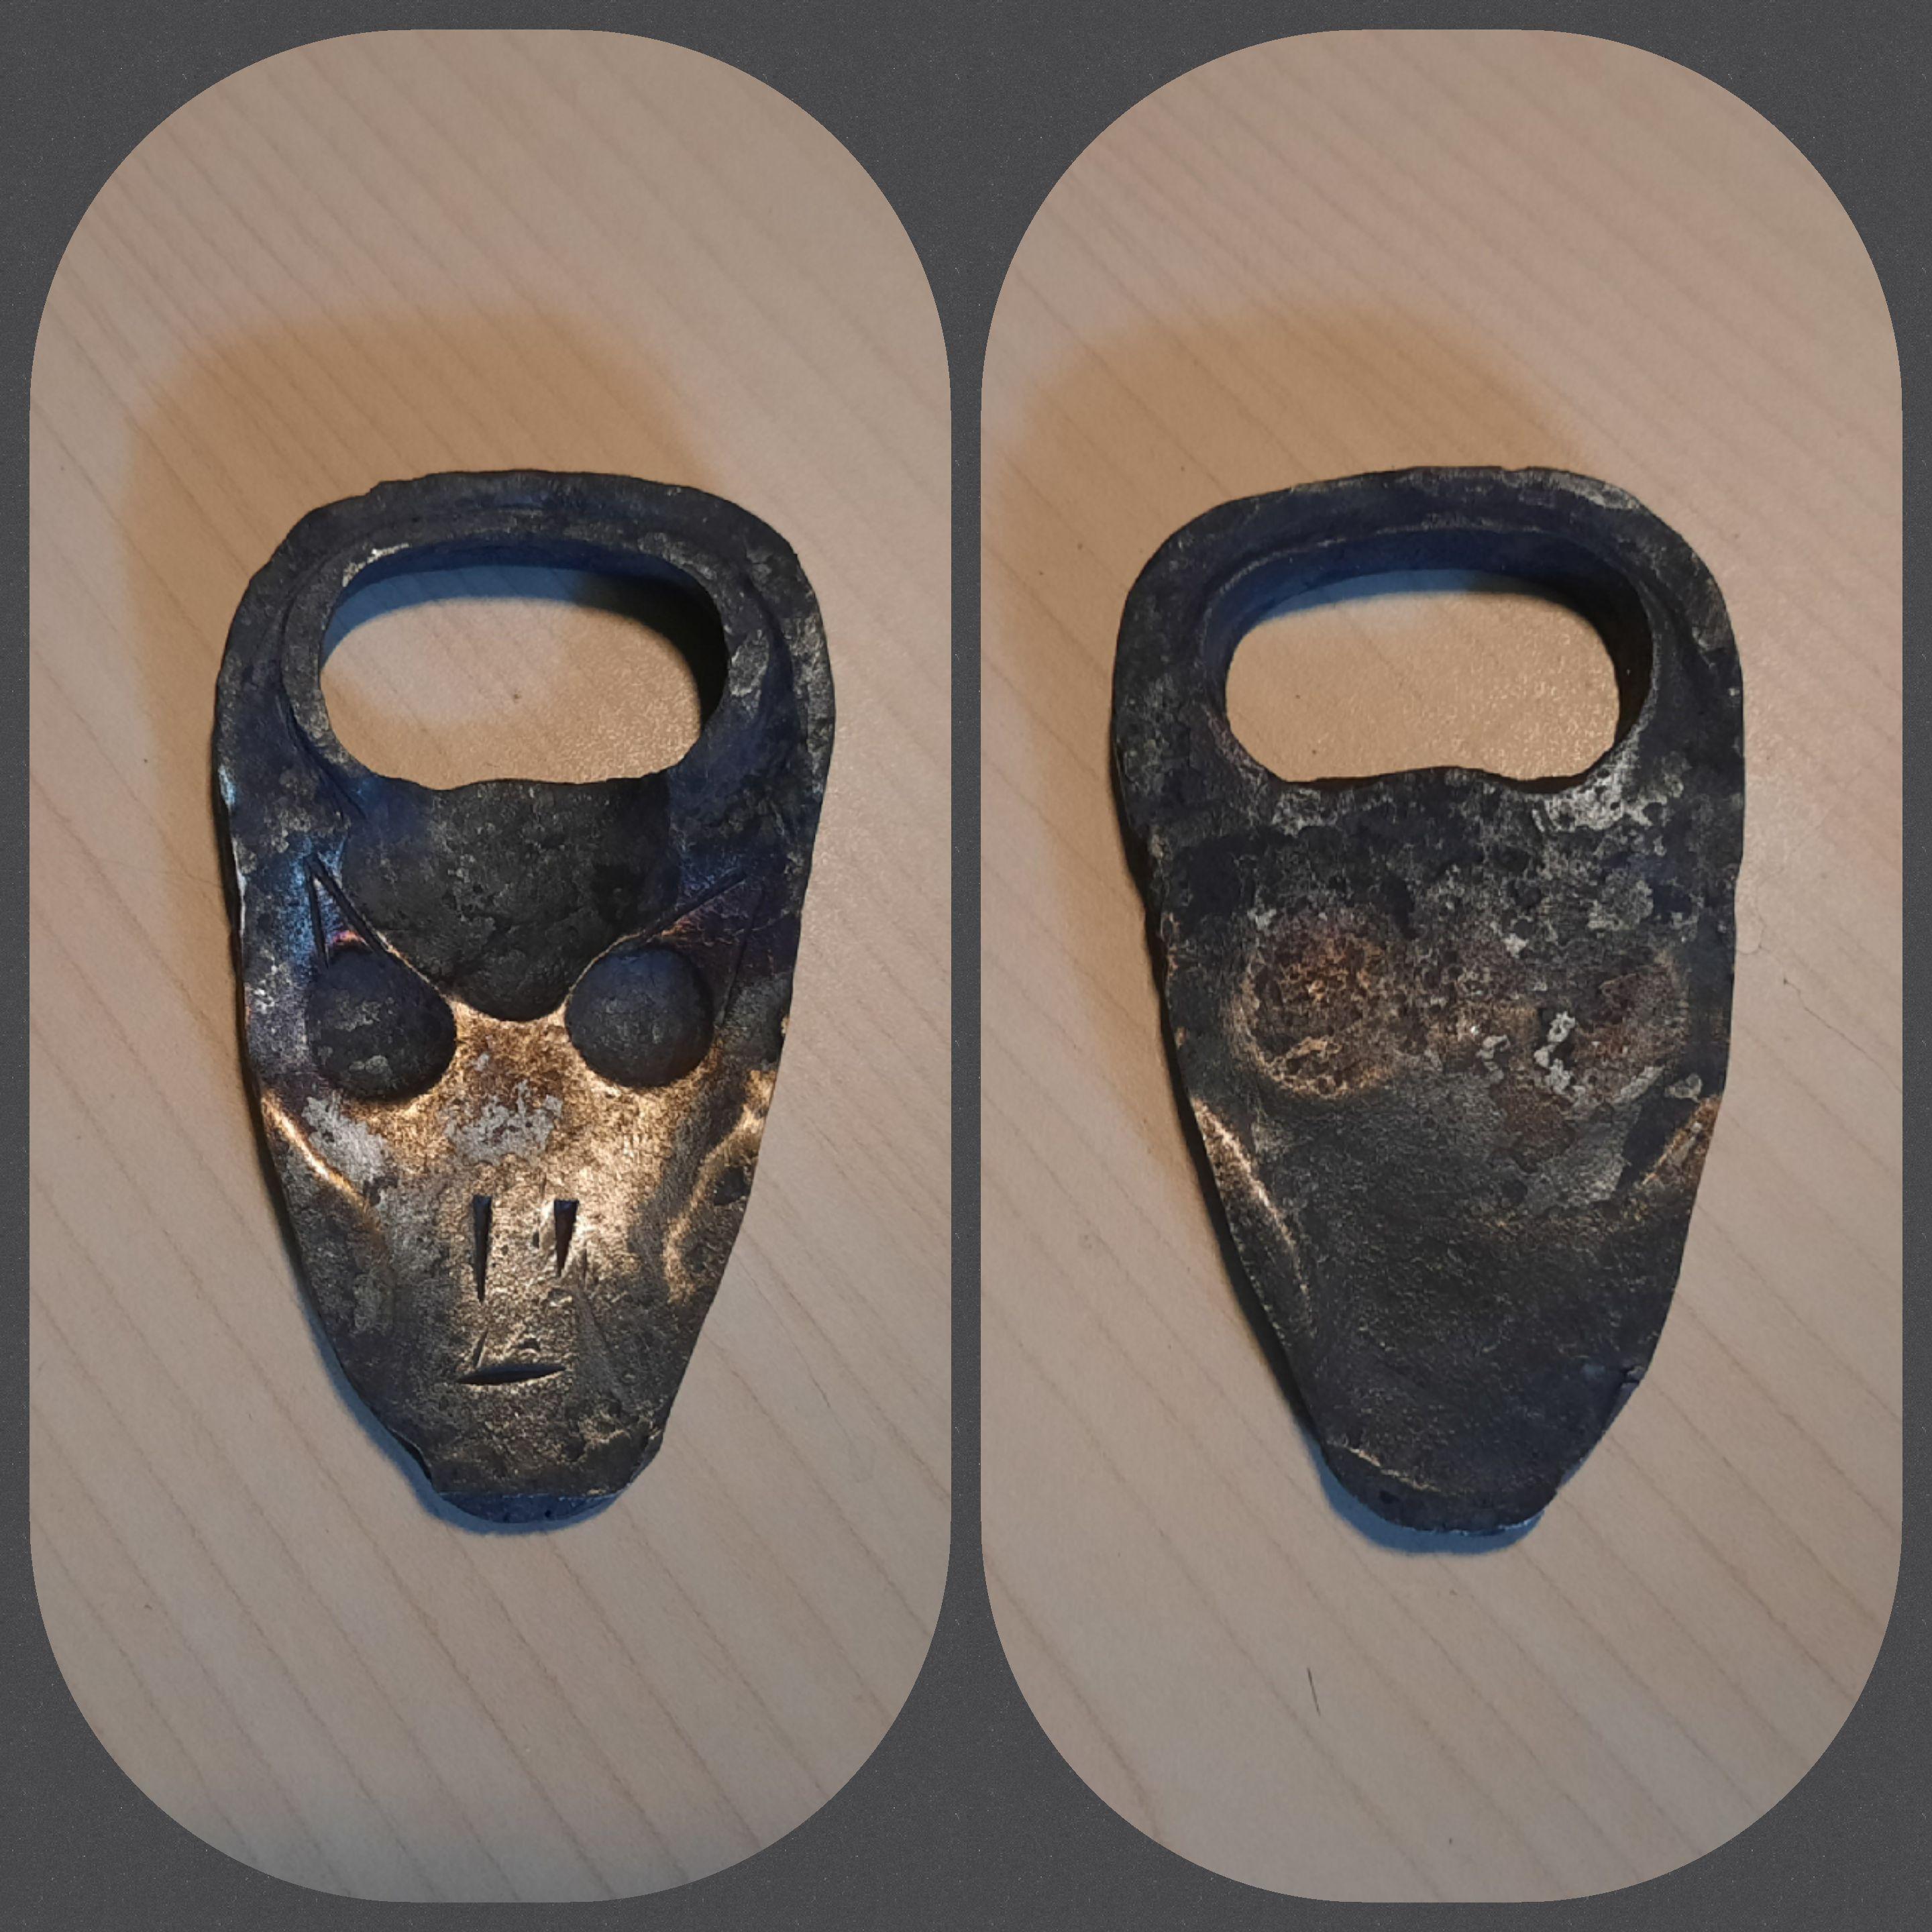
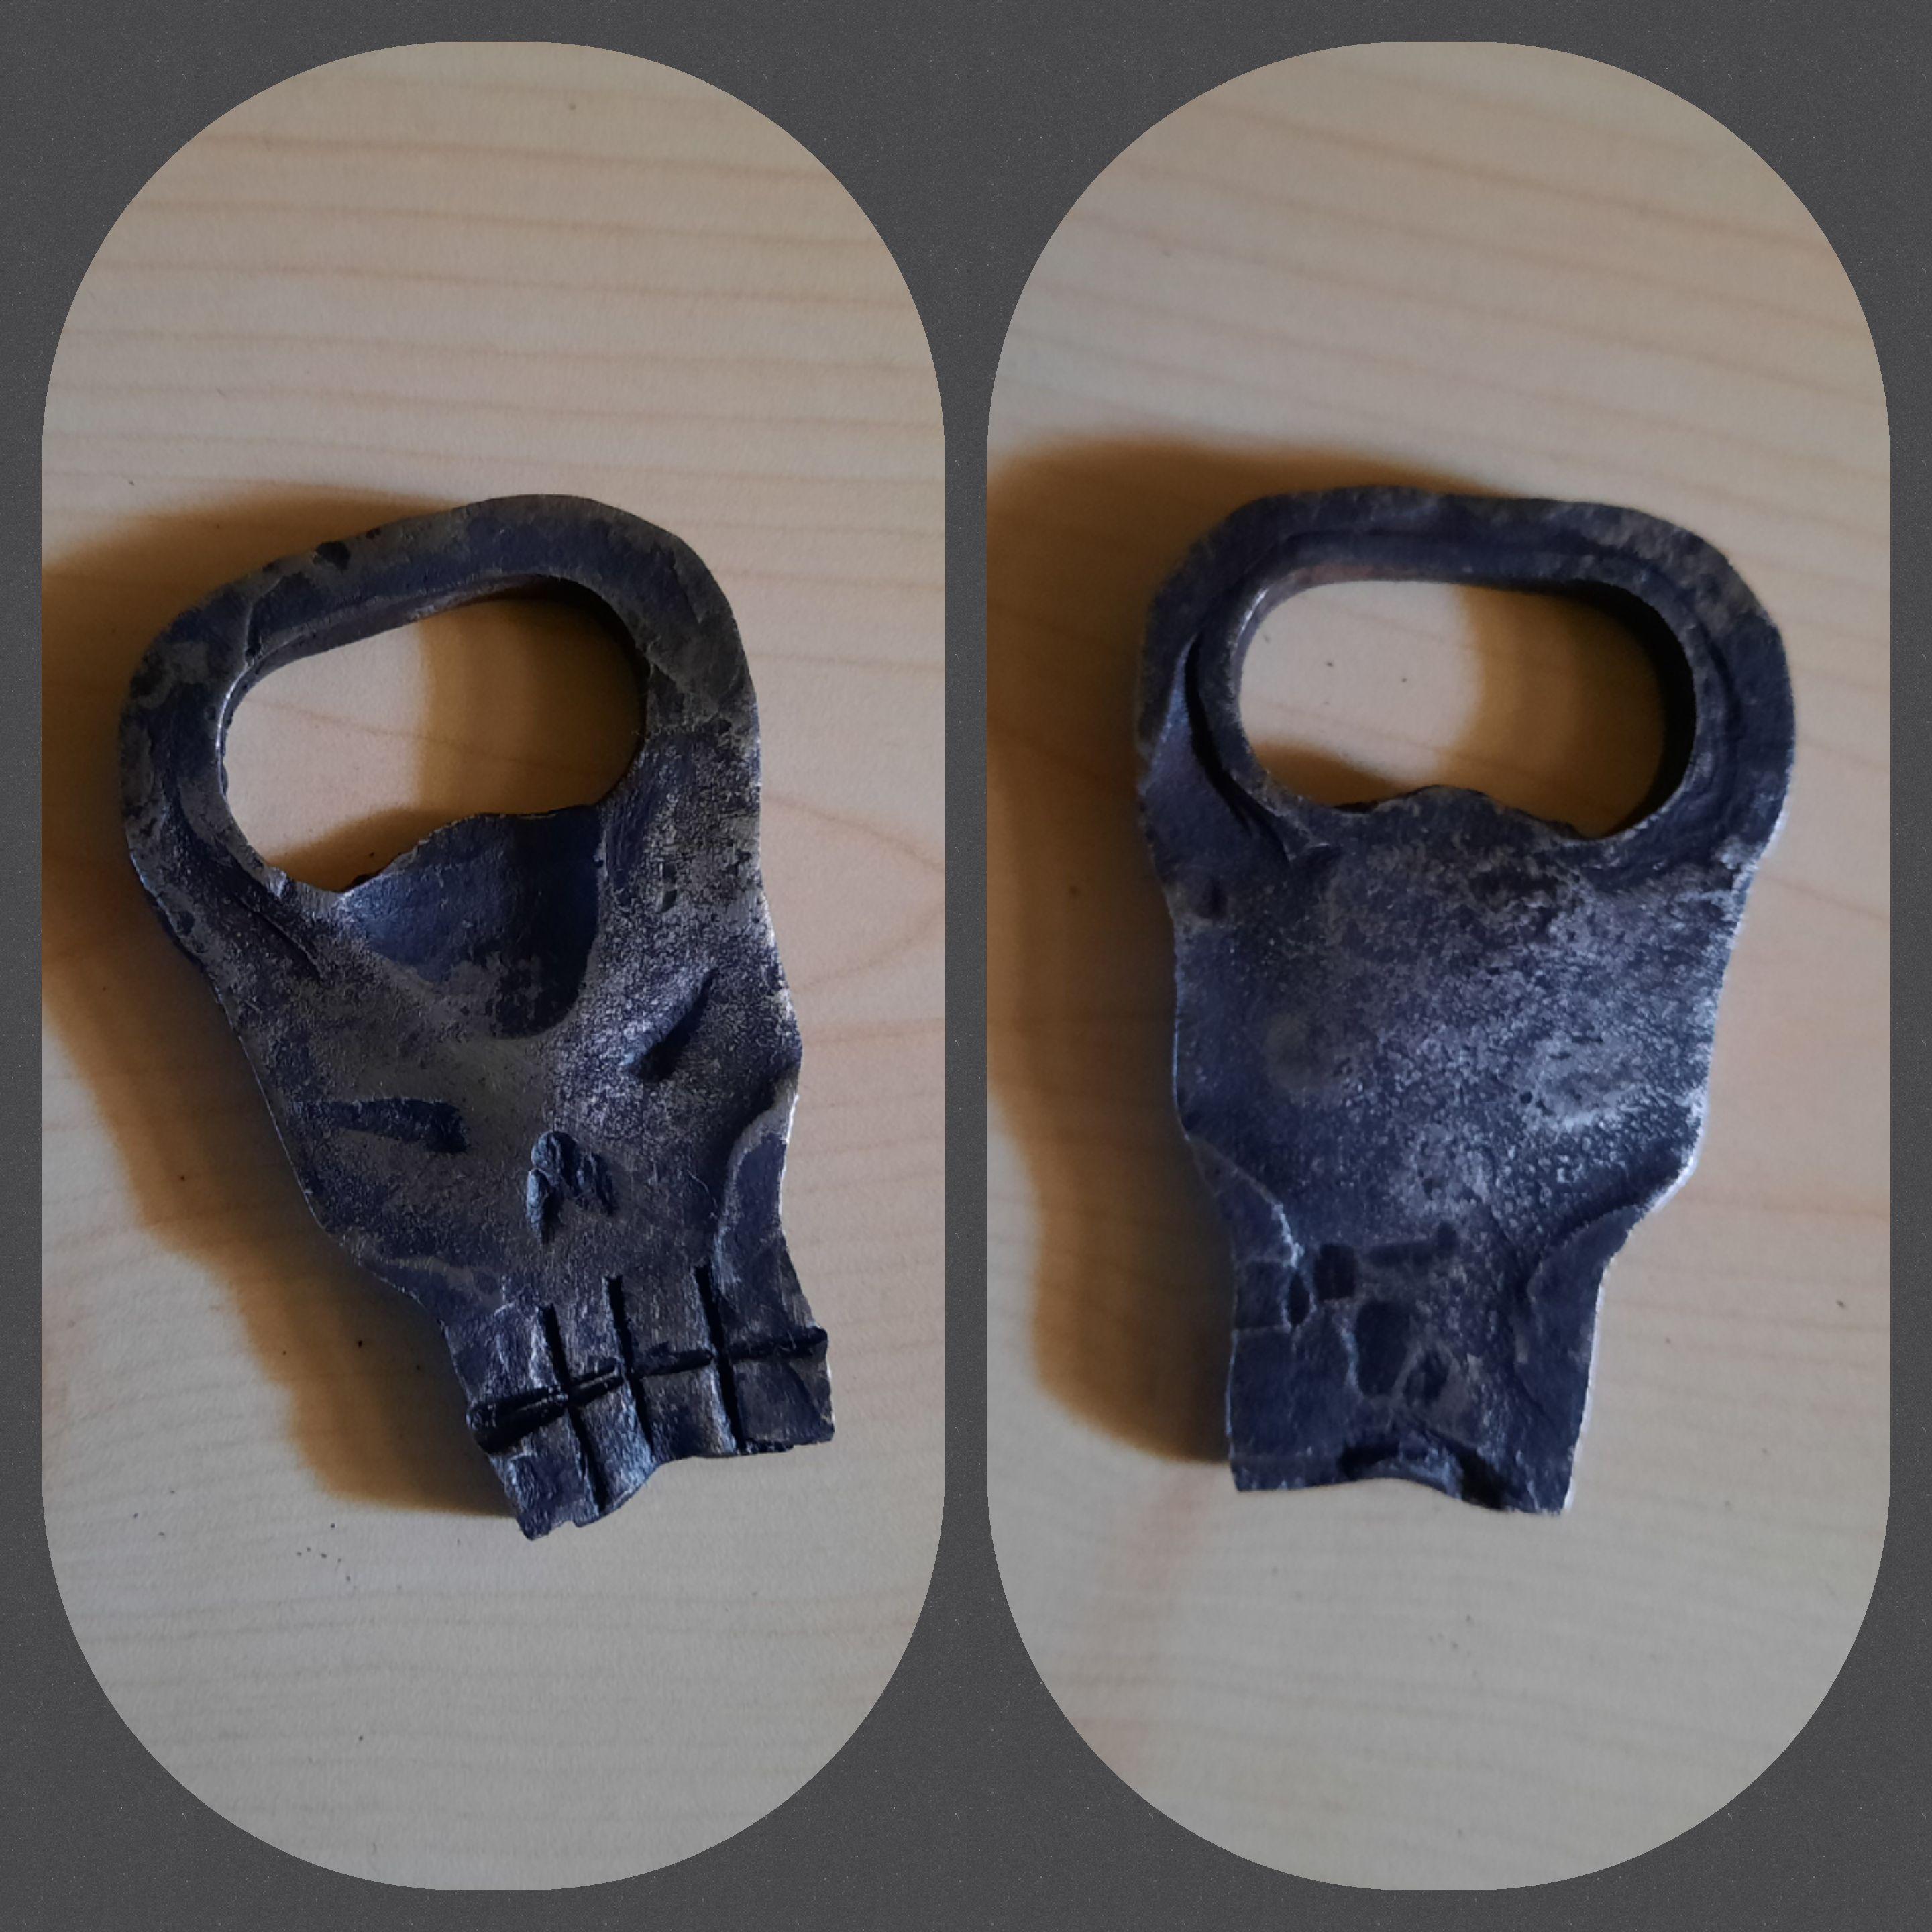
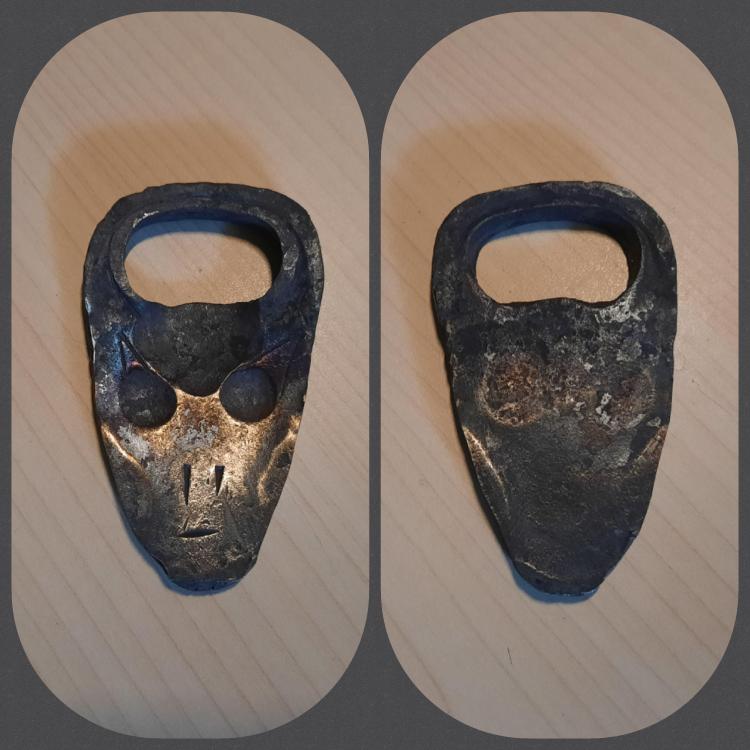
...and then my good lady told me that her friend likes skulls, but loves aliens much more. As a beginner, I think I'm learning a lot from these already. Seeing how things work, compared to what I planned. This one really highlighted the importance of figuring out the best sequence. For example, next time I'll shape the face/handle more before working on the opening. Those 'cheekbones' worked ok on the skull but aren't what I wanted for the alien. I also took this opportunity to practice heat treating. Although it's mild, I went through the motions as if I was tempering a blade and really enjoyed getting the colours to run. I live off-grid, so electric oven tempering isn't possible. Hence I need to learn more traditional methods.
-
I was asked to make a bottle opener as a birthday present, so came here looking for ideas. Thanks to Frazer, that was a fruitful search! Here's my version...

-
Aha! That's why I joined this forum, thanks a lot I didn't know that about cast iron... so, not likely to be much fun to forge then? I'm not obsessed with car parts, but I am about to start stripping a Volvo for anything useful, so thanks for the tip about axles. Any other treasures I should know about?
-
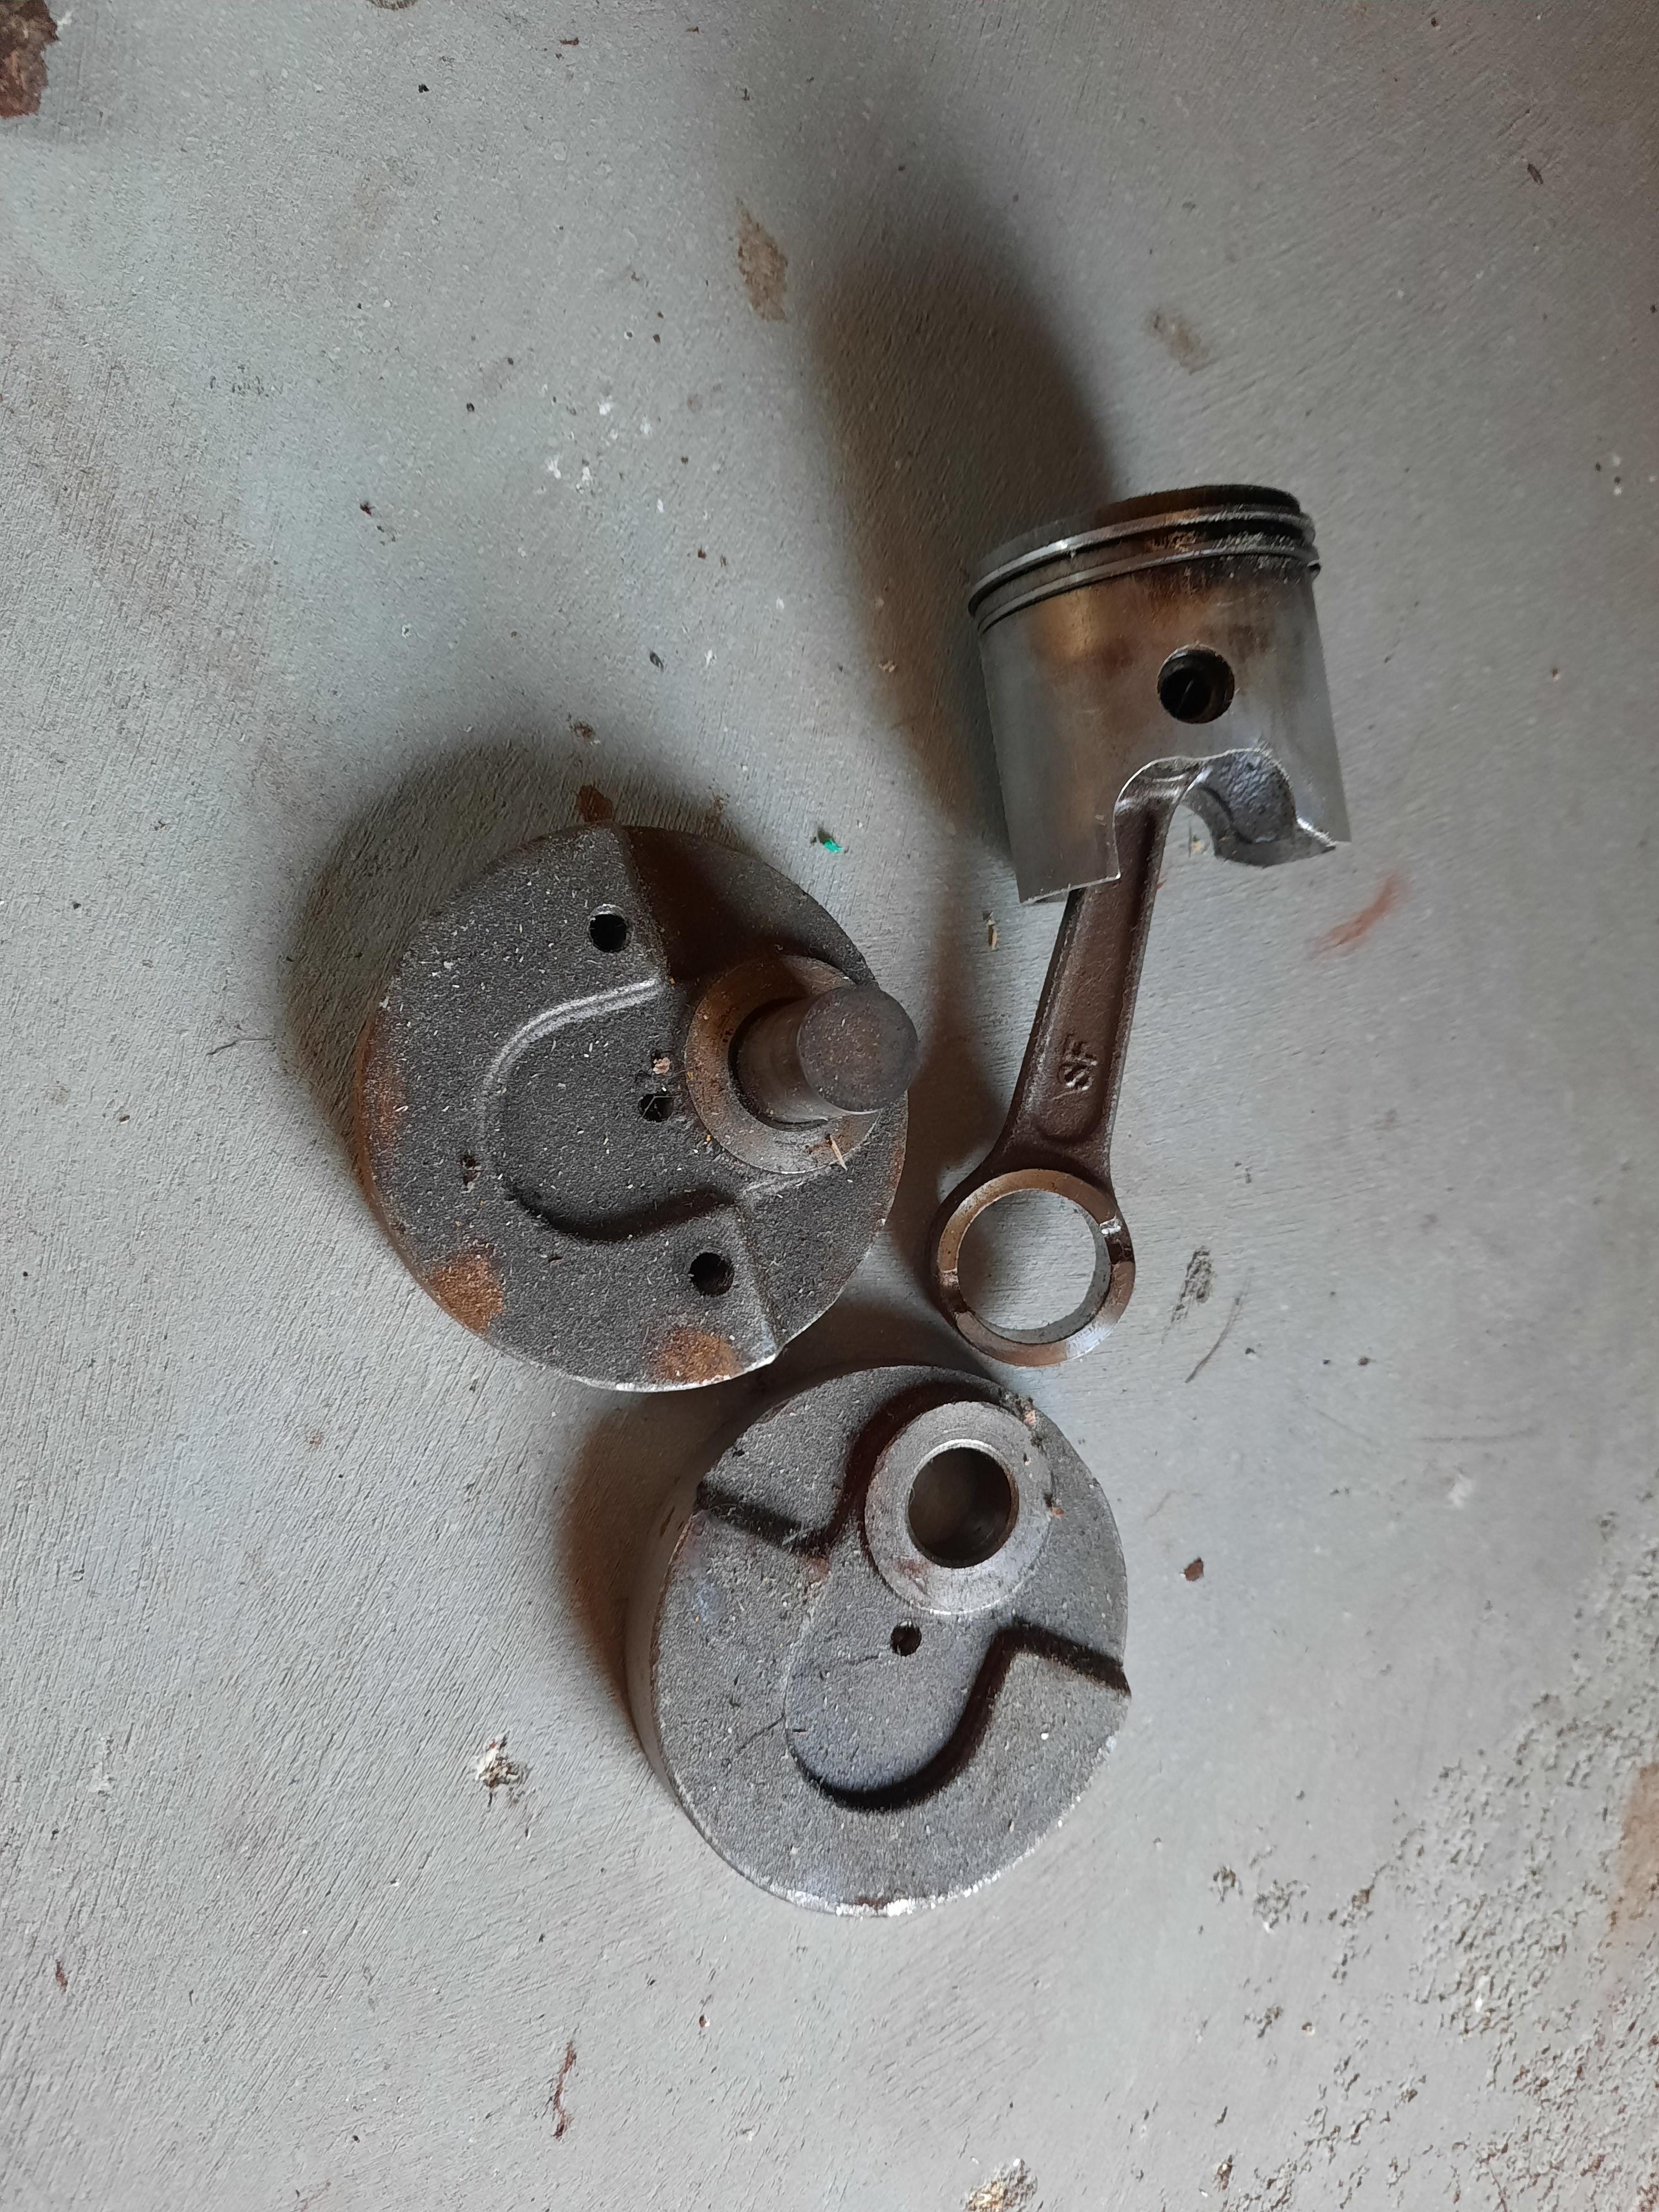
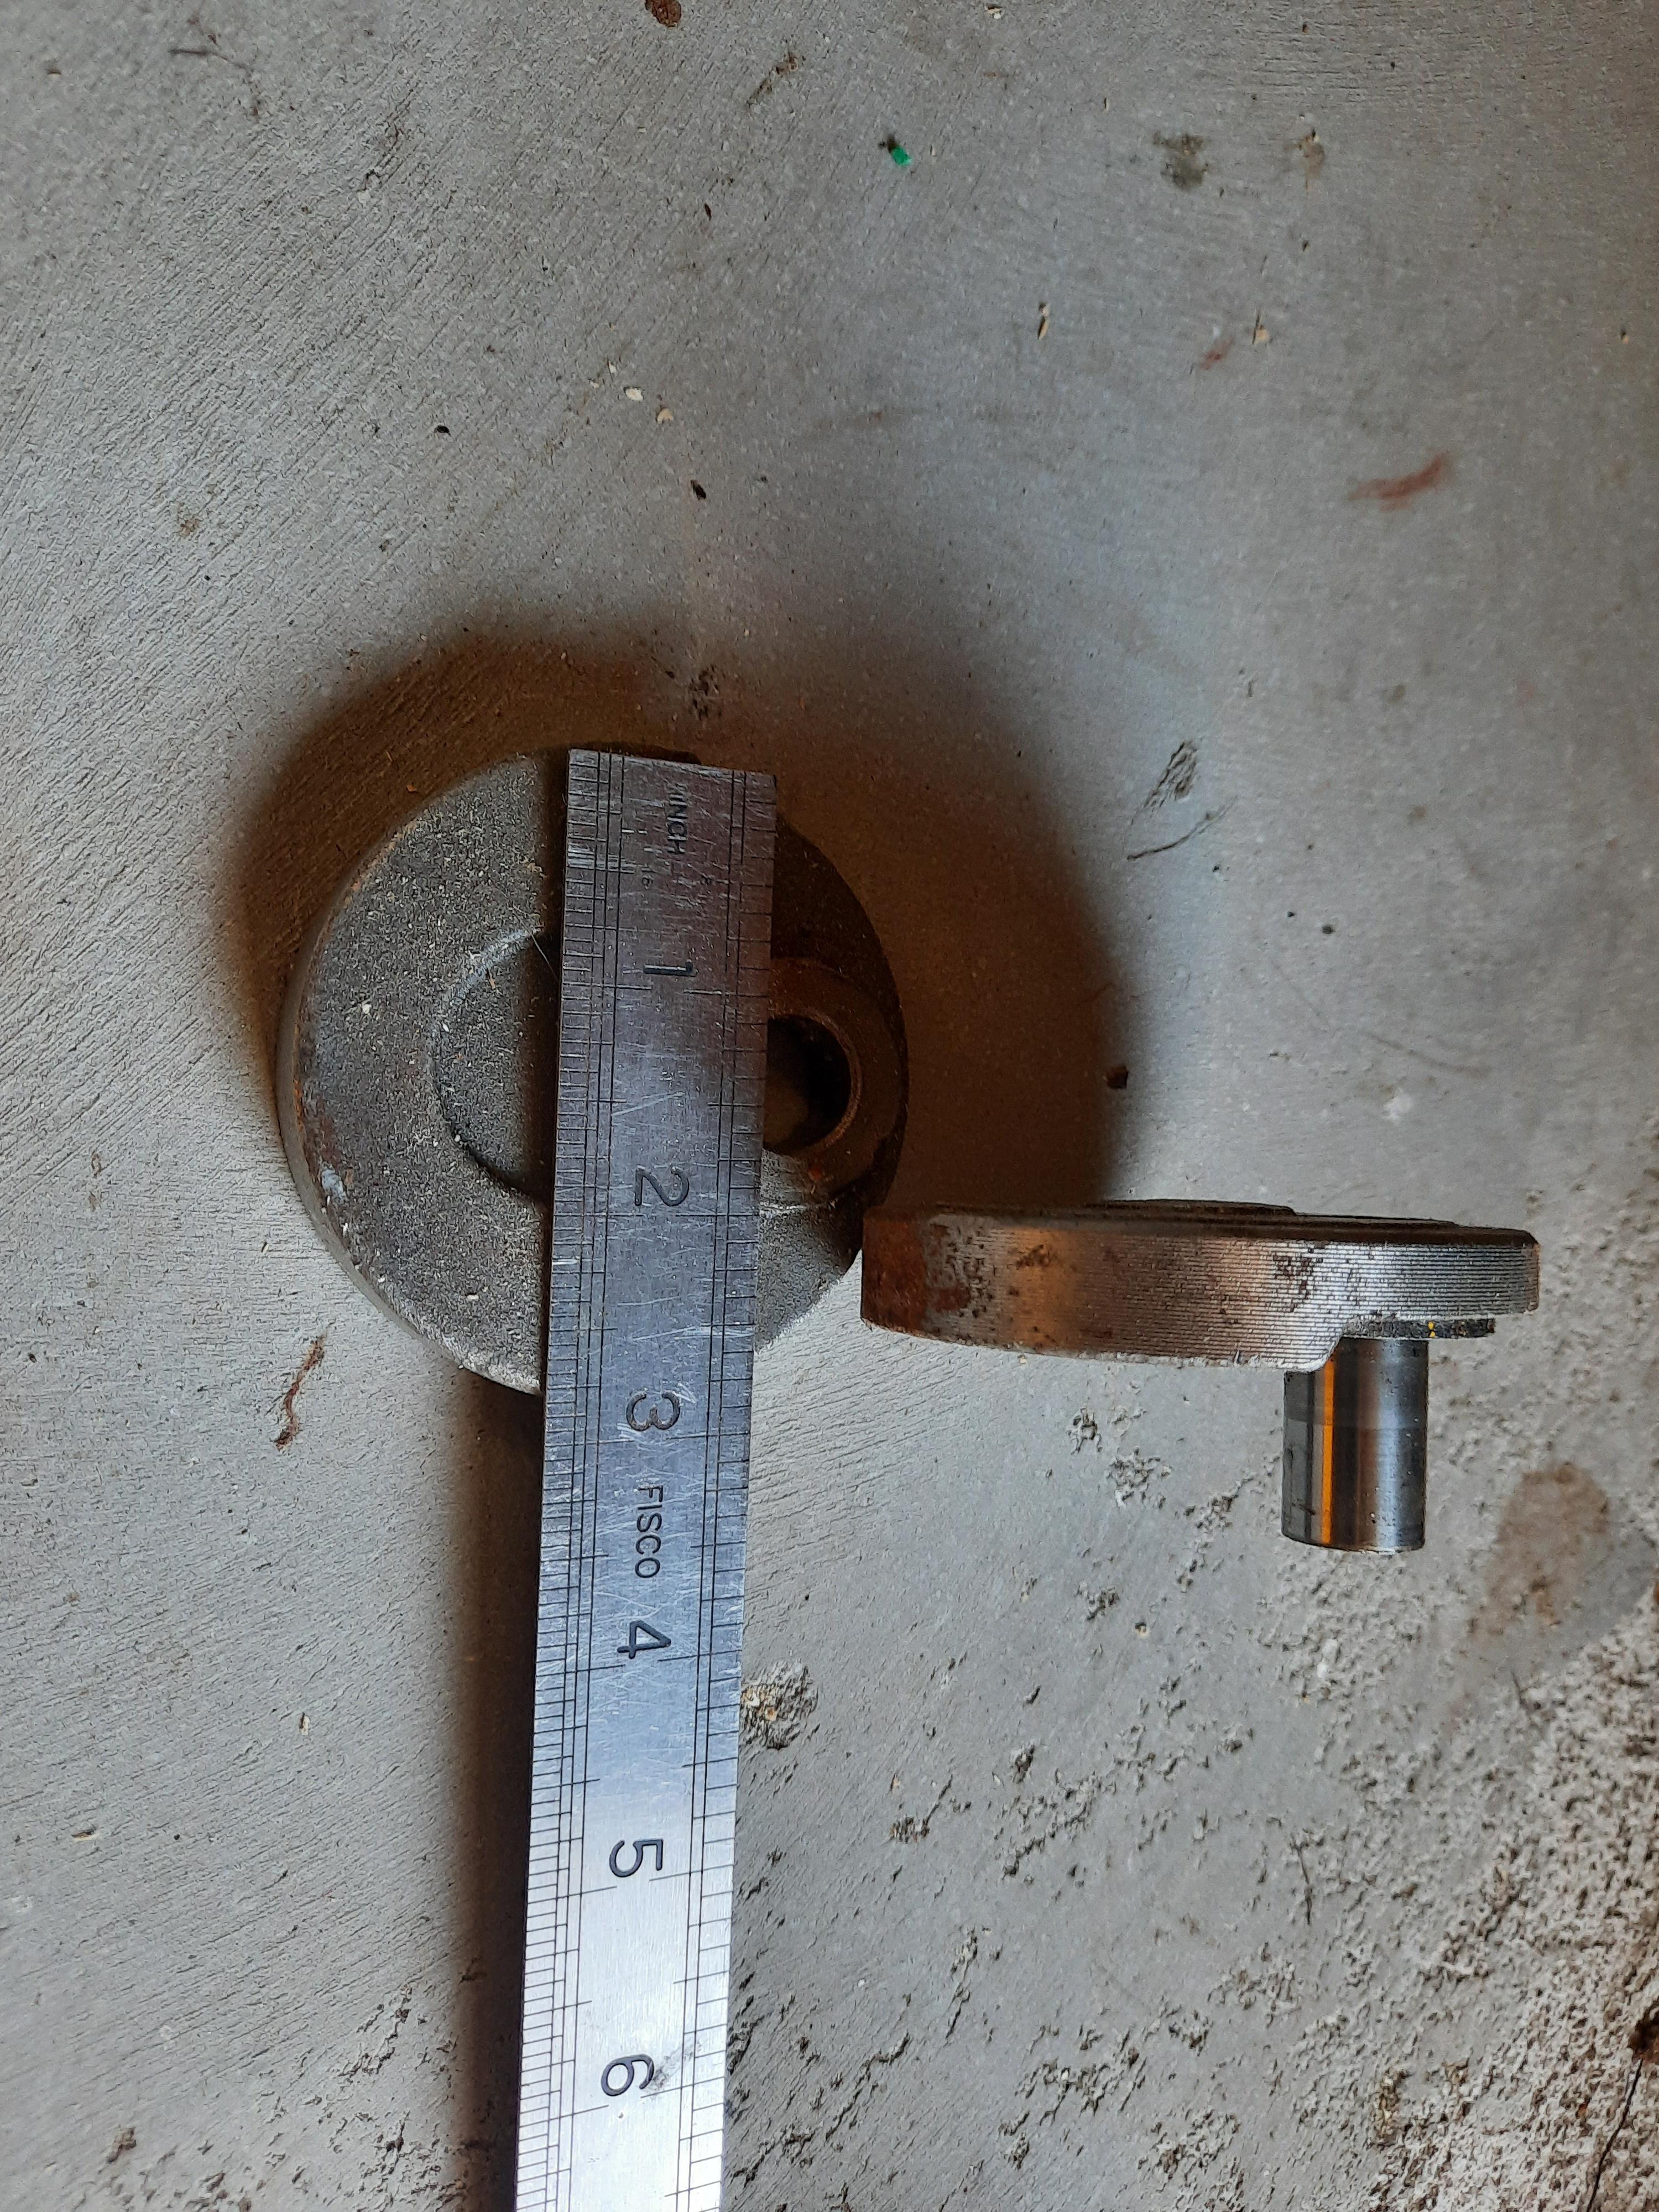
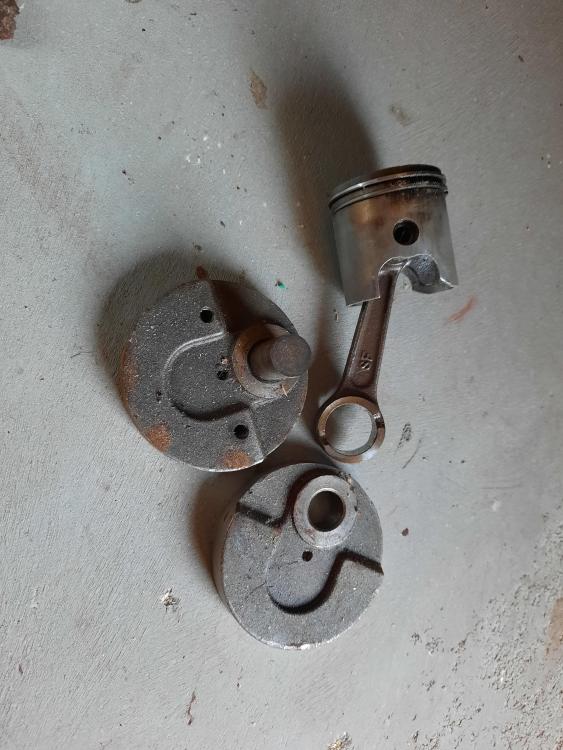
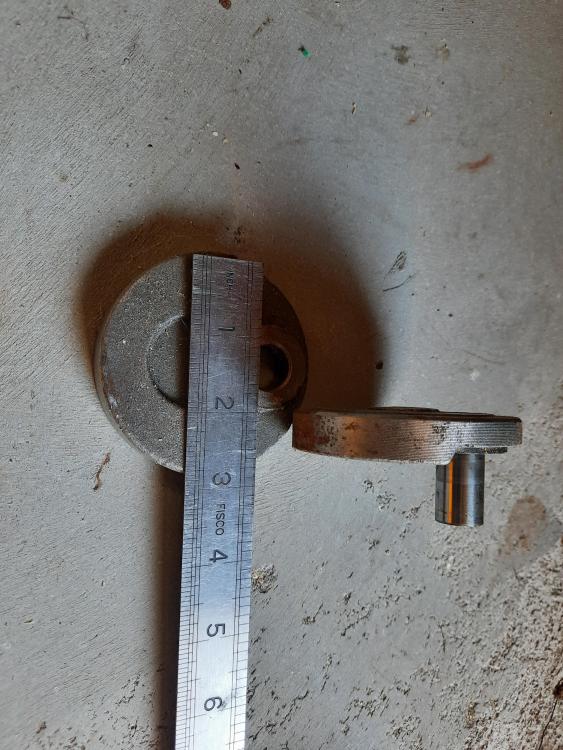
I had reason to disassemble a small engine a while ago and salvaged these counterweights. Judging by the spark test they've got a decent amount of carbon, so my mind goes towards edged tools. In particular, I'm wondering about an adze (I need one in any case)but not sure if I'm letting a superficial resemblance trick me into a fool's errand. Any ideas folks? Anyone bashed on one of these things before?
-
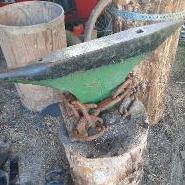
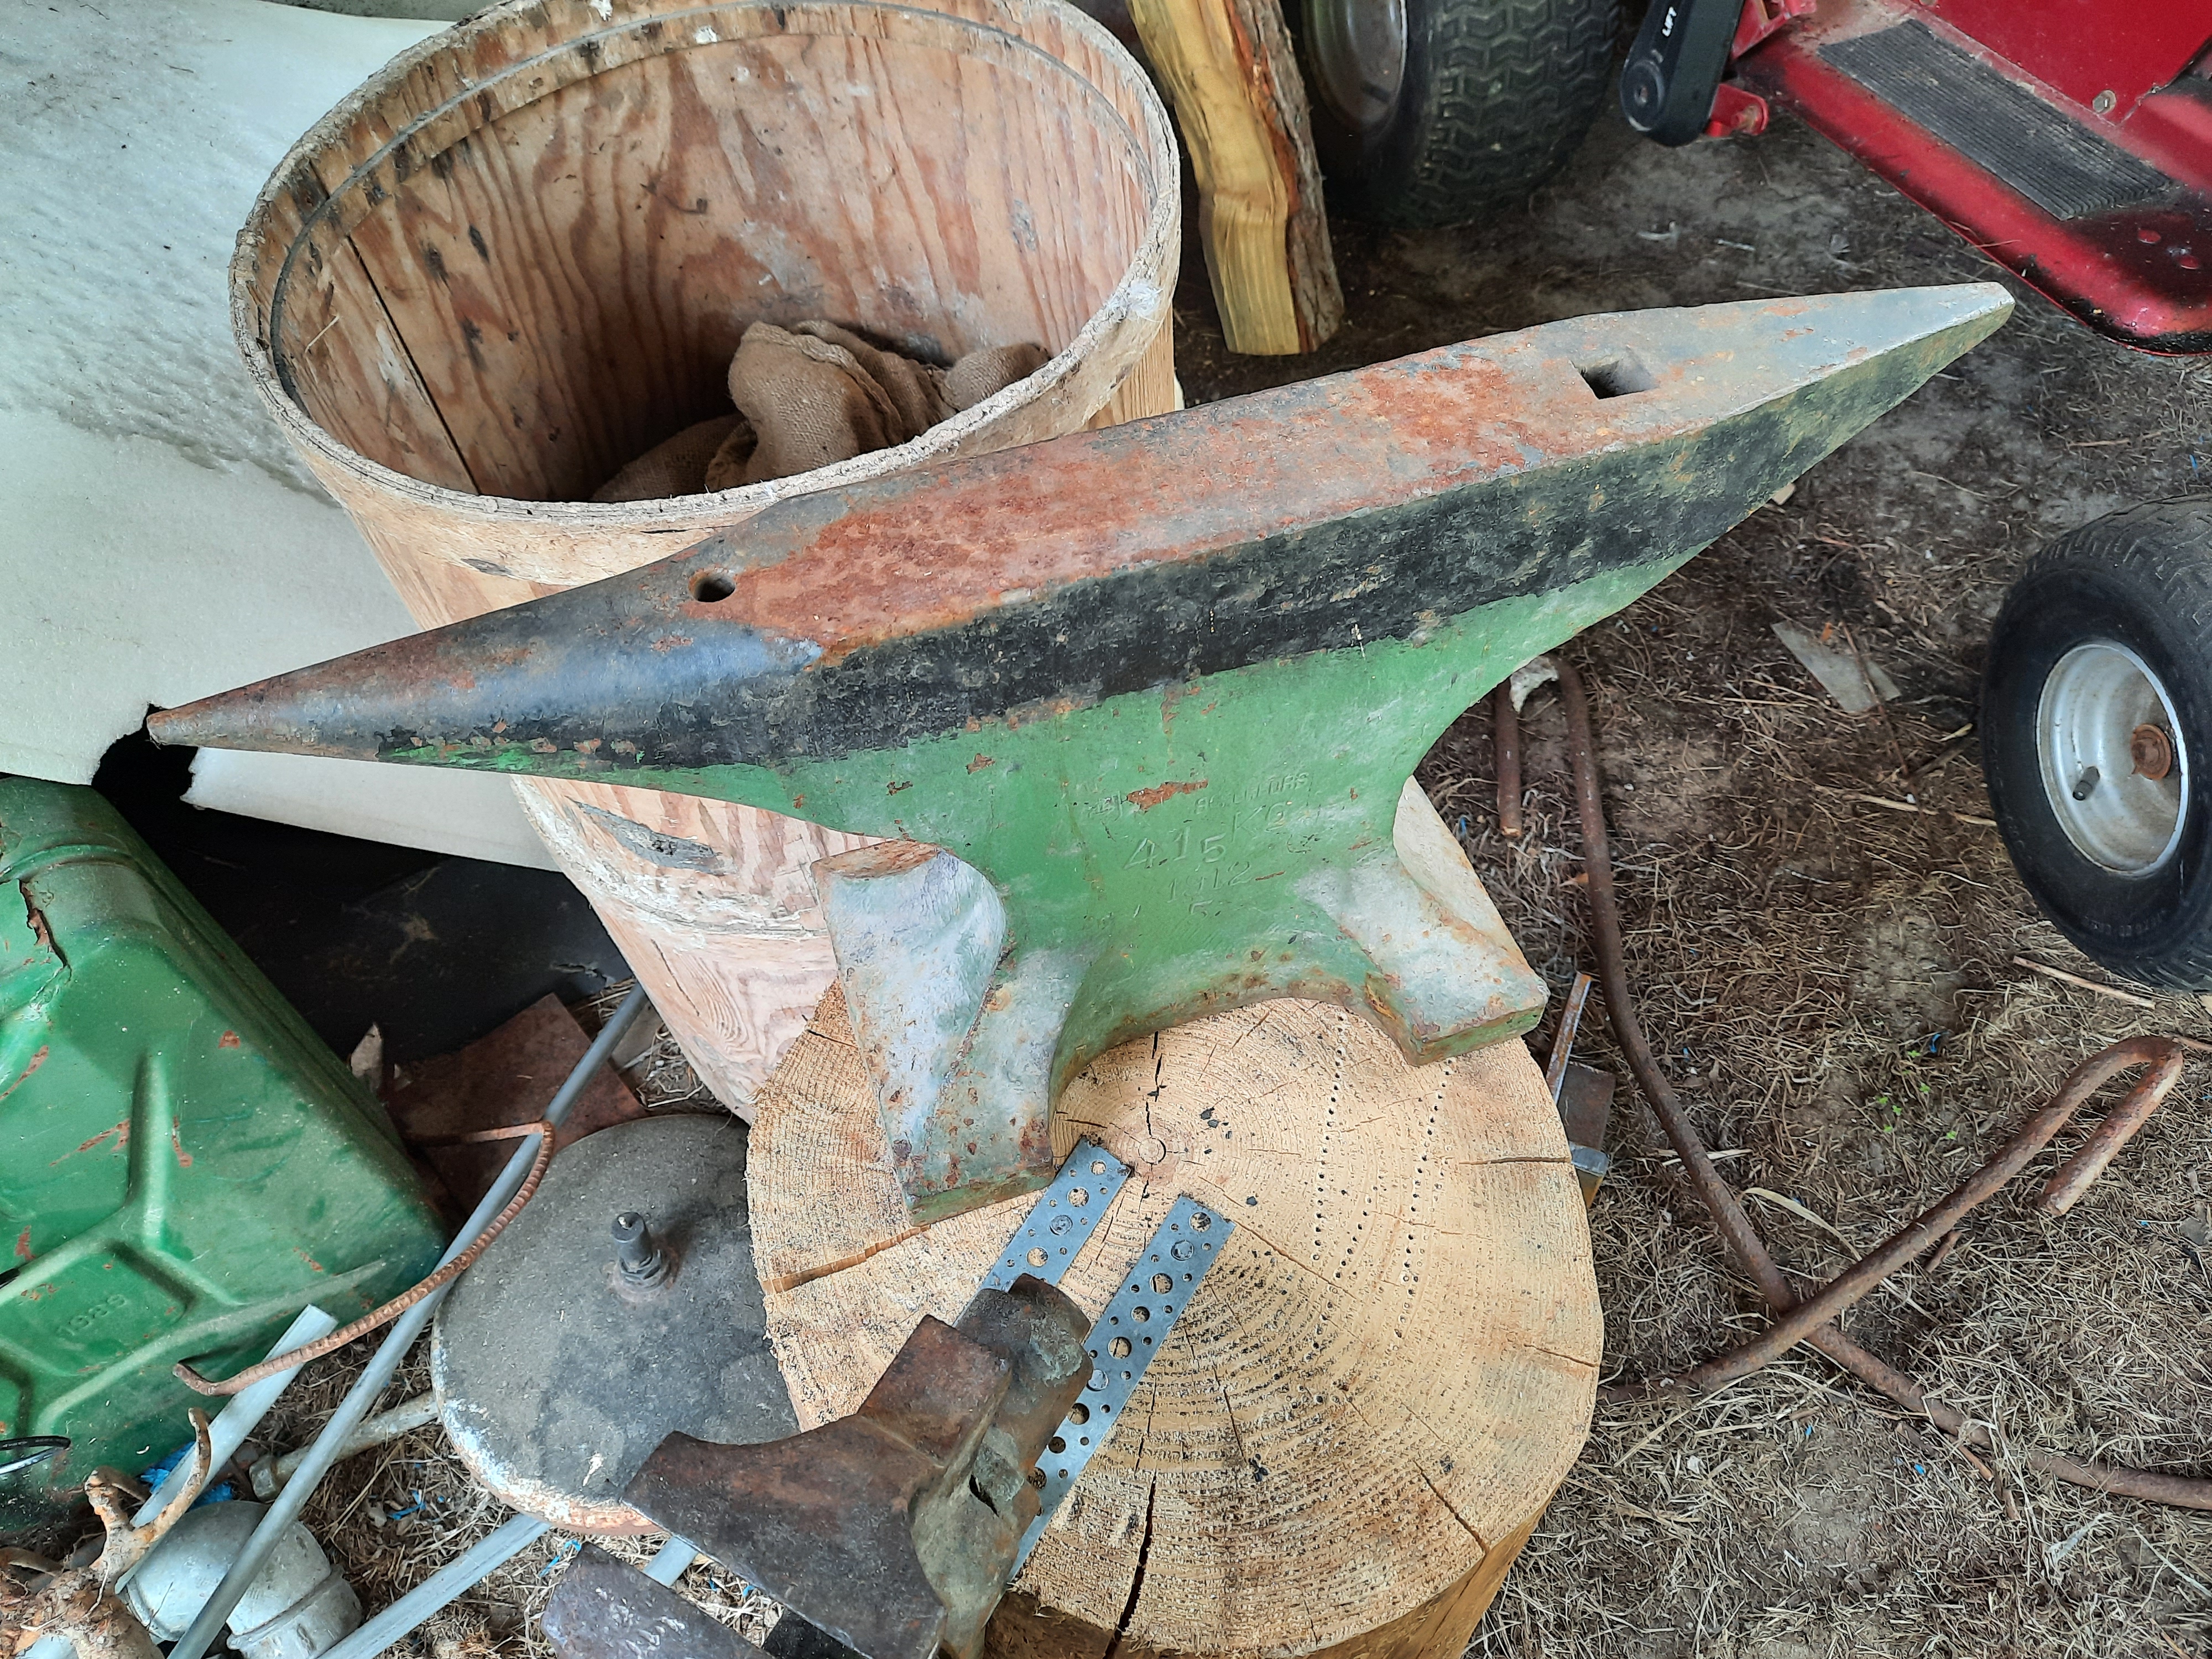
Jlp : she weighs in at 41.5 kg and measures 67mm wide and 61cm tip to tip. There's also a stamp "1912", but I don't know if that's when the anvil was made, or the original pattern design or the company (Söderfors) start date. Any ideas? Frosty : thanks! After your warning I looked around a lot for ideas and this was the result. We'll see how long it lasts, but with only two screws it's not much bother to make adjustments.
-
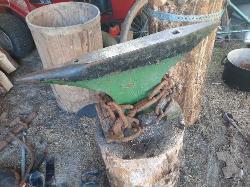
Nothing fancy, just wanted to celebrate having finally got my anvil attached to something! A proper old piece of chain, complete with shackle which we dug out of the forest last autumn turned out to be exactly long enough to wrap around twice. A couple of square plates and washers, two longish (could be longer) coach screws and two layers of roofing felt have turned a deafening 'TING!' into a much less bothersome 'clonk'. I won't dispense with ear protection but it might be nice to use something a bit more comfortable than my chainsaw helmet

-
Indeed, things like that cause me to start having romantic notions about the history of such pieces of metal
-
So this is my first post here, outside of the introduction. Hopefully it's in the right place! I'm still getting my setup sorted out and am very much a beginner, after several false starts over the years. One of the first tasks on my list is fixing down my anvil, so I cut two pieces of scavenged flat stock, punched holes (very ugly, but it worked) and shaped them roughly to fit over the base. I was driving in the first pair of coach screws and just as the tension started to build, the bar snapped in two with a high-pitched sound. After a fair amount of inventive language, I realised the value of my piece of 'scrap mild stock' had just increased somewhat ;D I took it to the grinder and it threw a beautiful yellow sparkler show which looked exactly like what I get from coil spring steel. This morning I figured out that this piece of steel is almost certainly from an old 'Spark'; a very common means of Winter transport around here, they're a standing kick-sled used on ice. The runners (like long skate blades) are well-known to old smiths in this area as being good for knife blades and flint strikers. Now the shortest piece of that break is well on its way to becoming my first hand-forged bushcraft knife, my head is filling with ideas of what can be done with the rest and my anvil is still untethered and stupidly noisy !
-
Wow, thanks for that detailed account Frosty! I take your point about the over-burn, but wouldn't that still result in the charcoal converting to ash? In which case, as long as what I'm getting looks like charcoal it should still be good..? Whatever the case though, I'm happy with my method for now but might well scale up later; your build is a lot simpler than some I've seen. The hardest part for me wilo be finding a clip-top barrel. I guess I'll know it's time to change when one of those turns up
-
That's very interesting, I'd never heard of charcoal being over cooked. I gravitated to this method partly because it suits my materials (plenty of scraps to feed the fire) but mostly because it's almost impossible to lose the product (unless it's opened too soon... oops.) Of course I try not to burn any longer than necessary, simply because it's wasteful but there's no real way for me to see when it's done. Sometimes there's a few pieces only half-baked (uniformity is key, as you said) or a complet batch will need re-doing (trial and error, experience building makes this a less frequent issue) But if there's issue from over-cooking, perhaps it's almost time for a method review... learning all the time!
-
JHCC; thanks, good to be here! I highly recommend the two barrel method, although I've seen some over- complicated versions online, so perhaps I should describe mine in a little more detail. The outer barrel has good sized holes all around, near the base to give plenty of air for the primary burn. The inner barrel has none at all. I start by filling the smaller barrel with sticks/chunks whatever, leaving as little space as possible. Then I place it onto an upturned bucket or smallish log to raise the height. Next, I place the larger barrel upside down, over the filled one. Then the 'tricky' bit: turn the whole arrangement the other way up, keeping the small barrel pressed against the larger one so none of the wood escapes. Finally, light a scrap fire in the space between the barrels and keep it fed and hot for about 2 hours (if the inner wood is fairly dry and around 2 inches thick) The wood gas that comes off will easily find its way out under the lip of the inner barrel and contribute to the burn (lovely big flame at the top) Leave it to cool overnight, tip out and rejoice! It's basically the same way I make charcloth, but bigger
-
I really recommend the two barrel method; I used to make it in a similar way to you, but really found it took a lot of attention to get it right and of course the fuel to run it is sacrificed from the end product. There's not much coal around here (and I'm trying for a carbon- neutral life) but a lot of trees. Interesting idea about extra hooks. Guess I need more practice at drawing out anyway
-
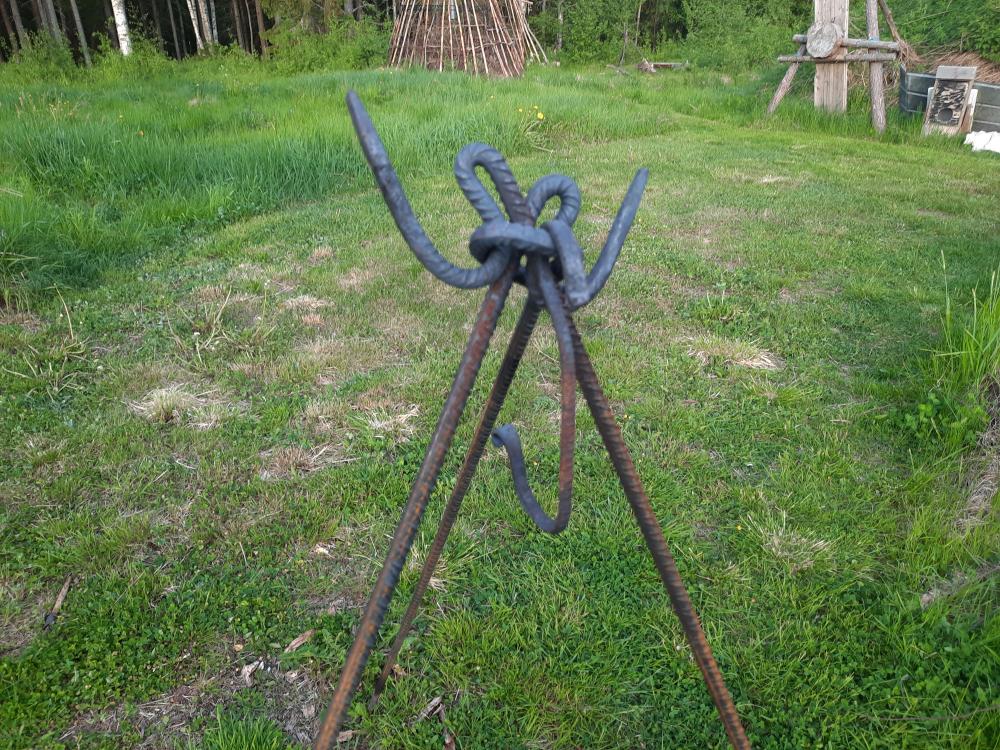
Thanks for the welcome guys! Daswulf; I'd estimate the efficiency between 30 and 50 percent, depending on factors like moisture content, cut size, amount of attention paid to keeping a HOT fire going while supping beer with friends The upside to the method is that it doesn't take much thinking (no risk of complete burn-out) and it can be fueled with any old flammable scraps. Great way to tidy the workshop! Frosty: Yes, I read a few mentions about the noise of these anvils (it's how I found the forum) and the few light taps I've given her definitely confirmed the rumour! Logs are plentiful here though, so I'll still go that route but add the traditional 'decorative chains'. I always wear ear protection anyway. I'm starting this hobby quite late (I turn 50 in a few weeks) and figure I should preserve what's left of my hearing... As for your assessment of her capabilities, you've pretty much listed my ambitions perfectly. Since you like pictures, I'll add one of the tripod for your critique.
-
Hi everyone! I've had a few brief attempts over the years to get into forge work as a hobby but this time I think it will stick! I put together a simple side-blown 'box of dirt' with air supplied by a small airbed blower, speed controlled via a dimmer switch and mains transformer. Last week I made my first tripod for outdoor cooking, on a tiny anvil and old leg vise. This weekend I acquired a larger anvil which needs to be properly mounted before testing (which of course I'm itching to do); it's a Söderfors 41.5kg, marked 1912. Oh, I live off-grid and make my own charcoal by the 'barrel in a barrel' method. Looking forward to learning from everyone here.