Tim695
-
Posts
49 -
Joined
-
Last visited
Content Type
Profiles
Forums
Articles
Gallery
Downloads
Events
Everything posted by Tim695
-
I would have said that the side tool chest looks like it would hold some tig rods and parts, but the stickers kinda make me think it was something automotive.
-
What did you do in the shop today?
Tim695 replied to Mark Ling's topic in Blacksmithing, General Discussion
Nice knives Billy! I cant wait to see them finished. I really like those Tongs Arthur. I always struggle to make the hoop in the jaws, I always seem not to leave enough material for a nice arch. -
Hey Chad, When i took shop in school, that actually was the coveralls of the time. ( I think I just dated myself)
-
What did you do in the shop today?
Tim695 replied to Mark Ling's topic in Blacksmithing, General Discussion
love those shelves Alexander. are those wrapped round bars holding up the shelf supports, or were they welded first?? -
I always love when hardenable steel shows up on my doorstep.
-
Scrap Yard Won't Sell Scrap Metal!!!!
Tim695 replied to CurlyGeorge's topic in Blacksmithing, General Discussion
The scrap yard in my area is actually pretty good. They wont sell you scrap, but when you bring your truck in with a bunch of scrap and see something you like, they will let you throw it in the back of your truck and whey you weigh out its just steel for steel. -
What did you do in the shop today?
Tim695 replied to Mark Ling's topic in Blacksmithing, General Discussion
wow those are beautiful. they must have taken you a while. -
What did you do in the shop today?
Tim695 replied to Mark Ling's topic in Blacksmithing, General Discussion
They are Canadian Dollars. -
What did you do in the shop today?
Tim695 replied to Mark Ling's topic in Blacksmithing, General Discussion
Thanks Lary. Yeah prices are crazy here. Alot of the time used items cost basically the same as new ones minus the shipping -
What did you do in the shop today?
Tim695 replied to Mark Ling's topic in Blacksmithing, General Discussion
Hi George I ended up paying $1400. I'm not sure what something like this would cost in your area, but they are all expensive here. I was looking at a new 200 lb anvil and they are about $2300 and over $200 to get it shipped. Rojo that's a pretty cool little person. I hope I can do that quality of work o e day. -
What did you do in the shop today?
Tim695 replied to Mark Ling's topic in Blacksmithing, General Discussion
George I'm still grinning from ear to ear. That is a very nice bowl. -
What did you do in the shop today?
Tim695 replied to Mark Ling's topic in Blacksmithing, General Discussion
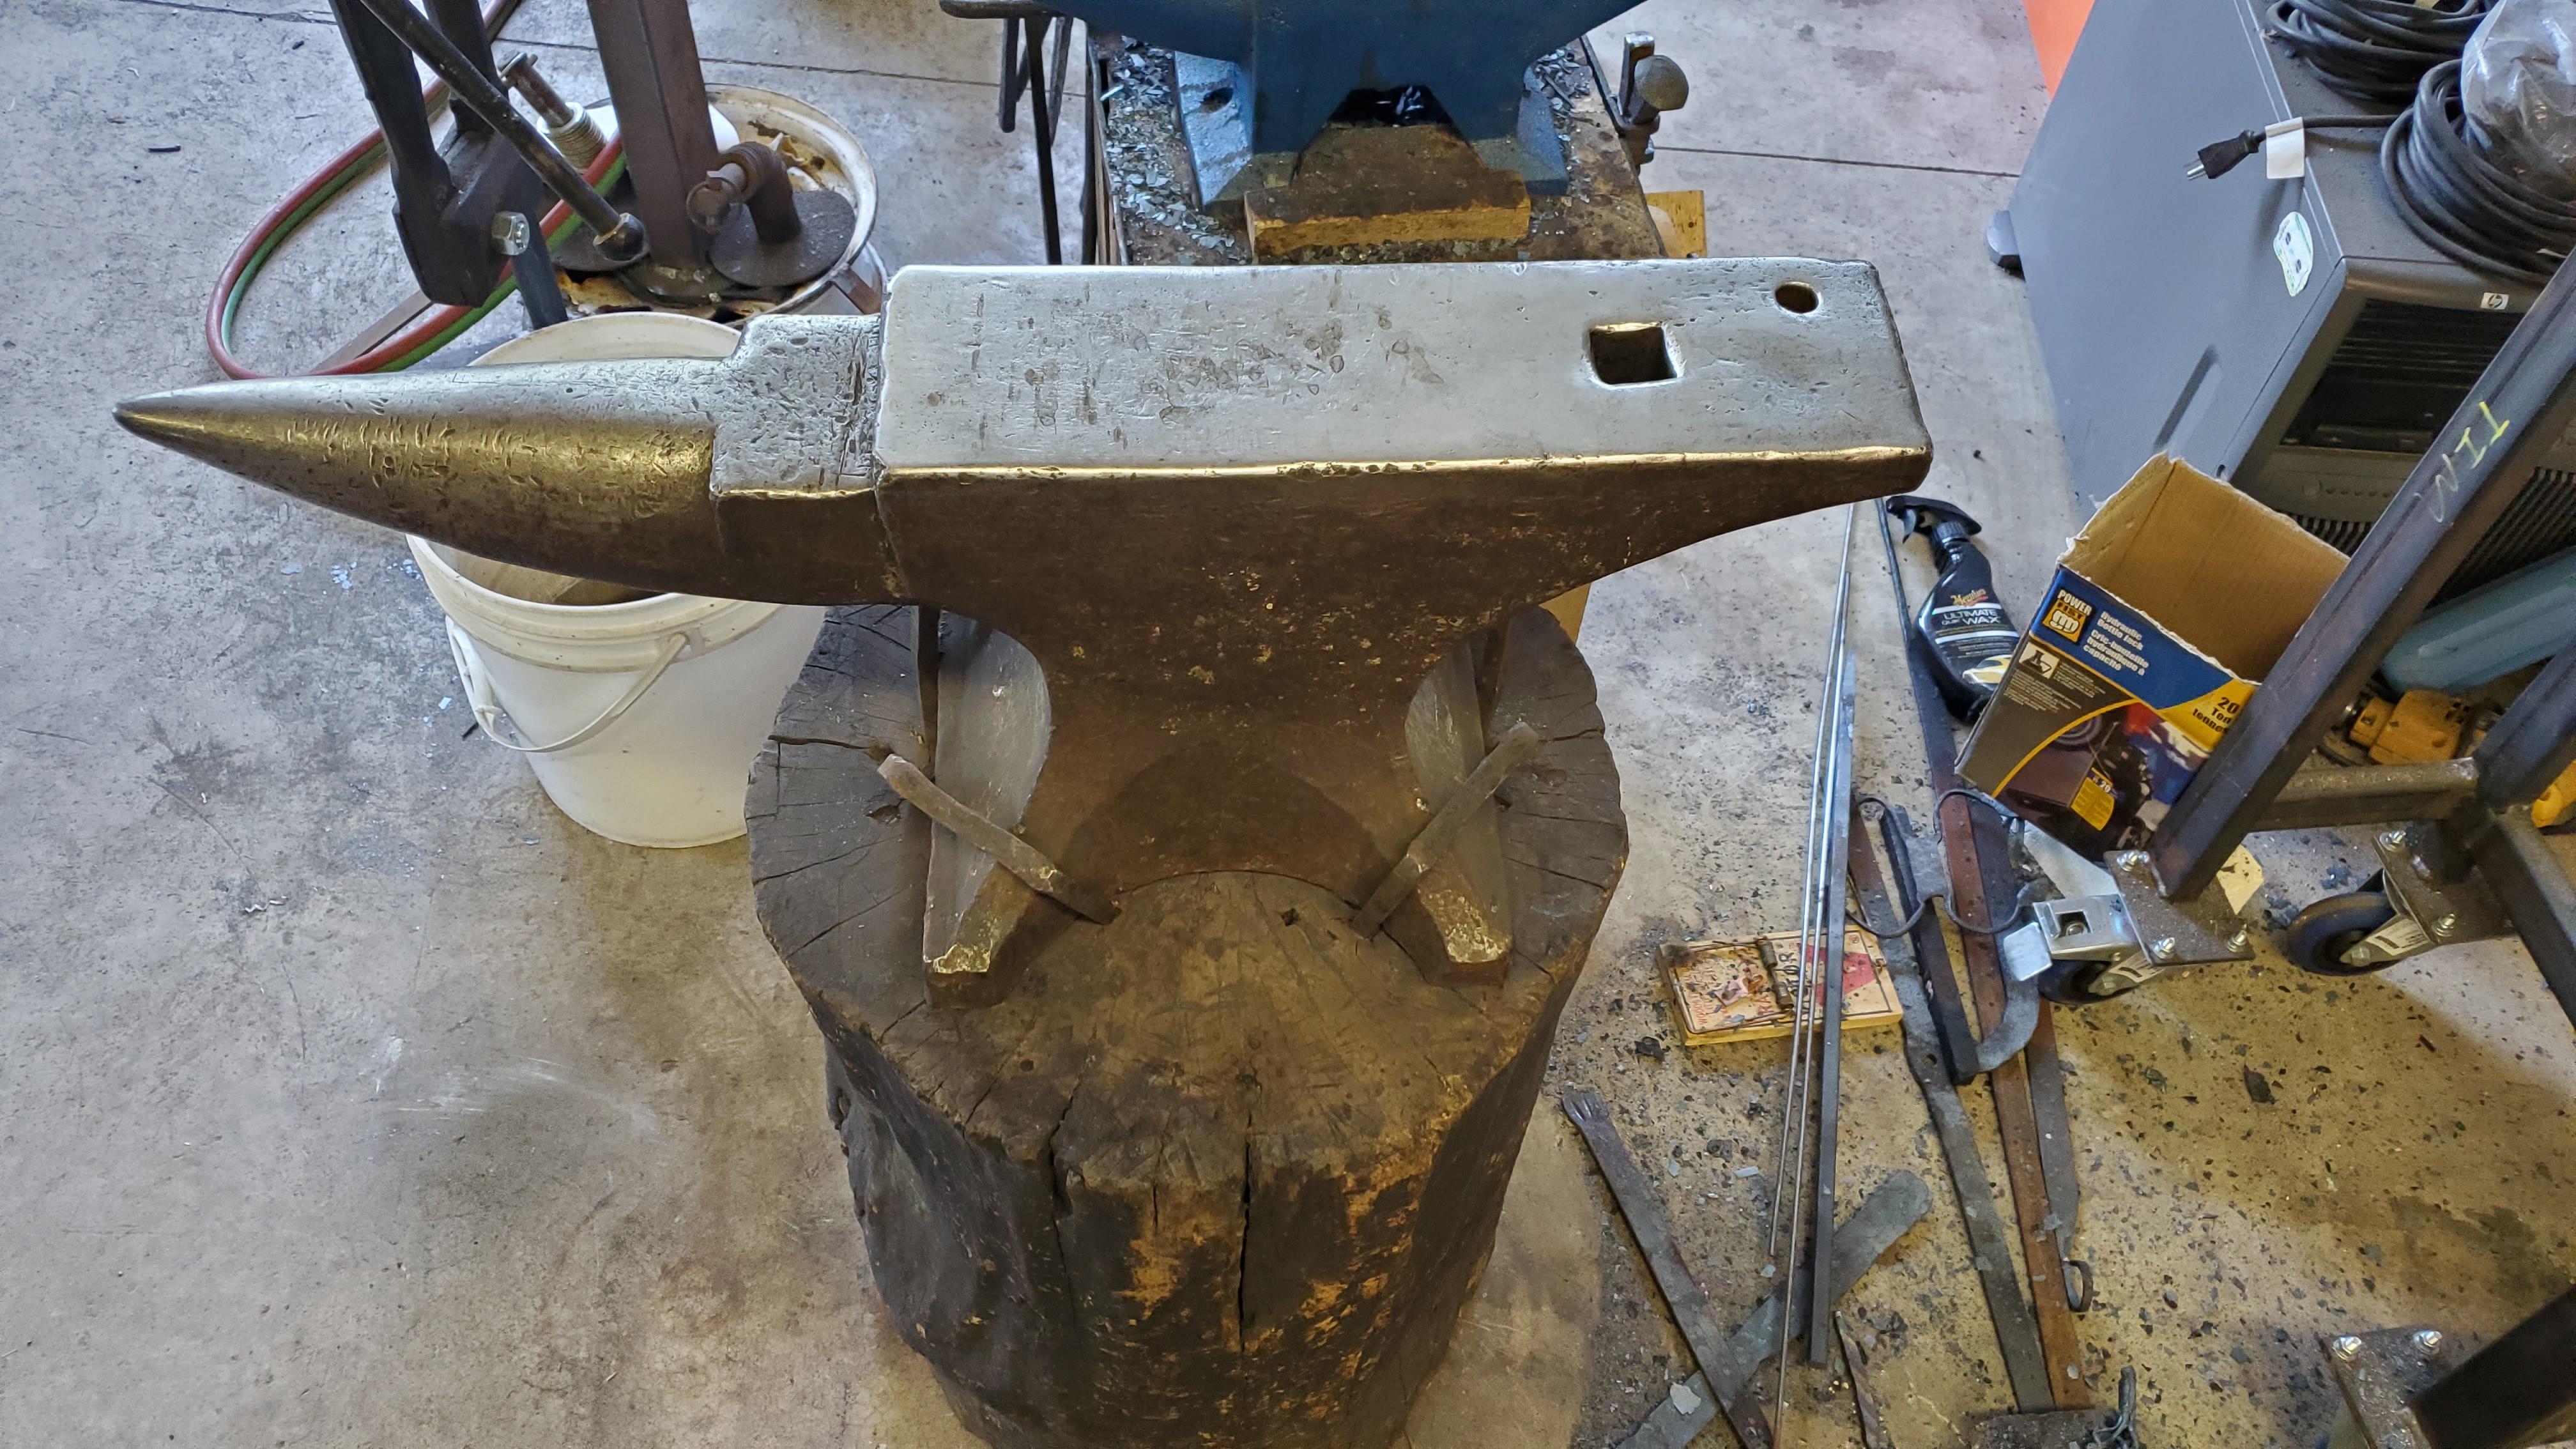
Today I replaced my anvil shaped object with a Peter Wright 200 lb anvil
-
buying cheap supplies (rivets)
Tim695 replied to Duckkisser's topic in Blacksmithing, General Discussion
If you live in Canada there is Spaenaur. not sure if they are in the United States as well. they carry lots of fasteners of all kind as well as some tools, they are an industrial supplier that also sell to the consumer at the counter. -
I found the easiest way to save the elbow is to use the press to make most of the tongs. you can form the basic bit, the hinge and draw out the reins by using a stop on the dies the size you want the final thickness of each part. there is the cleaning up to do with the hammer but that just takes minutes to do.
-
First Canister Damascus trying to figure out what went wrong
Tim695 replied to Tim695's topic in Problem Solving
Good to know about the @name. how do I edit the post. I dont see that as an option Yes it was my first attempt at a hidden tang. I couldn't believe how hard that black walnut is. It took forever to broach out the hole for the tang. -
First Canister Damascus trying to figure out what went wrong
Tim695 replied to Tim695's topic in Problem Solving
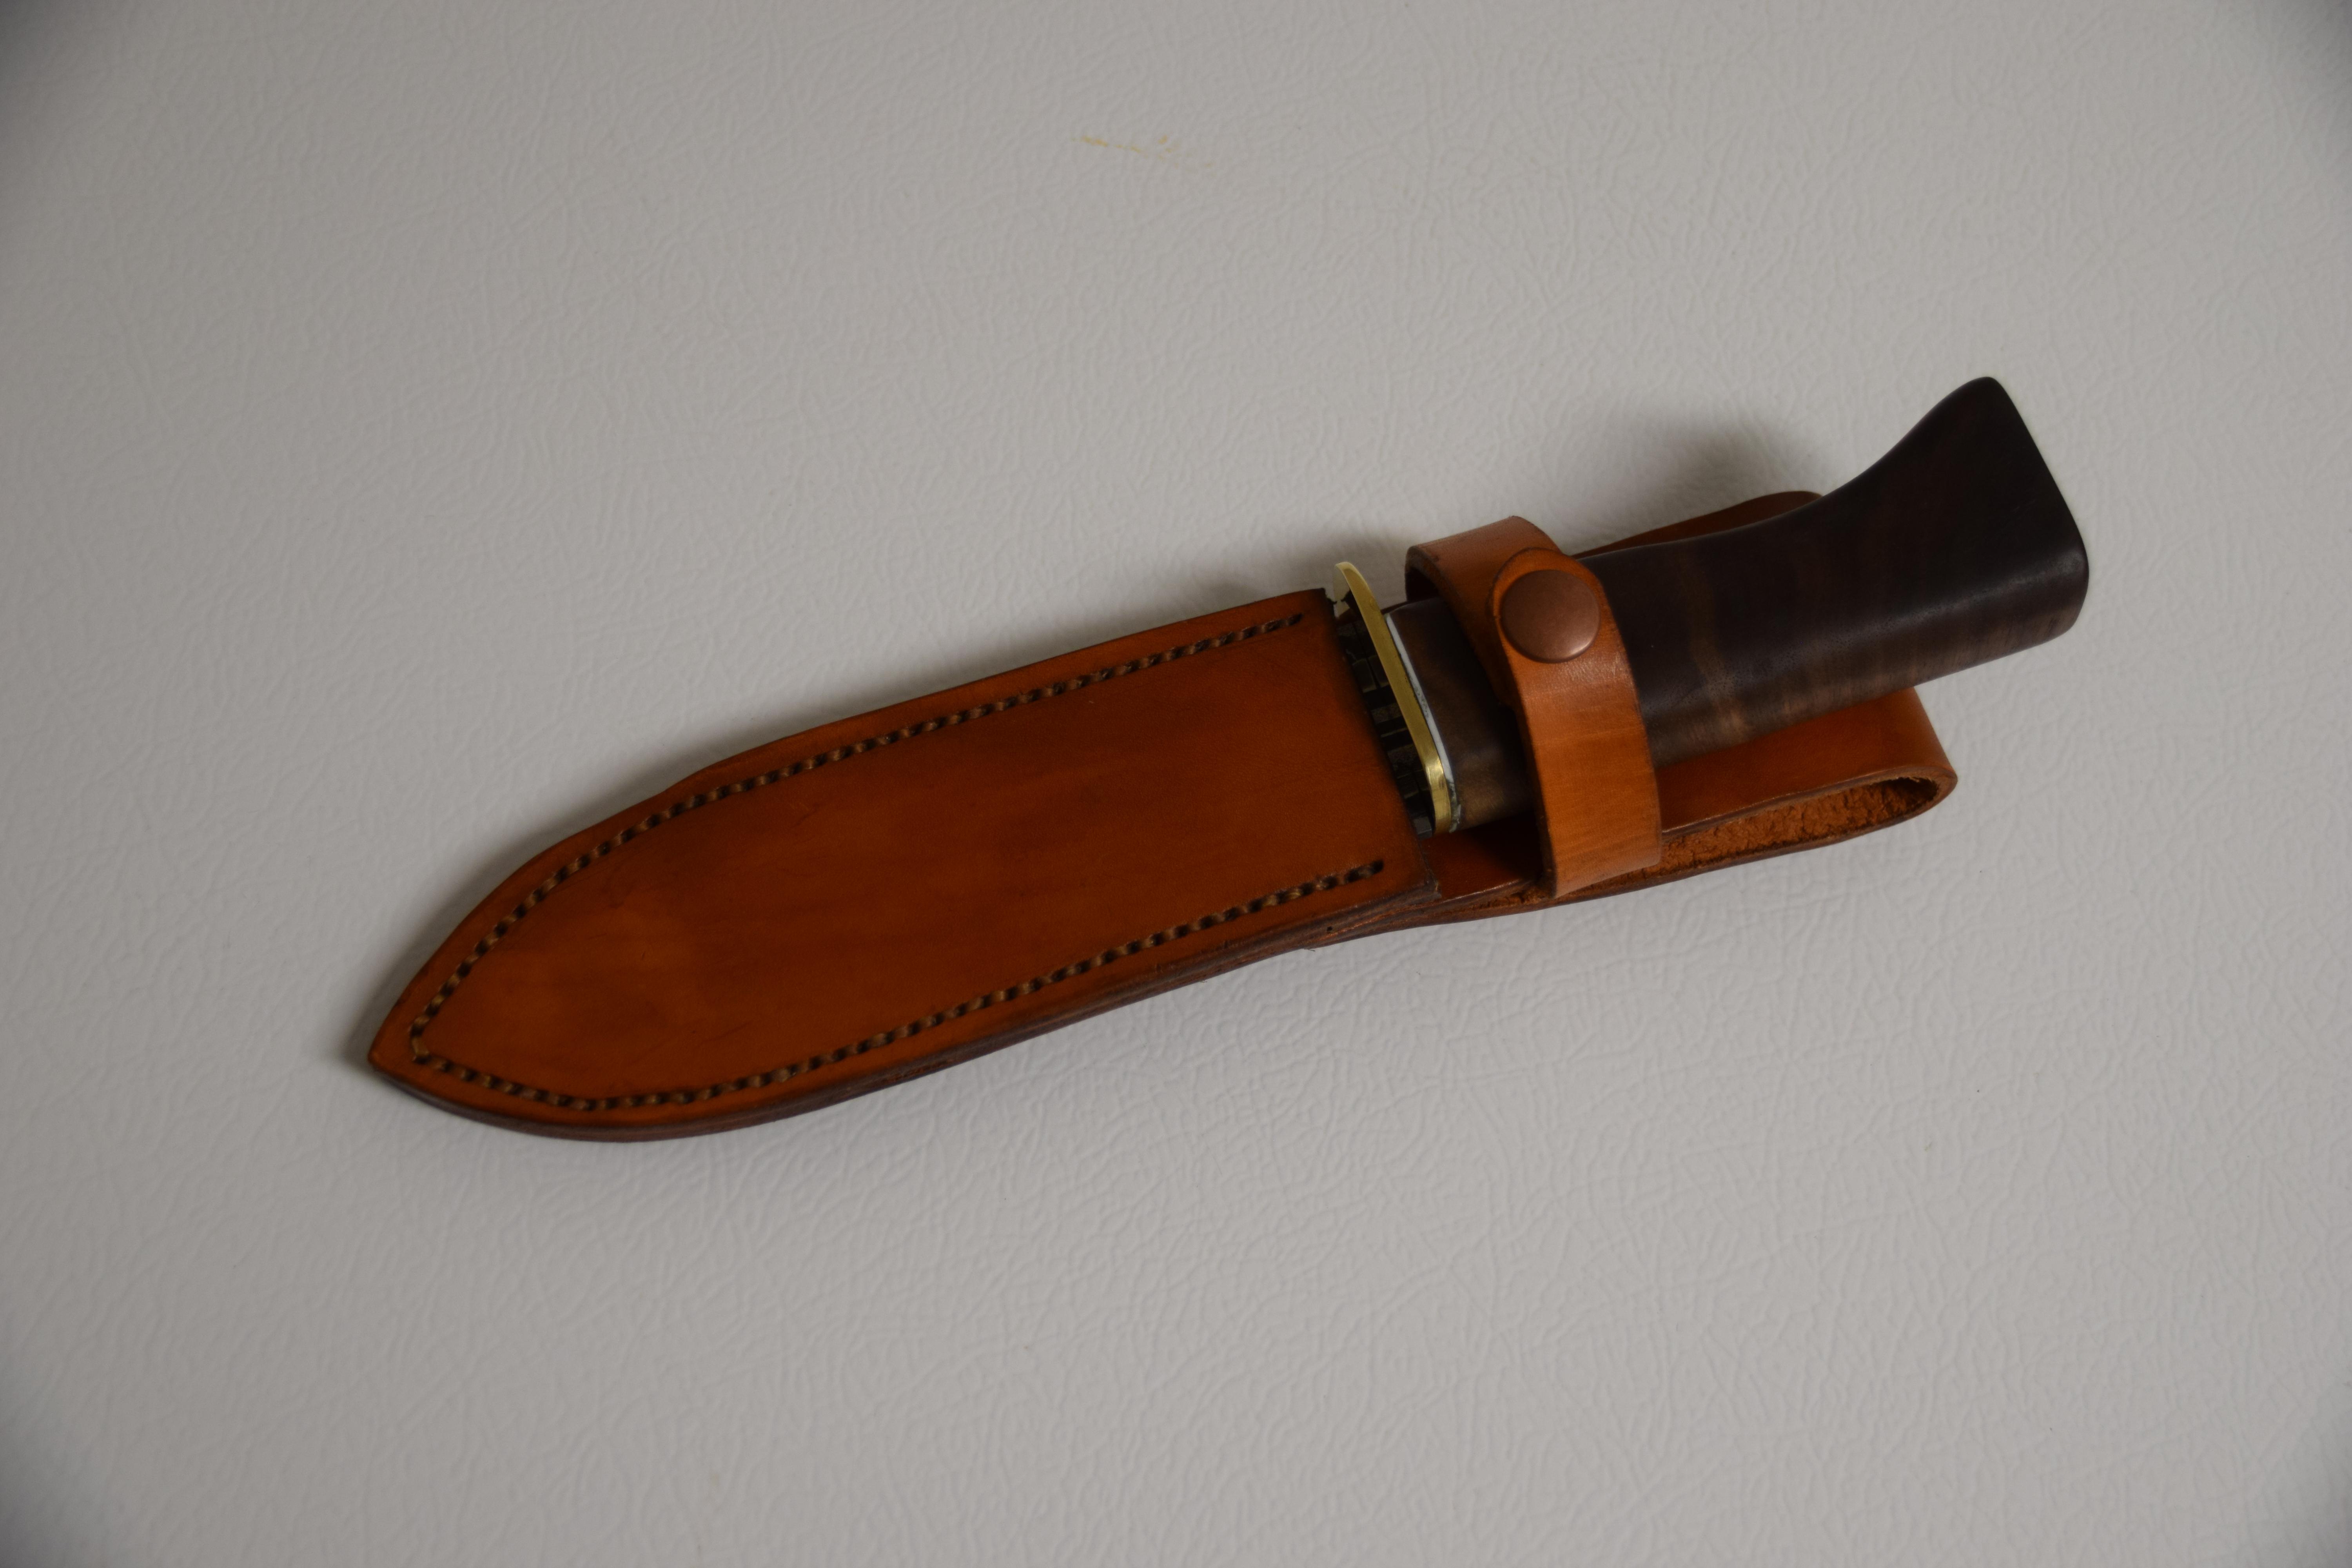
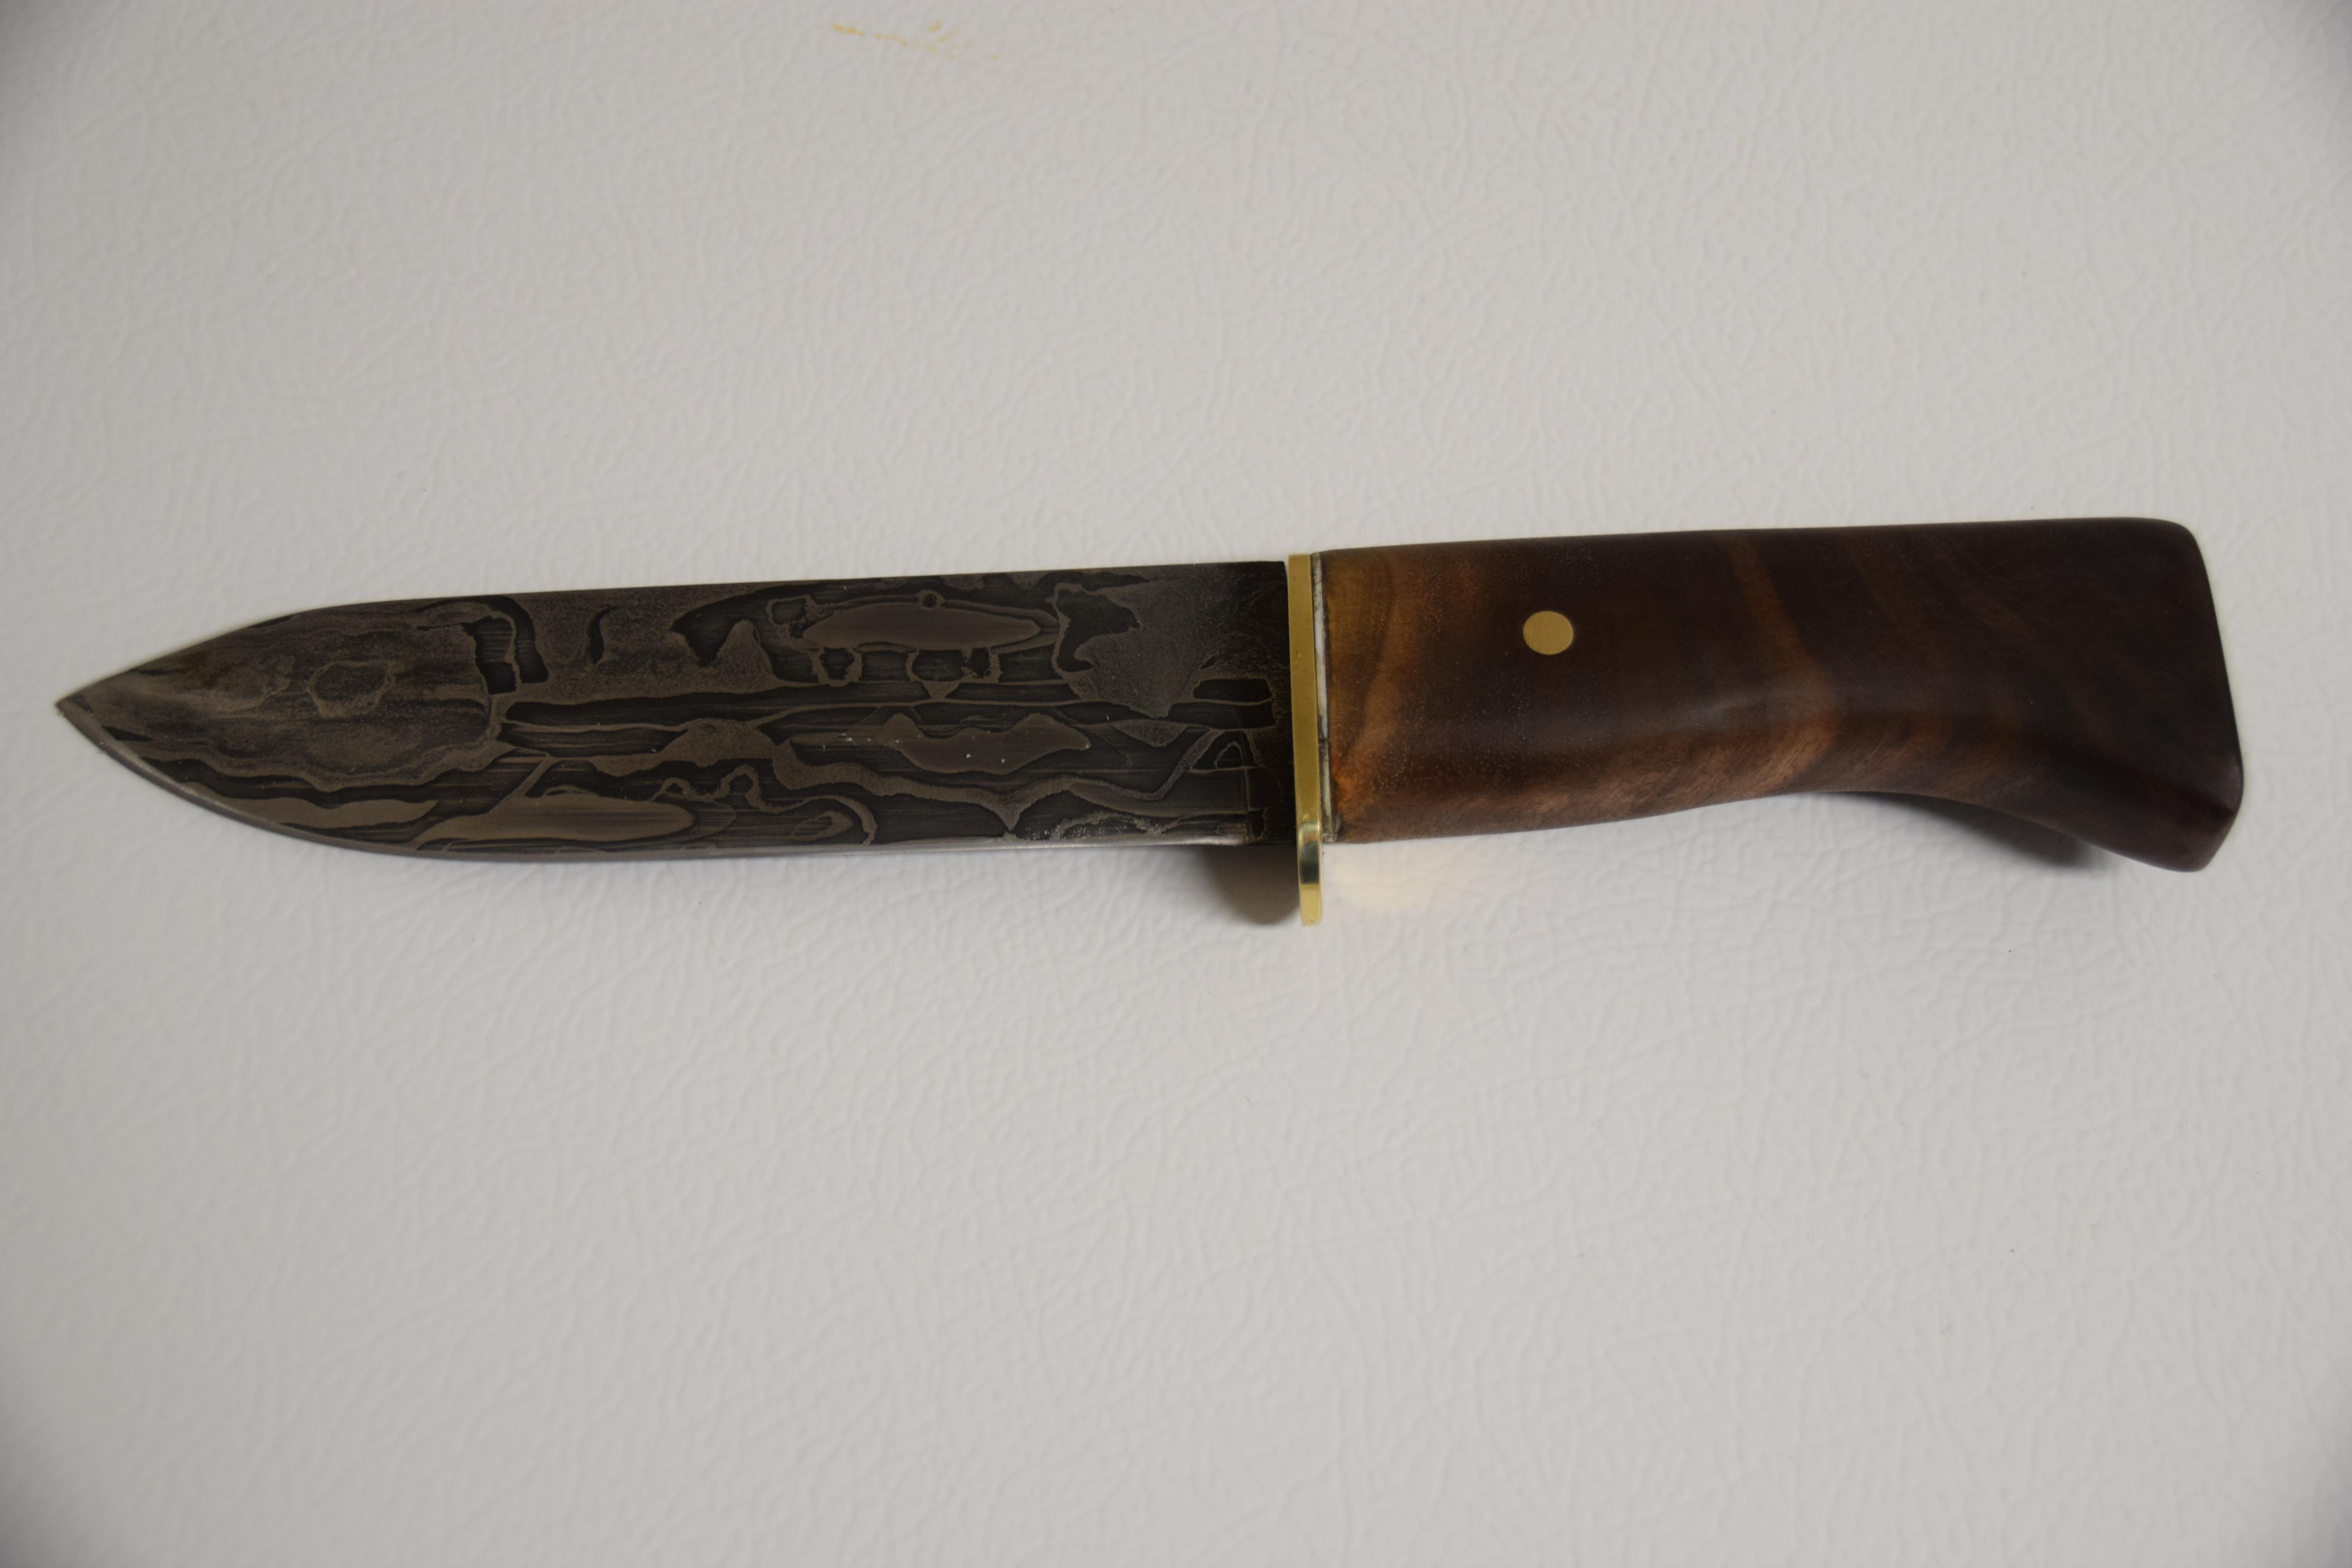
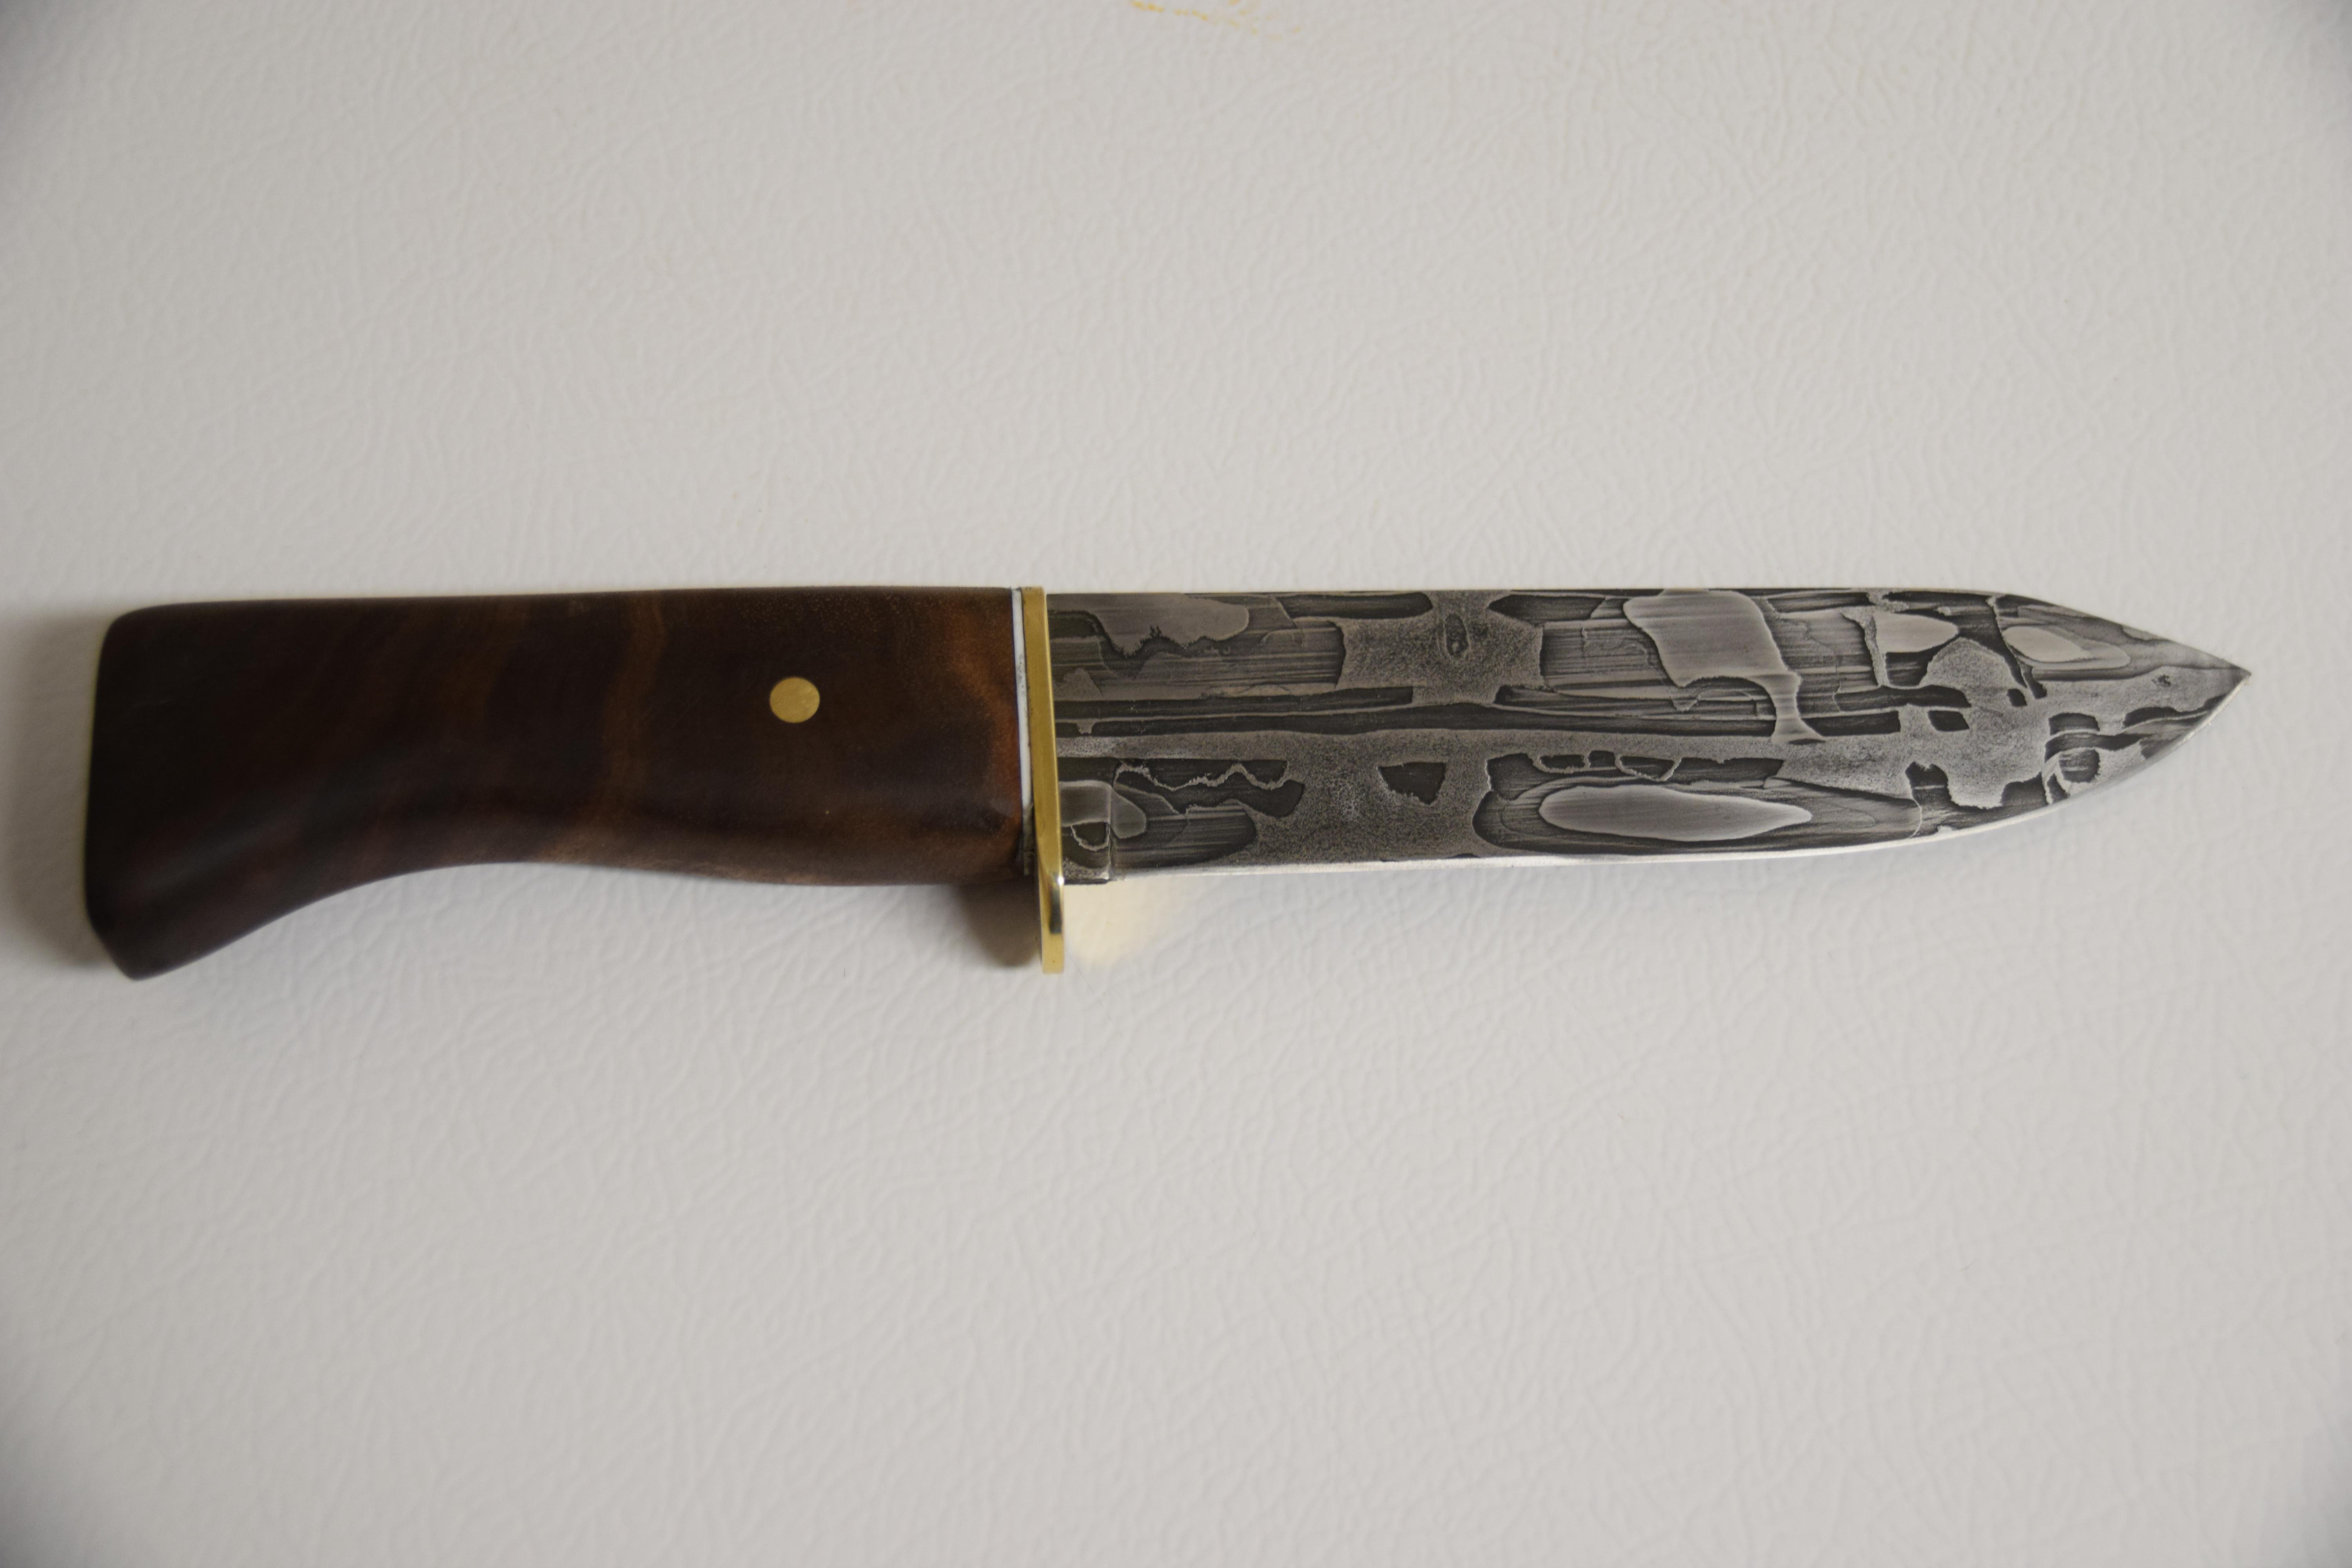
Well I finally got enough of a break to finish making the Damascus knife. It took me a while as I was always getting called away from my fun by work and life. I want to tank everyone that helped me figure this process out. I had a few issues with the knife, but fewer than the lat on, they keep getting better with each new one. I also decided to to my first hidden tang handle with this one as the the billet was small, ( it was originally just a test piece). here are a few photos of the completed knife. I decided that this knife was to be for my neighbour as he helps me out quite a lot and puts up with me as a neighbour. the handle is made from a piece of black walnut from a tree that had to be cut down on his parents farm. Also the chain was from his motorcycle so I thought it was only fitting that he got it. Again thanks everyone for the help.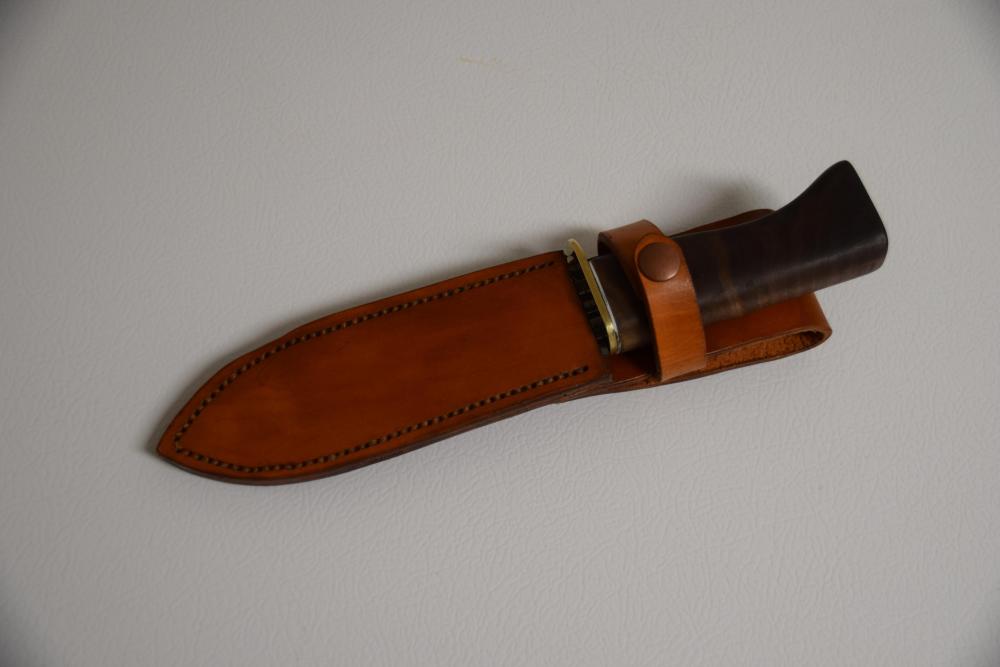


-
What did you do in the shop today?
Tim695 replied to Mark Ling's topic in Blacksmithing, General Discussion
Today, since I know have a viable piece of Damascus thanks to everyone's help, I figured I would need an etch tank. So today I made an etch tank out of a 3" piece of clear pvc I had laying around the shop. I also made a mount for the tank out of 2 pieces of hpde plastic that I welded together. Iade the mount bigger than was needed as I may add other tanks to it in the future. Please ignore the ugly welds as I haven't had to plastic weld in over 5 years. John and all the others with Covid, get well soon.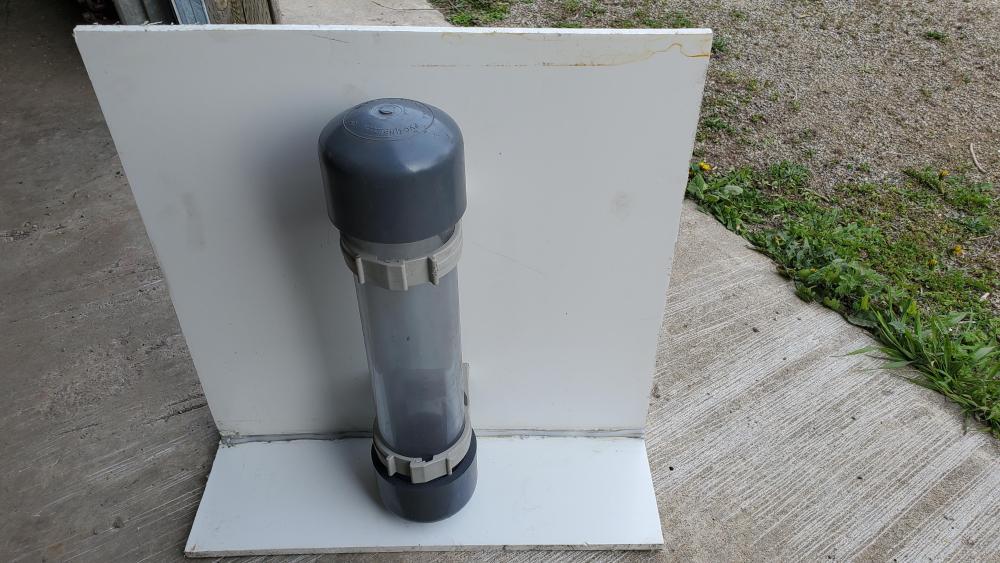
-
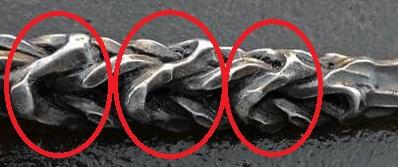
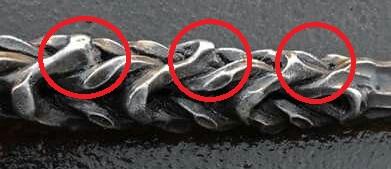
The Top one looks even more complicated than that. If you notice the 3 pieces in the 3 red circles seem to be bars that are slit and opened to form rings which the rest of the part is slipped through. this would explain the taper to the twist.
-
First Canister Damascus trying to figure out what went wrong
Tim695 replied to Tim695's topic in Problem Solving
ThomasPowers I basically got the temp of the canister up to 2500F, I vibrated the xxxxl out of the canister to make sure there were no voids. I also drilled a small hole in the lid so it wasn't fully sealed. I also used a clamp to compress the lid down way more than the first canister. I also compresses the can in all three axis. And when I was drawing out the bullet I was alloy gentler with the pressing. IronDragon yeah my spelling can be atrocious especially when I don't have the reading glasses on. Haha I'm not sure what I'm going to do with it yet. I will have to see. I will defiantly post it on the what did you make thread when I figure it out. -
First Canister Damascus trying to figure out what went wrong
Tim695 replied to Tim695's topic in Problem Solving
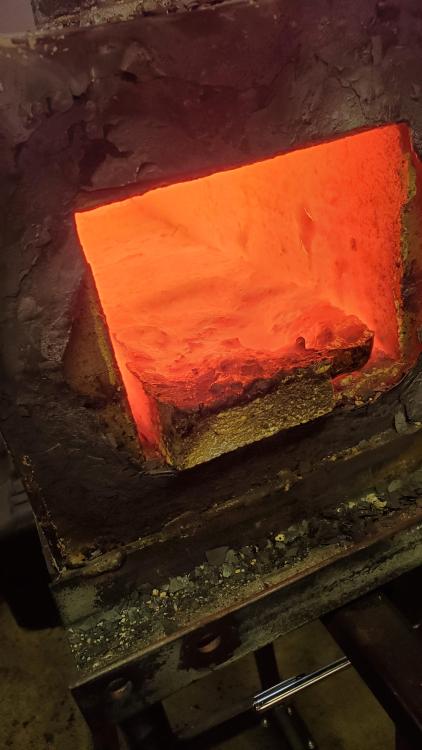
Thank you everybody for your good advice. We have a successful bullet. The consumable fire brick in the bottom of the forge didn't survive long, but the bullet is solid without any cracks. Again thank you everyone.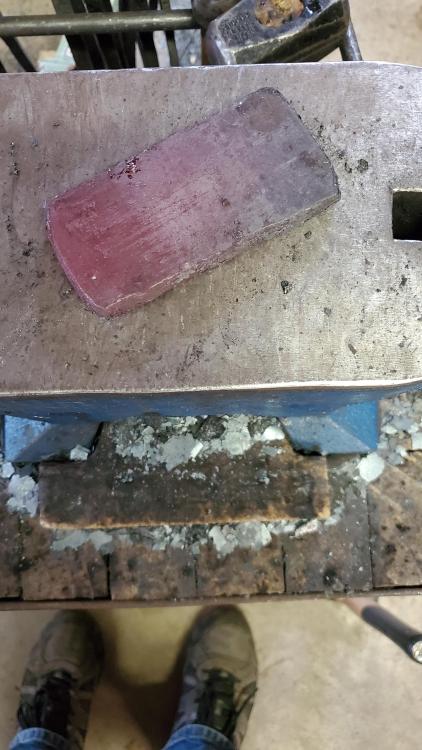
-
First Canister Damascus trying to figure out what went wrong
Tim695 replied to Tim695's topic in Problem Solving
IronDragon, I will try the higher temp as well. it may have gotten there as once it was up to the 2200F. i just left it in the forge for near 20 mins and didnt check the temp again. I will make sure this one gets hotter. -
First Canister Damascus trying to figure out what went wrong
Tim695 replied to Tim695's topic in Problem Solving
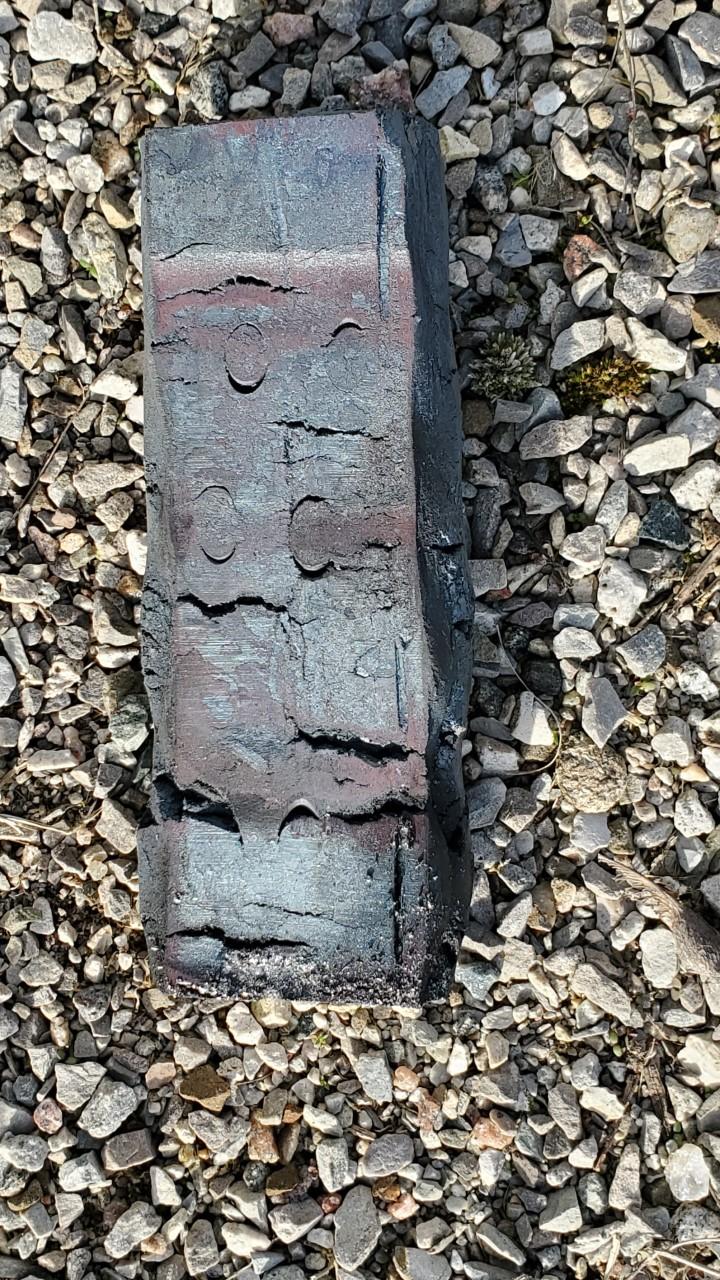
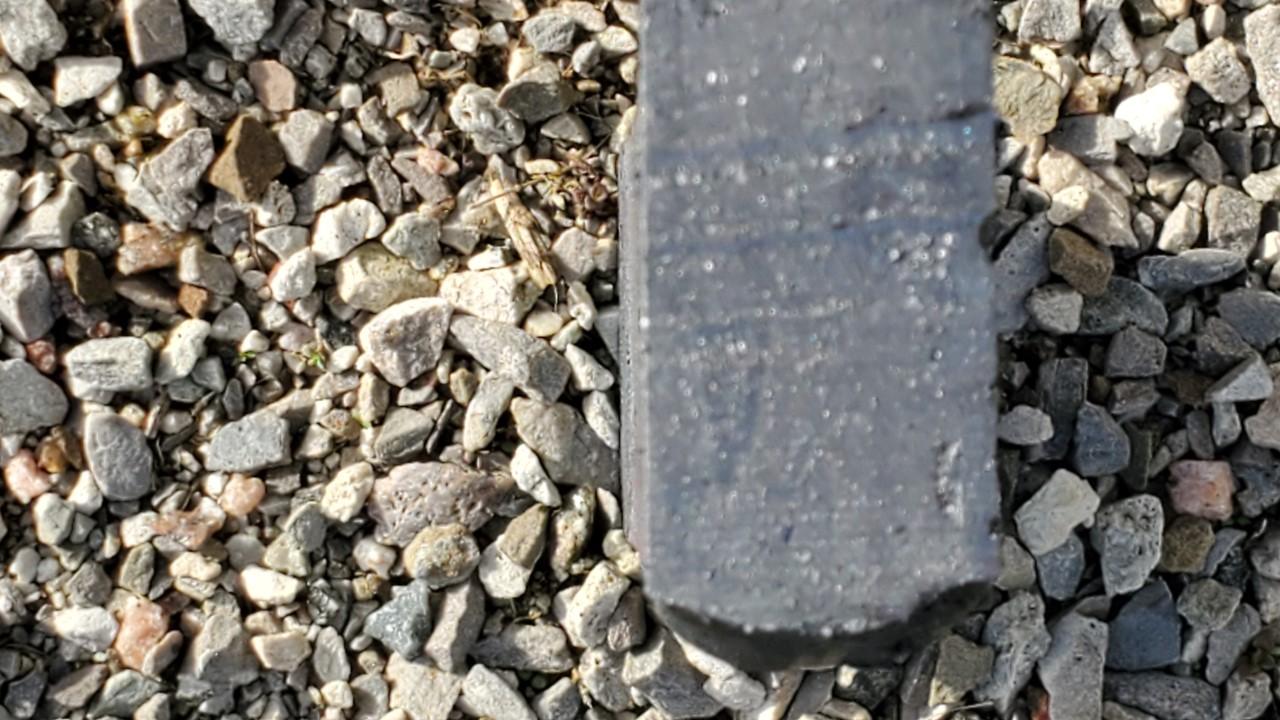
Thanks to everyone for your responses. IronDragon, I determined the heat was at 2200F by use of an infared pyrometer. and I have been doing some reasearch and it appears I should have let it soak for around an hour if what I read was correct. Frosty, the reason I cleaned the chain was I heard that cleanliness was the single most important thing in forge welding. also the motorcycle chain came off an adventure bike so there was a bunch of grit in the chain as well as the oil. Should there be some leakage from the ends? again I am new to Damascus and thought that canisters had to be welded solid. its easier to weld the can with a leak than no leak. how much leakage should there be? Latticino, the billet is shorter in the later photos because i cut the billet in the center to see how it looked inside. the first photo was before I started to stretch it out after removing it from the can. photo 2 and 3 where after it was stretched and cut in half. photo 3 is the inside of the billet on the cut. and yes I may have gotten too aggressive when stretching the billet out. also can I reuse it as wouldnt it have forge scale in all those cracks? ThomasPowers and SteveSells, all the compression was on the x and y axis. I was planning to cut off the ends, but you are right. I probably should have compressed it on the z axis as well. I am going to take all these suggestions to heart and try this week when I get time to make a small 2" canister and will try all these suggestions. -
First Canister Damascus trying to figure out what went wrong
Tim695 replied to Tim695's topic in Problem Solving
Thanks for the reply Frazer. I forgot to mention that in my preparation of the canister I did use a palm sander, using the metal clips on the pad to vibrate the can. I then topped it up and repeated until it stopped going down. Then for good measure I tapped it with a hammer. Still it is possible there were voids. I will have to try again with a smaller can later this week and I will vibrate the xxxx out of the can. I think I will also cut the bullet right on one of the cracks to see what that looks like. Thanks -
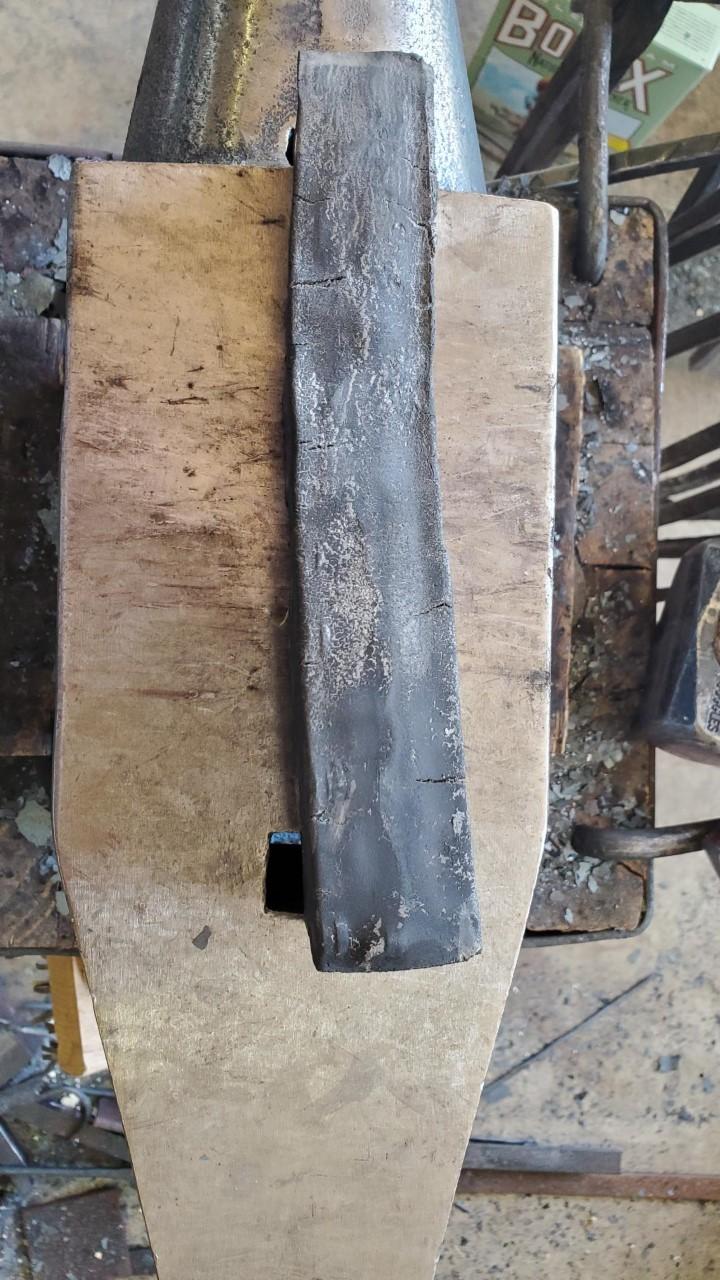
Hi All, Made my first canister Damascus today using some 1090 powder with added nickel content and an old motorcycle chain. i soacked the chain in varsol for 2 days and cleaned it with a brush. I then dried it with the air compresser and then cleaned it with some Methyl hydrate. I put whiteout on the inside of the can and then once that was dry I filled it welded it and through it in the forge. I brought it up to 2200F and let it sit for about 15 - 20 mins at that temp. I then pressed it on the diagonal rotated it 90 degrees and pressed it in the other direction. I then through it back in the forge and repeated the process. When I cut the can off, everything looked as if it was going well. see billet1. the next day I heated the billet back up in the forge and pressed it with the flat dies. this is where it all went bad. the billet seemed to crack and want to fall apart as seen in billet3. I then cut it on the bandsaw but the internal stucture seemed to be 1 piece os forge welded steel as seen in billet3. Im just trying to figure out why it went all bad so I can make sure to do it right. Any thoughts??