
FurFinFeather
Members-
Posts
19 -
Joined
-
Last visited
Content Type
Profiles
Forums
Articles
Gallery
Downloads
Events
Everything posted by FurFinFeather
-
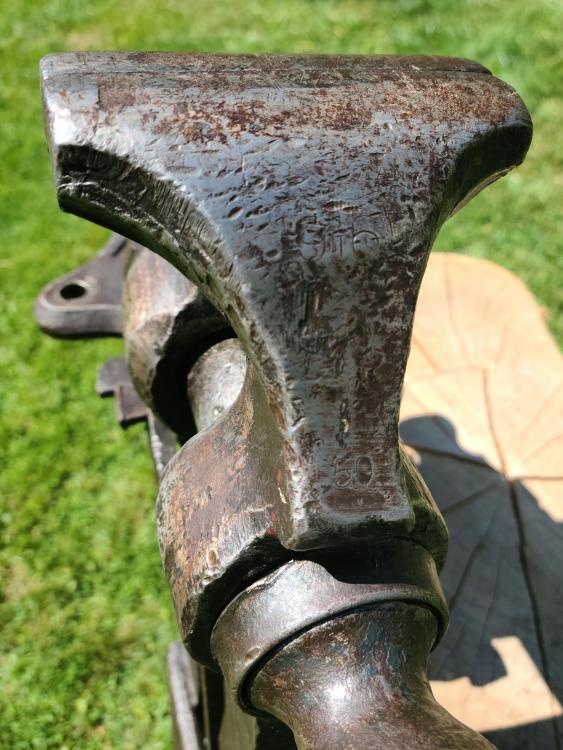
I had an older Columbian that looked just like that and had the weight (50), date (1916) and the name (you can see the "ian" above the 6) all in the same spots as yours. You have to look close but it is visible in this photo. In a different light I could make out other letters in Columbian.
-
Unfortunately not...I have to get better at documentation! Basically cut the nub to a 45, chamfered the edge, and built up the weld. I did also forge and add a ring at the foot to keep everything looking right.
-
Norton #10 Flypress manual, specs, Weight etc.
FurFinFeather replied to mARTin Metal's topic in Presses
This doesn't list a standard throated no.10 but could give some help. There's a fellow on Instagram with the name "anvils.online" that owns Norton...he could have some insight to add. aec970_263b3605f4084cd09d61a3369b62eb46 (1).pdf -
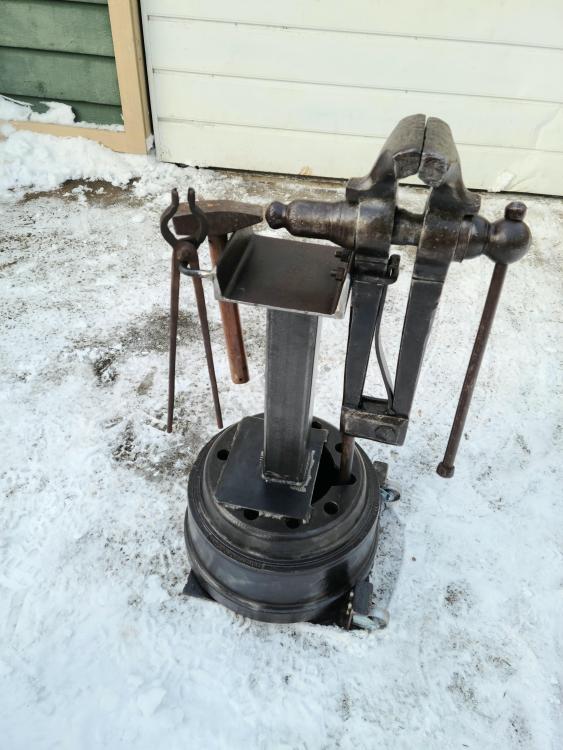
There we go! Sorry for the long delay! Turned out well and made a stand for it too. It's gone to a good home as someone was in more need of it than I...
-
Hmm...can't seem to get this to upload. I'll try again later!
-
Looks identical to a Columbian I once had, right down to the location of the date, font and weight (50lbs). Mine was a 1914 and you could barely make out the Columbian name stamp up higher on the jaw above the date.
-
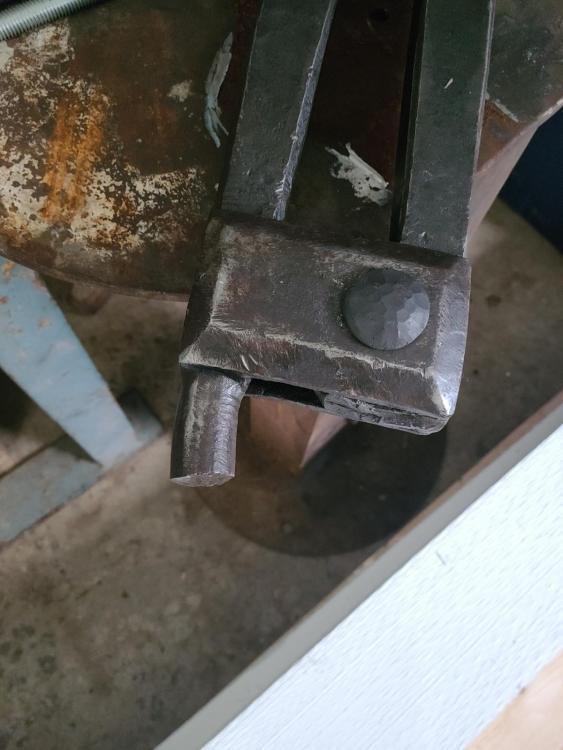
I thought I'd loop back on this... I decided to weld on a new leg using Frosty's method. After cutting back the nub to a 50~ish degree angle, I put a deep chamfer on the vise and the new leg, and then welded it up. Works great! A low vise is a great idea and the thought crossed my mind but I also have a 7" Peter Wright that was shortened years ago that will be taking that role as soon as I get around to building a stand for it. Thanks again IFI!
-
A new model Canady Otto Royal!
-
That's the thing Thomas...the vise is $100 Canadian, which is a pretty good deal for here. BUT it would involve 6 hours of driving (gas etc) and it may not check out. If it was close, no issue - I'm all in! - but given what I'm seeing, this is someone else's project to be had. Especially because I have a line on a nice blower now too!
-
Perfect - thanks Frosty!
-
Perfect - thanks crew! This one is going to be a pass...The expertise here is very appreciated!!!!
-
I should add that I'd look at this myself but it's a few hours away...
-
Hello IFI - I have this very nice 5" Peter Wright vise BUT it suffered an "amputation" sometime in its past. What's the preferred method to add a leg? Would you: 1) taper and weld on a mild steel replacement at the break, 2) cut back the nub to the cheeks and then weld on a new leg or, 3) Keep the nub, weld on a new leg (as in #1) but add a sleeve over the joint? Any tips for welding mild to wrought as well?
-
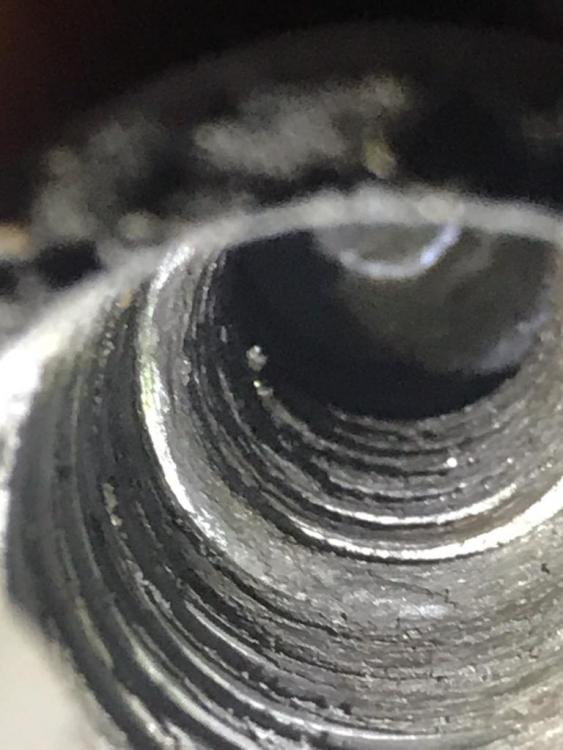
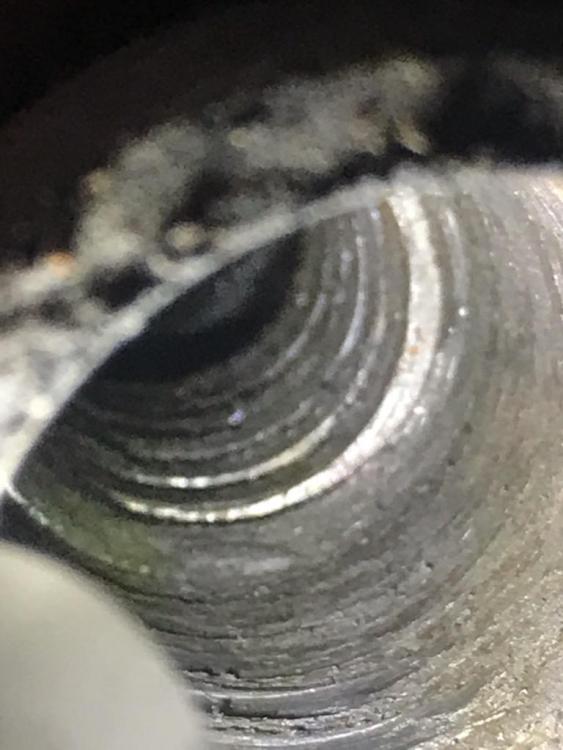
So I was about to go look at a German vise and after getting a few photos, I saw the screwbox appears to be missing a lot of threads. I'm famialr with English vises but not German. Do the threads on a German screwbox usually start right at the end or is there an unthreaded portion at the start. My gut says this vise is missing a good amount of threads sooo...what say you?
-
There's an 8" Peter Wright for sale at Ontario Antique Tools...big dollars though.
-
Ok - at the advice of some I cleaned up the seam as much as I could and added a couple of photos. I seem (pardon the pun) to see the bottom and measuring with a pin, it goes up to 1/4 inch deep...deep enough that I'd like to fill it. The first photo shows best the boarders of the gap. Who should I speak to about methods to fill in this gap/flaw as I'm going to research this to death before taking any actions.
-
Thanks everyone! Hitting the anvil with a big or small hammer results in a clean ring. Frosty - I even put a screwdriver to my ear (thankfully no photos of that!) and the ring still sounds clean. The dye penetrant looks interesting but without any sort of baseline, I don't trust my interpretation of the results to be meaningful. I think I'm going to conclude the anvil is sound and enjoy it! I'd love to close up the gap but running a small bead of weld may do more harm than good...
-
At the encouragement of a fantastic member here (Wicon) I'm posting an interesting Refflinghaus anvil. It is a fantastic North German #9 with an upset block that weighs 248KG (550lbs). It's stamped both E & R on the feet, pointing towards an Ernst Refflinghaus manufactured anvil but it's also stamped with the ARSM brand on the upset block along with the number 91. Here's the twist, its a hand forged anvil with a steel top plate. According to records, Ernst Refflinghaus stopped building anvils this way in the 1950s, so why the 91 stamp? In researching this on the site, I came across a comment by Wicon that made me reach out to him. What a helpful gentleman! He contacted Refflinghaus on my behalf with the photos and we learned: Jörg Refflinghaus – the son of Ernst and now the owner has answered: This anvil was manufactured by ER, therefore the E&R on the feet. Sometimes ARSM bought heavier anvils from ER and then sold them as ARSM anvils. When it was polished for selling to ARSM the "91“ was stamped. ARSM then stamped their trademark and sold the anvil. Even Jörg Refflinghaus doesn’t know why a handforged and steeled anvil was sold new in '91. He can only guess that it stood – maybe covered in a dark corner of the warehouse. The anvil was recently imported into Canada from Germany. The previous owner was a smith in Germany with the surname Bueller (or Bueler). One item of minor concern, which I submit for feedback here, is there is a visible seam on the one side of the round horn. The anvil rings true but I'm not certain what, if anything should be done about the gap. Using a needle, I can only get 1/16" or so into the gap. I'd appreciate any thoughts from the experts here at IFI!
.webp.9125a416a213bb3415f64a2b303b5ec5.webp)