jimmyw
Members
-
Joined
-
Last visited
Everything posted by jimmyw
-
Cheers! Will def take a look at that. I've got some work done in the shop. I got a part of the electric done today. Installed some lights, a fan and an outlet for the bench. Gonna buy some more cable either tomorrow or some day in the week. I'm not to thorough with the alignment on the cable though so if it's not completely straight it's fine. received_918069718616706.mp4
-
I installed a new forge blower! Or rather a ventilation fan... But it works very well. My first forge I made was with dirt and it was too deep. The second one I made(the one I have now) also was too deep so last weekend I decided to move up the bottom plate but I drilled a bit to big holes so I didn't get enough pressure on the coal making the steel just dull orange. Well, with this new fan it surely gets hot!
-
Actually I'm more focused on making tools as well. But all material I had moved into the new shop was some 5mm flat bar so... Kinda suitable for a knife I thought. Thanks for commenting
-
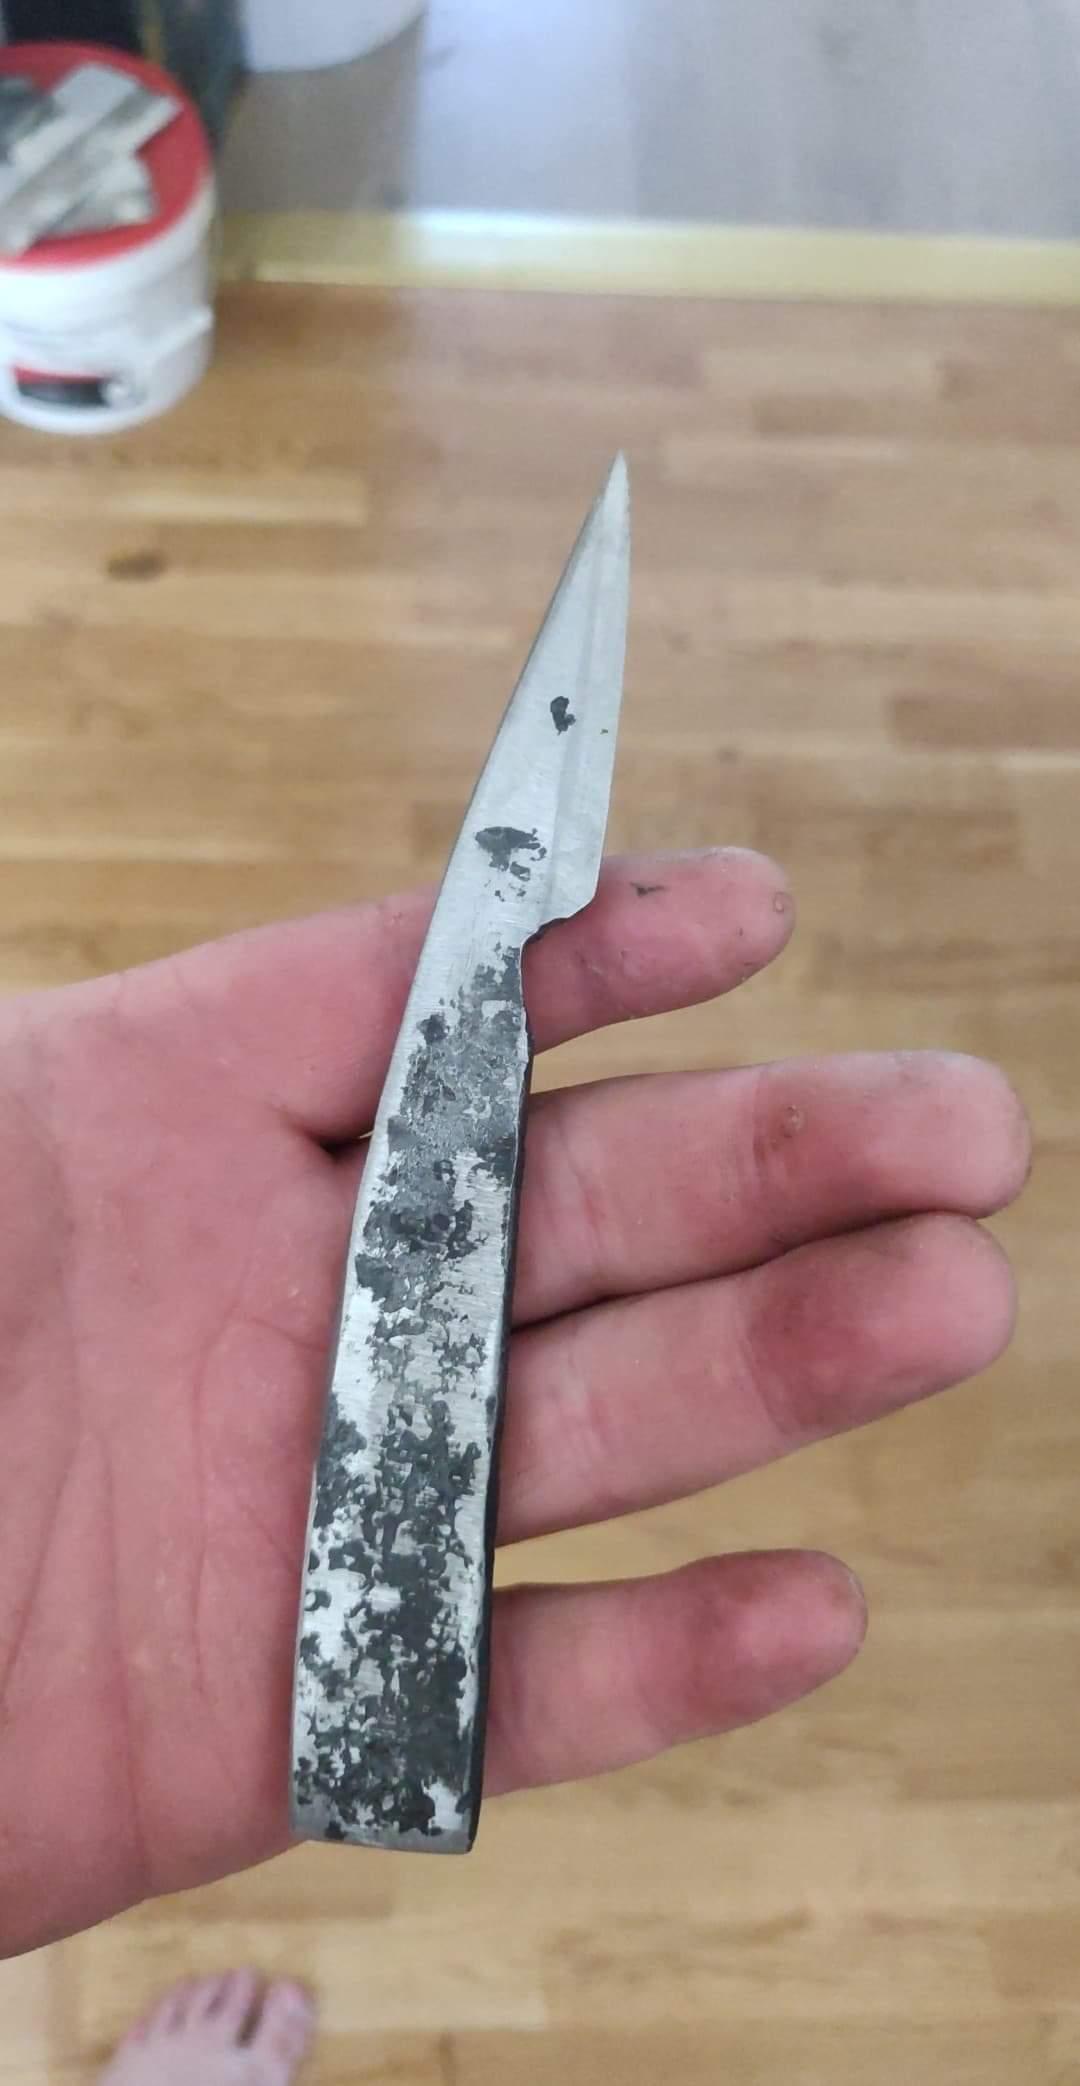
Just moved into my new shop and made this package-open knife. First attempt on a blade as well. I have no clue what steel it is though but I'll try to harden it and clean it up some more later.

-
I made my forge out of an old fireplace and the "chimney" on it is 180mm(about 7 inches). I think it's overall easier to go out through the wall than the roof. I will most likely make a gas forge in a smaller dimension to have outside. A bit more portable than the forge I have right now hehe.
-
Yes. A chimney will be installet at some point. I just don't feel like drilling through the wall or roof until I know how I want the workshop layed out. Currently I'll be running a flex tube out the window.
-
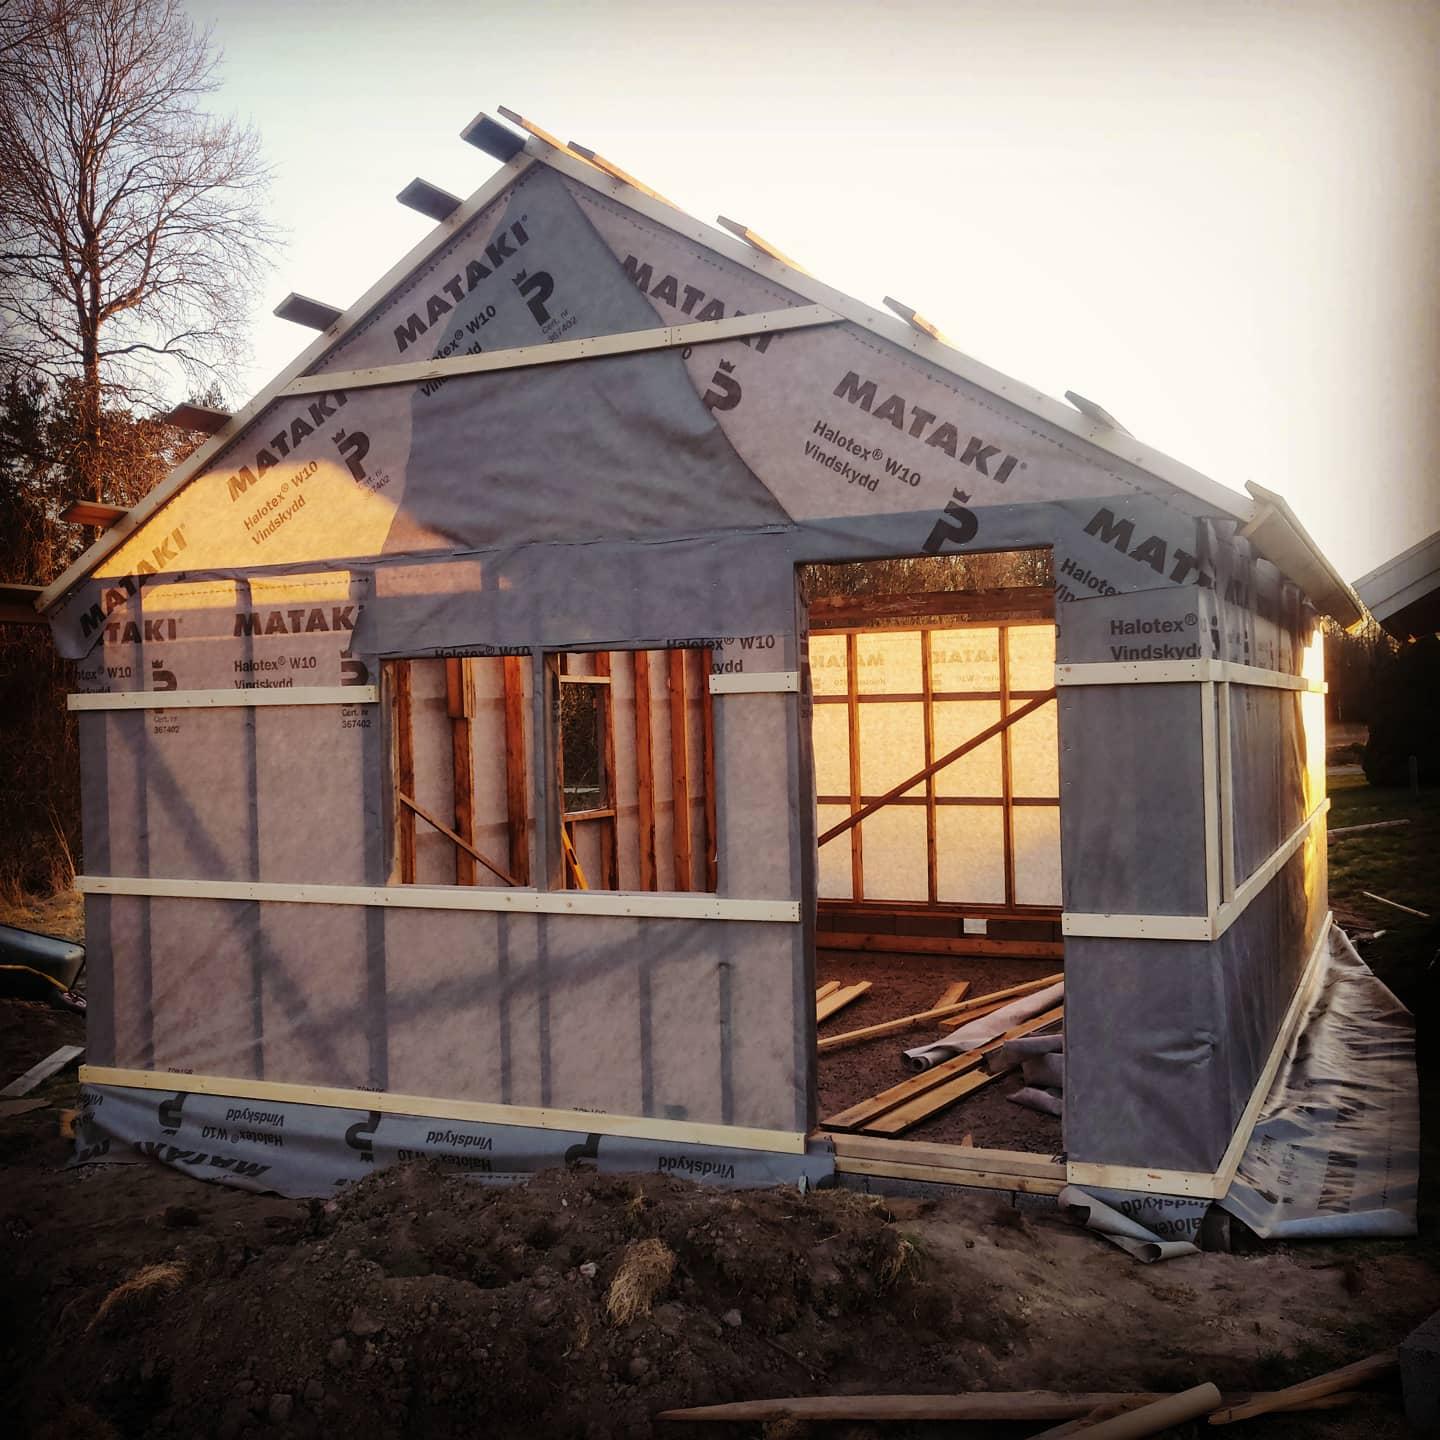
Hello! Alright, so I've got a lot of things done since last time! I had my best friend over for a weekend and he helped me put up all the panel and some of the roof as well. As this last photo was taken he was just about to get down and drive home (about 20 miles). So we got a lot of work done. I've finished off the roof by myself now and will start moving in things into the shop tomorrow. I have no clue how I want to put everything though. Maybe you guys have an idea of where I should put my things? I'm running a coal forge right now and don't really have a plan of switching it out anytime soon. Here's how the inside looks right now Here's my current idea Now, the proportions may not be all 100% but you get the point. I'm mostly intrested of tool making. Suggestions are very welcome!
-
I get your concern. Fortunately I do not own a gas forge(yet), but I have in my planning adding ventilation in the shop later on. As it is right now, both long sides are open towards the upper part so it should ventilate just fine for coal anyway!
-
Yeah, that makes sense, Chris. I mean, IFI is a blackshithing forum to be fair haha. Thomas, well, that makes two of us. But my idea is simple. As the building is not as high as normal workshops(about 4-4.5m from bottom to top) I can use a shovel during the winters on a ladder IF we actually get some snow here. This winter we had about 100mm snow as most during a *whole* week. I live quite far south in Sweden and It's just milder weather here overall than up north where I'm from. The building itself will not be isolated, but I prepared with weave(?) for two reasons, 1: condensation and 2: in case I would like to isolate in the future. I mean, the forge get quite hot so I think that'll be enough though. Perhaps I'll get a 250w fan heater or something until the forge get hot, we'll see I guess. About the CO, well.. I don't know currently to be honest. I haven't made the construction wind sealed, so there will be air moving through by default but I do plan on putting in some kind of ventilation still though. I also wanted gravel / dirt just as you for the reason It's easier for your feet and back. But It's also good preperation in case I'd like to do some concrete in the future, for let's say some kind of power machine Irondragon I've had the thought. I also have an old garage door with electric motor if I want it, from my work but it feels like it will take up too much space currently so I passed on it for now. I may install it later even though I know I probably should've done it when doing the framing haha. But we'll see I guess. Cheers for the comments!
-
Hello! Got quite bit further now. Too bad there isn't much feedback in this thread. Though I hope you like my workshop build

-
I downloaded the doc file and theres actually a photo in there. Here's the photo:
-
What size stock did you use to make the hammer? Looks great!
-
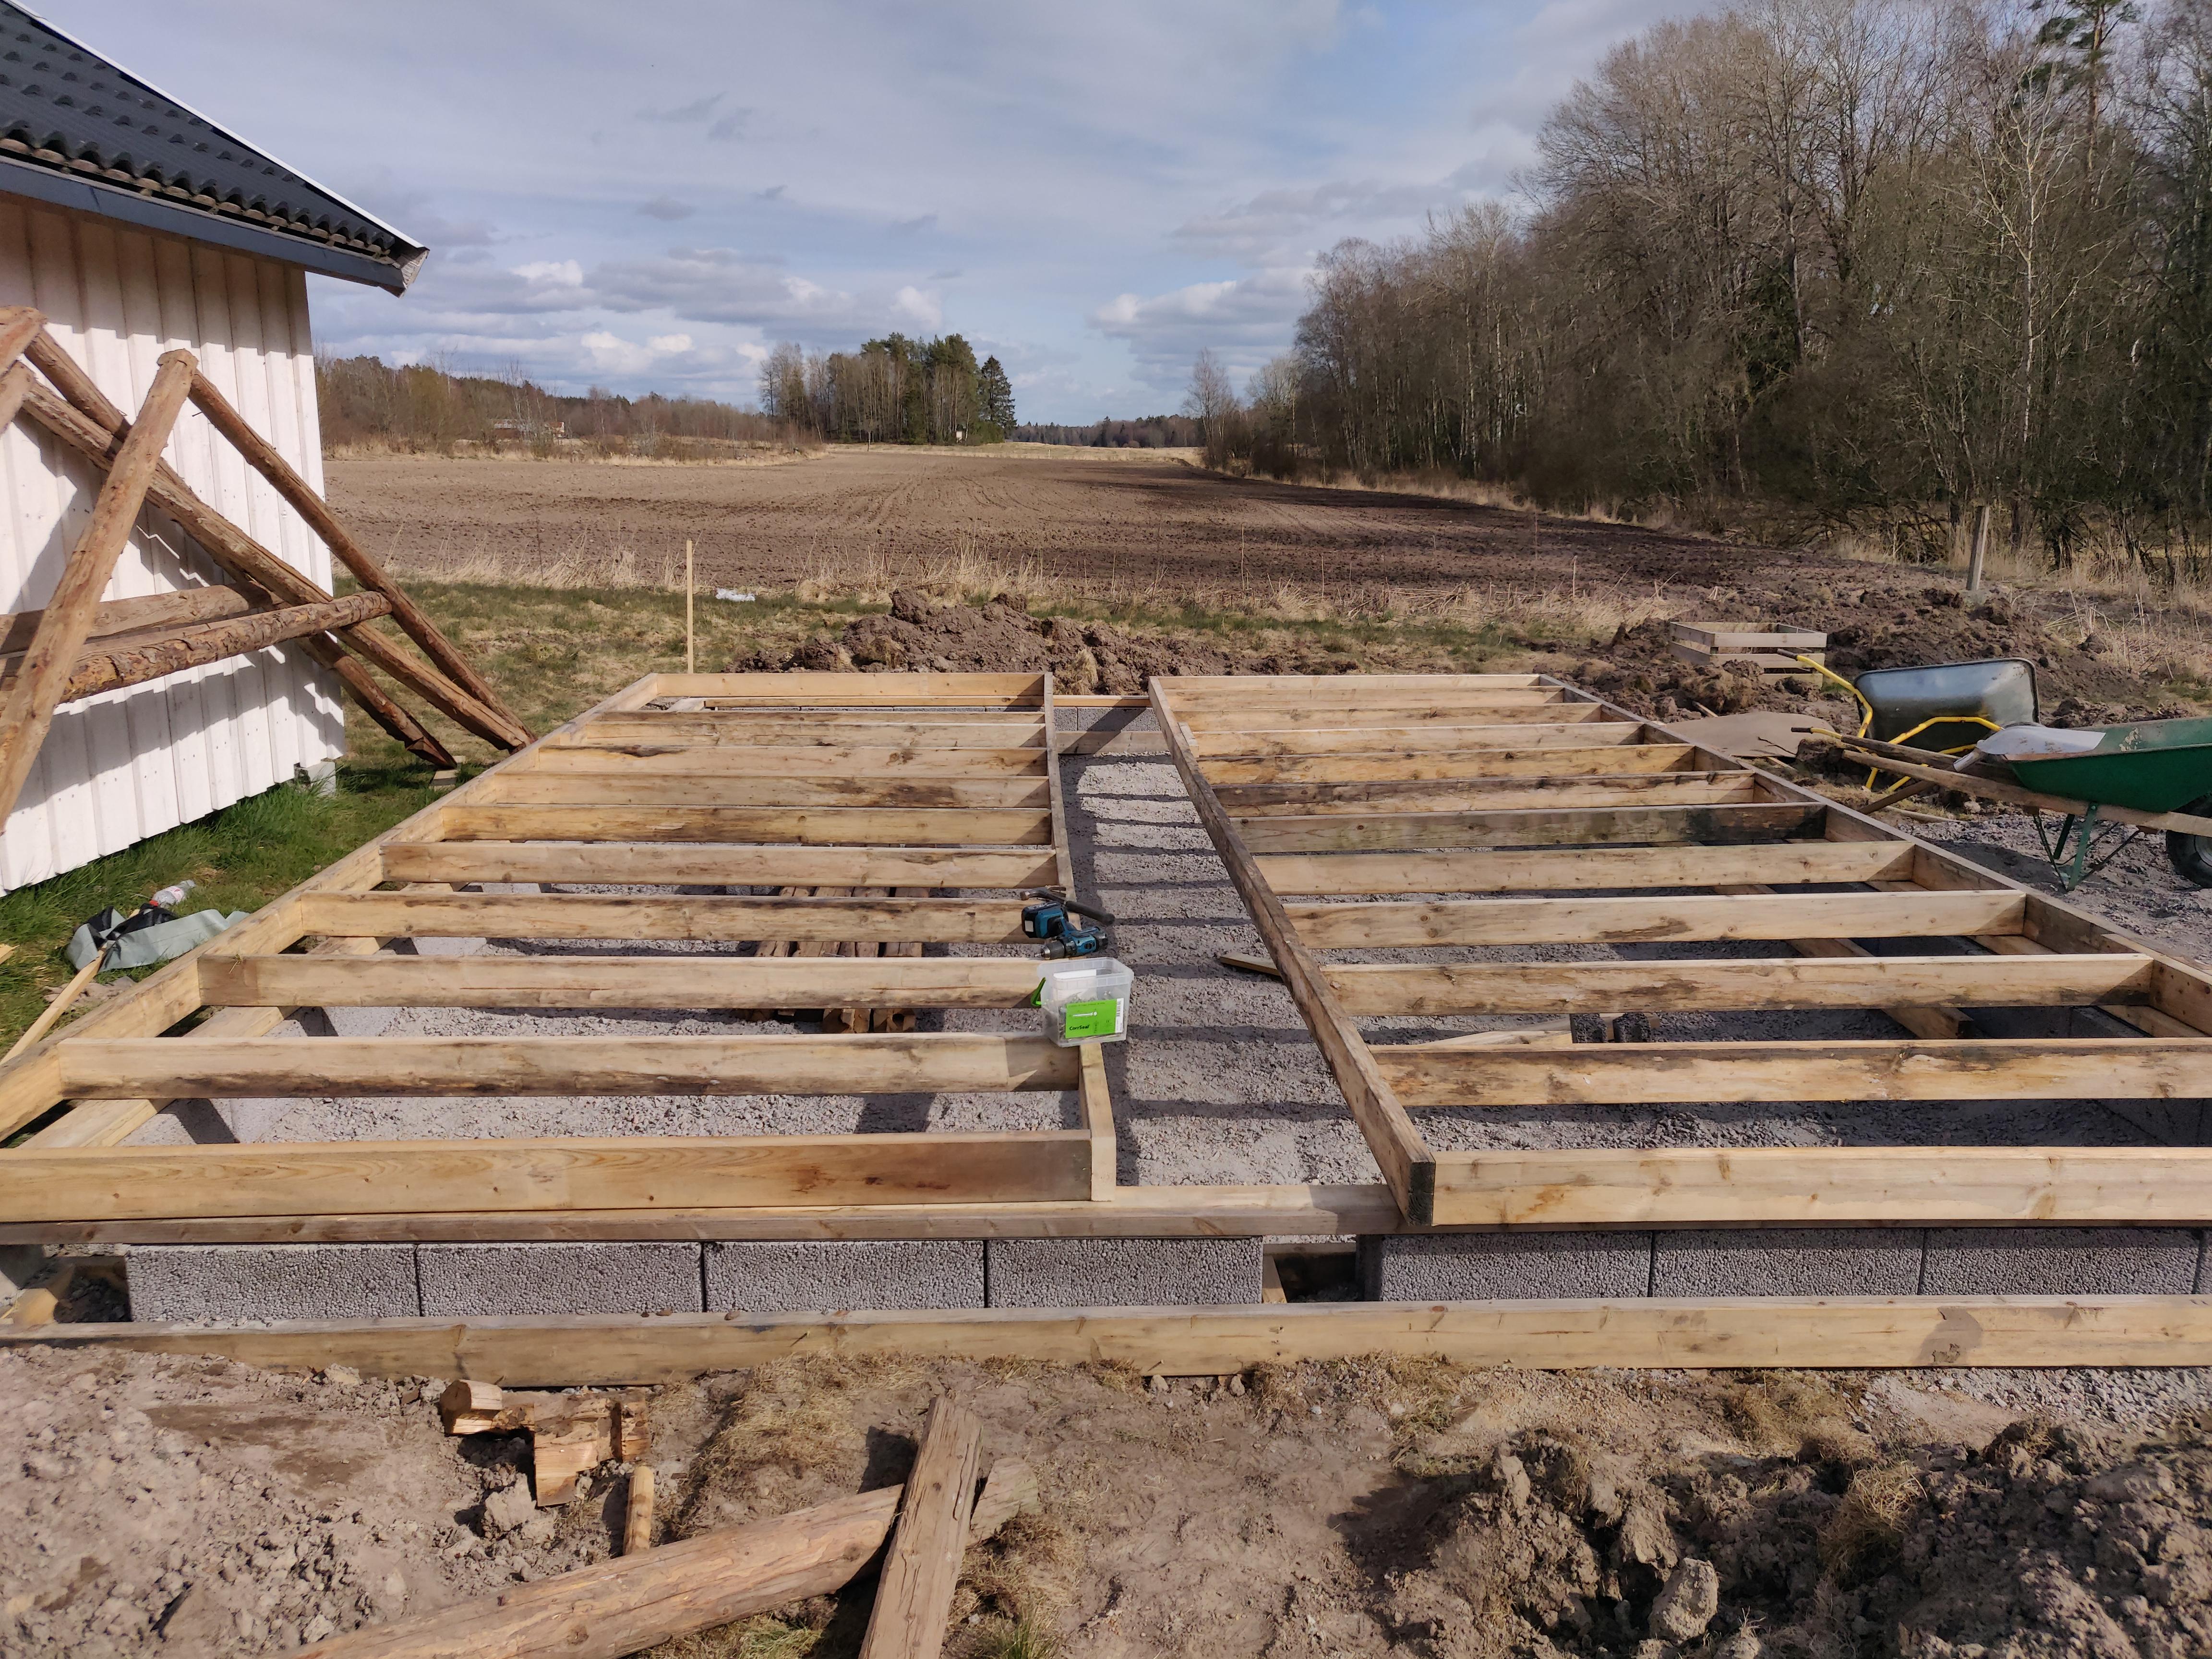
Well, it's getting there! I've been working slowly but steady by myself until this weekend and I got some help from my uncle putting up the vapor barrier. Kinda hard doing that by myself haha.
-
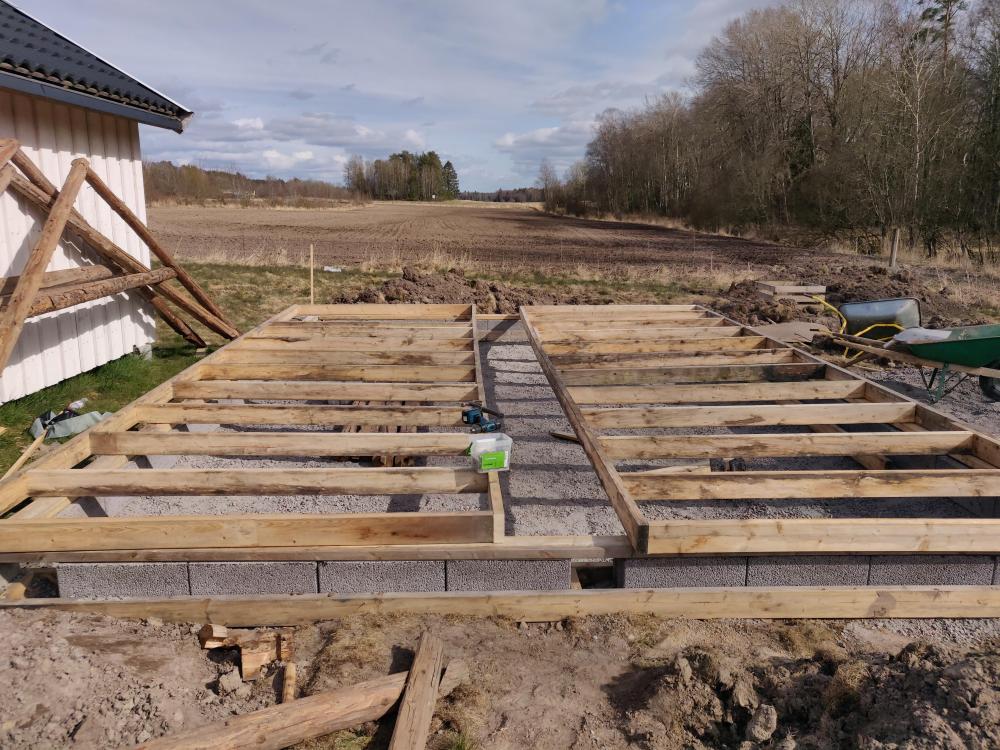
Hello! Alright so the foundation is done and I began to puzzle the old frame but it just wouldn't work as the old sill was layed out right on the ground and then the studs were lenghtend after that. Sooo I had to frame it with some 145x45 studs. It's getting there alright!
-
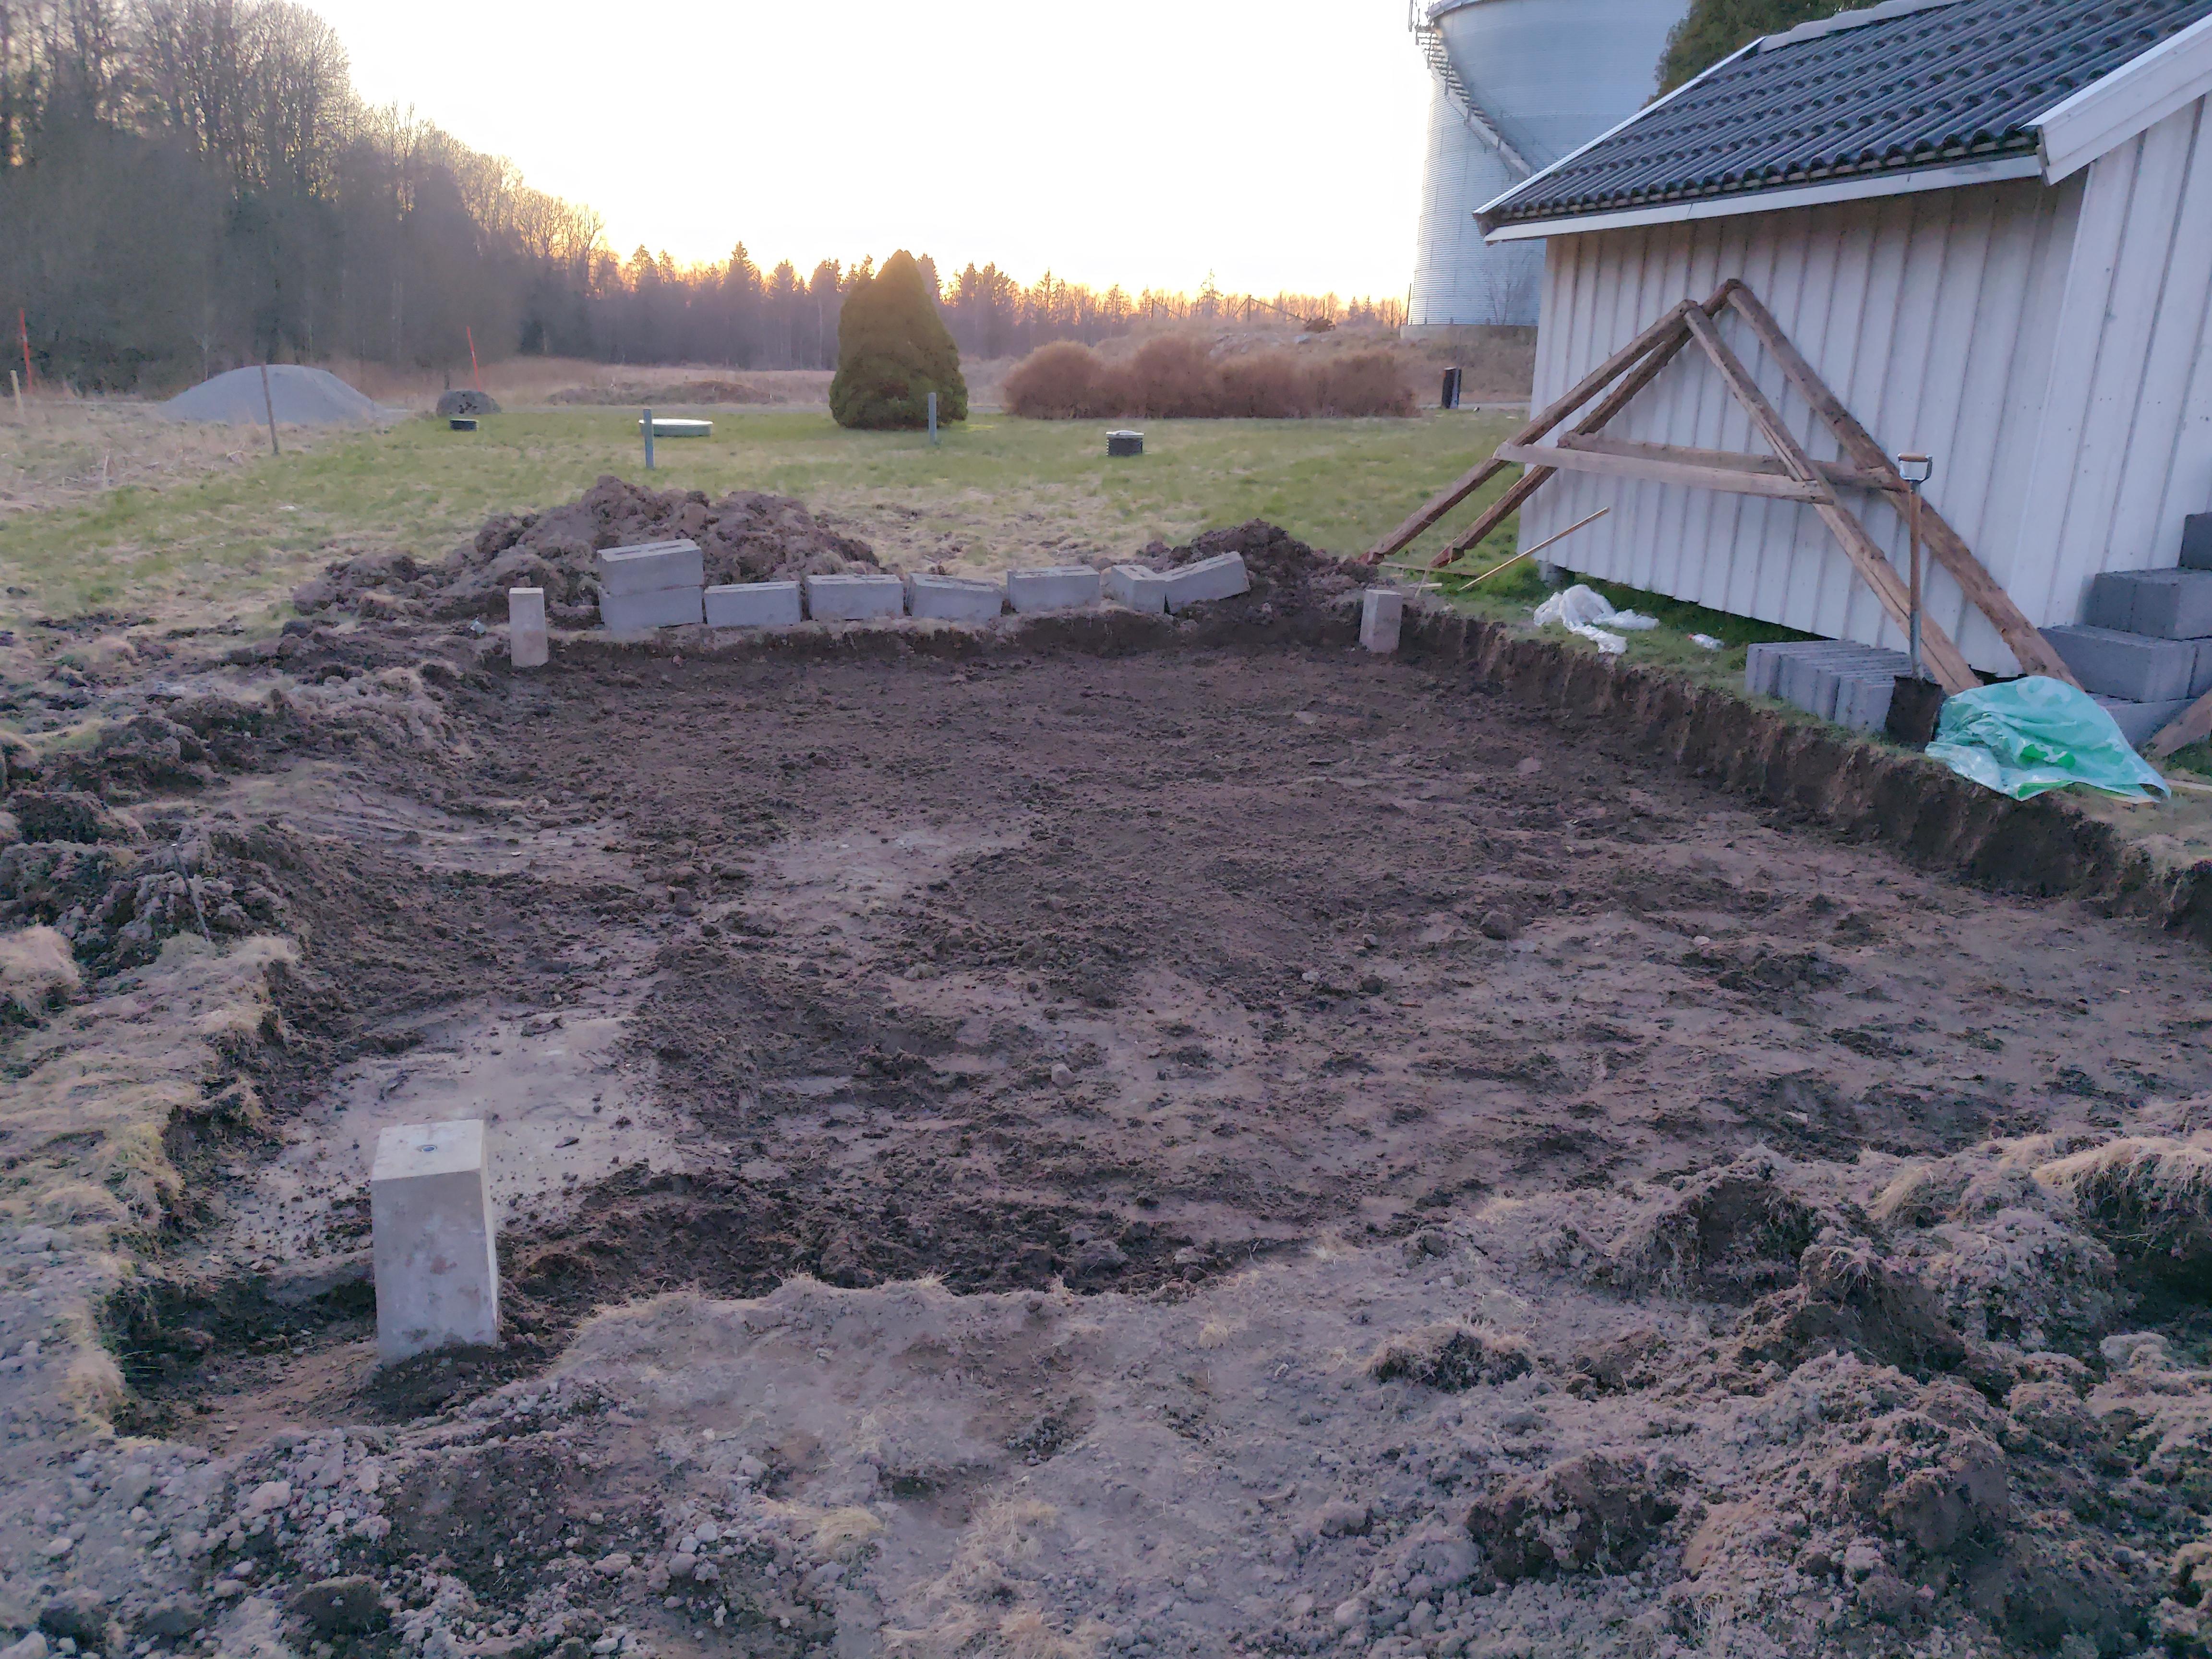
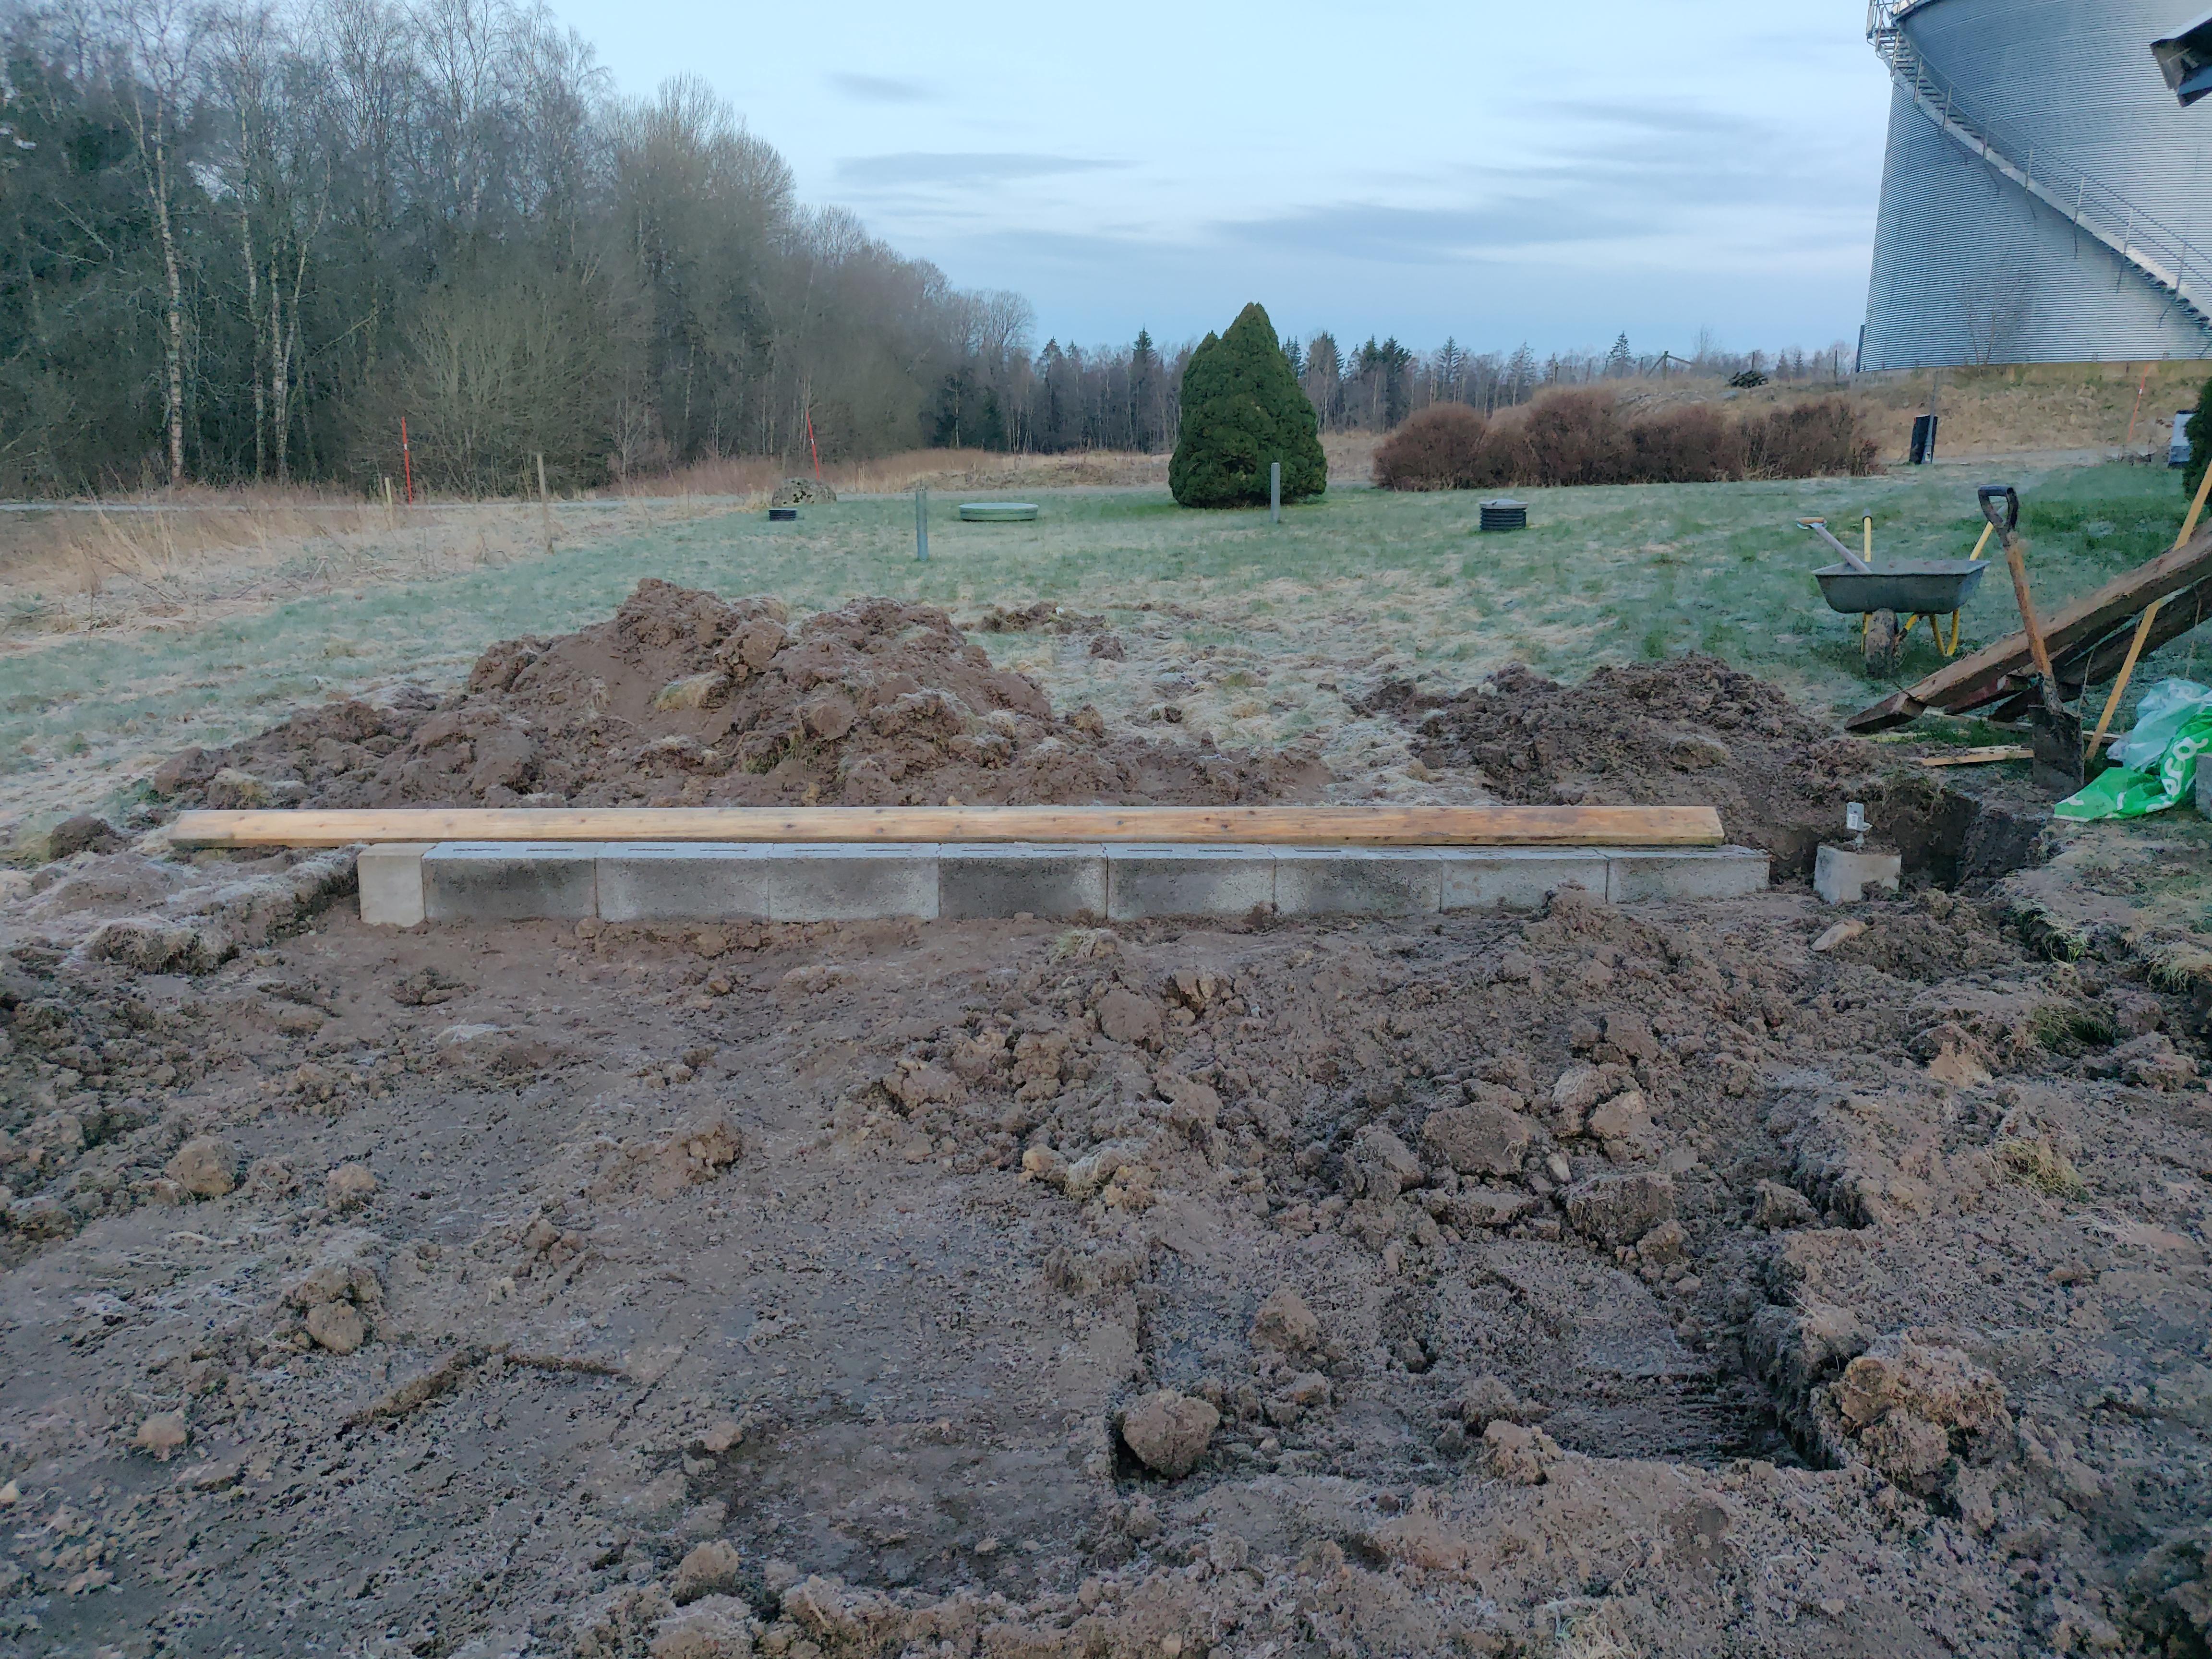
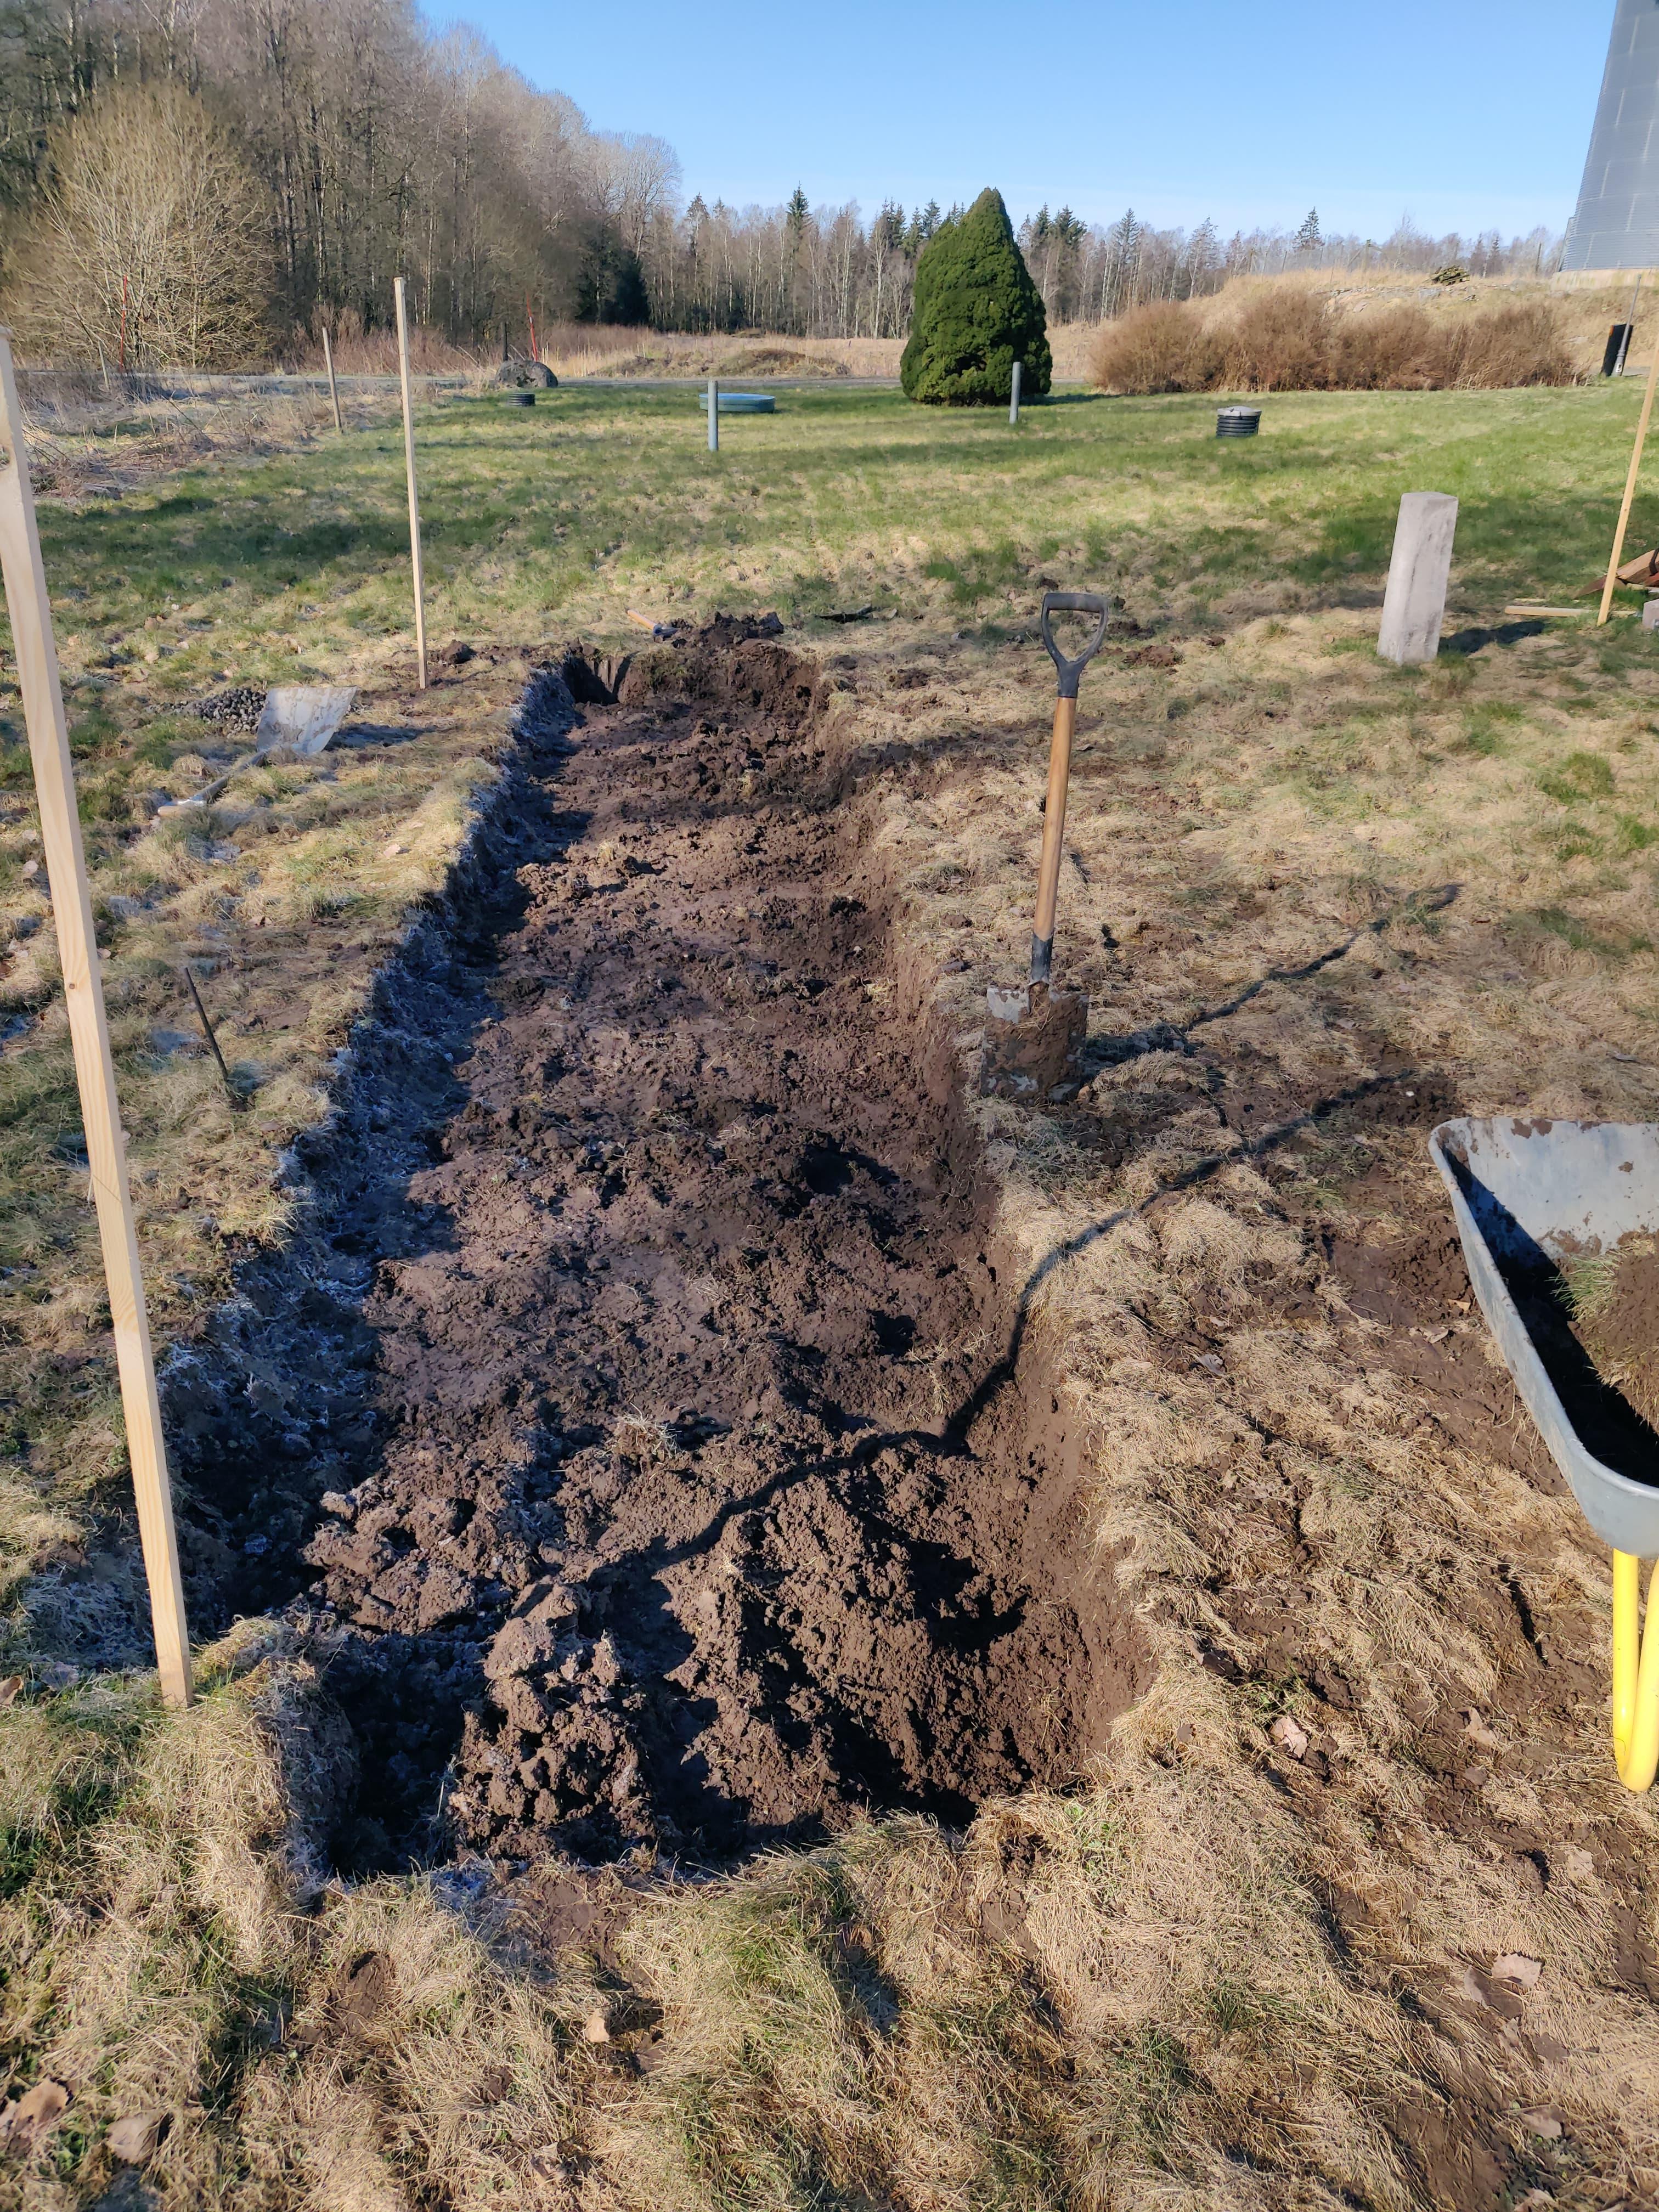
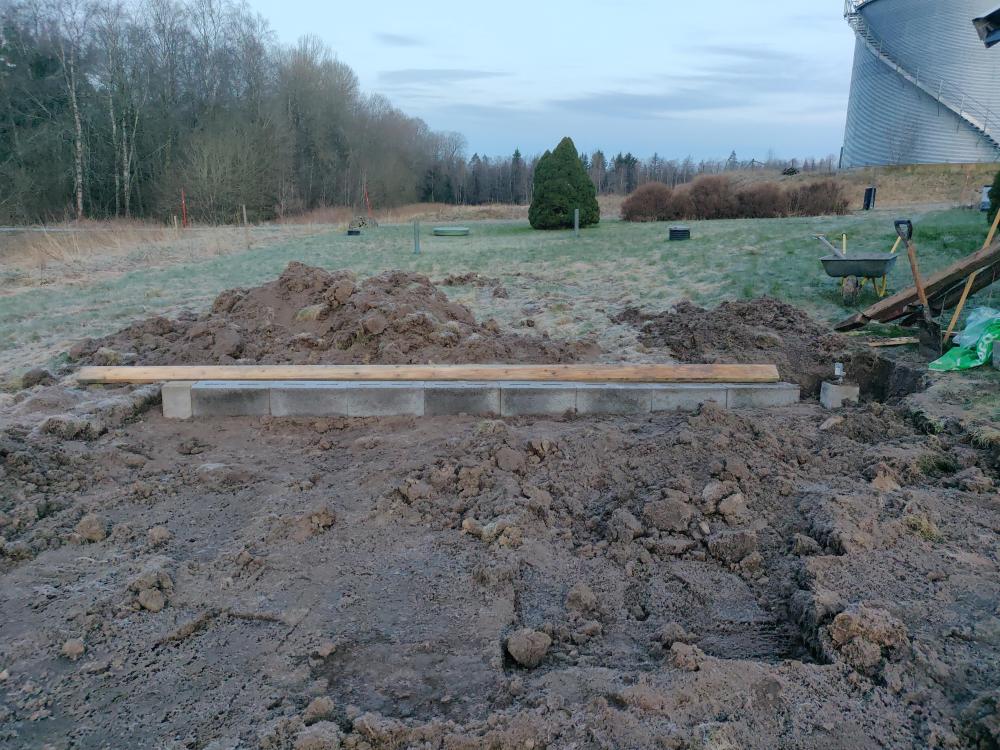
It's getting there. I've dug for the last two concrete blocks and leveled them and squared everything. It's off with about 5cm on one lenght but at this point I really don't care about that haha. Tommorow I'll get help to move the gravel you can see on the first photo.. the truck driver delivering the gravel put it pretty much as far away he could get even though I pointed him where to put the gravel closer to the foundation. I'll probably need about 20 more tons before it's all done.


-
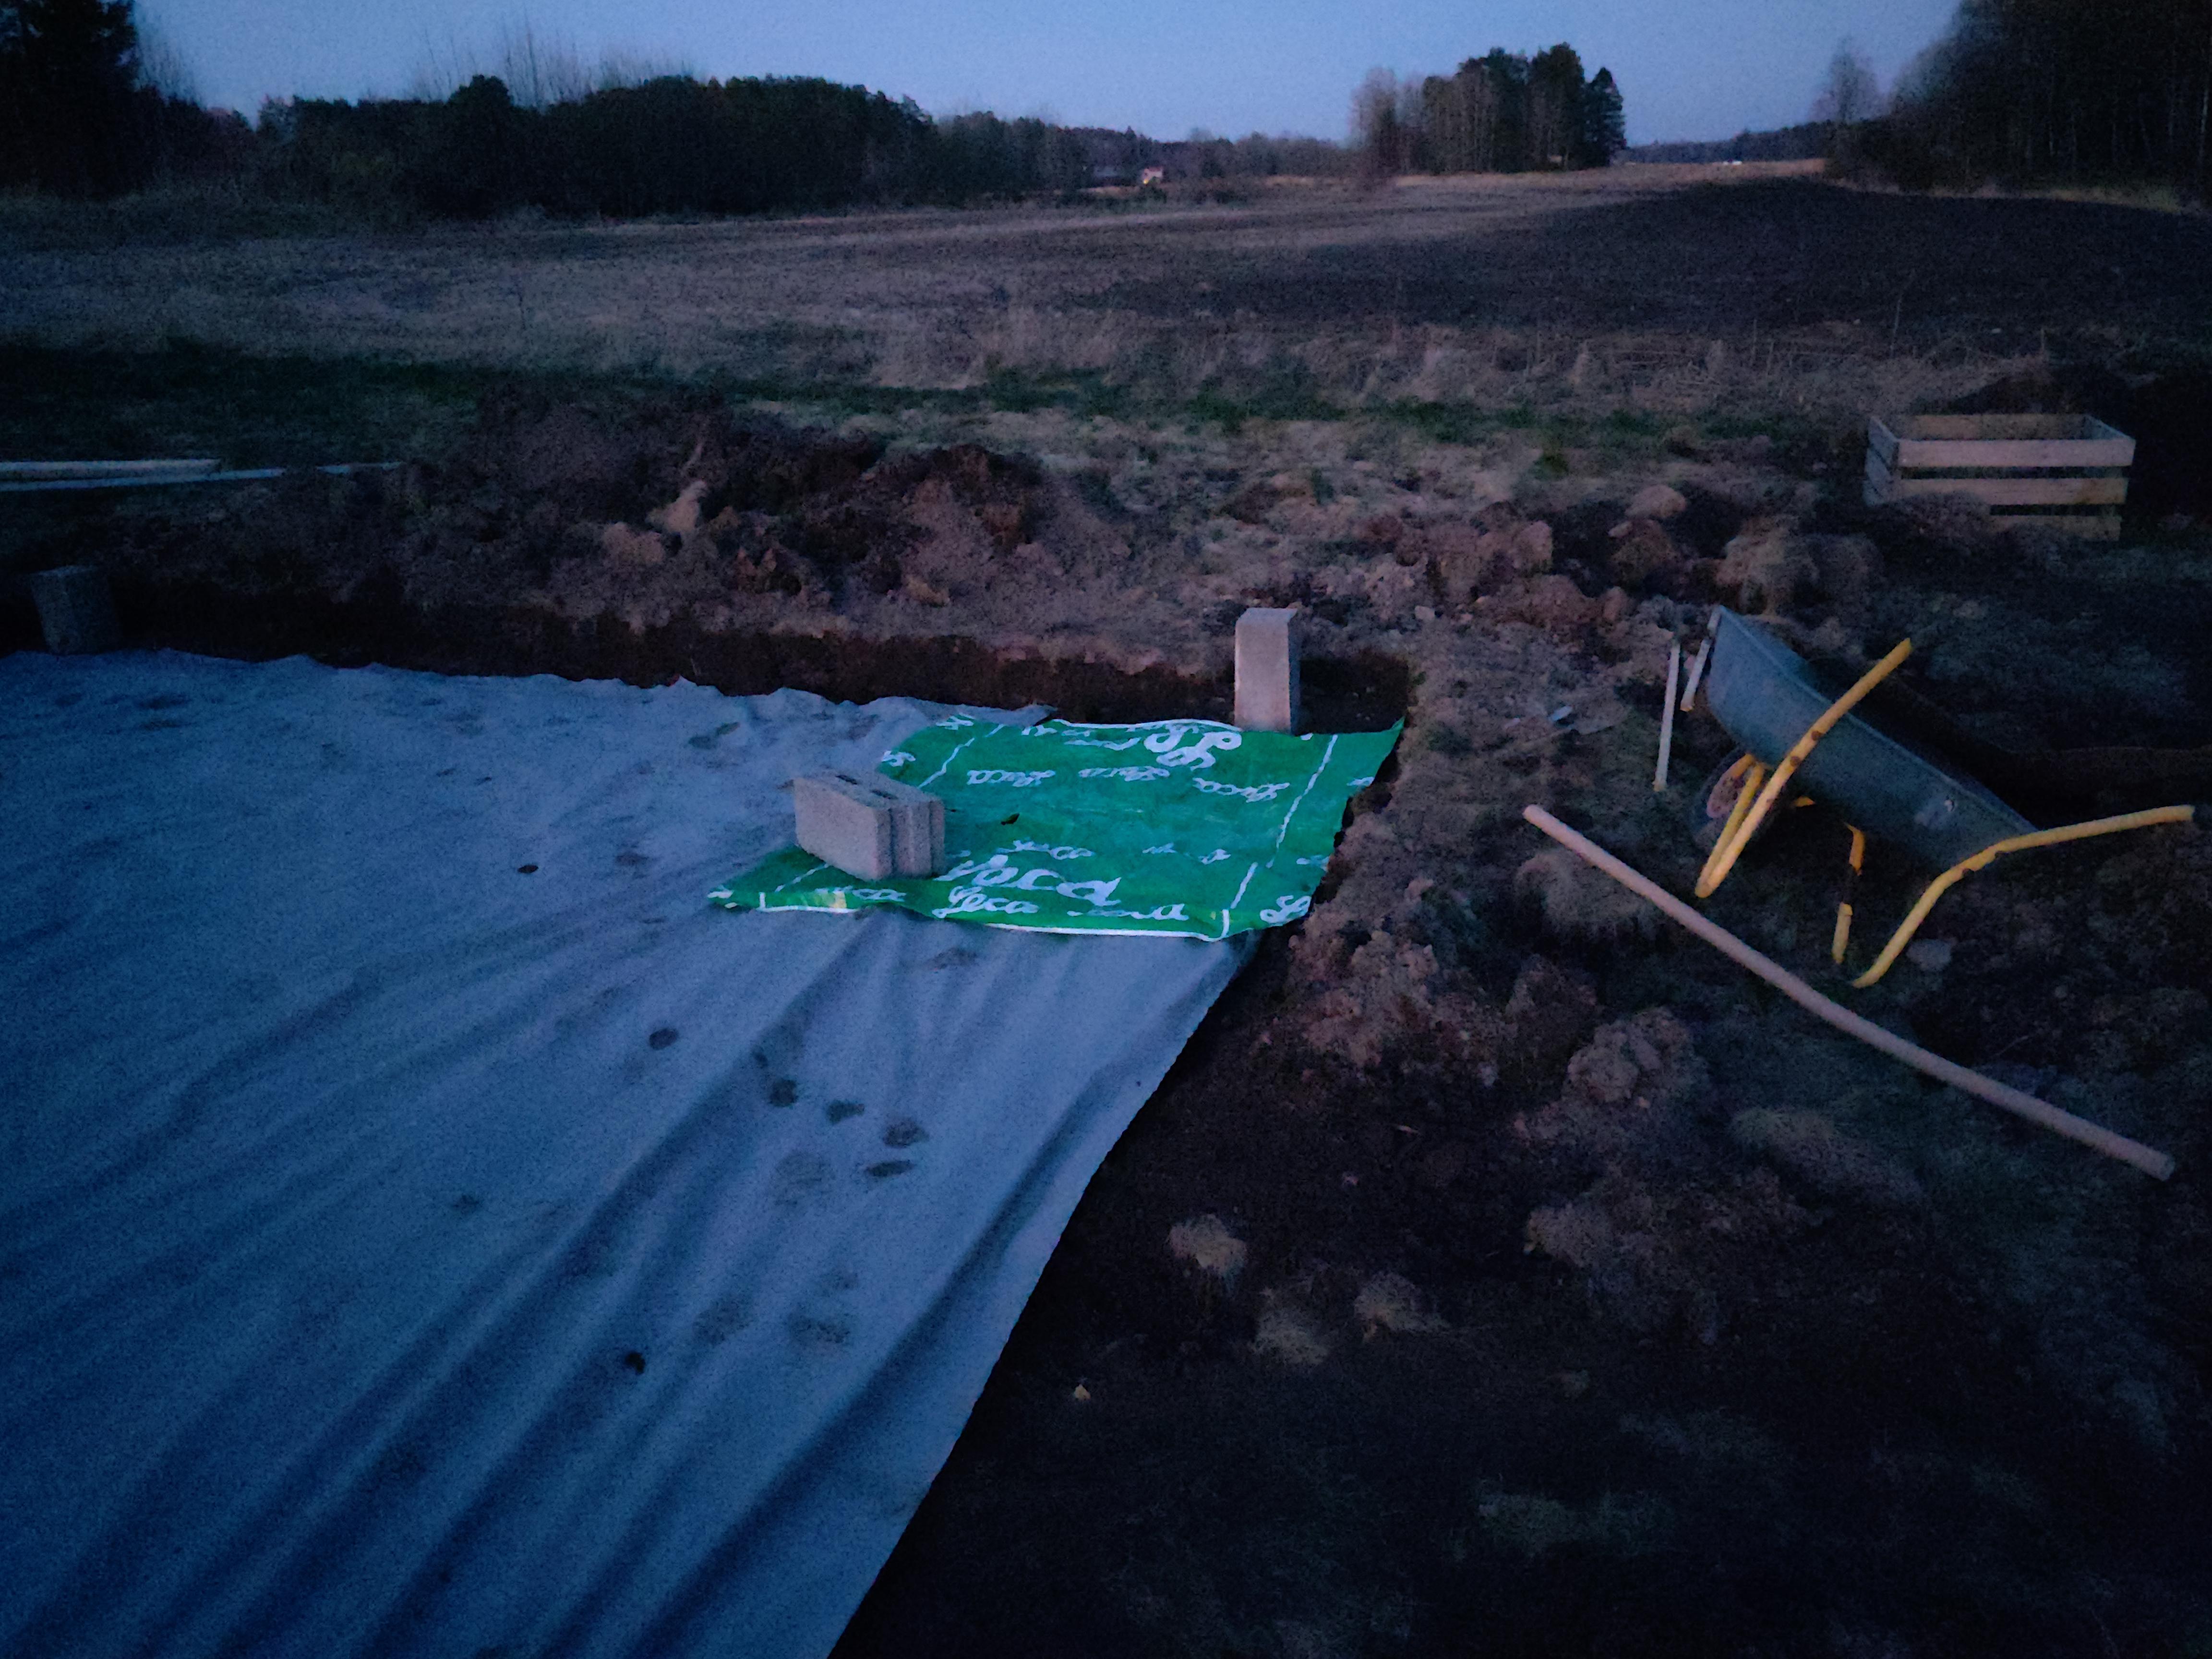
Hehe fair enough. I have my forge inside the garage currently though but it's low ceiling and basically no ventilation as it's made to be.. well, a garage, not anything else. Got some work done today as well. I had to re-do the concrete blocks position and depths as one side was under grass level while the other side was above, so now I moved them both above grass level. Plan for tomorrow is positioning out the other two concrete blocks and dig the holes for them. (Photo is from before fixing the level issue)
-
My lumber is treated, however I will be using something called "syllpapp" in Swedish. It's basically a strip of some moisture protecting thing.We can call it Sill strip then haha. I also will be using Lightweight Expanded Clay Aggregate (LECA) in between the concrete blocks I have in the 4 corners. I actually called a guy and rented a mini-excavator for the digging. The result was not perfect, but manageable.
-
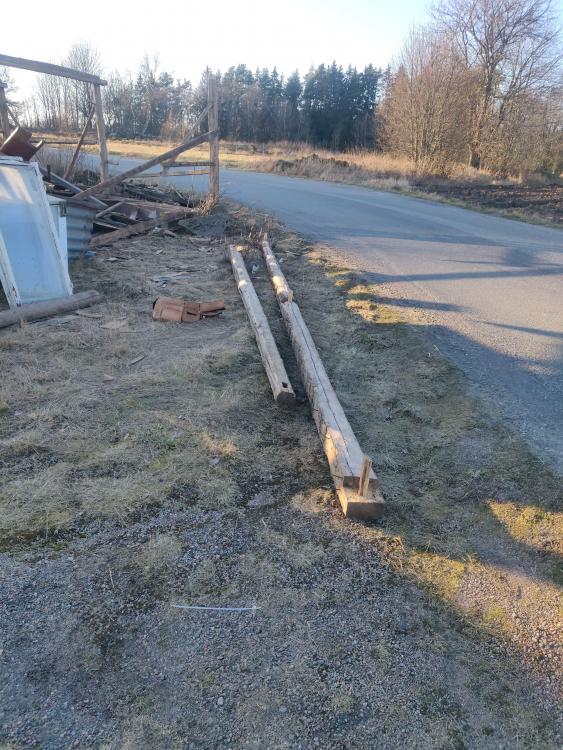
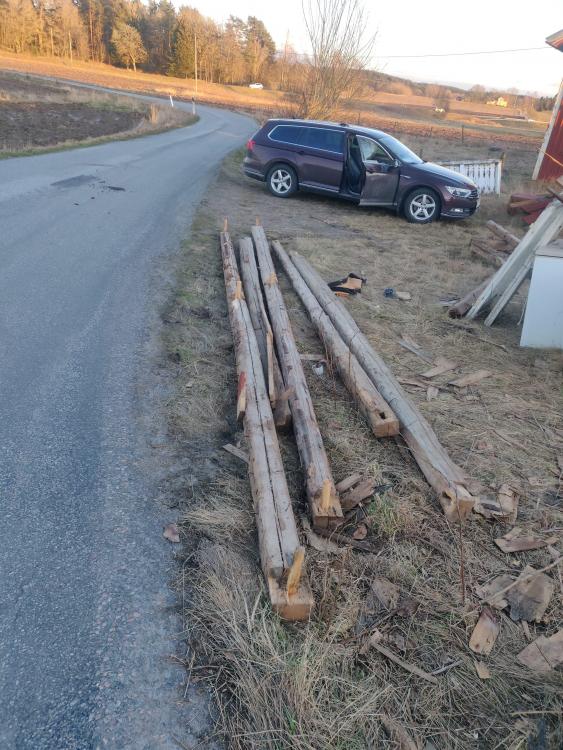
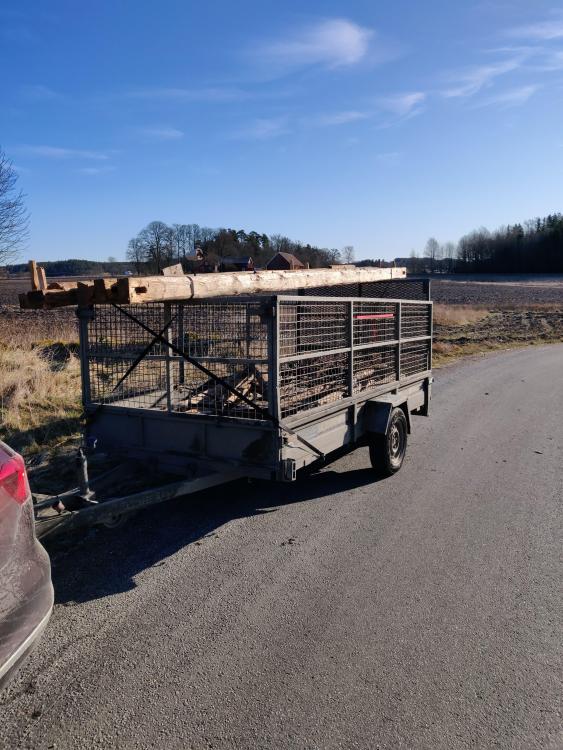
Not that I'm aware of unfortunately. I have a lot of materials on my job that's just sitting, like doors, windows with frames etc so my boss said I could take some for the project. Good guy definitely! So the project moves on. The garage is torn down but the sill plate must be replaced. At least I think it's called that. The bottom that carries the stud up to the wale. But that's a smaller problem. I have all the materials at home already for that. Digging the foundation is just a real pain in the butt.


-
Thank you, Chris! It's exciting for sure. Got about 2h work done after my dayjob, managed to get all the panel off so I think I'm good now to get down the frame. I'm saving those two windows showing in the photos to get some natural lighting inside the workshop.
-
It's free to take. I just sorted it out for easier handling. A lot of car wheels but some metal as well so I will pick it up when I've got the frame down My plan during this work week is to tear down all exterior panels and then the whole frame on saturday/sunday
-
Hello! As I'm getting into blacksmithing more and more(and I love it) I felt It's time to build an actual workshop for it. Right now I'm inside the garage with poor ventilation and not enough space so I needed something bigger. Long story short: The Swedish Transport Administration(TSTA) are moving/remaking the highway E20, going from Gothenburg up to Örebro to make the traffic easier. Since they need more space for E20 some lands are getting bought up, mostly old abandoned houses and such. So I got in contact with the owner of this old garage, or whatever they used, about taking it down and move it to my house instead. The owner didn't bother, however we both made some calls to TSTA first to just get a Thumbs up from them as well. Instead of spamming a lot of photos from this weekends work I've uploaded them on Imgur. I just think the forum thread will be heavy to load cause of all the pictures, so in this first post there's a link: https://imgur.com/gallery/X0uQBvm Next updates will have photos in here instead
-
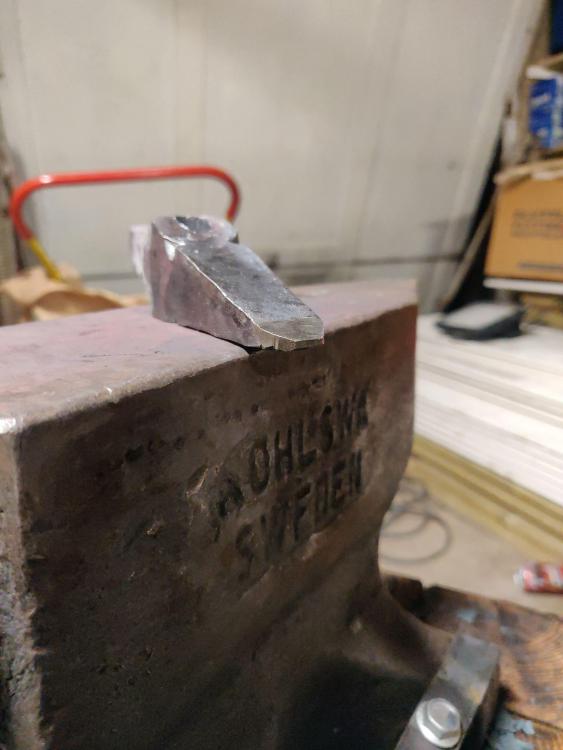
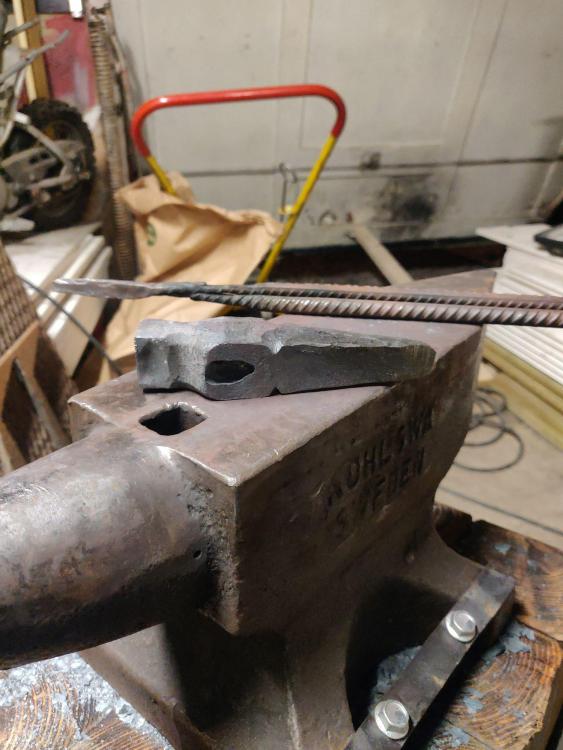
I've made this today. My first eye punch. Going to the junk yard tomorrow and get some 1045 steel to make a drift so I can open up the eye again. A acquaintance gave me a ~5lbs hammer some time ago and I finally got to use it today. I felt the weight in my arm... Any suggestions what thickness of stock I should be using to make new tongs? square or round
-
Thank you both for the welcoming. Alright so I misunderstood the whole normalizing from the start, but I think I'm getting it better now. At first I thought I had to normalize the the old hammer head because it was hardened before, but now I understand I don't have to do that. As I think I understand now, as soon you warm up a hardened piece the hardening gets destroyed and I have to re-do the heat treatment again. I talked to a blacksmith here in Sweden he recommended I start with 1045 or 1672 steel for my hammers which both could be quenched in water. I'm gonna grab myself some pieces of 40x40mm stock of both tomorrow at the junk yard and some more stock, like 25mm 1045 to make a drift as well. I'm very excited to improve becoming a blacksmith. I've always admired the work from a distance, since I've lived most my life in apartments. So I never really had the opportunity to try before now, when I bought a house with my girlfriend. Thank you all for the help.
-
I do want to say I really appreciate the help I'm getting from you guys. I also understand you get these kind of questions daily and It's frustrating. As your last message Thomas, you're right. I just have to try and see what happens. I mean, I can always harden the piece if I see it's too soft after normalizing it. I understand the harden/temper in the same heat so I will give that a try tonight after I get home from work with some pieces of square stock. Again, I really appreciate the help.
-
Alright so I've read on some other forums and they say you don't need to harden and temper Struck tools, so in that case what we've talked about already only applies to making new hammers or knives etc?