.jpg.edbb6330516fab333d4173f61cb57c82.jpg)
Benona blacksmith
-
Posts
331 -
Joined
-
Last visited
Content Type
Profiles
Forums
Articles
Gallery
Downloads
Events
Posts posted by Benona blacksmith
-
-
Axe throwing can be quite addicting. It's really not difficult once you get the muscle memory in tune and distance is key. I even got my mother in law throwing a hatchet. Once she stuck it the first time she didn't wanna stop
")
-
We've been really getting into throwing axes and I've decided we needed some more hand forged axes and hatchets to throw. These 2 were today's work. The double bit I forged for my wife and it weighs just under 3 lbs as of now. The hatchet I haven't weighed yet.
.thumb.jpg.9927fa0f9afd10ebf086b87e2266285d.jpg)
.thumb.jpg.8bebb66d60a819d147ae8663cde88e30.jpg)
-
First tongs
in Tongs
⅝ inch bolt tongs.
.thumb.jpeg.2b3d922f2e92f0f52adb4487a283c5d0.jpeg)
.thumb.jpeg.719a98403ad4b2b474e3a6c7143bde0f.jpeg)
-
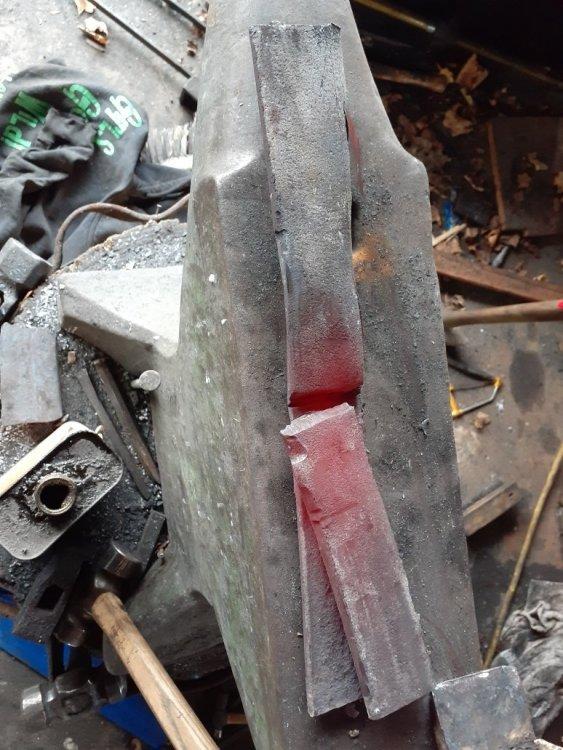
There is a few areas of concern but I am going to push forward and hope for the best.

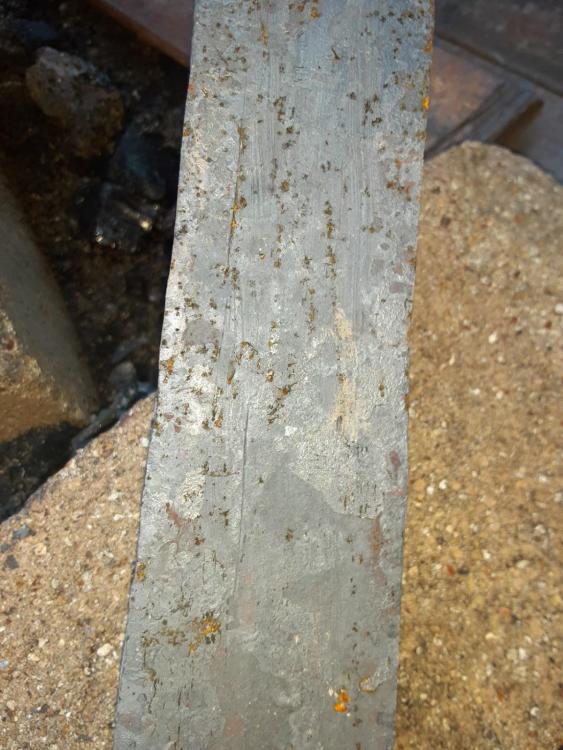
-
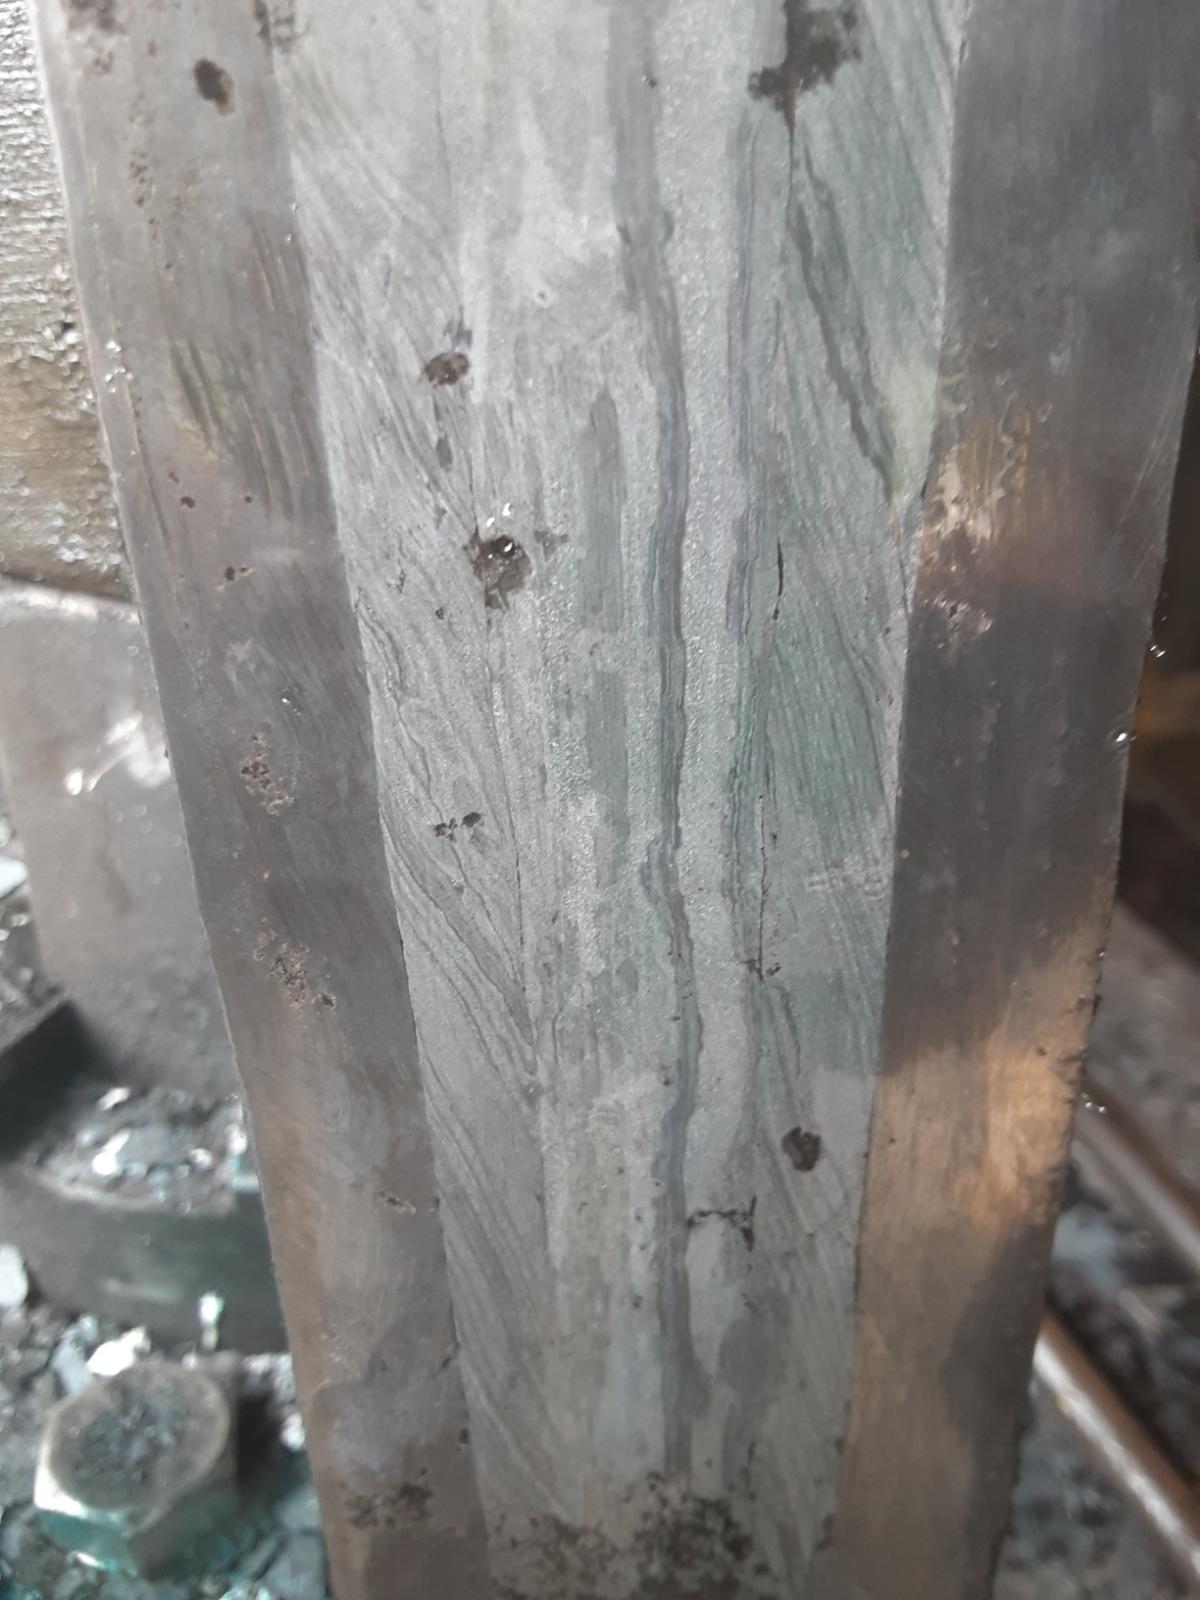
Carbon content at the edge bar is looking really good. There is more forging to be done so hopefully the carbon doesn't migrate much more and hopefully the carbon content in the wrought will mitigate the migration some.


One thing I wish I would have done is do a counter twist on the twisted bar but there is no turning back now.
-
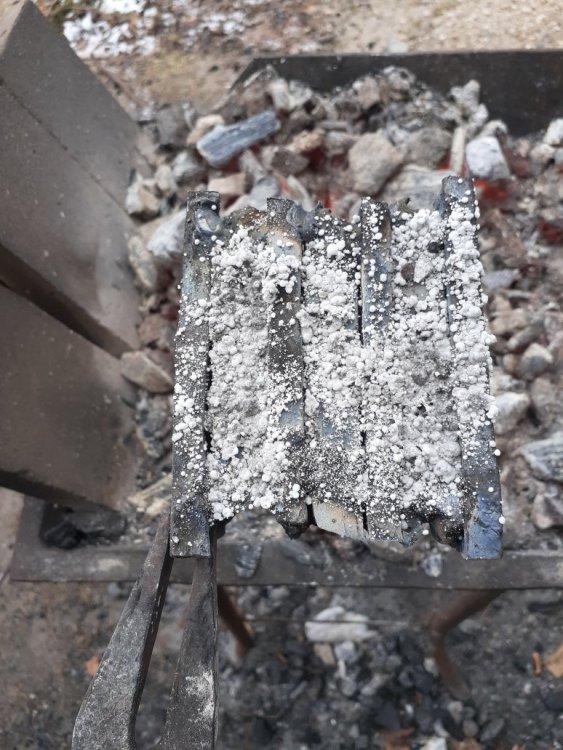
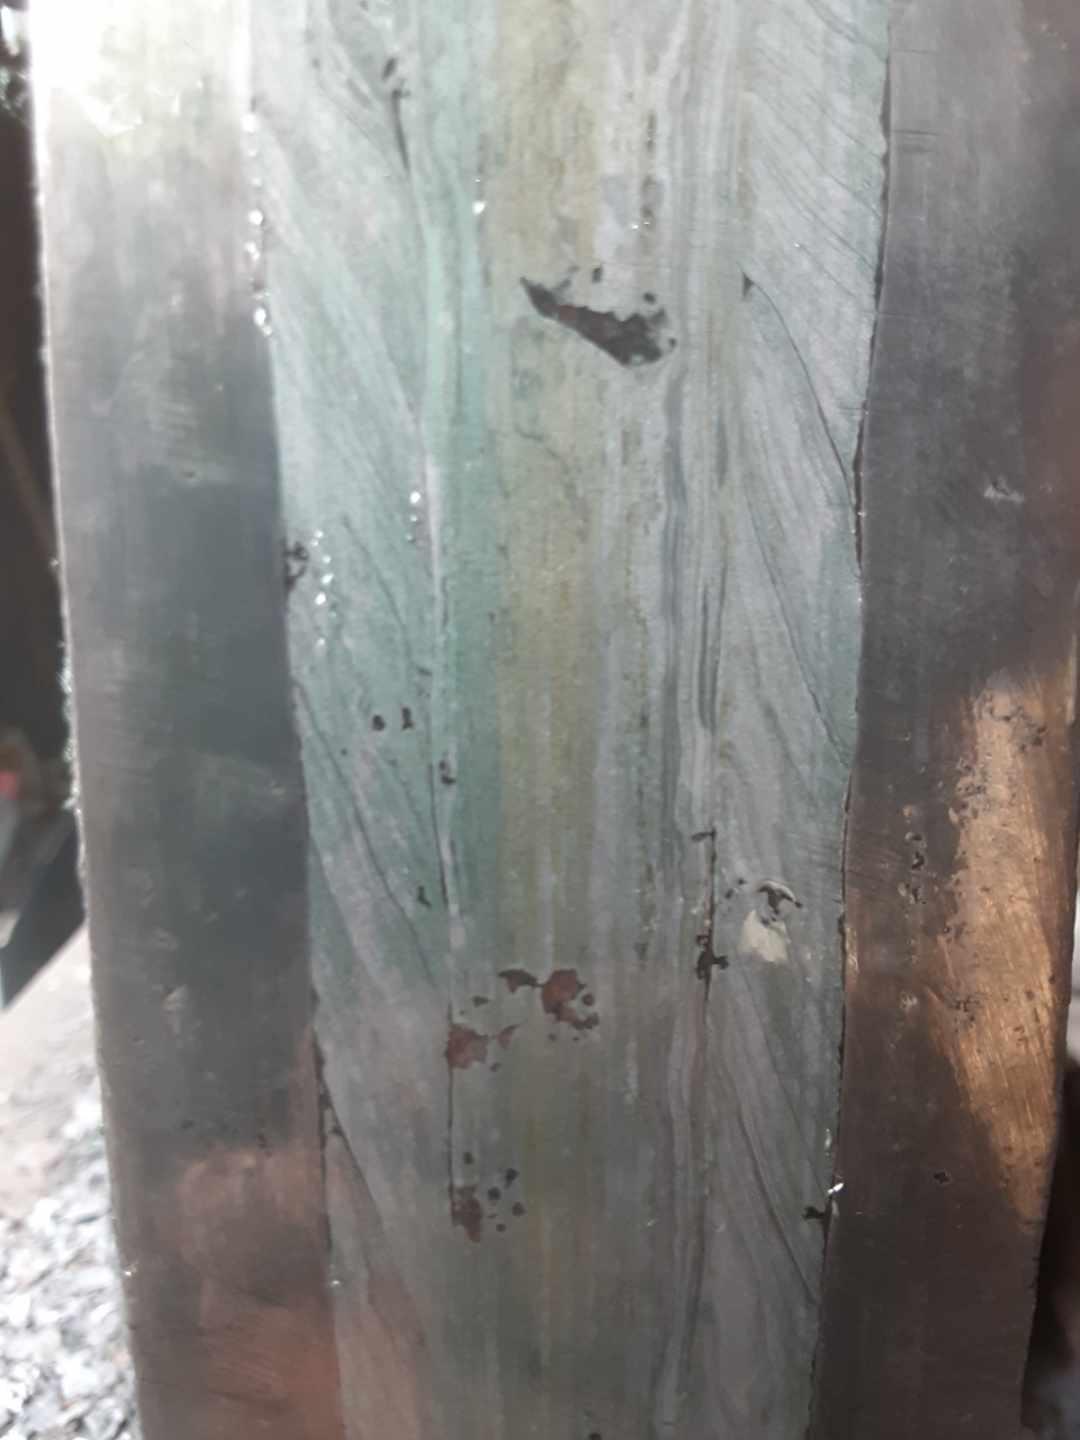
We will see how the carbon content is looking here in a bit. I'm going to grind and test etch to make sure the spot welds are ground out before I continue forging.
-
Thank you Frazer I'm excited for this one.
That makes perfect sense....thank you for that Steve. I used wire on the main billet and should have used it throughout the whole process!
-
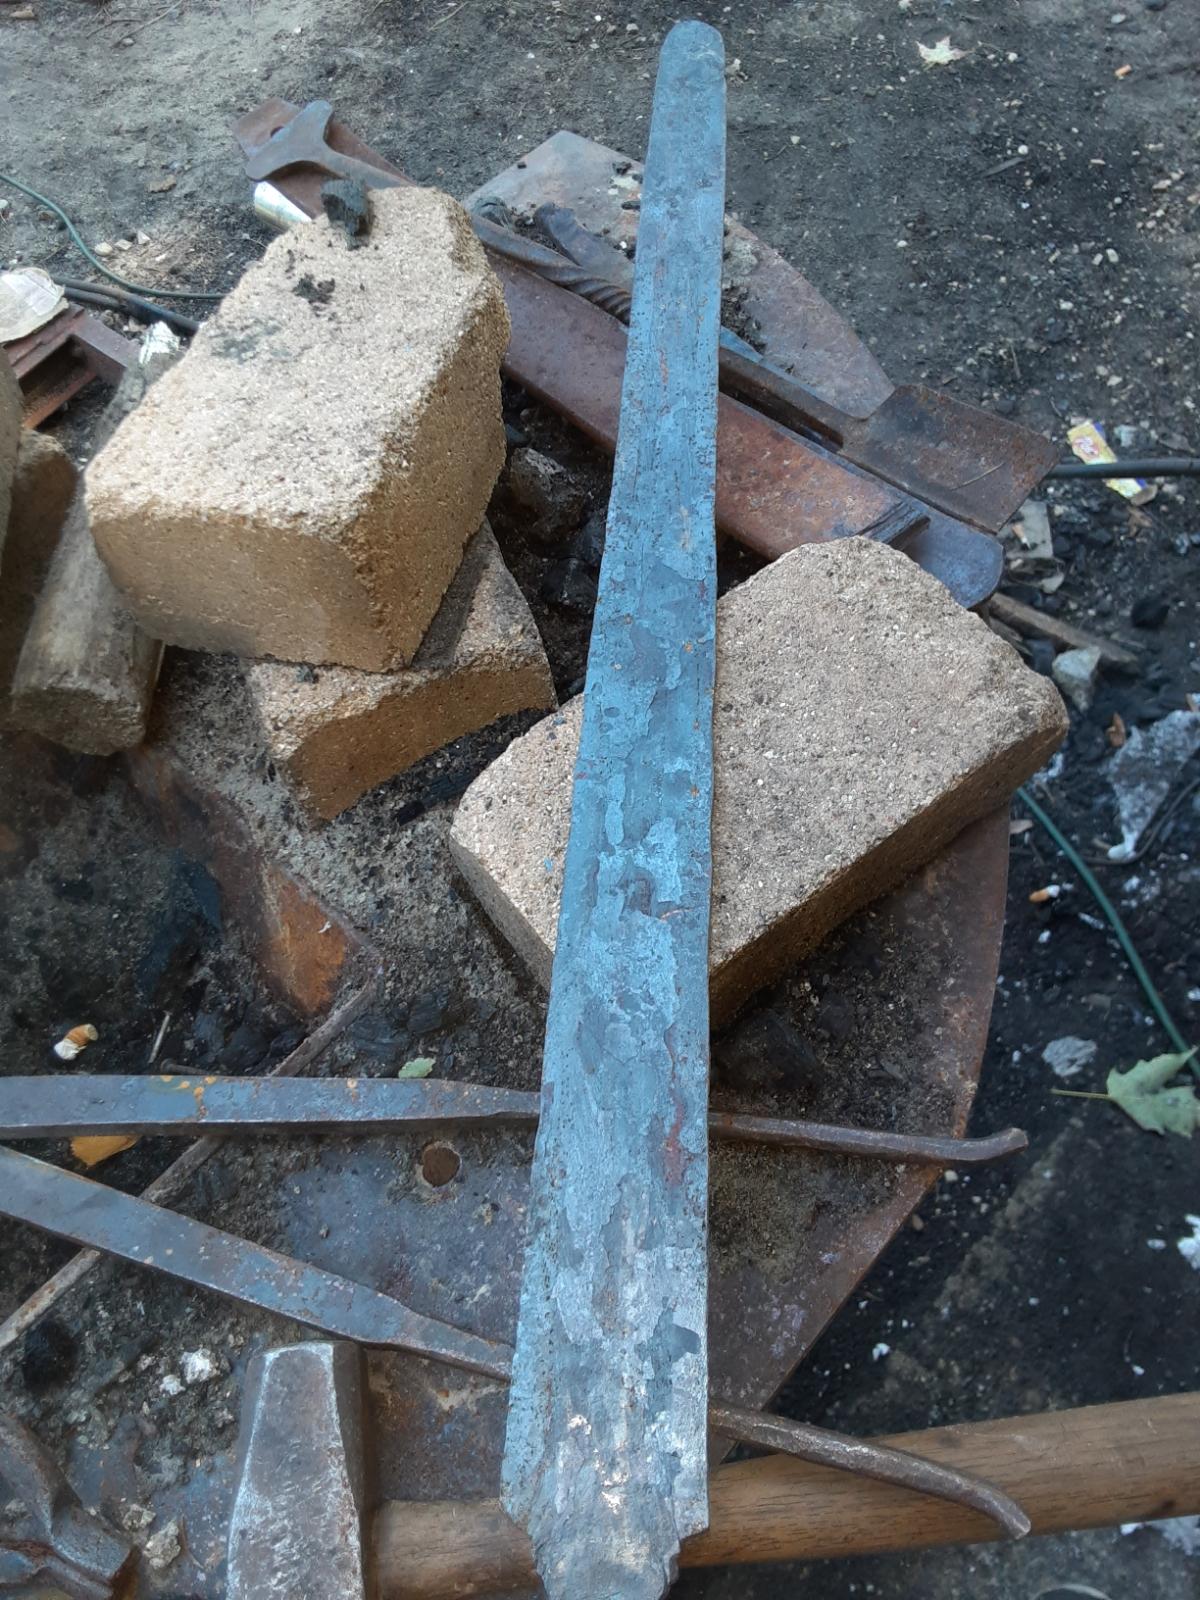
I started this project last December and just picked it up again today. It Started with several different grades of wrought iron. Some of which had a fair amount of carbon.
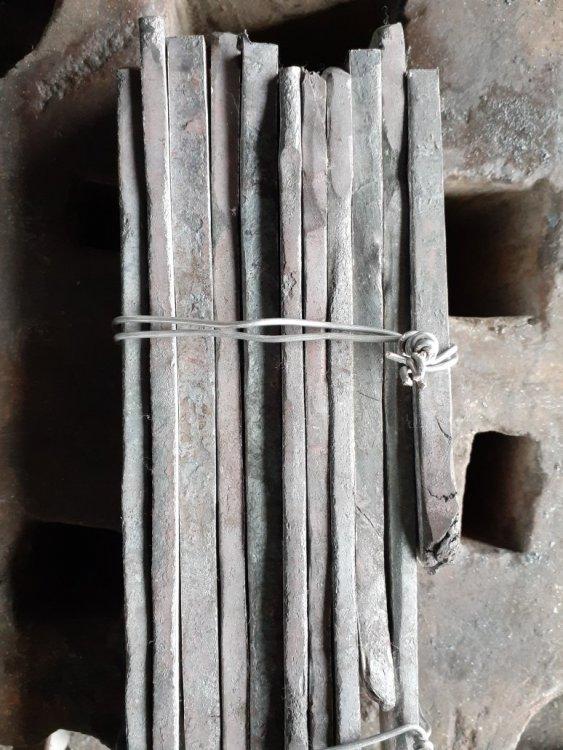

forg welded into a solid billet.
cut into three pieces.
Added some wrought iron wagon tire between layers.
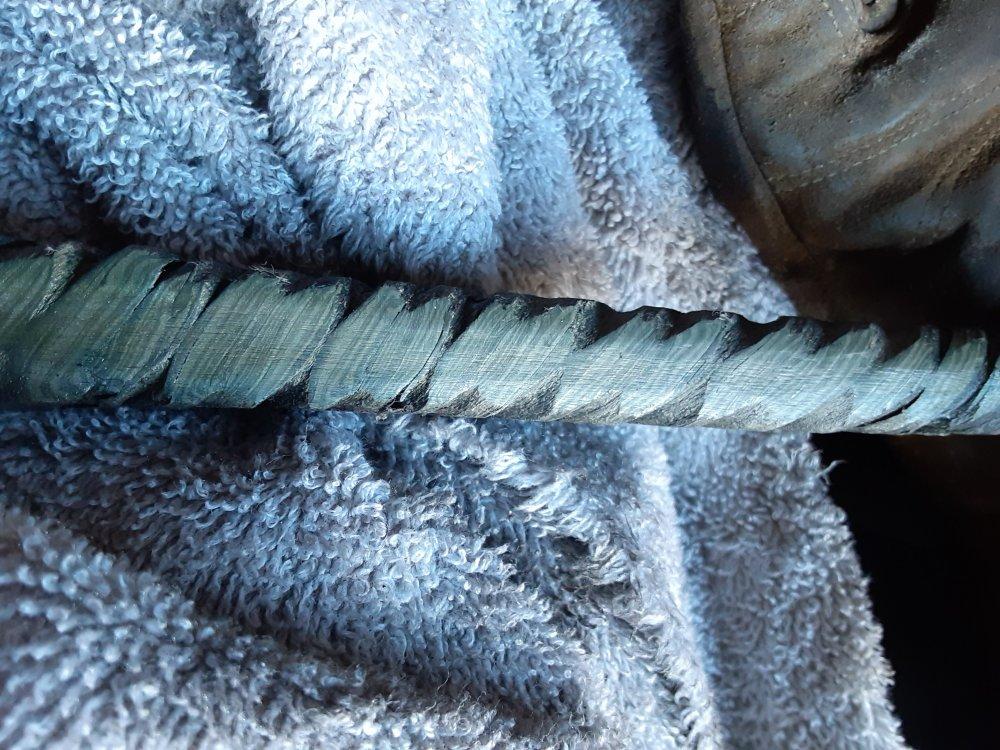
Welded and forged to ¾ inch square and twisted.

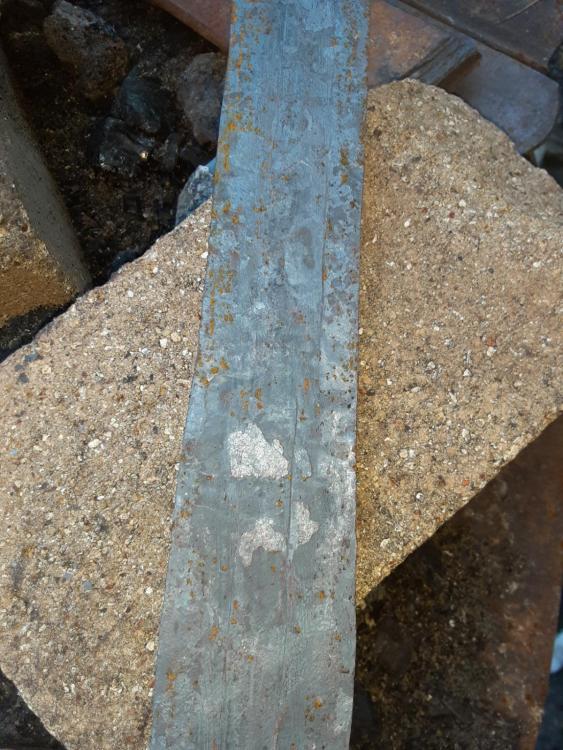
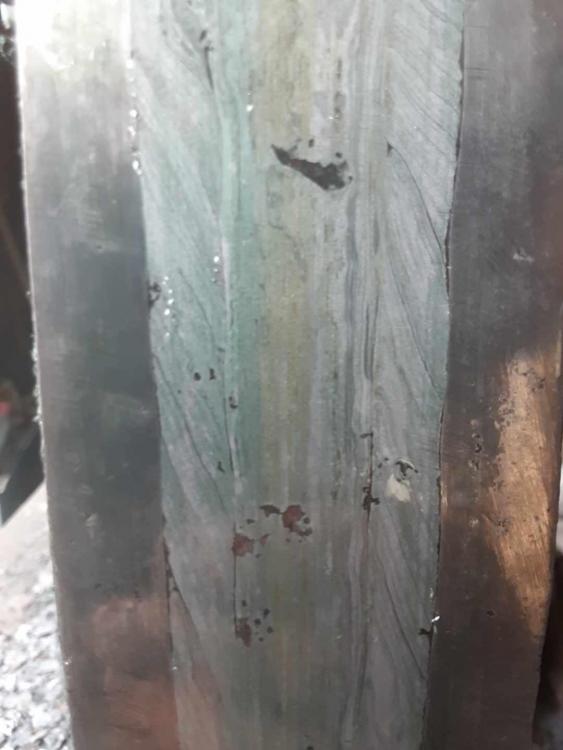
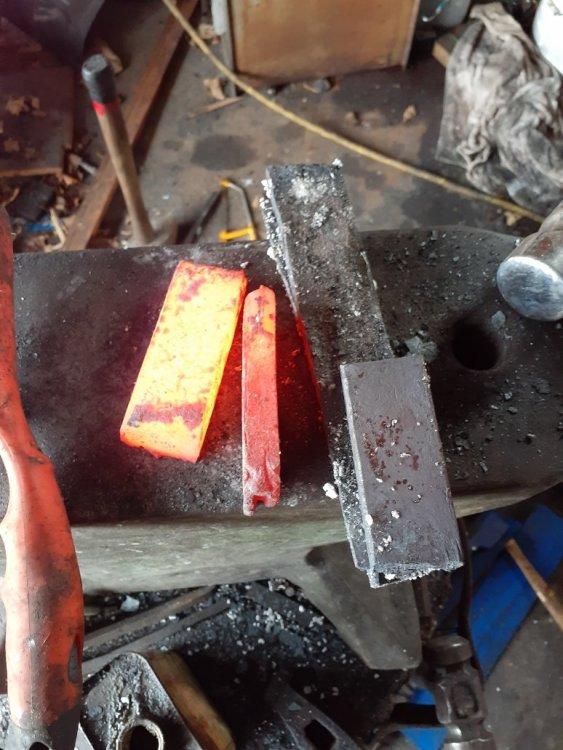
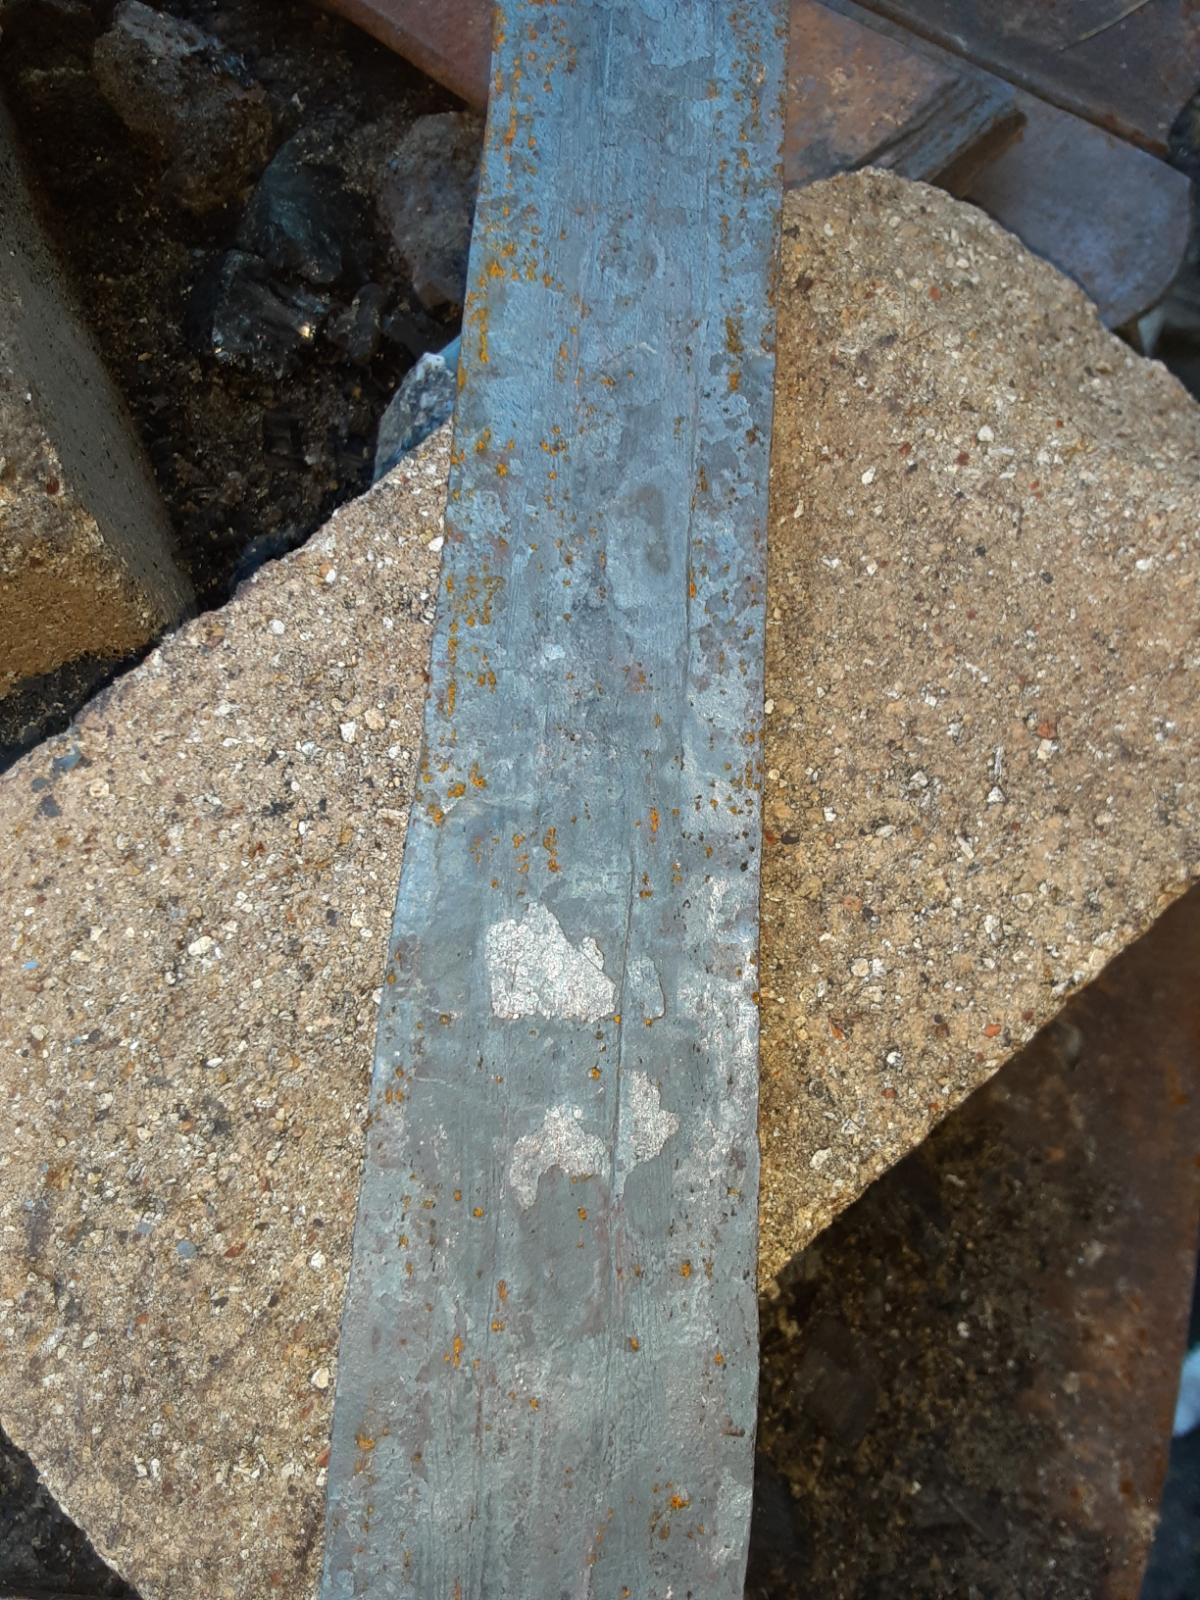
Here is a test etch.
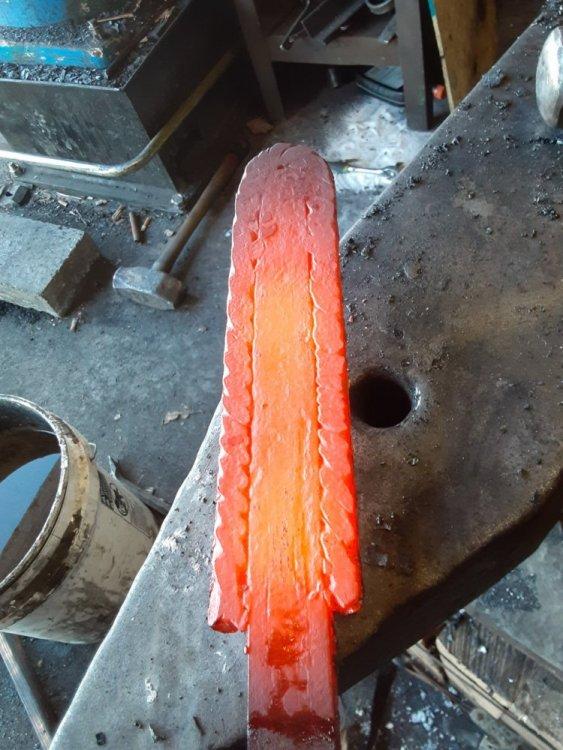
I then wrapped this around a wrought iron core.
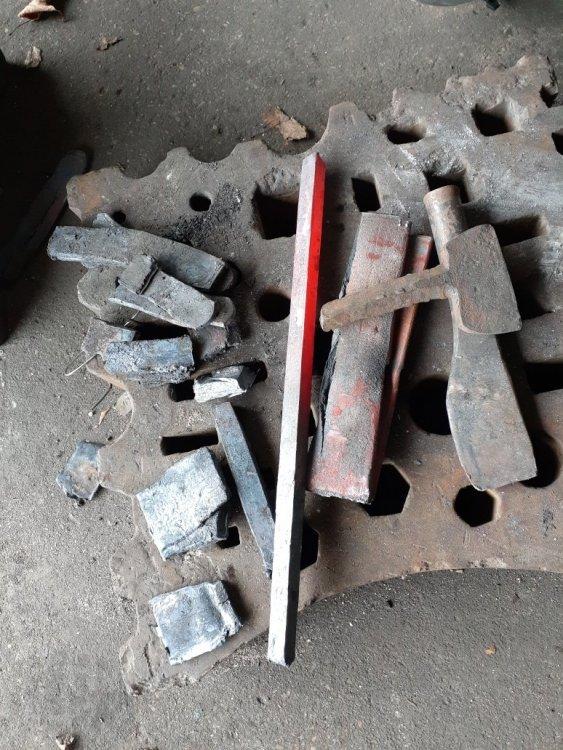
For the steel edge I chose to use railroad track.
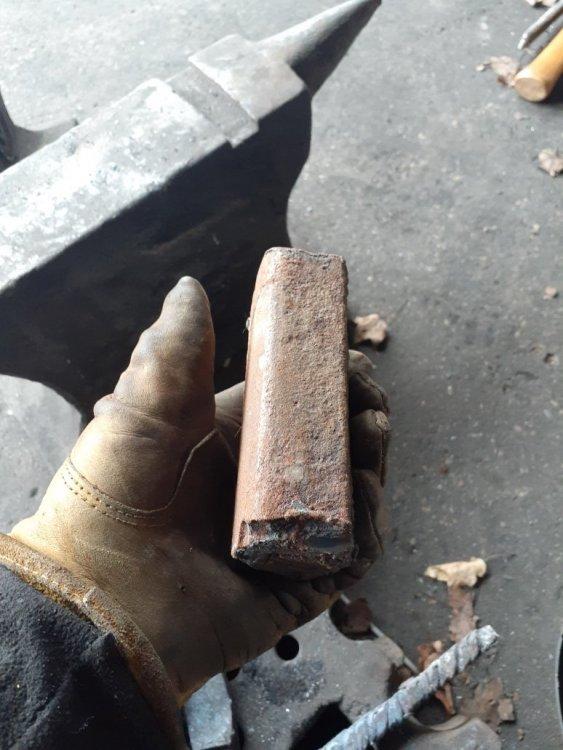
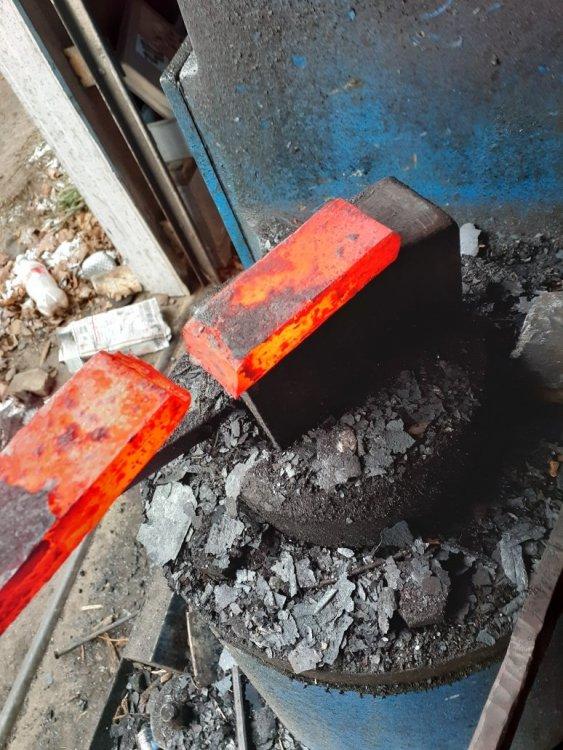
I wrapped this around the core and had troubles getting the tip to weld up. My solution was to cut a section from the tip and do a fish mouth weld.
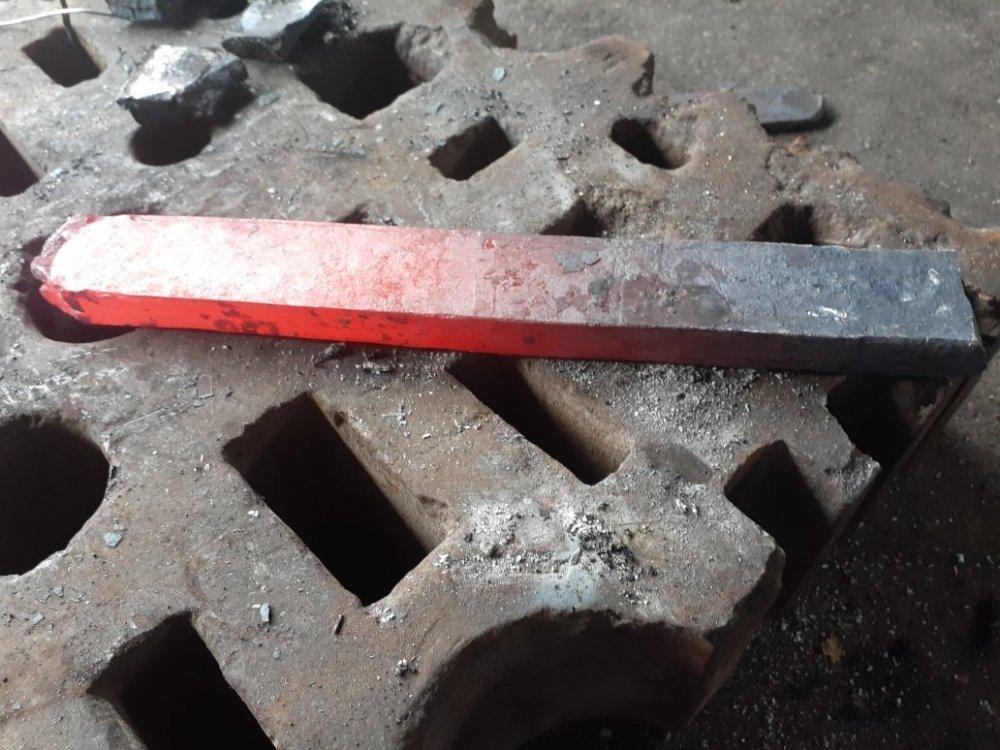
.thumb.jpeg.8434984a8362bfed9c276642810bda15.jpeg.e6437f41f975bca55a176533014ad881.jpeg)
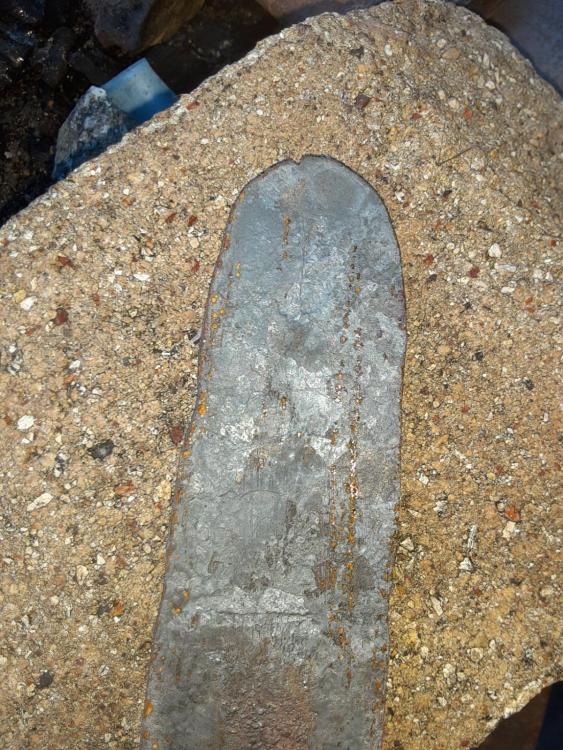
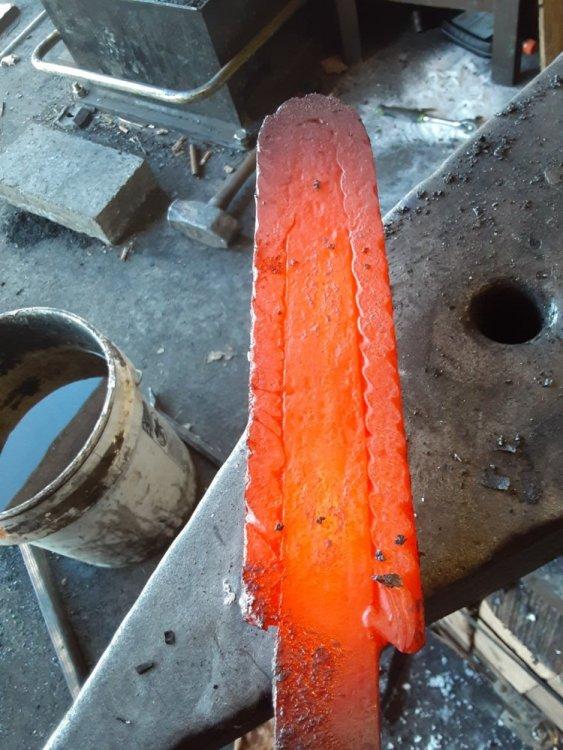
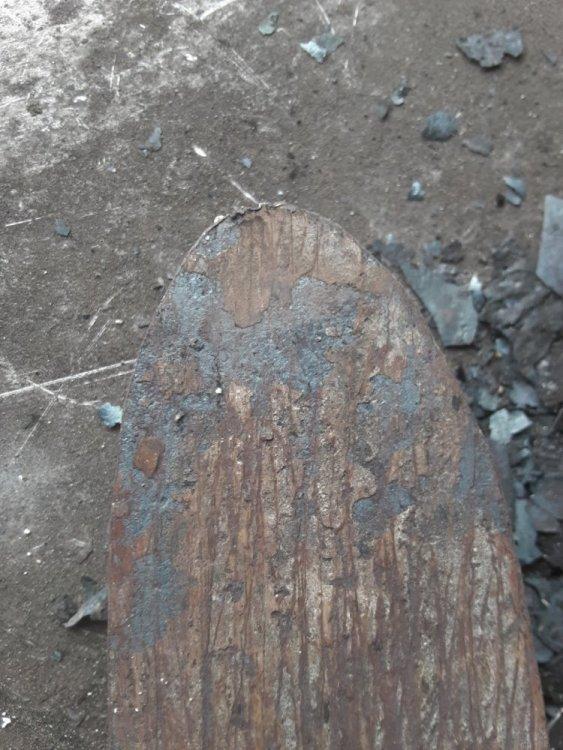
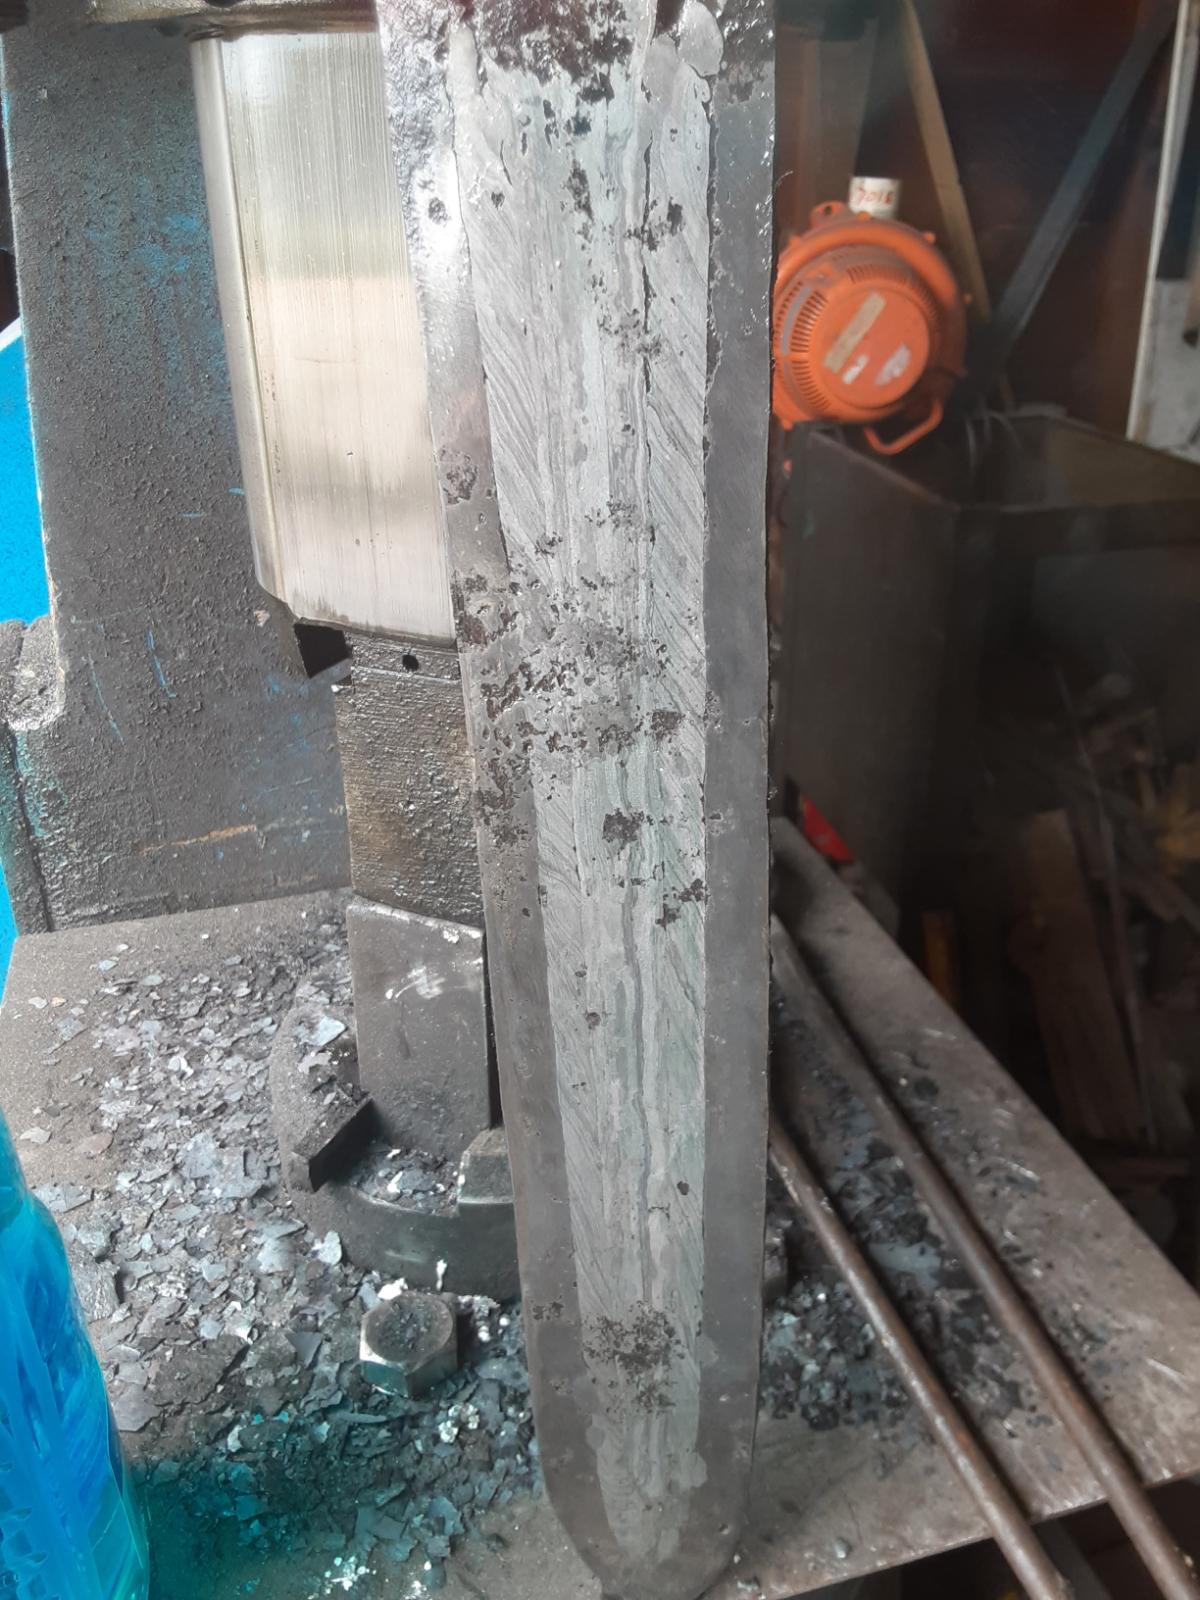
And here it is as of this afternoon.
.thumb.jpeg.d80fb3d66a24c0be55270db2f0d17c78.jpeg.afc0f2a45517f0e4eda3ccb76f2e1e3e.jpeg)

-
I still have more forging to do. I just about ran out of charcoal but mostly ran out of energy.
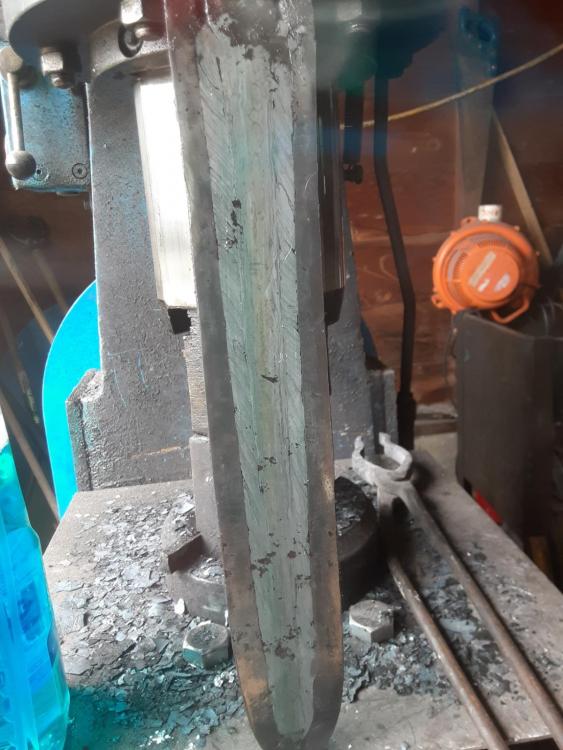
")
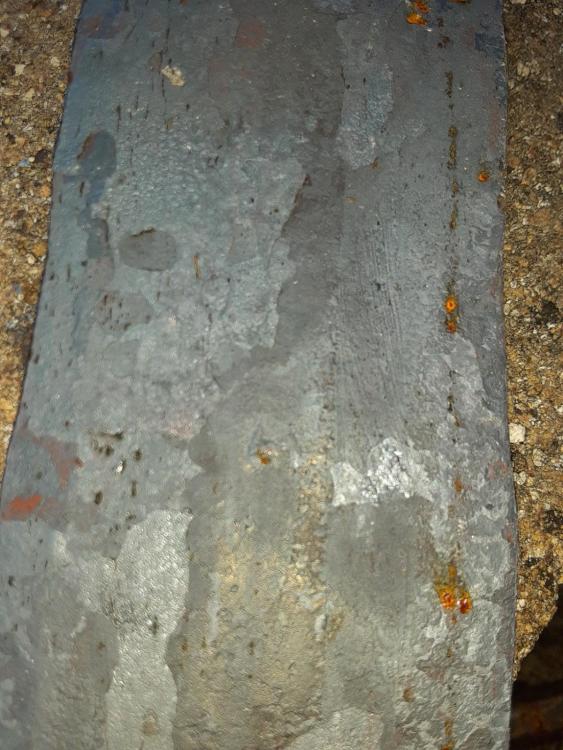
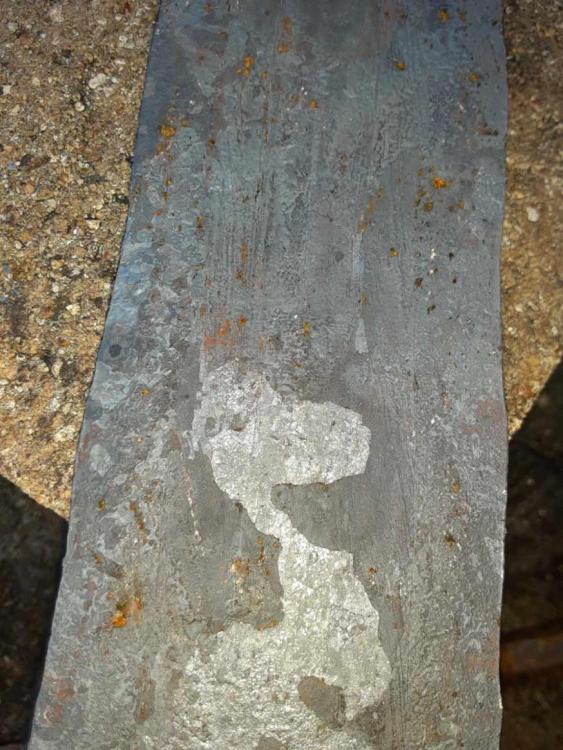
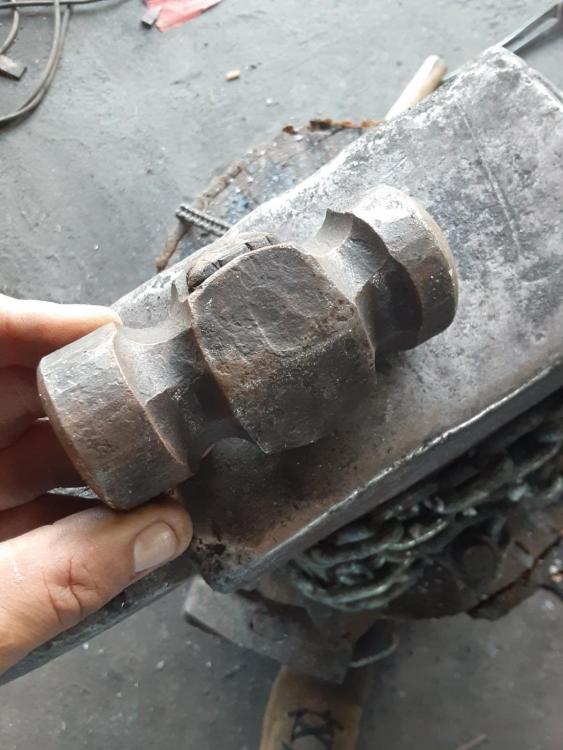
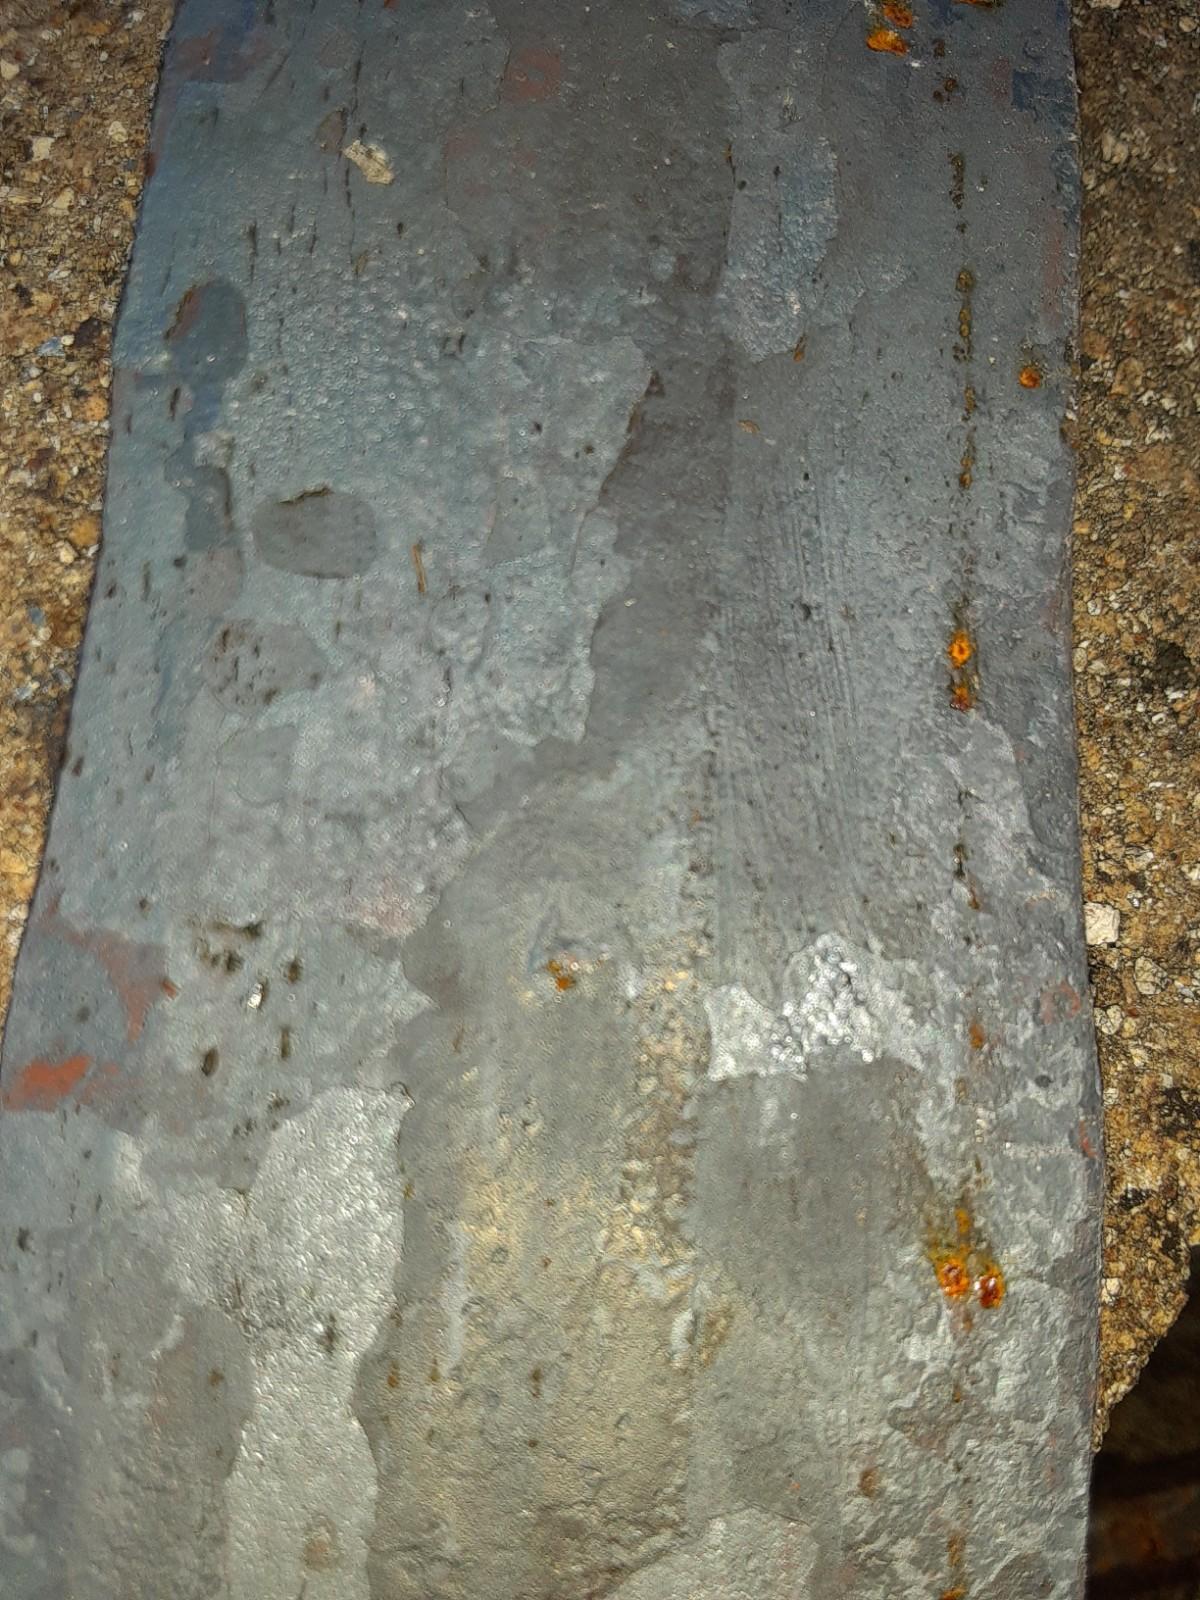
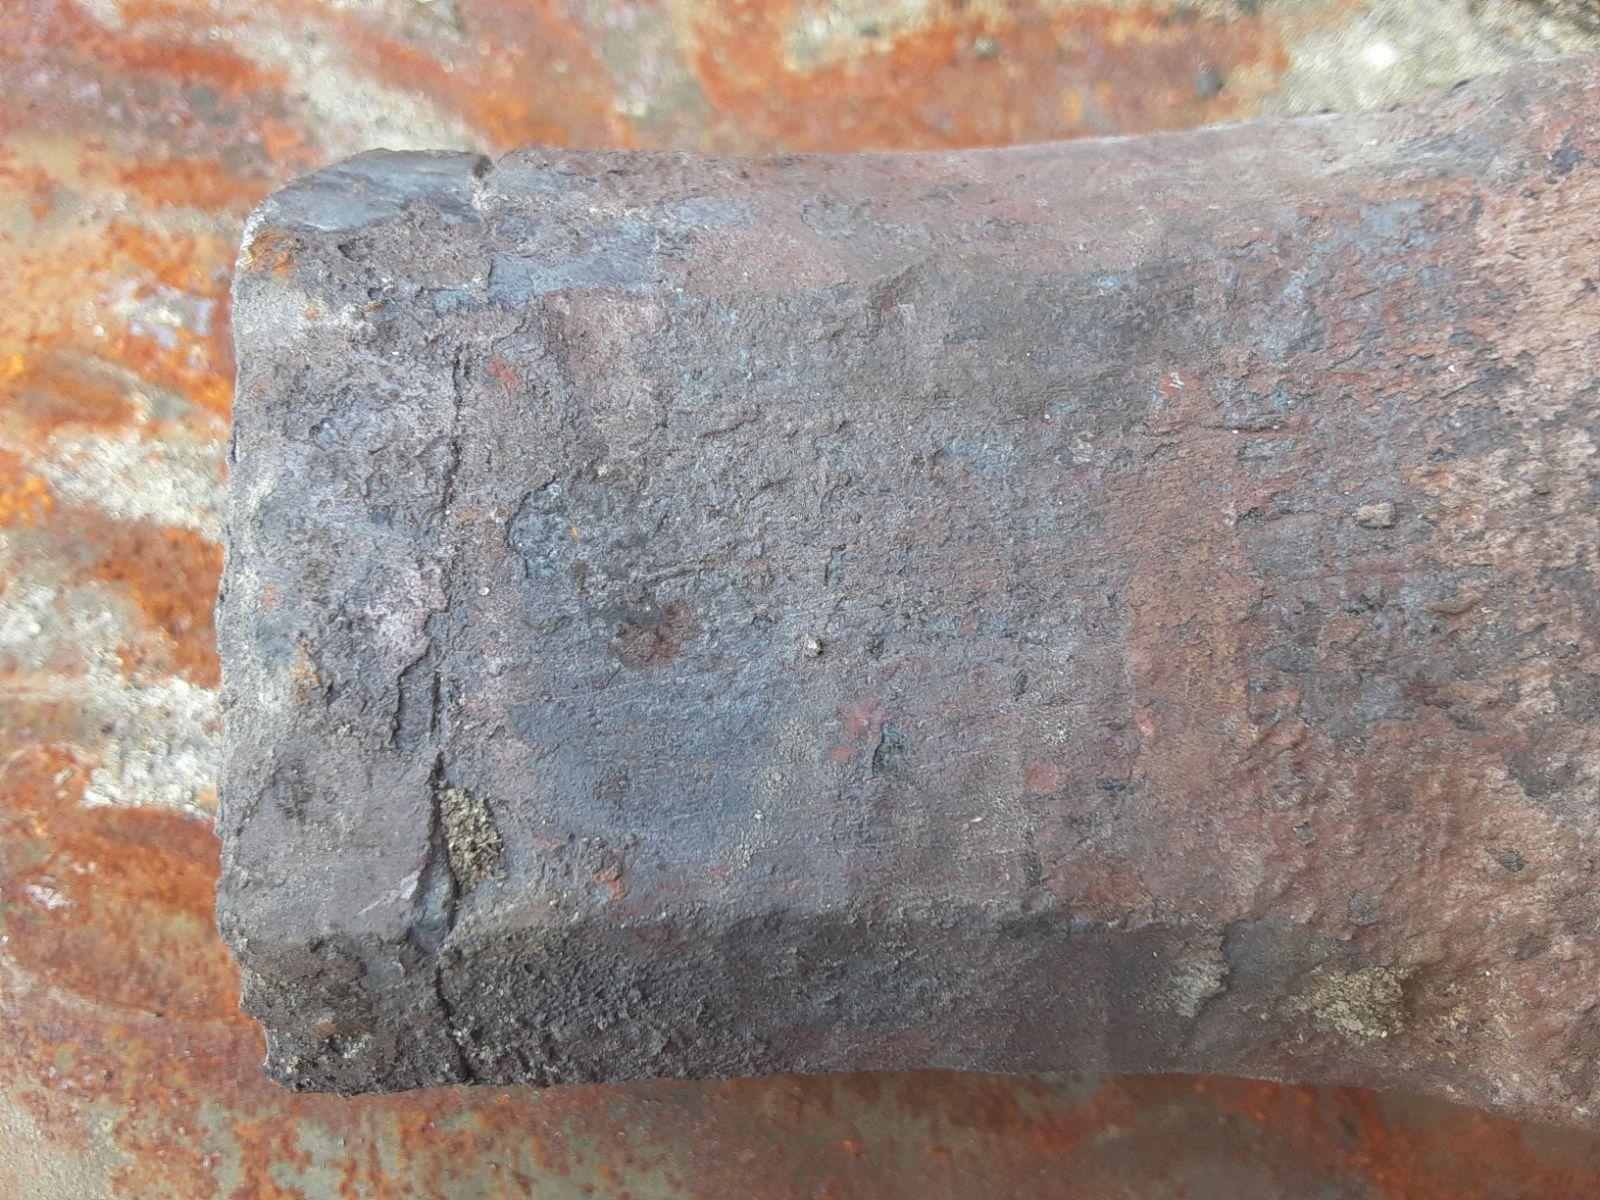
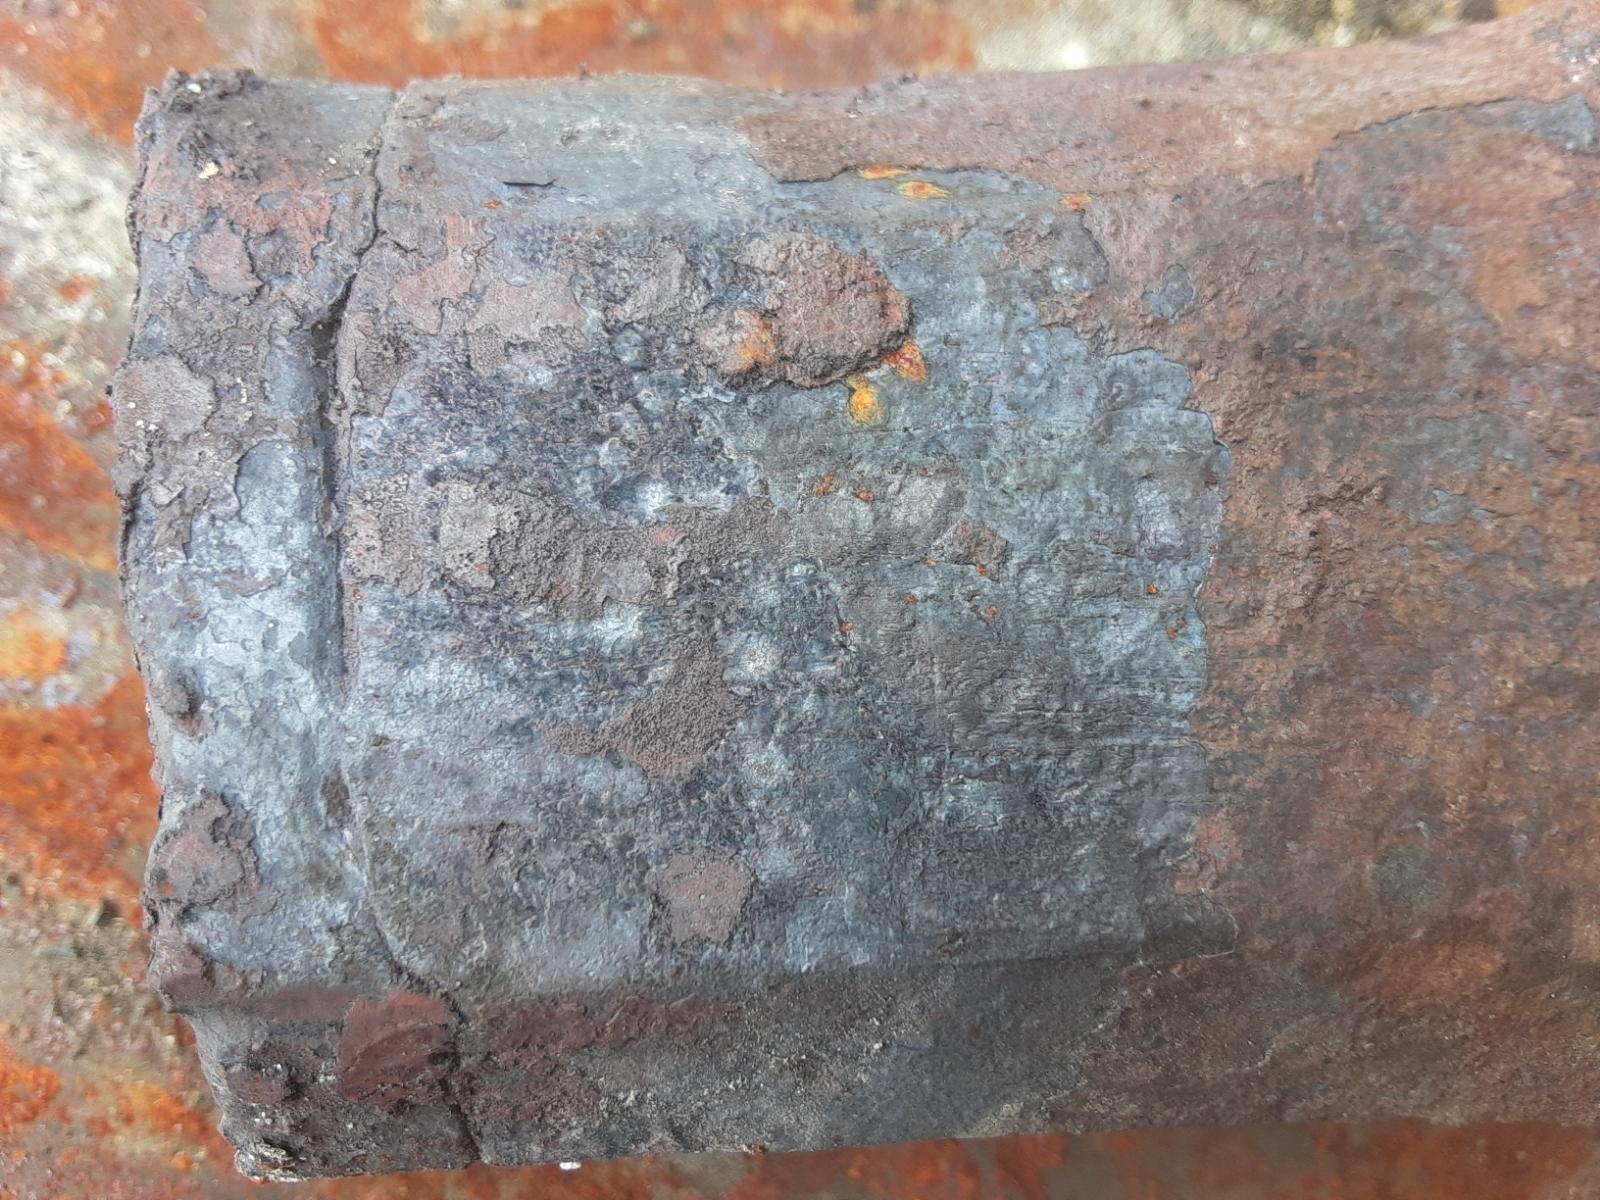
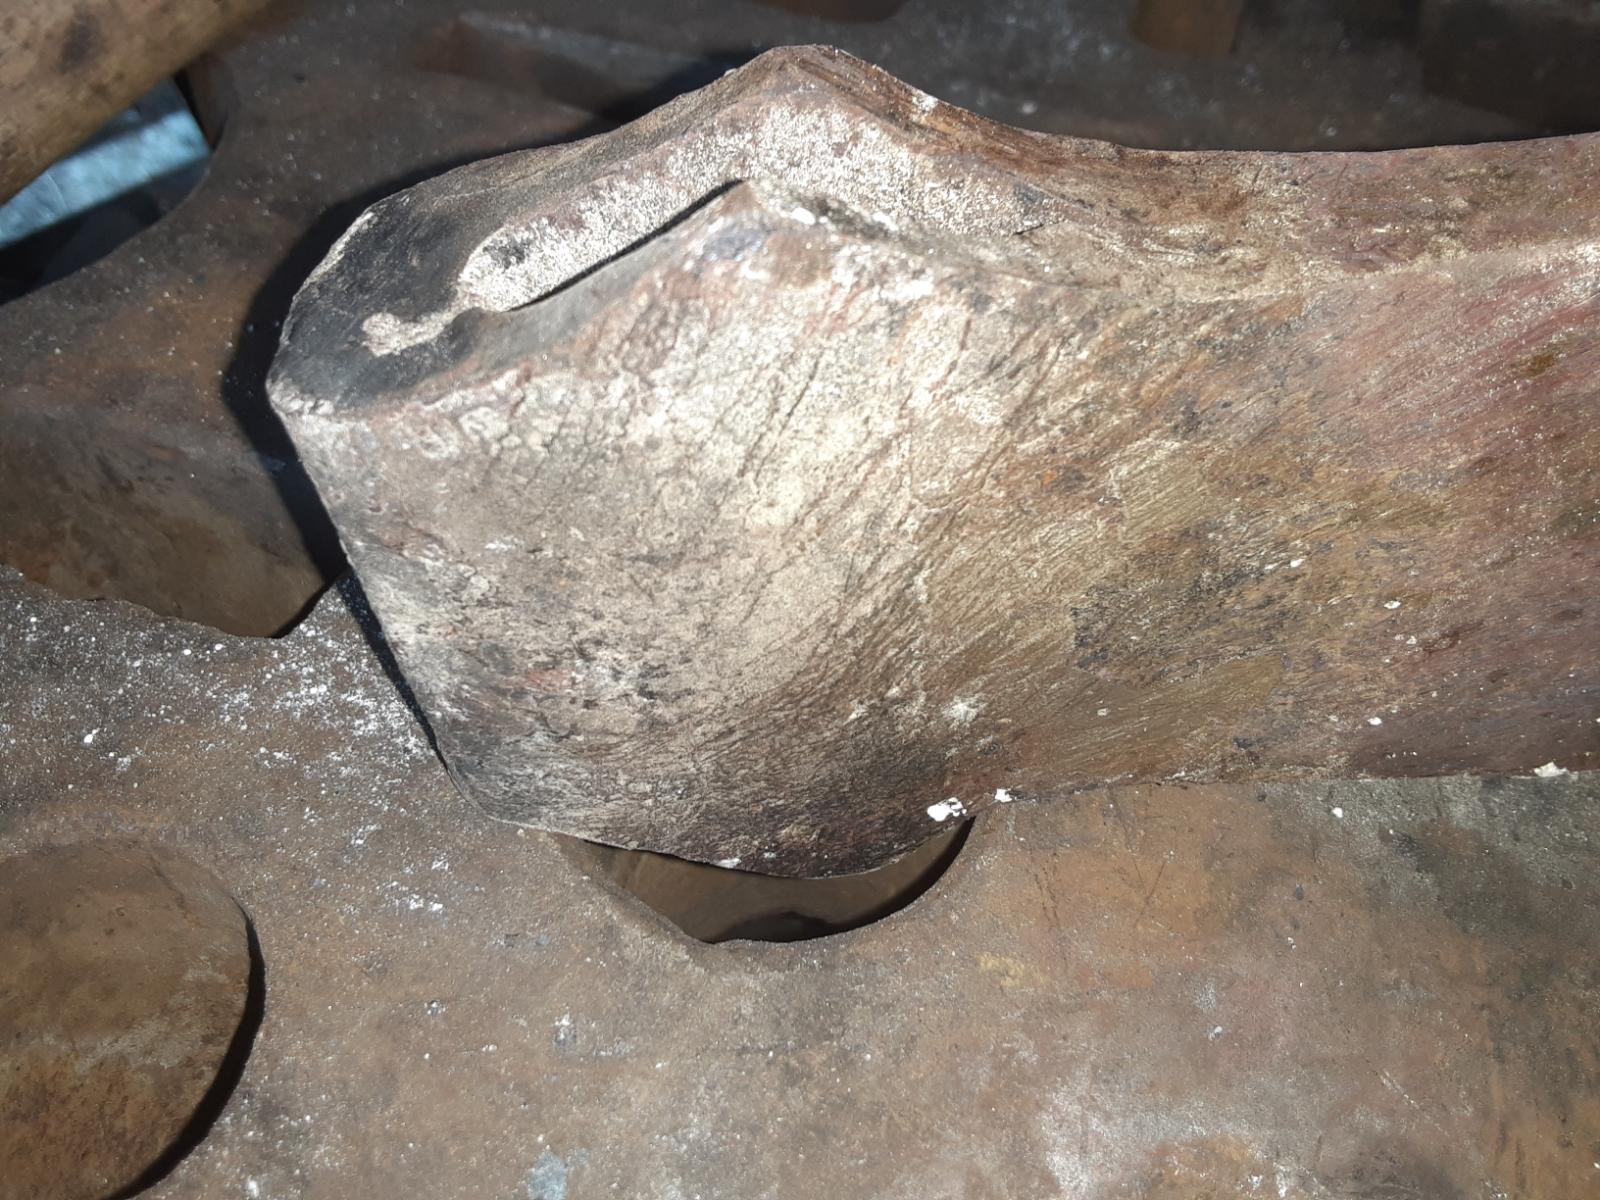
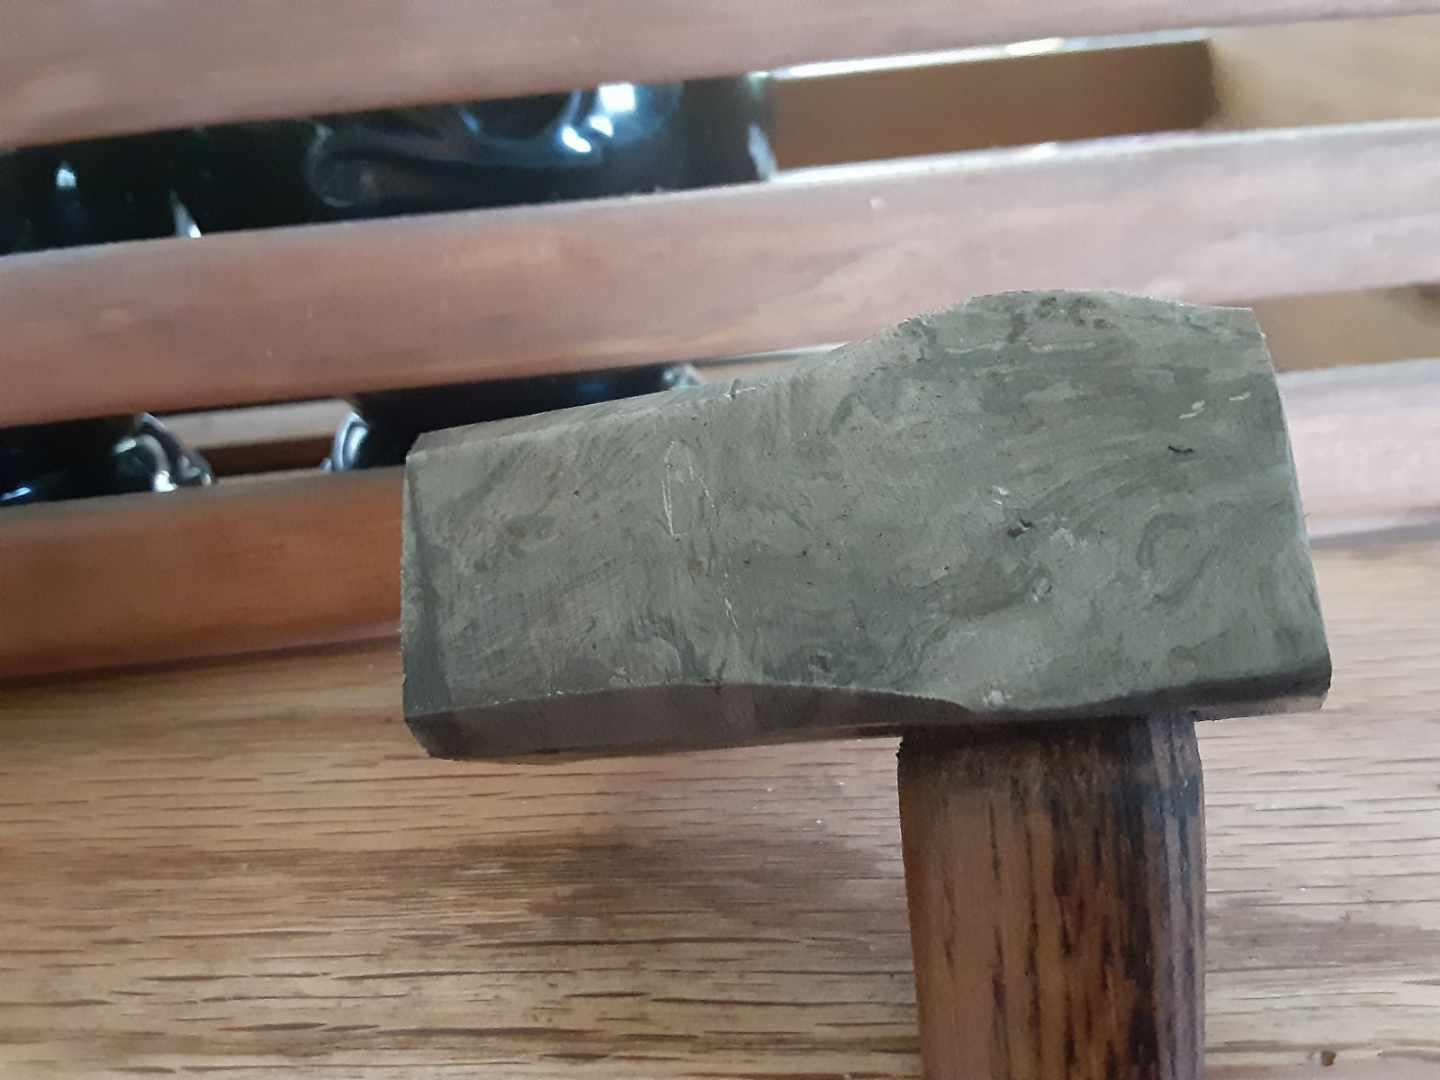
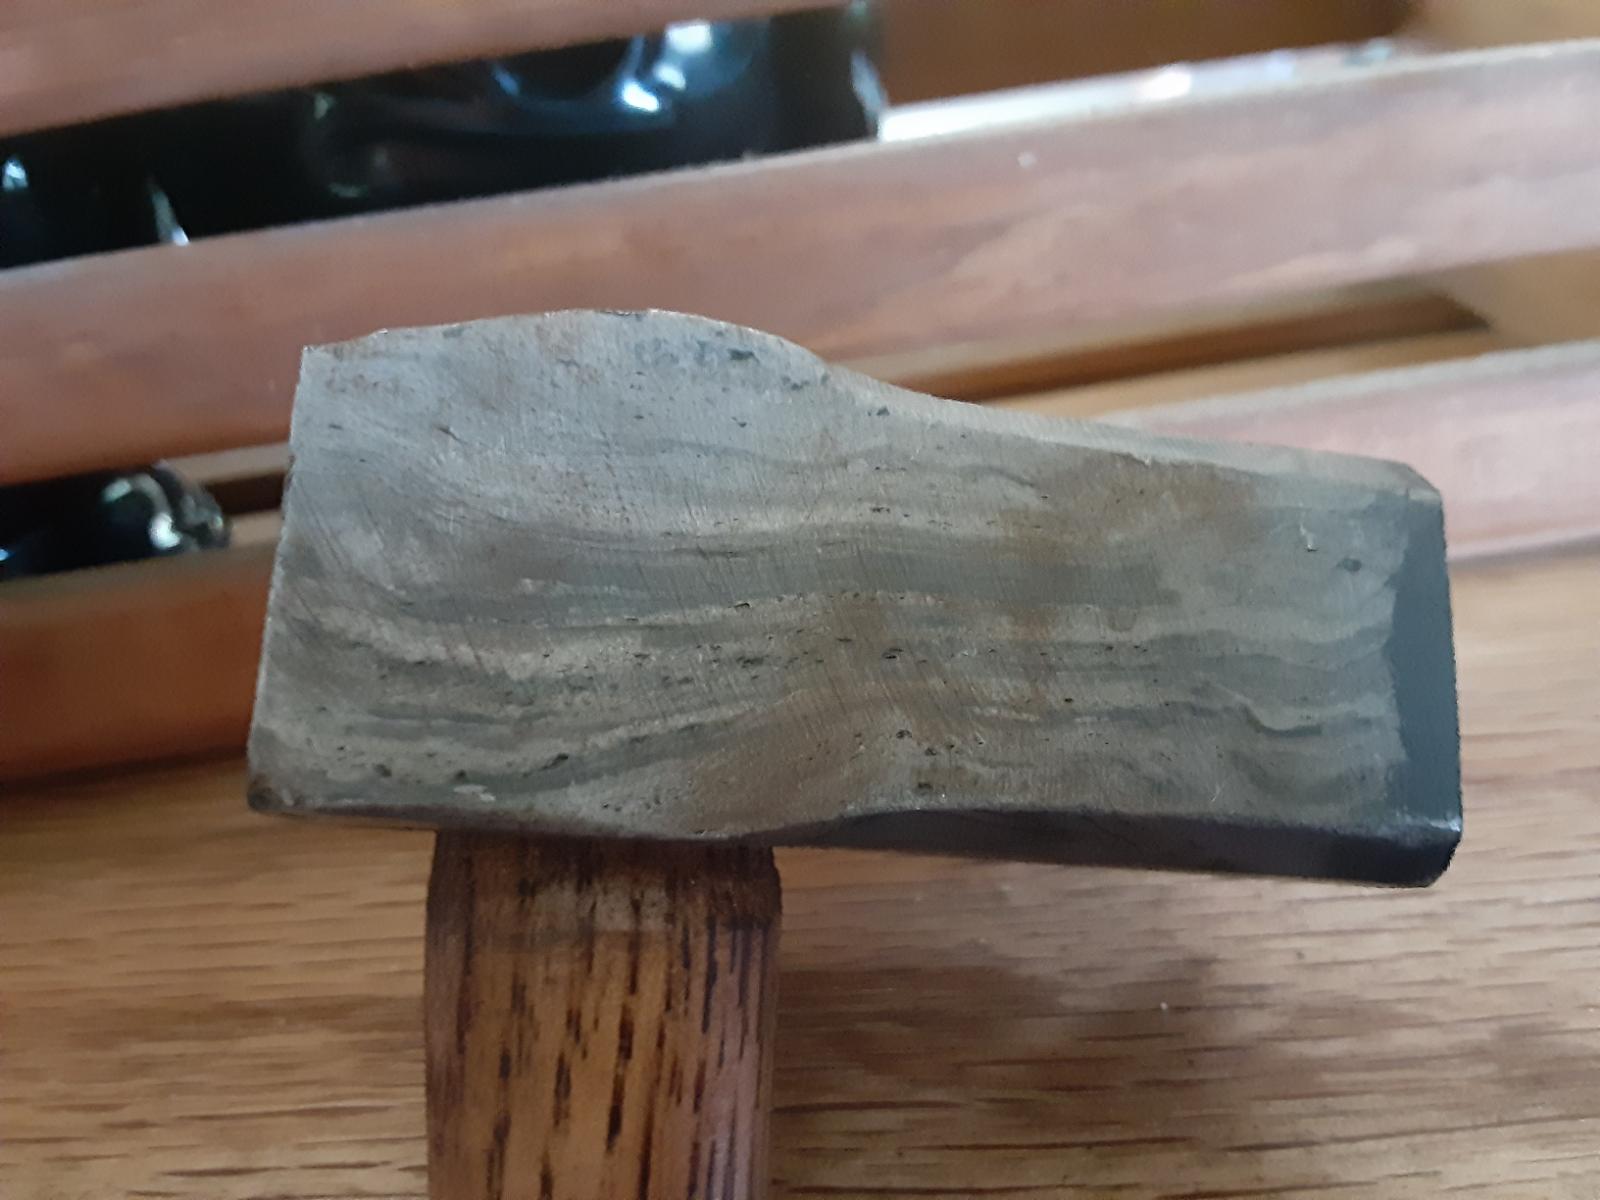
Its definitely wrought iron though. Up close you can see the grain of the wrought. I'm going to get more charcoal today and work on it early tomorrow morning before I have some guys come over for some "lessons". I'm more letting them use my equipment if they bring the fuel. I dont get paid for it. It's more getting the experience of working with beginners and teaching them a thing or two to see if I even wanna do any classes later in life. But anyway here is the pictures of where it sits now.


-
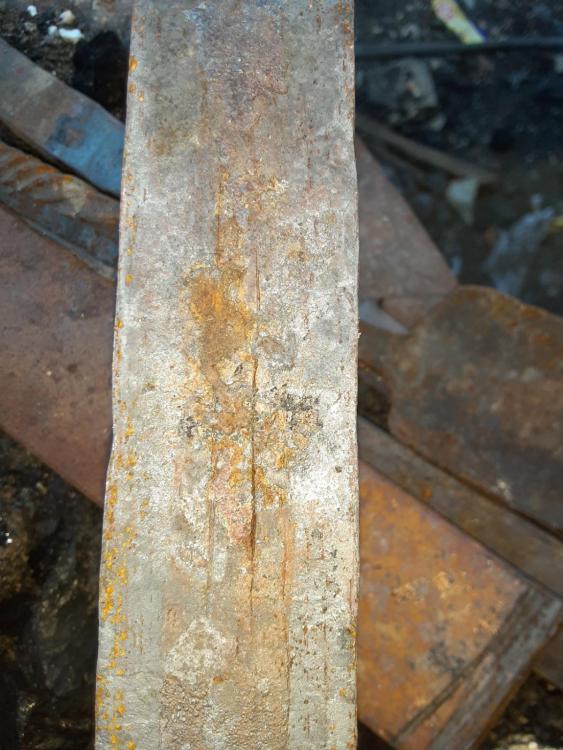
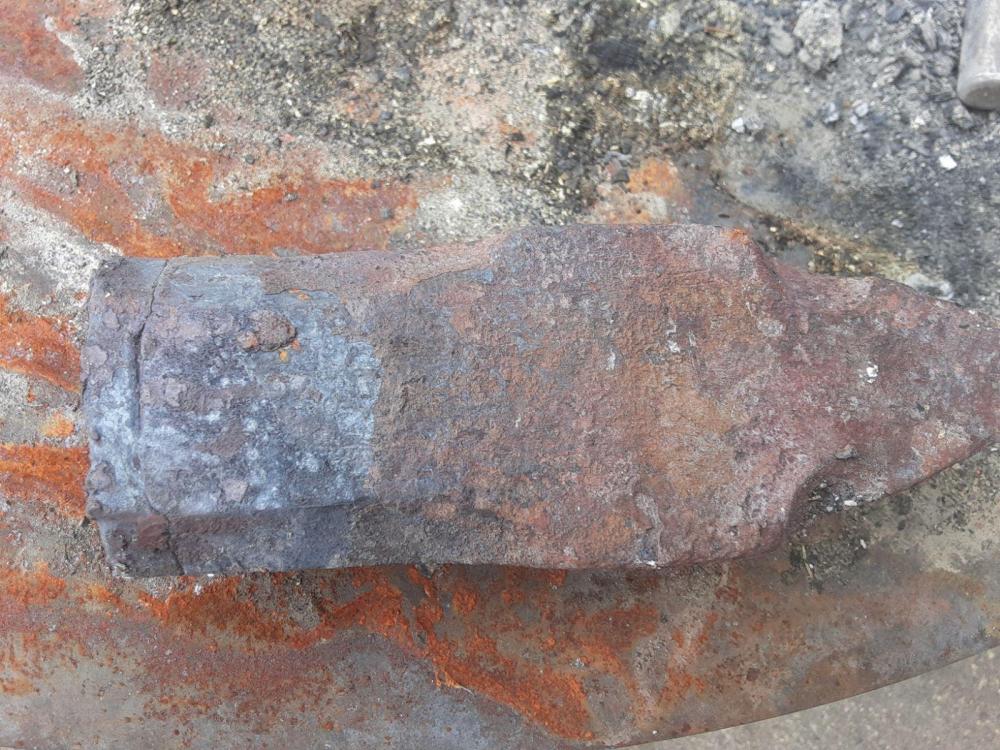
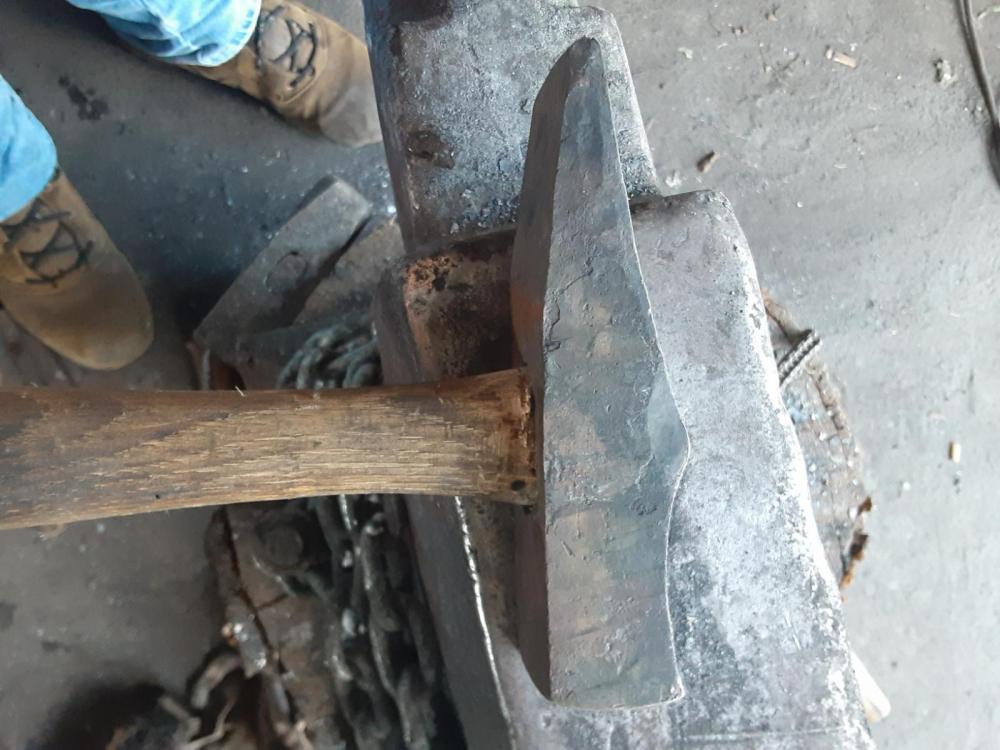
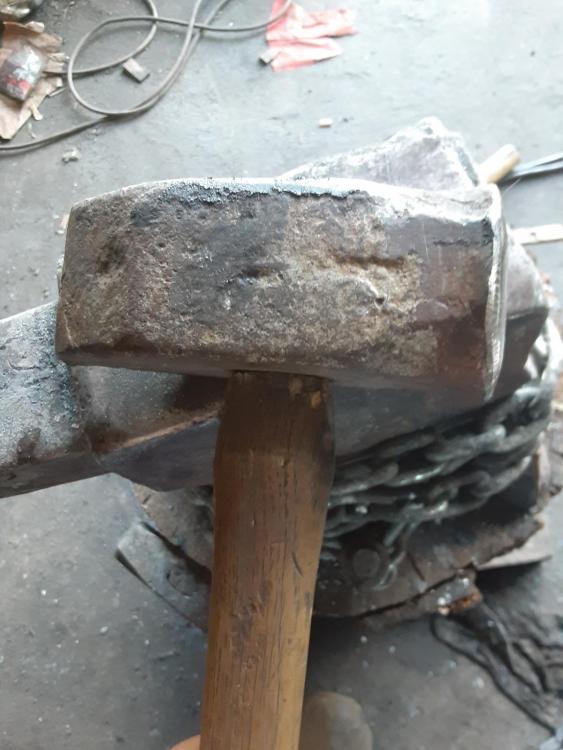
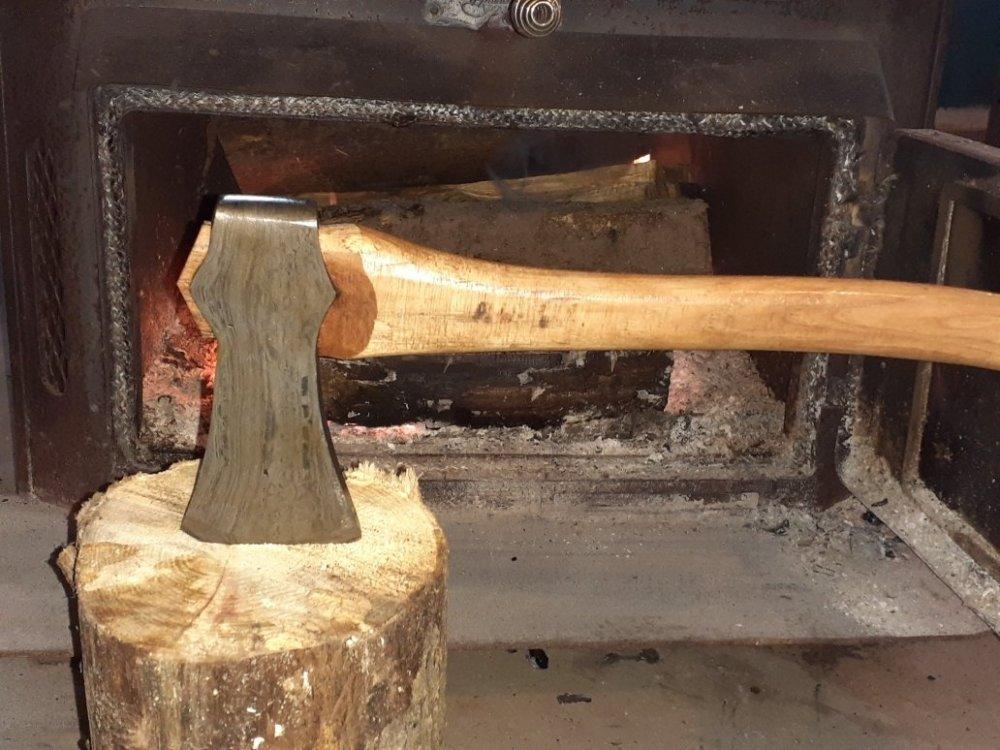
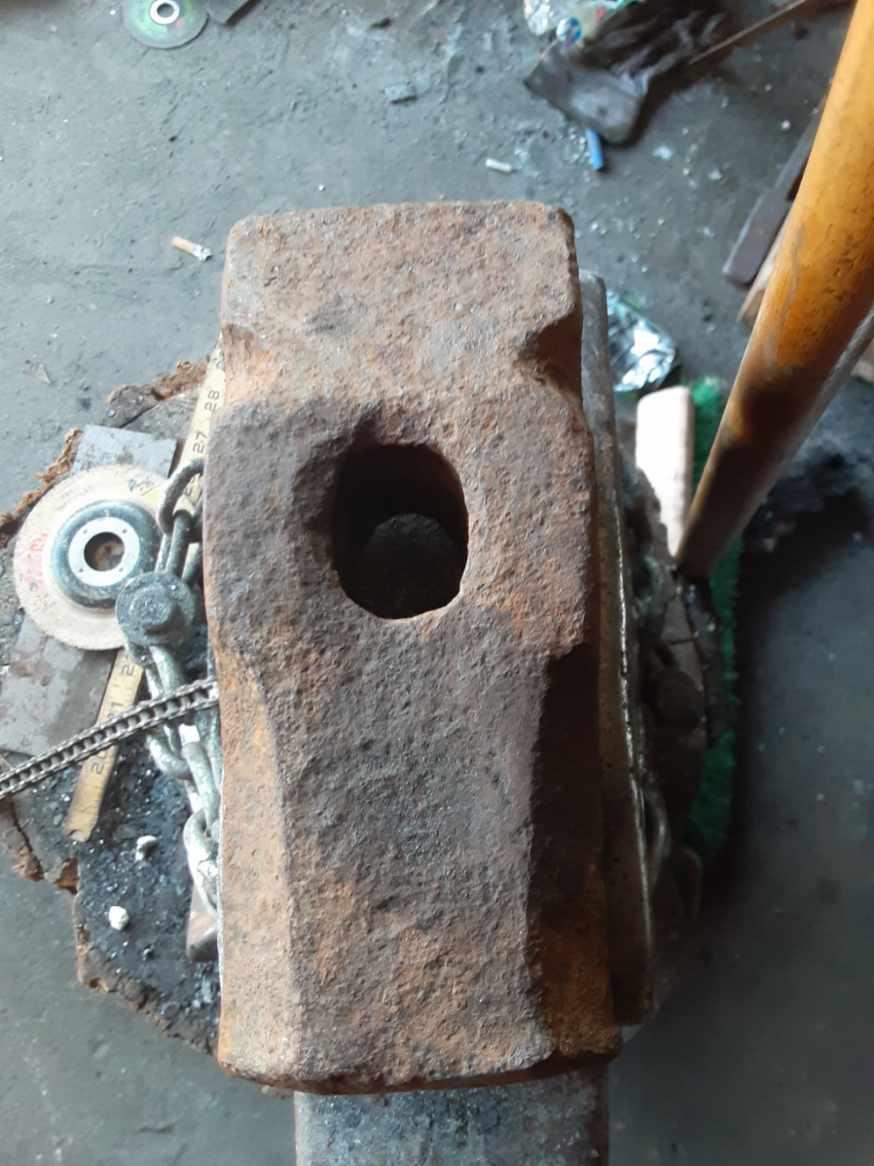
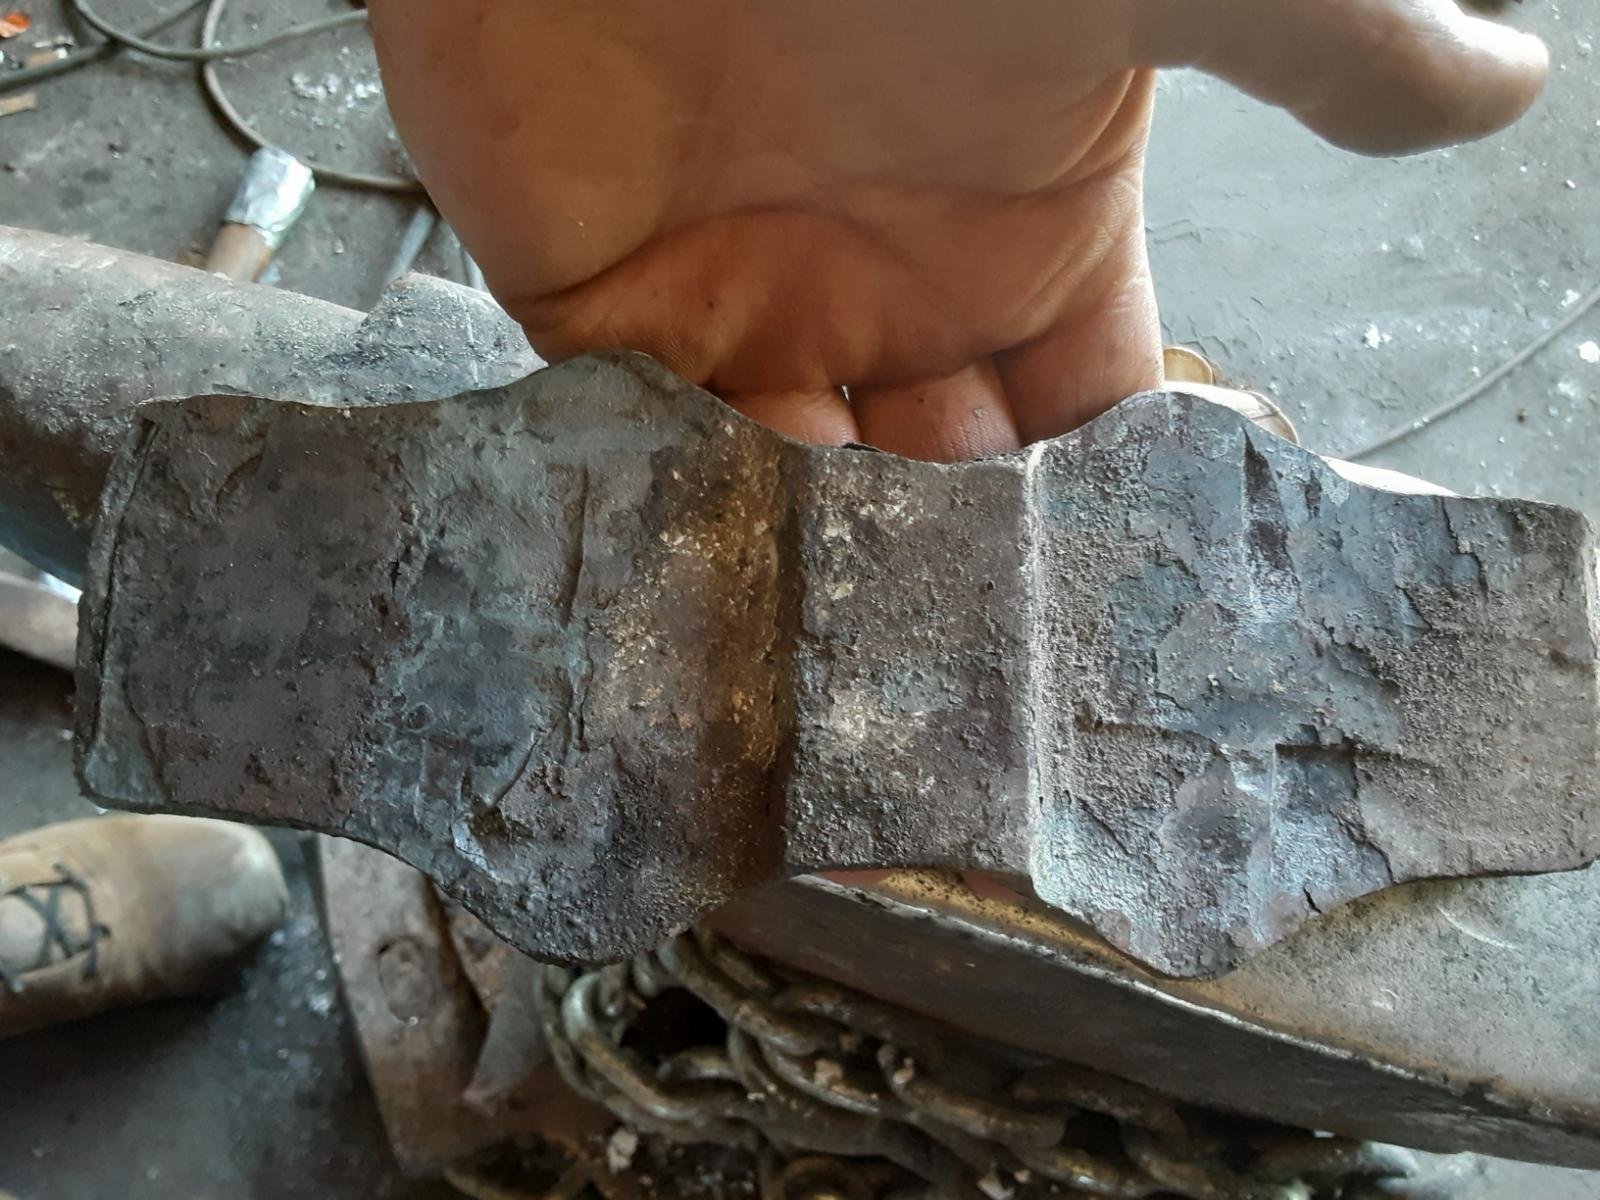
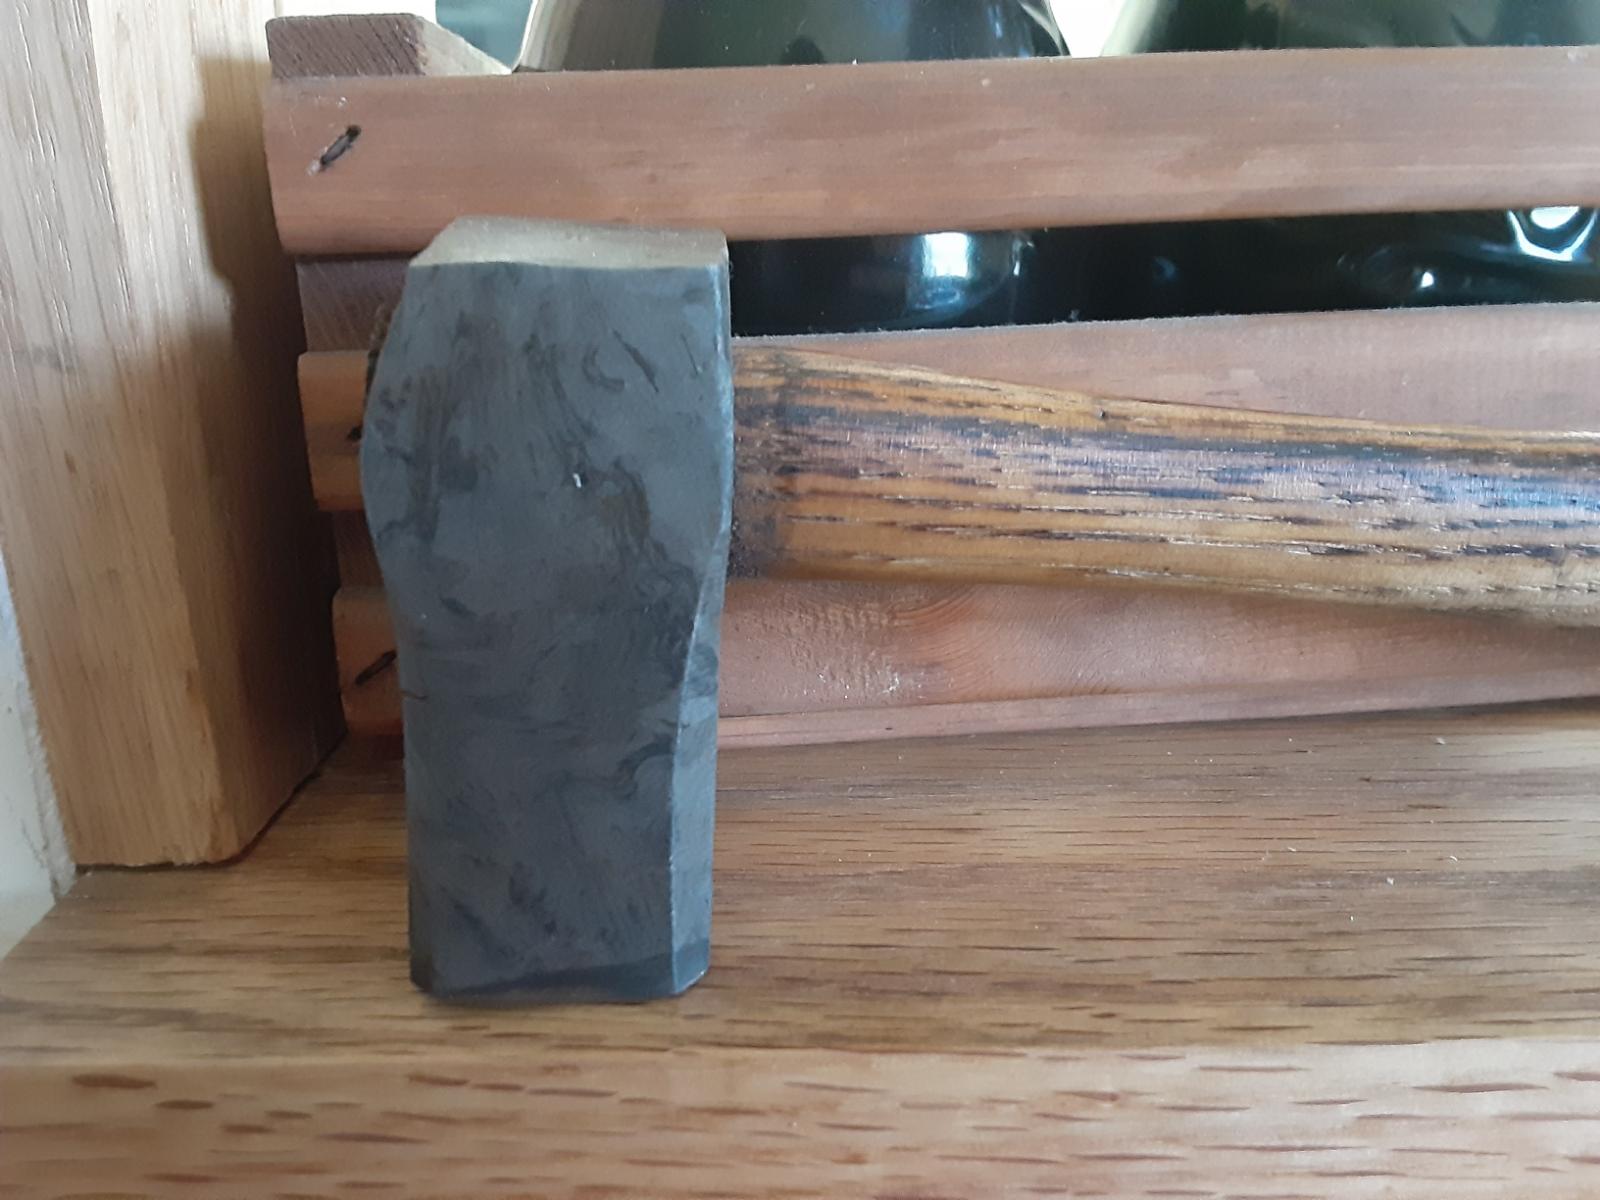
Spark testing is how I figured its wrought. The reason I thought it was Spanish is because of an old advertisement I seen somewhere that showed a hammer just like it with the eye punched back farther with the weight forward and stated it was a Spanish pattern hammer?
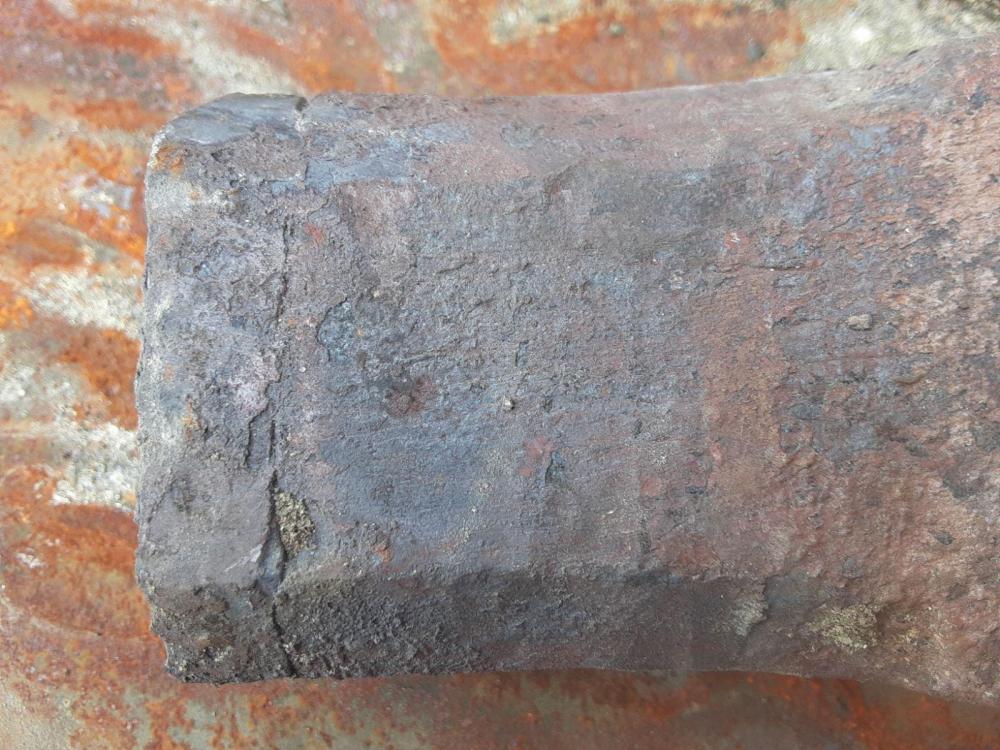
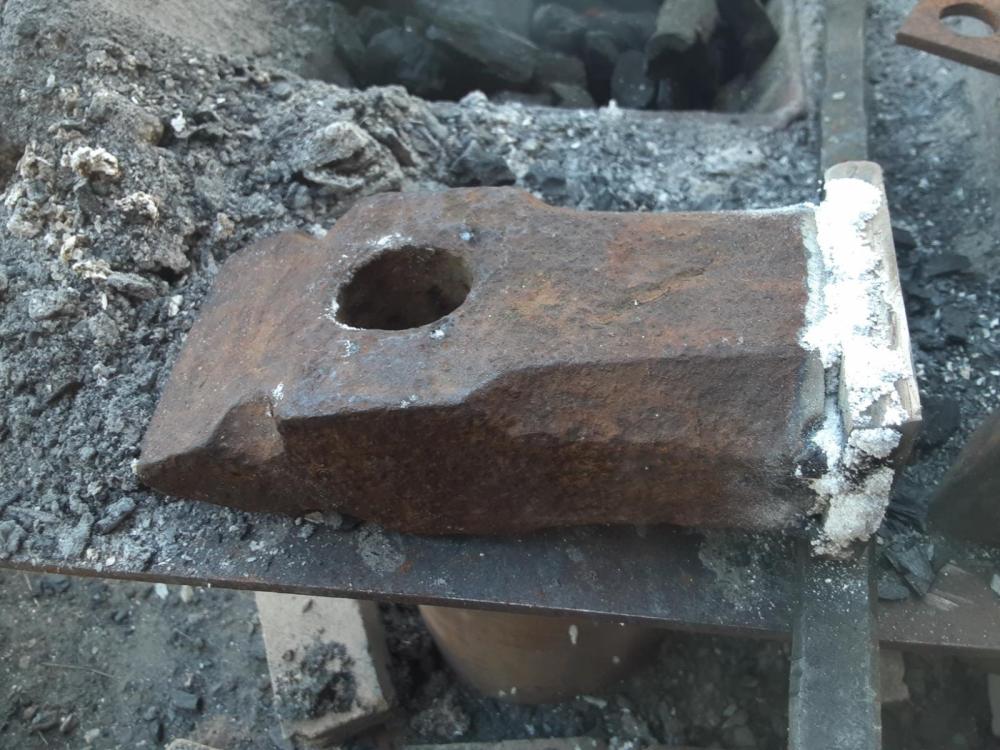
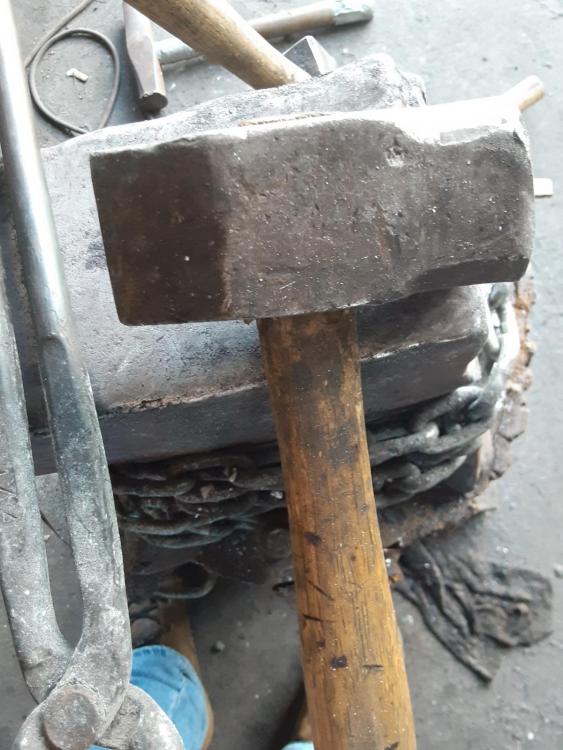
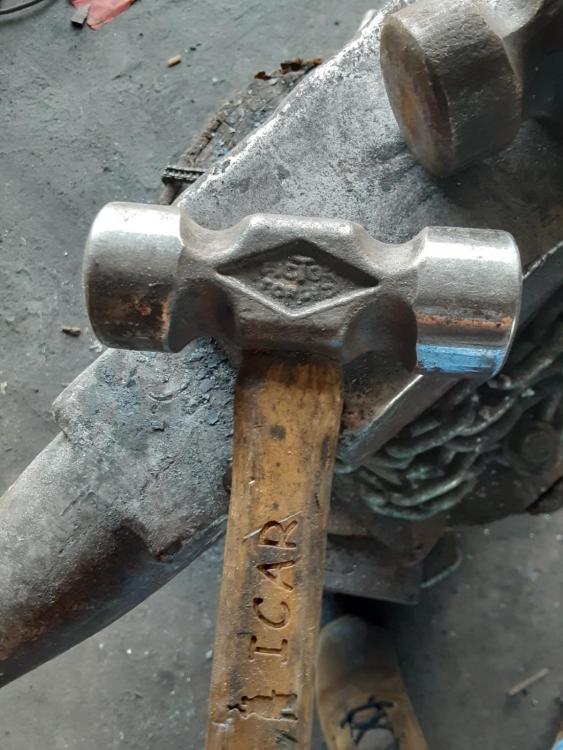
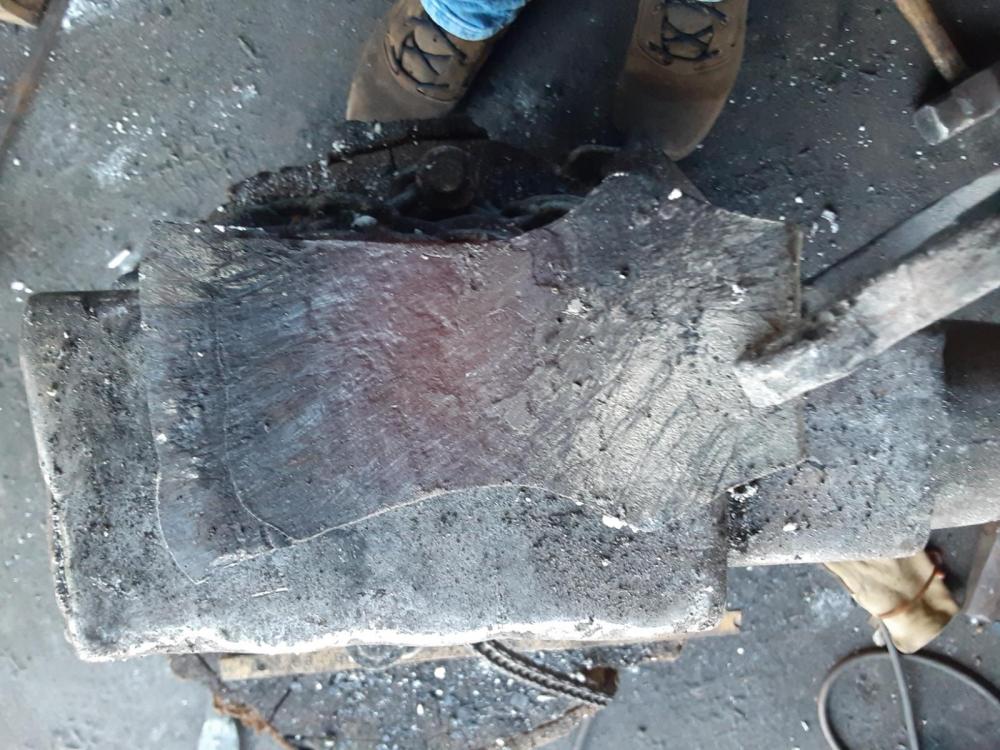
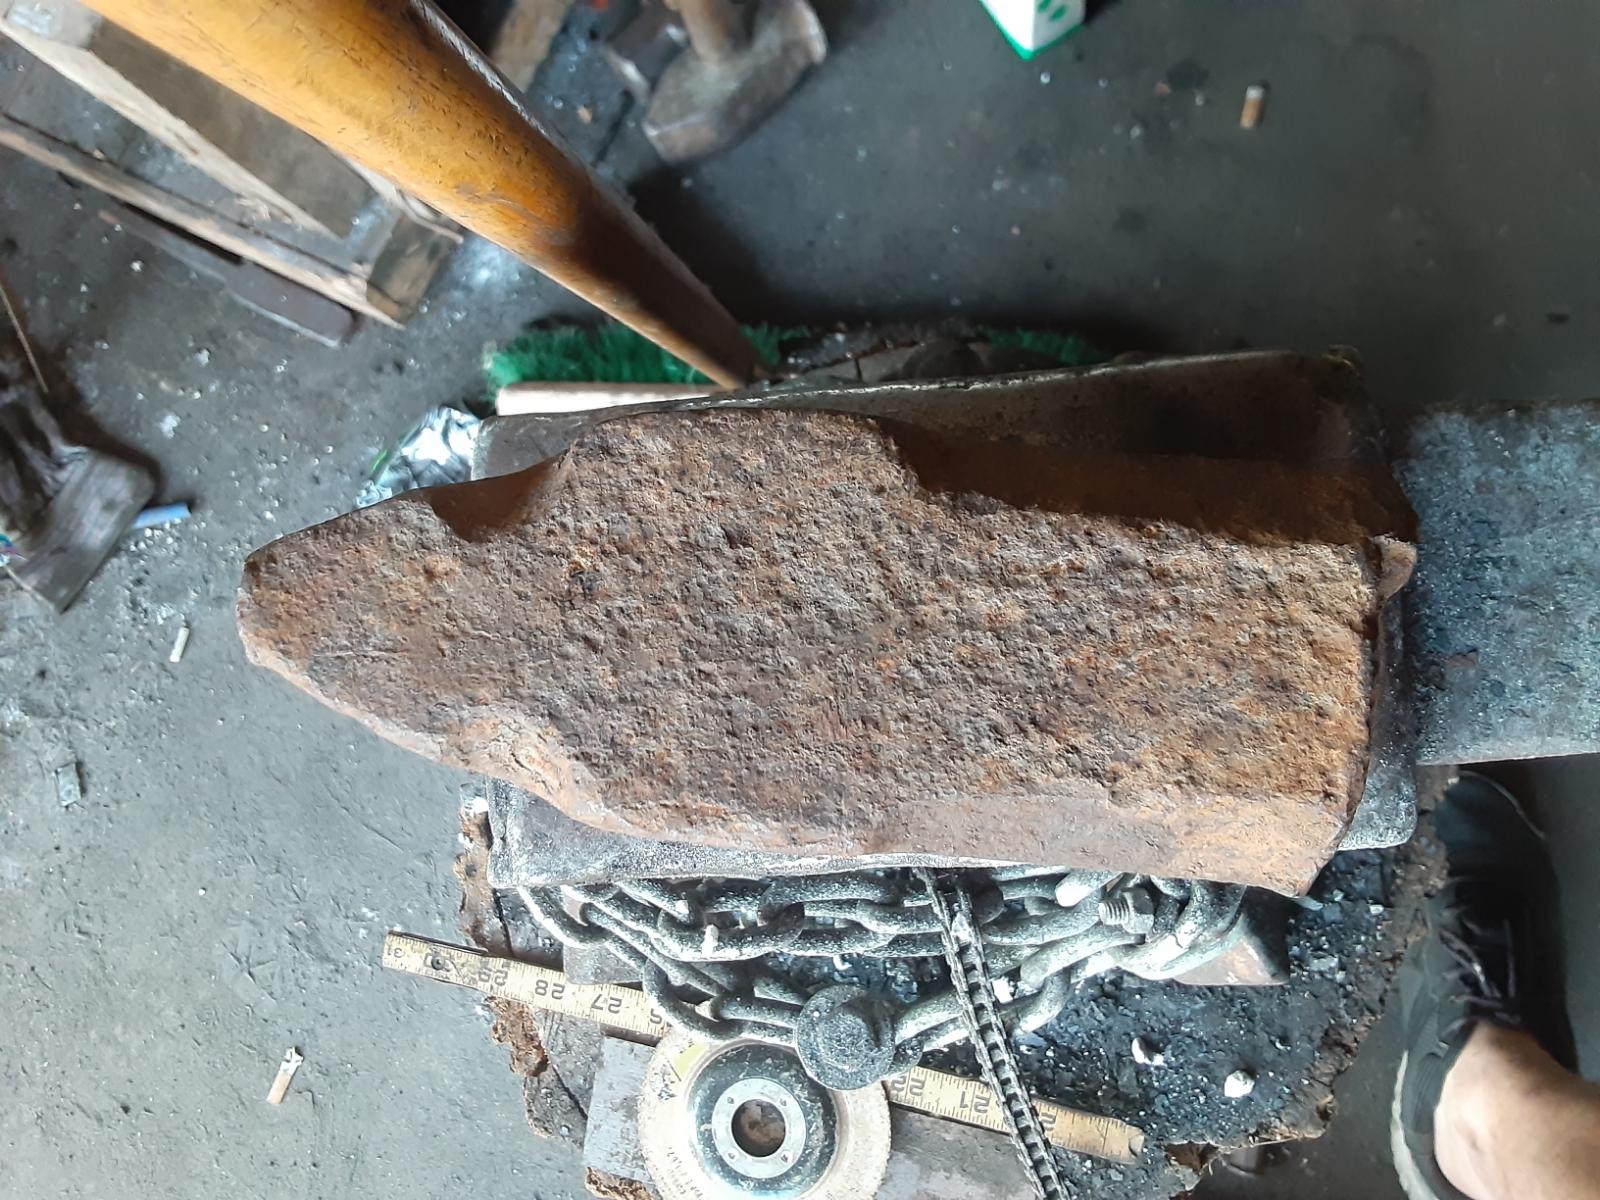
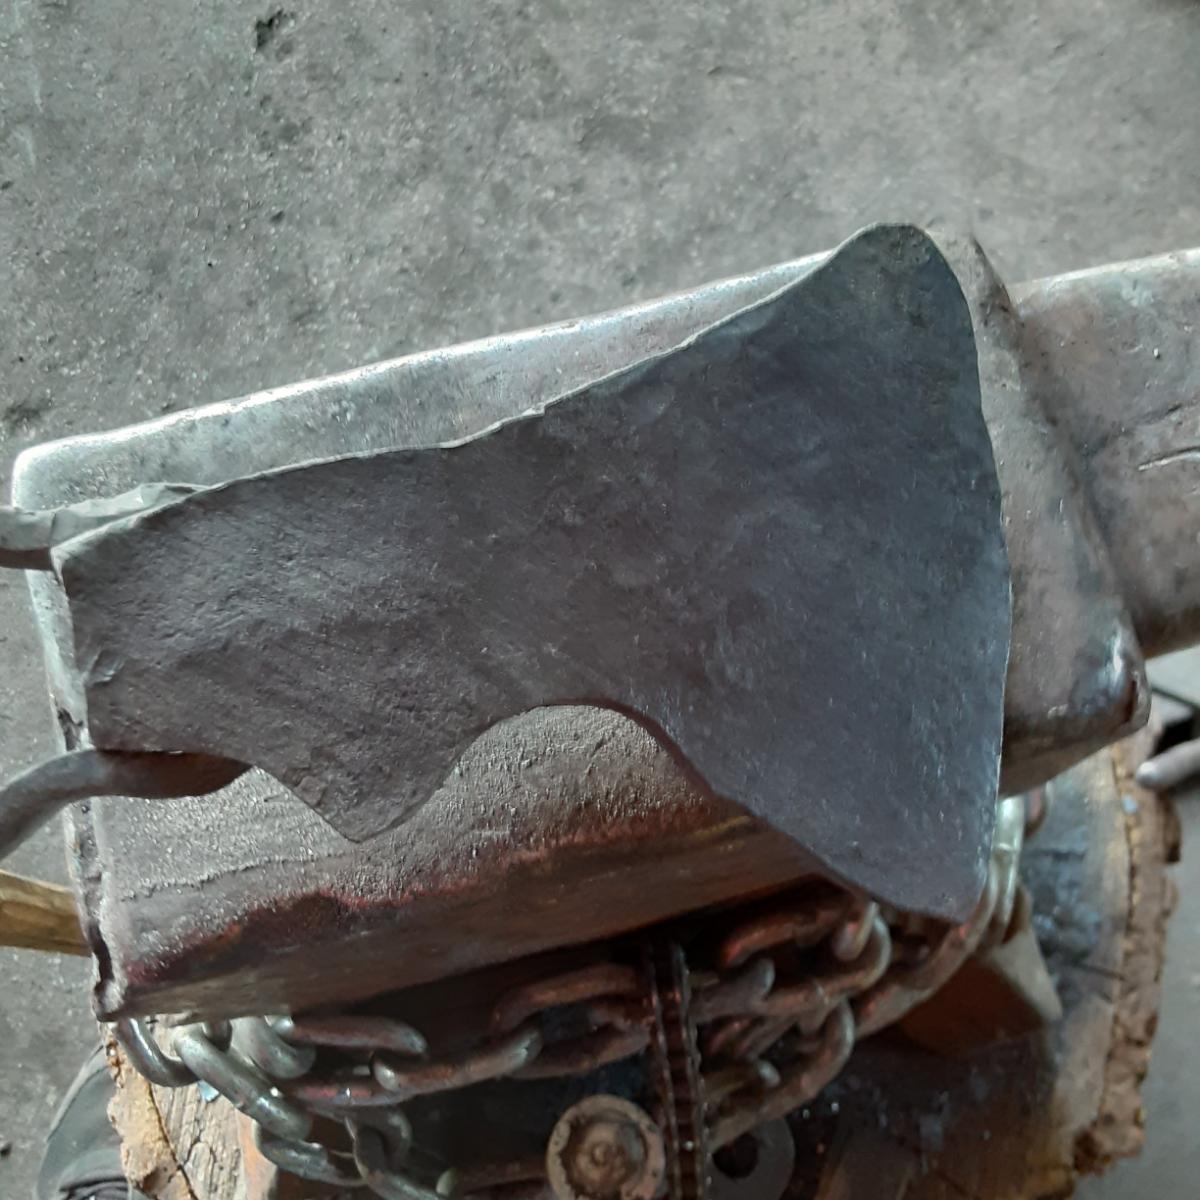
I chose to reface it. Here it is before welding.
-
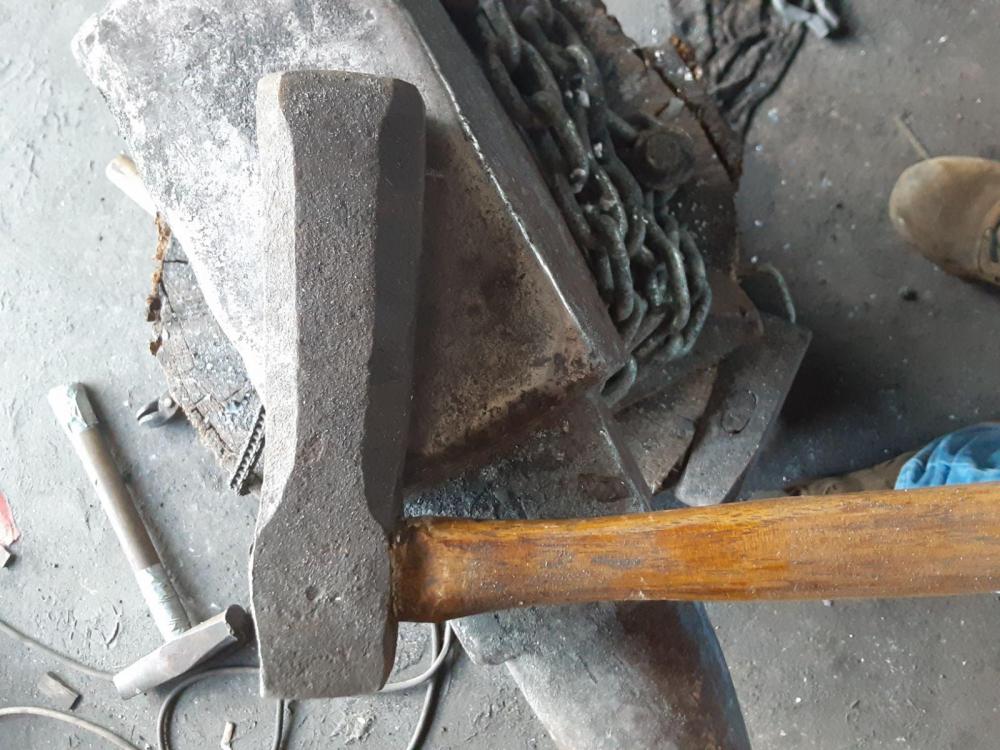
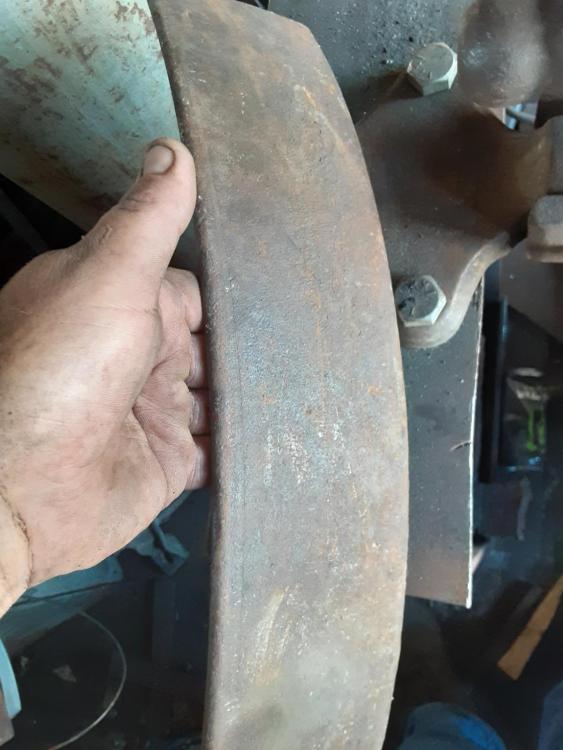
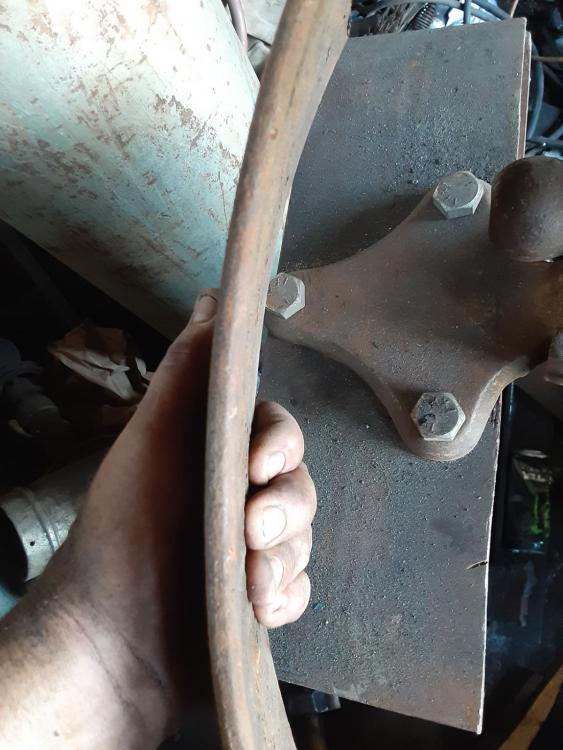
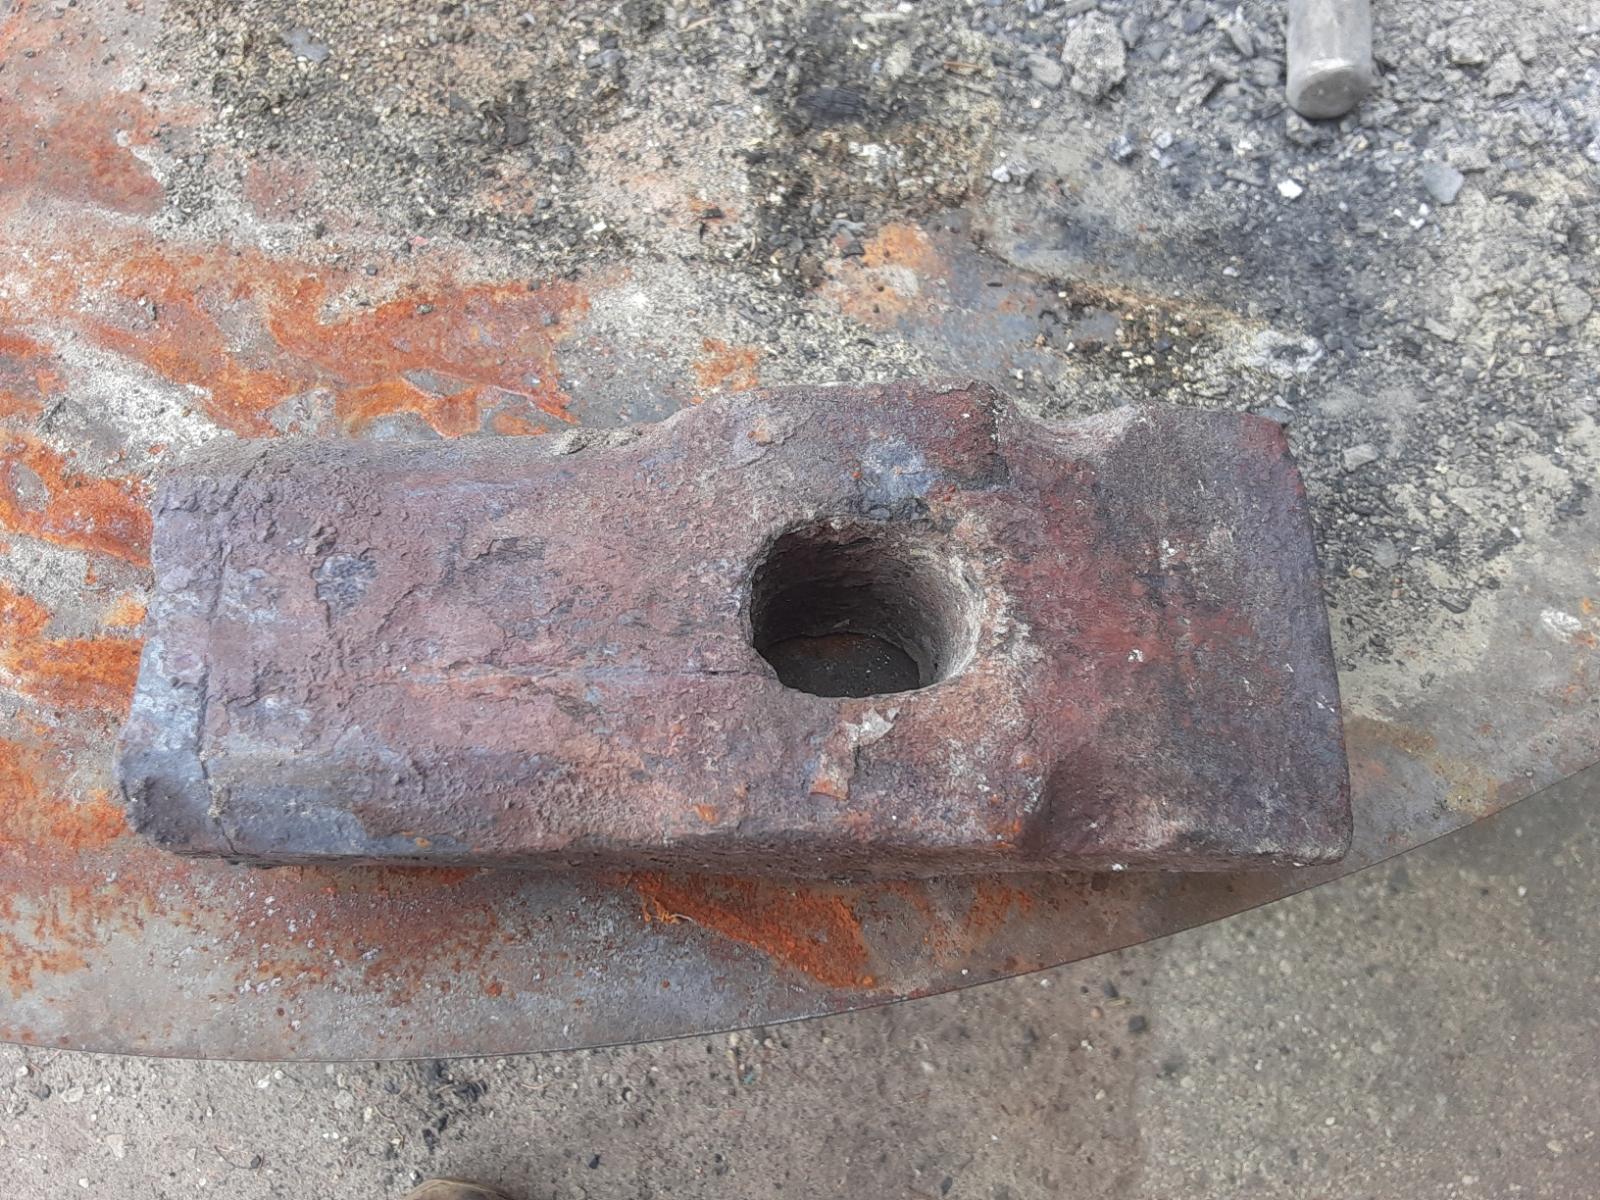
Well I'm bored and cant think of anything to do in the shop so i think i will go for option 2. I like option 4 as well. I do have plenty of sledge hammers in the shop and this one weighs in at 12.5 lbs which is a bit heavy for my liking.
-
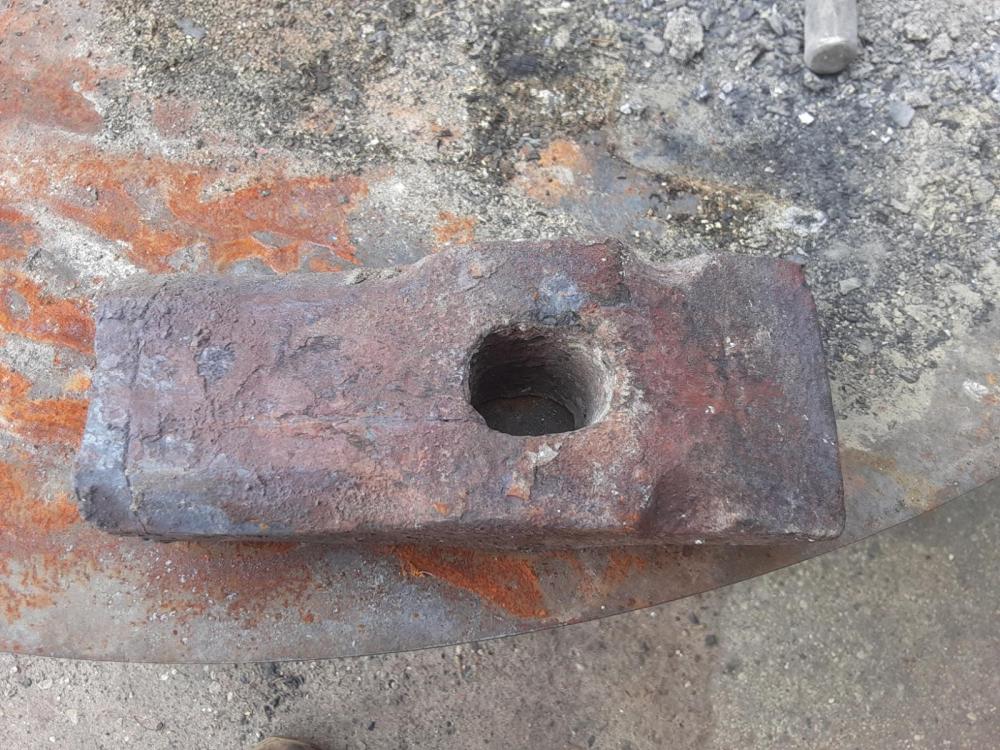
I found this old spanish(?) Crosspeen sledge hammer that is missing most of its steel face. Would you guys restore it to a useful life?


-
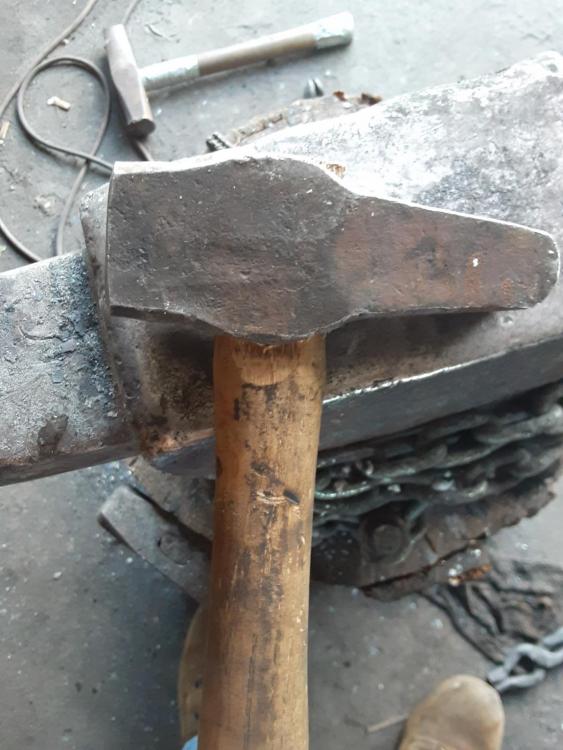
A couple cross peen hammers I've made that I find I use quite a bit.
a rounding hammer I made at a hammer making class i took with Dan Moss and James Davis. I just recently broke the handle
a Japanese style bladesmiths hammer made from the pivoting jaw of a post vise I found at an antique barn/store. With a forge welded face.
these are the 2 most used hammers. Bothe are straight pens. The first one is 4 lbs and the second is 8 lbs.
this last one is the only "new" hammer I use daily. All the others are antiques or hammers I've made.
-
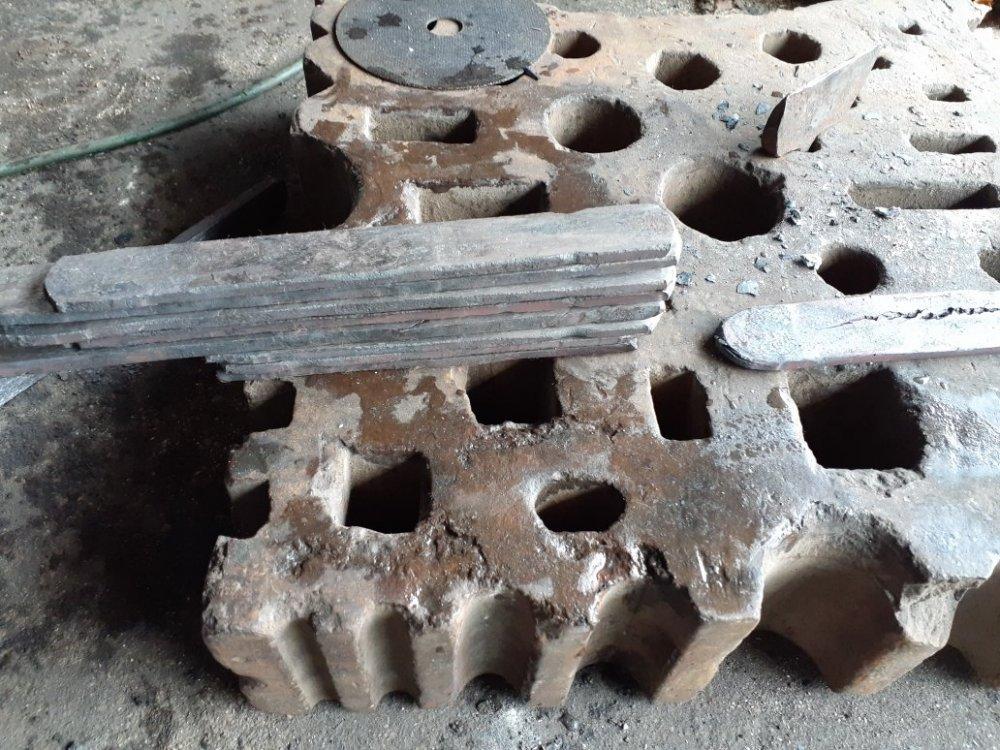
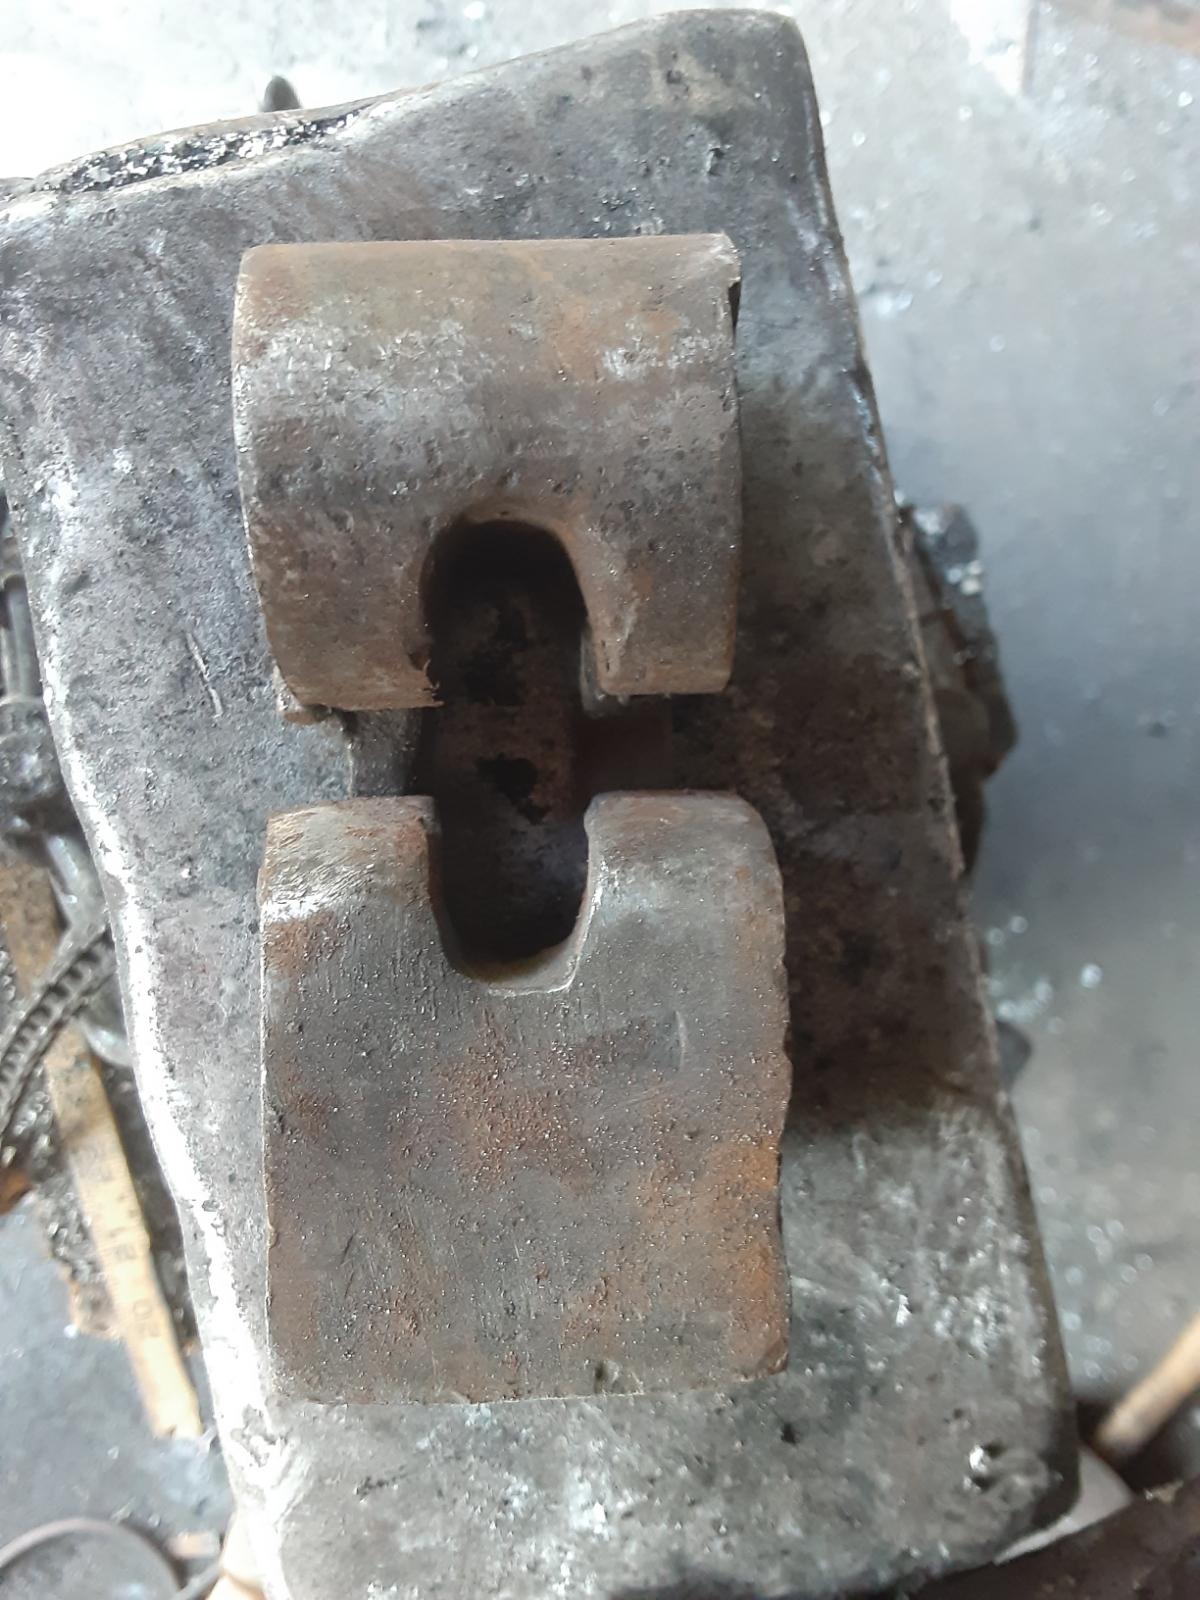
In case anyone was wondering about drifting an axe with the lugs like this there is several ways of going about it.
One is obviously the swage block.
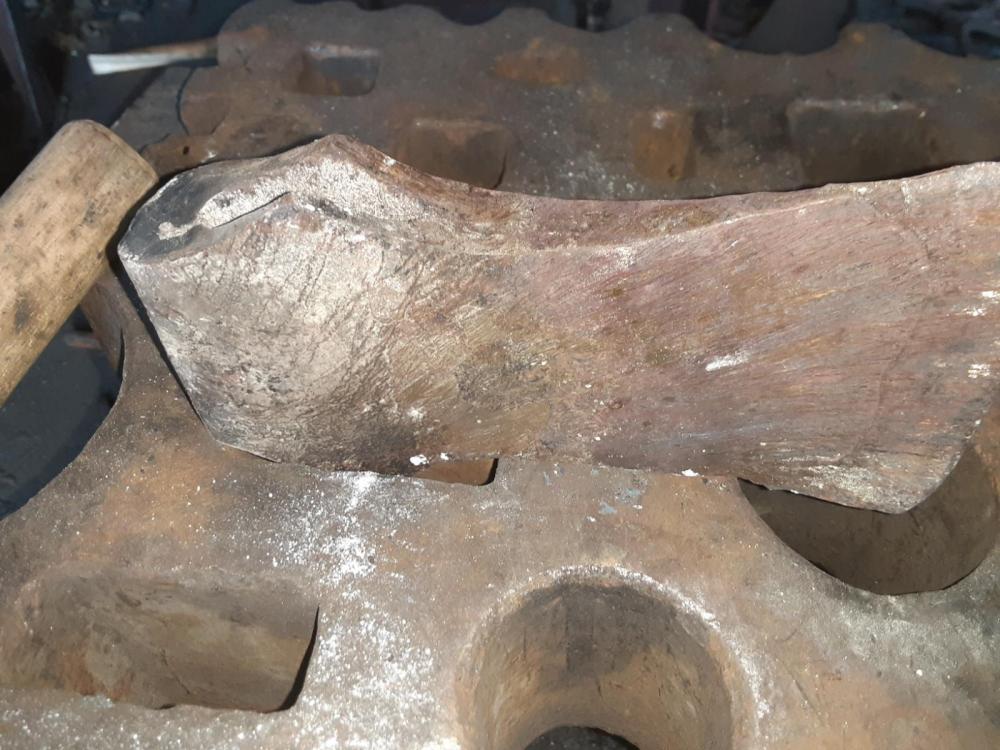

next is a bolster which would be good for people that dont have a swage block and a small hardie hole in there anvil. This bolster was actually made for making viking style hammers but works excellent for a viking style axe.


that's my tip for the day.
") Have a good night everyone.
Have a good night everyone.
-
This is the last wrought iron axe I made. This one is a bit smaller than the one I'm making now.
-
No I haven't. Most of these went to there new owners that wanted to put there own handles on them. I do have some pictures of bladesmiths hammers that Ive handled. I will dig up the pictures and I will ask the owners of the hammers to share some pictures with me of the handles they put on them and I will update this as I receive the pictures.
-
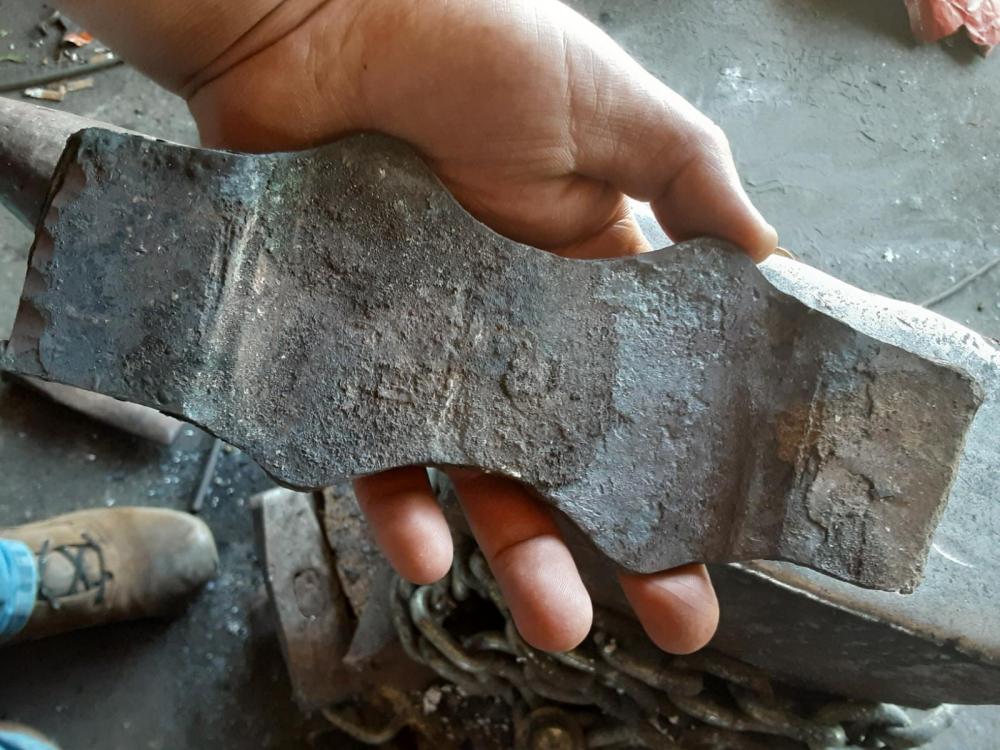
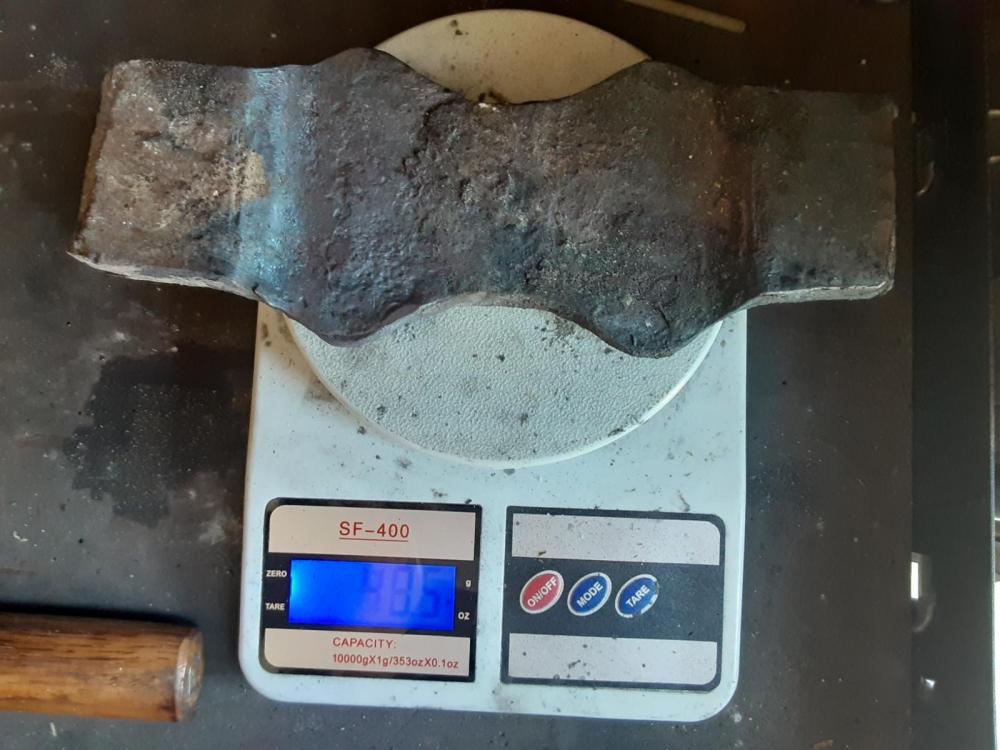
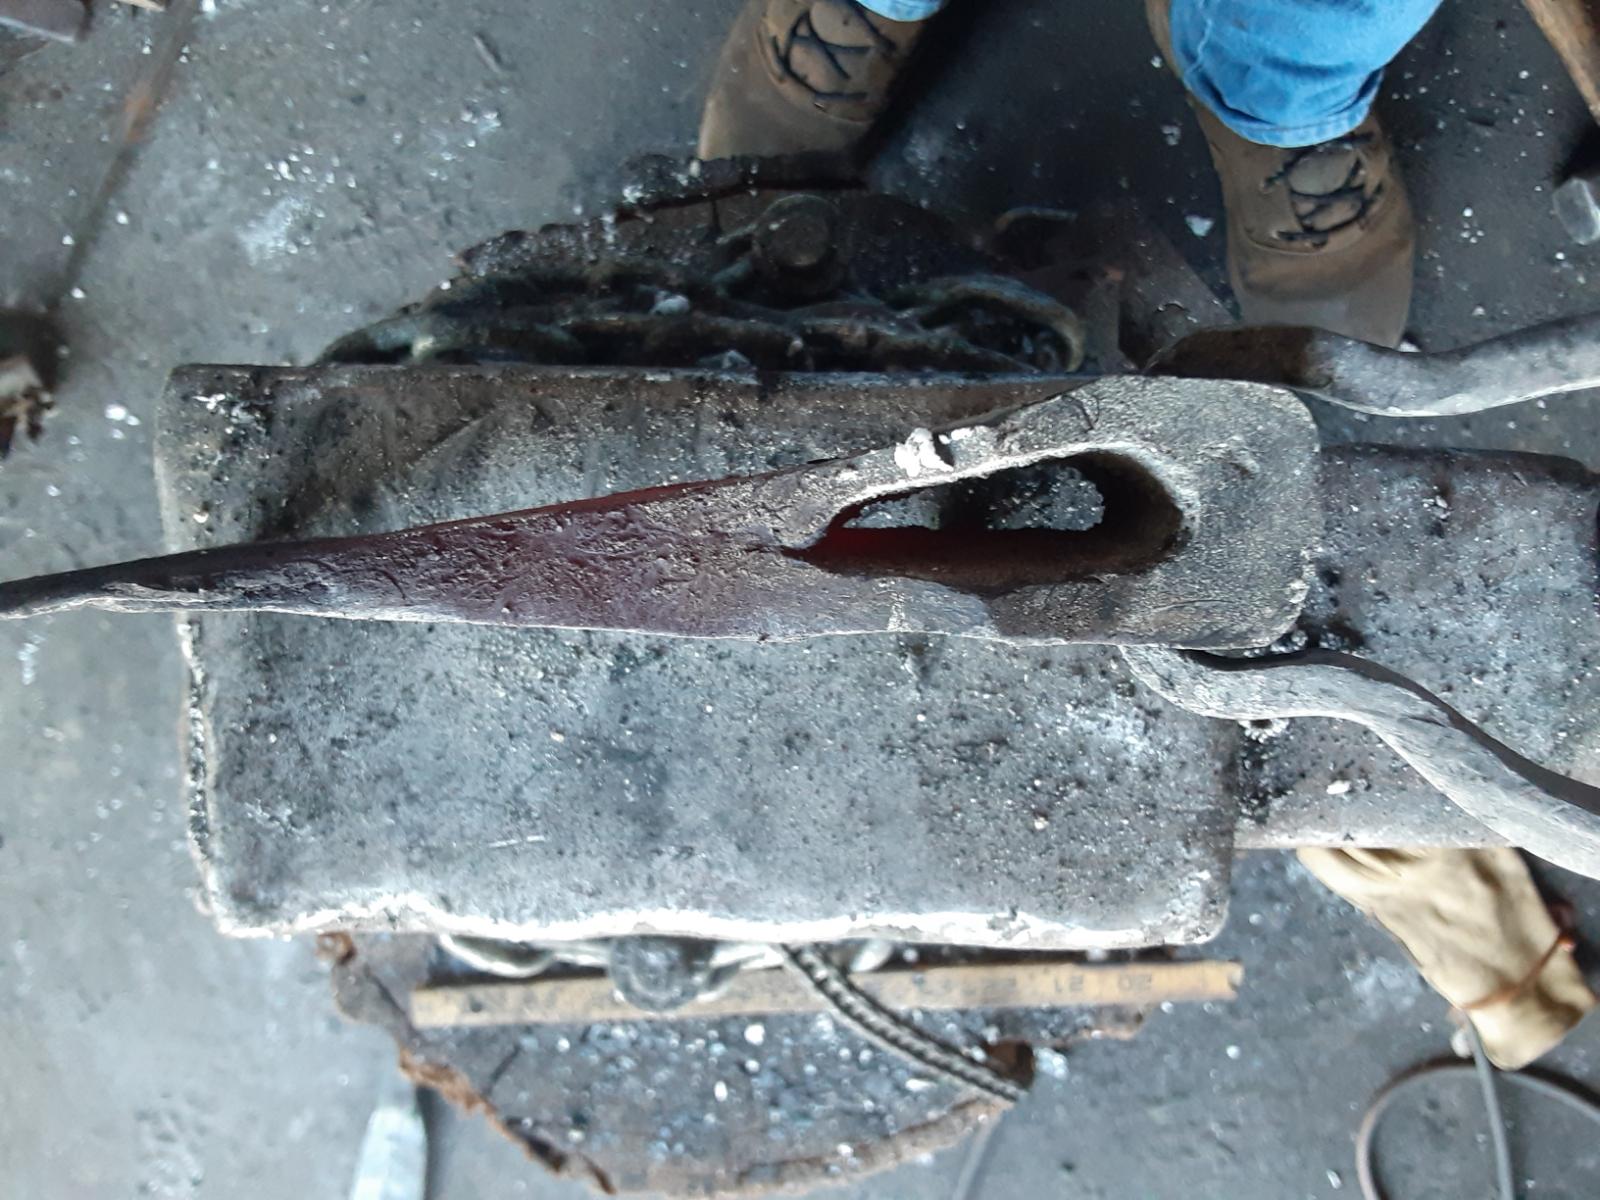
This started as a 4 inch wide wagon tyre. I cut 2 equal lengths that one ended up 32 ounces exactly and the other 32.2 ounces. I split them down the center to make 4- 2 inch wide pieces. I ground, stacked and welded them at the corners. I didnt weld on a working stick I just held it with tongs. I forge welded the 4 pieces together drew it out a bit and hot cut and folded it to make 8 layers. I'm not going for layer count just refining the wrought a little to make it easier to work. This wagon tyre is not very refined. Then I forged into a fairly uniform billet roughly 7 ½ inches by 2 ¼inches by ⅝ inch. And began the shaping. I did most of the forging from here with a striker.

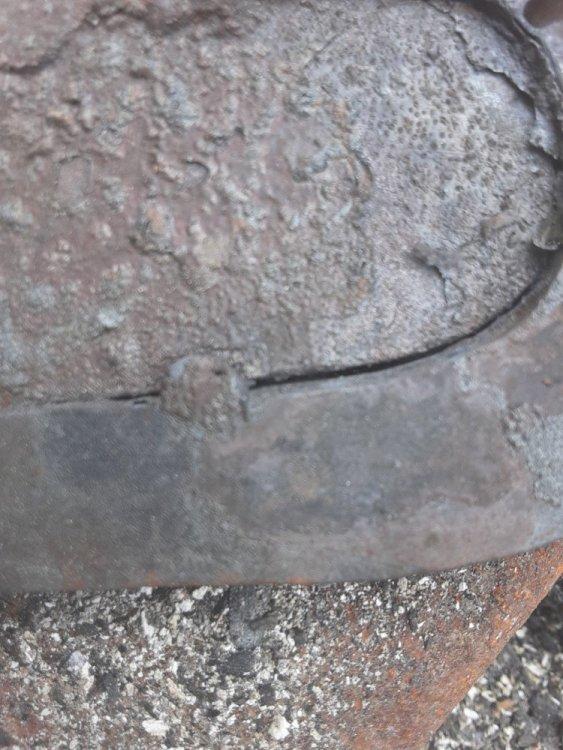
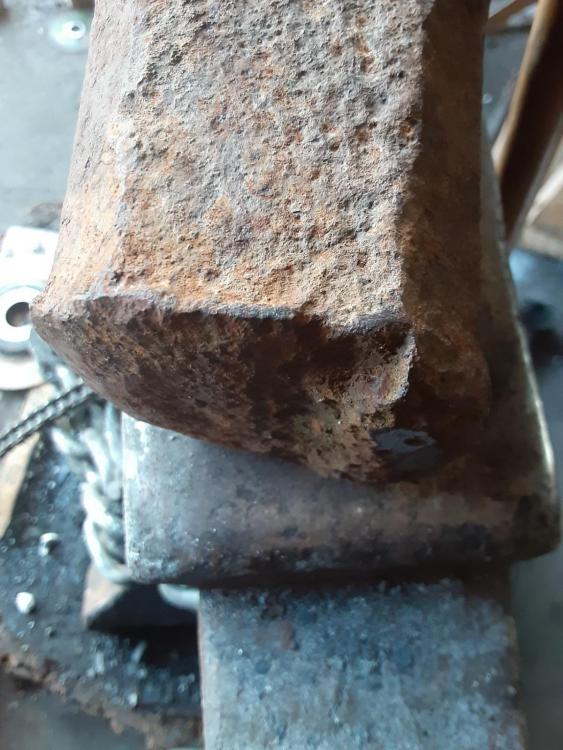
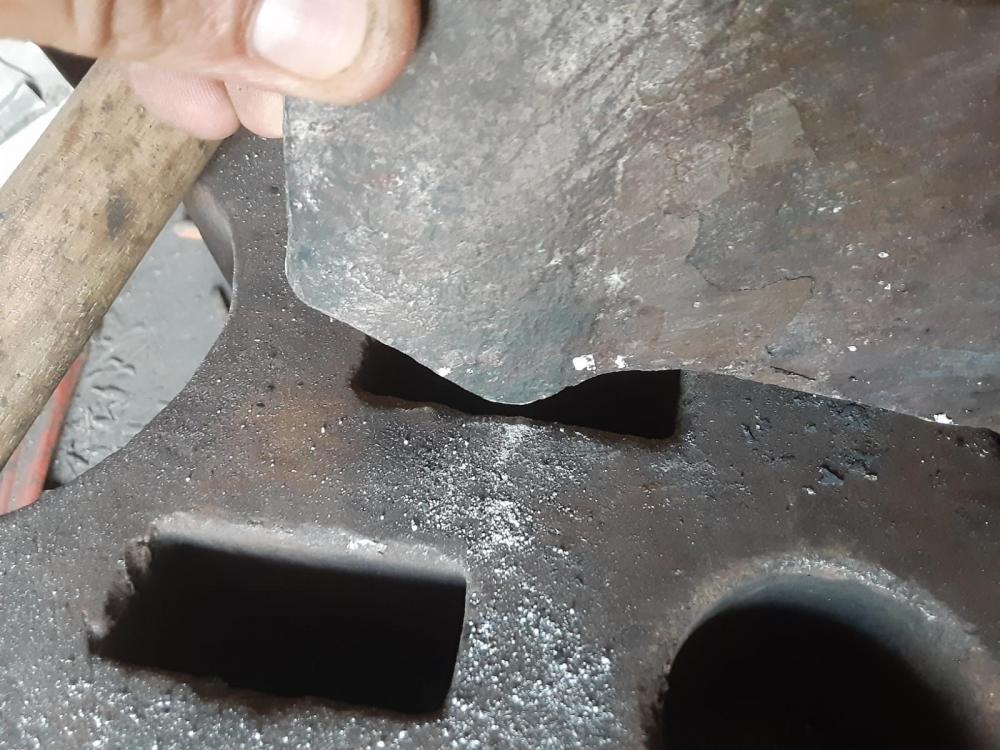
 one spot of concern is here at the set down.

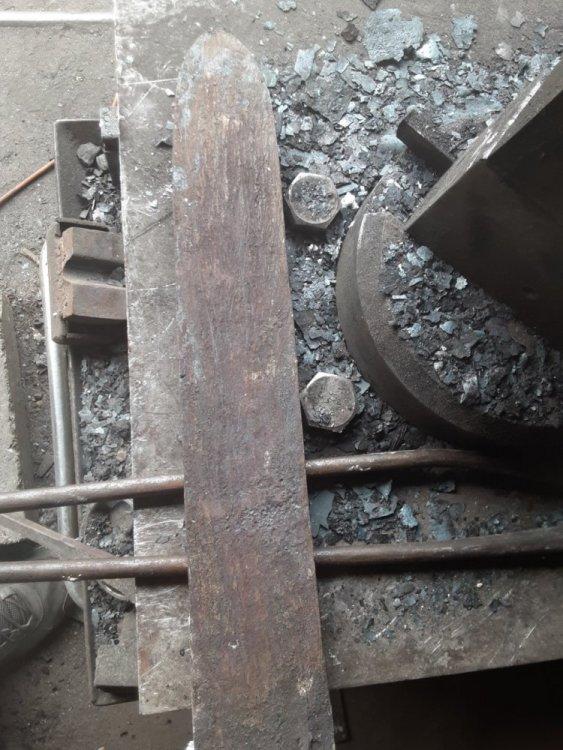
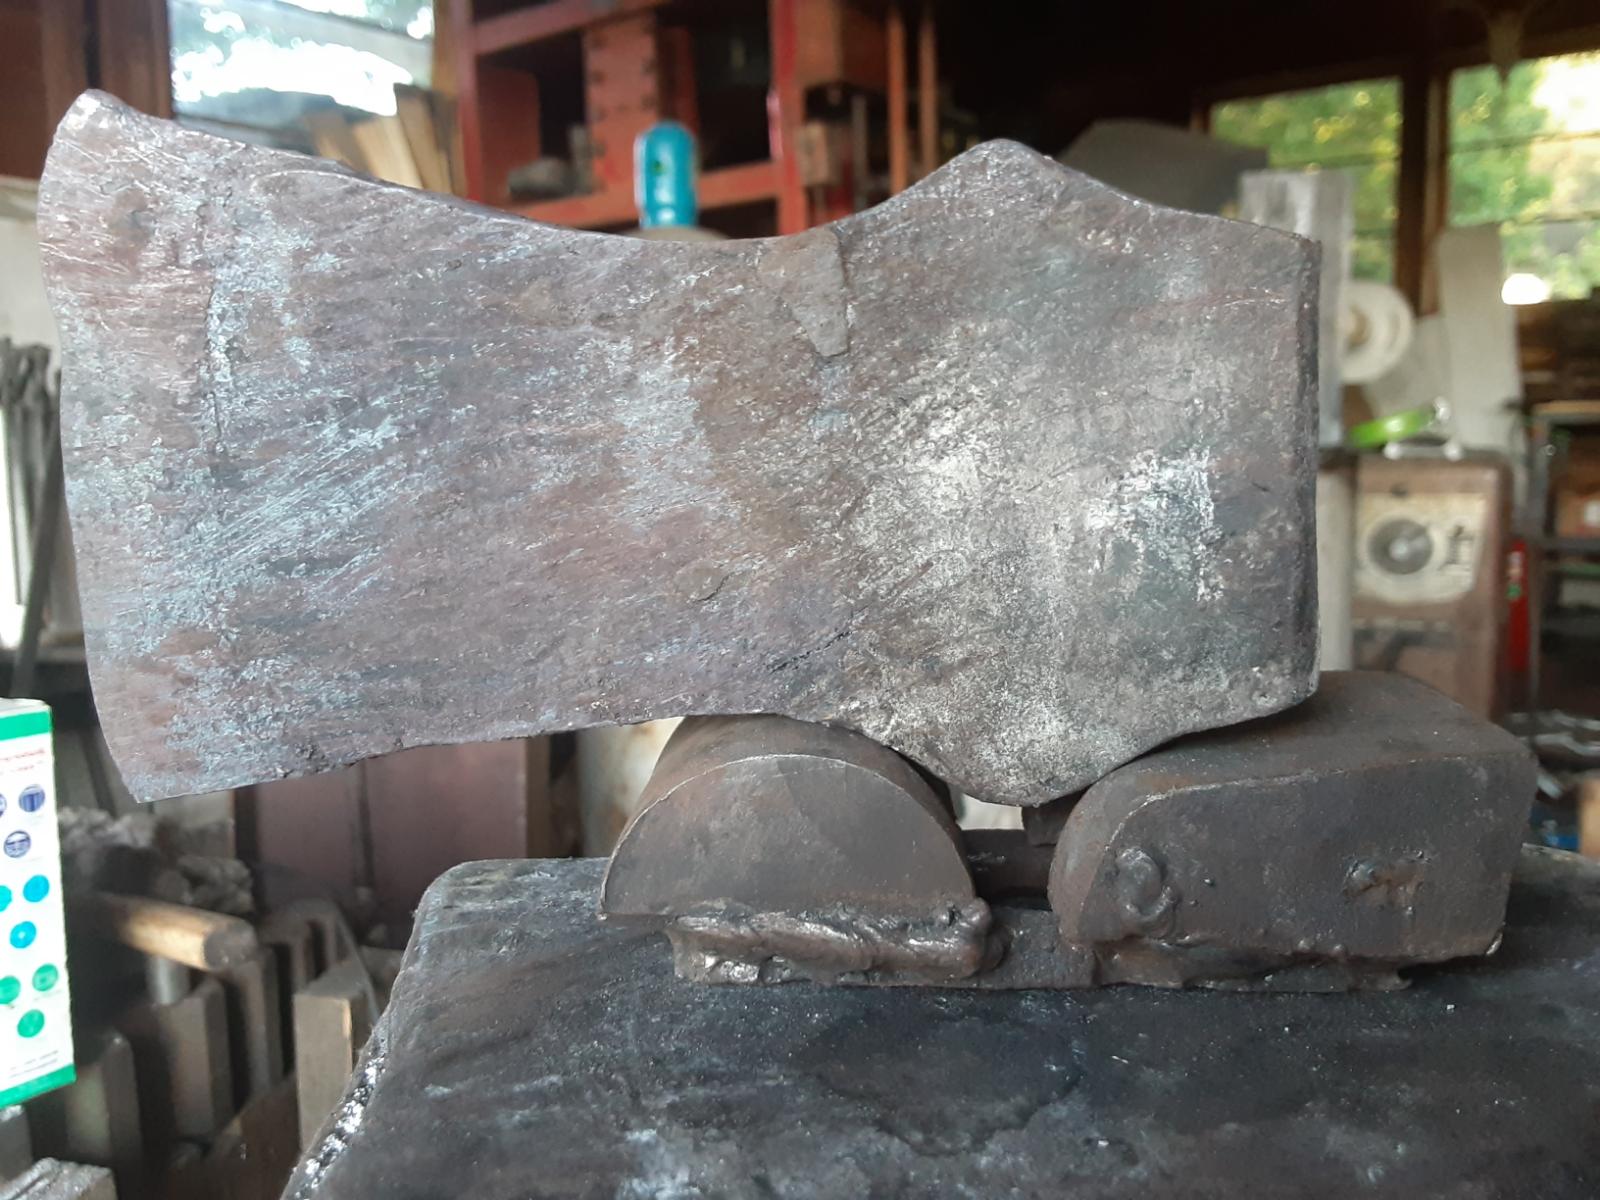
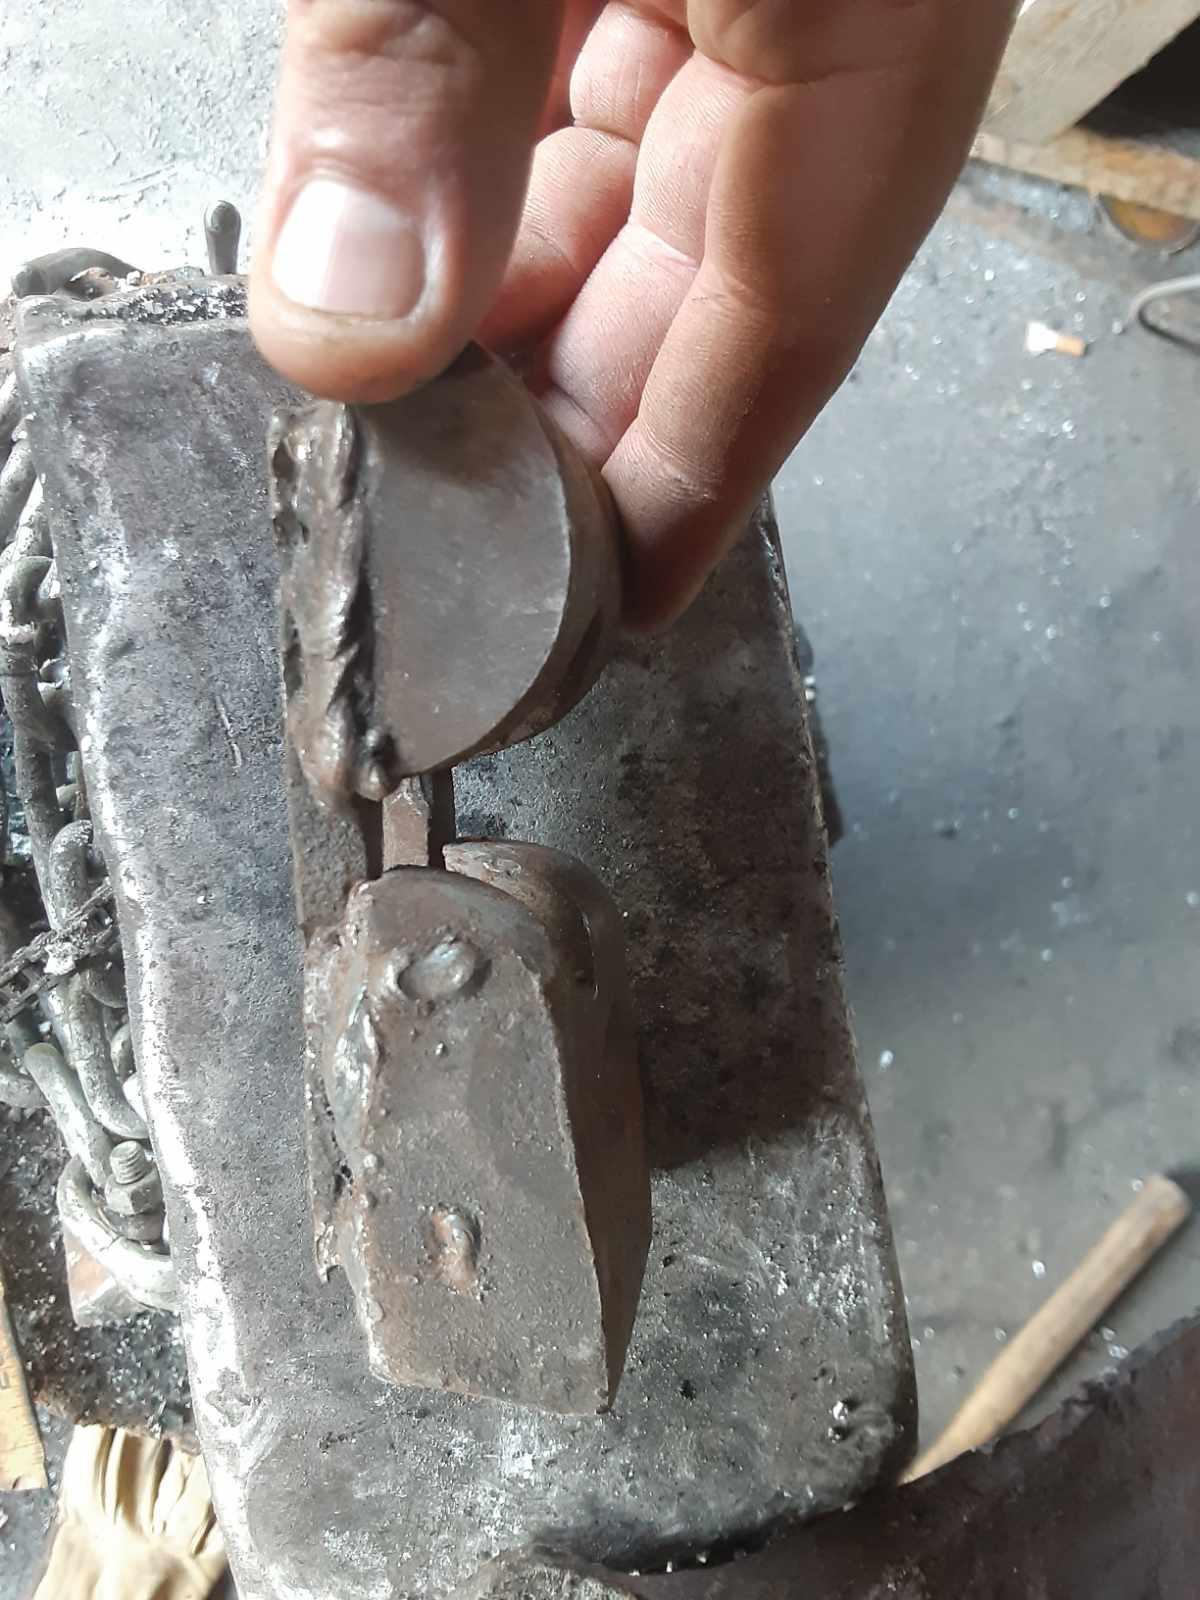
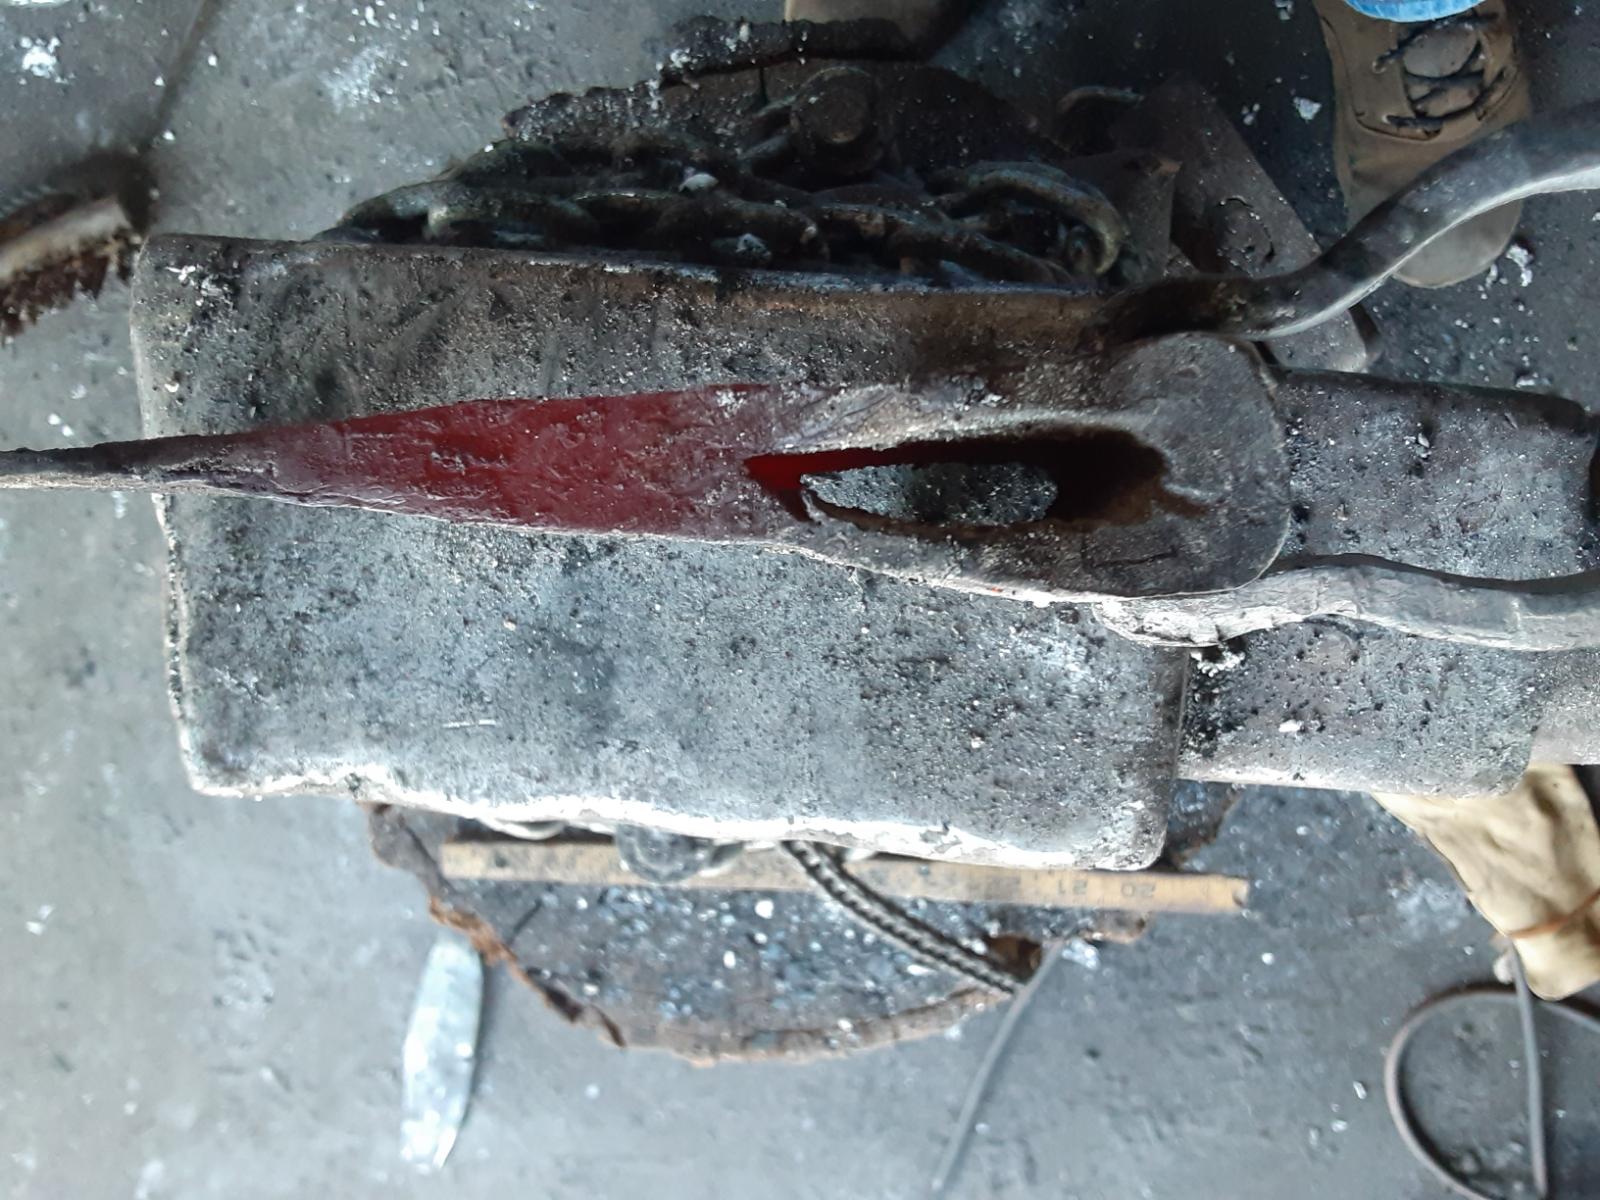
all that was yesterday's work. Today I got everything welded up

 and the one spot i was concerned about showed its ugly face again. I'm not sure what in going to do about it now. Maybe try to forge weld it back shut AGAIN. This time I will bring it up to welding temps and drive the drift home and hope for the best?the little spot near the poll is just a mark from what I belive was from the tongs. It's not a delam though.
More work will be done tomorrow morning. I try to be done in the shop around noon before it gets too hot. This northern blood is too thick for these hot summer days!!!
-
Wow this thread took off fast!!
I agree with and have encountered many of the things mentioned above. The small delamination twords the back of the eye is actually quite minor
I started an axe like Jennifer's today. Made from built up wagon tire. Here is where I got to before my striker had to head out for the day and we are climbing up over 90°f today and I figured chilling in the air conditioning was better than next to a raging fire. There is one spot of concern at a set down but I think I can bring it back together.


-
-
22 hours ago, Frosty said:
It's really nice to have a pair of tongs to hold chisels and drifts on HOT steel
I totally agree with this. This is my hammer drift. I've made probably 30 hammers with this little bugger. It's time for a new one.
.thumb.jpeg.ec453b6dd538e7ca42964657e5eb5981.jpeg)
-
13 hours ago, Latticino said:
So nice to have a friend working with you to strike forging axes.
Now that I think of it I did have him swing the sledge to hot cut the blade back and make it more uniform.
-
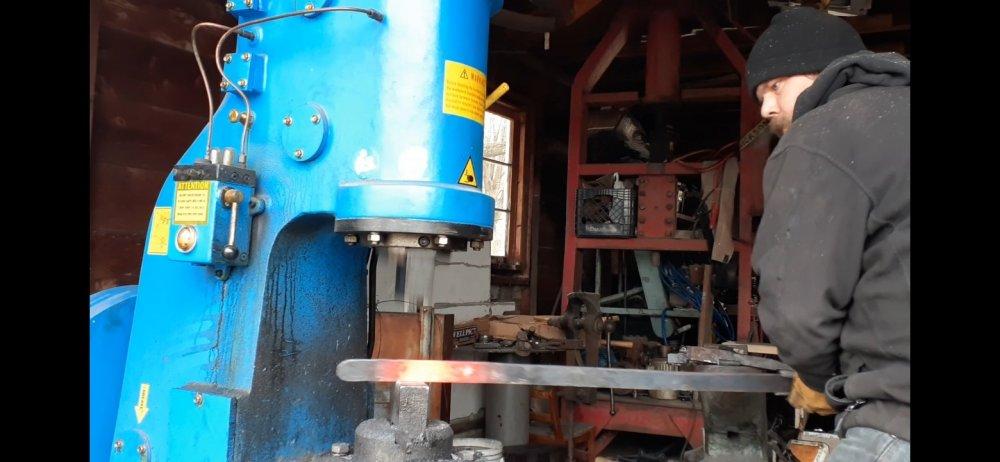
Yes it was punched and drifted but not with a striker. 80% or more of the work was done with the power hammer. I was walking him through the process because he didnt wanna do all the heavy work himself. Like you said it really takes a toll on the body working this much steel by yourself. I've had 3 back surgeries and I'm only 33 years old. I know the feeling. That's the reason I built a power hammer and now have a self contained hammer. I tried talking him out of using the O1 and use 4140 but he insisted on the O1. He started another smaller axe to try and follow suit but he hot shorted it and it just crumbled. It was the first time actually seeing it for myself and it is interesting to say the least. It looked like cast iron when its "forged"
Oh yeah. And I have a 250 lb swage block and a 66 lb holland anvil swage block. This anvil is the one I let friends use when there forging so they dont mess up my nice anvil.
-
Forged this viking camp axe with a friend from O1 tool steel. He is going to do all the heat treat and finish work and give it to is dad for father's day.

-
Thank you Frosty!!!
.jpg.49acff534e122d4cf36887e558c562e1.jpg)
.jpg.8c5b176ca28f98dc8b3d9b53fcd85809.jpg)
.jpeg.5afe34af969a6cec72d3367cb2e03d1a.jpeg)
.jpeg.cca3efb808544f8254ded6d7b48fd039.jpeg)


.jpeg.e2ccdc3ec7c57223a1cd41fb49d1a99f.jpeg)
What did you do in the shop today?
in Blacksmithing, General Discussion
Posted
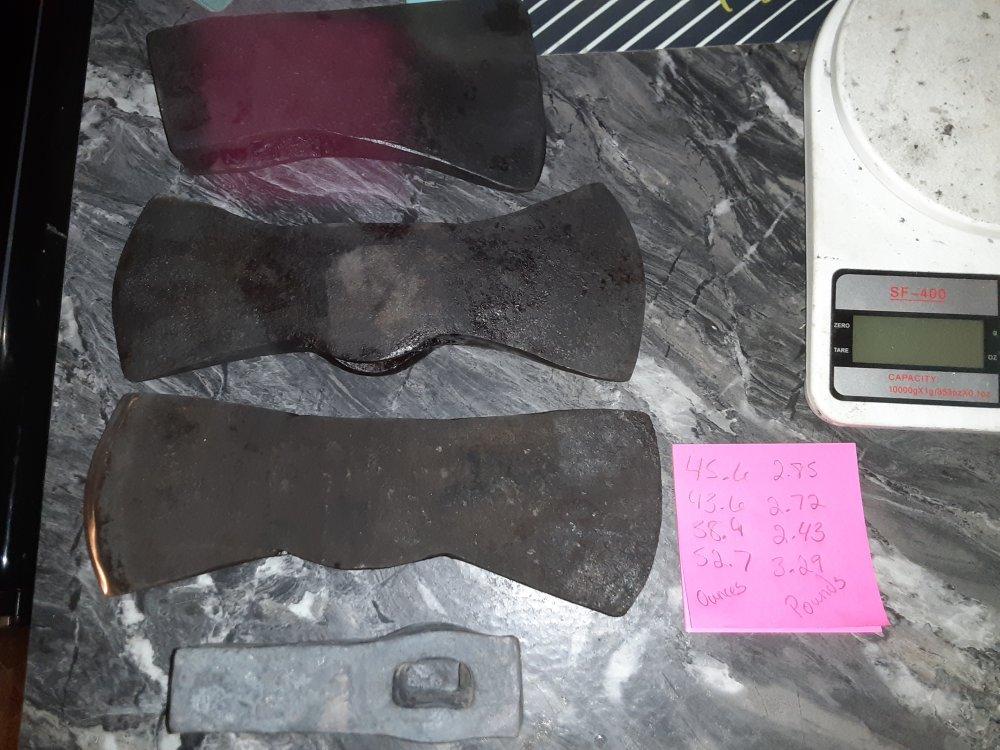
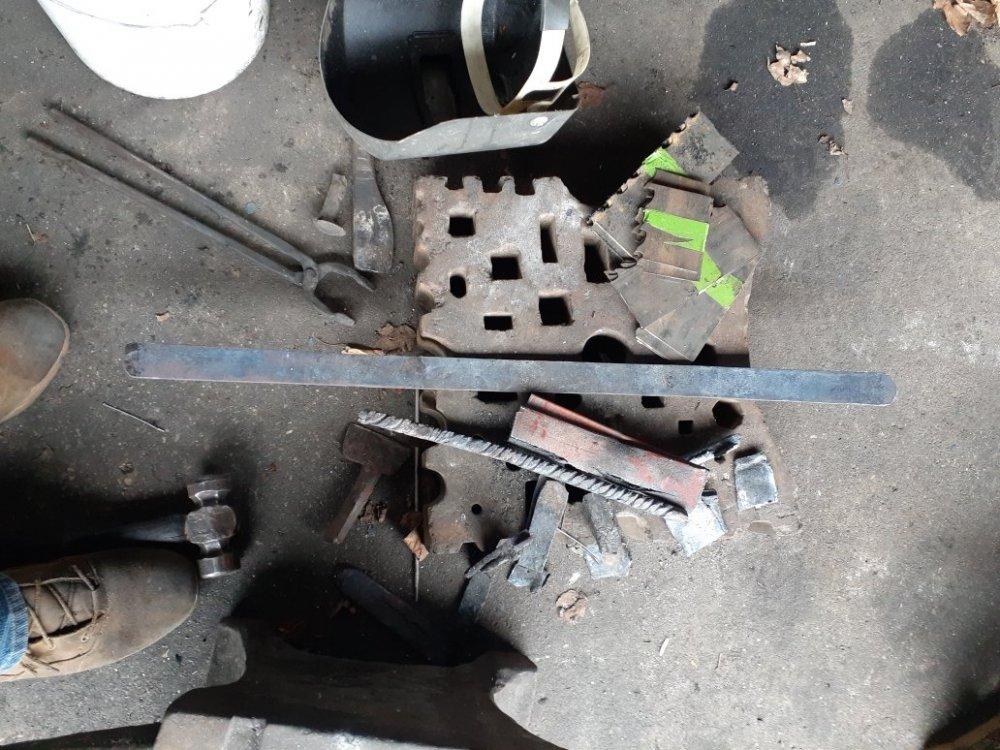
They are punched and drifted from 1"x2½"x4½" piece of forklift tine. I do plan on making a wrought iron double bit welded with a steel bit. I am going to make a YouTube video of that when I get around to it. I will share it on the site if people are interested?
These were the work from Wednesday and Thursday. I am handling the 2 double bits today and I might work on the billet at the bottom of the picture if I have time. All the weights are written down on the stickey note in order top to bottom.