materman
Members
-
Joined
-
Last visited
Everything posted by materman
-
Thanks buzzkill for your insight, much appreciated. Yes I have looked through the link you provided and agree they would work as they are. I will admit my intent is not to start banging metal at first chance, and I know it might sound strange to most, but I will find great enjoyment in just getting my bare blacksmith shop setup to my spec's. All I have is a 20x20 shed I just poured concrete in and am in th process of putting in the wiring and lighting. About all I have for blacksmith tools is 3 old pair of tongs, a vice, and a few hammers. I do have a cutting torch, welder, drill press, metal lathe, and other tools to assist me in my experience, as well as a bunch of think outside the box imagination and creativity. Really wasn't wanting to bang metal till I have my own designed press and power hammer up and going, but did want to know if a DIY anvil would loose rebound if it had a unwelded seam in it. I did get home and did measure my block for I was guessing with my first past and found my guess to be way off. The blocks actually measure 2"x6"x19" so it wouldn’t be as high as I thought. An after thought though, would it make a better anvil if mounted on a couple pieces of 4.5" shafting? Do have 4' of it laying in the yard. My intent was to make a more traditional looking anvil that would function like one as well which is probably a little hard to achieve, maybe even wishful thinking, but I thought I would through the question out there. Again appreciate all input for you guys have been around this stuff way more then I have.
-
Thomas, thanks for the link, for I haven't read it yet. As well I have no clue what the difference is in a London pattern and a italian style, but I will go find out. I seen a nice 346 pounder locally but I thought the $1800 dollar price tag was too steep. Even seen a 142 lb one they wanted $1200 for, so figured I would just make one for the time being till I find a decent deal.
-
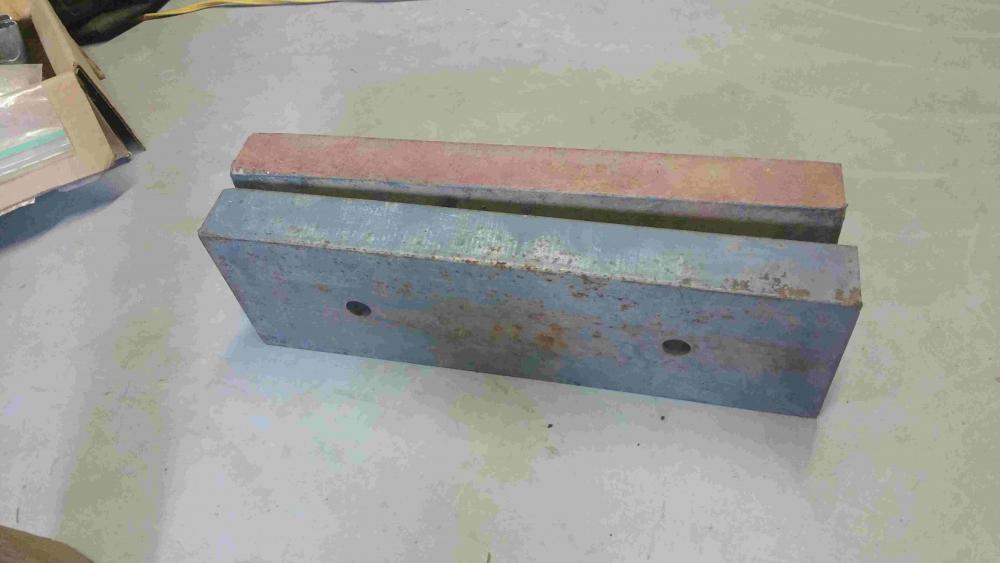
Sorry if my post is misunderstanding, but the plan was to make a anvil with a top 4" wide by 16" long and 8" high.will probably weld on a horn as well, but again didn't know what kind of performance difference I would expect leaving the two halves unwelded or welded. Will post a pic my be this evening for I am on the road right now.
-
New and used anvils are way out of my price range, so I am thinking about building one. The plan is to weld together two pieces of 2" thick by 8"x16" mild steel I have on hand, and then build up a hard surface on the top. I could just bevel the edges and butt them together and weld the exterior seam up, but am wondering if I would loose any rebound with the seem in between? Another thought was to put the tworld pieces together on the bottom and then space it at around 3/4" on top and weld the V groove up. Another thought I had was to put some of that welding powder (forget the name) that they weld railroad rail together with for I have some, in the bottom of the V groove and set it off, and then weld up the upper part of the V for anyone that has welded up a deep V groove will know it is a pain especially at that thickness. Any thoughts and advice much appreciated.
-
Thanks guys! I guess I never seen one before. I will find a use for it.
-
Take it with a grain of salt for it was just what I've heard and I am no expert, but refuring to the original post, I have heard you want the holes in the burner to equal the diameter or the air pipe coming in, or equal flow capacity. And if this hearsay is incorrect, enlighten me.
-
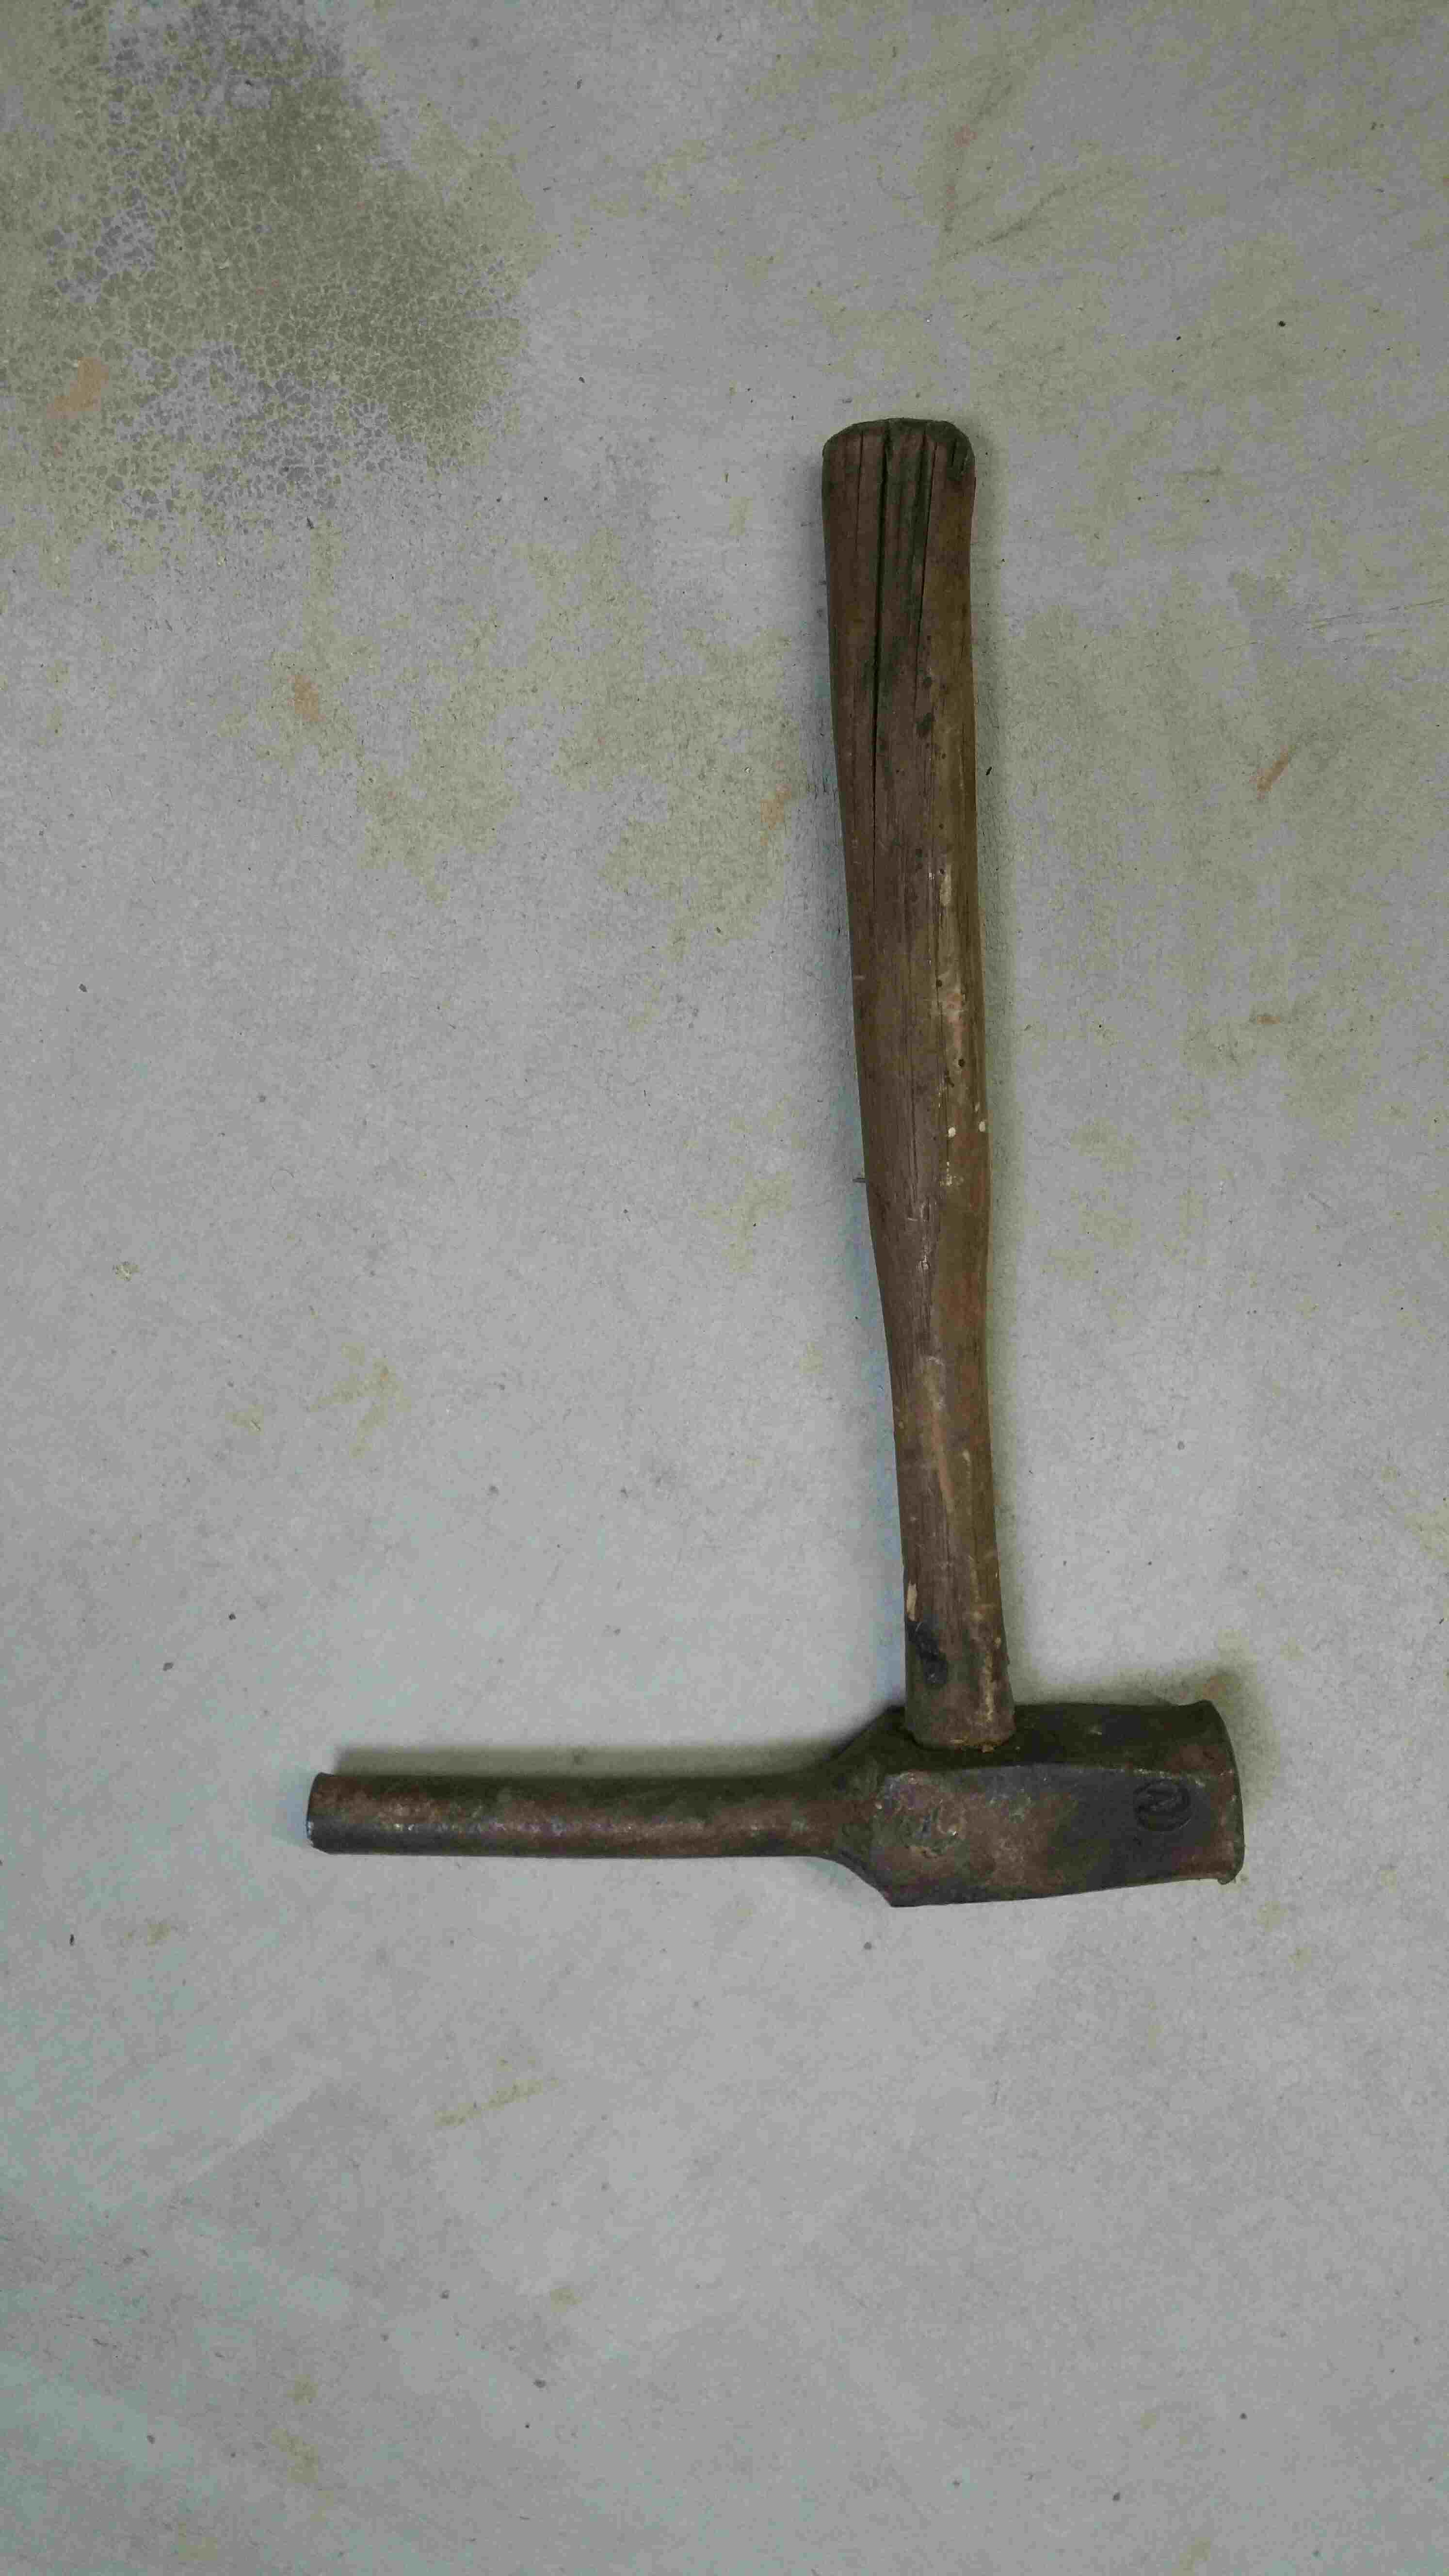
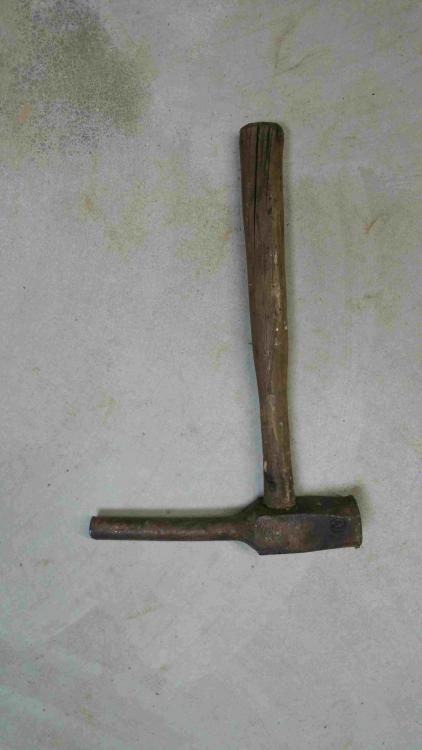
Yes the round part is 3/4 and indeed it has had the square end beat on. I didn't figure it was a blacksmithing tool, but could be wrong. It might become a blacksmiting tool though some day.
-
Cleaned out a shed for an ol boy and found this odd shaped hammer. It is stamped with 3/4 and a makers mark which I can't make out, but thought someone here might know what it is and what it is used for?
-
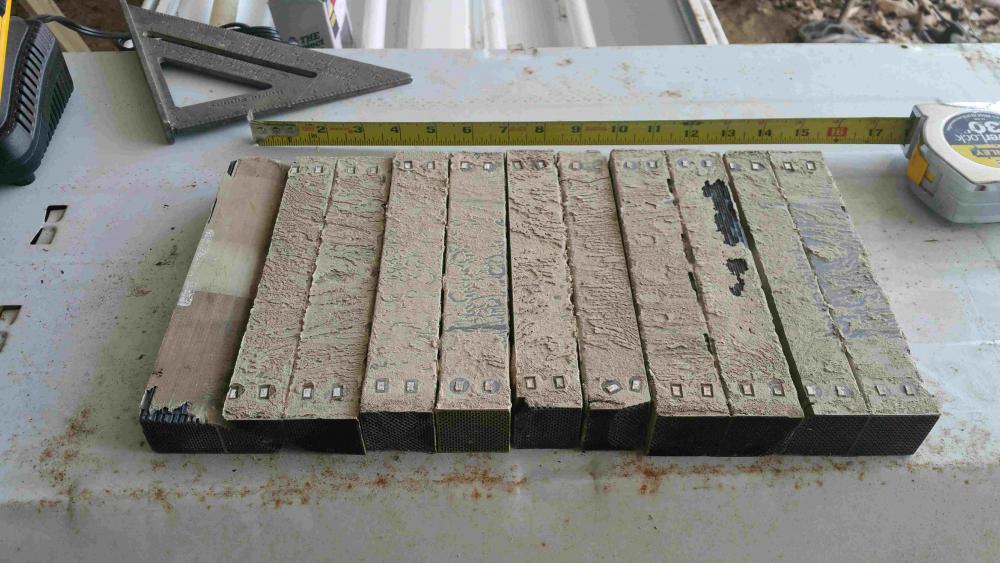
I had the thought of cutting and sealing the ends so that the little squares in the material could theoretically work as dead air spaces. Figured i could mortor them back together with something like matrikote for this is what it looks like they used before, and then coat the whole inside. Figured combined with ceramic wool it might work great for a standard gas forge.
-
Most convertors are worth money and he does sale the ones that are. But these are like a pre cat. Out of some diesel cars he parted out and the buyers just don't buy them, or only for $5. I figured they might be worth more then that as bricks or refractory, but just wanted to through it out here for people's thoughts.
-
Had a question I would like to ask if I may. A friend gave me about a dozen catalytic convertors that he said one buyer only offered $5 apiece for and others wouldn't buy them period. I cut one apart to get a fill for there contents and found a nice block of honeycomb like material. I wanted to ask your thoughts as to whether it could maybe be cut into bricks for lining a forge or grinding up to make refractory for a smelter? The stuff is supposed to take some pretty high heat and thought I would post here to get your guys thoughts. Thanks for any input.
-
Much appreciated! Was just building what looked ok in my head and was only using the pre existing hole in the top. One burner might be all I need, but put two holes in it anyway. Will look up the info mentioned, and again thanks!
-
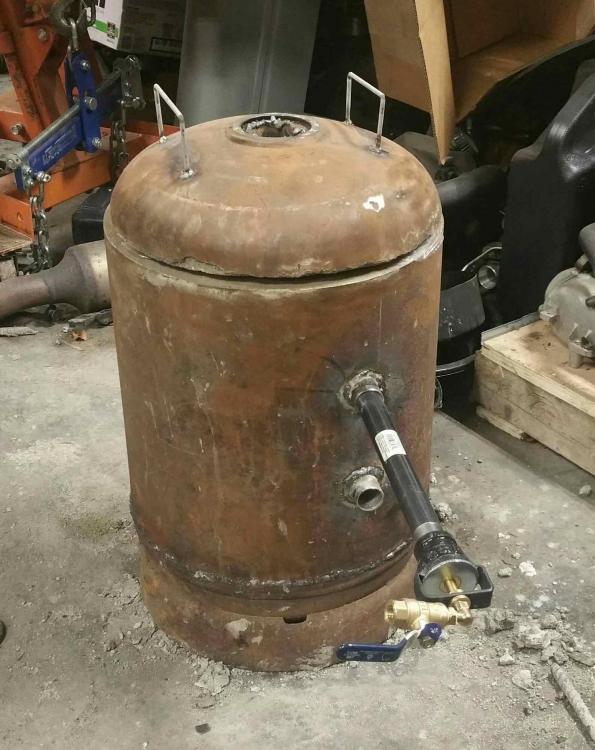
Thanks for your insight Thomas. Kind of new to this so any constructime criticism is appreciated. Top hole vent is 3", but should it be bigger?
-
Finally got around to building a new furnace. I once in a while need to melt some aluminum for lift kits and the old charcoal furnace though it worked, it was kind of jack leg. Was in need of something to up production, so figured something a little bigger and better was in order. Had an old 100lb propane cylinder that was a little too pitted for propane, so decided it would make a good furnace jacket. Opted to mix my own refractory cement for I already had everything but the silica sand, so I will see how it works. Opted as well for only two burners for I don't think I will be using it for much other then aluminum. Actually the burners are homemade as well and am hoping to get a little heat going Sunday to get it cured. Kind of itching to try it out and see how it is going to work. Just thought I would post to give others some ideas maybe.
-
Greetings from the show me state and the reason for joining was because I need a whole lot of things shown me. A little about myself, I have loved fabricating with metal all my life and self taught myself to weld at a young age. As well I love to work with metal working power tools even though most equipment I have is scrap pile salvage (like my 1890ish metal lathe). But for some time now, I have had a itch to do some forging. Great great granddad was a life long blacksmith from the 1880s to the early 1900s and I figure it must be in my blood. Actually I have his original vise and petal powered sharpening stone. Again I joined to read up on the subject and maybe ask a few questions if I may. From looking around a bit, I see there will be a lot of reading to do for there is a bunch of content to glean from on the forum. I did get a burner completed this evening, for I have to build a bigger casting forge for some aluminum fabricating I am backed up on. If they work out good, a couple for a forge will be in order. Enough chit chat for now back to reading and brainstorming. Again thames for letting me become a member.