

Cannon Cocker
-
Posts
296 -
Joined
-
Last visited
Content Type
Profiles
Forums
Articles
Gallery
Downloads
Events
Posts posted by Cannon Cocker
-
-
Looks like a good top fuller to me. The nice thing about making your own tools is you get to make them however you want!
-
DHarris, in the Marine Corps we were taught that one should always be aware of the possible "weapons of opportunity" found in their surroundings! You're right about that candle holder! I'd grab that before a kitchen knife any time!
I made my first and second successful attempts at "Damascus".
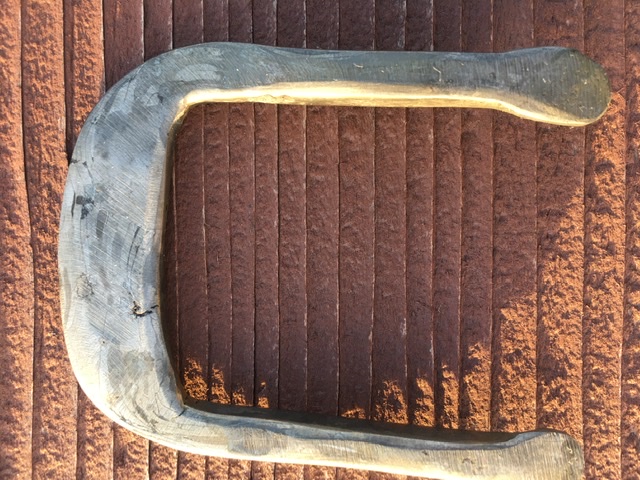
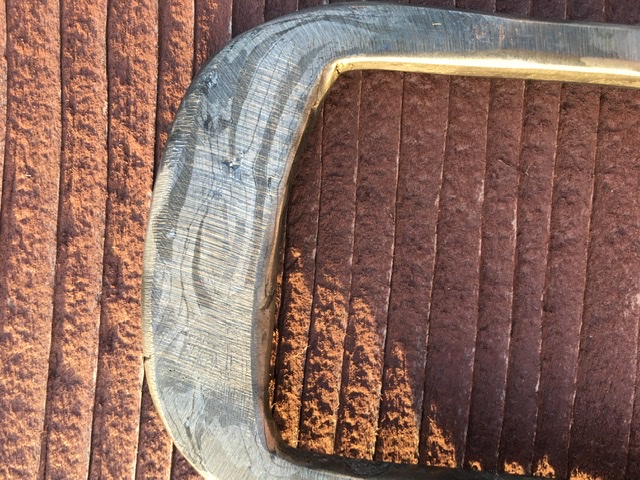
The beginnings of a belt buckle was chainsaw chain. The bar is from 1 1/4" cable.
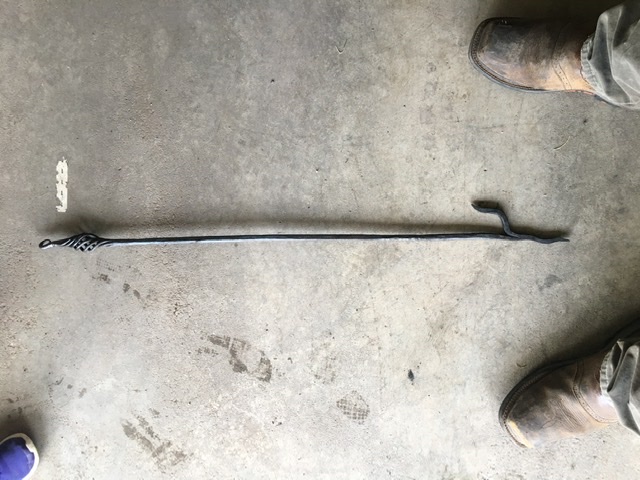
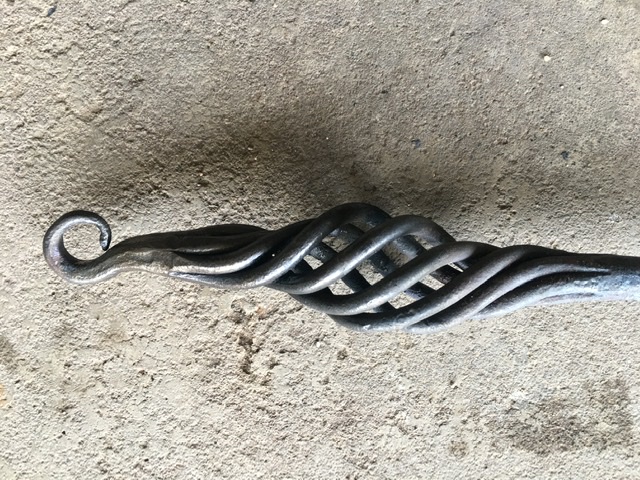
I also finished up a fire poker. The basket is 7 rods. And the whole thing has 5 forge welds in it. I'm really enjoying learning how to weld!
-
I am amazed that you don't have a crew! I was always impressed by what you put out, but now I'm astounded! The volume of large projects with that quality is amazing!
-
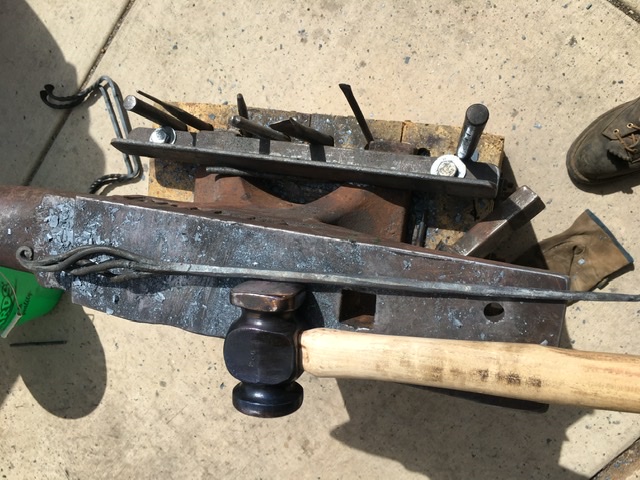
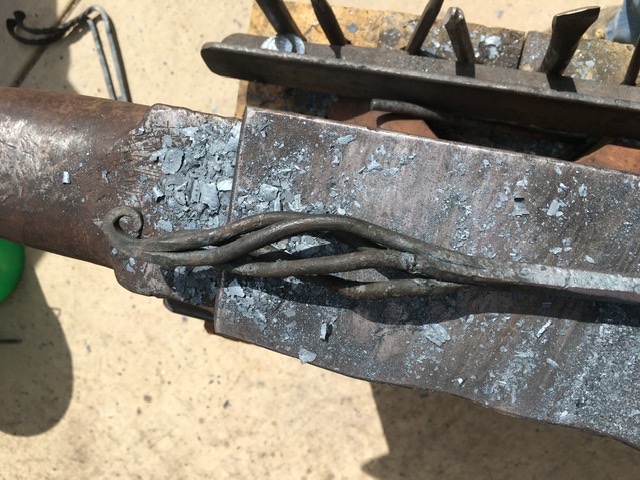
I put the new hammer to work today. Started drawing out a roller bearing to make my wife a kitchen knife. Then a made a quarter inch drift. After that I made my first attempts at a basket twist and a drop tong weld. Neither of which went smoothly, but I did succeed. The main thing is I had fun learned a few things and discovered that I like the new hammer!
-
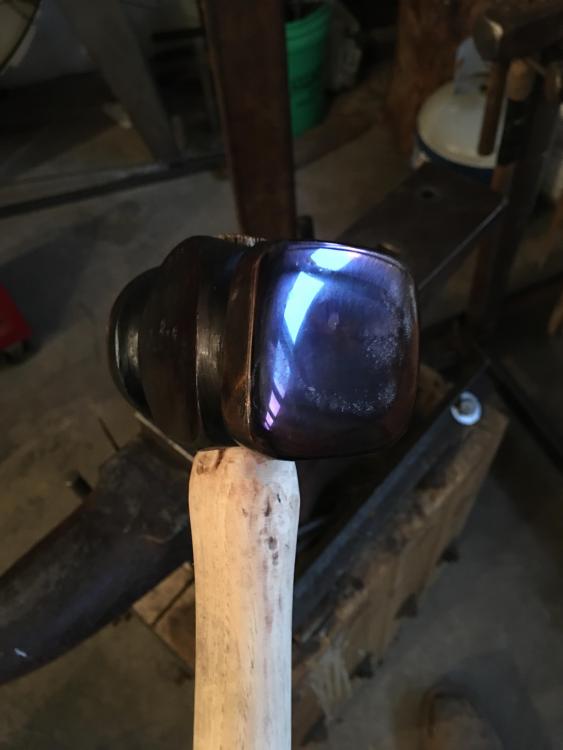
I agree Thomas, these faces turned out thinner than i expected. That's one of the things I'll focus on differently next time!
-
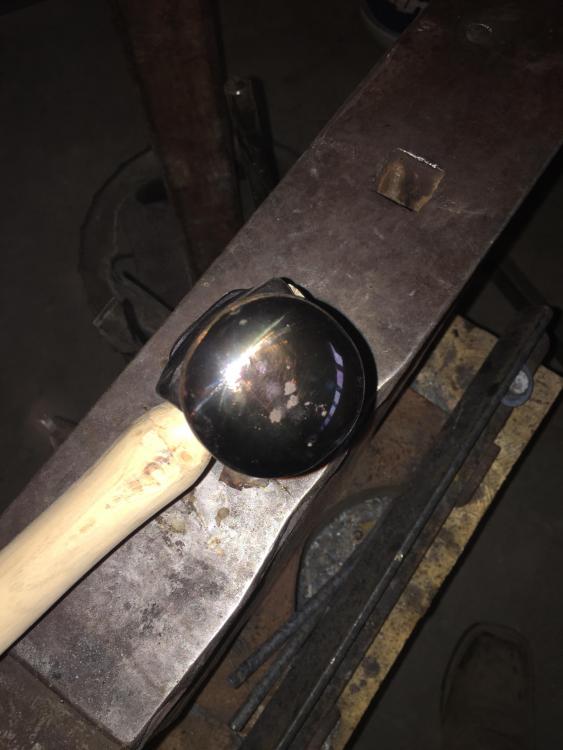
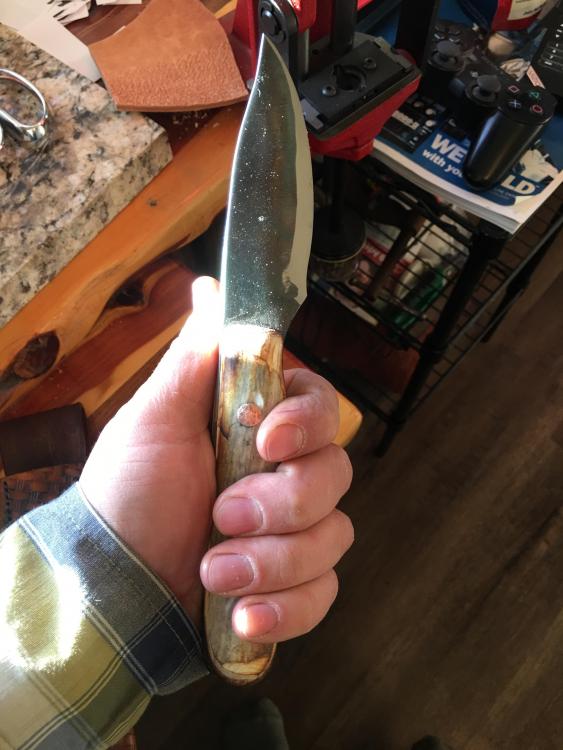
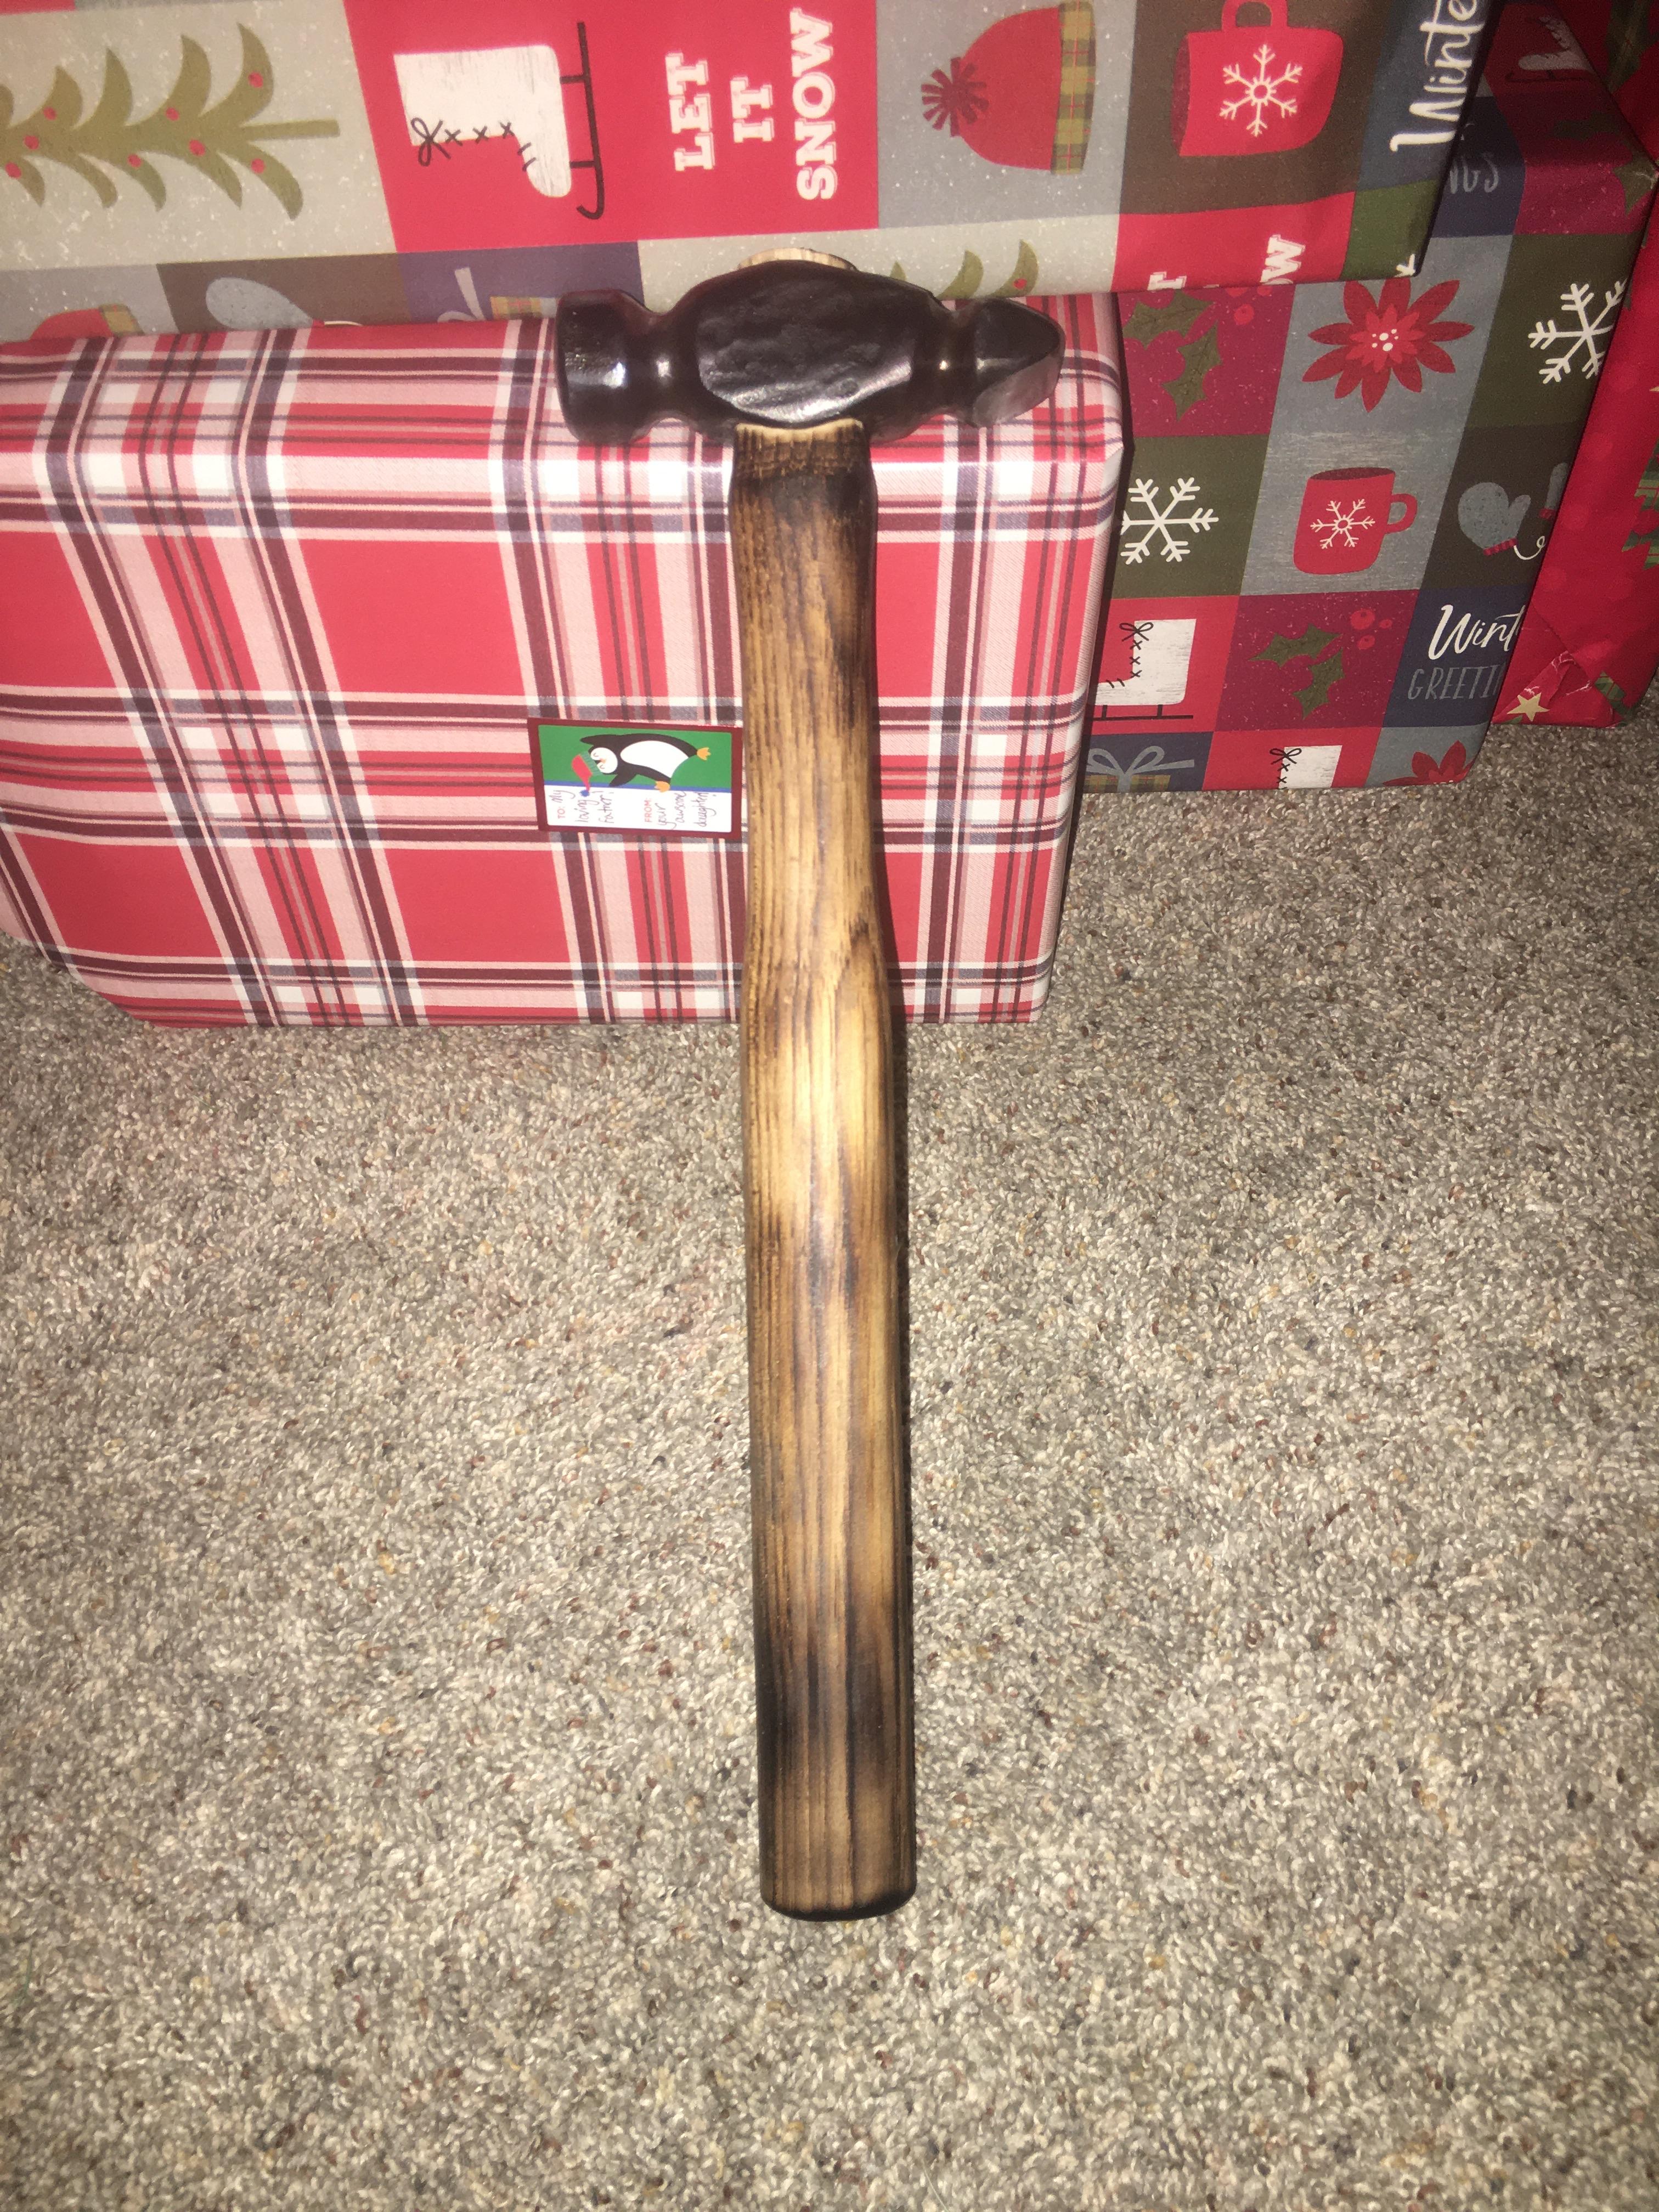
Thanks DHarris and frosty. I remember reading a conversation between frosty and Jennifer about shaping handles that way. Since this handle was just slightly larger than comfortable anyways I decided to give your method a go. It feels good in my hand but I'll know for sure once I put it to work later today. I got my hands on some good coal so I'm on my way out to the farm to grab my coal forge and a couple of extra propane tanks that I'm exchanging for o/a bottles. Hopefully I'll have something else to post on here this afternoon!
-
I thought about indexing the handle like that, and still might as it is a store bought one and could use some fine tuning. But I figured what the heck, do the faces this way and it will at least be unique. I'm sure others have done it, but I've never seen it.
-
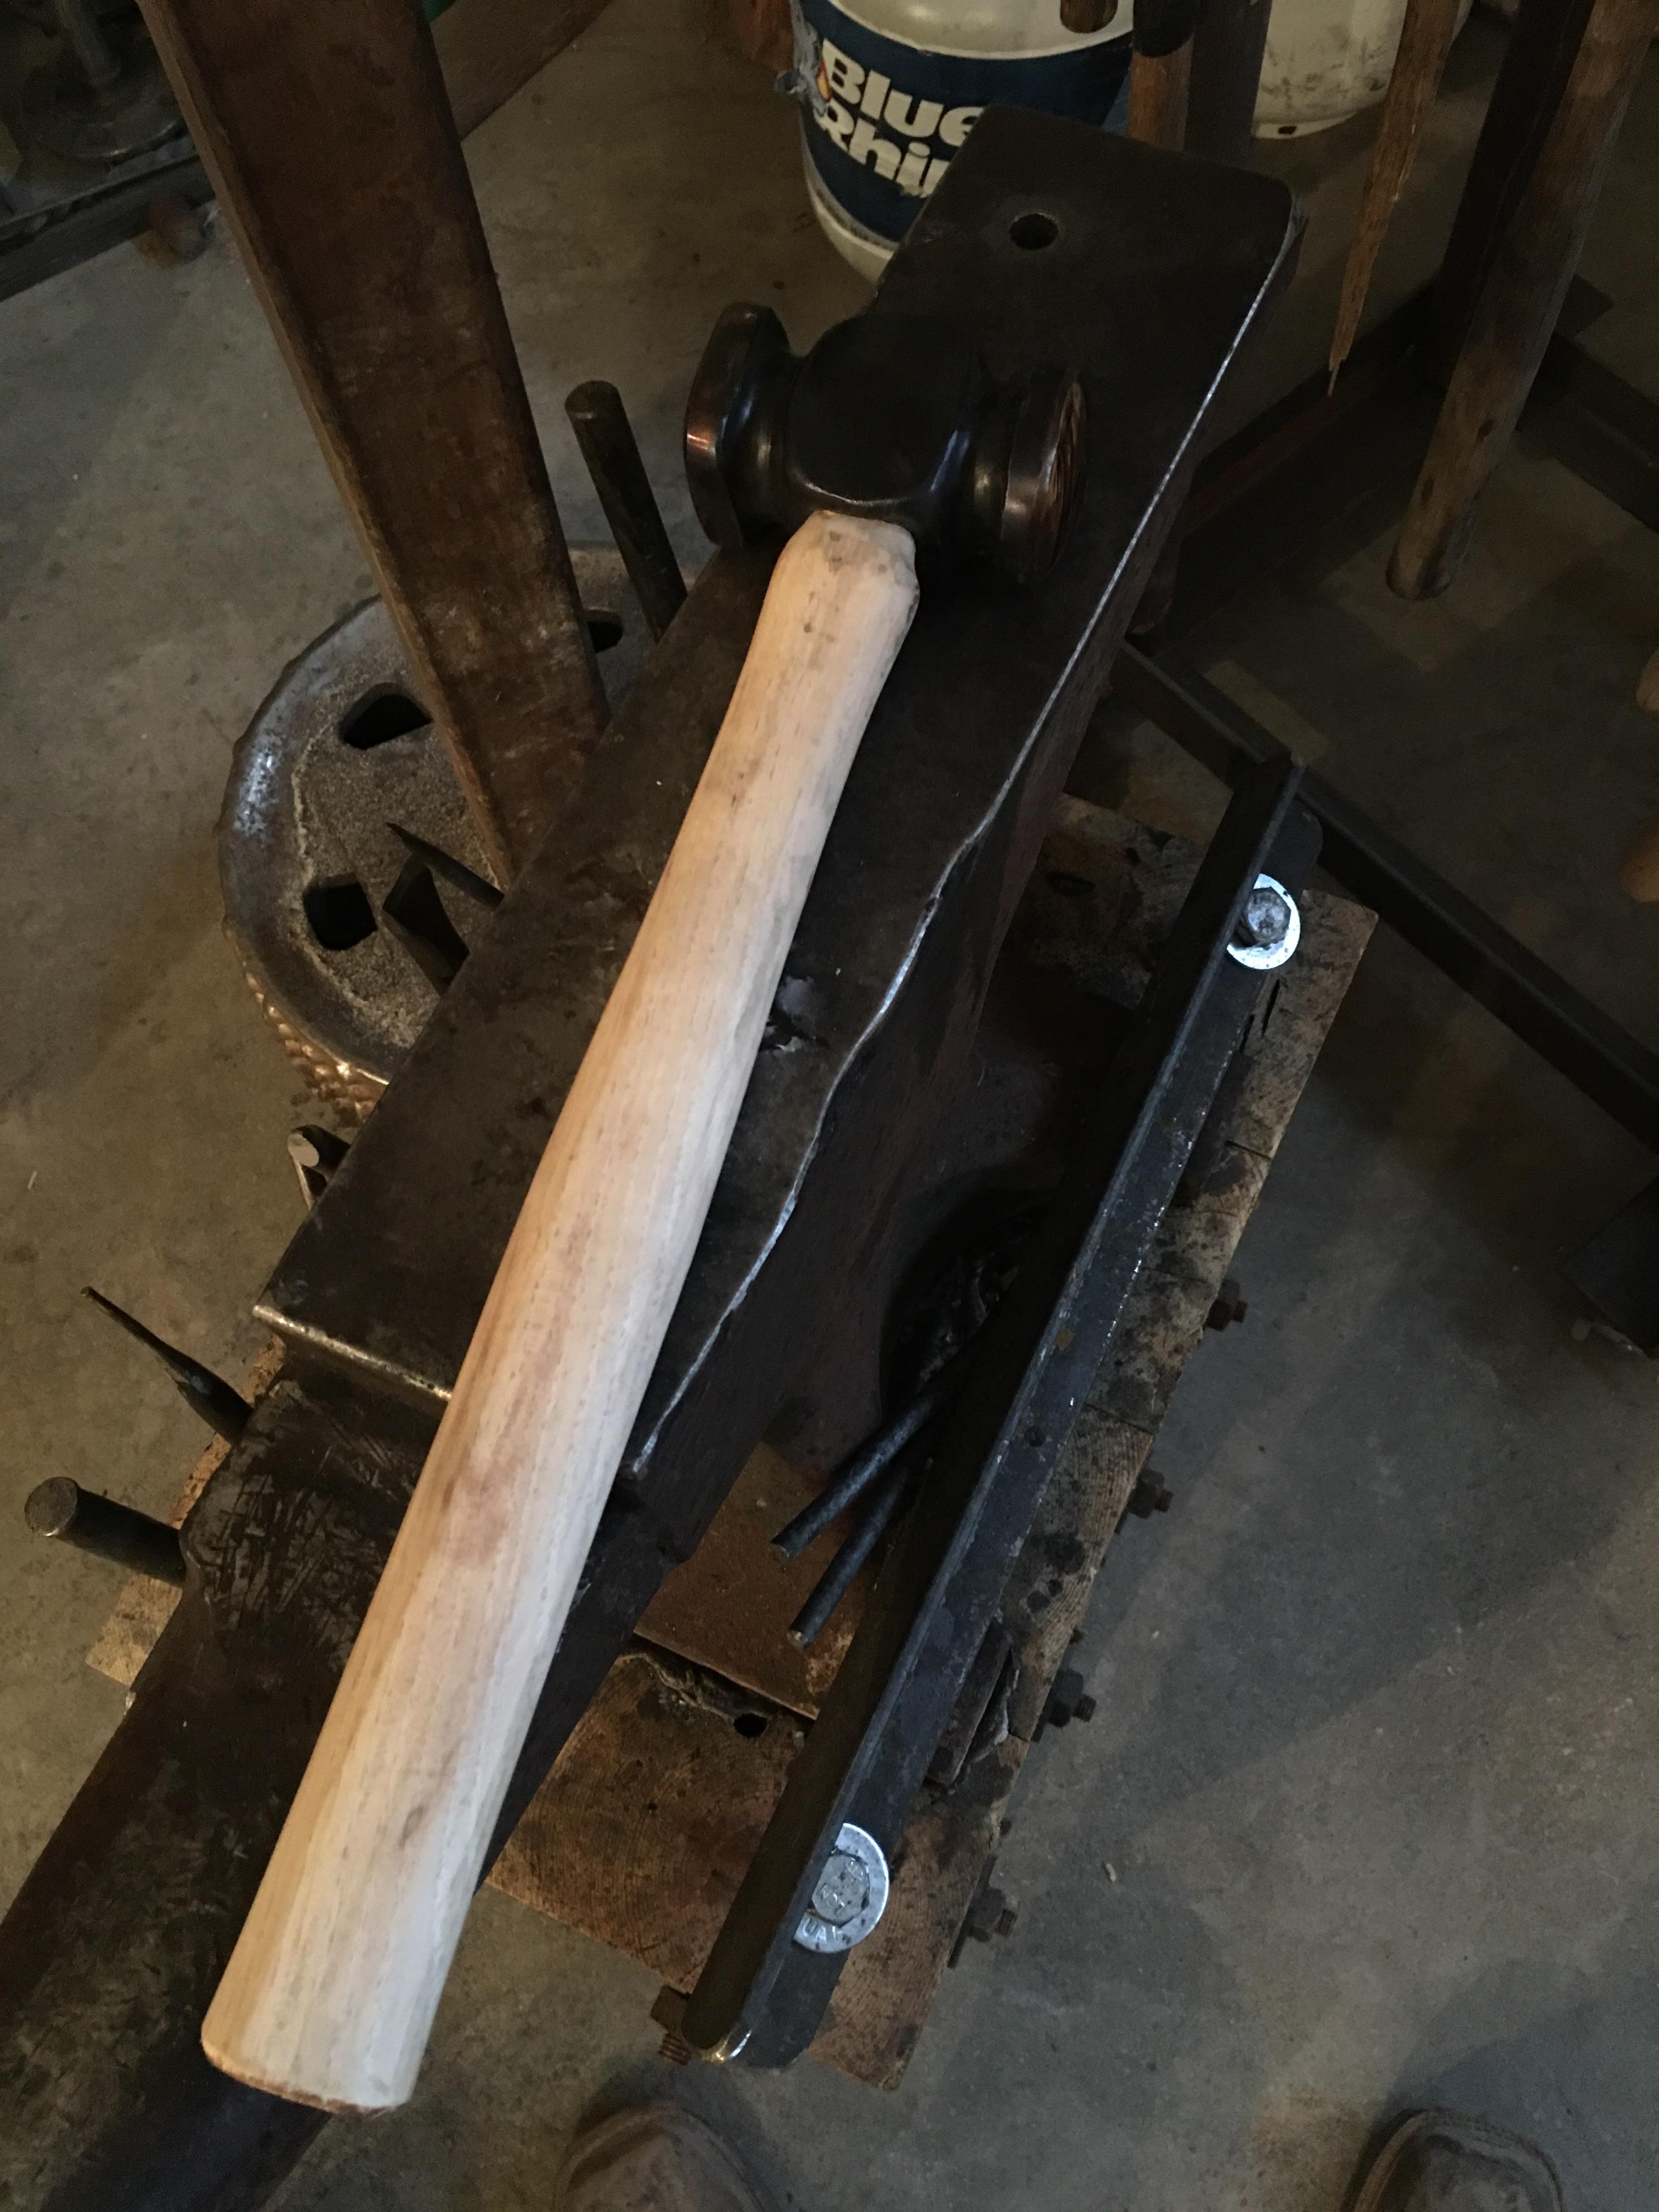
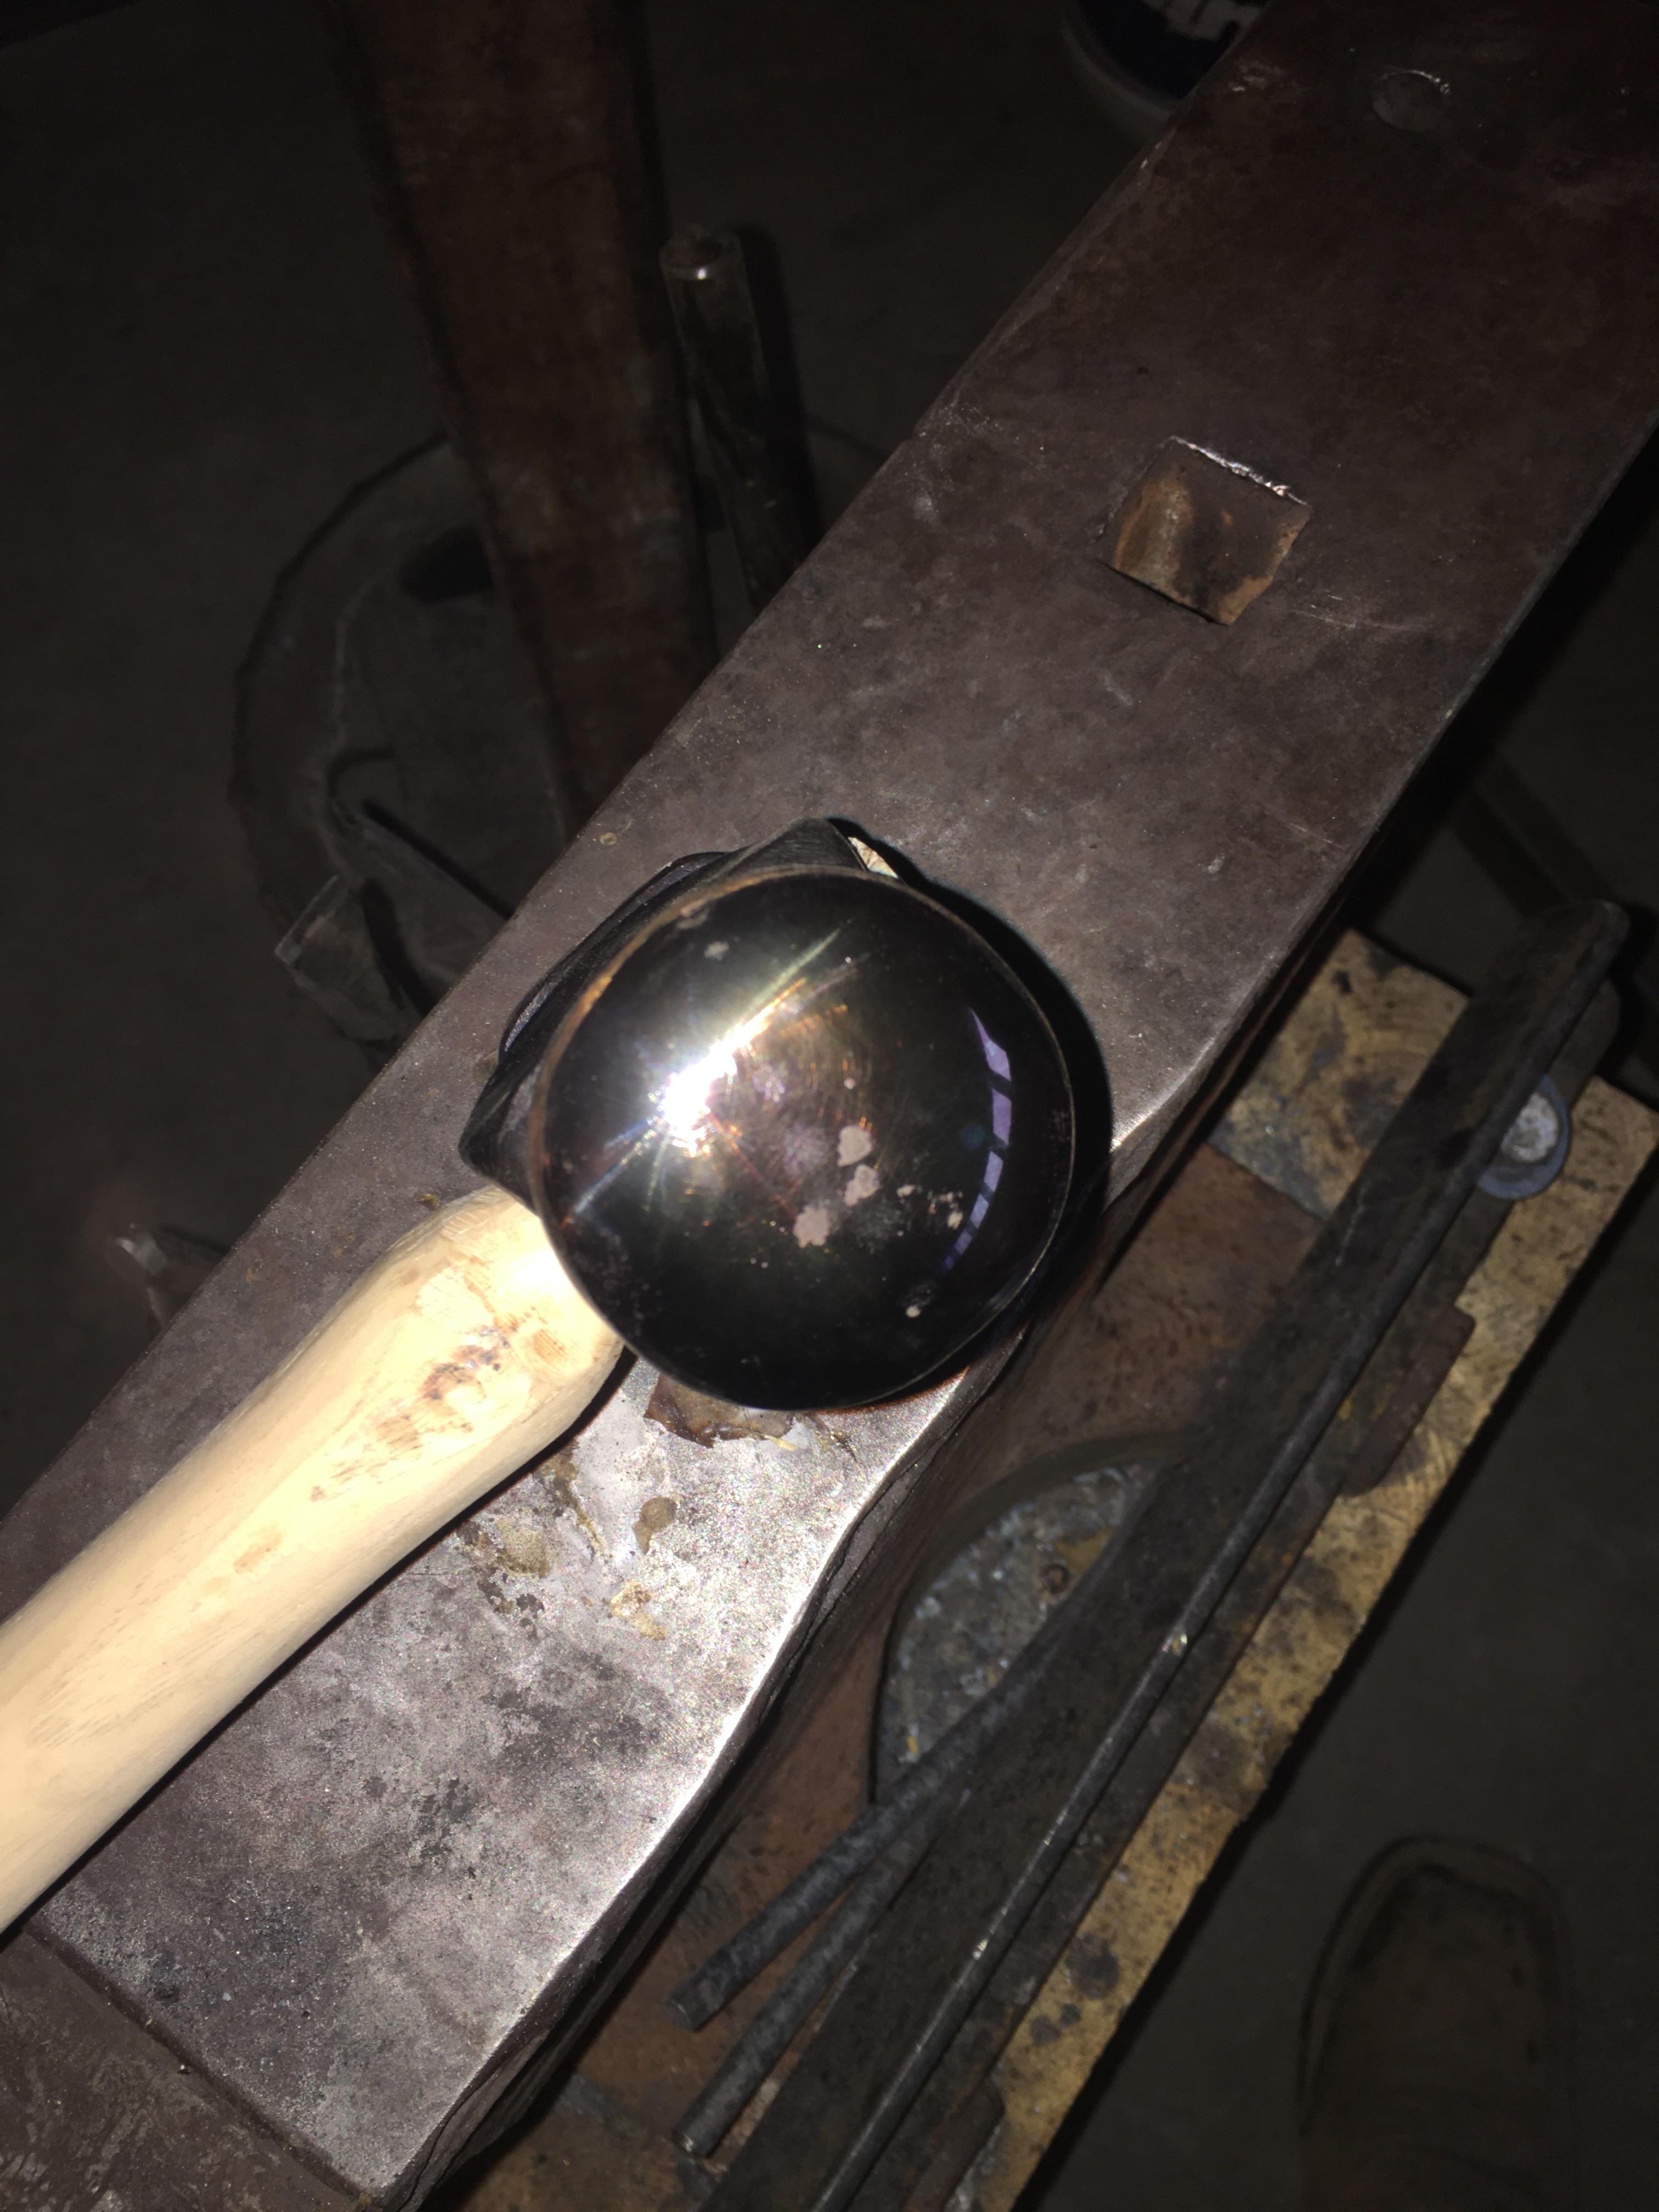
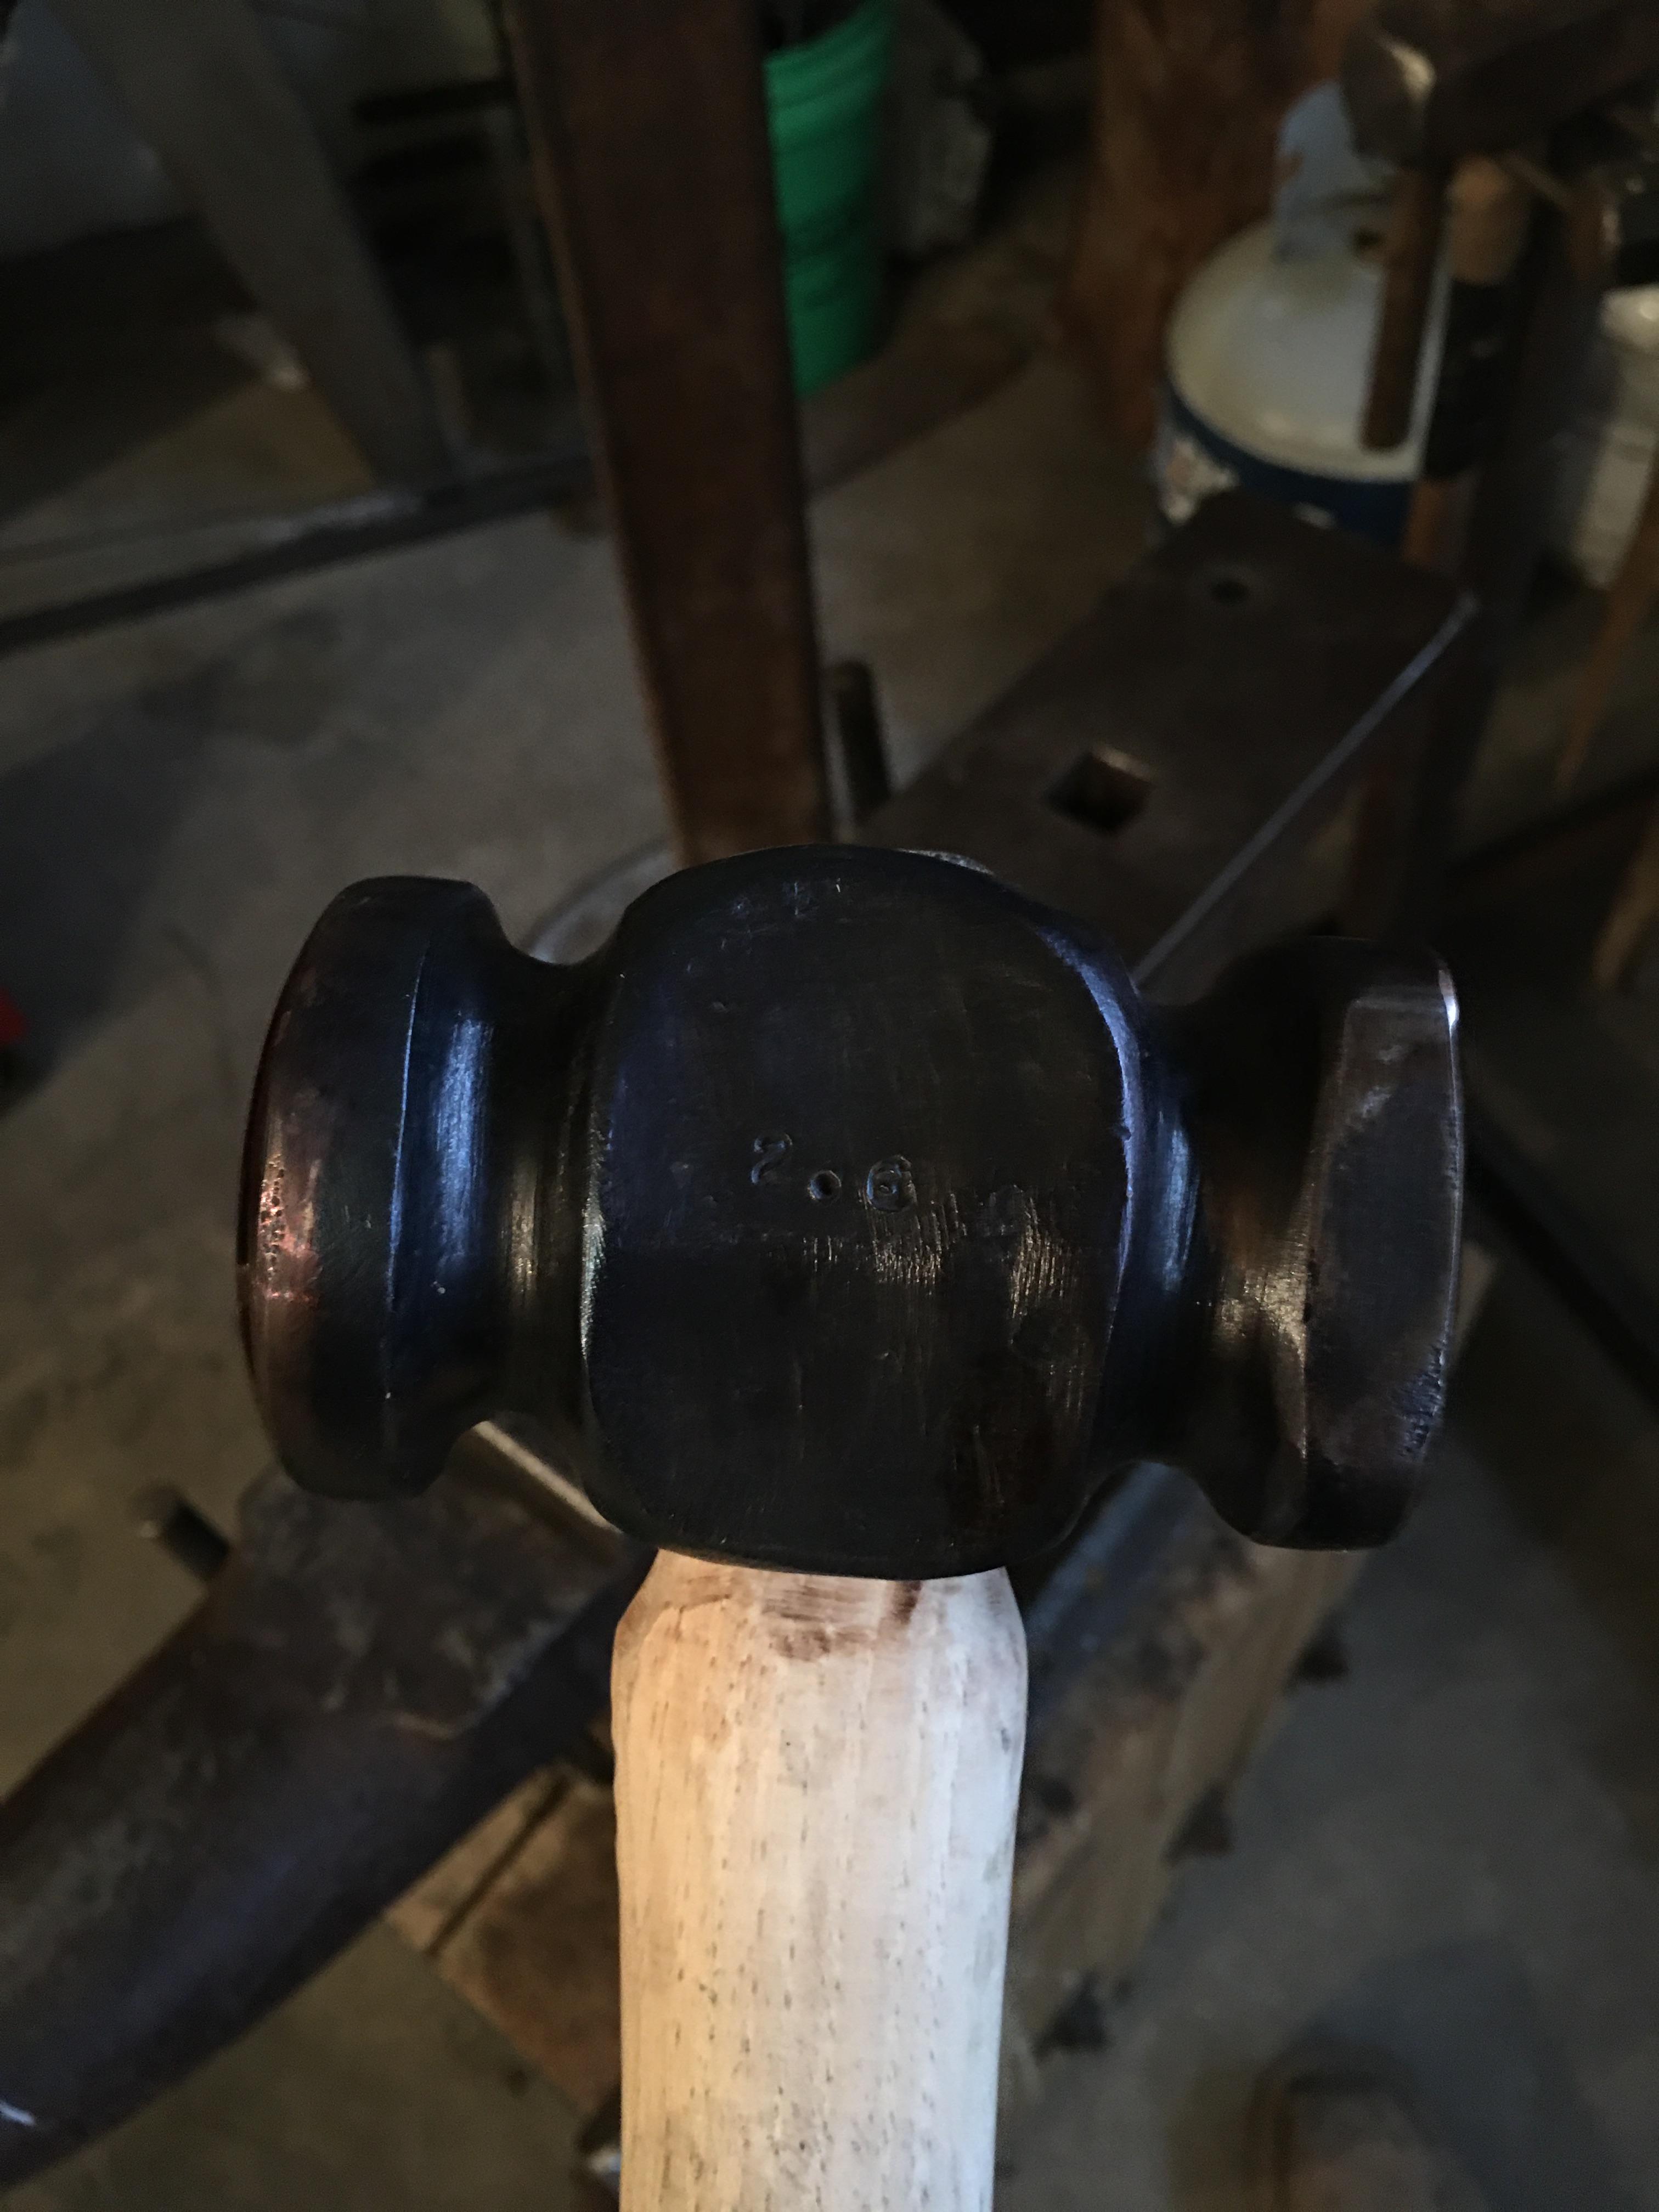
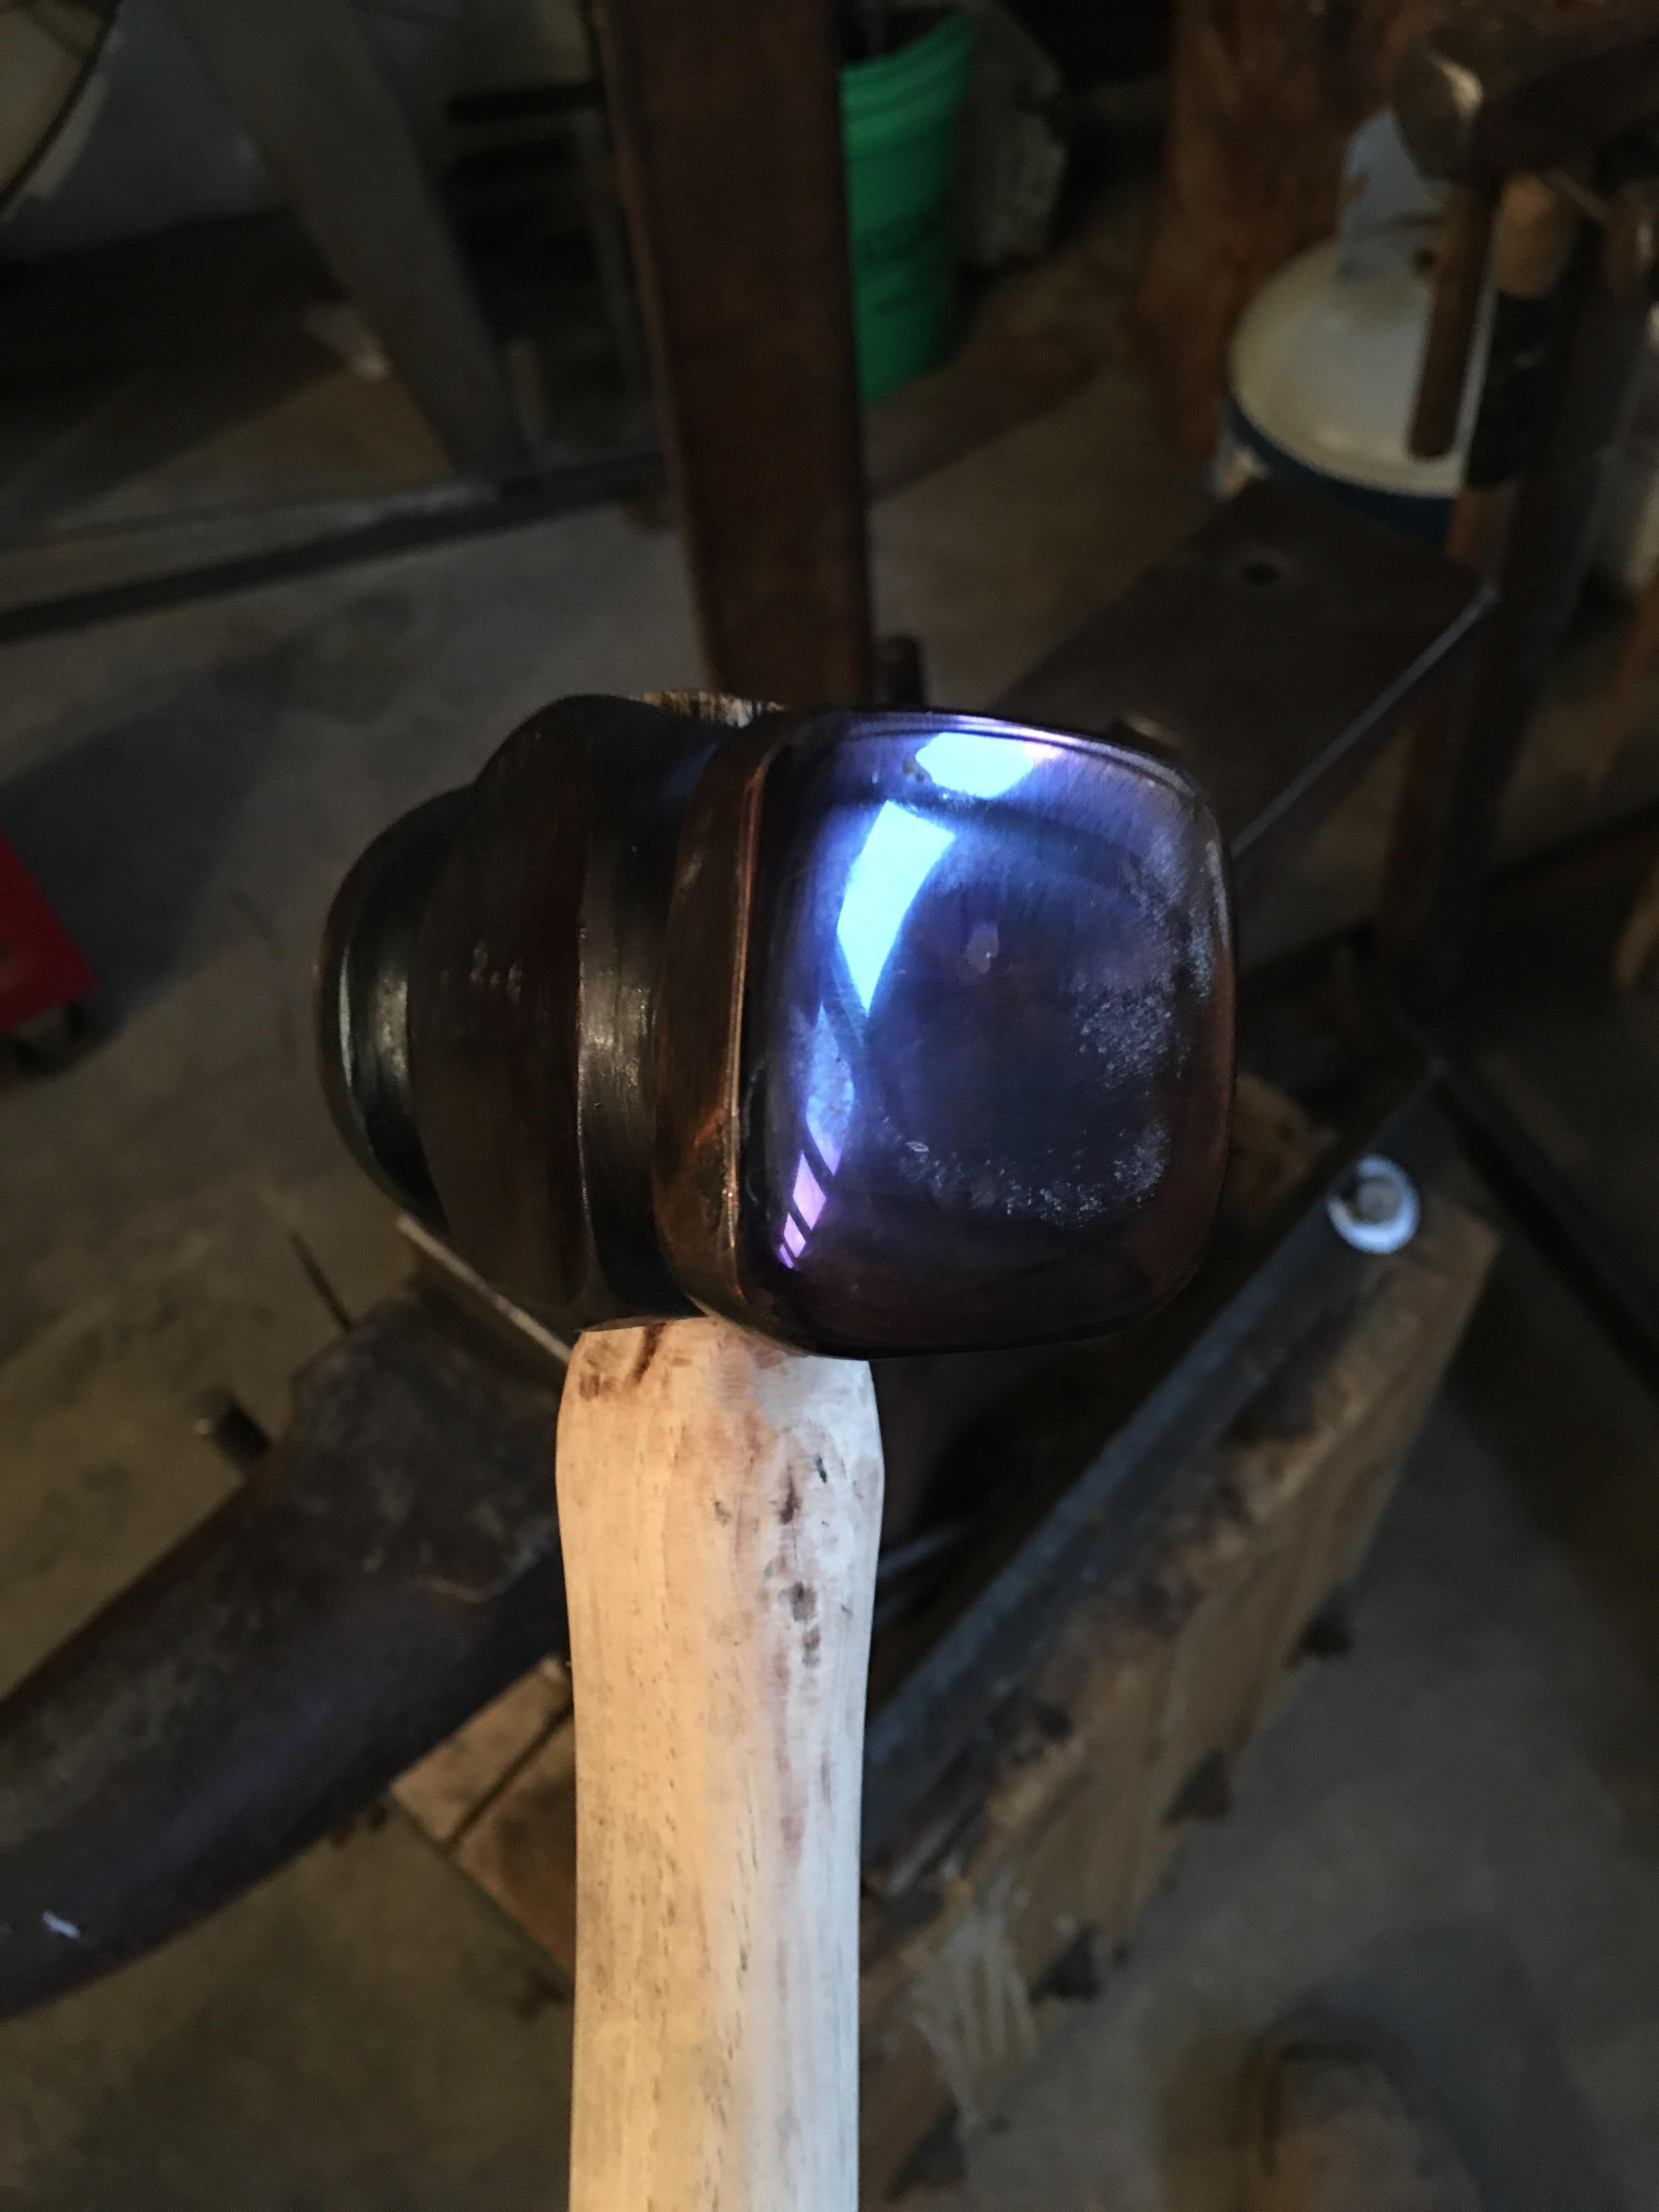
I finally took on one of the projects I've wanted to do since I took up smithing. I always wanted to make my own hammer. After the claw hammer and the small mechanics cross peen I had the confidence to try a rounding hammer. I decided to make the flat side square and the rounding side round for easy reference when using it. It came out weighing 2.6lbs and the eye is a little crooked. But for a first attempt I'm pretty satisfied!


-
Ditto to everything above! Welcome to an awesome hobby. My little add in is go to mechanic shops and ask if you can look in their scrap bin. Coil springs make great tooling (punches, chisels etc.). But do not use springs that are broken! If they broke in one place you can just about guarantee they have stress fractures In other spots. These can cause razor sharp shrapnel when stuck! (You did see the part about safety glasses right?!?)
Also keep a couple of your first projects on display, as you progress you'll see them and be reminded and encouraged by how far you've come!
-
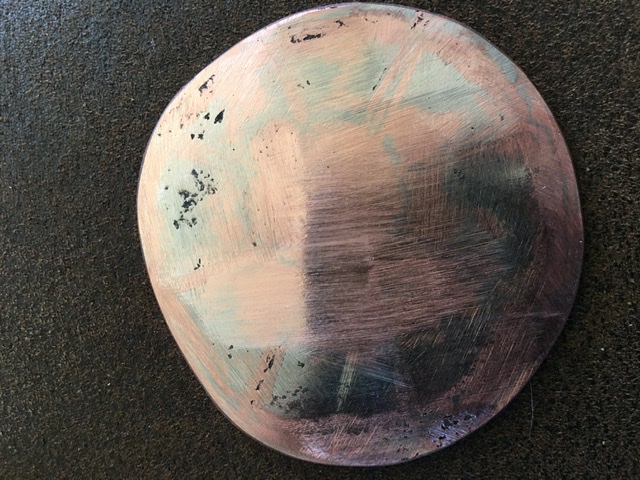
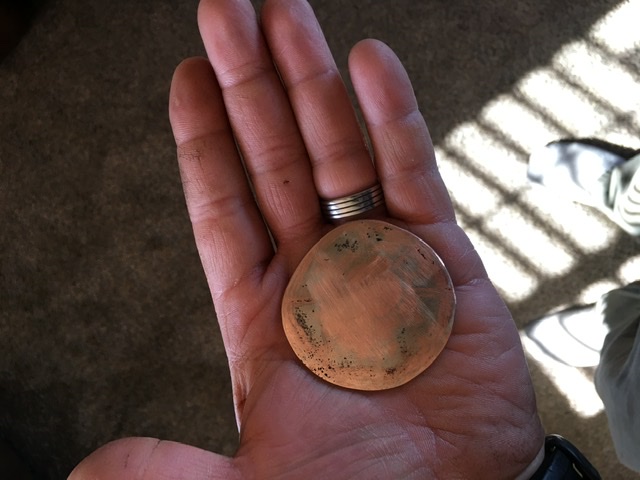
Thanks for the ideas Chimeara. I think that the copper pin I used to rivet the quarters together made the ratios to off balanced. But I'm glad that I finally tried it. I think I'm going to play around with some plates next to try and get a more bold pattern
-
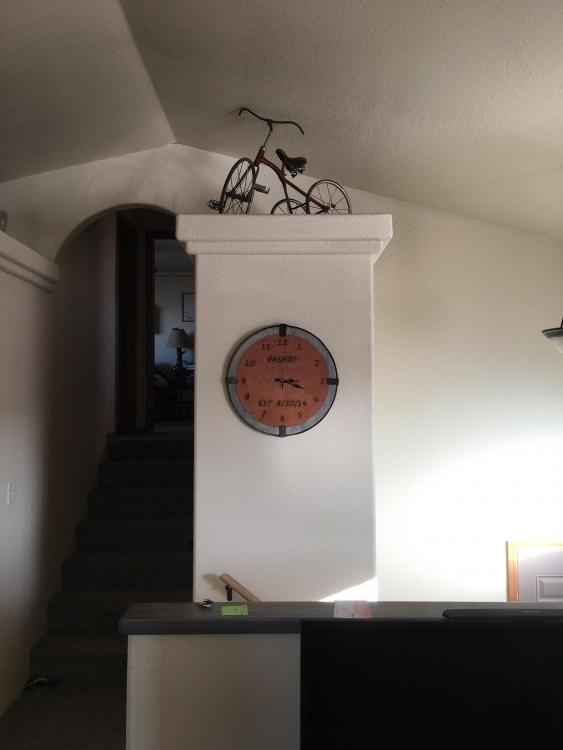
Why do you think I didn't make her a calendar?!?!
-
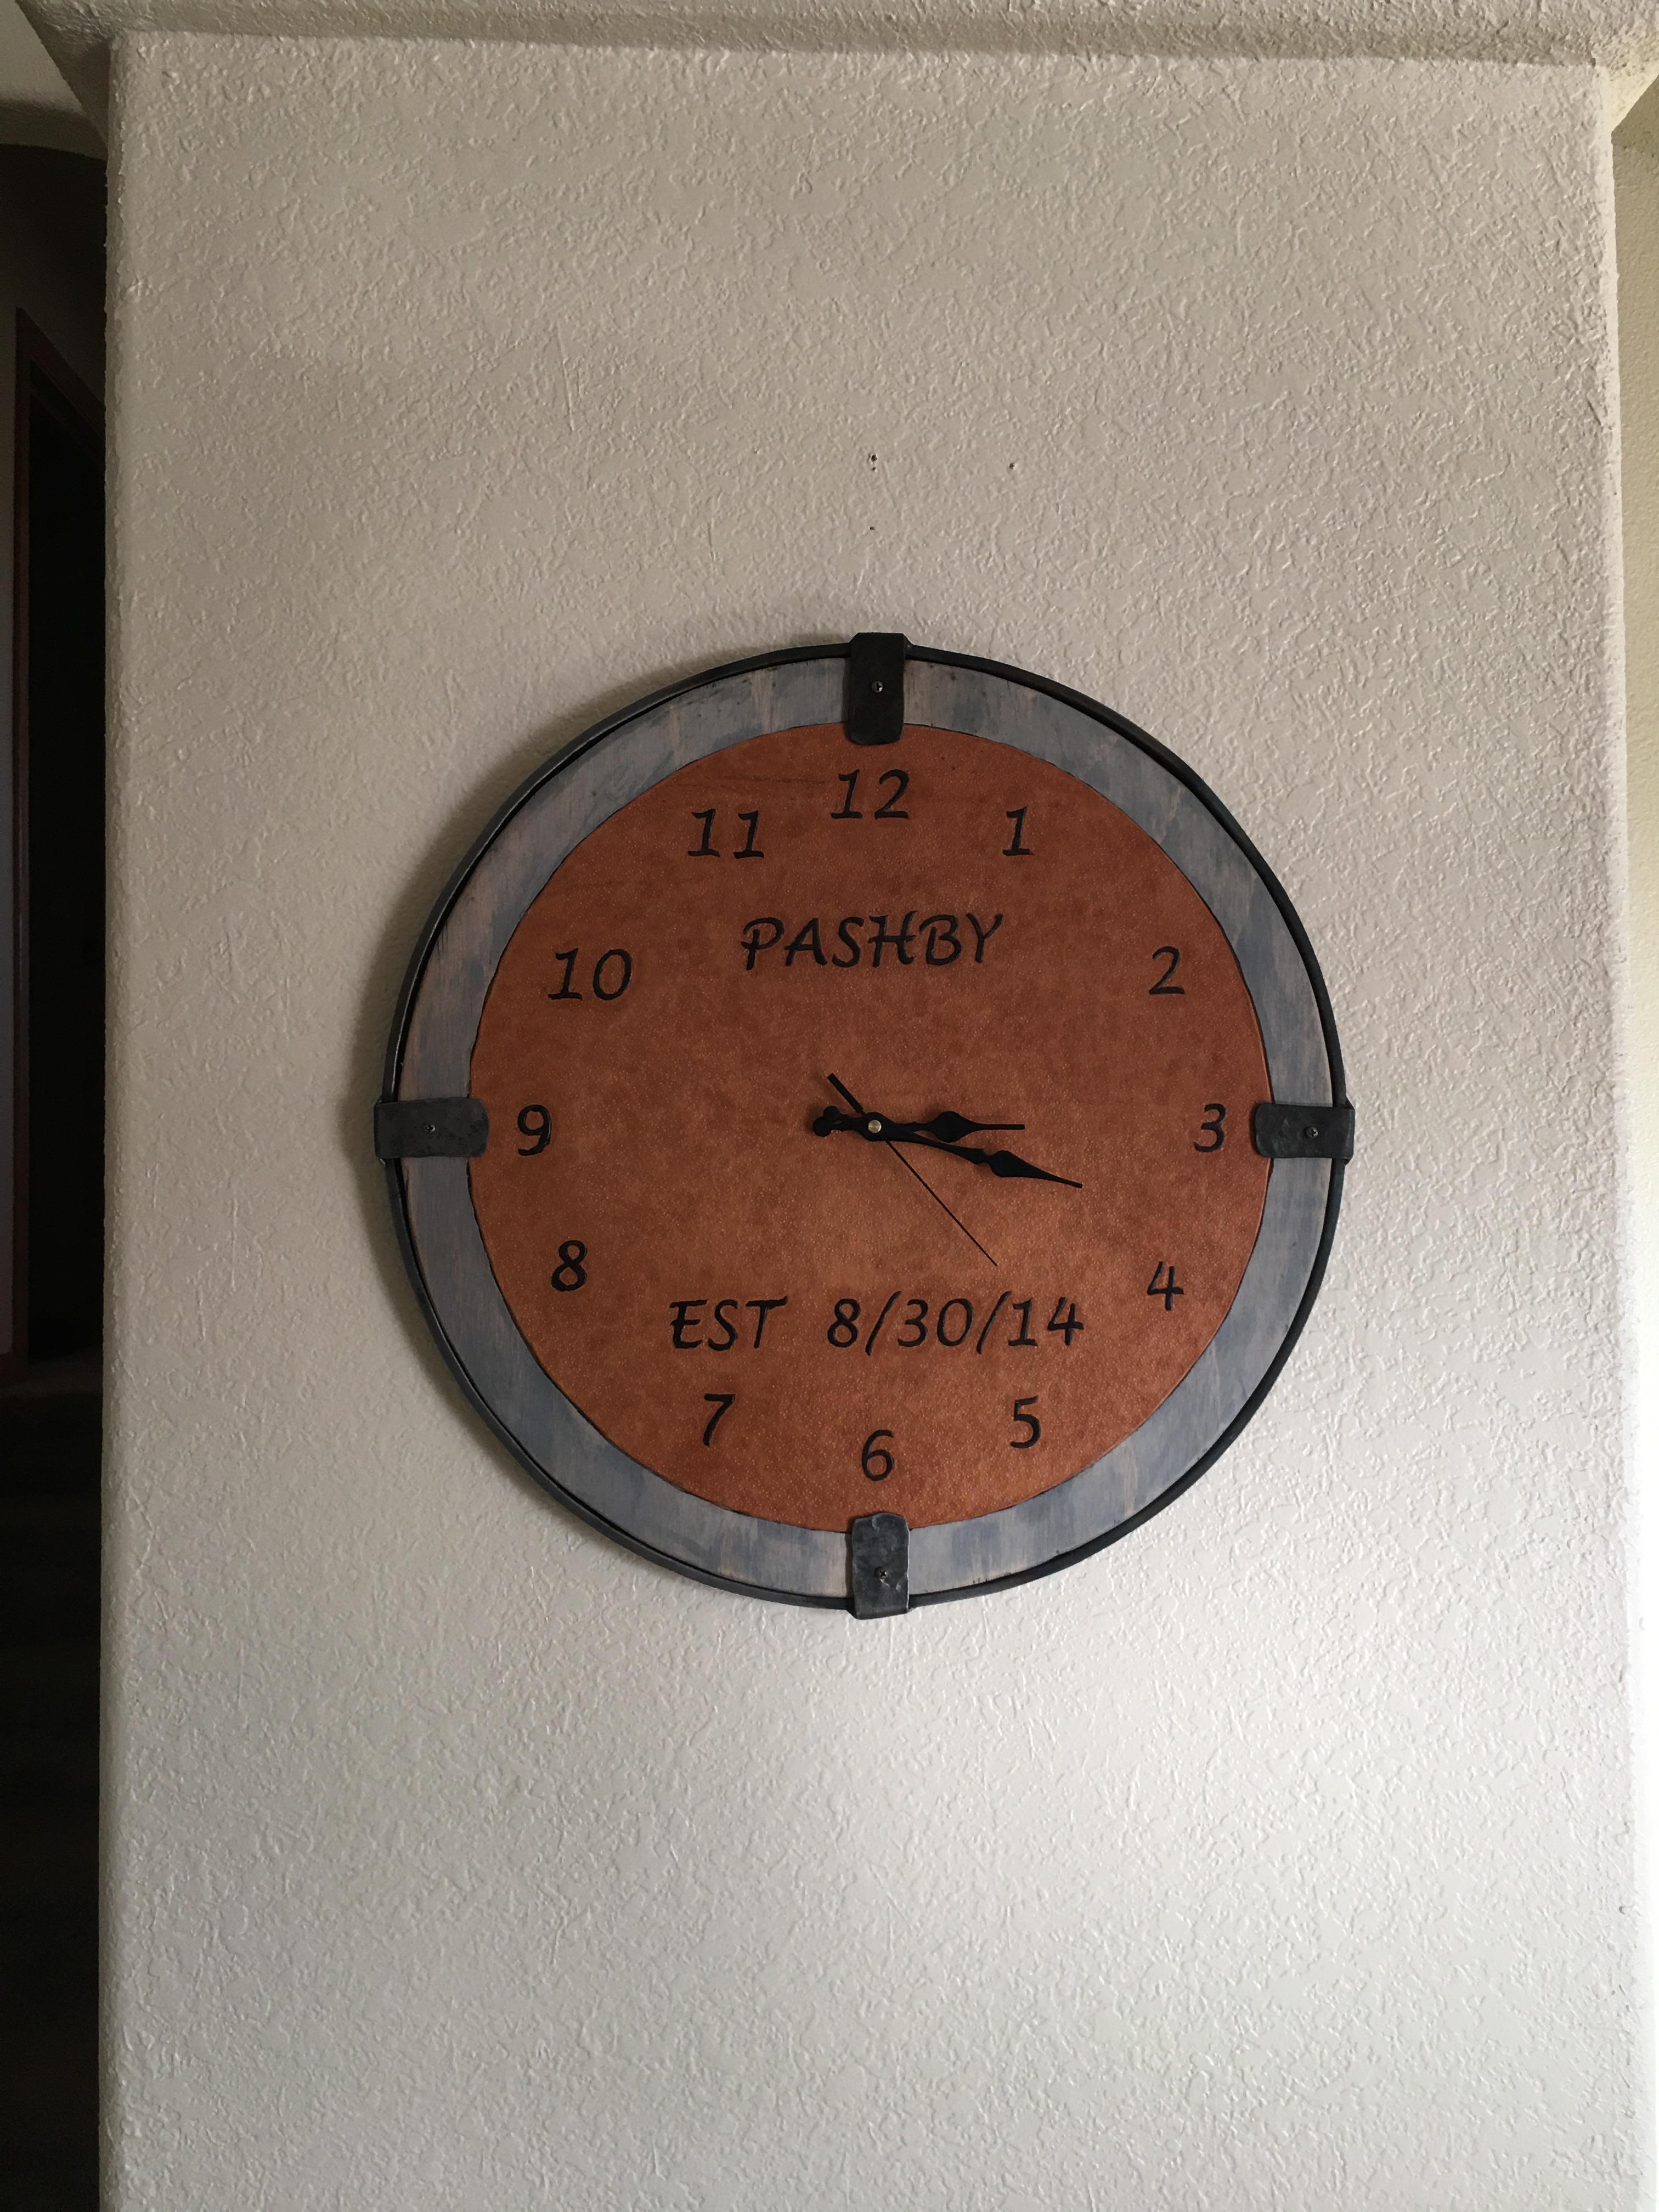
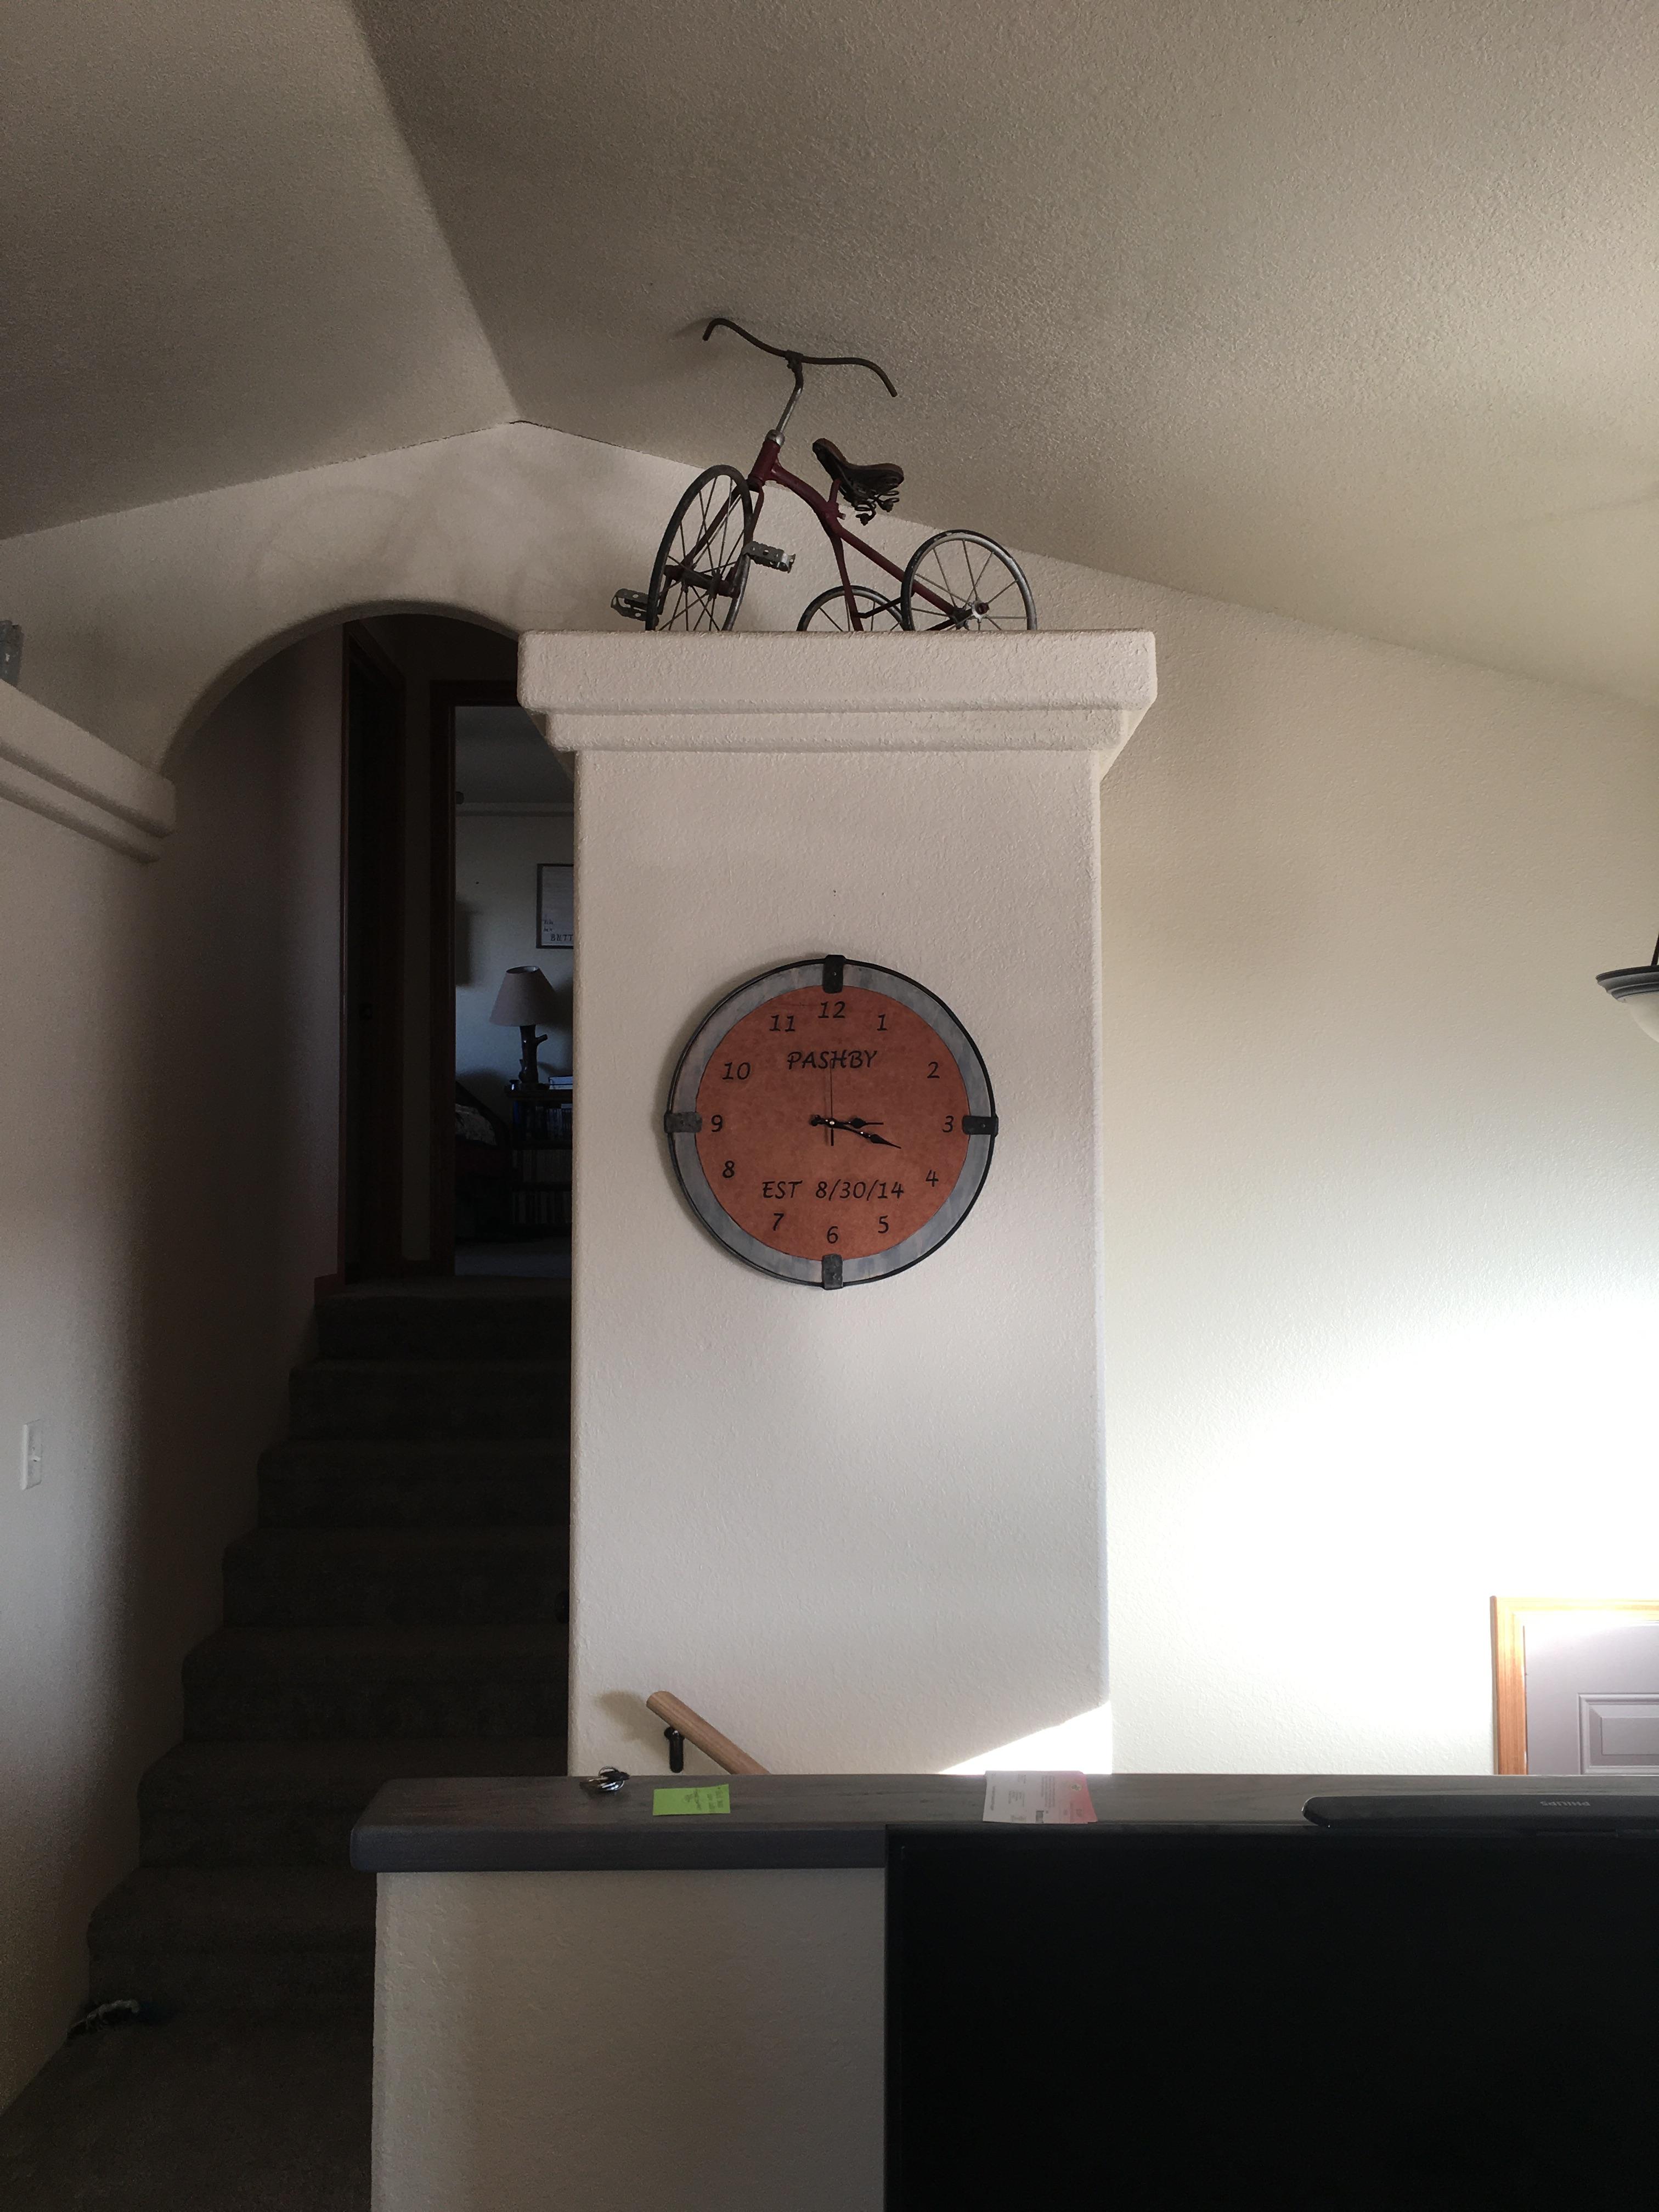
I finally finished my wife's clock. It was my birthday present to her. (her birthday is September 2nd!). And I did my first mokume-gane out of 8 quarters. I center drilled them and then riveted the stack together with copper.

-
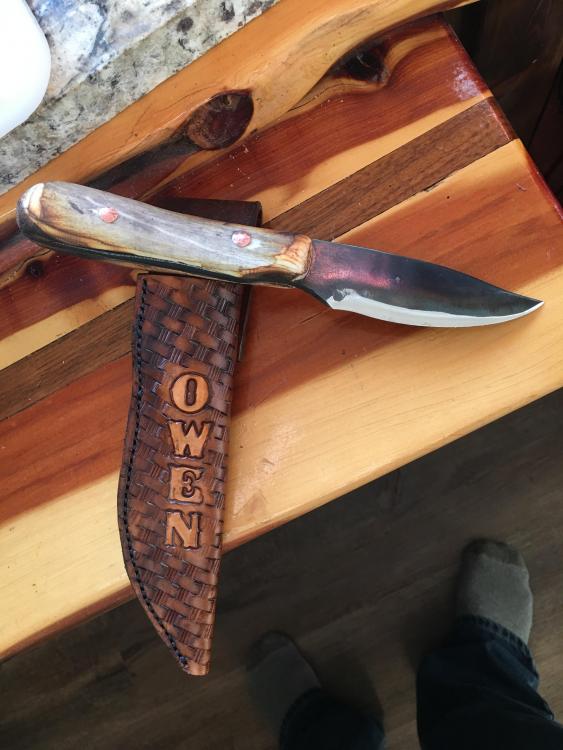
Yesterday I finished up a couple of last minute Christmas projects. A Small cross-peen mechanics hammer for my mother's husband and a knife for an 18 year old kid that I'm kinda taking under my wing to help his transition into manhood.

-
4 hours ago, M.J.Lampert said:
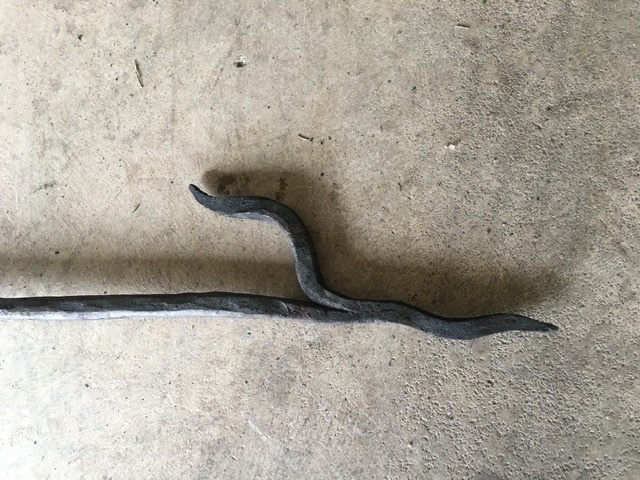
no ridge and looks like a cobra that was caught on the road the key chain is almost a square.
Practice the methods that John shows in the video. Practice makes permanent not perfect, so take your time and learn the blows. Also hang that sucker somewhere you'll see it all the time. It won't be long and you'll be doing beautiful things. So it's nice to be able to look back and see how far you've come!
Another way to get the ridge in the middle is to fold the leaf in half then open it back up.
-
I usually use veg oil when it needs to be food safe. I was just providing a list of options. Speaking of options bee's wax is another good food safe option.
-
I do see your point Glenn.
-
Thanks George!
I've been doing a little reading and it seems to be that along with acids heat and time are the main contributers to the danger. Due to the short amount to time and heat they will be exposed to these should be safe correct? I don't care how beautiful they are, I don't want to poison my family!
-
22 minutes ago, Glenn said:
With peanut allergies today, I would suggest you add that it was coated with peanut oil as a surface preservative.
That's a good point Glenn. These are for my wife so I know that's not an issue. But definitely something to keep in mind!
19 minutes ago, ThomasPowers said:As copper is not all food safe, I don't use it for the working ends of implements that won't work well tinned. I tend to use stainless, titanium or even seasoned plain steel for those items and have tinned copper pans before.
I did not know about that. I assumed because of all the copper pans and utensils for sale it was safe. I didn't realize that they were tinned.
I'll have to do some research to know what to keep these tools away from!
-
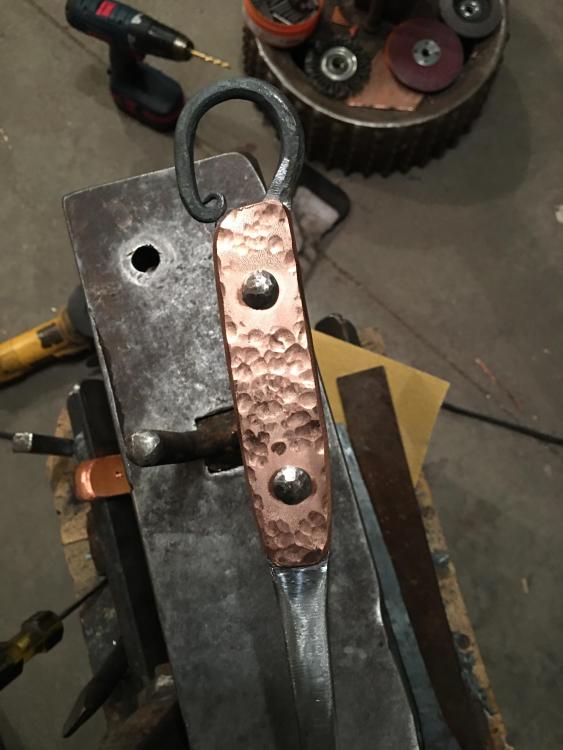
Season with cooking oil. I've used Olive oil, canola oil, veg oil in the past. This one happens to be peanut oil. (just because that's what I had on hand.
-
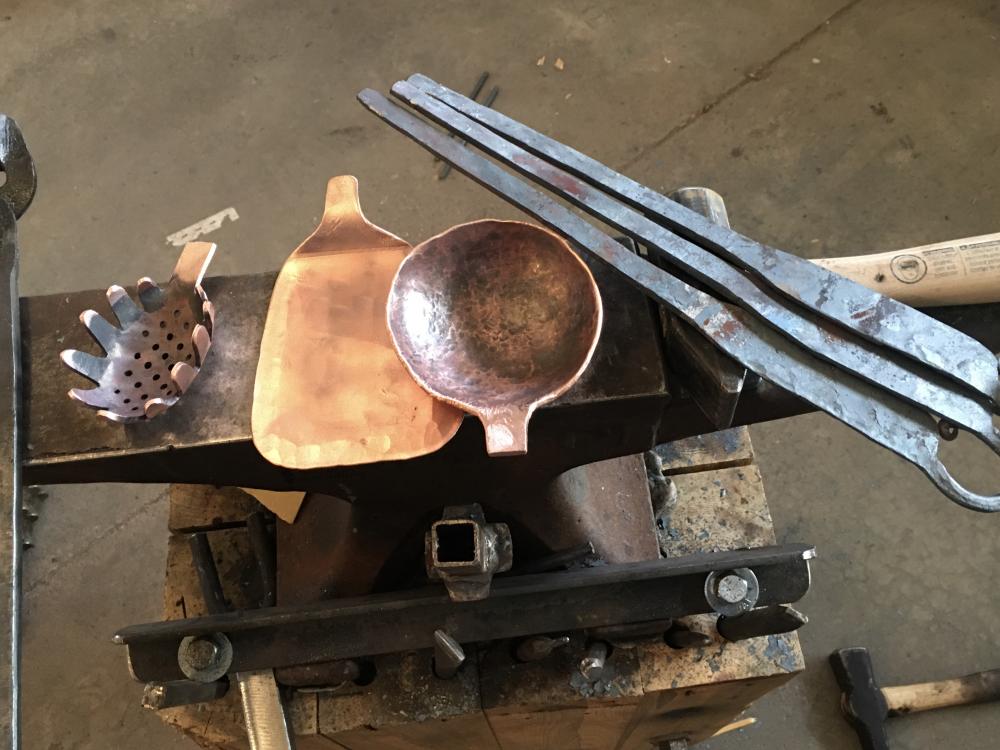
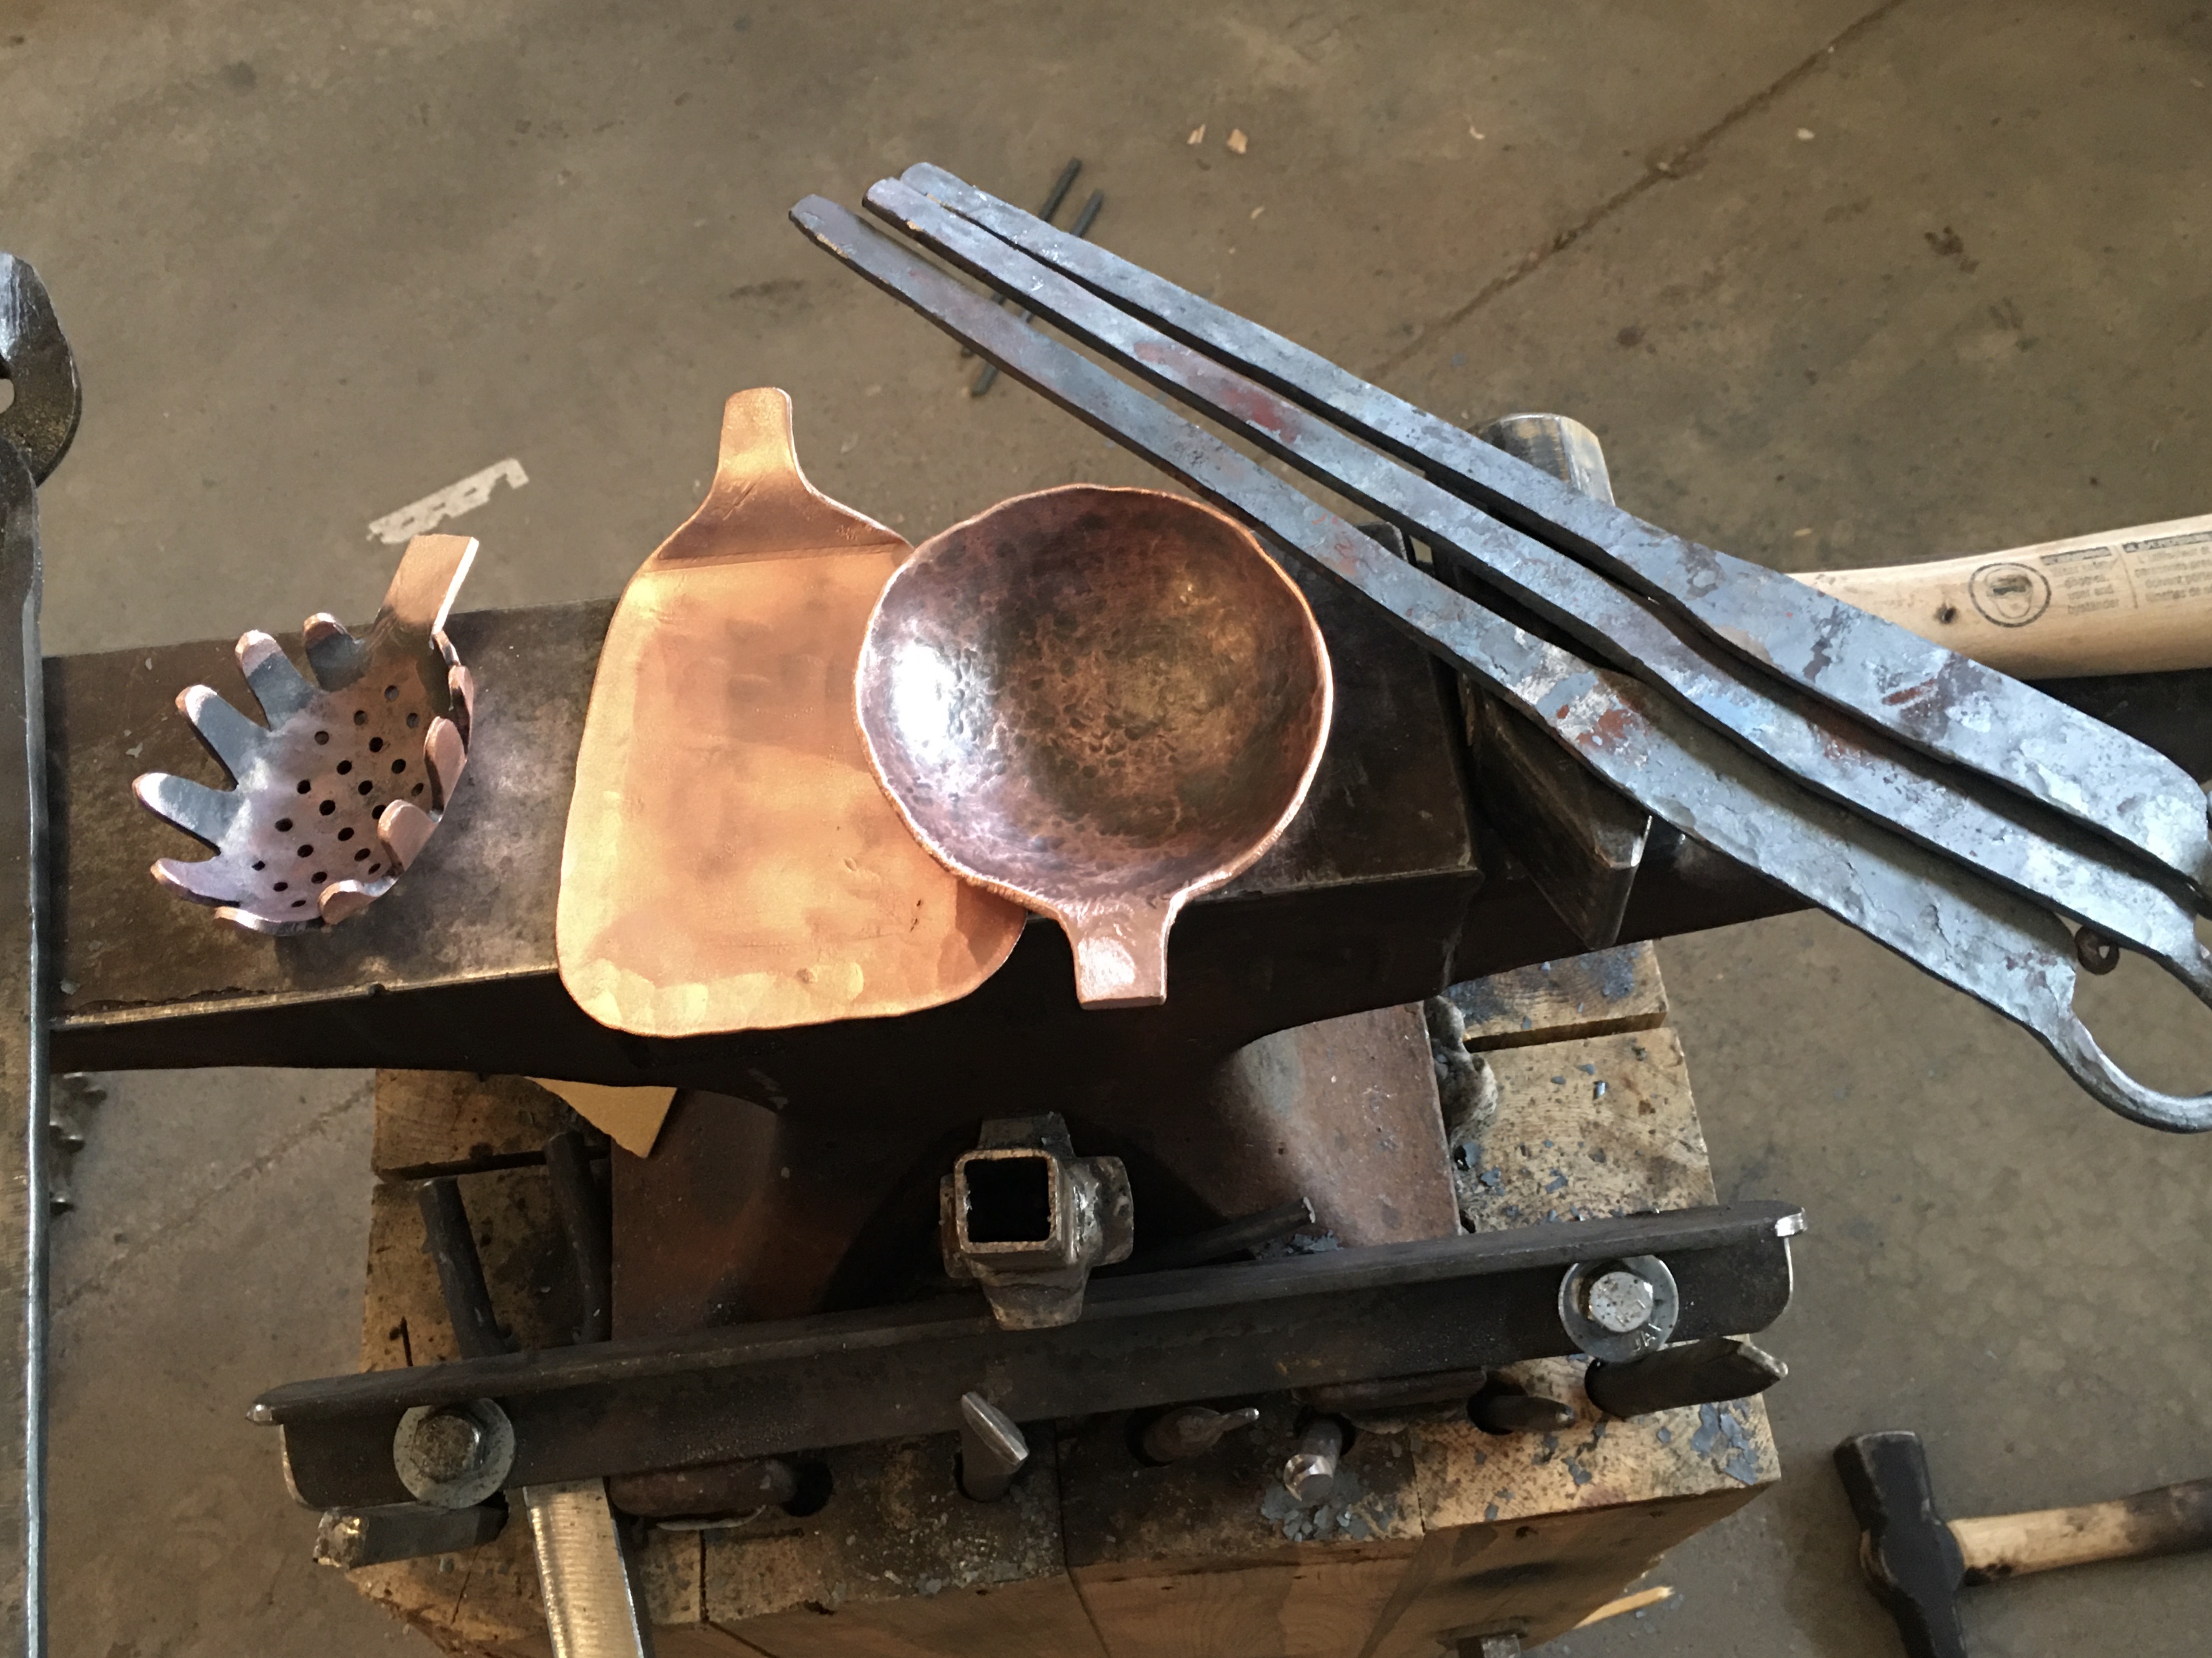
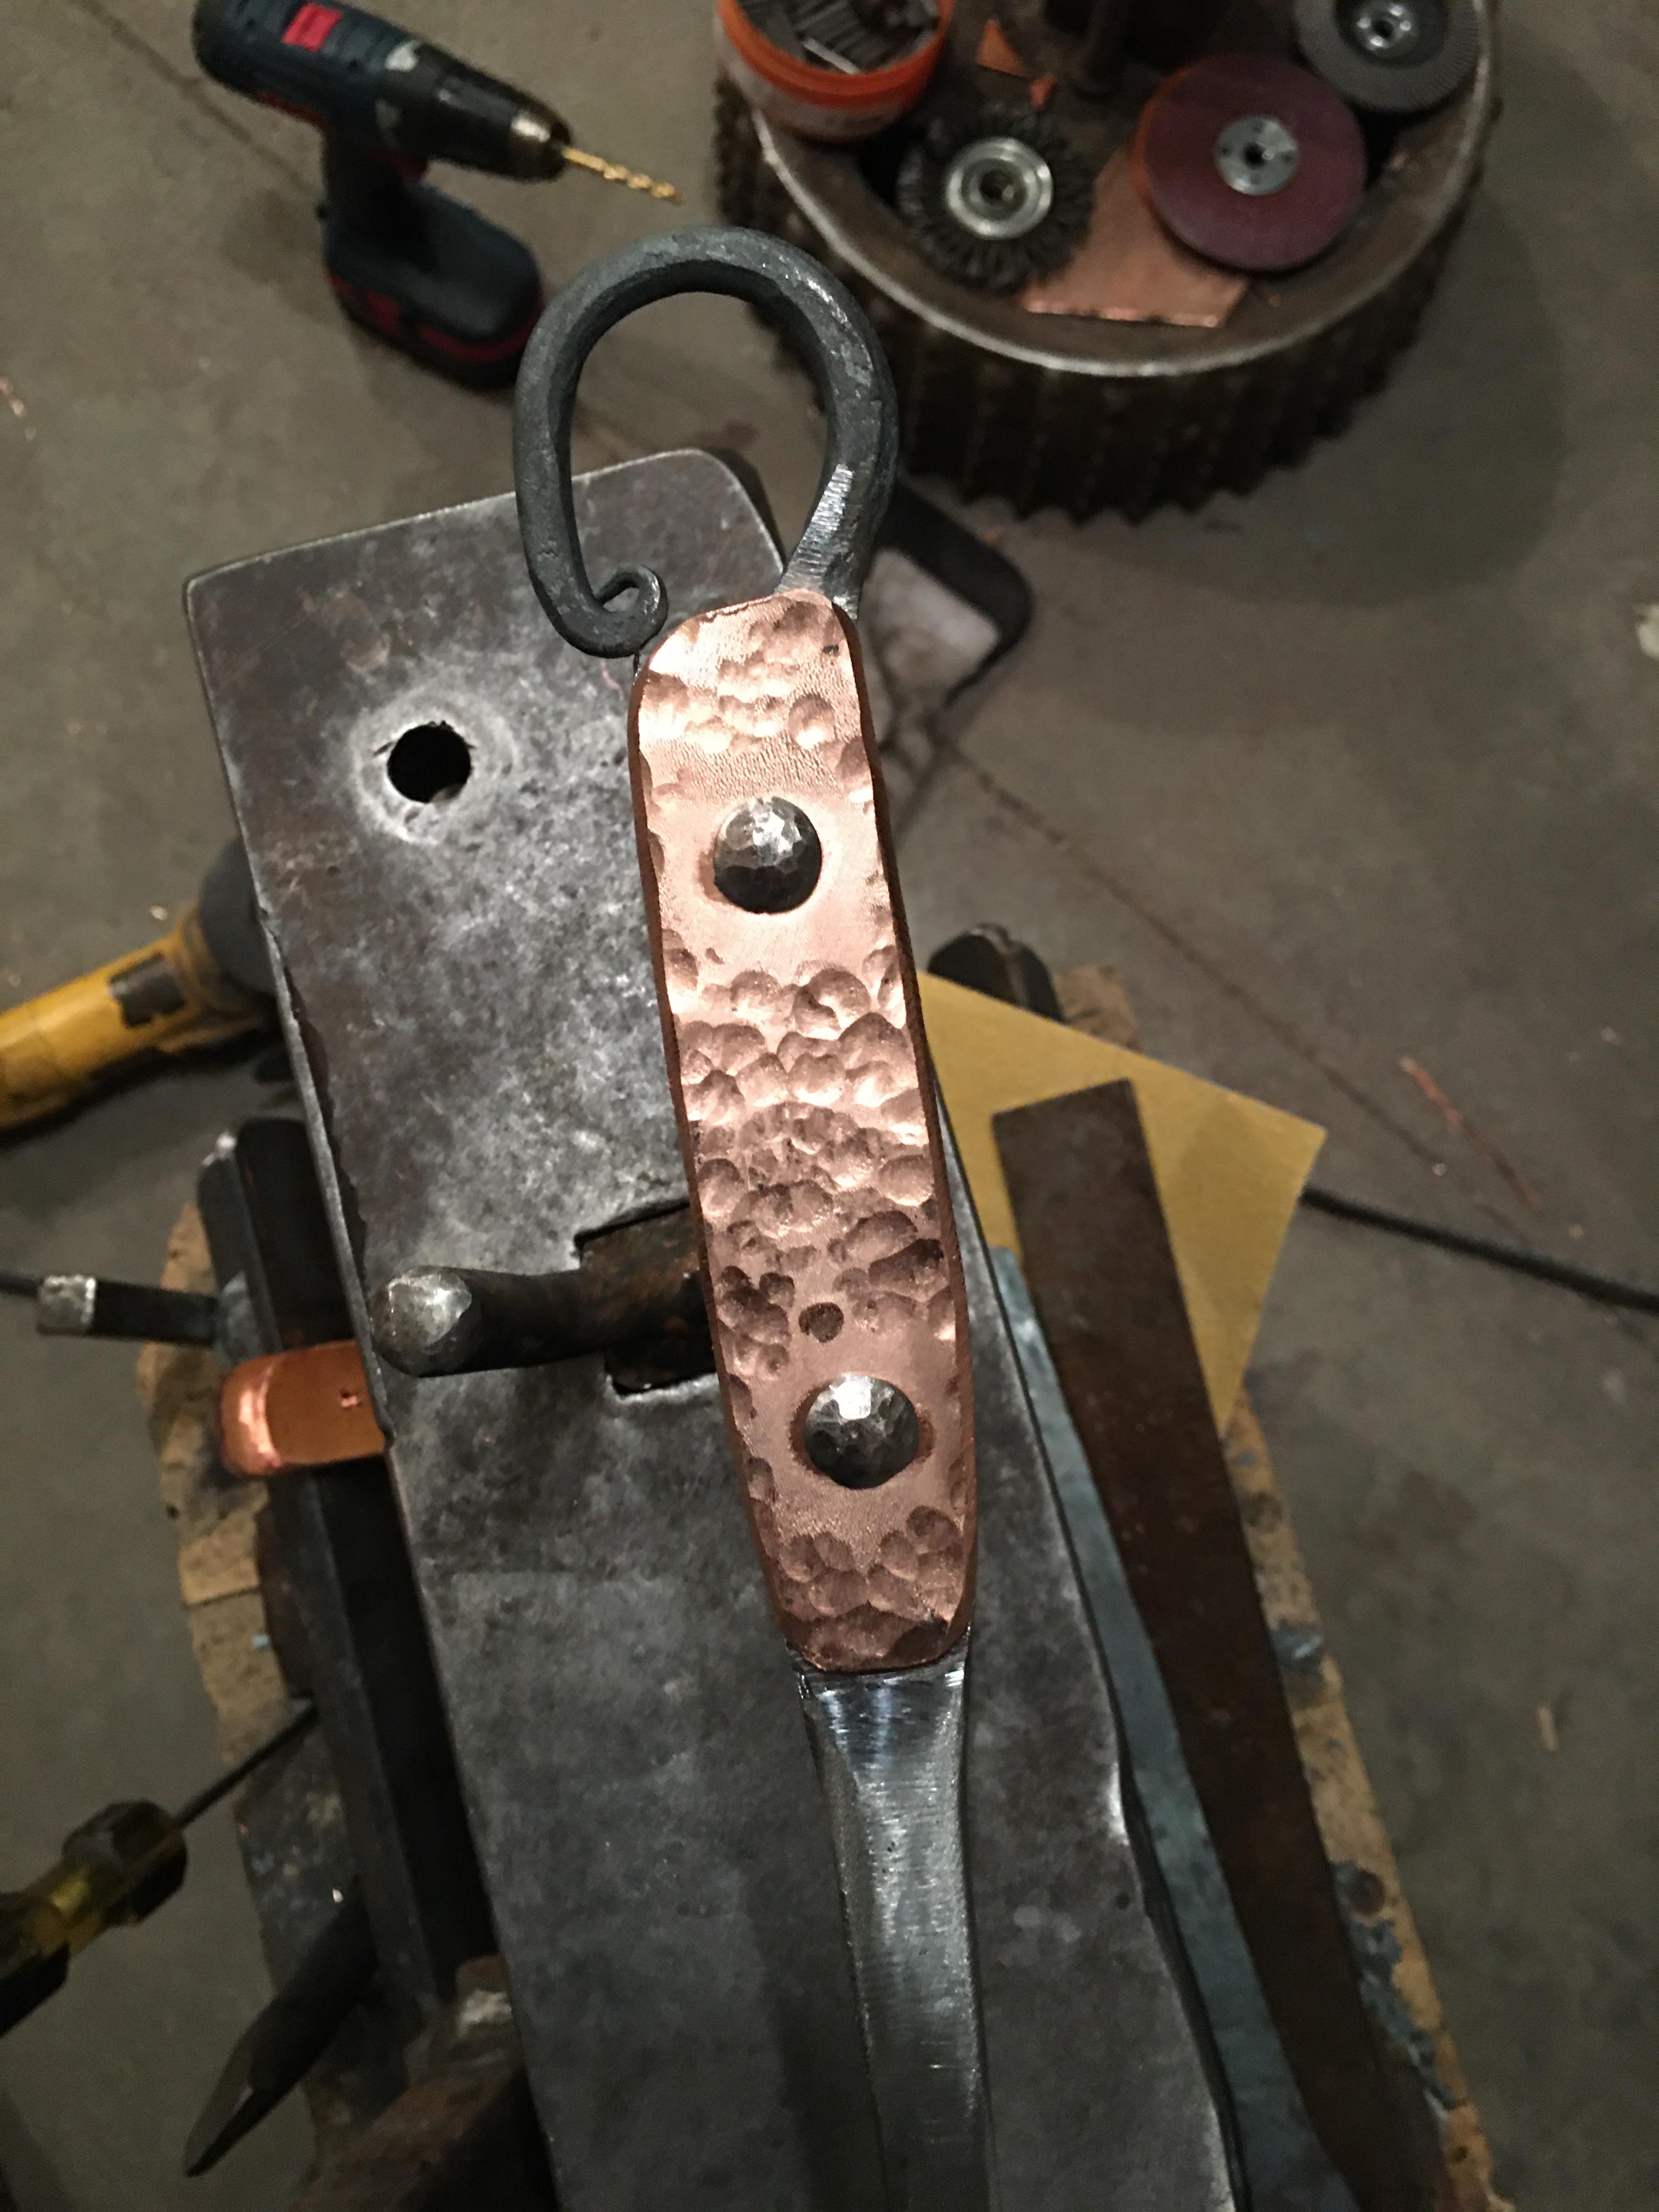
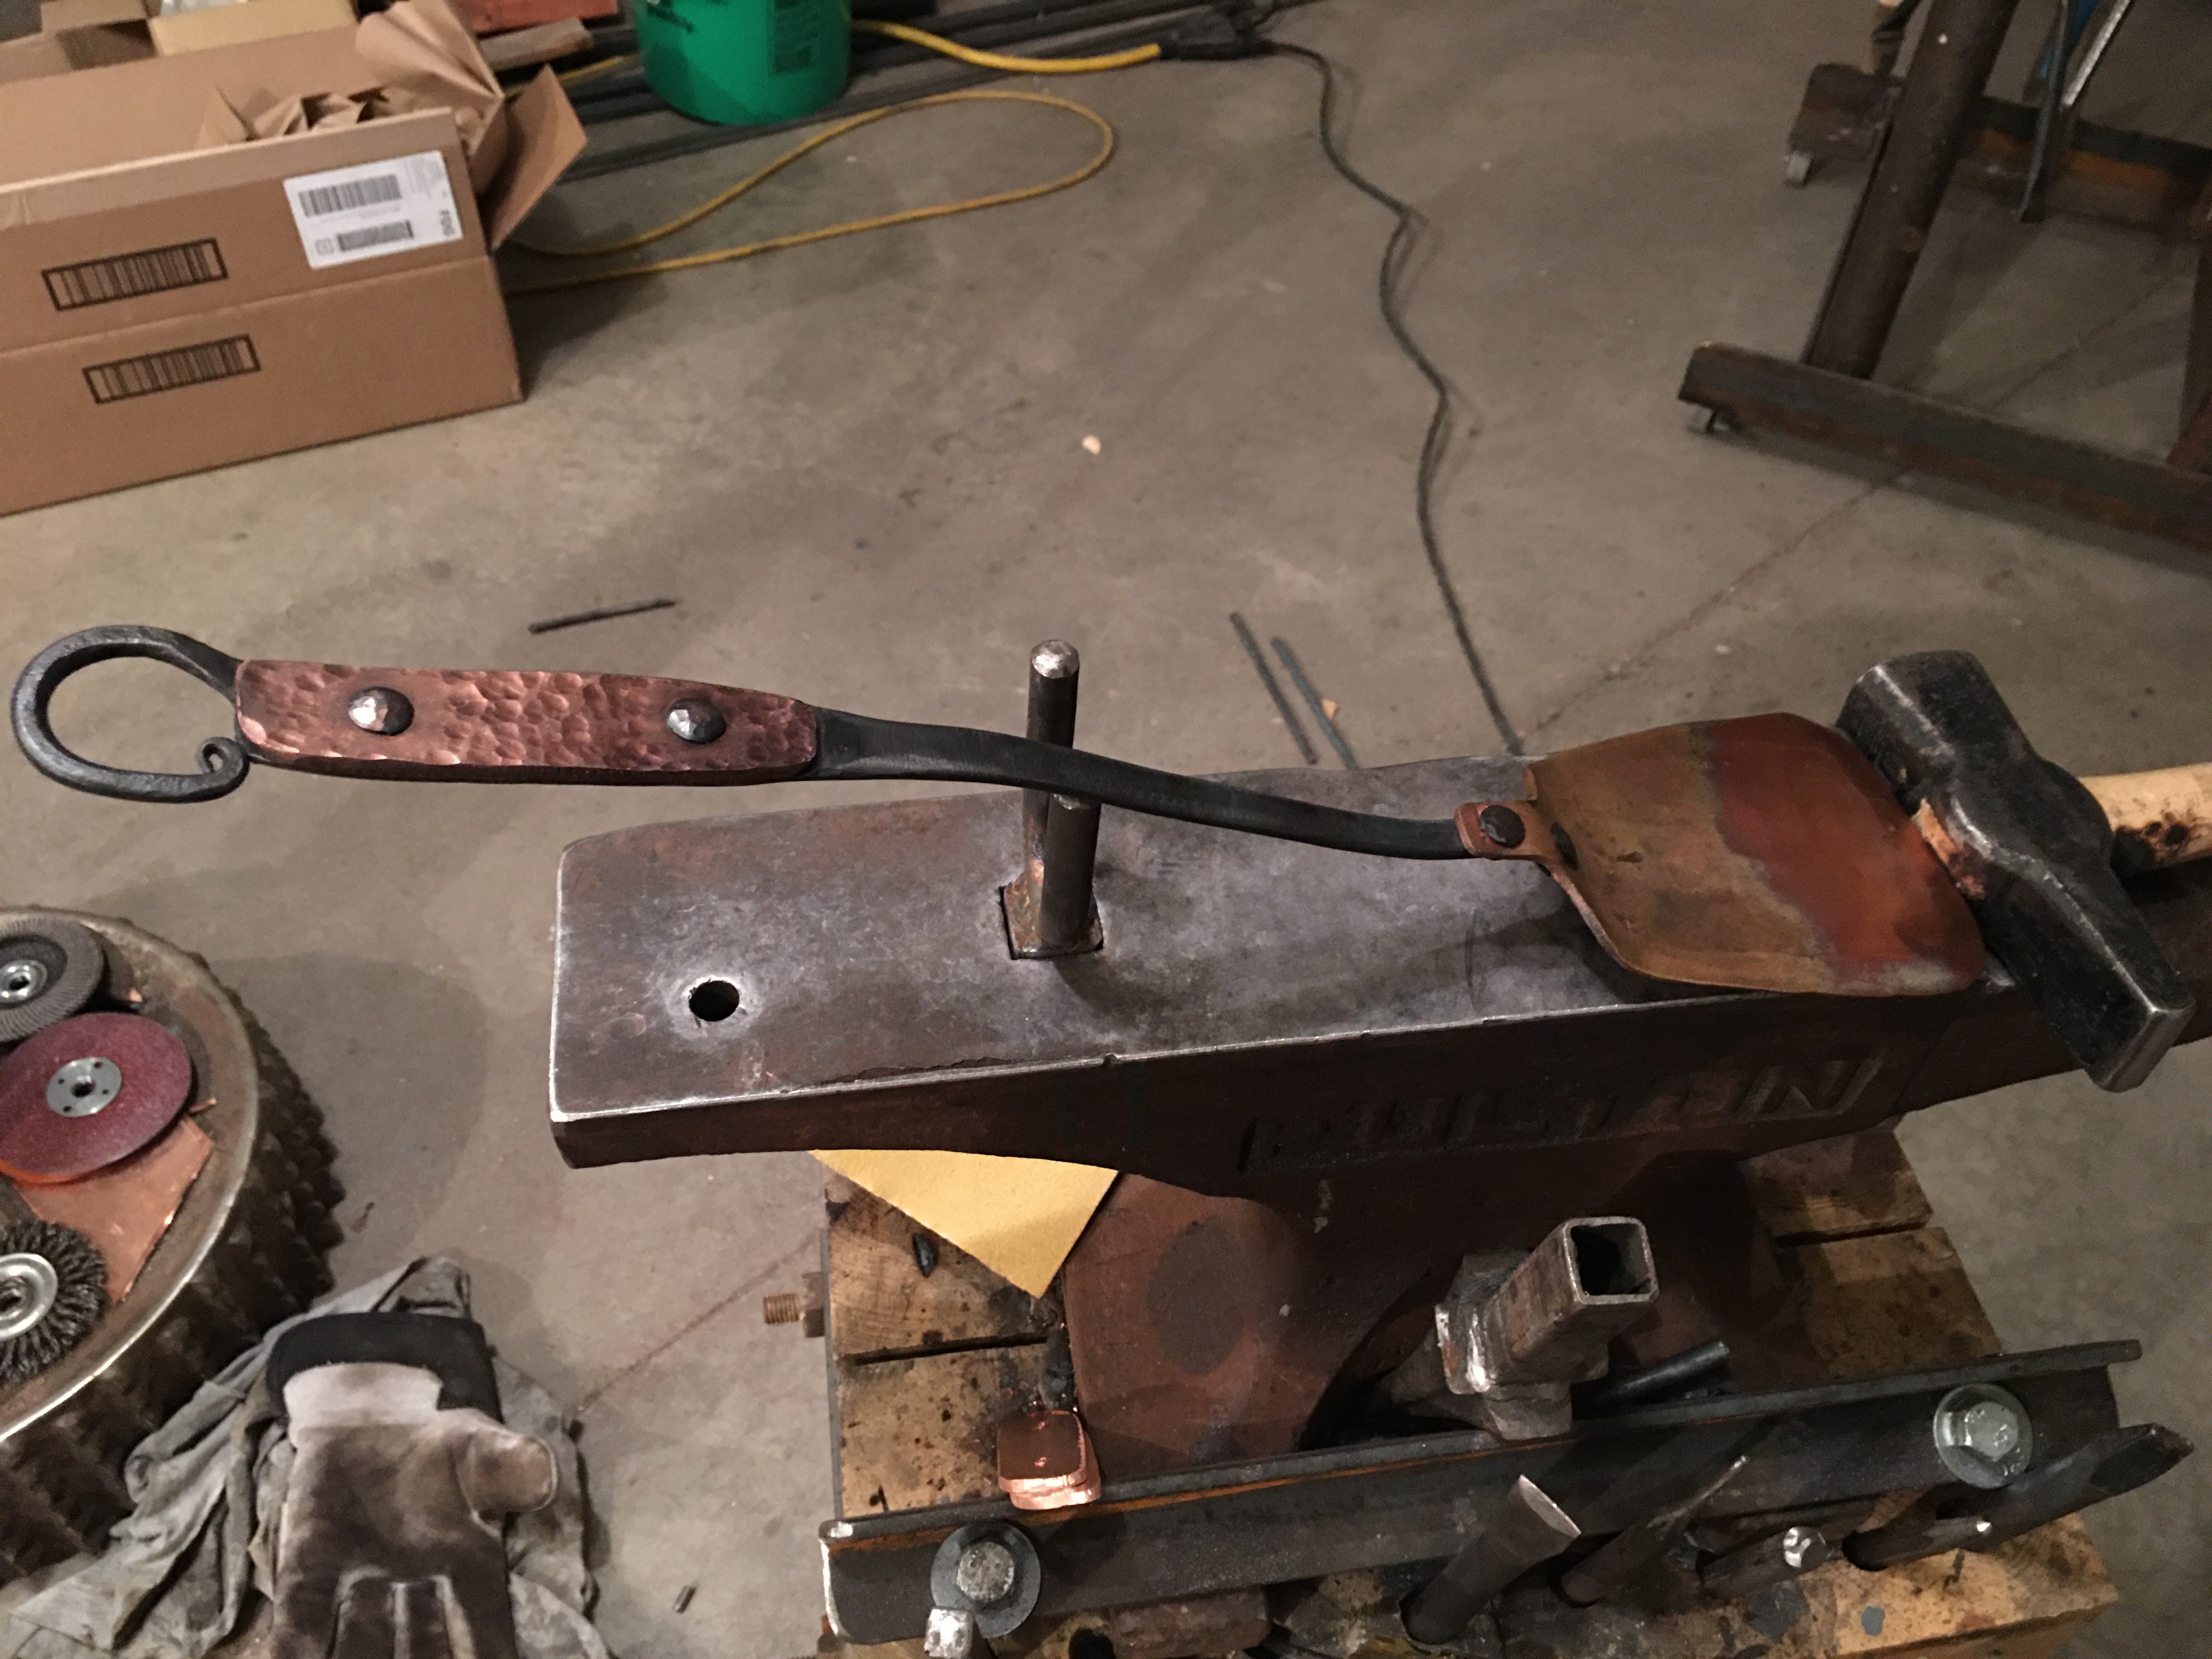
I got a good start on another present. I'm making my wife kitchen tools. The first three are a spatula, a ladel, and a pasta spoon. I almost finished the spatula, an be still need to assemble the other two. Construction is copper ends with copper scales on the handles. Handles and rivets are mild steel.

-
As far as curmudgeon experience goes I've been called one for about 36 of my 37 years.
-
So how does a grumpy youngish man add that title to his profile!
-
On 12/7/2020 at 5:01 PM, Frosty said:
Yeah, we're all our own worst critics. At least you're normal that way.
Well at least I'm normal in SOME way!
-
That snail is really cool! I might have to try my hand at one too!


What did you do in the shop today?
in Blacksmithing, General Discussion
Posted
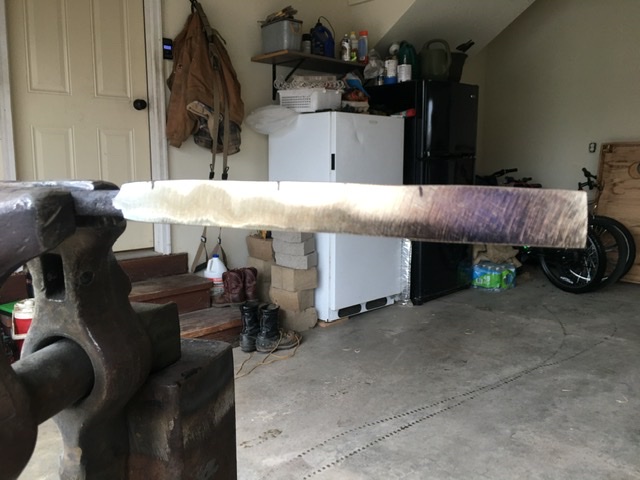
I forge a small kitchen knife or if the cable I welded up. Ground it down to 220 grit and then did a quick acid etch on it. It looks good I'm hoping that it'll harden up and hold an edge well too. I've seen lots of knives and hatchets made out of cable on the Pinterest and the YouTube, but I've also seen a lot of knives out of railroad spikes..... This cable sparks like high carbon so I think it should do fine.