TheOtherBart
-
Posts
14 -
Joined
-
Last visited
Content Type
Profiles
Forums
Articles
Gallery
Downloads
Events
Everything posted by TheOtherBart
-
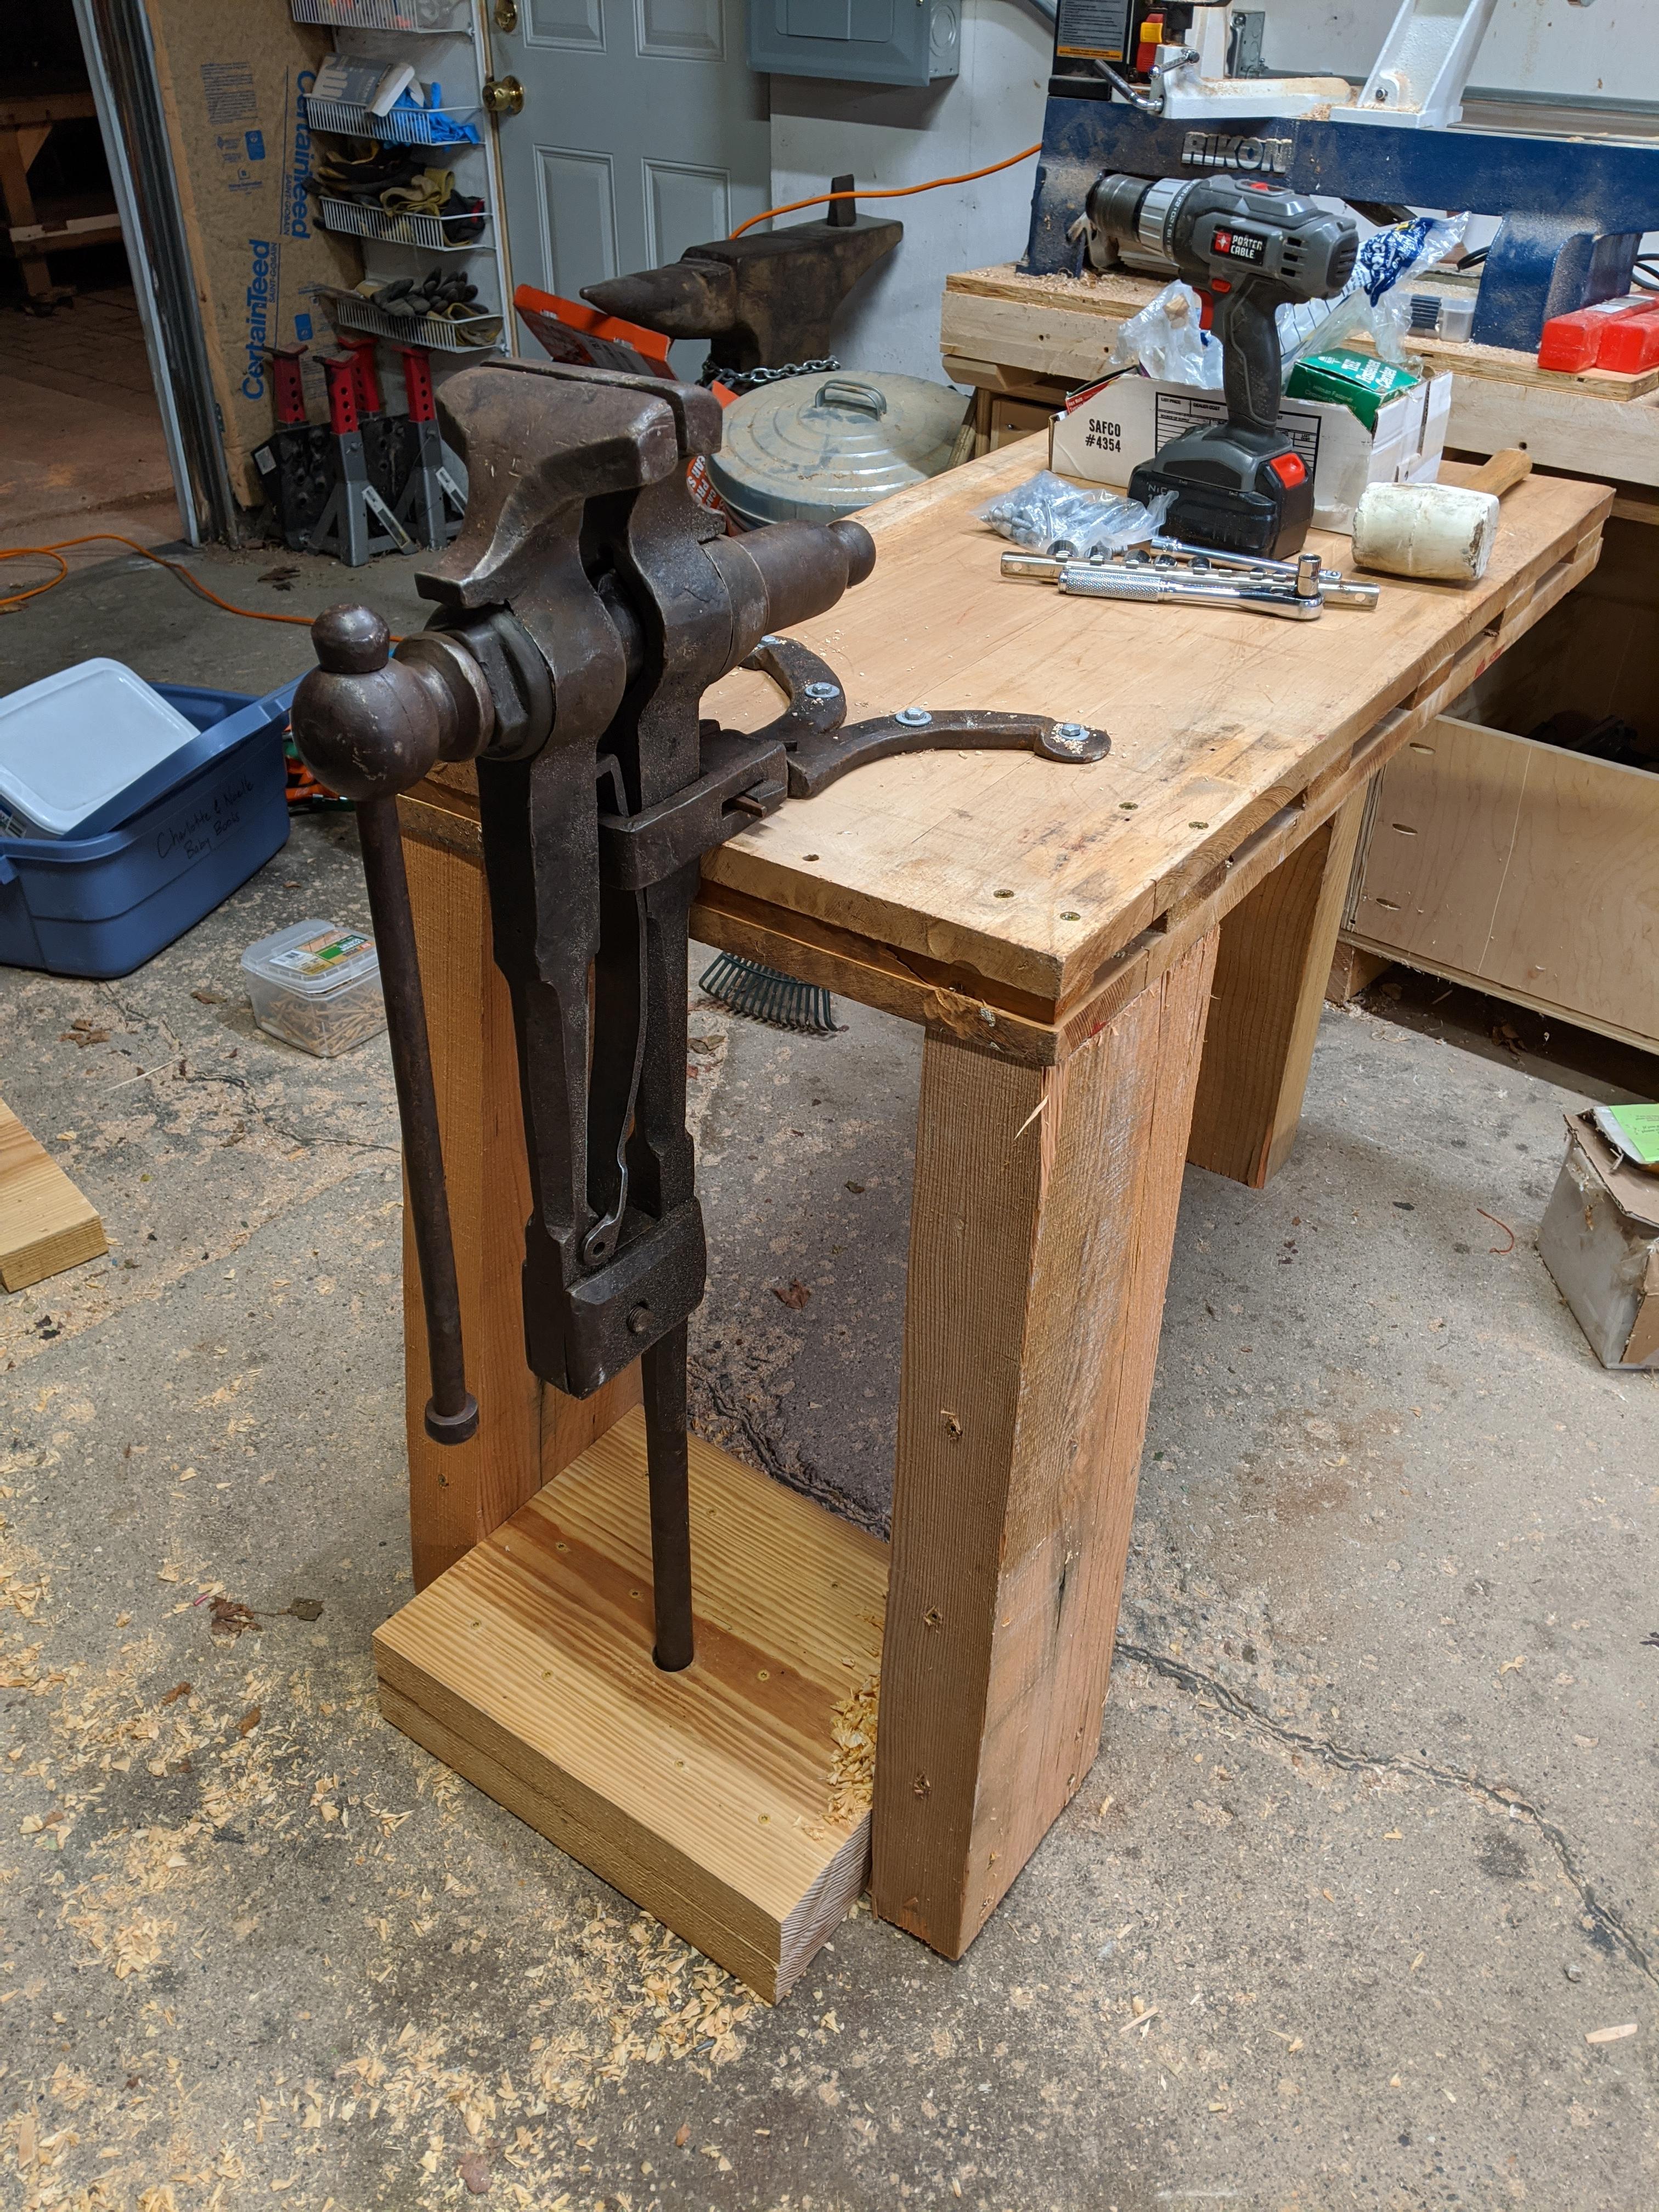
Getting closer...the bench needs some wide aprons around the bottom and a skin on the top, but everything else seems to be functional.

-
Thanks Thomas, that makes sense about the spring.
-
Thanks Frosty. On closer inspection, that hole in the spring that Frazer zeroed in on does not have any corresponding hole behind it in the jaw, so no pin missing. And I'll try driving the wedges a little tighter and see what happens.
-
Sure looks like it, doesn't it? I'll see what kind of stock I have to make one. But I agree that it's absence probably isn't affecting the play.
-
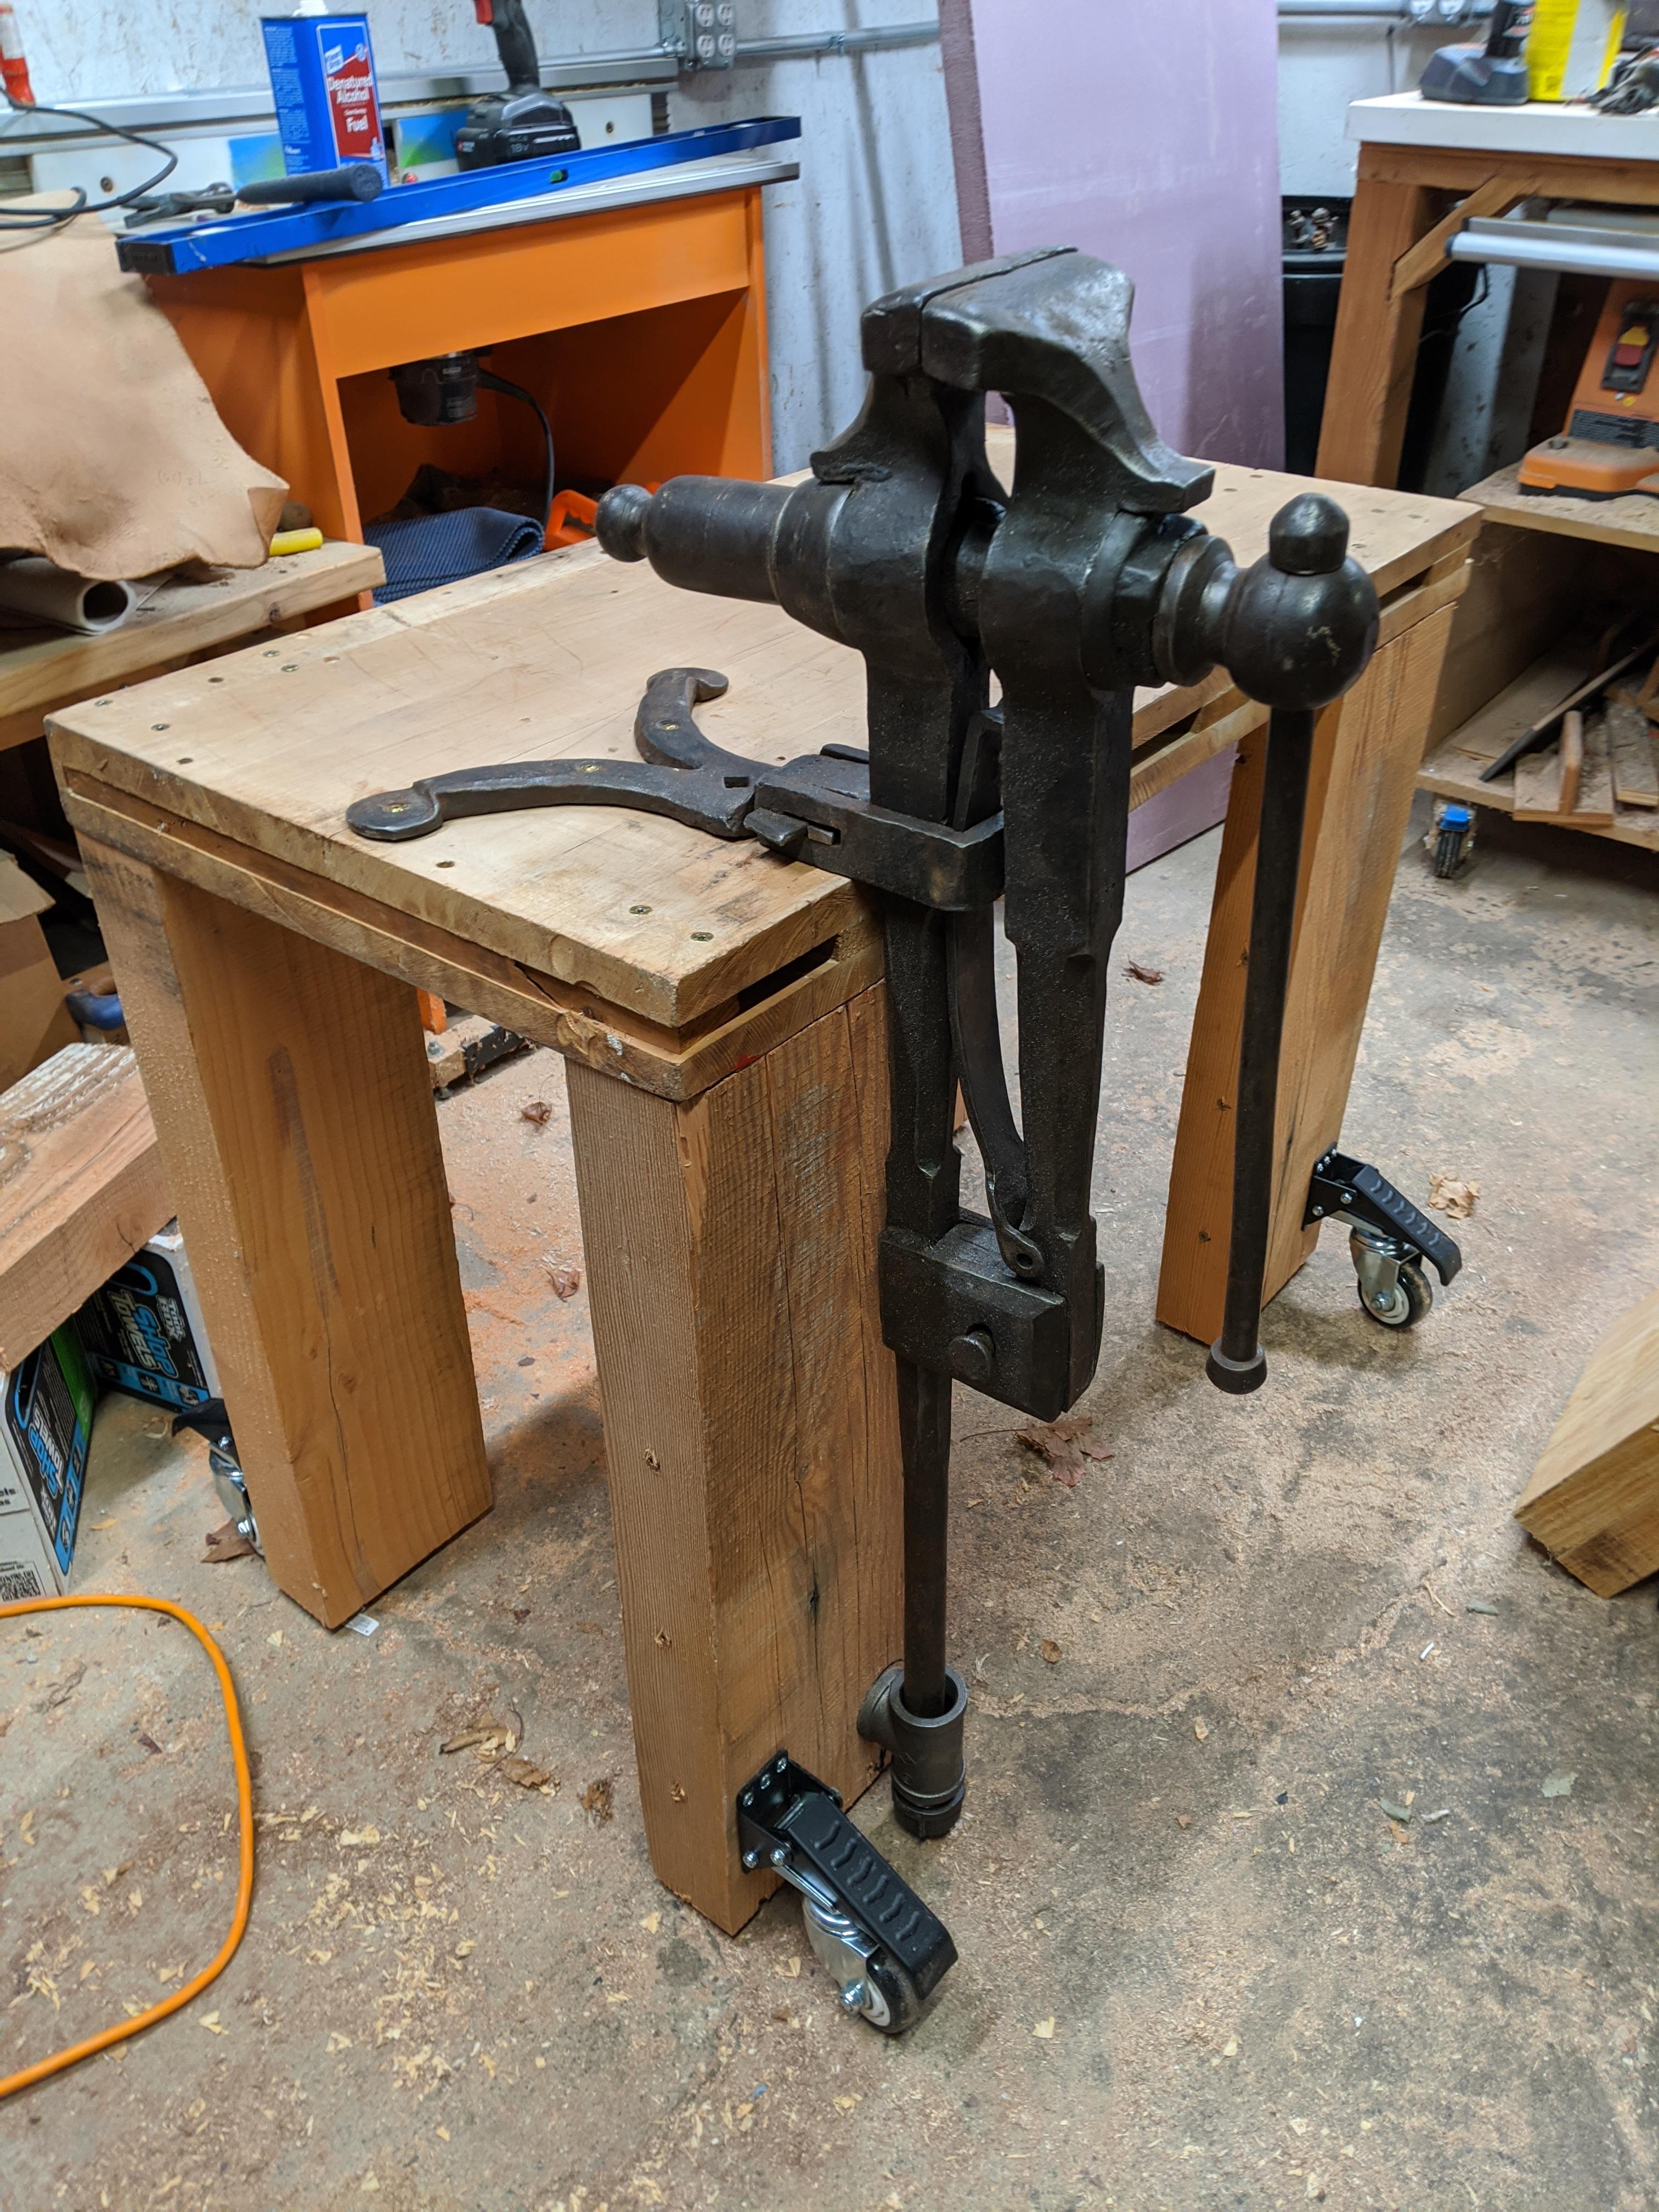
Here's what I've got so far: The vise leg goes all the way through that wood block to the floor. I built it with three legs thinking it would always sit solidly and not rock even with my somewhat uneven floor, but leaning hard on those back corners is enough to make it want to tip. That's a pretty easy fix. The height of the bench is based on where the mounting bracket was on the vise when I got it. Once I started messing with it and realized that bracket can be moved up and down I'm wondering if I'd like it better with the bench lower. It's fine for now, and if I do decide to shorten it later that won't be a huge deal. One question since this is my first post vise...when I clamp something in it, there's a little play where the vise sits in the bracket. Hard to explain, but looking straight down on the vise the whole thing rotates back and forth a few degrees if I pull on it. Normal, or something I can tighten up?

-
Thanks! I'll either do something with retractable casters or build something that moves like a wheelbarrow. That's the route I went with my anvil stand. I wonder if my vise hasn't already been trimmed at some point because there is no "acorn", the leg just tapers down to a flat end. And good point about the tripping hazard. Especially when "stowed" in the garage where I tinker on other hobbies, the chance of me tripping over a platform would be pretty high.
-
Thanks y'all. The issue with a platform is that I need the vise stand to be easily mobile (I know, not ideal). I'll fiddle around with the design and see what I can come up with.
-
Related to the point about vise height, is there any sin in trimming the leg of a post vise? To mount mine where and how I want, it will end up ~2" too high unless I cut that much off the leg.
-
Yep, cheap hardware store firebrick. Much appreciated. I'm looking forward to getting more time on it.
-
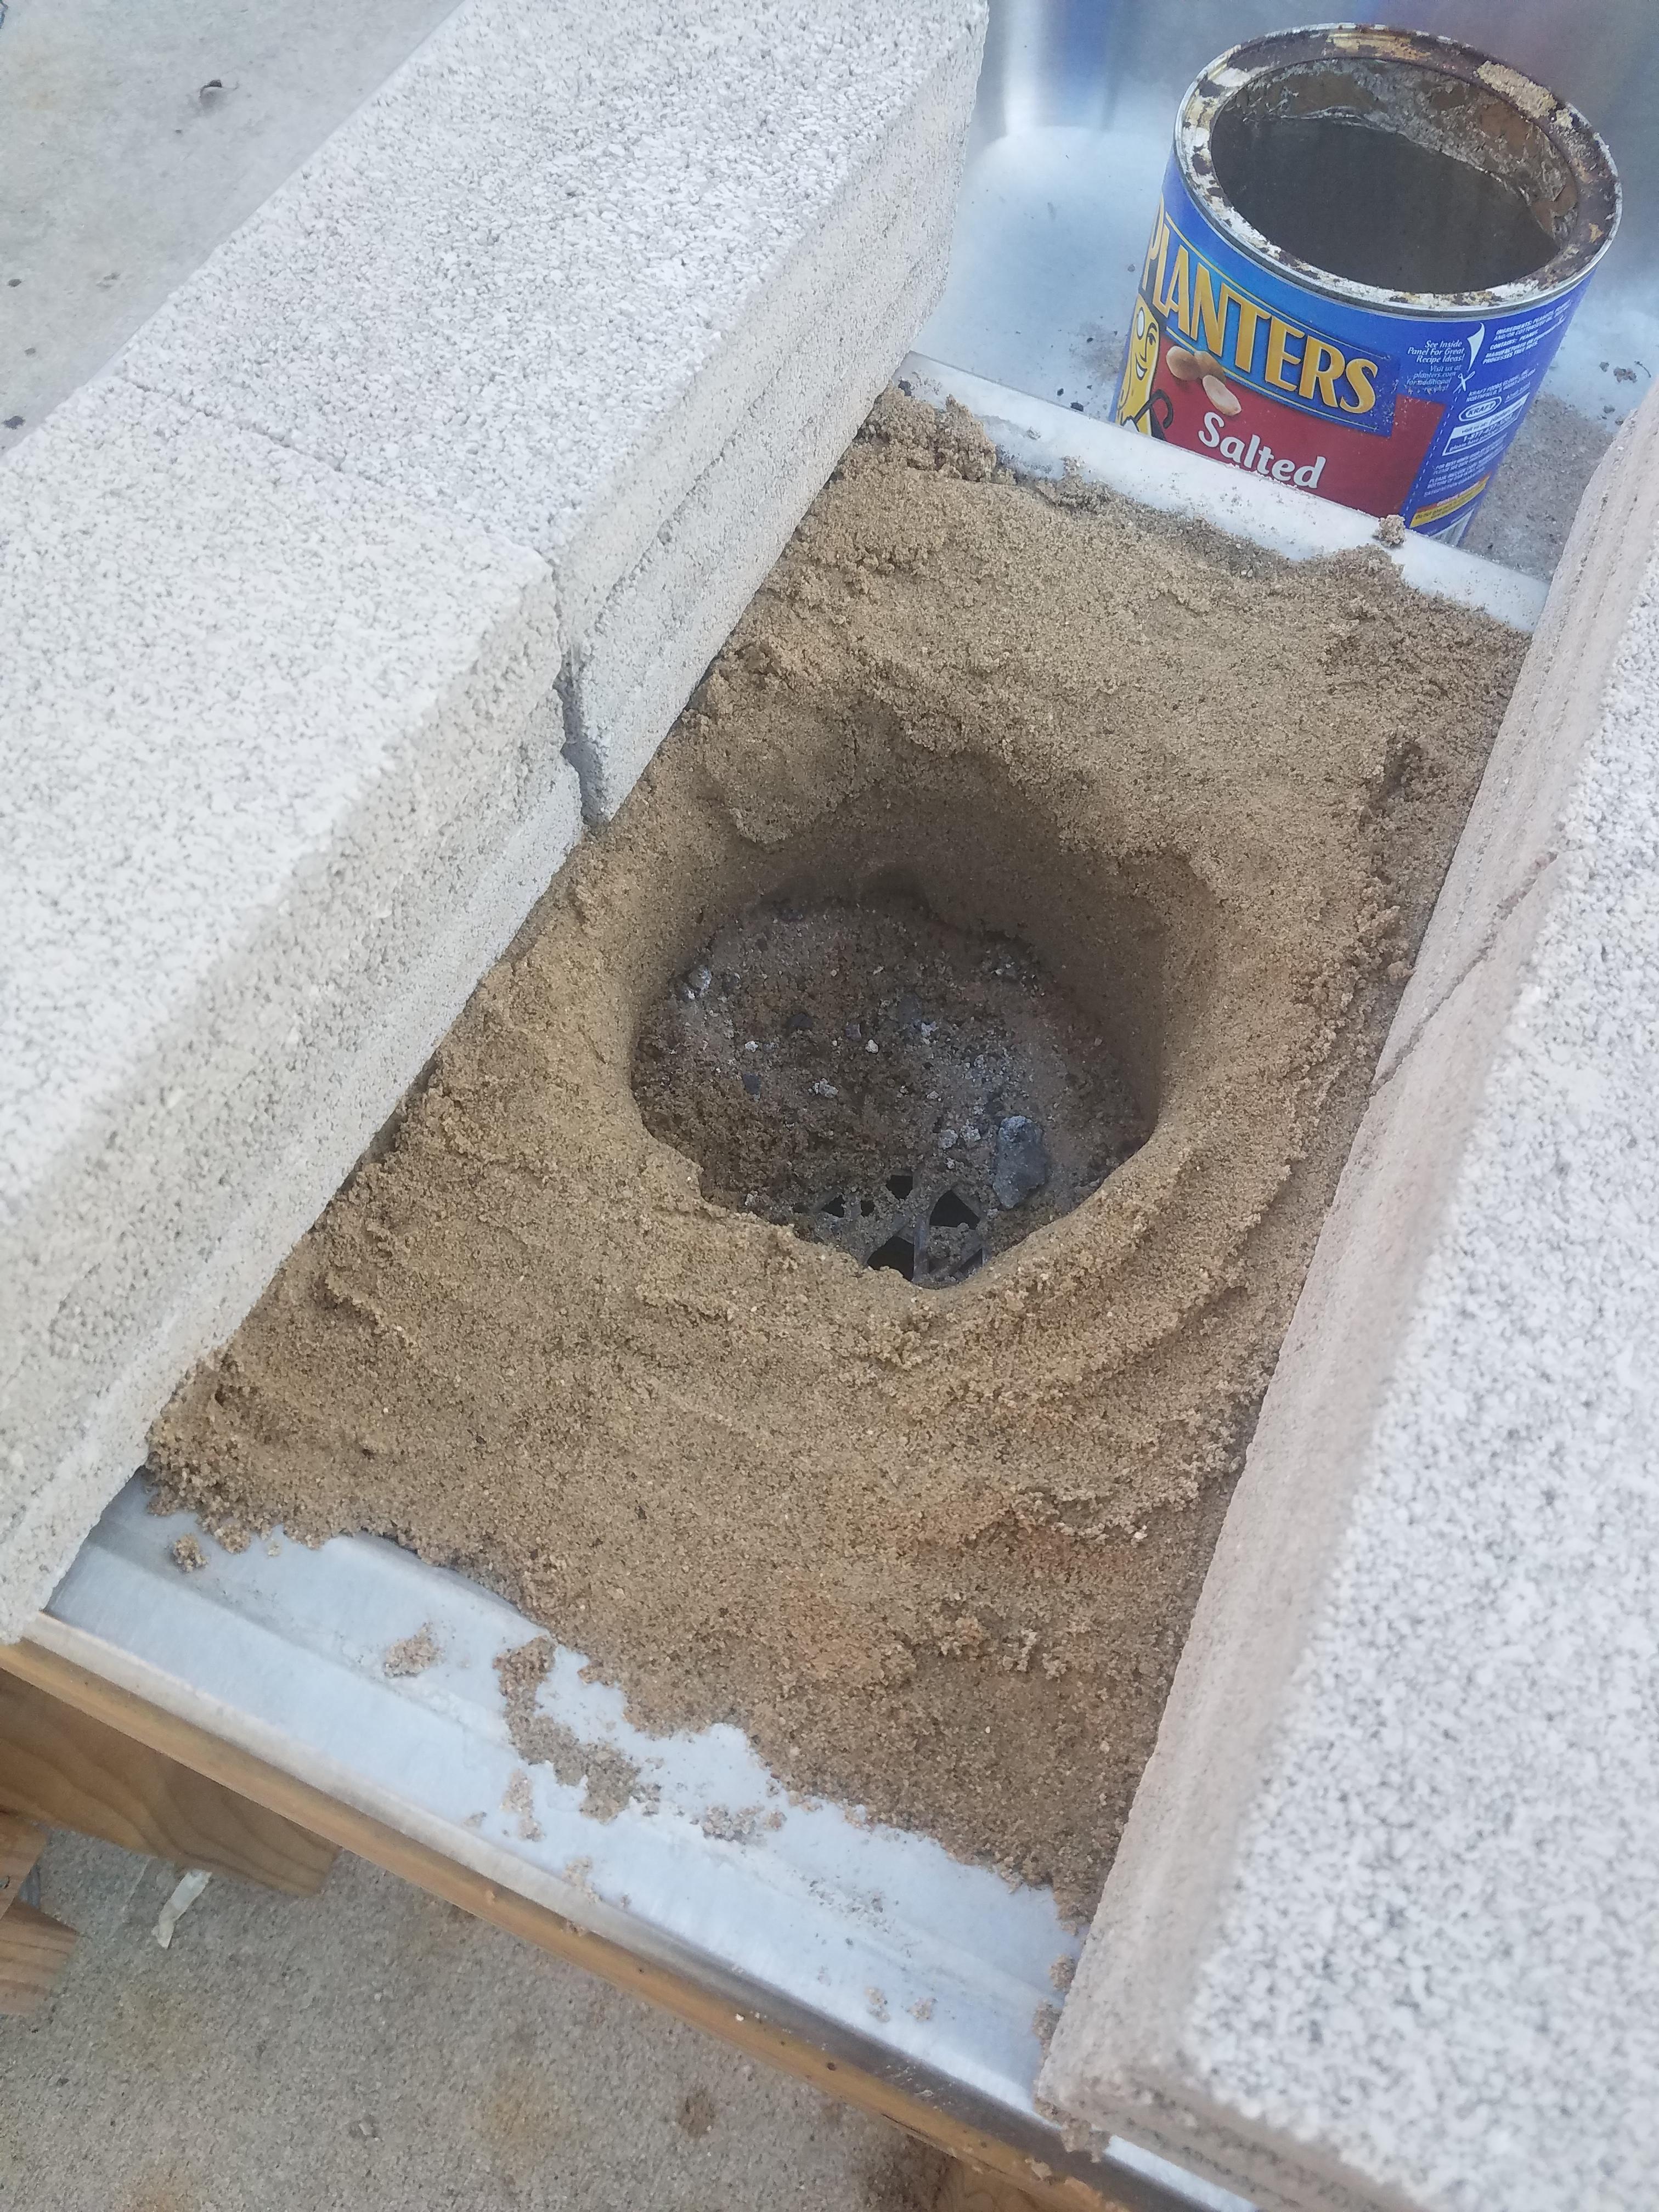
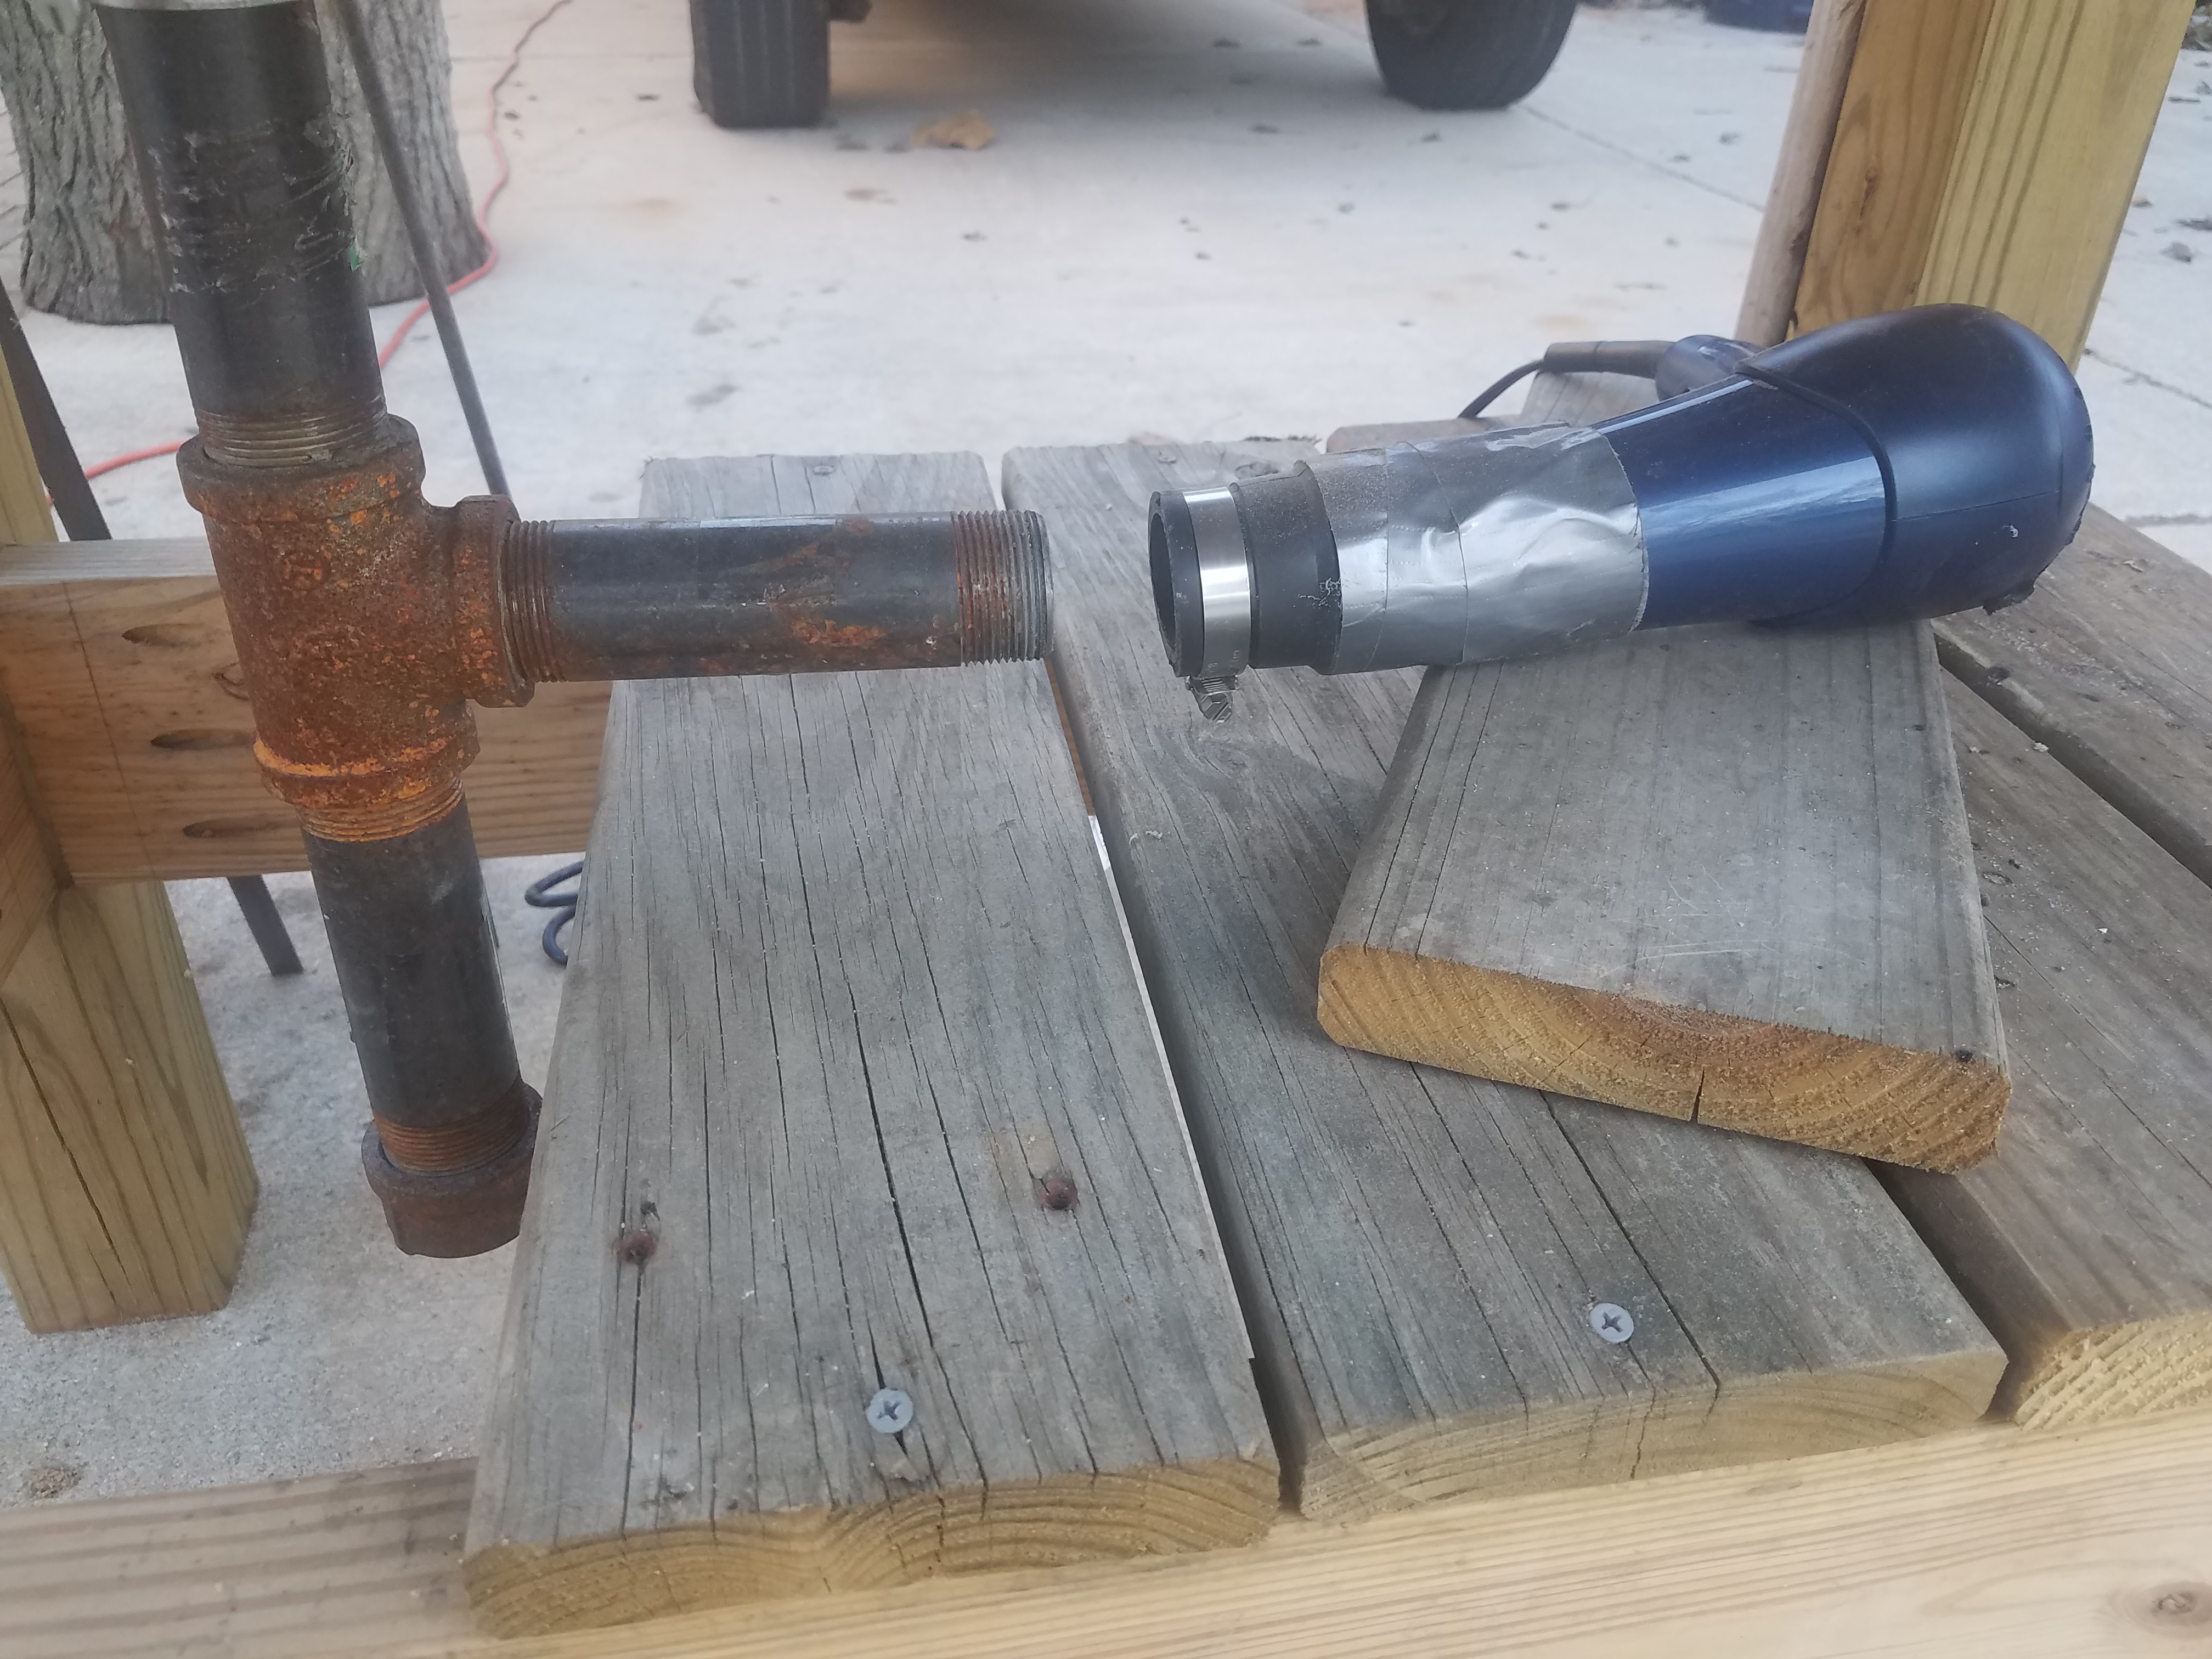
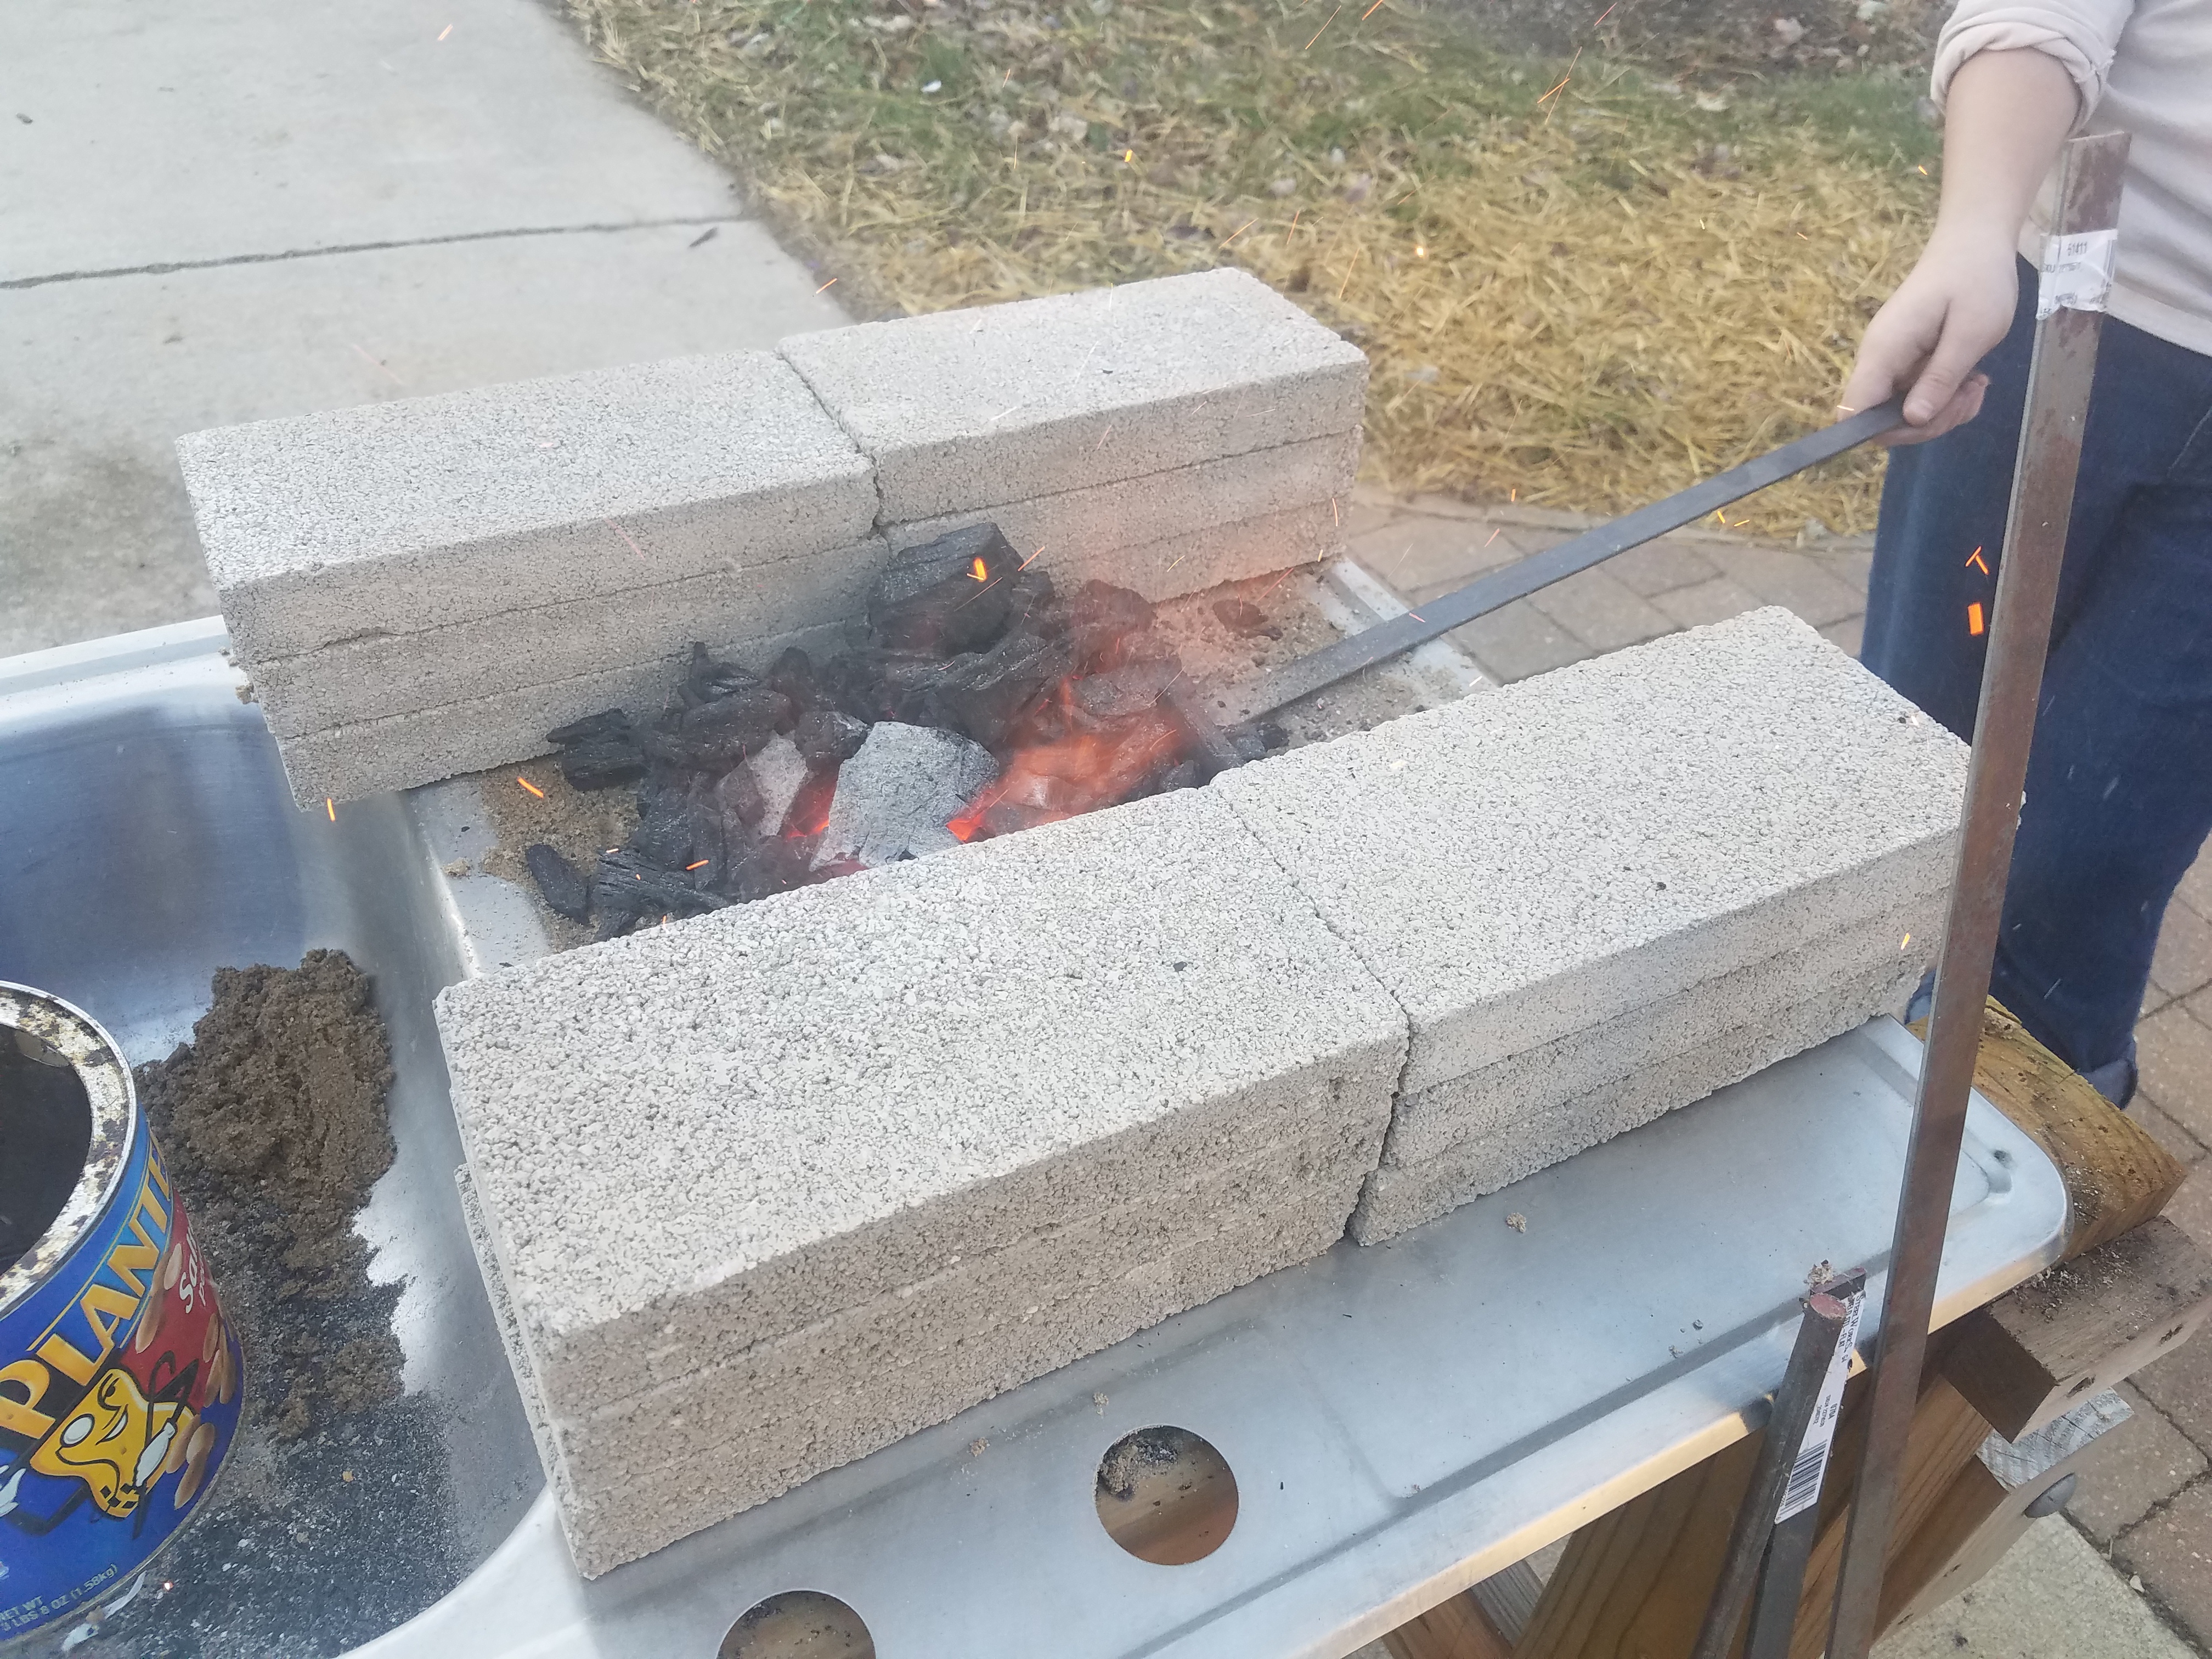
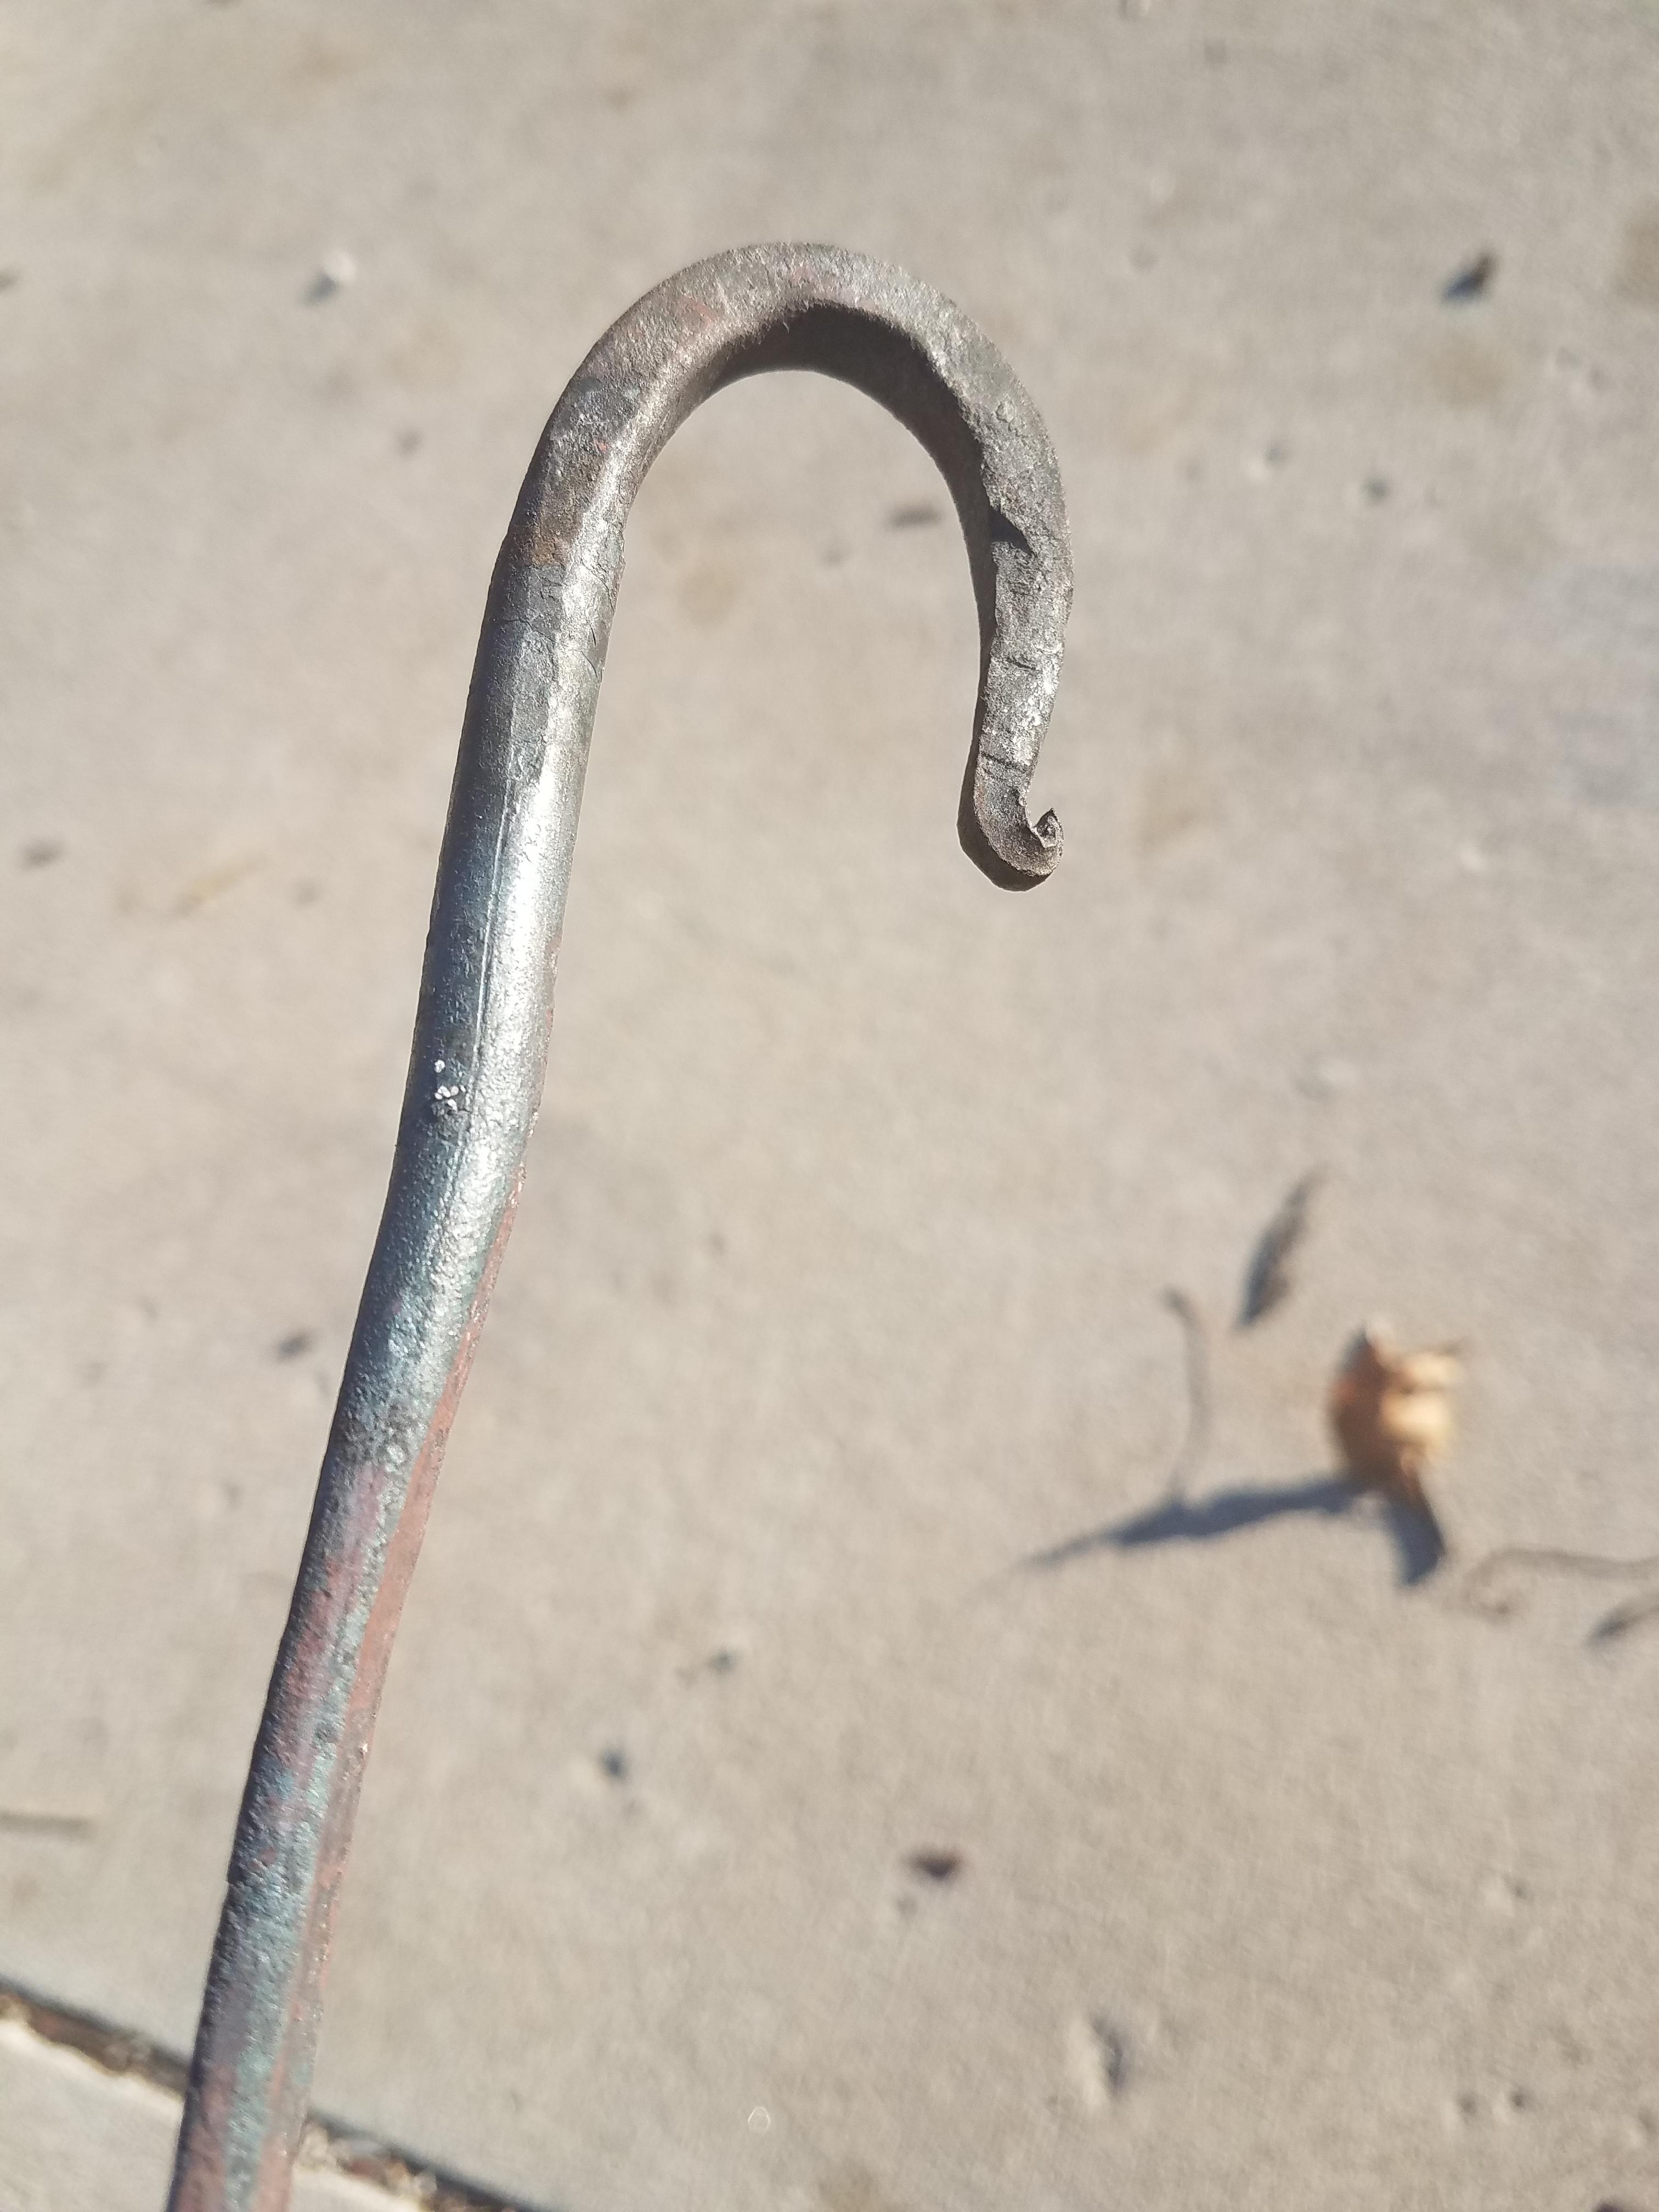
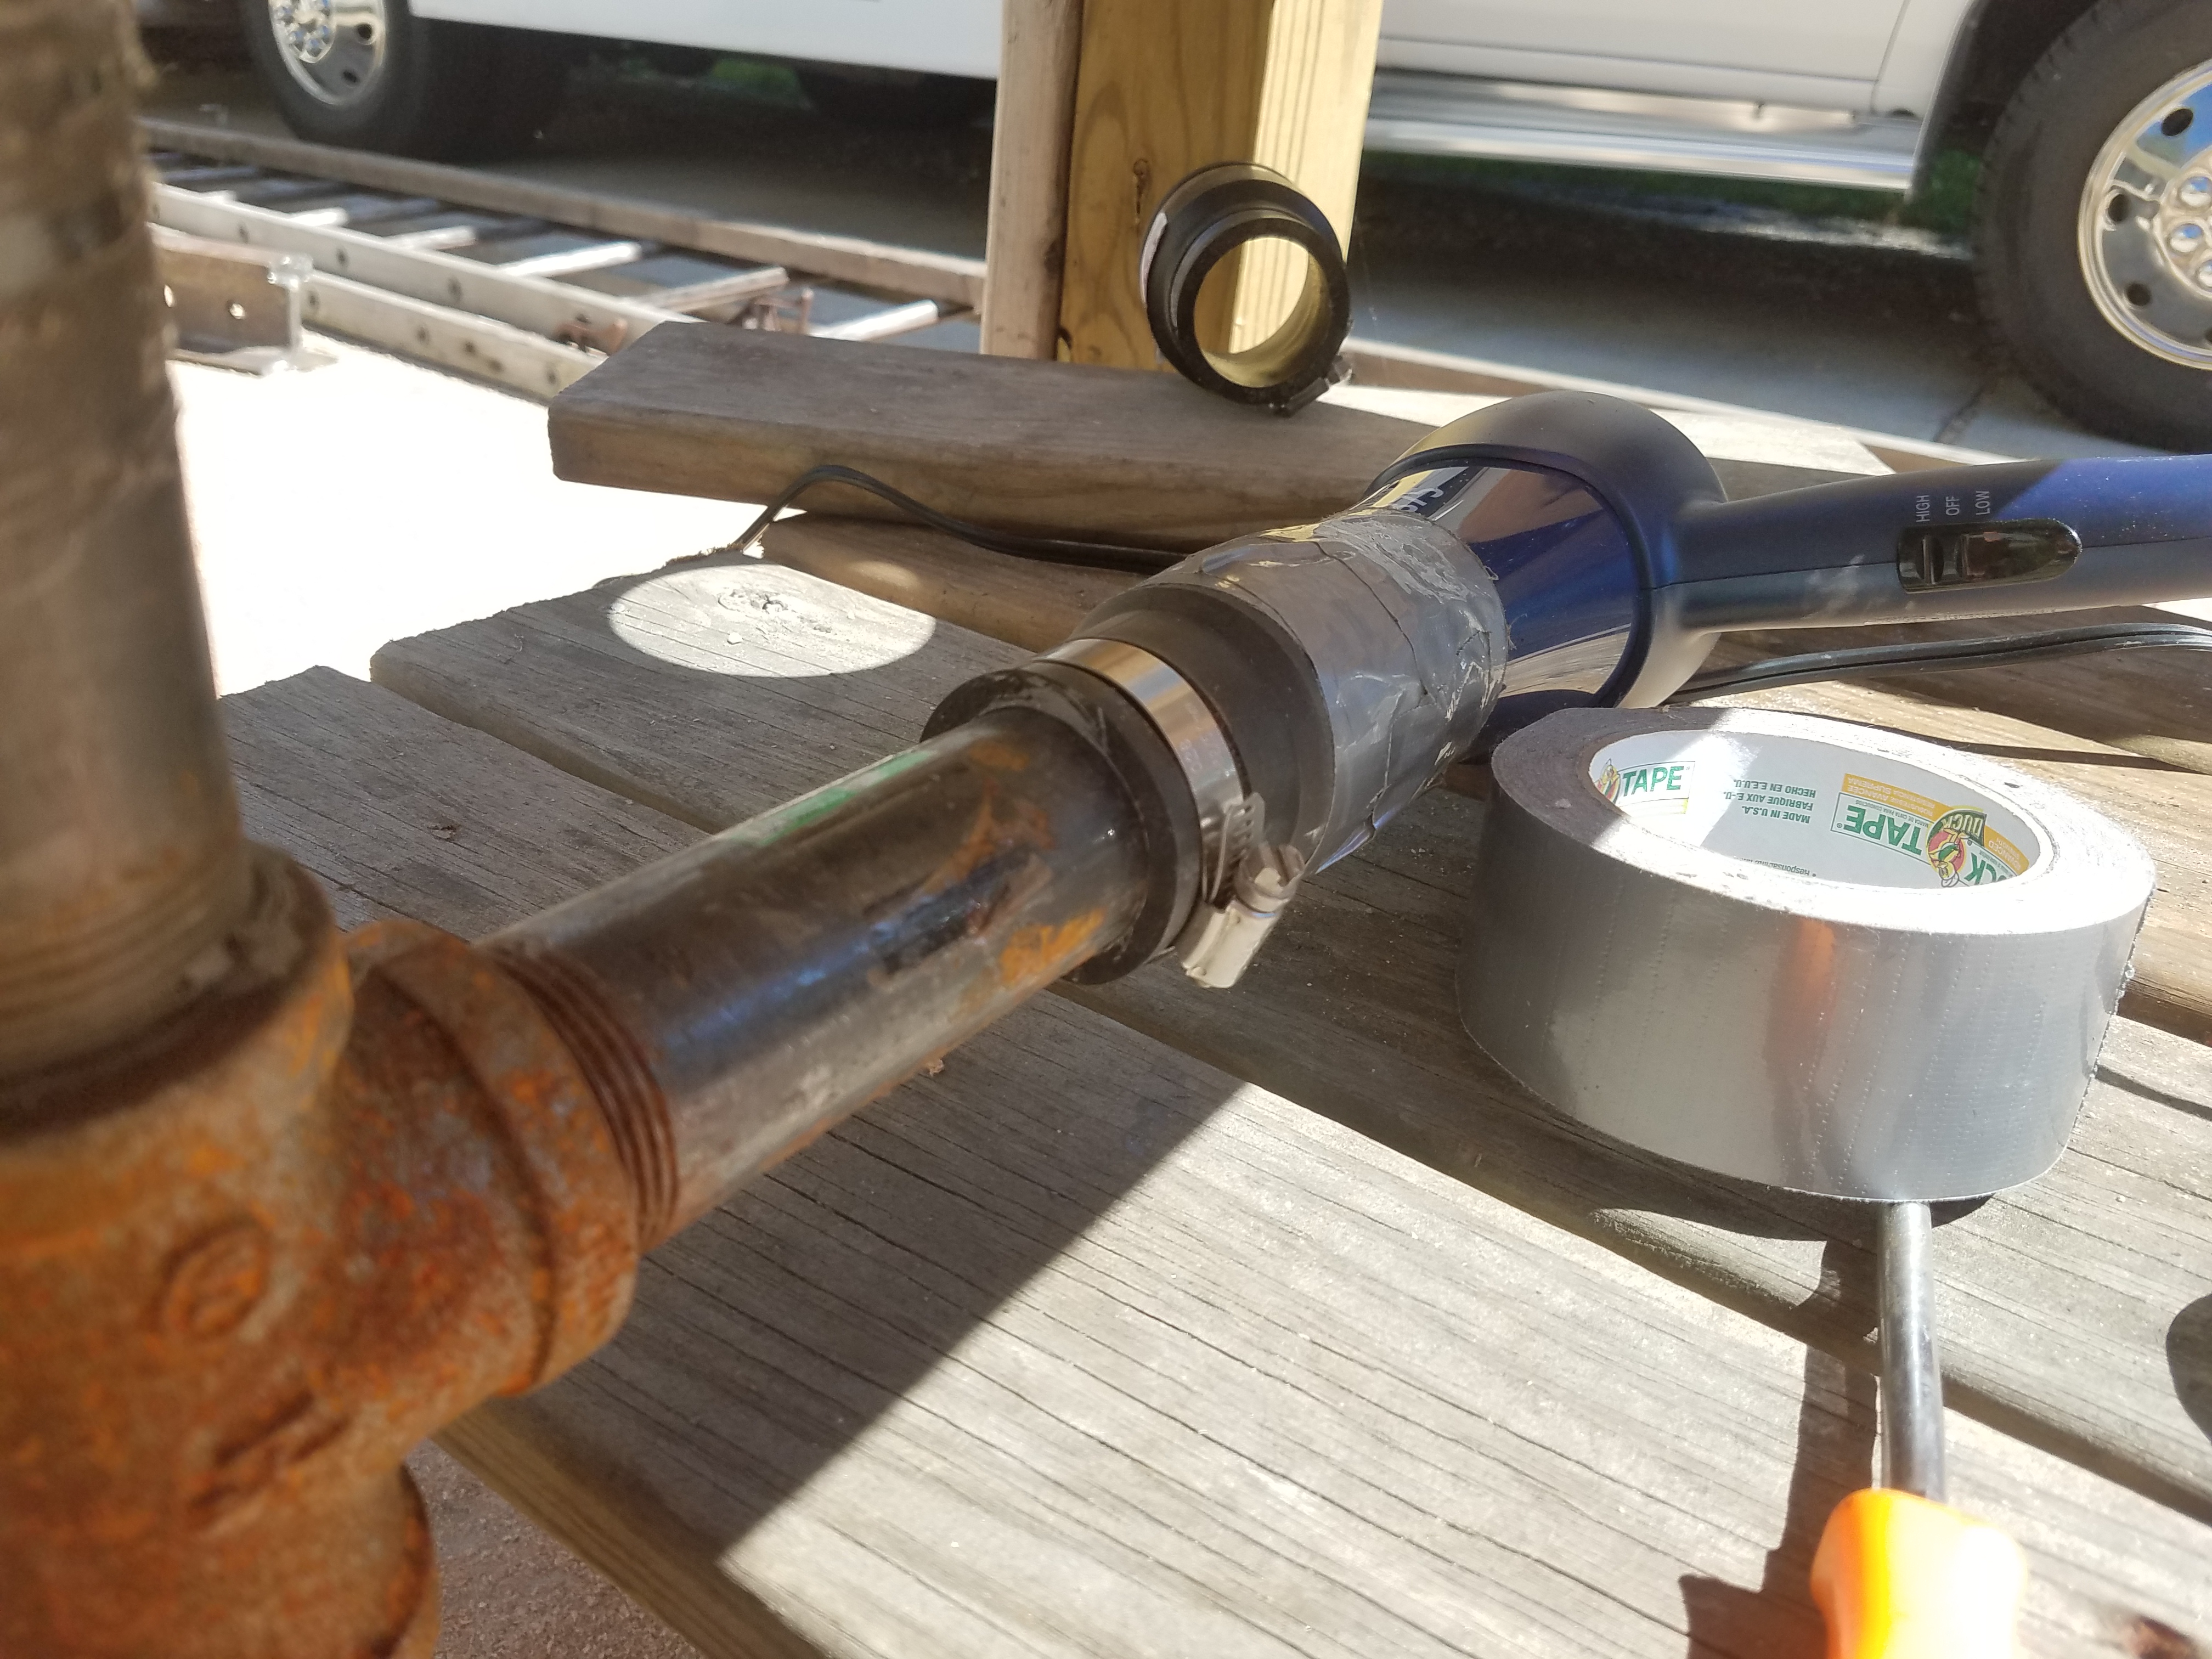
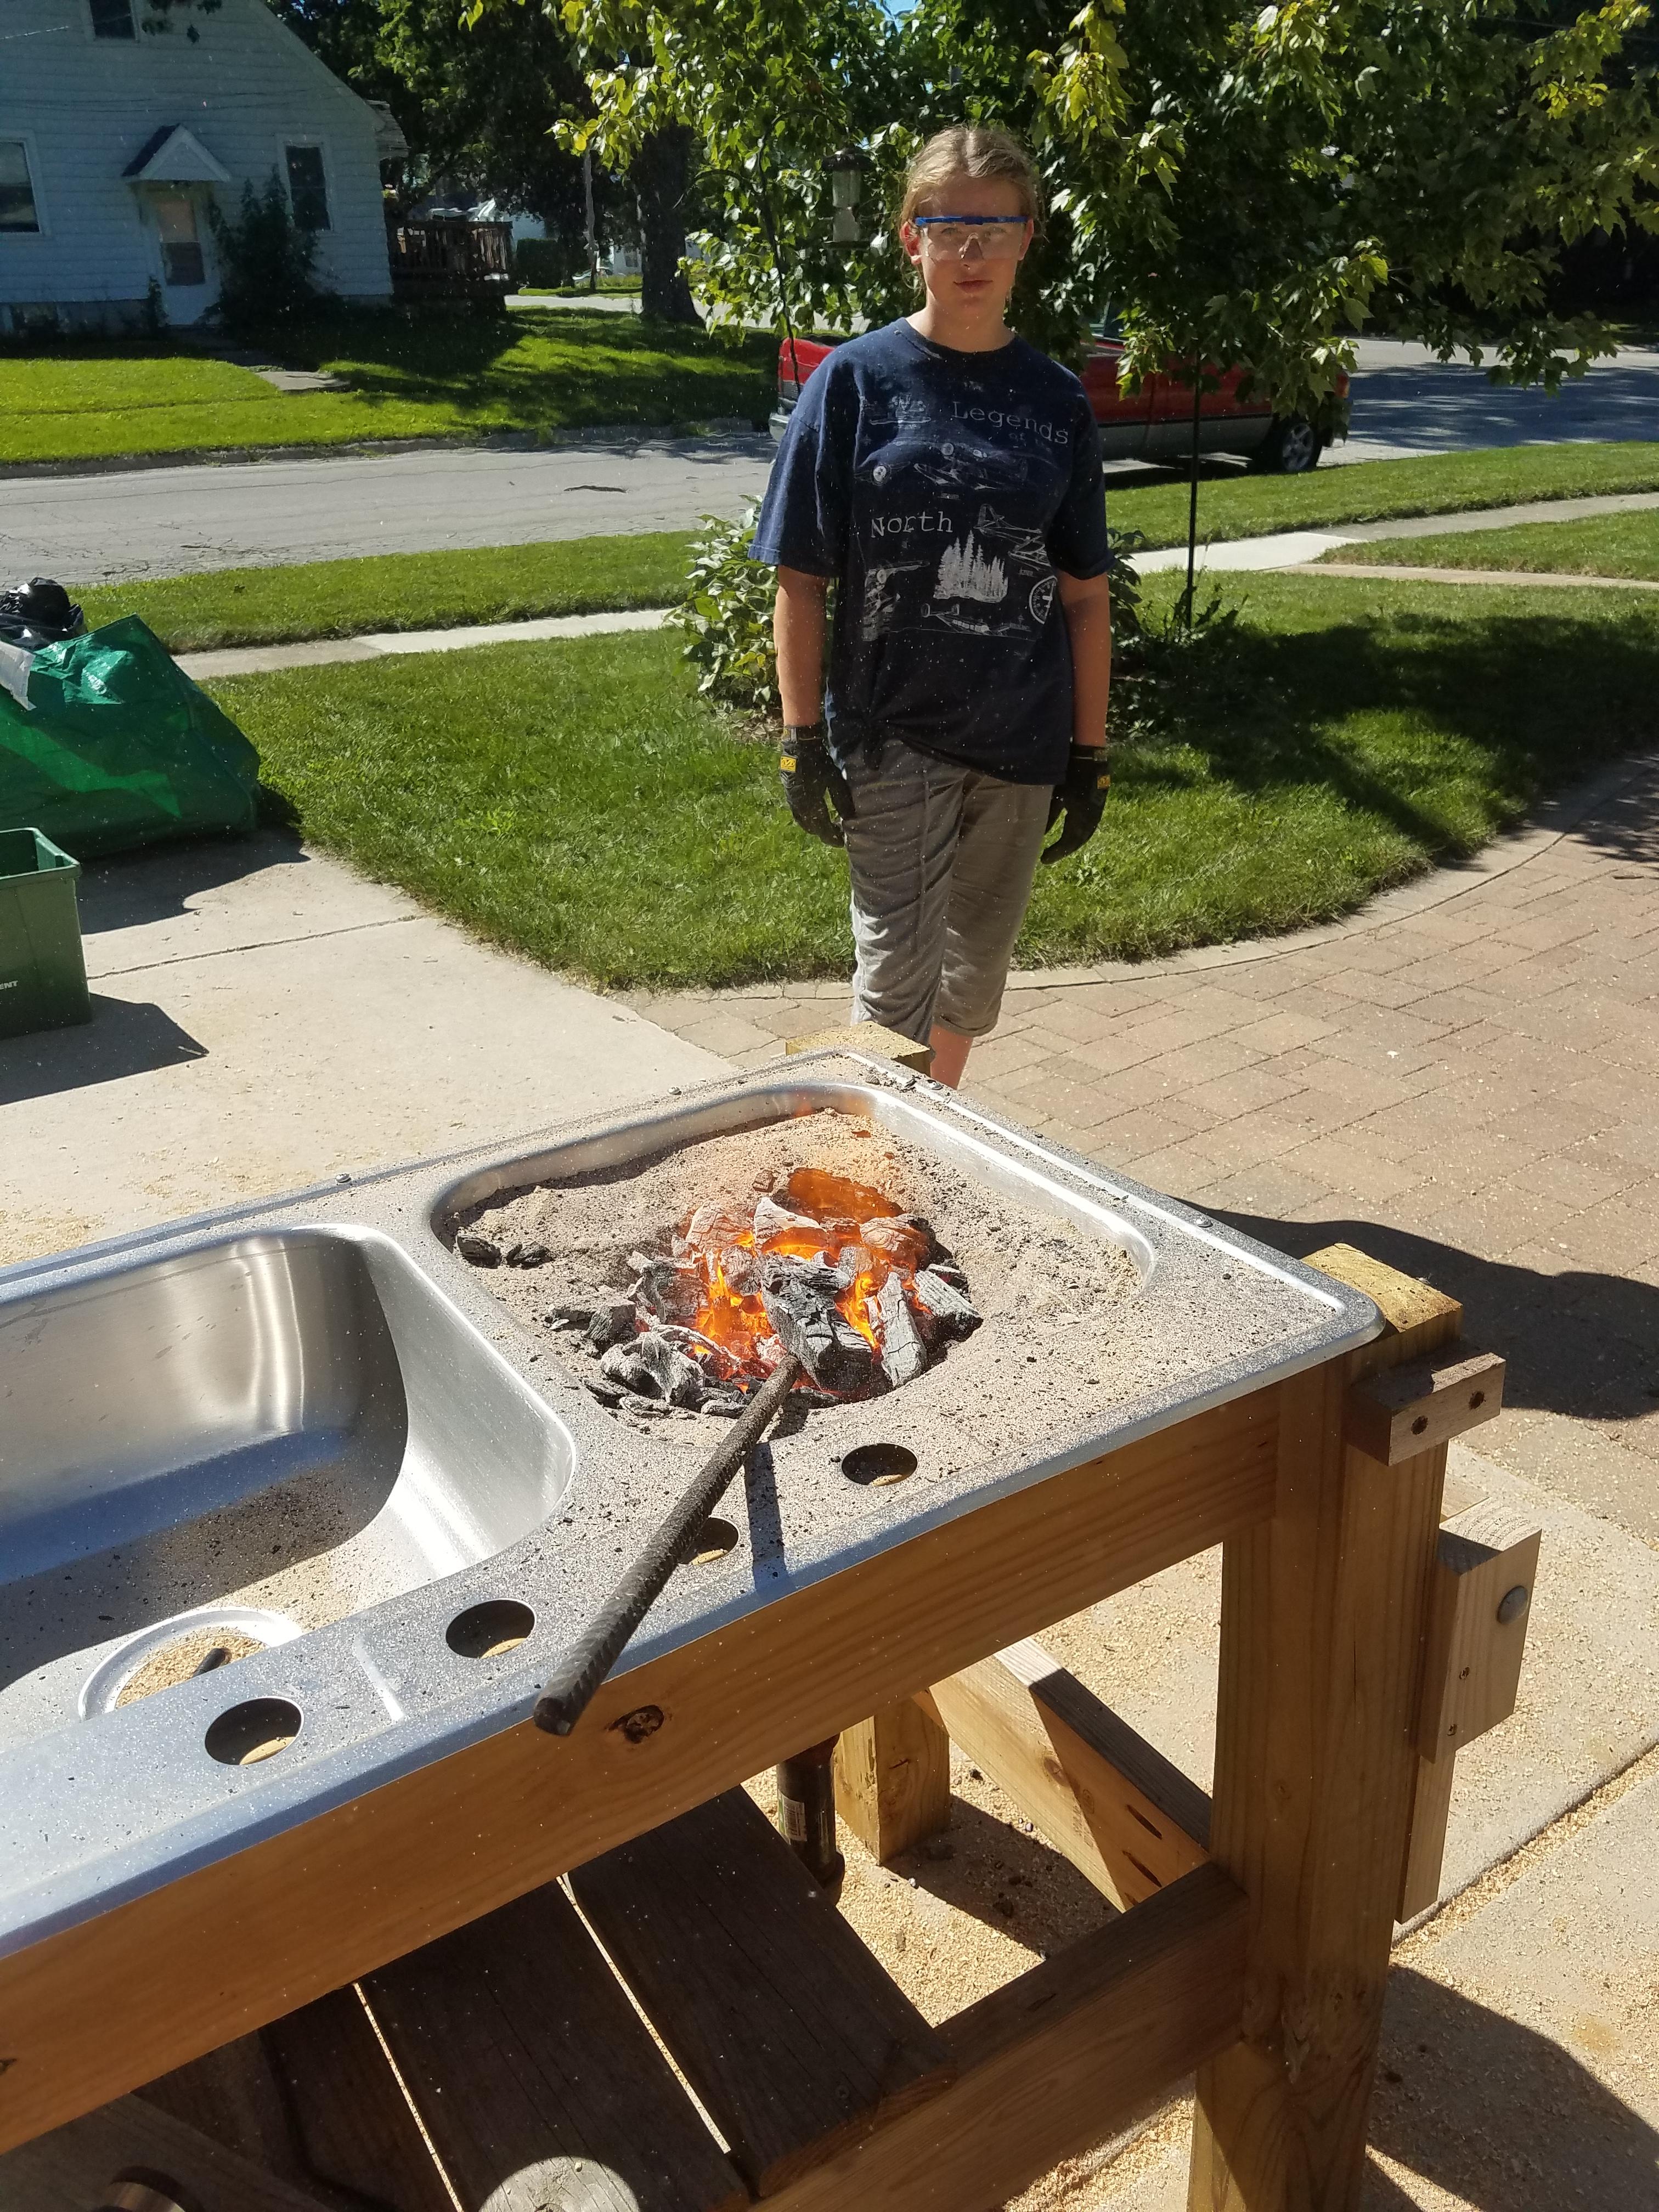
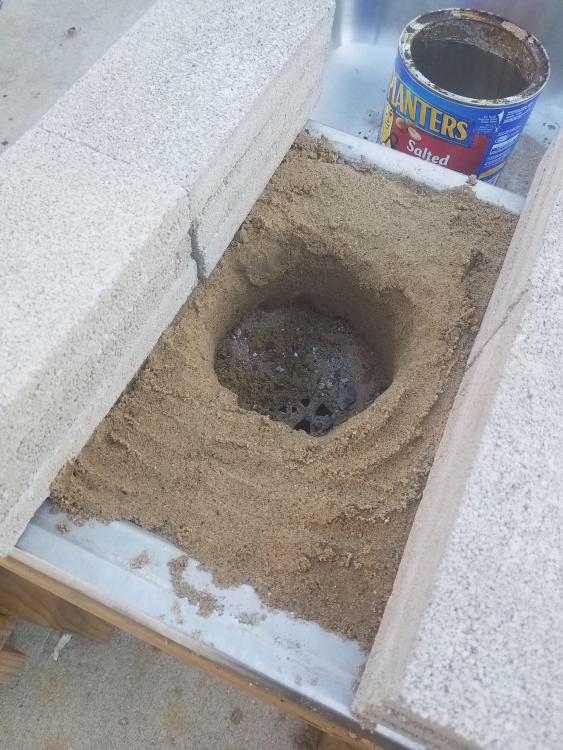
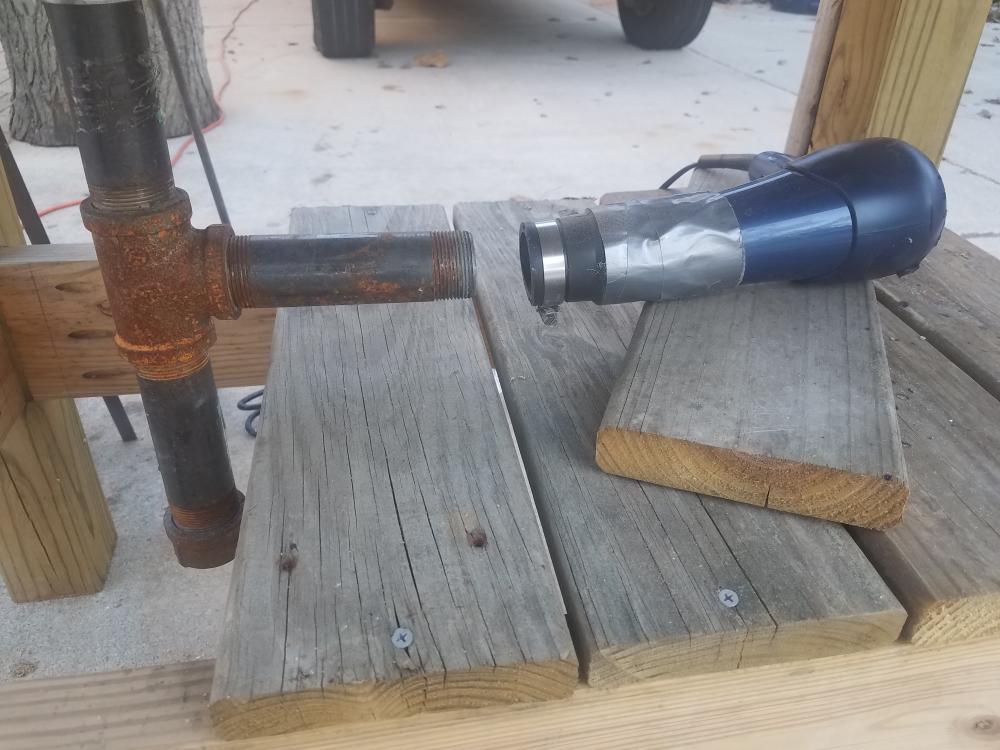
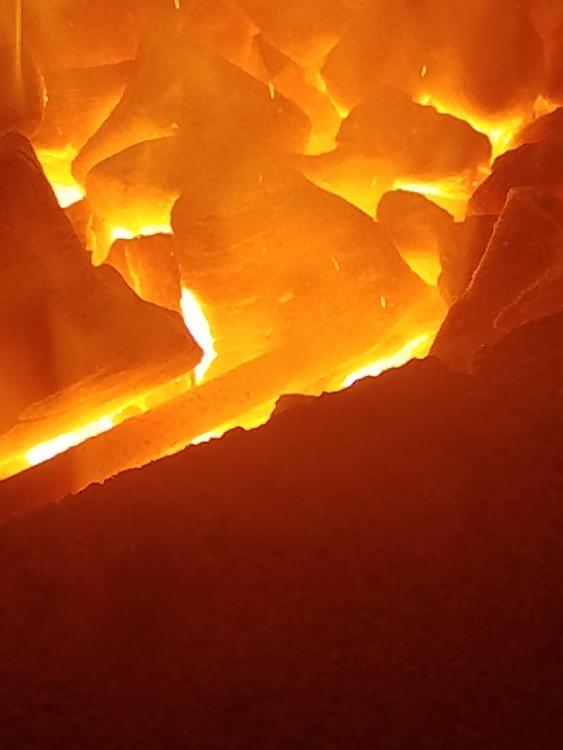
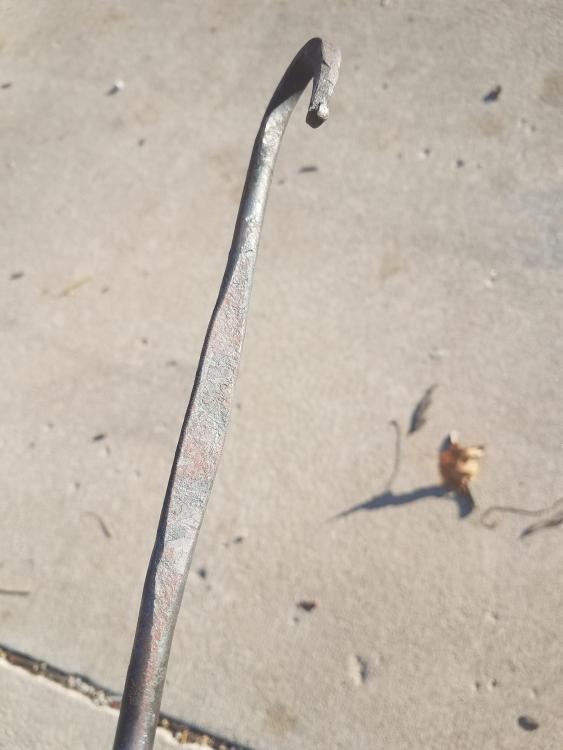
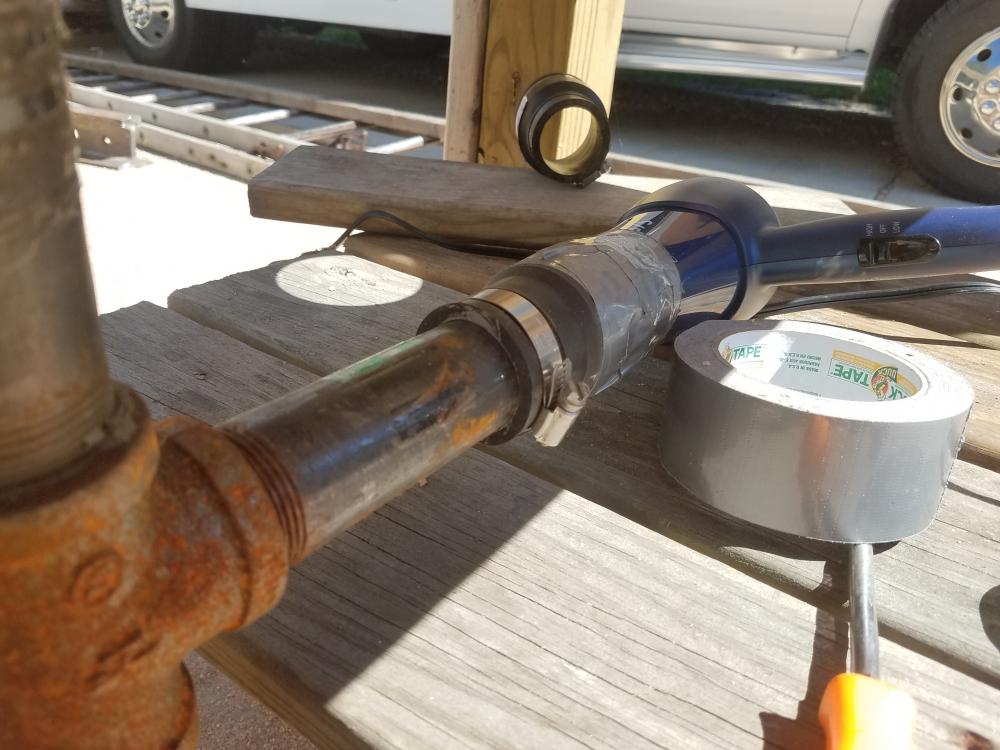
It's been a long time since the last update because we got busy with school and work and life, but over the Thanksgiving weekend we had some time to take all the great advice I got here and give the forge another try. We filled the sink with more sand so that we could put firebrick up on top to form a trough. In the process of that of course we pulled out all those briquettes that were causing problems. And we spaced the hair dryer back from the pipe, and plugged it into a sewing machine pedal for on/off control. I hesitate to say it worked better, since it's been pointed out (correctly) that I don't know poop from Pine-Sol, but in my perfectly ignorant opinion it worked better. My daughter had fun banging on some flat stock but didn't have time to finish anything because of a previously scheduled social engagement. I kept at it a little longer and managed to produce what I think is a rough but serviceable coat hook. A good time was had by all. Everything y'all suggested worked great, so any more tips based on what you see would be most appreciated.


-
I have an inexpensive sewing machine pedal on order and I'll be picking up more lump today or tomorrow. Searching around I found a number of different sources for firebrick but also a number of different specs, could someone offer a link to the specific item I need? Some of what I found was pretty pricey, want to make sure it's what I need (or find out what the budget option is). I have a good steel supplier close, I'll go see what kind of drops I can get this week. When we were working I made the comment that it might be getting too much air, and my daughter suggested pulling the hair dryer away from the inlet pipe to cut the flow. She might just have some good instincts here. So as I understand it the pile of fuel needs to be up above the top of the sink vessel so that the working steel can be horizontal and yet still buried within the pile?
-
A lot of good info, thanks for that. I'll work through it and try again later this week. Deeper fire, all lump, less air... I had the ash catch capped, I'll try leaving it open next time. We're in the northern Illinois area. You read a lot into the "looked okay" comment that I didn't mean. The long-form version of what I meant would have been "Everything looked okay from the perspective of someone who's never done this before, meaning there was fire where I expected there to be and nothing else burst into flame, so that's good". I know nothing about what we're doing and I know that, that's why I'm here asking questions.
-
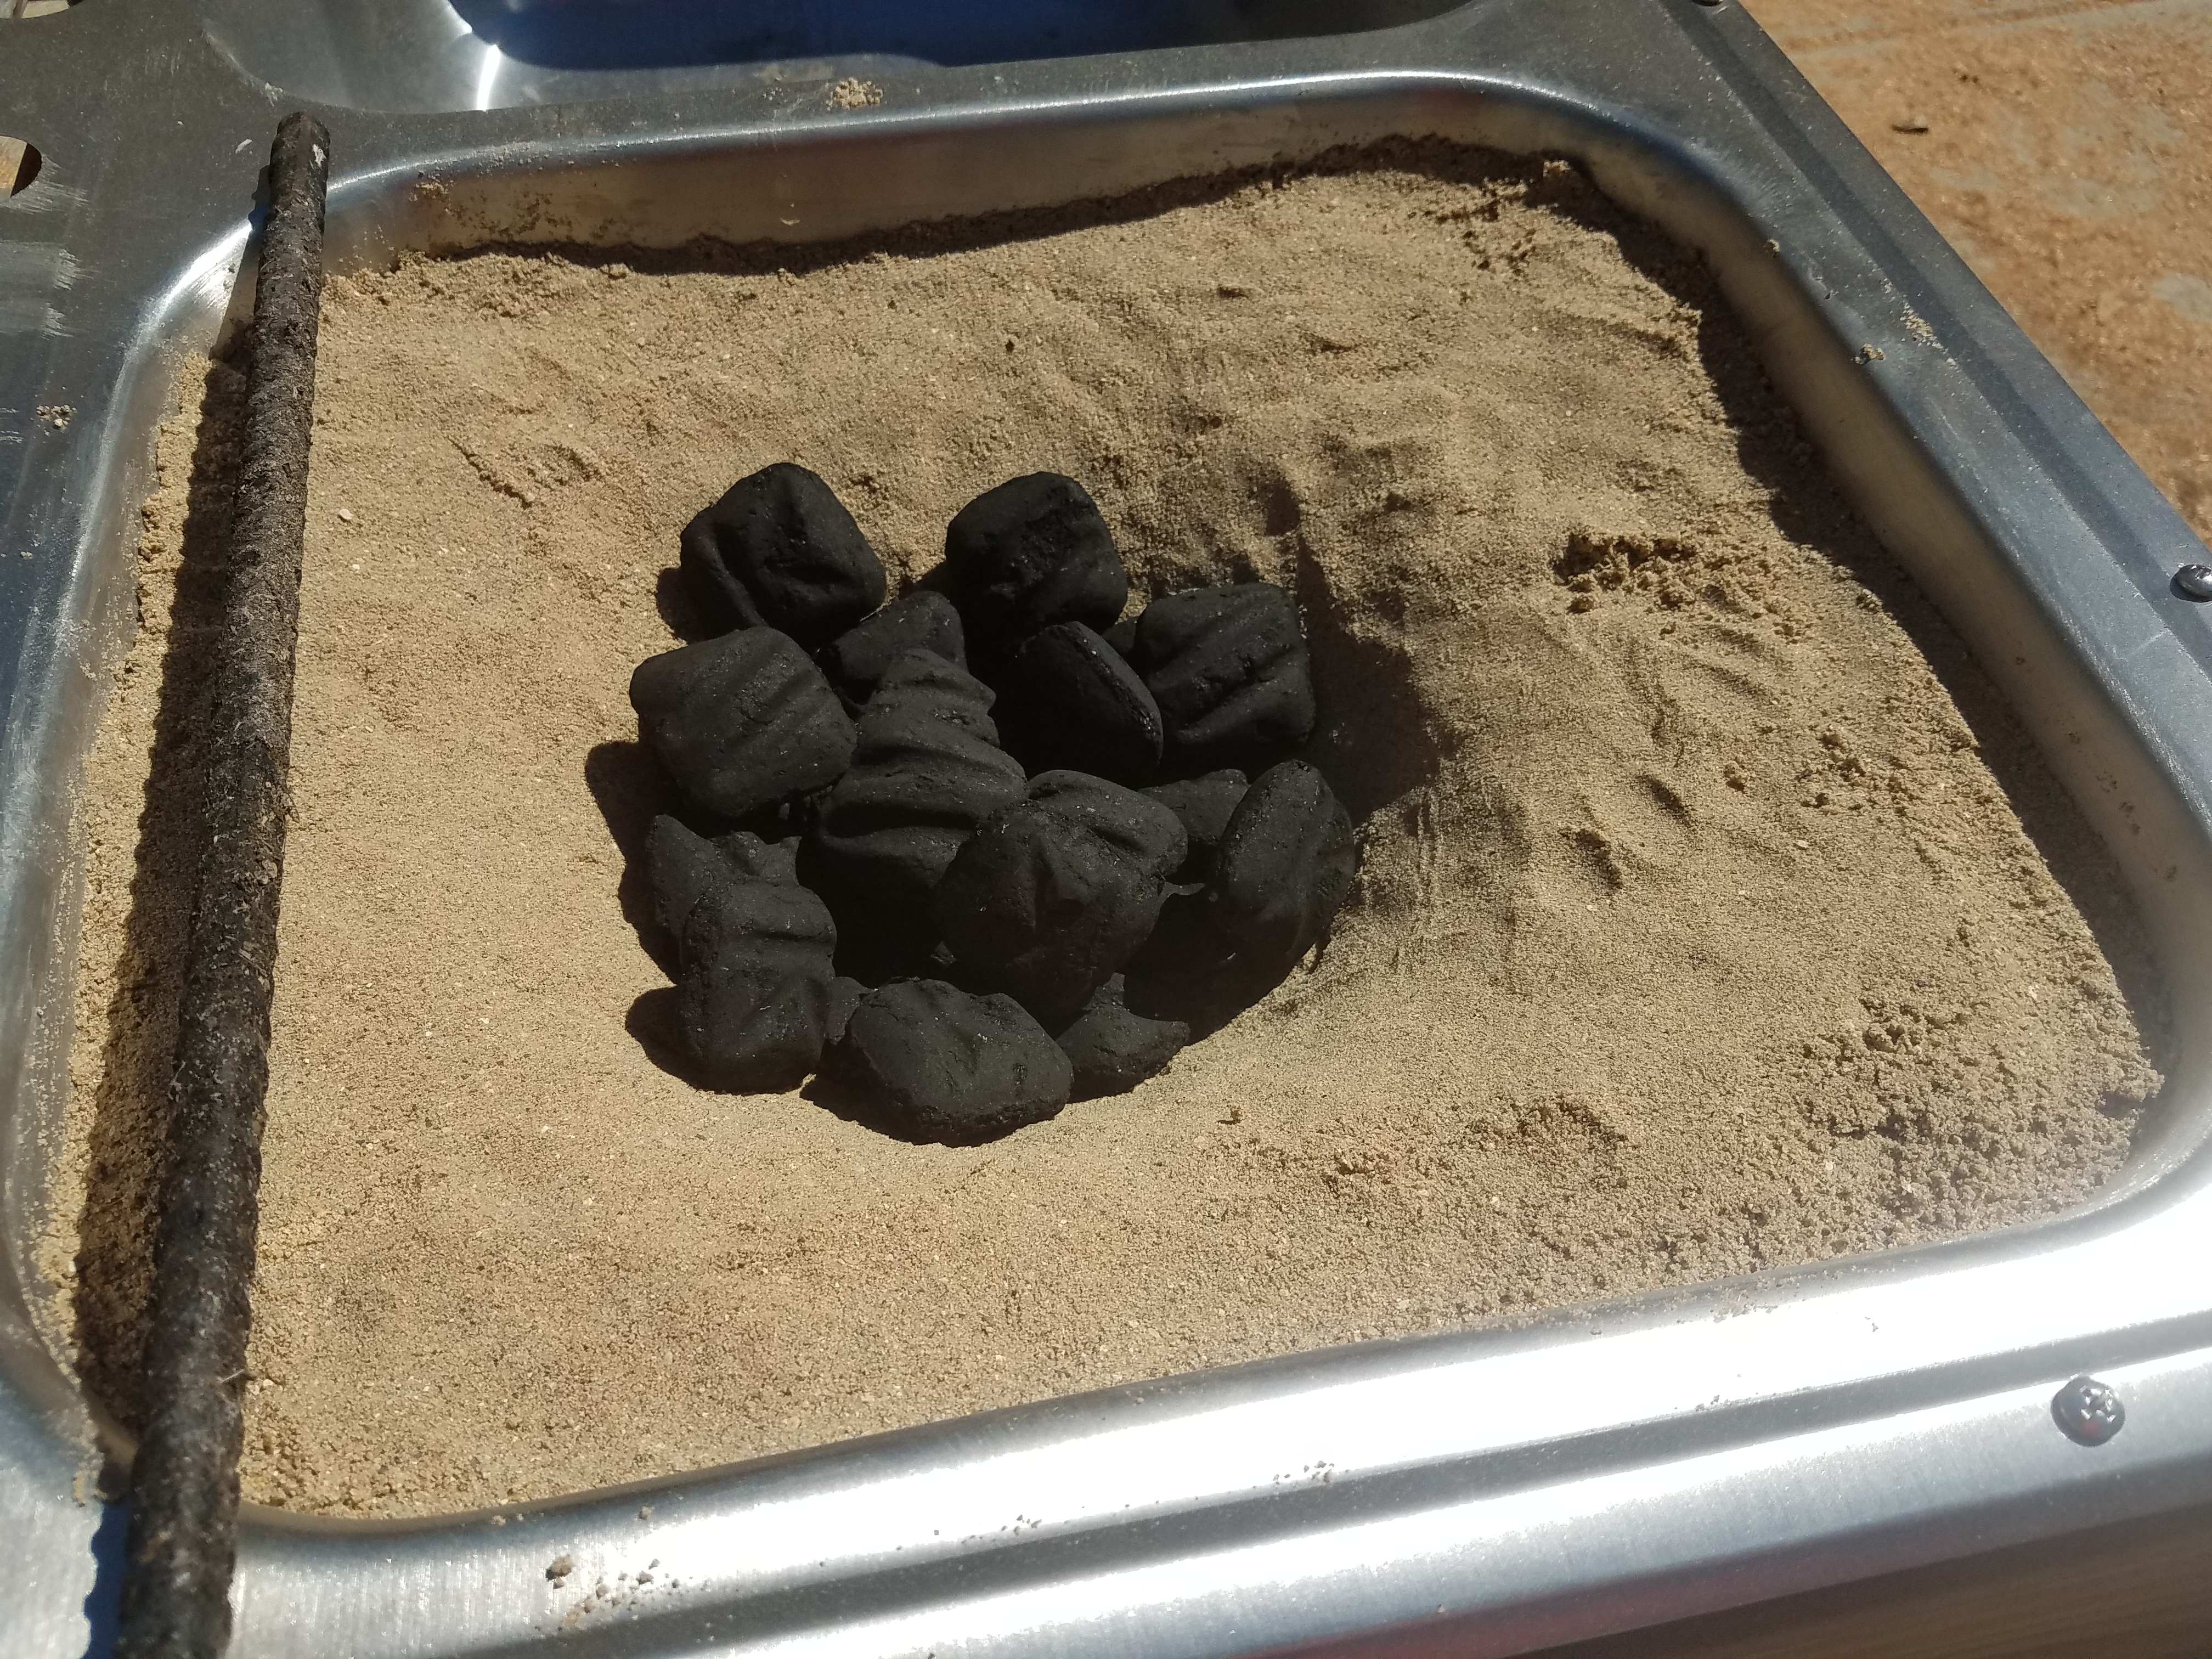
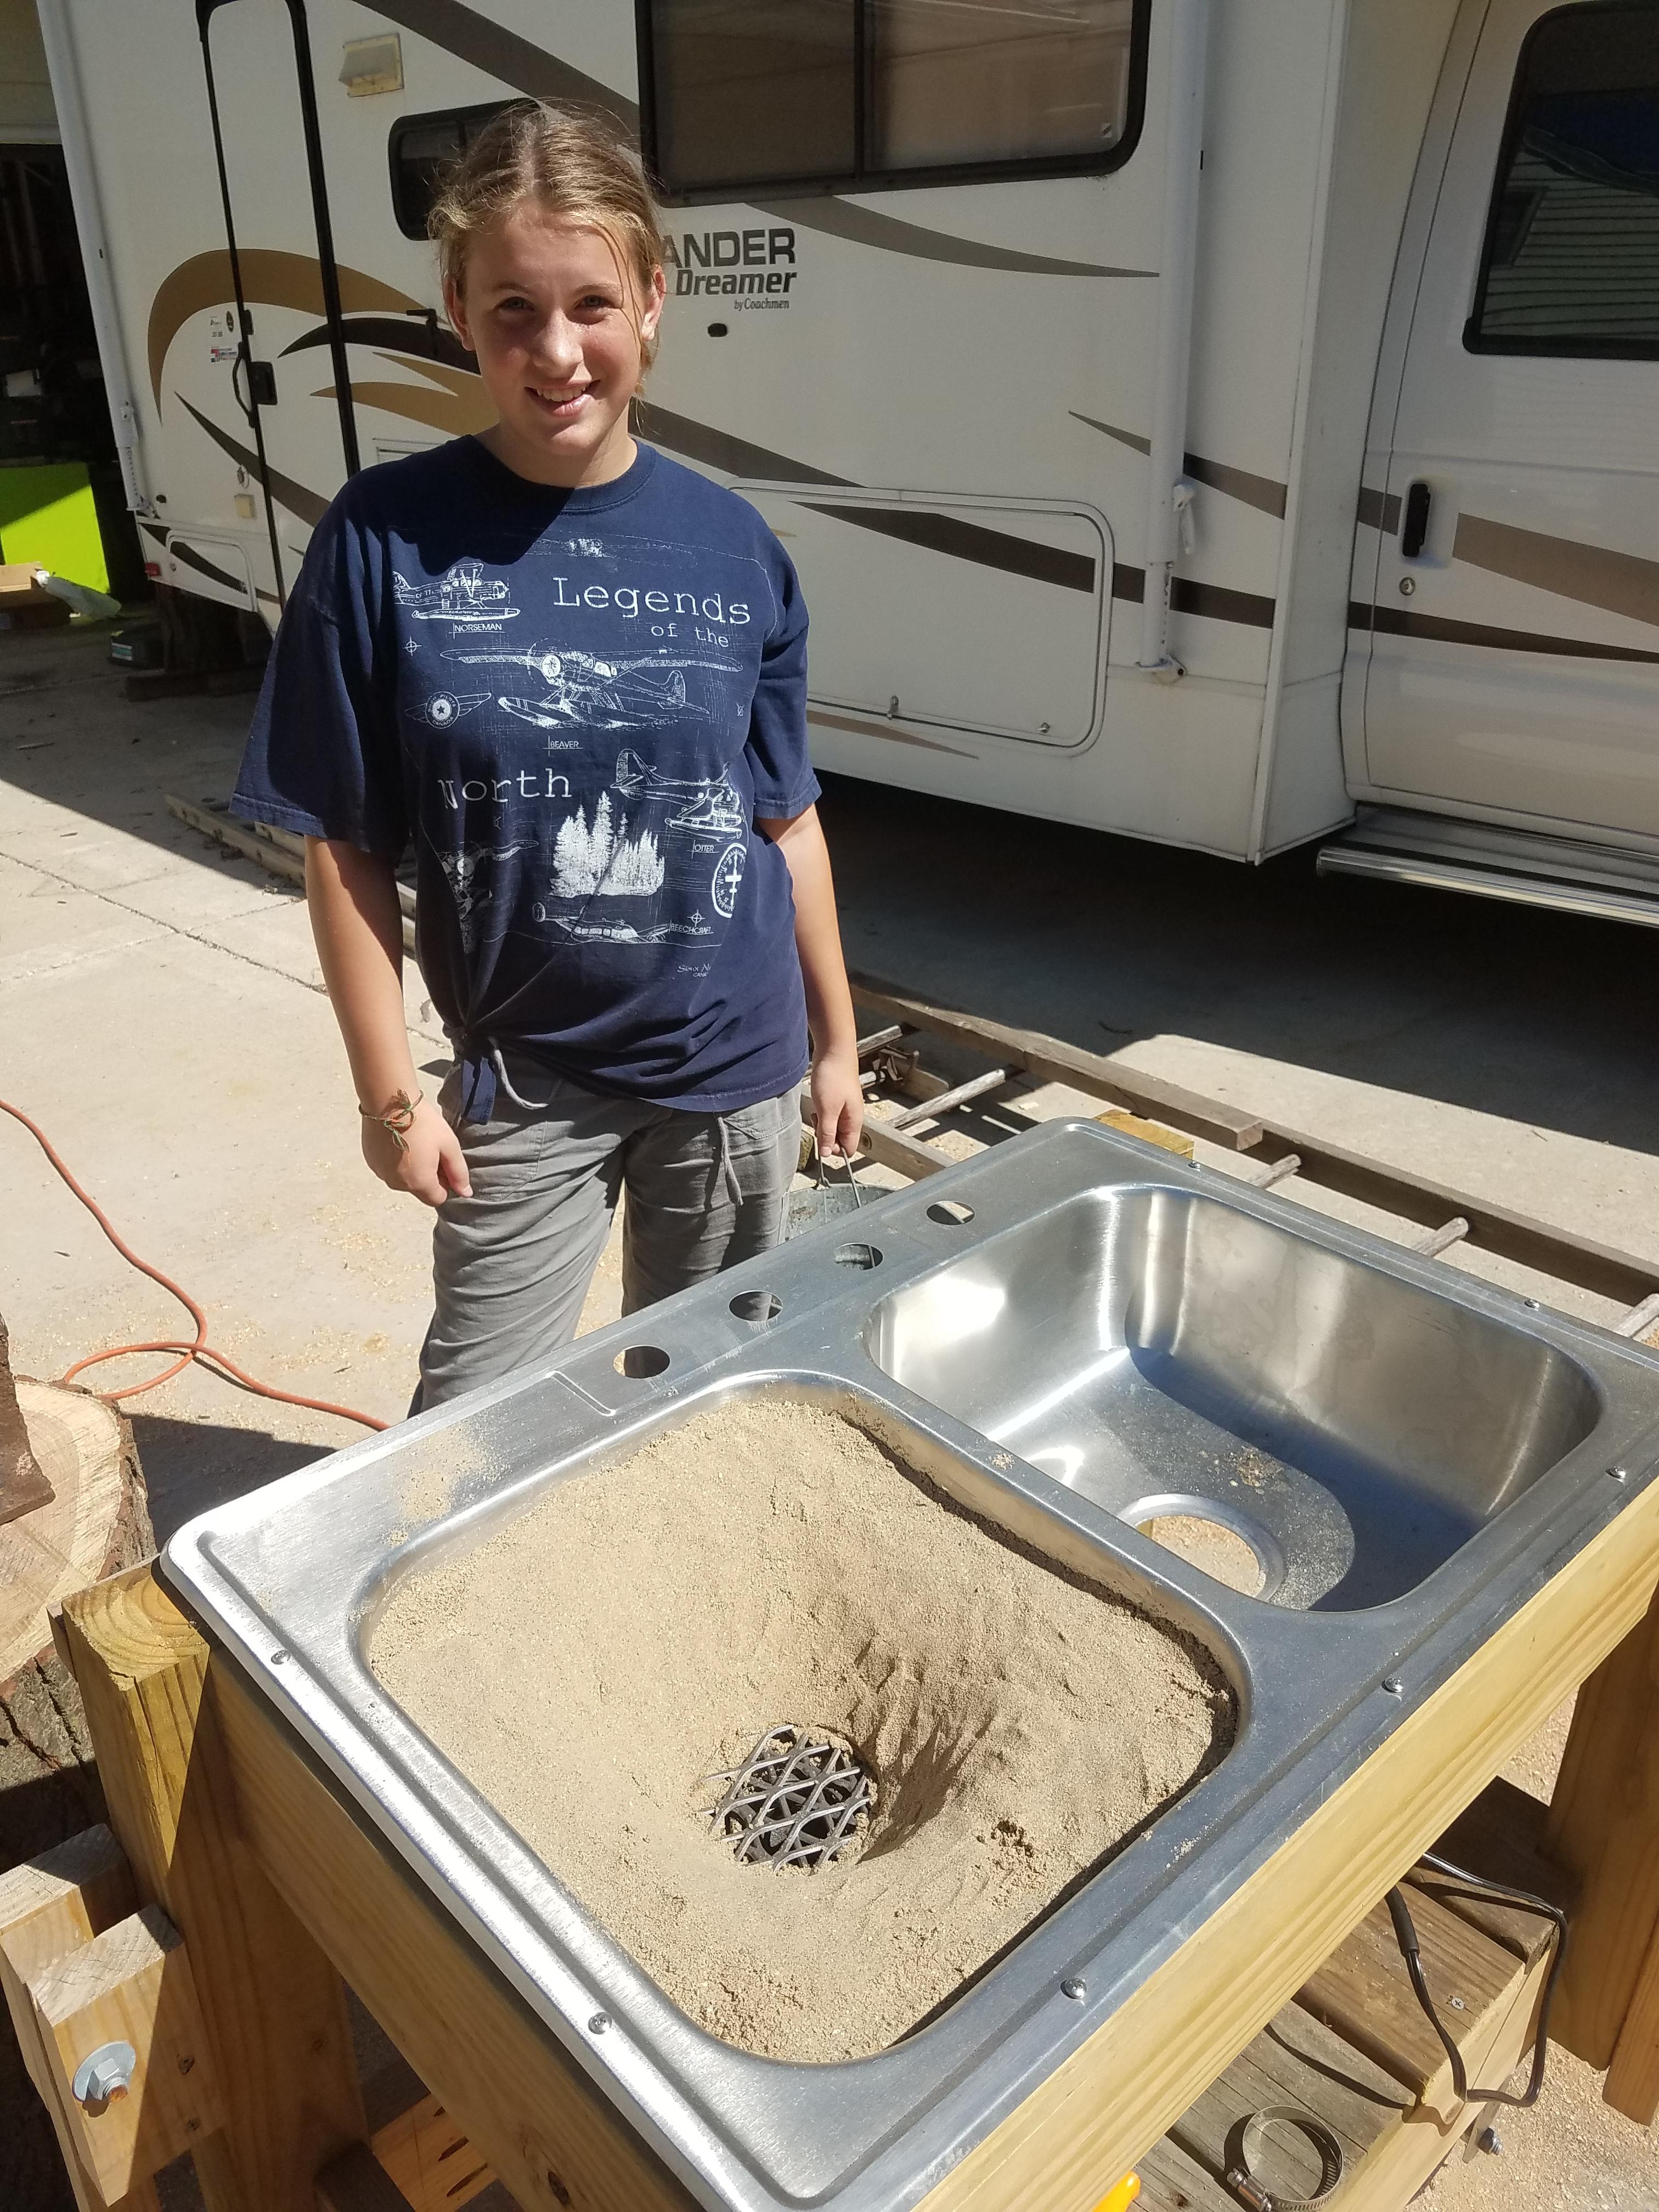
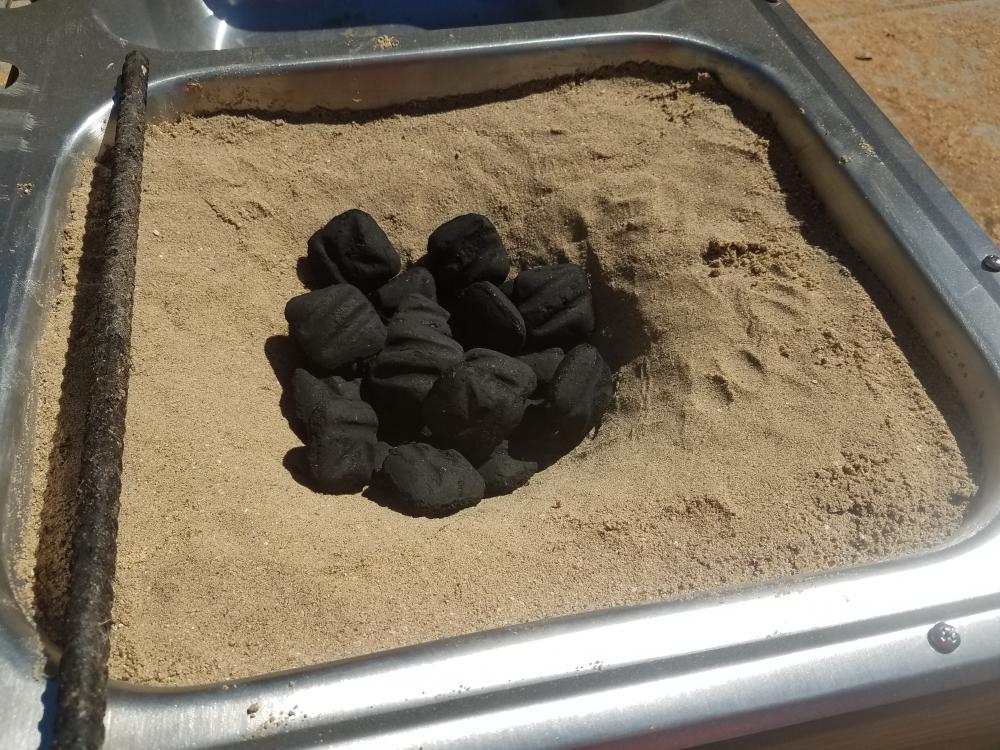
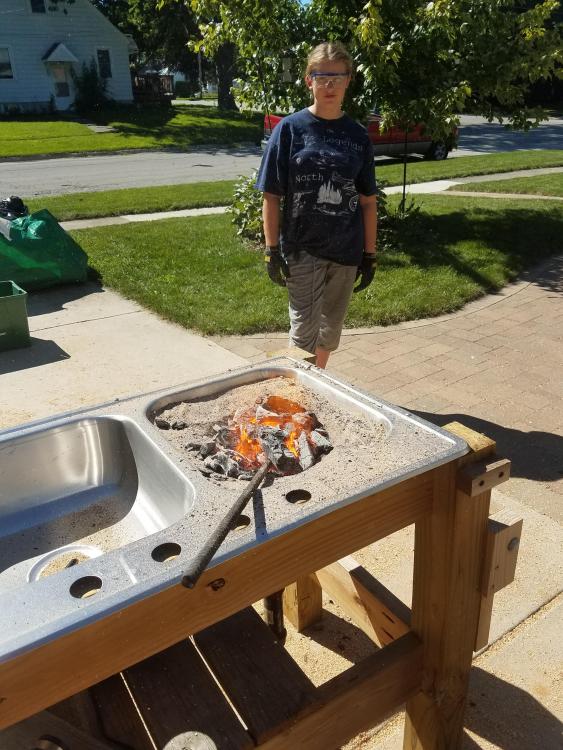
My daughter and I have put together a little charcoal forge using a stainless sink lined with sand and a hair dryer for a blower, based on things I read here and elsewhere. This afternoon was the inaugural burn. Everything looked okay, but I couldn't get a piece of rebar hot enough to do anything with and it seemed to burn charcoal really quickly. One thing I know I could improve is the charcoal. I had a little lump but not a lot, so I put briquettes in the forge and then poured burning lump from a chimney starter on top. I've read here that briquettes suck, so maybe that's the issue. Also there seemed to be a lot of stuff blowing out of the forge, which makes me think I might have had too much air (or too much air velocity). The dryer was on low but I can play with cutting back farther if anyone thinks that could have been a problem. What say ye?

-
I've done something similar for wood carving, but I wipe over the back of the paper with a rag that's been dampened with acetone. The acetone softens the toner and transfers it to the wood. I've found it to be a lot more reliable than using an iron. The only trick is to make sure the rag isn't too dry or too wet. I'm guessing it might also solve the problem with transferring onto textured metal. The paper pattern and acetone rag will conform to irregularities, unlike the flat bottom of an iron. Now I need to try chiseling some steel, thanks for the tutorial!