RogueGeek
-
Posts
45 -
Joined
-
Last visited
Content Type
Profiles
Forums
Articles
Gallery
Downloads
Events
Everything posted by RogueGeek
-
-

-
-
I found your videos on YouTube. VERY Nice. We'll see if this link disappears https://www.youtube.com/channel/UCaSu3LjKXiz35_k1vqYVYdQ
-
Please don't let my warnings discourage you. Electricity isn't rocket science or magic. You just need to learn to do's and don'ts to keep you and your family safe. You might want to check with a local technical school and see if they offer any electrical classes for beginners. You might be also to find something at a reasonable price. The NAVY has also released their NEETS modules (Navy Electricity and Electronics Training Series) to the public. They will provide you with hours of fun and entertaining reading. They can be found all over the internet, but this guy http://jacquesricher.com/NEETS/ has them all in once place. Oh, and if you ever suffer from insomnia, any NAVY book or manual is a miracle cure and will put you to sleep in minutes. Search around online, there are several good belt grinder how to articles. More than one belt grinder has been built without a speed control. Keep in mind you can also use pulleys to get a few fixed speed options. I would recommend starting simple and get a basic fixed speed belt grinder working. The designs are tried and true and reasonable easy to build. Once you have that working, use it for a while, if it does what you need, then your done. No need to change it. If on the other hand it is lacking something, you can make modifications to your existing machine to fix the short comings or you can start work on a totally new machine and incorporate what you have learned into the new design.
-
Sorry it took so long to get back to this thread, we are in the middle of moving from NJ to FL. I never realized how much crap I have. NewAxe, 99% of treadmill motors are DC and require a somewhat special speed controller. I'm choosing to build mine since I like to do things the hard way. I also wanted to over-complicate it by using a microprocessor and having it automatically compensate for belt loading to maintain a set speed. For your motor, if you have the control panel and other bits from the old treadmill, you most likely have the necessary speed controller. There are hundreds of YouTube videos and how-to articles that talk about using treadmill motors as the drive motors for drill presses, lathes, mills and more. As Thomas mentioned, the newer light dimmers don't simply turn down the voltage, they alter the AC waveform. See this site for more info, look at the Forward Phase Dimming. Using a rheostat (variable resistance) type dimmer can work for some motors but it is very inefficient and doesn't offer a wide range of control. Typical light dimmer rheostats are likely not made to handle the current draw of a large 2+HP motor. Most brushed DC motors can be controlled using a PWM (Pulse Width Modulation) speed controller. This delivers full voltage/current to the motor in short pulses. The shorter the pulse the slower the motor goes, the wider the pulse the faster it goes. See the diagram below for what PWM looks like. Regarding the belt speed to RPM calculations. Do a google search for 'belt sfpm' It will provide you with hours of entertaining reading. Since I don't know your level of electrical knowledge, I'm going to offer a few words of CAUTION! Treadmill motors operate at high voltage DC, typically 90VDC or higher and the controller circuits can deliver 10+ amps to the motors at full voltage. These voltage and current levels CAN KILL YOU!!! Please exercise extreme caution when you are working with your Treadmill parts. Always remember to unplug everything BEFORE you reach in to make an adjustment. If you don't understand electronics, please educate yourself or ask for help before trying anything. I would rather help you here than hear about your unfortunate accident on the news. And remember, just because you plugged it into a GFCI outlet, doesn't mean it is 100% safe. GFCI isn't a get out of the morgue free card.
-
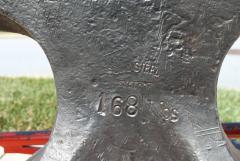
Steel Source list and grade chart
RogueGeek replied to natenaaron's topic in Blacksmithing, General Discussion
Take a look on eBay. While its not usually the best price for larger pieces of steel, I have picked up some smaller 4140 drops for just a few dollars. I usually search for "4140 steel" "4140 bar" or "4140 round bar". Whats available changes almost daily, so if you don't see what you want, look again the next day. -
It is definitely overkill but like you said, it is fun building it. 50 was chosen arbitrarily as the feet per minute step size. I primarily chose it since it allowed a reasonably fine control and still didn't take to long to go from MIN to MAX. I'm using an MSP430 series microcontroller. Similar to a Microchip PIC.
-
Good day, I'm in the process of building a variable speed 2x72 grinder. As I have calculated it so far, my grinder should have a top speed of around 6800 SFPM. I'm currently building the electronic motor controller (my other hobby and day job is electronics) and as it is currently designed, I will be able to adjust belt speeds in increments of 50 SFPM. Does this sound like a reasonable step size or should I build it for a smaller step size? Just in case anyone is curious, I will be using a 2HP permanent magnet DC motor from a treadmill. It will have a speed sensor to get accurate speeds and the controller software will be written to maintain the set speed as loading on the belt varies during use. thanks
-
David, The Forge comes without any coating on the wool. You will have to add them yourself. It was really easy and only takes a few minutes to apply. For each coat/application, I let my satanite/ITC100 dry overnight then slowly brought it up to an nice yellow/orange heat to fully harden. I did this by doing several short (45 second) firings until I was sure all of the water was out of the satanite/ITC then I fired it for about 10 minutes. I did two or three fairly heavy coatings of satanite, and one medium-light coating of ITC-100.
-
Thank you Charlotte and Tim.
-
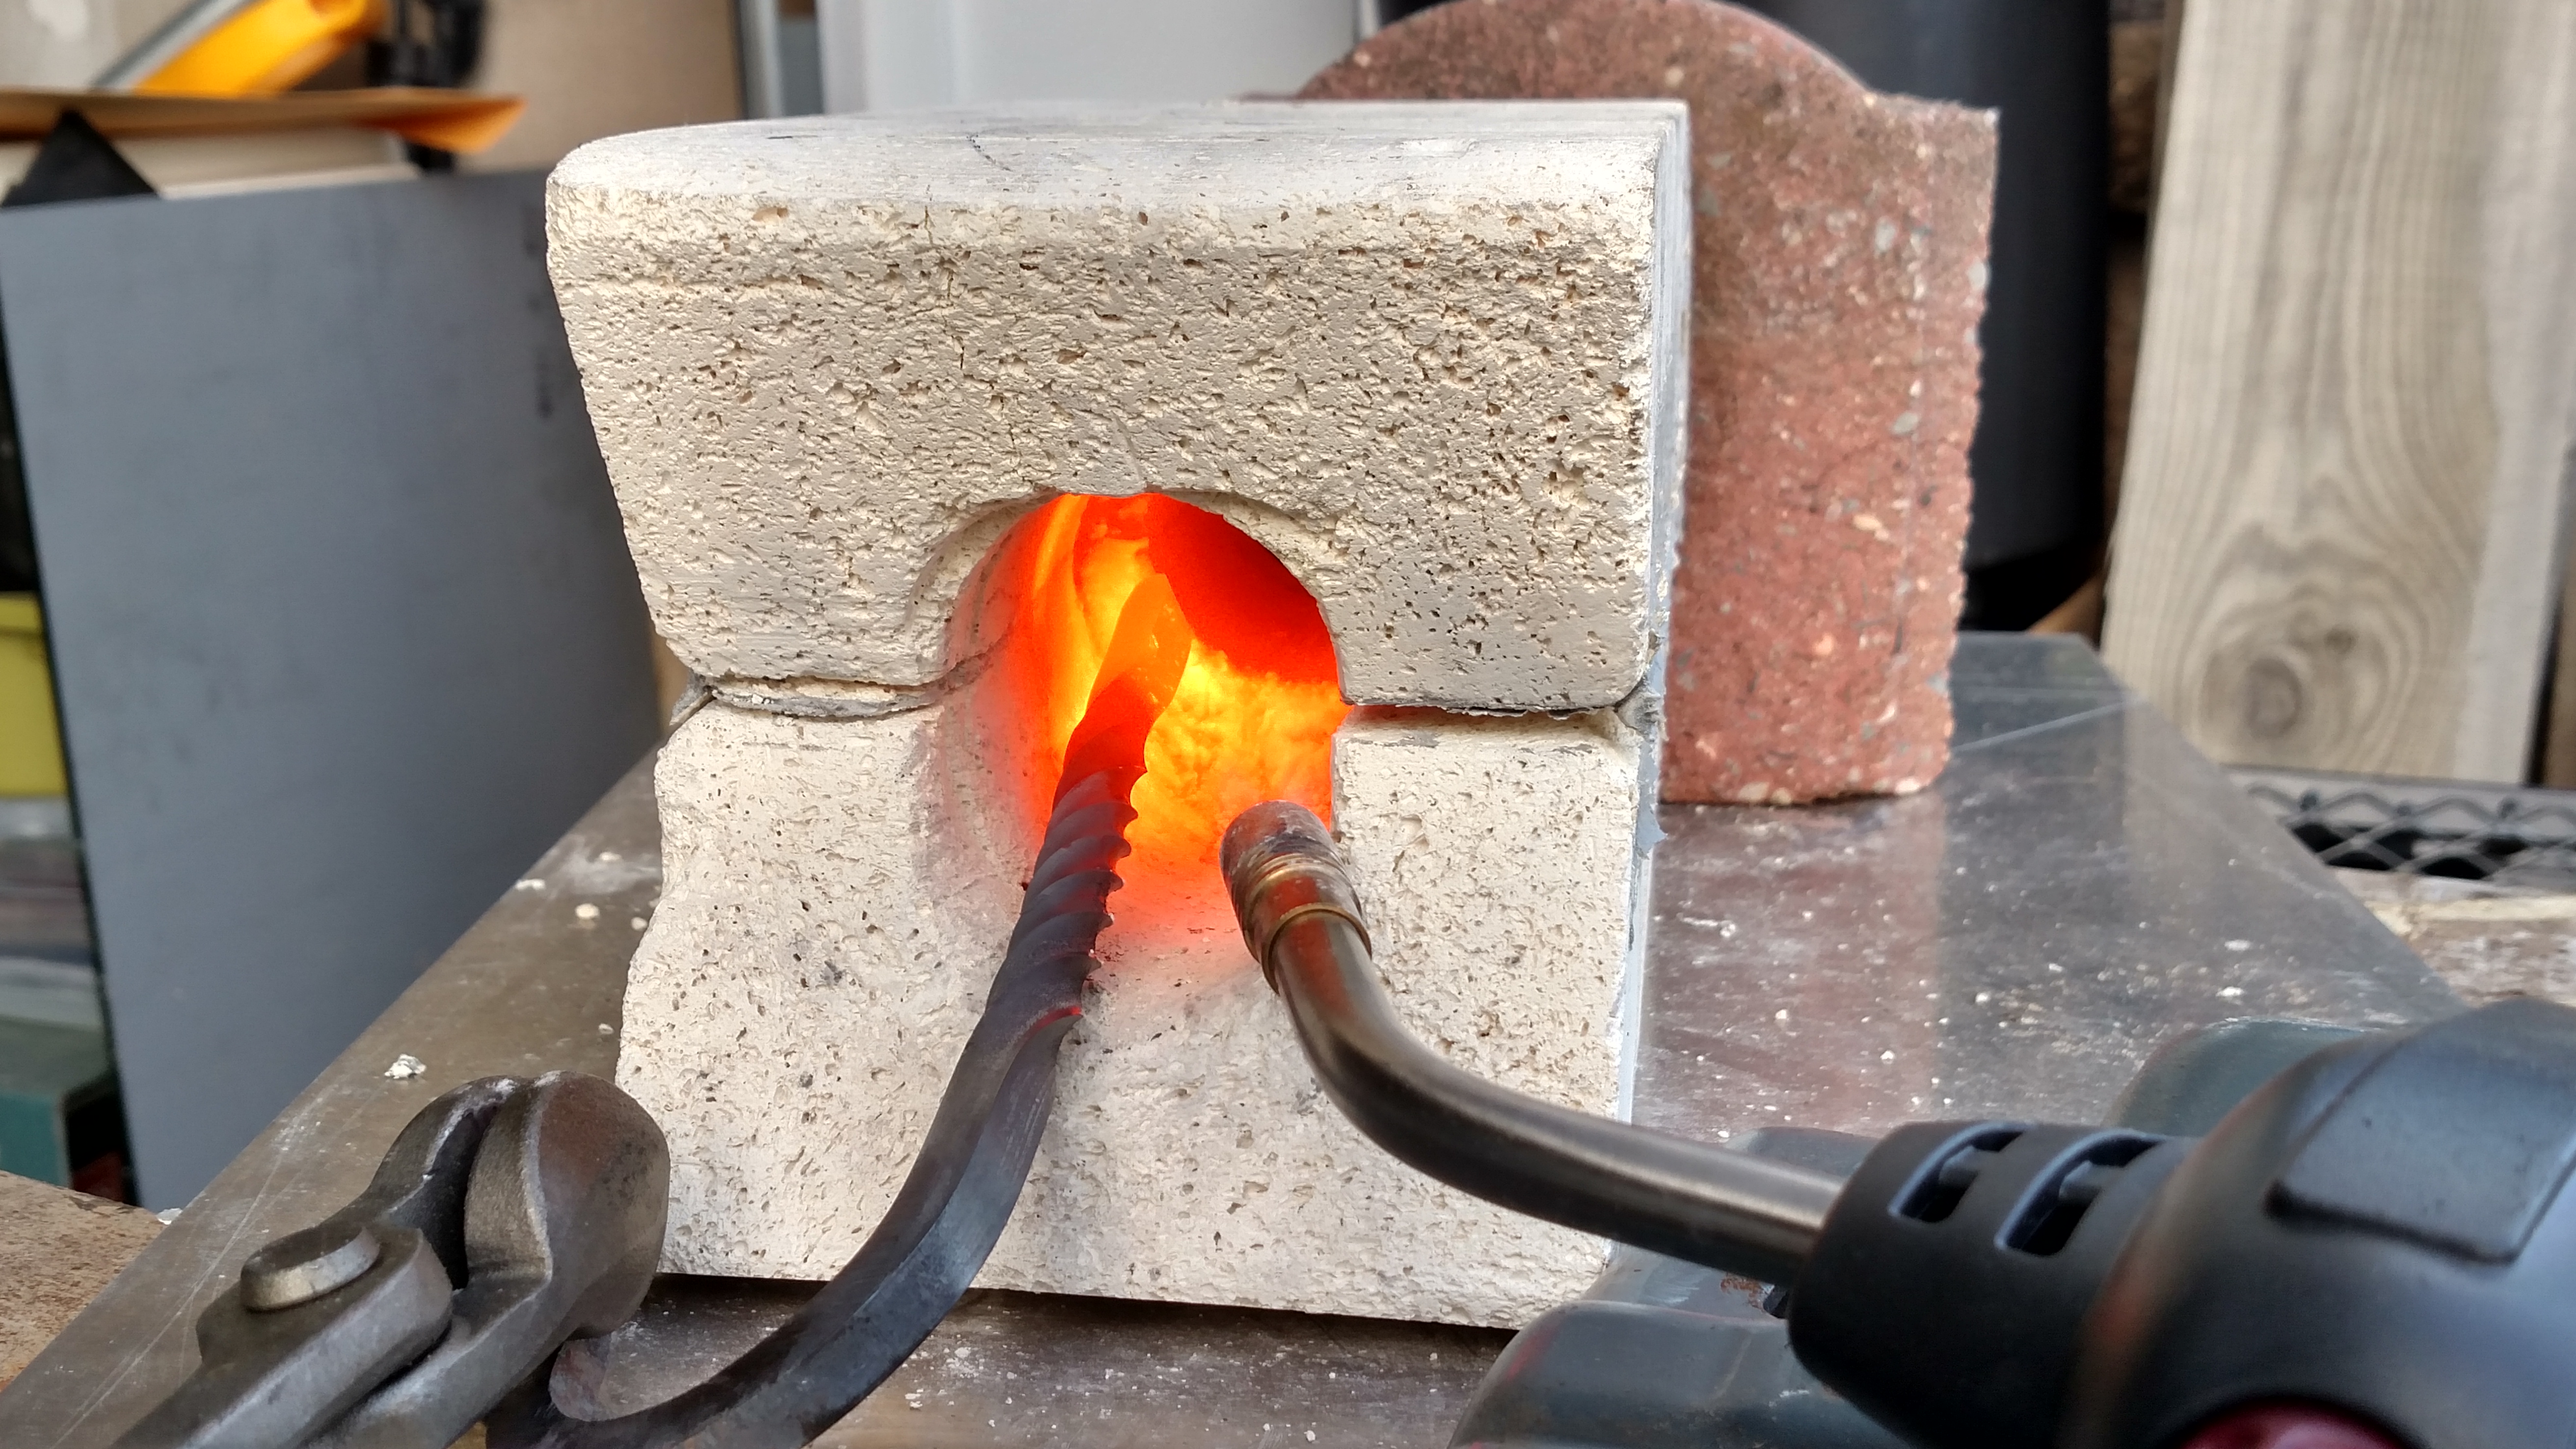
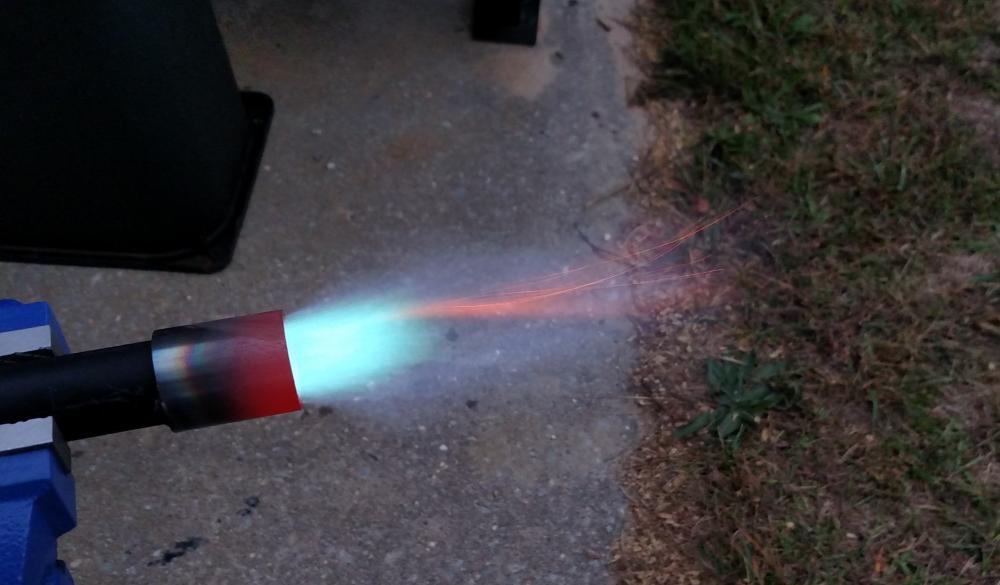
Here is a bit of additional info. I removed the burner from the forge and fired it up for a few minutes to try and tune it a bit. While doing this I took a few pics and a short video Video link https://goo.gl/photos/zCEZ242eSHNx7RYM9 Here is what it looked like after about 5 minutes. It looks like the flame starts about 3/4" inside the tip of the flare.

-
Thanks for the info. I thought I remembered reading something about a glowing hot flare was an indicator of the flame burning inside the tube of the burner. It does make sense that it will be near the same temperature as the inside of the forge, But I just wanted to make sure. I have read so many threads on so many forums that I probably have a case of information overload. I'm an electrical guy, highly flammable/explosive gasses are not my cup of tea and I would hate to do something and end up making the headlines on the evening news. As far as the pressure goes, I was just providing it as an information point. I'm taking Frosty's advise from another thread and using the pressure as way to replicate conditions from one firing to another. thanks again for the info and assistance.
-
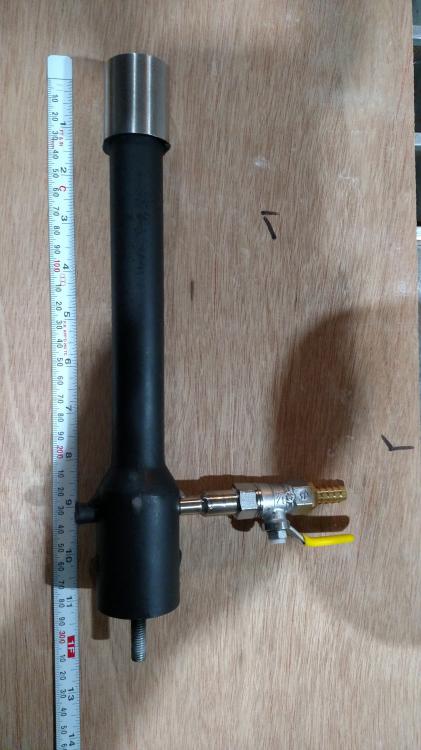
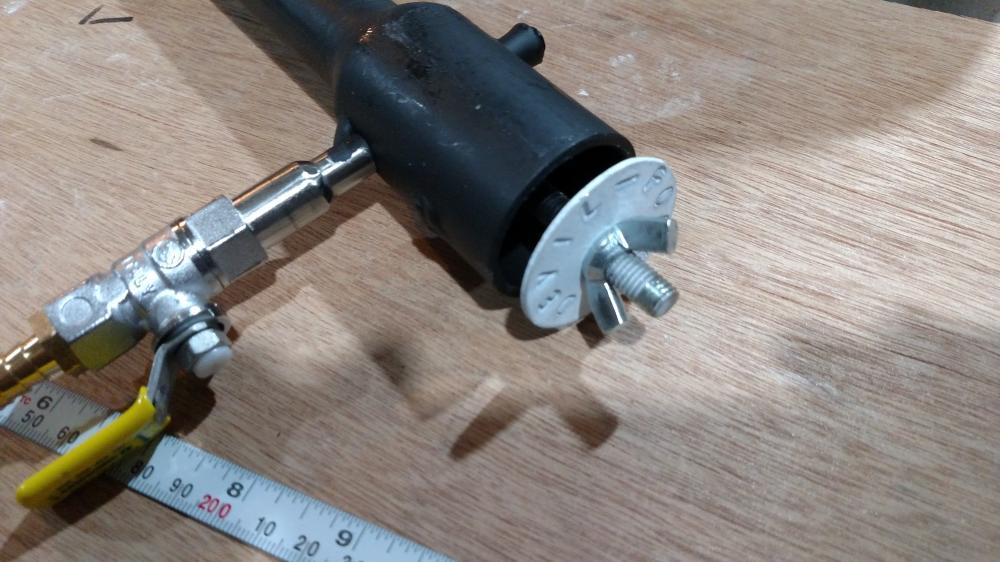
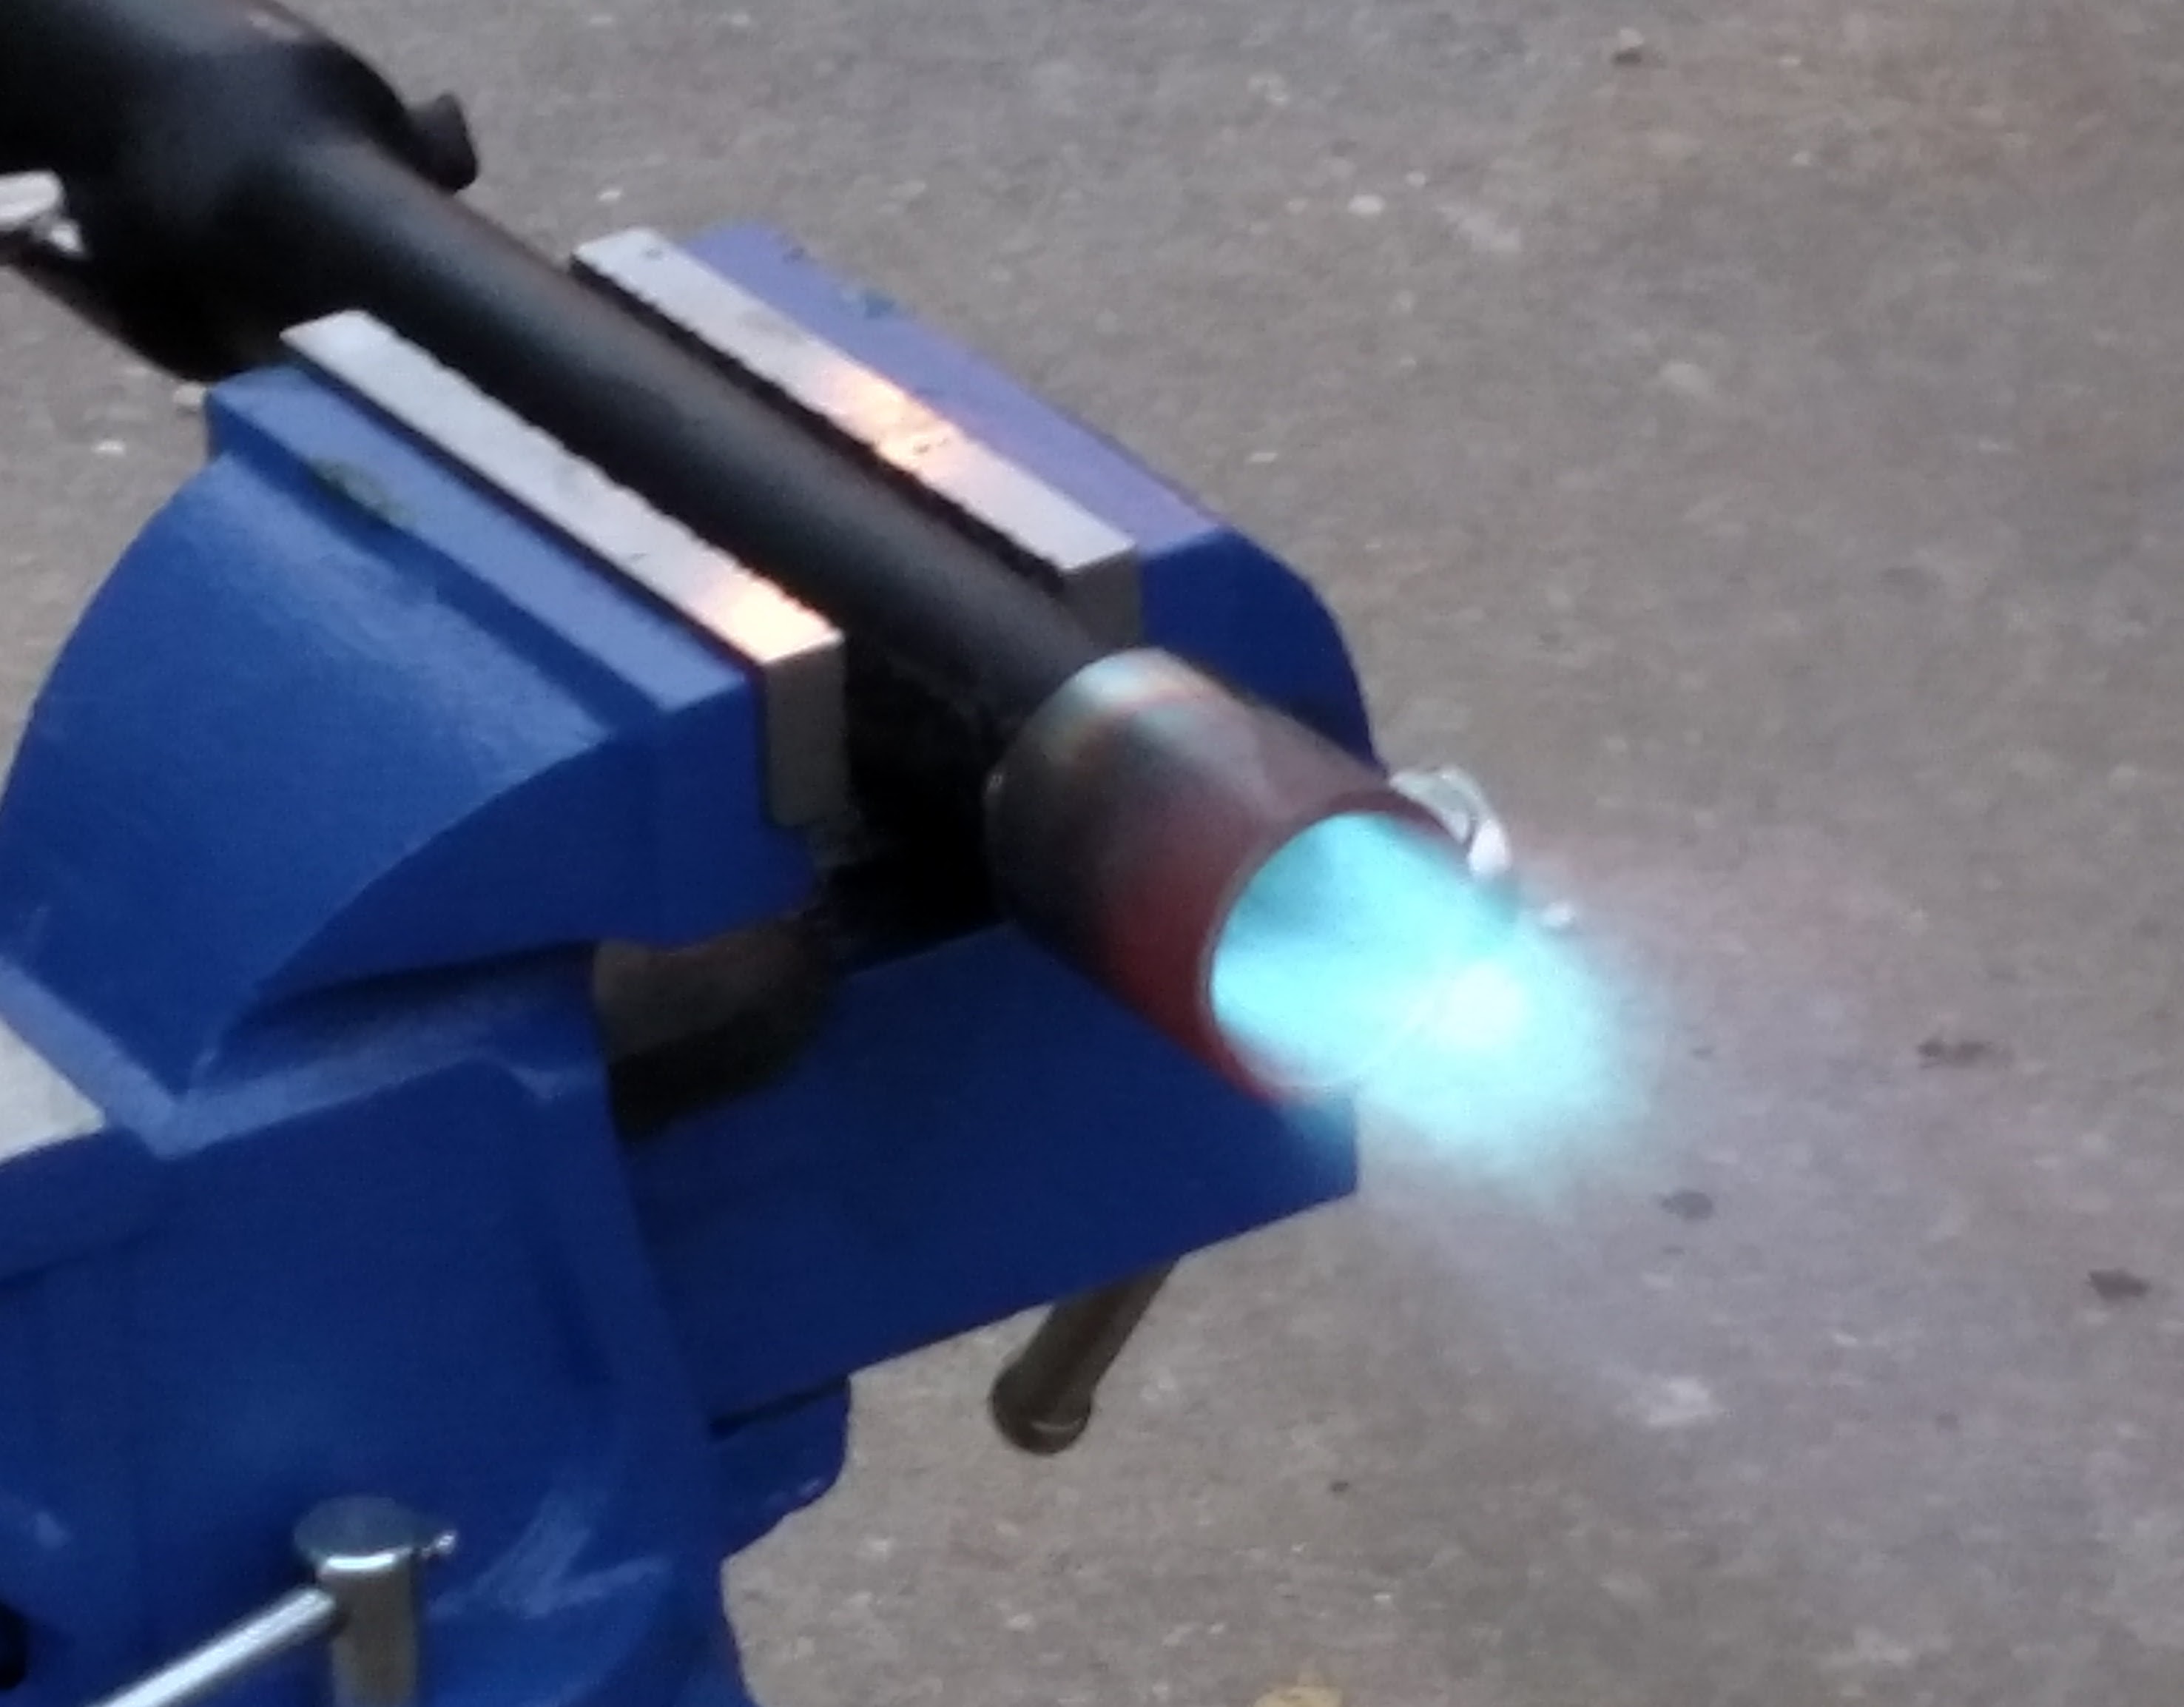
So, I opted to go the lazy route and buy a relatively inexpensive Devil Forge. It came with a prebuilt burner. I modified the burner to change the hose barb size and to extend the rubber hose about 5 inches farther from the ball valve. The burner works and seems to heat up this tiny forge VERY quickly. The interior of the forge is about 5" diameter and 10" long and I have closed up the back with two insulating fire bricks. Ceramic wool has been coated with satanite and ITC100. My question is, should the tip of the burner get hot enough to start glowing a dull red? I have the regulator set at around 9psi. I would have tried a bit more, but I ran out of propane after about 10 minutes of fiddling with it. I guess I should have gotten a new tank before starting. Any insights would be very much appreciated. Thanks Brian Here are a few pictures that might help. - Here you can see the dull glow of the burner tip. The tip is almost even with the metal body of the forge. It had been running for 8-10 minutes. -The next pictures show the design of the burner, gas feed point and choke
.thumb.jpg.f5bb453d60f996fea6f9c2cae10367e1.jpg)
-
Thank you for the comments and feedback. I like the idea of adding two holes. It never crossed my mind. -Brian
-
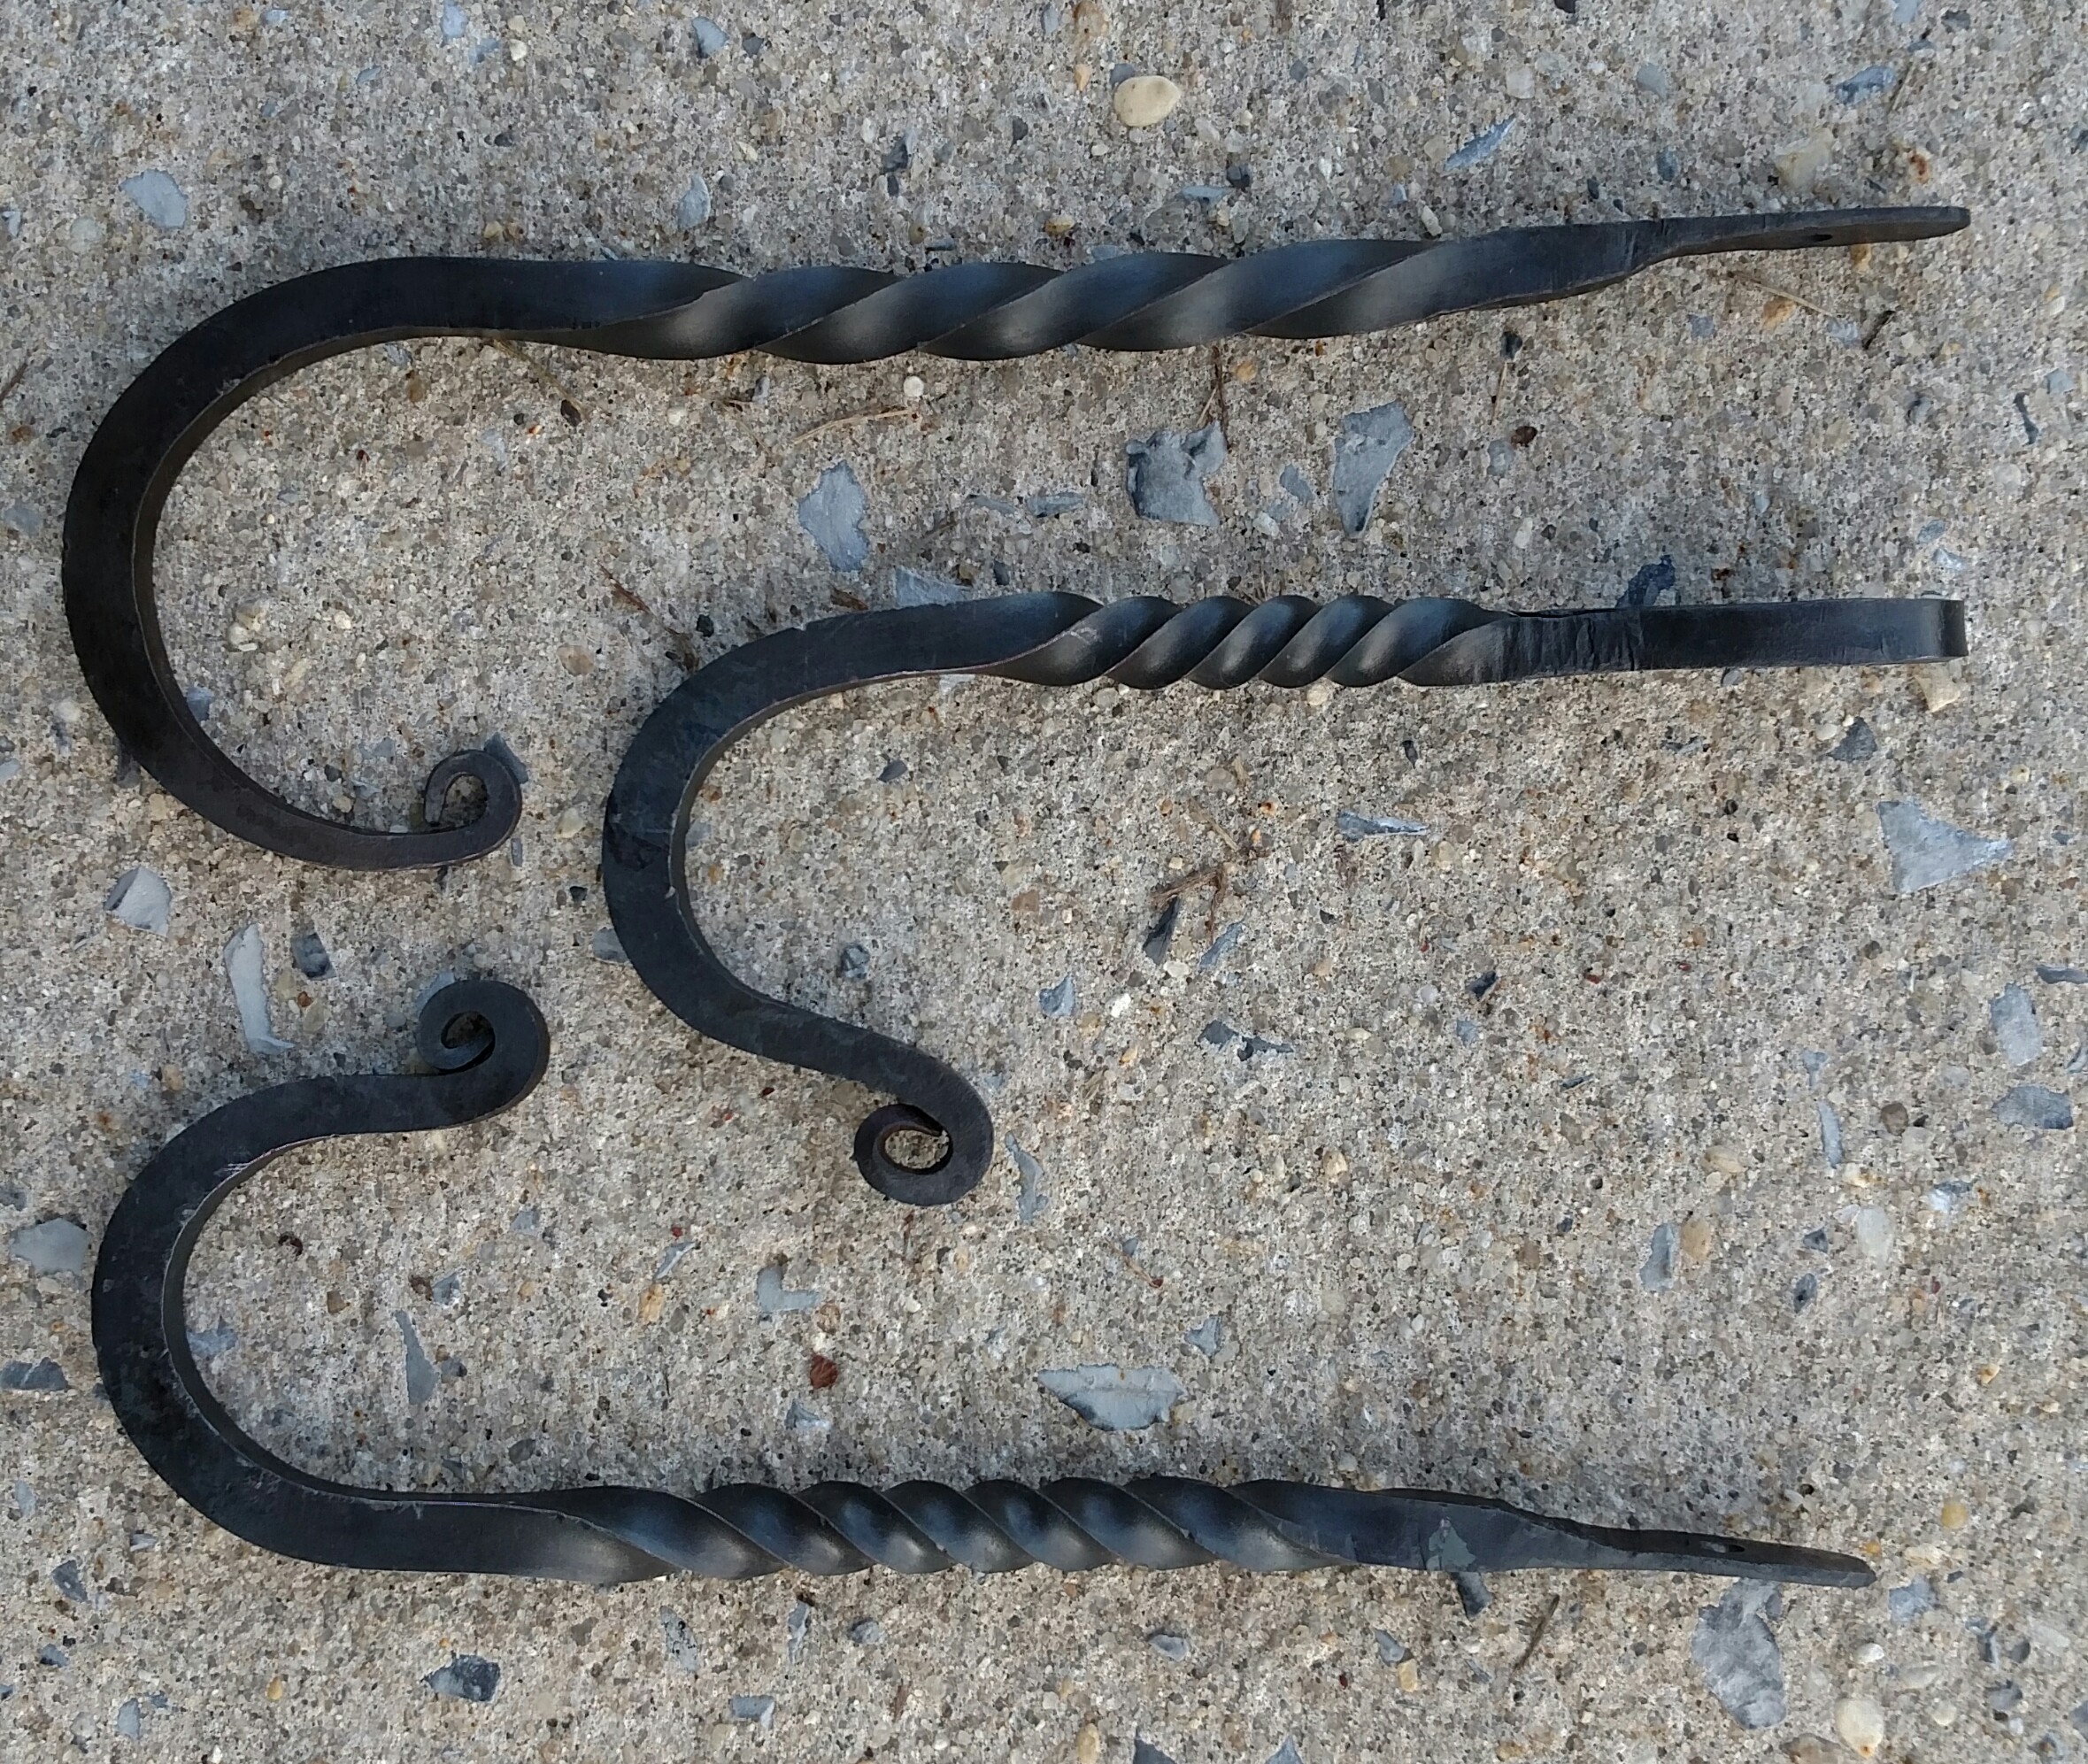
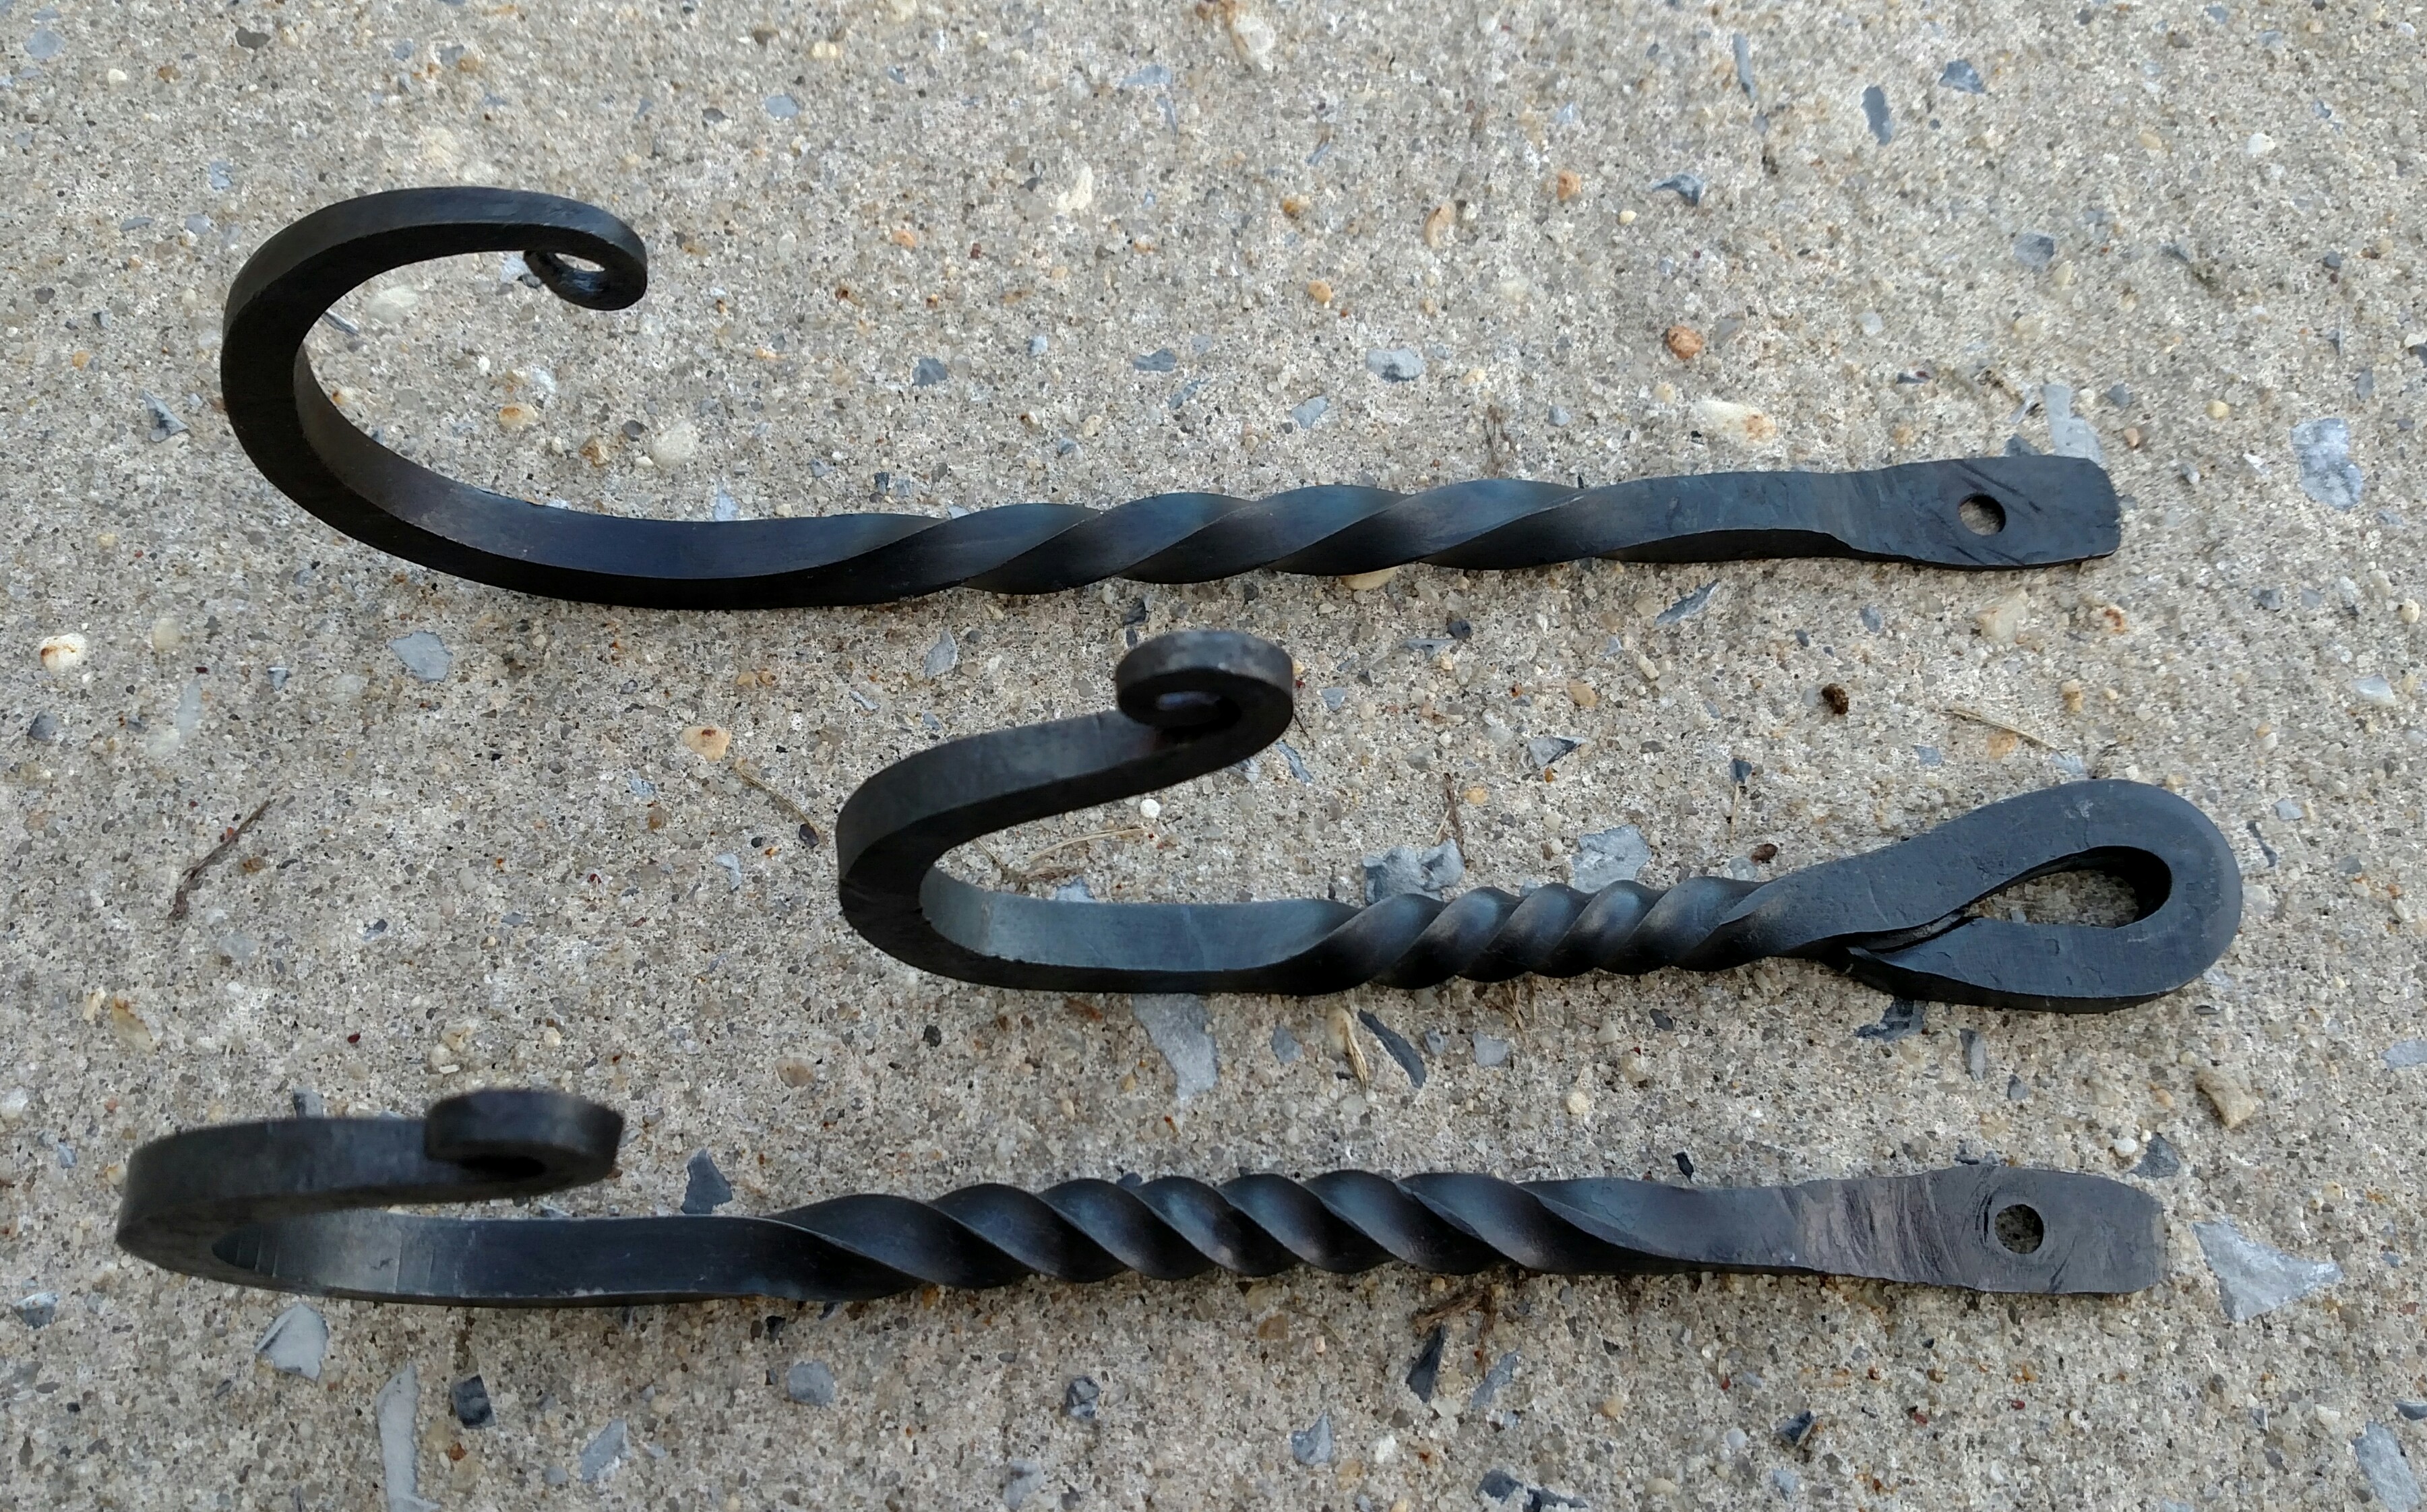
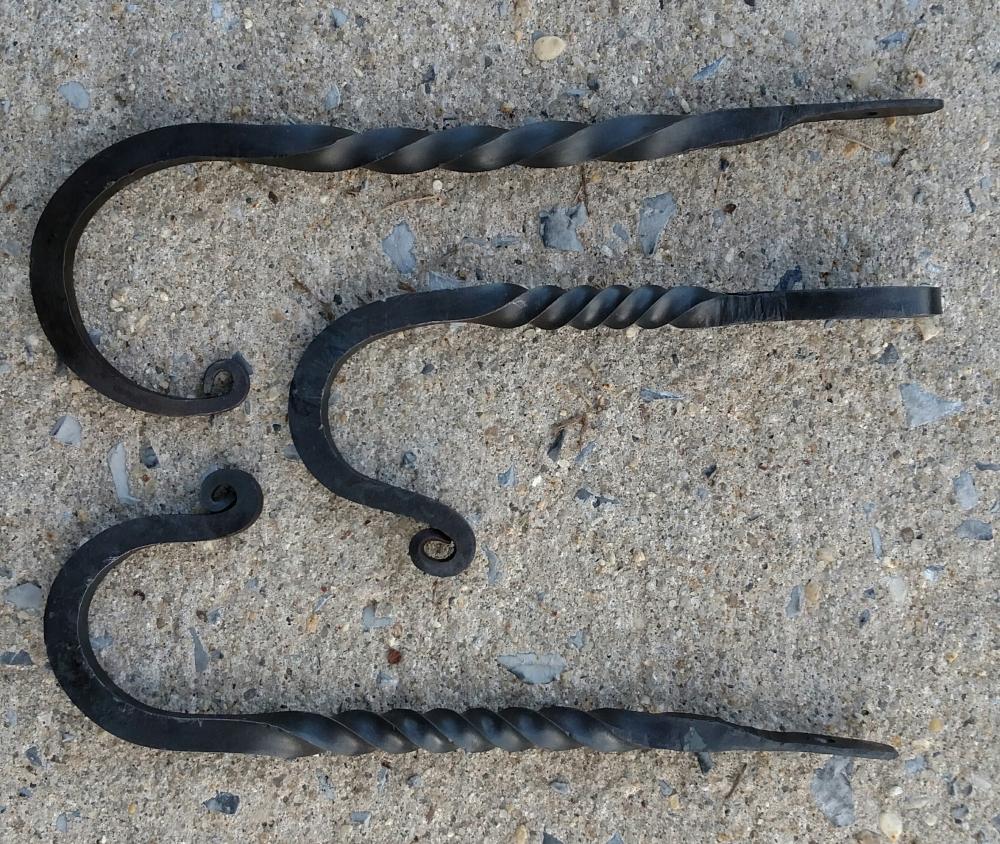
There are my first hooks. 5/16 mild steel. Using a two brick, plumbers torch forge. These are quite fun to make. I can't wait to get my large gas forge going so I can make more and larger projects. - Brian


-
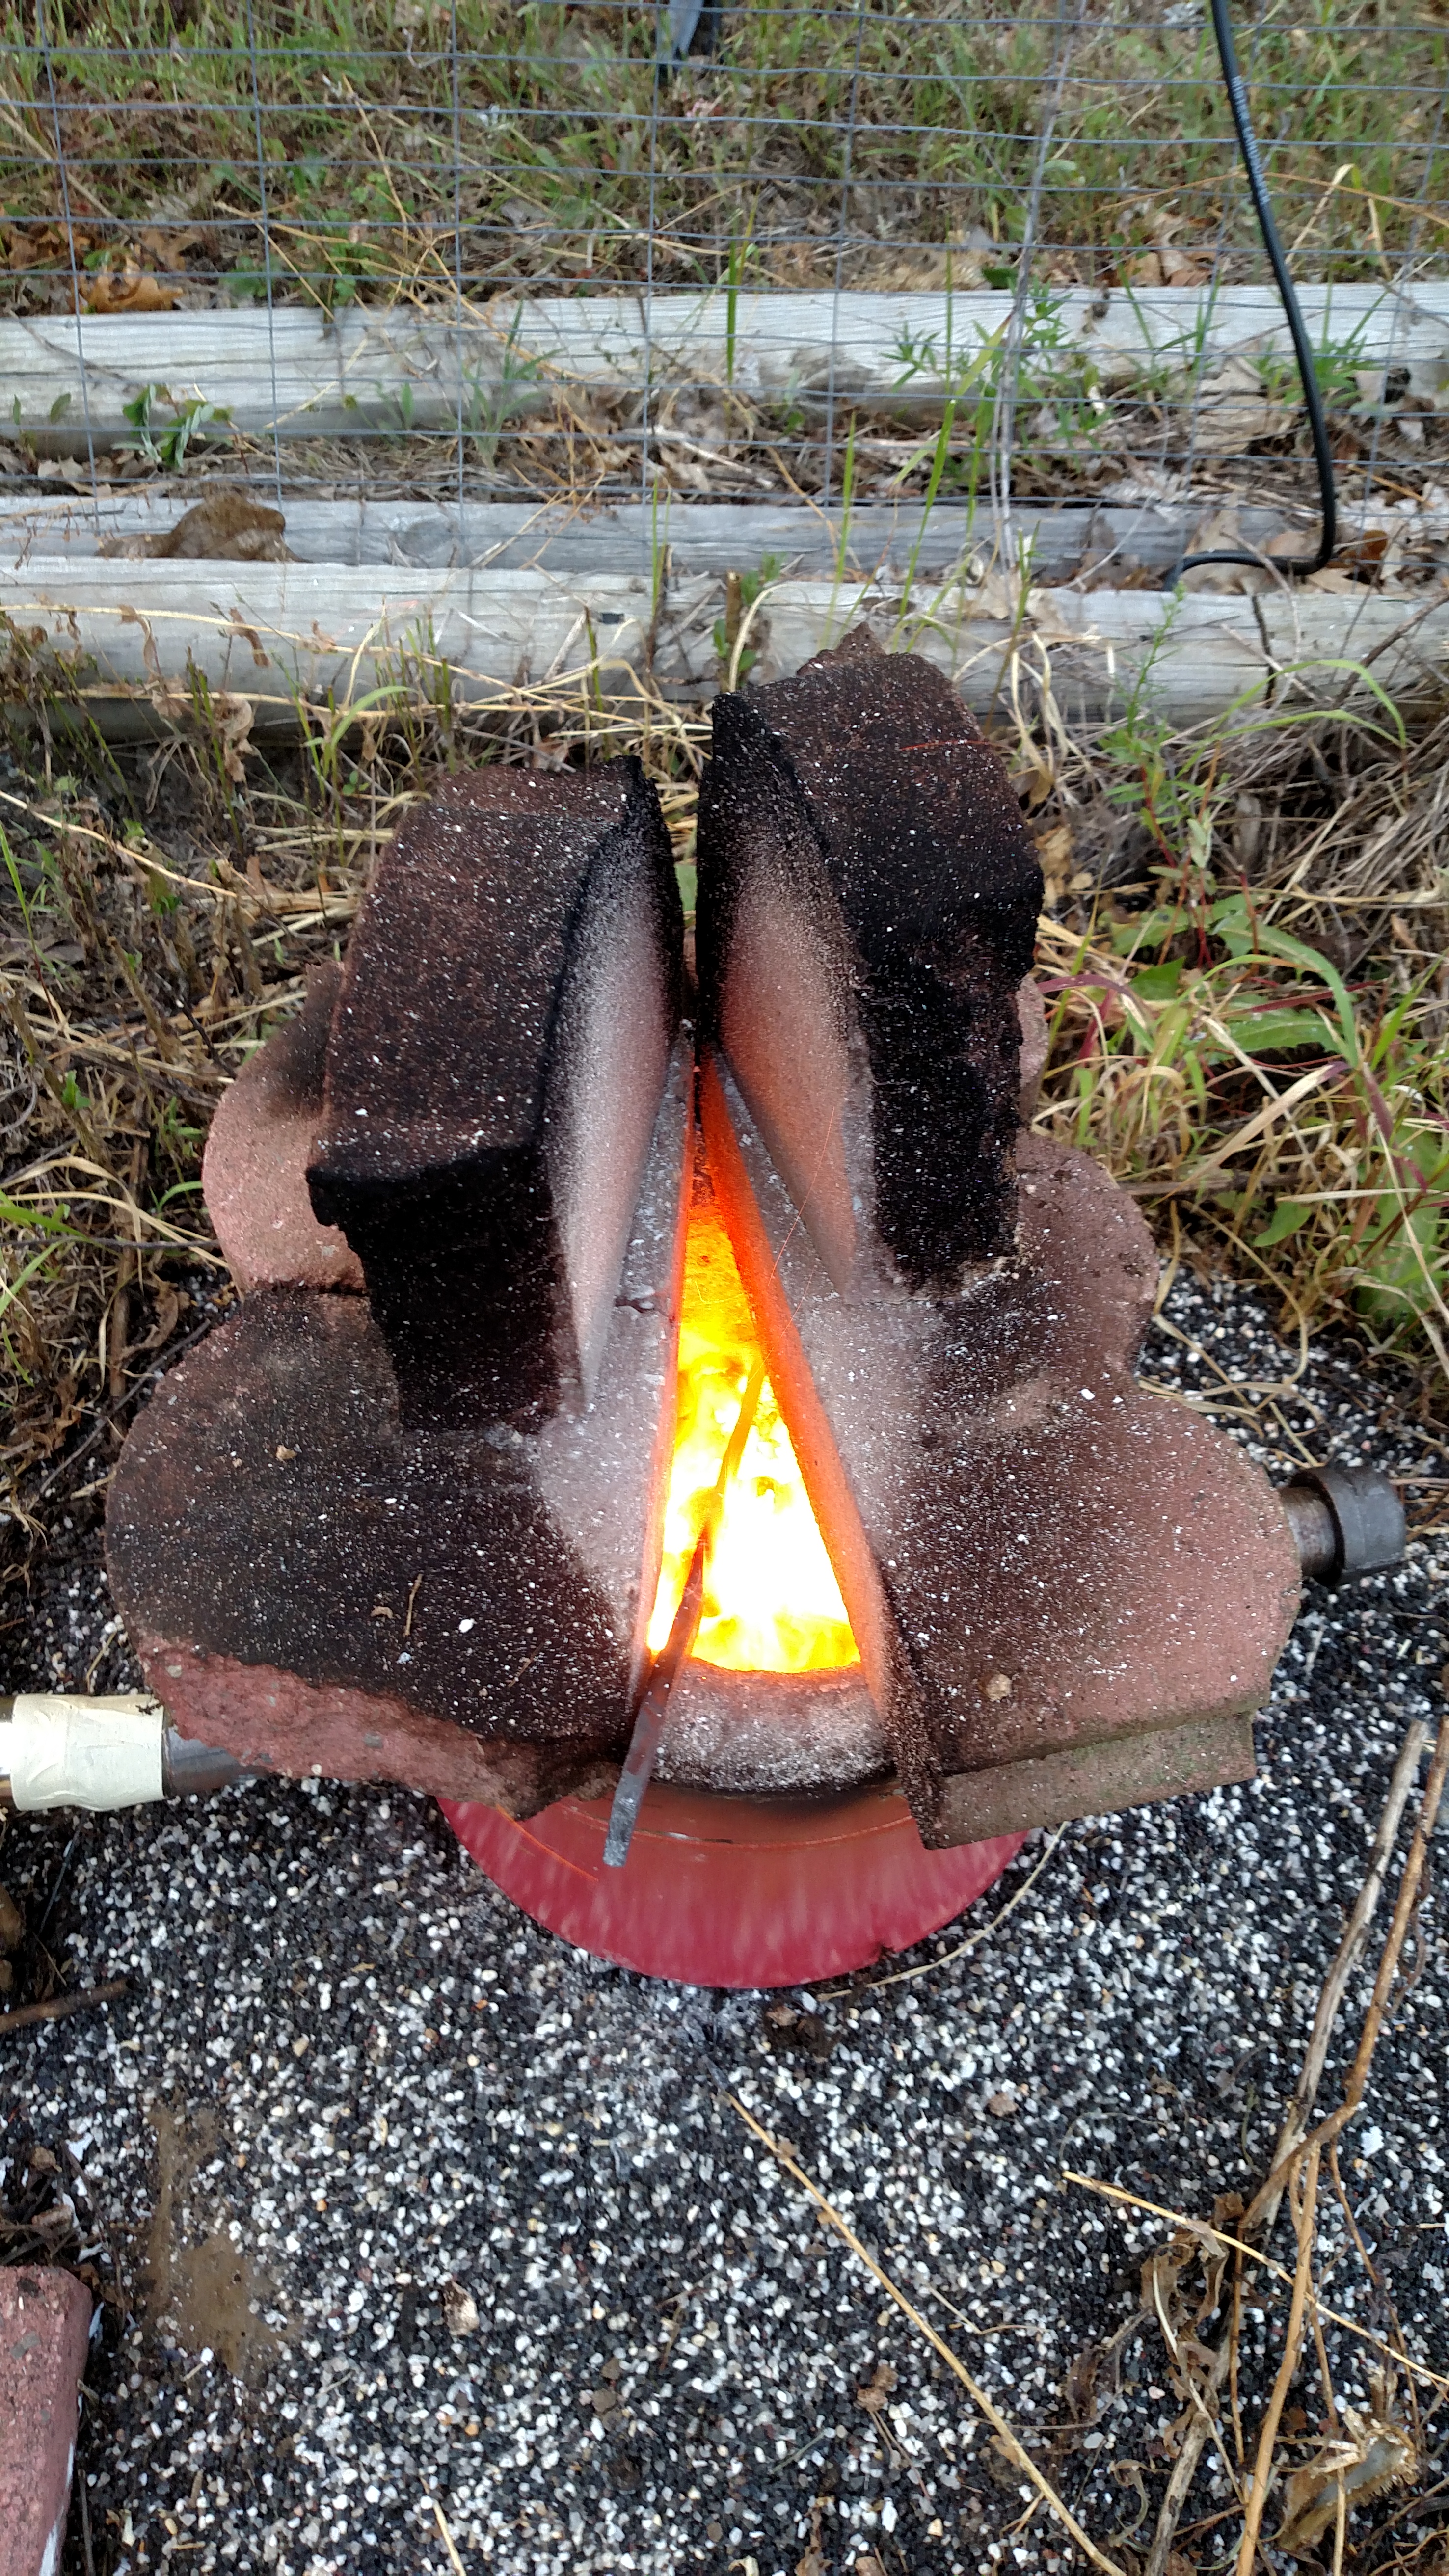
Unfortunately I figured that out after I had built it, and about half way into trying to make a knife. :-) Oh well, it is probably usable as a furnace to melt aluminum or I'll just add it to my long list of 'projects gone wrong'. -Brian
-
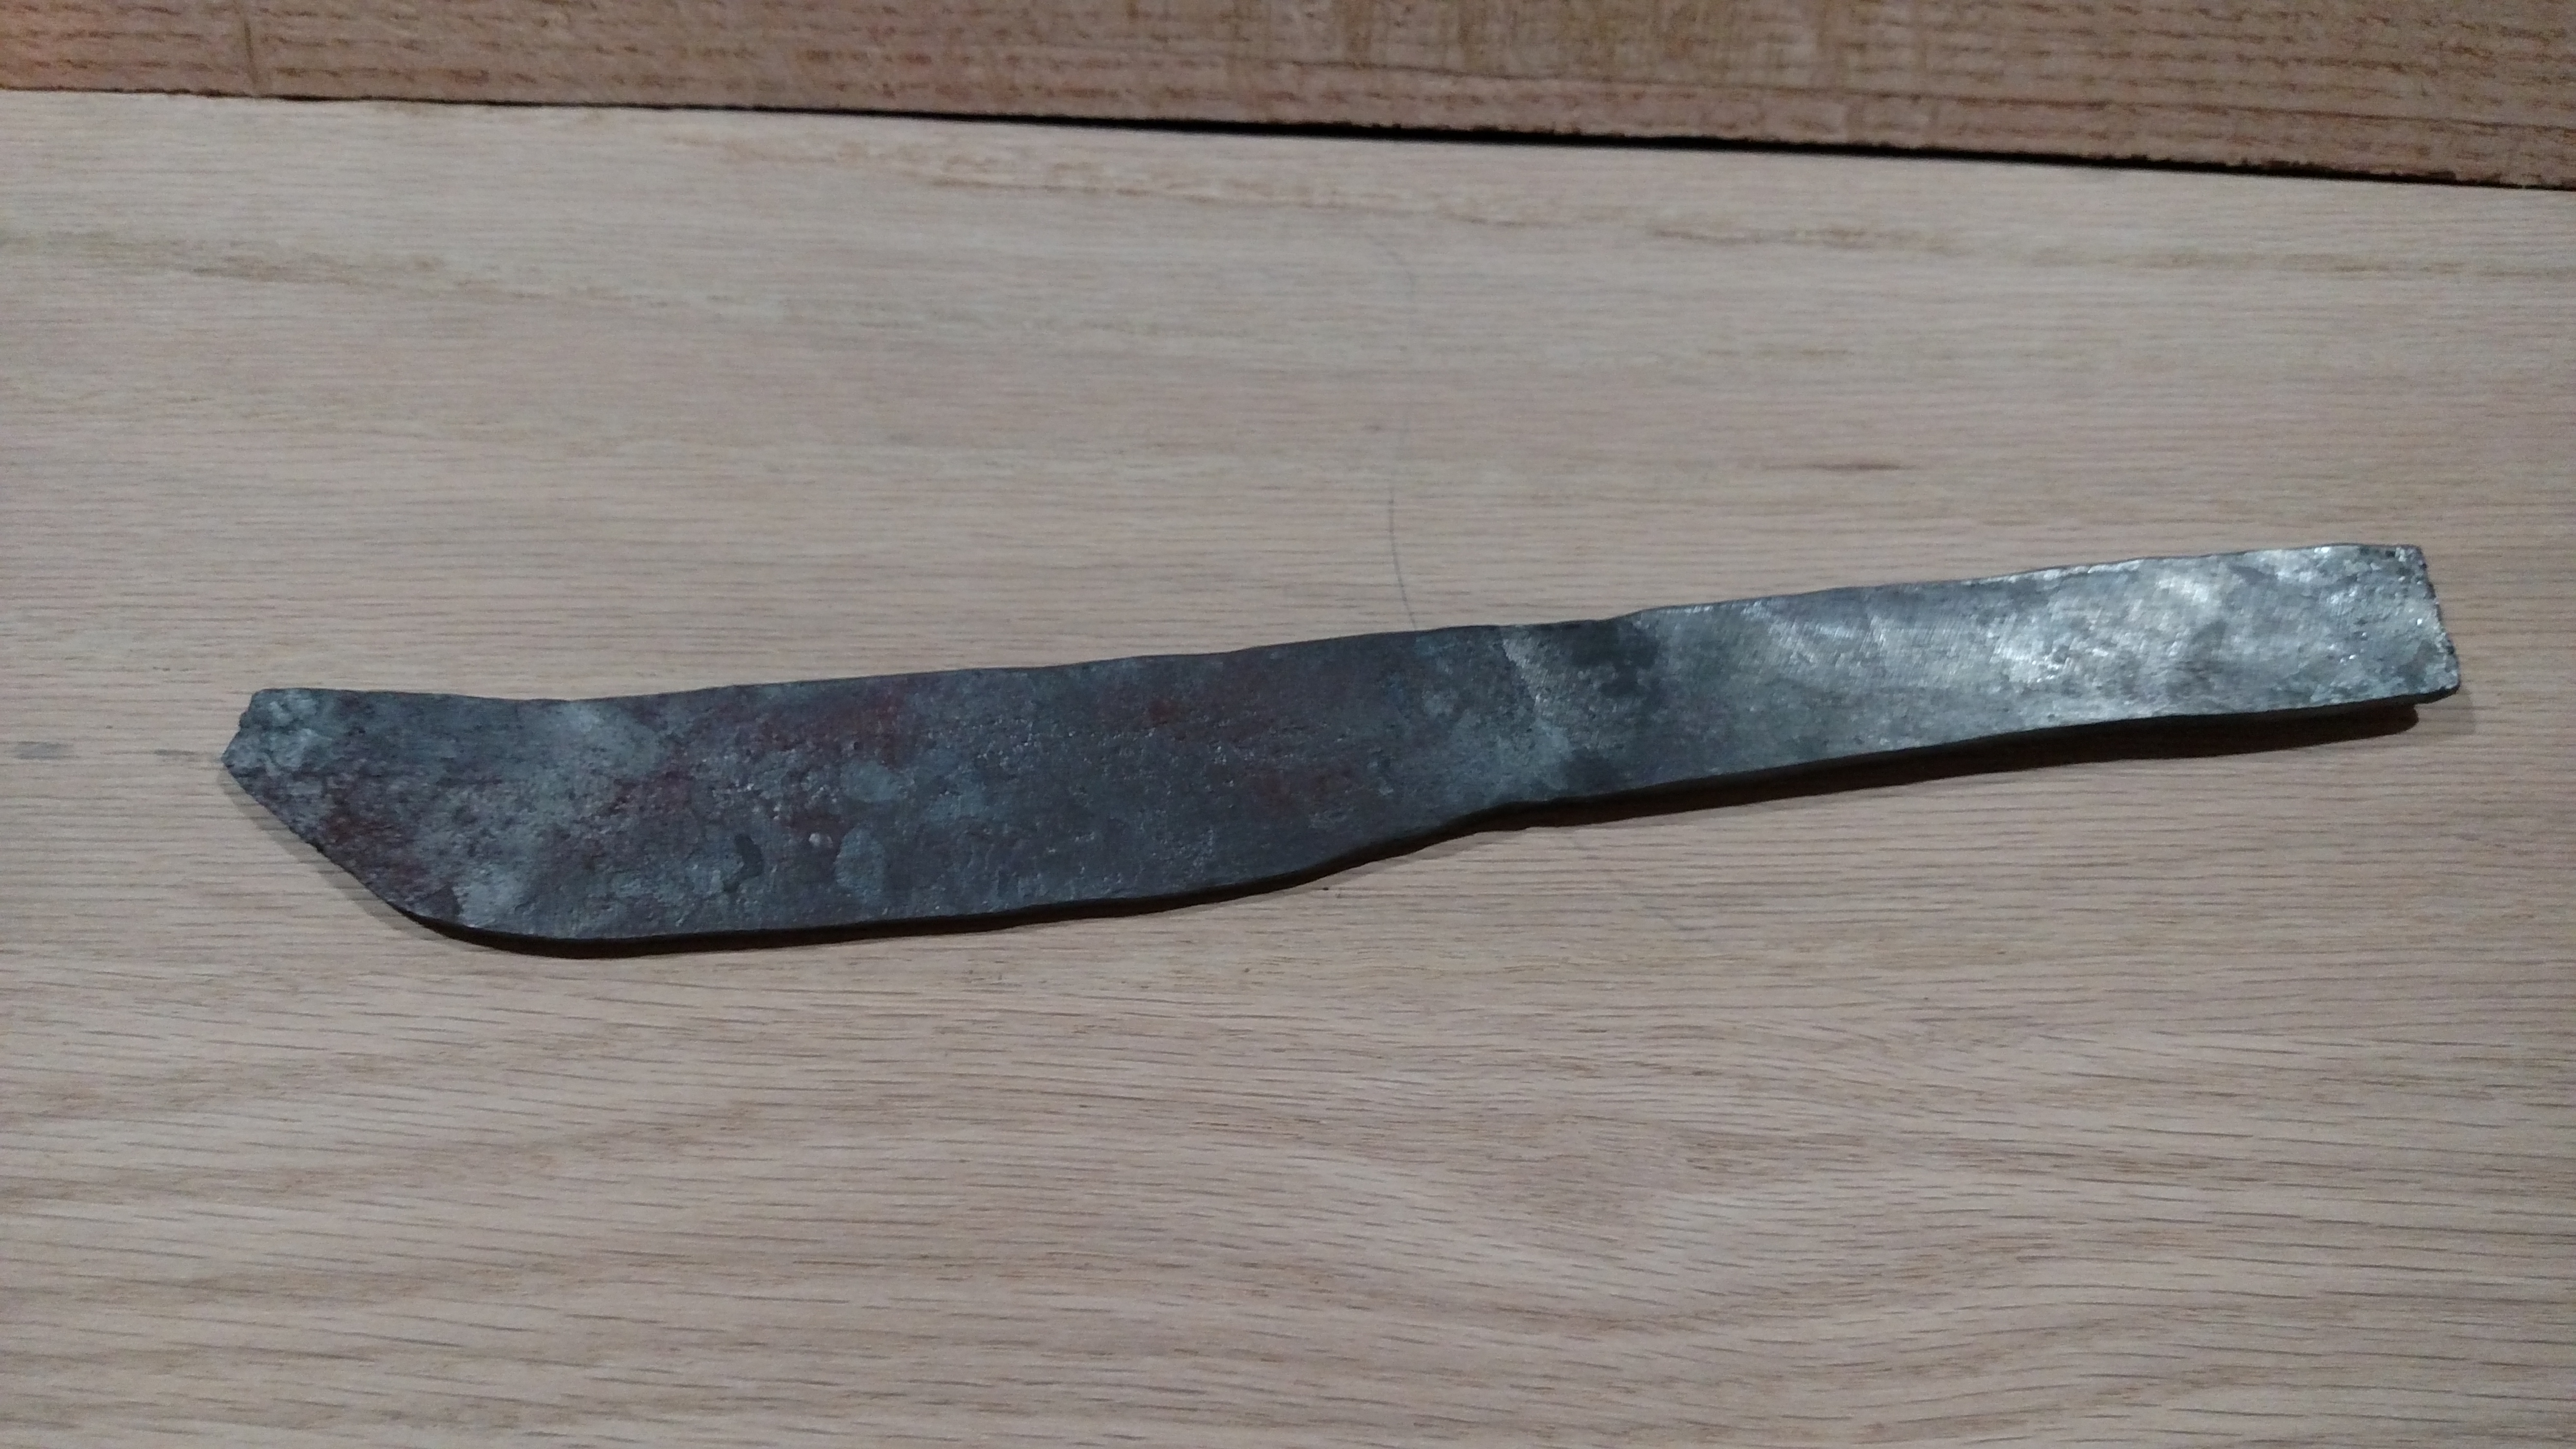
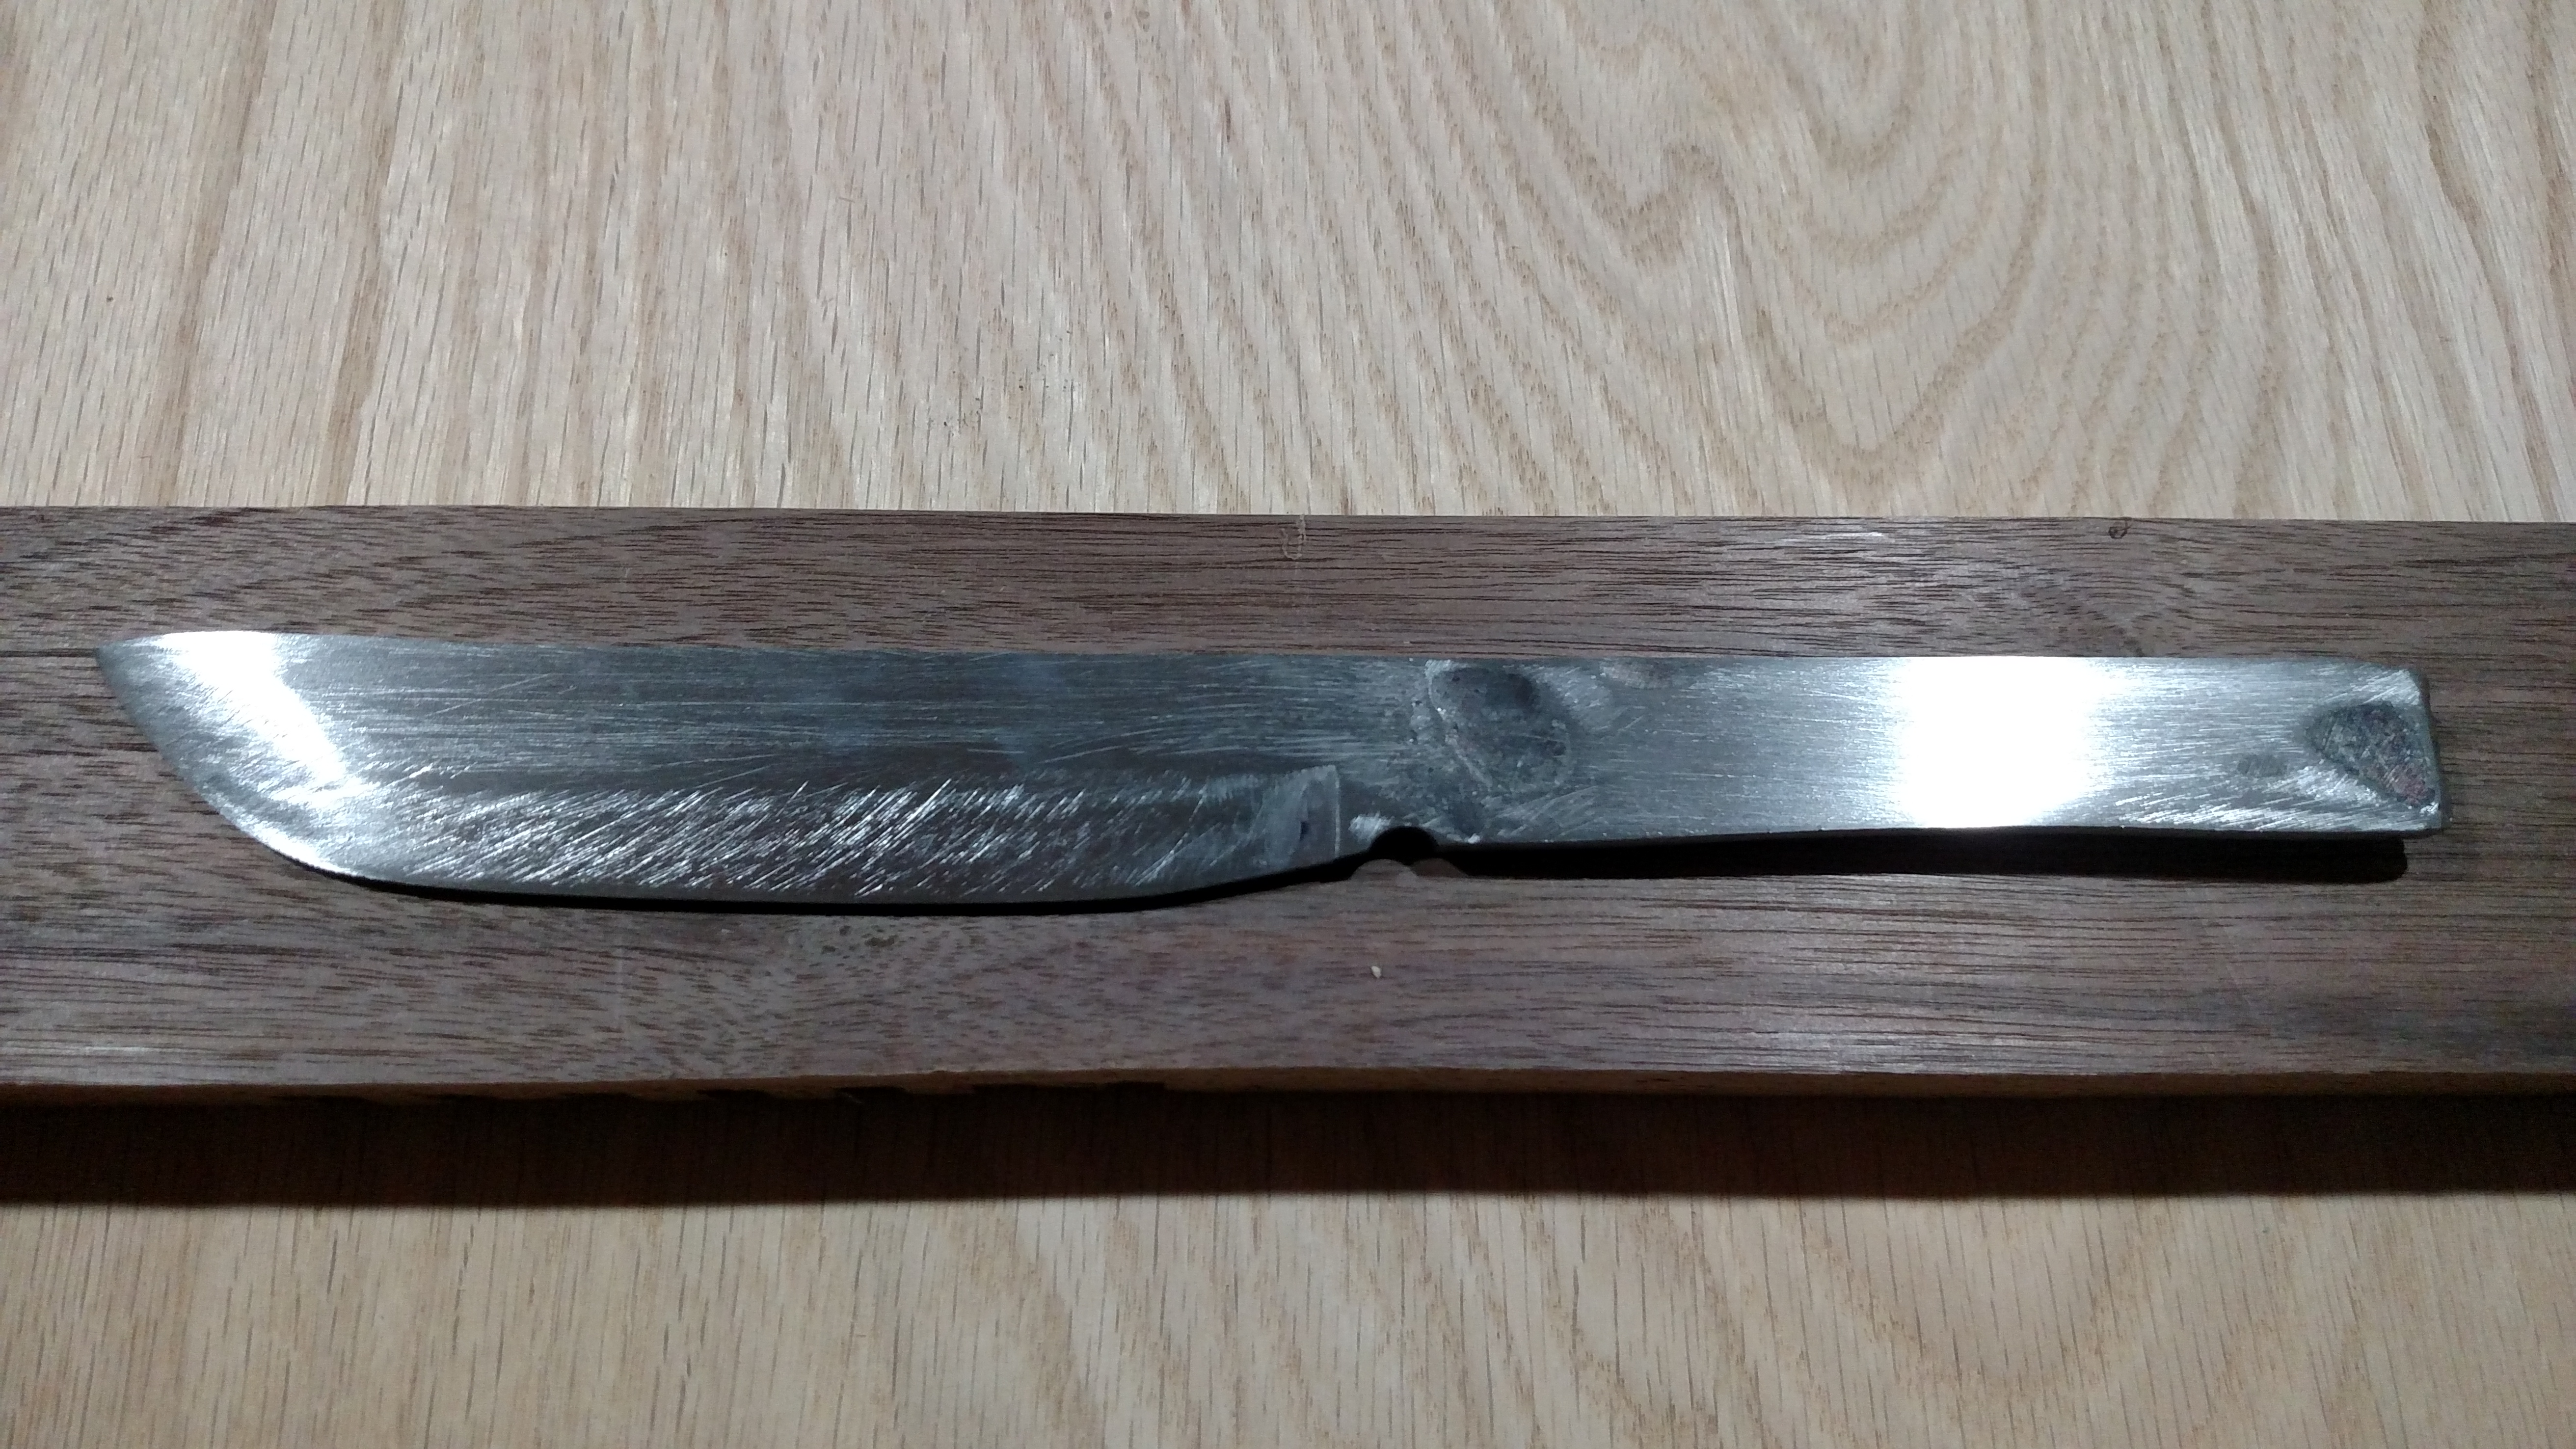
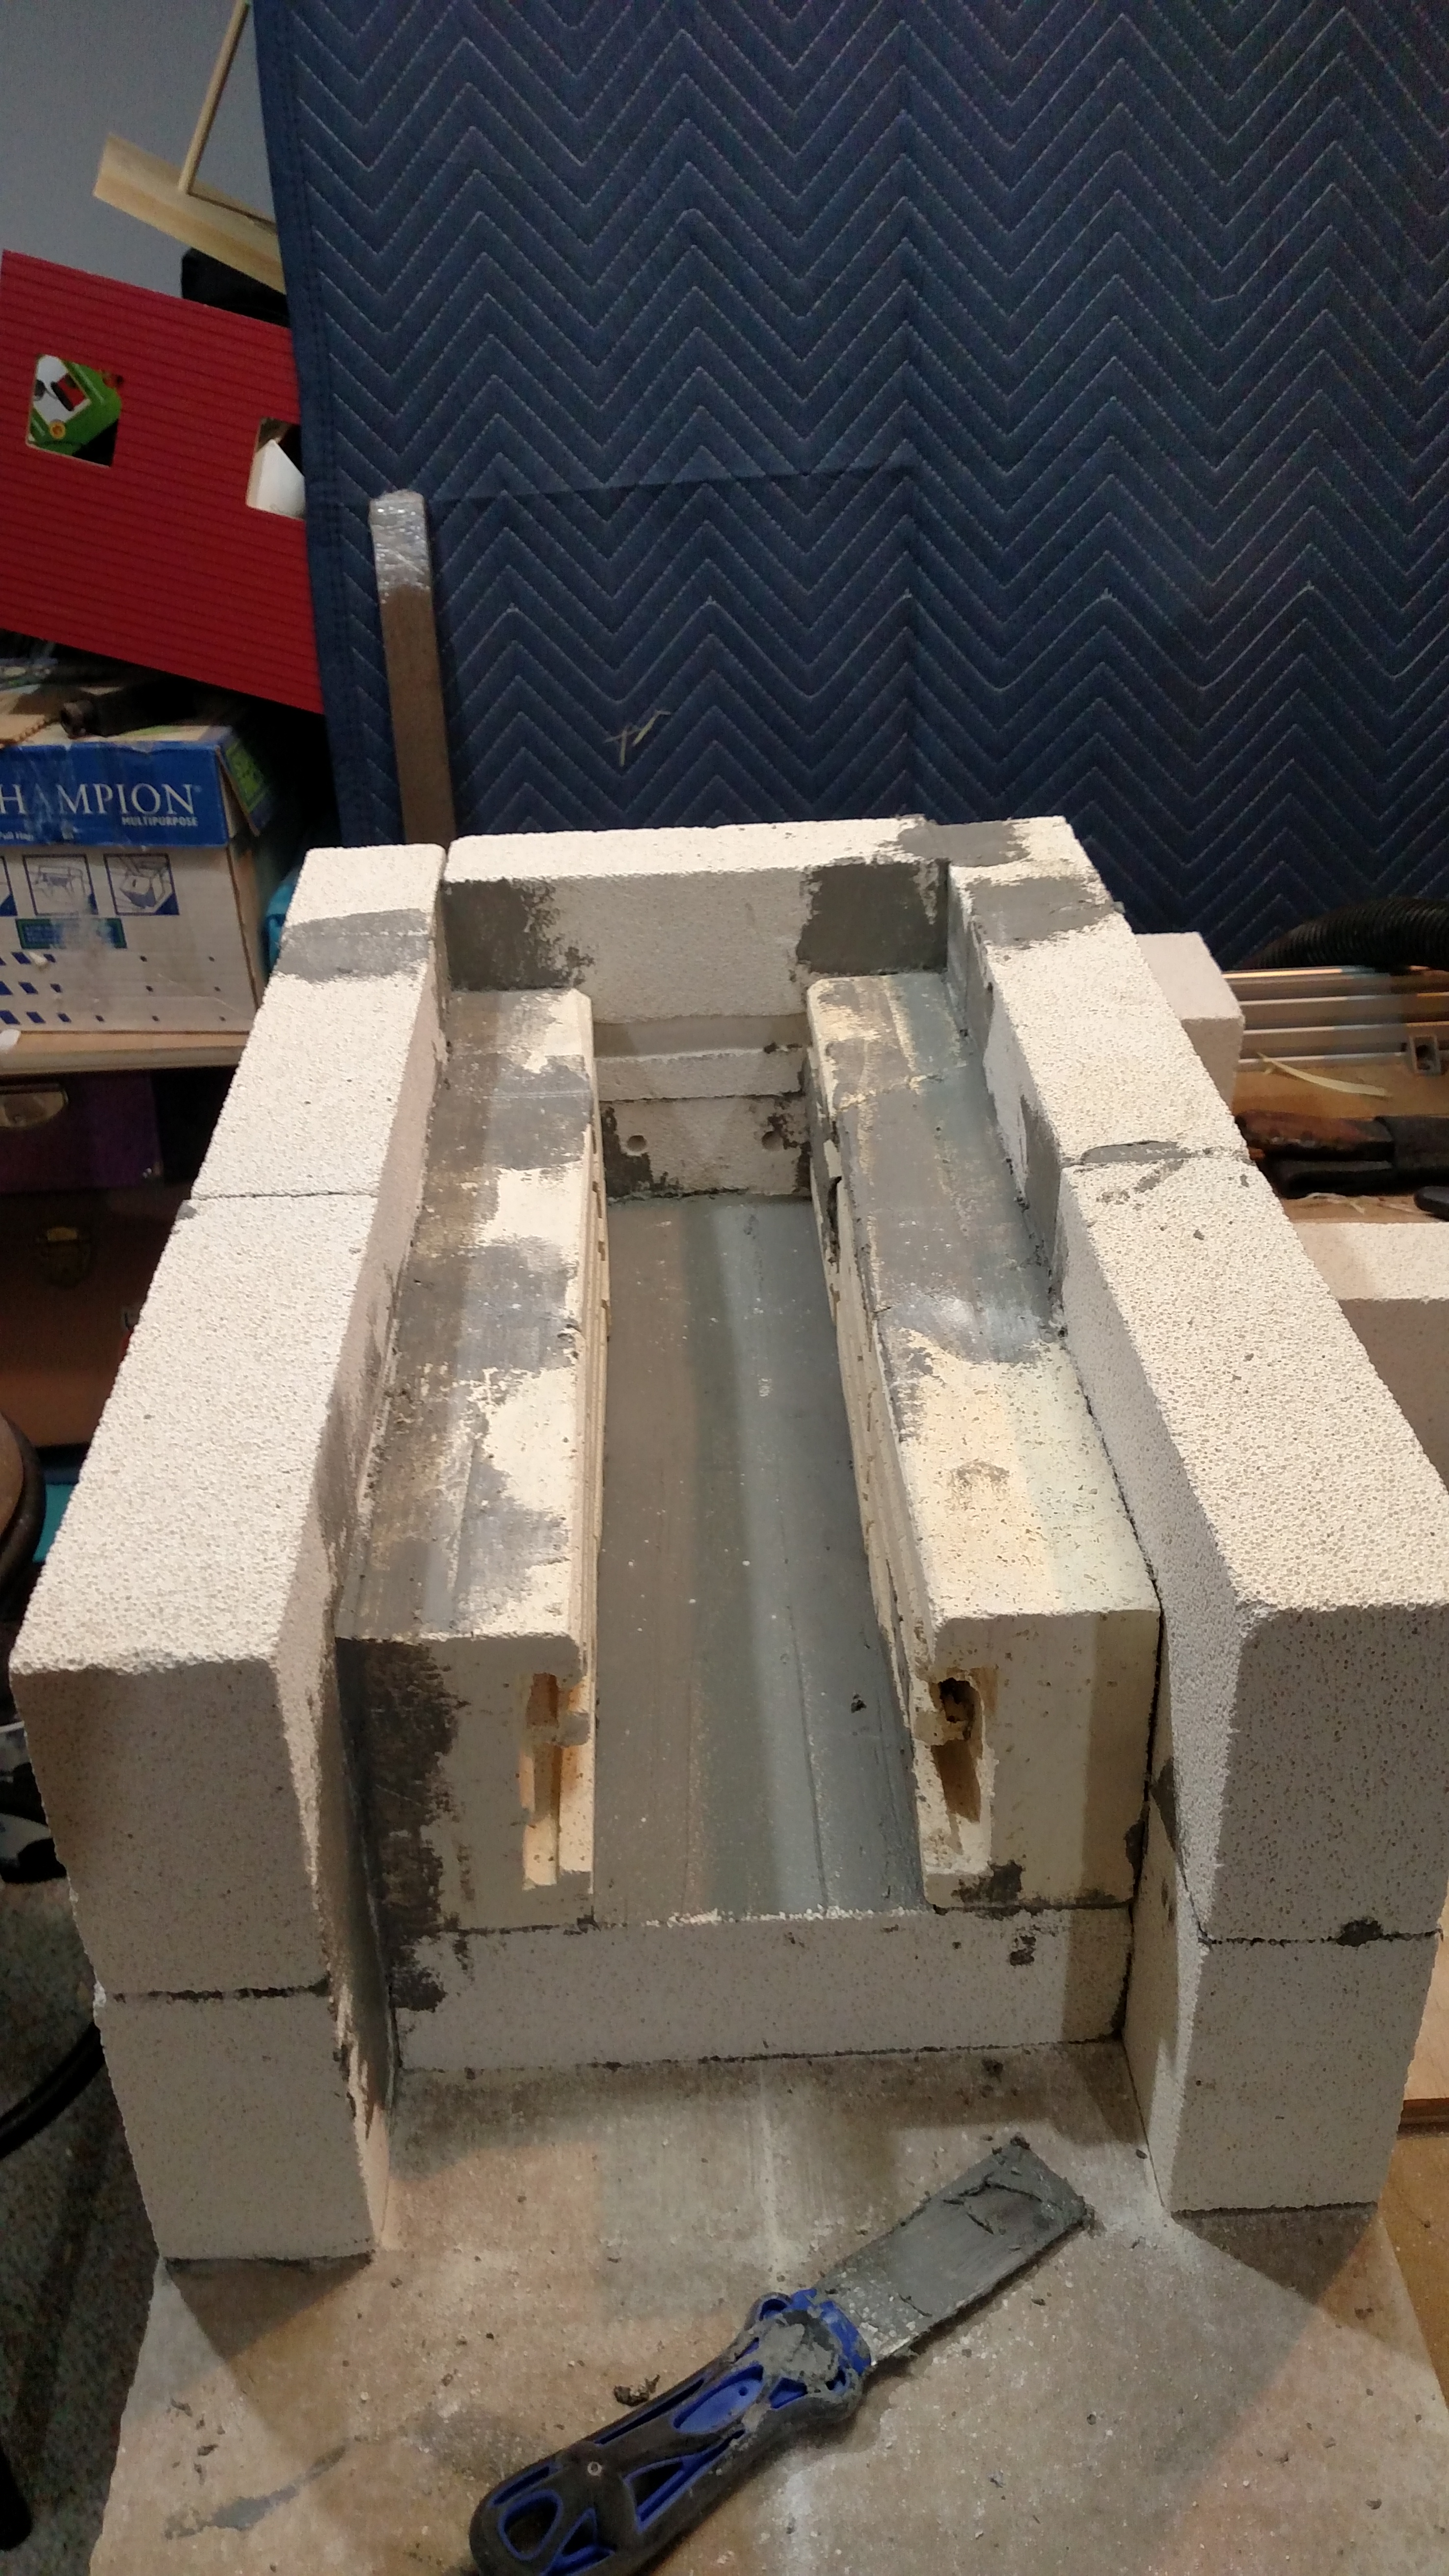
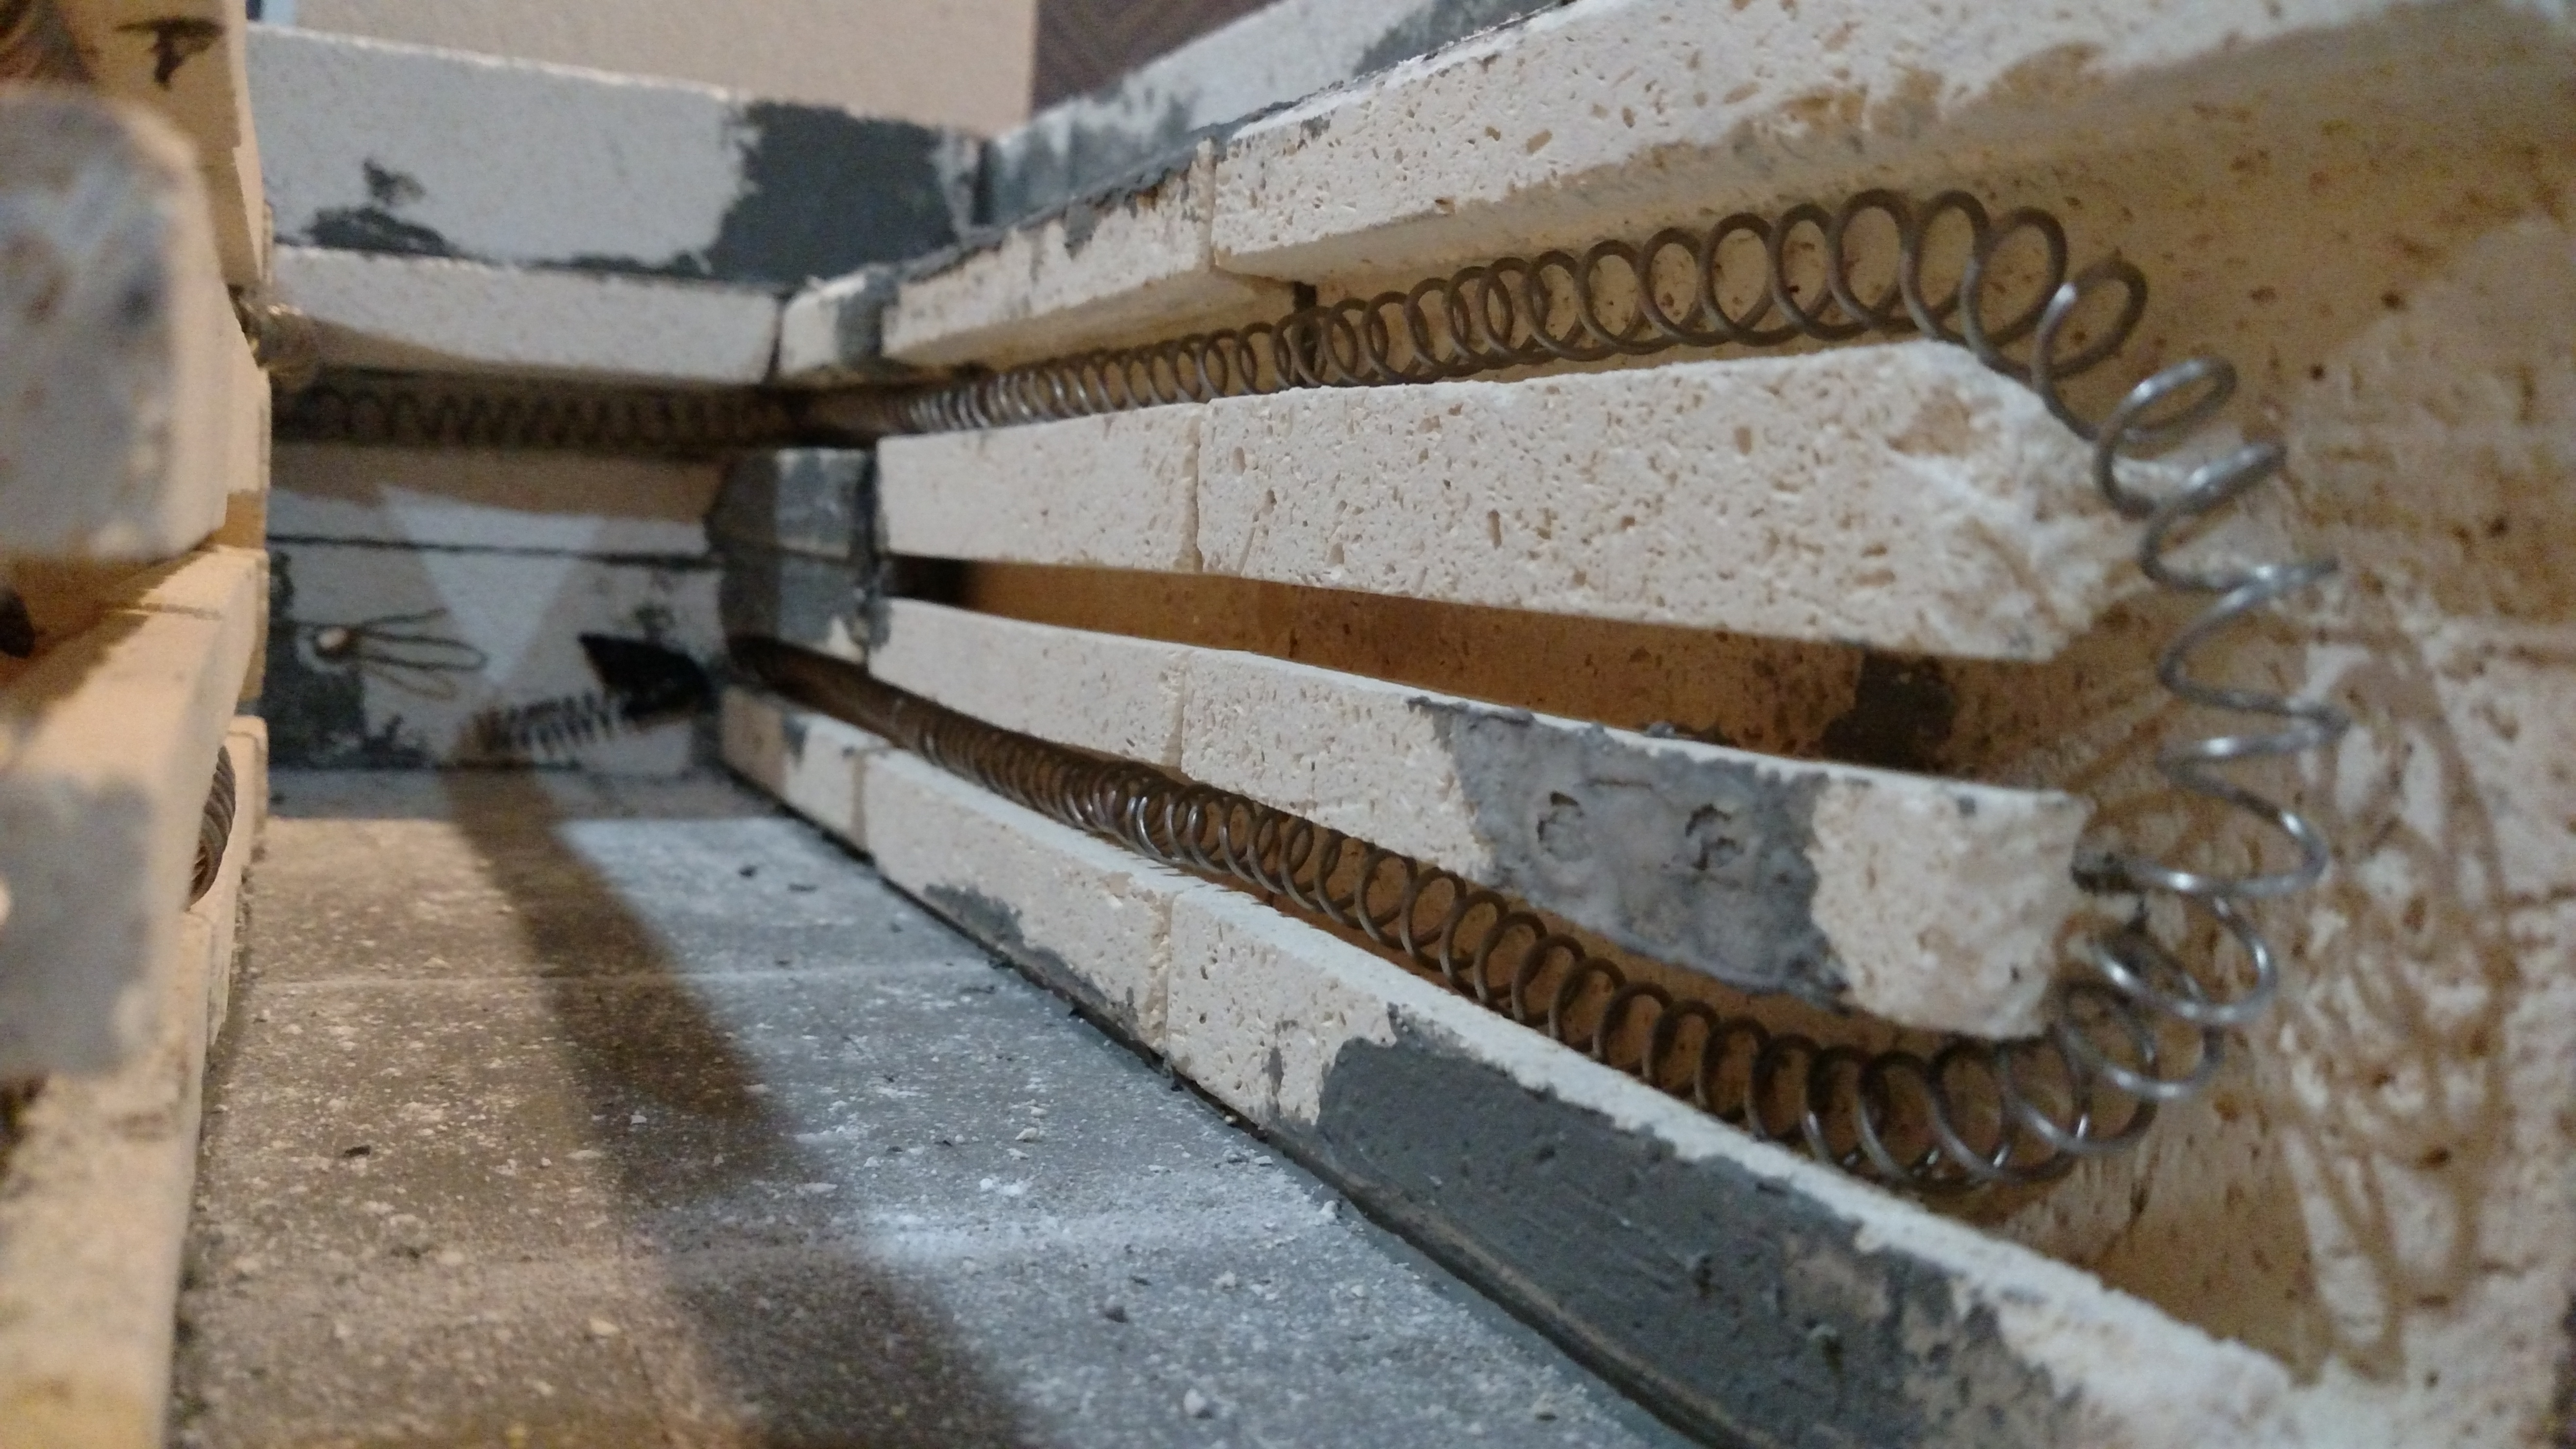
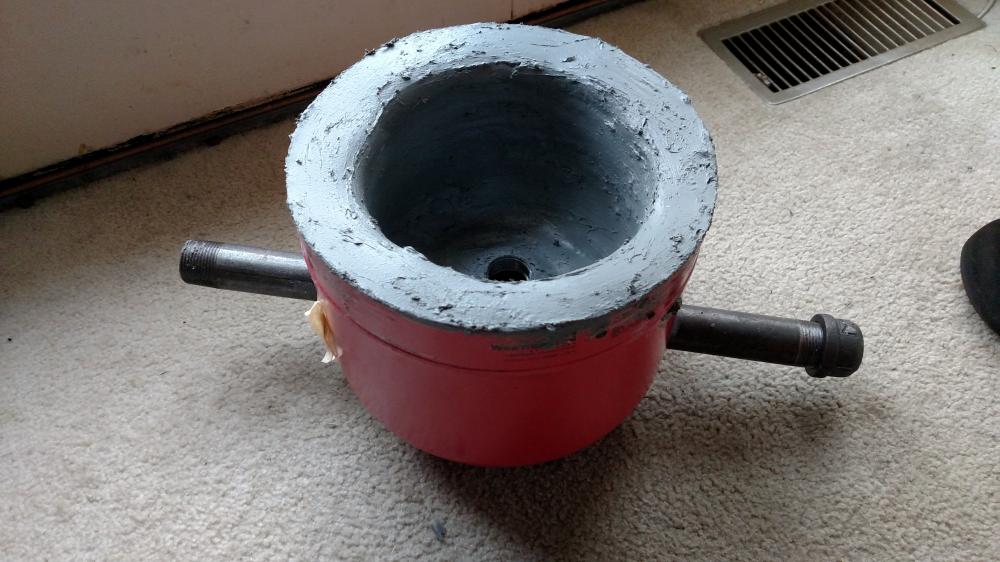
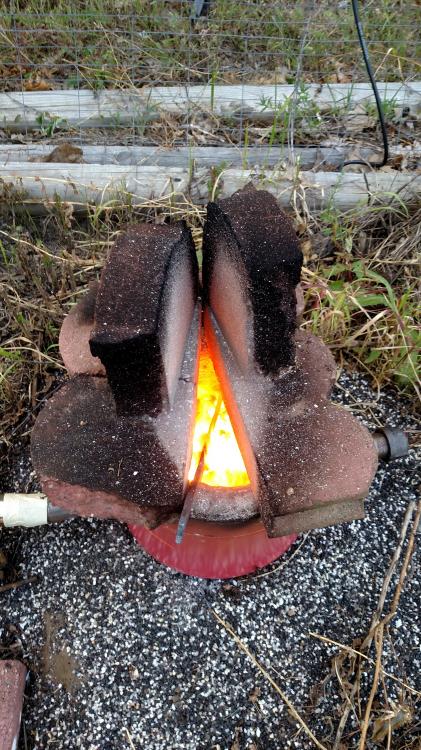
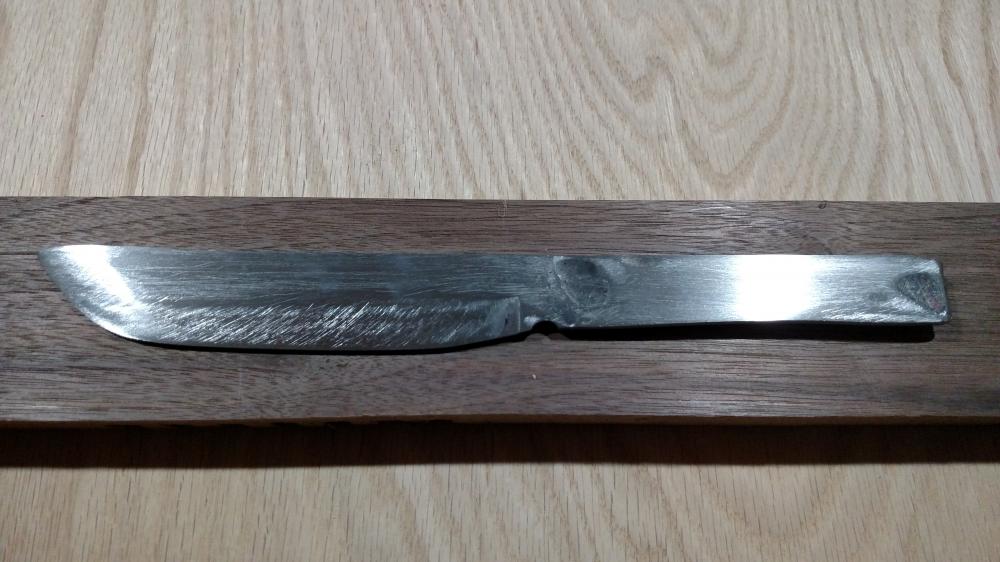
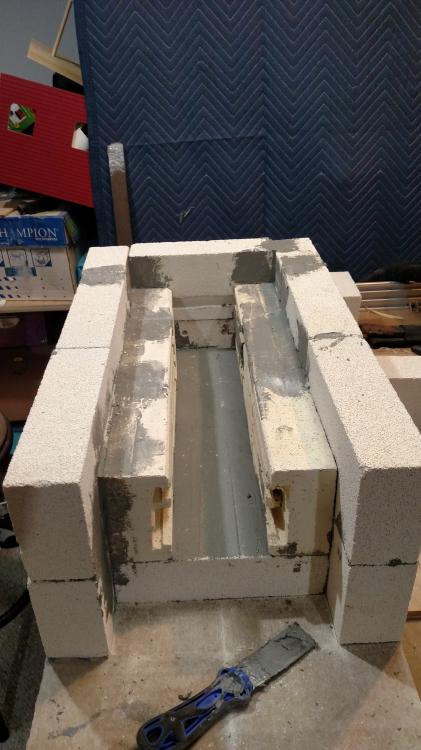
Hello all, My name is Brian, I'm originally from WV and I currently reside in Southern NJ just outside of Philadelphia. At my day job I work as a software/electronics hardware engineer for the US NAVY. I've been interested in metal working and blacksmithing for many years but only recently decided to add it to my large list of hobbies (ham radio, electronics, wood working, photography and probably a few more). My interests are mainly split between decorative metal work, that I can use in my woodworking projects, and knife making. After reading far to many threads here and on other forums I decided give it a try. I hacked together a small charcoal "bucket" forge, which looks more suited to firing a crucible than forging, and managed to bang out a piece of steel that at least looks like a knife. Unfortunately I live in a rather compact neighborhood that isn't exactly redneck friendly. So I have to move everything in/out of the garage every time I want to make something. Thankfully, this problem will be remedied shortly, as we will be moving to a rural area in Florida around the beginning on the year. Once we move I intend to setup a permanent shop outside and build a gas forge. While I'm waiting to move, I figured I would try my hand at making some blades using stock removal. I've picked up some 80CRV2 stock and I'm building an electric heat treating oven that is almost finished. If I get time this week, I should be able to get it completed and give it a test run this coming weekend. I just wanted to say "hello" and to thank everyone for the wealth of great information I've found here. Here are a few pictures of my forge, first knife, and heat treating oven. Brian ++++++++++++++++++++++++++++ The "Bucket". Its an old party balloon helium tank lined with a mix of fireplace cement and perlite. Working on my first knife using a mix of wood and lump charcoal. The blower is from an old heat gun that quit heating. Powered by a 12V DC power supply. Fresh from the forge, it started life as a piece of 5/8 round bar. Starting to take shape. All work was done by hand with a file. No power tools. I still need to finish shaping it and heat treat. This is my work in progress heat treating oven. Inside dimensions: 4.5"w x 4"h x 16"d 120VAC, 1500w.


.jpg.7b7b484b2793fb37ed66ec6b7193937a.jpg)