-
Posts
19,303 -
Joined
-
Last visited
Content Type
Profiles
Forums
Articles
Gallery
Downloads
Events
Posts posted by JHCC
-
-
16 minutes ago, Frosty said:
does it put you closer to the pivot point and reduce leverage?
Maybe theoretically, but not enough to make any real difference. The number of times that I've had to go all the way out to the end for maximum leverage is basically zero.
Now, I have an idea for a setup to increase leverage without having to invest in the hydraulic conversion kit. More to come....
-
I did too, but then I realized why the angle exists in the first place: it gives you a LOT more flexibility in the range of motion and where you stand relative to the bender.
-
Allow me to remind you how much you sidetracked this very thread with a discussion of black holes.
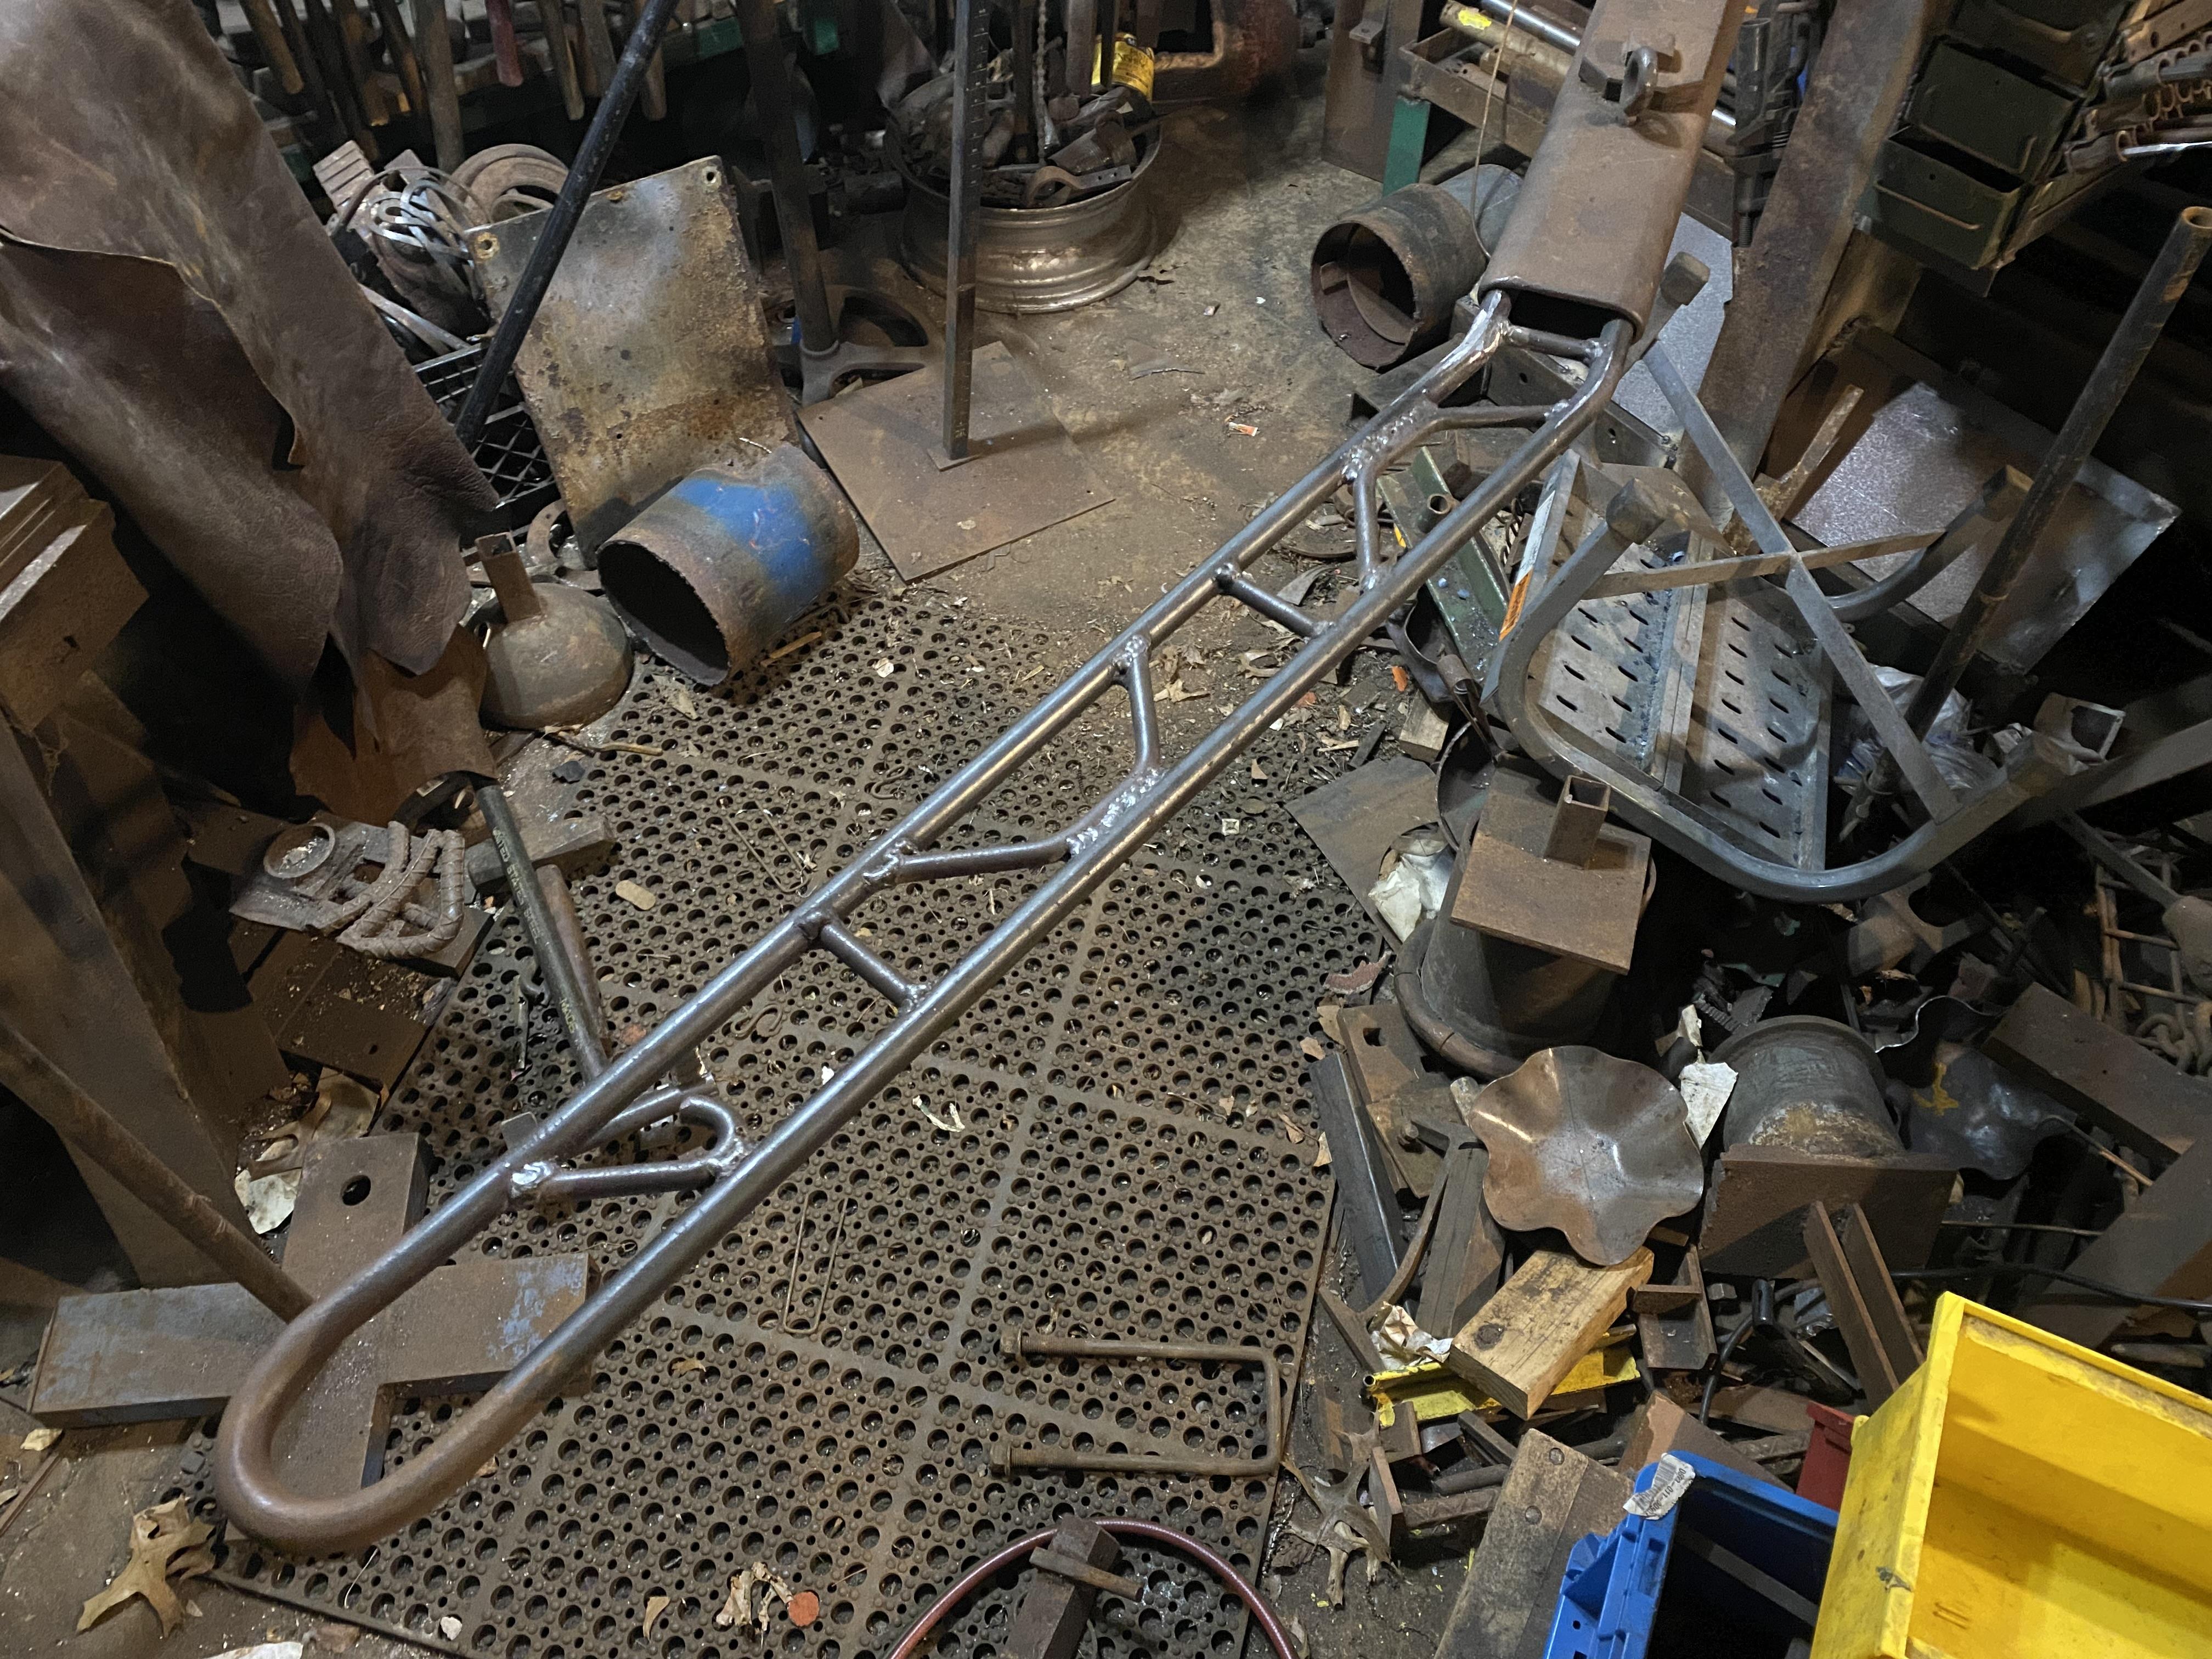
Looking back, I realize that I forgot to mention here that in early January, I modified the handle extension with a bend to match Hossfeld's original:
-
9 hours ago, JHCC said:
combination vise stand/scrap steel storage
As documented in THIS COMMENT on the "What did you do in the shop today?" thread.
-
The older I get, the better I was.
-
Bamboo is going to behave basically the same as wood, although its thin cross section is going to mean you're going to be burning through quite a lot of it. Because both wood and bamboo only get hot enough to forge metal once they've burned down to coals, you have two basic options. One would be a very deep V-shaped forge, where you add the fuel on top, and it settles into a concentrated hot spot at the bottom as it burns down (Google "Whitlock forge" for a commercially made example). The other would be to make a regular JABOD forge (Just A Box Of Dirt) and fuel it with the coals from a separate fire pit, where you do the initial burn-down of the bamboo. There's a good discussion of both these options on this thread:
12 hours ago, Irondragon Forge ClayWorks said:I think the Japanese knife/sword makers do use some bamboo but turn it into charcoal for the forge.
My understanding is that Japanese bladesmiths generally use softwood charcoal. However, bamboo-based charcoal is often used by metalworkers who need their fire to be as impurity-free as possible, such as silversmiths. (This is one reason that willow-based charcoal was the preferred fuel for European and early American silversmiths, in addition to how readily willow adapts to coppicing and thus ensuring a constant supply of raw material.) Bamboo-based charcoal is also used for burning incense, as it imparts no additional odors of its own.
-
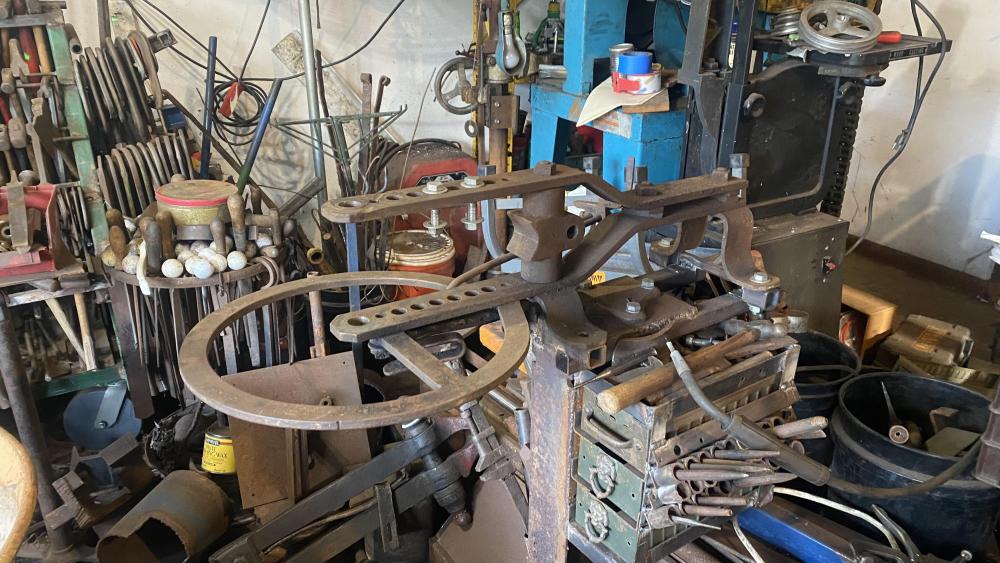
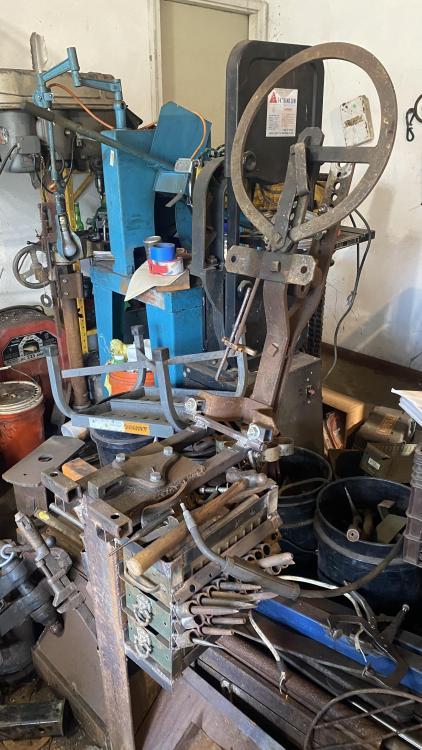
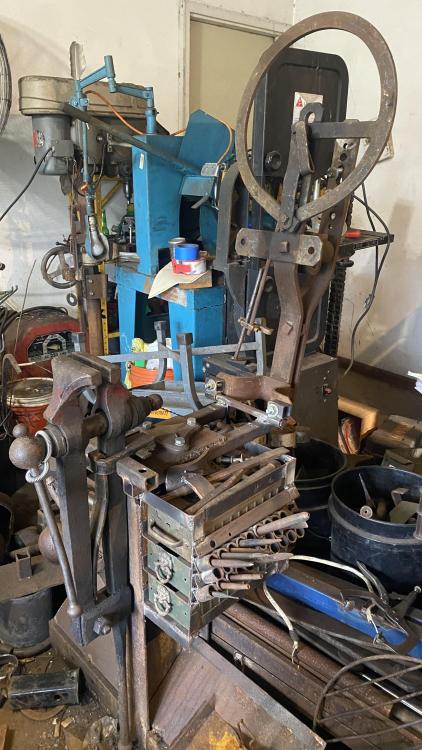
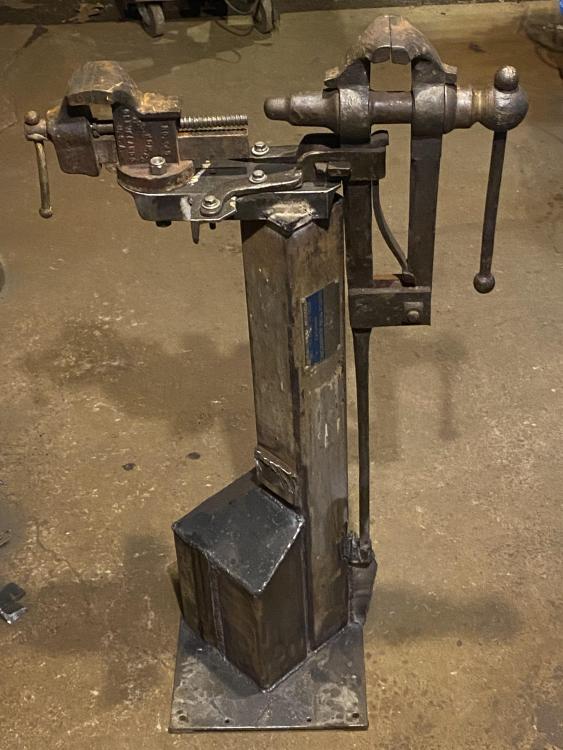
This is the combination vise stand/scrap steel storage that probably weighs somewhere between a quarter and half a ton. So, yeah.
-
As detailed in THIS POST, I mounted my Hossfeld #2 bender on a hinged bracket, to facilitate switching it out with my bigger post vise.
-
-
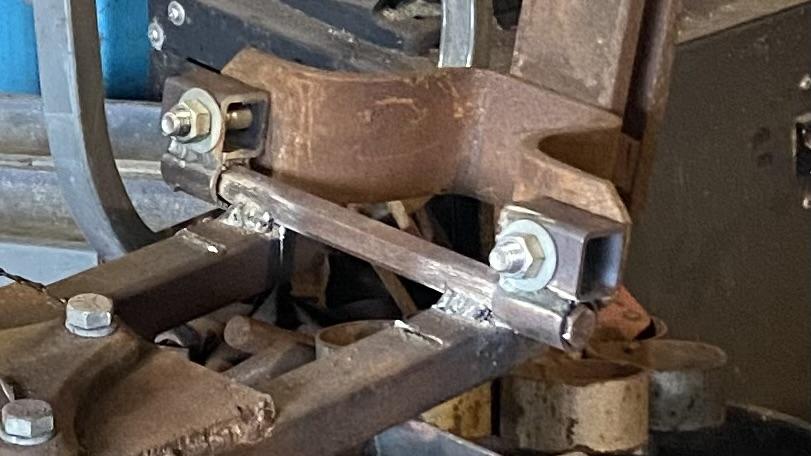
Made a simple-yet-significant change to how the Hossfeld is mounted. Because it shares a stand with my bigger post vise, switching back and forth from one to the other can be a bit of a pain, and I’ve tended to leave one or the other set up longer than I should.
I realized that by hinging the bender’s mounting bracket at the back, all I need to do is undo the front mounting bolts, and the whole thing tips up and out the way. A minimum of cutting and welding, and here we are.
Closeup of the hinge:
And here’s the stand with the vise in place.
I’m probably going to make or buy some big wingnuts to facilitate bolting and unbolting the bender in its lowered position, but that’s for another day.
-
You could make the whole staircase!
Ooh, now I'm imagining this as the stringer of a spiral staircase. That would be quite something!
-
-
Or a post-industrial mailbox.
-
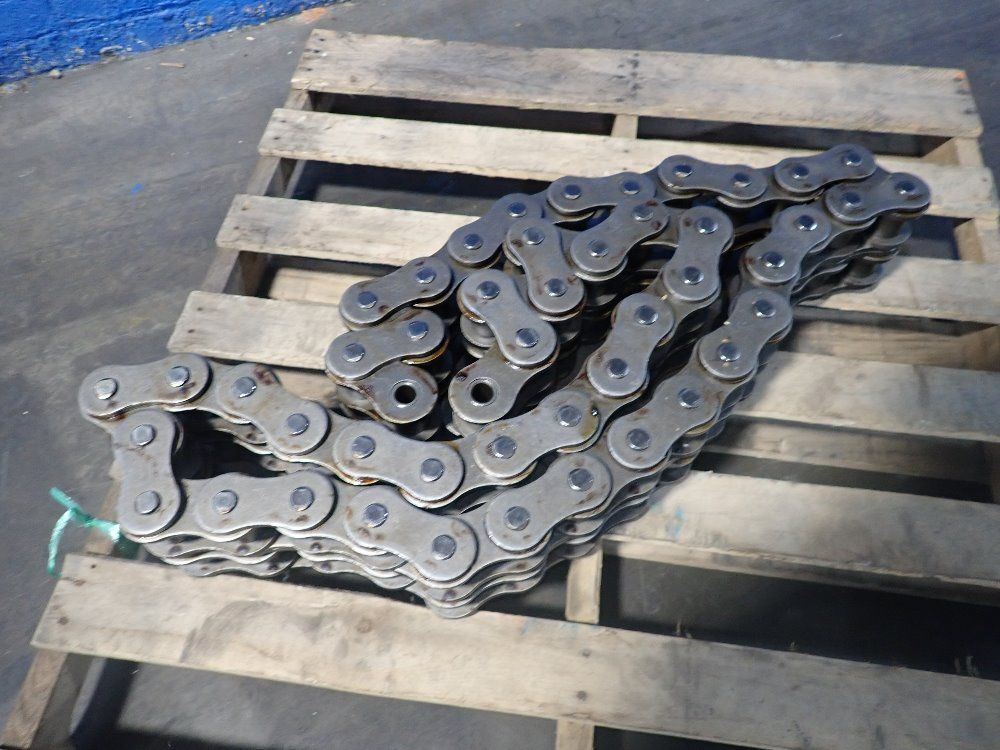
This image is from a listing in my local industrial surplus place. I was thinking that this chain might be good for making cannister damascus, until I noticed how big the links are. For scale, that's a standard 40" x 48" pallet it's sitting on.
Caveat emptor!
-
This is NOT my area of expertise, so please take everything that follows with a HUGE grain of salt.
From what I can tell, CARC (Chemical Agent Resistant Coating) presents two hazards: the chemicals (isocyanyte, toluene, etc) present in the paint before it is mixed, applied, and cured, and the pigments (e.g., cobalt chromite and chromium oxide to make OD) that remain after the aforementioned chemicals have reacted/evaporated to create the inert plastic layer. The former aren't going to be a problem when removing cured paint, but the latter can pose an environmental risk, either as fumes created by welding or torch cutting, or as airborne dust from grinding or sanding.
A little Googling led me to an interesting military vehicle forum called "Steel Soldiers", which has a number of threads about CARC removal (for example, this one and this one). This might be a good place to find others with more experience and better knowledge.
-
I agree in general, but I'd recommend raising the bowl rather than sinking it, especially if you're starting with thinner material. Sinking stretches out the material at the bottom of the bowl, possibly leaving too little thickness for working in the features.
-
I remember seeing a photo in an old National Geographic many long years ago (maybe in the early '80s?) showing some foundry workers in either Korea or Vietnam using an old M1 steel pot as a pouring ladle for molten aluminum.
-
-
If your drifting goes off-course, try heating only one side of the hole with an oxyfuel torch.
-
-
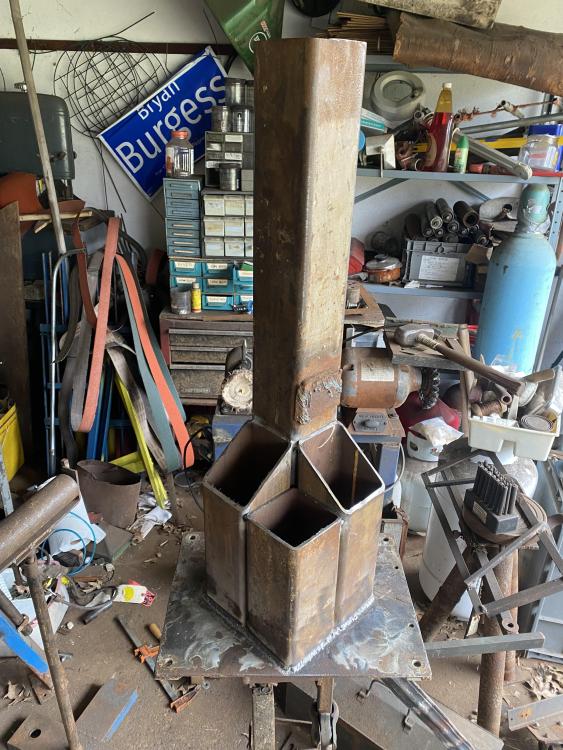
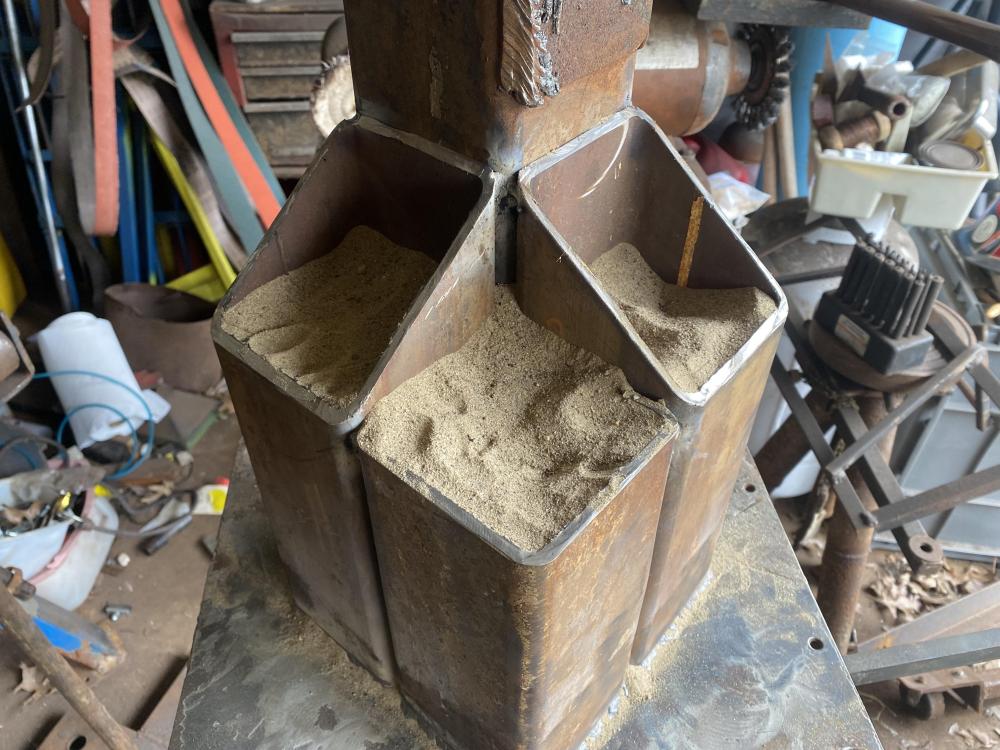
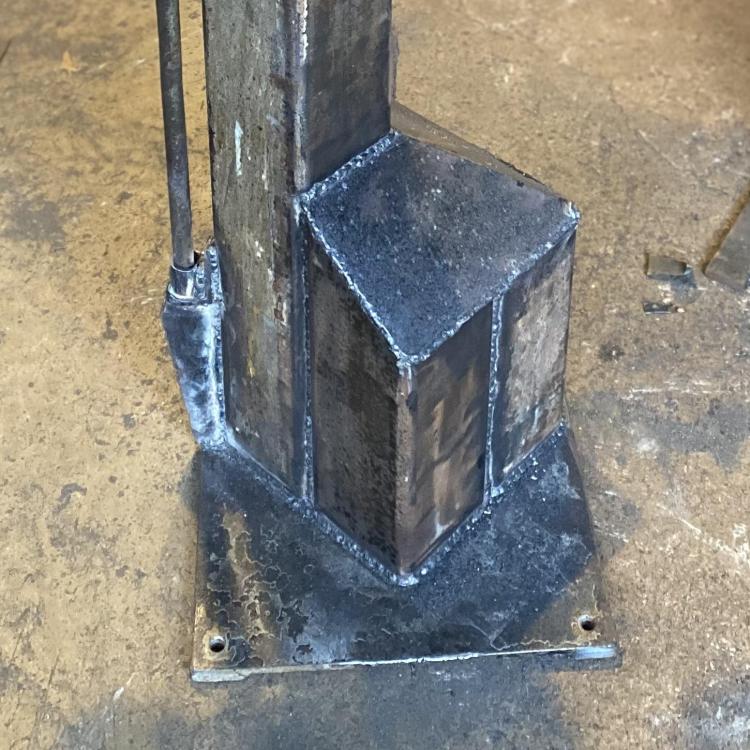
The mounting holes are left over from its previous life as the base plate for my belt grinder (now mounted elsewhere). I don't have plans to bolt it to the floor, as I like to have everything as moveable as possible. I am thinking about pouring the last of the bucket of sand into the column, though.
-
2 hours ago, George N. M. said:
socket bayonets have been used for a lot more things
One of my old friends had one mounted on a broomstick. He used it for spitting rats in the barn.
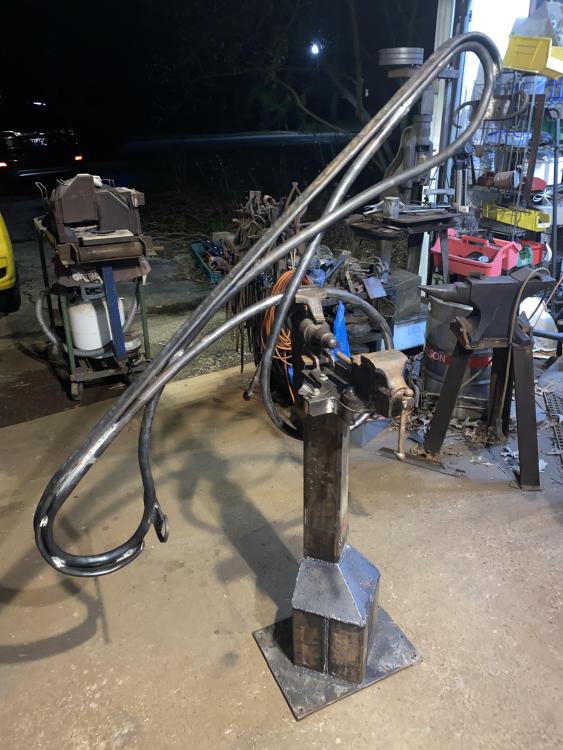
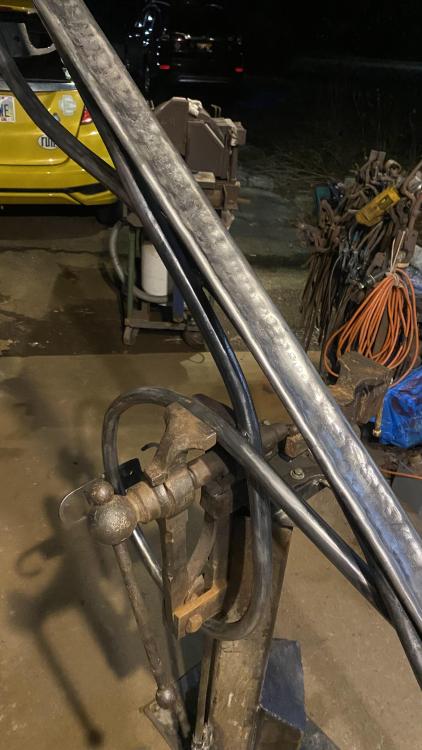
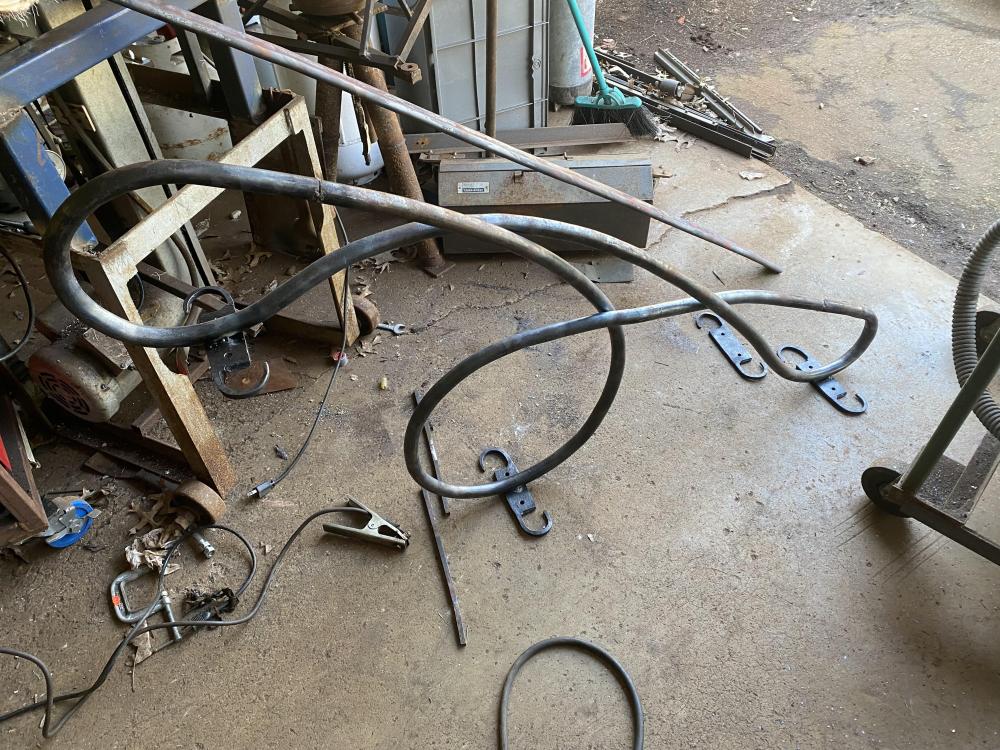
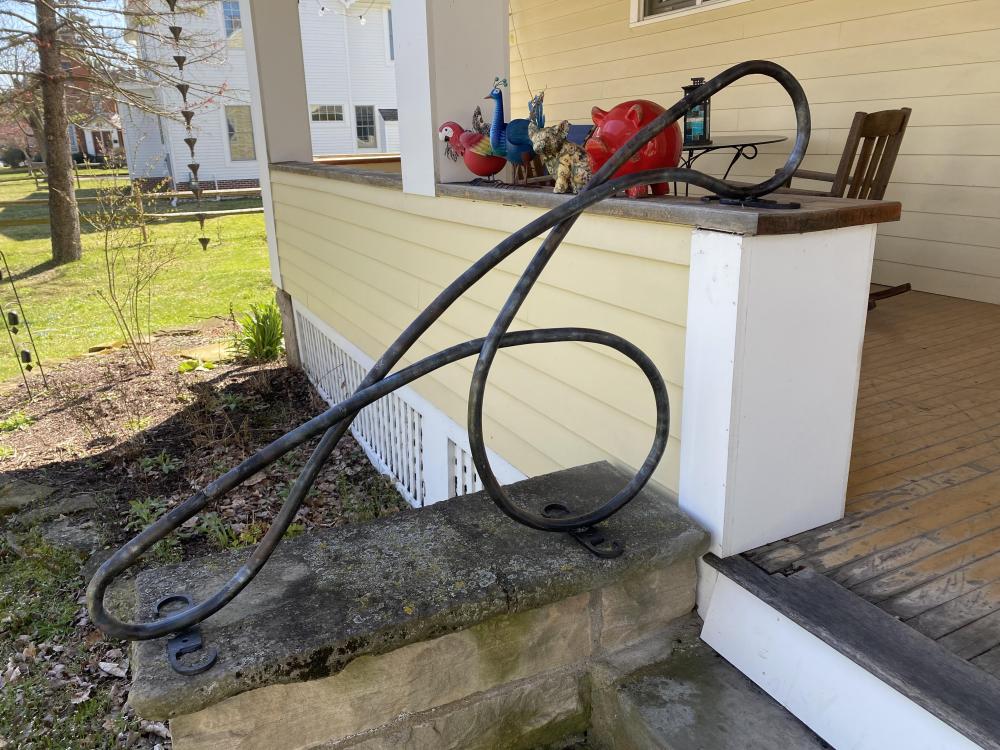
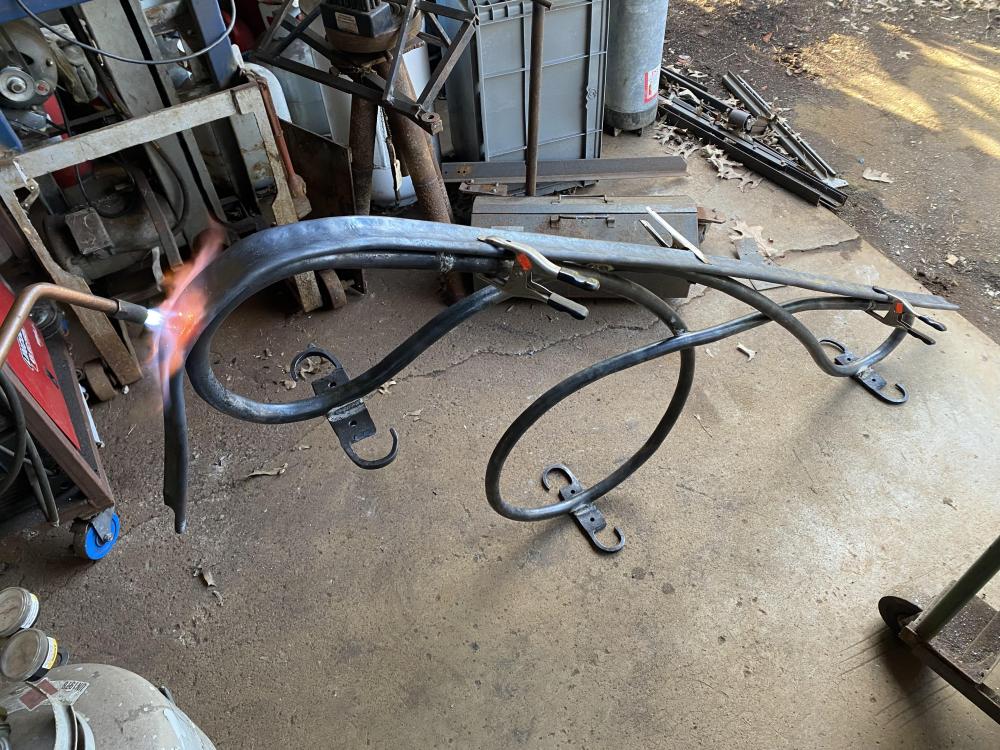
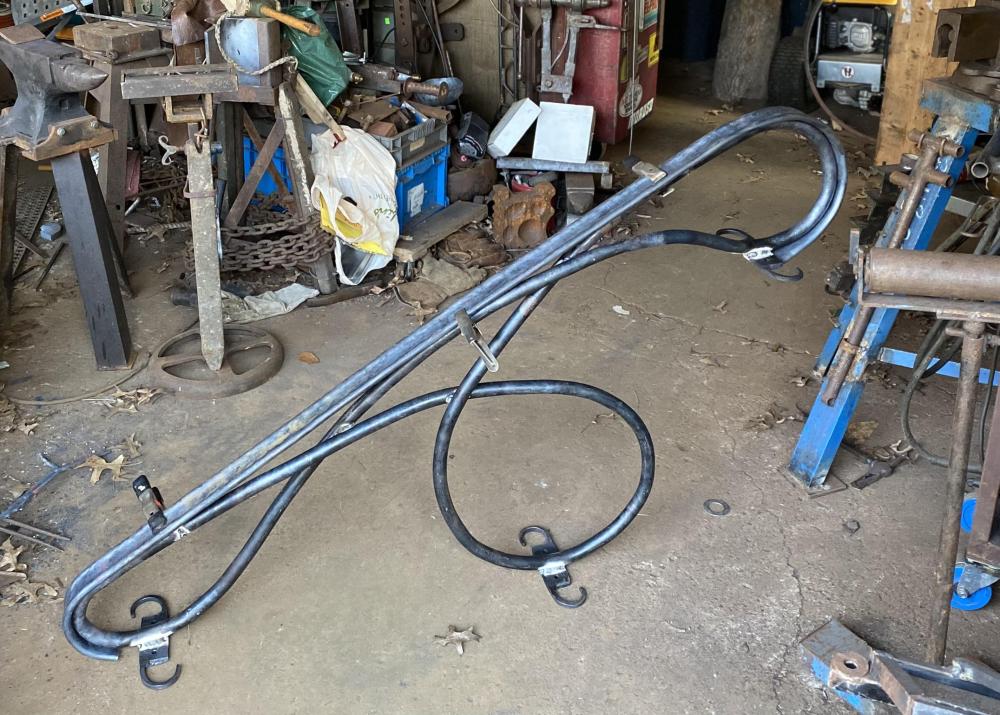
So, I welded the handrail onto the railing and did a lot of wire brushing.
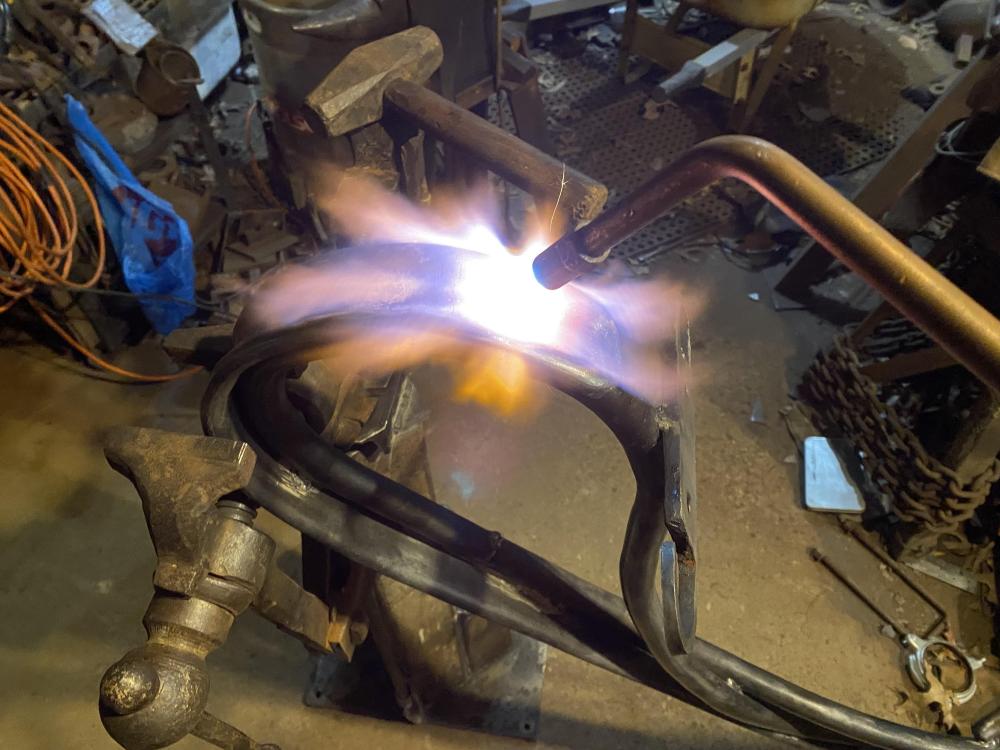
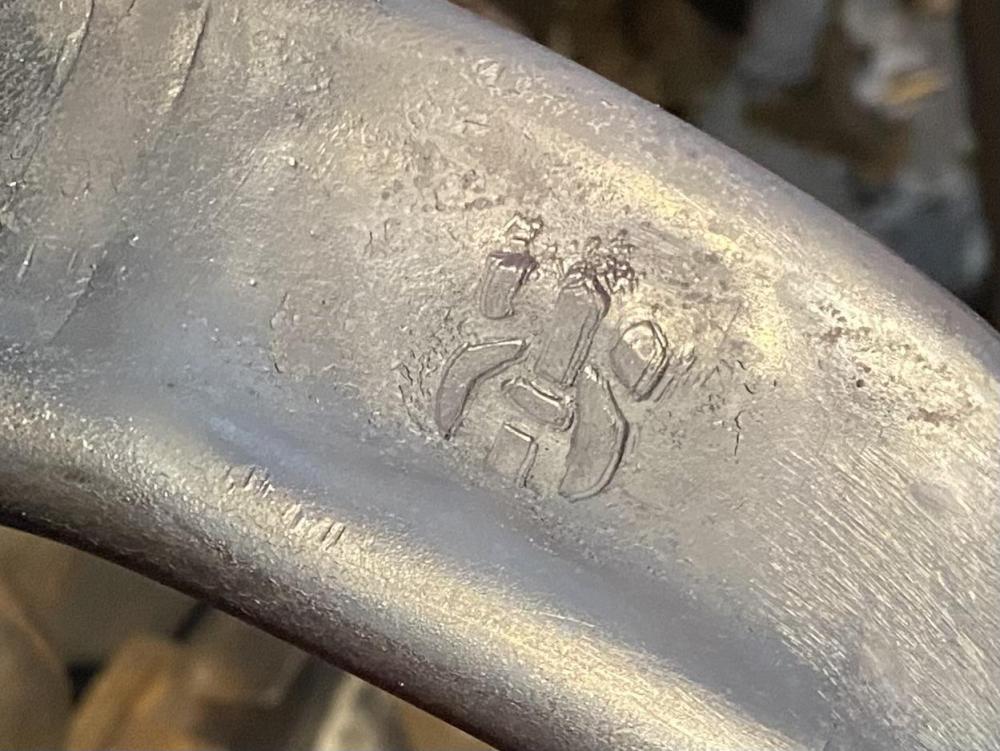
Also spot heated the railing and added my touchmark.
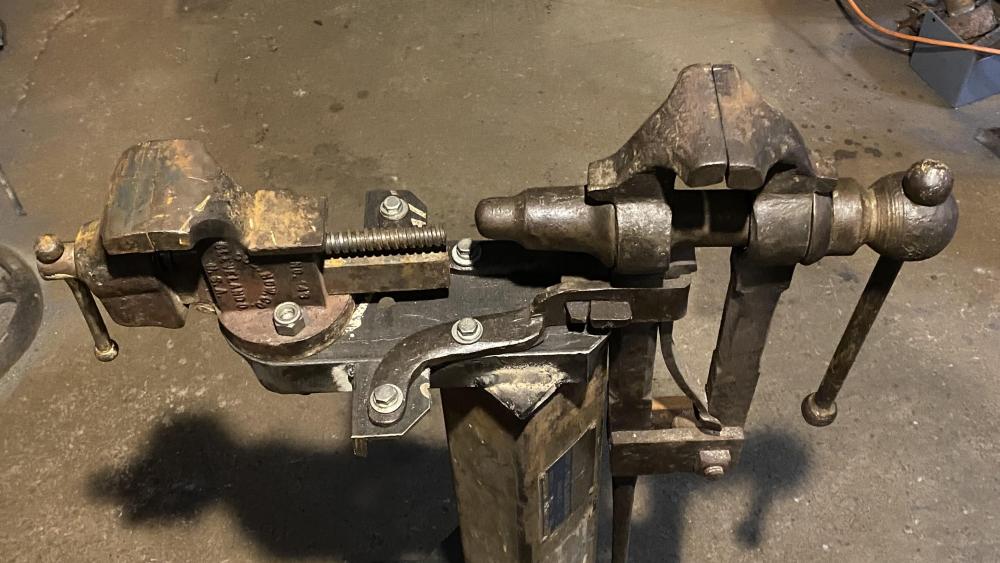
Observant readers will have noticed the new vise stand:
Which mounts both my smaller post vise and the little bench vise I got from the scrapyard:
This is welded up from some 4” square tube, with shorter pieces at the base:
Which are filled up with sand for weight and stability
Which is held in with a cover of 16 ga. sheet:
I’ve been playing with this idea in my head for a while, and I’m quite pleased with how it’s worked out.
-
One thing to keep in mind is that most tie plates taper in thickness from one end to the other. If you want your working surface to be horizontal, you’ll need to take this into account.
-
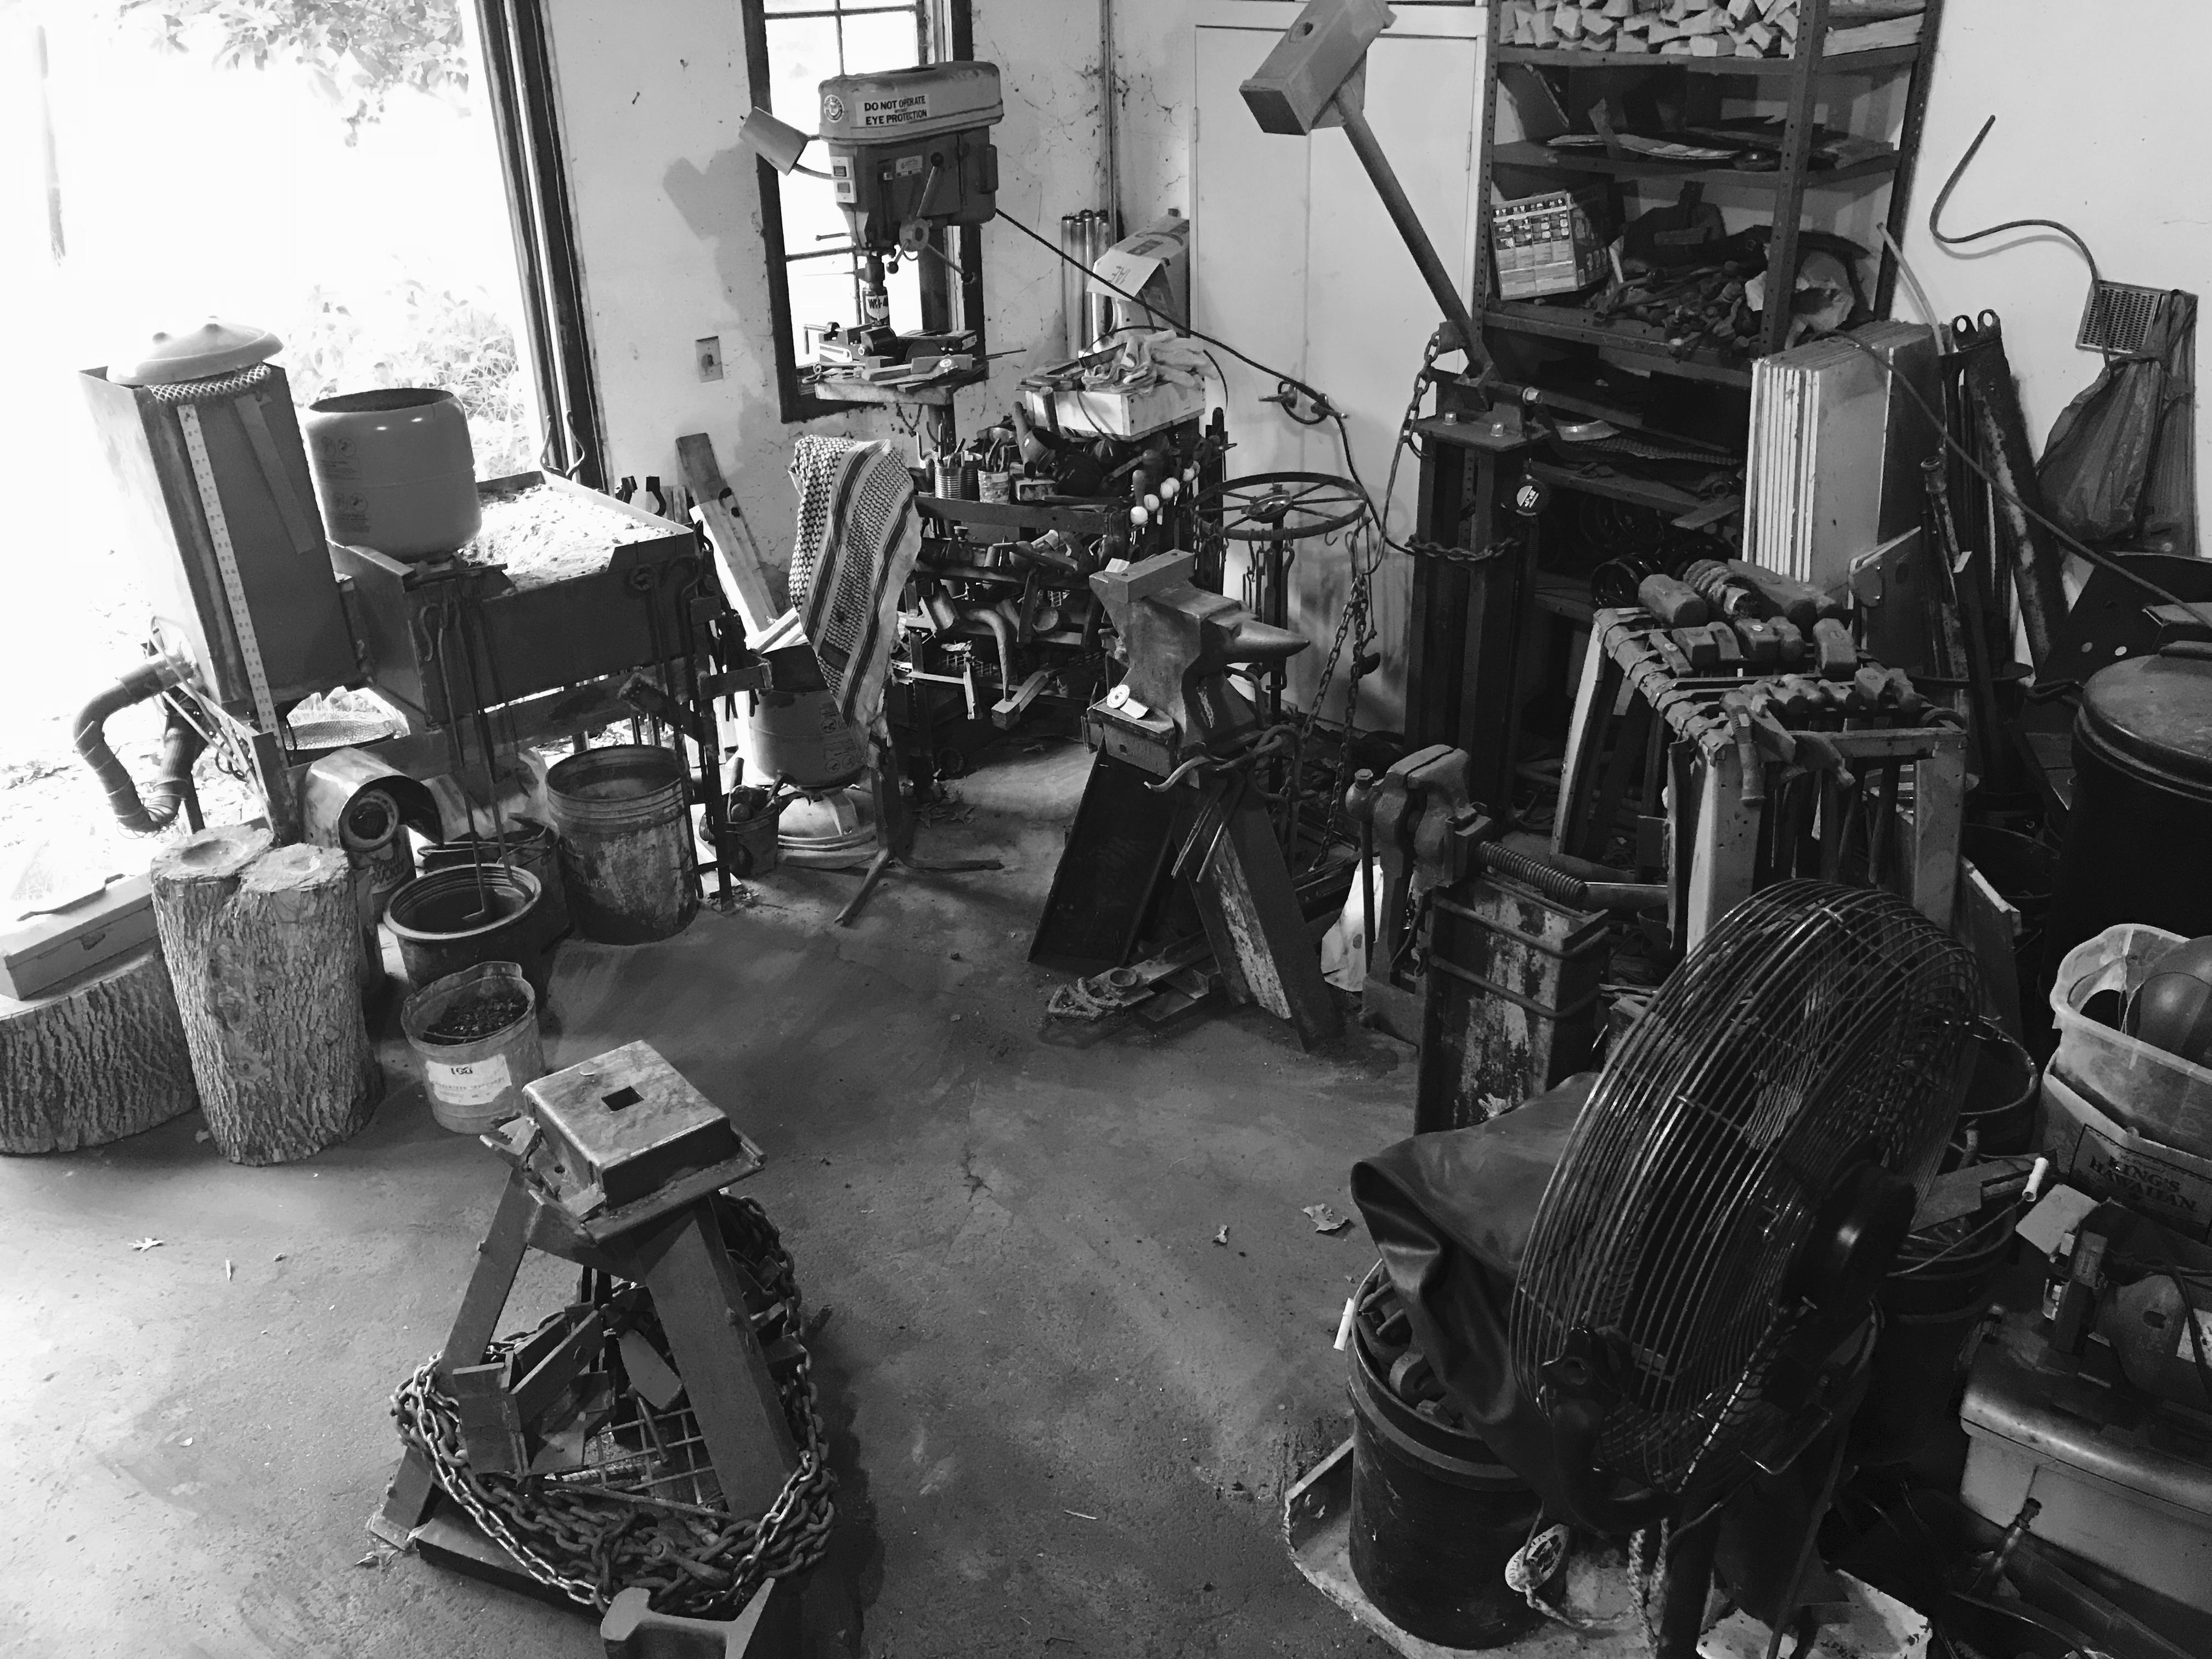
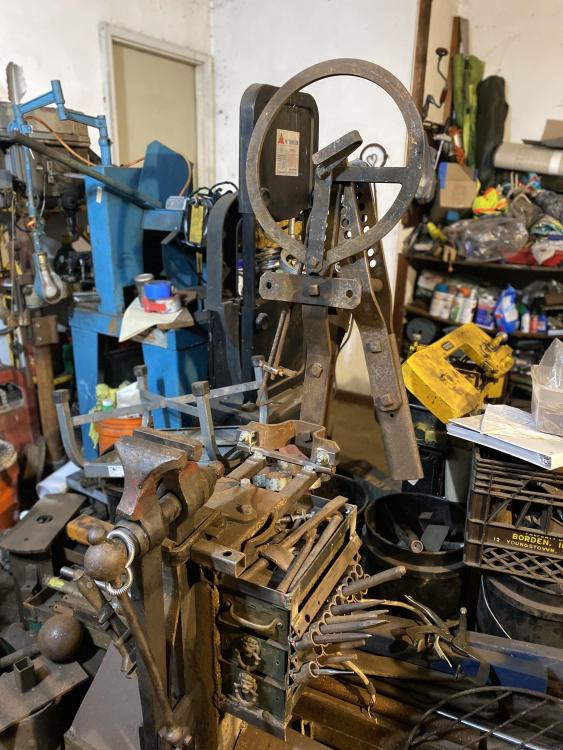
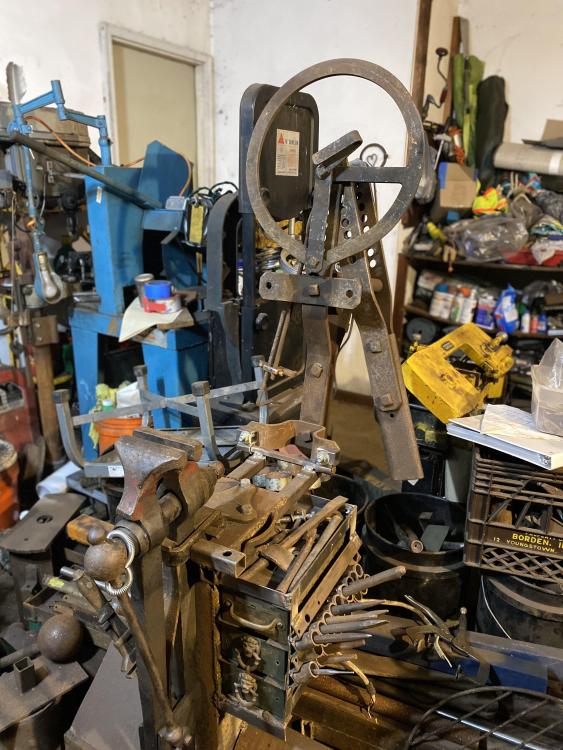
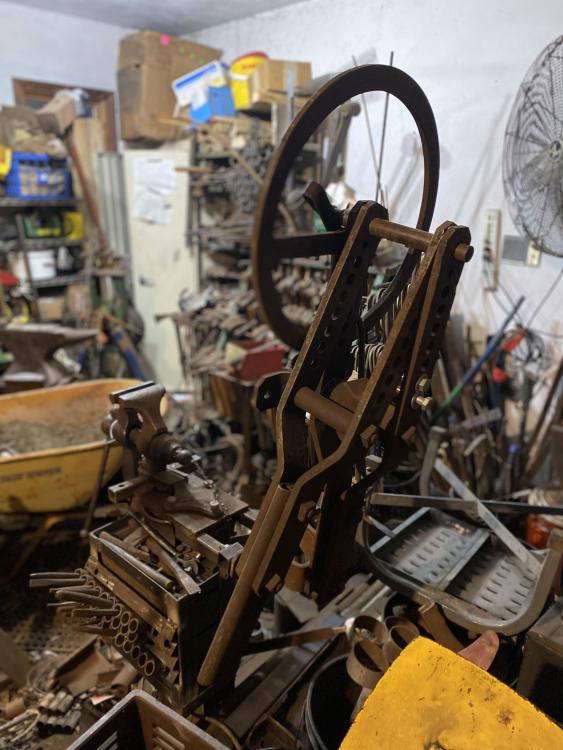
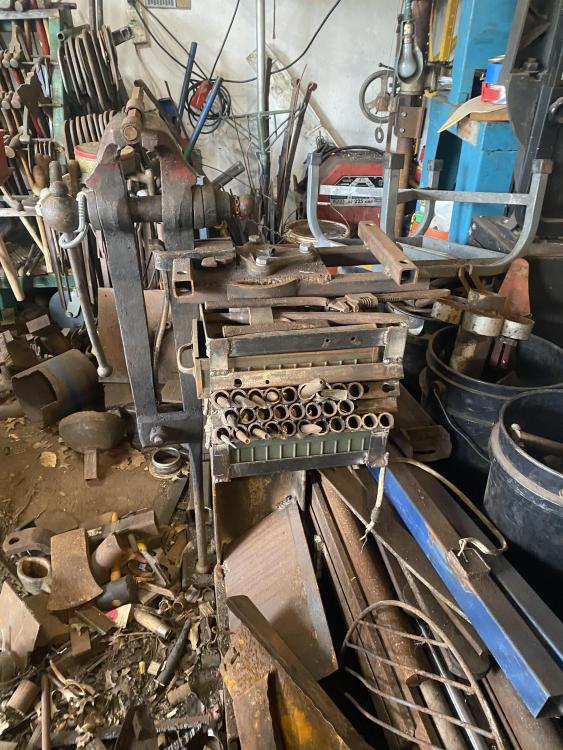



What did you do in the shop today?
in Blacksmithing, General Discussion
Posted
I like the design, but it would look a lot better if you cleaned up the welds. Ten minutes with an angle grinder will make a world of difference!