
JHCC
-
Posts
19,403 -
Joined
-
Last visited
Content Type
Profiles
Forums
Articles
Gallery
Downloads
Events
Posts posted by JHCC
-
-
Nice looking cleaver, Goods!!
-
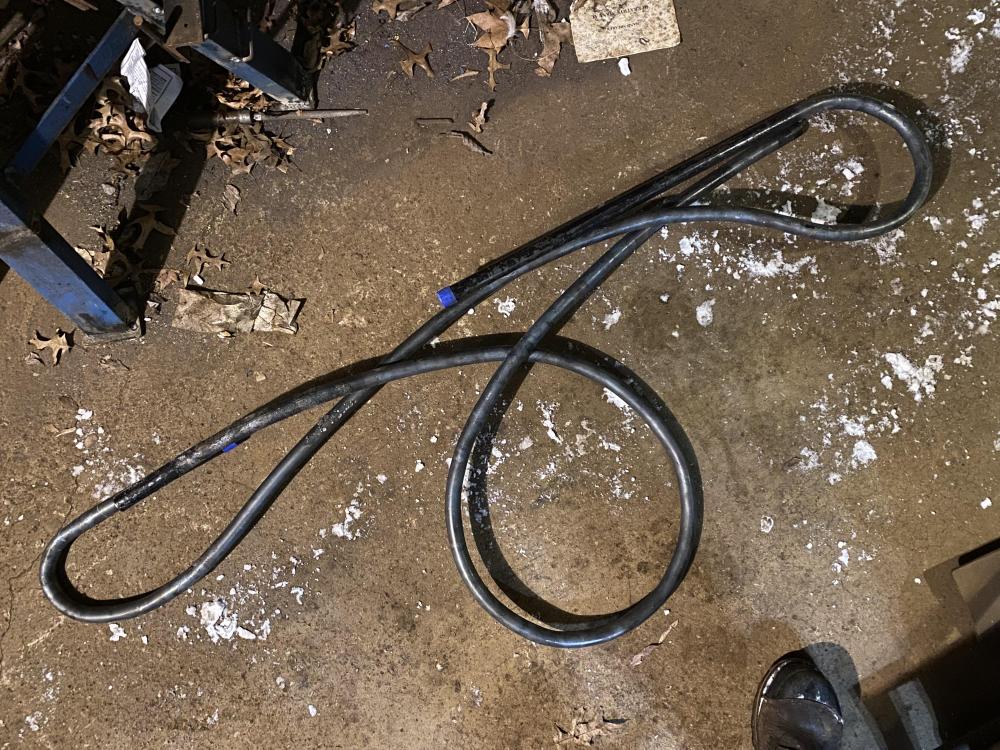
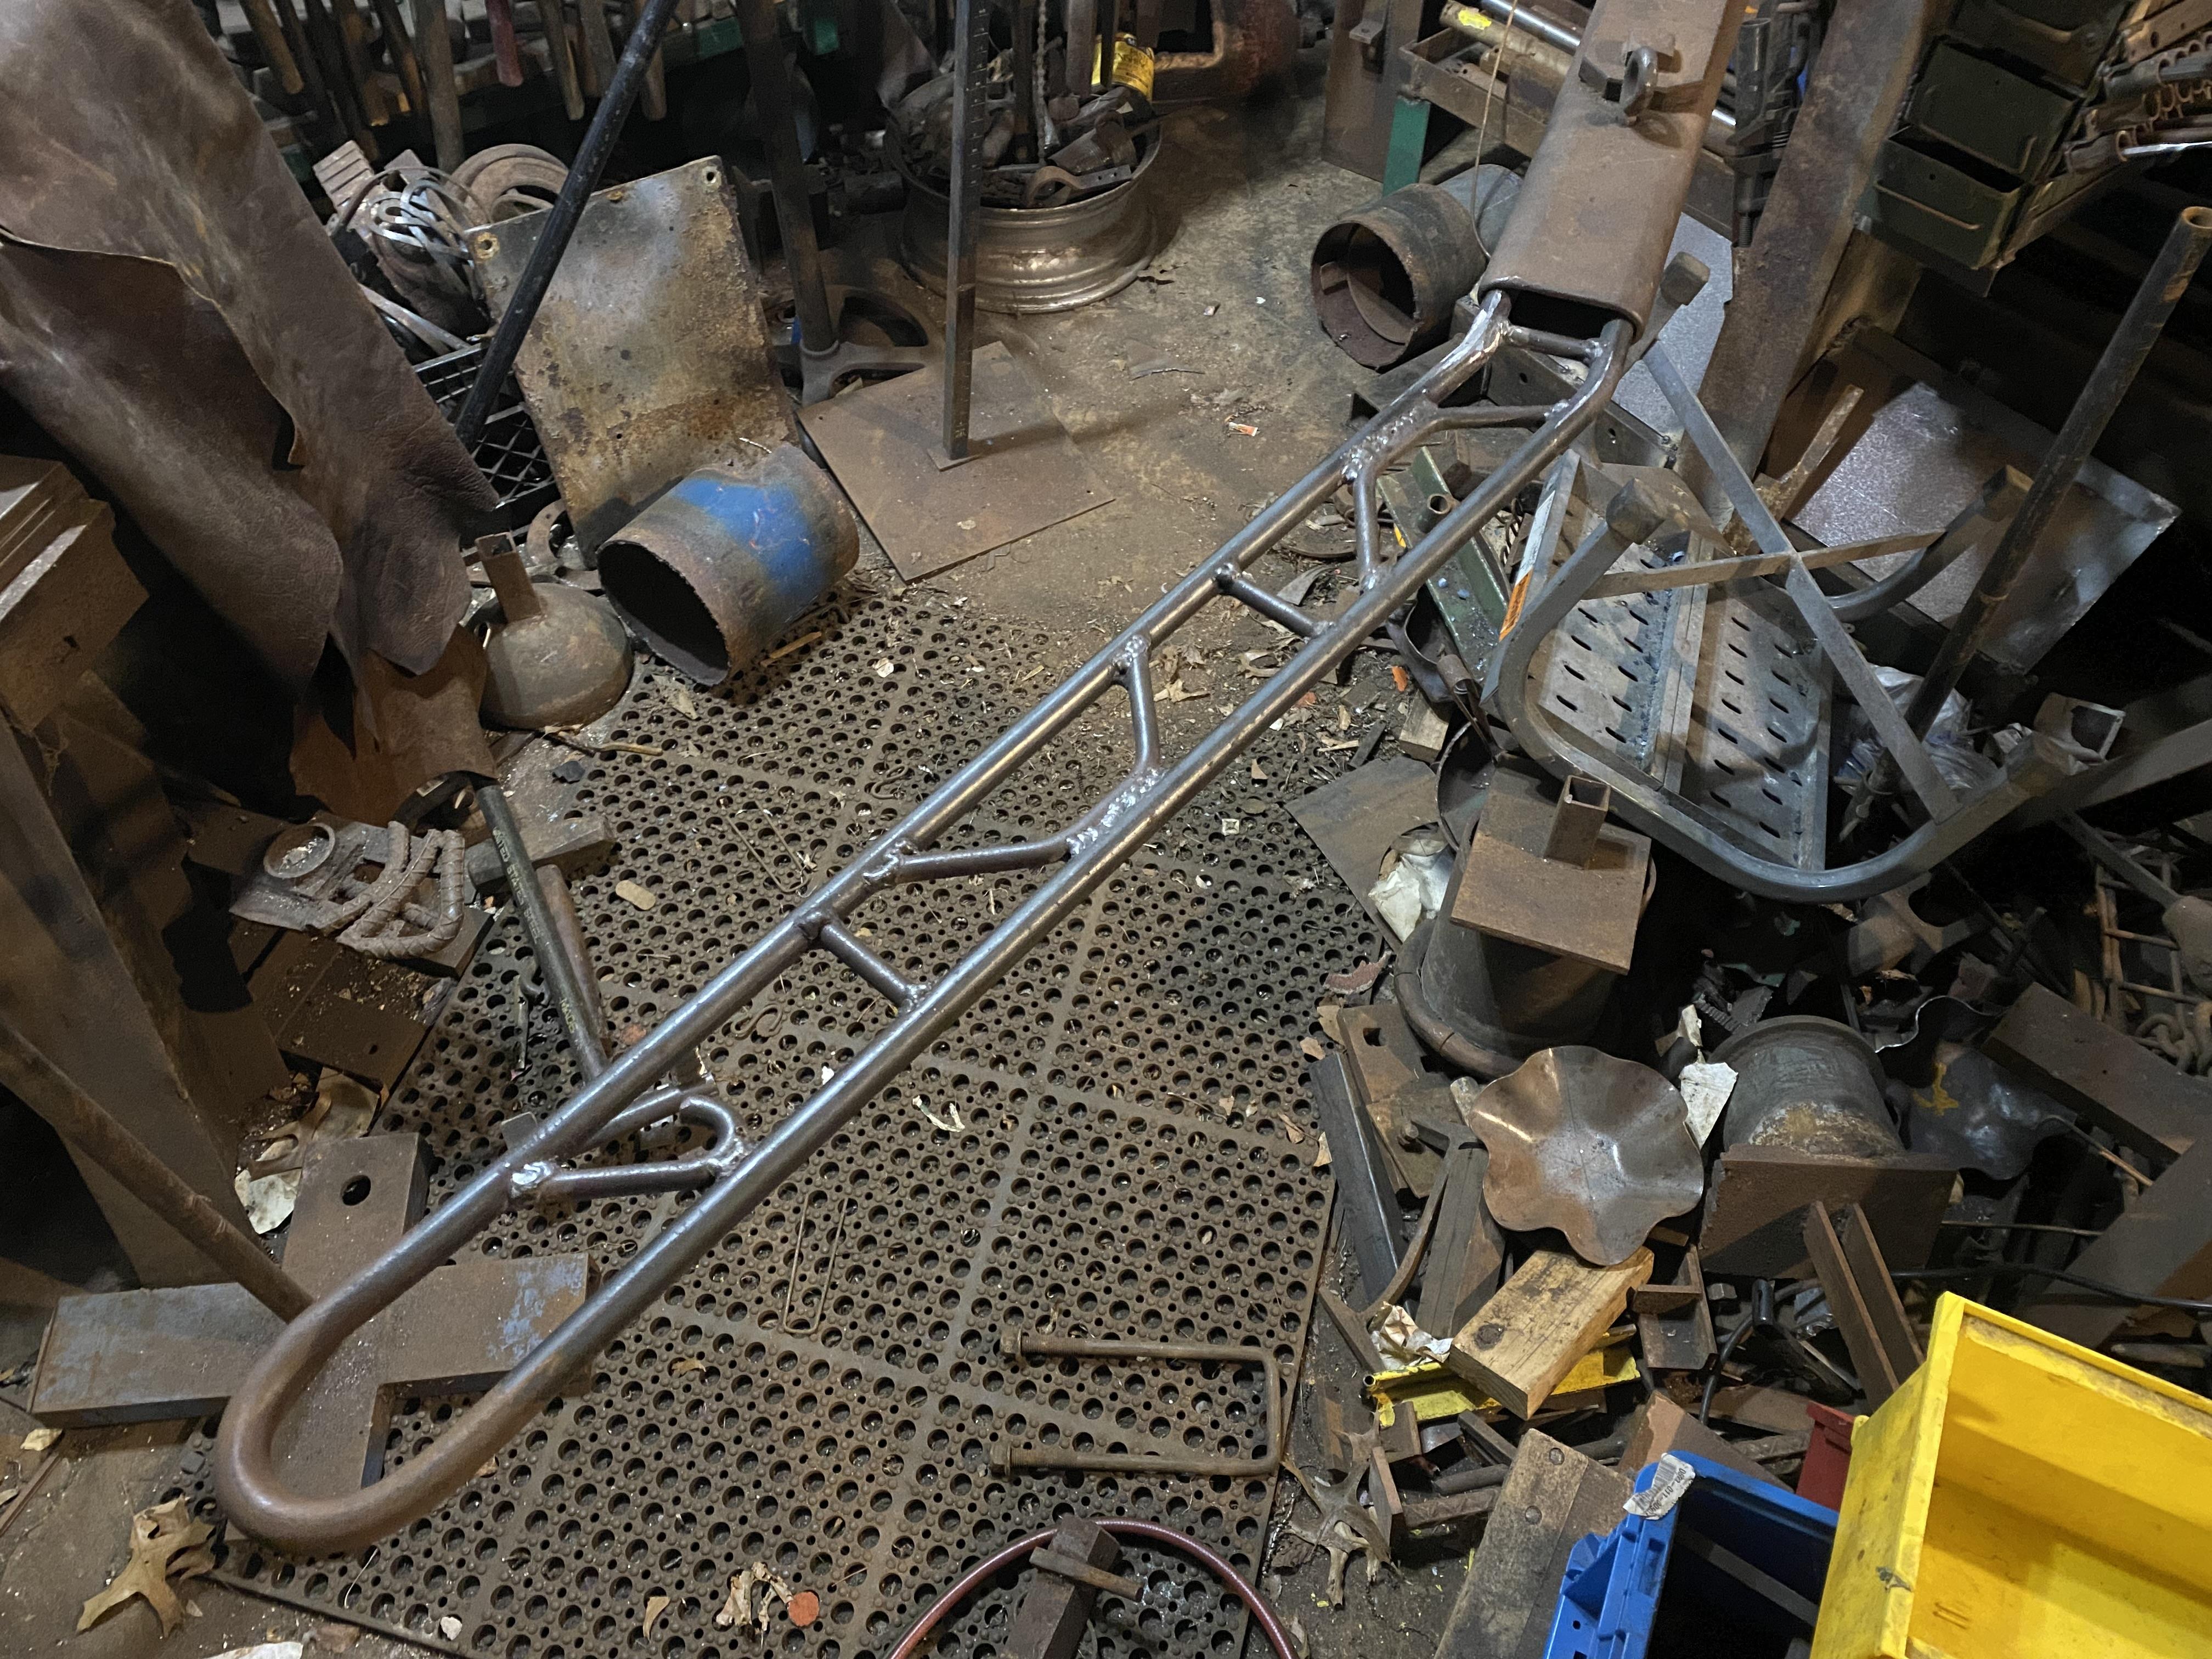
Working in my 14°F shop, I did some more work on the railing project:
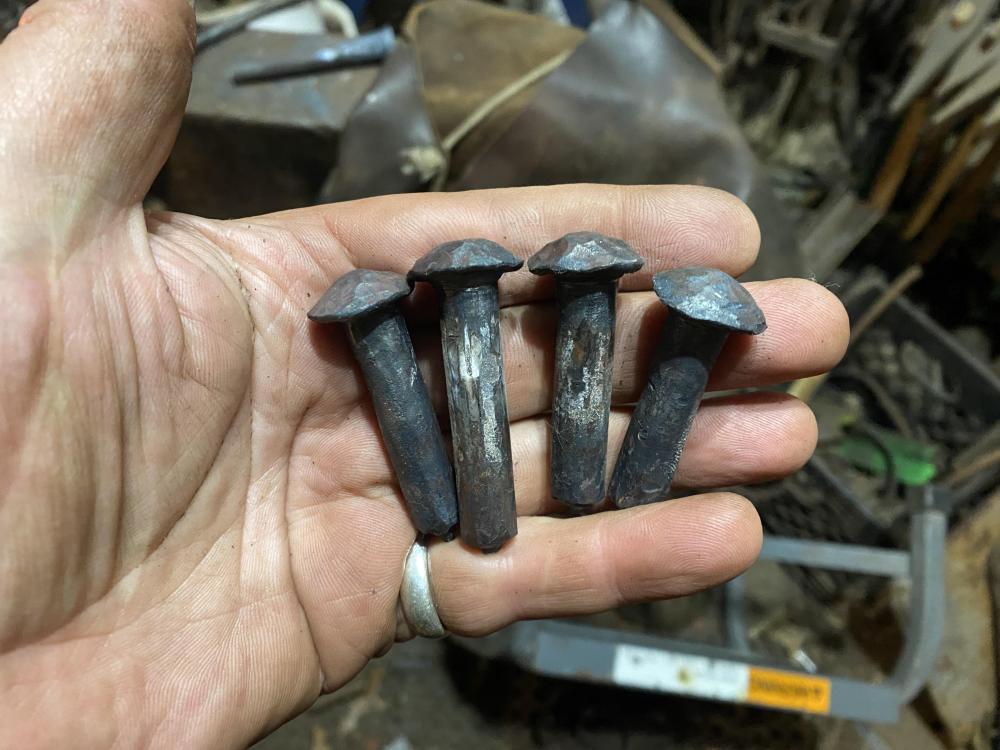
And made a few rivets:
-
Mike, could you show us some photos or a sketch?
-
The shop at the Philadelphia College of Art where I first learned smithing had a substantial flue system that Jack Andrews had built some years previously. If memory serves, it had an in-line fan powered by a belt running from an externally mounted motor, so that the motor wasn't anywhere near the smoke or soot. It worked REALLY well, as we found out one morning when someone lit the fire without remembering to turn the fan on.
-
As previously noted, you're welcome to come use mine.
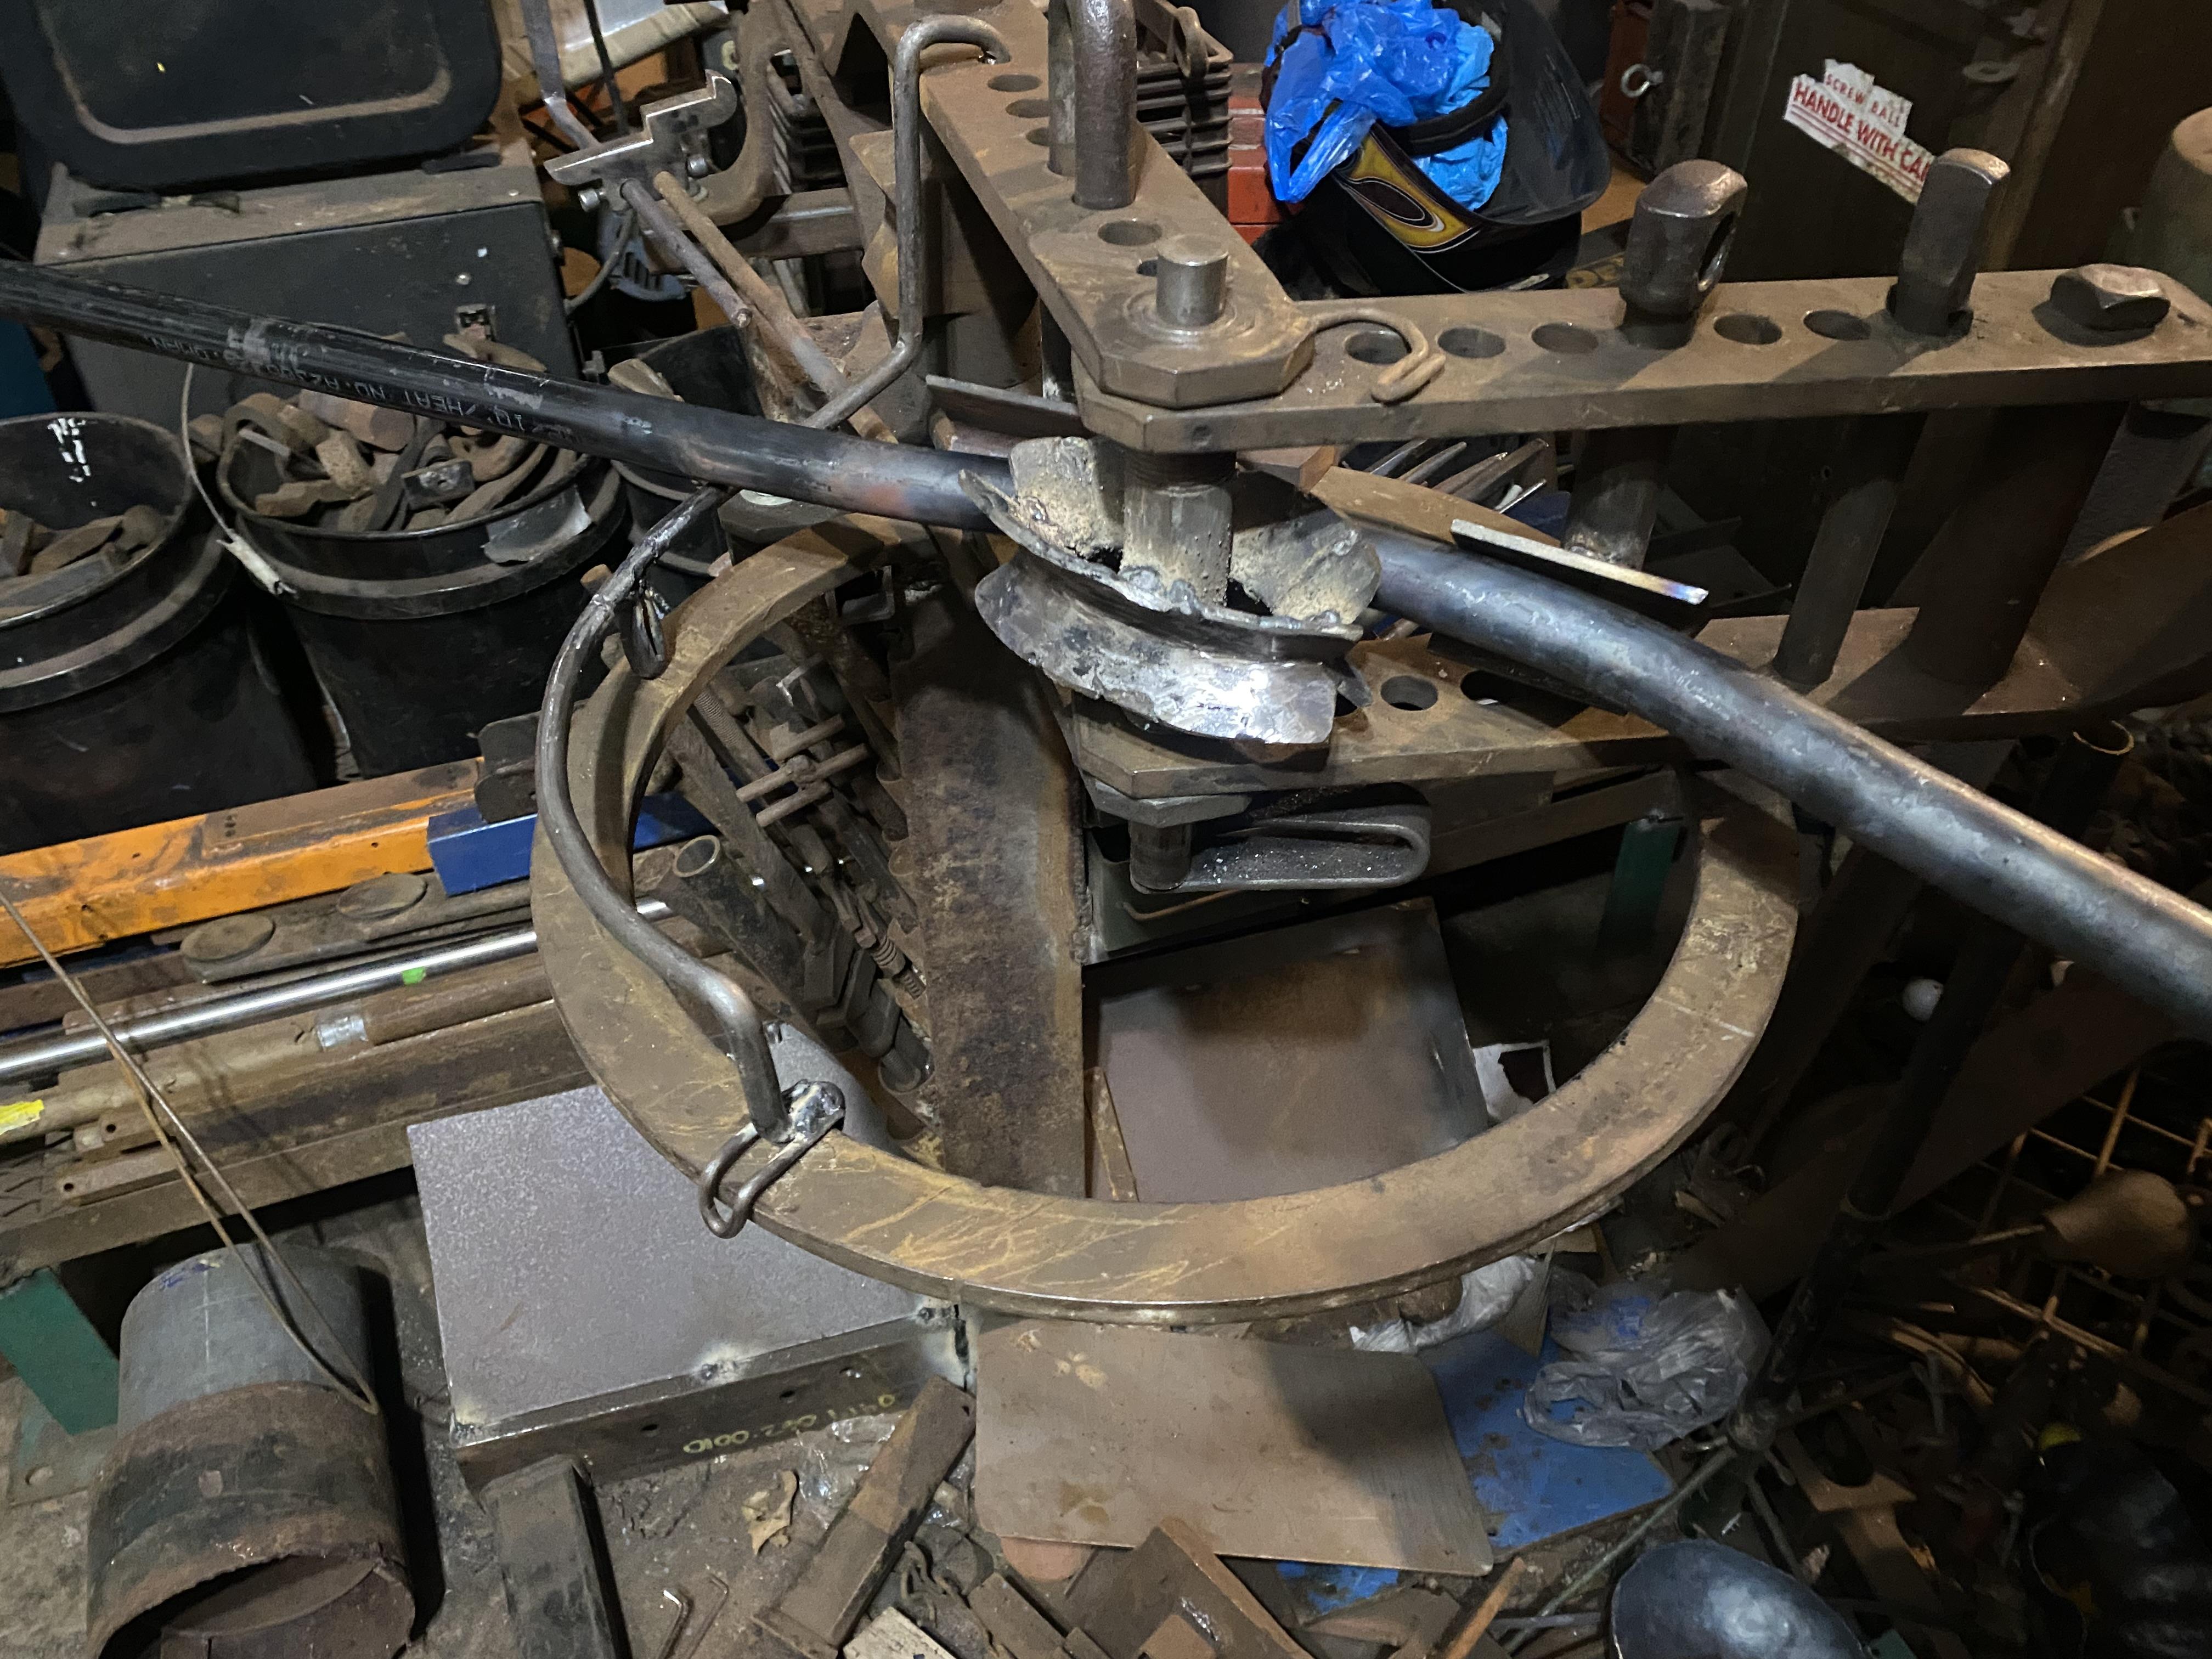
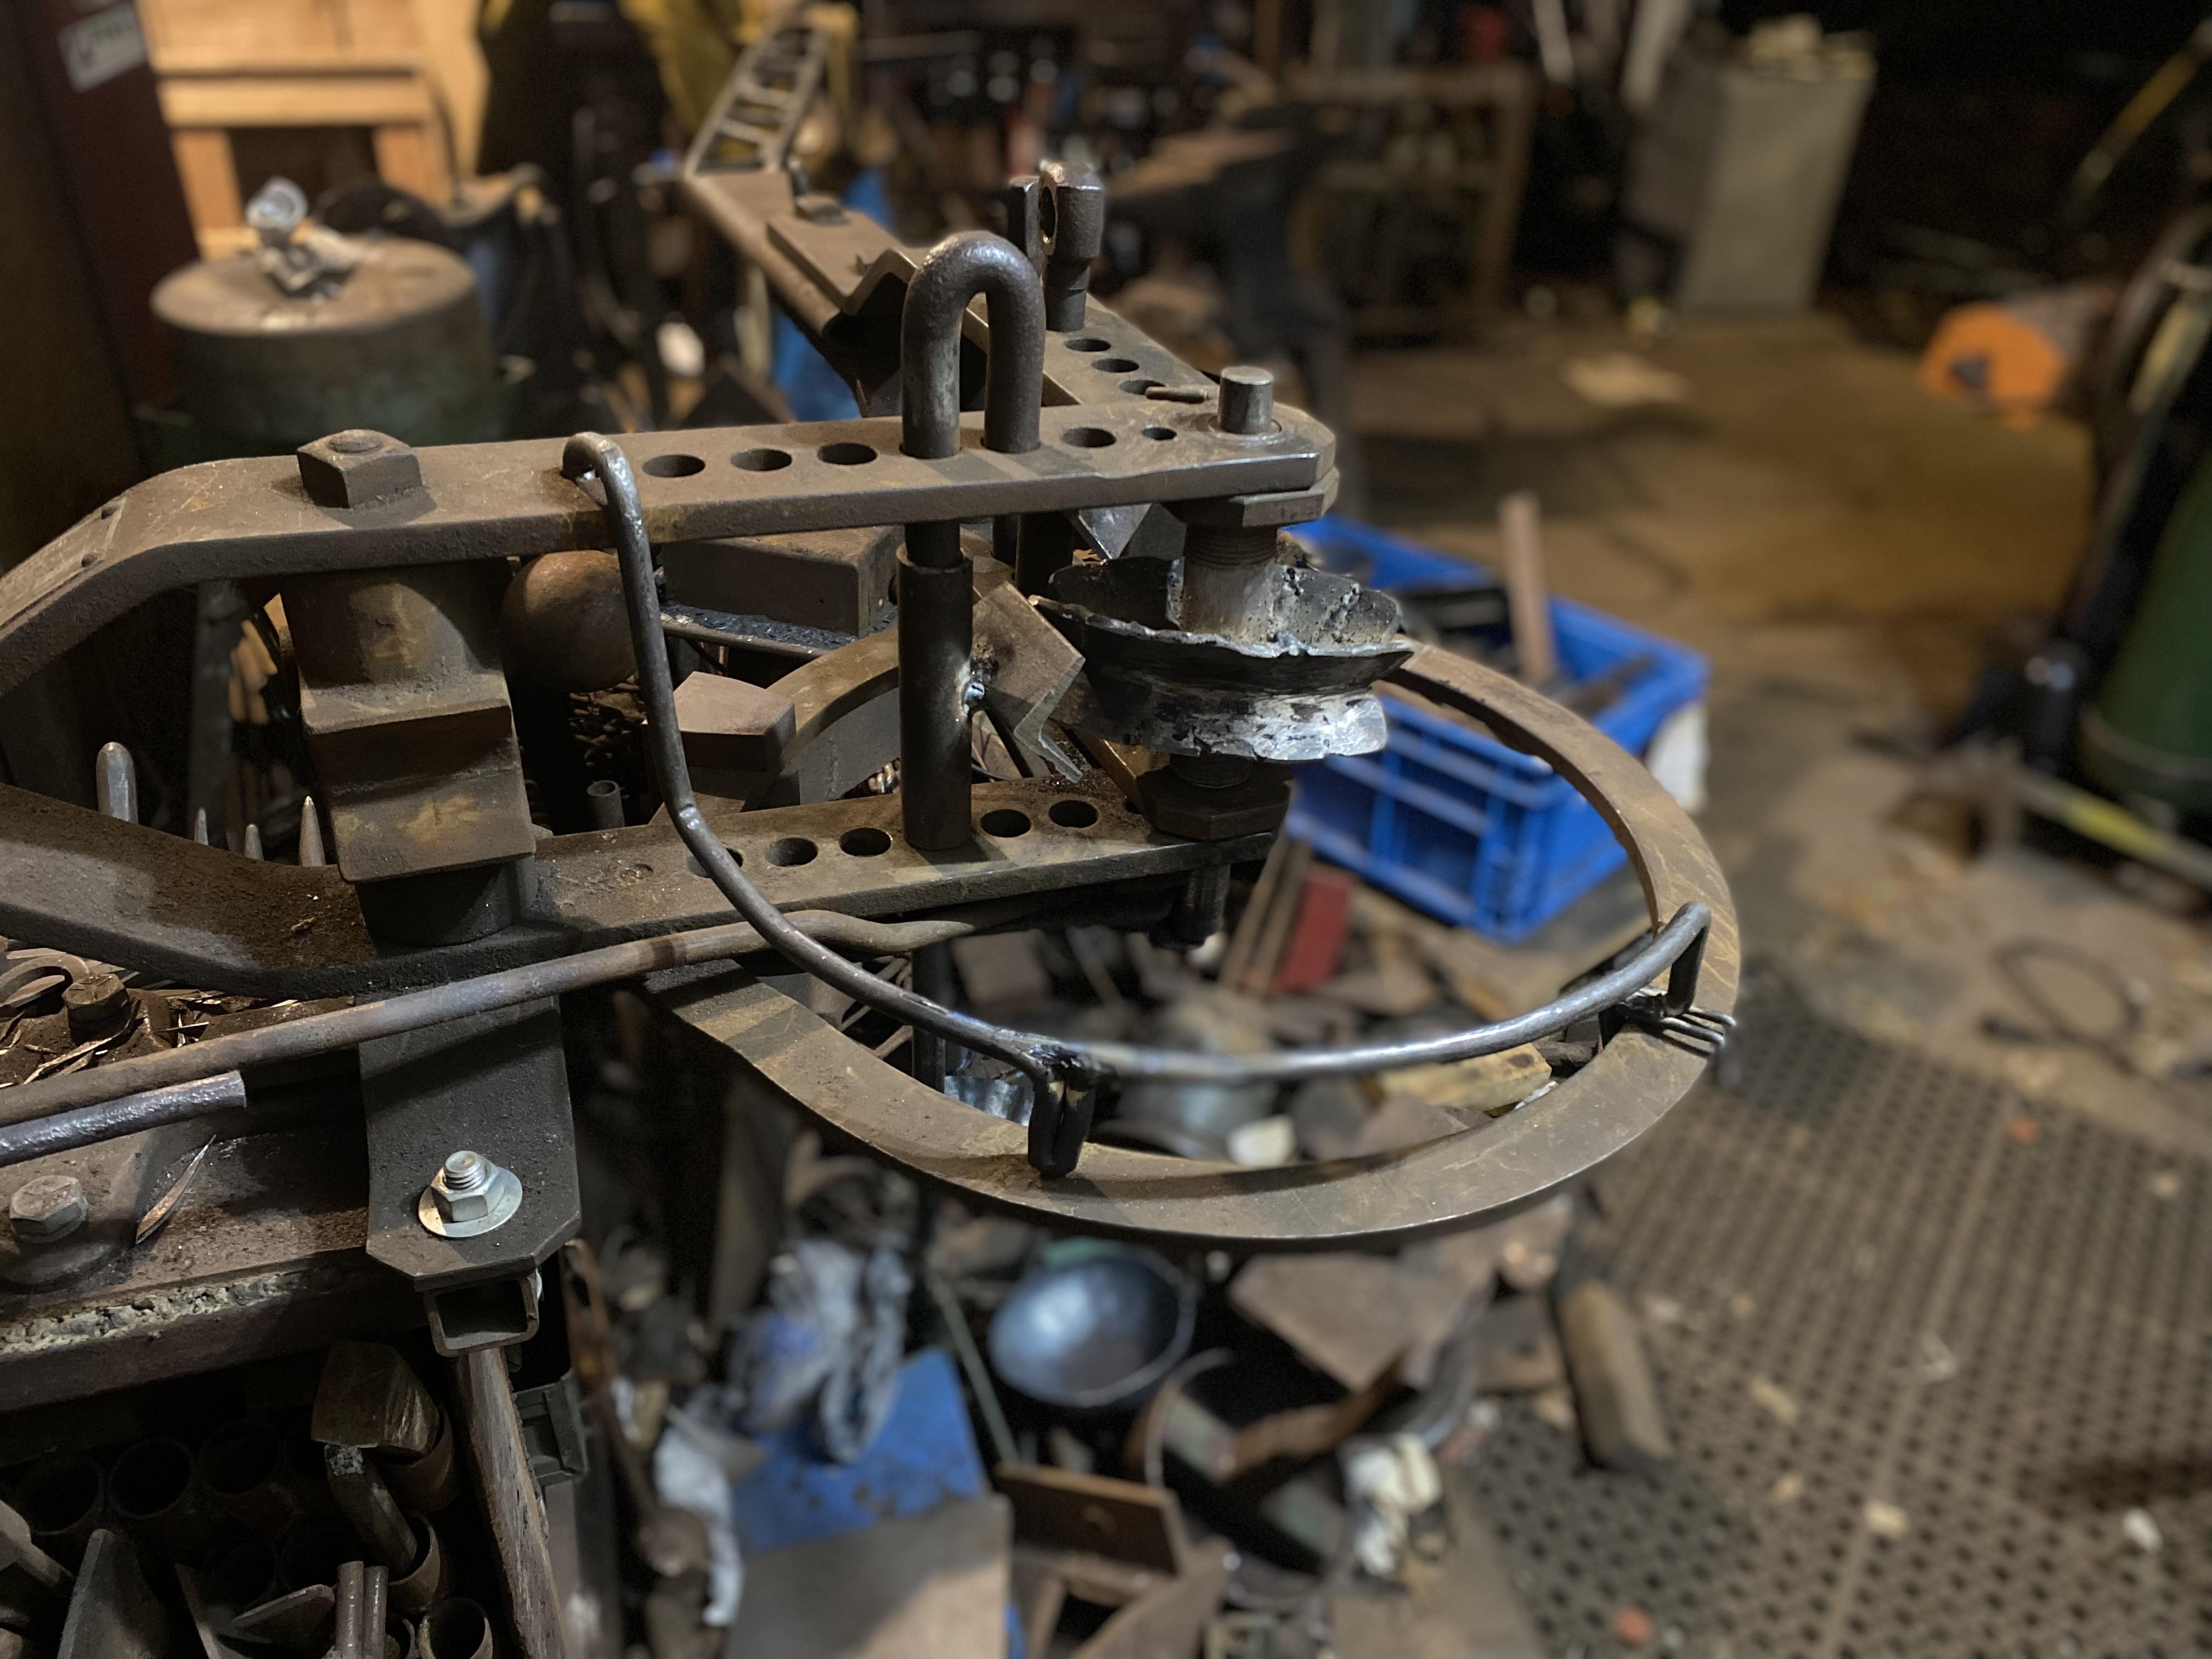
Oh, forgot to mention: here are the elements of the current stair railing project after their initial Hossfelding. More to be done, but the radiused V-blocks worked great for basic bending.

On 1/7/2024 at 10:38 AM, JHCC said:I have been encountering two small problems: [...] and having to reach somewhat awkwardly for the handle extension. For [...] the former, an idea is starting to percolate.
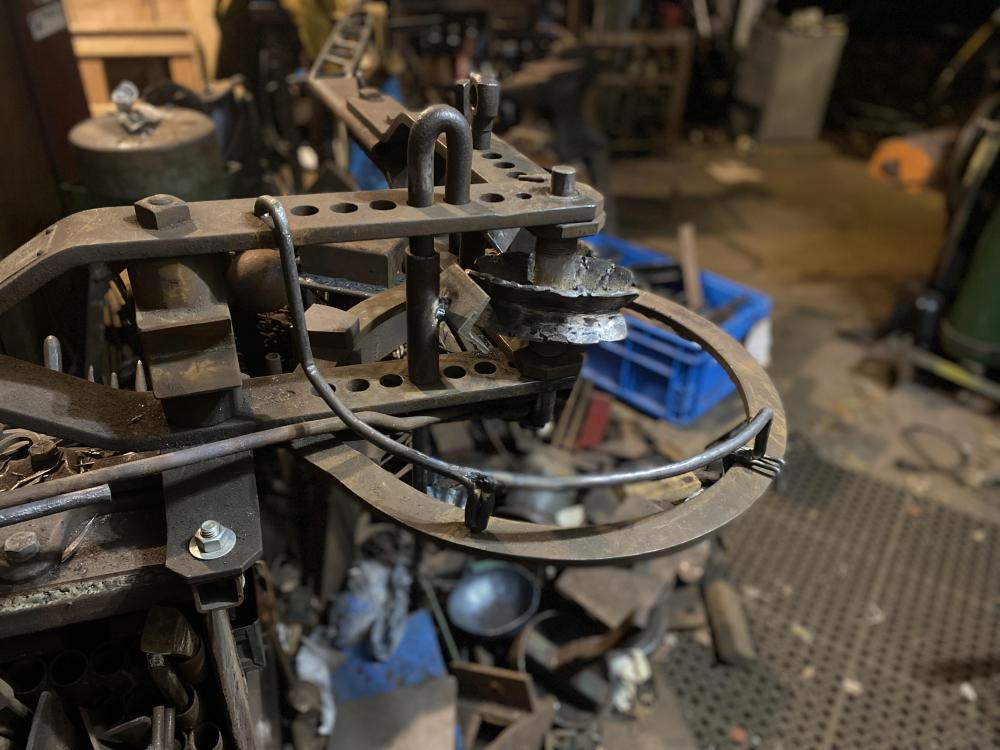
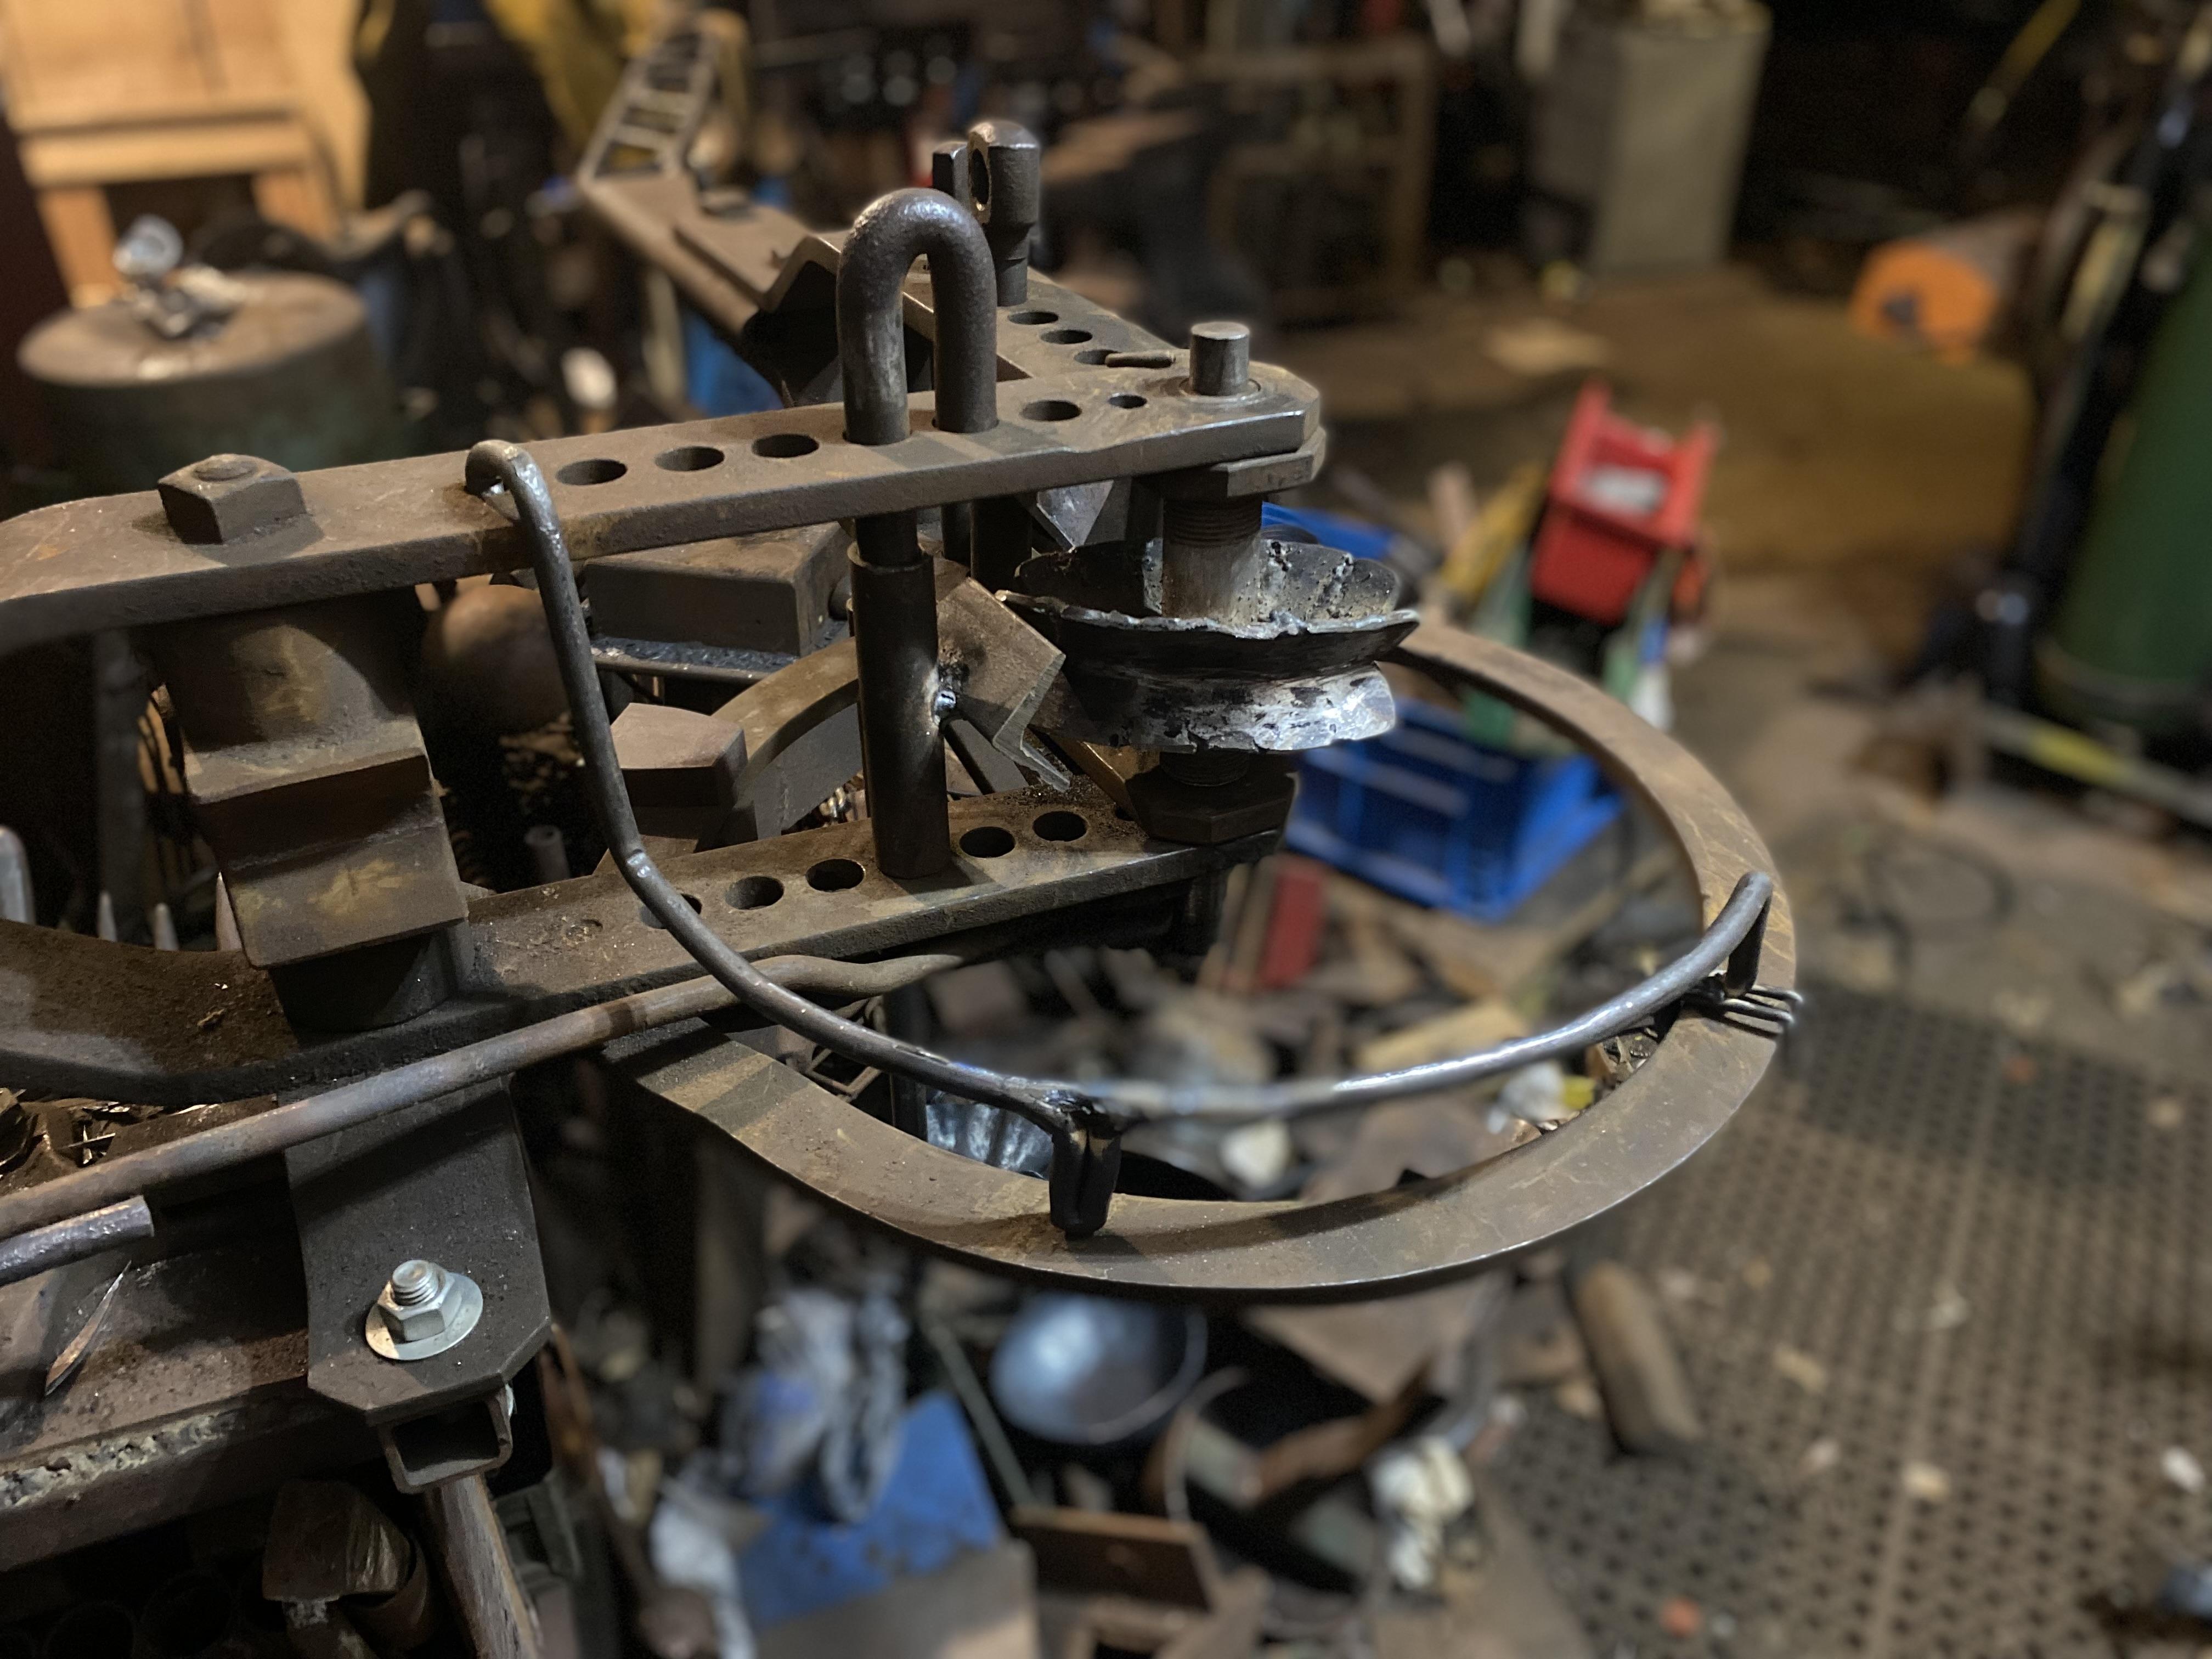
And here it is: a removable outboard stock support that hooks into the last hole in the main frame and rests on the circle guide.


It's not perfect, but it keeps the pipe from slipping out of the tooling while you're setting up the bend. I'll call that a win.
-
Another Hossfeld video, from a YouTuber who goes by "Mr. Tompkins". This is a narration-free demo of setting up and using the bulldozer die:
The same YouTuber has another Hossfeld video, a super-basic demo of using the eye-bending tool to make a simple bend on thin stock. However, other than an interesting shot of his tool storage, it doesn't have anything not covered better in joe dal pra's video.
-
Also sometimes called a "spider", although that term is also applied to a frying pan with attached legs.
-
15N20 is not an AISI/SAE designation. Rather, that is the name of the steel given to it by the manufacturer Bohler-Uddeholm; I think the "N20" refers to its 2.0% nickel content.
-
The WI piece in question:
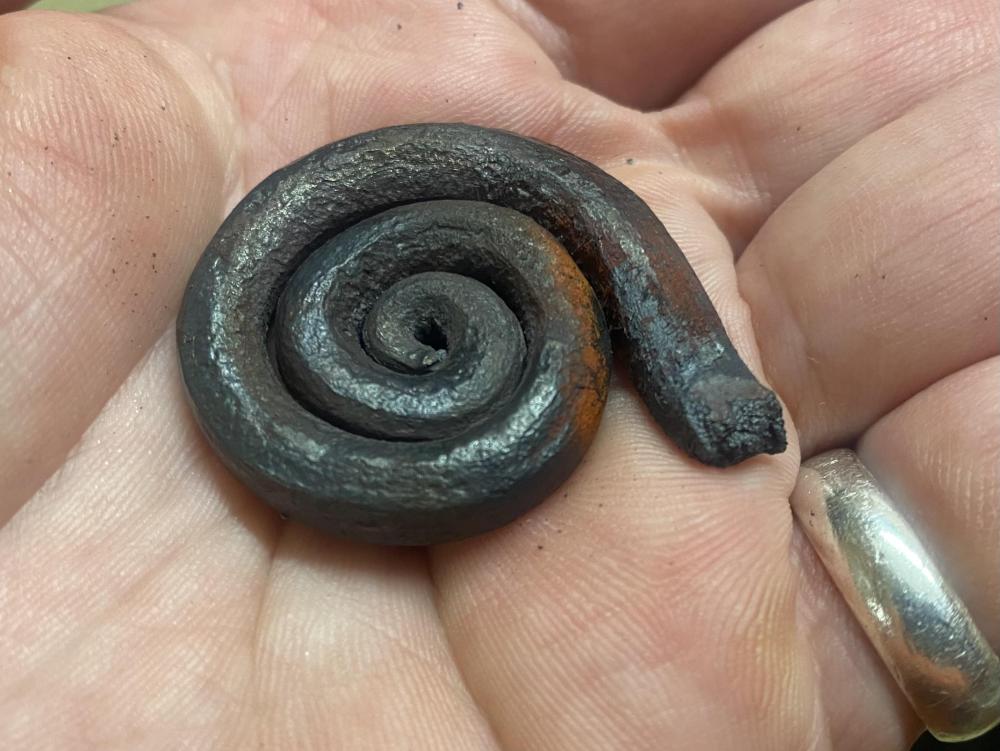
Not sure why I couldn’t get the photo to load before.
-
Really bummed at myself for getting careless and ruining a wrought iron piece through poor temperature control:
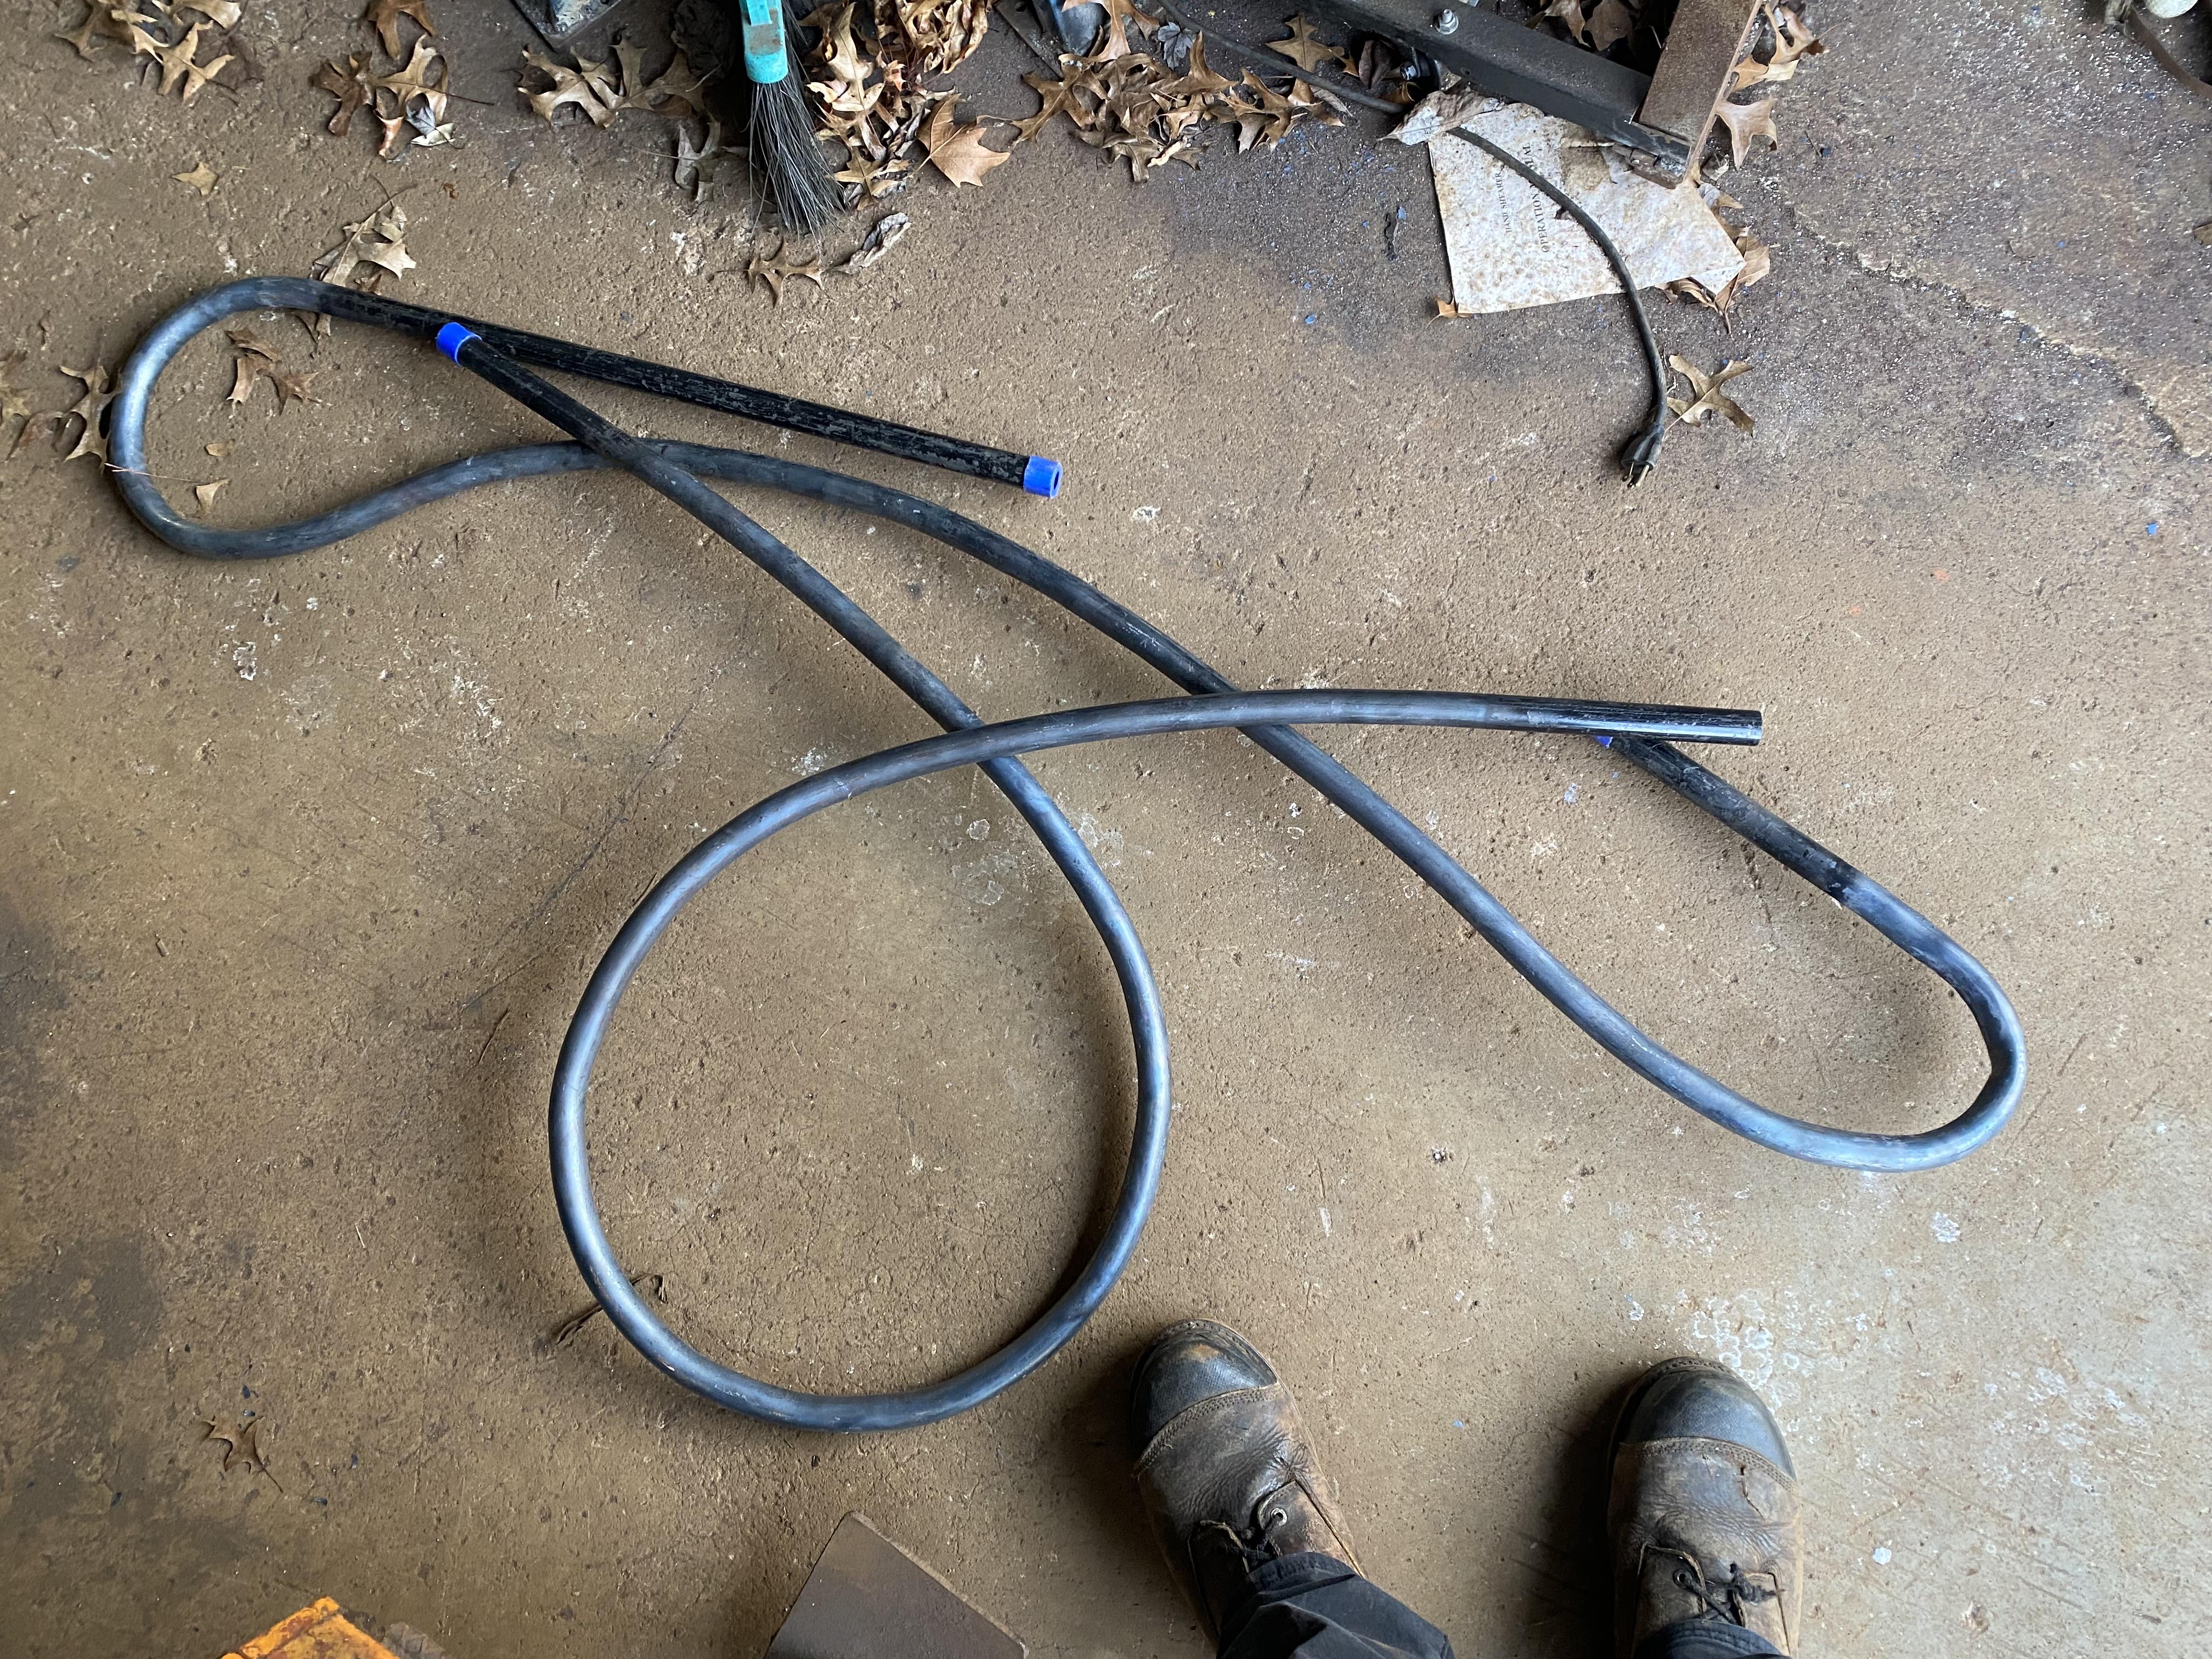
However, good progress on bending pipe for the current railing project:

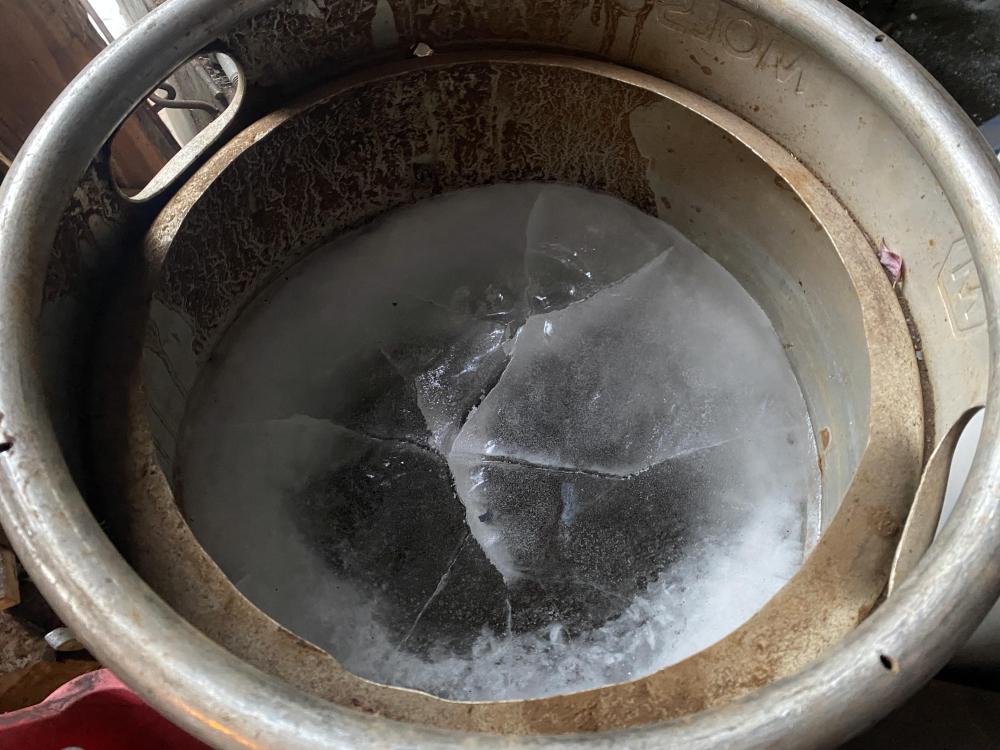
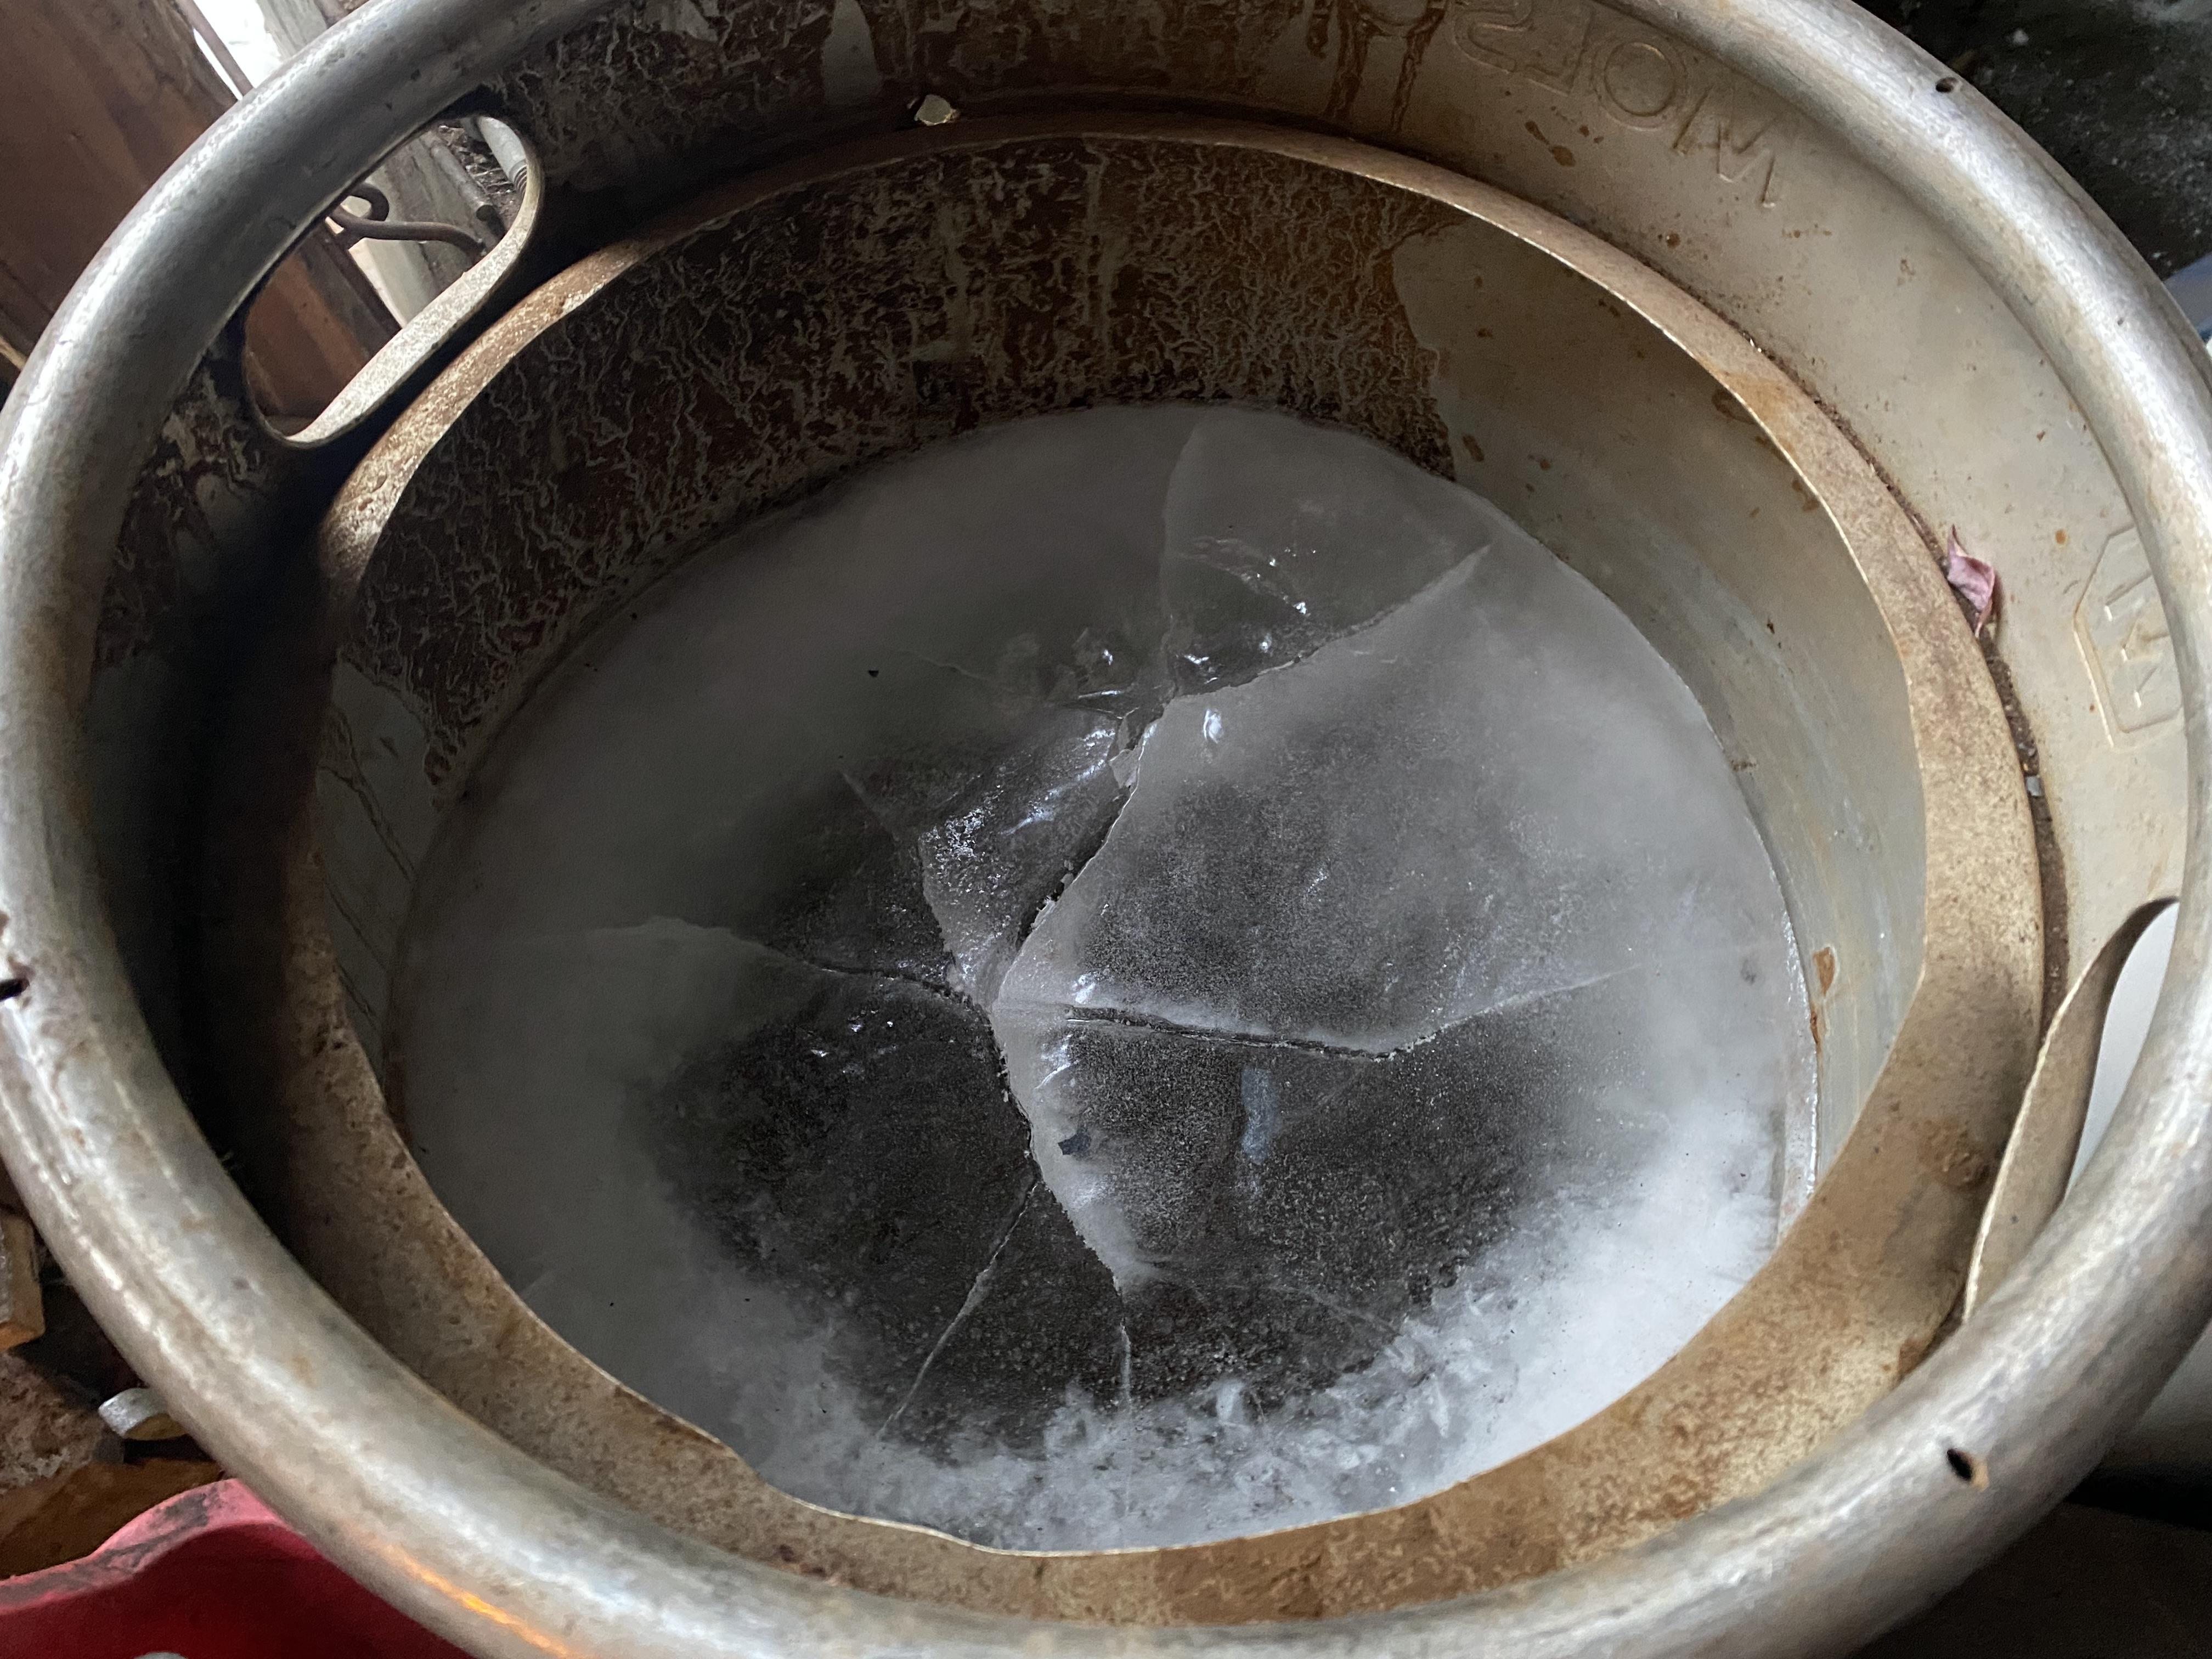
On a side note, multiple days of single digit (Fahrenheit) temperatures remind me of one benefit of a beer keg slack tub, given how they’re designed to withstand significant internal pressure:
-
This is aircraft riveting rather than blacksmithing, but it's interesting and I know how people here love old-school industrial videos.
(NB: for some reason (probably to avoid copyright issues), the film starts about a minute in, and the opening titles and voiceover have been inserted just before "The End". I've cued the video up to the actual starting point; just hit "Replay" once it reaches the end.)
-
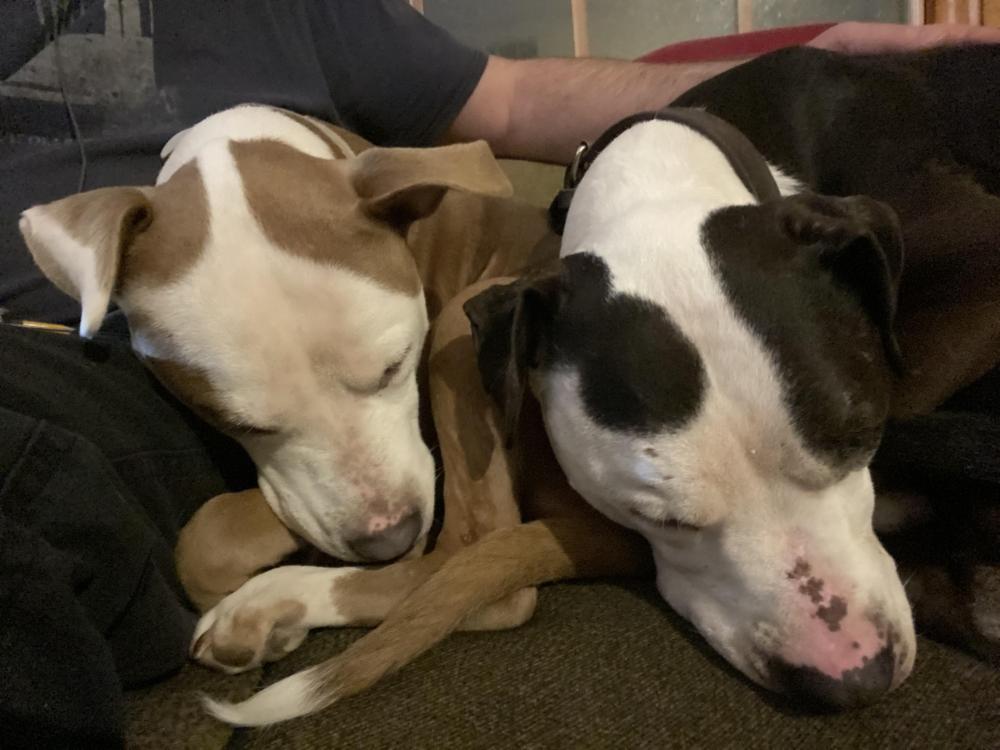
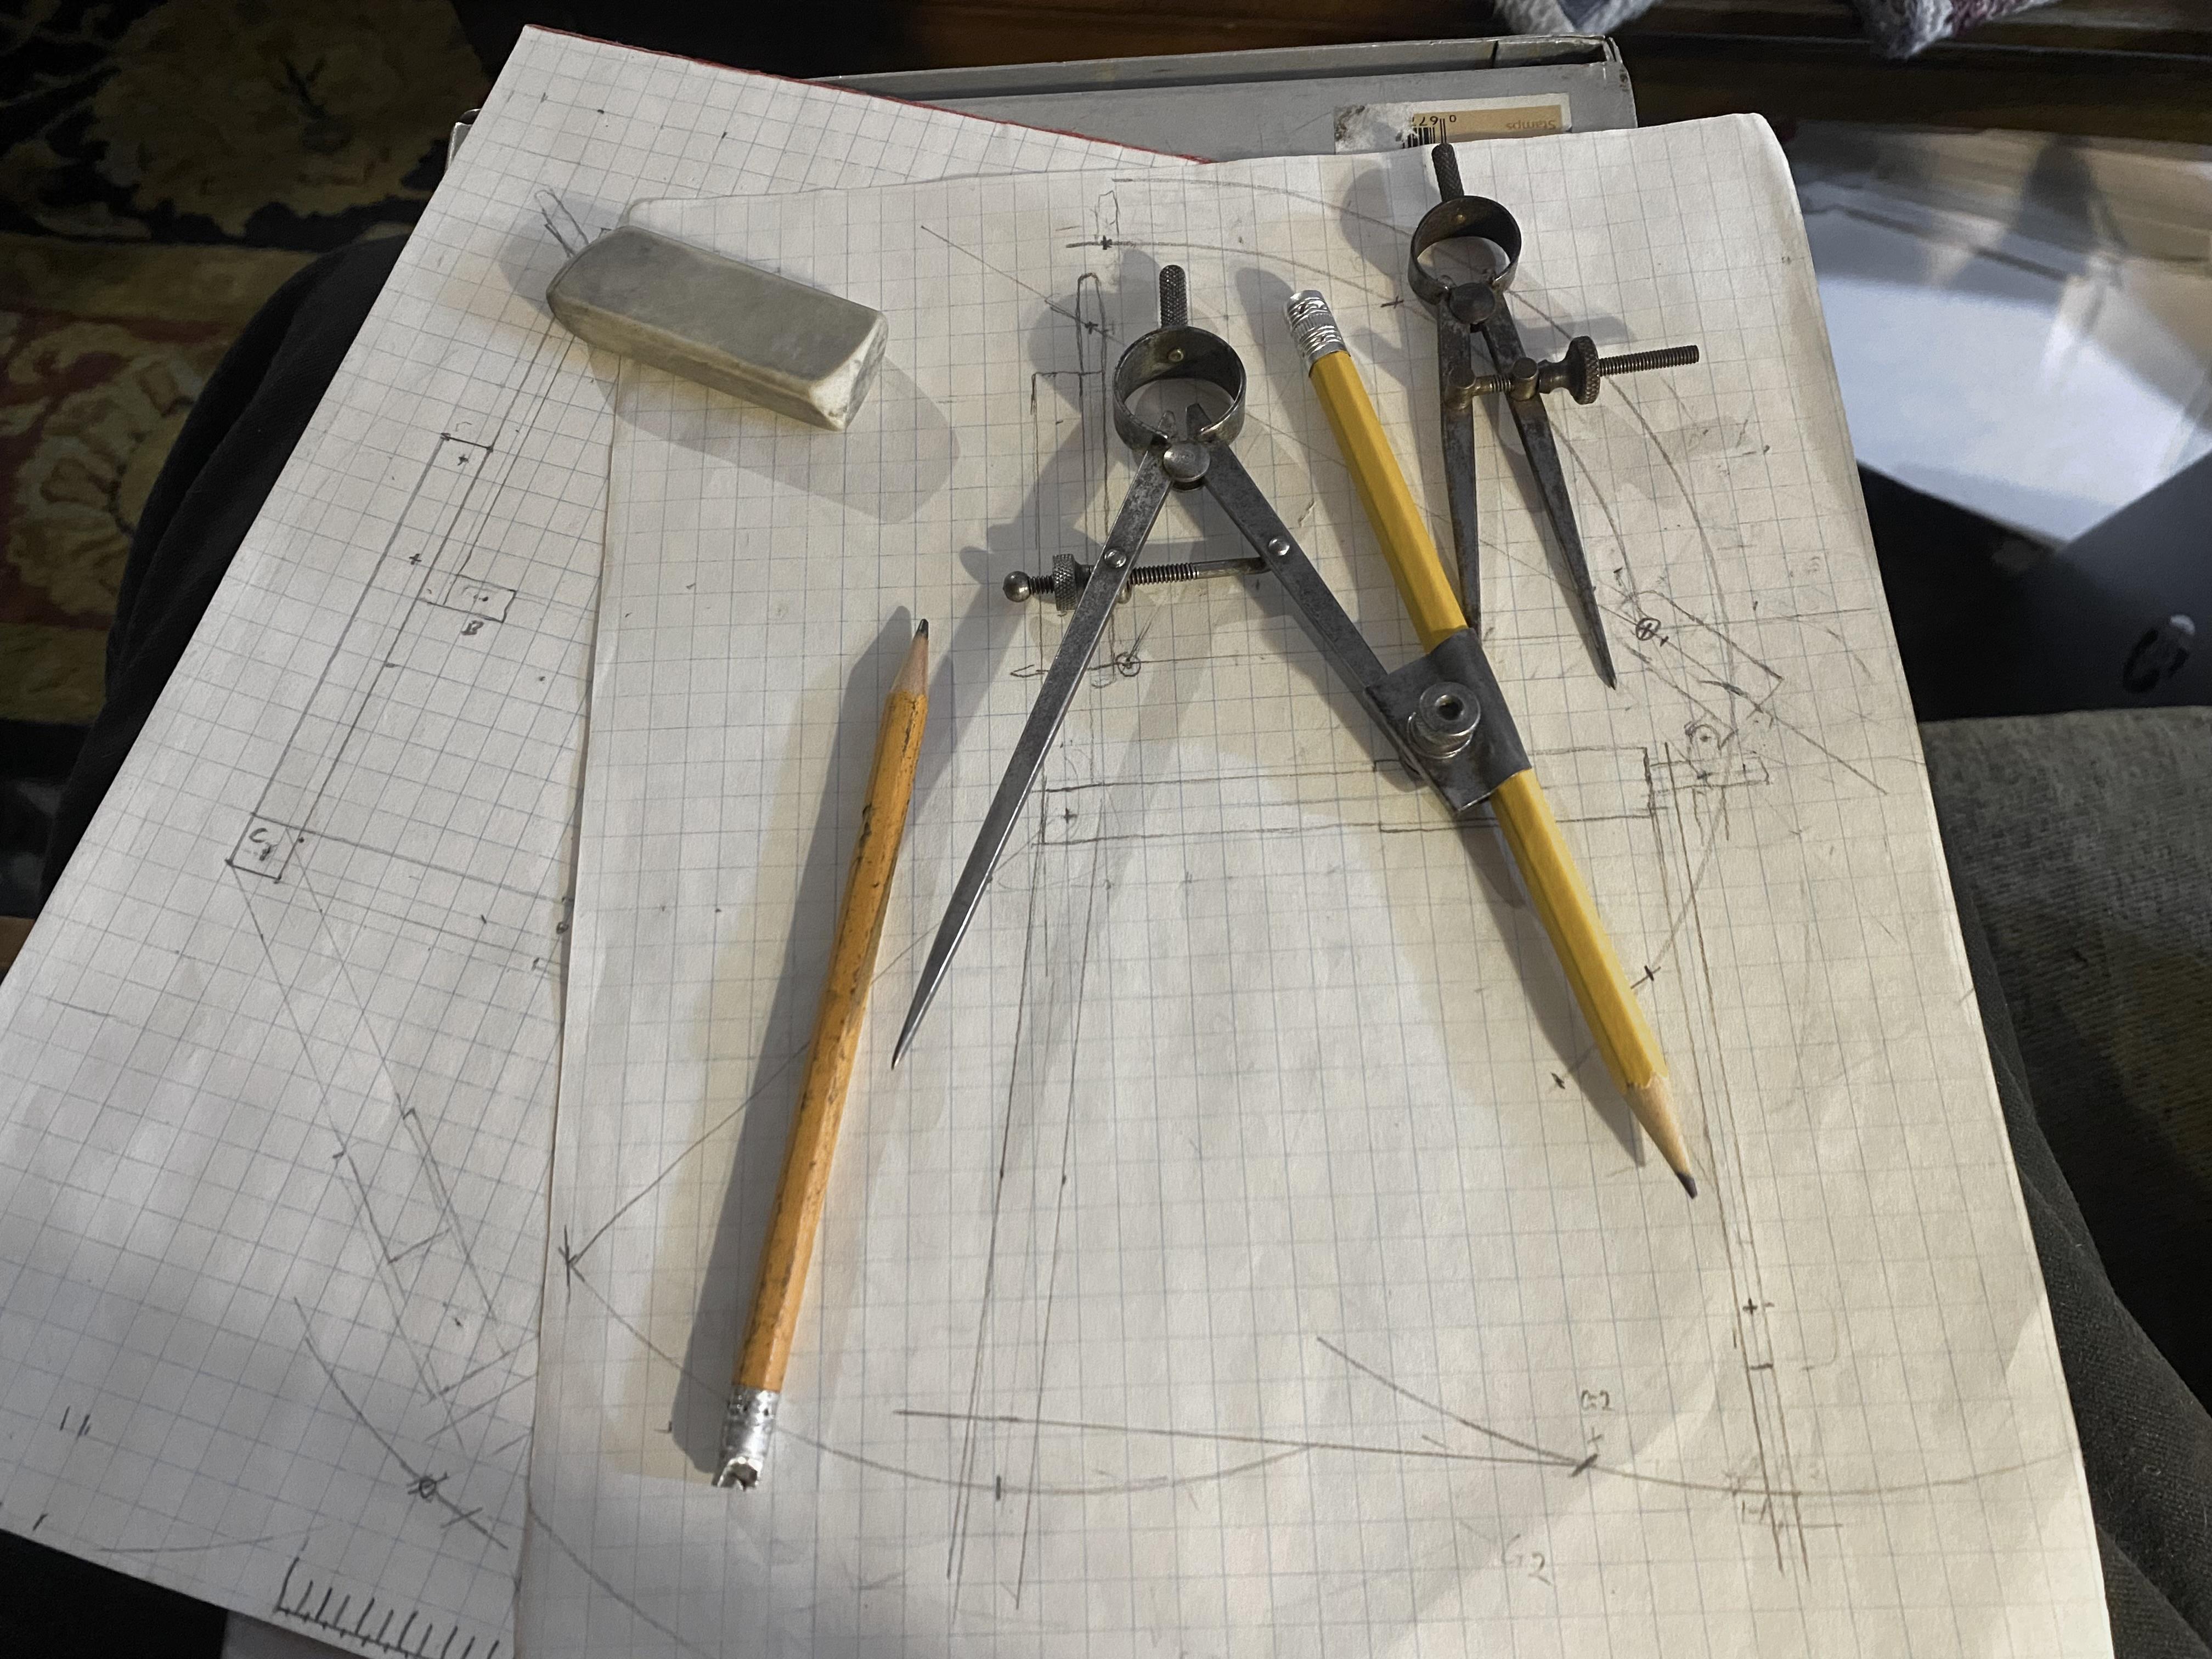
Too cold to work in the shop (although it did get up to a balmy 7°F this afternoon), so stayed inside and did some design work.

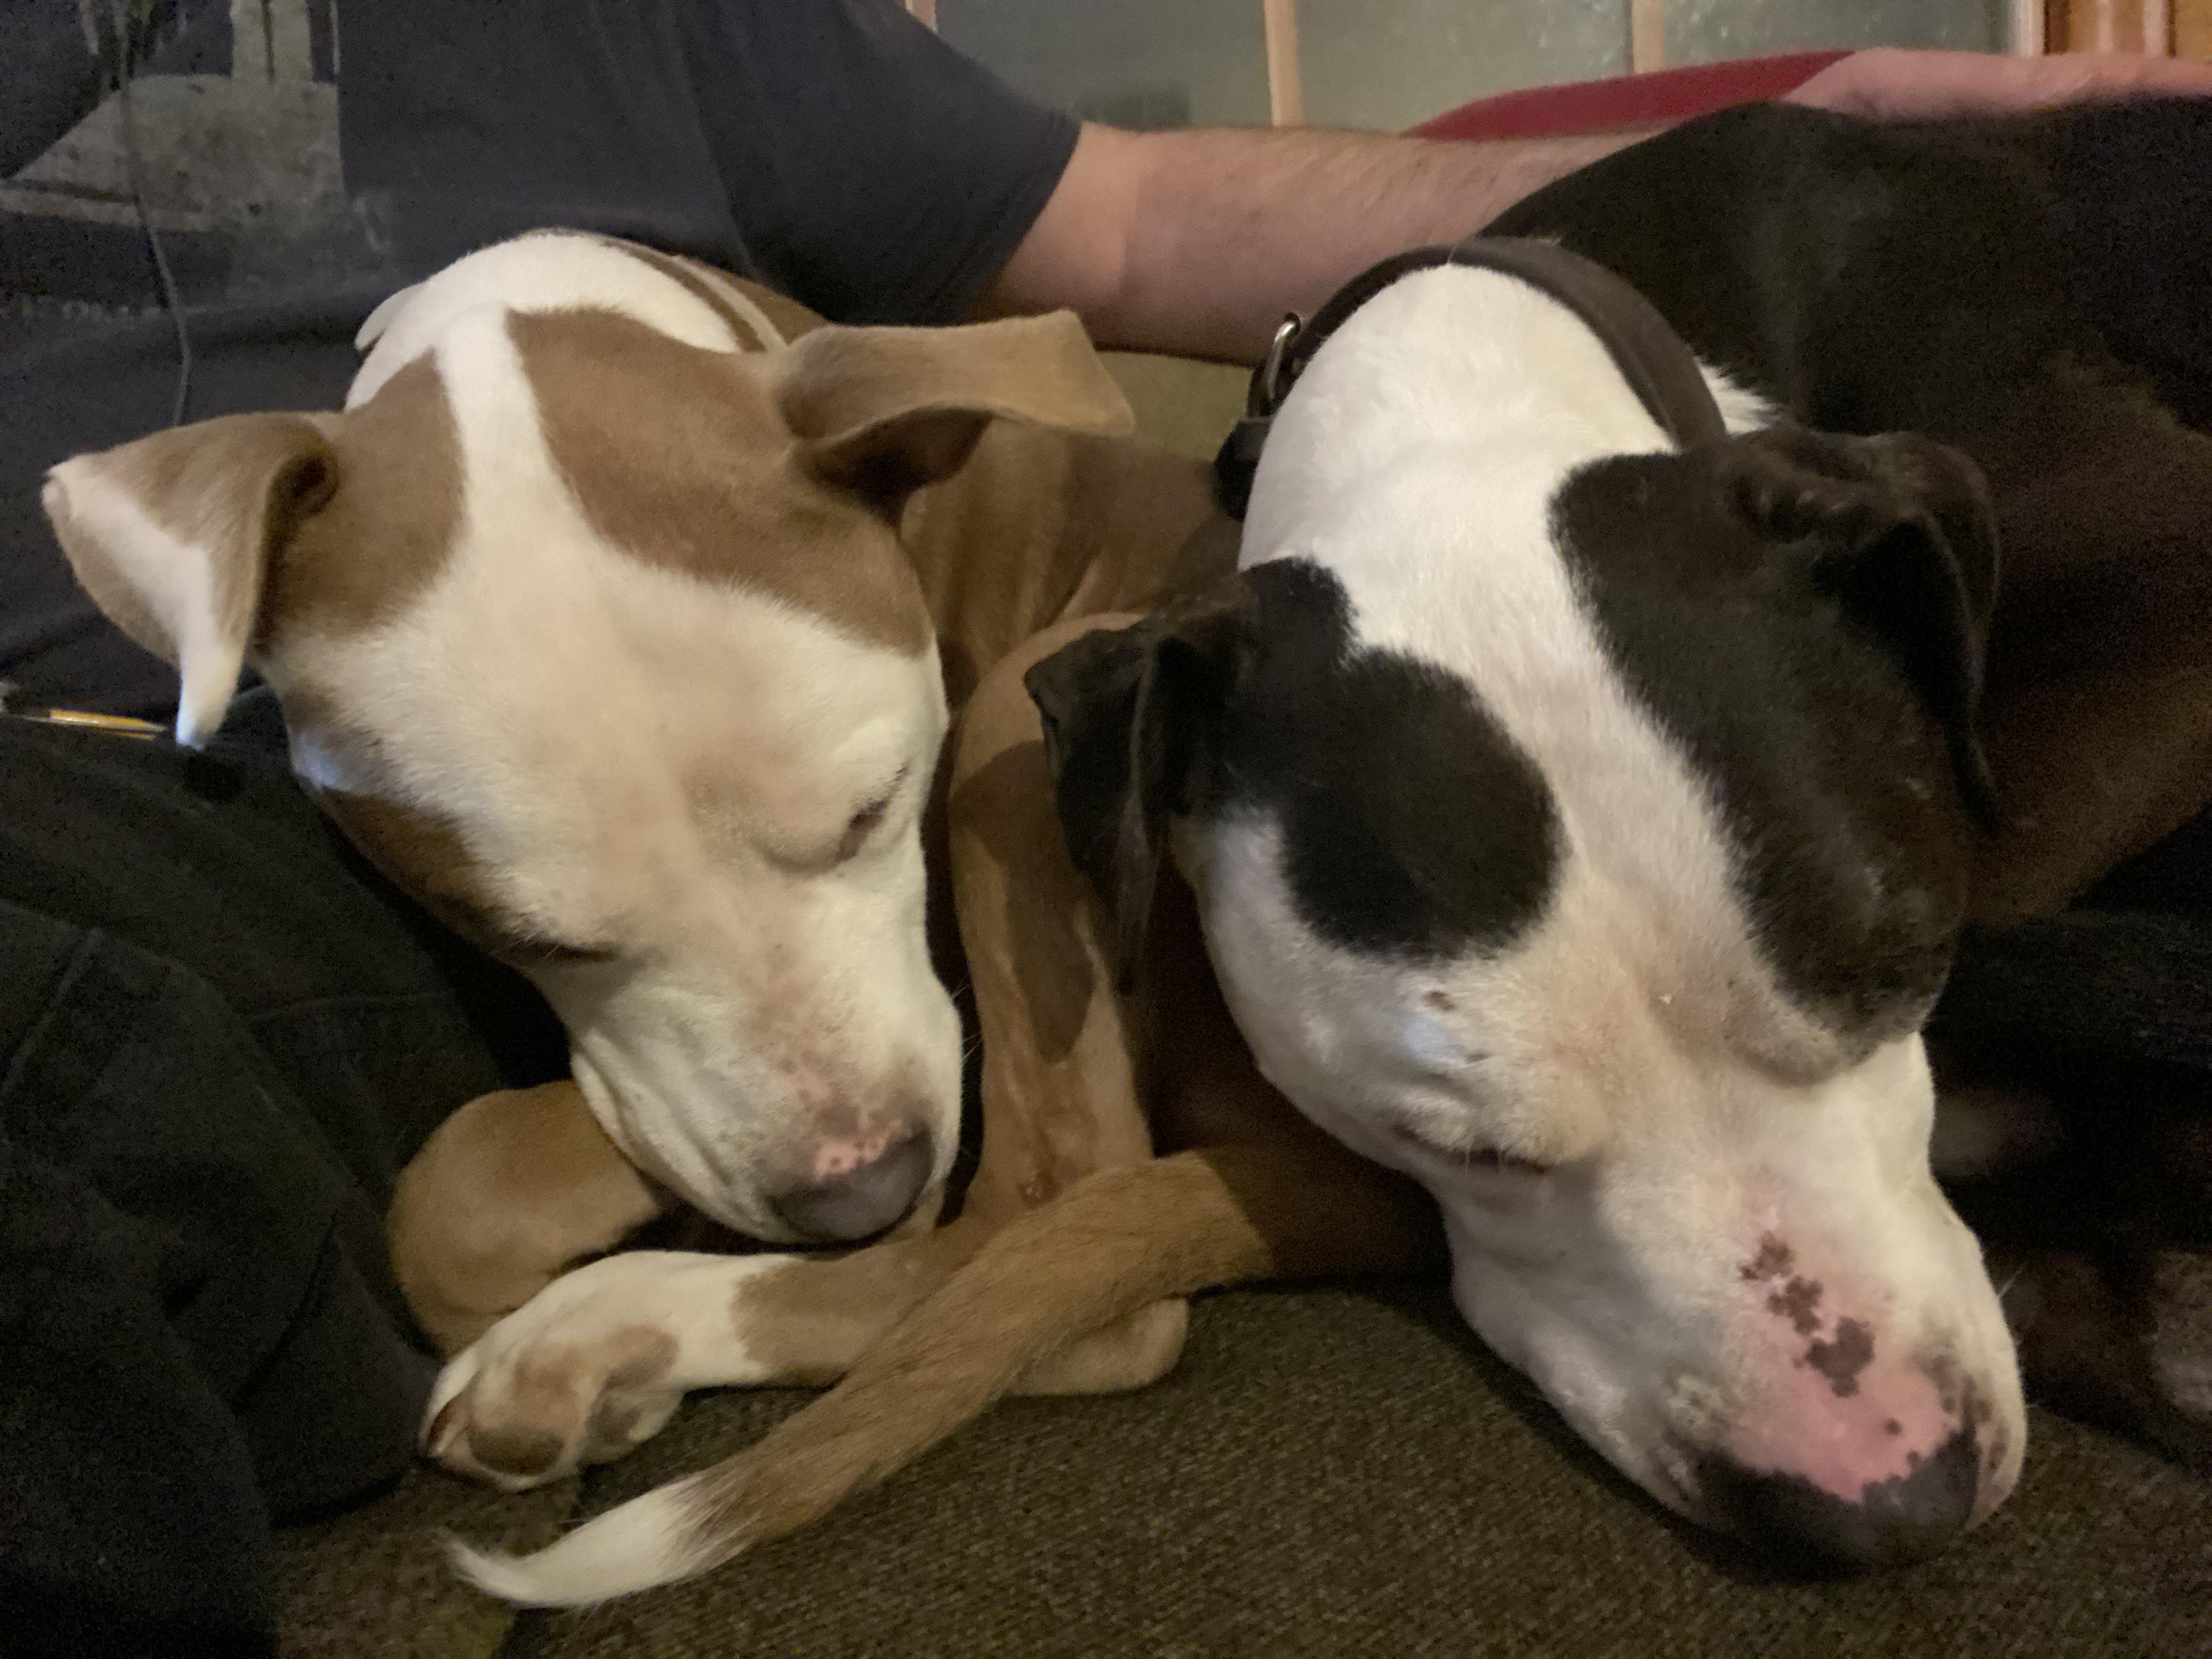
The dogs were unimpressed.
-
Whoever built our house back in 1968 did something interesting with the kitchen lights (where we also have switched out the fluorescent bulbs for LEDs): there’s one switch that turns on everything, and then another that leaves everything on when it’s in the UP position and turns half of the lights off when moved to DOWN.
-
I have a few overhead lights with LED bulbs, plus a couple of task lamps with magnetic bases that I can position when and where needed.
(Plus the flashlight on my cell phone for when I’m trying to find the thing that I just dropped. I swear, I was just looking right at it.)
-
Which equals expensive.
-
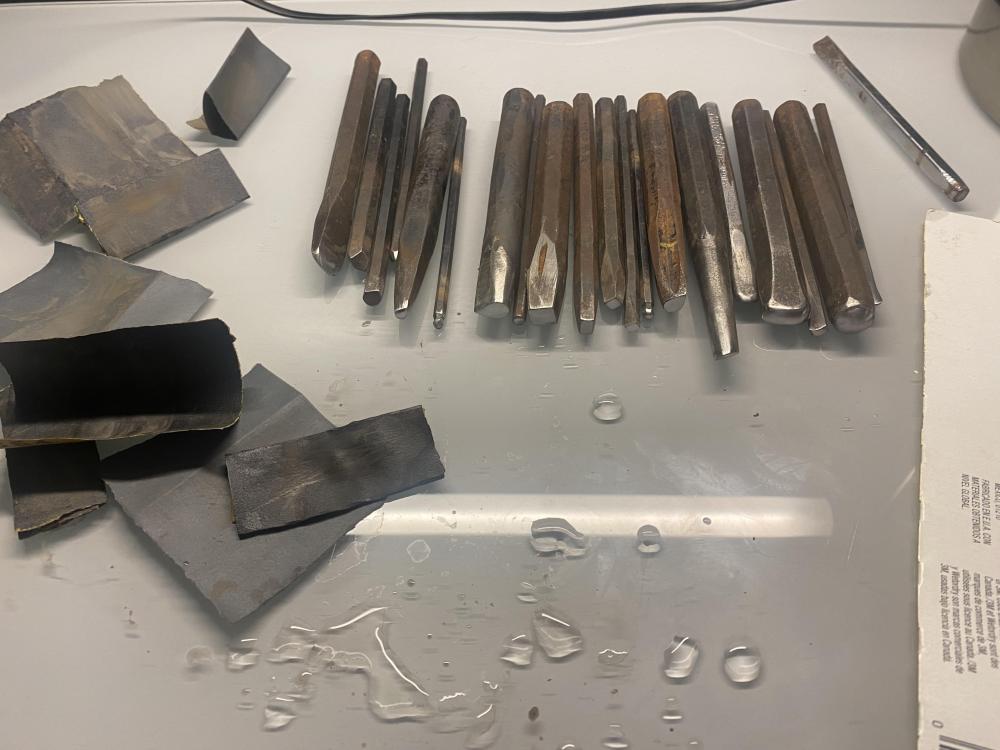
On the road again, so spent some downtime in the hotel polishing up some chasing tools.
-
I thought purple wires in church were for the circuits you only use during Lent.
-
Another ILL.
-
48 minutes ago, Frosty said:
I've never run across mild steel hex bar.
I have; in fact, I’ve got a good bit of it out in the shop that I got at HGR. There was a bin of it labeled “Shafting” which I purchased in the hope of using it for tooling, but it turned out to be unhardenable and sparks like mild steel. Here’s a chunk that I twisted as a test piece (for a project that later went in a different direction):
-
Interesting idea. I suppose one could make a curved punch for cutting the ends of the belt.
-
On 12/31/2023 at 10:37 AM, Gazz said:
The glue in the drive belt kit came in unlabeled small jars and I suspect the belt seller is repacking the stuff for use with his belts. I got the kit from Al Bino Industrial Belting (no joke!) so maybe you can find him and discuss the possibility of just buying the cement from him.
From what I can see on the Al Bino website and some discussions on the Practical Machinist forum, this is a two-part adhesive for their synthetic drive belts. Apparently, these belts have a nylon core that requires a special adhesive.
2 minutes ago, Frosty said:How are you cleaning this belt?
This specific belt had previously been glued with cyanoacrylate, so I scuffed up the surface with some rough sandpaper to try to get all the old glue off. I suspect that it may have penetrated the fibers of the cloth belting, preventing the polyurethane from getting as good a grip.
-
This is a butt joint, and it was holding up really well until I caught that corner. I agree that there's an adhesive failure; my only question is whether or not that will be an issue when gluing clean material.
-
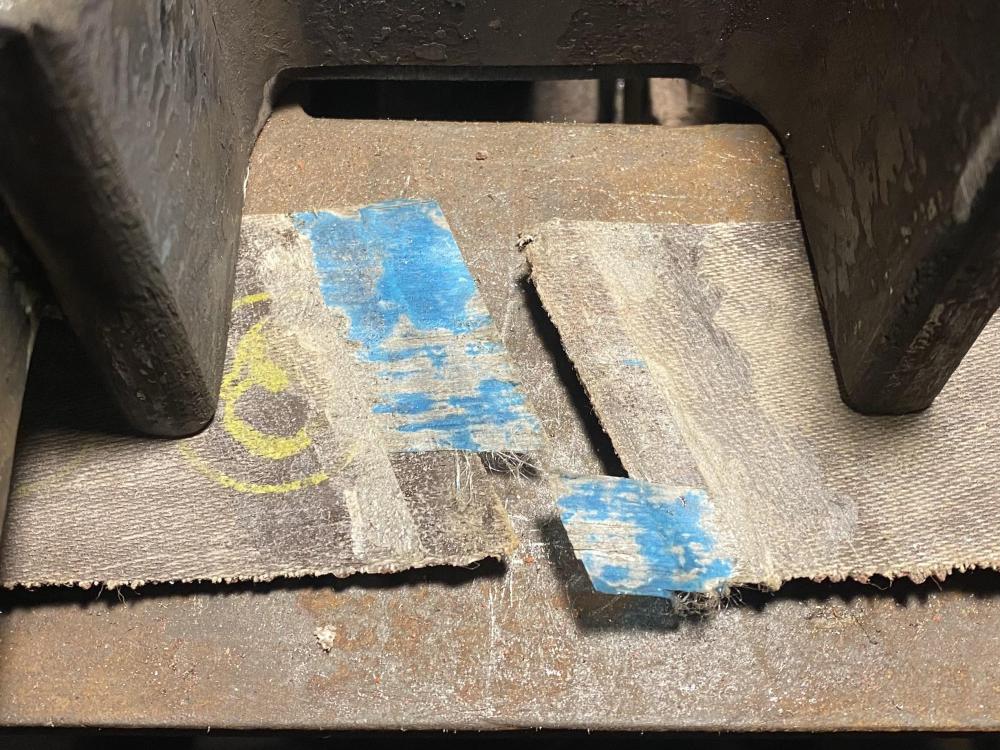
Important update: The belt failed yesterday, but the circumstances are interesting and worthy of a little forensic examination.
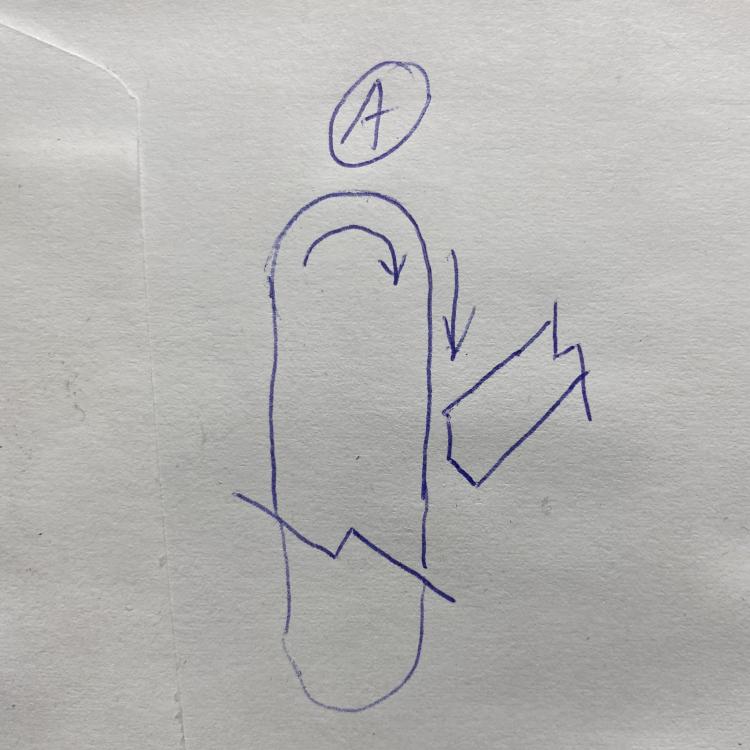
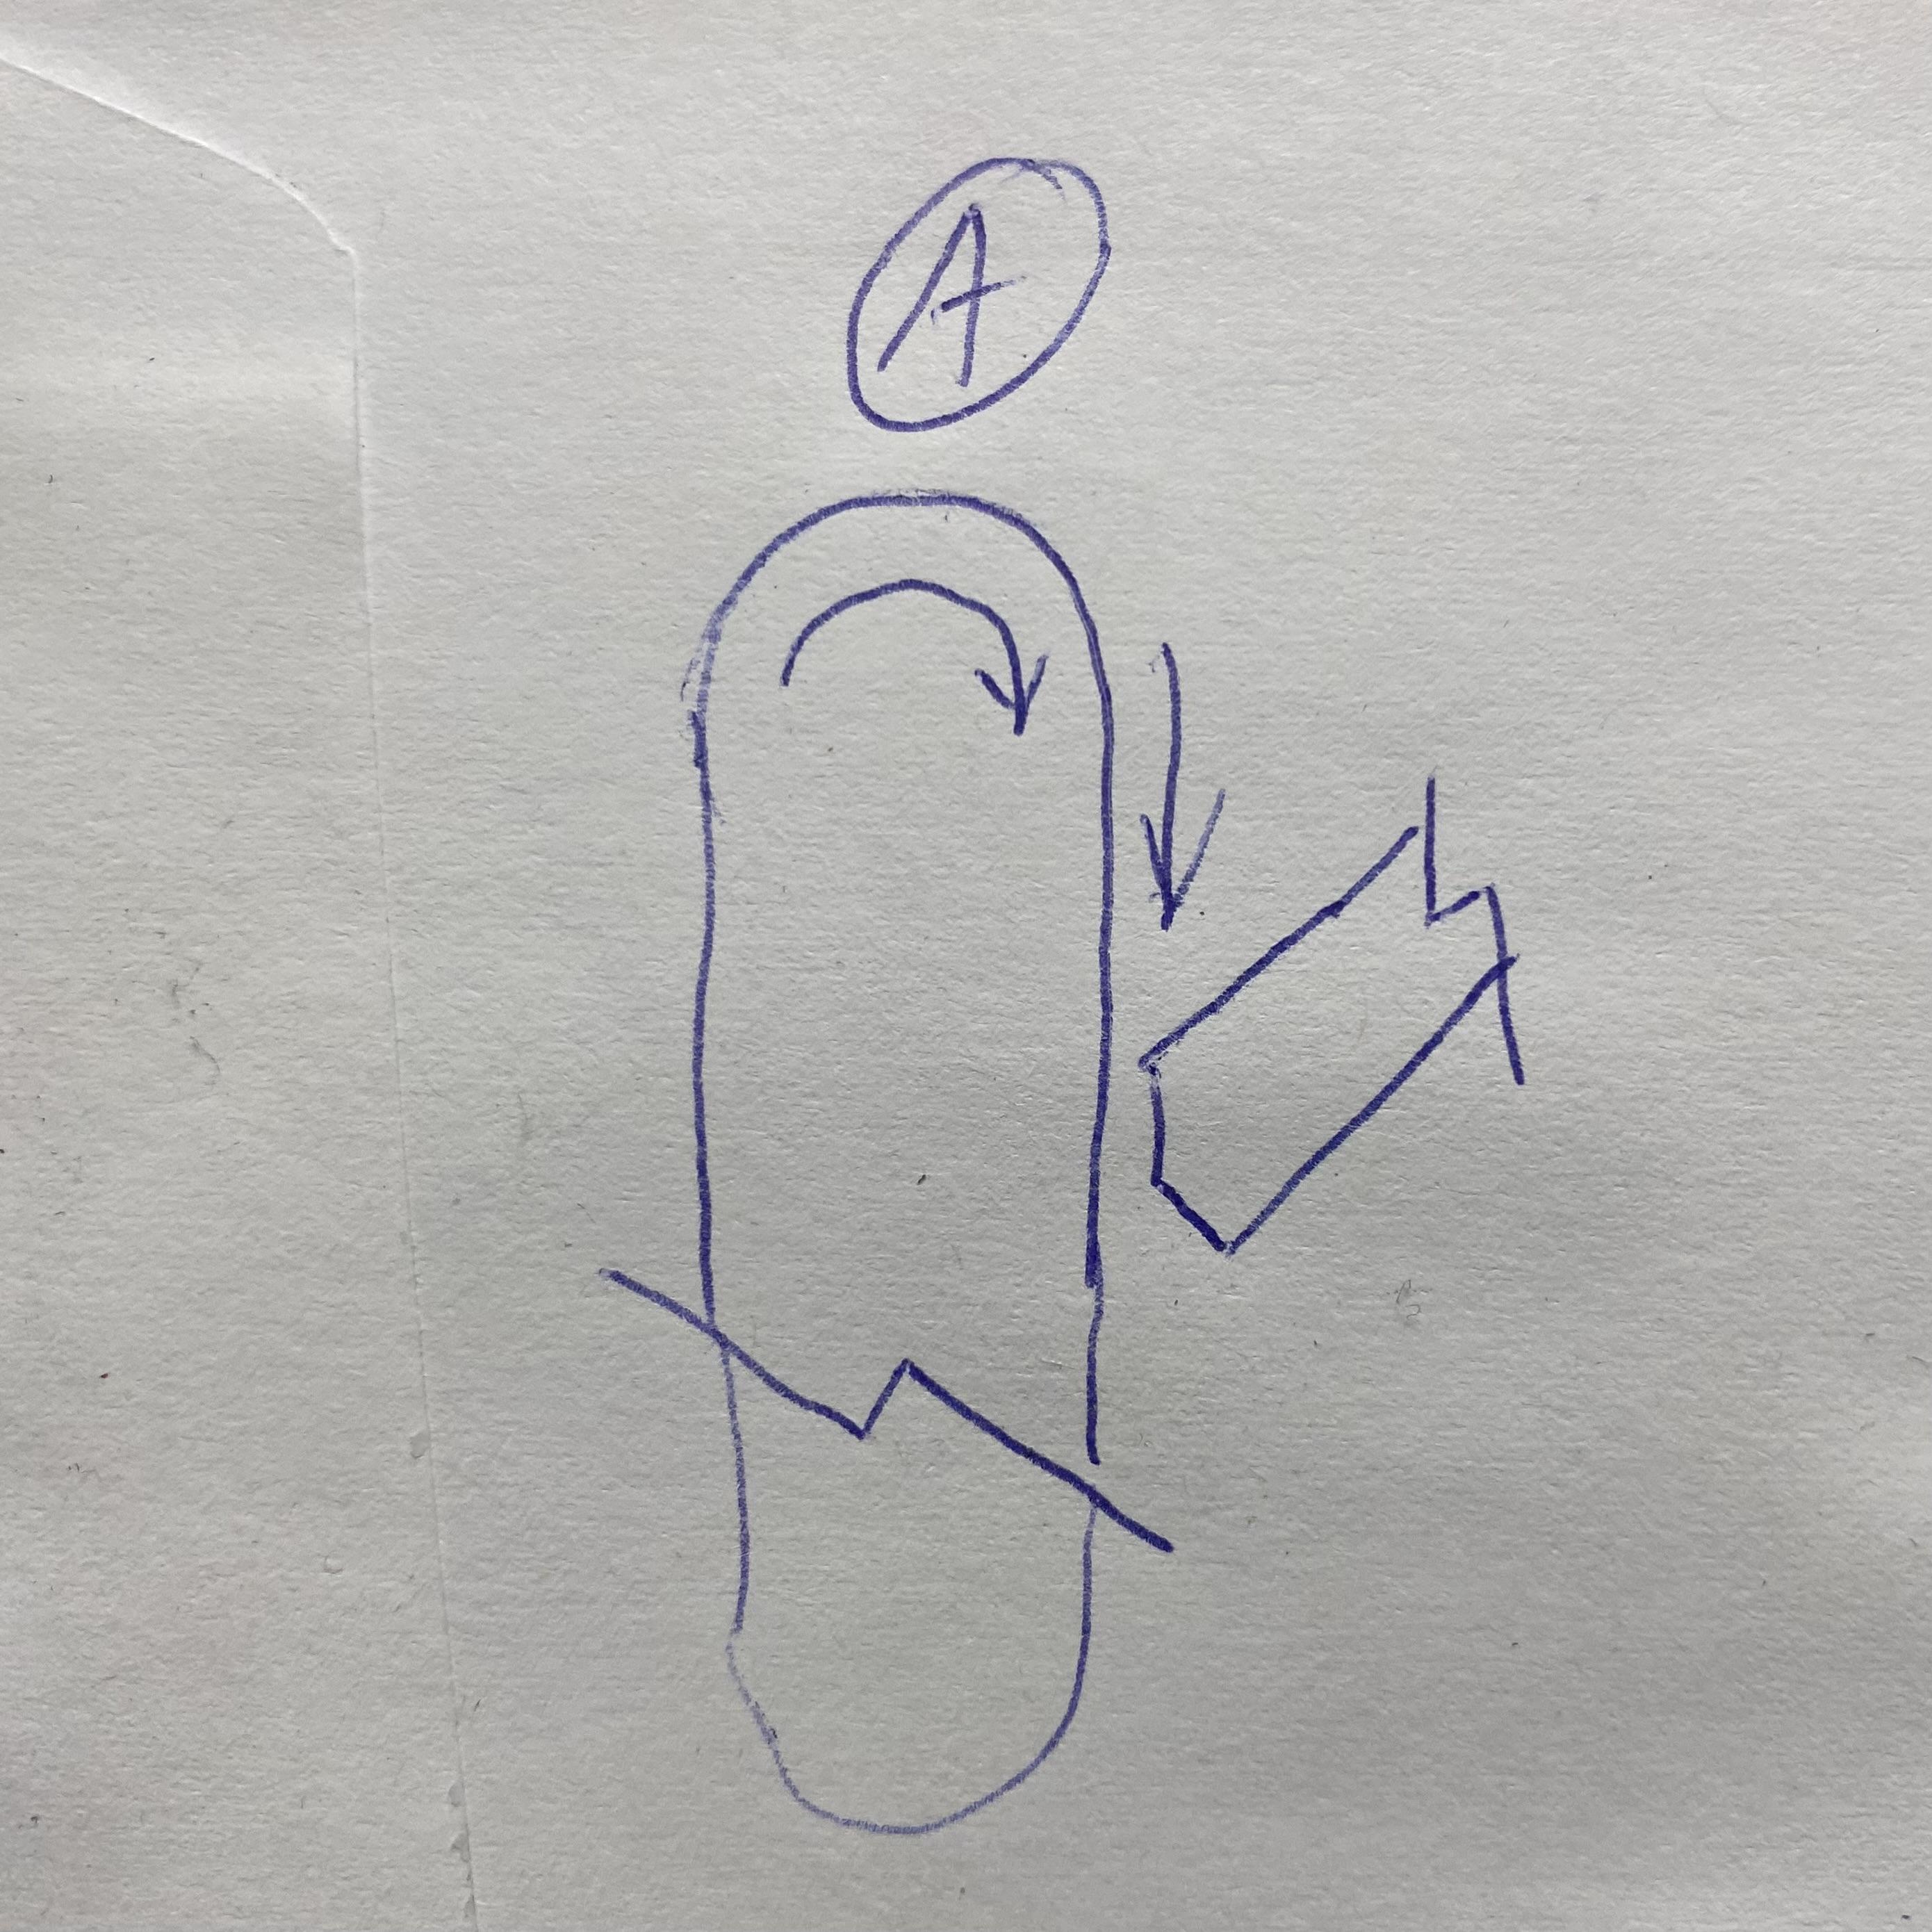
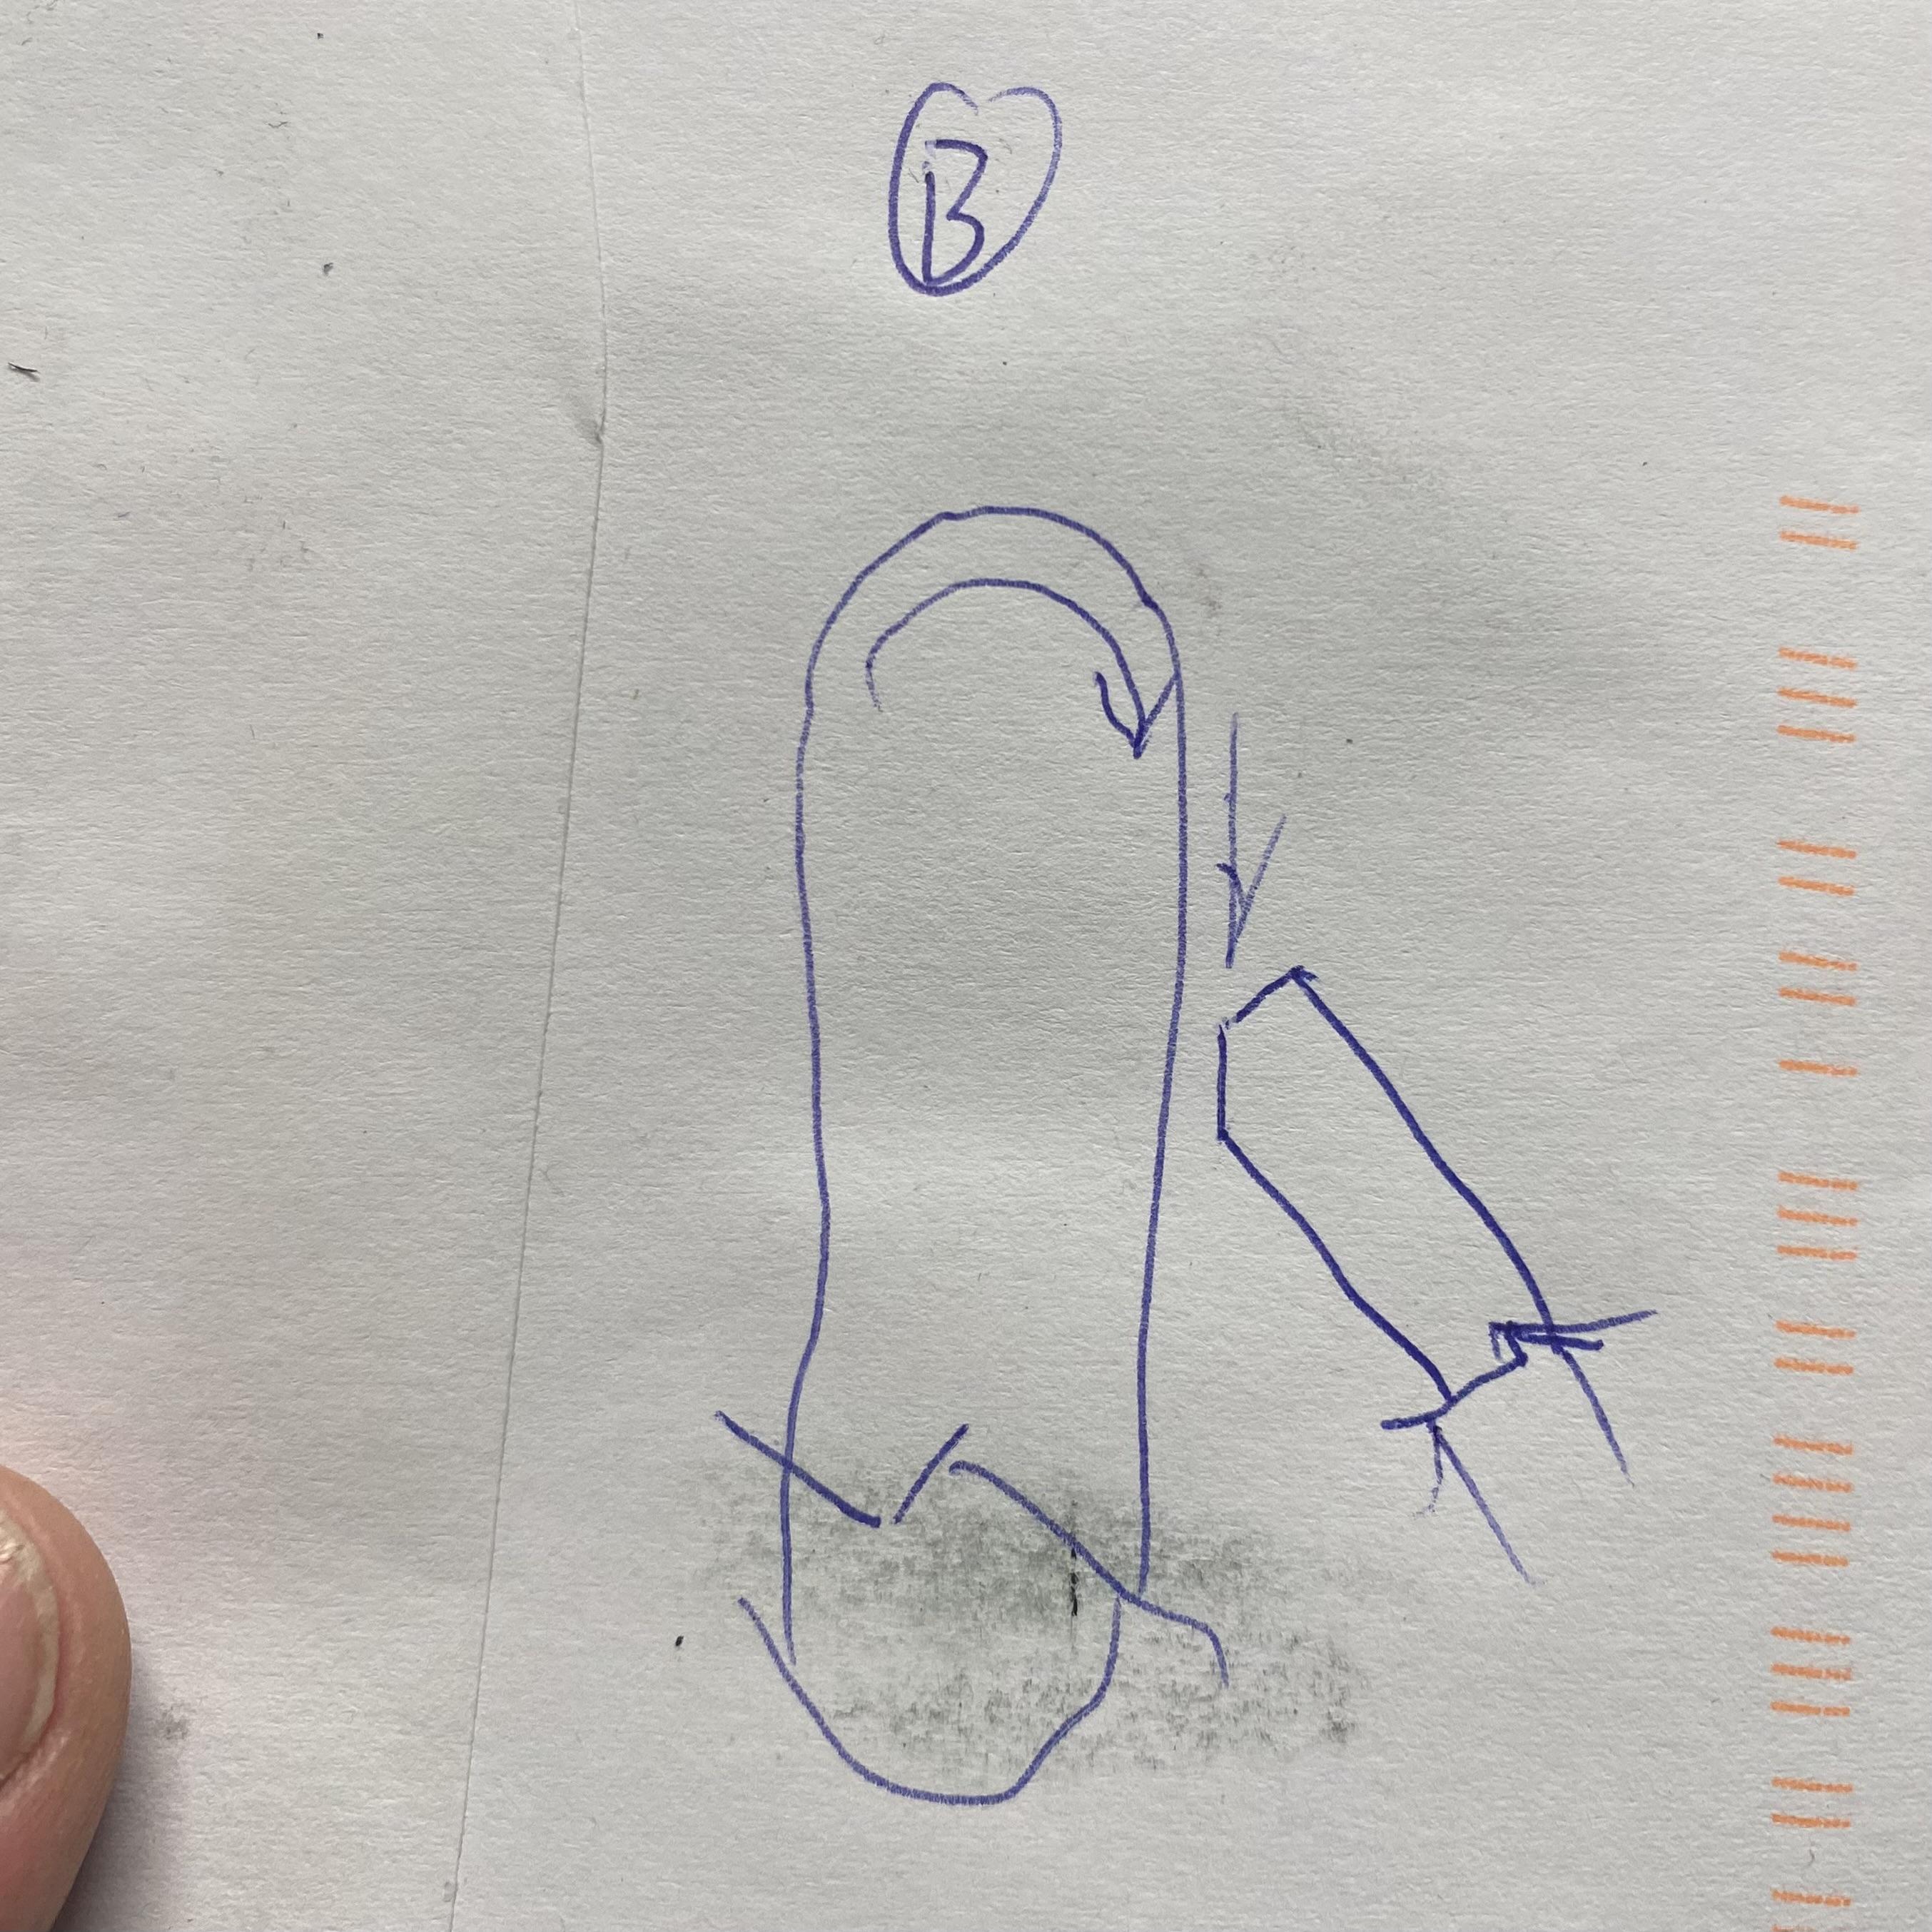
I was grinding the inside of an anvil bridge I’d wired up from some heavy C-channel, and at first, all was going well. Then, to better reach a particular spot, I switched from what might be called “edge down” (A) to what might be called “edge up” (B):

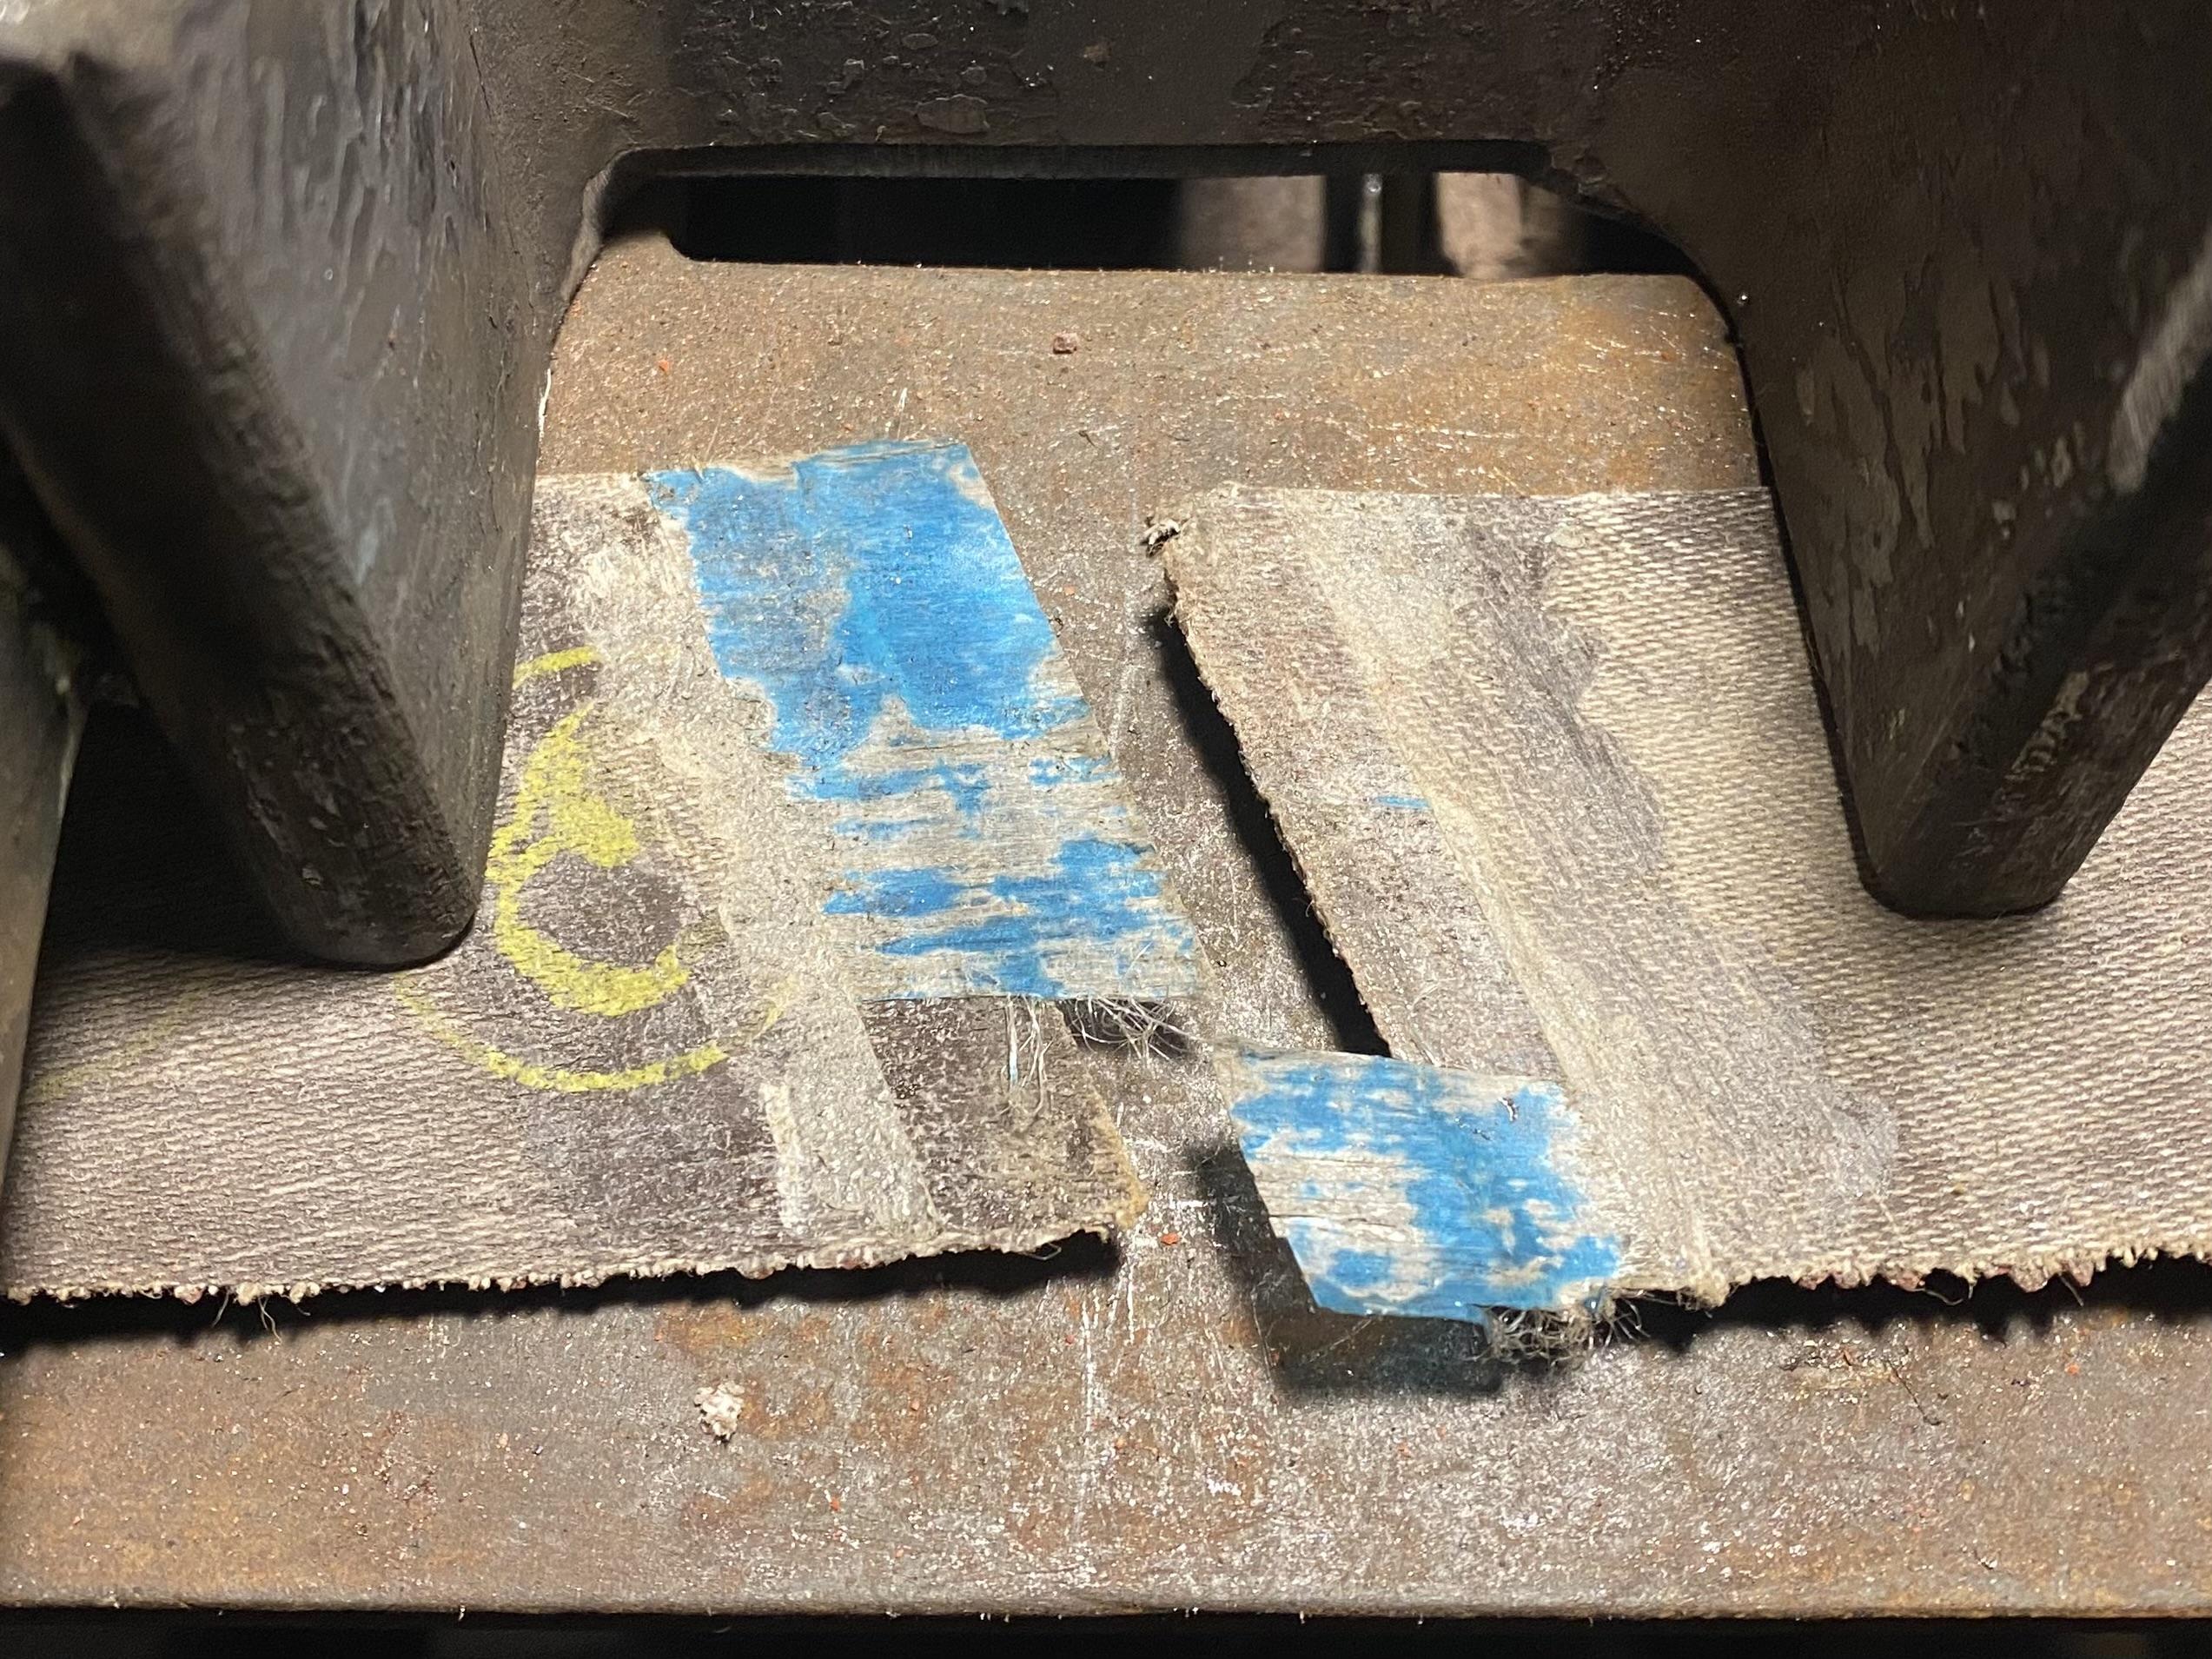
At this point, one of the corners that had previously delaminated caught the workpiece, and the belt ripped itself apart:
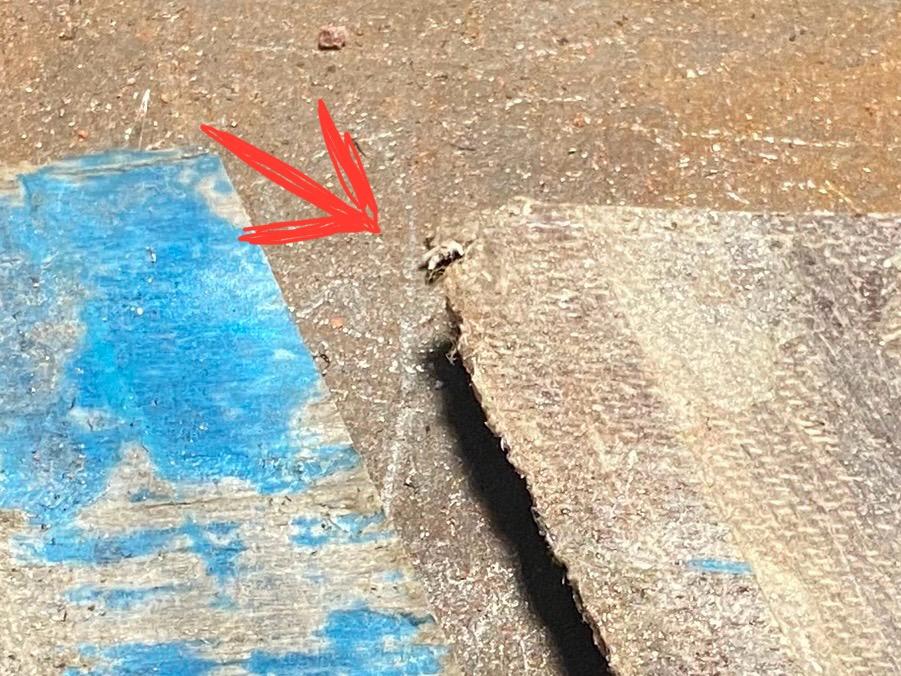
If you look closely, you can see where the corner took the fatal impact:
Analysis: failure can probably be traced to lack of adhesion between the belt and the tape. As noted previously, this belt had previously been glued with cyanoacrylate and fabric, and even after removal of the old splice and abrasion of the surface, adhesion wasn’t uniform. That led first to the corners sticking up and then to the joint failing under the stress of one of those corners hitting the workpiece.
(Note that while the tape did rip, the longitudinal fibers maintained their integrity. That’s a good sign.)
Next steps: I think I’m going to try regluing this joint, just to see how it does. The next belt I glue up will be from new, unglued stock, so as to get a better idea of how the tape adheres to the banking under normal circumstances. I think I may try breaking the glue layer of the belt itself, to give the joint more flexibility going around the grinder wheels.
-
All my attempts to work with hex bar have been cursed….
So, a few bits and pieces.
1. Cut, bent, and rewelded the Hand Lever for the Hossfeld, to give it the appropriate 20° bend:

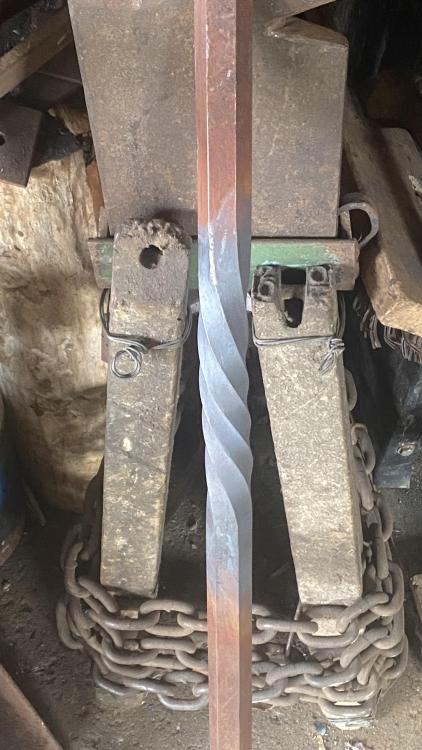
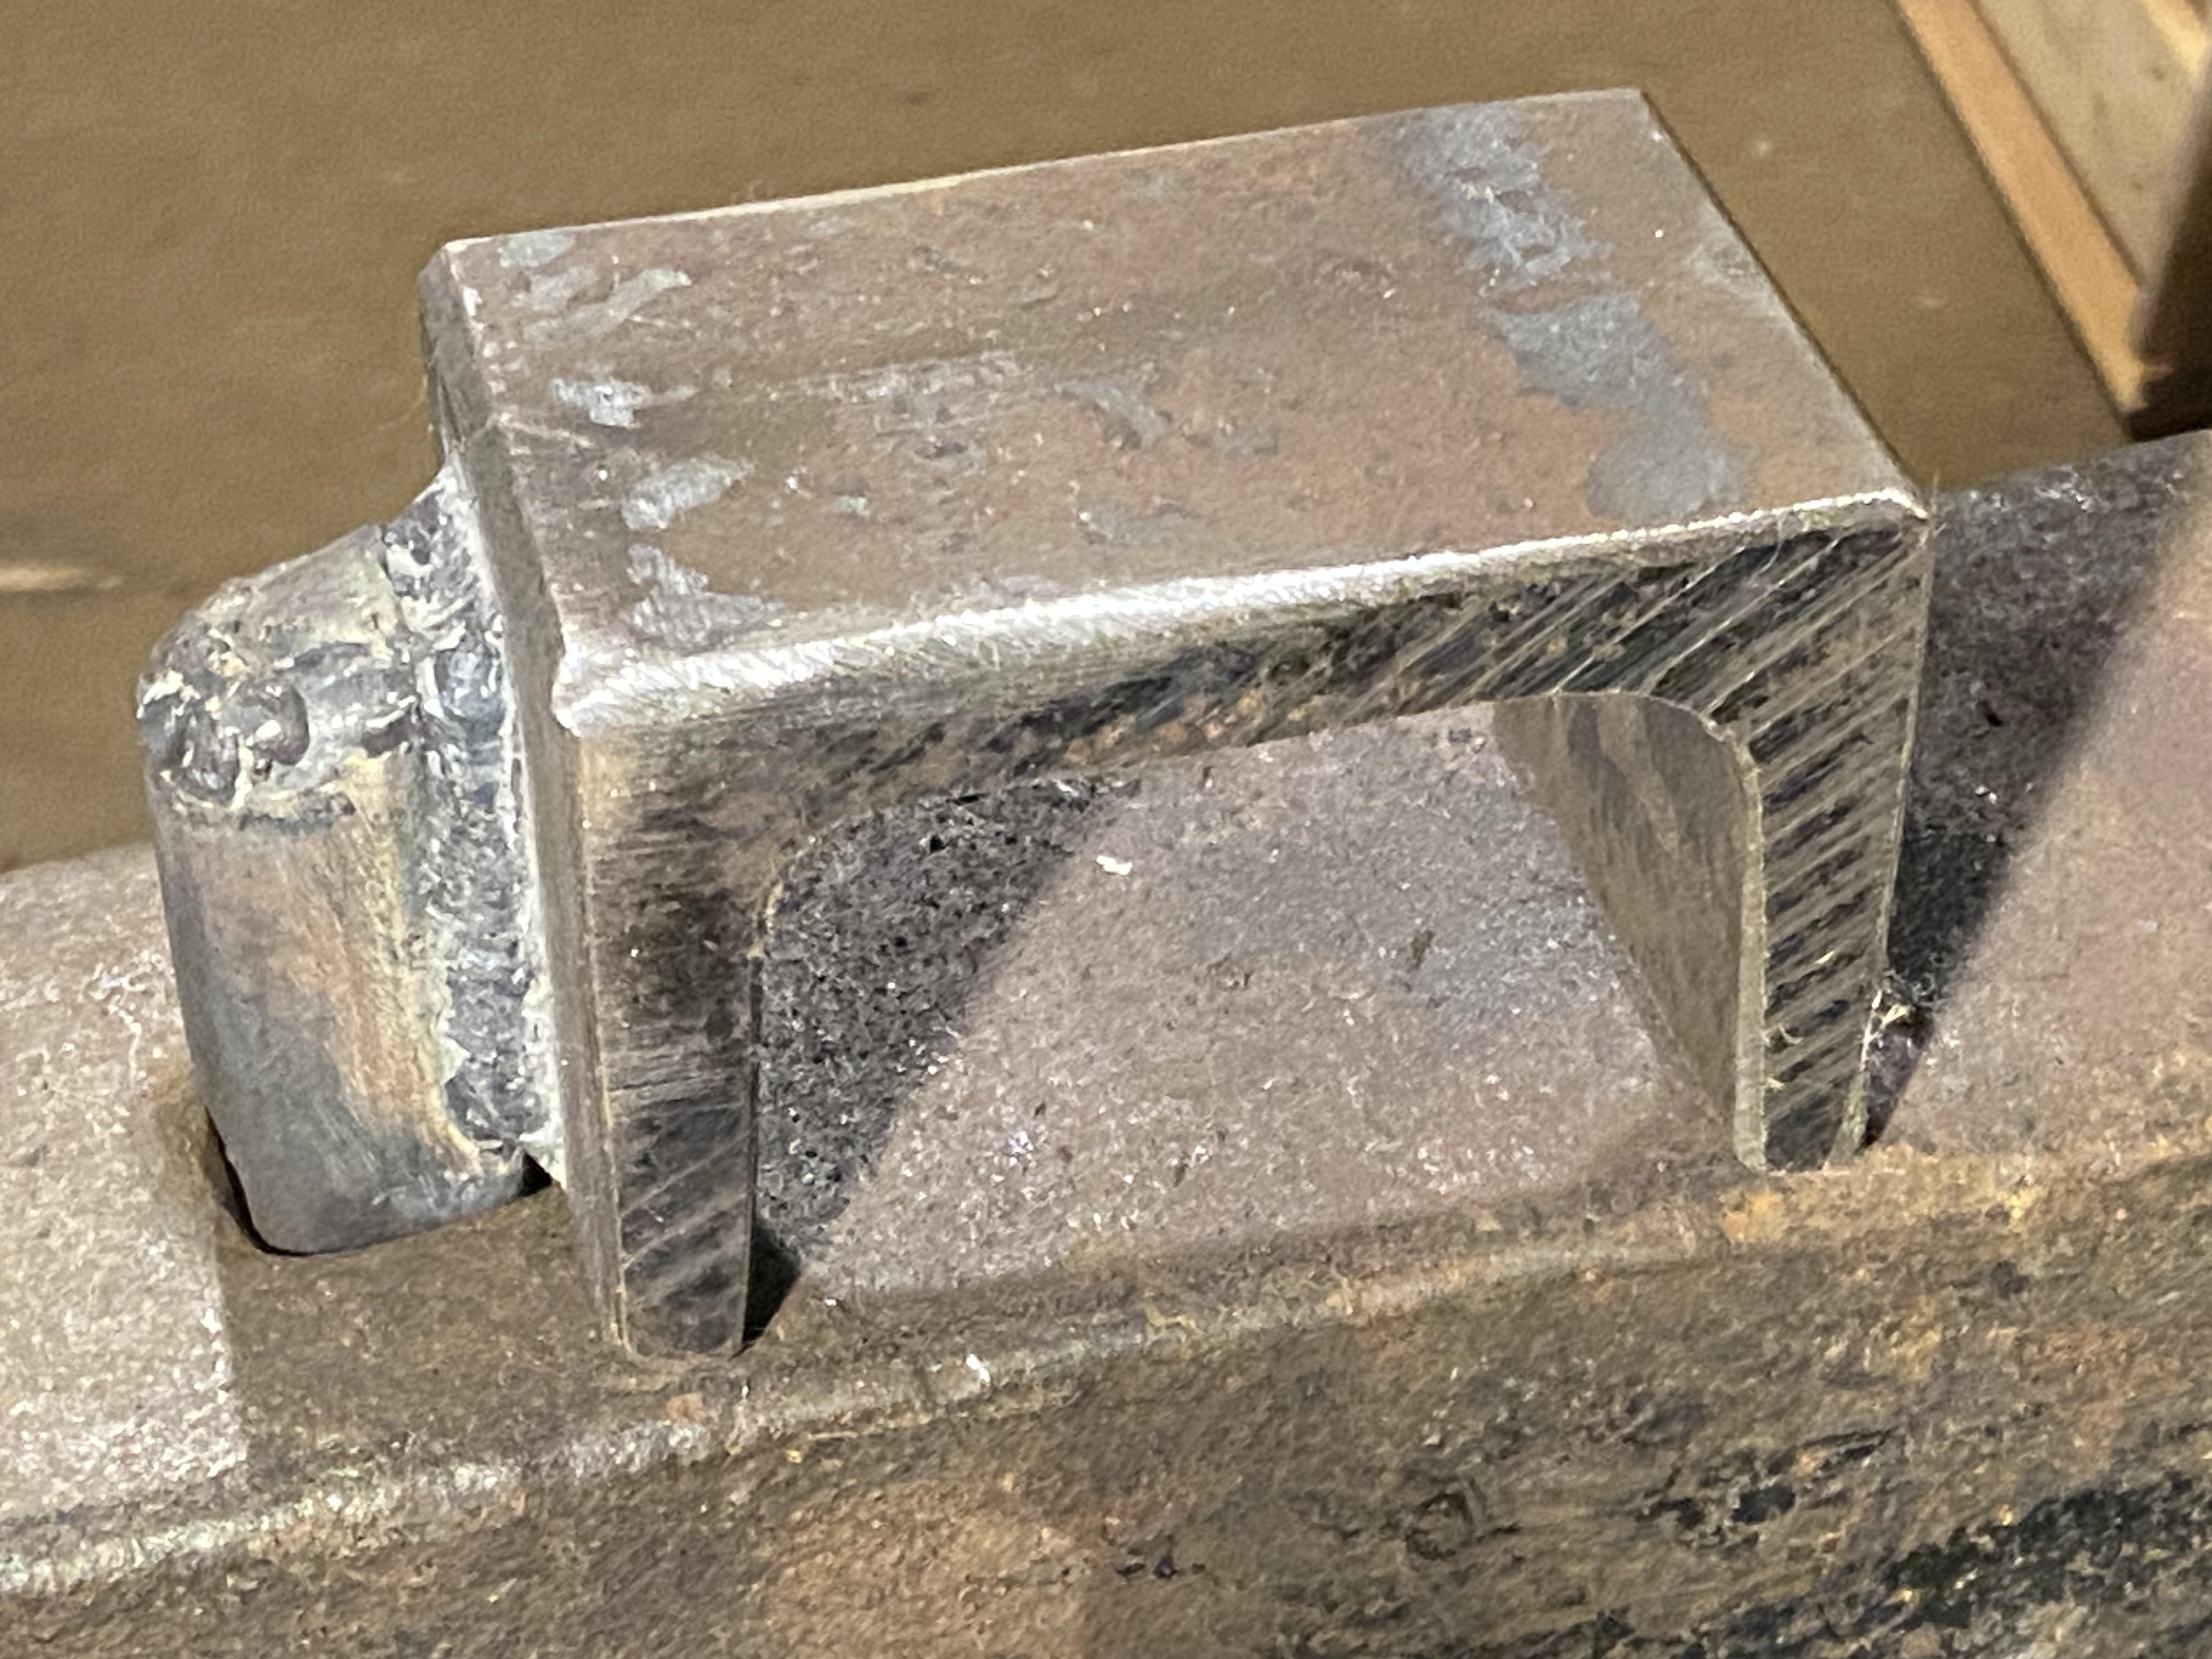
2. Made a bridge tool from a piece of squared-off tubing and a really hefty chunk of C-channel:


(Need to do some more grinding on the underside, but that’s on the to-do list.)
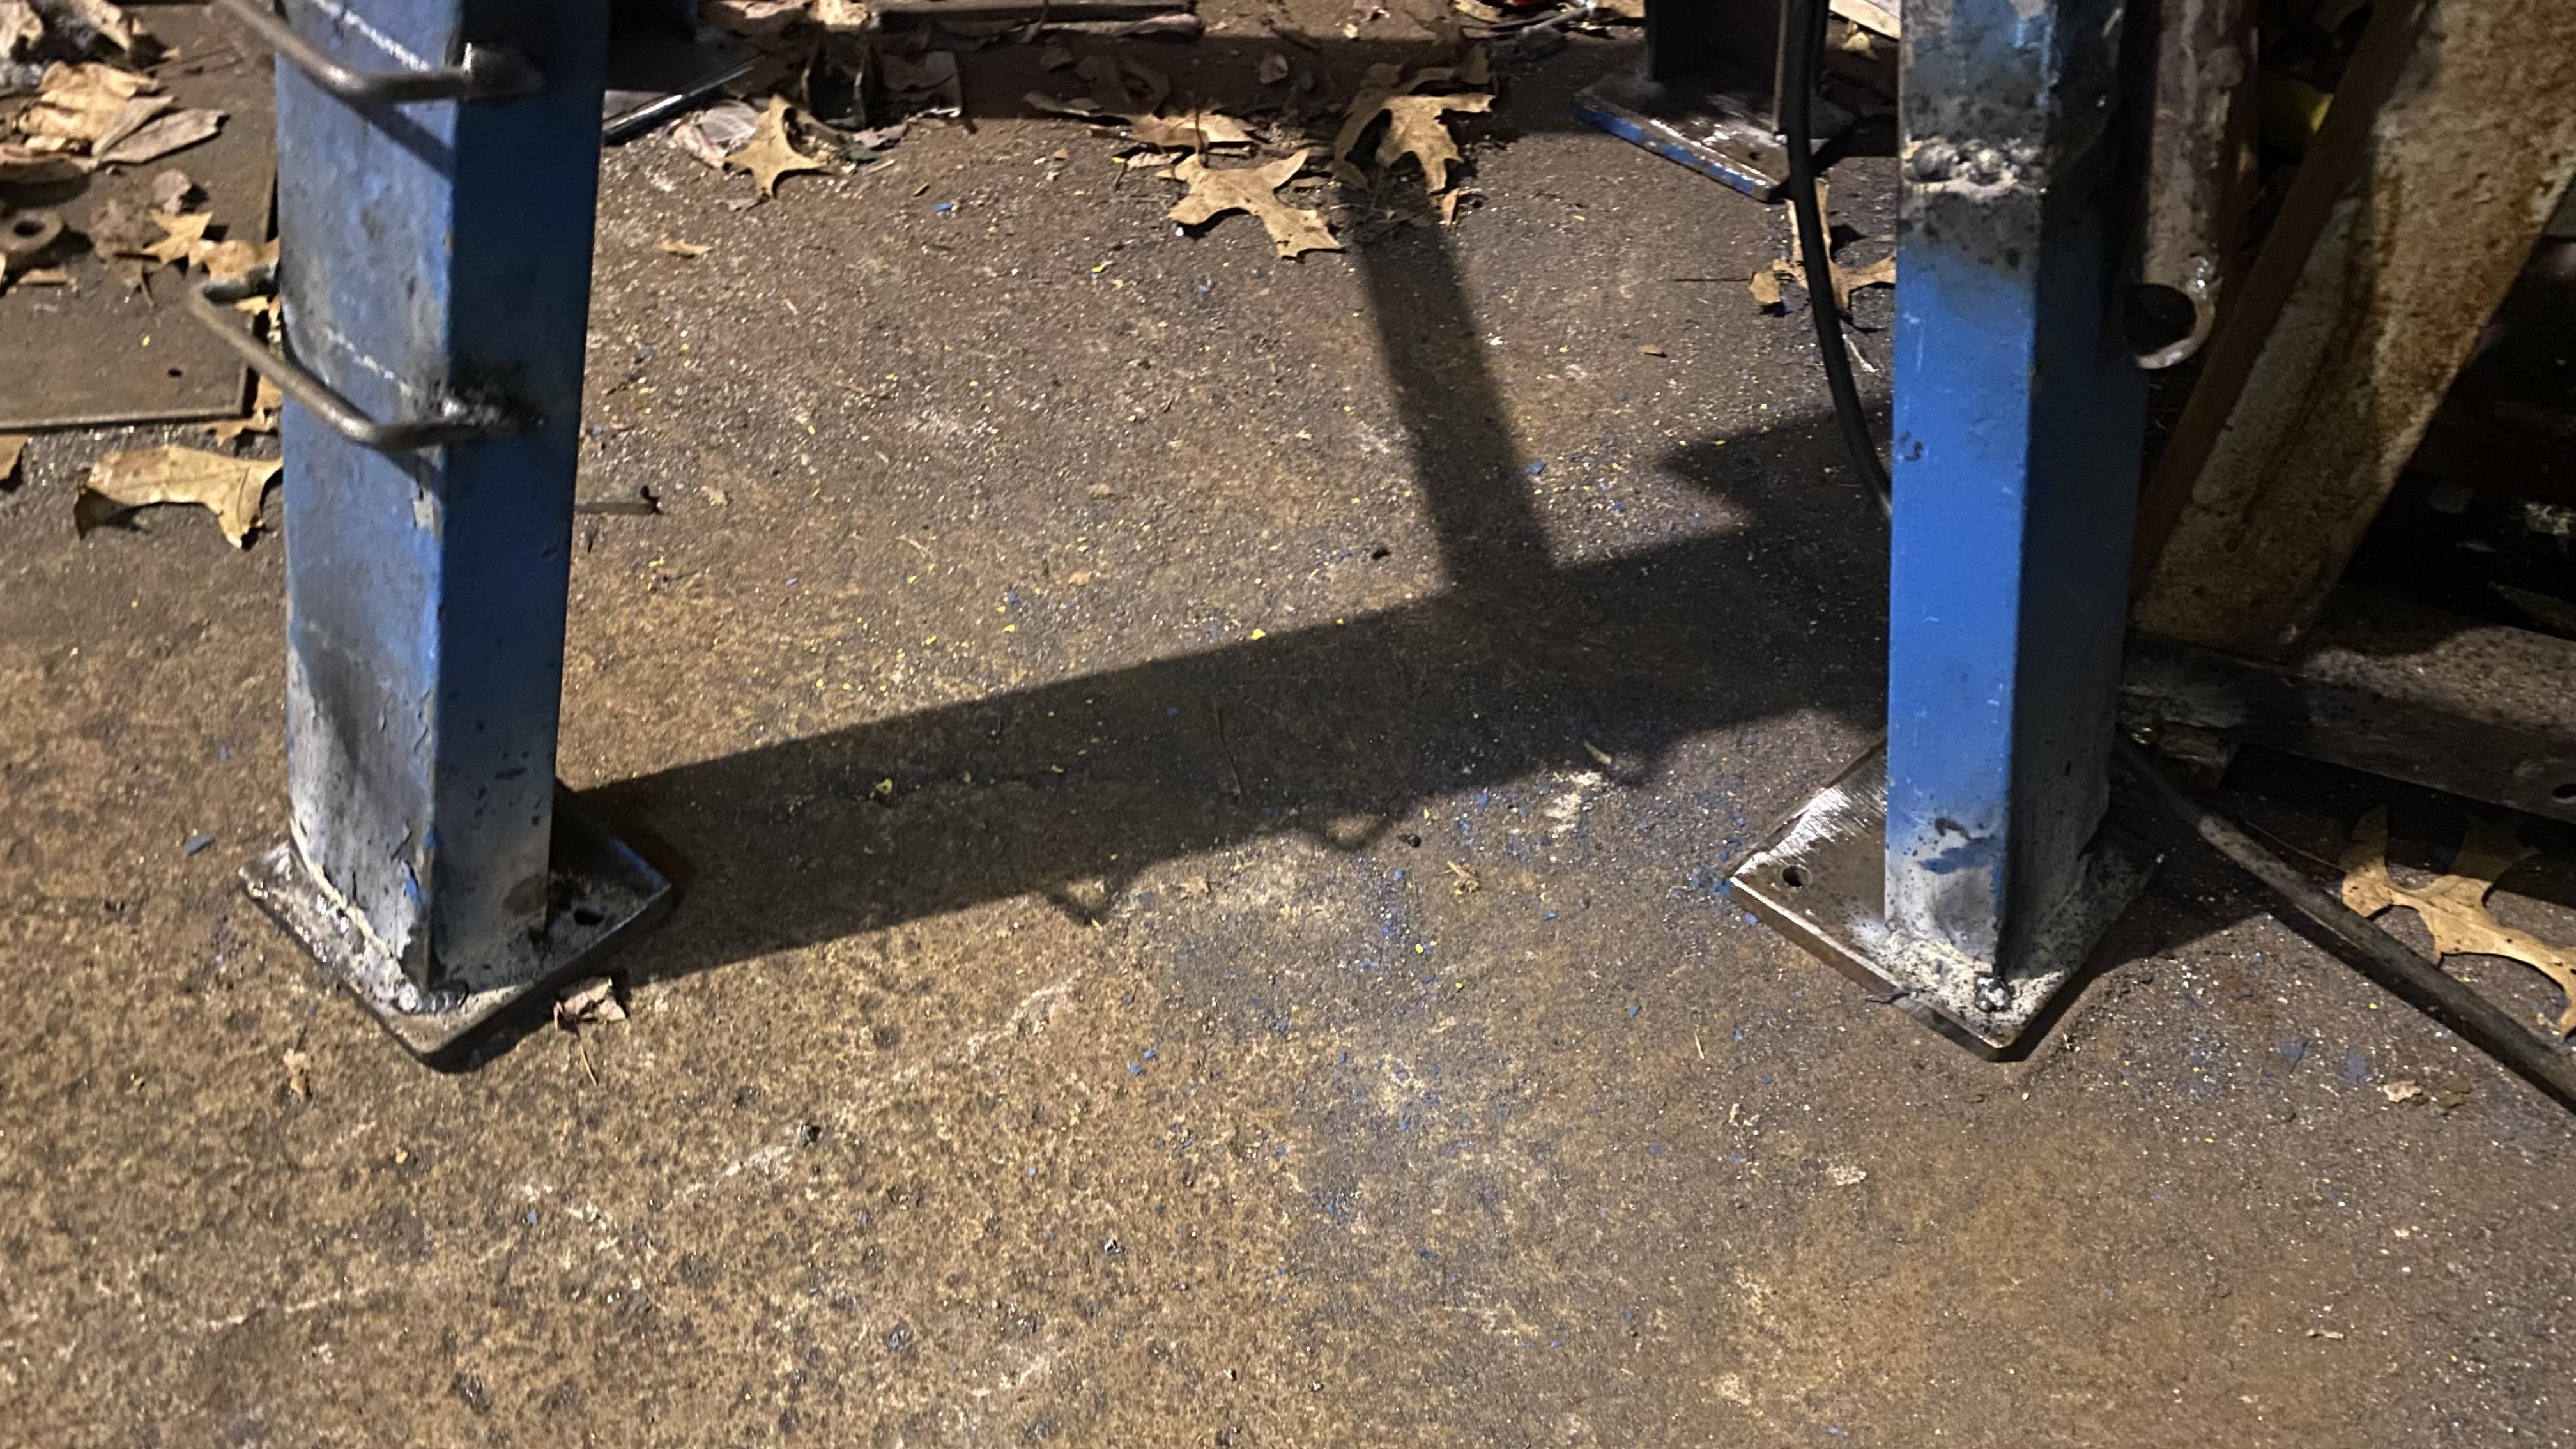
3. Welded feet onto the bench vise stand:

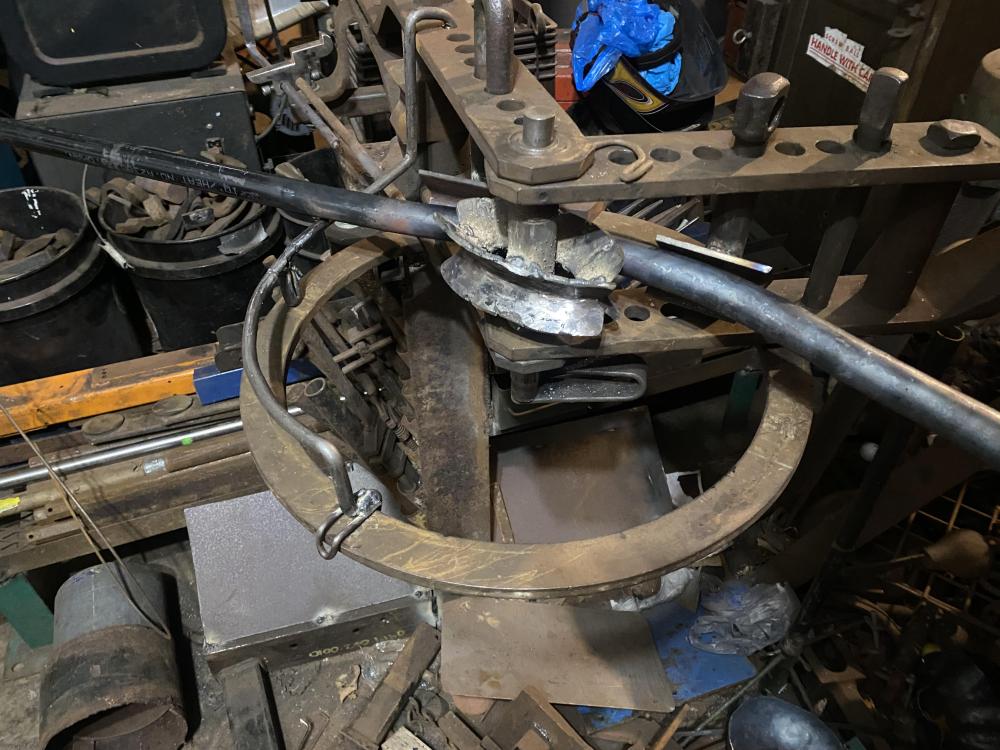
4. Made an auxiliary support bar for the Hossfeld, to help keep pipe from dropping off the tooling while I’m setting up a bend:


What did you do in the shop today?
in Blacksmithing, General Discussion
Posted
Progress on mounting brackets for the railing project.
Also jury-rigged a sanding belt splitter out of two pieces of angle iron, three C-clamps, and an old sawzall blade:
Which worked fine: