

bigfootnampa
-
Posts
2,372 -
Joined
-
Last visited
Content Type
Profiles
Forums
Articles
Gallery
Downloads
Events
Posts posted by bigfootnampa
-
-
I agree with Alan on these! They are obviously a little crude... but I think you might look back at them one day and wish... that you could recapture their MAGIC! I think they would look just right and sell well in a rustic venue... maybe a folk art gallery? They have a certain twisted appeal! It can be very difficult to deliberately create this effect! Embrace what you are now! Someday you might want to get back here... but you probably won't be able to!
-
IME jackhammer bits and star drills do NOT behave like 1050! I think that they generally have trace alloy elements that make them much more wear resistant than plain 1050. I do not doubt that few are as exotic (or expensive) as S7 or H13... but they do seem to perform better than plain old 1050 for me. They do seem harder to forge.. impact resistance? They also seem to hold sharp points and edges better... abrasion resistance? I believe that they are often specialized alloys that mimic properties of steels like S7 but cost much less. It is amazing what a difference tiny percentages of alloying elements can make! Anyway, for my uses, these are good sources of cheap material that performs effectively! BTW I have found that they are significantly more difficult to grind! I often use my ceramic belts when rough grinding these steels. Possibly attributable to more abrasion resistance? I have long suspected that they have some silica traces, but I cannot be sure of that.
-
A step on one end of the face might be useful. Pretty cool project!
-
It looks a little overkill but might work for lifting lids off Dutch ovens?
-
Your digging bars are more likely to be medium carbon steel. Good steel for digging in dirt, not really the specialized alloy that would perform best for rock drilling! What you want is a steel with high impact and abrasion resistance! Jack hammer bits are a likely salvage source!
The partial quenching/tempering process that you seem to have attempted is quite skill dependent and really only makes sense for experts doing repetitive high volume work. You'll do better with a full quench (I would use oil) followed by tempering. LOTS of info in our archives here on quenching and tempering! You have lots to learn, but that's the JOY of it all! Drill into it! Have FUN!!!
-
dps; IMO your plans are backward! The most important belts are the ones for coarse removal! Spend your money there! High grade ceramic belts will work much faster and yet cooler! I use inexpensive belts for final finishing. VERY LITTLE metal is removed with these belts! If you want to get a high polish you can spend some money for the specialized belts that do that! In the 120 to 280 grit range inexpensive aluminum oxide belts are pretty effective! For rough grinding you can actually save a LOT of time and money with more expensive high end ceramic belts!
-
Typically I remove about 1/32" of metal on each side to create the rough bevels. Around an 1/8" or so to profile the blades. I start with 30 grit ceramic if I have a lot of work to do... follow with 60 then 80 grit ceramic... then 120 and 220 alox. I can get to a hair shaving sharp with a diamond hone and steel from there. My type blades I hardly ever try to polish them. With my 2 hp grinder and a 30 grit ceramic belt you could grind 1/2" steel to an axe bevel in minutes!
-
Get the best belts that you can afford! I usually forge my knives very close to final shapes and could easily rough grind a half dozen small to medium knives with ONE of my ceramic belts! I do like alox belts for final sharpening... and they do wear out quickly!
-
Your time allowed is very short! Buy stock! I like rebar for many things but I have a power hammer and wouldn't use it where time is short anyway. I'd use tubing or pipe rather than solid bar for the handle... lighter and stronger. For the axles just use cold finish rod, forging would be complicated and cause delays!
-
Brick sets are about 3" to 3 1/2" wide. I've never seen a brick set that looked like that! Good to use when chiseling flush with a surface. I've most often seen them with a slight angle offset to give clearance for chiseling flush to a flat.
-
Basically a variant on the expanded metal theme! interesting! Slightly larger and it would make a cool trivet! Another step up in scale and it could be a unique fire grate! LOTS of possibilities!
-
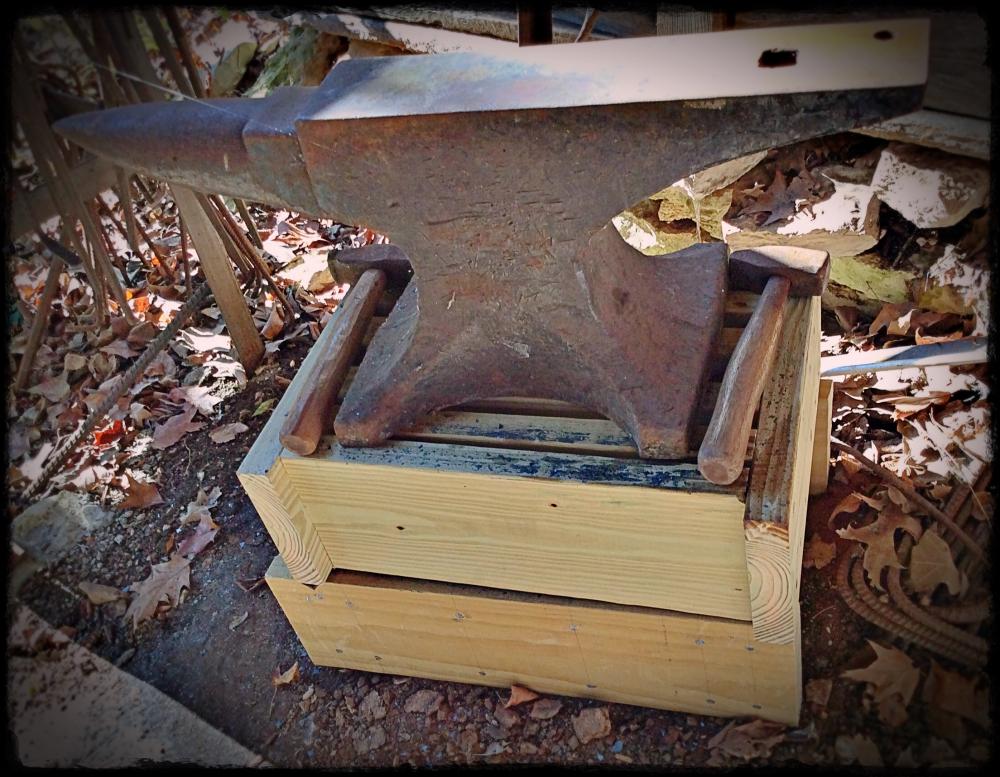
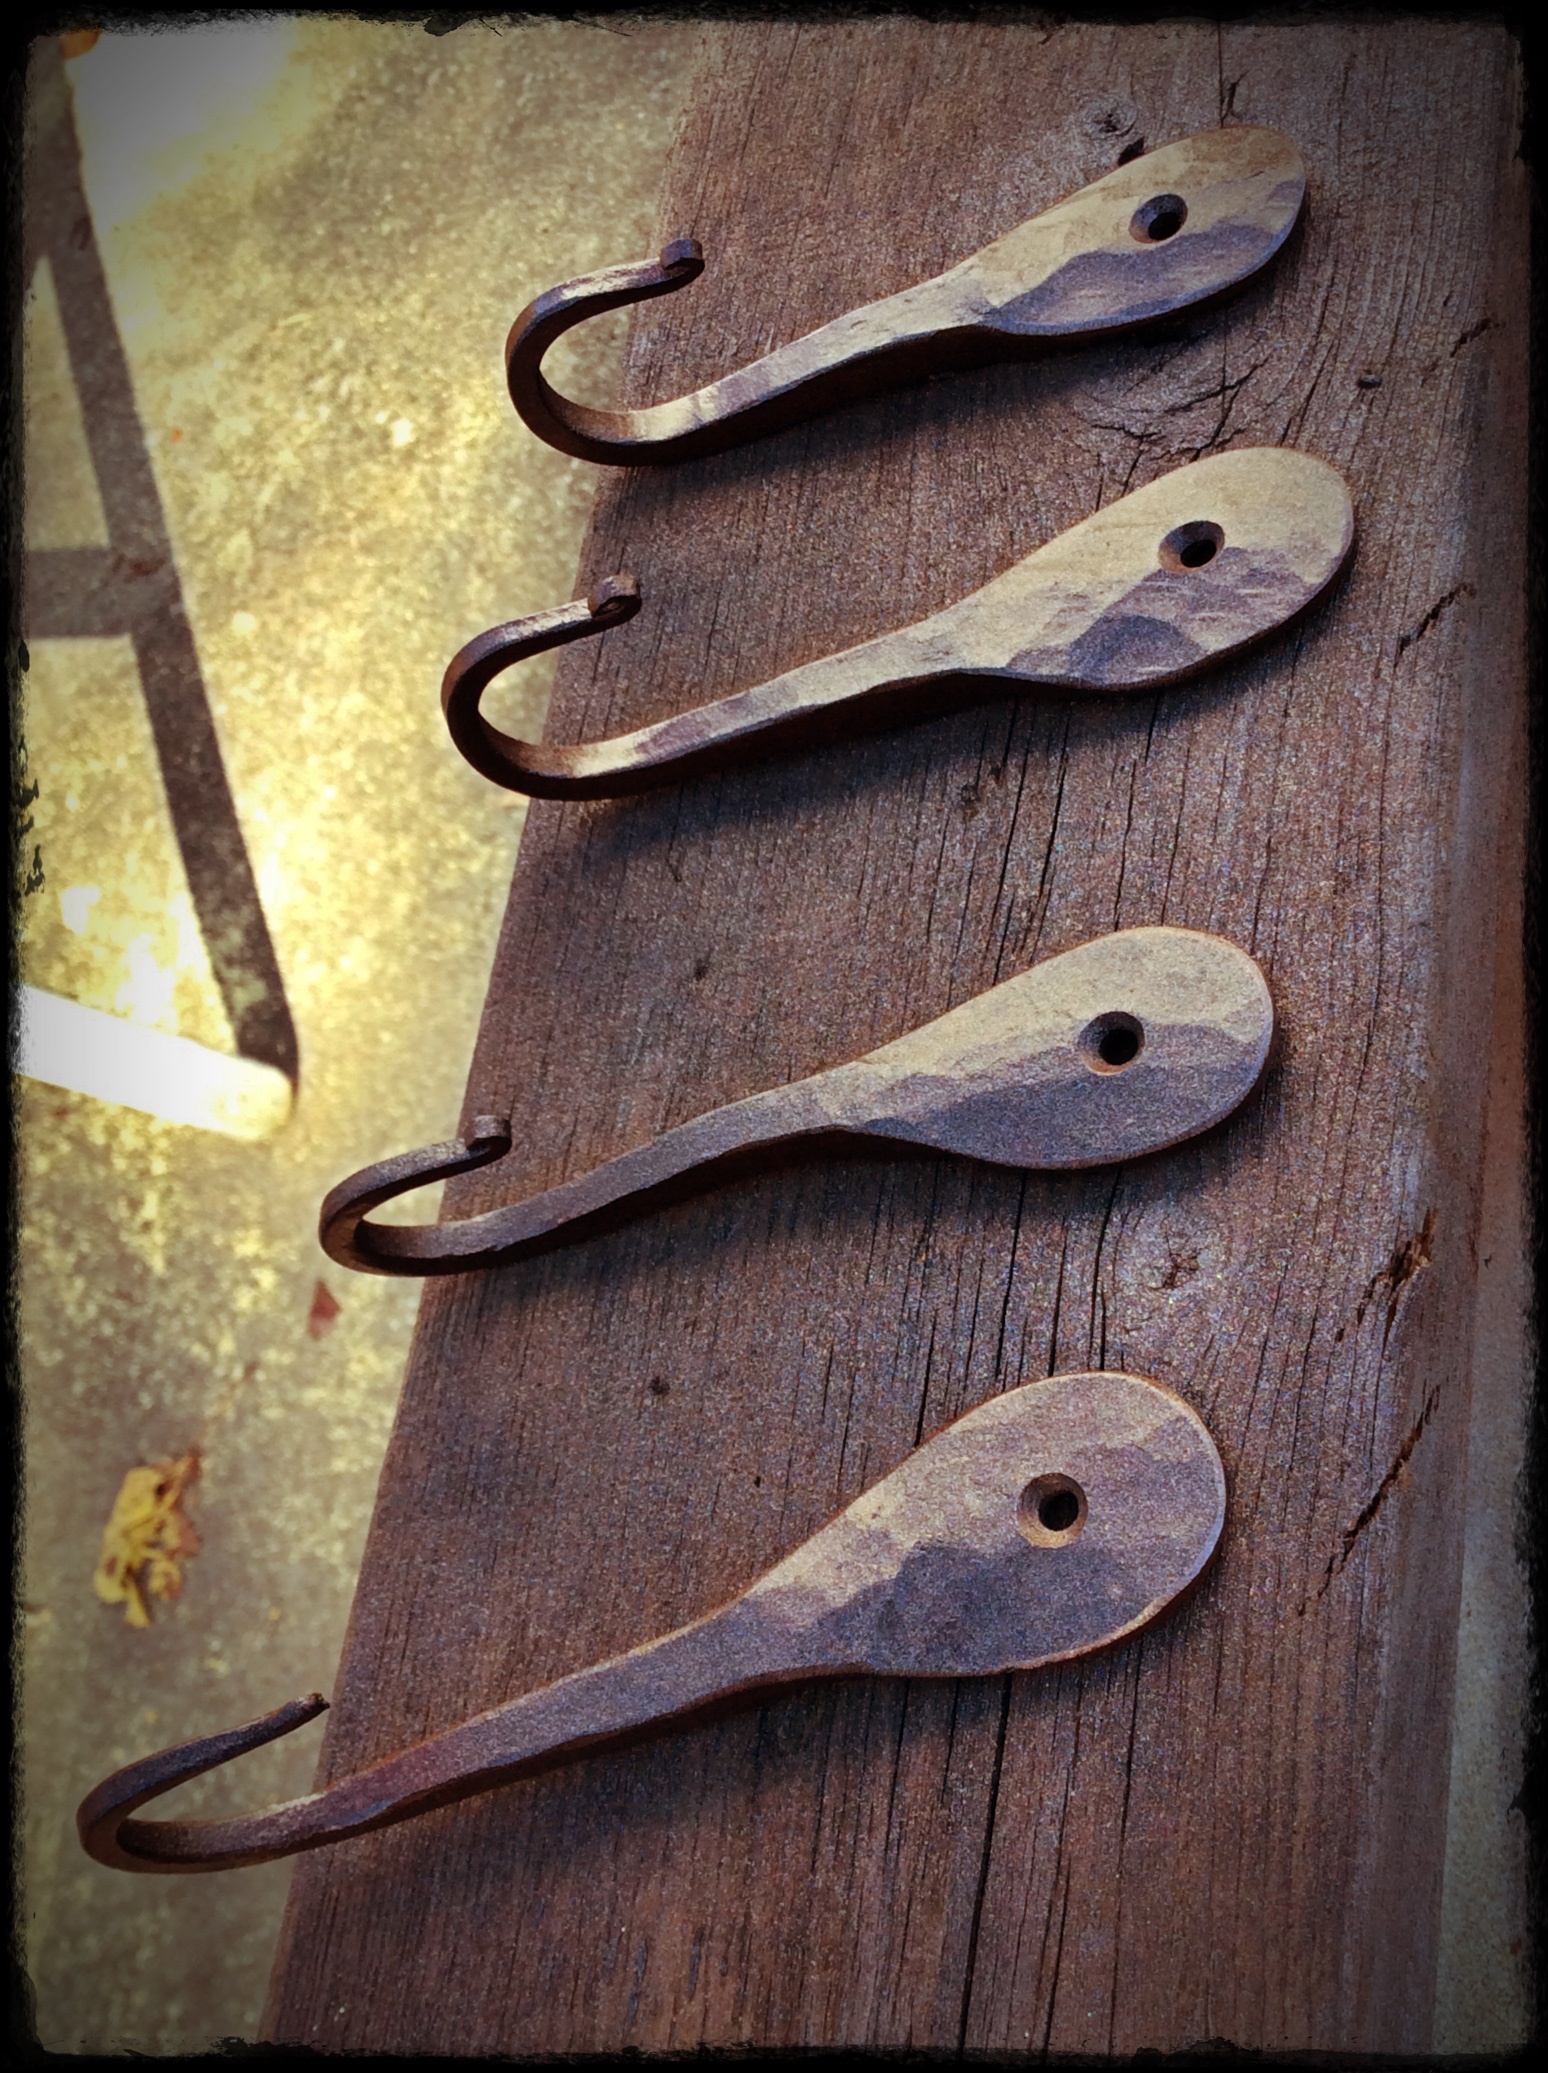
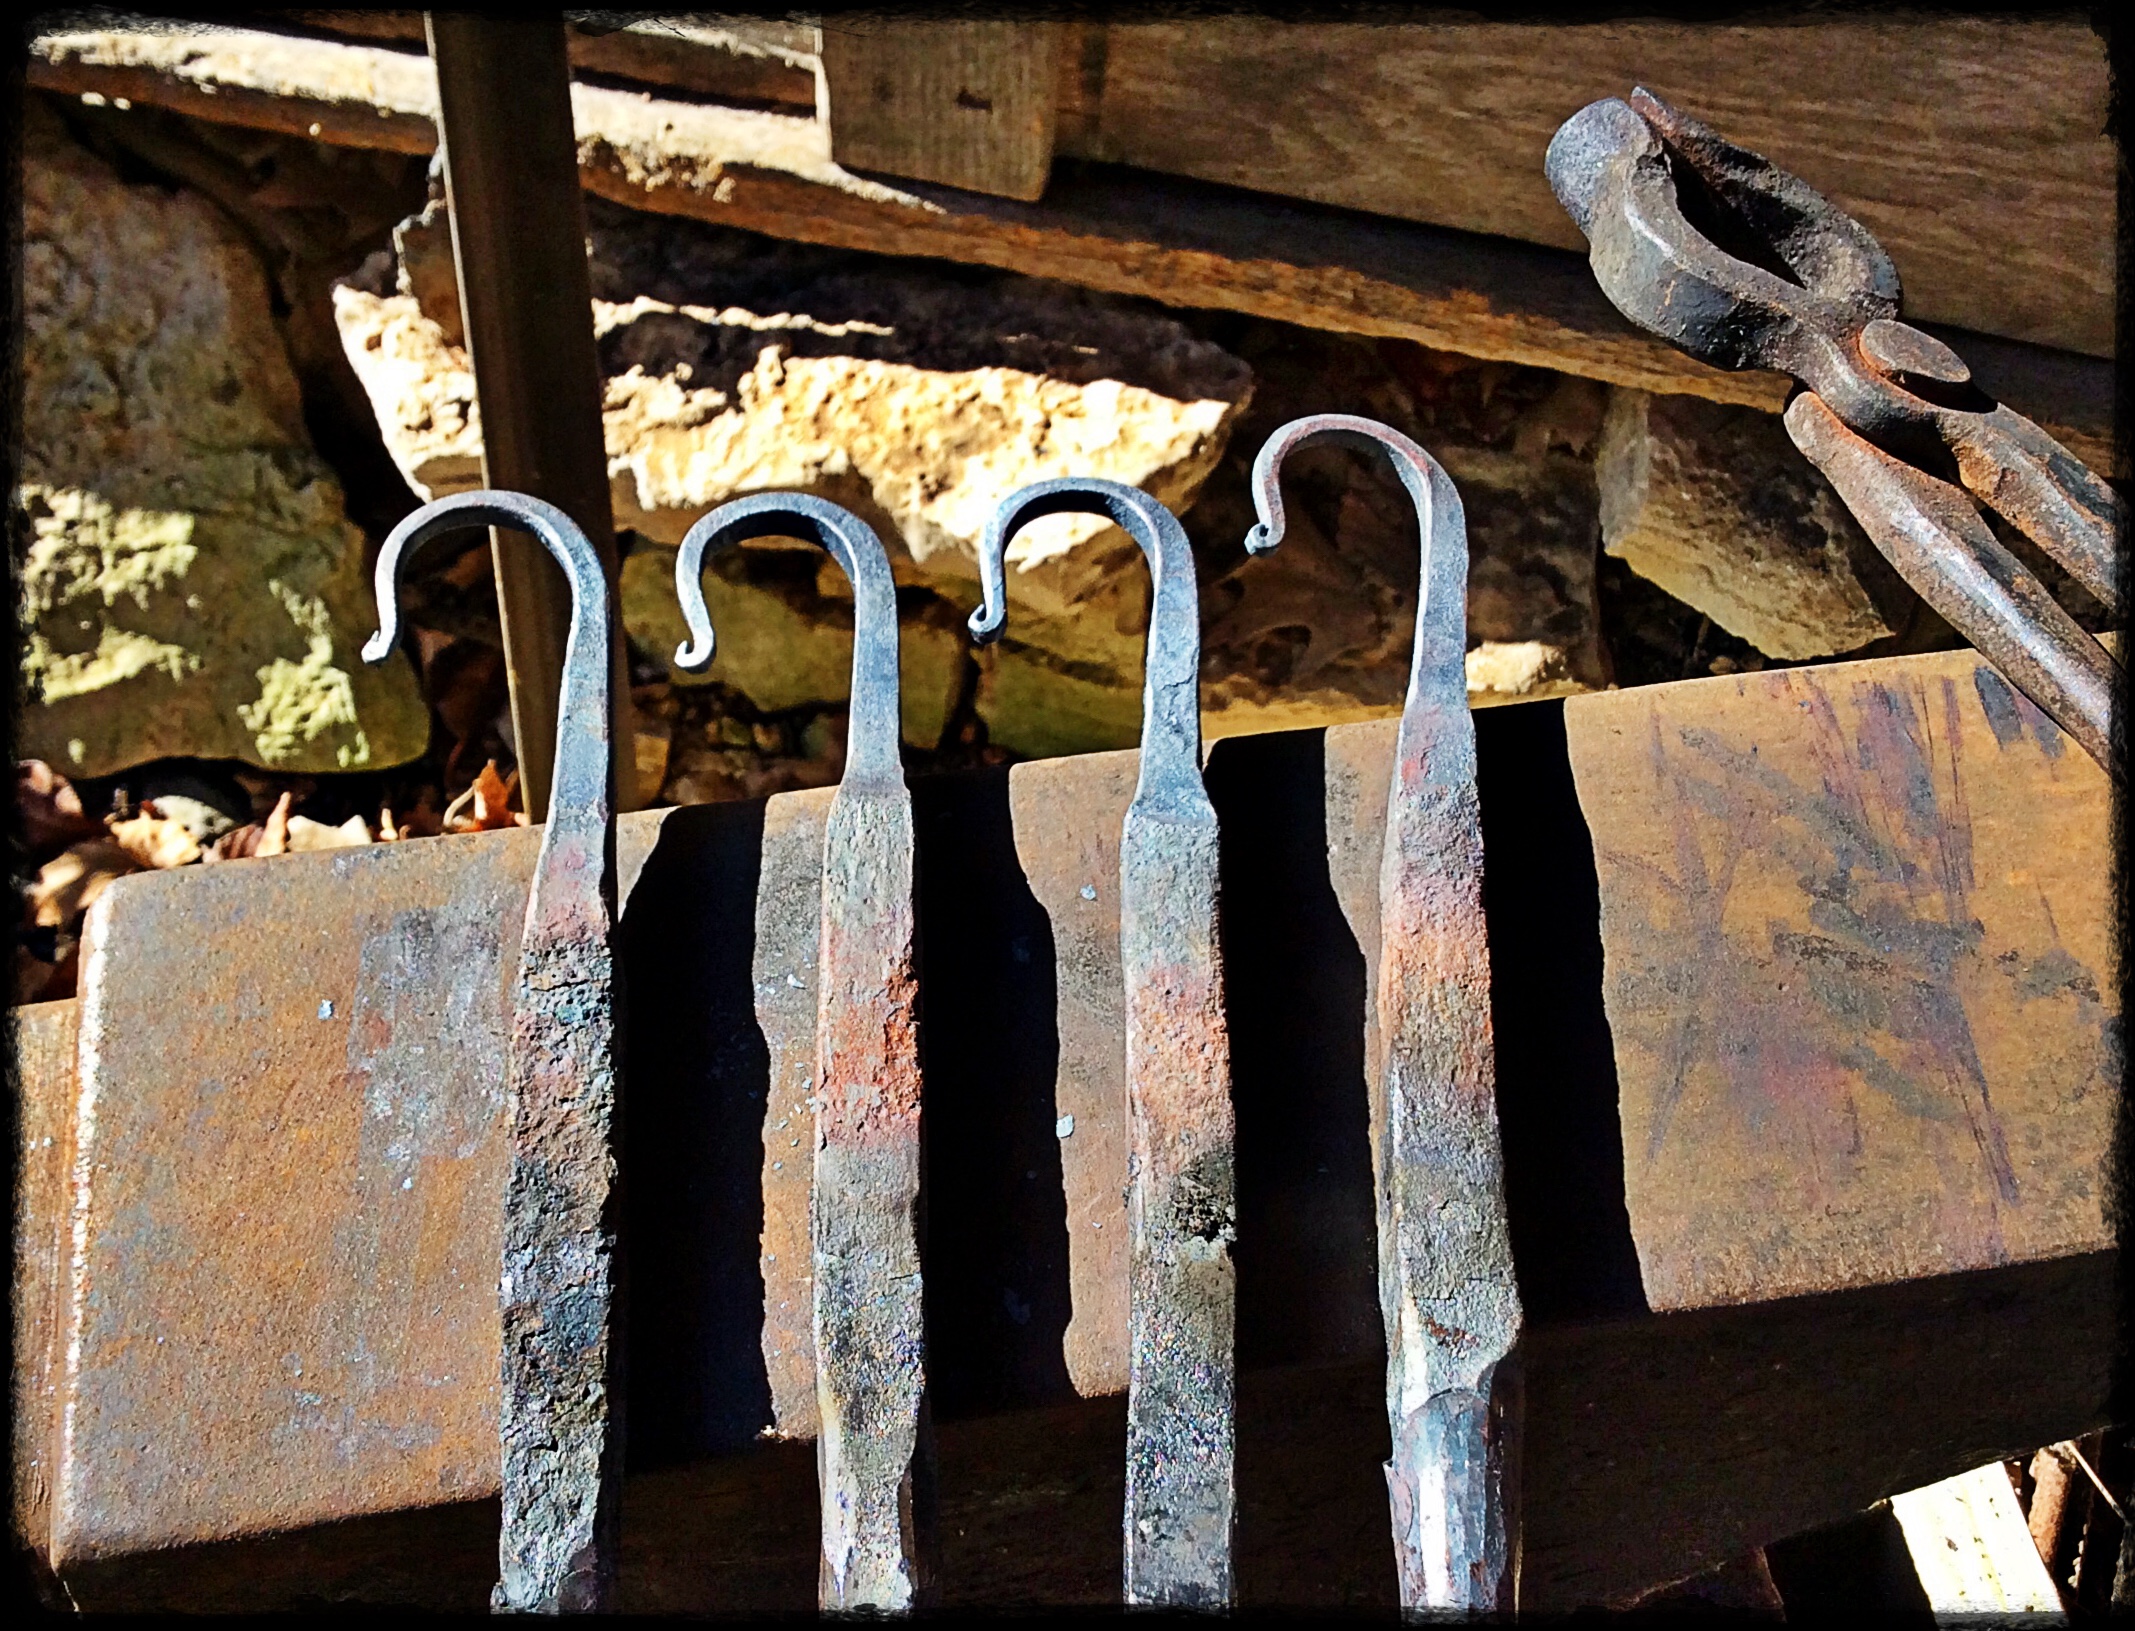
Here's a picture of the anvil on its stand and a shot of the hooks finished and painted! There may be some flex in my stand... but not enough for me to detect... certainly not a bothersome amount. It gives more stable support than the old stump ever did! This is a VERY economical stand! Yet it works quite well! I am quite happy with it!

-
OMG Frosty! Root around a little, I'm sure you can dig some up!
-
Okay. Here's my cut list; (all 2" X 8" stock)
2@16"
2@24"
6@12"
6@19"
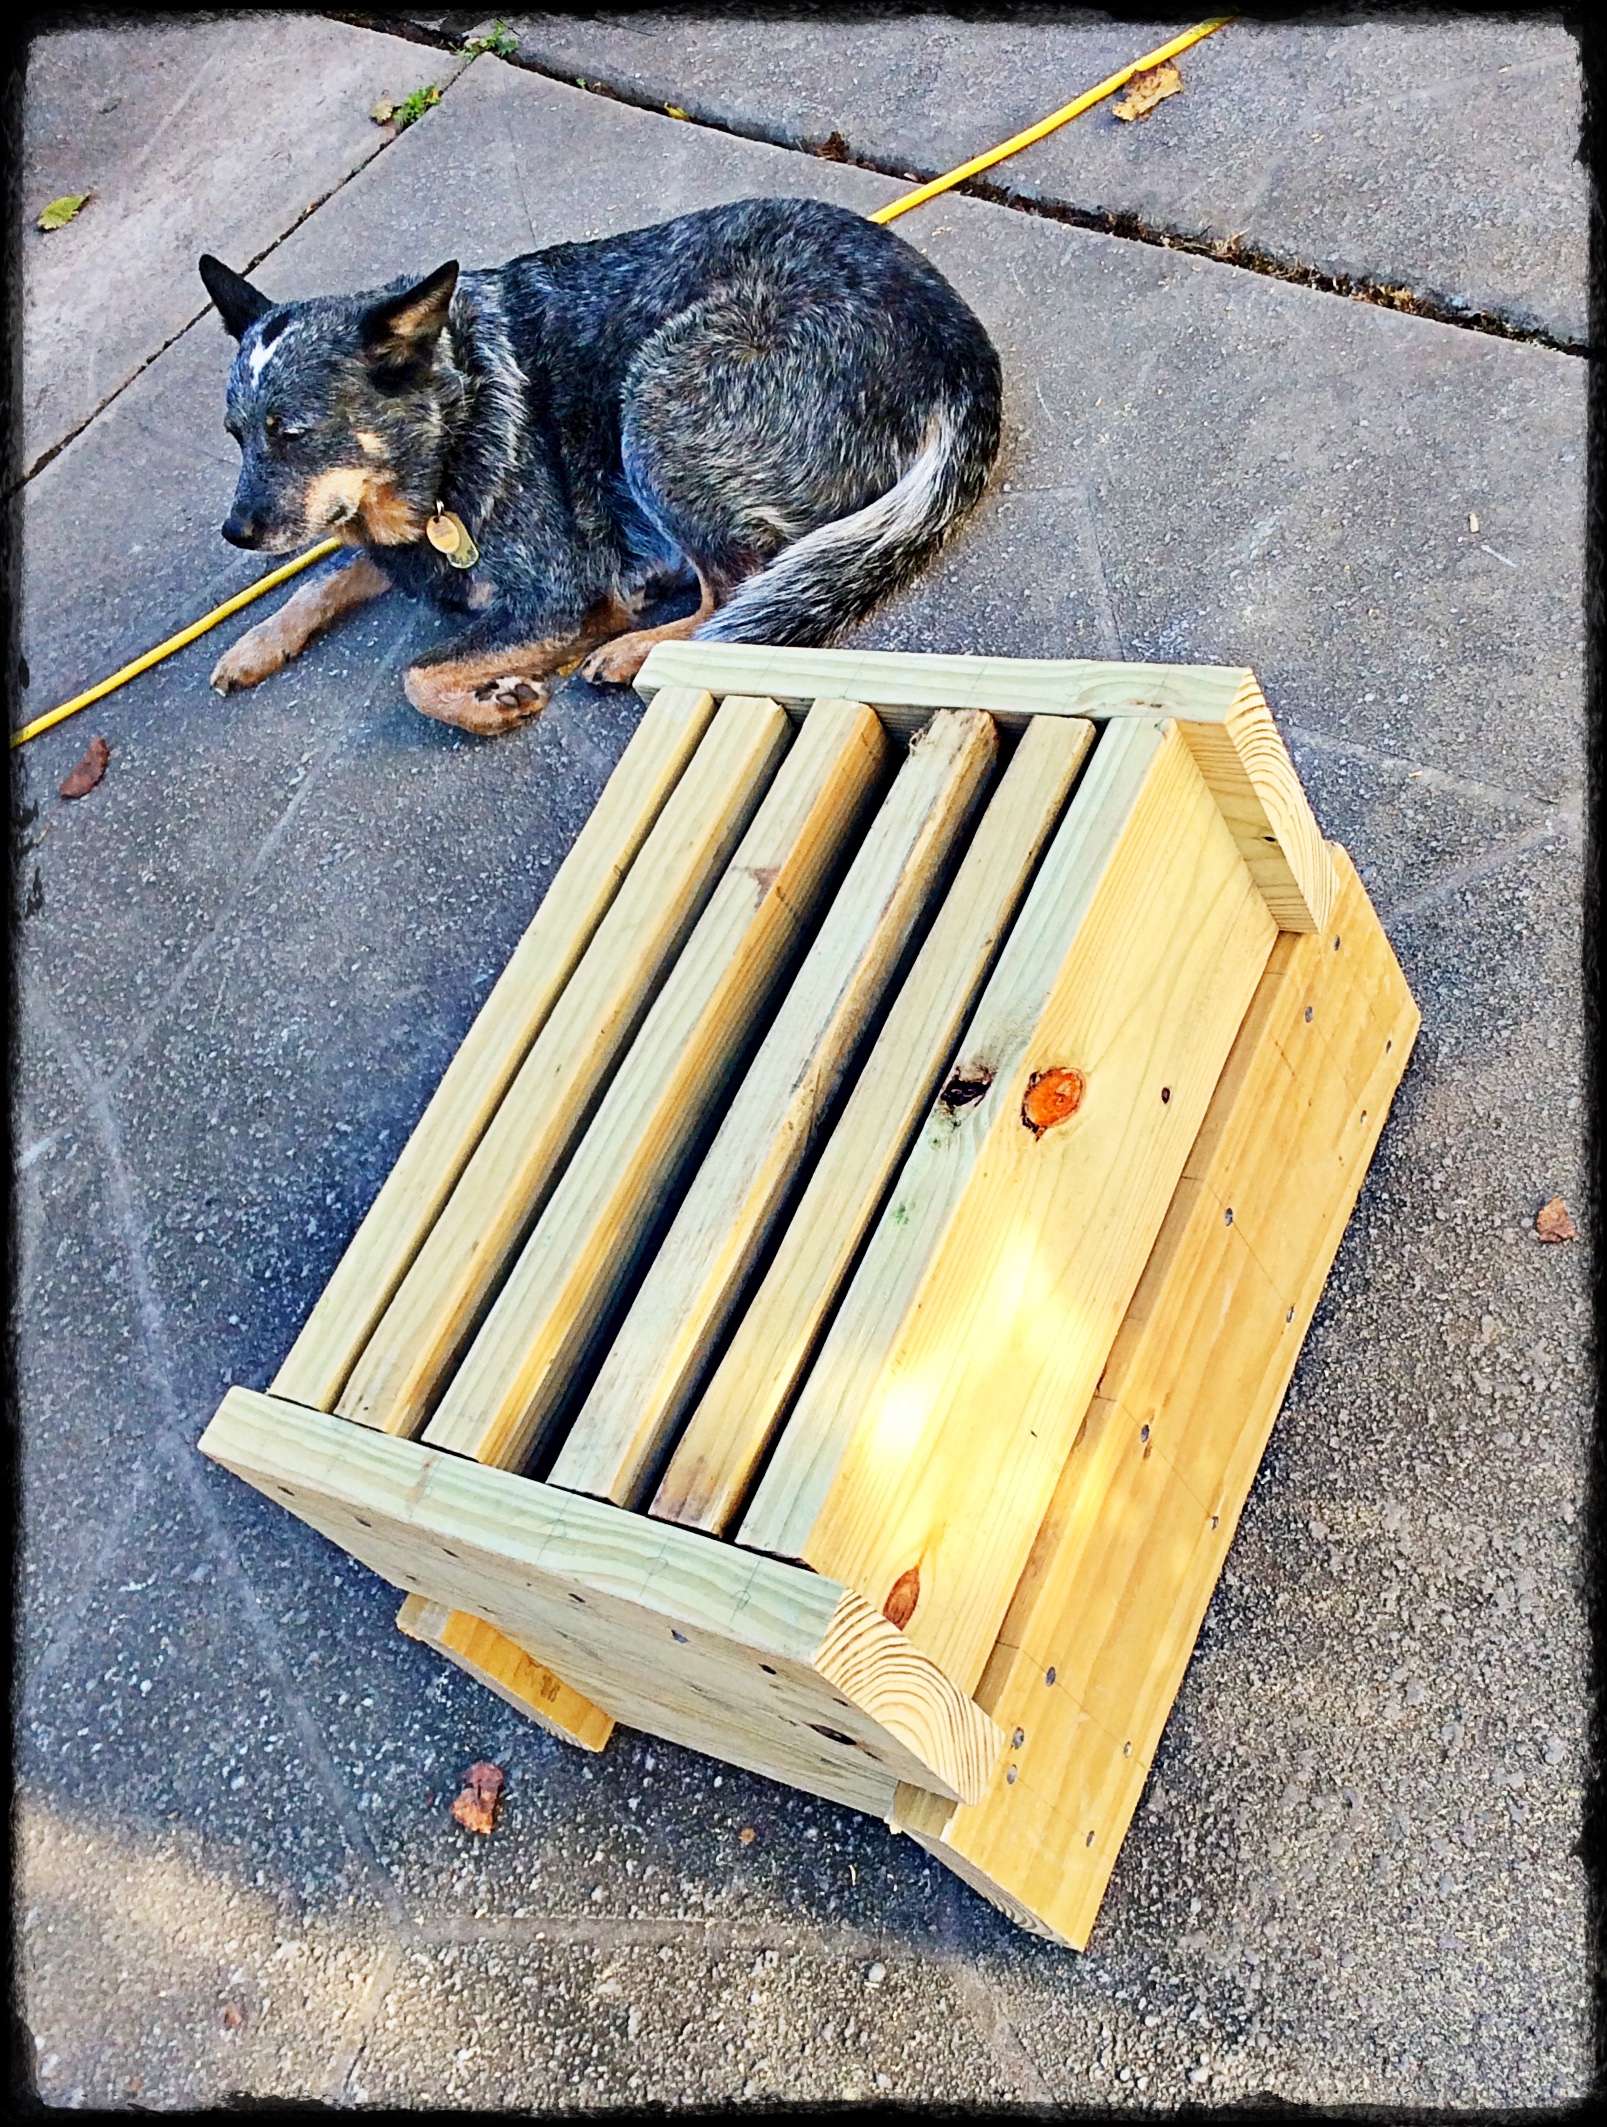
Obviously, this should be adjusted to the size of stand that you require. I'll get a picture later today. For now my anvil just sits there unfastened... Doesn't seem to move much. I'll likely staple it down when I get a round tuit! BTW, I let the end plates overhang the joists by 1" on each end... not necessary but it minimizes chances of splitting the ends! I rounded the ends a bit with my flap wheel so that I won't catch my pants leg on them.
-
My old anvil stump rotted away! I decided to replace it with one made of treated yellow pine. I hope that this one may last as long as I'll need one! I built it in two stacked tiers of closely spaced stringers. The bottom tier has stringers running perpendicular to the long axis of my anvil. The next tier is built with the stringers running parallel to the long axis of my anvil. I used treated two X eights for the stand and pre drilled for nails. I used 5" galvanized ring shank spikes to join with. The finished stand is 14 3/4" tall and 22" X 16" overall. I bought two 16' lengths but had 11 feet leftover. The stand is now in use and is much better than the old stump,ever was.
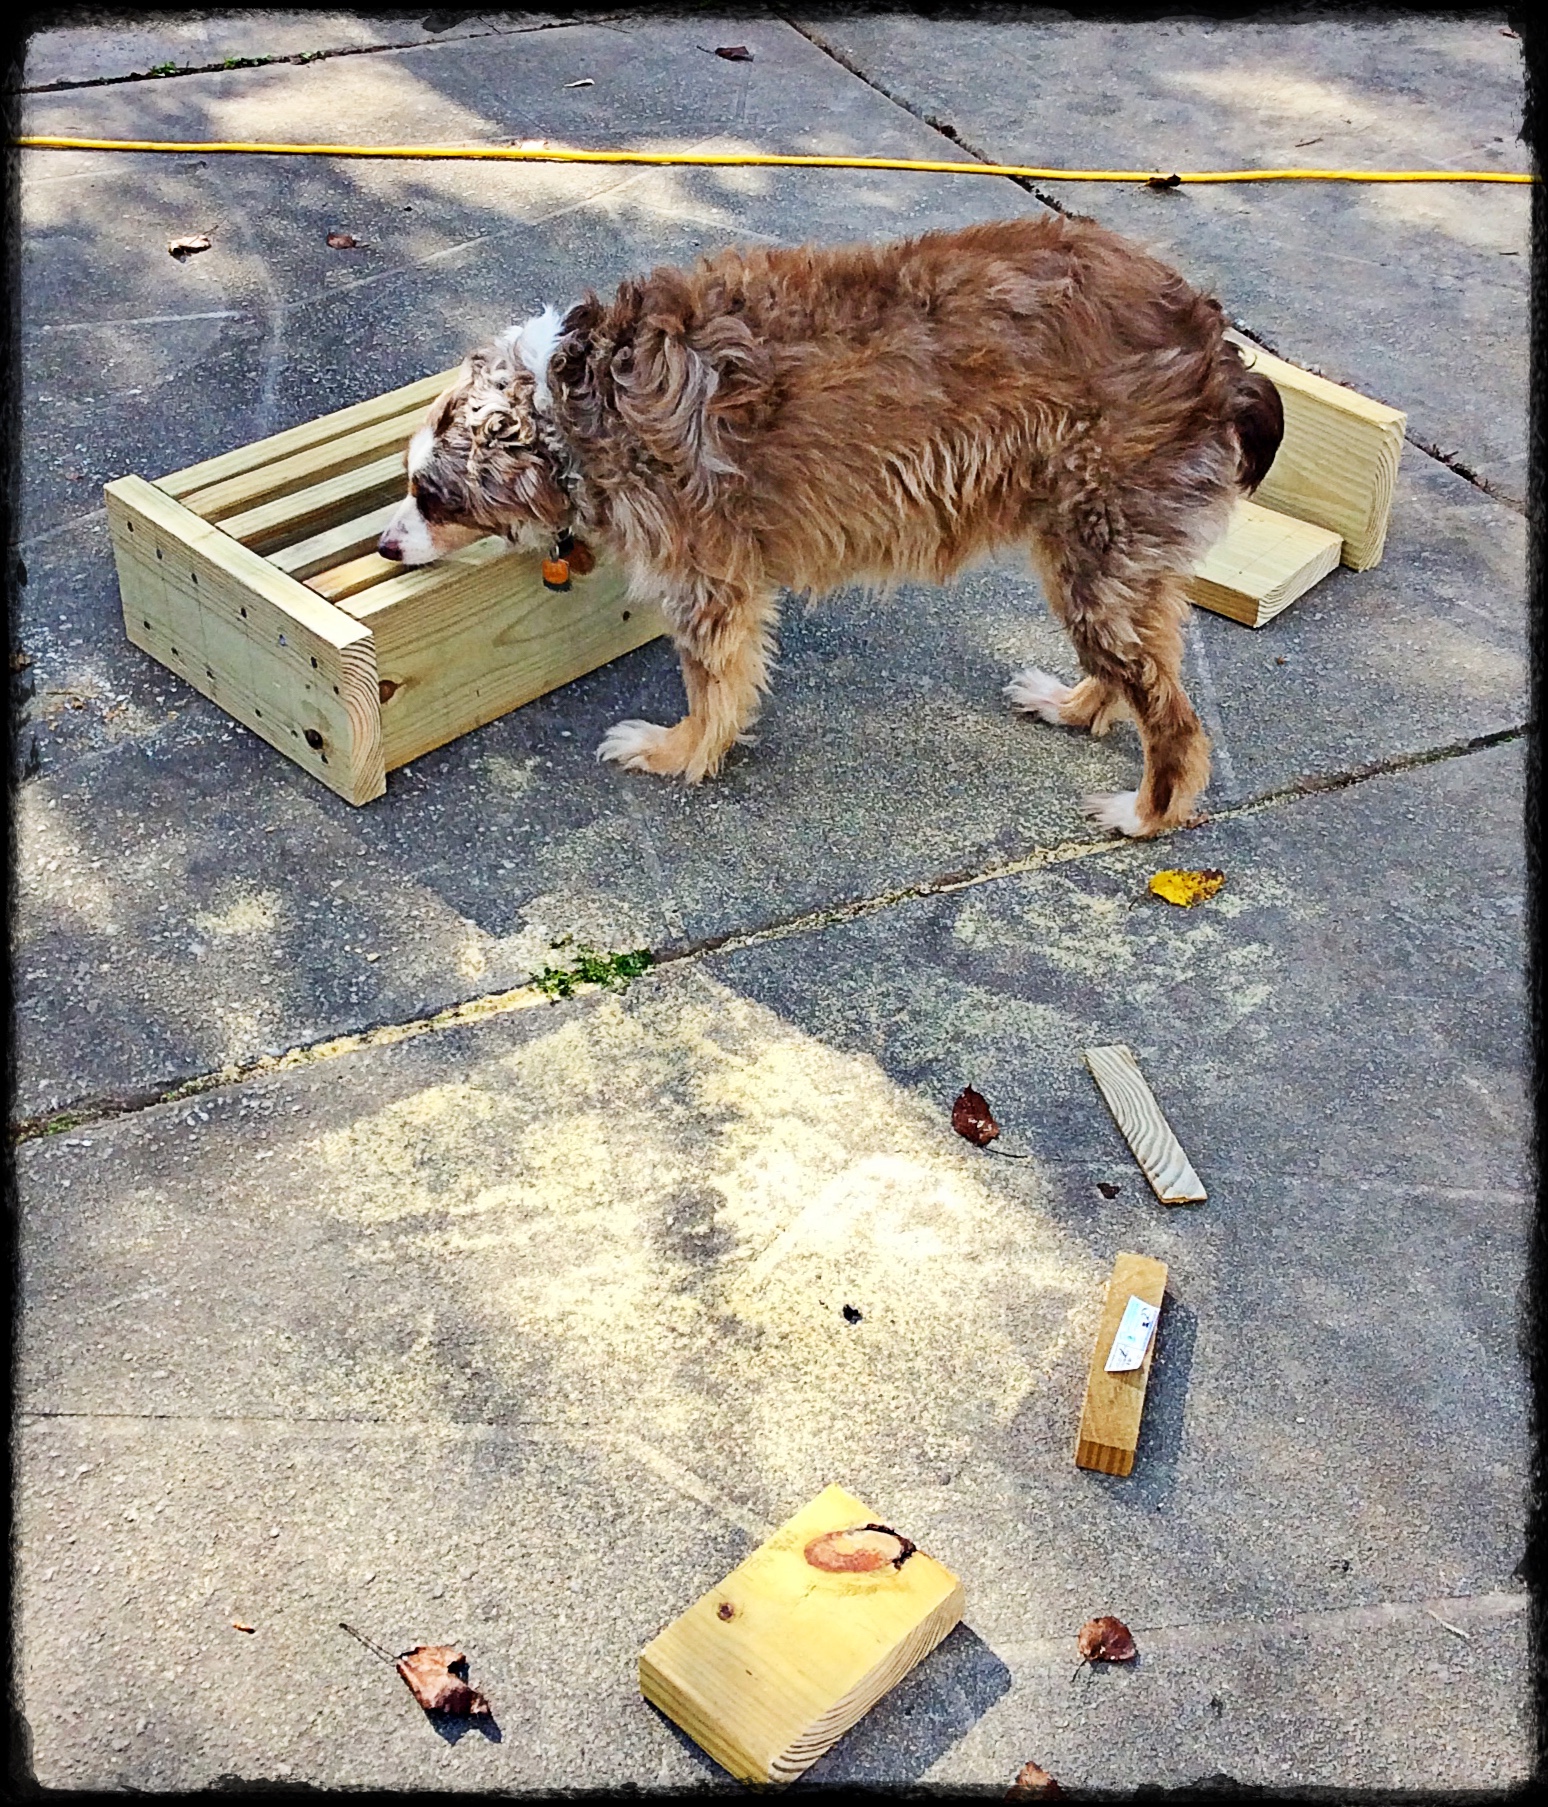
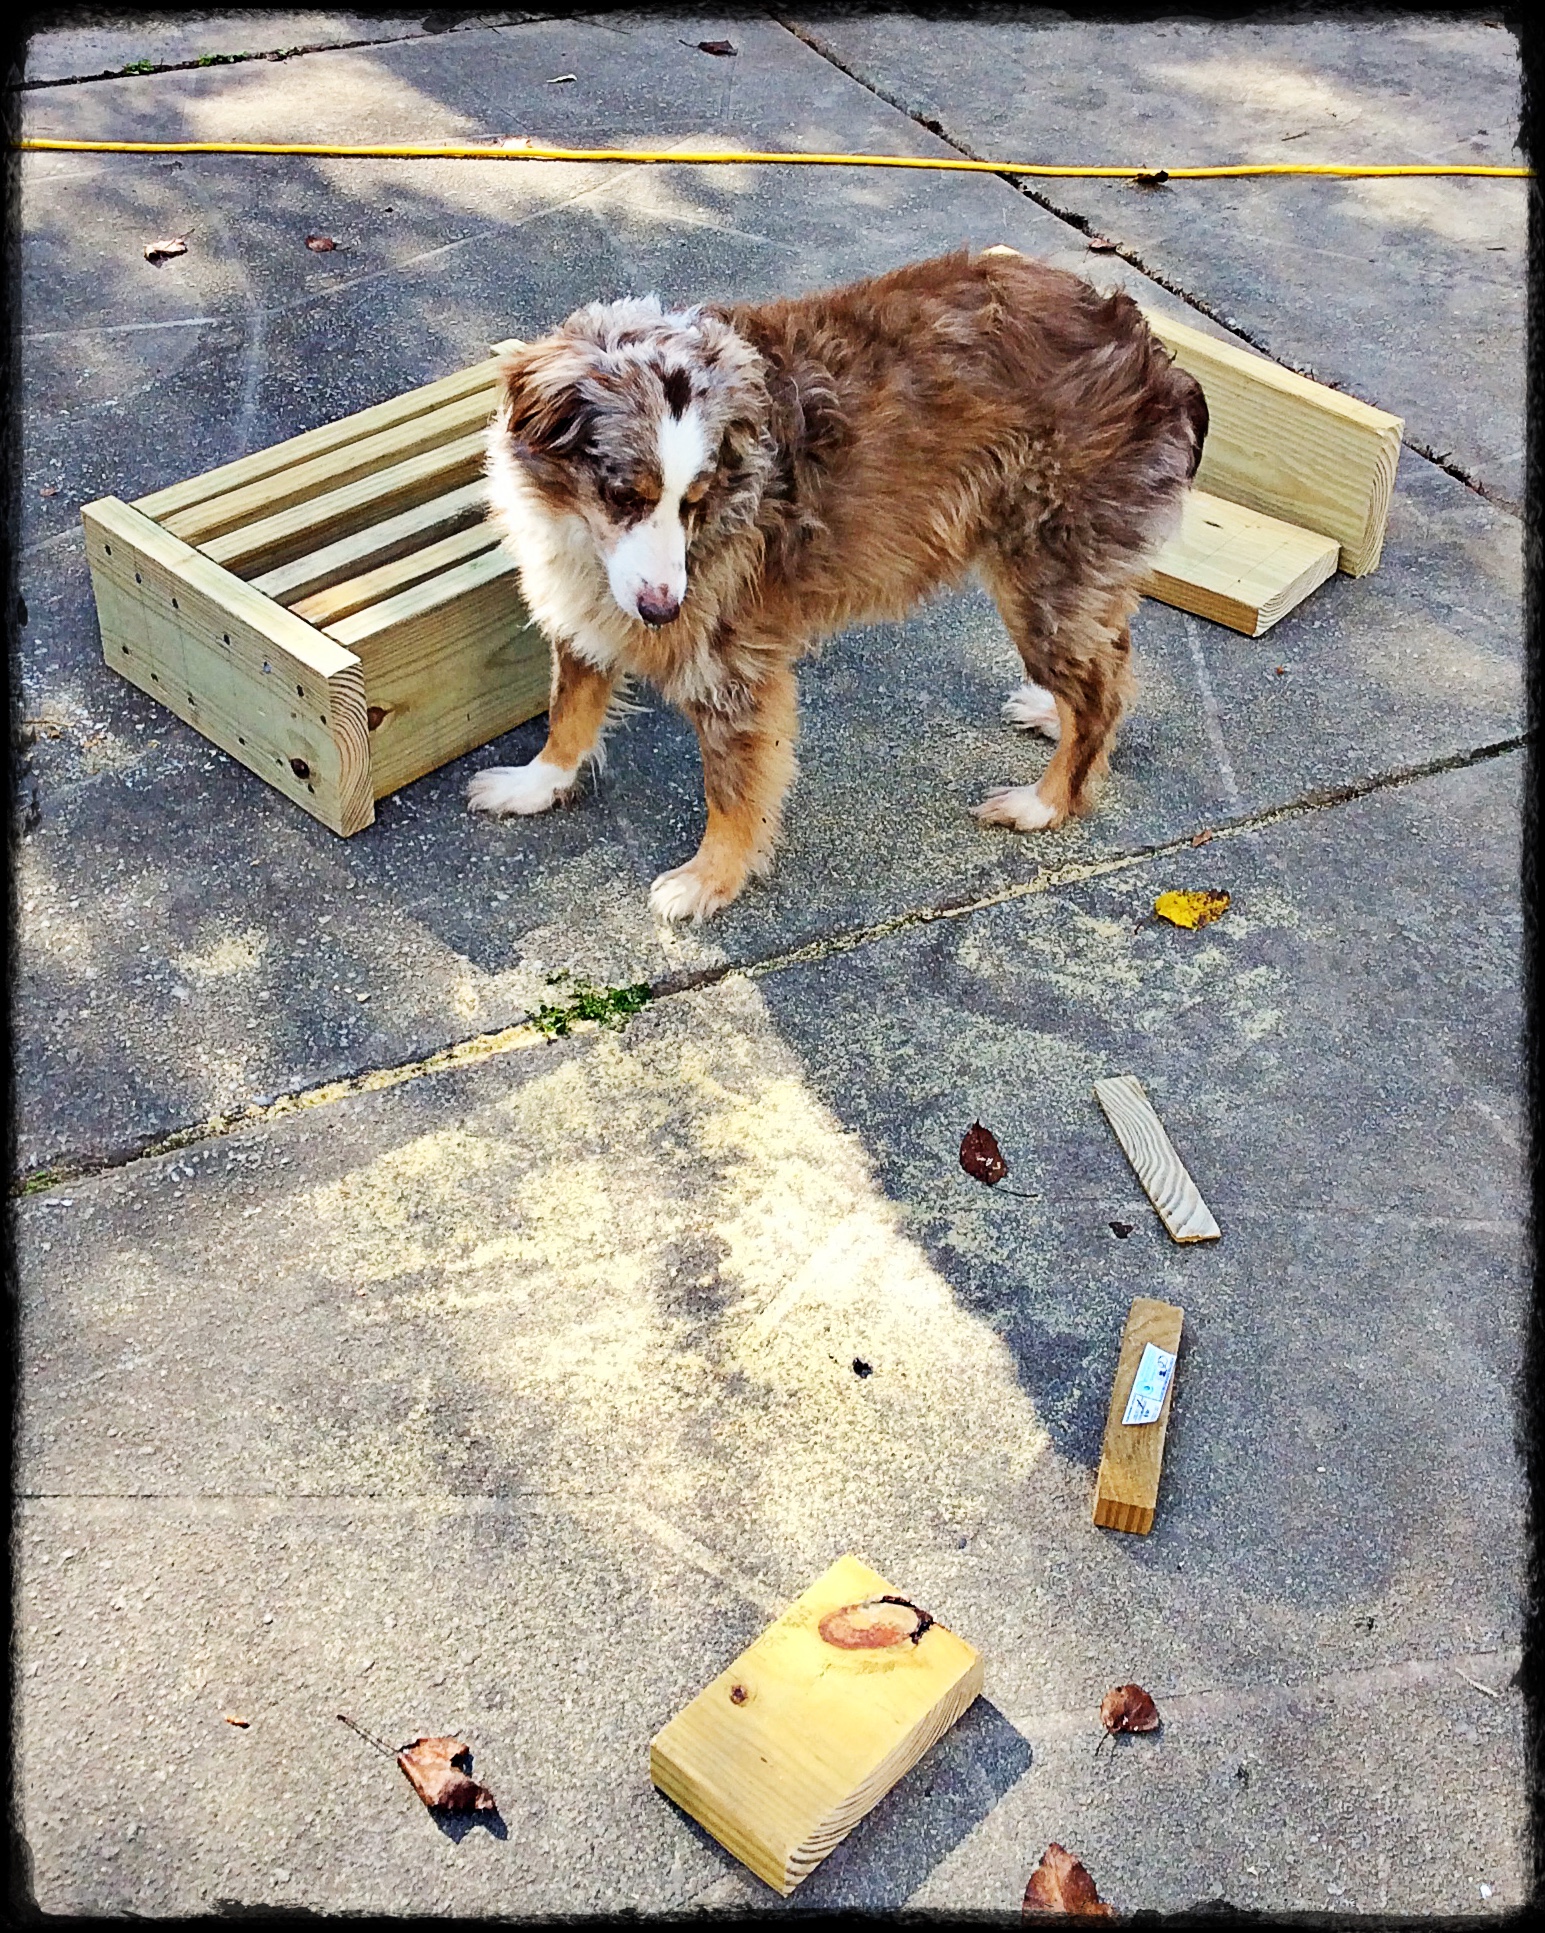
My safety inspector takes a close look! He notices that I haven't cleaned up my scraps and sawdust! Transformed a few railroad spikes into hooks as a test project! The stand is great!


-
The Anyangs run for years and years with little trouble! Much more durable than hammers that use steel springs! Though most of those work long and hard as well! It is easy enough to replace springs too... just a little scary when they break!
-
I just love working with pipe! I think you'll be even happier if you try making some with a bit more skew at the blossom opening. I like getting a longer tip and then curling it back just a little! I love the texture on your leaves! Looks like some cool stuff in the background of your top picture!
-
For those who haven't yet seen them. Check out Isao Machii's videos on YouTube to see what can be done with swords like these! I like the one where he cuts a 100 mph fastball in half! These are really beautiful! Museum level pieces IMO!
-
When I make my headers I like thick stock but I punch it over size from the bottom creating the dome as I do so. Just punch partway with a domed punch then finish punch with my square punch. So my square punch only penetrates about 3/16" of steel. Your punches are overheating. Once the tip begins to glow, get it out of the hole and cool it! I cool mine in coal dust. To keep working between coolings you need more punches. Whenever your punch deforms at the tip it needs to be reforged, reground or both. A steeper taper helps smaller punches by leaving more metal near the tip to act as a heat sink.
-
I have a great 2 X 72 grinder that makes easy work of sharpening most any blades! Due to my current lifestyle I can't always have it nearby though. When I am not able to use it, I choose diamond hones to maintain my edges. I will hone with 600 grit and follow with 1,000 grit then polish a bit with a steel. This will usually get me to an edge that will shave hair! If I have to set up a new edge without my grinder, I will use a coarser 240 grit diamond stone or a file. I have all types of water and oil stones... my time is too valuable to waste using them! Just a hint from my experience. If I had limited money to spend... I'd not waste it on water or oil stones! Power stone grinders are almost useless as well... get a belt grinder!
-
For new files I like Pferd and Grobet. I have acquired a vast supply of used ones for about $1.25 each that is my main supply though! Pickled in vinegar for a day or two and brushed clean with a brass brush they are as good as new about ninety percent of the time
-
Typically you want to split the pith off and use it for firewood. You use the quarters (or sixths, eighths... depending on the log size and needed dimensions) for your handle stock. Personally I let the stock season as it will but make handles whenever I want and just dry them in the microwave. I do most shaping before drying and the final fitting after drying. I prefer to work the wood green if possible... it's so MUCH easier that way!
-
That draw bar is likely to be 4140 or something similar. Any which way it should make good stock for most any type of hammer!
-
There is no need to weld the eye! Ones with just a turned eye work fine IME.

Hollowing back of woodworking chisels
in Chisels, Gouges, Scissors, etc
Posted
I think those were probably ground with a profiled water stone. That is the way it's done in Japan. Probably with a slotted table that is adjusted so that the water stone just rises above the surface to the depth of the grooves. Most likely with a fence to guide the groove placement. NOT the cheap way to go... but in Japan the sharpening guy is a well equipped specialist... also HIGHLY SKILLED!
The real advantage is in making the chisels easier to sharpen by hand with traditional water stones. A craftsman with a good belt grinder would find those grooves more of a nuisance than an aid! I am one of those guys!