

bigfootnampa
-
Posts
2,372 -
Joined
-
Last visited
Content Type
Profiles
Forums
Articles
Gallery
Downloads
Events
Posts posted by bigfootnampa
-
-
It is a turners tool designed for drilling centered holes. It is supposed to self center as it drills and is commonly used for things like drilling lamp stands to create a hole for wiring. These are still being manufactured and I have one in my truck. These are sometimes called lamp augers. They are usually 3/8" diameter, which fits a standard threaded wire tube.
-
23 minutes ago, JPH said:
Geeze...you cut up one guy ONCE and you never live it down...
JPH
Kids these days think they've got it bad! Why old Jim Bowie told me about just going out on a sandbar to WITNESS a duel. On the way back the opposing dueler's party got so nervous that they started shooting and stabbing Jim! He had to cut the whole bunch of em up! He said they "were fools to bring guns to a knife fight"! His reputation dogged him ever after, idjits trying to make themselves a name... they all got graves instead. Tough old cuss he was!
-
Best field shot I ever saw was Fred Bear. He shot pure instinctive and even from various draw anchors... though with Fred "anchor point" is kind of a misleading term! He could hit his mark though! I don't think Fred was as good as Lars Andersen though. Check out some of his videos on YouTube. As a victim of "freezing" aka "target panic" and by several other names... I have greater respect for pure instinctive style than most.
For all modern archers the story of Ishi is quite interesting and leads right into the development of modern western archery by Saxton Pope and Arthur Young.
-
You could use a nail header type tool to forge shoulders. They look nice. IME they are not worth the effort though. I have made simple hidden tang chisels that work just fine even for pretty heavy hammering (which is an unusual way to work with gouges or chisels... excepting maybe mortise chisels).
-
One of the problems that you are facing here is that most non ferrous metals will alloy with iron to create alloys with very low melting points. This makes what you are attempting a very difficult thing to achieve! You might try some tin instead of copper. Tinning steel is fairly easy to do. The look might be pretty cool too. Tin can easily coat more area than you desire. Controlled fluxing and a resist can help with that problem.
-
Liver of sulfur is commonly used to blacken non ferrous metals. For the use that you depict I would say that the shoe polish advice is pretty practical though. Even pharmacies ought to be able to order liver of sulfur for you.
-
Epoxy works well but hot fitting is the best way IMO. You need to predrill and use just enough heat to melt into place... charring is disastrous! Think of the resins in the wood as ferrule cement. I usually step drill or use a tapered bit to get close with my predrill. Softer woods can be predrilled to a tighter fit. Harder woods won't compress as much. A low black heat is usually enough.
-
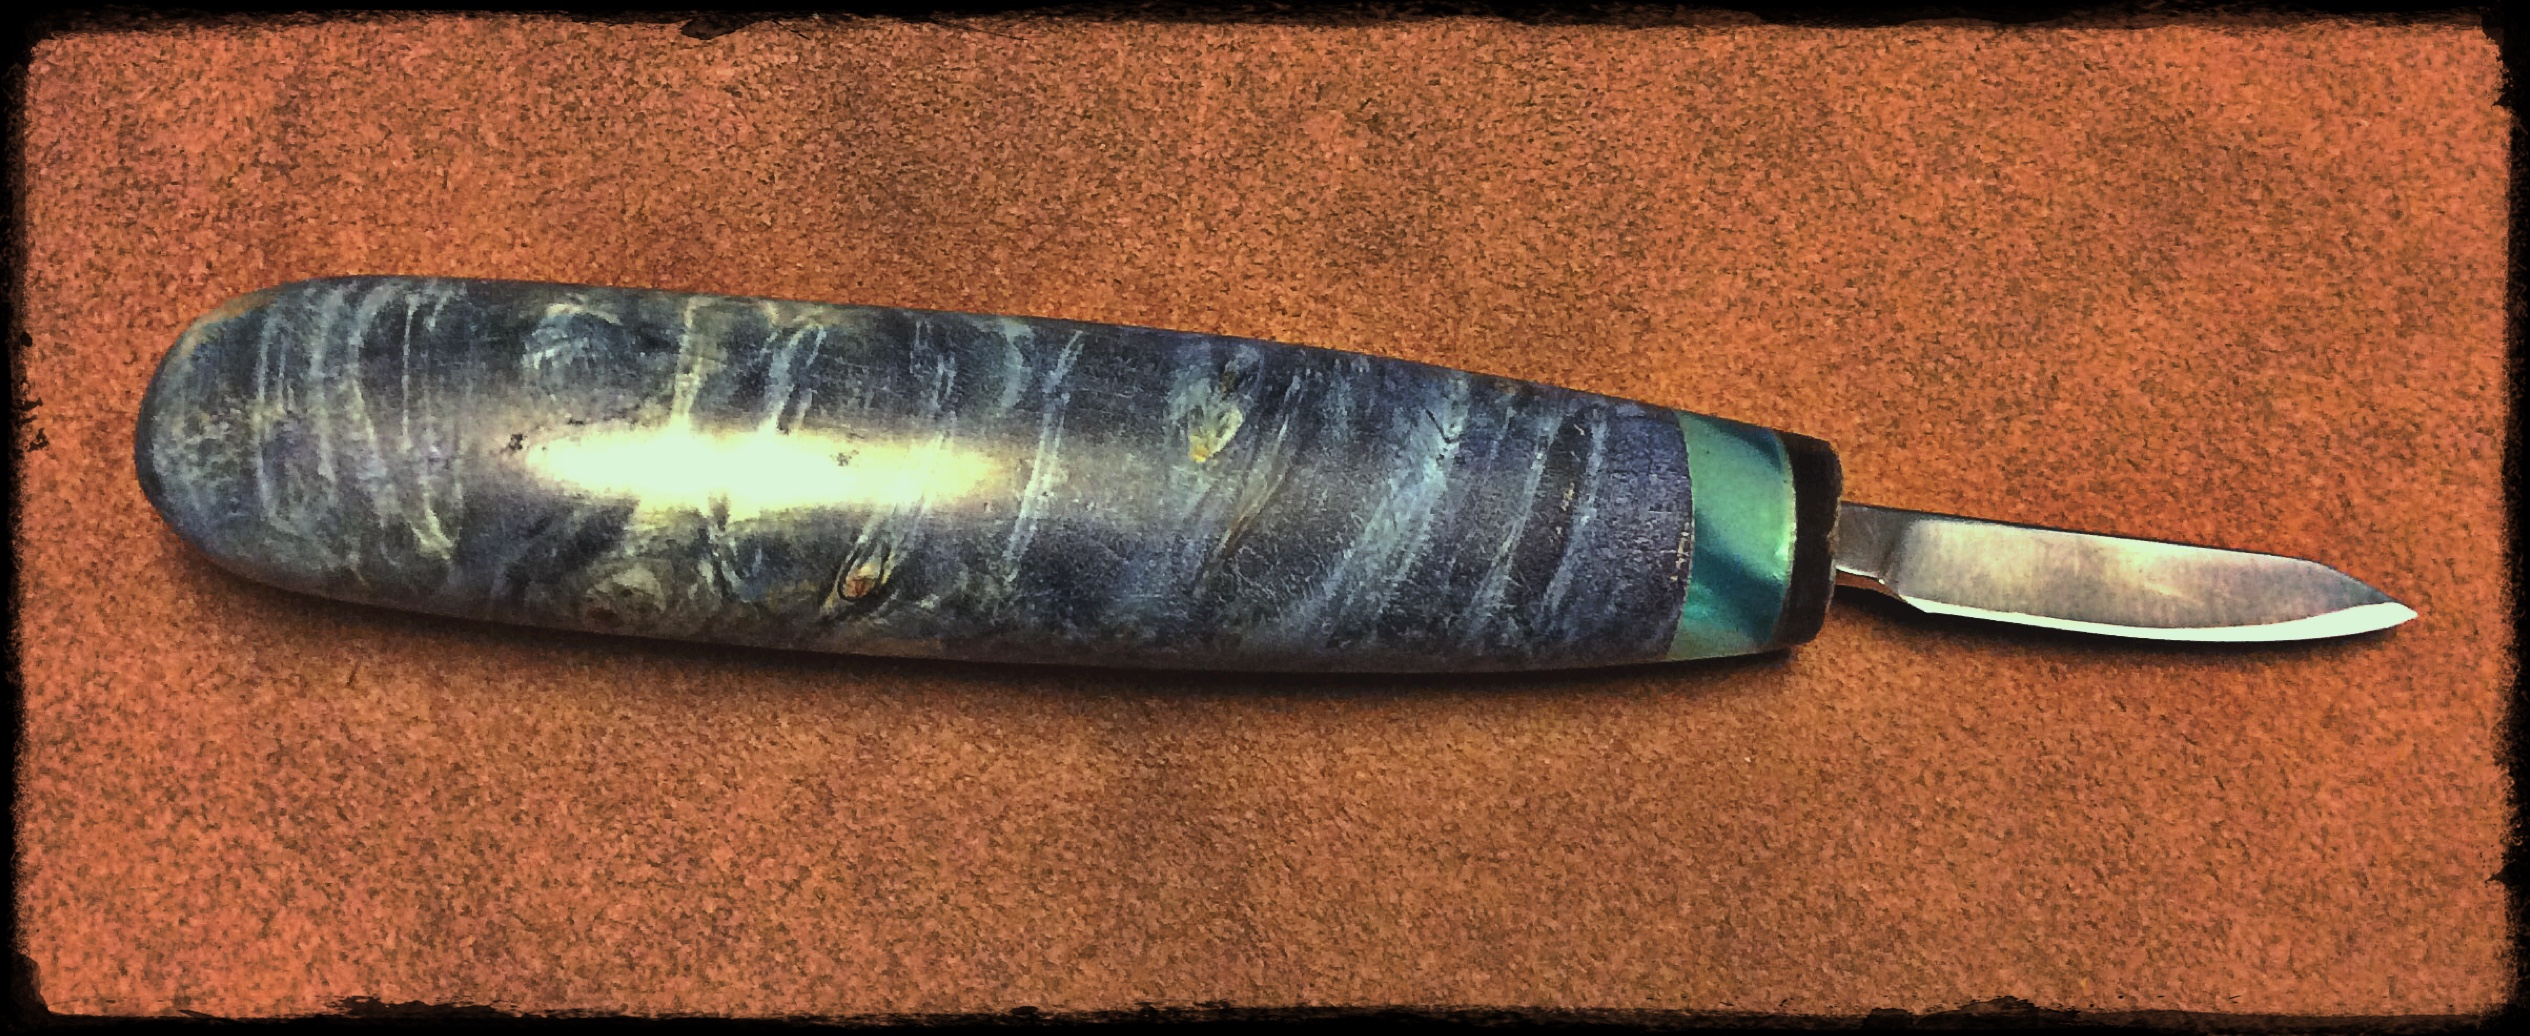
I like them! Did you hot fit the tangs?
-
Patrick Hastings does some pretty exquisite work on tsubas and other furniture for Japanese style swords. He teaches a few classes. He also makes a few tools, mostly sold to his students. He uses a variety of techniques but chisel carving seems to be dominant in his work. You can find him on Facebook.
-
Irwin is one of my favorite brands! Just high speed steel is fine for most work though. DEFINITELY a difference in quality will deliver in results! Industrial quality will deliver for you! Cobalt, titanium, etc. coatings are NOT indicative of quality! Good U. S. made bits are hard to beat but Korean, Taiwan, Chinese bits can be very good too... and much cheaper! Buy only from a supplier who can tell you the differences. Good suppliers will have good bits. They might have cheap ones too... but they know the difference!
-
Dark straw is a bit over hard for tempering hammers and struck tools, IMO. I temper my forging hammers to a deep blue and find that just right in most cases.
-
I've made a study of such gear. IMO the best spears are made with only one center spike forged from the parent stock. Then pairs of spikes are forged in u shapes with the center of the u left square. They are inserted into a slot mortise and secured with a wedge.
IME I've found that I can make nice barbs by forging out a small bump near the tip and then hot or cold cutting the barb with a chisel.
-
Well all of my belts are bi-directional. Because I like to grind on the slack belt area, it's important to grind with the belt running away from the edge. It is a rare but scary occurrence that I've experienced where the edge of a blade will catch the edge of the belt otherwise. When this happens the blade swiftly slices the belt in half! DANGEROUS! I have found no advantage in grinding like Steve does it but it is very commonly done. How you have your machine set up and how it is designed are factors. I set mine to run nearly level on top and with the belt running away from my position. Having worked quite a bit the other way in the past... I recommend this way. I like to cut pretty long bevels (small angles) and instead of micro bevels I just allow the slack belt to impart a very slight convex curve to my bevels. I find it a fast and dependable way to get the extremely sharp edges that I prefer. This type of edge also works very well for carving hardwoods which is about my most critical type of work. A slightly blunter angle works good for my axes. Because I cut through both tough bones and very soft tissue with my fillet knives... I require quite extreme sharpness and steels that will hold it.
-
I use mine with the sparks going away from me at the top. I rarely grind on the wheel. I use the slack belt behind the wheel. I can often see the wire edge forming and use that to judge the grind finish across the edge.
Better visibility, sparks are flying away from me and I can see the trailing edge.
Safer, if I ever lost my grip the blade would be thrown away from me.
I'm not trying to be ornery, I just want people to realize that there is more than one right way! I have tried both.
-
Most hard solders are actually silver with a bit of copper. Melting points are lower than either copper or silver! Brass typically contains some zinc which will, IME, create a brittle melting alloy that tends to collapse rather than melting smoothly. I have made some cool looking pieces with brass and silver... BUT I have such an extremely low rate of success that it seems masochistic to attempt it!
-
That looks like a good system. I like mine better though. I use a 220 grit belt on my 2" X 72" belt sander. I have a contact wheel but I prefer to use the slack area of the belt. When I use gentle pressure I get a slightly convex grind, almost flat. Then I buff with white diamond rouge on a sewn muslin wheel. You will note that my system is quite similar. I find that using the more flexible surfaces gives me more consistent edges that stay sharp longer. I tend to get too fragile edges with the convex grinds... good for razors but poor for carving hardwoods. My results are very similar also... but, IMO, subtly better.
-
Often belts with finer grits will remove more metal. This is because of many more "teeth" on the finer grit belts. So even a larger "bite" by each tooth will not always make up for the much smaller population of "teeth". Couple this effect with much more work to remove deep scratches and you can see why coarser grits are not always the best choice. When I want to remove lots of metal fast, I usually use a 60 or 80 grit ceramic belt.
-
Aha! Now that you have uncovered both cause and correction you'll make it look easy! The best masters make plenty of mistakes... but often correct them so quickly and effectively that few observers notice!
-
Several causes are possible. You may be feeding the stock into the dies at an angle. Sometimes I have observed my stock twisting instead of drawing down when I am hitting the narrower side of the taper... usually near the small end of the taper. You might be twisting the taper as you forge it... it is easy to do this purposely... just as easy by accident! You may be able to correct it by feeding your stock at an opposite angle to the dies. If caught early enough you can correct it by forging in your corners... back to round, then starting off square again. You can also twist your stock slightly in the opposite direction as you forge, unwinding the accidental twist.
-
Thanks nuge! I miss Jake and it's good to think of him and get any bit of news!
-
VaughnT I really like those! Beautiful shapes! Handy survival items too!
-
IME brass is quite difficult to hard solder or braze! Actually I would say extremely difficult! The alloys in most brasses seem to collapse before a good join is made! Soft soldering is much more likely to succeed IME. I'm talking jewelers solders here. Plumbing solders are easier but a little unprofessional for quality knives IMO.
-
I must also say that the 1,800 rpms seem pretty manageable even with the 10" sewn muslin wheels! My old grinder must have been much faster! This unit is working as well as I hoped!
I do find that my wheels are less perfectly trimmed than I might prefer. I don't really know what to do about that. Maybe I could run a belt sander against it for a while? I am open to suggestions. It works pretty well as is but I think that a cleaner trim of the wheels would improve the function.
-
Good idea Thomas! Thank you!
I got the buffer set up temporarily yesterday! I buffed a half dozen blades and sharpened and buffed a couple of new ones! It worked like a dream! Blades are definitely that one fine step SHARPER! It was quick and easy too! I had a new carving blade that came unsharp. In just a couple of minutes I had it really shaving hair easily all along the blade length! It is a very beautiful thing!
I am very happy!!! I don't believe that I'll use the loose muslin wheel though. I have ordered a soft felt wheel and I'll try that instead. I managed even my super pointy filet knives by using a very light touch and orienting the blade tips to point nearly in the direction of rotation... so that the buff followed the blade instead of grabbing the back edge! I will try Thomas's suggestion next time for these!

Corbels......Supporting stuff sense.....well a long time
in Member Projects
Posted
The curve certainly does make for a weaker structure than a straight brace... but these are massively built. David's strength estimates seem conservative to me.