

JME1149
-
Posts
381 -
Joined
-
Last visited
Content Type
Profiles
Forums
Articles
Gallery
Downloads
Events
Posts posted by JME1149
-
-
I'm confused. Is that your first rose, or just the first one you're not happy with? Cause either way I think it's very nicely done.
-
Nicely done, I like the idea of using a piece of the file for the guard. Instant texture.
-
Just need to hang the Christmas lights on it now. Looks like that new resource pile of yours is proving to be inspirational. Nicely done.
-
Beautiful work as always. Could you share your technique for making the tines of the fork? Split, forged & filed, or part off wheel to cut them out?
-
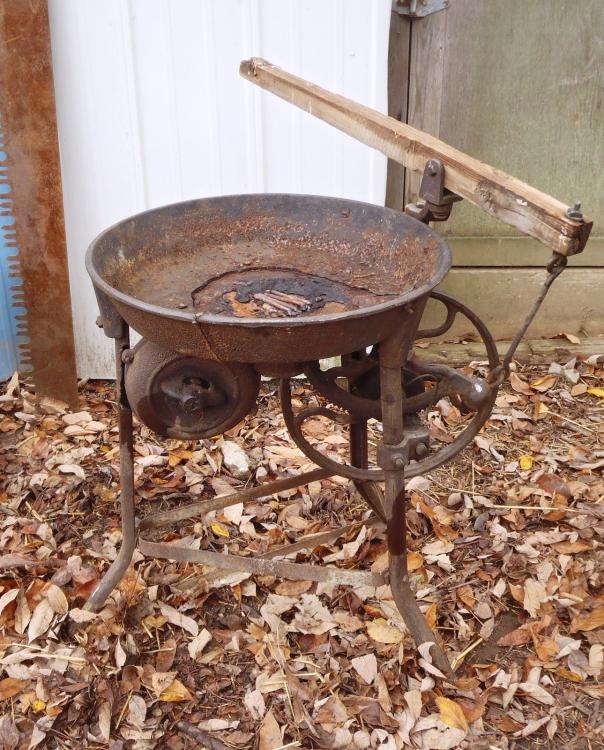
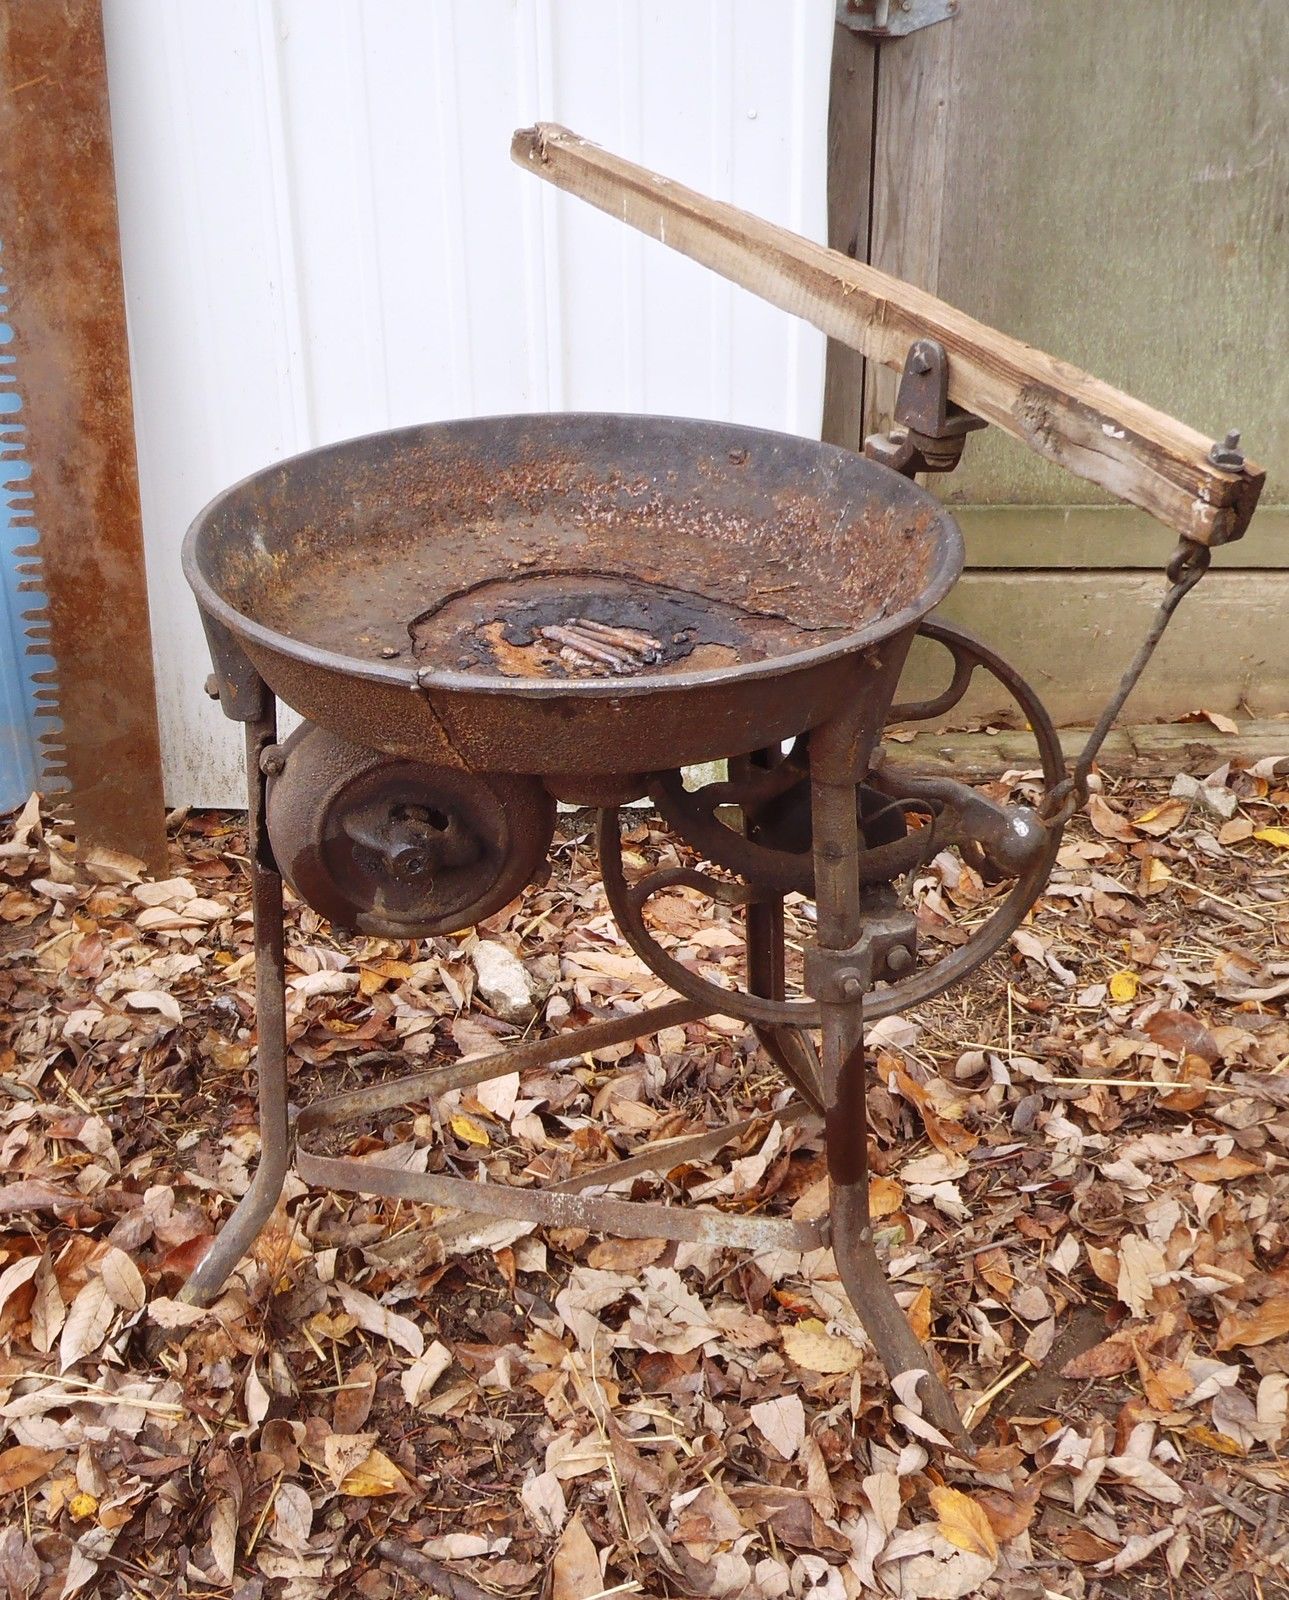
From my experience, tear-down is pretty straight forward for these. Loosen the screw and take the gear, shaft, whatever off. Based on the photos you included, condition looks pretty good, not overly corroded, just a bit dusty. The ball bearings look shiny so not sure why you think they are worn. Maybe just needs a little grease/oil and adjust the race. Can't comment on the chuck or missing handle since you didn't include photos of those areas. If it's like mine (can't remember my model), the handle takes a flat bar something like a 3/8" X 1". Looks like you might be missing the spring for the auto-advance mechanism, but I can't be sure from the pics.
-
Please keep us posted. I know what you mean about someone of "size" testing the limits. I've seen our chair flex all the way down to the floor without breaking, yet spring back to it's original shape/position when unloaded (although getting them up and out of the chair is a challenge in itself).
-
Those "bushings" are threaded into the housing. Best way to remove them is to put pins into the two outer holes, put a screwdriver between them and unscrew. No heat required. A better question might be why do you need to remove them in the first place? Is there a lot of slop between the bronze gear and it's bushings (hidden underneath the pieces you are trying to remove)?
-
Looks like you got the junk art fever. Looking good, can't wait to see what you come up with next.
-
I really like the flow of this piece and it fills the space nicely. It's funny that you mention needlework, the first thing I thought of was stitches holding the pieces together so you have indeed hit your goal. If (when) I were to do one, I might think about bringing the center trunk line down near the bottom, overlapping the two side trunks, and putting two collars around them to get a little more 3D effect.
Thanks for the inspiration!
-
The one thing that keeps jumping out at me when I re-read the original post is that you plasma cut the samples from the forged bar then did varying different test quenches. When you made your blade, did it get the same plasma cut to start with? I have to think that the melting temperature the metal went through on the test pieces prior to the 1500° quench had to have some impact on the end results.
-
I can see it now...
-
Mine are exactly the same. My guess is it allows the seat and back to pivot just a bit while "bouncing". You've got two pivot points (seat to back and seat to arm) with the fixed point at the front of the seat.
-
I have a couple of those chairs at camp and they are comfy. Please keep us posted if you find out anything about the materials, I might just have to try making one myself.
-
-
All of this style I've seen have the connector rod hanging from an eye bolt below the arm.
-
I would suggest heating the steel first to an orange/yellow color. Should cut your time significantly.
-
Two buckets sounds like a lot of coal to go through in one evening, must have been a good forging session. It is my belief that the klinker is the result of the impurities in the coal, and the dust on the outside shouldn't contribute significantly. There could be a lot of reasons why you ended up with the meteorite at the end of the night where you didn't have that problem before. Different batch of coal could be of a lesser quality. Stirring the fireball more while working could break up the klinker and drop it into the tueyere.
-
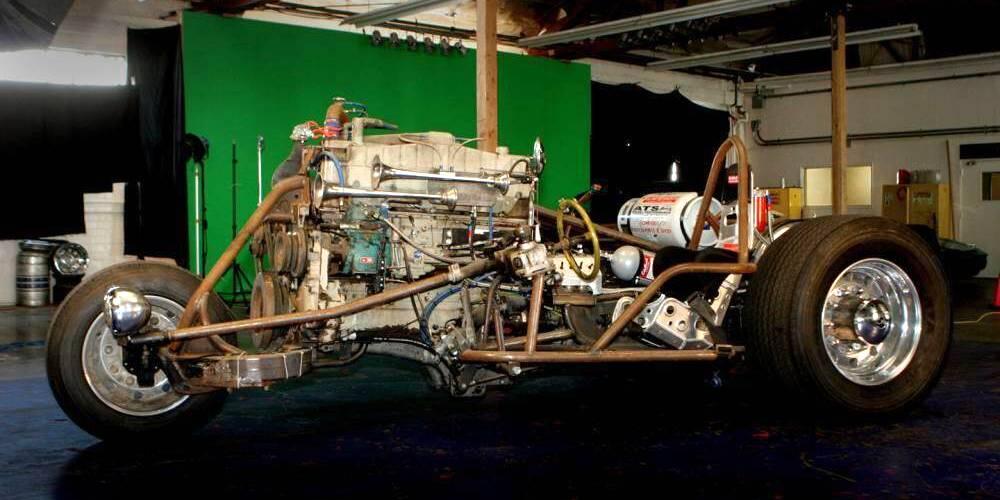
Brent Bailey, just have to admire someone forging with a 7 pound hammer
-
Awesome video, very well done and very entertaining. Thank you for sharing it with us.
-
Either would work, but the limiting factor of the 1/2" coil is the cross sectional area you can get. You would be looking at around 1/4" X 3/4" flattened out, unless you want to do some upsetting for more mass. Round stock would be more flattening, leaf would be more cutting. If you have the time and ambition, make one each way and see what you prefer.
-
Great interview. I look forward to the burner blueprint as well as some pics of the new diagonal scrolling tongs.
-
Ivan, glad to hear you finally settled down someplace respectable. Look forward to meeting you at Fort Allen, Thursday evenings from 6-9PM. Any questions, feel free to PM me.
John
-
Das, I know that guy in Monroeville. Actually bought a couple things from him. Welcome aboard, hope you've had a chance to connect with PAABA, great organization in your backyard.
-
Of all your doodles, the one that jumps out at me is the bottom right corner. It looks simple yet elegant. Maybe if you go with an octagonal shape rather than square, the twists might look a little more finished or refined. Maybe try a mockup in a piece of mild steel before you commit to changing what you have.
Just the humble opinion of a non-bladesmith

Damascus Hammer
in Hand Hammers
Posted
Alec, I read your post then scrolled down a bit and looked at the first photo and said, OK, nice little hammer, nice contrast between the layers, looks good. Then I scrolled down further to the second photo and was blown away. That is a true beauty. Thanks for the inspiration.