

Cretedog
-
Posts
33 -
Joined
Content Type
Profiles
Forums
Articles
Gallery
Downloads
Events
Posts posted by Cretedog
-
-
Thank you Sir.
-
Hello-
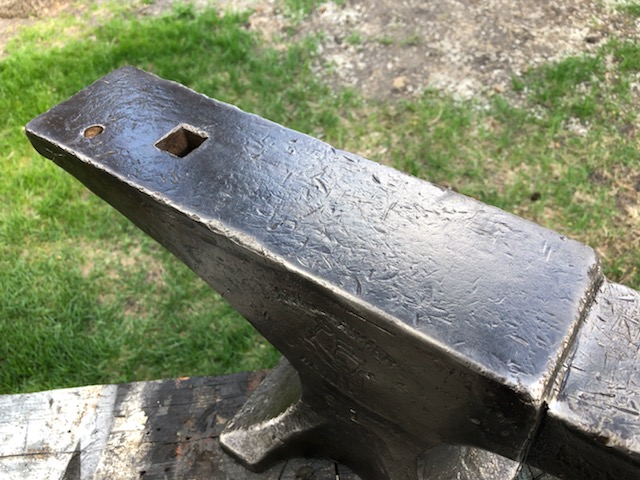
Would anyone have their AIA handy to date a recently acquired A&H 81lb? Serial #20943.
Thanks in advance!
JMc

-
Kind of neat to see the mold that one of my anvils may well have come from...
Thanks for posting.
-
Nothing to understand Josh- just said I remembered the warranty statement I read as being on the waist weld only, not the complete anvil as was Fishers. I'm still a Fisher man at heart, haven't converted to H-B quite yet. ;)
Regards, JM
Fishers
30lb
80
100
150
150
300
350
and probably more I'm forgetting
-
NJ-
I believe the warranty I read was the same as FrozenForge quoted- 1 year on the waist joint only...
JM
-
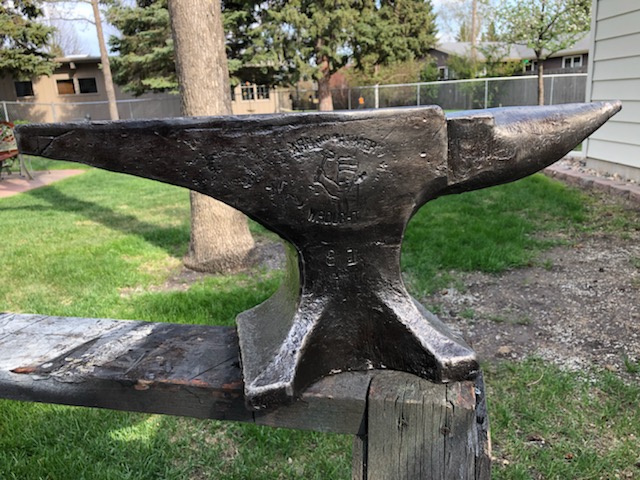
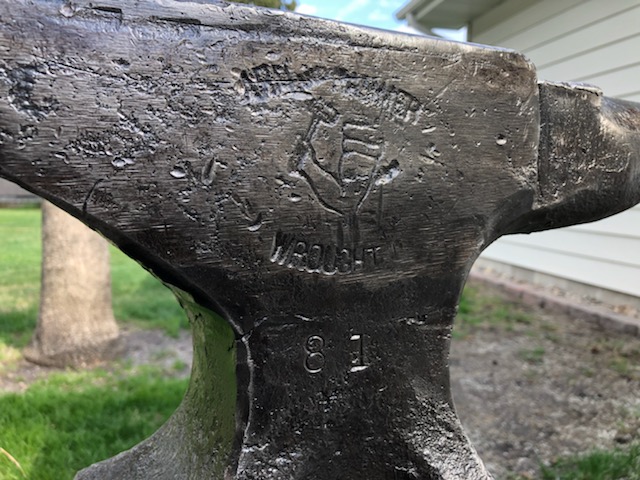
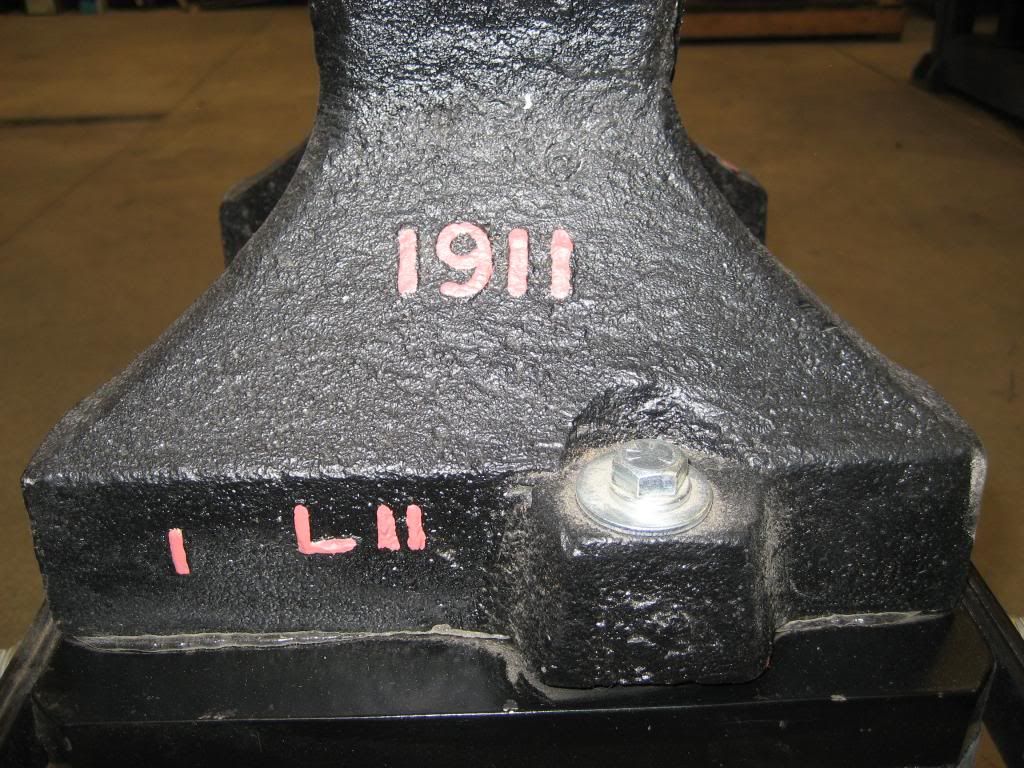
One of the reasons FISHER began dating their anvils was that they offered a one year warranty on them. To prove when it was made, they dated them. If It did not sell in the year made, they would grind off the last digit or two, and stamp in the correct number(s). The picture shows a FISHER anvil made sometime between 1920 and 1923, that had the last digit removed and the 4 was stamped in.
If their was a manufacturing defect in the first year, the customer had to ship the anvil back to Trenton NJ to be inspected, and if it was a defect and not abuse damage, a new anvil was sent to the customer. The old ones were remelted to make new ones. FISHER was the only company to offer a warranty on their products.
Good evening NJ,
I was out at the blacksmith shop yesterday, took a break and paged through an old Hay Budden catalog- between 1900 and 1909, I believe. They also offered a warranty.
JM
-
Now you've given me an excuse to come see your museum, NJ.! Seller offered to strap that big boy to a pallet and send it up here to the frozen tundra. Glad it went to another good home (but I would have enjoyed beating upon it ;) )
-
20lb 1907 No lugs
100lb No date Possible factory stand?
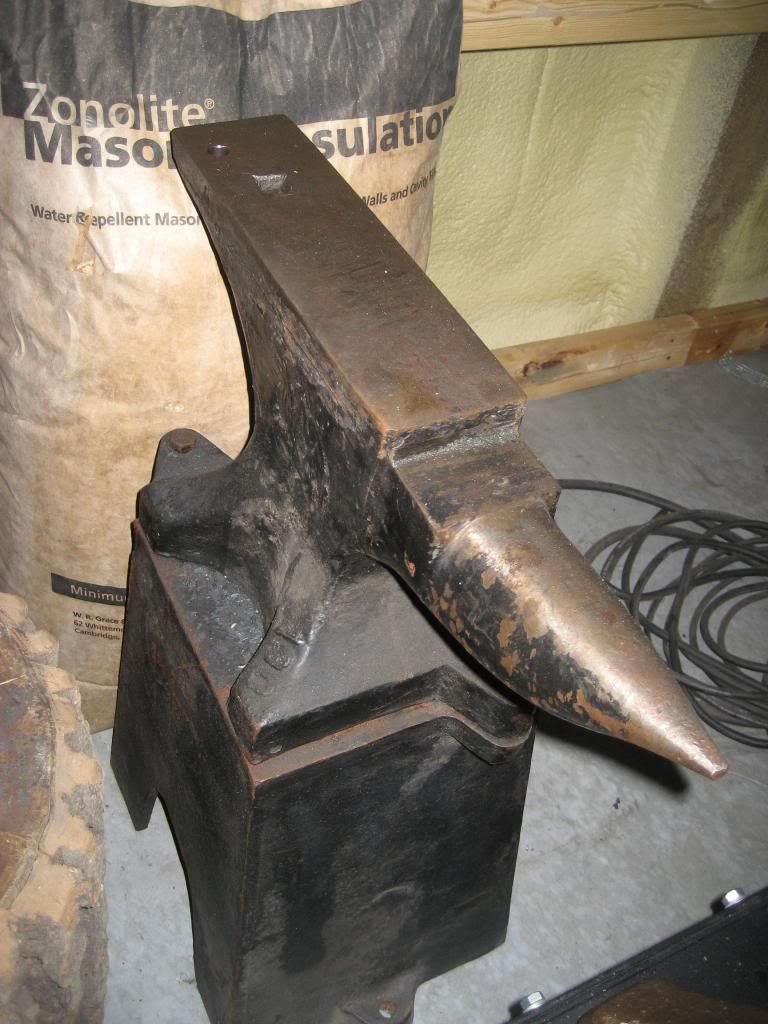
150lb 1896 Farriers pattern
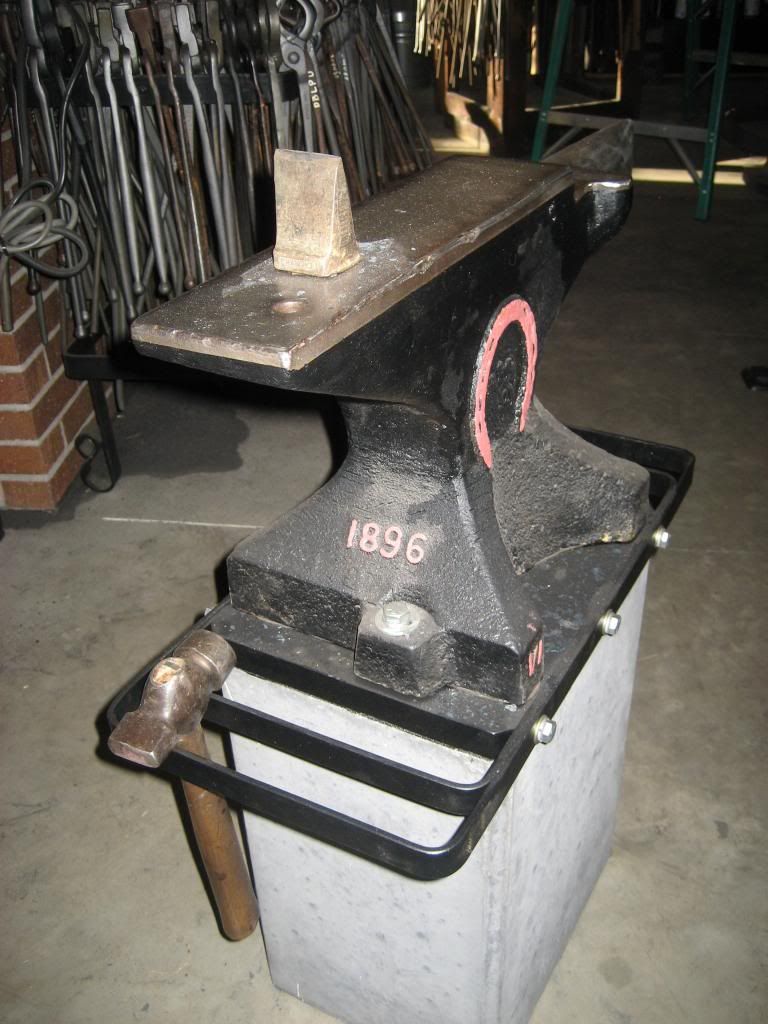
150lb 1911 Farriers pattern
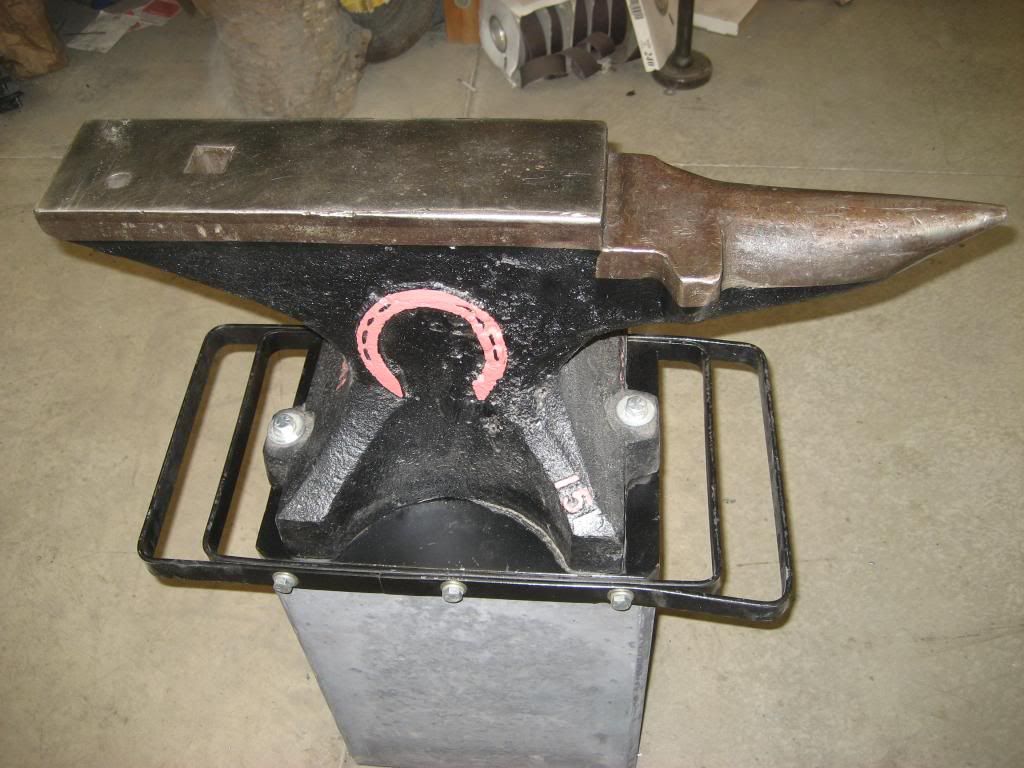
300lb 1910
http://s617.photobucket.com/user/cretedog/library/Fisher%20Anvils?sort=3&page=1
-
Nice press 78!
-
Got the 8" Columbian No. 508 I picked up last fall cleaned up and back together this morning. Not quite as substantial as some older 8" vises, but still a thing of beauty and in great shape.


-
Put one in your lathe and turn a long taper on it. Attach or mill a square peg into it to fit your hardy hole, and you'll have a dandy cone hardy.
-
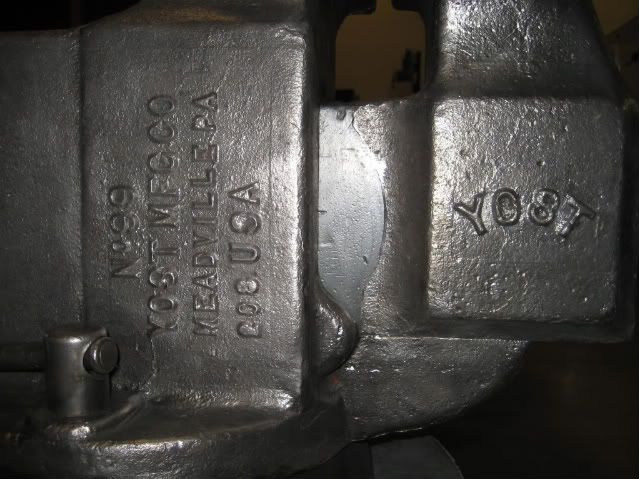
"...home of Channellock."
and Hollands, and Yost... -
Haven't done a thing with mine this winter, Knots. Too much to do at the 'real' job, plus the usual other stuff we all have. Like your tooling examples. The socket and shoulder idea looks good. Gives me food for thought for next winter. You've also got my curiosity going now- don't think mine has the dovetailed work plate. Good excuse to run out to the blacksmith shop this afternoon and check. :)
Regards, JM -
I was sitting in my chair thinking the very same thing the other evening Andrew! Flat belts, gear motors, idler wheels... all sorts of possibilities. Then I remembered that my partner is much bigger and stronger than myself, and is in need of much more exercise, so I figured that he could 'walk the circle with his hand held high', and I'll deal with the iron and the tooling. :)
-
Followed me home the other night.
 Huge with a slow thread, but way cheap and in pristine shape. 2-3/4" screw with 42" flywheel. I'll be happily making tooling while the snow blows outside this winter....
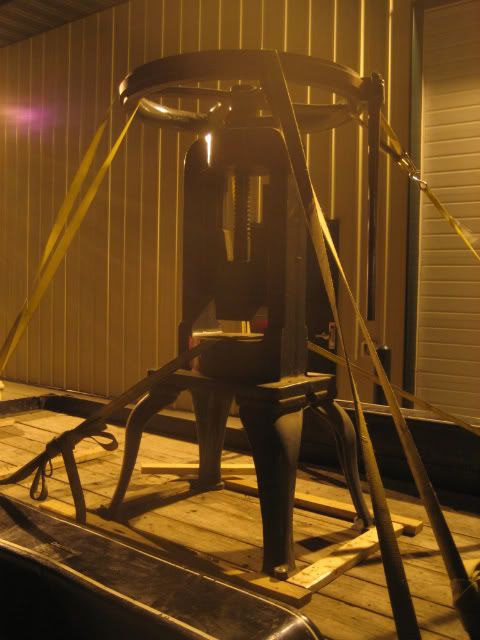
-
Here is the 200 lbs + Trenton I picked up for my self and my students where I teach Shop in Salem. I had a crowd of middle school boys just amazed that an anvil was real and still used today. Many thought they were only in cartoons to drop on people or coyotes' heads. I need to raise up the height so my wrist is in better position when swinging the hammer.
Bryan "Shop Teacher" Bridges
Hat's off to you for taking the time and effort to secure an anvil and put in in a teaching situation! You cannot take a shop class in middle school here anymore- in a city of 50,000. High school shop offerings are not even a shadow of what they once were. Junior high shop used to be both a 'growing up' place, and a learning place. Even for kids on an academic track like I was, it provided a great and enjoyable balance to the 'other stuff'. Your efforts are appreciated. -
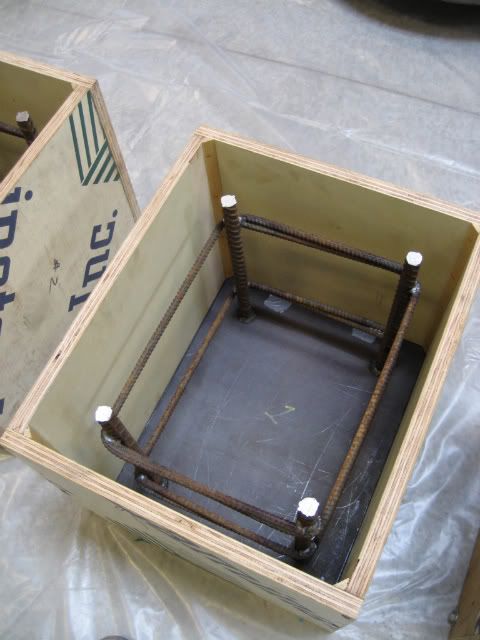
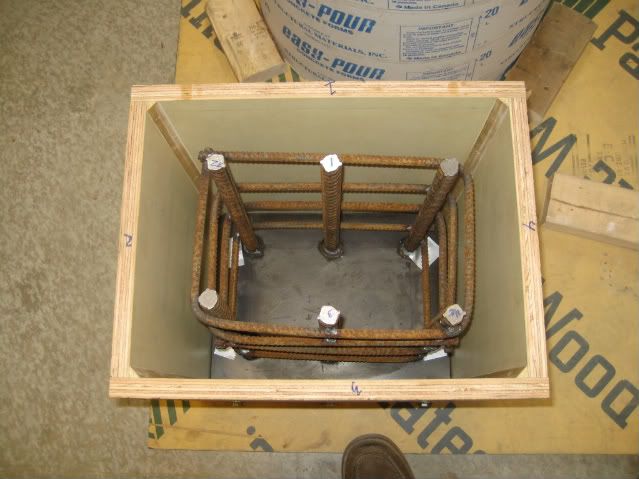
Nice looking units! I'm guessing poured cement with steel tops and recessed nuts for the tie down bolts ... any steel inside the stand? What do the stands weigh? Regular cement or hi-tensile stuff, etc, etc. How about a BP on how you did them?
1" plate drilled and tapped for hold downs and hammer rack. Rebar welded to plate. 4000psi concrete with black coloring. Poured upside down. 1/4" rubber mat spray adhesived to bottom. Hammer racks are 1/4" x 1".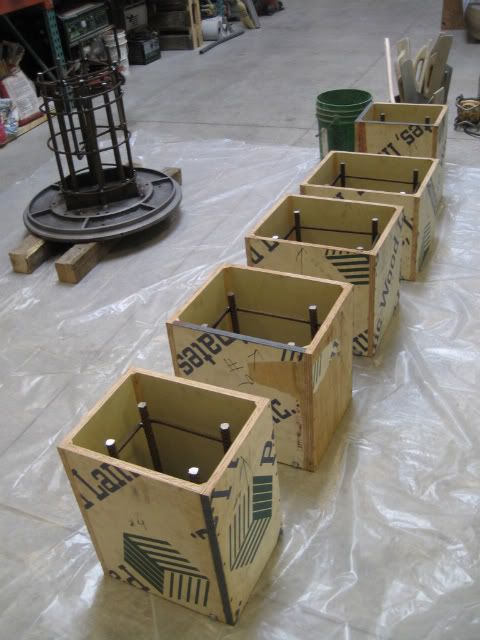
-
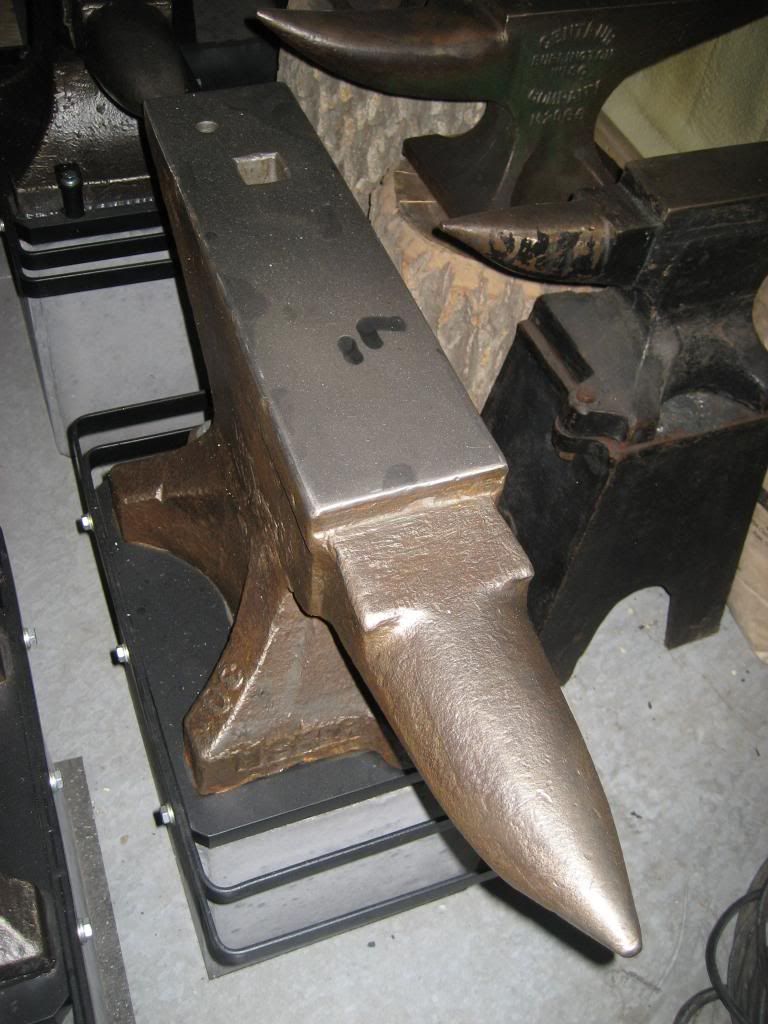
Some anvil stands coming along this weekend:
430lb A & H setting down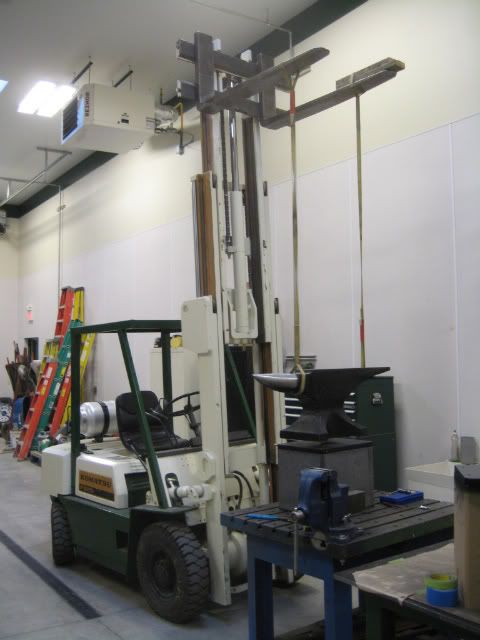
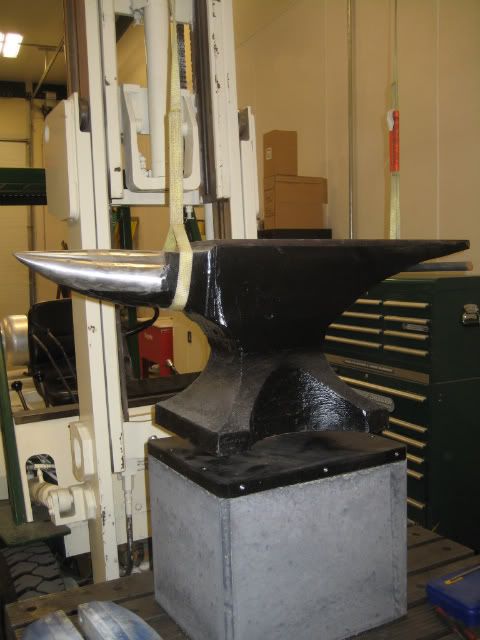
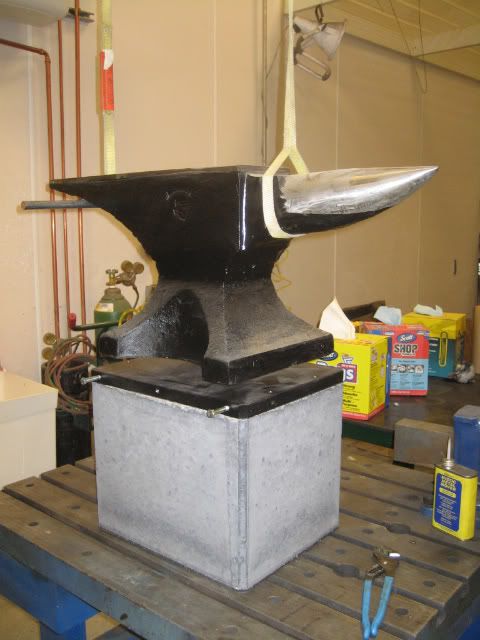
A couple of 150lb Fisher Farriers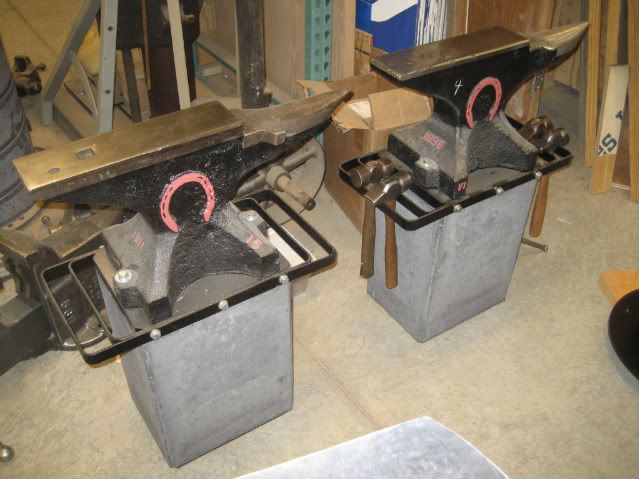
-
I would think it made your whole year! Congrats, it's nice when one can hit on a deal like that.
-
Now THAT is an anvil. ;)
-
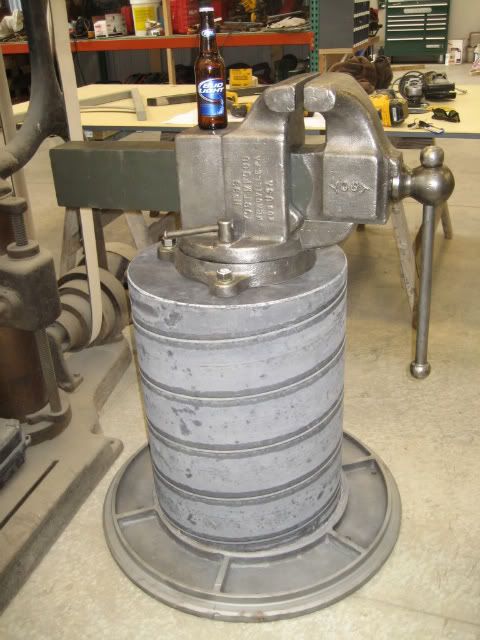
8" Yost No. 99 / 208 About 285 lbs.
-
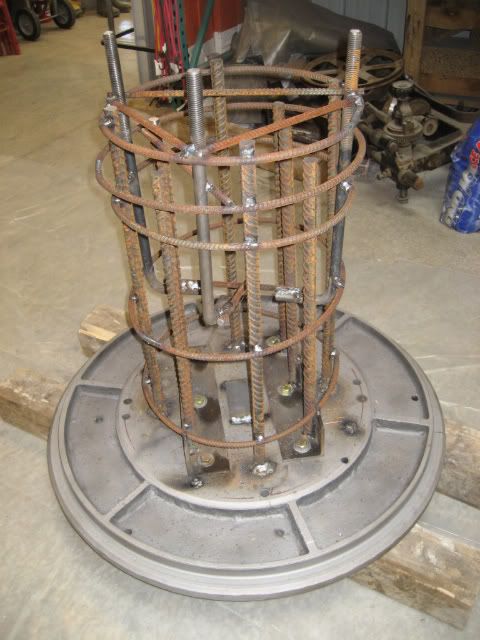
Wow Cretedog! I'd love to have a chunk of really BIG rebar like your pencil holder. Any chance of buying a 12" piece??
Robert in Texas
Sorry Texas, all I have is what's in the photos. -
Put those rebar cut offs to good use Brian & Mark!
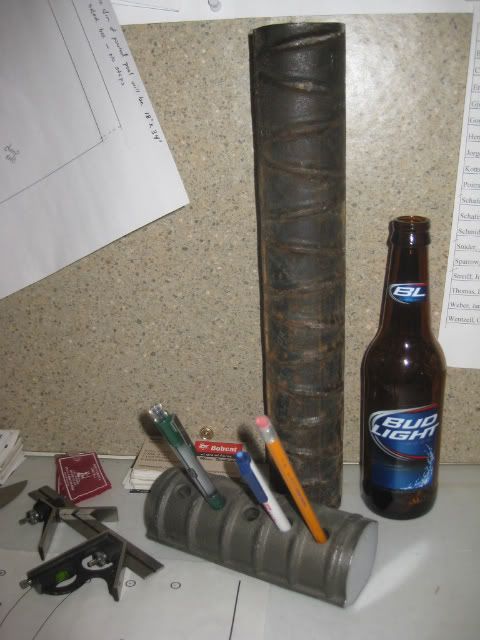
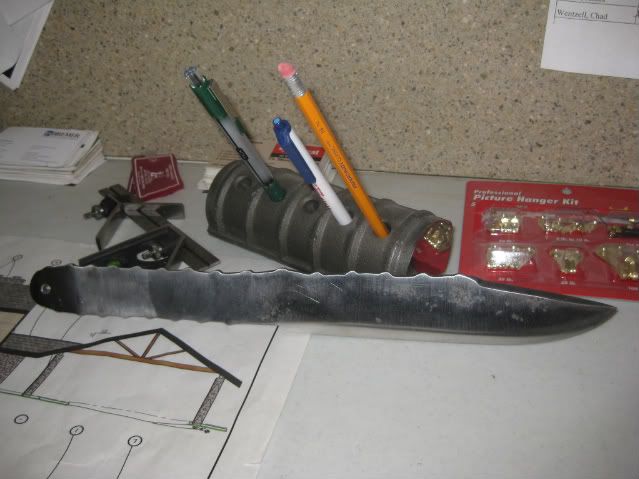
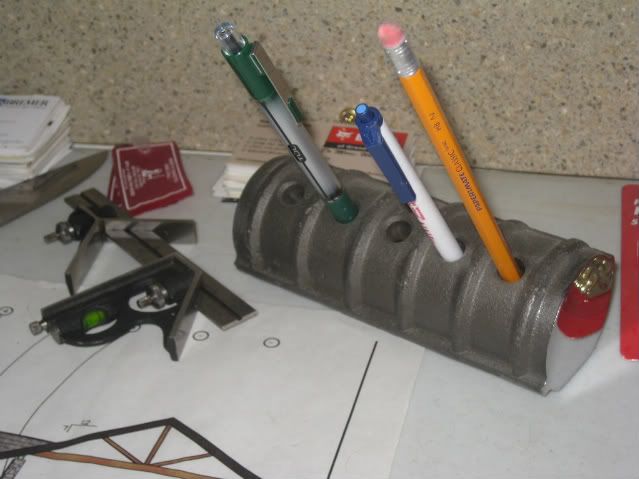
#18's from ND missile site
PS Brian, I have anvil envy. -
All this talk of spur making, I figure we ought to start talking about branding irons. How do you make them?
Daughter asked me to whip one up quick for her wedding a few years ago. Some blacksmithing involved, but mostly modern construction. North Dakota's oldest brand inspector was present- told me I'd have to take a grinder to the intersections or they'd burn and smear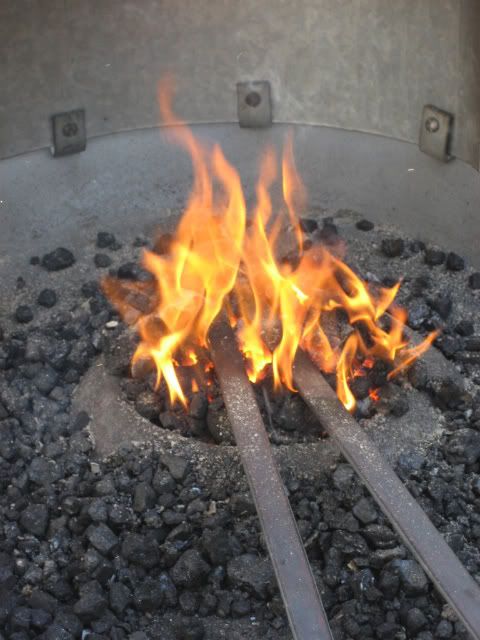


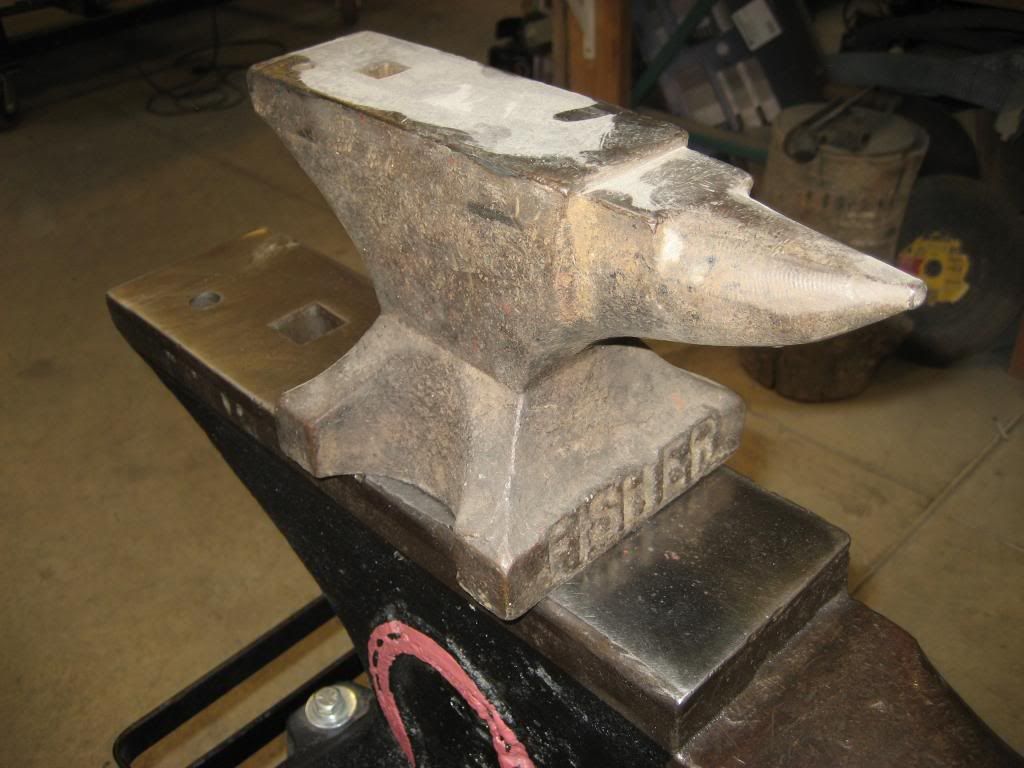
Fisher
in Anvil Reviews by brand
Posted
Nice Josh!