
basher
-
Posts
1,262 -
Joined
-
Last visited
Content Type
Profiles
Forums
Articles
Gallery
Downloads
Events
Posts posted by basher
-
-
whats the weight it looks chunky
-
People will be able to give a better response from a picture do you mean this hammer:
its quite possible it may go by another brand as well, looks like a fast sheffield type forging hammer.
-
I have them at a few heights , no problem with cutting them down in the uk as they are cheaper than new mild steel pound for pound...
-
I hate you a bit right now.
I think I'll take the Grant Sarver approach and make one.
Owen, If you next locate a Gunmaker anvil I'll be right put out.
Ric
its on the list Ric.......race ya!!
-
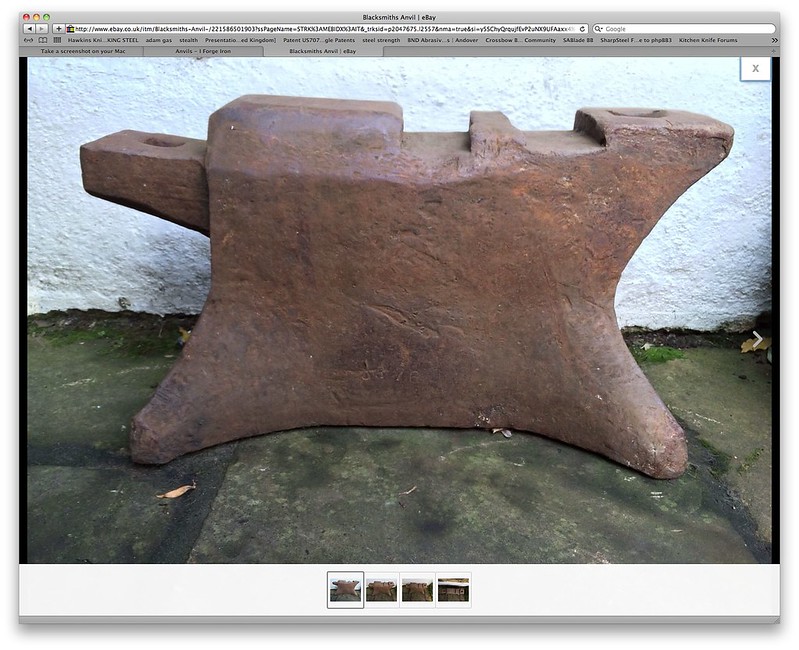
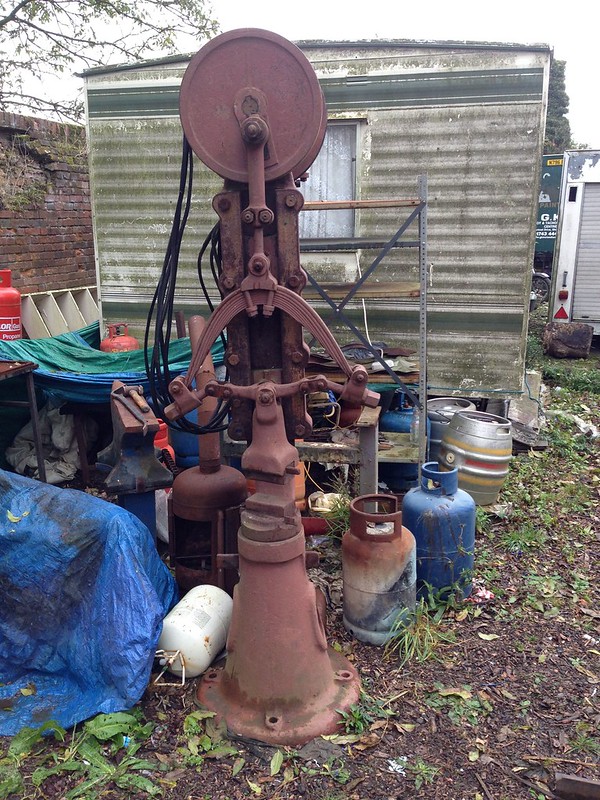
Well I won this anvil on ebay.....
Toolmakers anvil as used by sheffield bladesmiths etc described as a 500lber.....I can only hope so!!
anyhow been on the lookout for one of these for ages.
May take a trip to Yorkshire to get it.
-
spray it with wd40 wont affect the weld , helps prevent initial oxidising and will keep some rust off
-
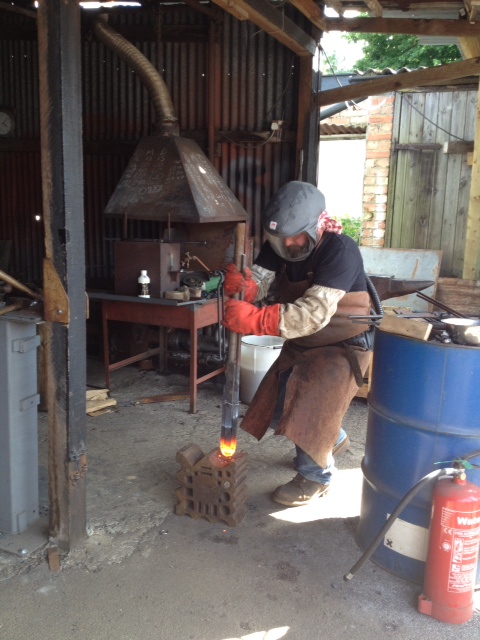
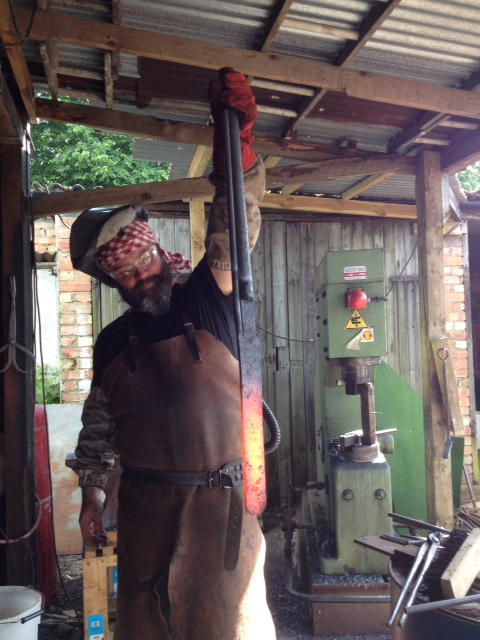
getting a 7foot tall hammer upright on your own with just an engine hoist is interesting...
-
I host the pictures on flickr and then link to them, with the tree icon above the writing window. but I believe you can pull them from your computer if they are small enough.use the tree icon above the writing window. Im not too computer savvy so hope that makes sense.
-
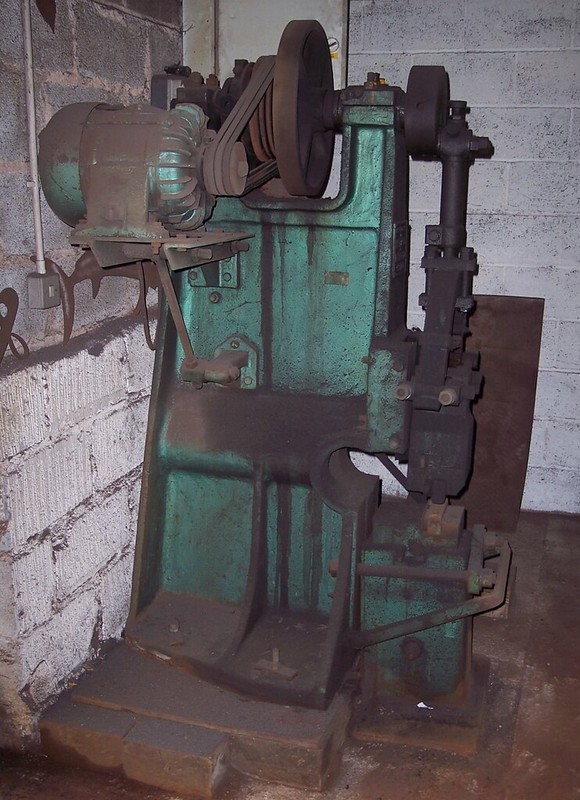
well its a 90lb er (40kg) with the top die still in.... never would have thought it...
-
thanks for looking. I think I can figure it out , thin gauge steel with belting (thick hard leather) as a break material.
I shall take photos of the rebuild.
-
I have it home and on it side and have freed up the clutch ( seized) and re greased the bearings . all seems good.
Sub one tonne hammers are lovely to transport.....
not sure of the ram weight but not too heavy.
I will work my way around it over the next few weeks, the throwing assembly is solid, all joints seized up, bit of wd40 working its way in. should not be a problem...little heat and a punch.
This hammer has a chunk broken out of the bottom of the slide at one side , interesting to see that its a design flaw, I still have a box of repcast rods and will bracket around as well, got a pretty good idea of a fix.
I think the break is early in its life, not a lot of signs of a lot of work.....
Interesting as with the vertical spring ram arrangement you would think the sideways force would be negligible. the ram slides do seem to protrude down past the hammer slides quite a lot, could be due to that., I may lift the ram an inch or so and put an extended bottom die in it. possibly not.
If anybody has a picture of the rear break assembly that would be great, I imagine that its a metal strap with break lining material in it or leather? the break strap/shoe is missing. I have the break from a lift and it may be easier to repurpose that rather than make up a shoe on the existing break pulley. we shall see.....
-
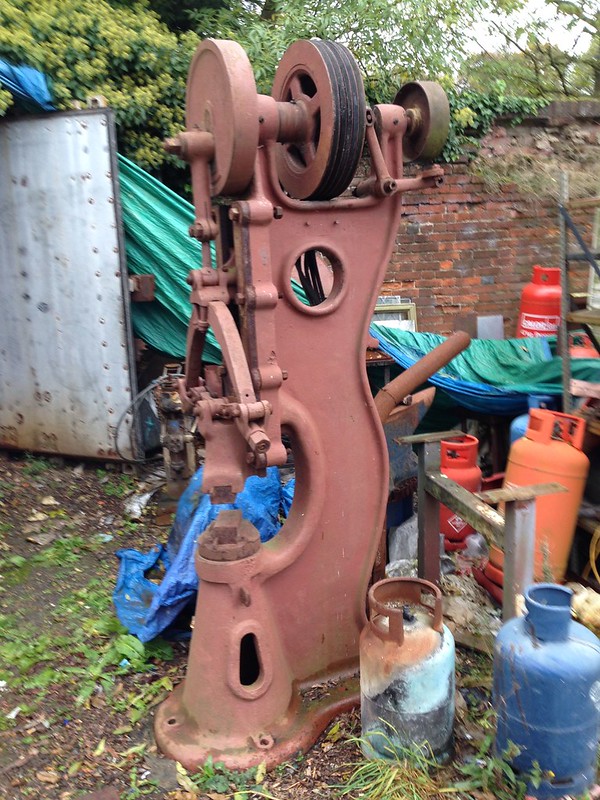
this hammer was listed on the BABA facebook page, Im going to pick it up today in essex.
Going to lay it down in to a long wheel base van....
-
seen it before a few time s but loved to watch it again, what a great piece of filming...
-
Thats the one Rob.
Thanks very much for finding that out.
so I guess thats Todmorden Yorkshire.
where did you pull the information from?
Ill try and get it going at 300bpm and will update when its here and done and running.
cheers
-
Thomas , I have that book. nothing like this in there as far as I can tell.
If you look a little closer at my pictures you will see that both the ram and the spring are mounted on separate slides. so this hammer has two moving plates traveling inside the slide , one for the spring and one for the ram.
cheers.
-
here it is from the side , the grease nipples and Vpully make me think its o more modern than victorian machine....
-
I have a feeling I have seen one of these before possibly in France?
but I cant place where?
-
what is your normalising process, what method are you using to judge temp?? If you are overheating during the normalising or the heat for hardening its going to cause grain growth.
-
looks to be a 50 or so possibly a little less, defiantly slightly smaller than my 60 goliath
-
does anybody have any idea as to what make of hammer this is?
No markings I can see.
it has the interesting feature of having two slide plates, one mounted at the spring pivot and one on the ram , I guess to make the action between spring and ram linear?
I would be interested in finding out what speed it should be run at as I have bought it as a fixer upper.....
any info would be good
-
I've welded up 5 blades like this this year so its still quite fresh in my mind, 3 finished as comissions and a couple at the hardened and tempered stage for me to finish when I get time.
Yes you are forging against the welds when you forge the blade to shape the and yes unless you can happily forge against your weld you cant be certain that they have taken (you never can really untill the etch which will tell you for sure)......
However.....
I tend to treat this kind of pattern weld as if it is not fully welded until I have finished working on it. especially as a thin and tall stack like this is hard to weld up because the force lines as you hammer want to bend the material rather than join it together.
so I normally make these swords as a wrap of layered steel over twisted core material.
firstly I weld up the core.....In this case a 4 core.
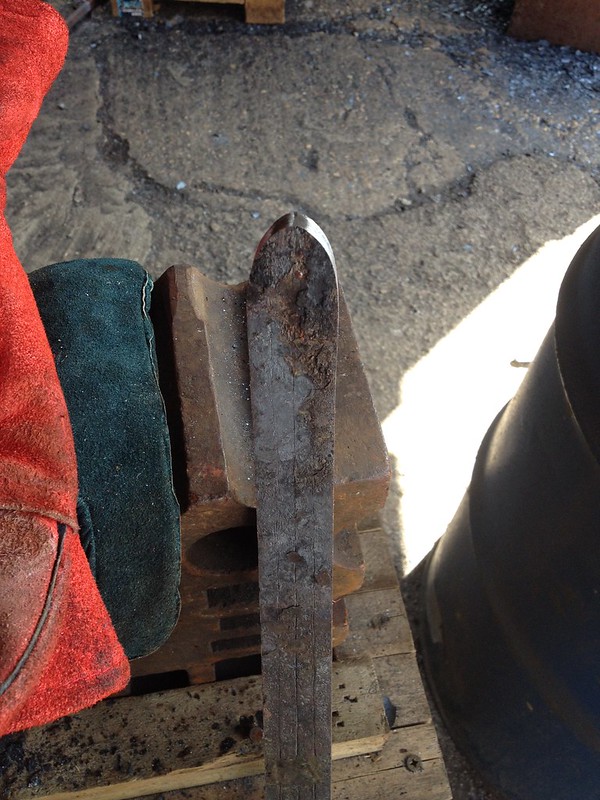
then bend the edge around and tap it into shape in a swage...

I then wire it and do my initial weld on smacking the end of the blade on the side of an anvil to weld up the tip I then weld into a round swage and then V block bringing the weld back fro the tip...

I then weld the sides from the front back , welding softly under the hammer and then forging quite hard on the flats , hard hits little bites under the hammer. (counter intuitive but the power hammer will exert some sideways force as it holds a wide flat billet, and getting any unevenness is V, V, V important...) to...
end up with this.....
Billet is then forged down into a sword blade.
the most important thing (amongst all the others like flux and heat and practice) is having your billet elements parallel and square. parallelogramed bars will screw you every time , hard to impossible to recover from.
I put 100 hours into my first (decent) patternwelded blade to discover it had a major flaw.....live and learn , they do still go wrong sometimes but they are a lot quicker now.....
have fun!!
thanks to Doug Macayeal for taking the photos.
-
My 100 pilkington has a hollow ram that weighs 79lb (so not a true 100...)
The ram dimensions are roughly 19.5cm diameter by 56 cm long, If it were solid it would weigh roughly 130 kg or 293lb (give a little bit for where the hammer is machined square).
The hammer develops a partial lifting vacuum , for arguments sake lets say 50% vacuum or around 7psi (pushing the ram up from the surrounding air pressure)..... surface area of the ram is roughly 48 square inches...so 48 x 7 gives 340 lb which may just lift a solid ram ...just...
I am guessing air pressure on a ram acts in the same way as rocket thrust, giving a constant acceleration in relationship to the thrust that overcomes the falling weight of the hammer ram... so in my case there would be an upward thrust of nearly 40 lb on a solid ram and 260lb on my hollow one a difference of 6.5 so my guess would be that whilst the hollow ram has just enough time to rise to the full height inside the front cylinder a solid one would probably rise a few cm or inches in one upward cycle of the drive piston (around 0.15 seconds).
Just conjecture , not sure of internal hammer pressures ?but about right I think...
-
I really have no clue as far as clearance is concerned someone else will though..., the ram wants to easily rotate in the front cylinder.
I will be very surprised if the hammer will work with a solid billet as the tup as the hammer is relying on partial vaccume to lift the tup. how much will the solid billet weigh?
-
Well for my part I thought it was a great week.
I was not interested in selling anything (so punter numbers did not matter to me) more to pass on info and to meet smiths, For that it was a greta event.
The crowd was a much more mixed bunch than the usual forge ins I go to and I got to meet a lot of new smiths from backgrounds other than BABA or my own forge in crowd.
Blacksmithing in all its forms is often a solitary pursuit so mixing it up with other peoples versions of the craft is always a great thing for me.
Tool makers anvil
in Anvils, Swage Blocks, and Mandrels
Posted
Went and collected it yesterday and its a 550lb anvil , I
ll post pictures when I have made some tooling.