
basher
-
Posts
1,262 -
Joined
-
Last visited
Content Type
Profiles
Forums
Articles
Gallery
Downloads
Events
Posts posted by basher
-
-
These are very simple hammers , I have no idea about the tolerances but I have stripped and rebuilt a couple.
Does it work?
The ram has a huge bearing surface, valves are very simple.
If its free and all moving you are probably all good....probably.....
I've got the manual somewhere as a pdf, Email me and I'll dig it out. -
Over the shoulder straps coming down to a "Y" that joins a belt across the waste, at the back... are the way to go. Just like a pair of old granddad suspenders.
I have been wearing the same version of this for 20 years..
-
I would add another cautionary about using old spring stock for this aplication, power hammer springs are a guaranteed failure eventually, I've had 3 go on 3 different hammers, old spring stock is just too risky in my mind.
Concider lether wrapping hem as well.
Cheers -
Alan that is a great idea for a sprung hold fast. I will have to keep that swimming at the top of my memory as I am sure it will come in useful to me at some point.
-
I have a 50 lb brooks hammer with a reducing gear box attached to the main drive shaft (4 to one I think) the drive motor also has a torque convertor on it. this is not a standard kind of hammer though and I have not gotten round to fixing it up and using it.. but they do exist. a similar gear box to this would cost you a fortune new, its pretty industrial.
I would try and think in torque more than horse power as far as belt slip and gear box size. and also consider which side of the clutch it should go. there are definite advantages in having a big pully driving the hammer cam and a smaller one as motor take off if you are relying on belt slip for the clutch..
The more industrial the better with hammers.
I would not try and reinvent the wheel for the sake of a few $. unless of course thats your kick....In which case go for it...
-
Thank you John and Merv and the crew for a wonderful time. A world class event for sure.
-
I recon that you would need to shoot it from a hide.....less useful from a tree stand.
I just saw the post mentioning compound balista...........couldn't help myself, doesn't normally come up in conversation.
-
The bow Tod is using would be one I made ( the prod / bow part anyway, the rest is all Tod).
They are interesting but very dangerous things to make. unless you are interested in making a crossbow for purely historical reasons then a steel prod is not particularly efficient. However they will put out quite a heavy war bolt quite efficiently and they are much much easier on the user than a 140lb war bow...
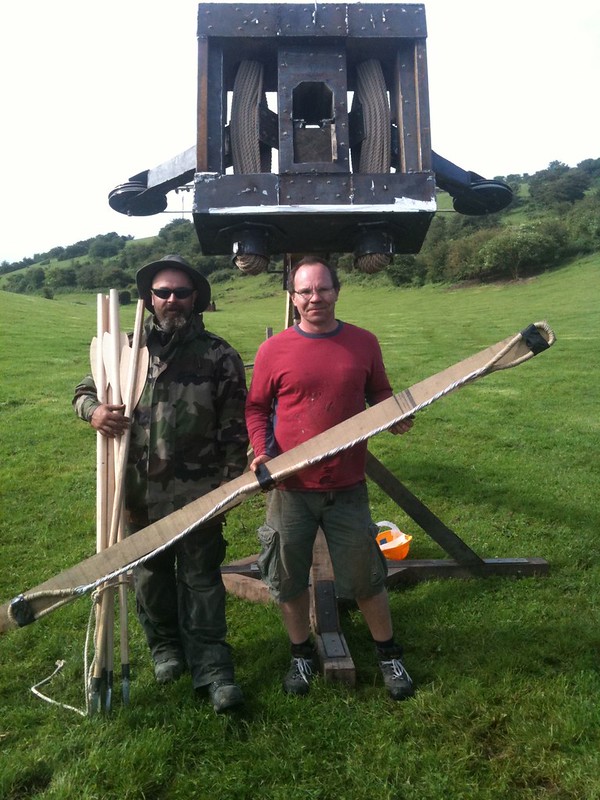
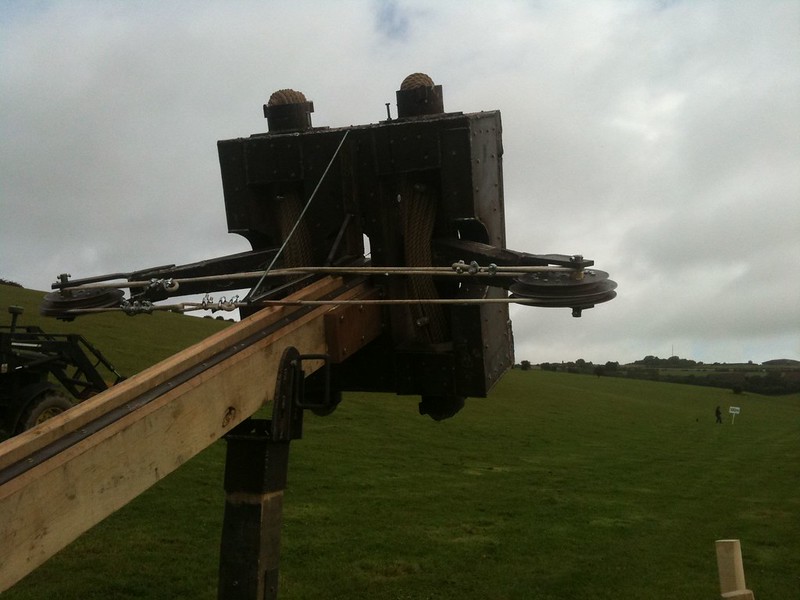
I have built a compound balilsta (catapulta) as well.....for a british TV show called beat the ancestors.....it was great fun...
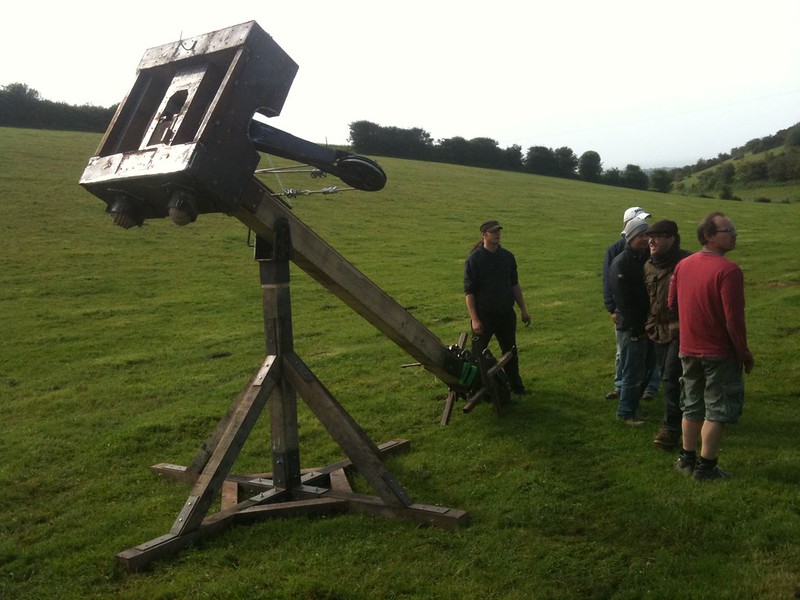
big arrows too Me with arrows Tod with a string for the same machine in non compound mode...
-
Cheers,
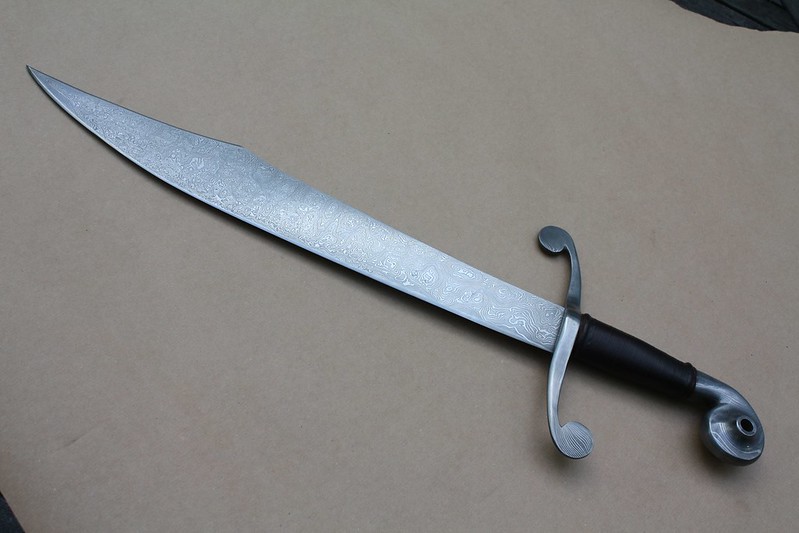
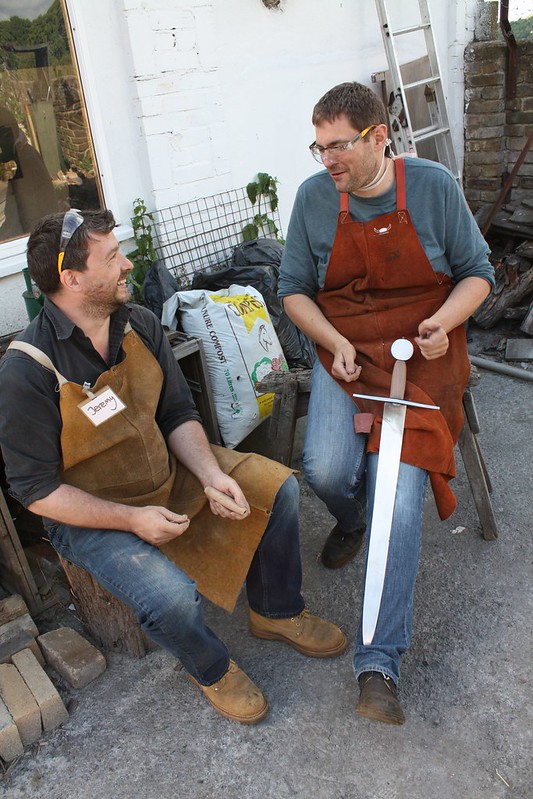
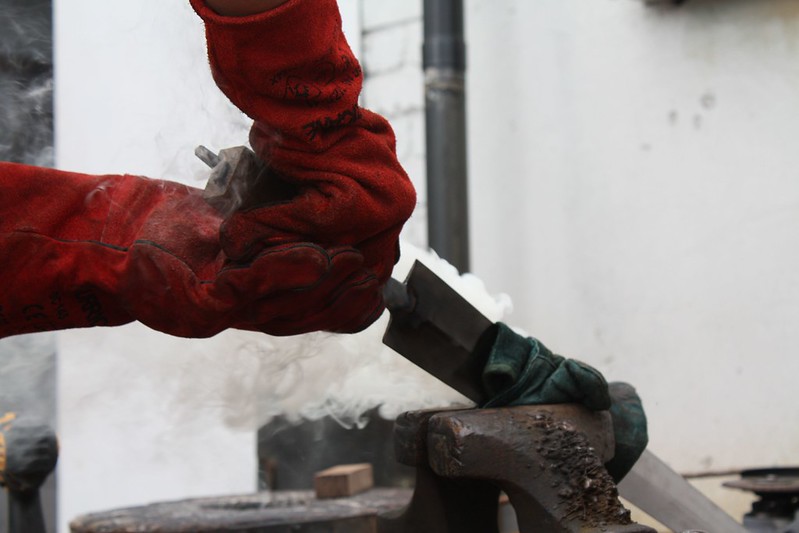
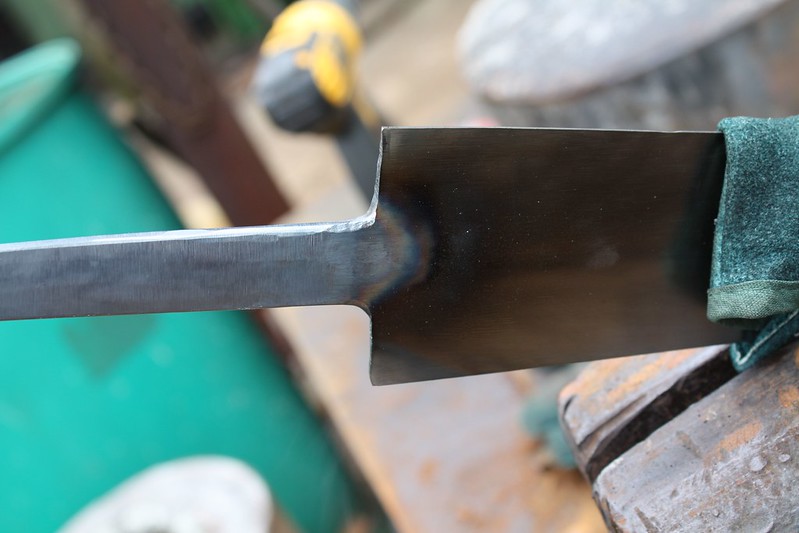
its a biggie, blade is 17" weight hefty 2lb 14oz 10mm thick at the hilt.....a real fist full.
-
I would really recommend buying an arrow head or two from someone like hector so that you can get an idea as to how thin /light / small they need to be to function well.
and make a load of them, once you are on a role you wont need swages for bodkins.
I was lucky enough to document a few arrow heads at the museum of london and guess what some were forge welded............
shooting your own arrow heads is a great feeling.
-
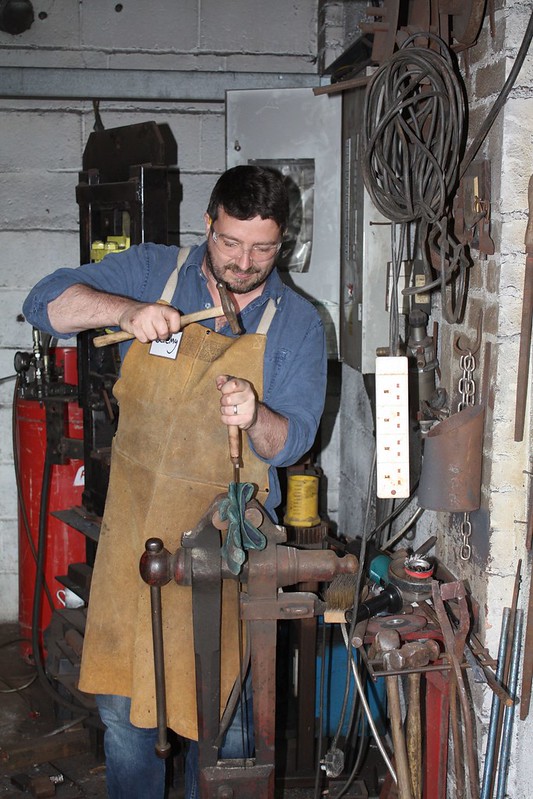
I have just finished this and will be bring it along to Westpoint for the IBF as a show and tell tomorrow...
Pirates knife.
-
I have used plombago (graphite powder) in water, it floats as a damp dust on the surface of water and coats tool very well. and also grease and plombago, and recently bought a farriers punching lube that smells like citronella candle and plombago.
It all works wonderfully.
-
I am really looking forward to this and will be certainly trying my best to glamp, or at least a blacksmiths version of same.
And mead, I shall get some mead!!!!!
As well as doing the smelt I am going to try and bring a lot of show and tell so ......what do you all want to know about making iron and steel from ore...... -
as a class post script......
on the tuesday after the class Elliott came back and etched his pommel and glued up and peened over his tang. I had fully expected his sword to take him an extra couple of days as he had a strong idea of what he wanted to make before the class started , but he did good and nearly finished his sword in the week.
super sword with the power to stay straight through the quench!!!
and another hair down moment and a happy student! with a big sword.
I have been busy working on some of my own pieces these last two weeks and I'll post them up here soon.....
-
continued.....
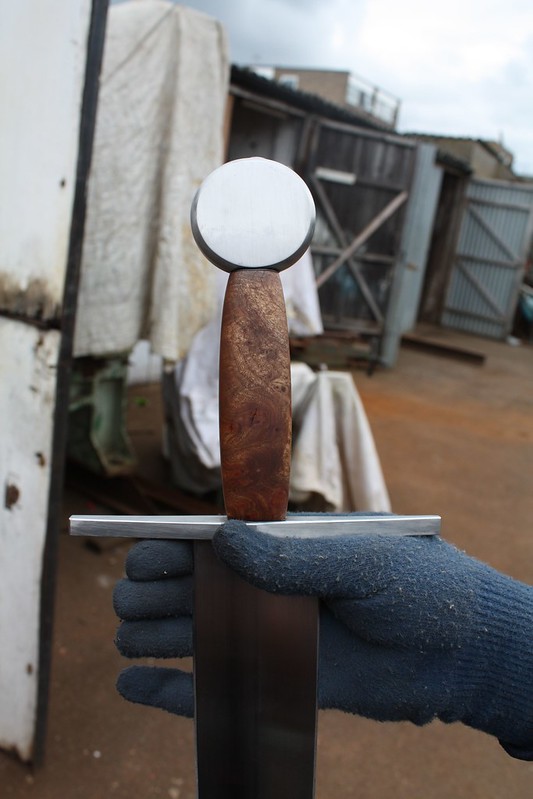
nicely peened over .
and balancing just rite, at least one version of right.....
A nice bit of burrl elm, shiny!
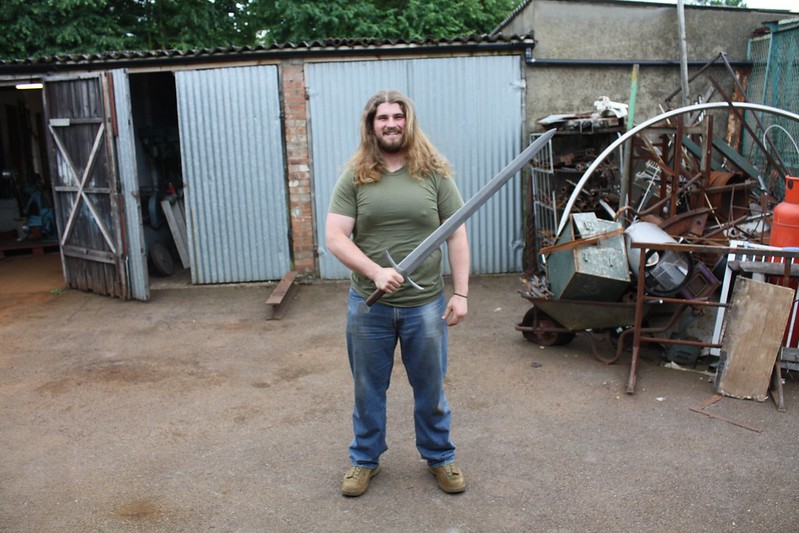
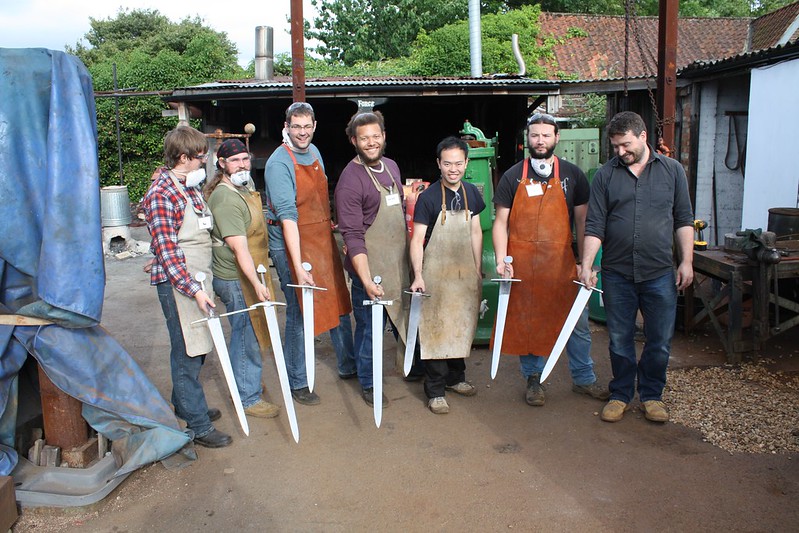
nothing beats that "I have just made a sword feeling" and that is a big man with a big sword!
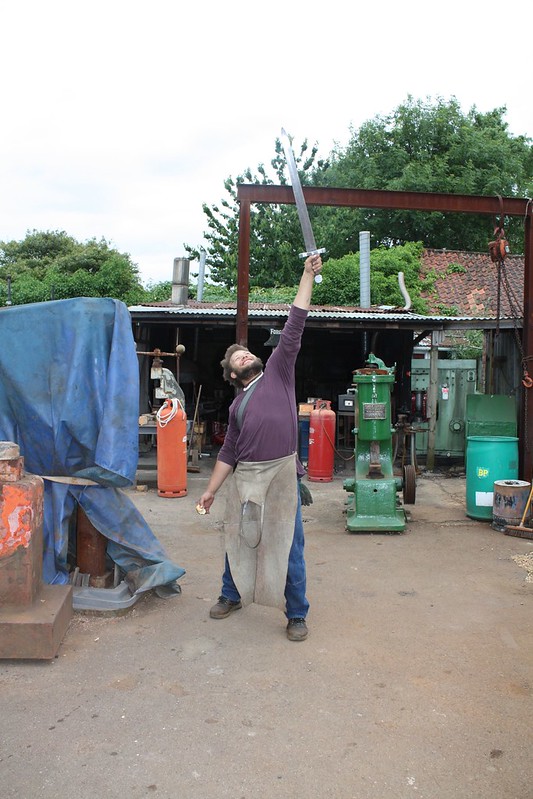
and another " ah..... this is a sword" moment.
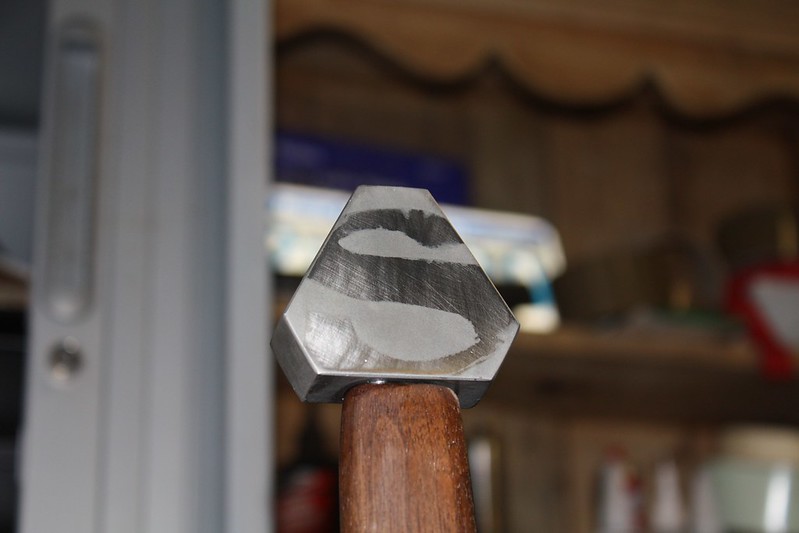
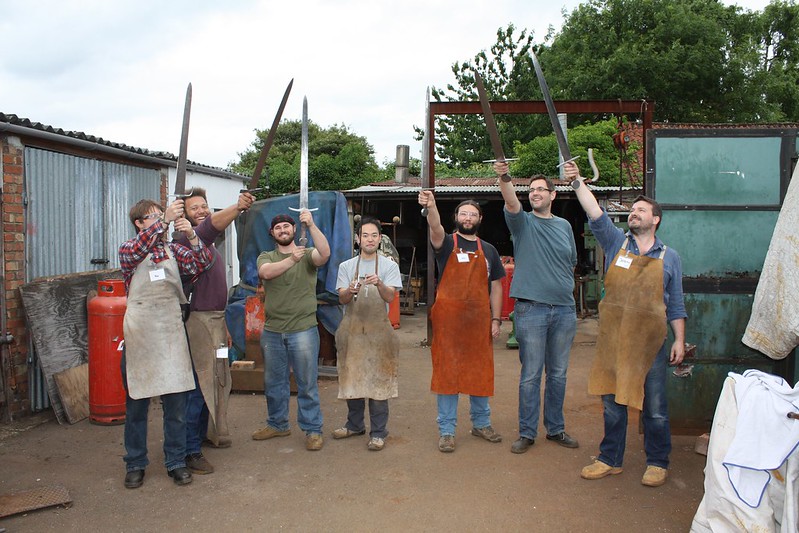
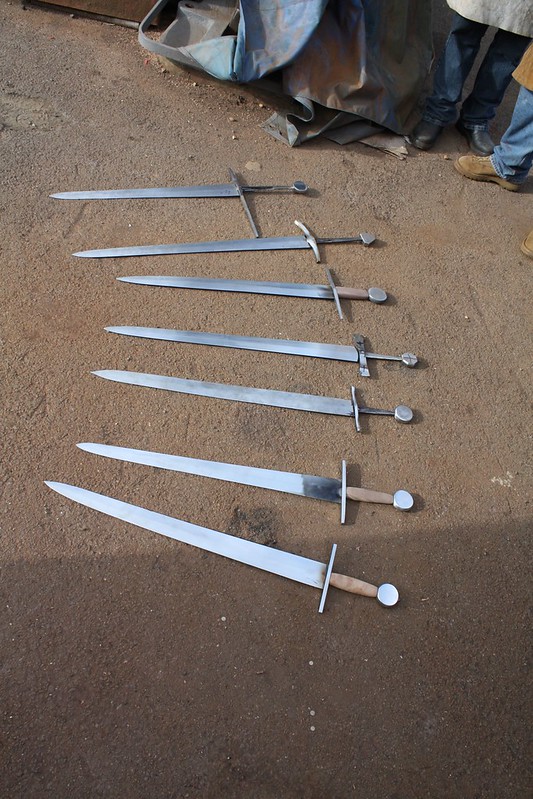
&7 days in and 7 swords..... well strictly speaking 6 swords finished as Elliot wanted to etch a superman S on his pommel so came back and did another half day...
They are all quite different in weight and characteristics, this photo was taken just before the last couple of blades were peened over....

7 swords in 7 days is a hard ask both of myself and the students, but it is doable..... In many ways having the time limit means that the students do not stumble into the black hole of the unfinished sword pile that so many of us makers seem to find (me included).
Swords get a lot of hype for being complicated pieces to make , and they are as complicated as you want to make them......they are also in many ways very simple, and of course simple with a guiding hand is a very different prospect from simple on your own with no help.
For myself teaching these classes had helped me to learn a lot more about the process of making a sword than I would had I been left my own devices, for example I have helped birth a greater variety of swords than I have made myself, and I have streamlined the processes and acquired kit that make it possible quickly and I have straightened a lot of bent swords.
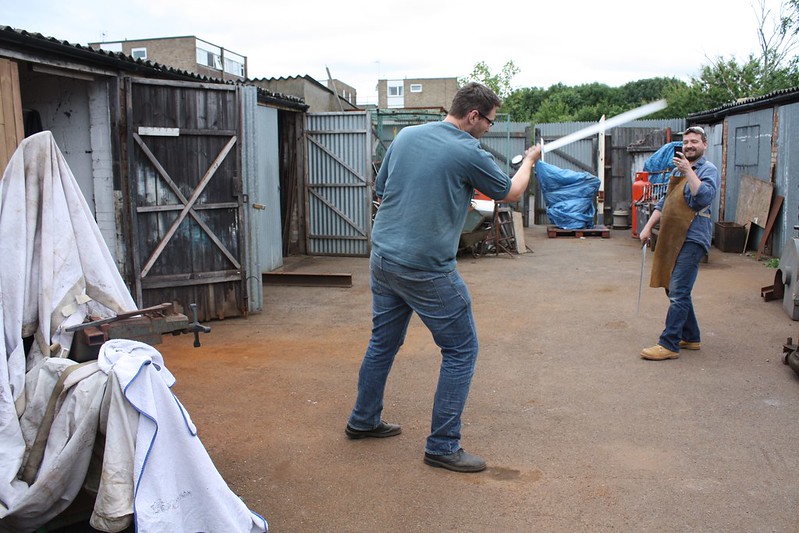
I am very proud of this class and the achievements of the students, in amongst the hard work there has also been a lot of fun!!
-
Day 7.
At this point its been a long week and I always try and end up with a shorter day.......at least I try....
. Lots of little bits of finishing to do before the end .
A bit more time on handles ....
a little aligning of a guard...
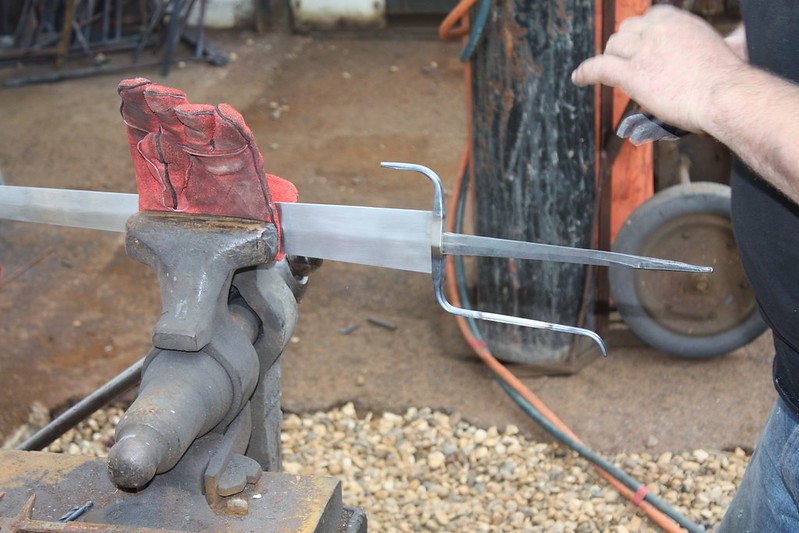
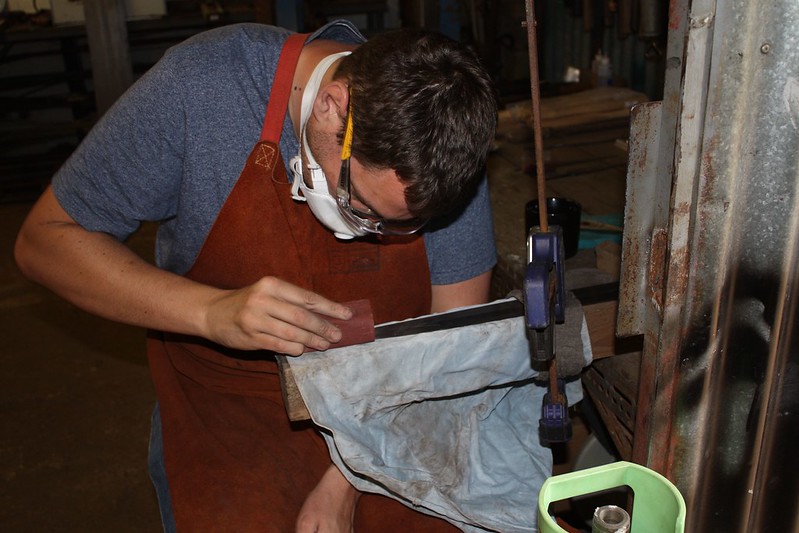
some sharpening, gently does it.
we glue up handles and guards and pommels and then when the glue is set tangs are peened over...
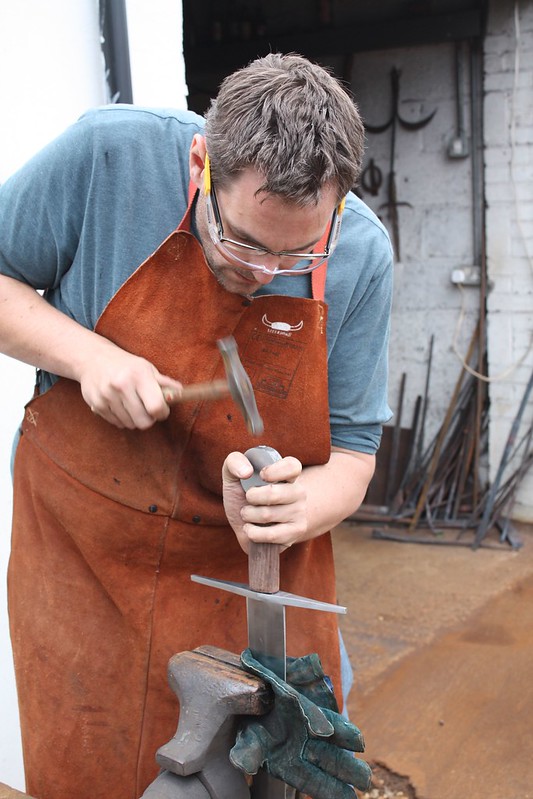
I always advise firmly holding the pommel to reduce the possibility of vibration loosening up the handle.
peening is a very precise job, best done with the smallest hammer that will move the metal.
If you are clever and leave the pommel edged as forged you cant even see the missed hammer blows! (nice one Ian)
-
I think I would look at this from a different perspective, I have always expanded out damascus plates using the power hammer equivalent of a rounding hammer small top die and flat bottom die, or a tight fuller top die and flat bottom die .pretty much what I would do by hand.
I am not sure if a big hammer is really the answer and you might get more work done with a fast smaller hammer and limit the depth by moving the piece around.
anyhow good luck , and please show us your results.
-
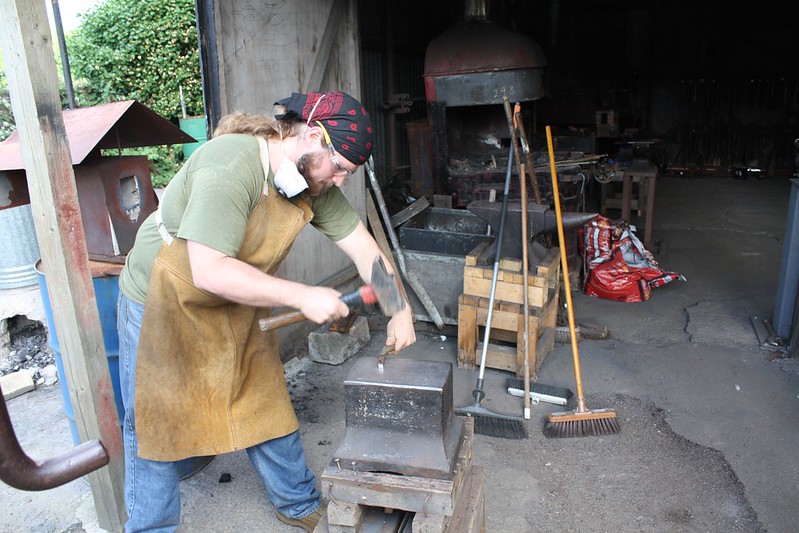
John, I have found that without doubt mechanicals hit harder per horse power of motor. I have run a 60lg goliath on a 1 hp motor and an equivalent massey (55lb) needs all of 3 to 4 hp to make it work . I would assume that with a compressor run hammer the losses are more.
lots of ways to look at it, power of hit , power of hits over time, power of hits compared to power consumption.
It kind of depends on what your limiting factors are , power , money , time, versitility?
-
continued:-
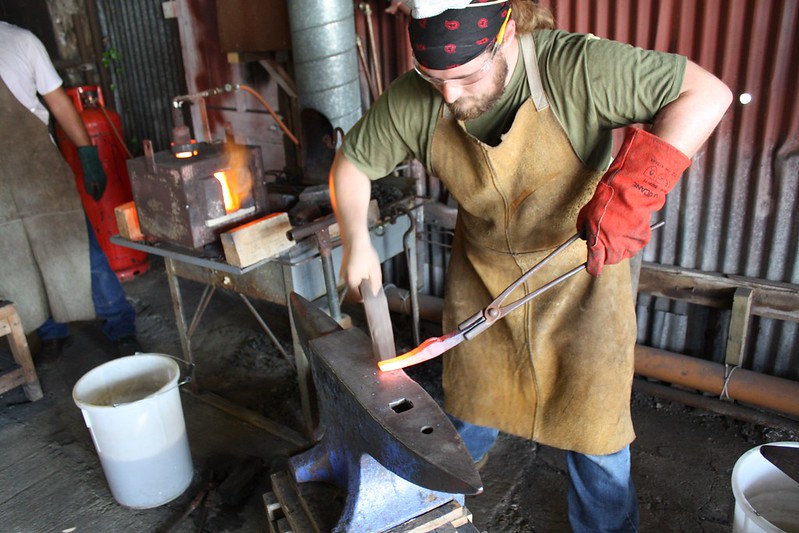
a little fine straightening,needs a little hammer...or not.
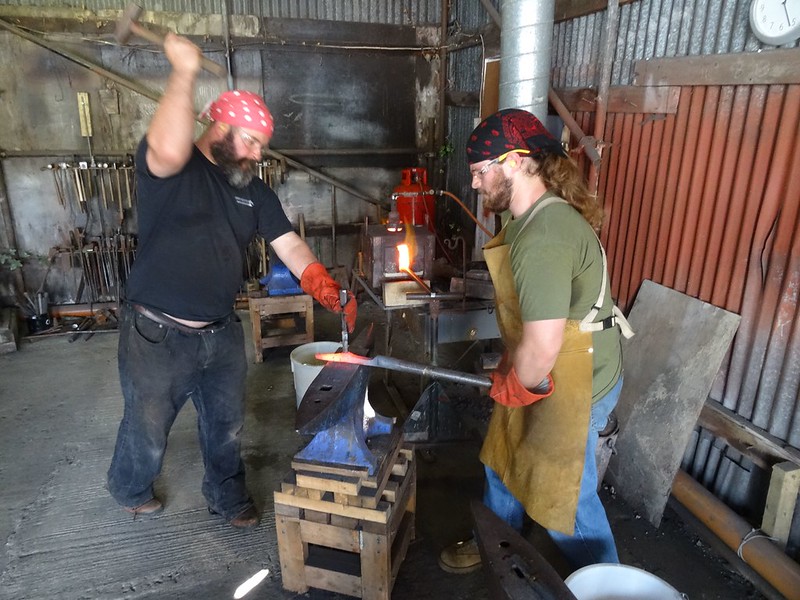
In amongst all the machine work and bashing there there is time for a little chatting over a gentle handle polishing.
at the end of the day we are again a lot closer and the individual swords are gaining their own personalities.
and of course the end of the day photo.....Just before we go off for a beer!!
-
Thanks for all the comments, I have been too busy finishing my own swords to update this.......
Day 6:-
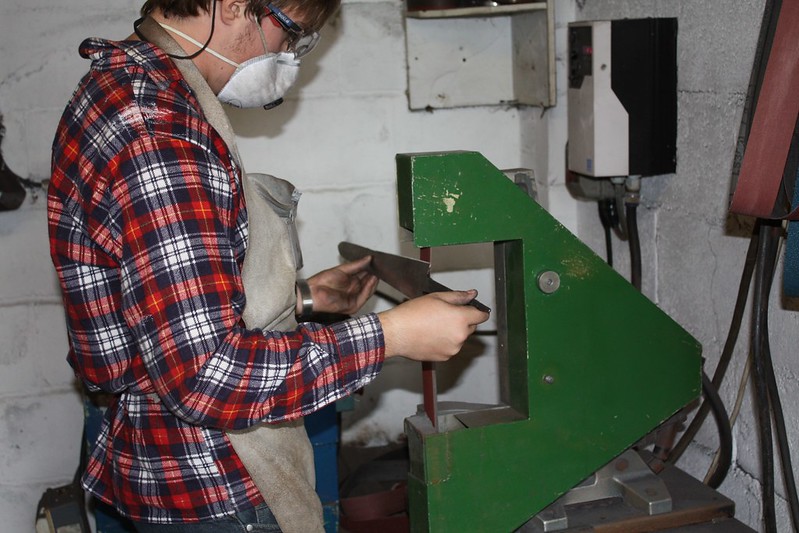
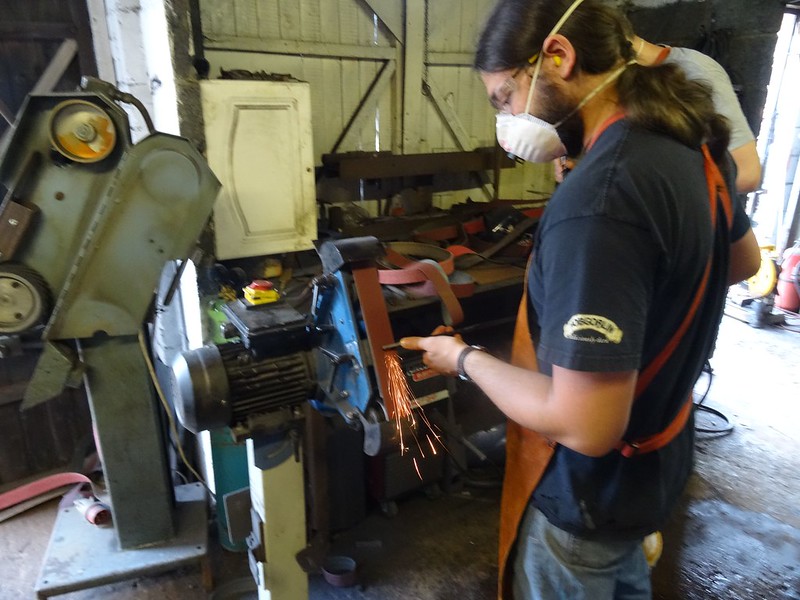
day 6 brings us closer to finished swords, the main job was to see everybody through insetting their guards and getting handles burned in and shaped. but sword blades needed polishing and pommels grinding and fitting.....
Ian polished his blade
Tumi insets his guard
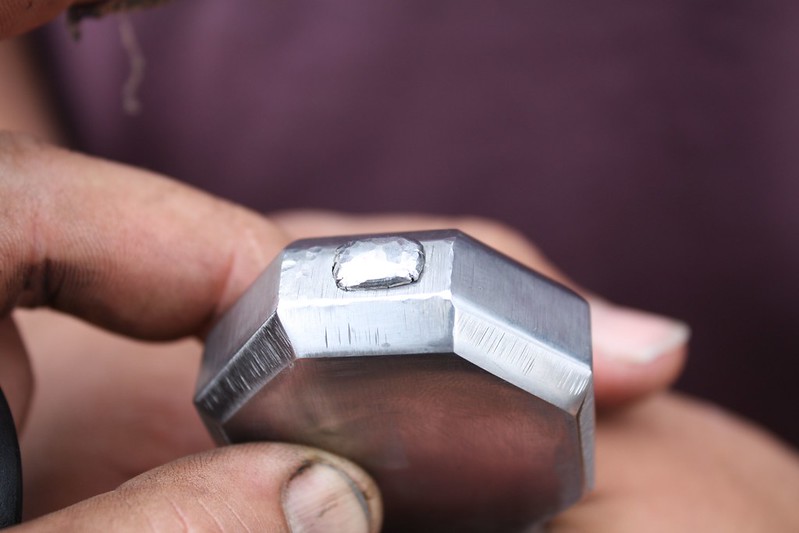
Have a look at my pommel.
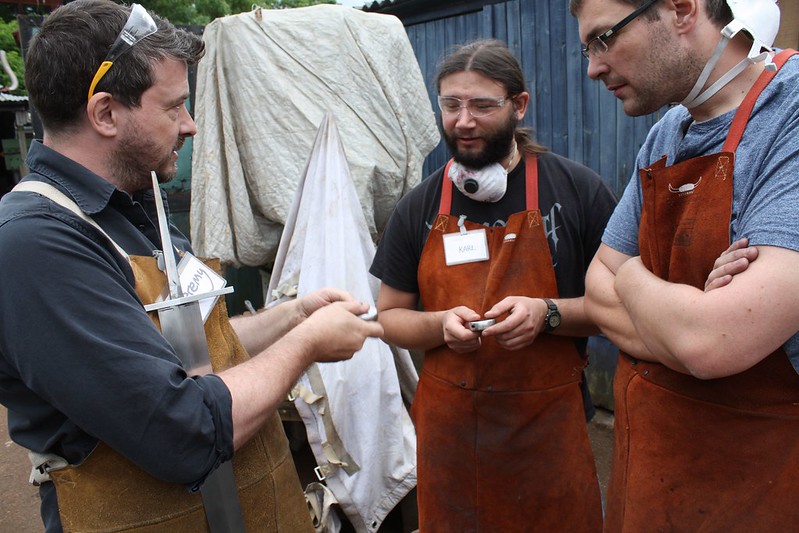
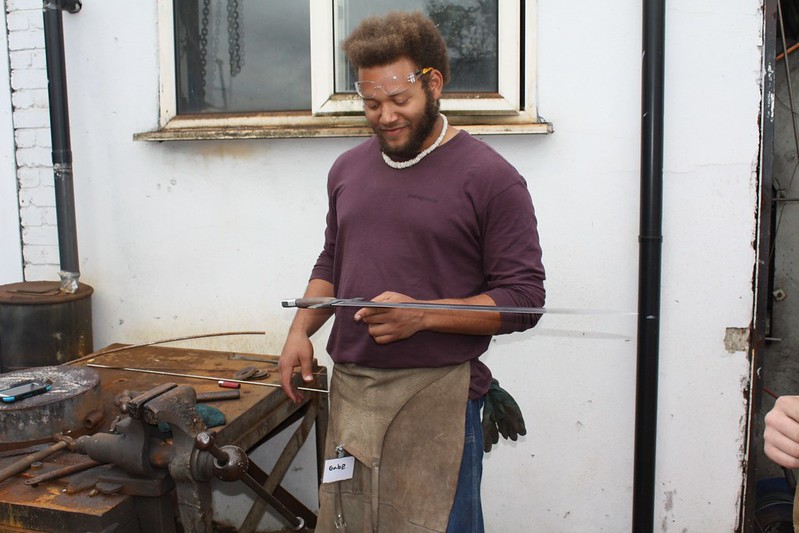
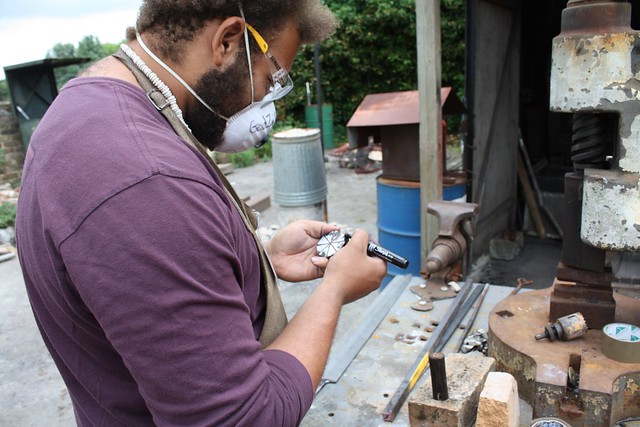
Gabriel working out an octogon...
burning in handles
Almost there, I burn in handles at a high temper, and it works wonderfully in some woods, this is wallnut a favourite of mine.
I like to take the temper into the beginning of the blade, as I burn the handle on I drop the temp progressivly as we get closer to the blade.
-
continued....
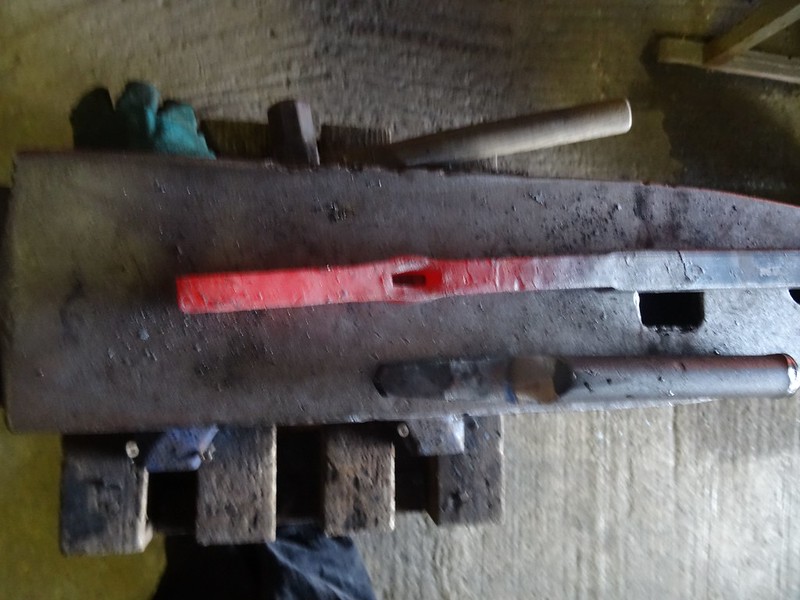
this guard had the hole drift sideways a little so I re configured the slitter to a one sided profile and re aligned the hole...
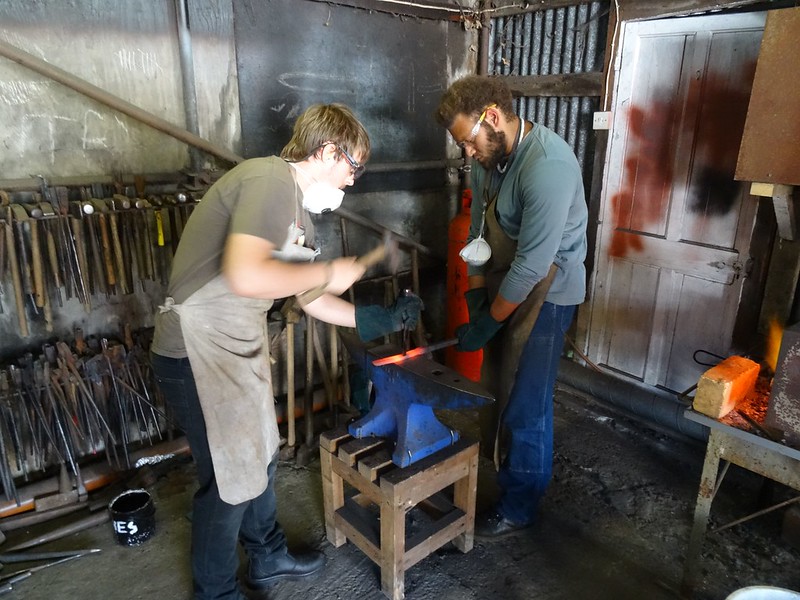
then Elliot forged the guard roughly to shape.
Gabriel working on his different version of a guard.

a little more work on a pommel.
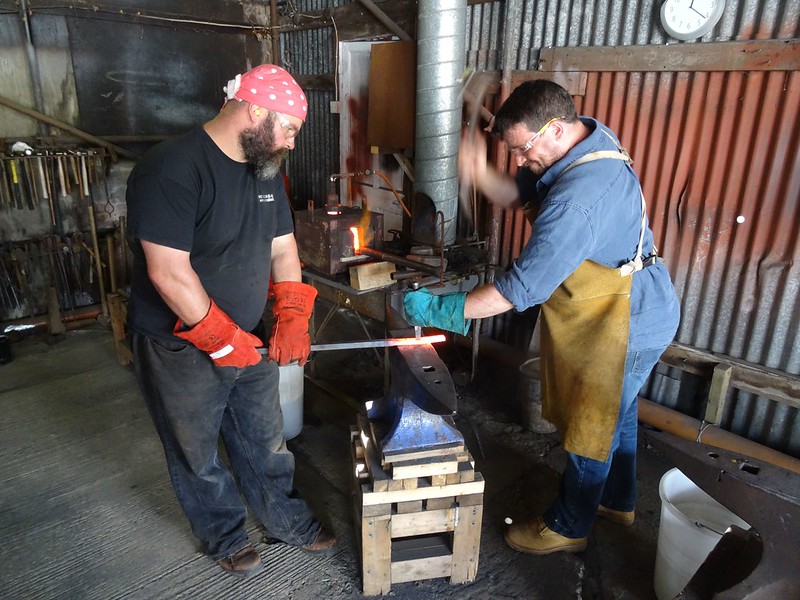
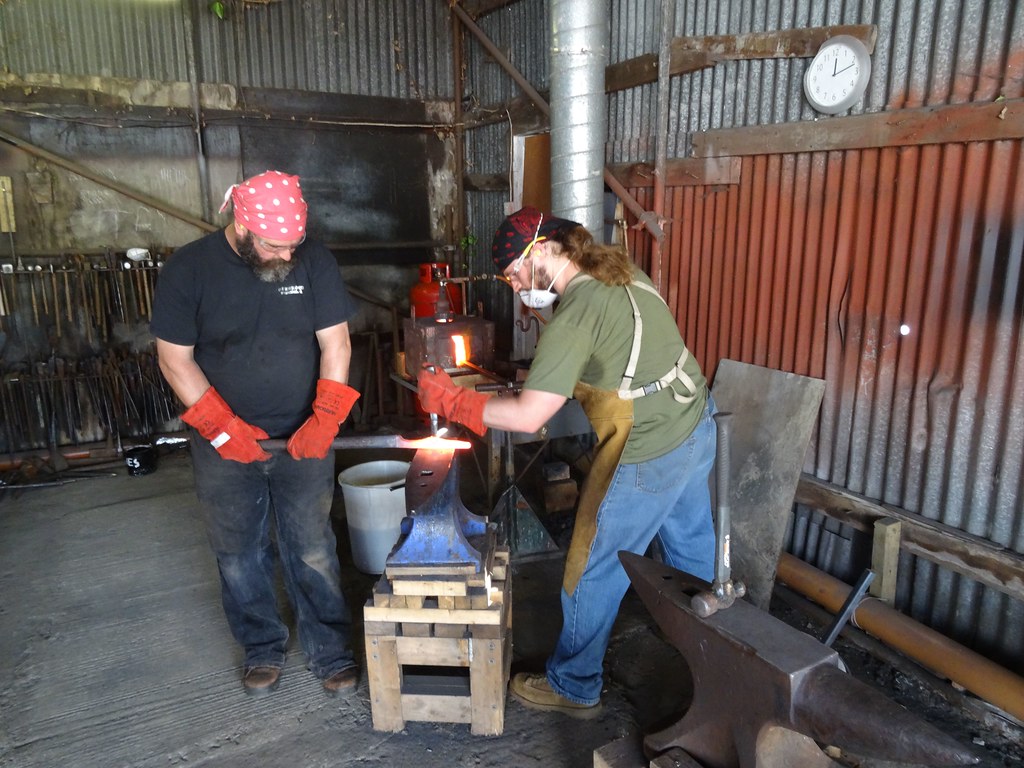
The job of fitting blade to sword takes a while and is a job of little by little and often but not going too far and then blade insetting is done with dremmel and chisel. I want the guards to be a tight fit , needing bashing on with a hammer.
 .
.By the end of the day we have gotten a lot further along the path to making a sword and things are coming together.....

-
Day 5.
Today we worked on guards, the biggest job when making a sword ,apart from the blade of course is the fitting of the guard to the blade. I like the blades to be insett into the guard, so we first make a punch similar to the tang shape but slightly smaller and then fettle the hole with a dremmel and have the blade sitting in a blade shaped recess.....
once the blade is recessed we then shape the guard so that it is square to the blade.....most of the sword guard were simple a couple not so much so.
I get people to punch in pairs, I normally do it solo.

more punching
Here is the basic form we are looking for neatly Done by Gabriel.
Jeremy giving it some welly, kind of have to with punching.
Elliots guard was a little trickier more distance to punch through and more shape integrity so we used a slitter....
-
Its very hard to get what you mean from that description, pictures or line drawings would help. Really you are going to need top and bottom tooling to forge a fuller.
-
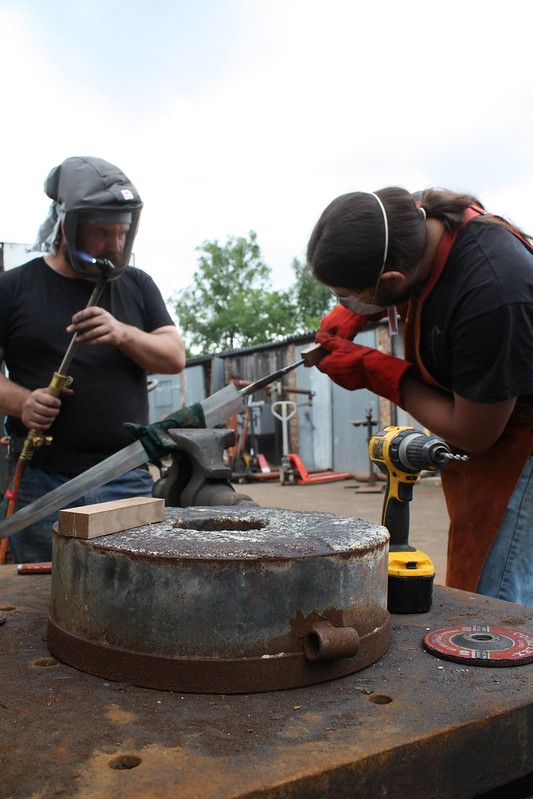
Day 4
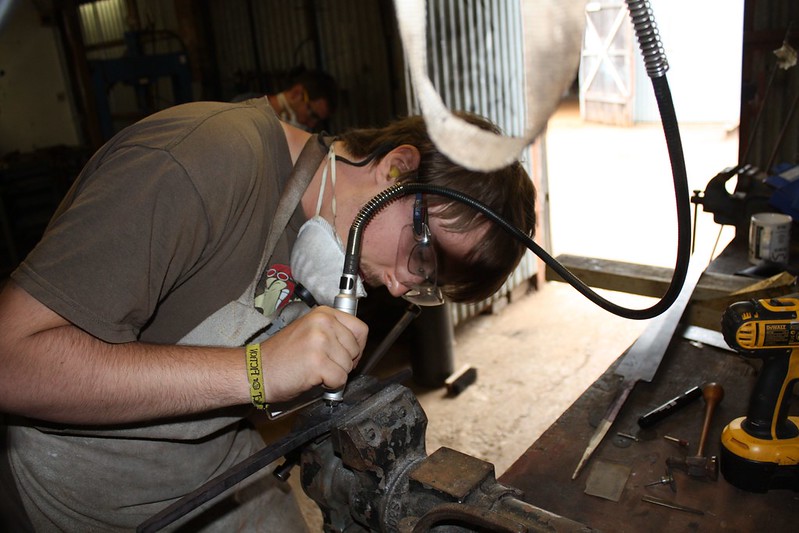
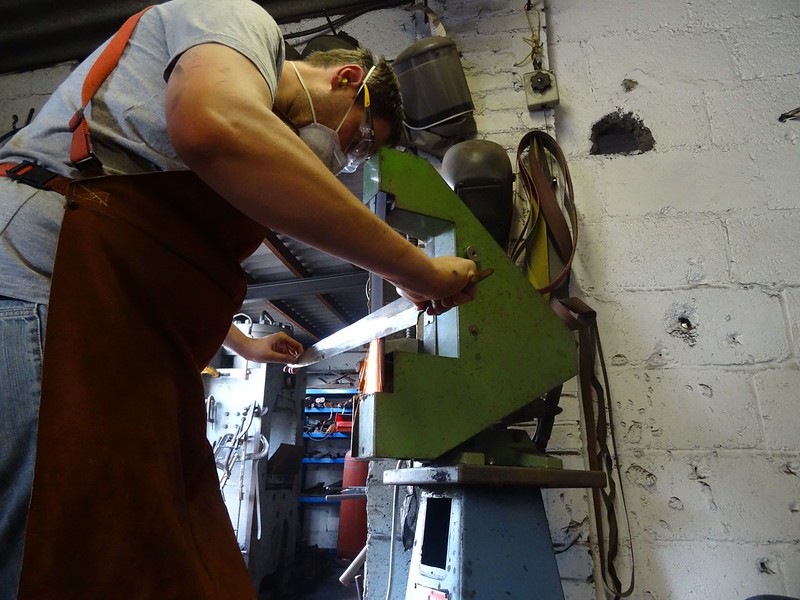
We started day 4 by getting the remaining blades through the quench, no other miraculous straight blades so after a little post temper straightening it was back to the grinder.I like people to leave a little meat on the blade pre HT so most of the blades needed a little post HT diet .....More grinding it is.
Jet running some fine bevels

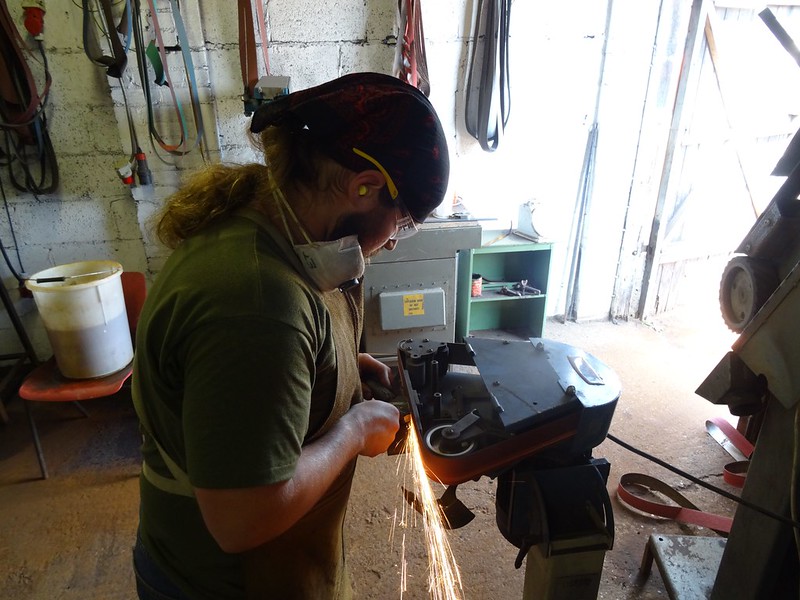
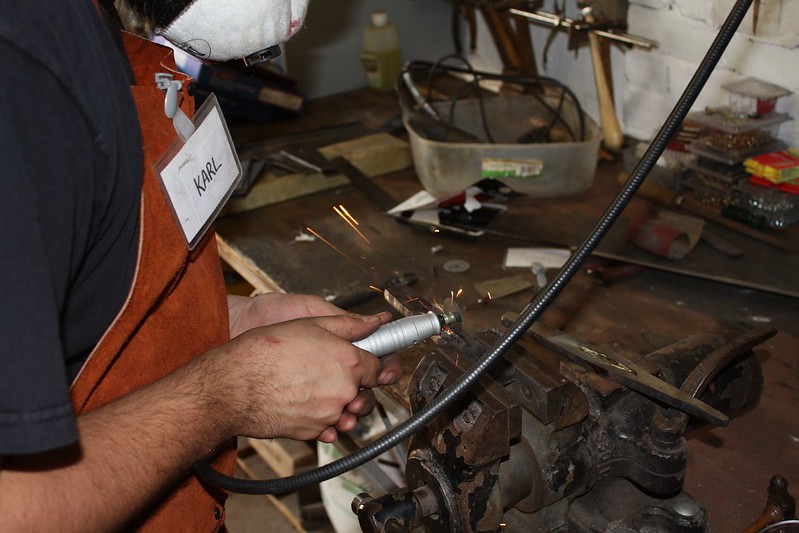
Karl loosing a little tank weight
an thinning his blade out
end of the day... "is this thin enough"
the blades at the end of the day, looking a lot better and one pommel on the way.

End of the day, I have promised more forging tomorow so people are happy....
need ifo on Alldays&Onions 1cwt hammer
in Power Hammers, Treadle Hammers, Olivers
Posted
Mike Phil has posted pretty much what I have...