
irnsrgn
-
Posts
2,184 -
Joined
-
Last visited
Content Type
Profiles
Forums
Articles
Gallery
Downloads
Events
Posts posted by irnsrgn
-
-
I live in a rural area and I have a thing for bumpers, cows, pigs, deer on the country roads you know. and they have all been field tested, LOL
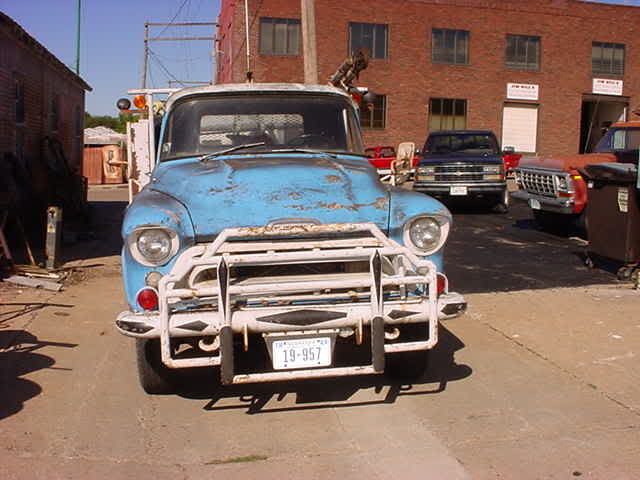
and if you have to push a semi from the rear of the trailer, you need this.
-
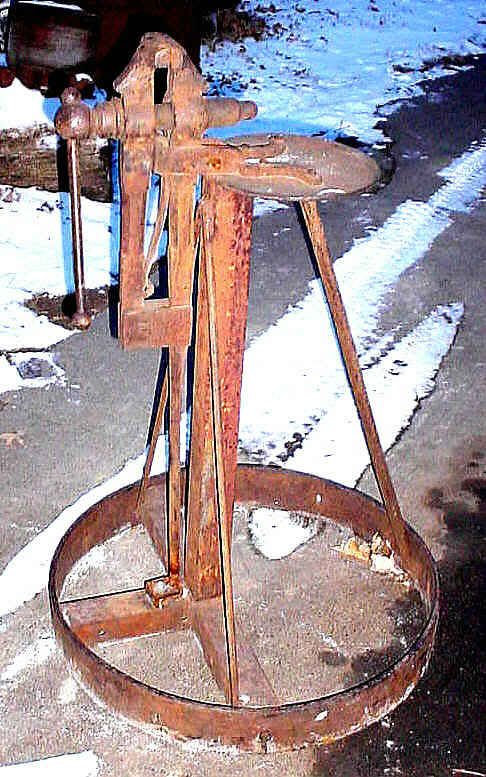
This is my demo blacksmiths post vise, but on a mini budget and just starting out almost any machinists vise will work for light work.
-
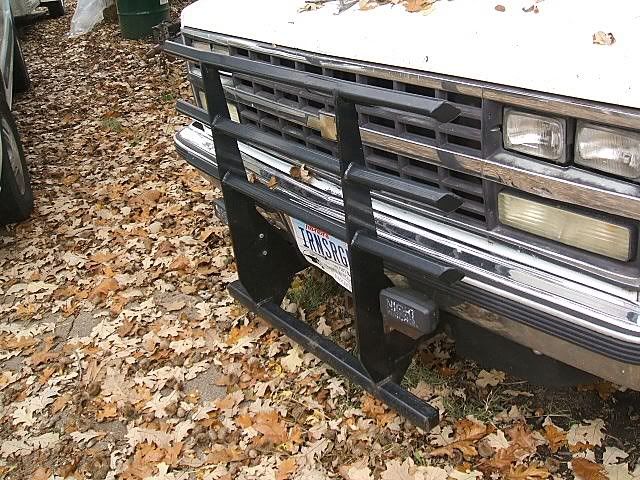
I put a front reciever hitch on my Suburban to back trailers into real tight places. And then built a deer deflector that attaches to that, nothing is fastened to the bumper, only to the frame. The bottom bar is even with the bottom of my axle banjo's so I don't get hung up on something, and the 3/16 wall 1.5" Square tubing is set at a 45 so it deflects the wind and causes no drag and besides its sstronger that way. So far 7 deer and 1 turkey have met their waterloo by getting in its road with no damage to my vehicle yet.
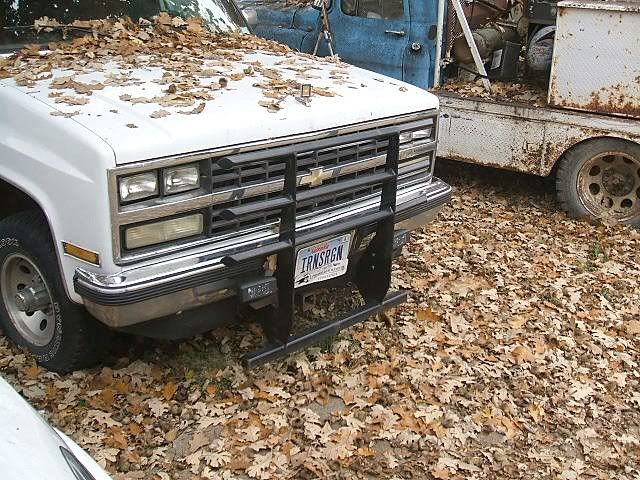
Also the cross pieces are positioned so that to oncoming traffic its almost invisible as it blends in with the factory grill.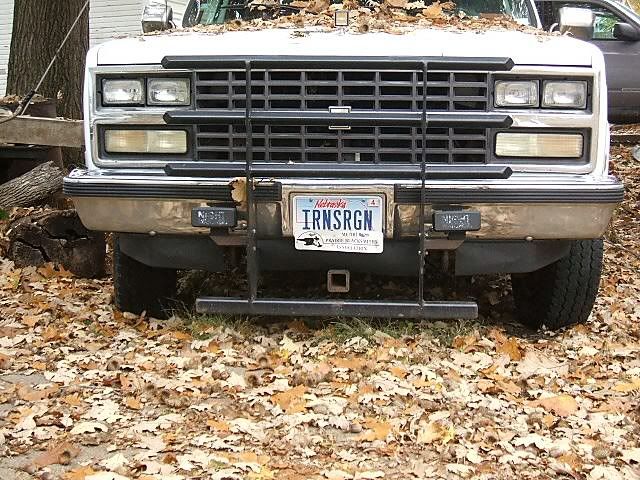
-
I have an almost identical anvil, I gave it to my grandson. I used it for awhile and did everything I normally did, including finishing plow shares after drawing out under the power hammer. I had a big anvil once, I only used it for doing the wing pivot on walking plows as it was too large for anything else except very large forgings when 1 or more strikers were available. Most blacksmith shops in the old days used anvils from that size up to about 150 lbs unless they had several journeymen and appretices and did industrial forgings. A big bulky Anvil doesn't make you a better blacksmith.
-
low quality wrought like in iron wagon tires, needs to be hammered at an orange heat several times to draw out the flux used to refine it, then you can work it at higher heats, if you work wrought to cold (red) it will split. have you spark tested it, it could by an off chance, be cast iron, as it crumbles when trying to forge it?
-
I demoed woodworking in the woodshop next to the blacksmith shop at the Ag Museum Heritage days Saturday, and had some WWers from KC come up to watch and have a go at me, they are normites,(power toolers) and they did ask some rewarding questions. I finally did get to go over and have some fun with the demonstrating smith, He is a good friend and helped me build the forge, we had a good time having some fun. And the spectators loved it. Oh BTW, I never heckle or pester a smith I don't know, and they usually come and heckle me on their breaks.
-
Well, Ok if you say my calculations won't work I guess they won't, I just wonder how I lucked out on the Hospitals front drive railing, it was a 28 foot radius, 35 ft long on a 10 degree incline, I built it in the shop and the alley and hung it from the left side of my 53 Studebaker deuce n a half winch truck and chained it down and drove it up there and had the construction crew help take it off.
OH well, sometimes you just luck out, I guess. -
don't hard face it, hard facing is too hard and will chip and crack with use and it can only be put on approx 2 passes deep before it pulls away from the parent metal.
Use a hard facing UNDERLAY rod which can be put on any thickness without problems, I have repaired many anvils including 4 of my own and I use MG 740 which has a high manganese content, manganese is has anticrushing properties which will stand up to constant hammering, and as welded will be in the 41 rockwell area. it is also forgable and machinable.
Jeremy came down to my shop and used it and my tools to repair one of his anvils with MG740 rod, to preheat the face before welding, smoke the top with just an acetylene flame, the preheat just below the face along the sides till the soot dissappears. Your first passes should be around the outside edges. Use a tempile stick and keep the face below 800 degrees while welding, just use stringer beads to lay the weld on, chipping and wire brushing between passes, don't use a wide wash pass as it will impart too much heat in a small area. -
To draw the radius on a flat surface just use a stiff board with a nail or other sharp object thru it near one end, measure off the radius and drill a hole for a piece of soapstone or a pencil, mark the center, and have someone hold the pivot while you move the marker around the radius.
-
if the curvature is equal along its full length. You need to find the chord © and chord height (ch). take a straight piece of something a known length, and lay it so its ends touch the curve at each end this is the ©. Then find the exact center and measure the distance to the center of the curve at an exact 90 degrees to the straight piece, this is the (ch).
C=72 inches
ch=11 inches
formula is 1/2 C squared + ch squared divided by ch = DIAMETER OF THE CIRCLE.
36 x 36= 1296
11 x 11= 121
1296 + 121 = 1417 divided by 11 = 128.8181818 inches is the diameter of the curved section divided by 2 = 64.409 is the radius
multiply .409 times 16 = 6.5 16ths of an inch, so the radius is 5 ft, 4 and 13/32 inches. -
Knee mail to Frosty, his family and the Dr's treating him.
-
it might help to ask if you can trade what you bring for other material also. Apperance is vital too, don't walk in with tennies and shorts on and a T shirt with some smart saying on it. Dress for the occasion like has already been posted. And if you know any clean jokes, ask if they want to hear a good joke. Also let them know that you will be a steady customer if they let you browse and tell them what you are looking for, after awhile them may just save back things you want for you.
-
Just remember when you too old to Smith, you can stand and ask younger demonstrators funny questions. LOL, its lots of fun!
But while you demoing for the public, be nice. One smith had a spectator tell him her father was a Blacksmith, he came back with a smart remark and she stepped back, opened her purse and dug out her business Card. It said Claire Yellen!
And him with no place to hide. -
if its new metal from a mini mill, just heat it up and using a large stream of water Cool it Quickly using the flood method like they used to harden wrought anvil faces. or just suspend it in a horse tank upside down with a small trolling motor fastened to the side of the tank to move the water over the face. And try an experimental smaller piece first to see if it will harden some.
-
Thanks for the help, grandaughter did not get lifeflighted as previously reported, but update today, says she is responding to treatment and is stabilizing well, the oxygen has been decreased. Mom has been released, but is staying there to help care for the baby.
-
about 350 rpm and the old black cutting oil and a black cobalt bit. constant steady pressure and never let the bit make even a half revolution with out pressure on it.
-
had to be taken by "C" section at 36 weeks and has water in its lungs, life flighted to a special childrens hospital in Florida, 50/50 chance of survival, but not sure if it will ever be all right.
Prayers appreciated,
thanks,
irnsrgn -
make a 12 inch diameter fan housing 2 inches wide inside. make an impellor with 6 arms and put tin flat blades on it, on the shaft coming out one side, put a 1 inch diameter driven pulley, Use a bicycle tire and rim inflated to run against the driven pulley, just the opposite of a tire hammer drive, add a handle and make lots of smoke and fire in your fire pot.
-
I toured a large factory one time that did a lot of stamping of metal, I was amazed at how quiet it was not far from the machines, what they did was hang baffles from the ceiling about every 6 feet to control the concussion or vibrations. FWIW and the baffles were just cloth with a weighted bottom.
-
Only code here is that a blacksmith forge flue has to have no larger than 1/2 wire mesh spark arrestor on it.
http://www.iforgeiron.com/forum/f7/brown-co-ks-blacksmith-shop-pix-9-19-08-a-7463/ -
Just type in a flower name in the search window of your browser, every flower known to man is there for you to look at and all the known colors are varients too. side views, top views, leaves the whole ball.
-
I seem to remember of a famous smith who had a flower garden that he took a deduction on as he grew the flowers for models to make metal ones from.
-
Many want a perfectly flat face on their anvils and grind or mill them down, a good wrought anvil only has a very thin layer of hard face and to mill or grind it away will result in the face cracking off,
Lots of old Anvils were sway back right behind the cutting block or step from constant use there, usually an anvil used for plow work is this way, if you look closely you will see the sides bulging in this area from the soft wrought under the hard plate crushing and spreading, if the anvil had a good weld between the face and body there will be no damage to the face.
Also many an old anvil is crowned in the center directly behind the cutting or step and about half way along the face. Many anvils were made this way or modified by their owners as this was thought to help with drawing heavy stuff, it was actually a selling point at one time.
Neither of the above conditions will be a problem to the user, if you want a flat place, move toward the heel to a flat place and finish the work there. Just don't bugger up as the Aussies say a good anvil because you think it won't work for you. -
FWIW, I start with a square of 16 gauge with a 1/4 rod welded to it for a stem and for use as a handle when curling the petal. But I just use them for candle cups.


Slack Tub ?
in Problem Solving
Posted
put a couple of containers of car radiator stop leak in it and stir it up good.