newenglandchairco
Members
-
Joined
-
Last visited
-
Thanks Iron Dragon, I appreciate that. My original belt had a slit along the belt at each end with a I shaped brass staple oR pin holding the ends together. It was severely shrunk and dry so I wasn’t sure how long to make the new one. The old belt was about 1 1/2” too short. So I called Hudson Belting and gave them the measurements of the machine and they figured in the percentage of stretch to make sure I have a correct fit. It will have the same style connection you show in your pictures. There is no adjustment for the belt so it has to be “ just right” but if your making your own belts, I’m sure you have way more experience and feel for belts and fit than I do. Thank you for The welcome and info!!~ Phil
-
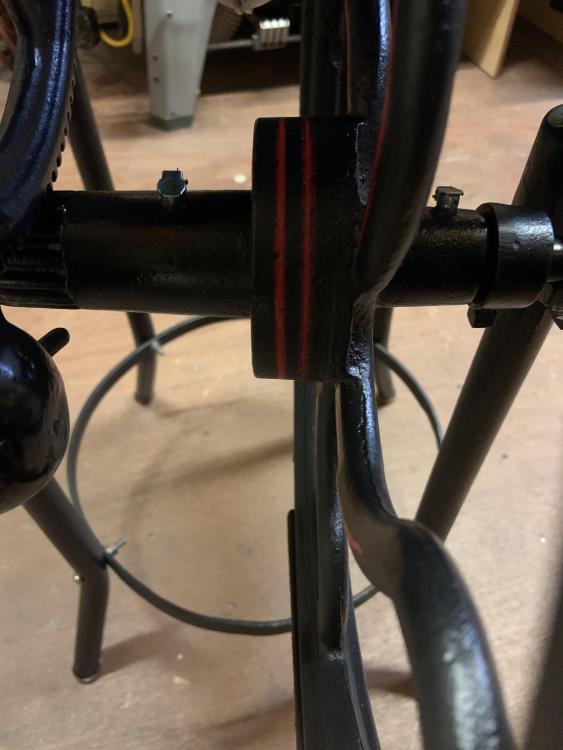
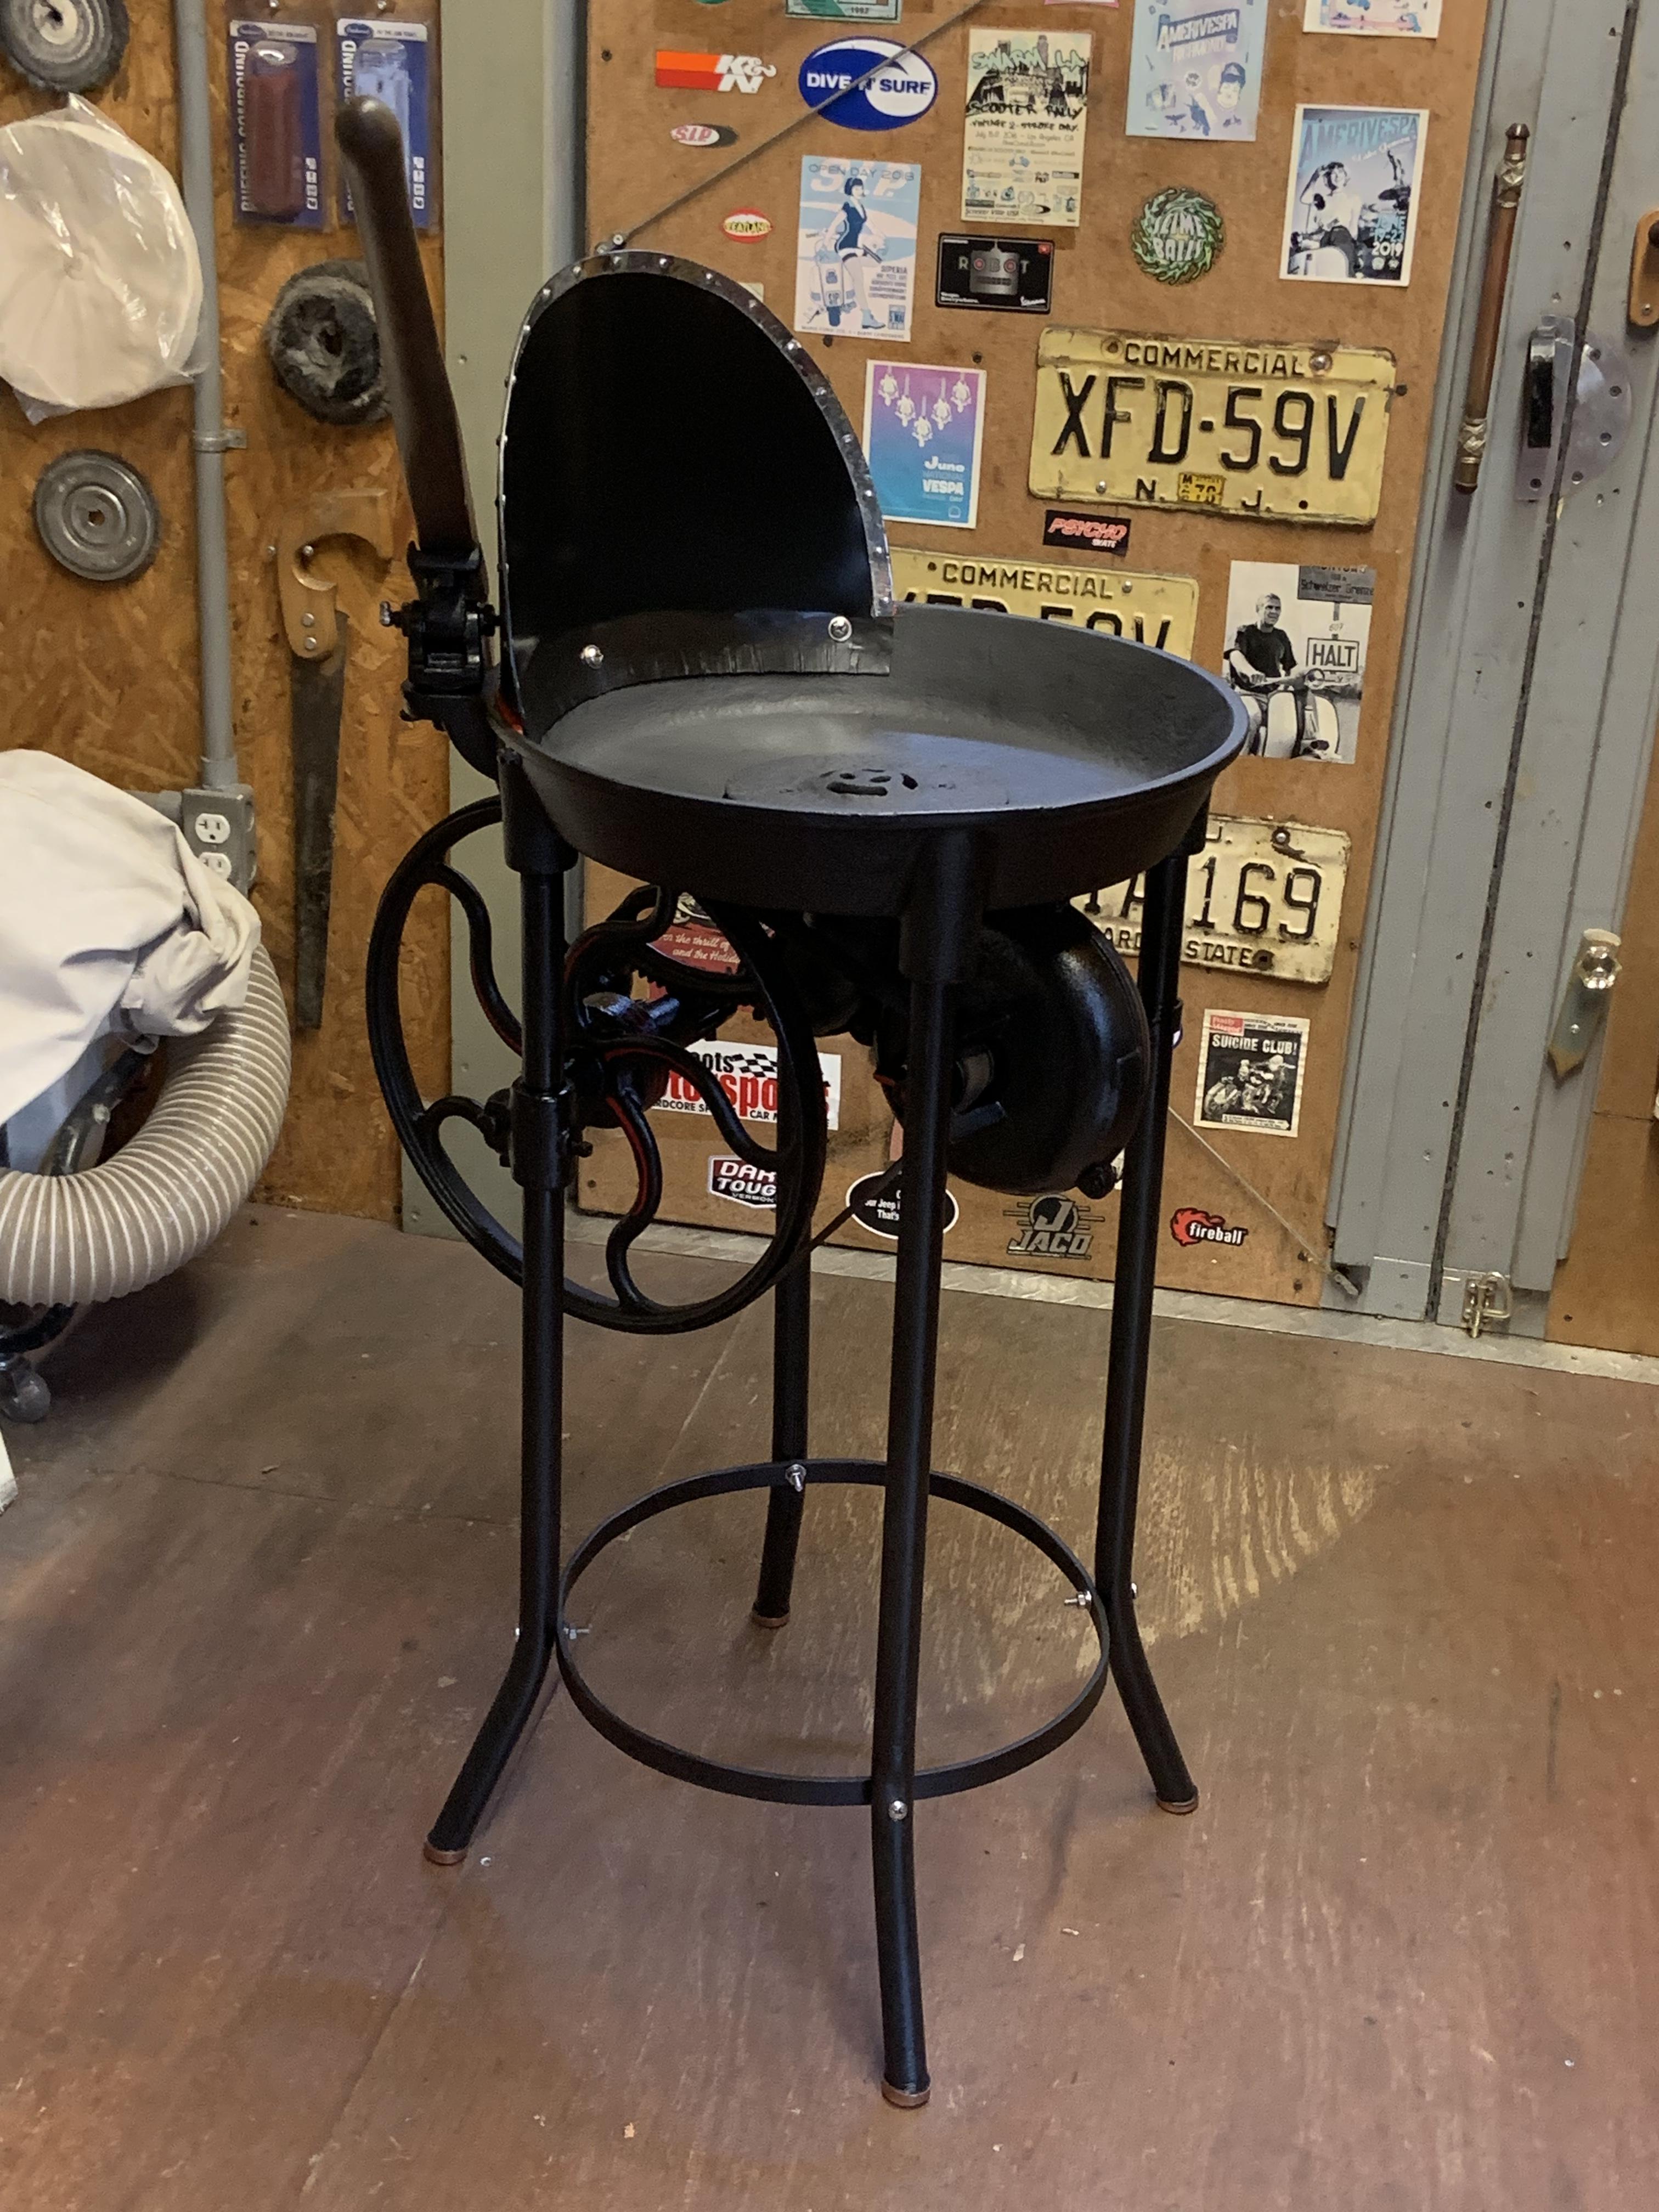
Hello TwistedWillow, thanks for the welcome. To answer your question yes I do really like the lever action forge. The canedy otto I restored was for a customer. It was chain driven. The gears were damaged due to a leaky gearbox ( cracked) and rust….. lots of rust. Gear shafts were pitted and sloppy . The customer had bought another for parts and the gear case cover was missing. Between the two I was able to make one using the cracked case as it was in better shape. I metal stitched the crack and made a neoprene gasket and it didn’t leak a drop after that. My forge was in very good condition to Start with. I poured new Babbit bearings in the blower, replaced the flywheel axle and it was very tight after that. I drilled an additional oil hole in the flywheel hub and added oil caps to every oil hole. The pivot point for the lever had a peened pin in it which I replaced with a new shoulder bolt I centre and cross drilled and tapped for a grease fitting so every moving part has better lubrication than it did. Even the holes through the wooden lever where the hook bolts go through had steel bushings installed so the slop was eliminated. It’s a very smooth and tight operating forge. I sealed up the blower casting as well with high heat silicone and it doesn’t leak Any air so I have a very hard stream of blast air when levering. Maybe they aren’t for everyone but I really love the simplicity of the machine. I’m used to weird operating stuff like shifting on the right on motorcycles, twist shifting a Vespa etc. Hello again George and hello JHCC, like JHCC has mentioned my forge flywheel free wheels in between pumping the lever. there is a ratcheting hub with three gravity pawls that engage a toothed ring inside the hub ( no springs, no retainers no wearable parts) and each stroke brings a quadrant gear up with a weighted ball on the end that resets it. It drives the hub and the pawls drive the flywheel. Contrary to popular belief even when freewheeling if the flywheel is turning the blower is working. Once the initial action on the lever is made and the assembly is turning you can use one finger on the lever to operate the blower it’s so smooth and easy. So just like a geared box that continues to spin albeit slower than when under cranking power you continue to get air as long as the flywheel is turning. I think you for sure get more air from a geared box style blower more consistently but they both work just as effectively.
-
Hello George, thanks for the welcome. Yes Southern New Jersey, USA. I specifically searched for about 3 years for a lever forge. As I was told/ read the lever forges were first, and yes the lever action was close to a bellows movement and made it easy for smiths to get used to. The geared crank oil filled boxes came after. I have restored two such forges and I like the lever forge far better. 1. Far less moving parts. 2. no oil in the gearbox. My forge is literally brand new now. I poured new babbit bearings in the blower and replaced the axle shaft for the hub and flywheel so it feels like a NOS forge. I like the look and feel of these and won’t have to fight cold thick oil in the gearbox or worn gears slipping. I had a Canedy Otto that took two gear boxes to make one decent one….. I also have a Champion # 200 post drill and finding some of those parts took 3 years!! I do not have a dedicated building to forge in so I’ll be doing it outside for now. So the small rivet forge will be perfect for now and once I have a smithy set up it will be perfect for small repairs or work when I don’t want to light a larger forge. Thanks for the info , I’ll look those organisations up! Thanks George, nice to virtually meet you- Phil
-
Hello all, my name is Phil Russo. I’m in south Jersey. I’m a furniture maker and antique restorationist. I have been interested in real forging for a while and finally got my forge restored and ready to use, minus the new belt( waiting, waiting , waiting for Hudson Belting to make it) and getting the best material to clay the fire pan/ pot. I found a local ( 40 minute drive) potters supply who has earthenware clay with grog mixed in. It is sold in moist state however. I planned on adding sand until it is the consistency stated by others on this forum - leaves no wet spot, clumps when squeezed, breaks clean not crumbles. Is this the right course of action? Also I planned to allow the lining to dry to “ bone dry” state 3-5 days then to fire it slowly. Any suggestions on that process? My forge is a charcoal forge as it has no clinker breaker, I had planned on using lump charcoal anyway and will eventually make my own. I was told to build a small fire in the forge for 20 minutes, remove coals - let it cool repeat a few times then build a larger fire for 30-40 minutes to fire the clay. Any pointers to get me on track will be appreciated I have forged before with gas forces and have been making small hardware pieces for the furniture I build, but am looking forward to a real forge and larger projects like tools and decorative pieces. I have a full set of tong blanks from Ken’s Custom Iron that will be among the first projects I forge as well as fire management tools for the forge. I’m looking forward to learning and building upon the skil I have but lining a forge is not something I have done before. Any advice , and leads on blacksmithing groups in my area would be very much appreciated- thanks- Phil