

White Fox Forge
-
Posts
92 -
Joined
-
Last visited
Content Type
Profiles
Forums
Articles
Gallery
Downloads
Events
Posts posted by White Fox Forge
-
-
It has a pretty decent sized motor on it already however I am not sure on the condition it is in. 220 single phase was all I could make out underneath the tarnish. The motor internals coud very well be seized. To my knowledge the machine has been sitting in the elements for at least a decade.
I agree that an overhead line shaft would be a neat alternative to power the drill. I've seen old lathes that have that were powered that way. Are there any advantages to using thar method?
-
I have come to a pause on the power hammer for now. I got most of the peices back together and am trying to organize my shop so I have room for my camelback drill which will be another WIP on I Forge Iron. I'm currently waiting for a motor and a pulley before the hammer will be functional. Of course it needs a bit of tweaking to run smoothly but looks promising.
Mike: that is a good idea. Were you thinking I should rough forge and weld everything and give it to him to machine?
-
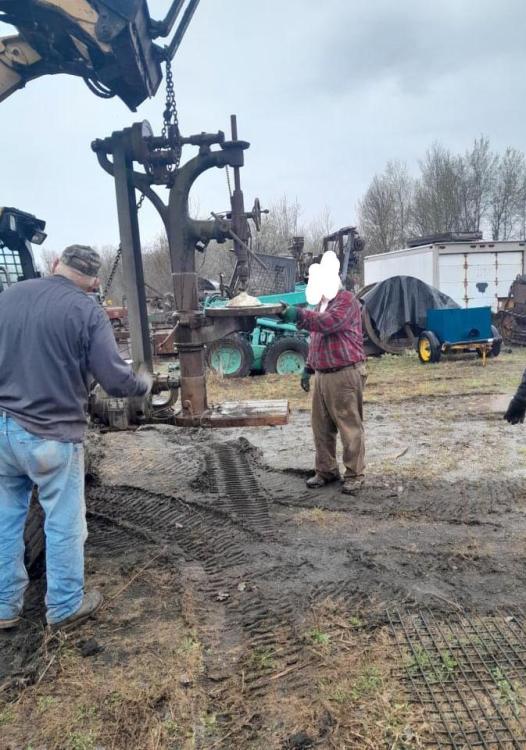
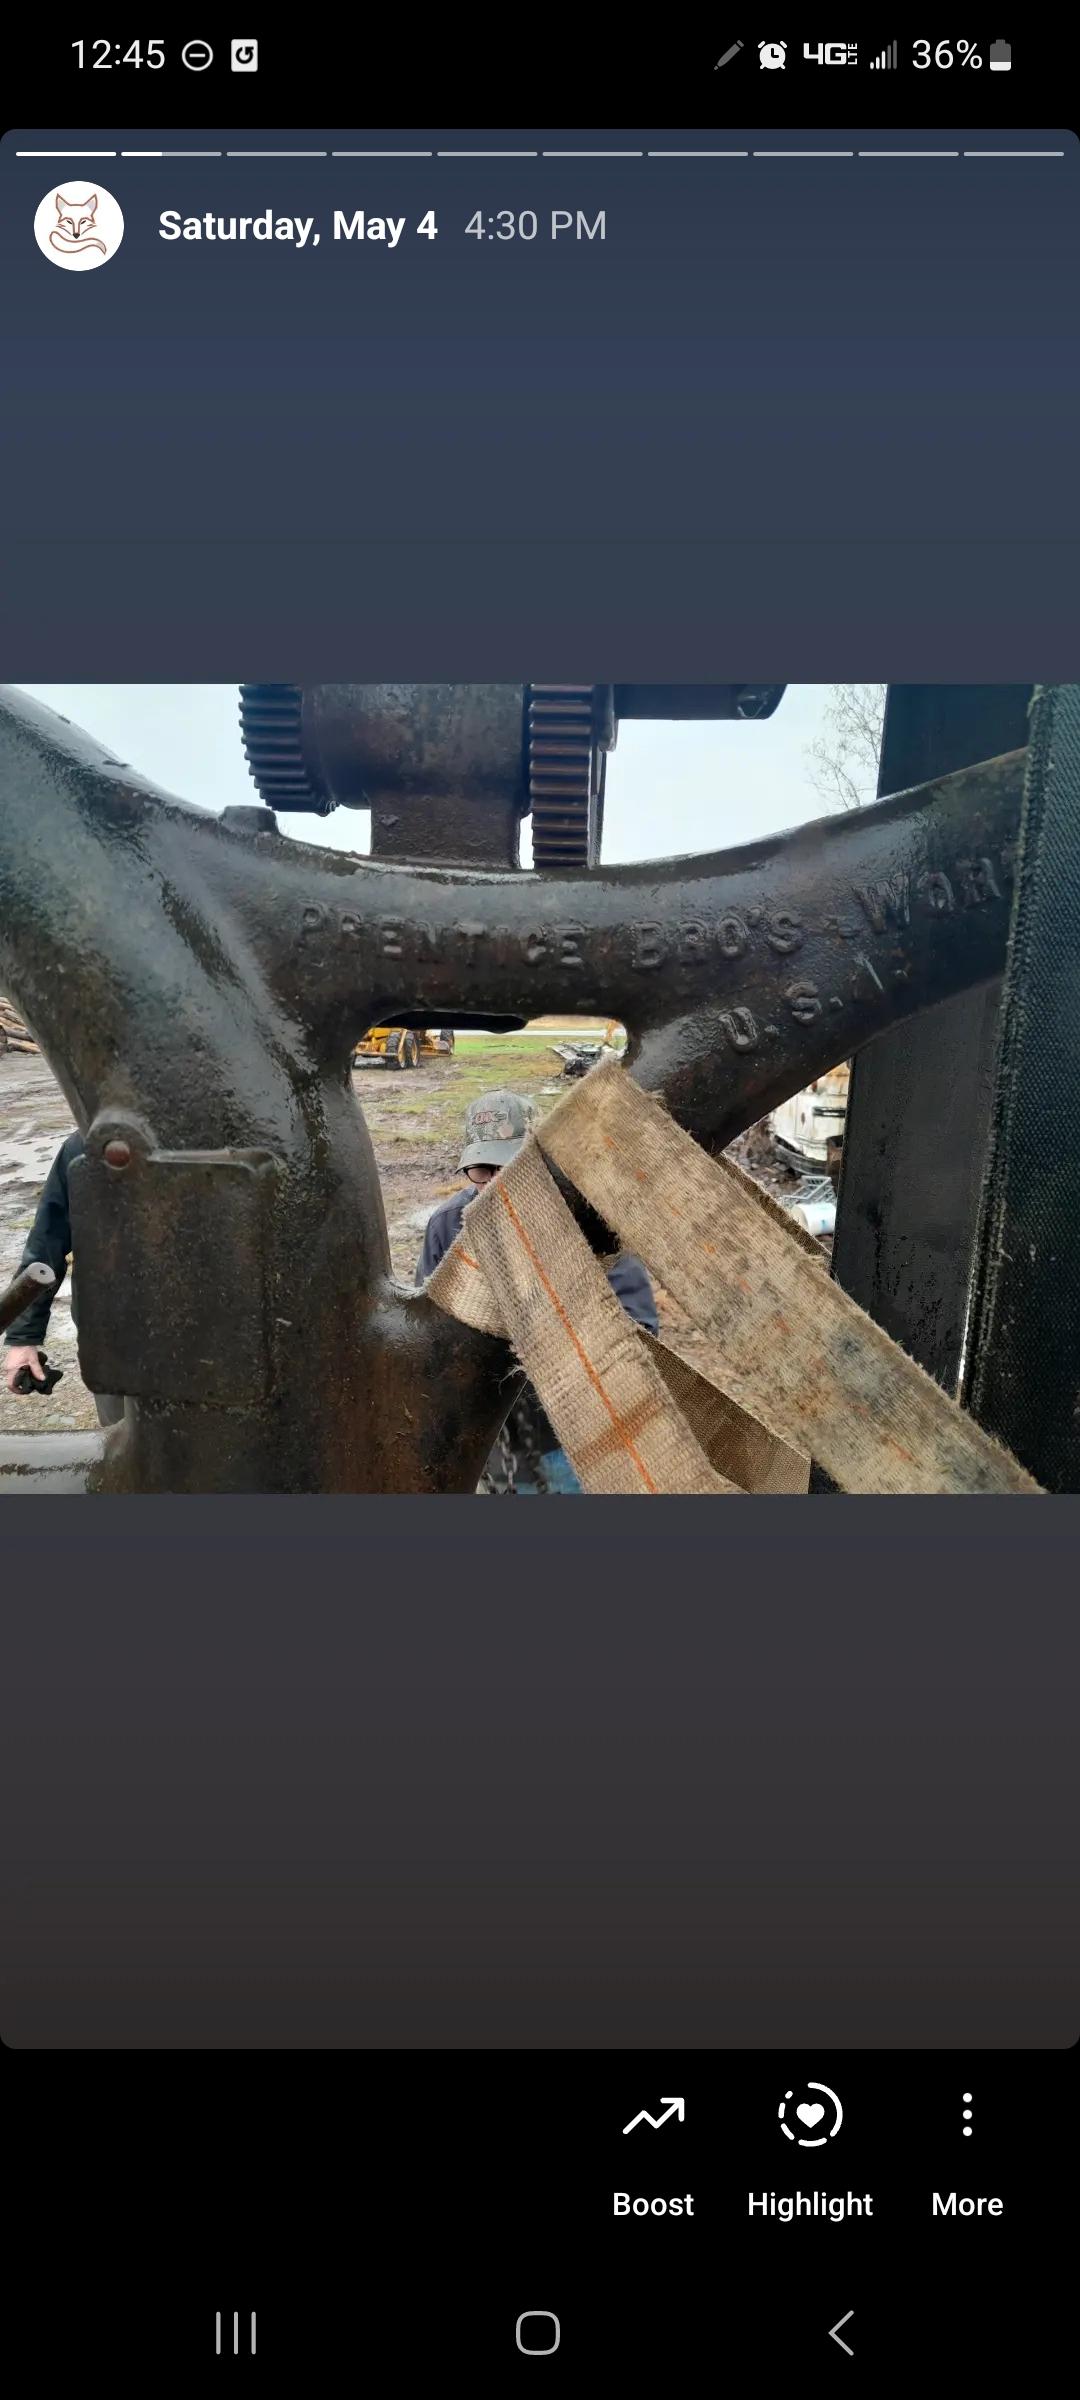
I purchased a large Prentice Bros camelback drill press about a month ago. I plan to restore it and add it to the list tools my shop is equipped with. I'm not sure on the size but it weighs a ton. I will keep yall updated! If there is any advice or tips, feel free to share. I'm receiving it Monday and plan to unload it Tuesday. From what I saw of it when I purchased it the machine seems to be missing or even be lacking an auto download system.

-
I got a quote from a machinist for a new clutch pulley. About $100 if i bring my own material. I was thinking of casting a big aluminum block, then having it machined down. Thoughts?
-
Sure! Thanks, Fosty. I am going to see if the wheel fits first but if it doesn't I will definitely take you up on your offer. I my drill a hole in the wedge and try with a slide bar.
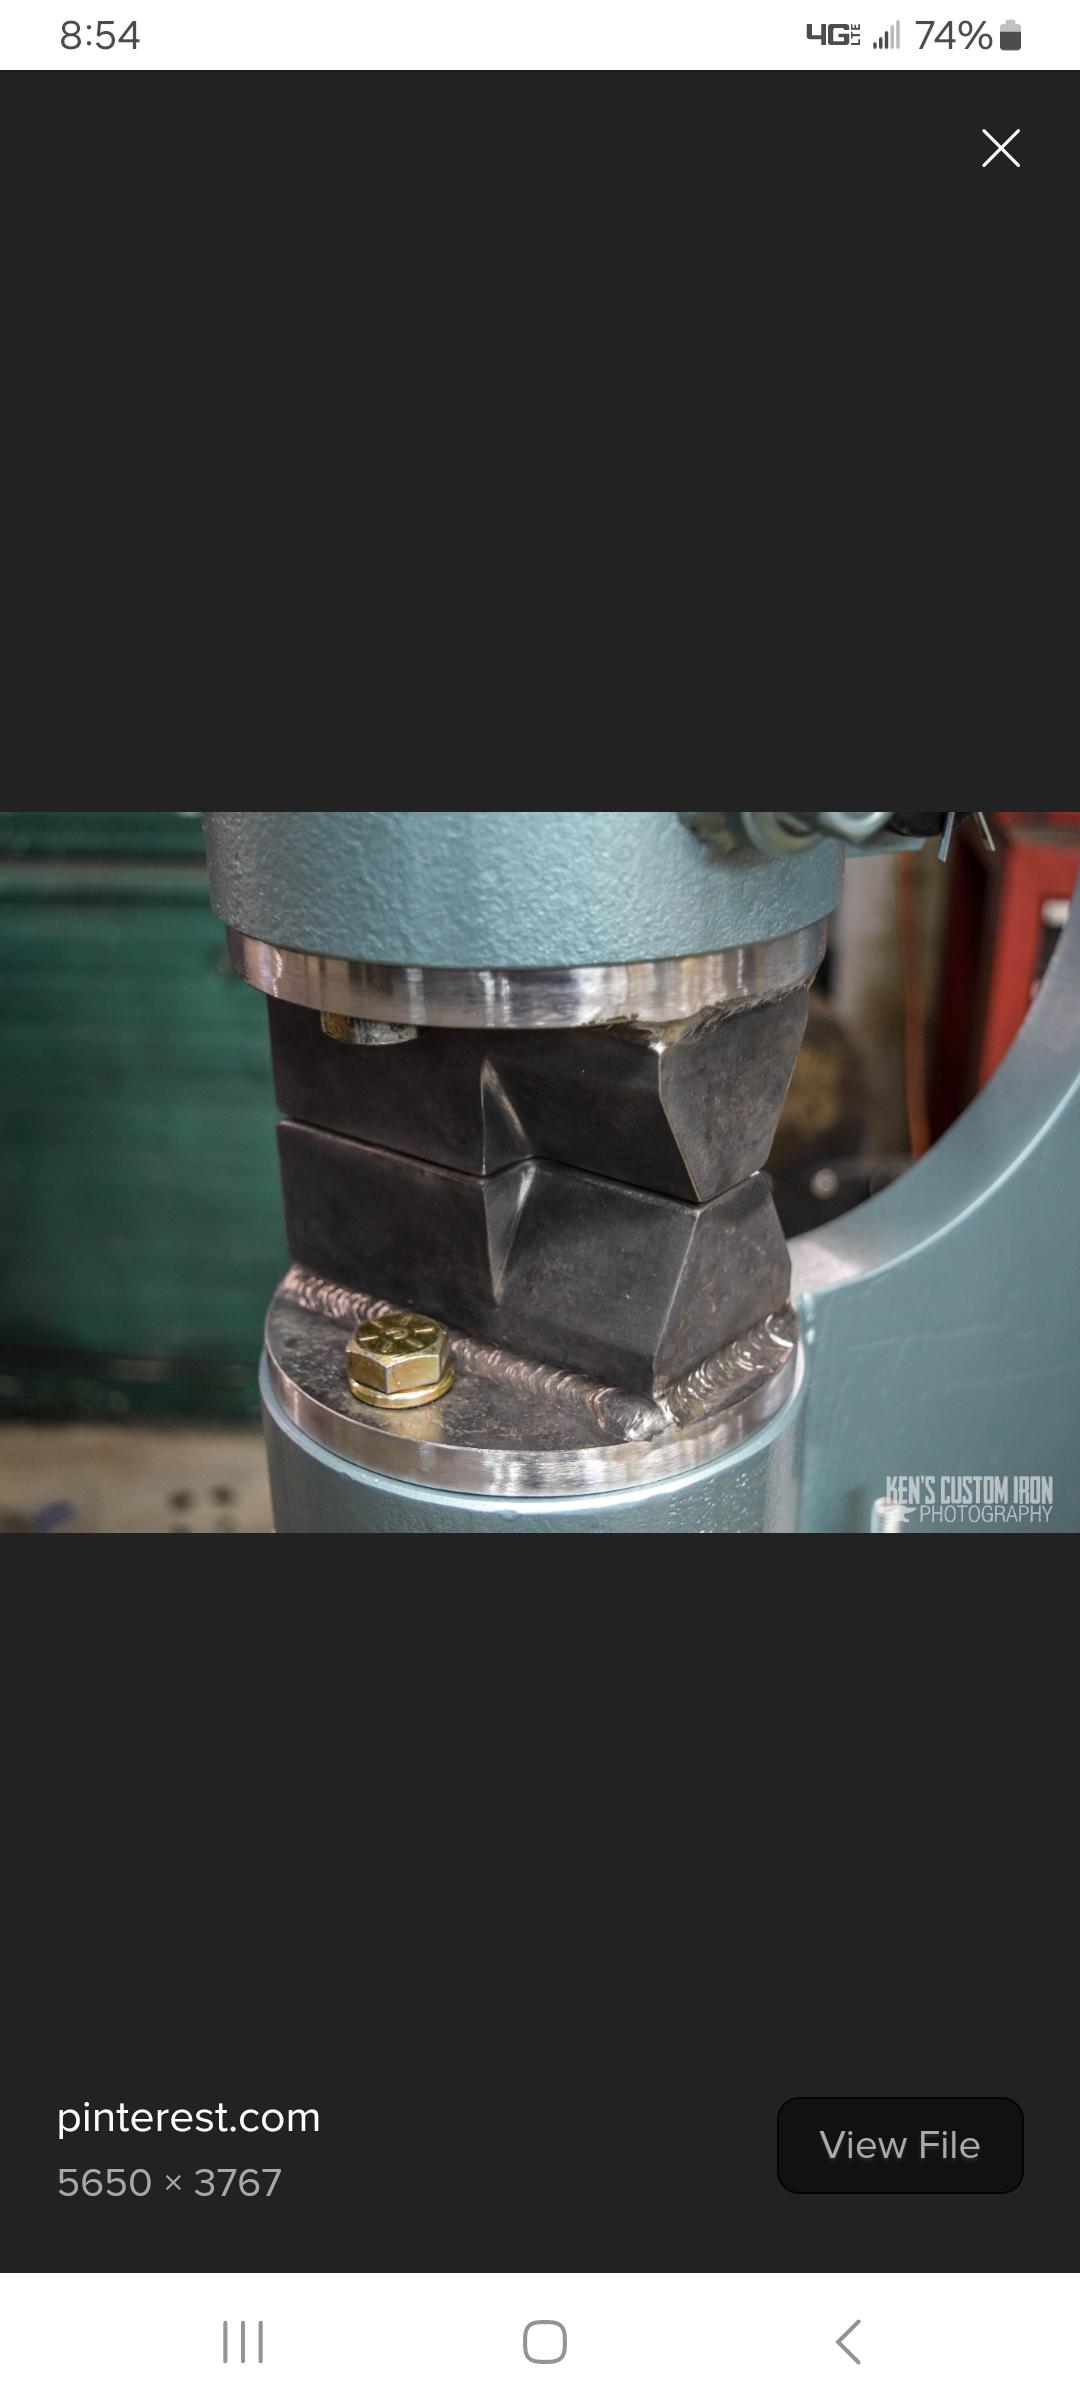
I'd like to try a quick change die set like with Ken's custom irons. A bolt on set of dies. I don't know if I would have to drill into the cast iron base and steel head or if I could make a dovetail that slides into the sow block that I could bolt to. My current dies are kinda beat up so I could try the second option.

-
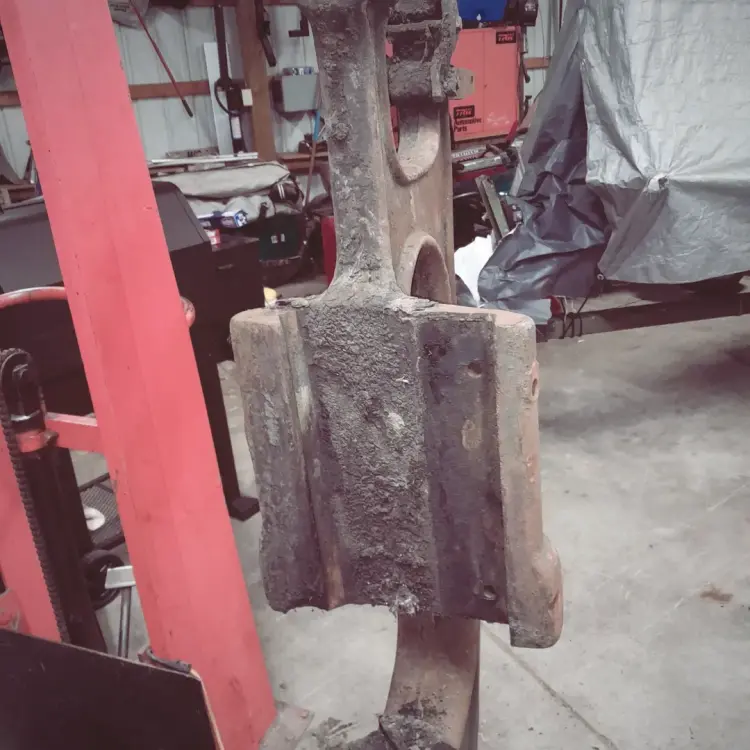
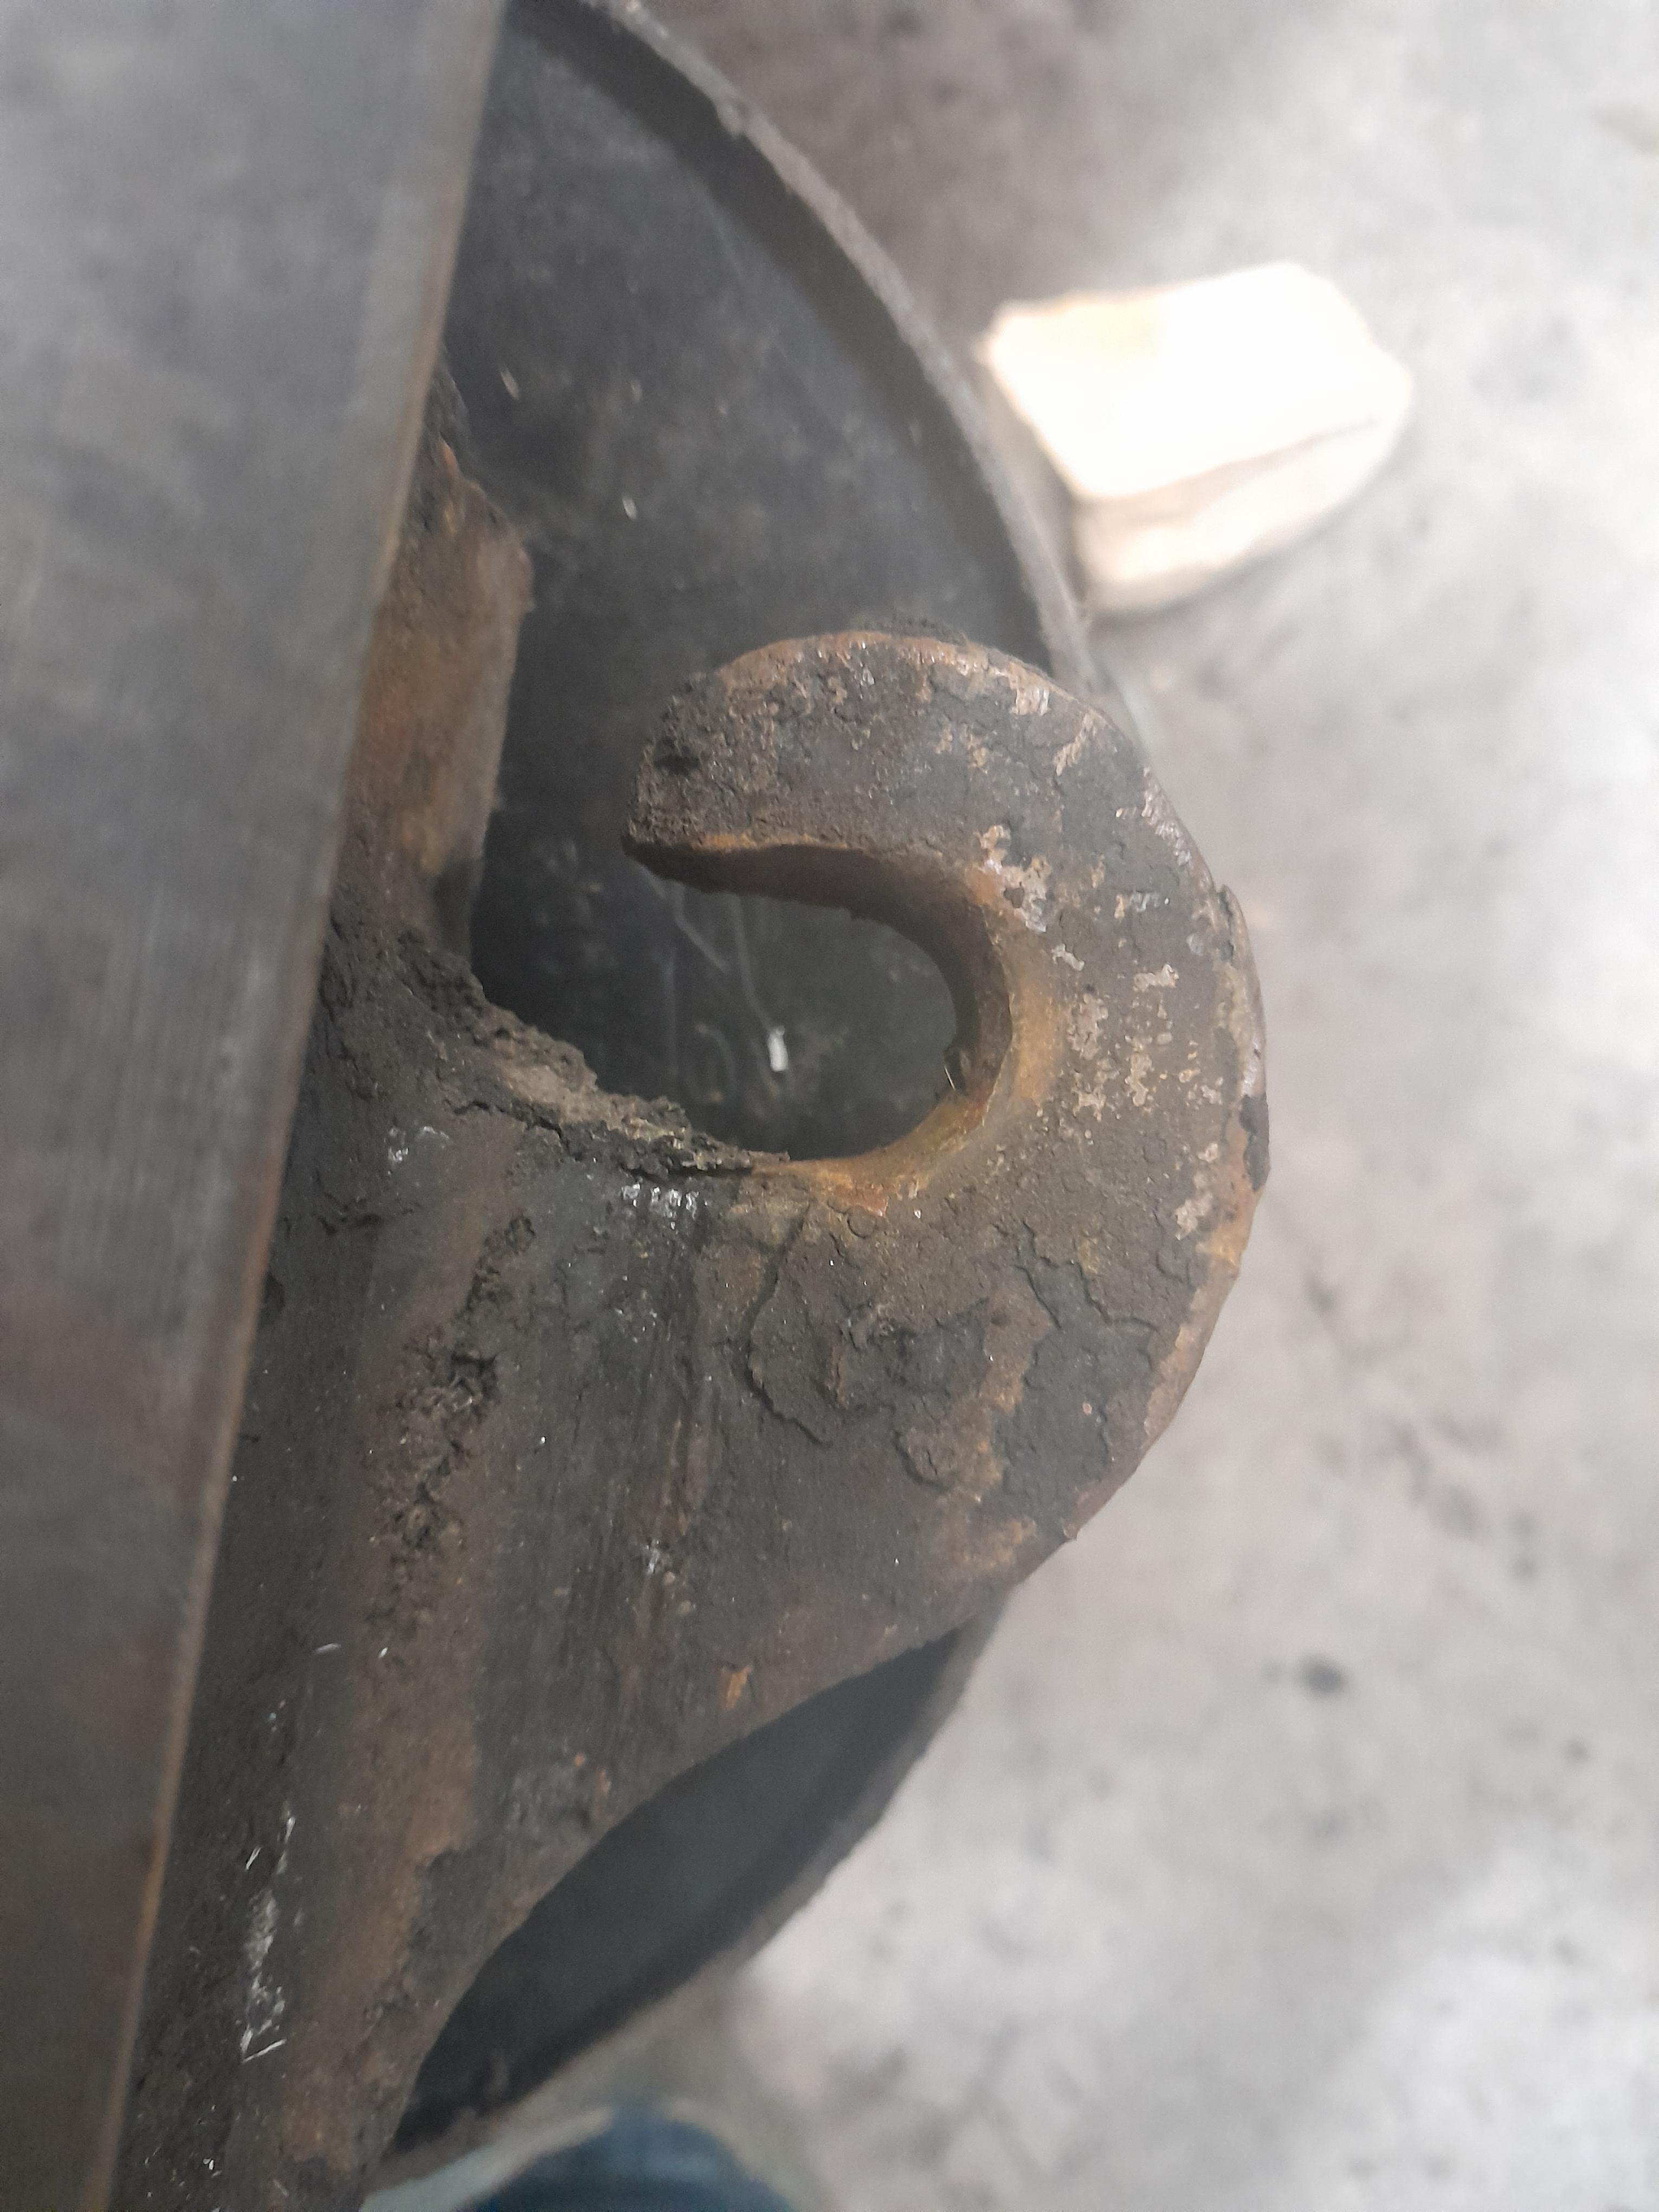
I finished wirewheeling the frame and sprayed rustoleum rust disolver and then semi gloss enamel. It is looking good so far. I am going to tig weld up the clip on the side of the ram. Someone took a file/dremel and carved a huge hole in it.
I may have found a wheel for the clutch. I need to see if it fits first.
I have a dilemma with the die. The top die is stuck in the dovetail. I tried jb80 and that does nothing. I'm also thinking of making quick change dies similar to the air hammers. A plate that gets bolted down. I would have leave the original die dlvetails and weld a flat plate on top. Kinda hard to explain so I will try to draw a draft up if I remember.

-
Sweet! I'll try it out. Should I take apart the leaf springs to get at the rust?
-
Haha. I believe you are right about the color. It is probably faded red. Kinda funny to imagine tho.
Do you just rub the atf/ acetone on the hammer body and leave it for a day?
-
I'll try the wood first before I go fandangling a new steel or aluminum clutch.
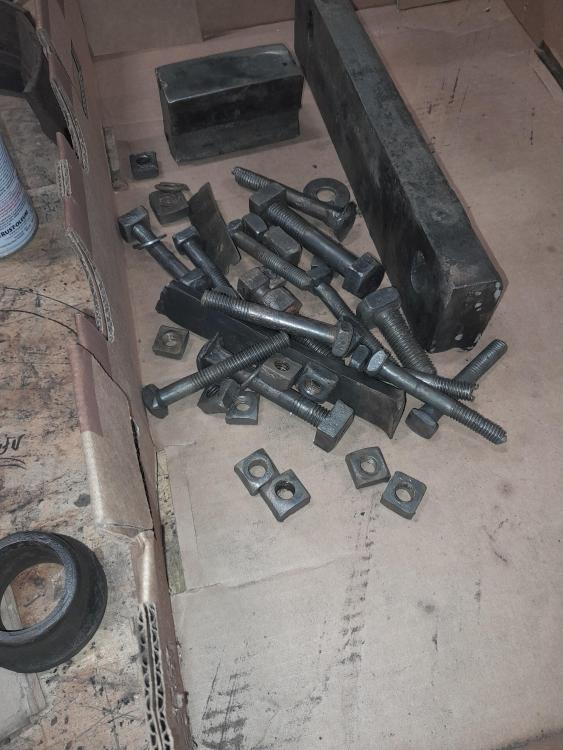
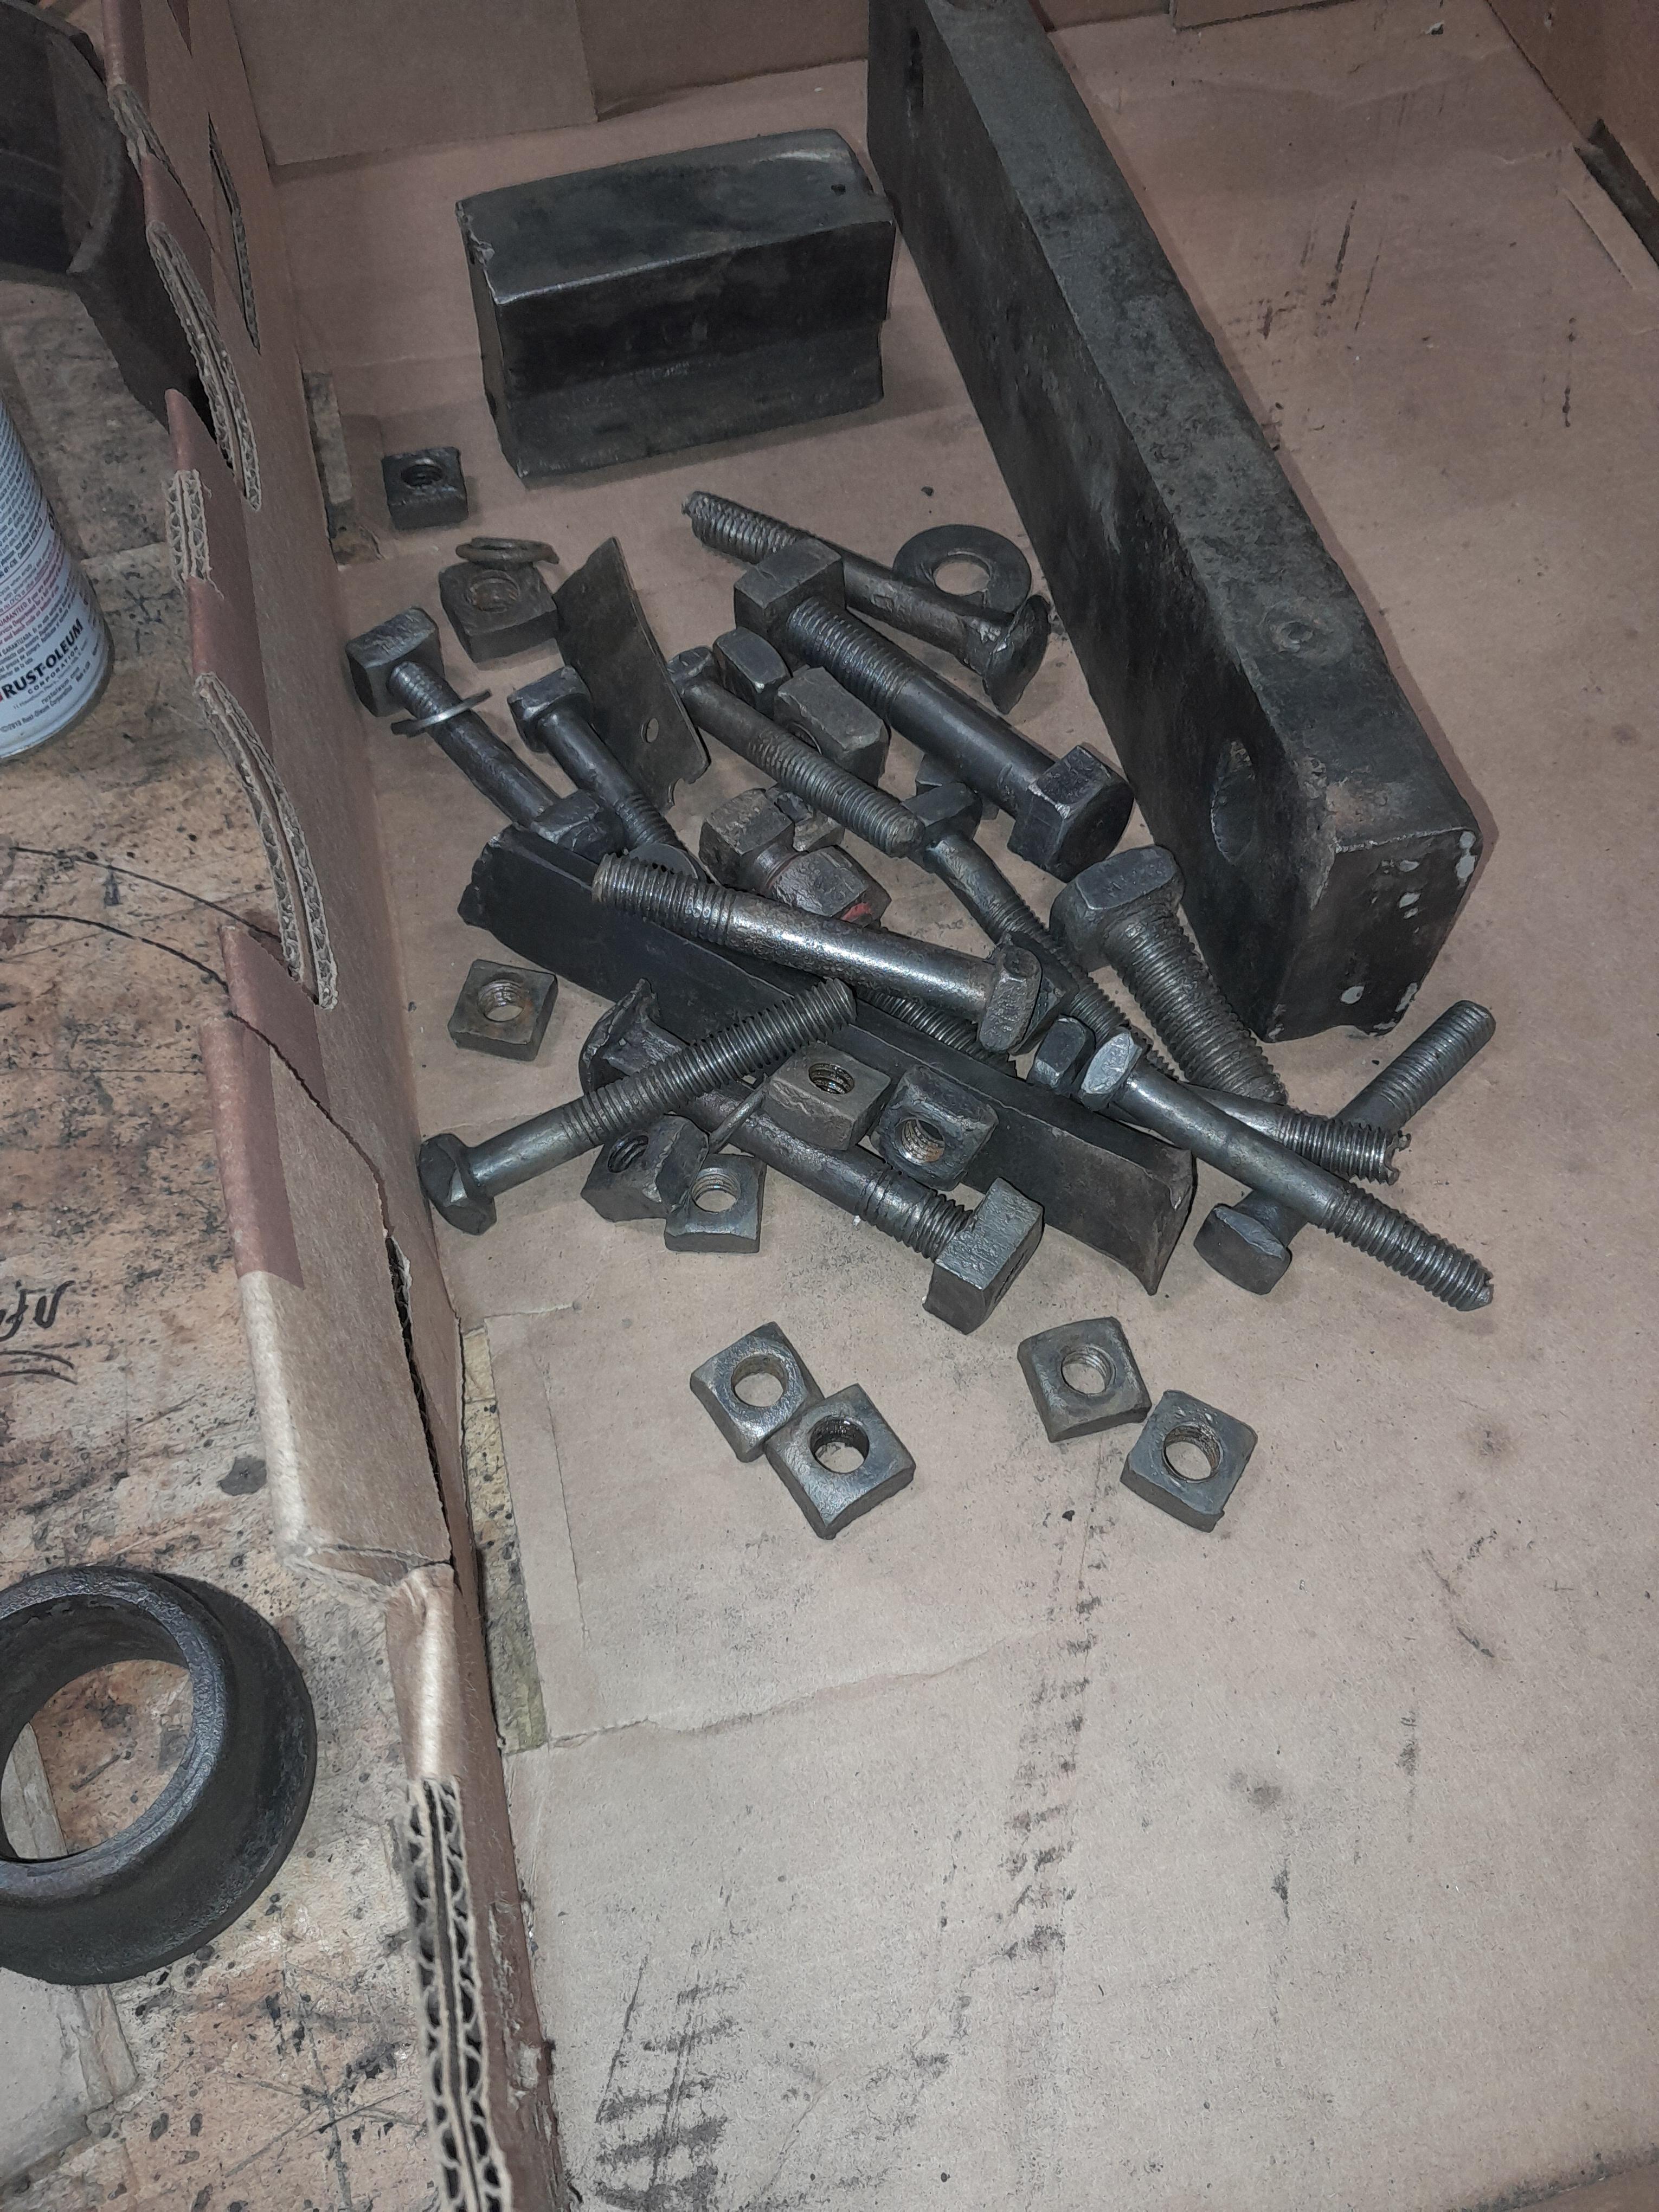
I got most of the bolts rust free. I'm debating if I should try apart the cam and leaf spring and give it a vinegar bath. I think it may be best if I just wirewheel the outside. I have no idea who thought salmon pink would look good on this power hammer. There is little bits a peices of paint still left on it lol

-
I'm certified for basic machining so I can get to pretty tight tolerances. I'll scrap entertaining my brake rotor plans. That's a good idea with the pipe. I'll see if any fab shops have any. How do you suggest I secure the pipe to the wood?
-
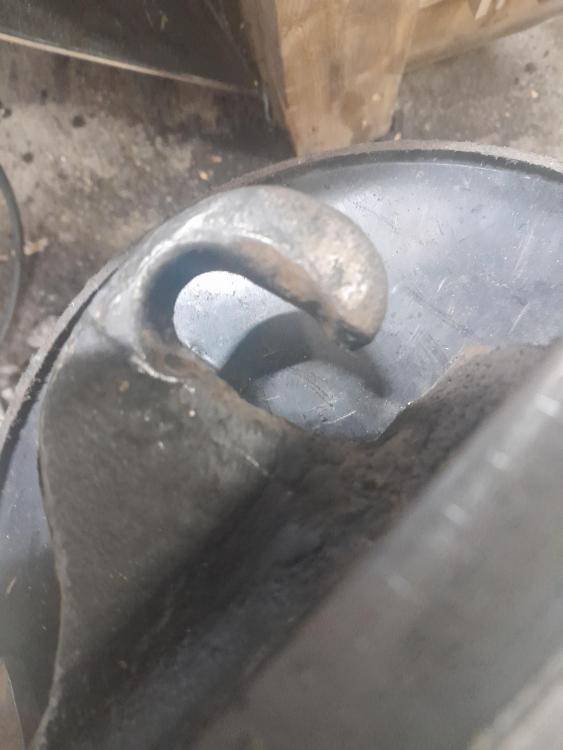
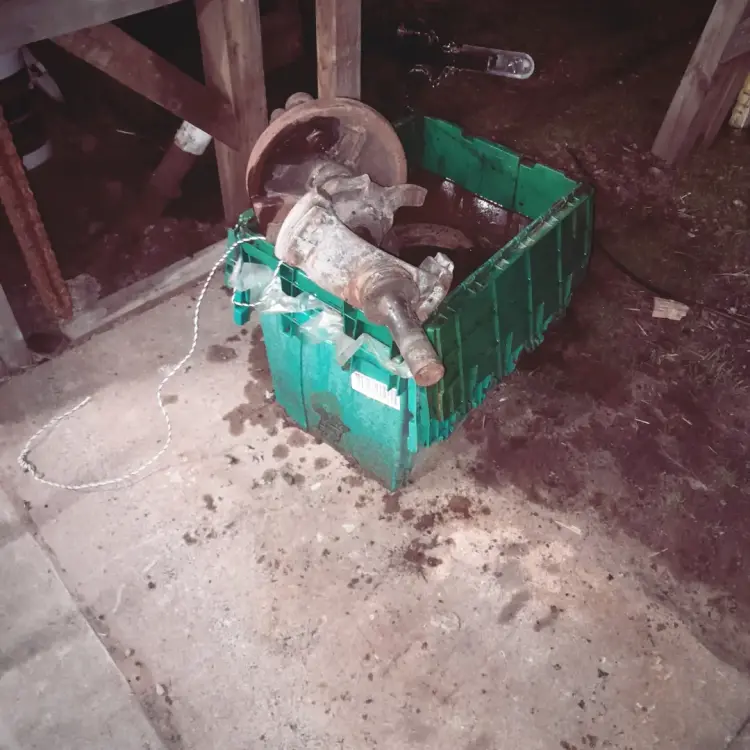
Thanks for the cleaning tip, Frosty. I'll send some more pictures of it. I cannot find a manual for it anywhere. The latge wheel spins free and contact is made when the clutch moves outward like a brake drum. Or so I can gather. It's an 11 inch cast wheel.
You were right about the striking force. I misspoke lol. The ram Is closer to 35 lbs but it hist like a 50 lber. Thats what gave the star hammer the bragging right.
I have a few ideas for the clutch.
1. Use 2 break rotors to make contact. There is a guy on the internet who did it this way and it seemed to work well.
2. Use a tire like with a tire hammer.
3. Use the original clutch/break system to contact a steel tire rim.
4. This was not my idea. I talked to the guy over at Little Giant and he suggested I make a maple hub and use the old clutch to make contact. It seems like a great idea. I may make a steel band to go around it to keep it from potentially splitting over time.
4 seems like the best route to go tbf. I was skeptical at first because it's wood and wood and metal usually don't mix the best mechanical. HOWEVER contact is only being made from the inside. Wood on wood. This seems to be the cheapest option.
-
Thanks! I will look into reinforcing the hole. I have it ripped down and soaking in acid overnight remove the rust. It was a bear to unload myself but it came apart nicely. I only broke two bolts and I can replace those easily. I'm thinking of pressure washing the frame before wire wheeling because of how caked in oil and mud it is. Then I will wire wheel it. Will it need to be primed before I paint it?

-
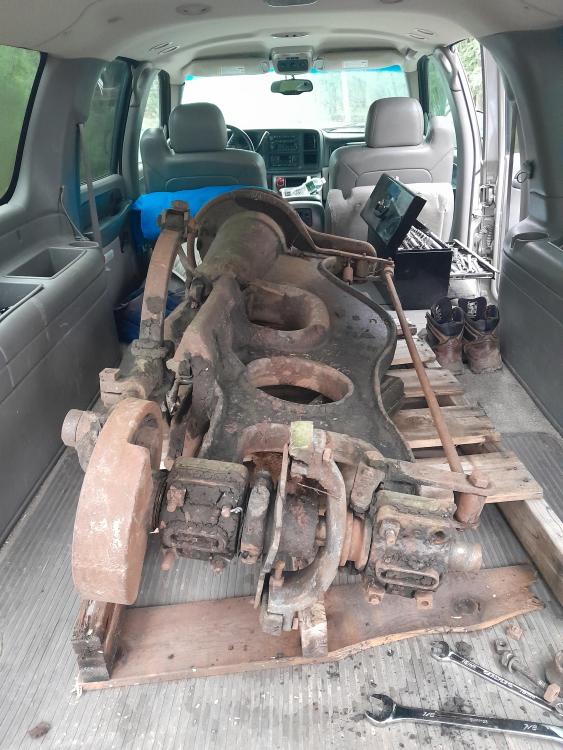
I have it in the back of my half ton chevy suburban right now. I gotta make a five and a half hour commute back to the shop. I have a strong back, a hydraulic lift and a atv with a winch for means of removal.

Is the star hammer a good brand? It's the same size as a 25 little giant. Does that make it hit with less power or noisier?
My plan is to rip everything down, wire wheel it, prime and paint it. Also oil the parts that need lubrication. I'll try to remember to take as many pictures as I can. I usually get caught up in the process and forget.
-
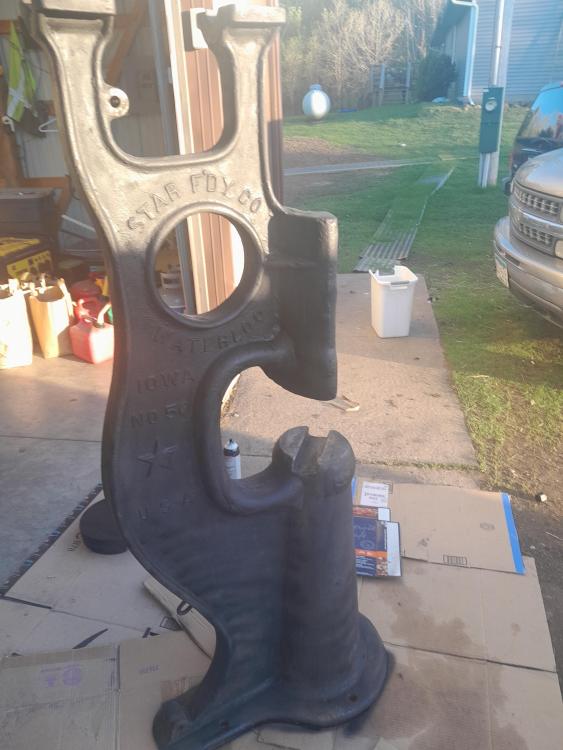
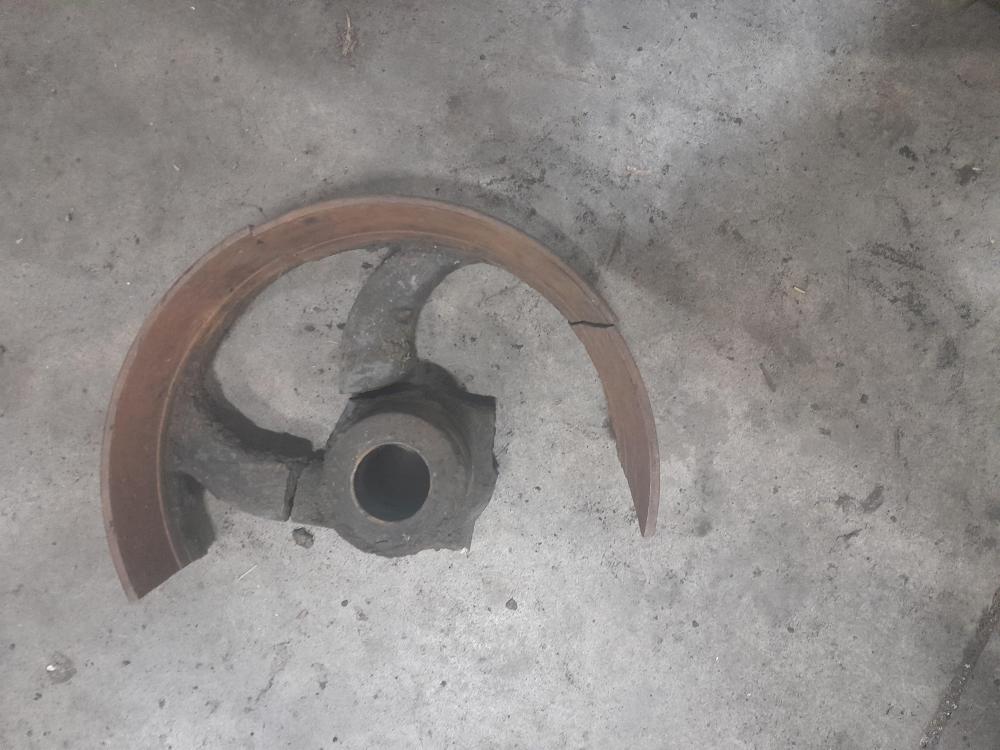
Hi, I bought a star power hammer today for 50 bucks. The clutch is broken on it, an arm is bent and the babbit is a little rough buy besides that it seems to be a half decent hammer. It's a #50 star hammer which means it's 50 lbs hitting force. I'm thinking of making a clutch out of break rotors or even a wheel barrow tire as in a tire hammer.
-
I welded up a handle for the press and will eventually use a pedal. I made a prototype pedal but the action caused the press to stall out. I think that I may have to redesign the pedal. The press can crush a peice of 1 ½ inch steel down to about ⅜ flat in one heat. I like the freedom to work with bigger steel bow that i have a metal musher. I need to fine tune everything. I still need to make a top die retainer. I'm out of ideas... there isn't enough room to make a gravity swiveled retainer.
Cheers!
Wff
-
I got it running. It still needs a ton of work but it is fuctional. I'm in the process of making a pedal for it.
-
-
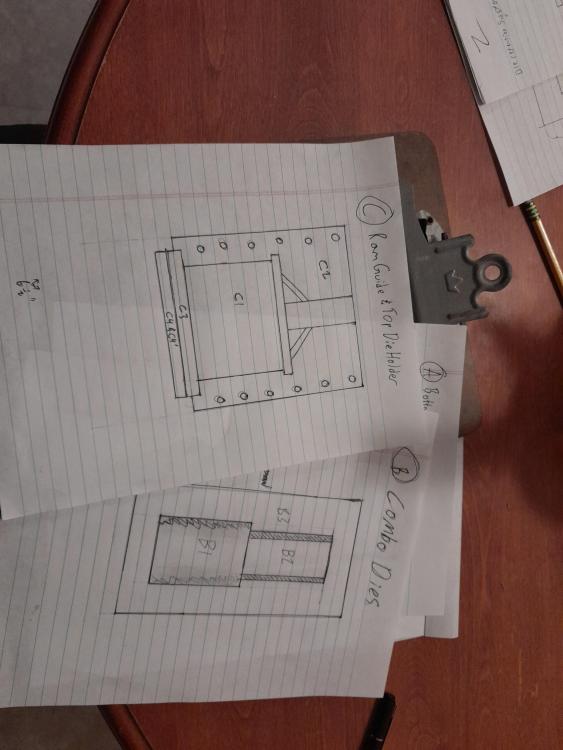
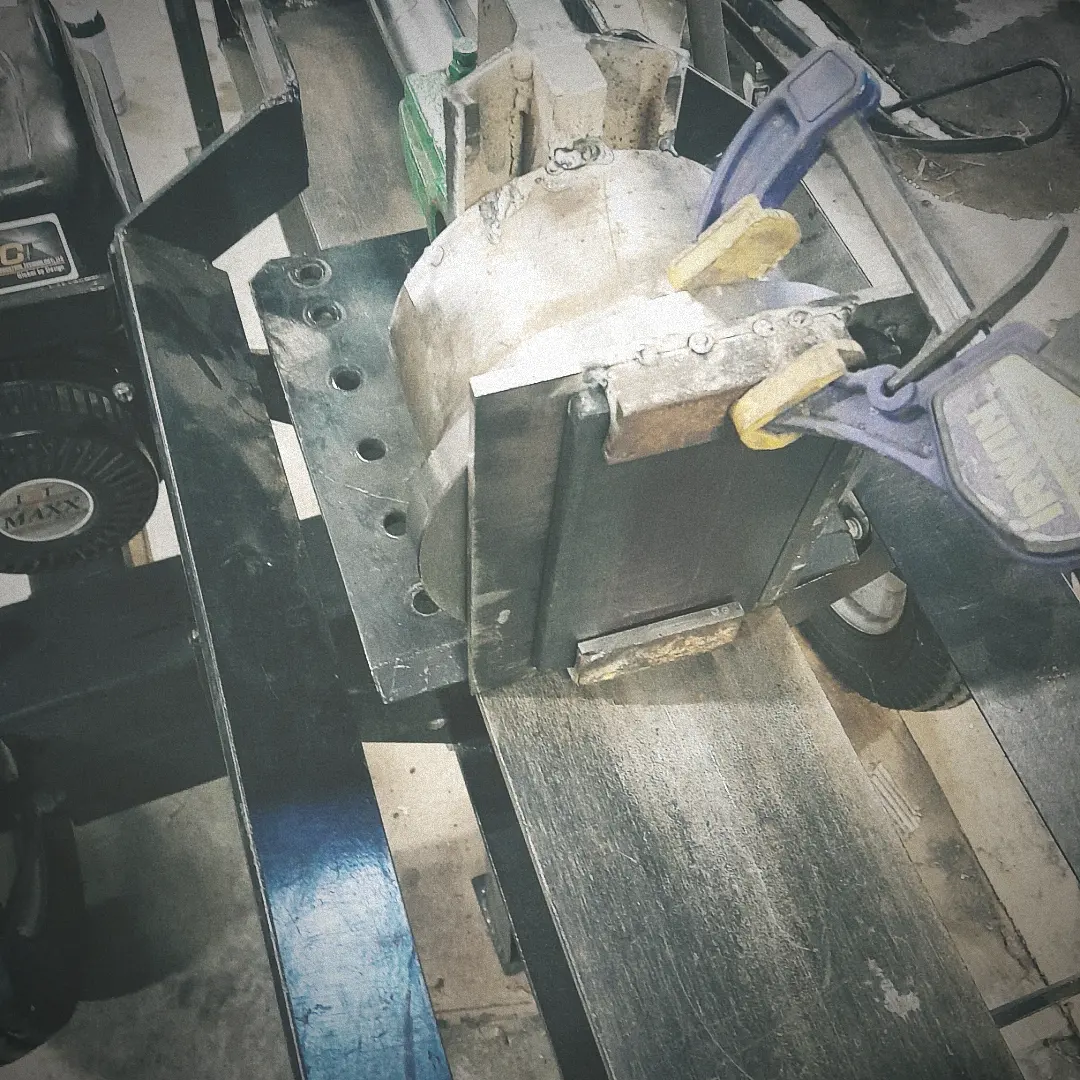
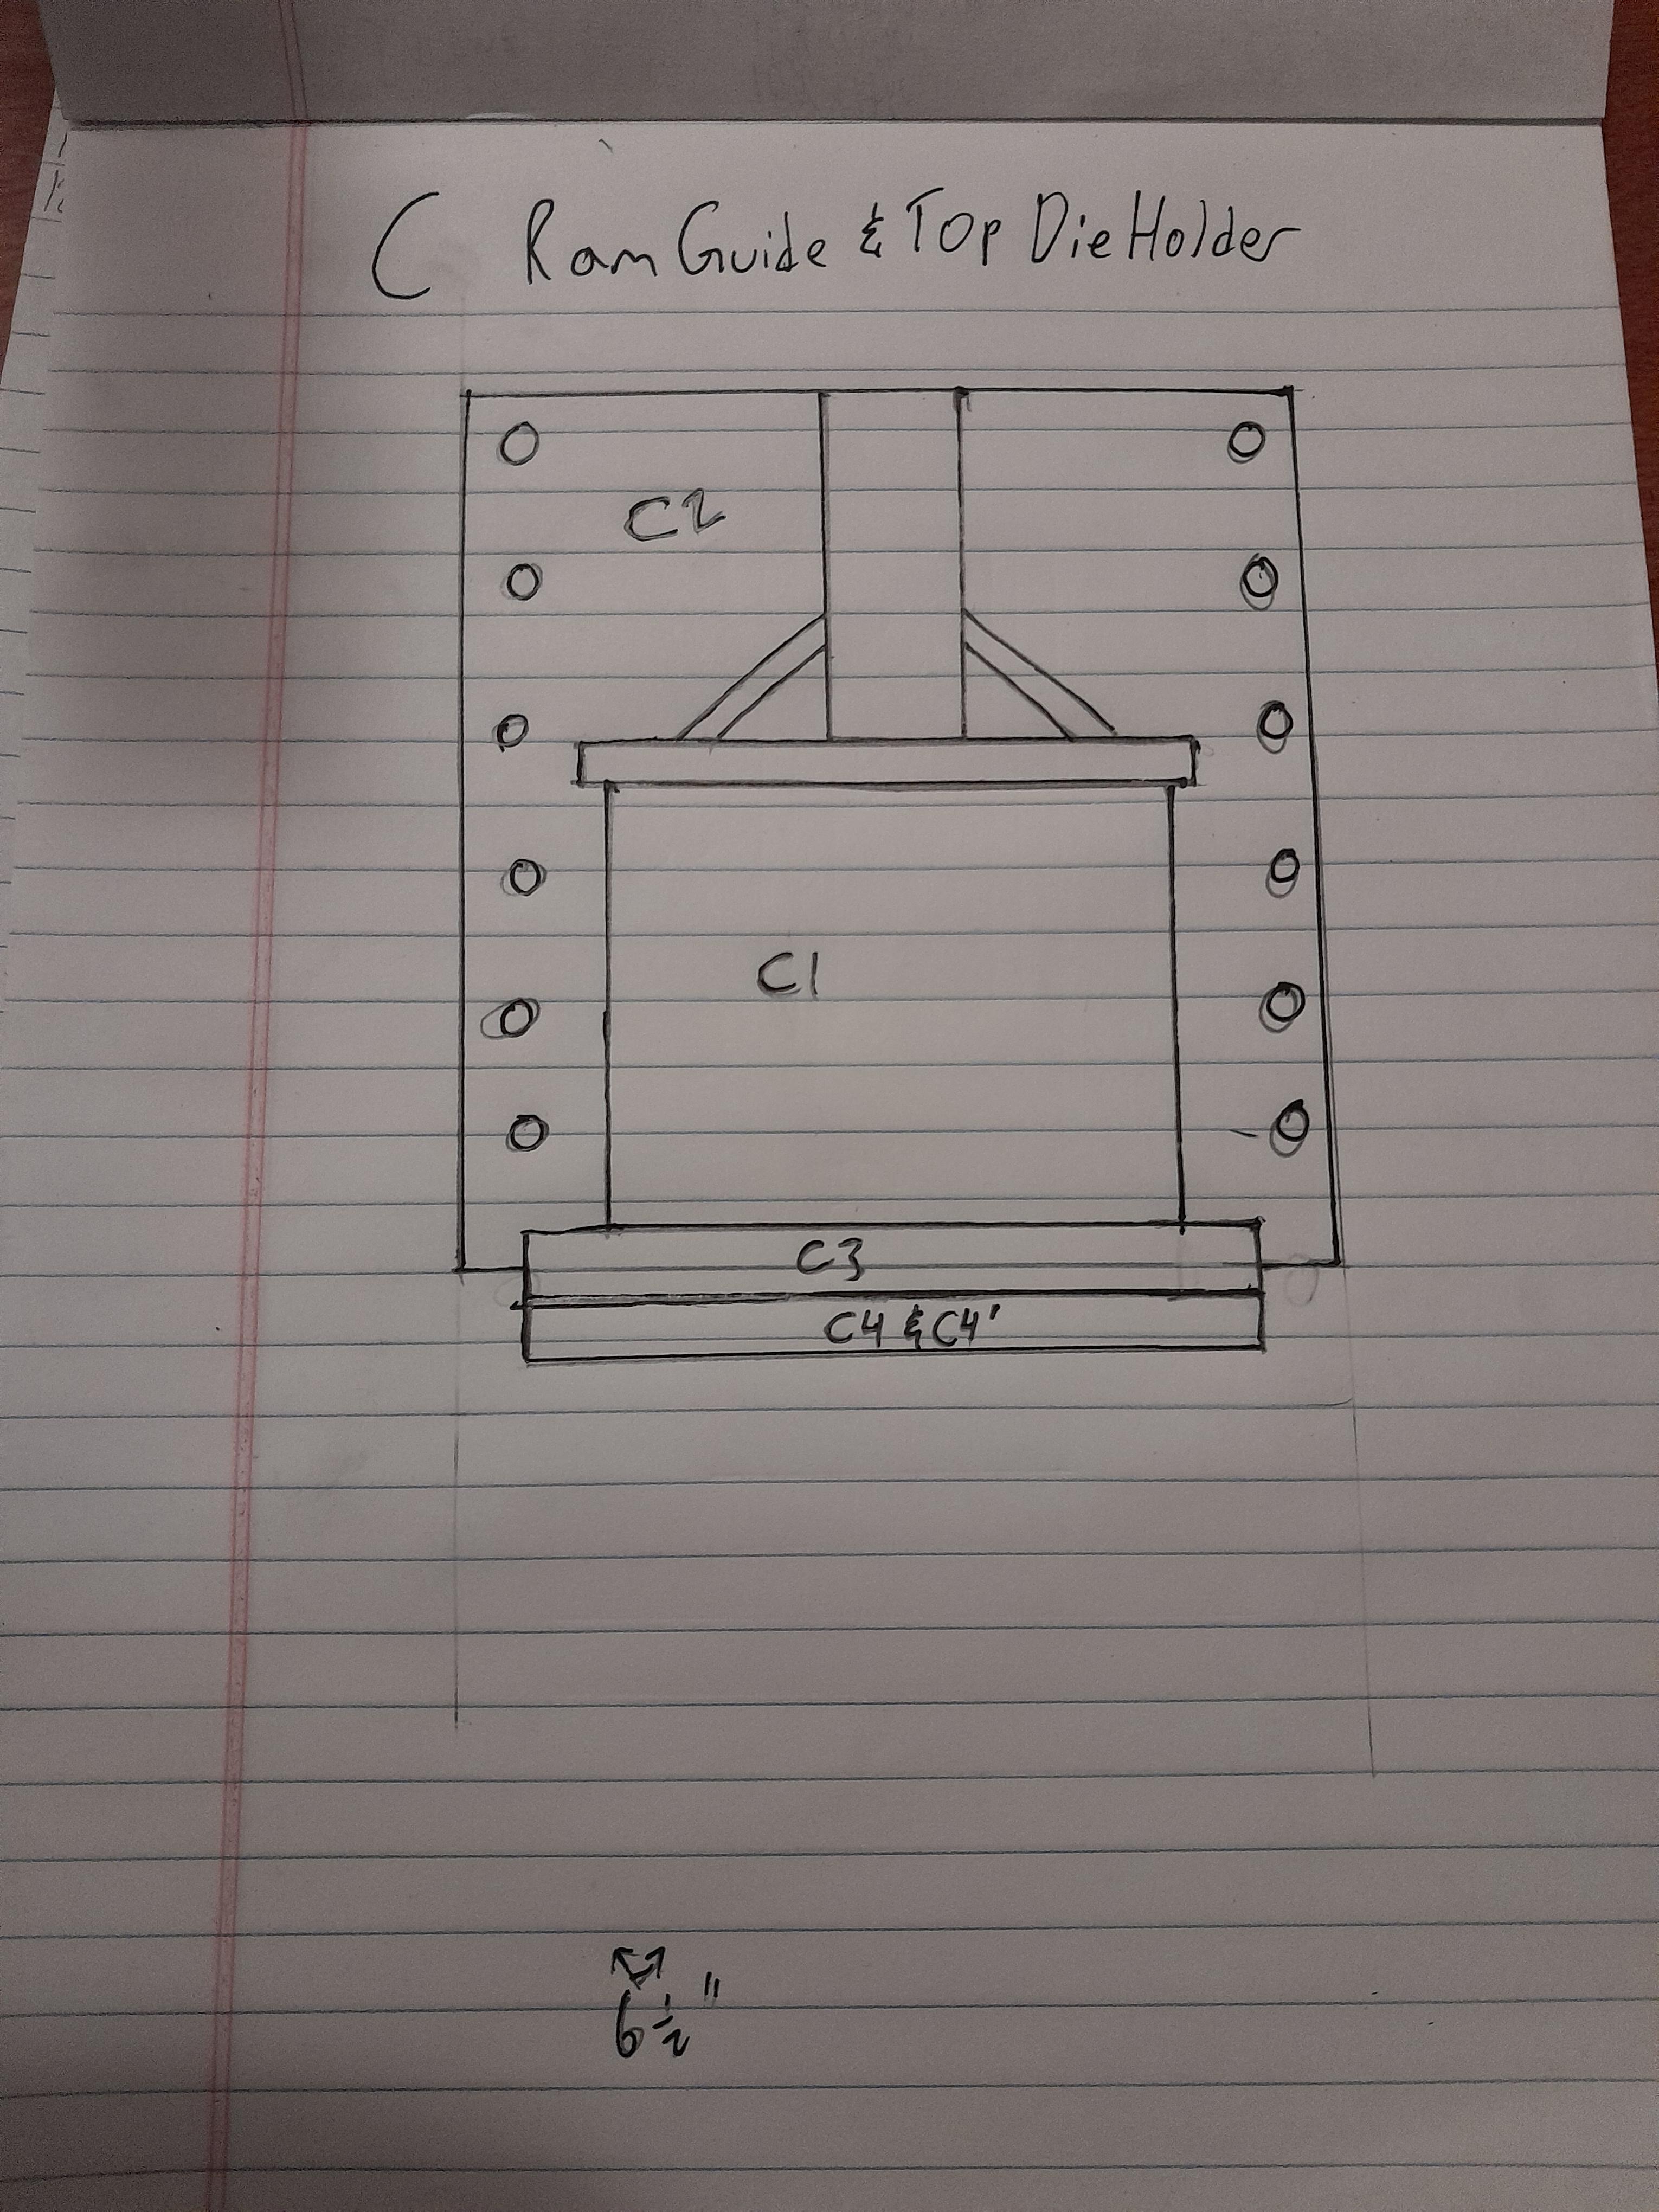
This migh help clear up confusion. I tacked up the top die holder and ram guide. I will do the same for the bottom guide. My little 110v Lincoln flux core isn't nearly big enough to glue this son of a biscuit together so my neighbor is going to let me use his larger welder. I have a combo die setup and I have enough steel for one more kind of die. Not sure what I'm going to do yet.
I think I'm going to stick to the steel guides for now I can always switch them out later if need be.
Hope this helps clear up the prints a little lol.


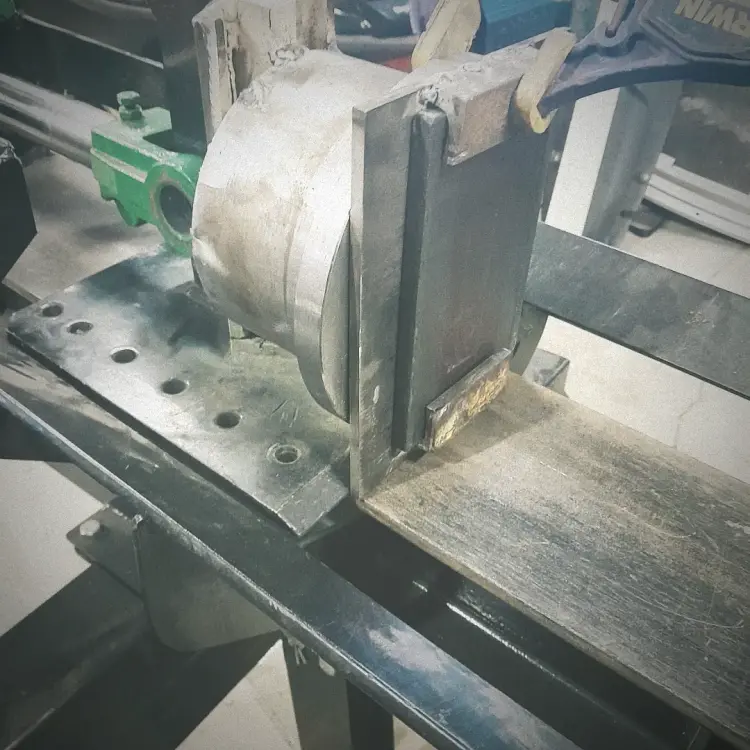
I should also add that the die holder I have in the picture will be the bottom die. I just used it for reference. The too die holder is made of ½ inch plate steel instead of the meager ¼ inch.
-
Thanks Scott.
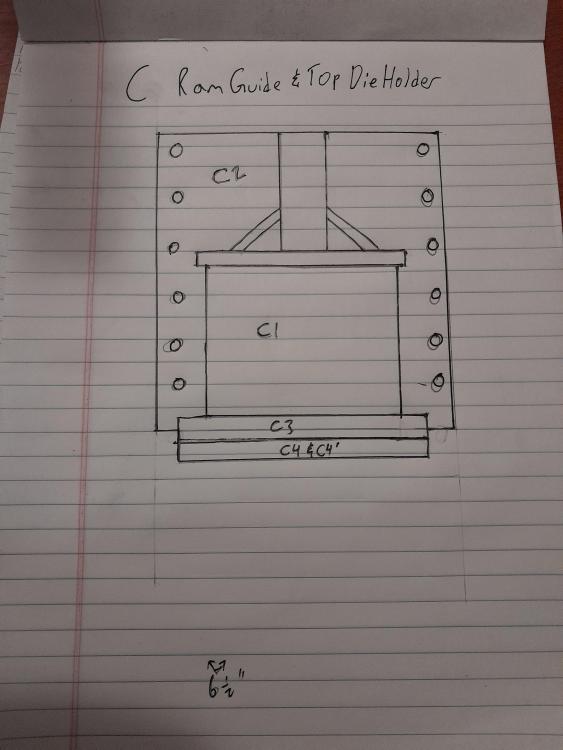
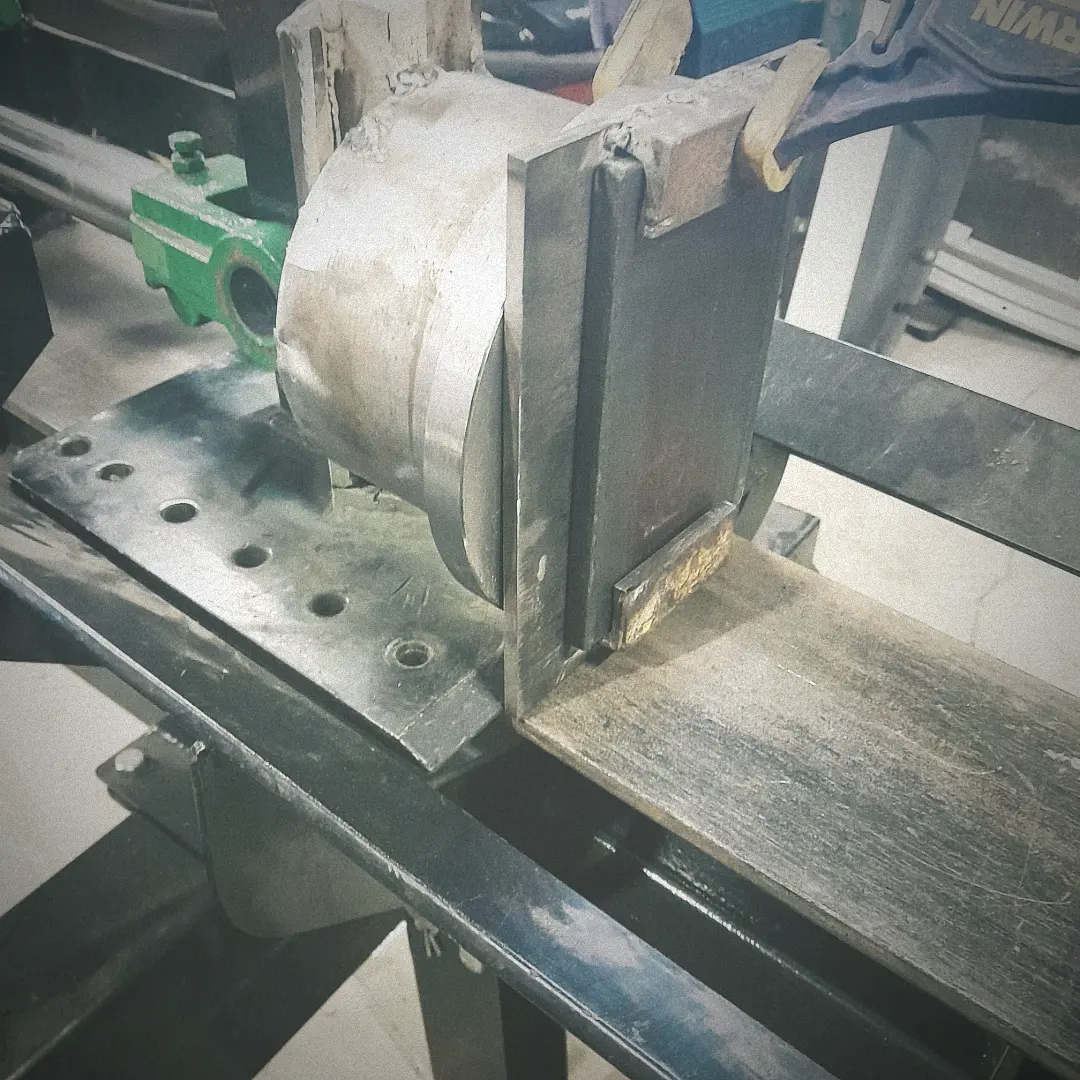
Frosty: you are right. The sketches do net elaborate enough. I should've put more of a description on the parts. The sketch is of the guide, die guide and dies. The combo dies are in the sketch and in the picture.
In plan C the die guide/holder is sideways so it is difficult to picture. I am using angle iron to retain the dies. To remove them I will slide the dies out horizontally. I've seen guys bolt them on but I don't have a big enough drill press or taps to do so. I'm just going to weld it all together.
I did see (I believe it was on IFI) a press on which the maker used a type of plastic as a spacer in between the ram guide. I've also seen some presses use aluminum bronze. Is there any pros or cons to using steel vs bronze vs plastic? I would think plastic would bend and shear under even 22 tons.
-
Hi all,
I'm working on turning a 22 ton forest king log splitter into a forging press. I bought this one last fall but never got around to converting it. I've wanted a press since I started making knives. I considered purchasing one however it is a little out of my price range. I have the steel, tools and (hopefully) the enginuety to make my own.
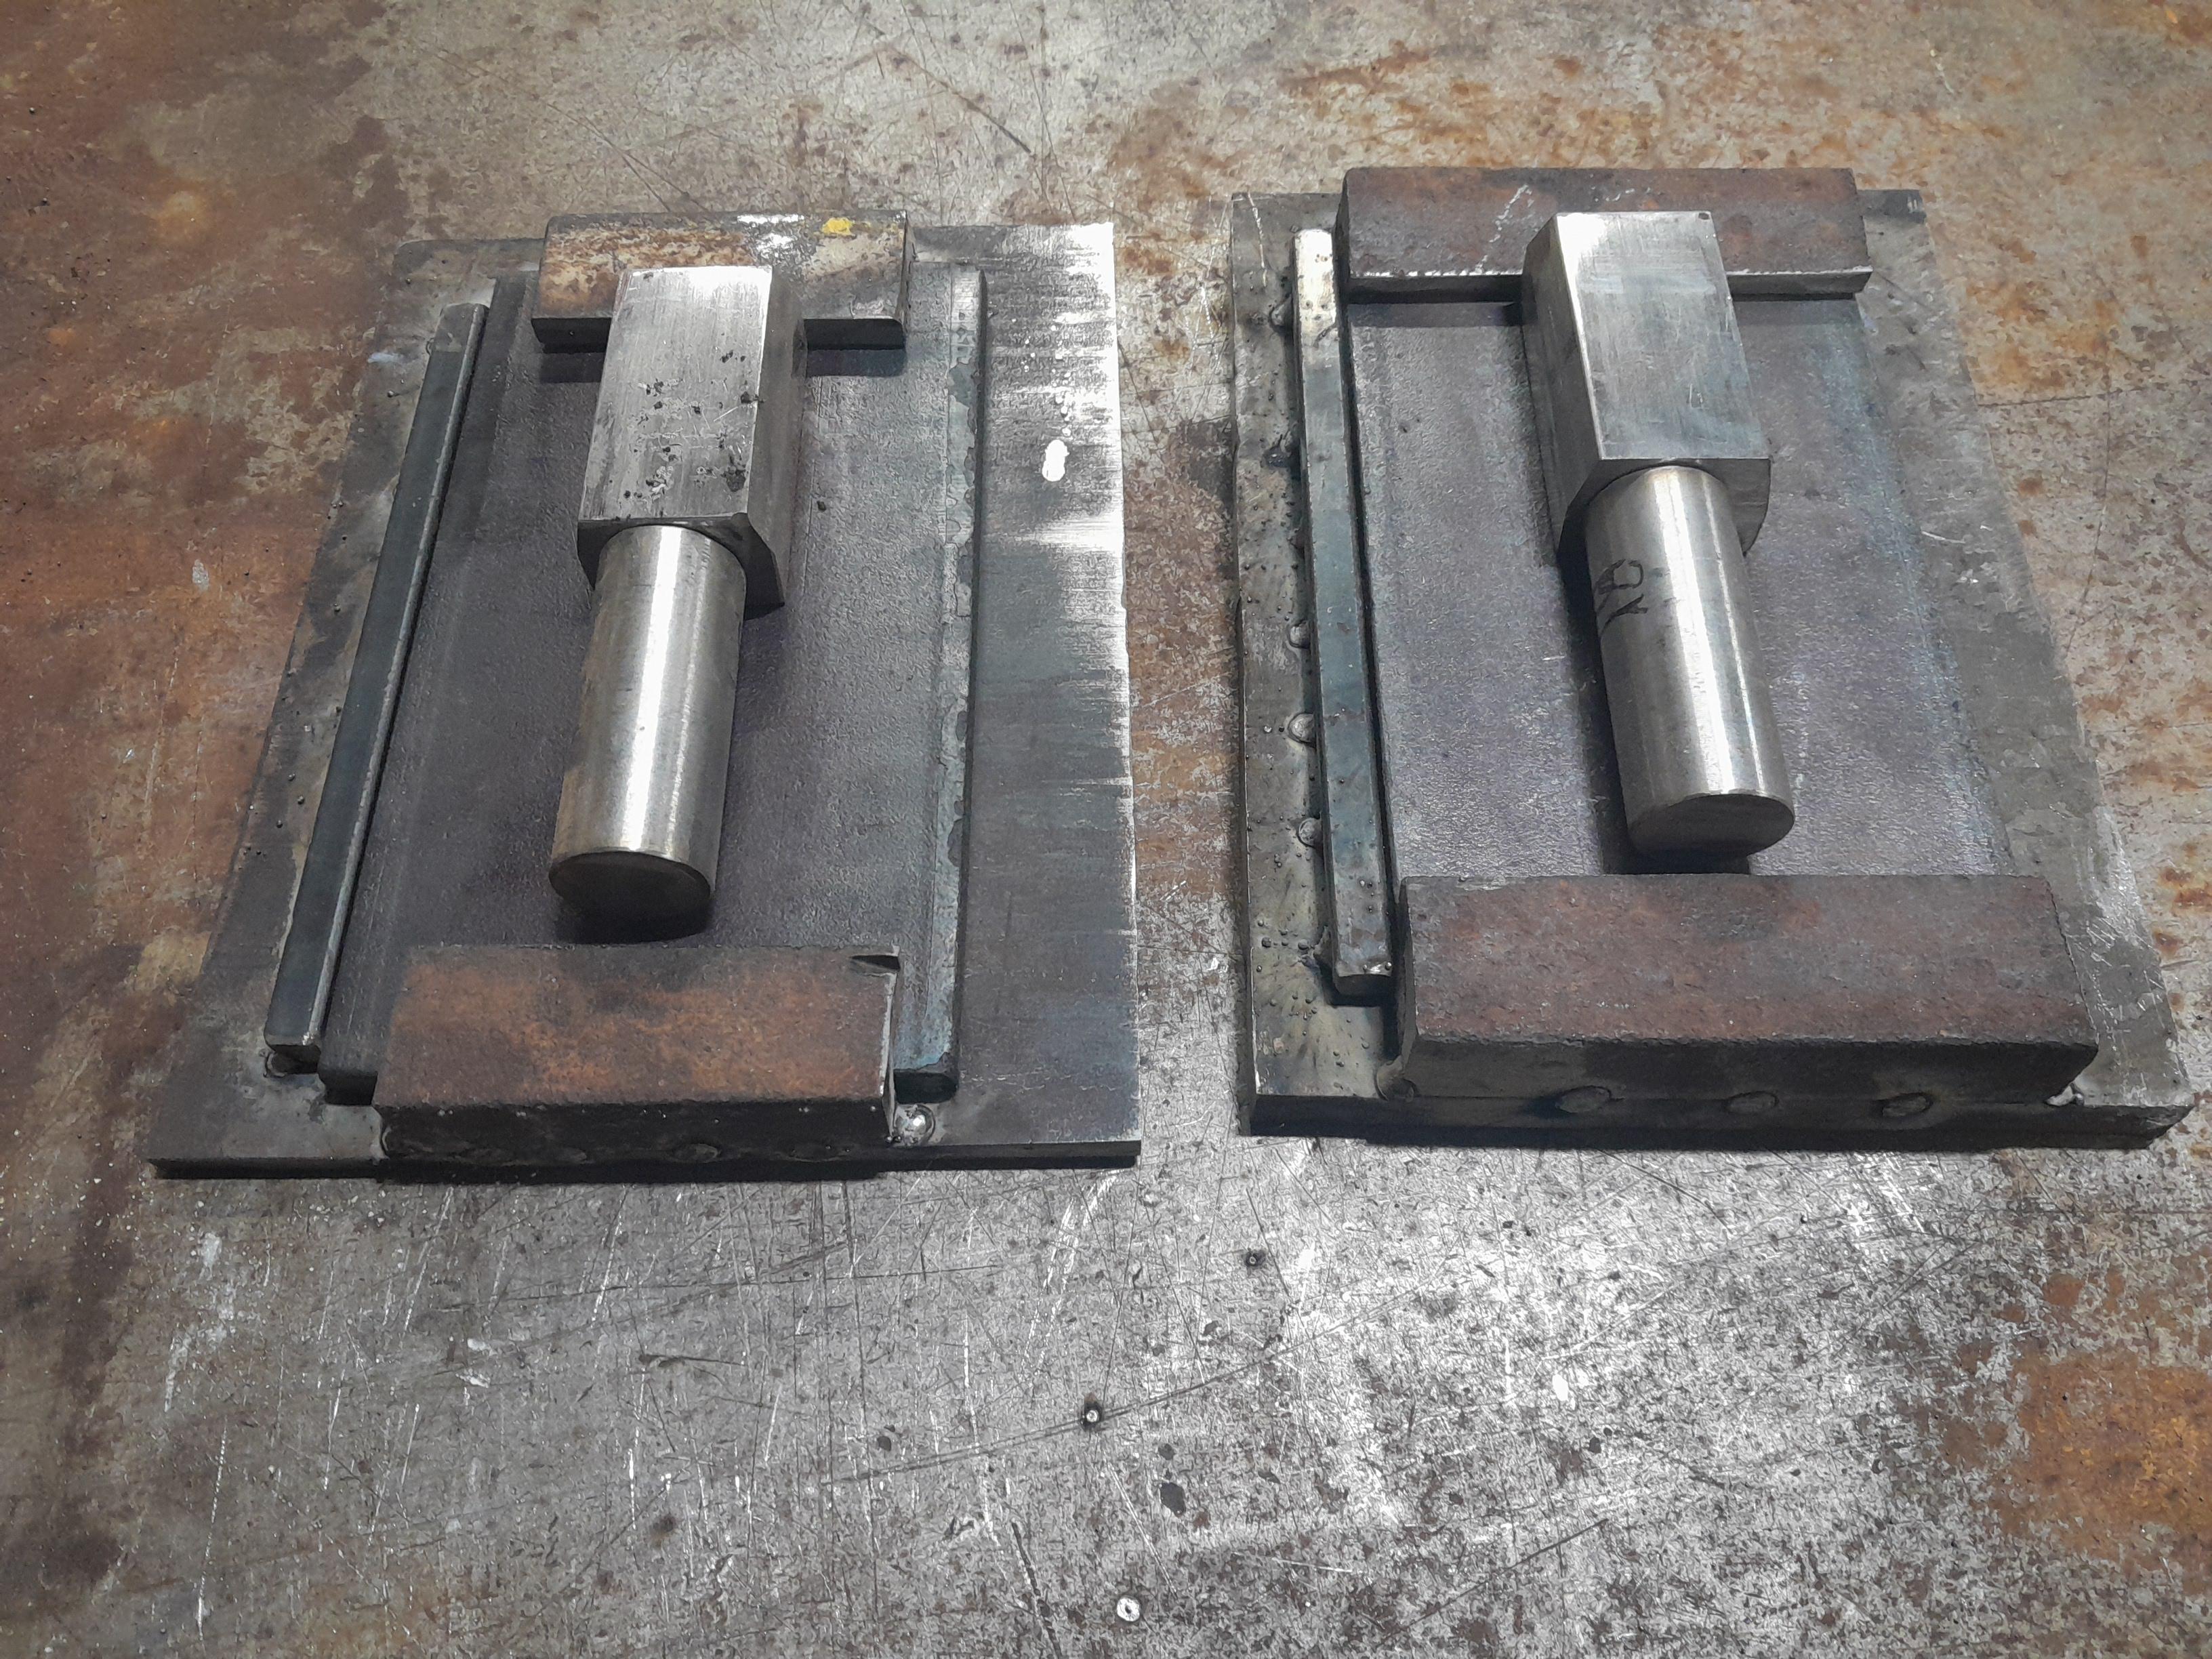
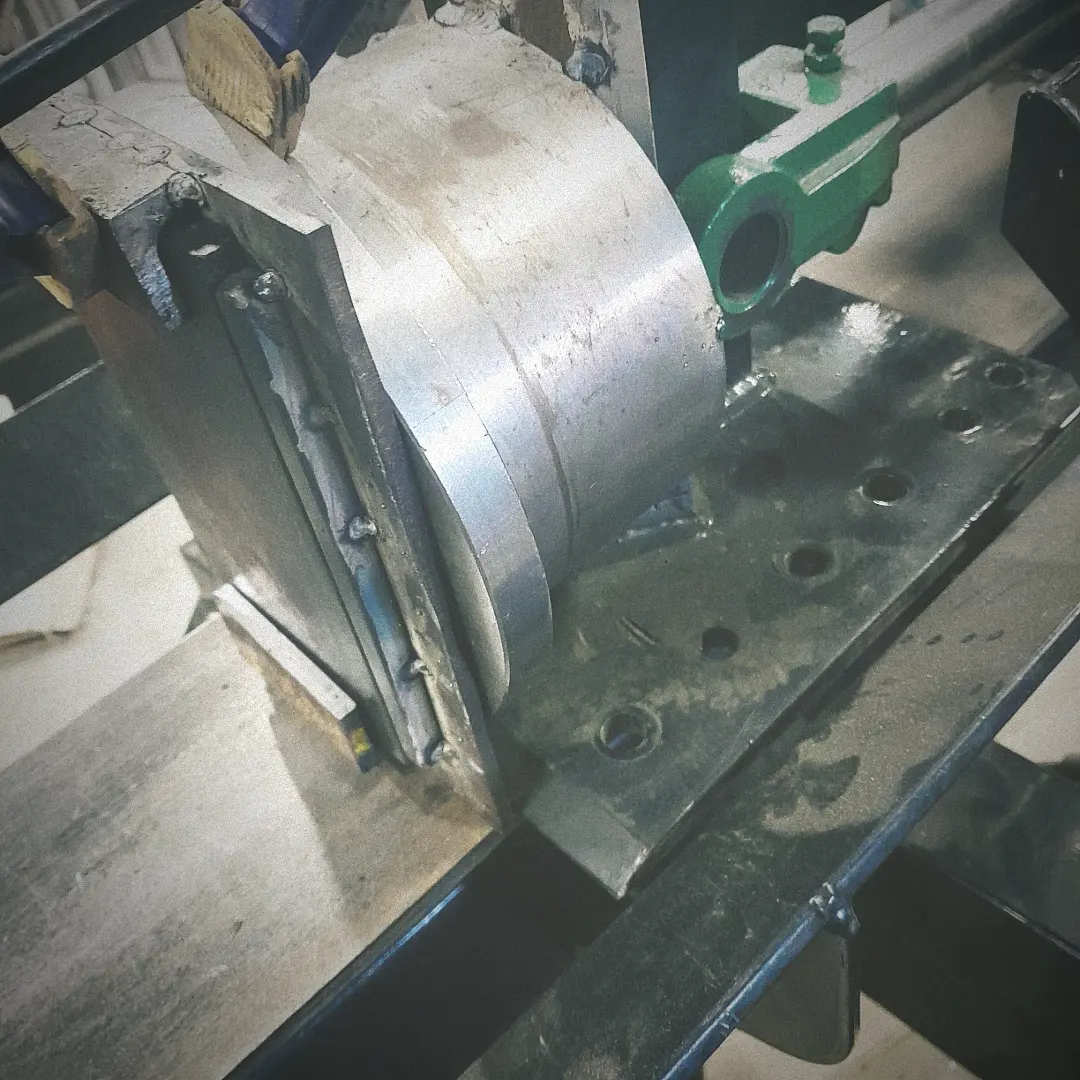
I bought three log splitters before I found one that I liked. The reason it took me that many tries is because the previous splitter had too much wobble iln the guides. This one is adjustable (I can make my own tighter guide if I need to) because it unbolts from the I beam. I'm planning on cutting the wedge off, welding a big steel cylinder to it to add support and then adding the top die. The bottom die will be made separately and then welded to the machine. I don't have a big enough welder so I'm going to tack the prices up and bring it over to a friend's shop to use an industrial welder.
I have drawn up dozens of prints for this build and these seem to fit the best. I have the prints and parts labled to help avoid confusing myself. My only dilemma is with die retention. I've seen guys use a peice of steel that acts as a flap to hold the die in. I've also seen the same flaps bend over the years of use. I'll have to do some more research before I pull the trigger on a certain design.
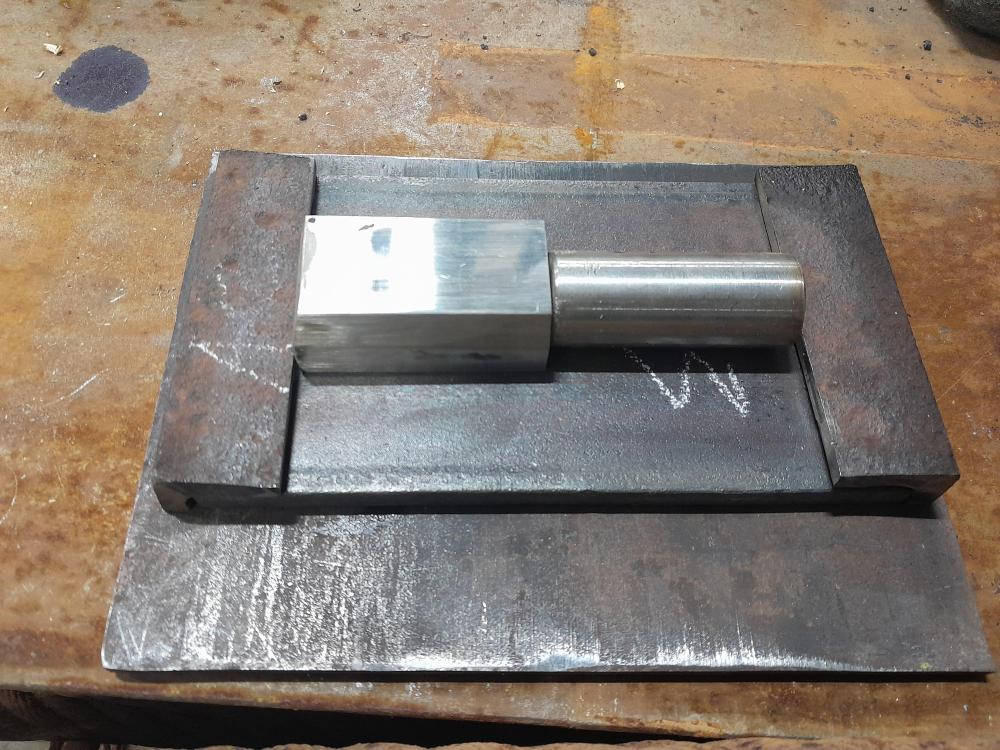
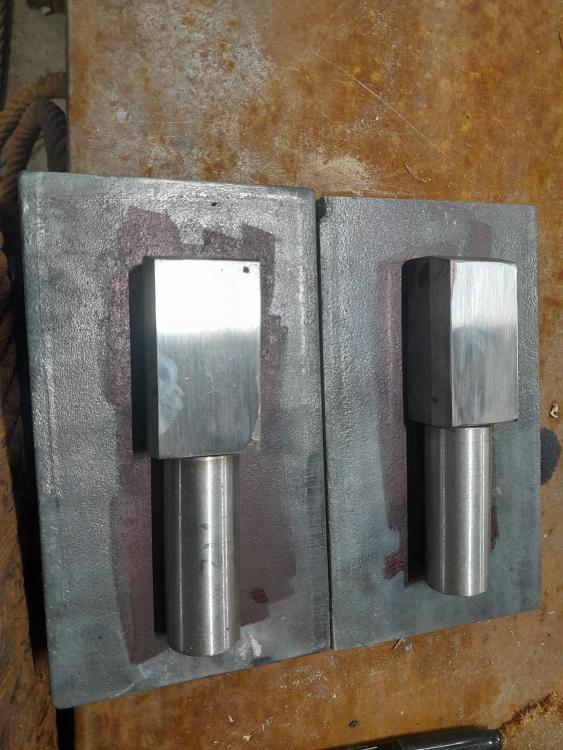
I have the bottom die holder almost completely cut out and the top die will be next. These are my goals for this press.
1. Be able to draw out billets of damascus, break down tool steel round stock and make hammers.
2. Have a smallish foot print.
3. Have universal dies that are easy to make.
I will leave the gas engine for the time being because I don't have enough electricity to the shop to run a 220 motor.
Cheers!
WFF
-
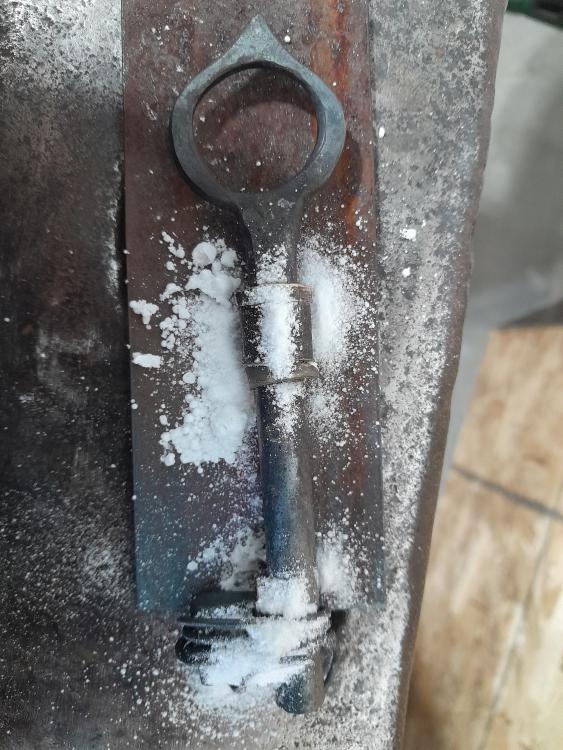
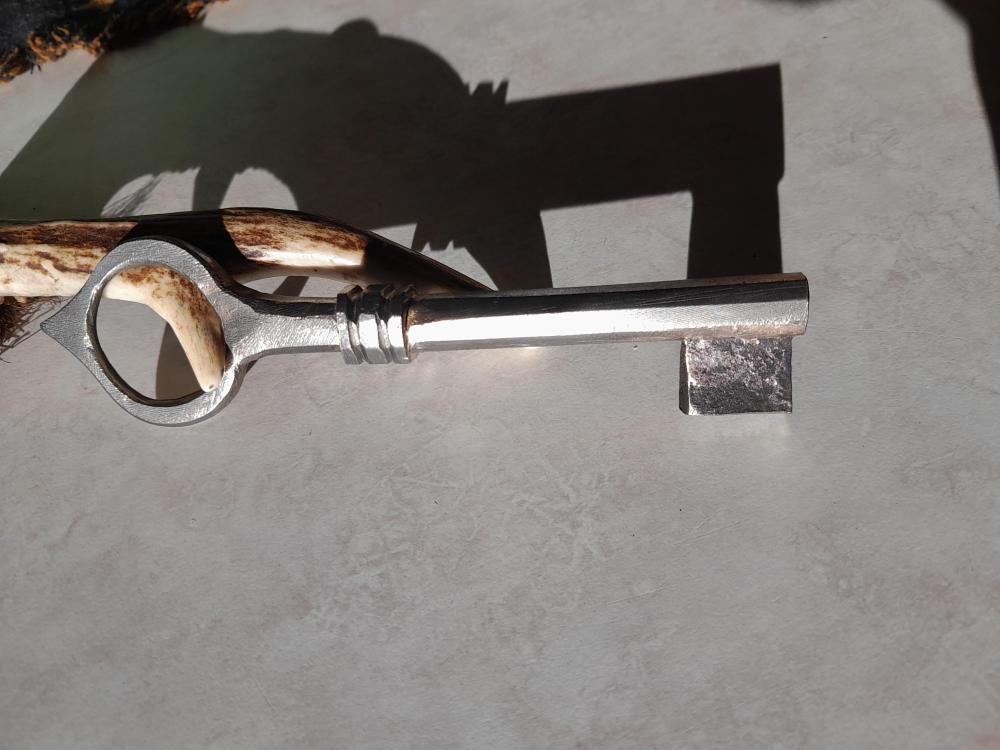
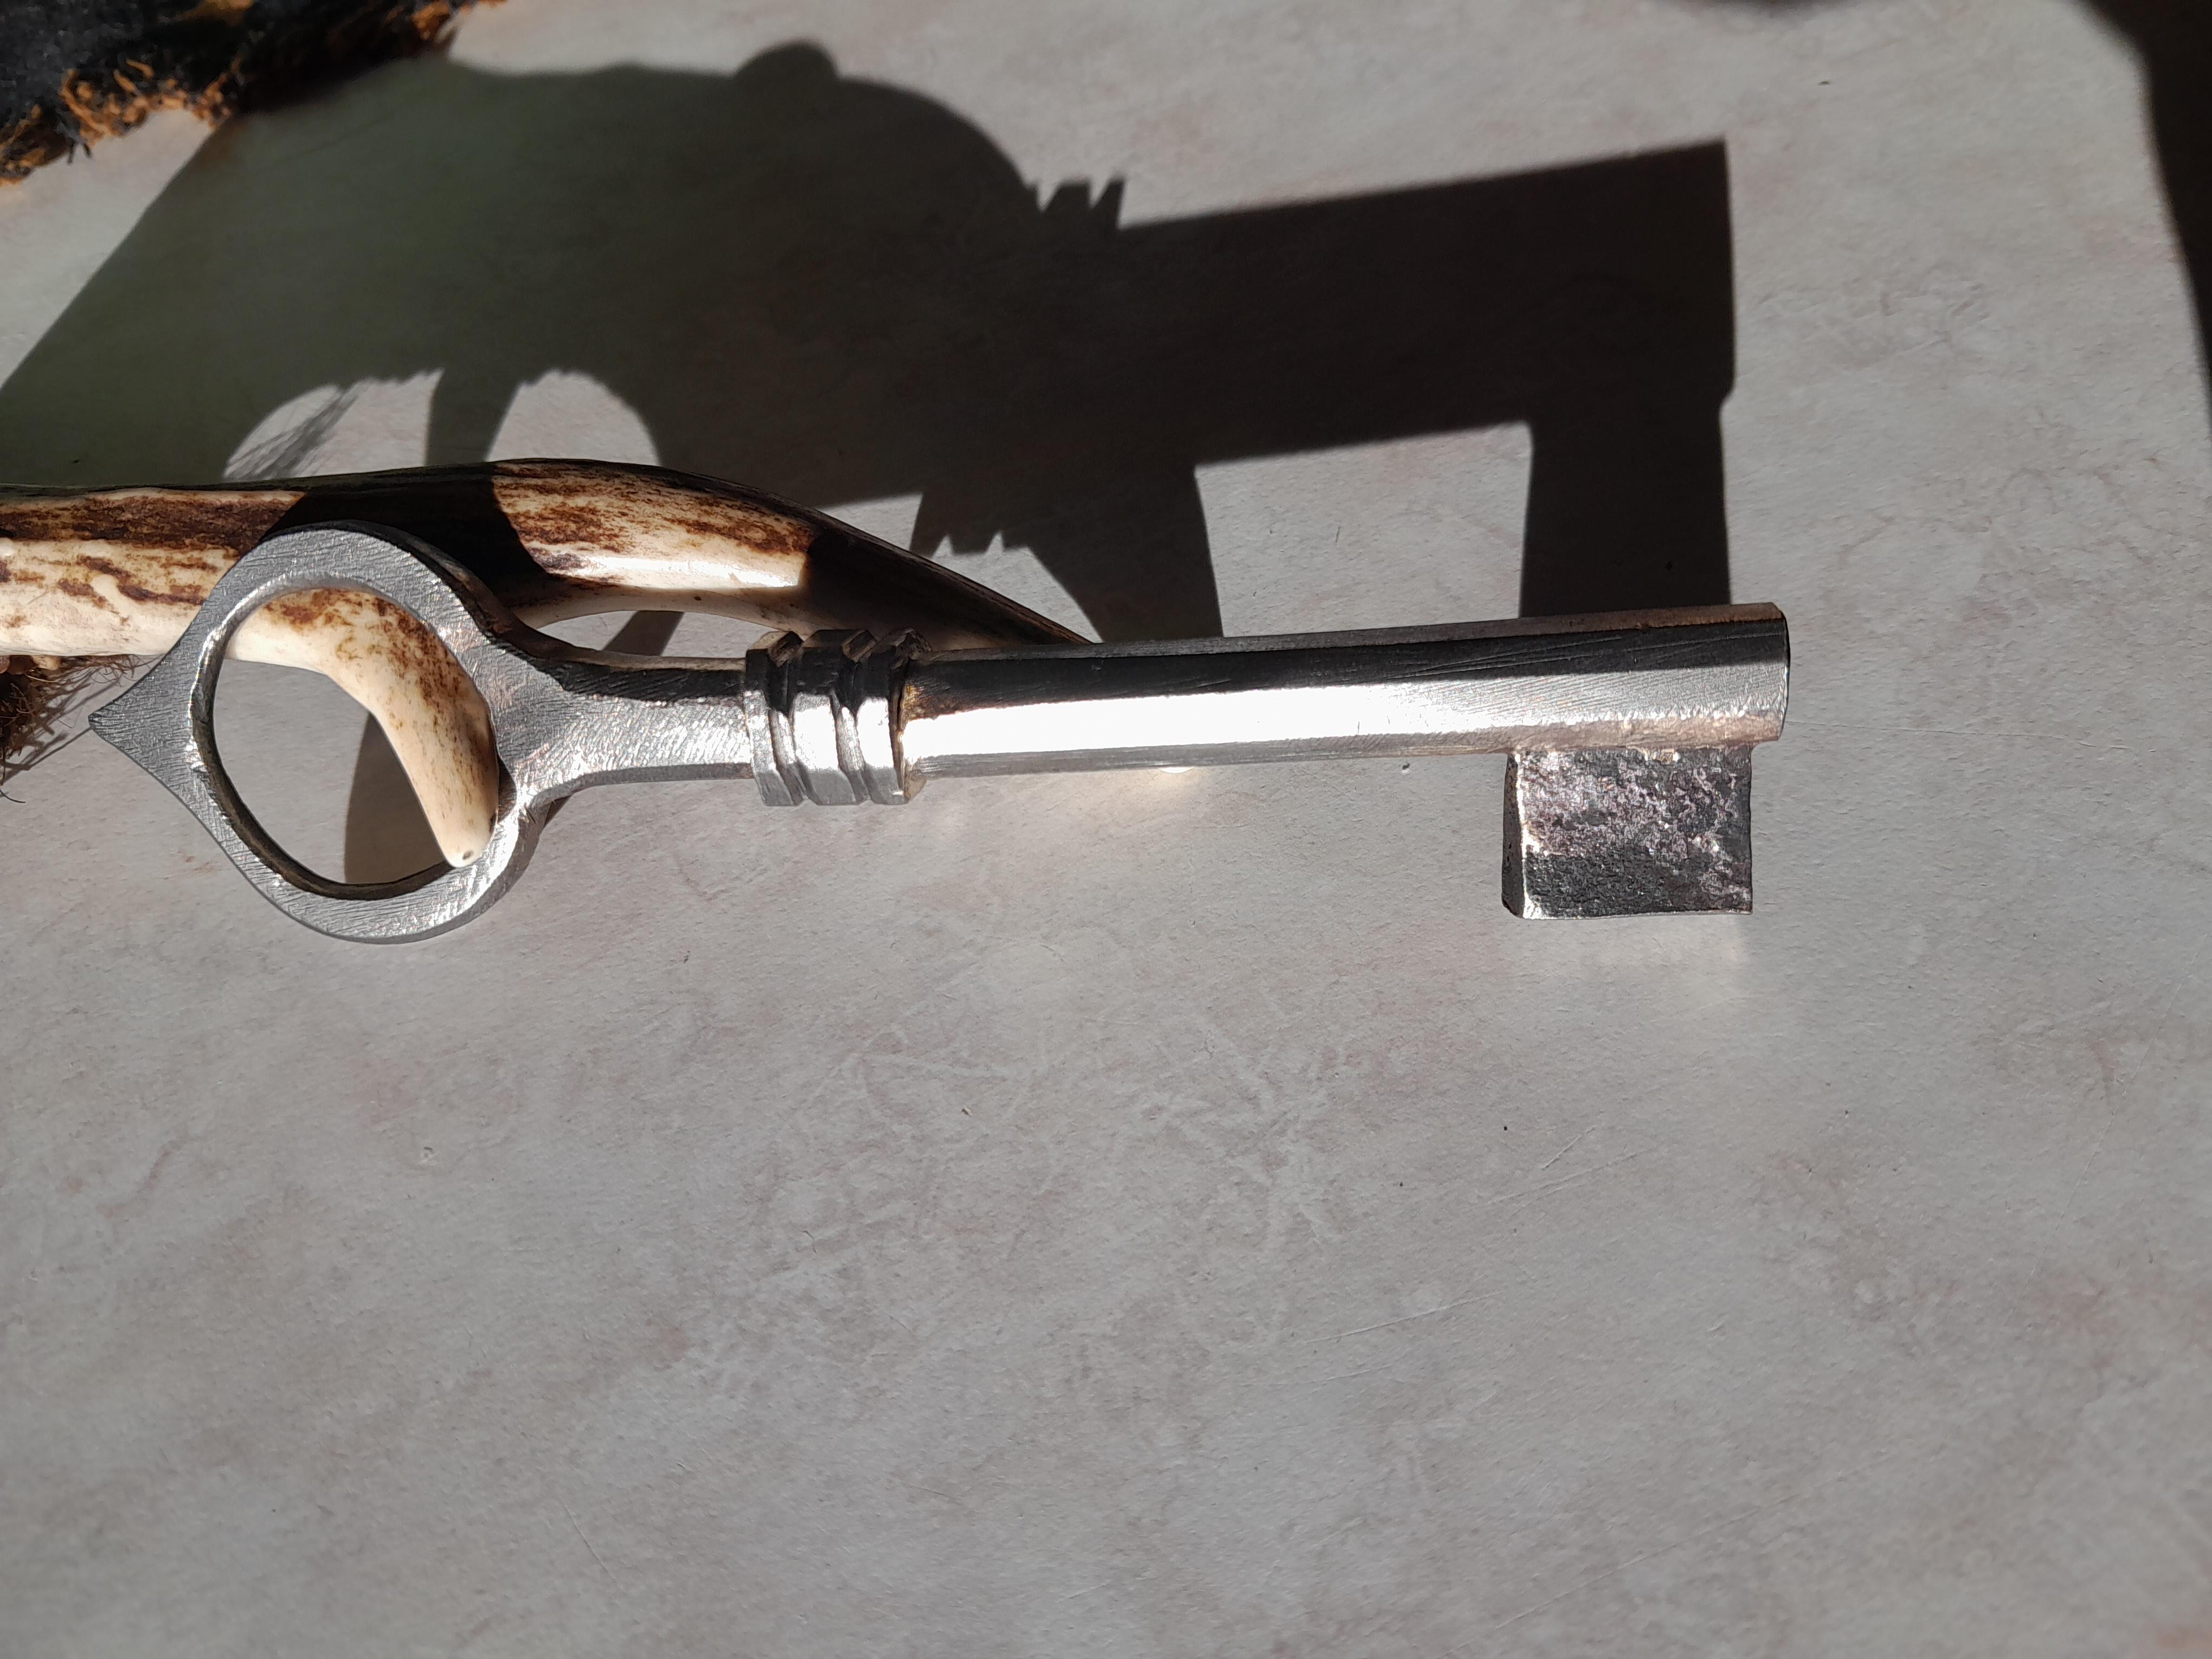
Yessir! Four parts. The ring, tube, collar and bit.
-
I worked on a key for a immigrant chest and lock I am making. The key is still really rough and needs some clean up on the intricate parts.
-
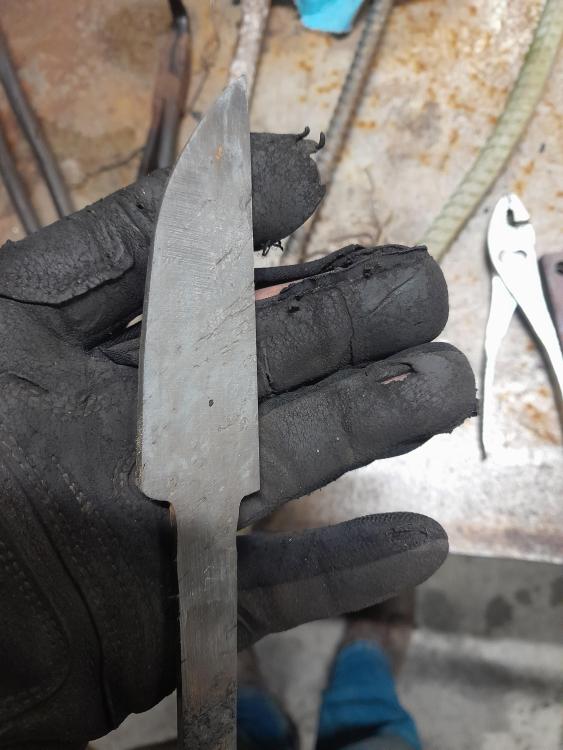
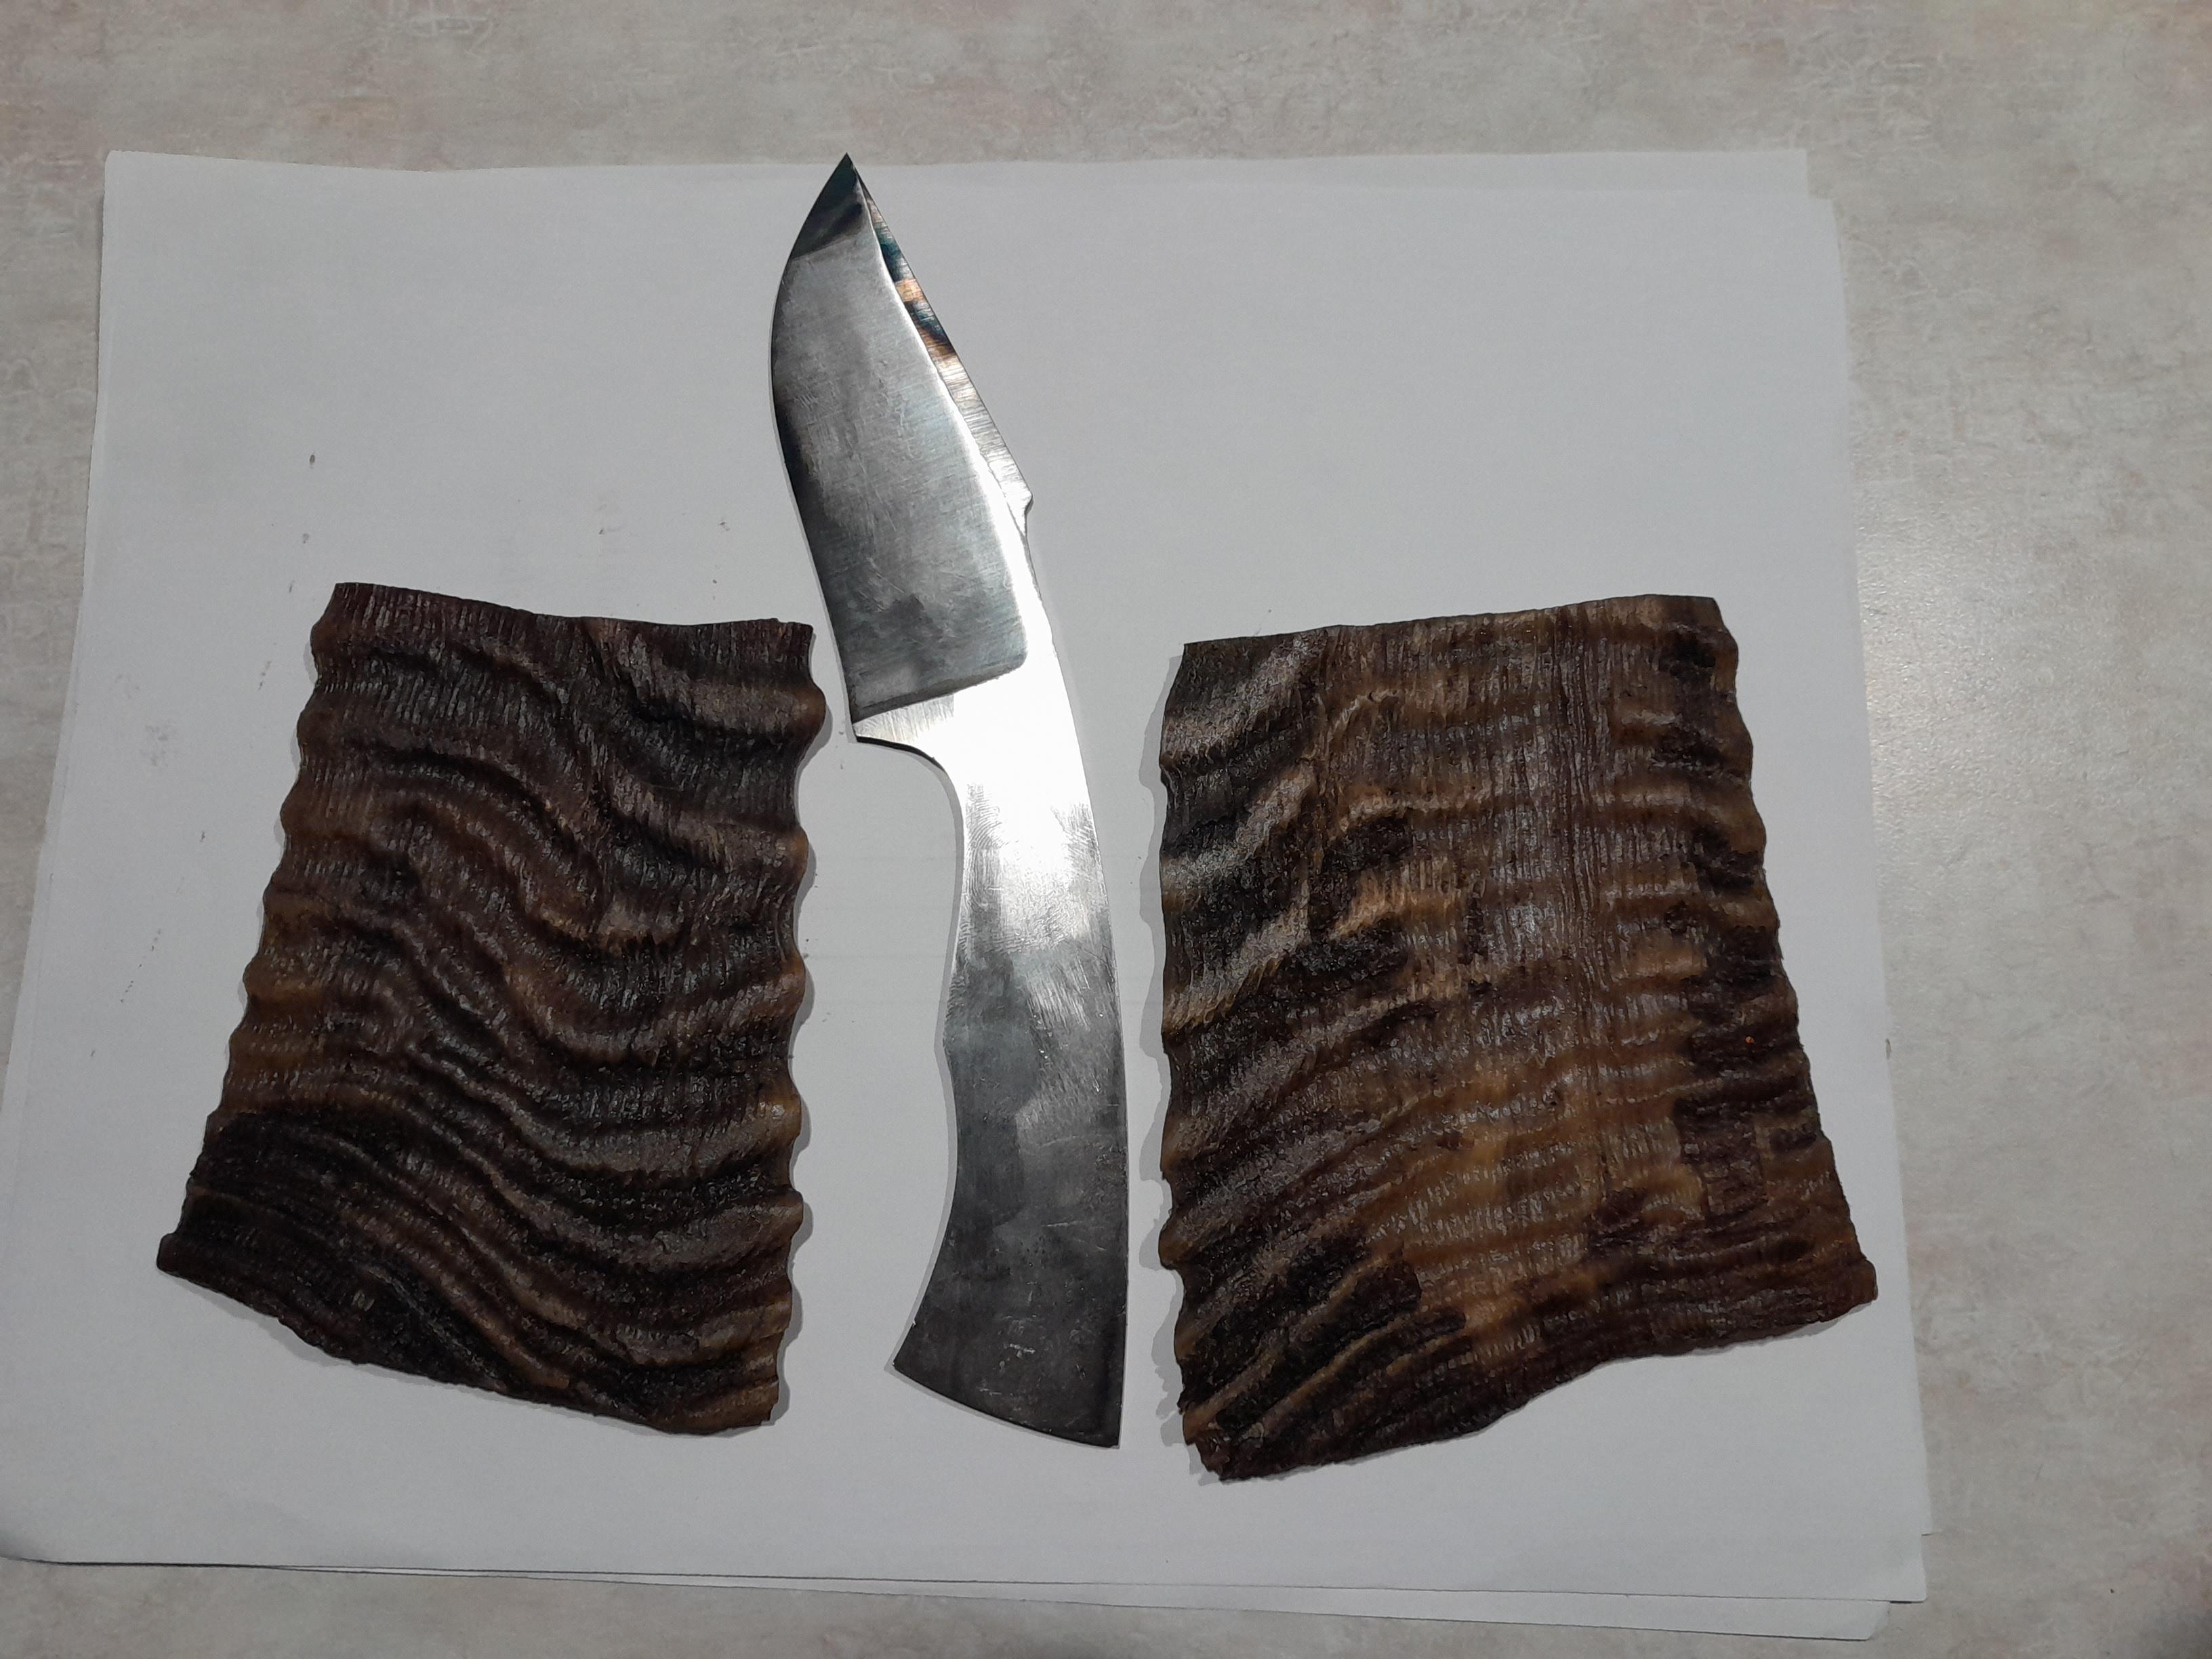
I cut out a newish design of knife. The steel is the usual, 8670 and the handle scales will be waterbuck horn. I boiled the horn in hydraulic oil for an hour and it got soft enough to clamp straight. I'm probably going to try a hamon on the blade.

-
Nice twist gewoon. Looks really good.
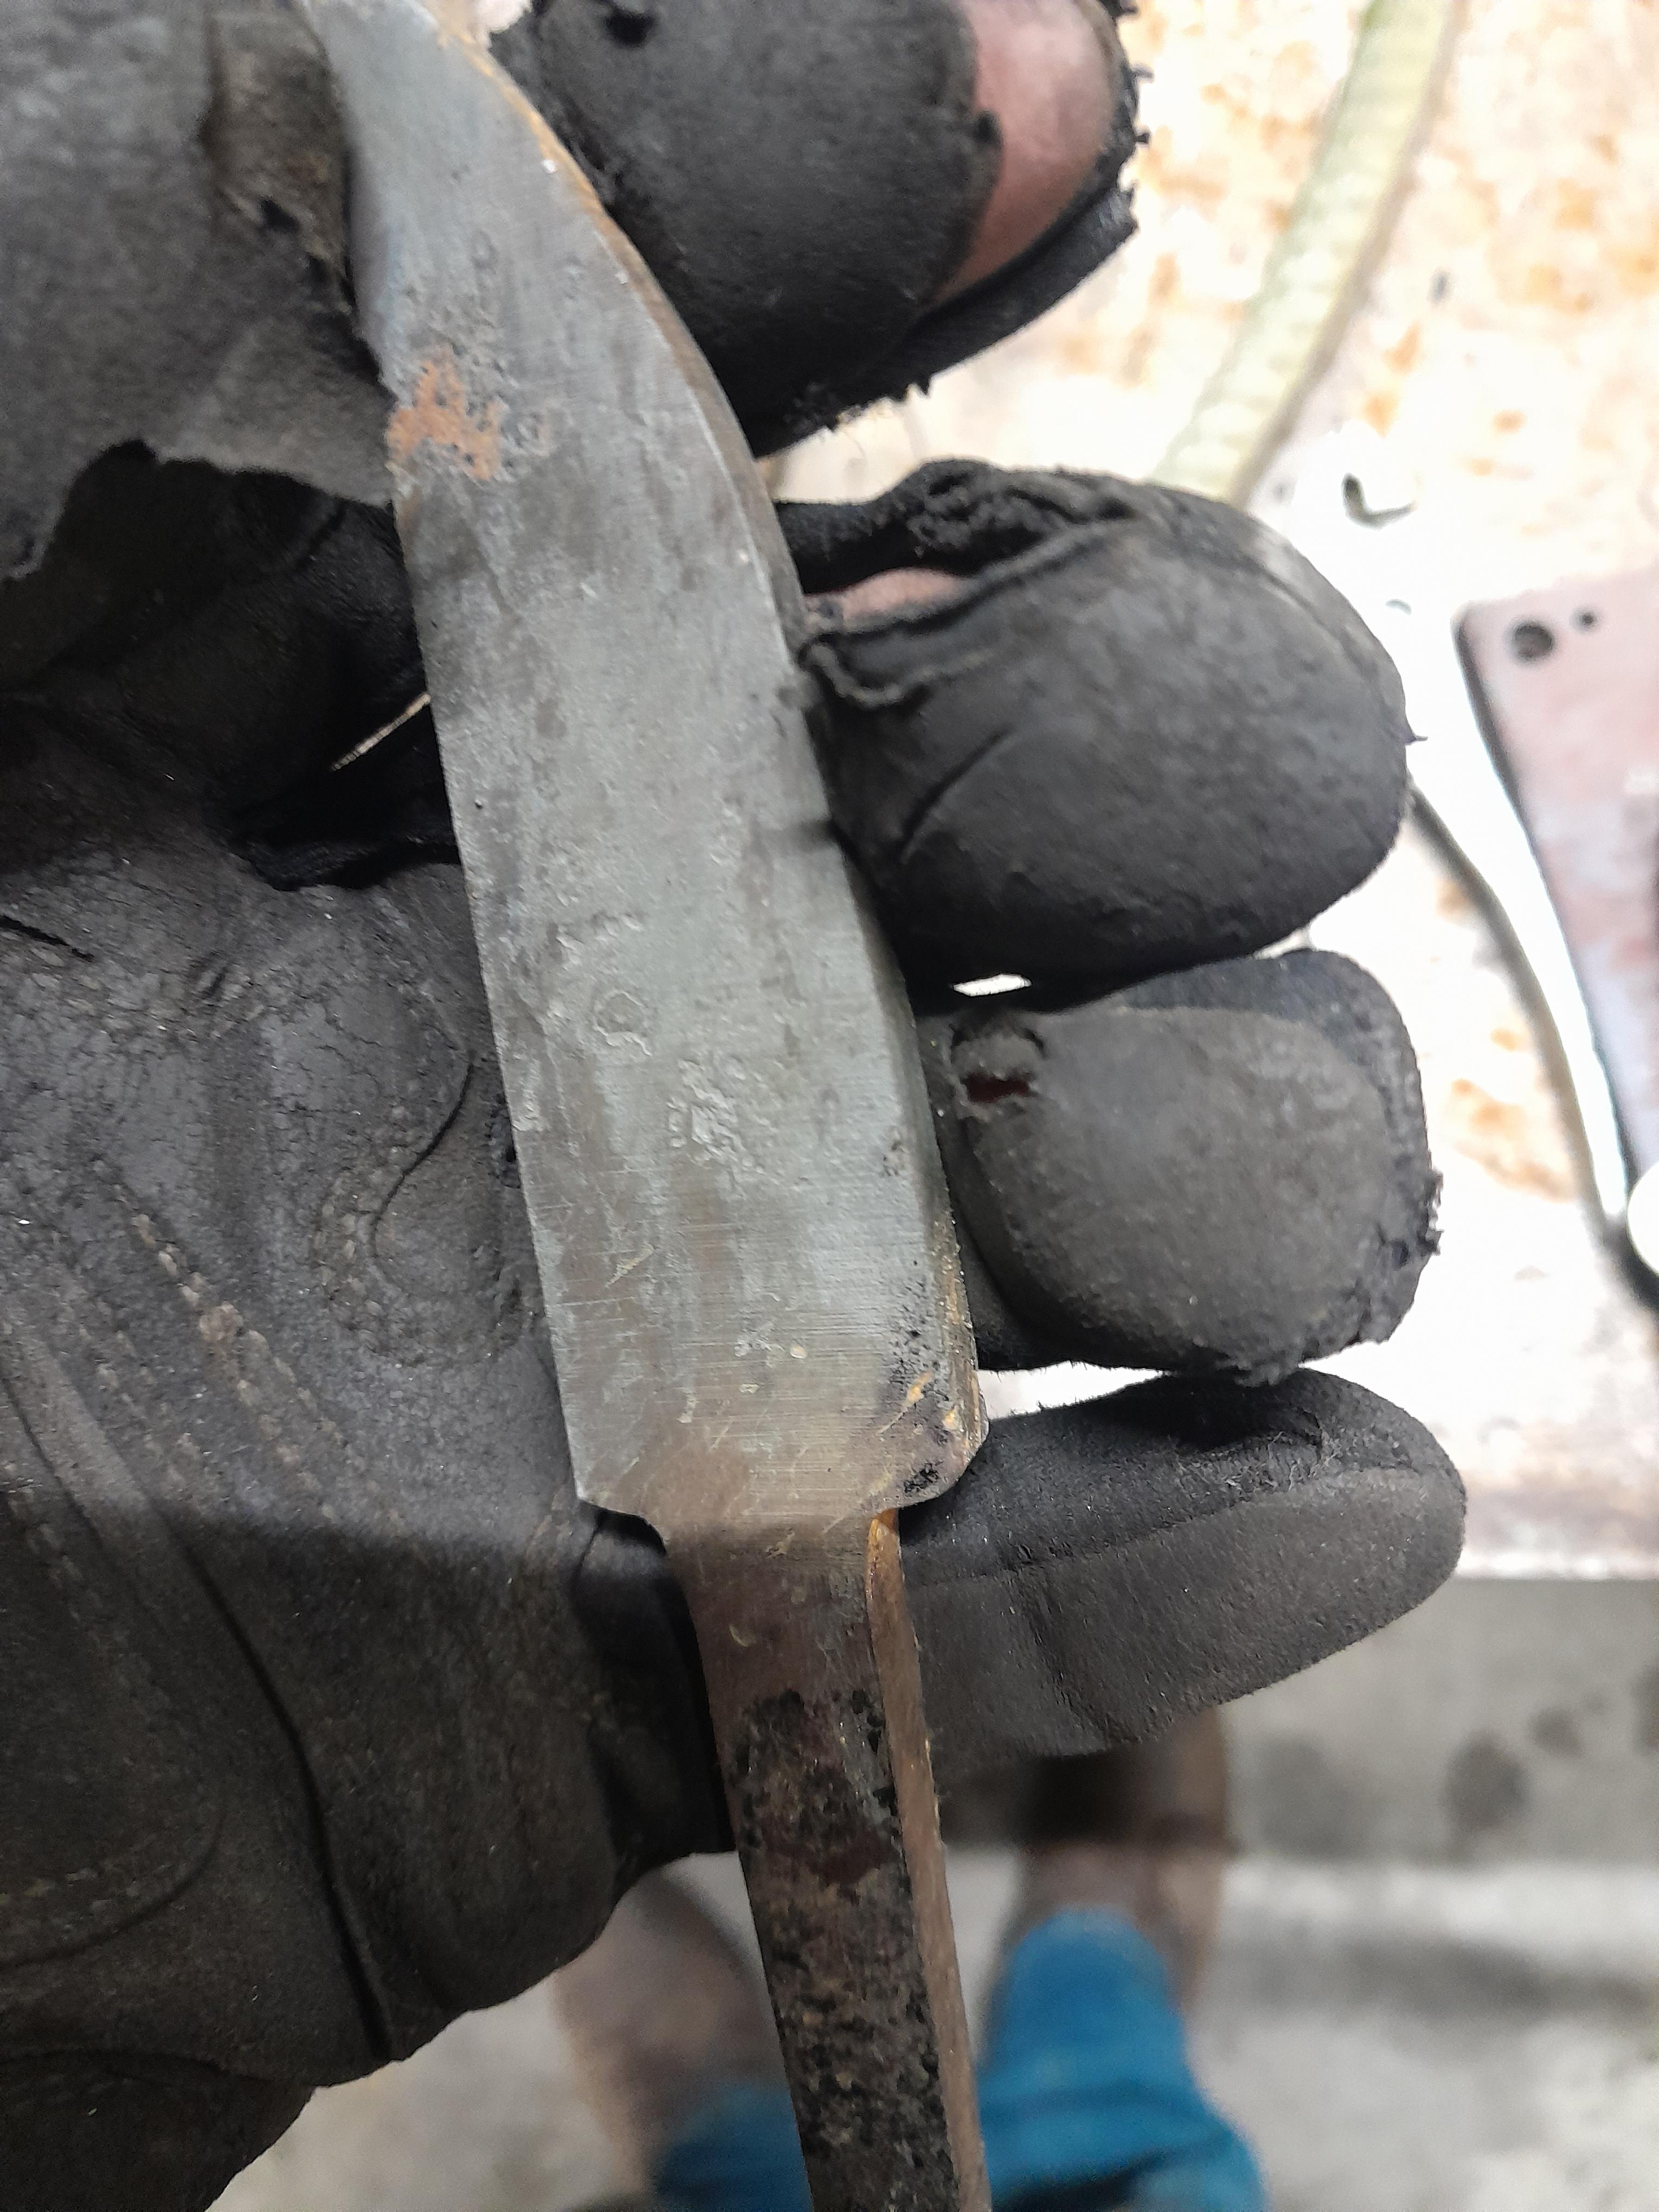
Nobody, I took a pic of the cable damascus. Forged it into a puuko. I didn't harden it so I didn't get a good etch. You can kinda see the pattern though


What did you do in the shop today?
in Blacksmithing, General Discussion
Posted
My kitchen knife WIP. The handle is leopard wood and the blade is 8670