LeeHene
Members
-
Joined
-
Last visited
Everything posted by LeeHene
-
Today I inserted a fresh firebrick in the bottom that I'd cut to match the conture of the forge. I hadn't coated it with 100HT yet. WOW! WHAT A HEATSINK!!! No wonder some folks can't manage to get their home-built forges up to temp! Small details add up quickly.Cheating is only an issue if someone is looking to compete in a fair fight. Personally, I'll take a strong victory over a fair fight any day. Guess that might explain why I've never had any interest in organized sports.Sorry Frosty, didn't mean to rub a sore spot with that last post. I'm happy with my little plastic blower but I sure wouldn't trust it's build quality enough to put on a burner that I was selling to someone for that kind of money. I completely understand why it irritates you to see your time and research used for the sake of stuffing someone else's pocket from poorly made versions of you work. I'm a stickler for quality too. As much as the OEM burner of my son:s little forge frustrated me, I've gotta say, the frame is thick and solid with nice welds. That's what attracted me to it in the first place. It seems so few people take pride in their work any more.I was googling "forge forced air burner nozzle" for design ideas and look what I ran across. Ouch! They're taking folks to the cleaner with that burner.
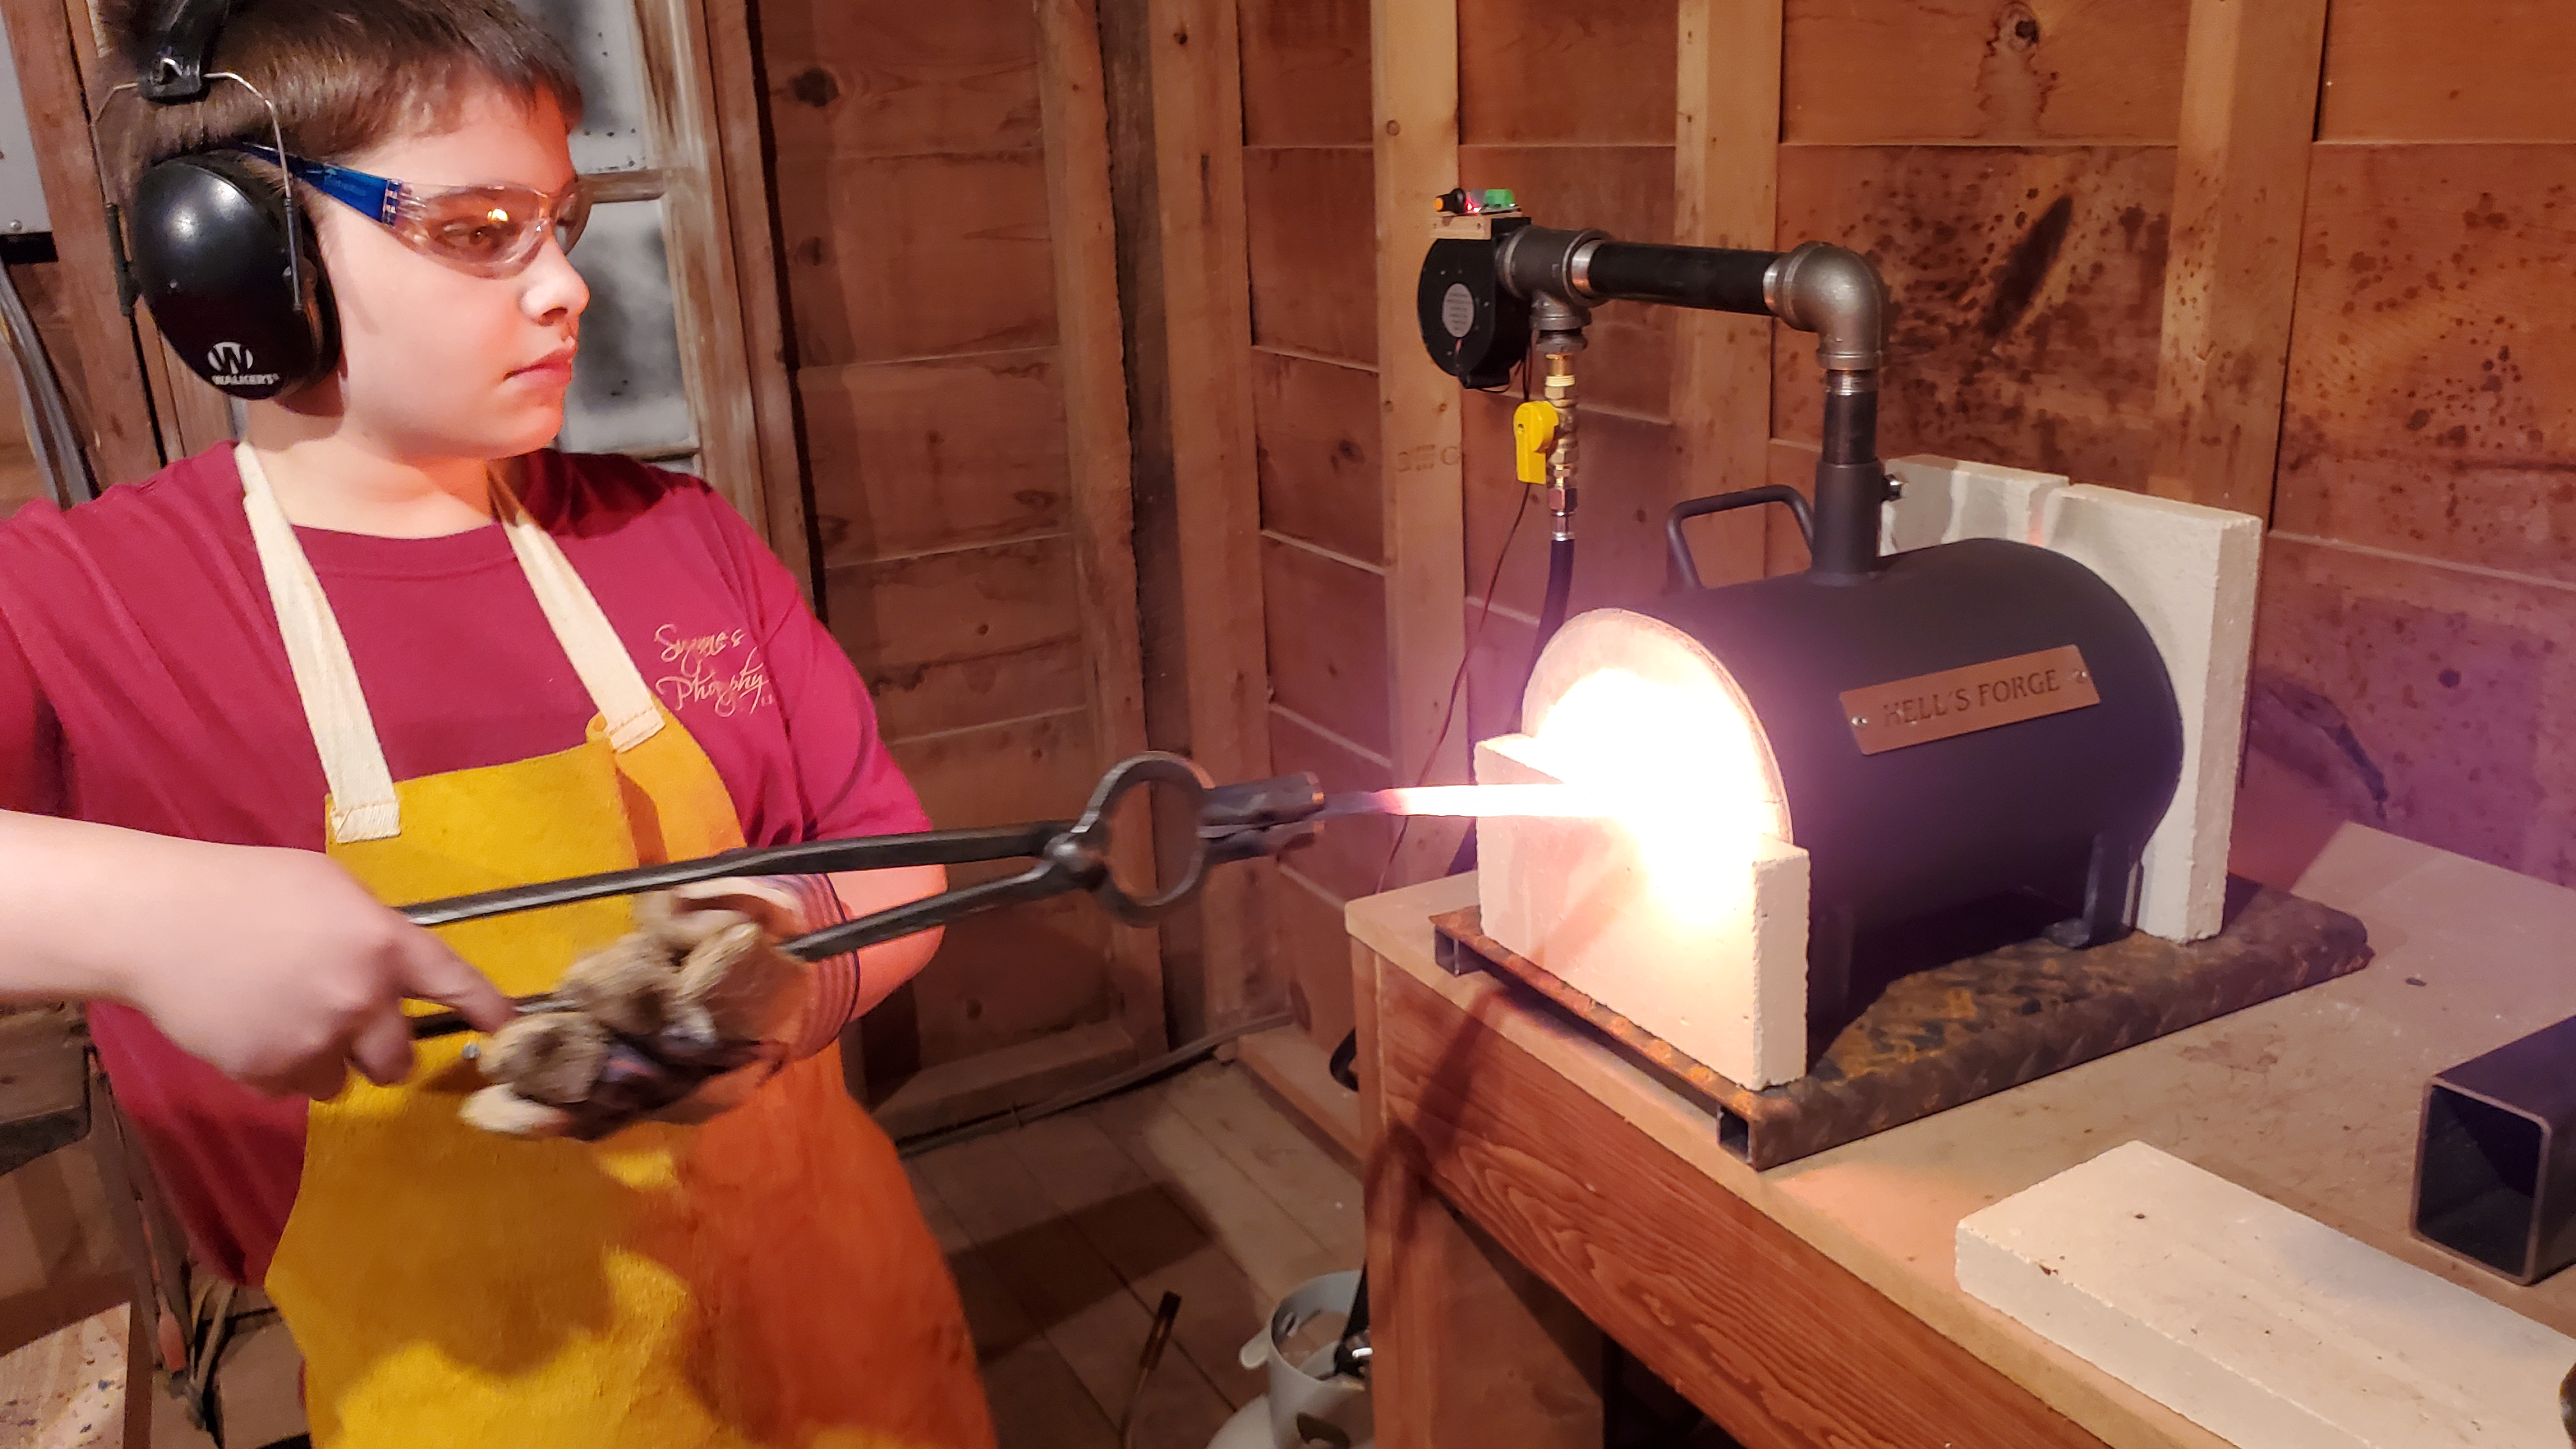
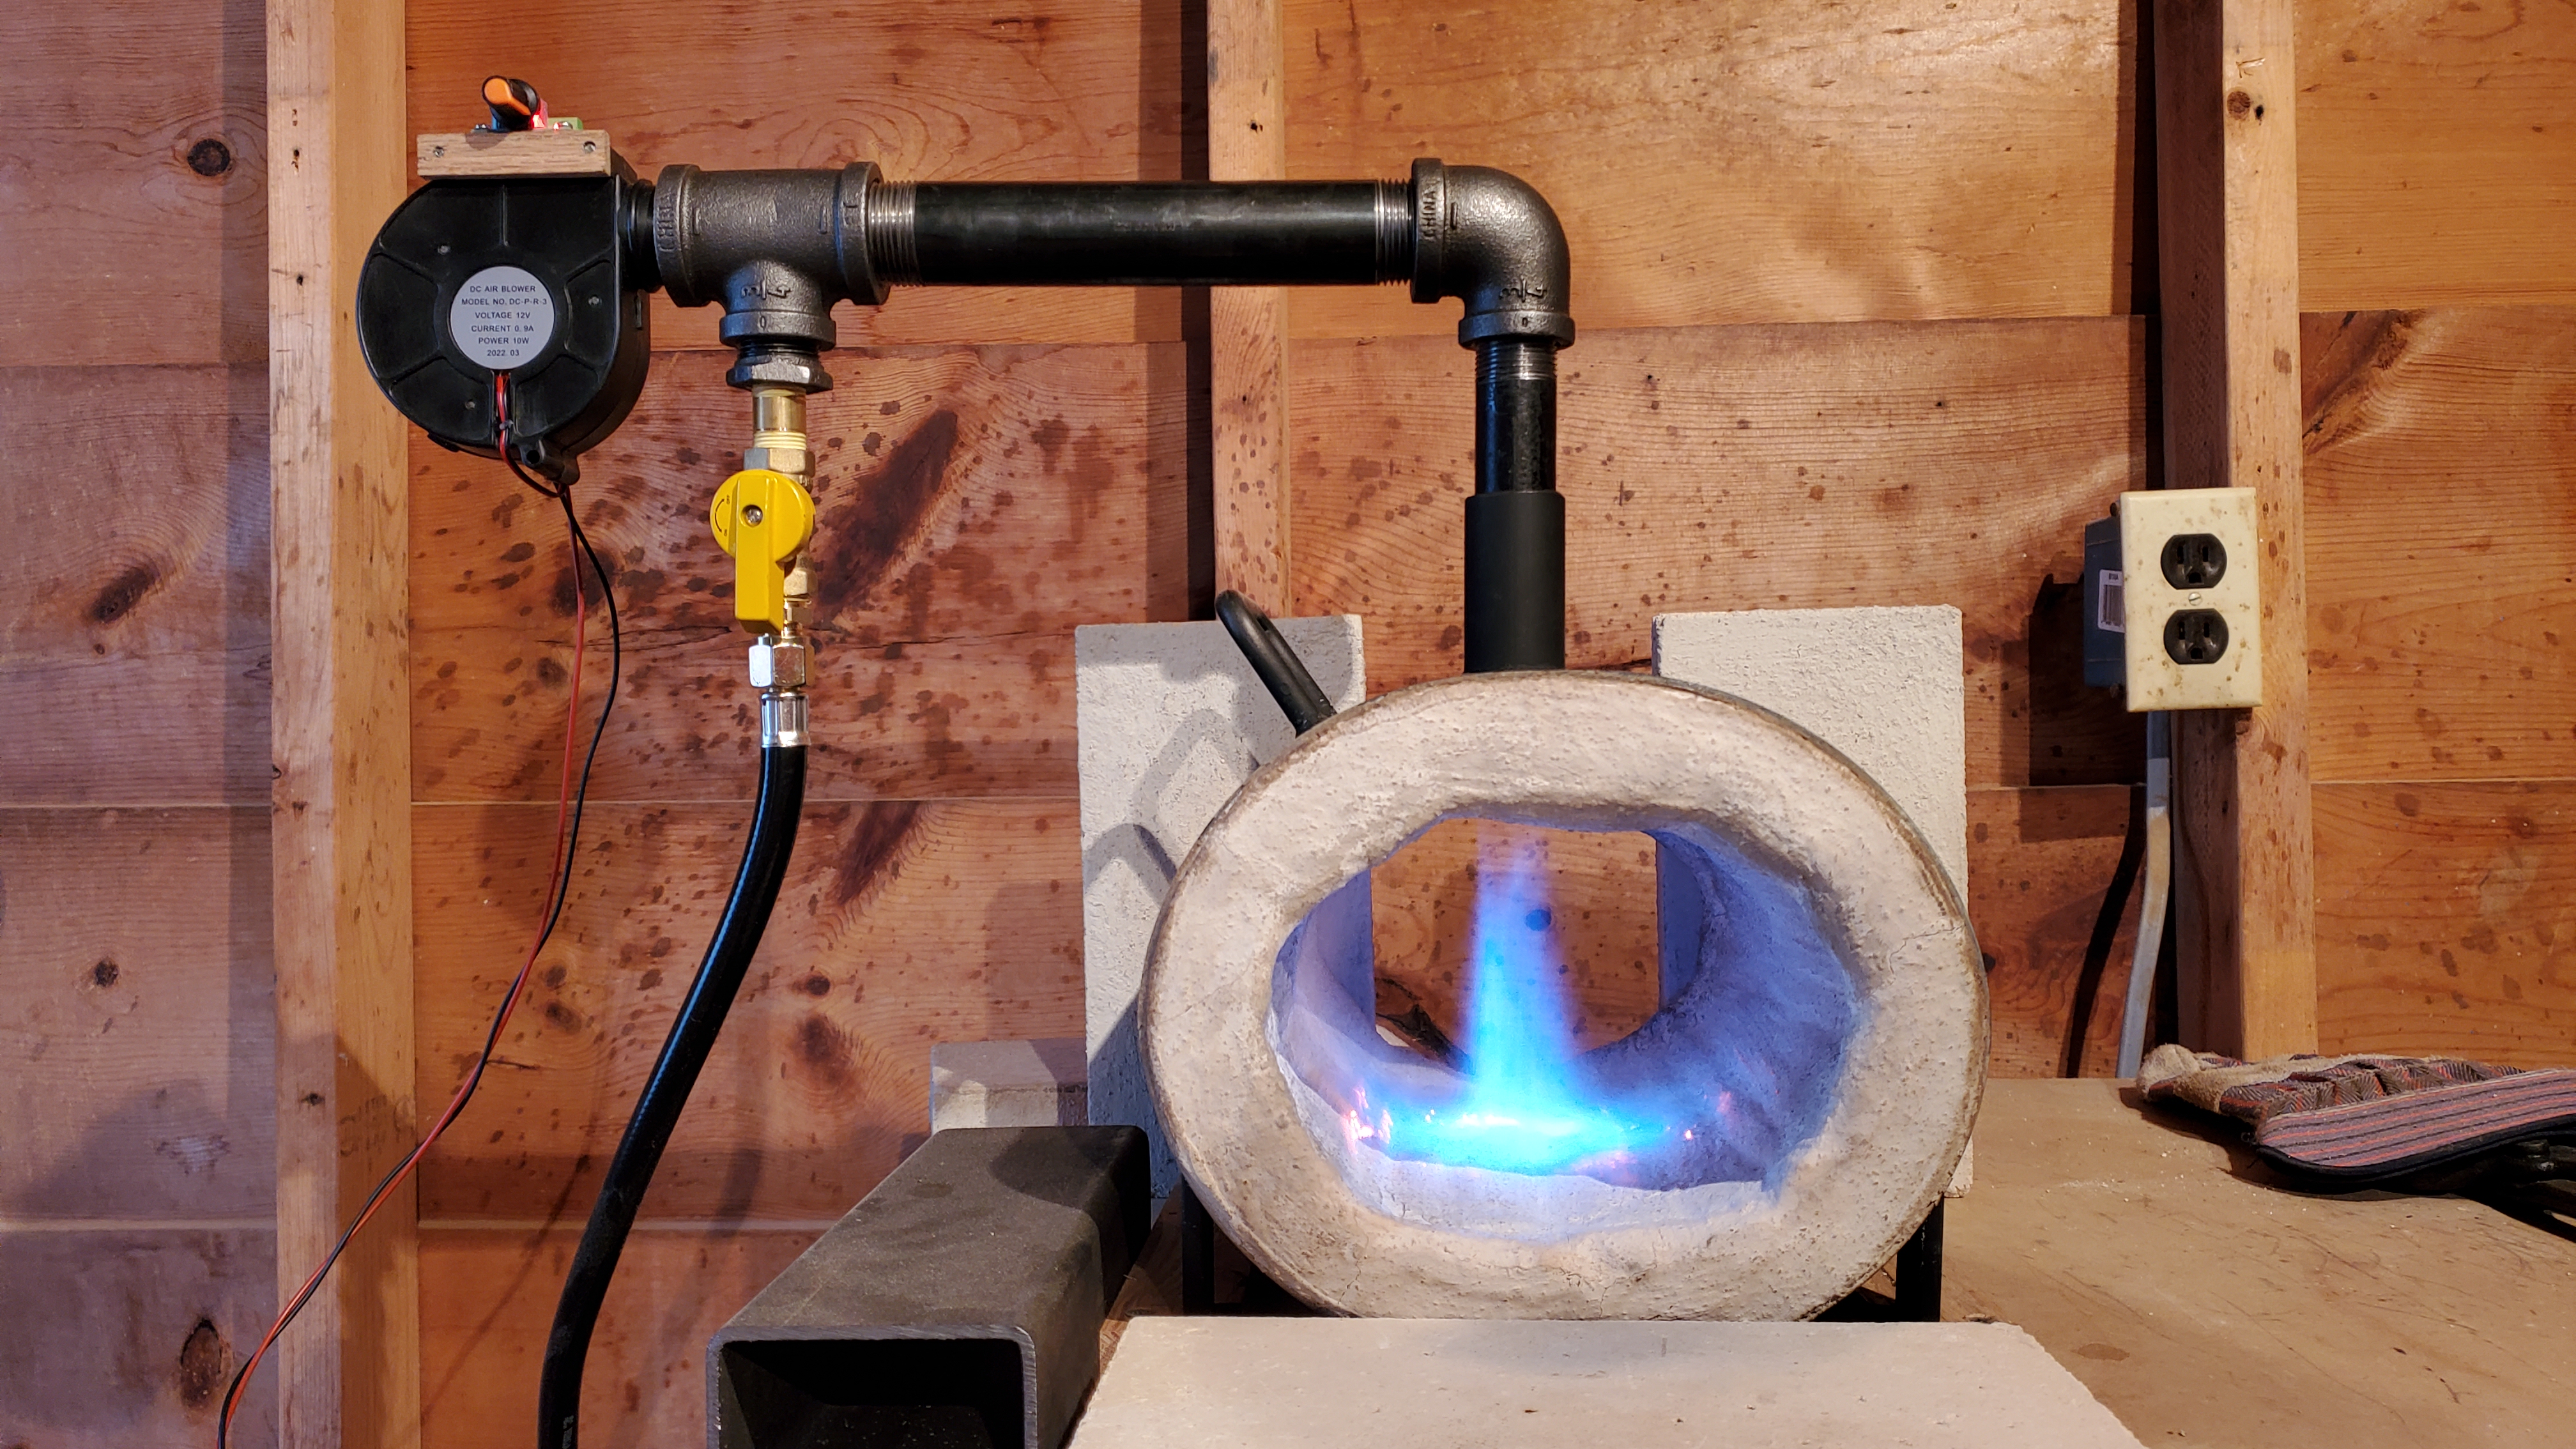
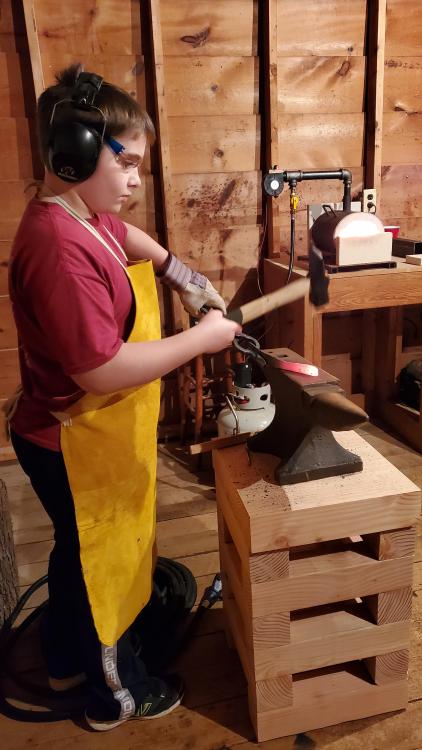
 Thank you guys, that means a lot. There is so much great information on this site, it really makes it easier to learn and develop a starter design. The size of the forge is plenty sufficient for what we need right now. Next I plan to build a frame for sliding doors on the front and back. I've gotta get that anvil stand more rigid. I'll probably experiment with the burner nozzle after that. As for a ribbon burner forge, that might be something for another time, but not now. My son's interest is in making knives, and this little forge seems just right for that. We need to find someone local for some hands-on pointers on moving steel.Quick update: I installed a gate valve for air and a needle valve for the propane. The picture is a low-ish flame. I had trouble balancing air/fuel for low heat before adding the valves. It's going to take a little practice to get the hang of adjustments, but I'm pleased. Thank you Frosty and Mikey for your help!
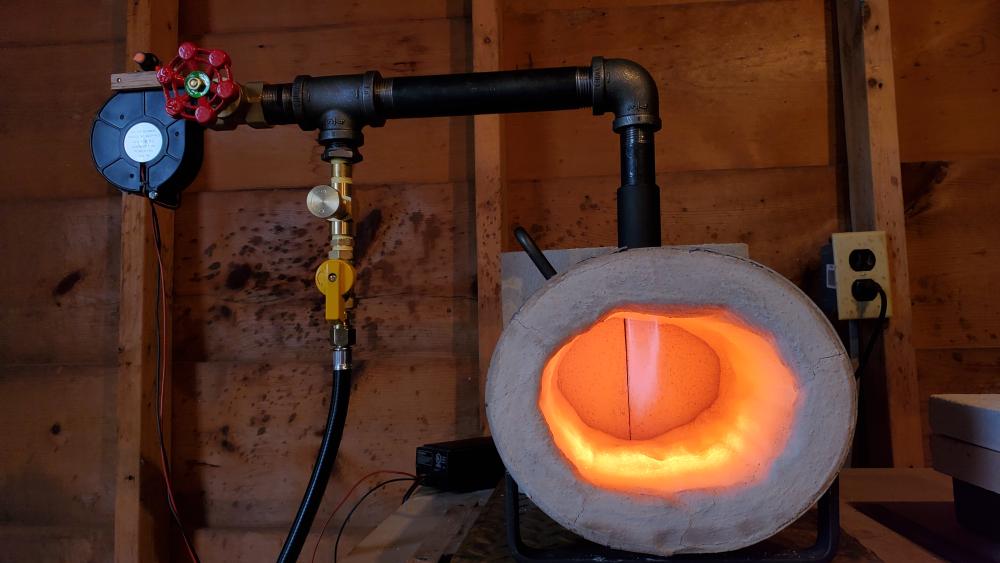 I didn't say no blacksmithing equipment in the barn, just no cutting a hole in the floor to anchor our anvil stand in the ground. -hahaha!Thank you for pointing out an issue with the anvil stand that I wasn't even aware of. I've not secured the top yet, so I could add vertical beams to the inside. I also bought 1.25" steel angle that I plan to put on the outside corners, bolted into each cross beam. The height still needs some adjustment for my boy. I honestly sized it more for me since he's growing fast. I'll give that some though. Possibly a thinner top? As for the floor, ther's not much I can do aside from supporting it better underneath. My wife is a photographer and we use the barn for Santa photo sessions before Christmas. It's a 5 day event that's booked with a waiting list each year. So no permanent visible modifications allowed. We'll figure out something better for the long run though! (And no, I am NOT Santa!)
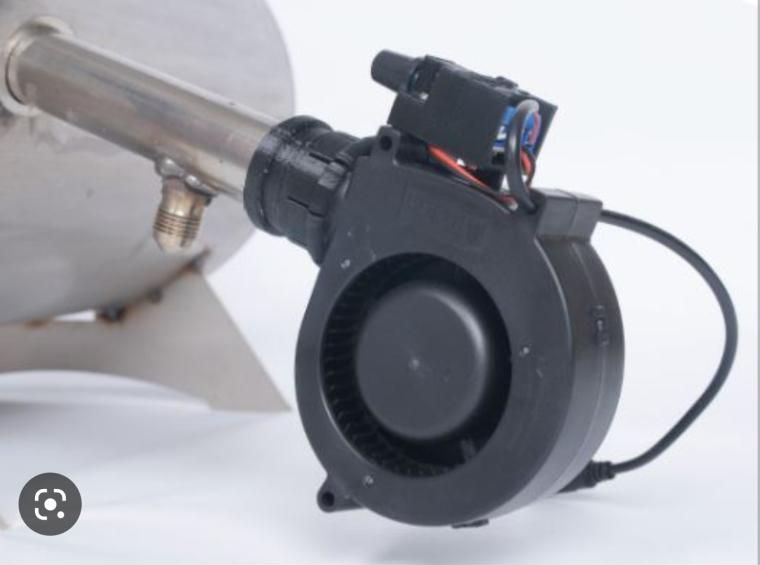
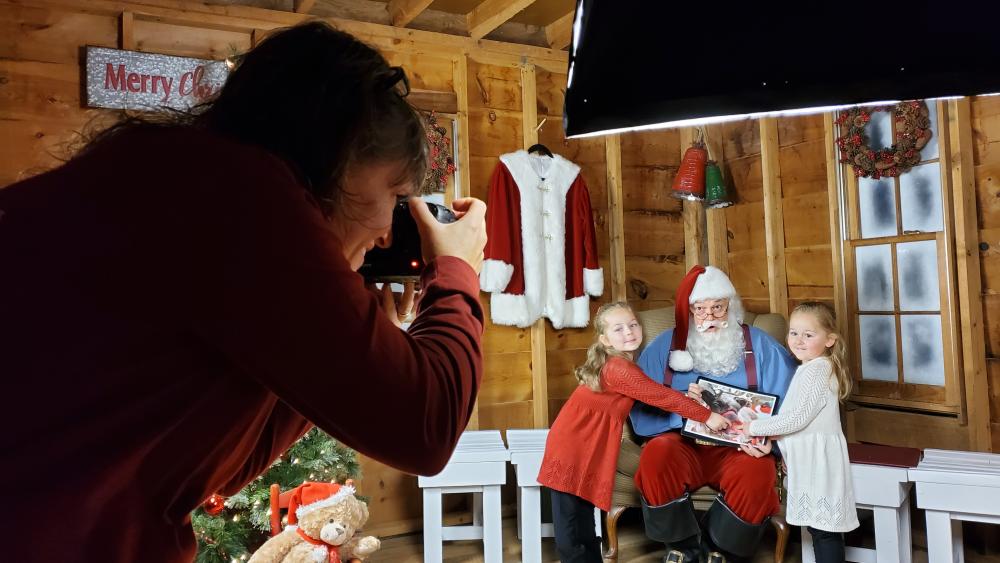 Awe man, that's a heartbreaker! I just got close to finishing that anvil stand! Each layer is anchored to the one below with 6" lags and glued with Titebond 3. The floor of our barn is working against us too. The forge has to be secured to keep it from wondering across the bench when we hammer. As for the blower, I'll look into a way to adjust output restriction. I'm not sure how long this little $10 Amazon special will last as it is. I must say, the output is more than sufficient and it's whisper quiet! (Not that it matters with the roar of the burner.) The idea behind that 8" run of pipe over to the 90 was to keep the plastic blower well away from the forge in case heat were to travel up the pipe. So far everything has stayed cool to the touch. I'll continue working on improvements!
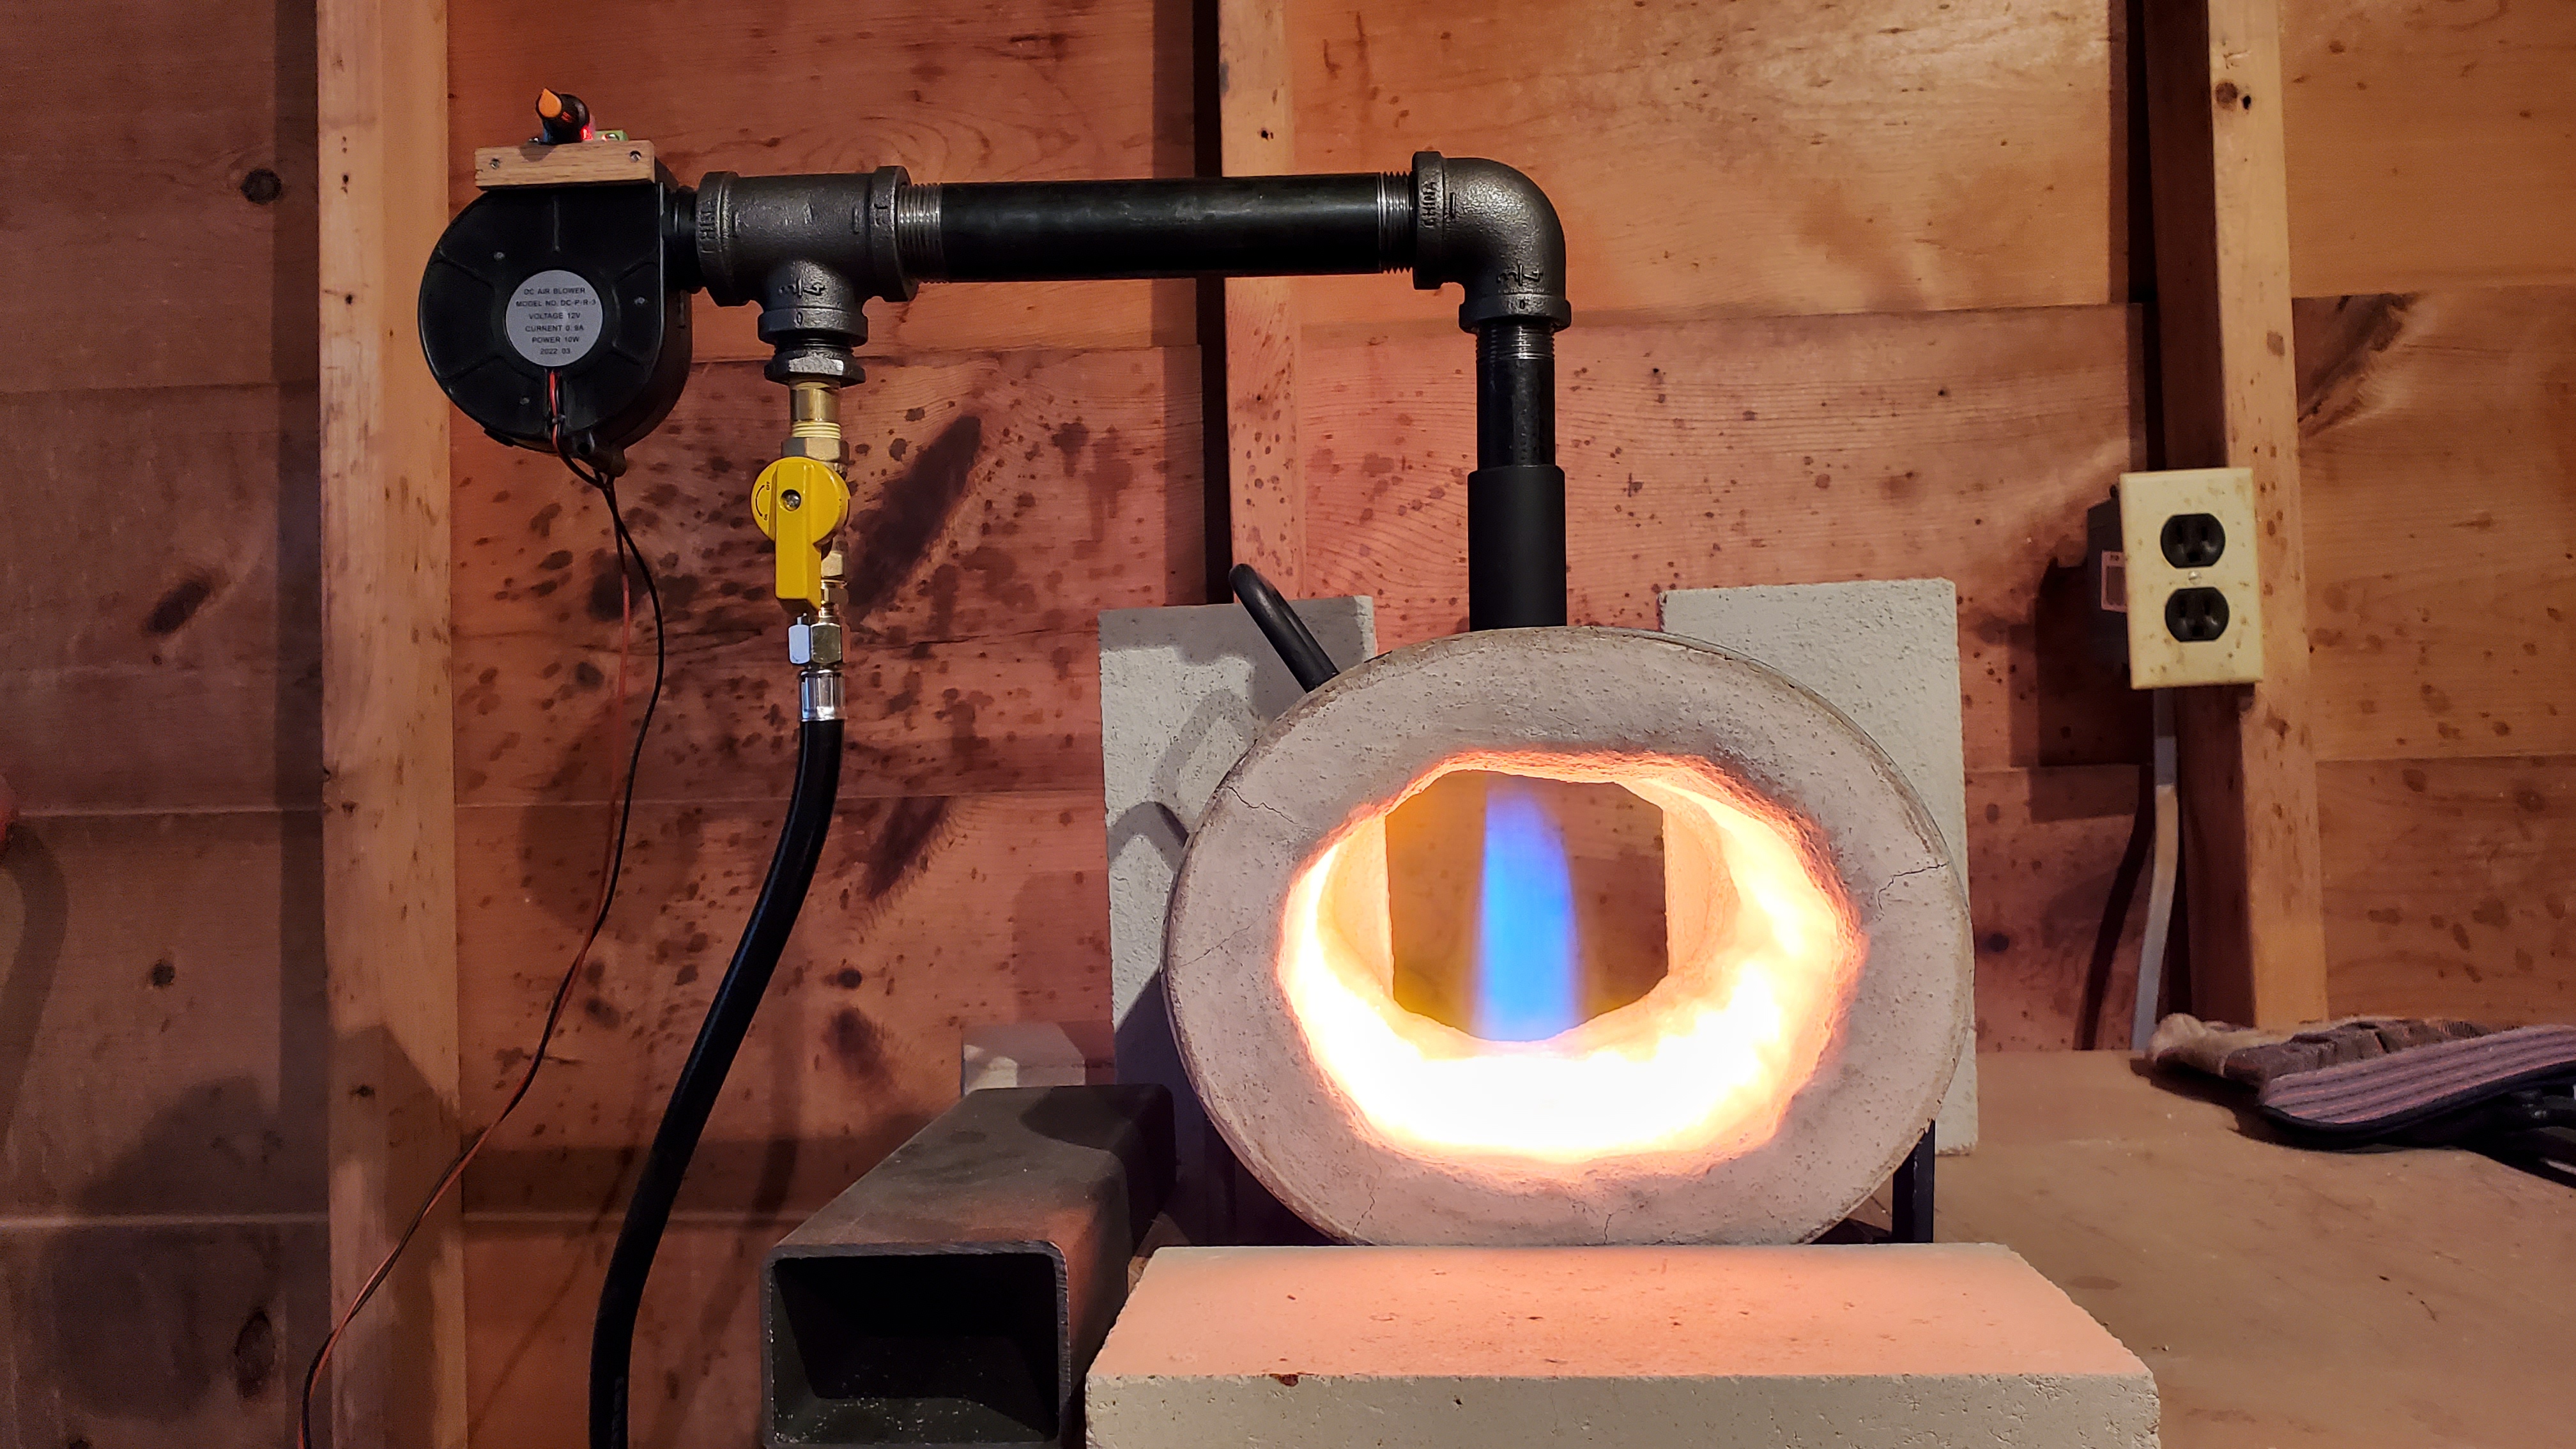
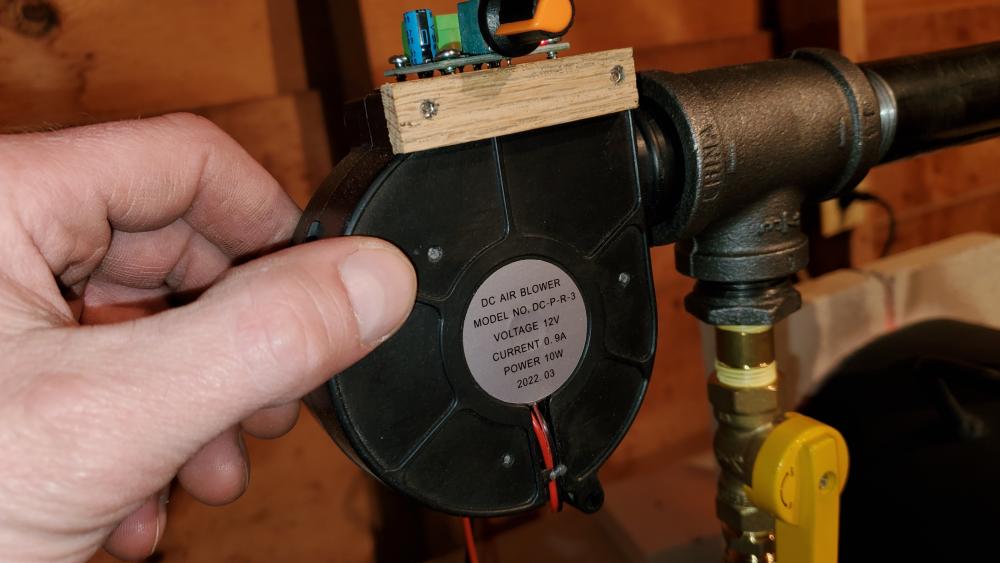 I agree 1000%! From the first time we lit this forge I had a feeling 3/4" burner was oversized. I've been extremely happy with the difference adding a blower has made. My son and I experimented a little more with tuning this evening, blower restriction included. I think that adding a damper to the intake will yield even better results. Im also hoping to experiment with a diffuser in the burner output fairly soon. All this is still in the experimental stage. I greatly appreciate all the great input!

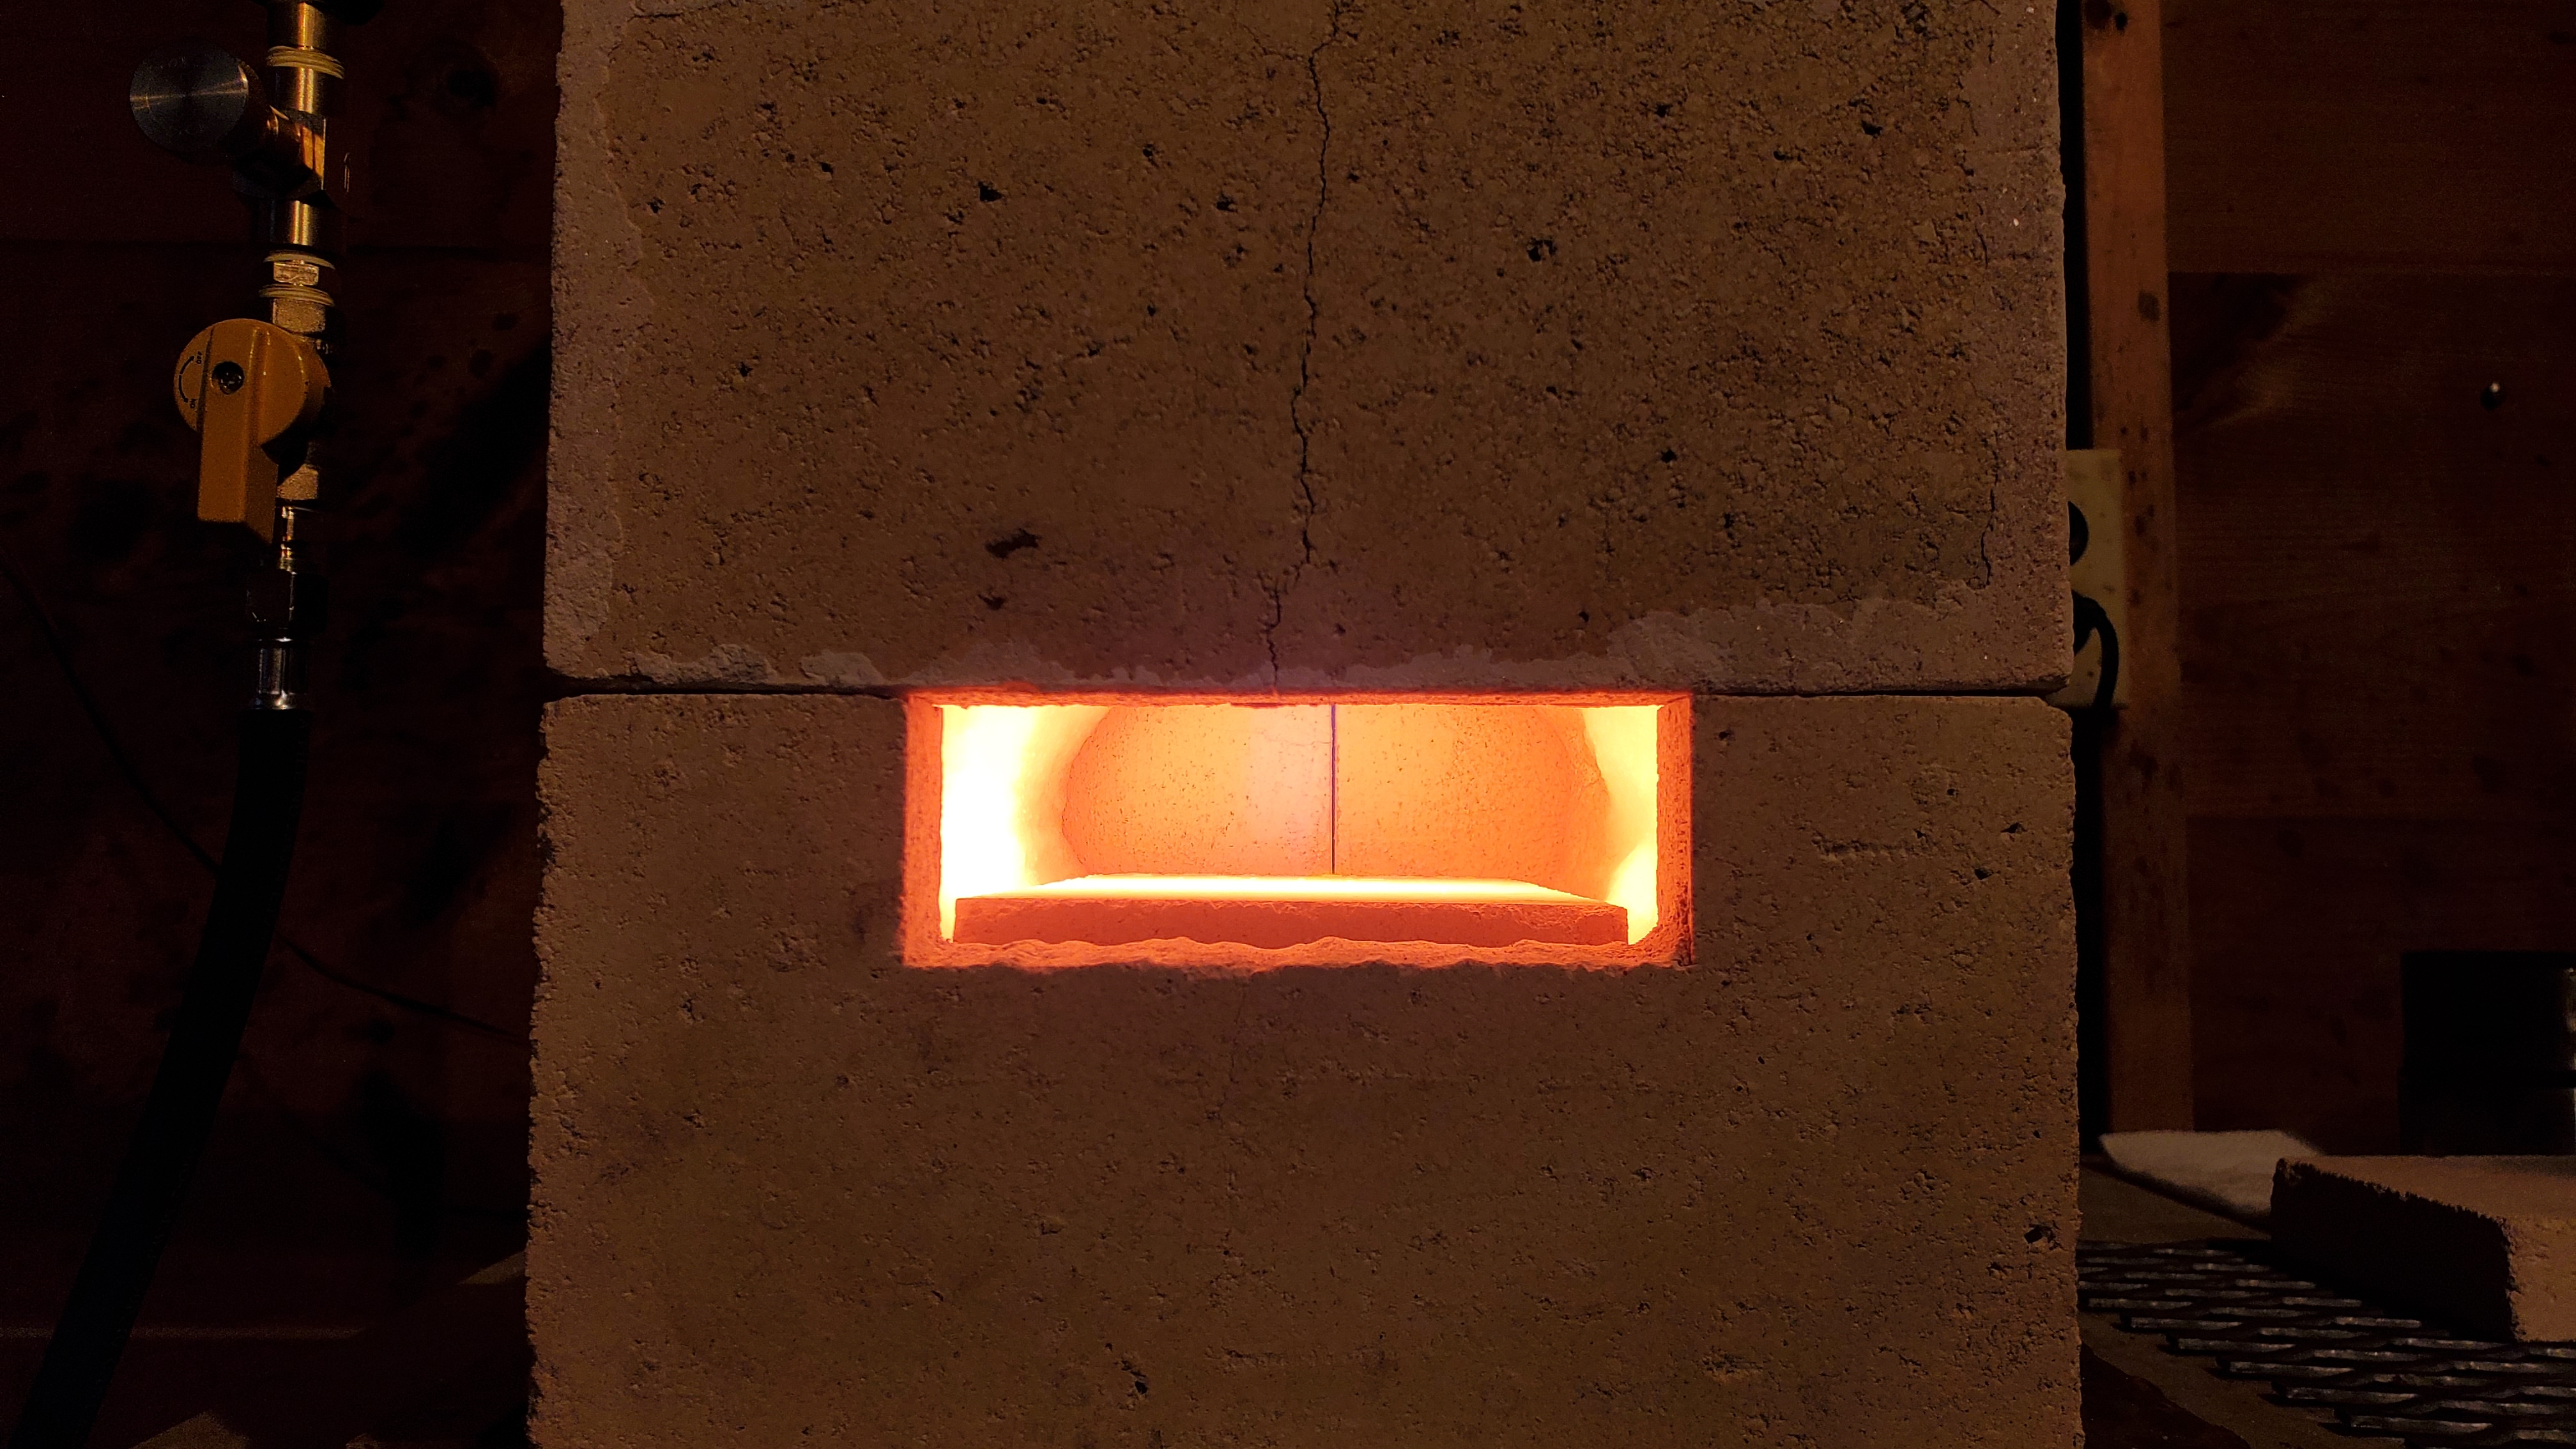
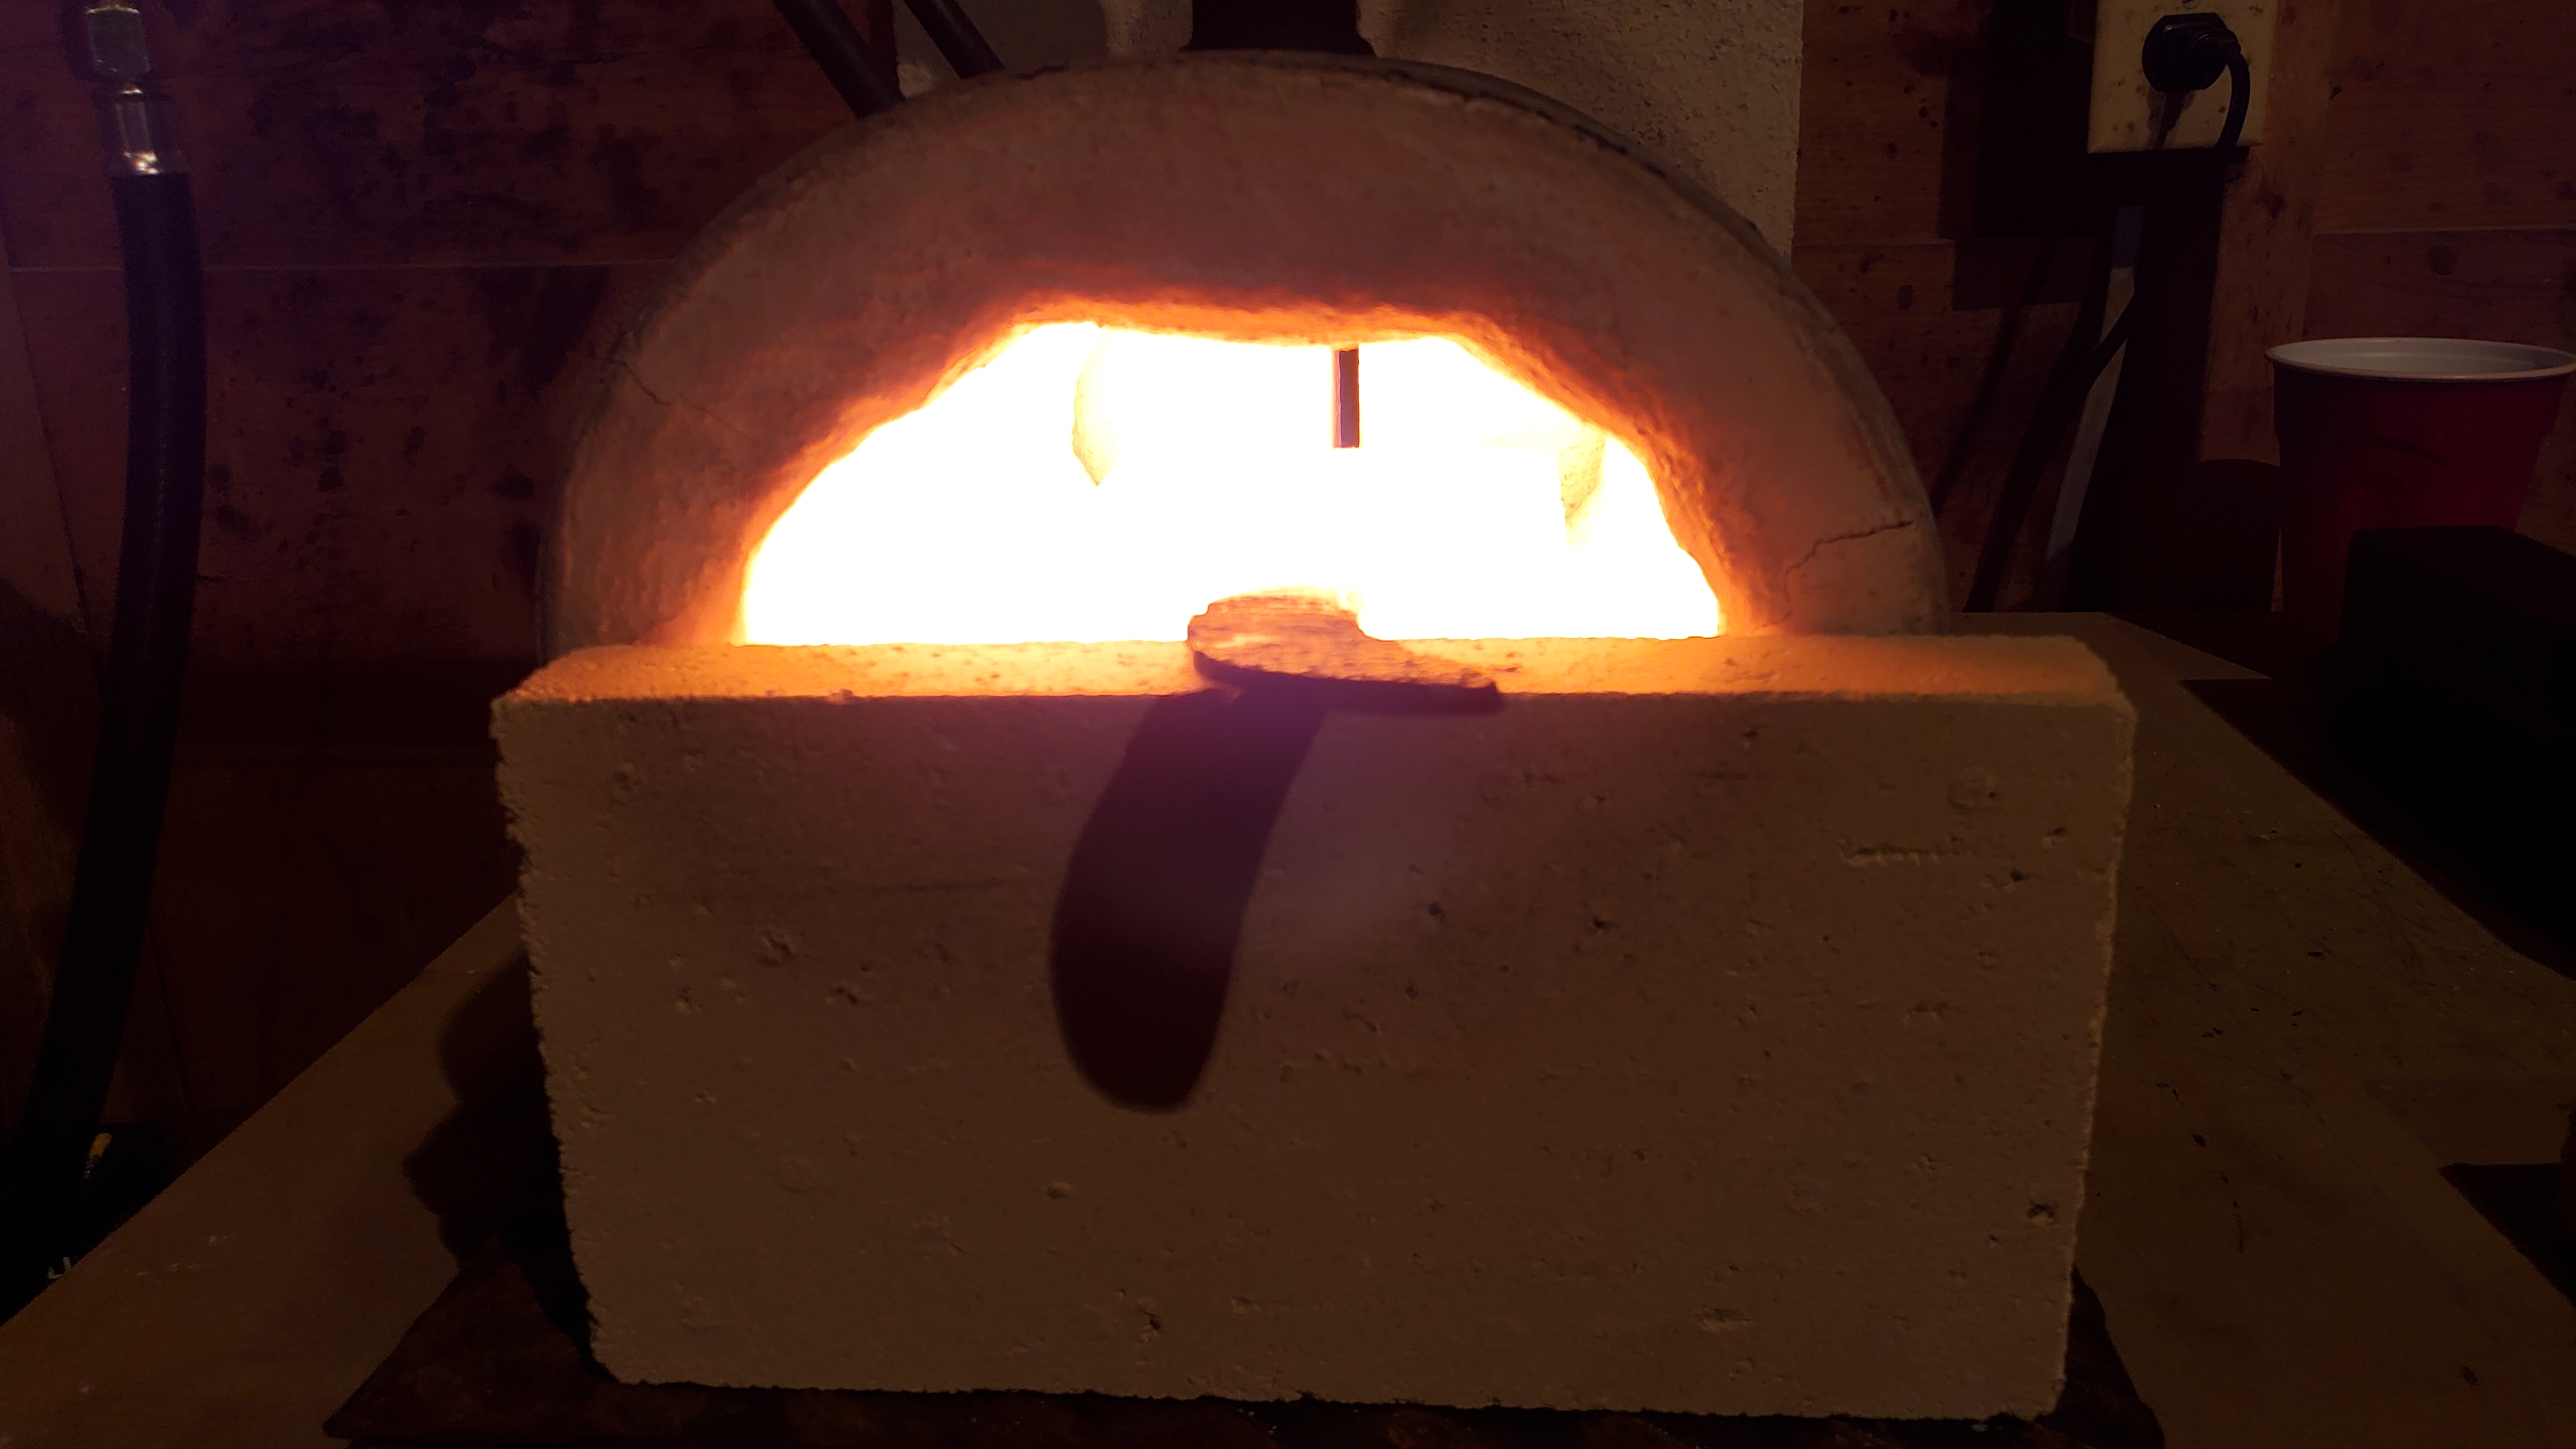
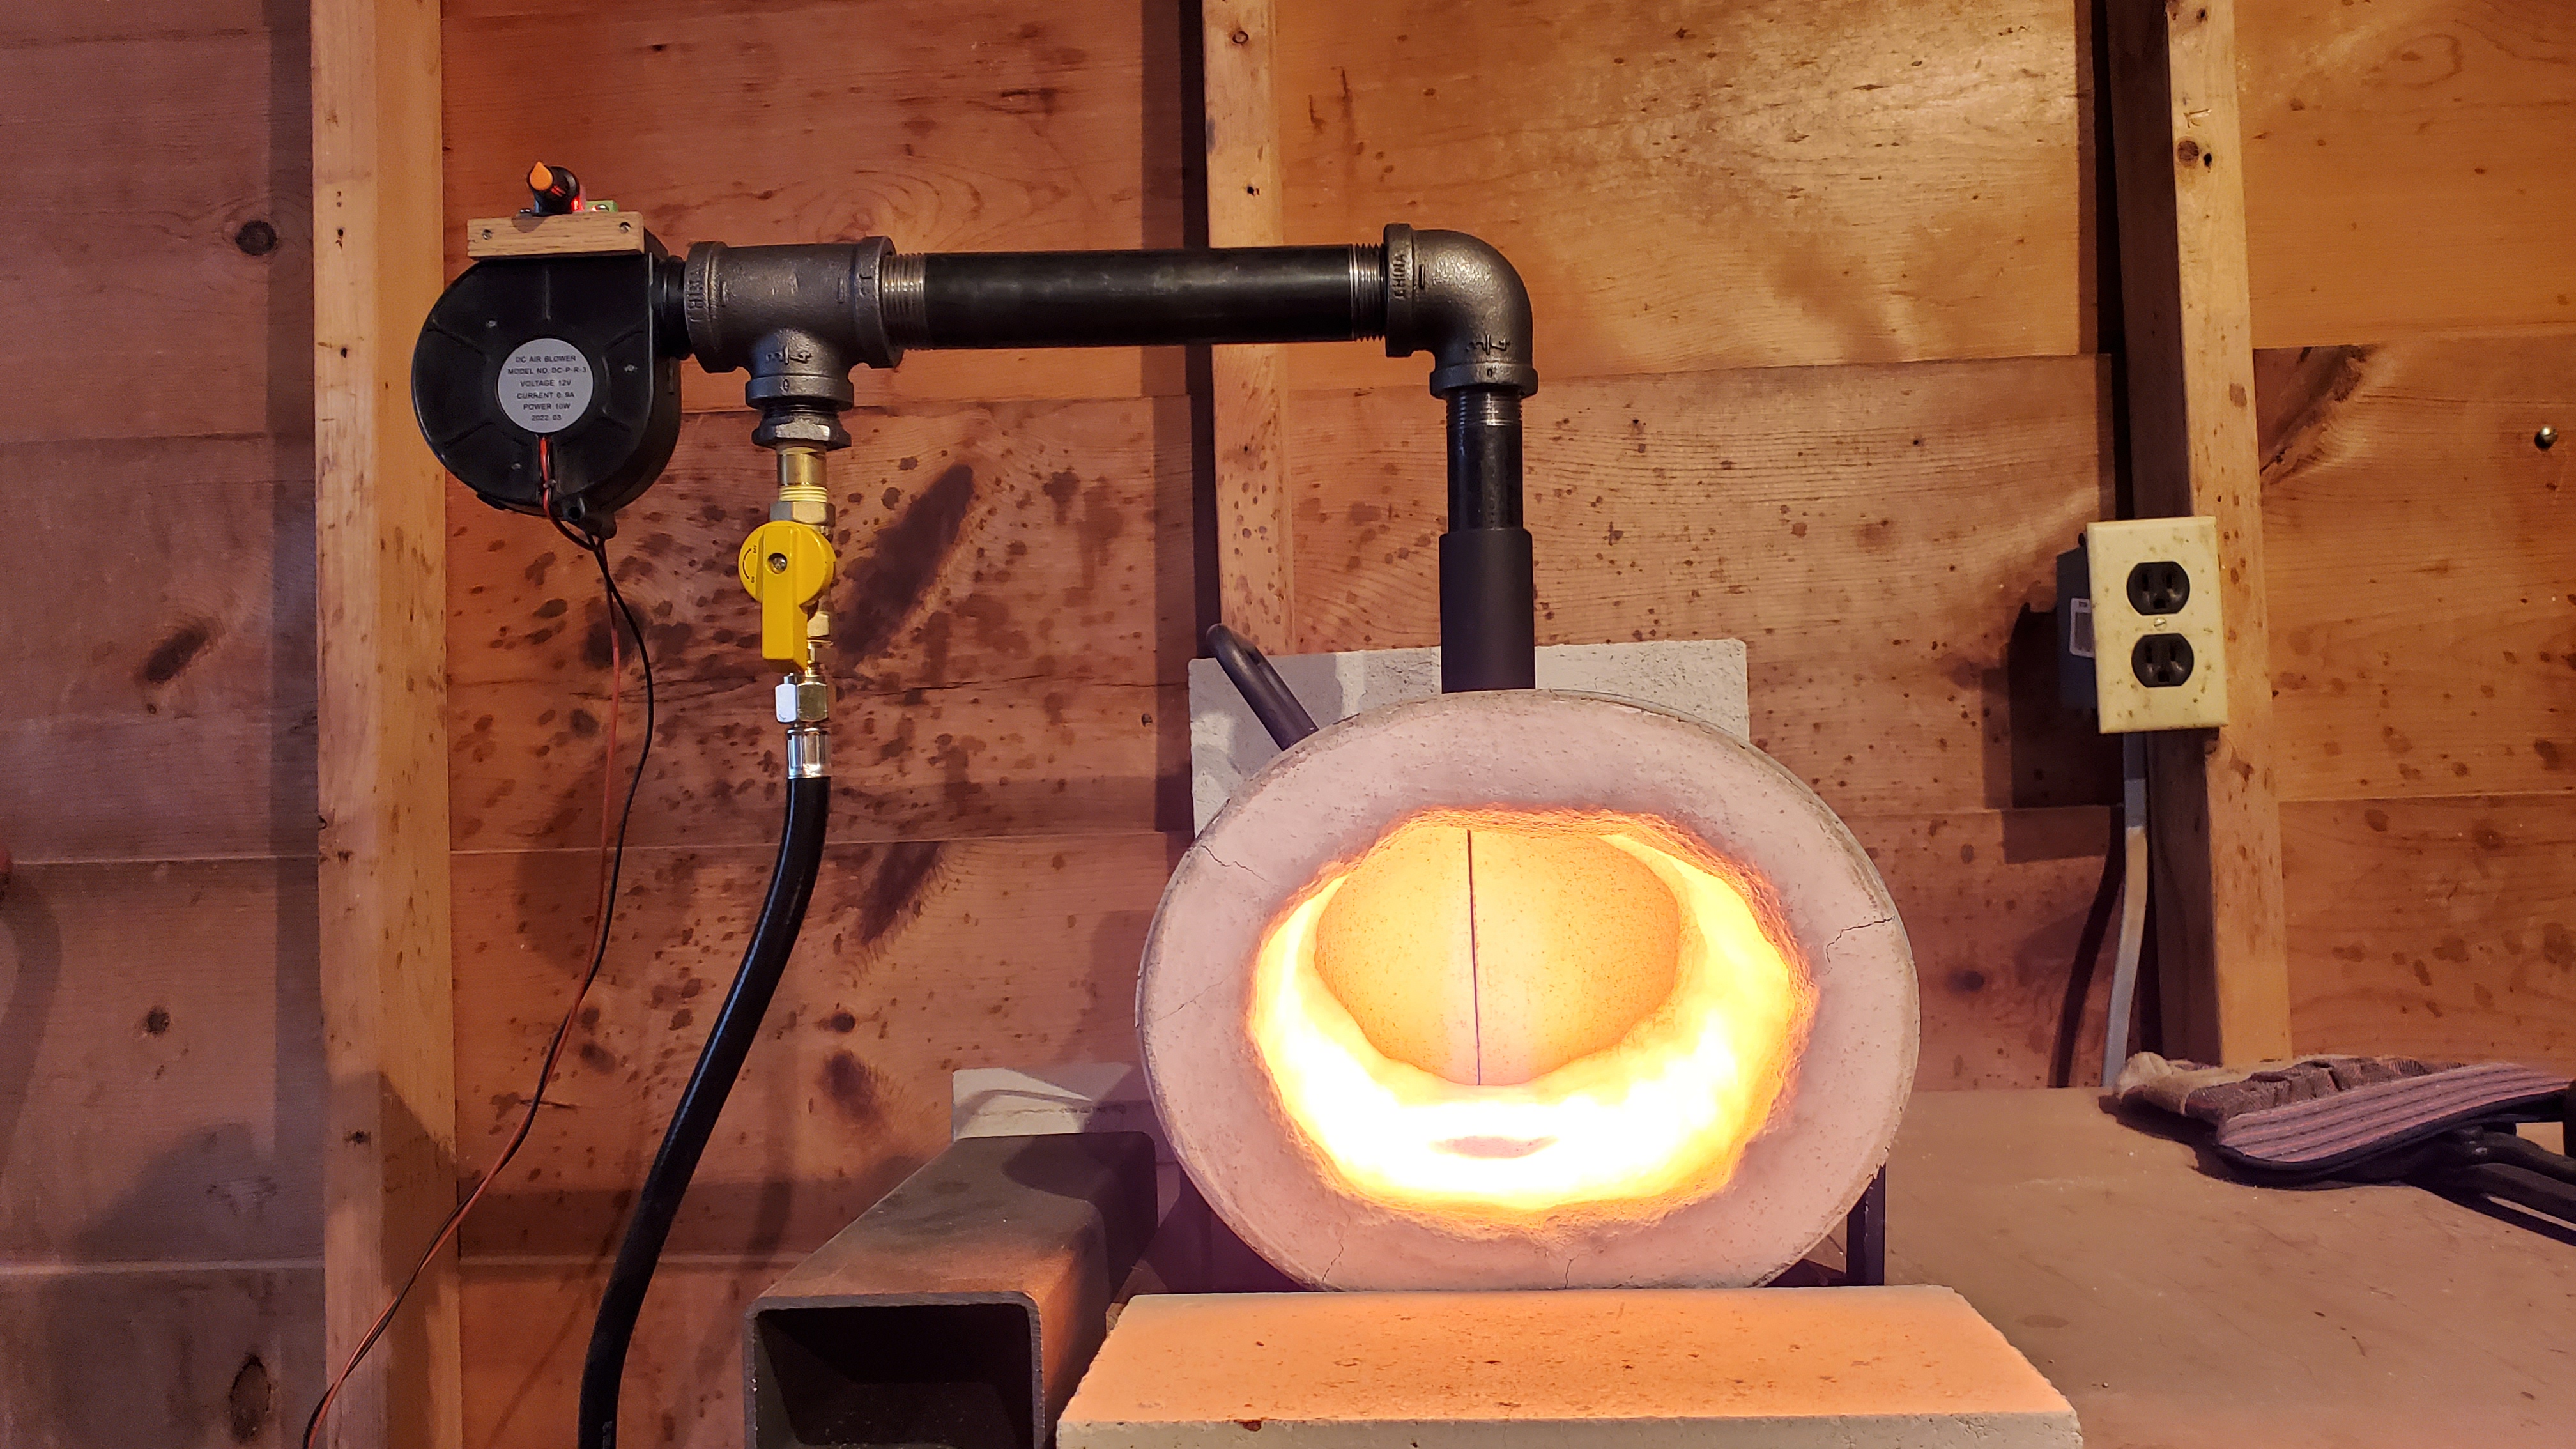
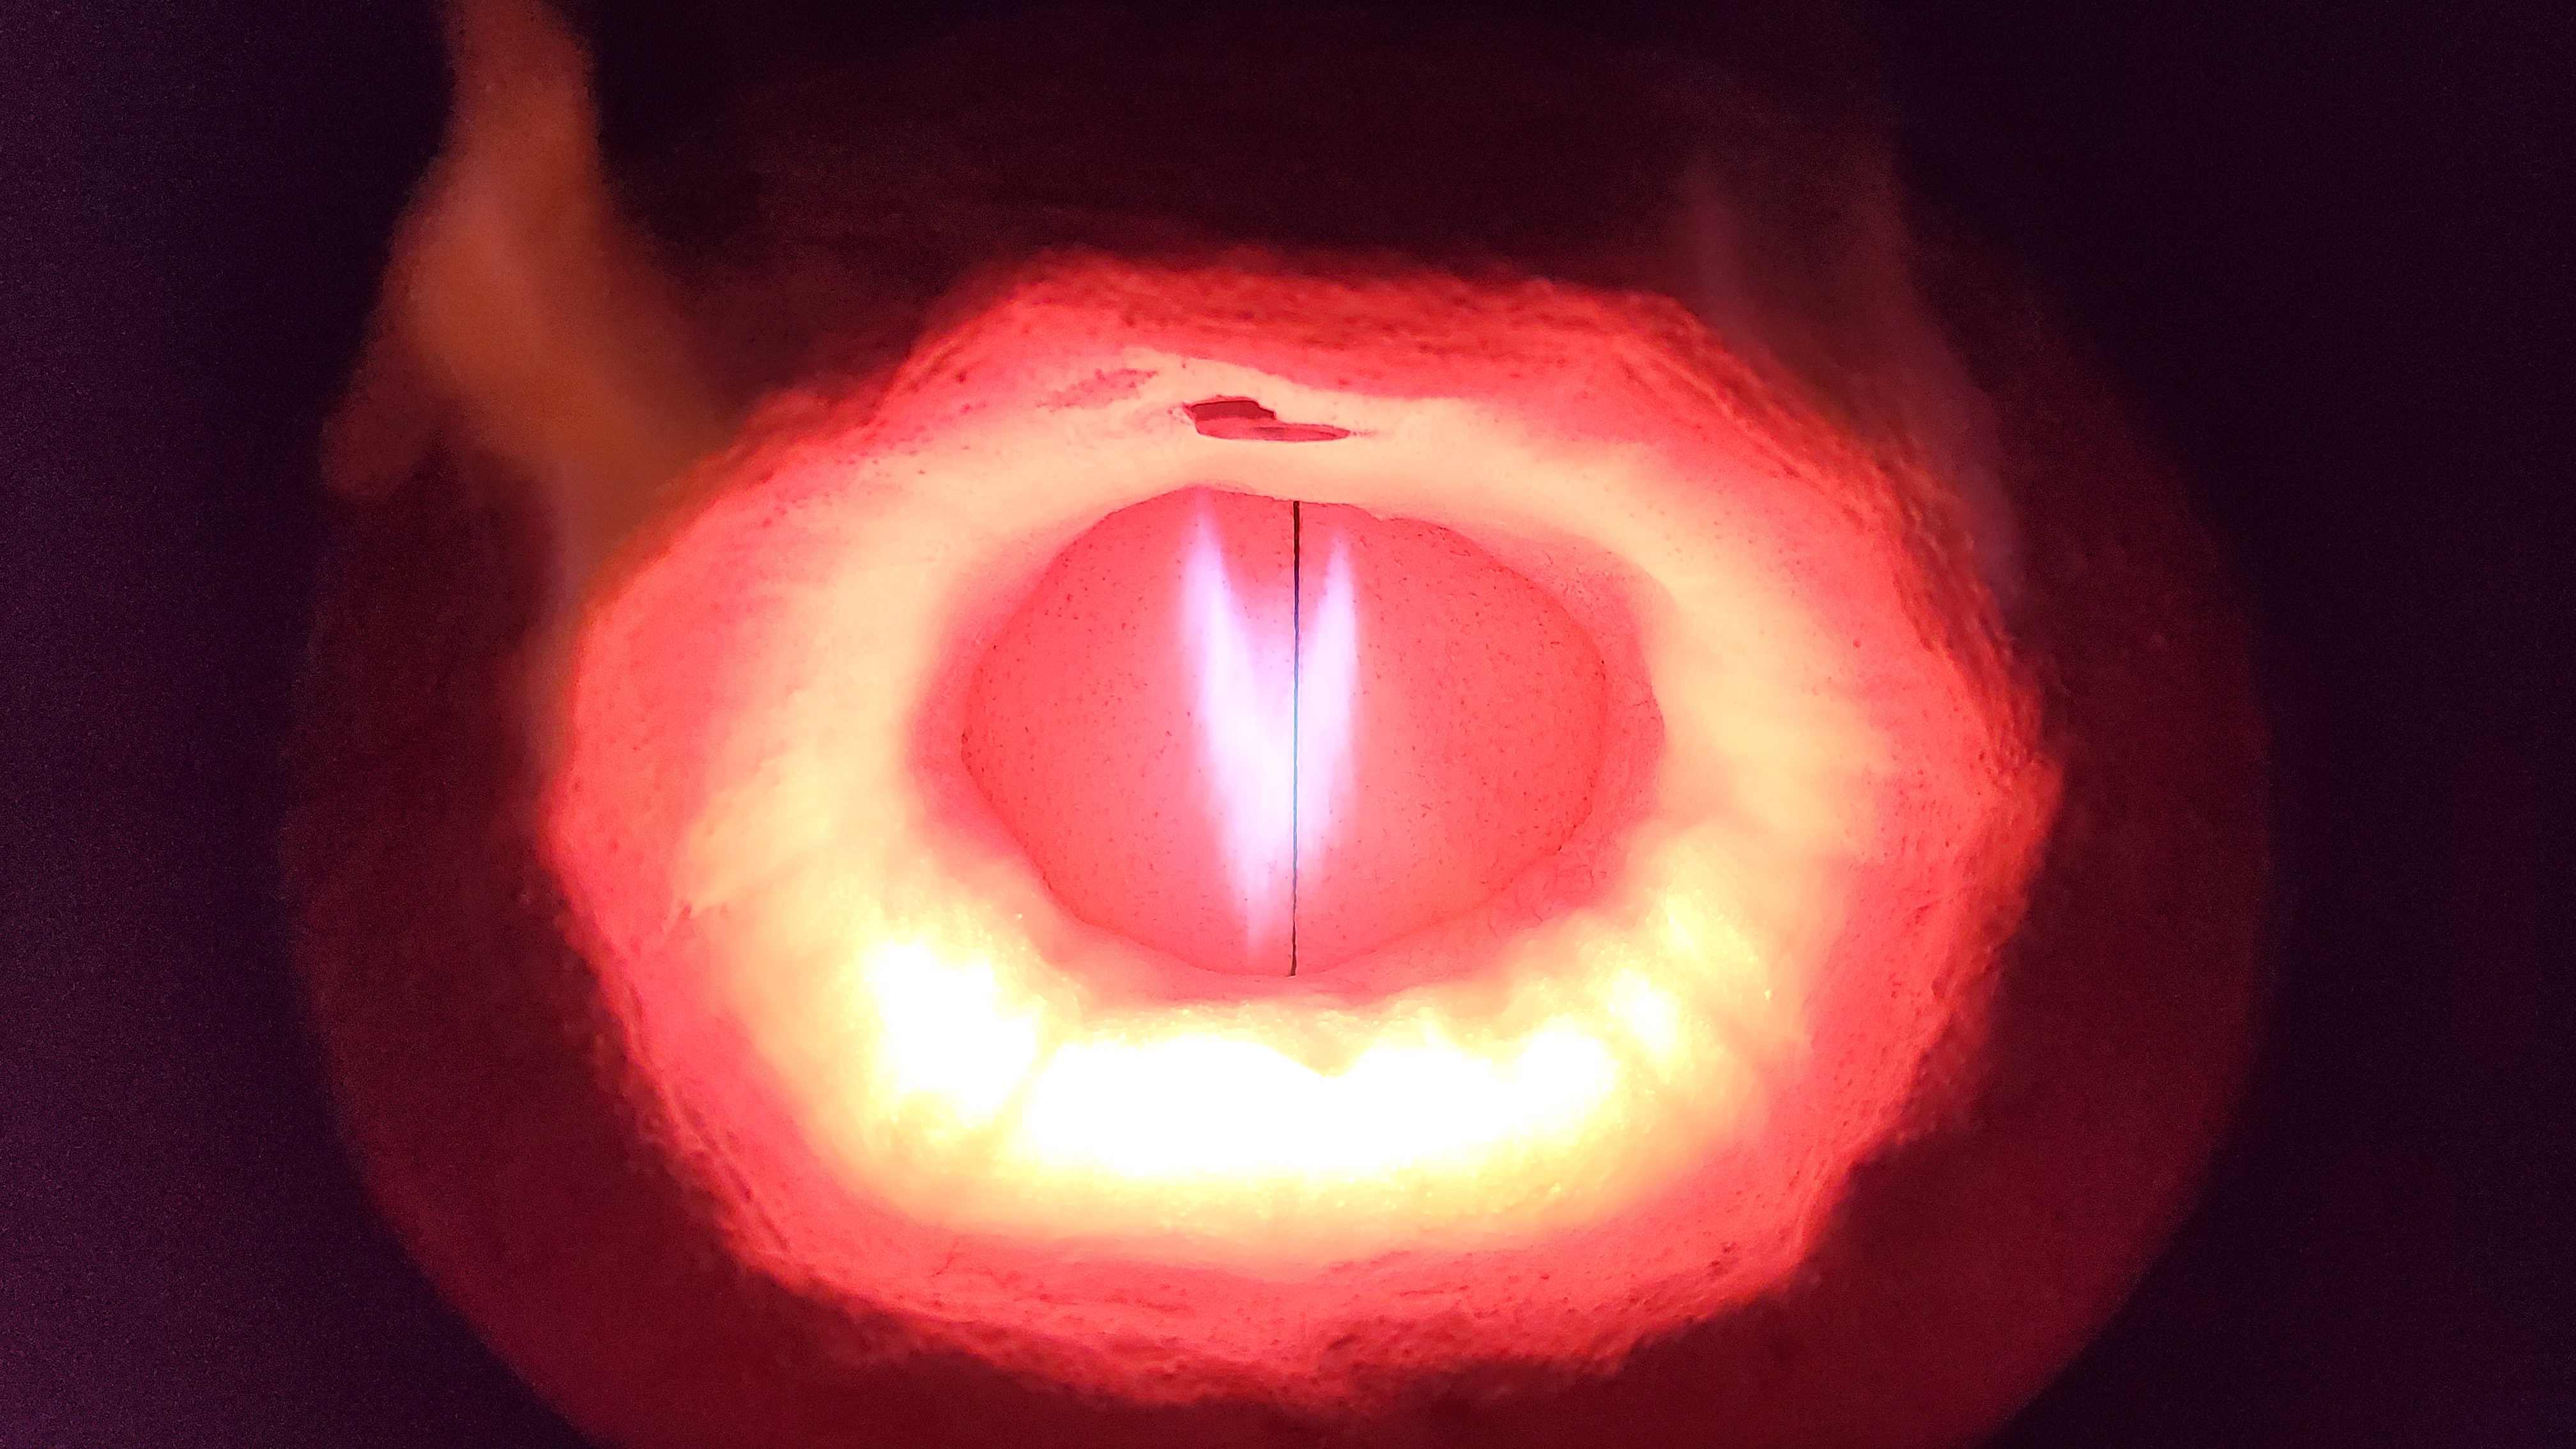
 Frosty, I am indeed realizing that my burner is oversized for the forge. It sure does work well once it's tuned though! -Hahaha I look forward to building a little larger forge (not too big) with a ribbon burner. I think I enjoy messing with the burner more than I do forging. Guess some of us are just built that way. Do you think a diffuser of some sort in the end of my burner would help with the long flame? My biggest concern is overly restricting flow of the $10 Amazon blower. I'm not sure how much usable pressure it can produce. Oh, and I ordered a needle valve for the propane.Forward and rear baffle plates? Please explain with a little more detail. I'm interested! It certainly needs some modifications. Adjustments are way, way overly sensitive. (Worse than tuning a carb.) Part of that is due to the motor not responding well to being turned way down, and the other part is that I'm only using the regulator to adjust flow of propane. Again, it's very jumpy down as low as I'm running it. I probably need to restrict the outlet some and/or add a needle valve. ...and yes, as you stated, there was scale-a-plenty on the steel until we got it tuned better than what you saw in the third picture.First test run with the mini blower. This thing got hot QUICK!

 I appreciate the insight. The 100HT seems to have made a bit of difference overall. This weekend a small 12v blower and speed control came in. I'm going to experiment with a blown burner too for this summer. Great thing is all it takes to swap burners is loosening one bolt.Sounds like forced air might be the best direction to experiment with in the distant future. Here in South Carolina, summers are hot and humid. We'll need to be able to use a fan inside the barn. So far this burner doesn't take kindly to even having the barn door open for long.Really? I figured the higher velocity would make it fast enough to still draw air with less volume of propane. I do trust your input on it though. Thank you!Hey guys, quick update: I was thinking about trying to build a different burner design, possibly a blown burner. I ran across some older posts from around 2015 - 2018 on different burner topics. Long story short, I read about how critical smooth transitions with an NA burner. Looked at the burner in mine... Uhhh, I mean my son's. The end was cut off partially lopsided with a large burr inside at the exit. The intake holes were also rough and had burrs on the inside. I smoothed out the burrs, sanded the end of the burner flat, then carefully ground a small gentle taper at the end. The flame seems a little smoother but I still can't throttle it back to idle quite as low as I'd like. Pretty sure it would take a .030" or smaller mig tip to do that. It came with a .035".
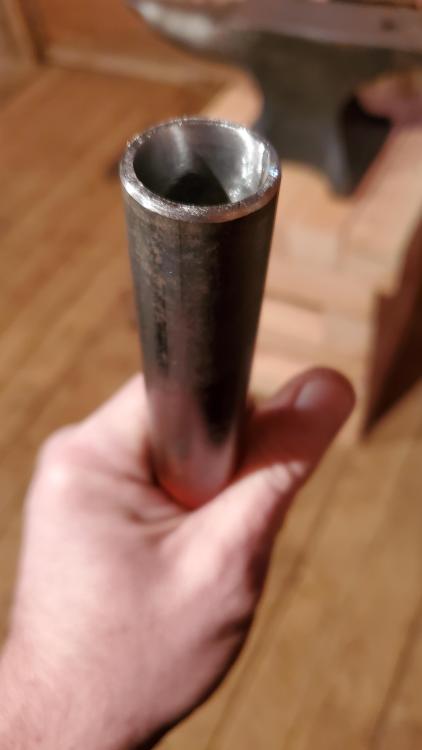
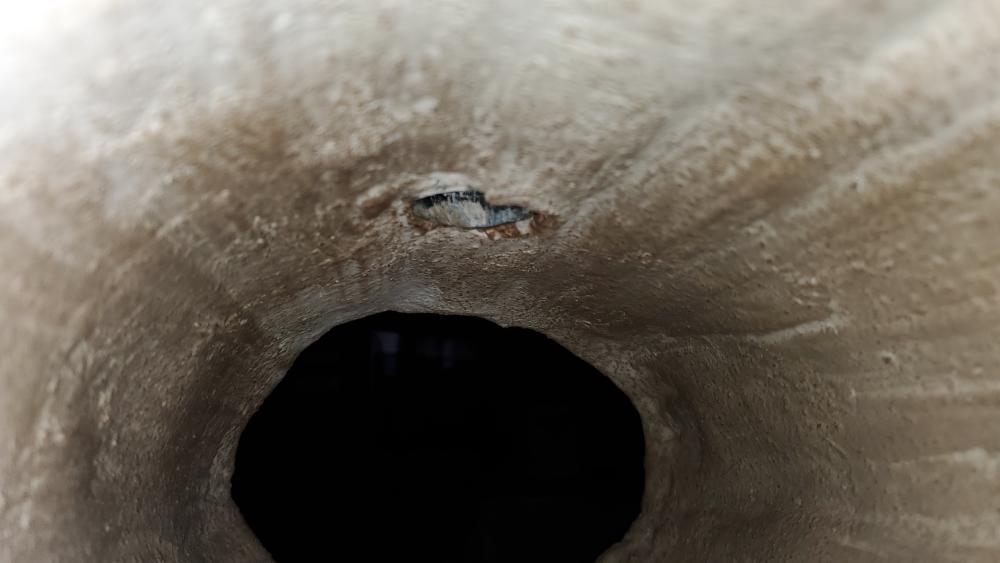
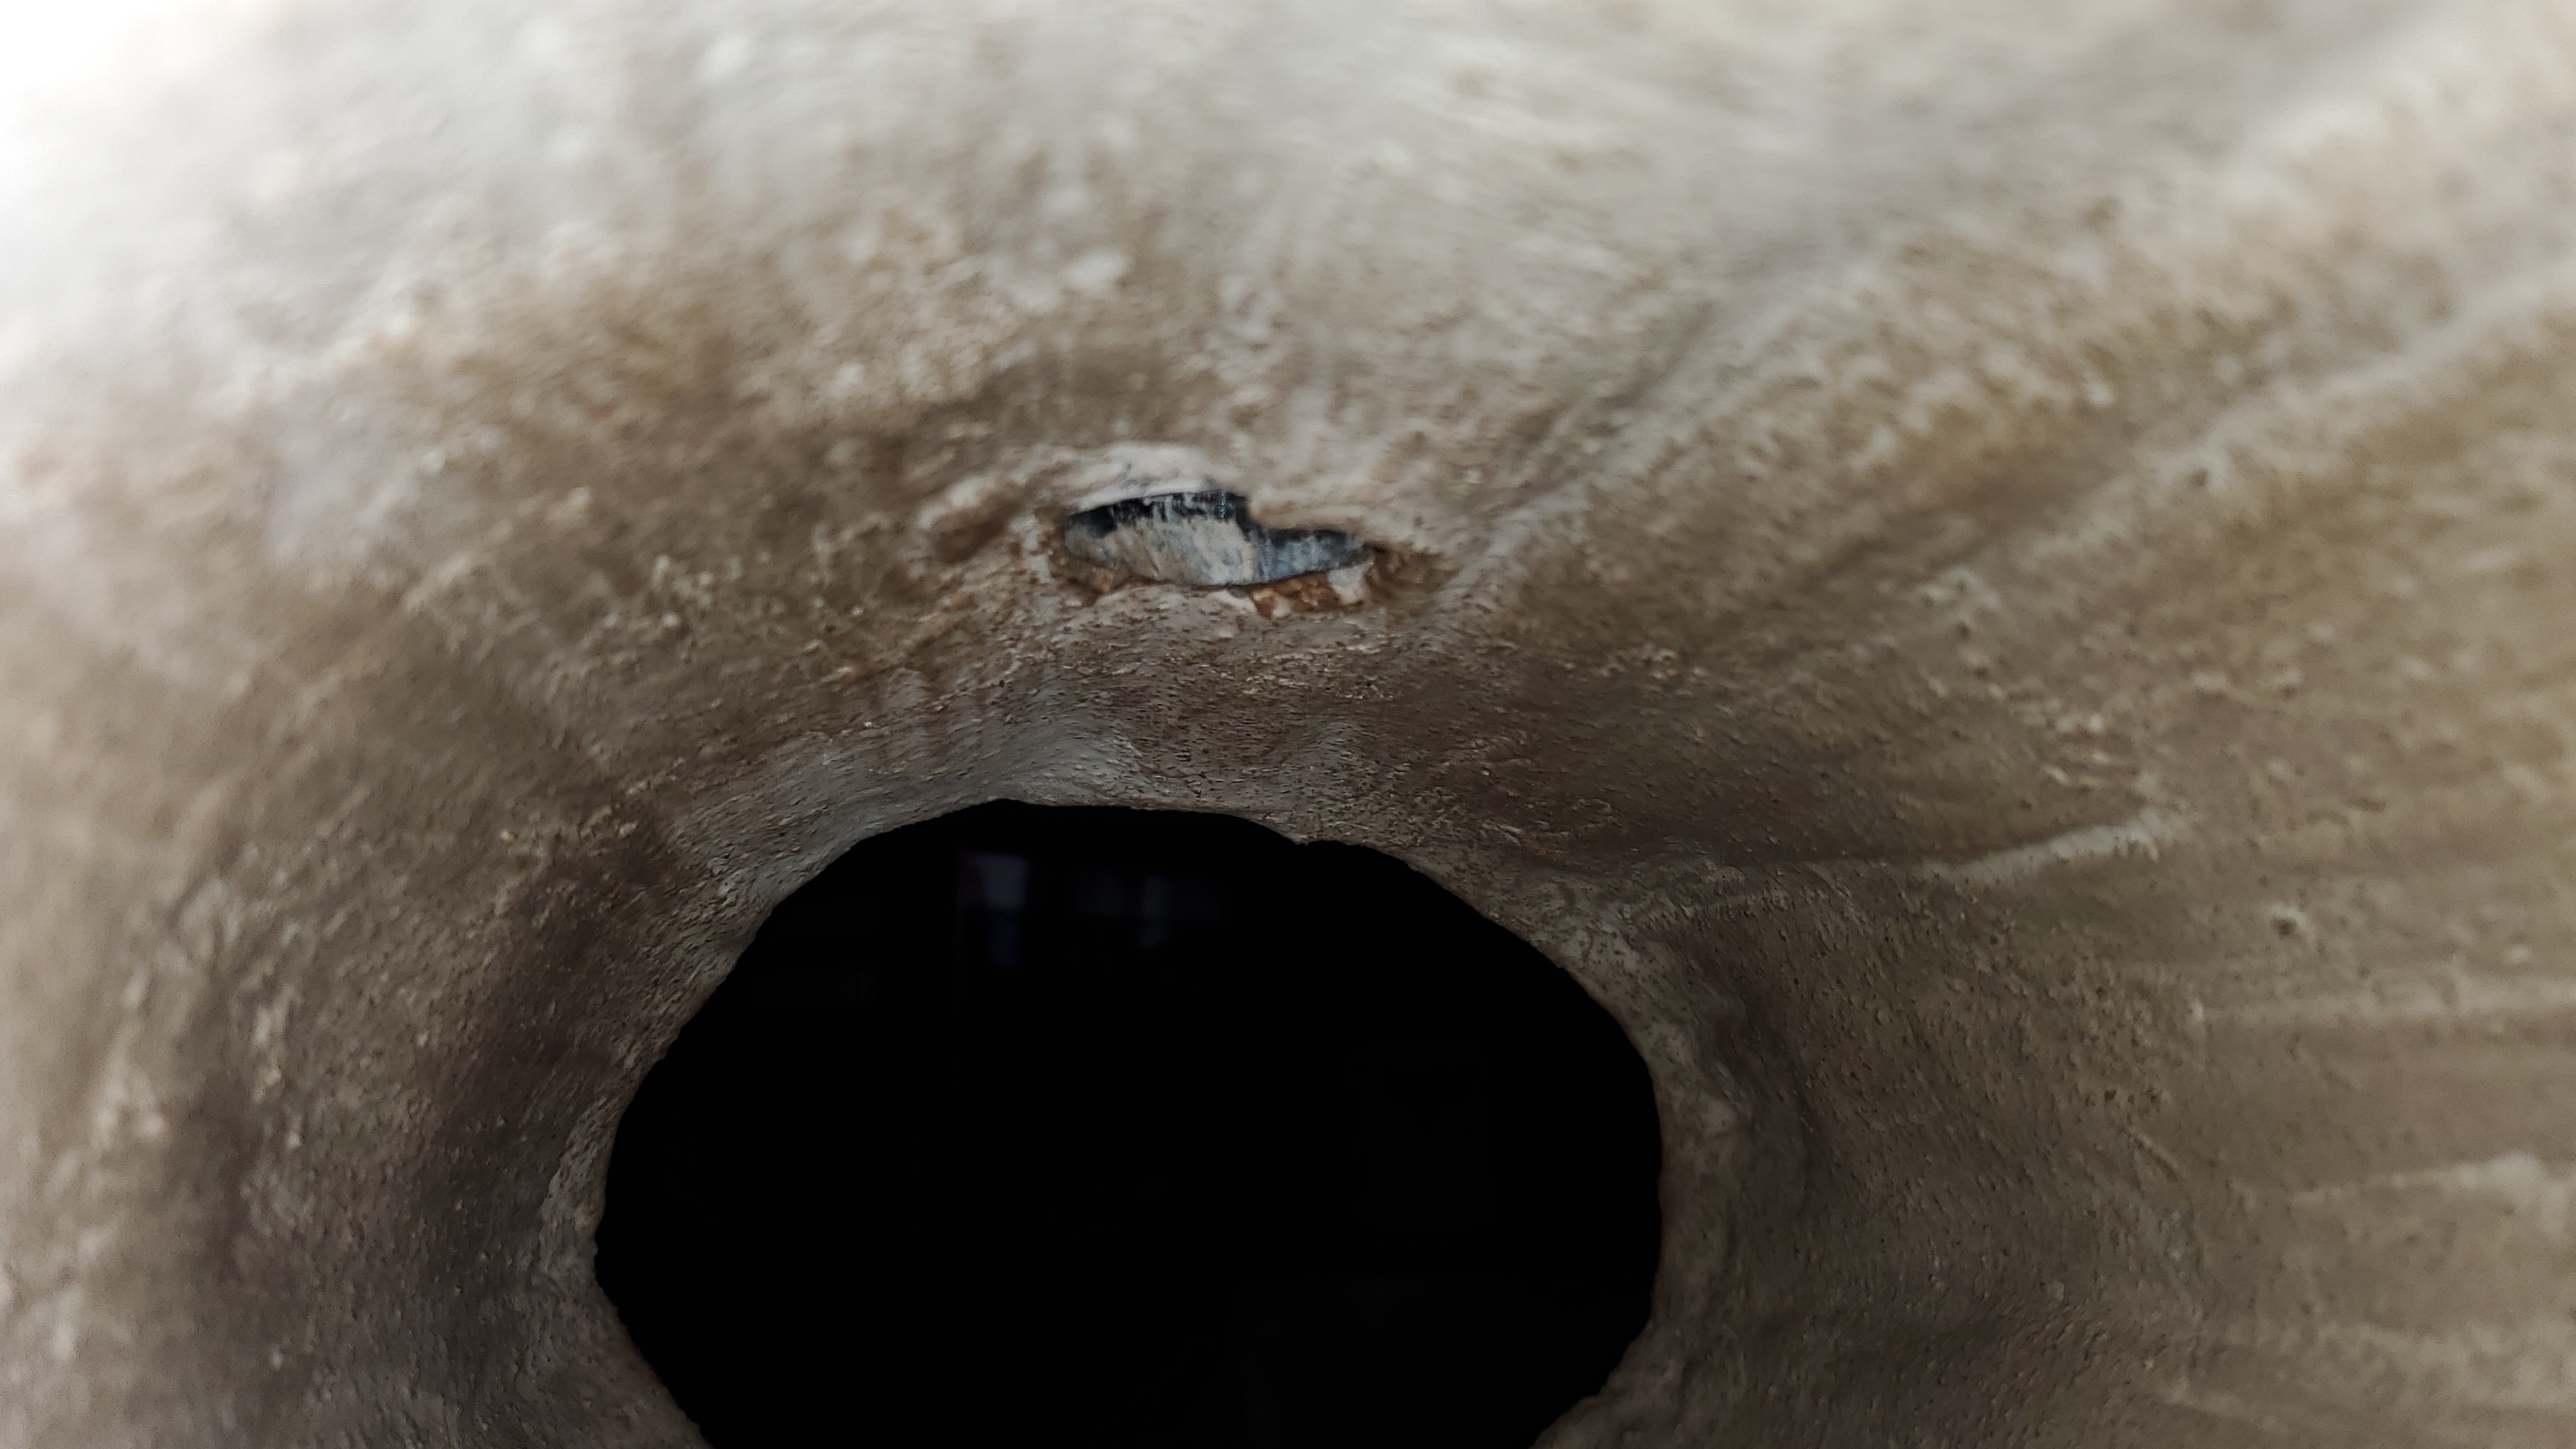
 My welding abilities are self-taught. (I work industrial maintenance.) Been welding now and then for a long time, but I'm by no means great at it. That being said, anyone who has the opportunity to learn from a professional but turns around and argues over what to do when something isn't working out right -they're ruining a great opportunity to learn and build on their skill set.I think it could make a lovely birdhouse if one was so inclined. Mounting it to a tree could pose a challenge.I tried packing it into to cracks but there's only so much that ya can do. Biggest thing is I don't want it to release fibers while my boy is using it. I realize I'm OCD. That's also why my projects turn out awesome ...eventually anyway. Thank you for baring with me as we get started.Ok, I saved a little bit of the coating, just in case. I'd have ordered the pint size container if I had it to do over again. It applies a lot like the Hellcoat 3000. Certainly a different blend though. I mixed it to the consistency of very thick latex paint, as per what I read on another post. Maybe that was for the old formula. Probably a mistake on my part, as the label specified one part water to two parts 100HT.Very true, thank you for the encouragement. The 100HT is partway through drying. I'm already seeing cracks starting where they had already formed in the original coat. Is that anything to be concerned about? After today I have to work through the weekend. Guess I'll let it dry naturally until Monday.Thank you for pointing that out. The reason is because somehow the fiber blanket ended up not being even around the burner port after I applied the coating. The hole is just big enough for the pipe to come out. Any refractory added to the edges of the hole would be a partial blockage. At the same time, I'm afraid to back the burner off without something to protect the glass fiber. More and more, I wish I'd built a forge rather than buying one.