

LeeHene
-
Posts
87 -
Joined
-
Last visited
Content Type
Profiles
Forums
Articles
Gallery
Downloads
Events
Posts posted by LeeHene
-
-
-
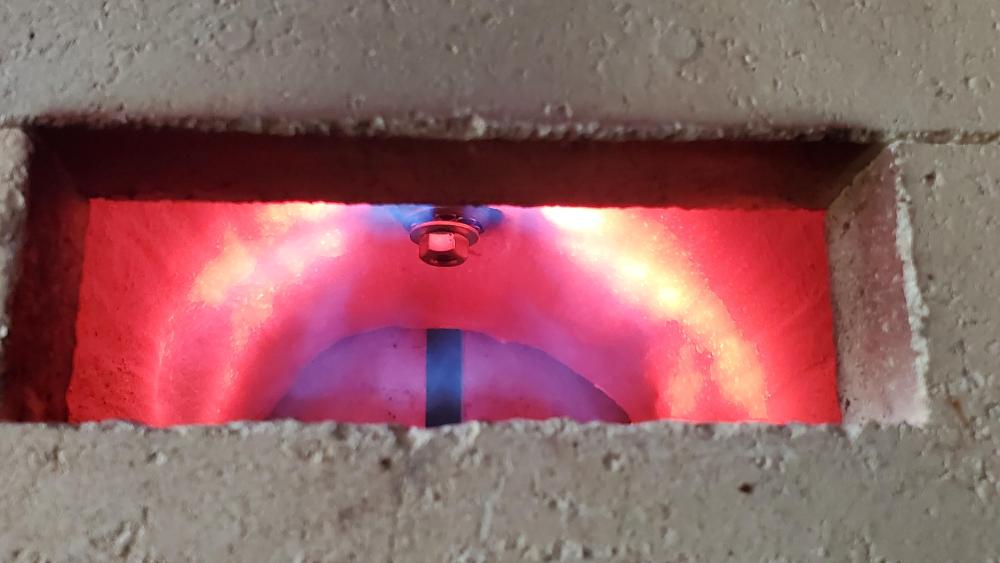
Back to my original burner, I added a 90⁰ and another 8" peice of pipe to get my blower intake down away from exhaust coming out of the forge. Now instead of four nice sharp jets coming from my burner they are a little blurry and there's a pulsing blue haze around them. All threaded connections are tight and sealed with gas rated Teflon tape. I figured the fuel and air would mix would be MORE stardy and consistent, not worse!
Back to the drawing board. I think I'm wasting my time trying to make any further improvements on this forge. You can only make a wheel so round..

-
Hey guys, it's been a while.
Today I found myself playing with a different burner design eliminate hotspots on the bed and even out heat for heat treat and such. (Plus I can never leave well enough alone.)
This is just a rough trial. Next step will be making a diffuser in the lathe. Thought I'd share.
-
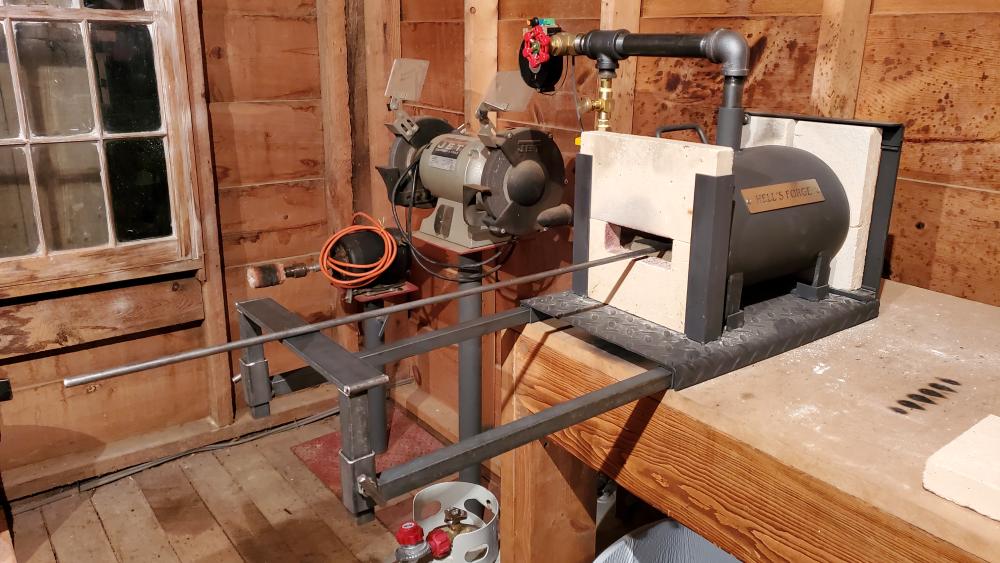
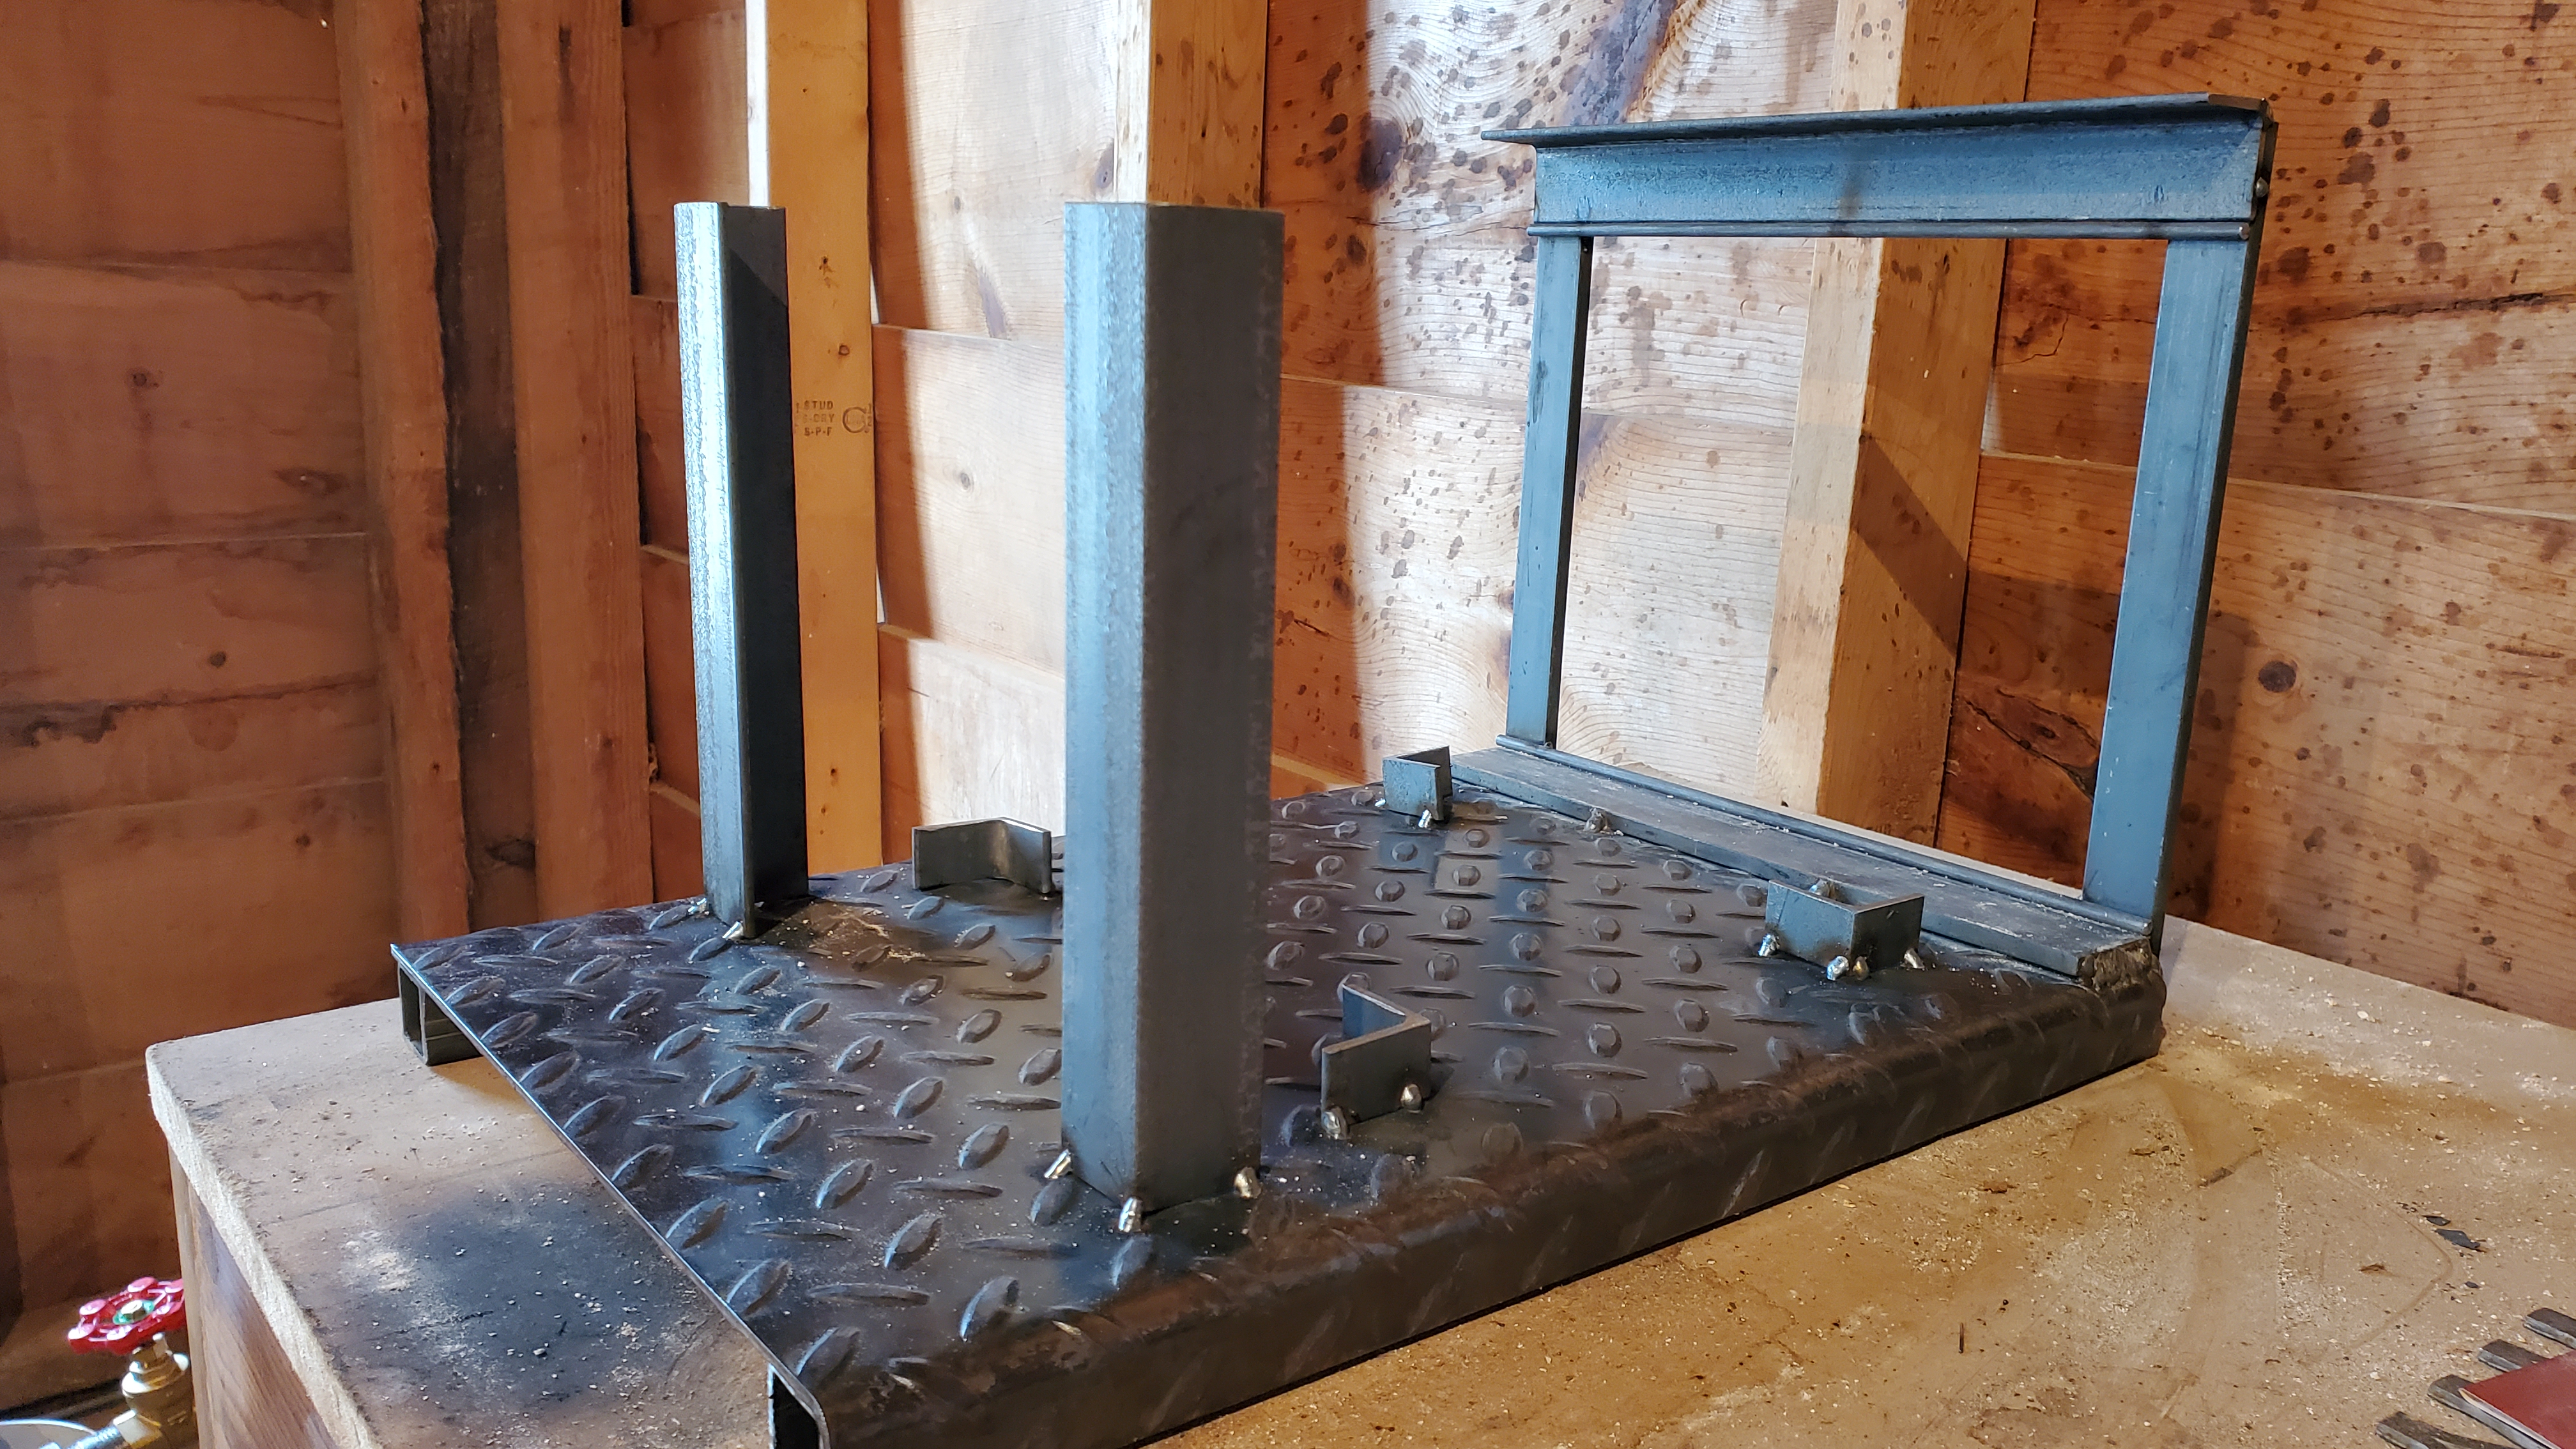
This evening I added an adjustable extending work rest to the forge frame. I think it'll be handy!
-
I decided to step away from knives for a while and focus on basics with regular steel. I'm having a blast now!
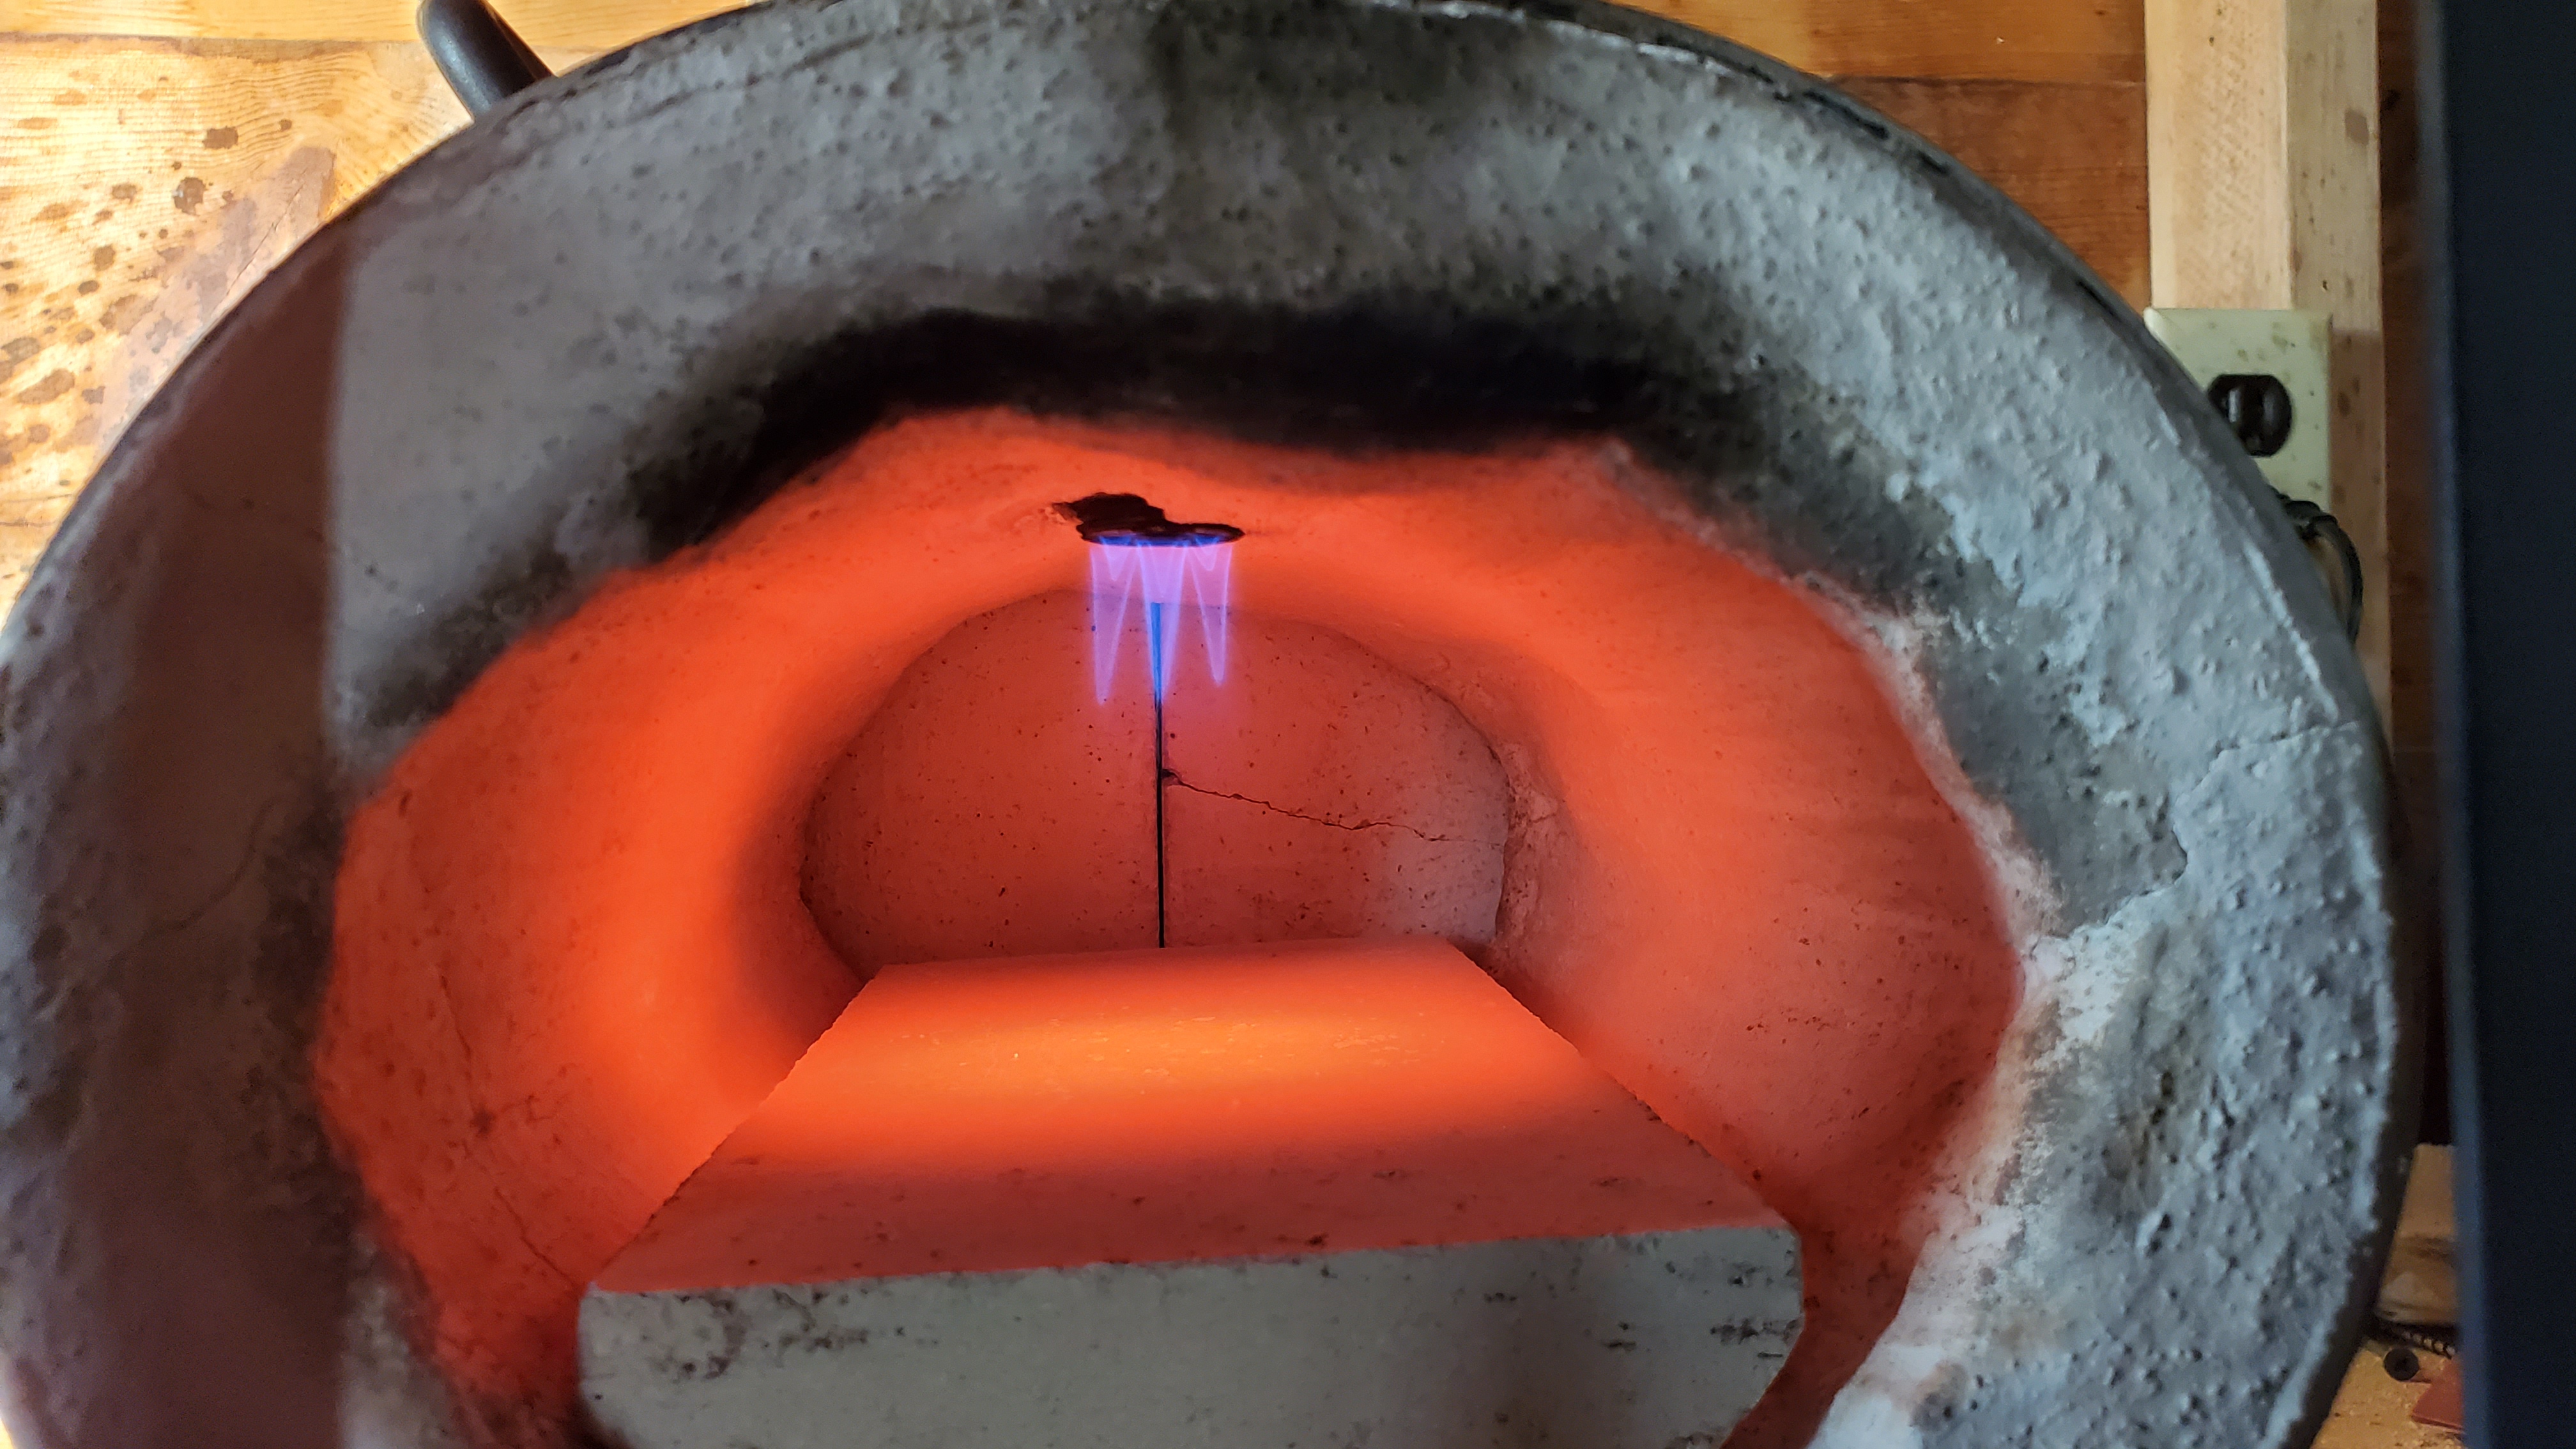
Scale is now at a minimum. Two things have changed:
I started running the forge a little hotter and use the small amount of dragon's breath to tune by. (Plus my steel reheats quicker.)
The second thing (which I stumbled across) I've started leaving the rear of the forge open about 1/4 inch. For some weird reason, the opening helps the whole forge heat much more evenly.
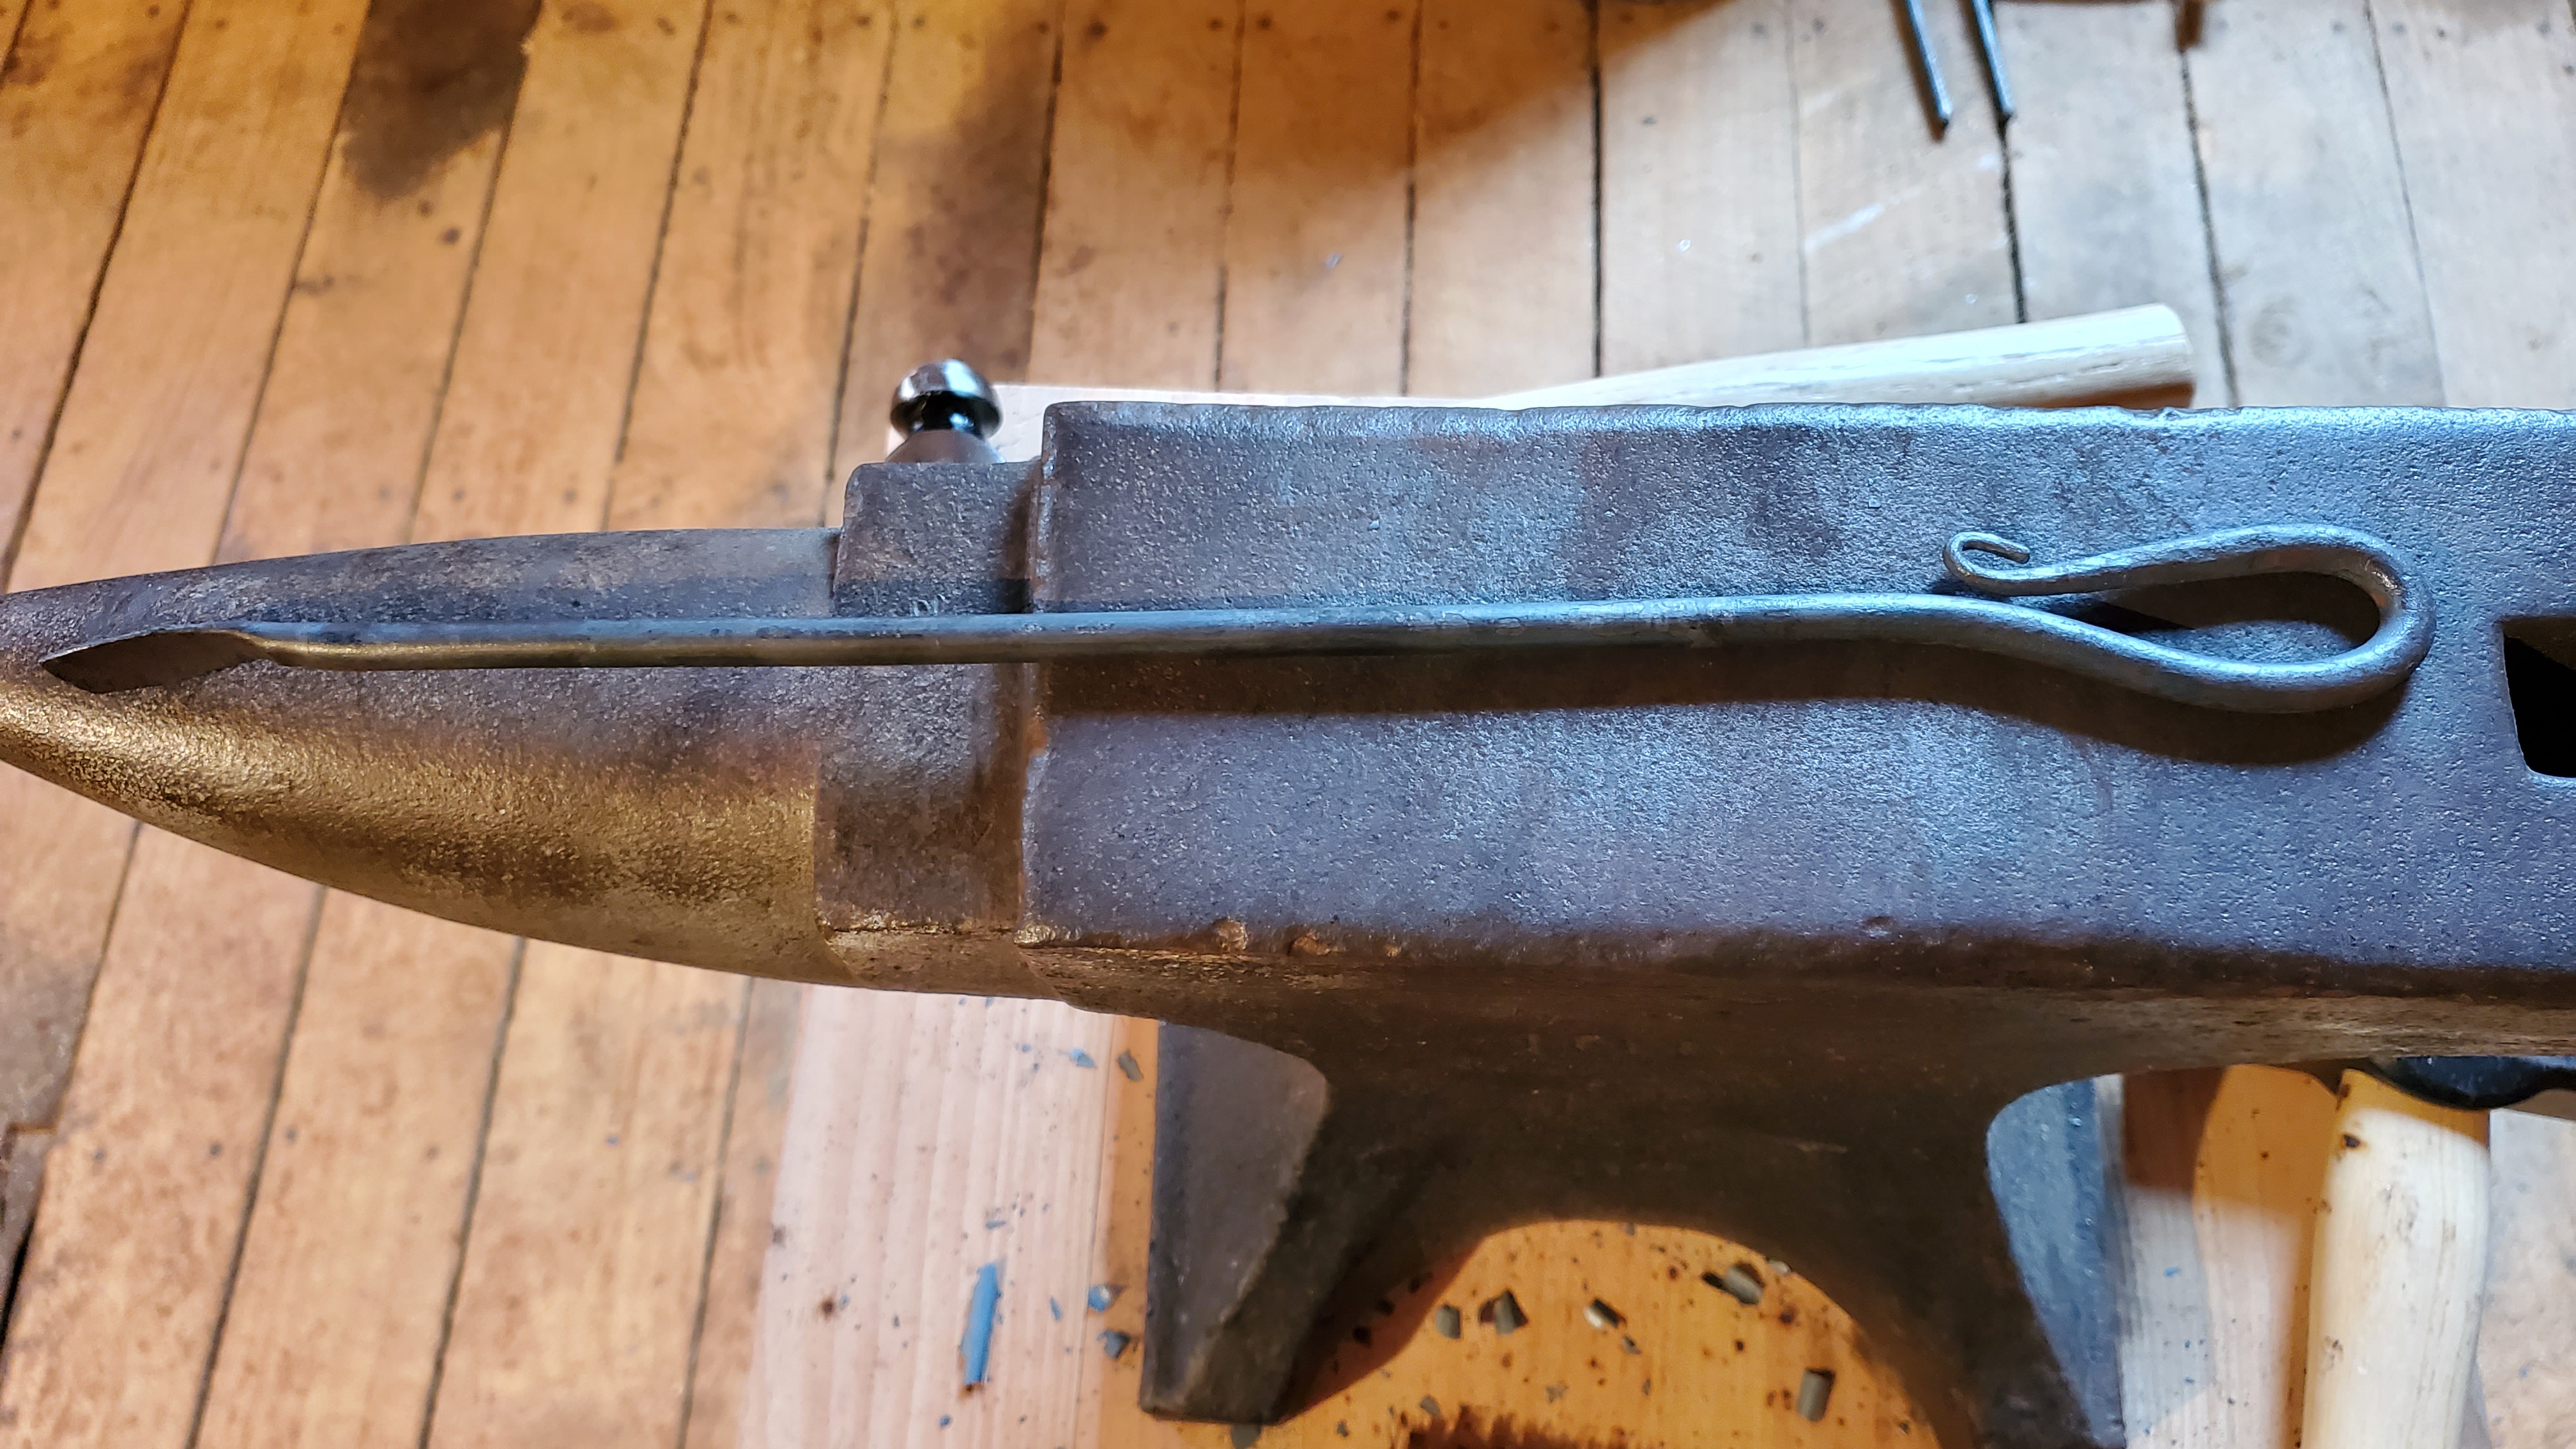
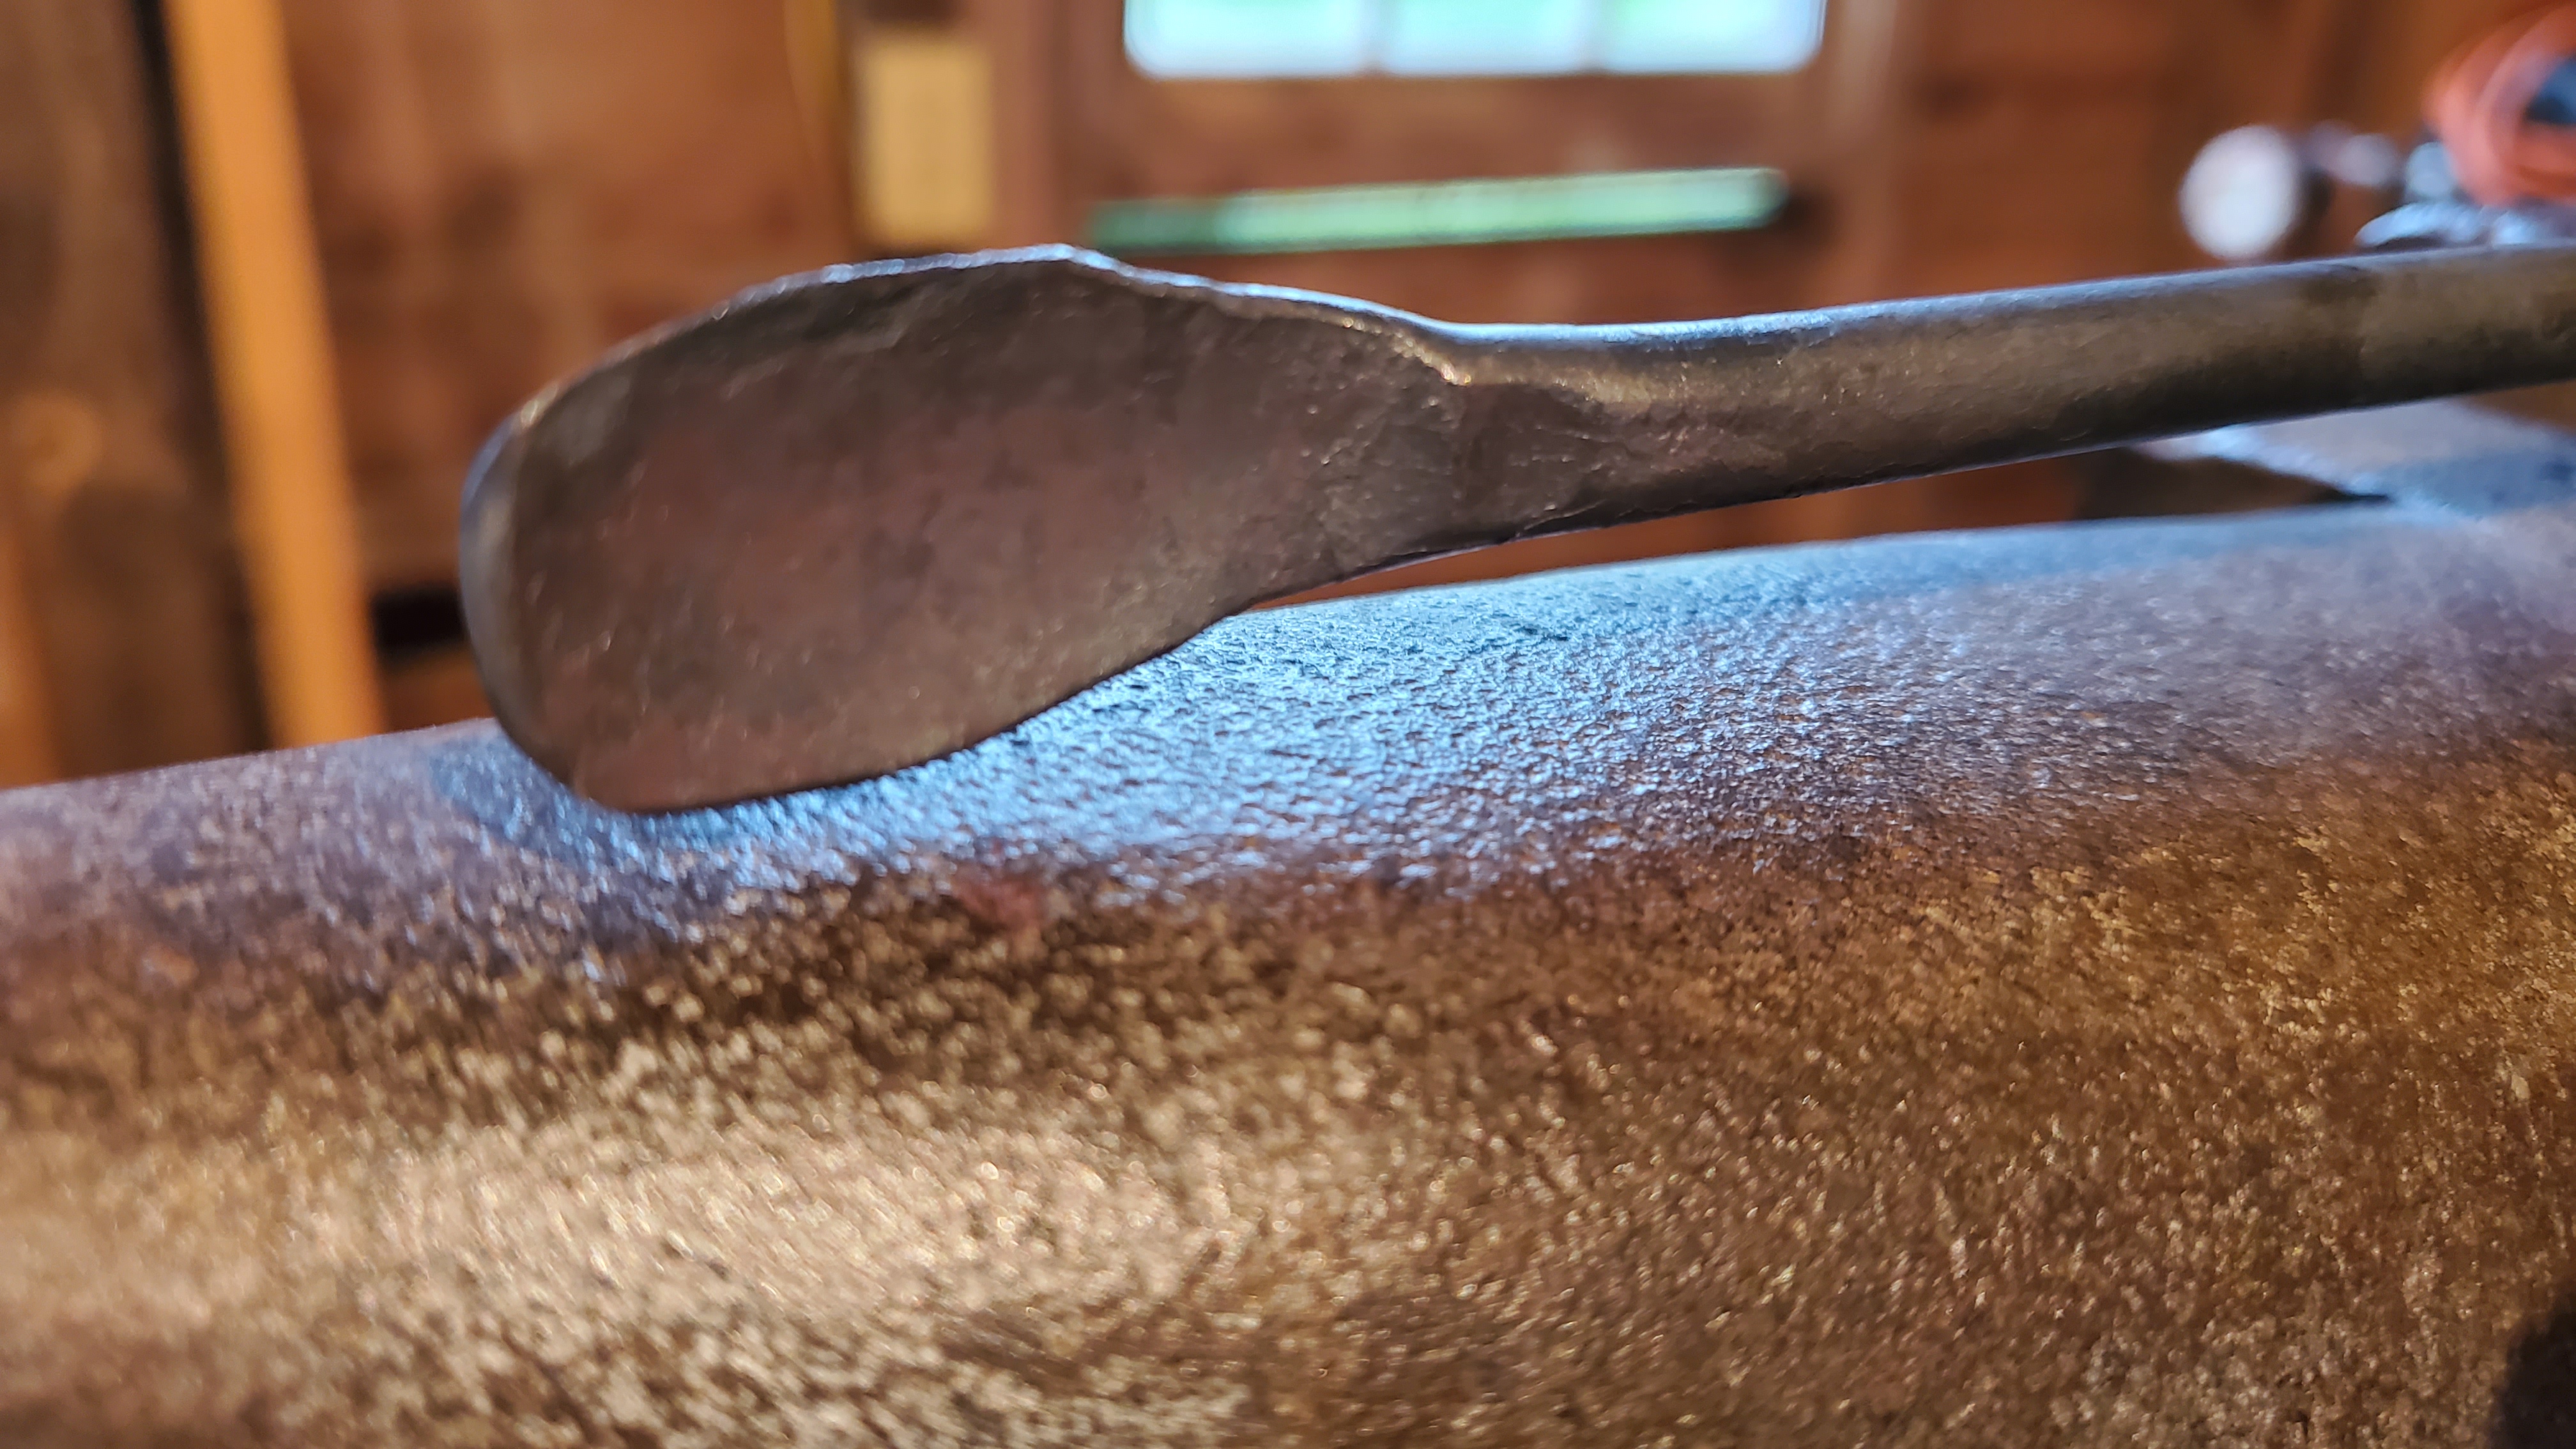
I've attached pictures of a simple spoon I made for applying flux. This was my first project, aside from a knife that's still in the works.
Anyway, all is well and I'm thrilled with how it's running. I GREATLY appreciate all of your help!


-
I guess I could track down a local supplier. The place I fill up has a tank about as long as a small bus and the diameter of... uhh, a normal propane tank that length.
-
Frosty, I had no idea, good to know!
I've been getting my tank refilled at a local hearth and patio place. I believe their tank is filled by a national propane supplier for business and residential.
-
The only reason it concerns me is because the flame breifly shifts to greenish color when it does that. I wonder if it's causing more scale on my work than it would otherwise.
Im still trying to get forgewelds down, so anything that would make it easier for me is a plus.

-
Hey guys, something I've noticed from day one is that my flame seems to flicker slightly, regardless of the level of propane, forced air burner or venturi, pressure setting of the regulator, or any range of valve settings. Is that normal or do you think it's the regulator fluctuating?
(No frost on the tank.)
-
Gotcha!
So the cracks ARE something that needs to be dealt with promptly?
Thank you for correction on the ceramic wool. I'm not sure why I keep referring to it as fiberglass.

-
Hey guys, another quick safety question...
When I first put the forge together, I didn't spray the fiberglass wool with rigidizer, I simply coated it with the HellCoat that came with the forge kit. I tried to do reccomended curing time and slow break-in, but cracks formed after firing it up a time or two. Coated it all with 100HT a short time later. That cracked in the same places after a few uses.
Do you think the cracks pose much danger for airborne particles while forging? They close up a good bit once the liner heats up, but I still don't want to expose my son to something potentially cancerous!
(I did search for an answer, but pretty much every result partained to new forge construction.)
-
Good information guys, thank you!
-
Mikey, several posts back you mentioned unburnt fuel and leftover superheated oxygen can cause scale. I was only aware of oxygen causing it.
So too rich OR too lean can both cause scale to form?
-
We were using some salvage steel given to us from tines of an old farm implement.
I tried quenching a small piece in canola but it failed the file test. We then tried Parks 50 (in the video) but it still didn't skate a file afterward.
Last, we quenched in water, and that did it. It's in the oven now, finishing the last of two heat cycles at 400⁰F. Working steel has a steep learning curve.
-
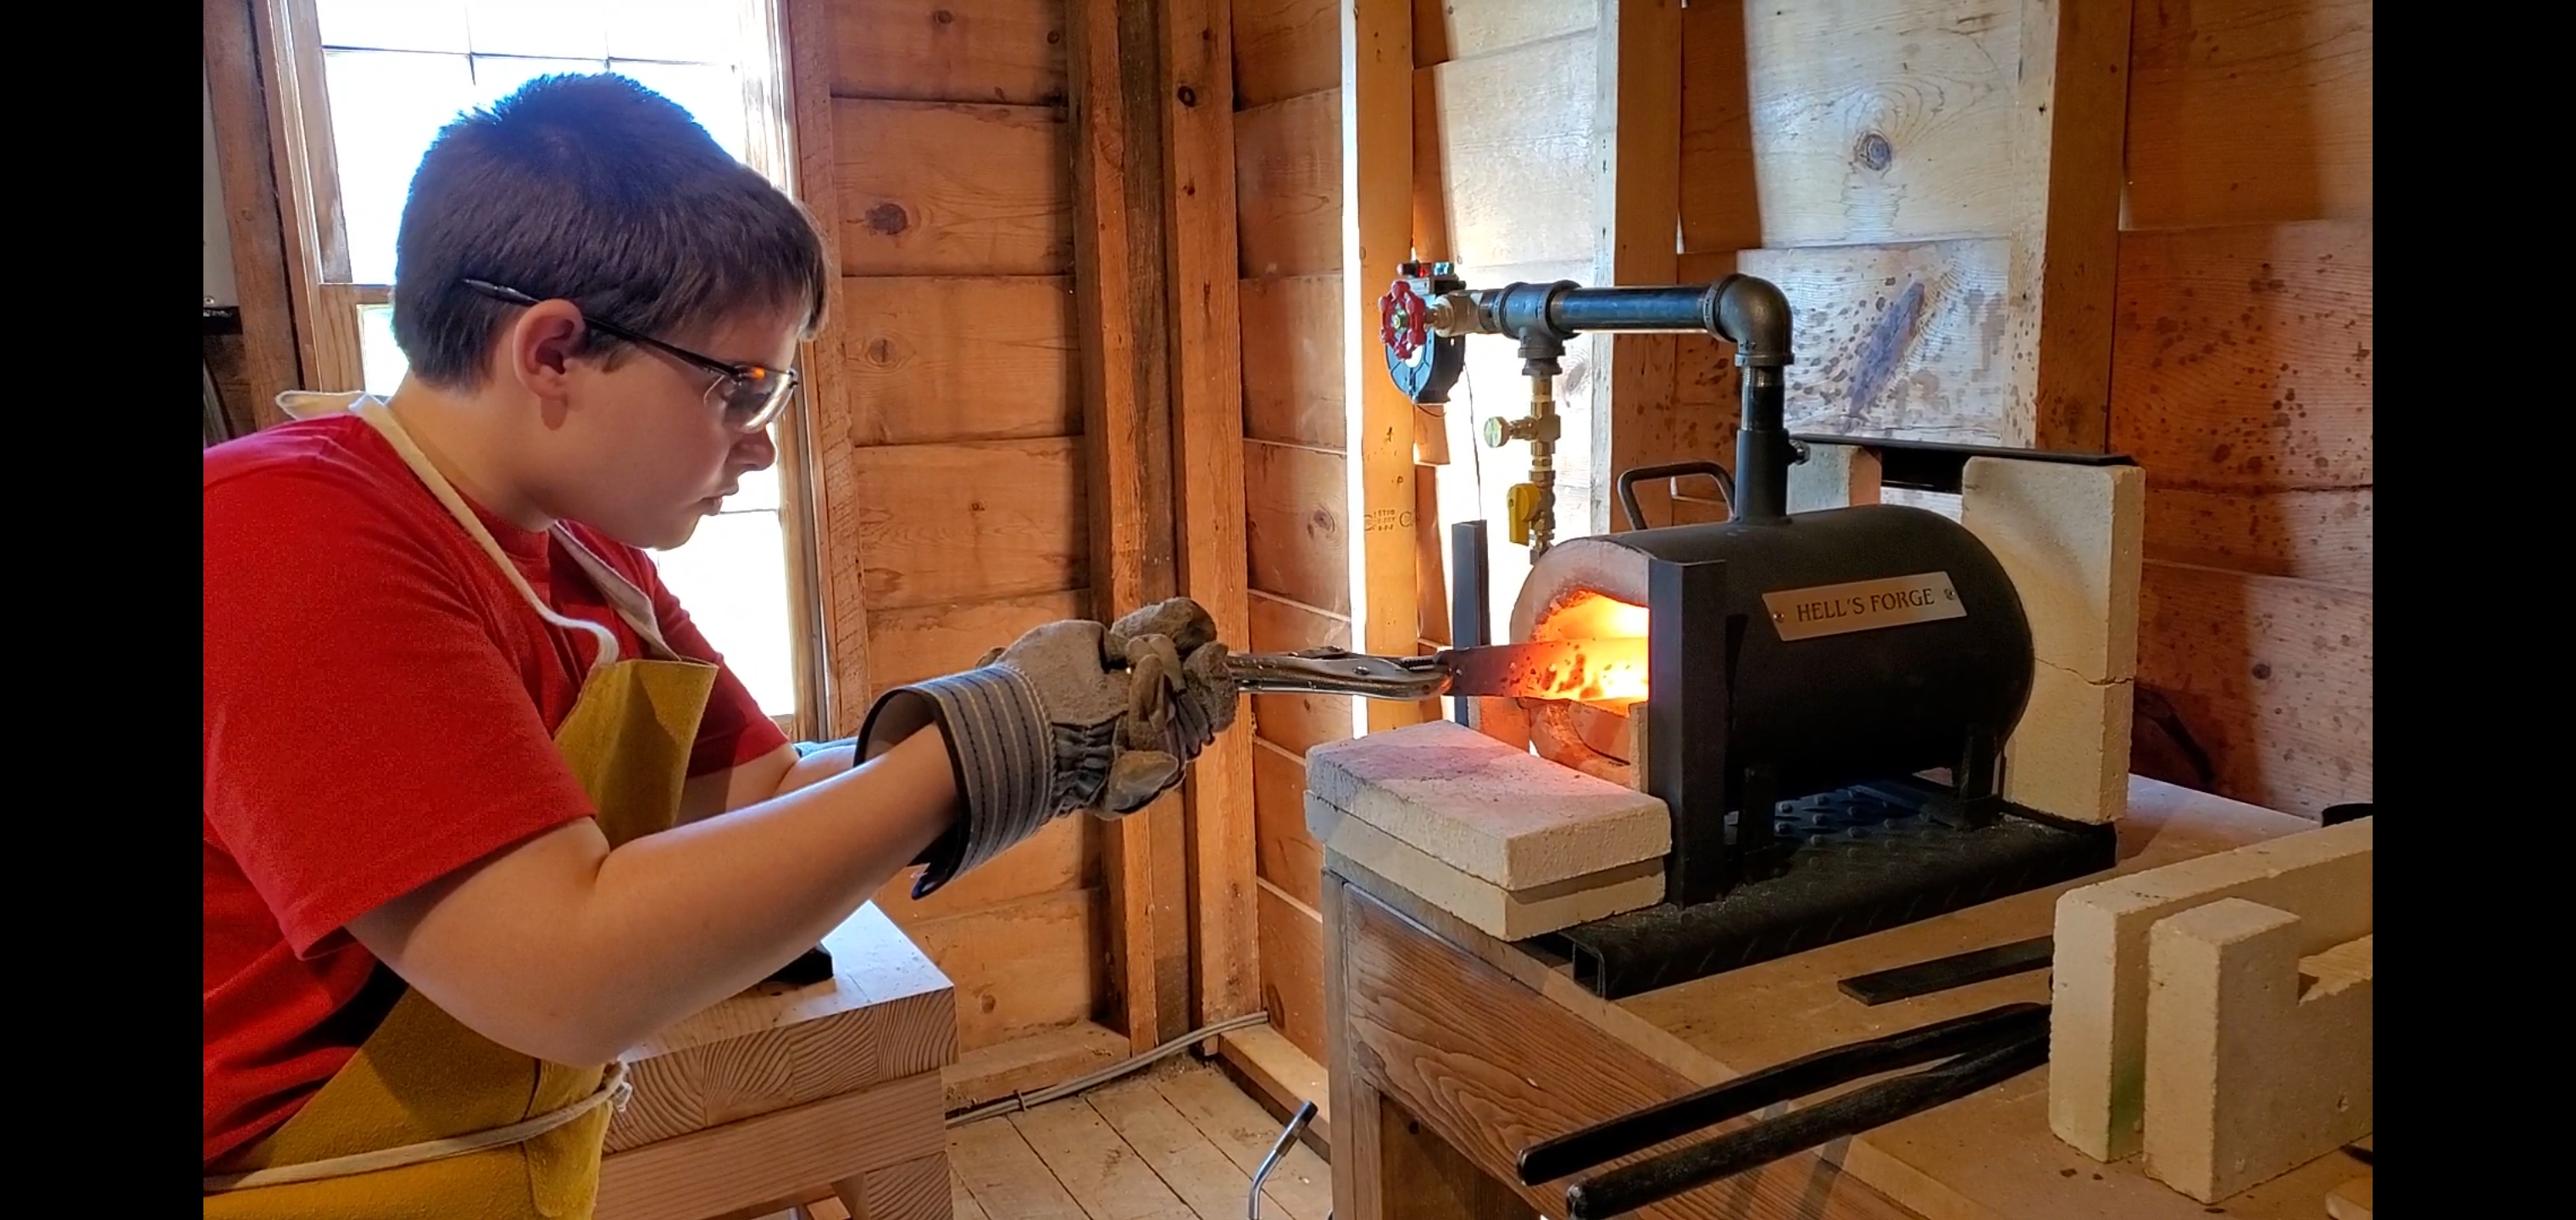
My son just quenched his first knife blade! I hope it turns out ok. It was hard to get it all heated evenly in our small forge.

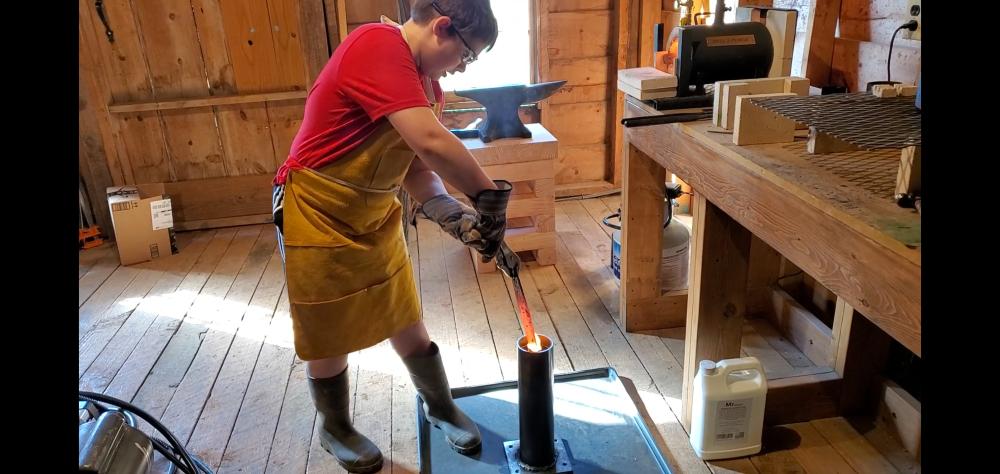
-
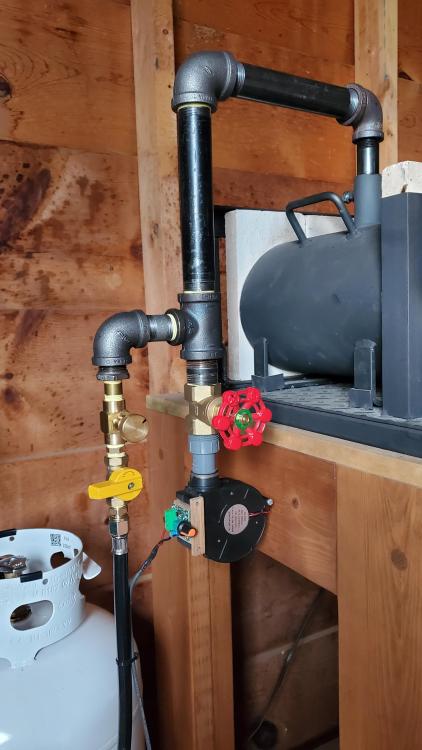
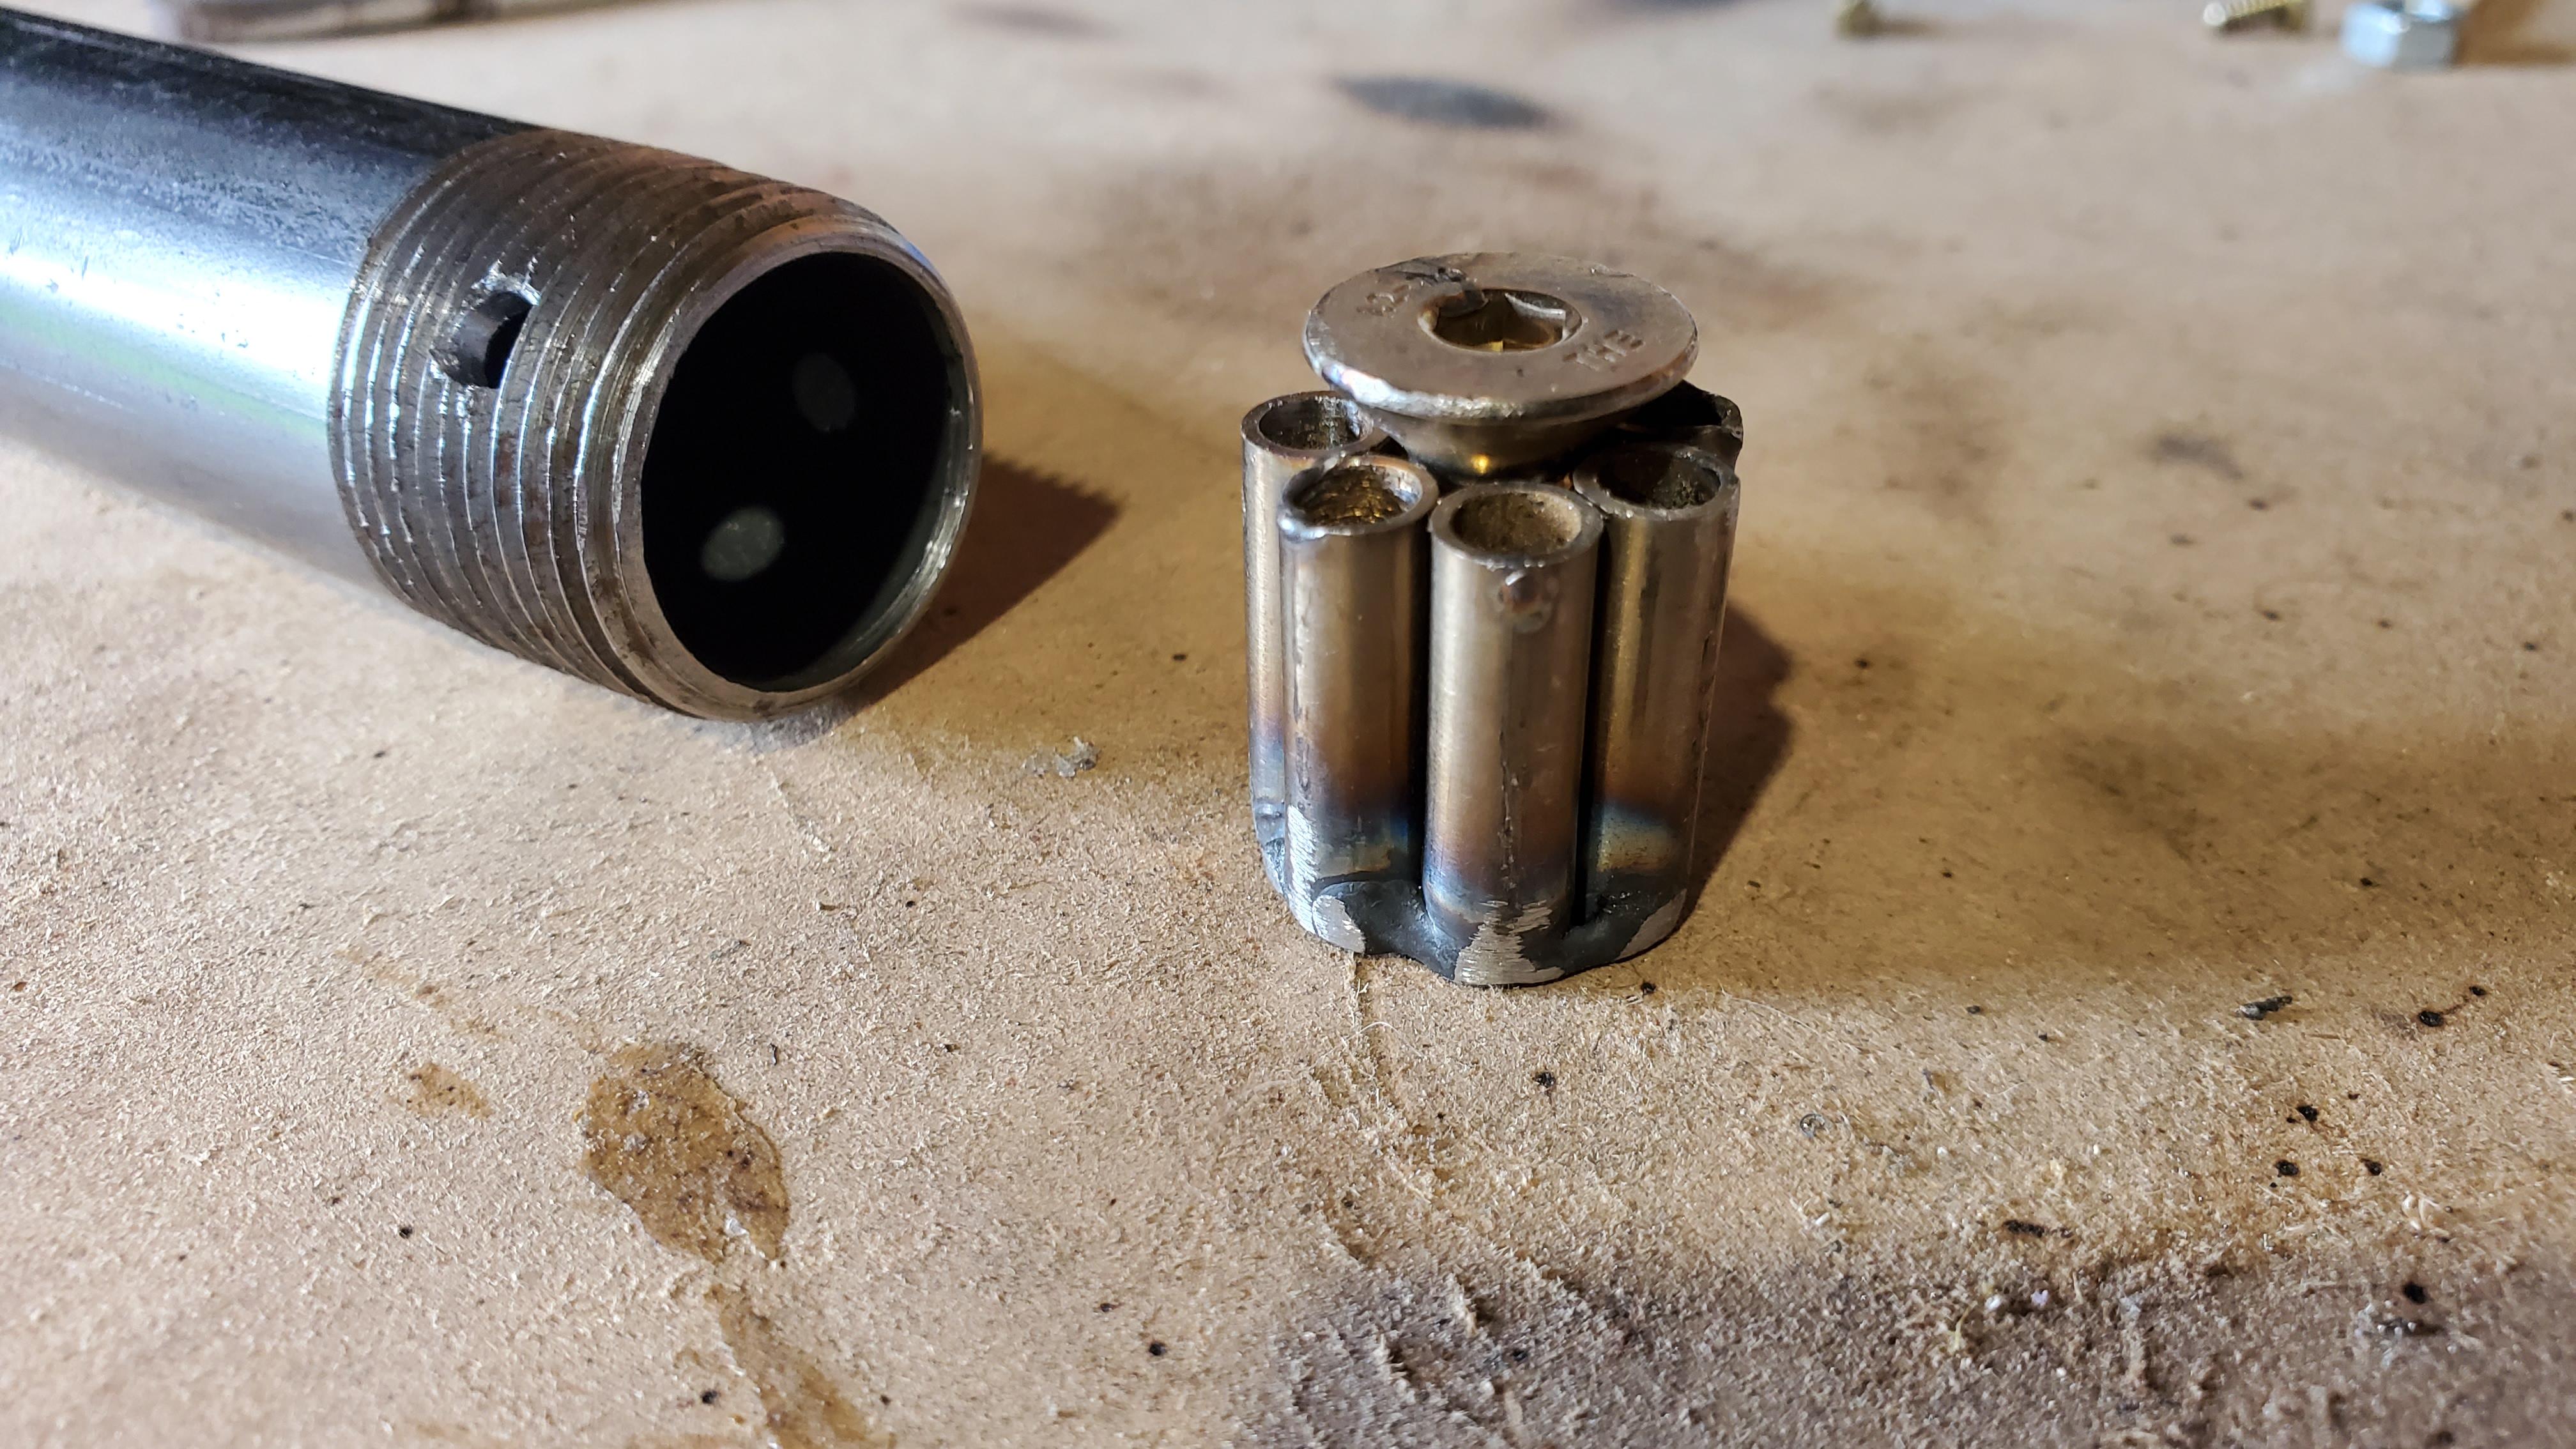
The main run to my burner is 1" black iron. Propane is fed in from a simple tee. The 90⁰ fitting before it goes into the forge is also a reducer for the 3/4" burner tube. The burner tube is 6" long.
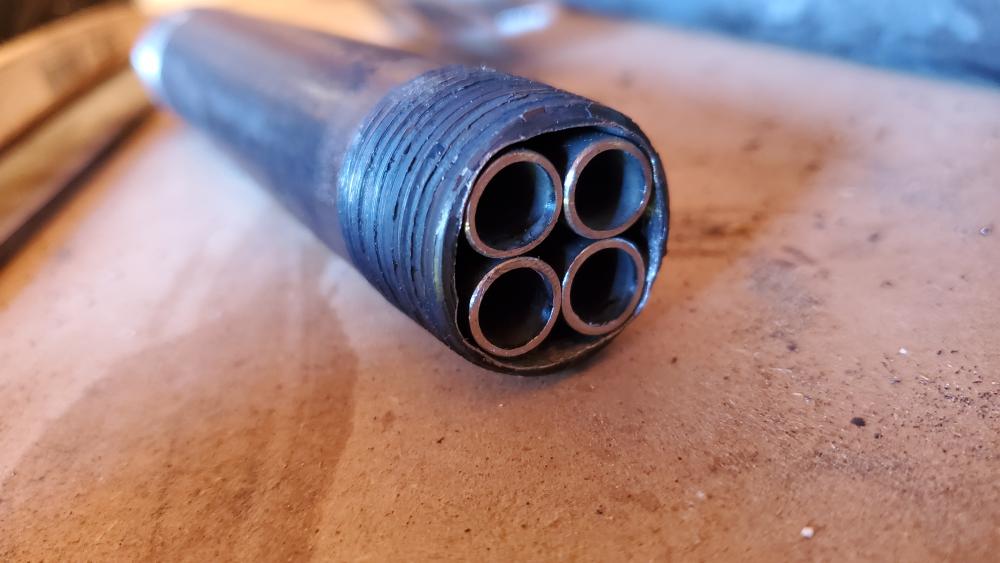
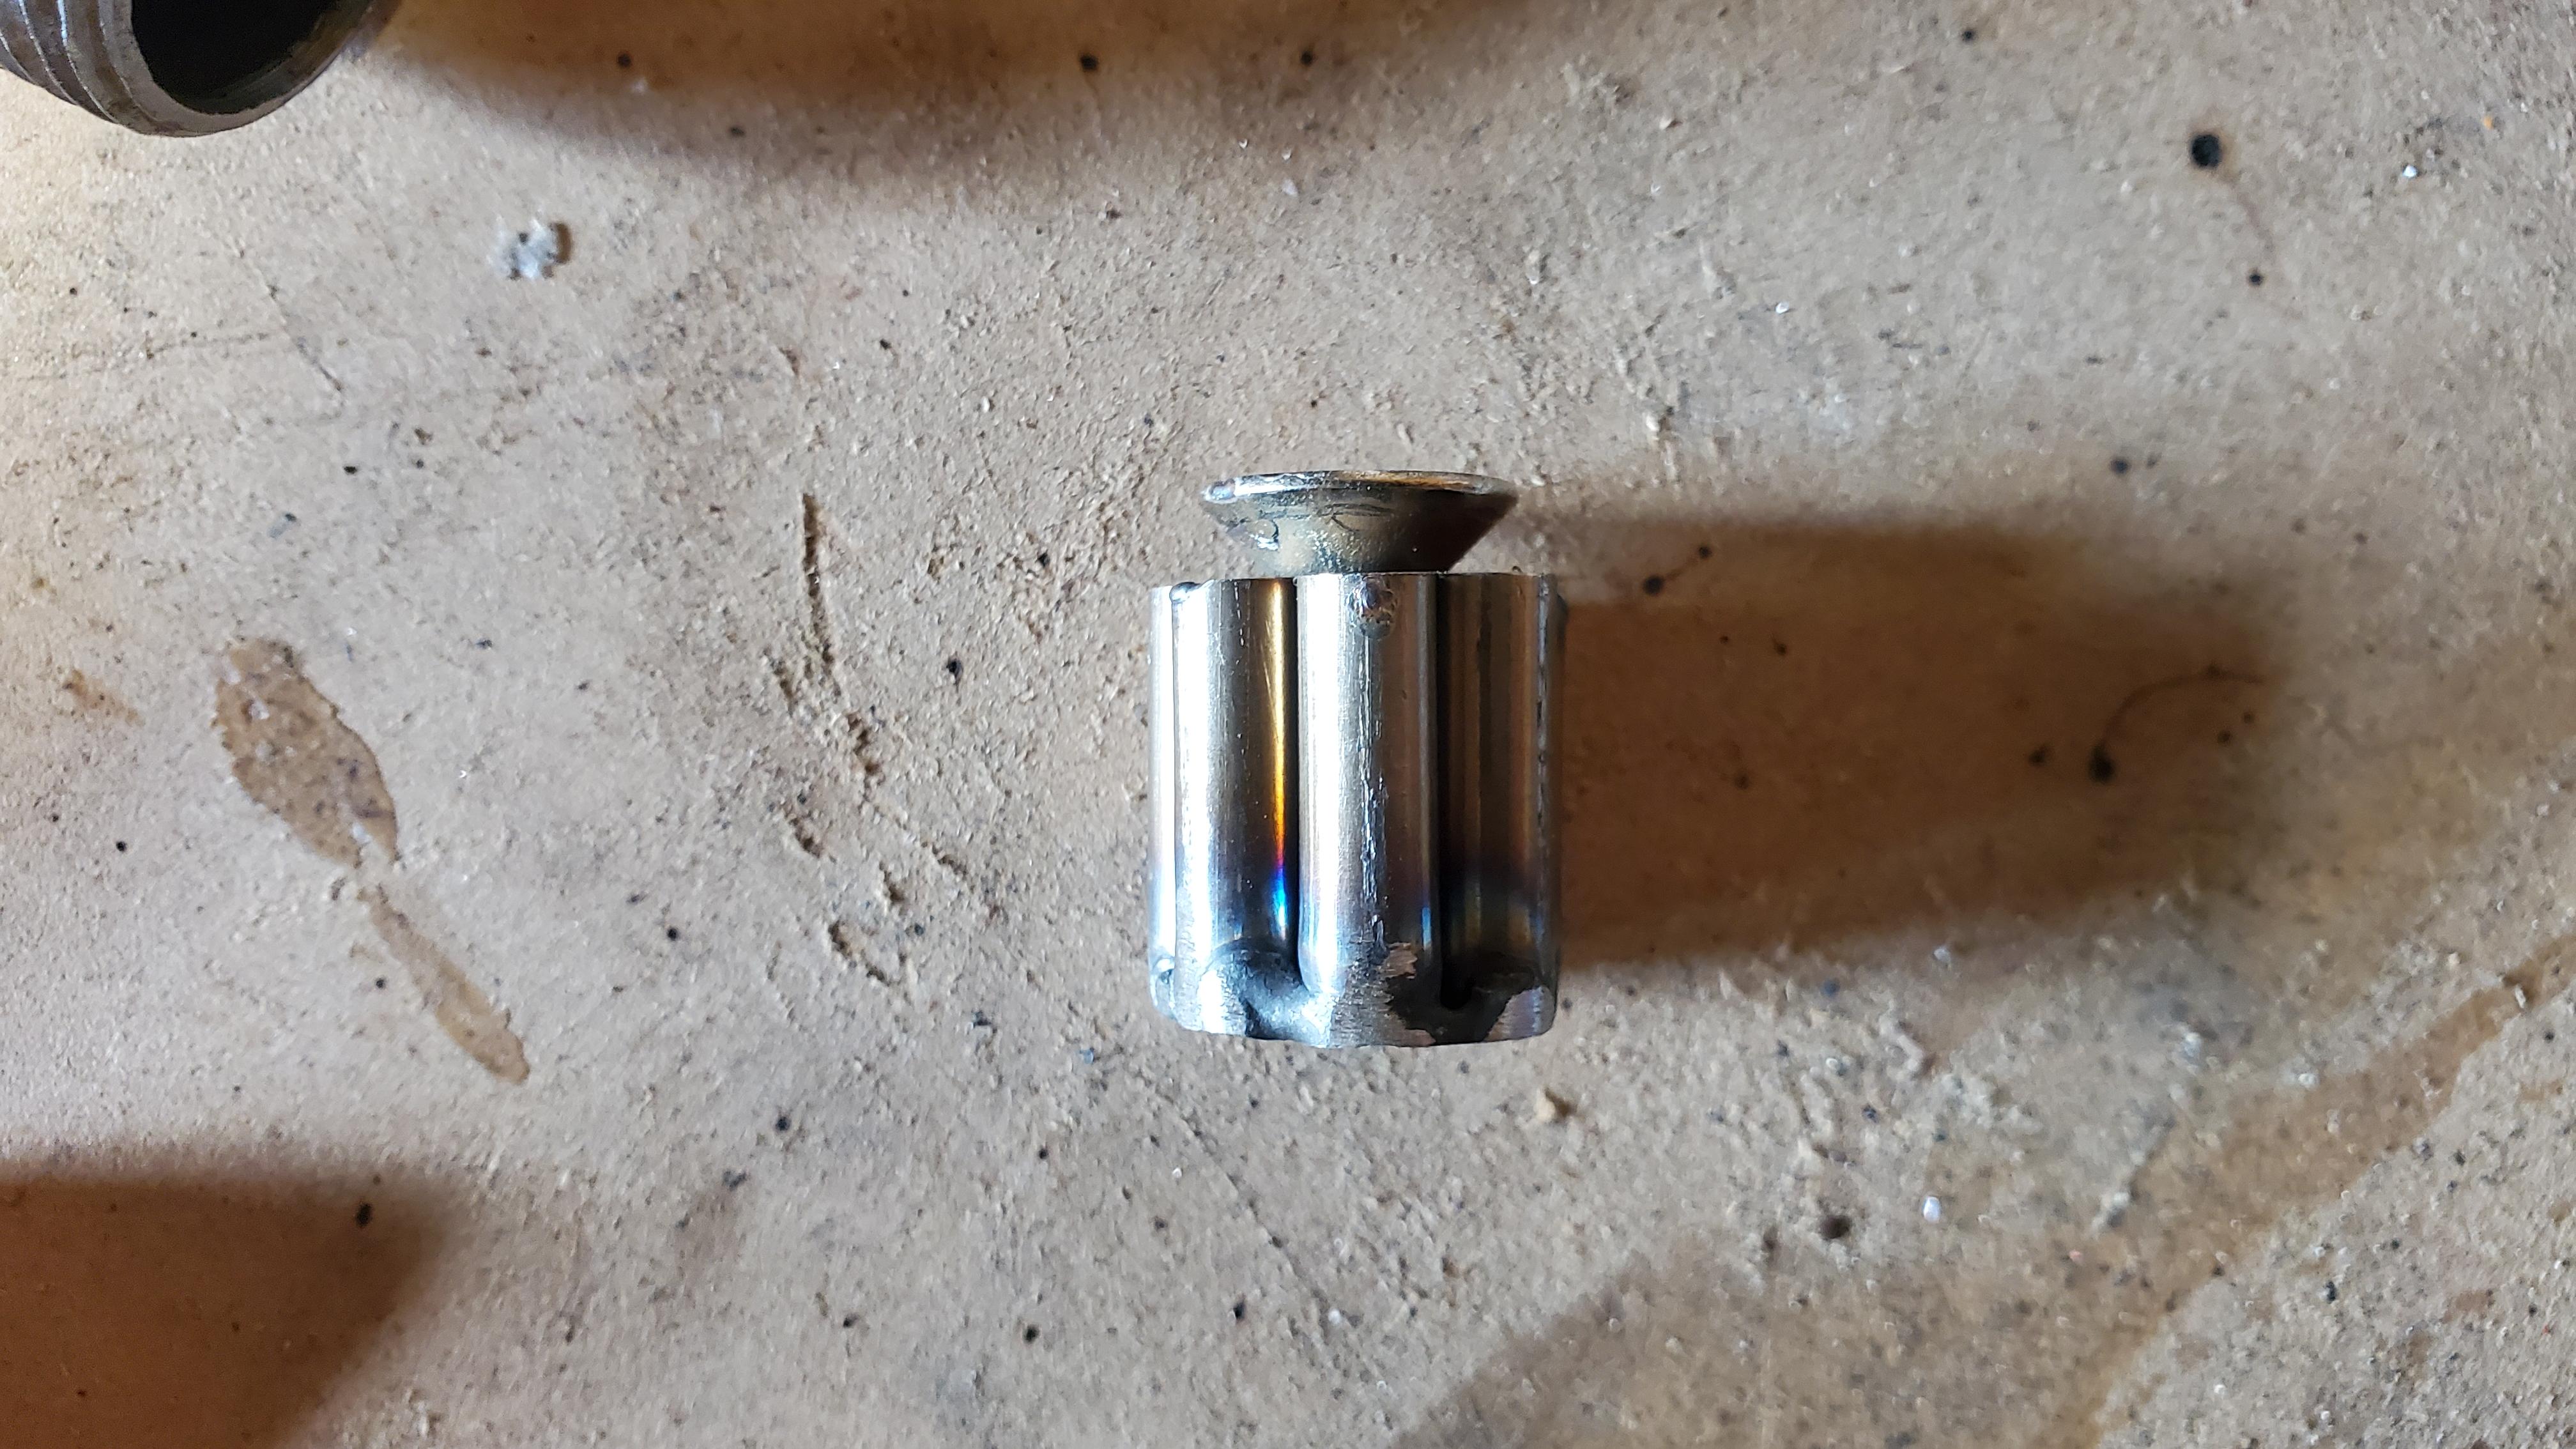
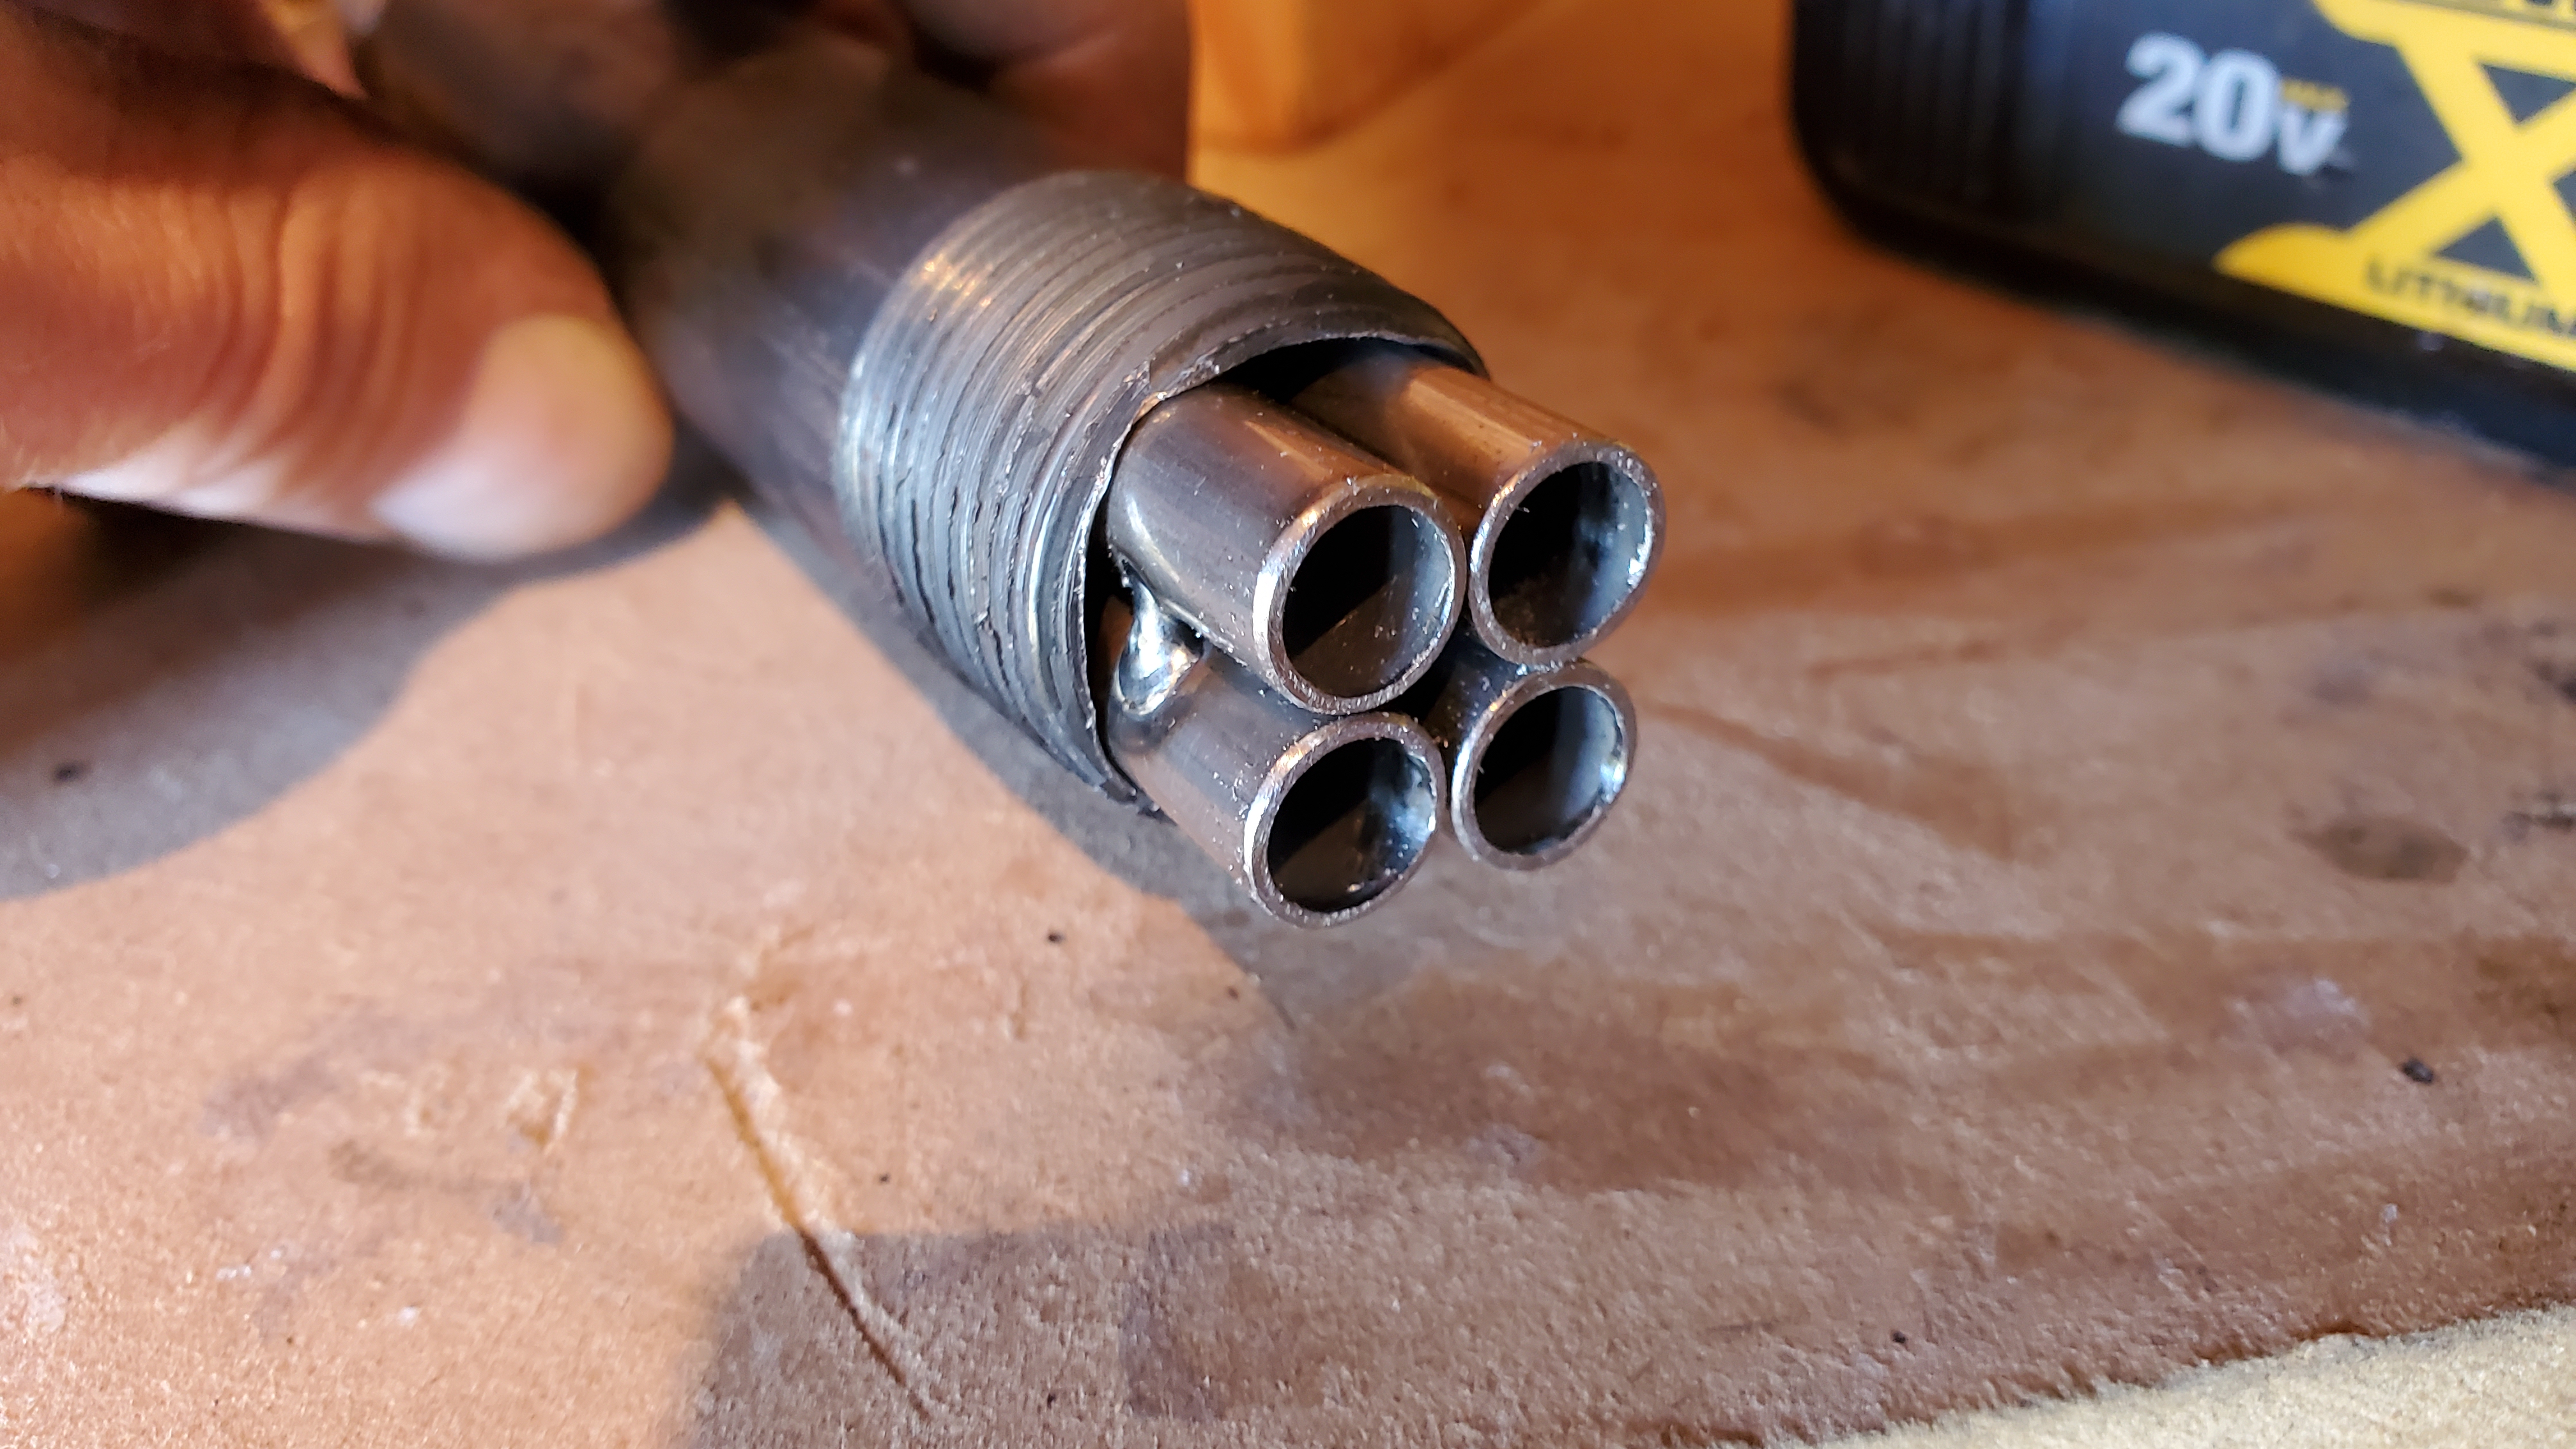
The diffuser is made of four 3/8" OD pieces of hydraulic tubing, 1 1/2 inches long. I tack welded in sets of two, then tacked the two sets together.
They didn't fit, so I spent a lot of time with the Dremel. Once I got them to at least start in evenly, I flipped it over onto a chunk of wood and gently persuaded it all the way in with a 3lb sledge.
1/4" OD tubing would probably fit about perfect, but I used what I had on hand.
Im still not 100% happy with stability of the mixture. At times it fluctuates between green and blue. I think my next step will be adding a twisted piece of flat stock inside the 1" line to help agitate the propane and air more.
I can confidently say that this setup would supply two 3/4" burners, without a doubt.

-
I'd be happy to share!
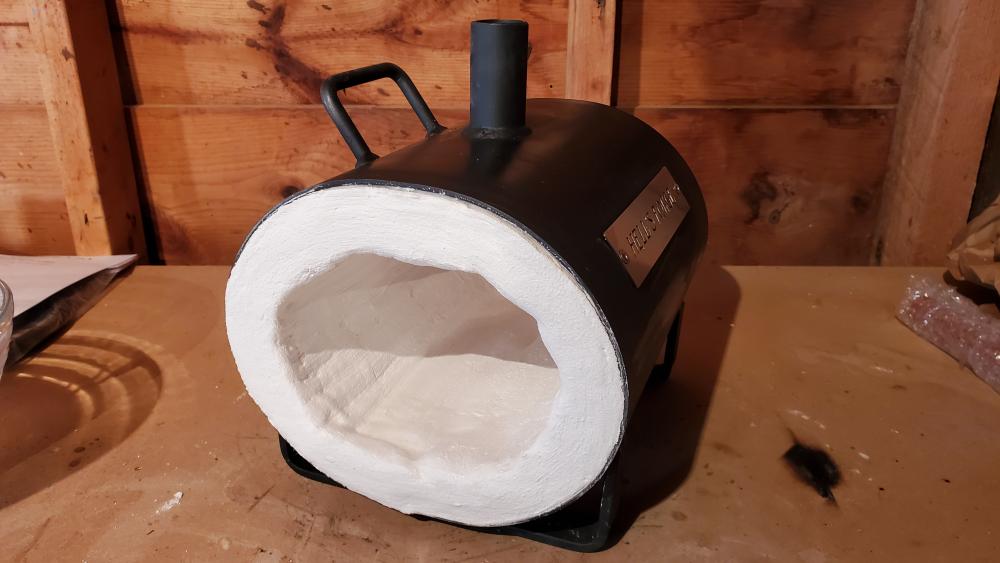
For the forge walls I used Hellcoat 3000 that came with it to cover the fiberglass blanket. (I don't think I'd reccomend the Hellcoat. I'm still haunted by some bad cracks that started in it.) A couple weeks later I went back over it with 100HT, which is GREAT stuff.
For both, I mixed them about as thick as a milkshake. I tried to apply an even coat and followed over it with a thick paint stick as a float to smooth it out.
To prevent getting any on the outside frame, I used blue painters tape. Gotta take that off immediately afterward though. If you wait until the coating sets up, removal will result in some cracks and/or voids.
Always leave a little bit extra. There will be spots you might want to go back over or repairs to make in the future.
I hope this helps someone. It can be a little intimidating at first if you care about doing a nice job.
-
Thank you Mikey, that means a lot!
After some use, I think I'm on the right track. It's not quite as forgiving with settings on the high end, but it now it's able to be throttled way down and still run reliably without the flame traveling up into the burner tube.
(That black soot is just from momentary flames rolling out the front during transition between low and high.)


-
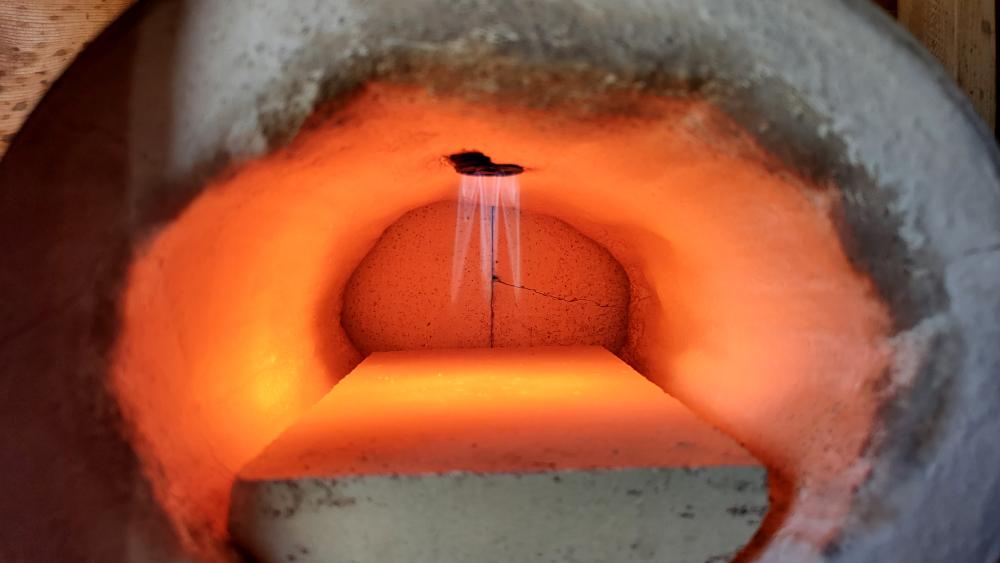
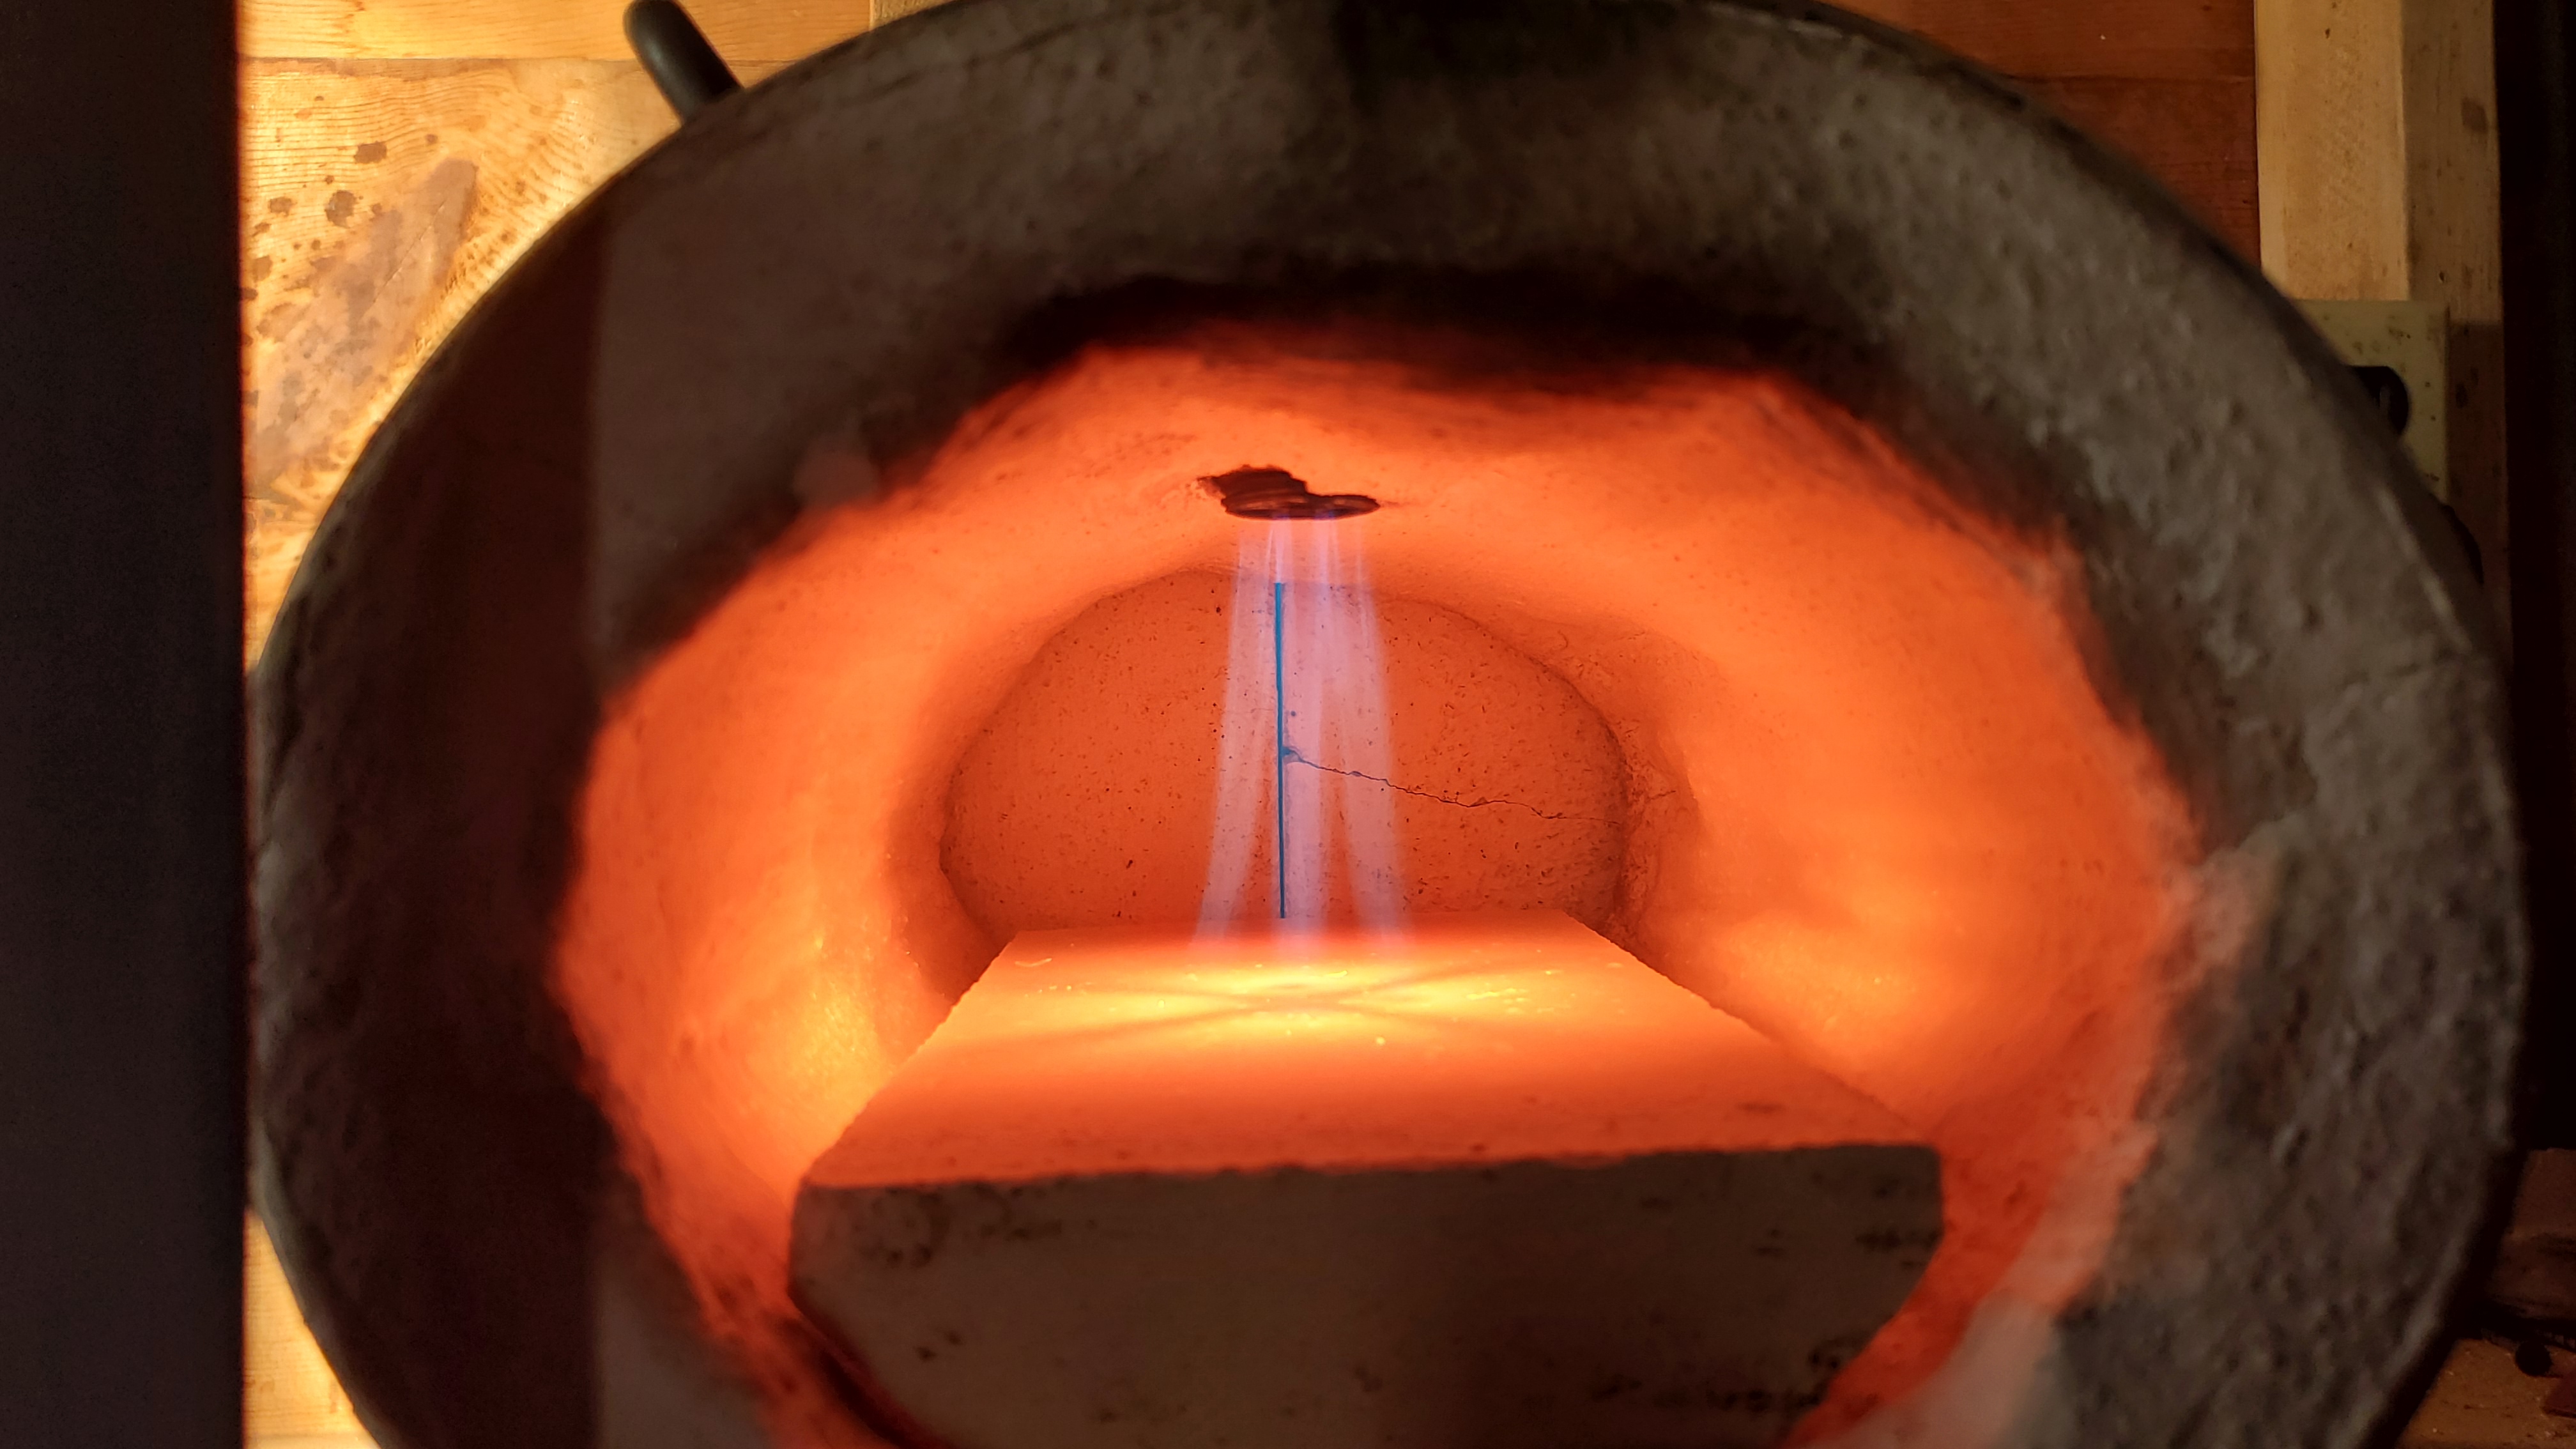
Today I finally got around to adding a diffuser. Hoping it will add stability and help hold the flame at lower temps. It sure required me to open up the regulator a little more!
Im not really sure if I like the flame output better or not. The flame is a little more sensitive to the mixture once up to temp and it certainly concentrates heat in the middle. Guess it'll take some use to decide.

-
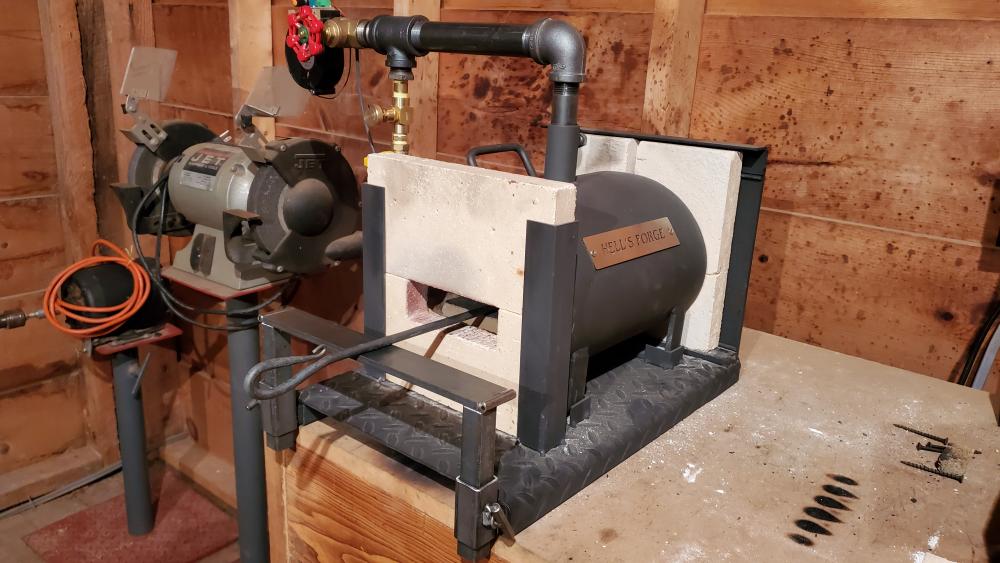
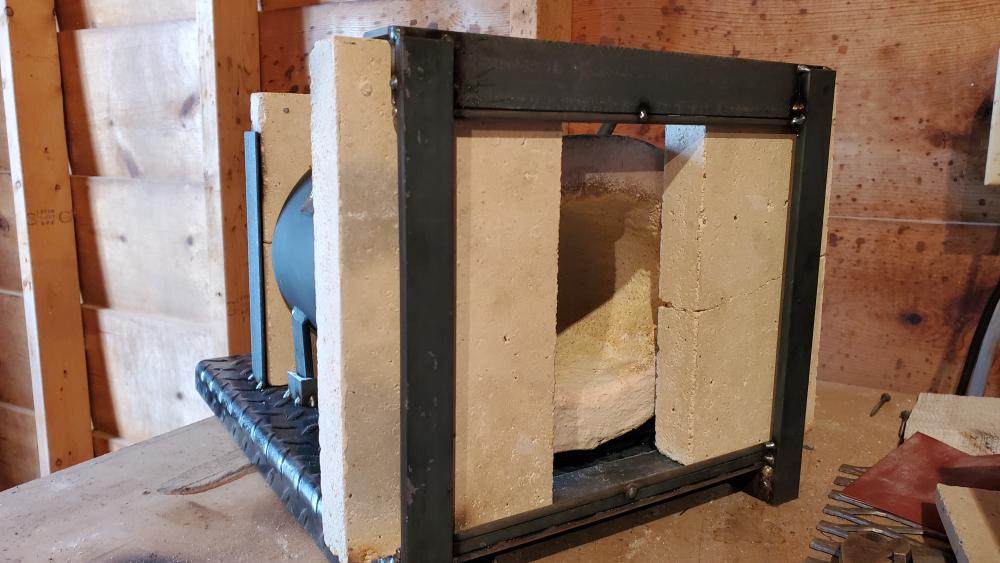
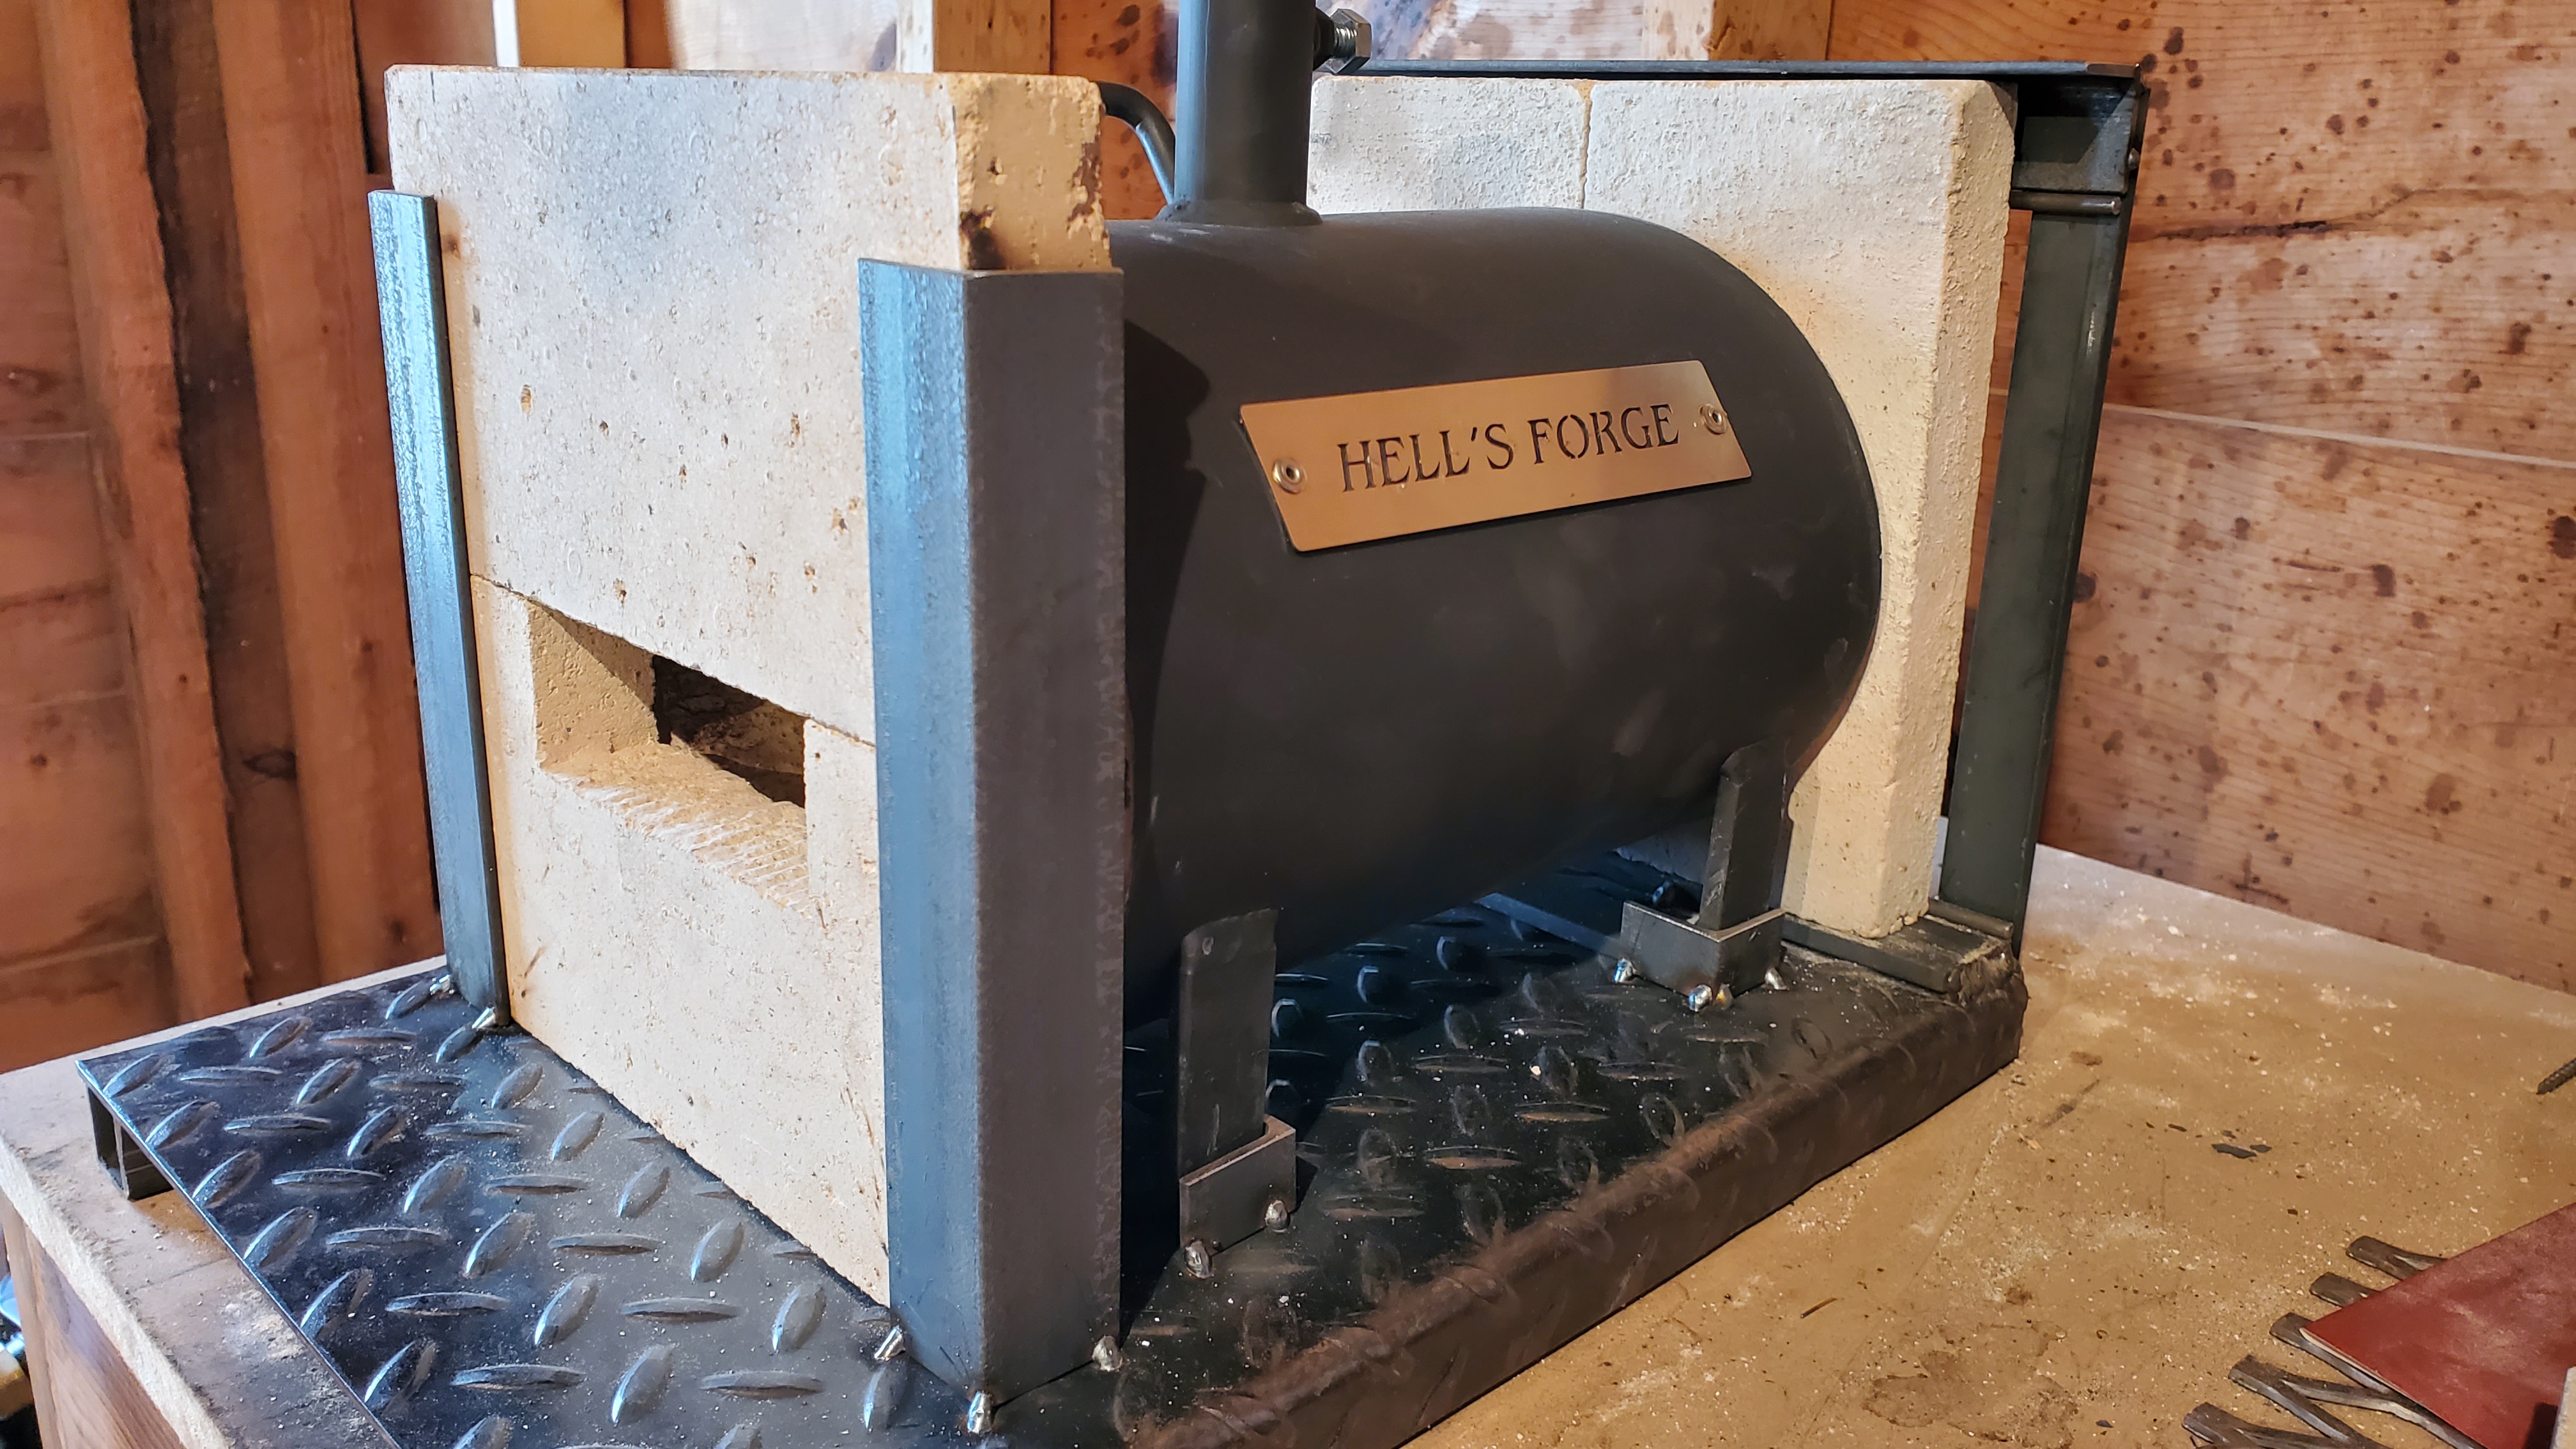
Quick update, I got a bench top stand welded together for the forge. It allows an air gap between hot surfaces and the bench and it also holds firebricks in place for the doors. Simple and 100% adjustable / removable.


-
Of course I have a fire extinguisher close by. It's mounted right beside the door, 5 feet from the forge.
-
Thank you for the input. I've been planning to build a fixture out of angle similar to what you mentioned, but I was going to keep the bricks pretty close to flush with the forge. Since installing the blower I have observed no issues with back pressure. Even when testing with both ends briefly blocked, the flame doesn't even sputter.
Is there more to adequate venting (beyond burner performance) that I'm not aware of? Carbon monoxide or something? I ask that respectfully. I still have a whole lot to learn.
*I do plan to coat ALL new surfaces facing the forge with 100HT. That stuff is magic!
-
-
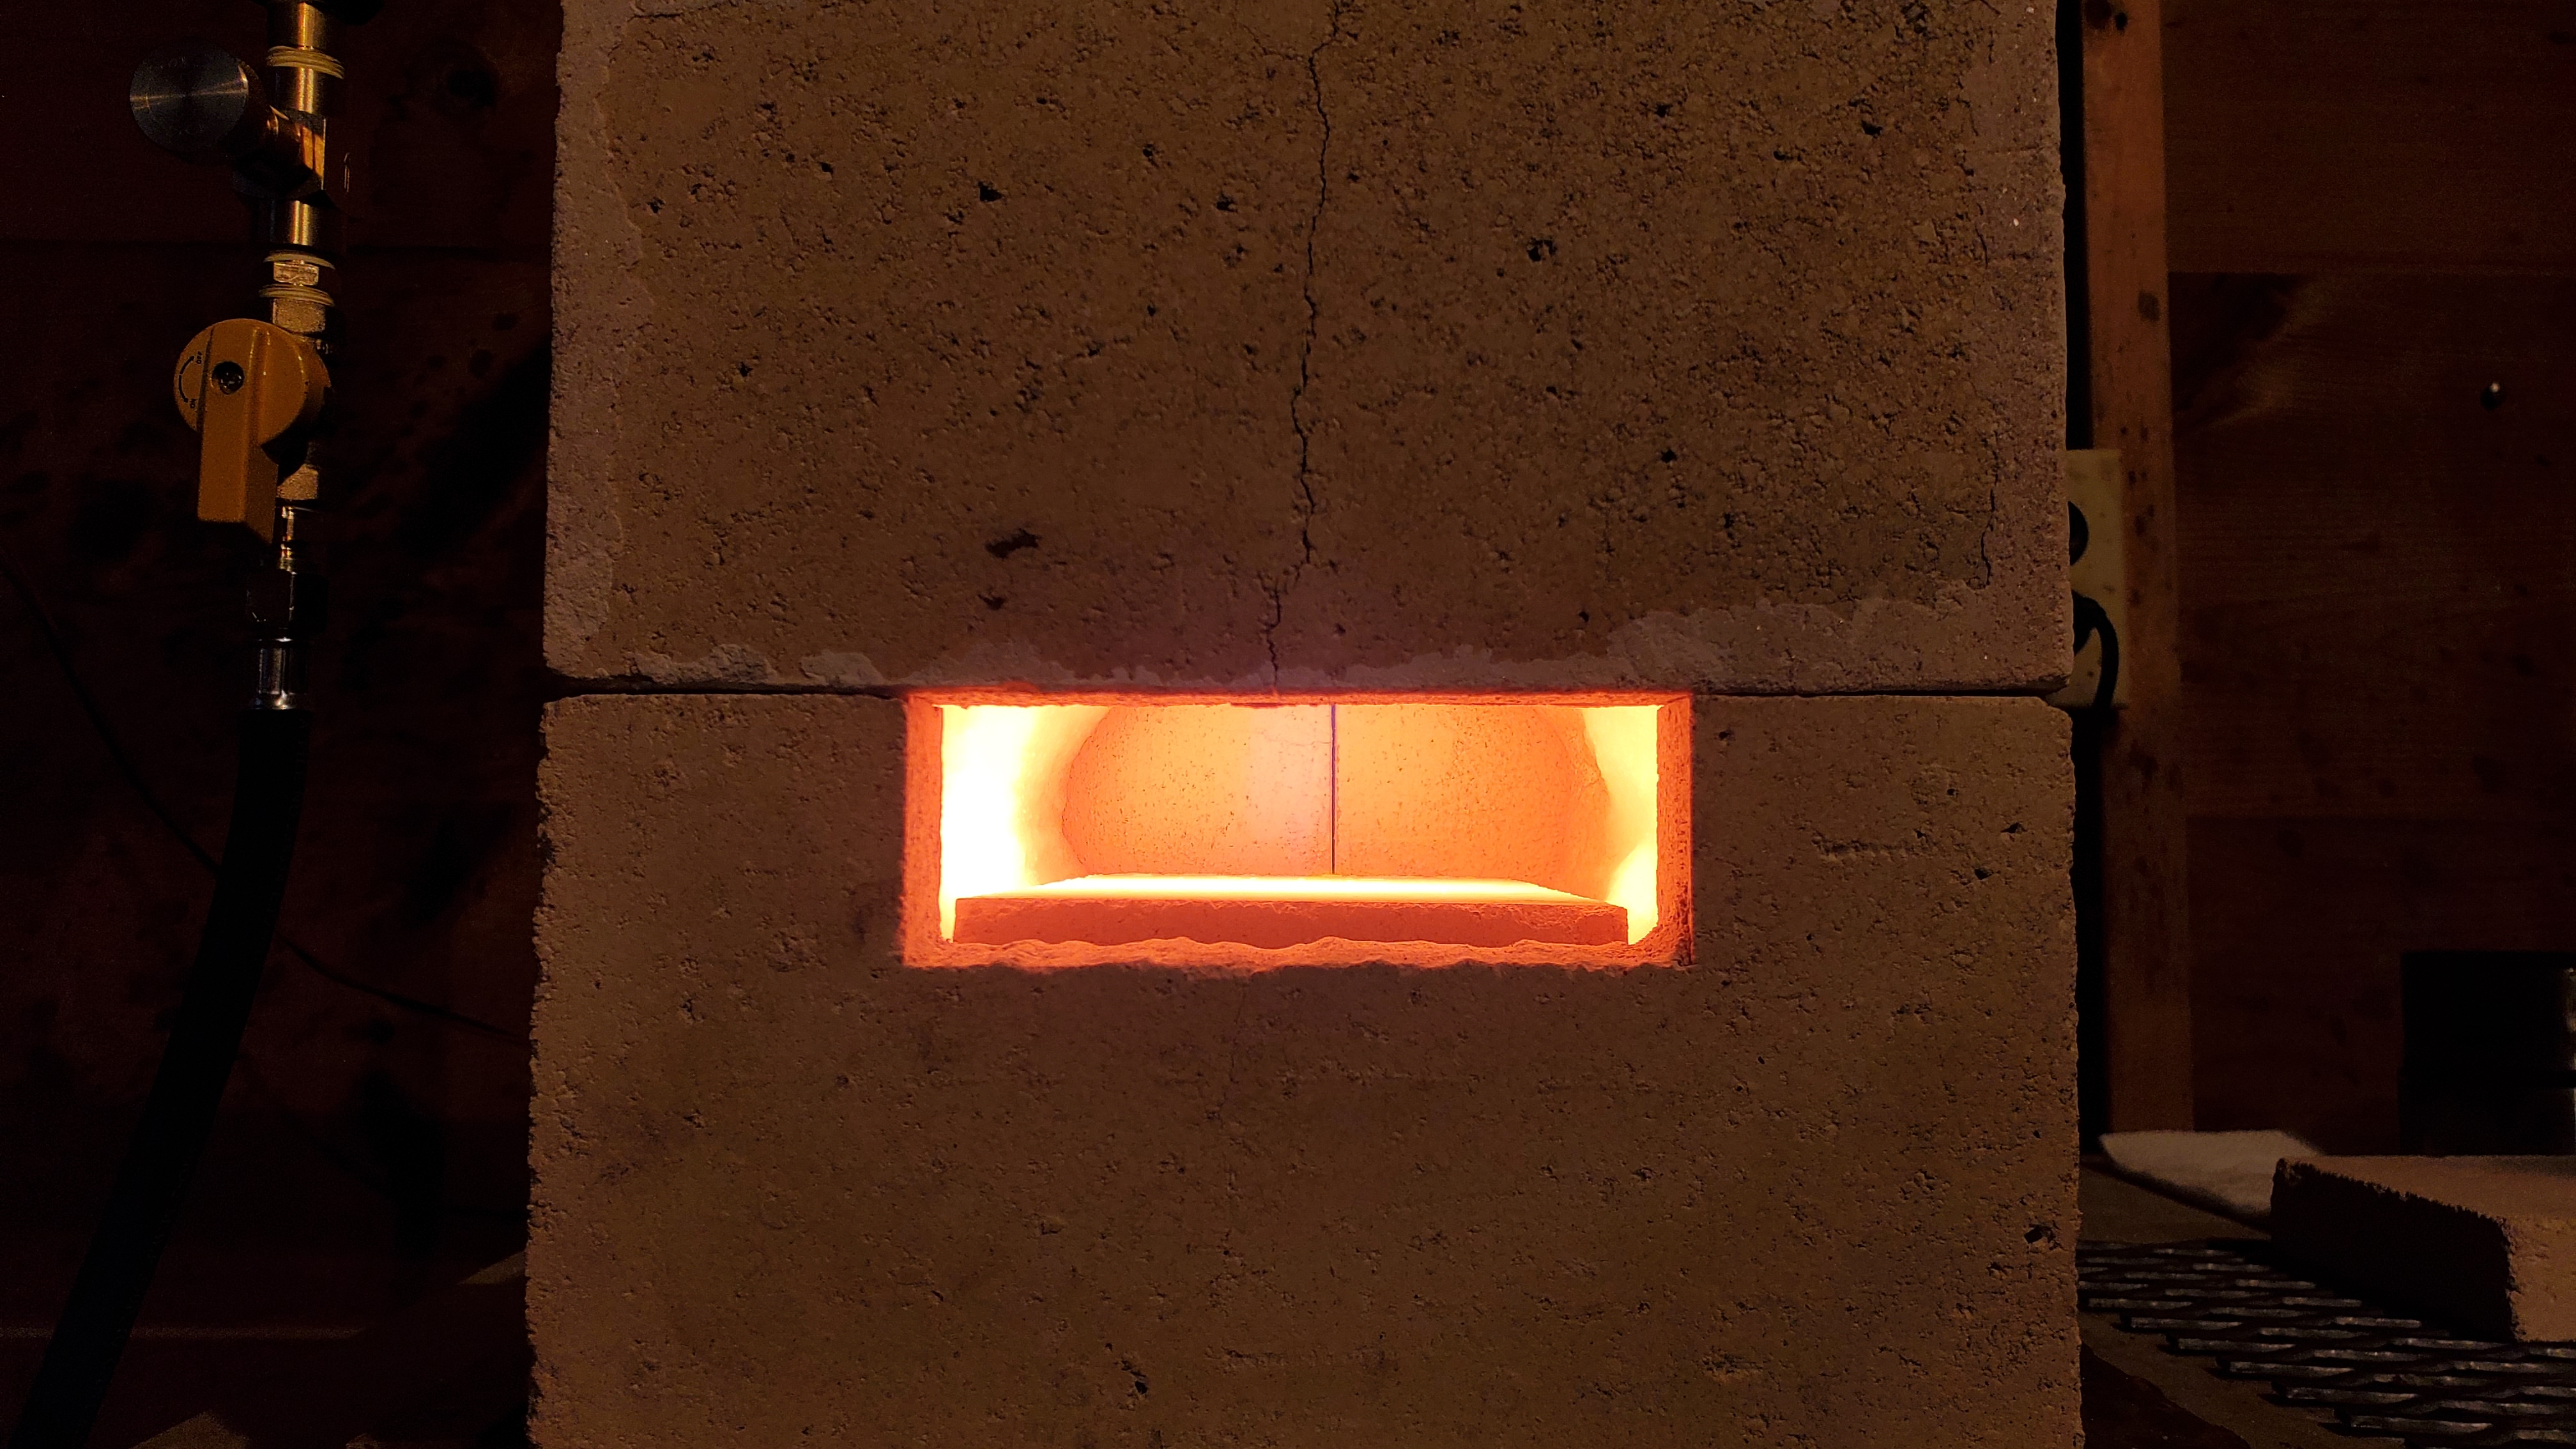
Today I inserted a fresh firebrick in the bottom that I'd cut to match the conture of the forge. I hadn't coated it with 100HT yet. WOW! WHAT A HEATSINK!!!

No wonder some folks can't manage to get their home-built forges up to temp! Small details add up quickly.


Burner Tuning Question
in Gas Forges
Posted
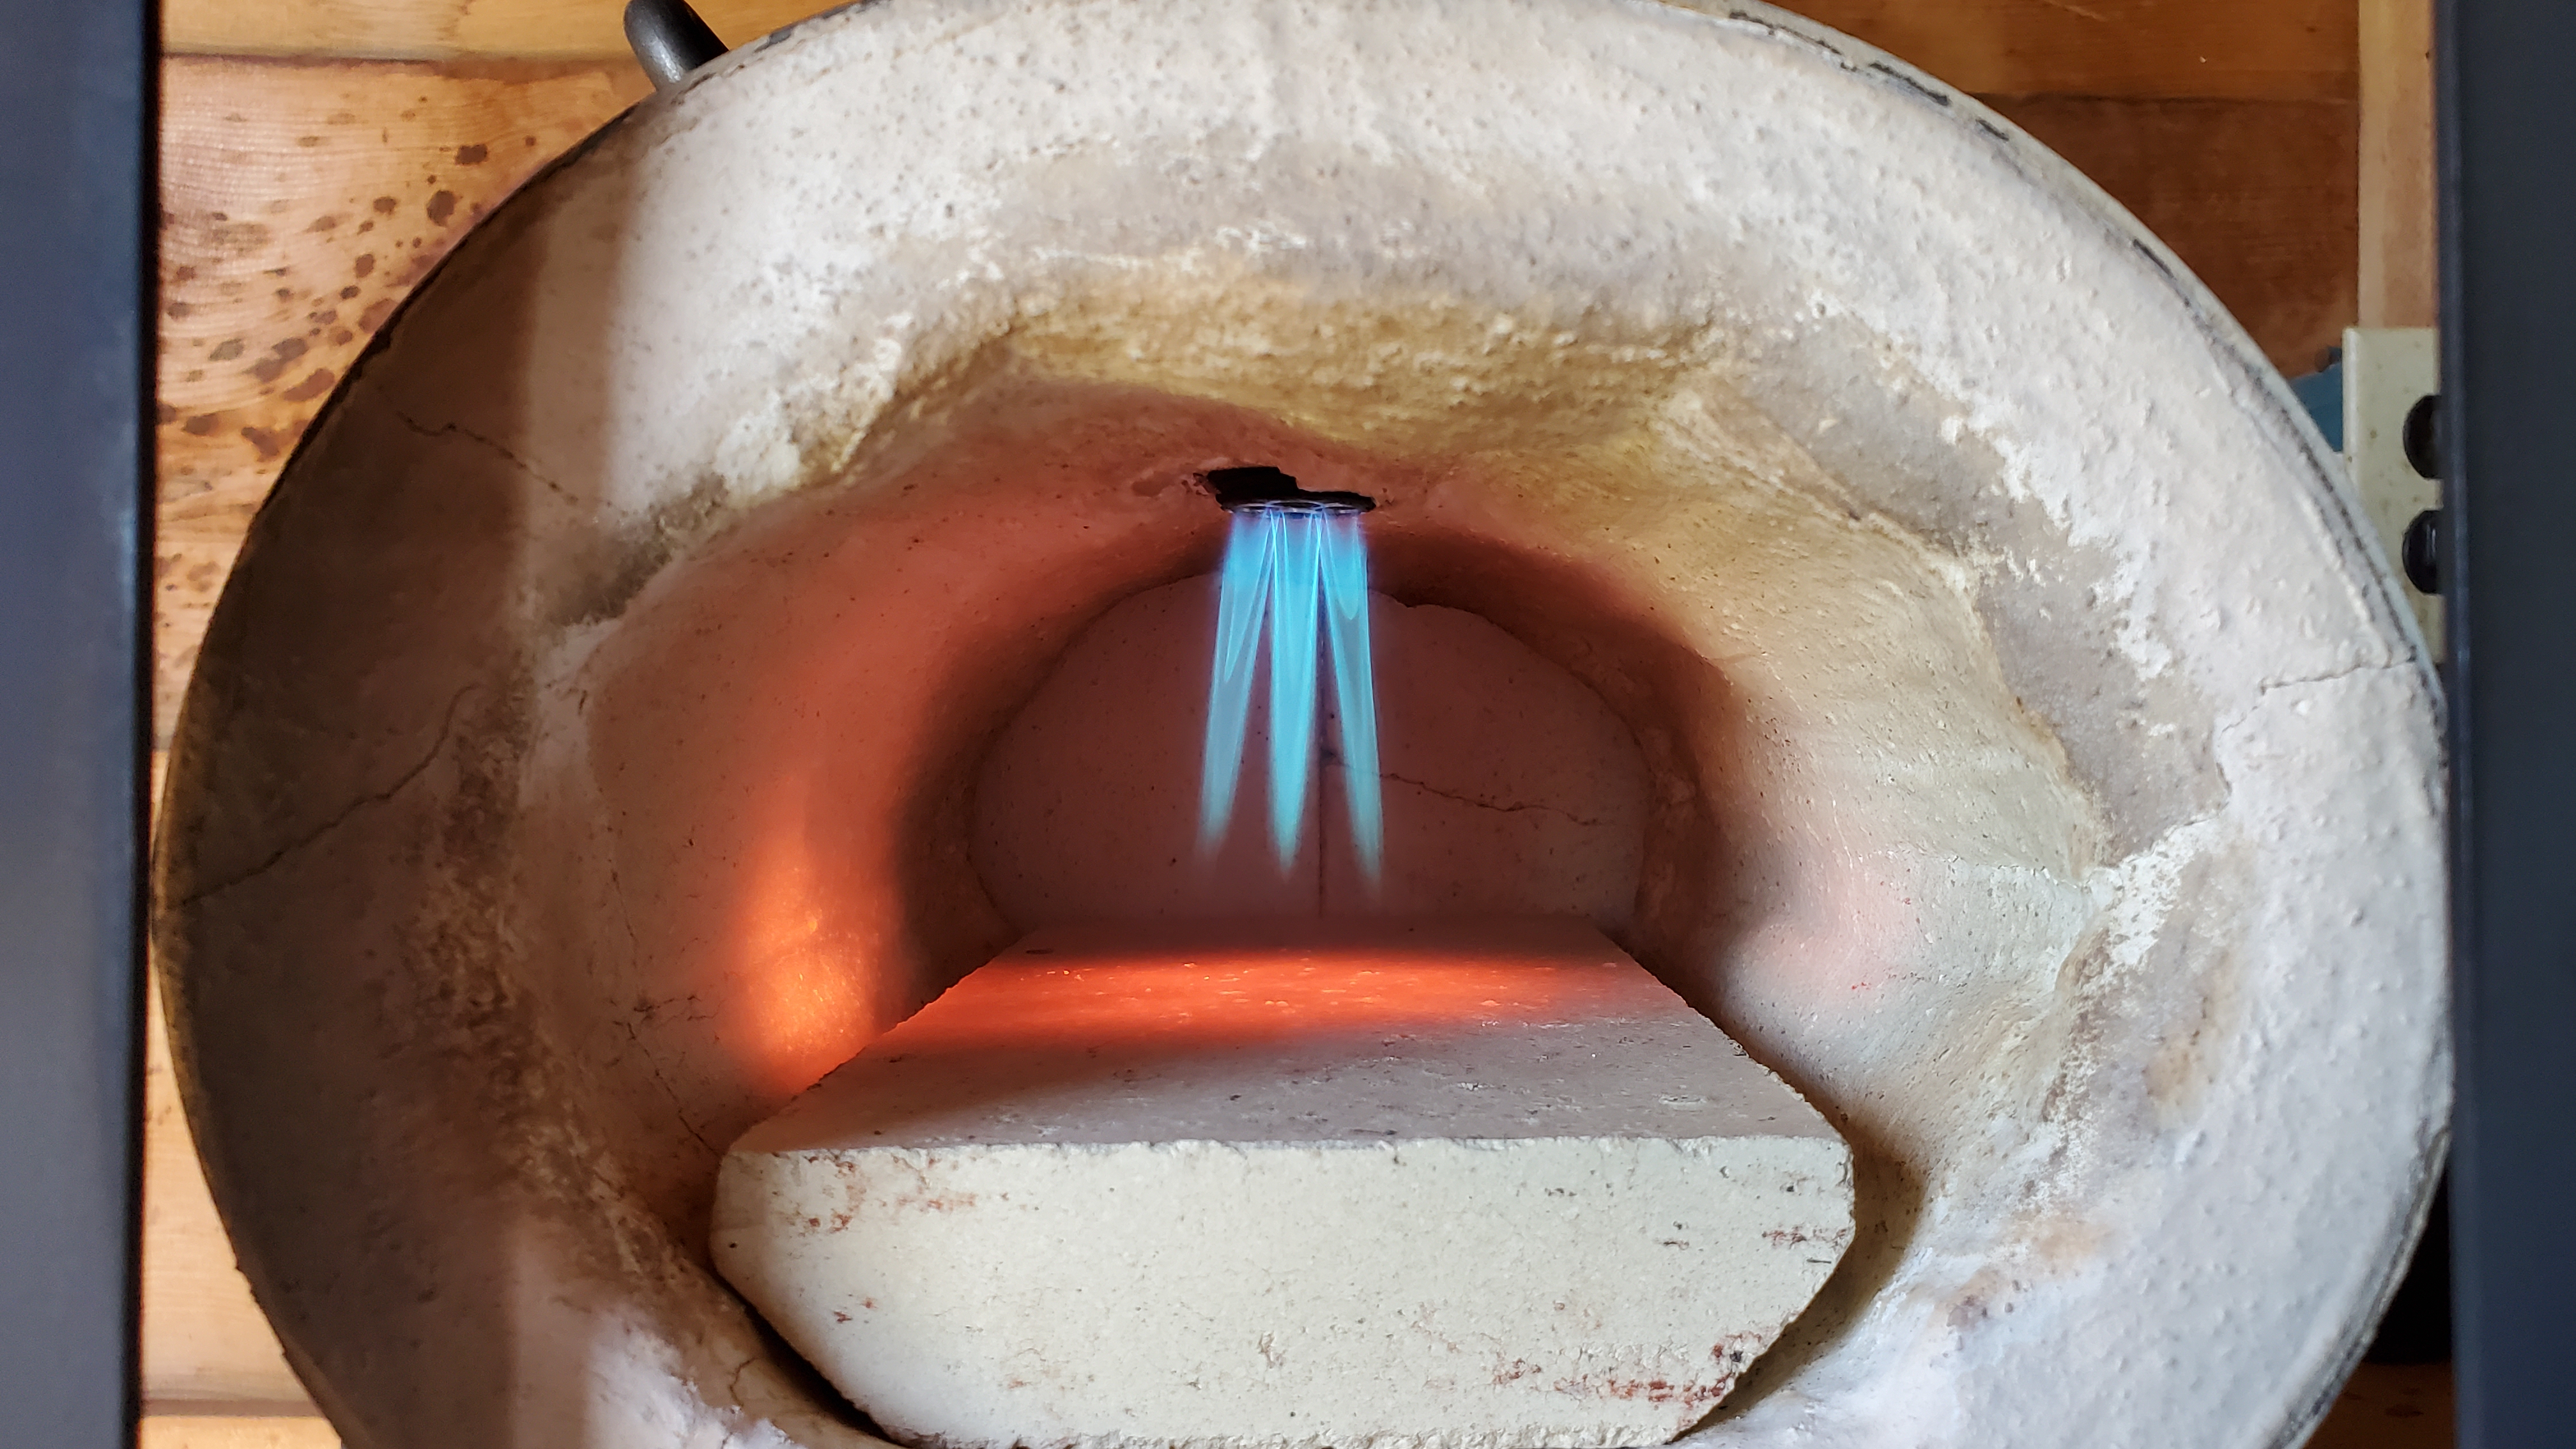
I think I've worked out a burner that spreads out the flame to cover a larger area. Even when turned wide open, no cold patches on the floor of the forge like before. This is a first.